Thursday, June 27, 2013

Ken Forkish's Same-Day Straight Pizza Dough


I've been making pizzas at home for a while now and have been pretty content with the thin crust pizza dough recipe from The Kitchn.  But one day on a whim, I decided to try the pizza dough recipe in Ken Forkish' Flour Water Salt Yeast cookbook, and now I can never go back.

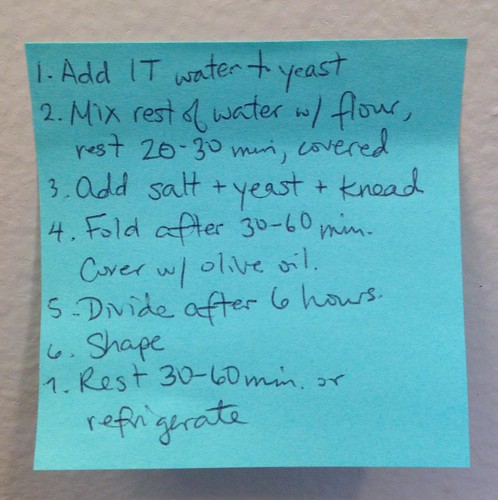
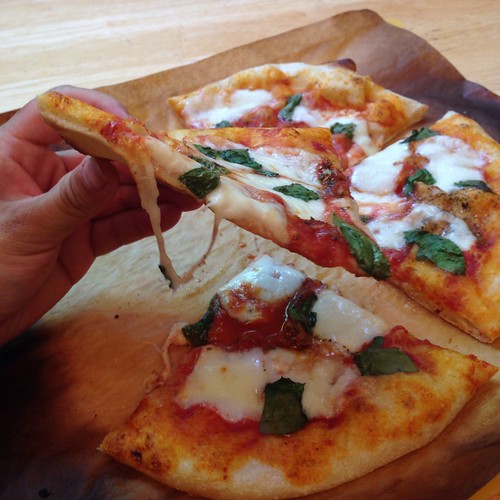
Sure, making the dough is a little more fussy, but the difference is amazing; with this recipe you get a super-thin crust with a chewy, poofy crust just like in a restaurant!  You can make the dough in the morning, shape it in the afternoon, and then make pizzas by early evening!  And if you let the dough rest a day or two in the fridge, it develops a wonderful flavor that makes it more than worth the wait.  After making this dough a few times, I feel like I've gotten the hang of it and just follow these 2 Post-Its:


But until you've mastered the recipe too, here's the more detailed directions, which I've streamlined a little from the cookbook.


Ken Forkish's Same-Day Straight Pizza Dough (adapted from Flour Water Salt Yeast)
makes two 8 oz. balls of pizza dough (enough for two 10" pizzas)

250 g (about 1 1/2 cups) all-purpose flour
175 g (about 3/4 cups) warm water, 90-95°F
5 g (about 2 teaspoons) kosher salt
0.5 g (about 1/8 teaspoon) instant dried yeast


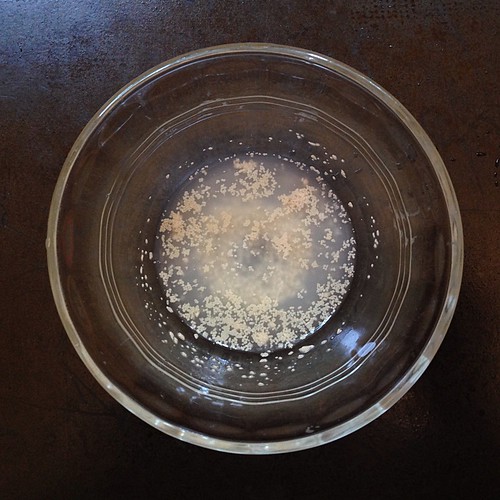
Place the yeast and 1 tablespoon of the warm water in a small bowl and set aside.


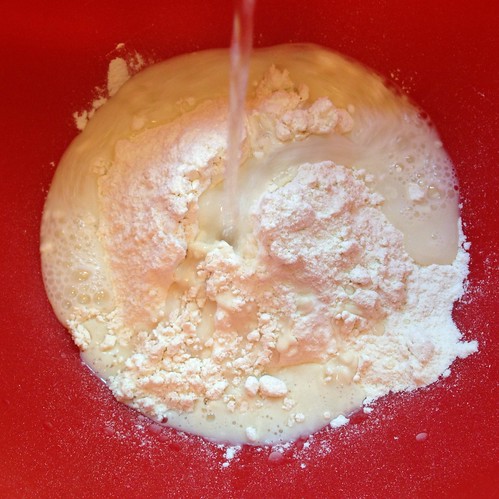
Combine the flour and remaining warm water in a large bowl.


Mix by hand until just incorporated.


Cover and let rest for 20-30 minutes.


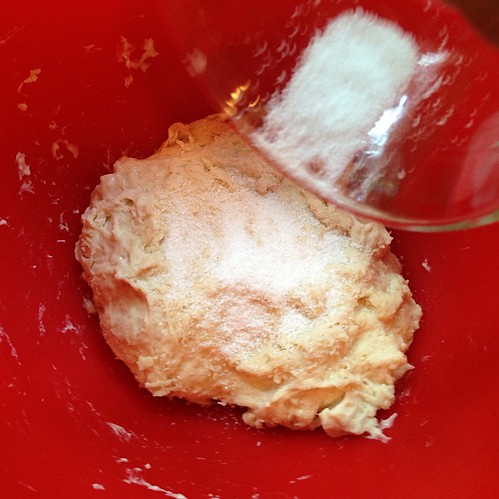
After it has rested, sprinkle the salt over the dough.


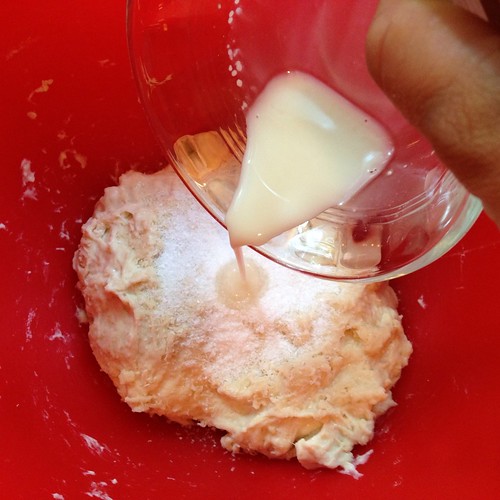
Stir the yeast mixture with your finger, then pour over the dough.  Use a small piece of dough to wipe the remaining yeast goop from the small bowl, then add it back to the rest of the dough.

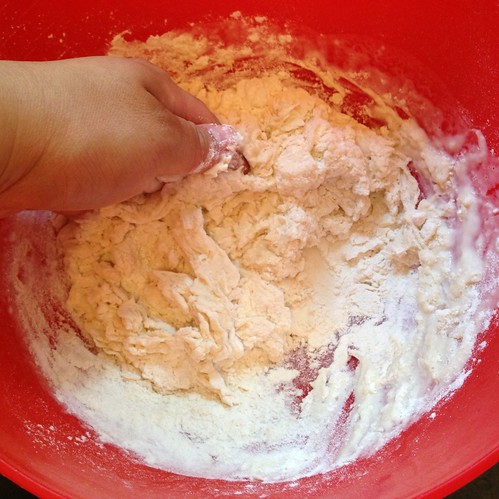
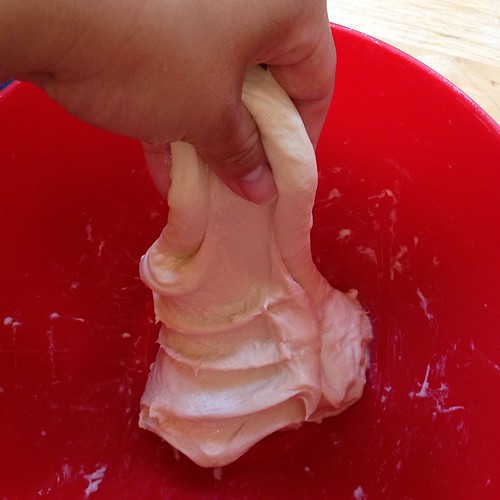
Mix by hand, wetting your working hand before mixing so the dough doesn't stick to you.  (It's fine to rewet your hand three or four times while you mix.)


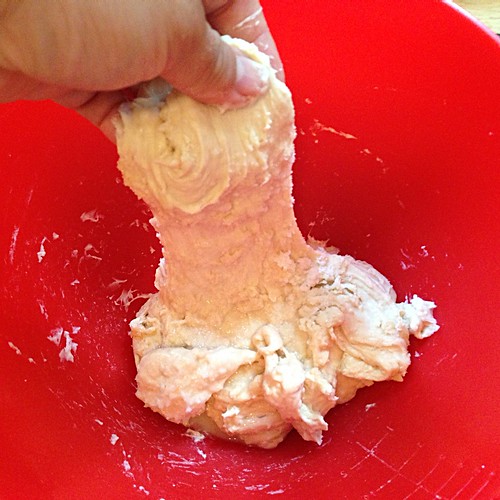
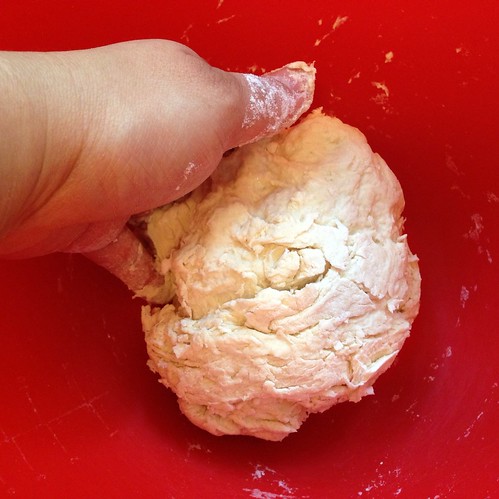
Reach underneath the dough and grab about one-quarter of it.  Gently stretch this section of dough and fold it over the top to the other side of the dough.  Repeat three more times with the remaining dough, until the salt and yeast are fully enclosed.  This process is called applying a fold.


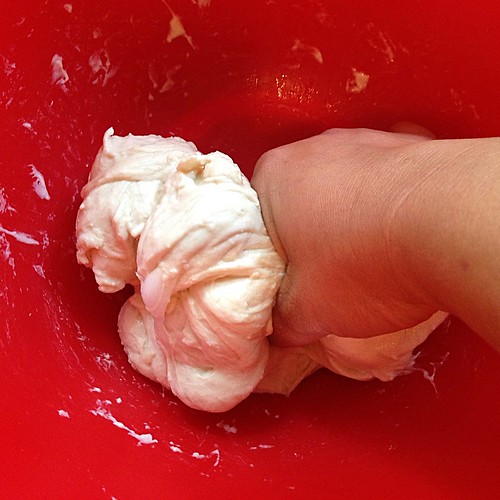
Continue to mix the dough by alternating folding and pinching the dough with your fingers to simulate the motion performed by a dough hook when using a stand up mixer.  (I suppose you could just use a stand up mixer to knead the dough, but it really only takes me a few minutes, and the dough is so soft by this point that it's not a big deal at all).  Once all the ingredients have been fully incorporated, and you can't feel the grains of salt in the dough, cover and let rest.


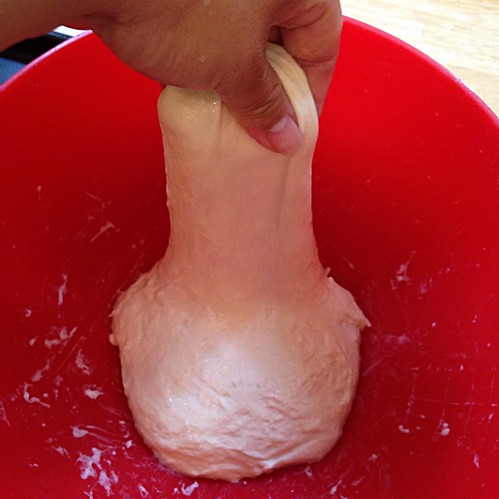
After 30-60 minutes, apply a fold to the dough to help develop the gluten.


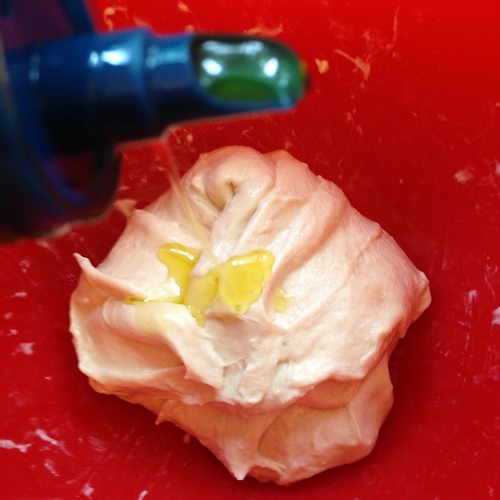
After folding, lightly coat the dough and the bottom of the bowl with olive oil to help prevent sticking.


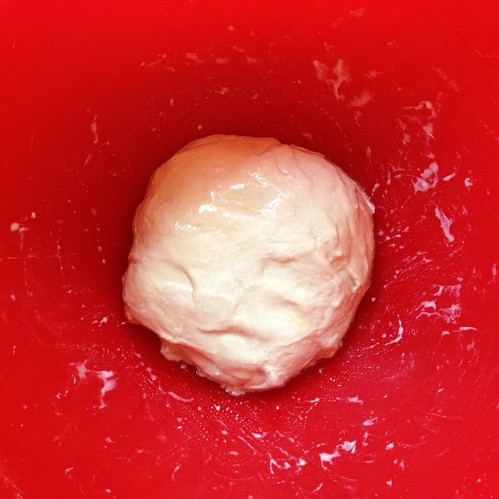
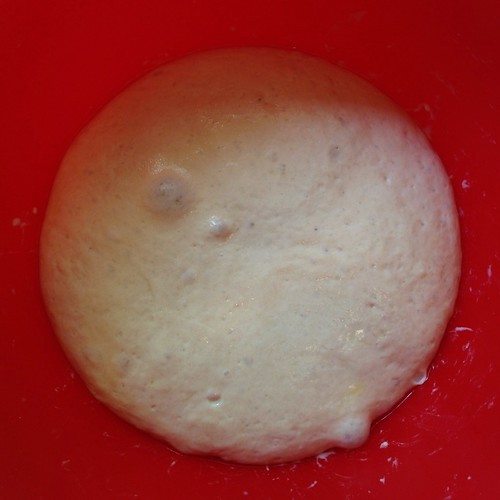
Cover and let rest until the dough is about double its original volume, about 6 hours after mixing.


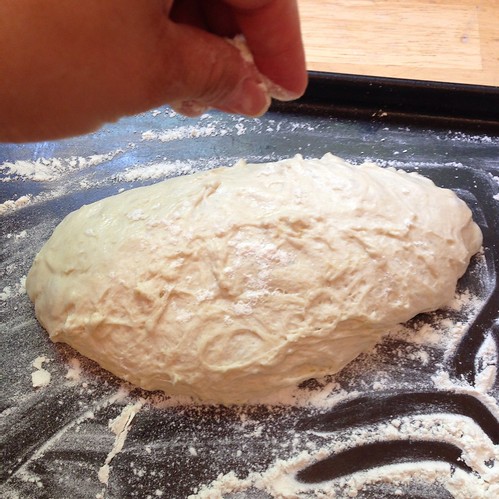
Moderately flour a work surface.  With floured hands, gently ease the dough out of the bowl onto the work surface in a somewhat even shape.


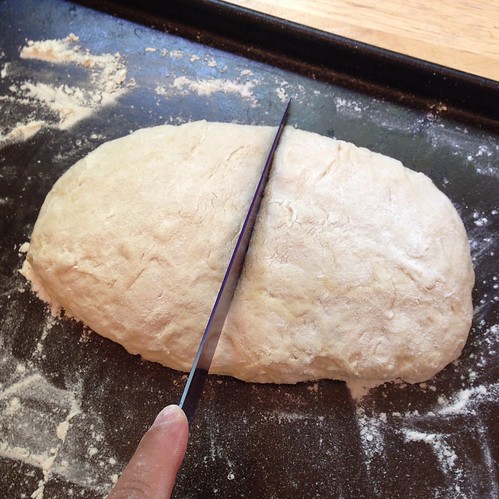
Dust the entire top of the dough with flour, then cut it into 2 equal-size pieces.


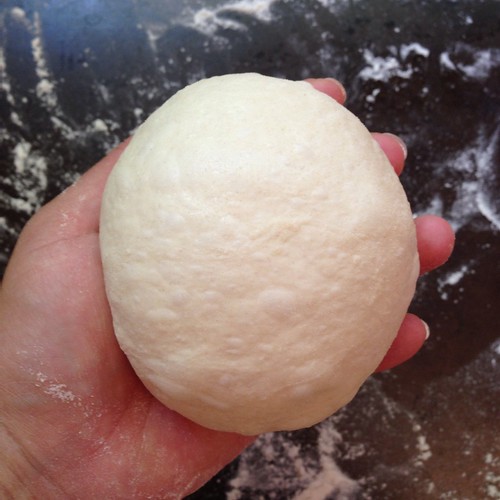
To shape the dough, apply a fold to each piece and then turn upside-down to seal the seam underneath.


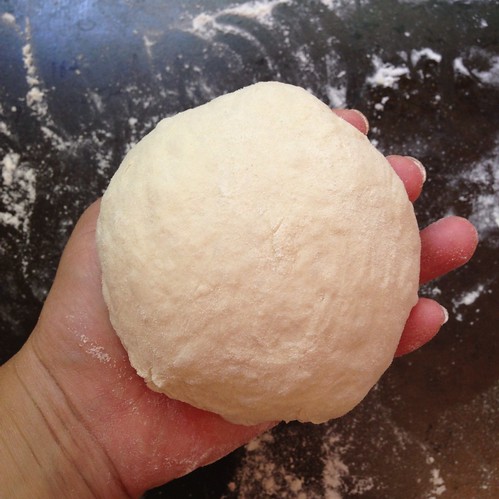
Cradle the dough in both hands and gently stretch the dough from the top towards the sides and then under, rotating several times so that there is a nice, tight, even tension around the dough ball.  Try not to degas the dough while doing this.


At this point I transfer each ball of dough to its own sandwich bag, dribble in a little olive oil to coat, and let it rest in the fridge overnight, up to 2 days.  If you want to use it that day, let it rest at room temperature for 30-60 minutes and then refrigerate for at least 30 minutes to make the dough easier to shape.

When you're ready to use the pizza dough, place a pizza stone in the upper portion of your oven (about 8" below the broiler) and preheat to 600°F or as high as your oven can go (mine only goes to 550°F).  After it has preheated, continue heating the pizza stone for another 30 minutes.


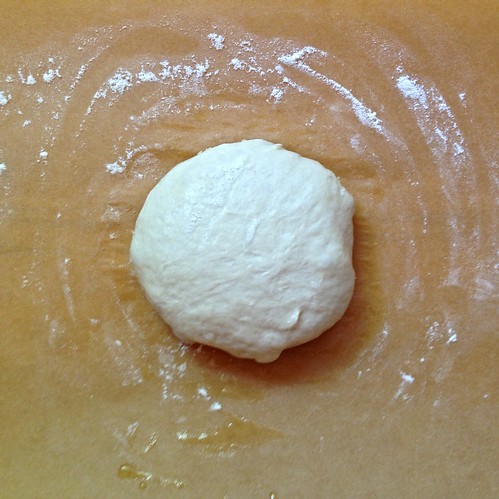
Cover a peel or cutting board with parchment paper and lightly flour.  Remove the dough ball from the fridge and put it on the floured parchment paper.  Gently pat it down a bit to coat the bottom with flour.  Leaving about 1"of the outer rim undeflated, punch down the middle, then flip the dough over and repeat.

Using both hands, grab the rim and lift the dough so it hangs down vertically.  Let gravity pull the rest of the dough down and stretch it.  Run the rim between your hands, working all the way around the circumference of the dough several times.  Start stretching the rim between your hands while continuing to turn the dough, still letting the bottom of the dough pull down, expanding the surface.  Keep a close eye on the thickness of the dough; you want it thin, but you don't want it to tear or develop holes.


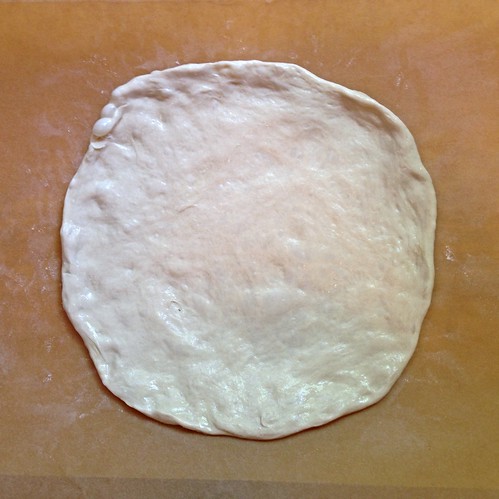
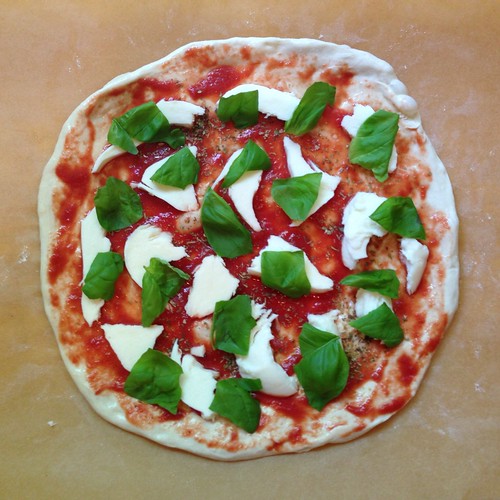
Spread the dough on the floured parchment paper and run your hands around the perimeter to shape it into a round and work out the kinks.  Top the pizza with your desired toppings.


Gently slide the pizza with the parchment paper onto the pizza stone.  Bake for 5 minutes, then switch to the broil setting and broil for 2 minutes, keeping a close eye on the pizza.


Bake until the cheese is completely melted and the crust is golden with spots of brown and a few small spots of char.  Use tongs to slide the pizza with the parchment paper from the pizza stone onto a cutting board.  Slice and serve!


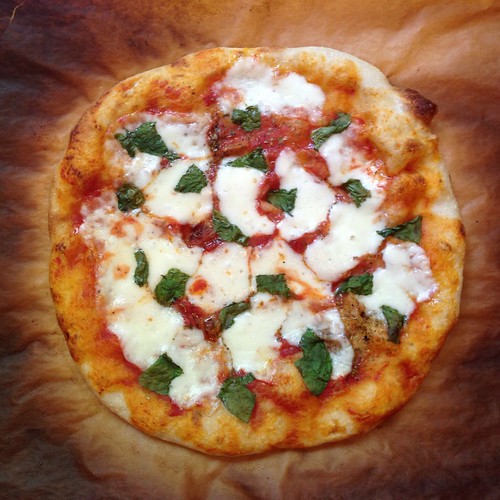
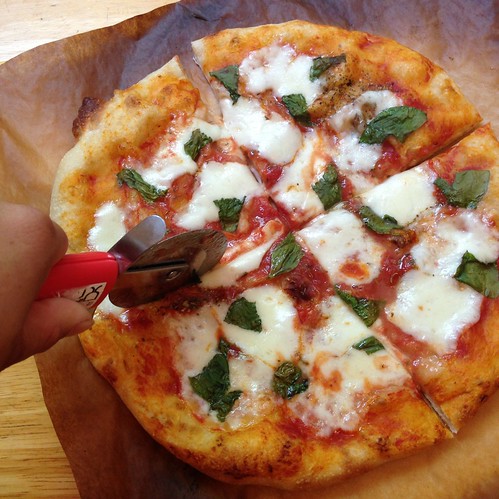
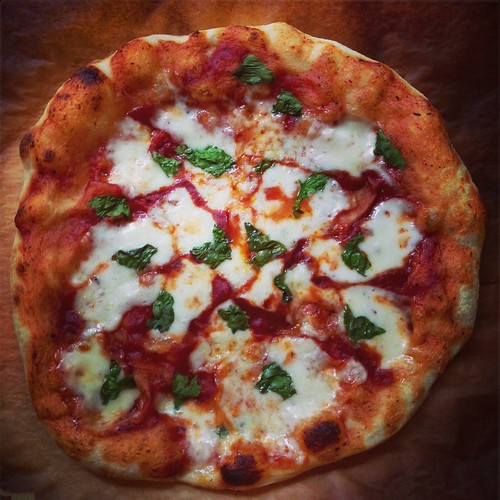
The pizza above is a margherita pizza, which I learned in Rome was named after Queen Margherita.  The colors in the pizza--red, white, and green--are reflected in the Italian national flag.

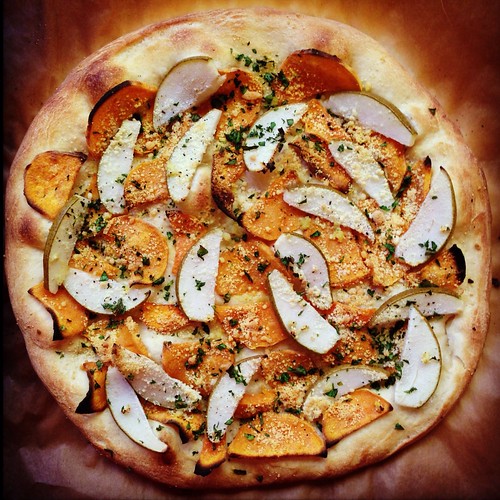
Here's another pizza I've made from Flour Water Salt Yeast; this one is a pear and sweet potato pizza:


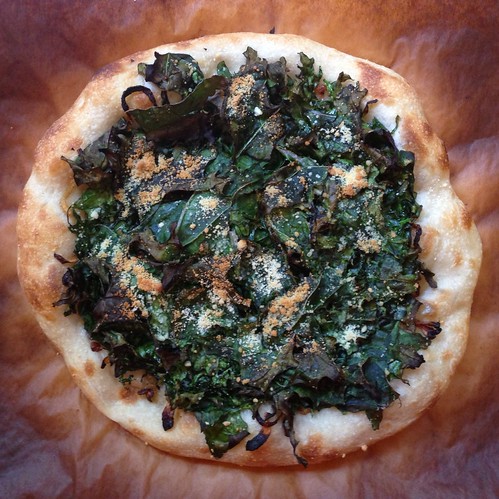
Here's the crispy kale pizza I've made in the past using this new pizza dough:


And here's the mashed potato pizza using this new dough:


Next:  Bubble Tea Popsicles
Previously:  Passion Fruit Macarons
Three years ago:  Bruschetta

Monday, June 24, 2013

Passion Fruit Macarons: Further Lessons in Humility


It had been over four years since I last made macarons, so when I found myself with four egg whites in the fridge I thought to myself, "Self, maybe it's time to try making them again."  After all, in the intervening years I had acquired a Kitchen-Aid stand up mixer, a Silpat liner, proper pastry bags and tips, and a food scale.  Looking back, I can't believe I attempted to make macarons without any of those!

Since I had previously tried making macarons using the Italian meringue method, I thought I'd try the French meringue method.  The French method may seem easier -- no need to dribble boiling hot sugar syrup into egg whites while beating (seriously, how did I do that without a stand-up mixer?!?) -- but the rate of failure is a lot higher since the meringue isn't quite as stable.

The hardest part is knowing when to stop folding the batter, otherwise the macarons will crack or not develop the frilly "feet".  Believe me, it is heartbreaking to go through all the trouble of making the batter and piping the macarons and letting them rest, only to see them start to crack in the oven.  I was so nervous about over-mixing that I actually under-mixed the batter at first.  I realized my mistake when I tried piping it, and the batter wouldn't spread out into a nice round shape.  I scraped the batter in the bag back into the mixing bowl and gave it a few more folds before trying again, and it worked much better this time.

For the filling, I decided to make a modified version of the Momofuku Milk Bar passion fruit curd by adding a little more gelatin and butter to make it more viscous.  Since I knew the passion fruit curd would be plenty flavorful, I chose to keep the macarons plain and just added some yellow gel coloring so that they would match the curd.  You'll want to make the curd first so that it has time to chill in the fridge before filling the macarons.


Passion Fruit Curd (adapted from Momofuku Milk Bar)
makes about 1 1/4 cups

50 g passion fruit puree
32 g sugar
1 large egg
1/3 teaspoon powdered gelatin
1 tablespoon cold water
8 tablespoons very cold butter
1 g kosher salt


Put the passion fruit puree and sugar in a blender and blend until the sugar granules have dissolved.  Add the egg and blend on low until you have a bright orange-yellow mixture.  Transfer the contents of the blender to a medium saucepan.  Clean the blender canister.


Bloom the powdered gelatin in 1 tablespoon of cold water.


Heat the passion fruit mixture over low heat, whisking regularly.  As it heats up, it will begin to thicken; keep a close eye on it.  Once the mixture boils, remove it from the stove and transfer back to the blender.


Add the bloomed gelatin, butter, and salt and blend until the mixture is thick, shiny, and super-smooth.


Transfer the mixture to a heatproof container and put it in the refrigerator for at least 30-60 minutes, until the curd has cooled completely.

Passion Fruit Macarons (adapted from Tartelette and Lisa is Bossy)
makes about 24

110 g egg whites (about 4)
200 g confectioner's sugar
110 g almond flour
1/8 teaspoon cream of tartar
25 g granulated sugar
3 drops yellow gel food coloring
Passion fruit curd (recipe above)

Age the egg whites overnight at room temperature in an open container (I cover mine with a sieve to keep out dust but to allow air flow).

Prepare two baking trays with Silpat or parchment paper.


Sift the confectioner's sugar and almond flour together into a medium bowl.


Add the cream of tartar to the egg whites and whip until foamy.  Add the granulated sugar a little at a time while still mixing.


Once the egg whites have reached soft peak stage, add the food coloring and continue to beat until you reach stiff peak stage.


Add the almond sugar mixture to the egg whites and fold until all the dry ingredients have been incorporated.


Continue folding until the batter is smooth but not stiff or runny.  Test a small amount on a plate: if the tops flattens on its own you are good to go. If there is a small peak, give the batter a couple of turns.


Transfer the batter to a pastry bag fitted with a large plain tip.  If using parchment paper, pipe a dot onto each corner of the baking tray so that the parchment paper sticks to it.  Pipe 1" circles, leaving about an inch in between each.  You should be able to fit six rows of four macarons on each tray by staggering them.


Tap the tray sharply several times so that any air bubbles are released.  Allow the macarons to sit for 30-60 minutes so that a "skin" develops on top.


Preheat the oven to 310°F.  Bake the macarons for 12 minutes*.  Remove from the oven and allow to cool completely.


Once cool, match similarly sized and shaped macarons with each other.


Transfer the passion fruit curd to a pastry bag fitted with a large plain tip.  Pipe a spiral of curd onto the bottom half and top with the matching macaron.  Store in an airtight container in the refrigerator.


*I ended up losing about half my macarons to cracks, and of the leftover macarons, most of them were undercooked and stuck to the parchment paper.  Sadly, I was only able to salvage 8 macarons out of the whole batch.  I increased the baking time in the recipe above by a minute to account for this, but you should learn from my mistake and test a macaron before removing the whole tray from the oven.  Try shifting one along the tray; if it doesn't budge, let it bake a little more.  If it moves, they're done!


Even if you have some aesthetic failures, they still taste great with any leftover passion fruit curd!


Next:  Ken Forkish's Same Day Straight Pizza Dough
Previously:  Mango Coconut Rice Pudding Pops
Three years ago:  Bacon Caramel Maple Ice Cream