Showing posts with label chocolate. Show all posts

Tuesday, September 12, 2017

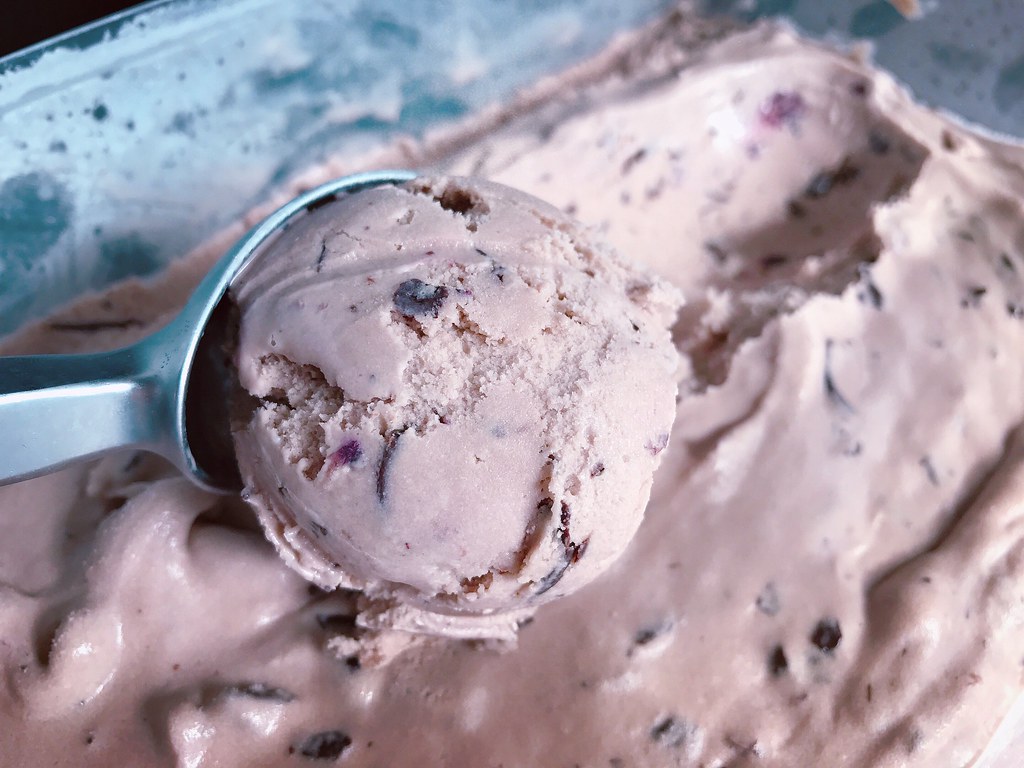
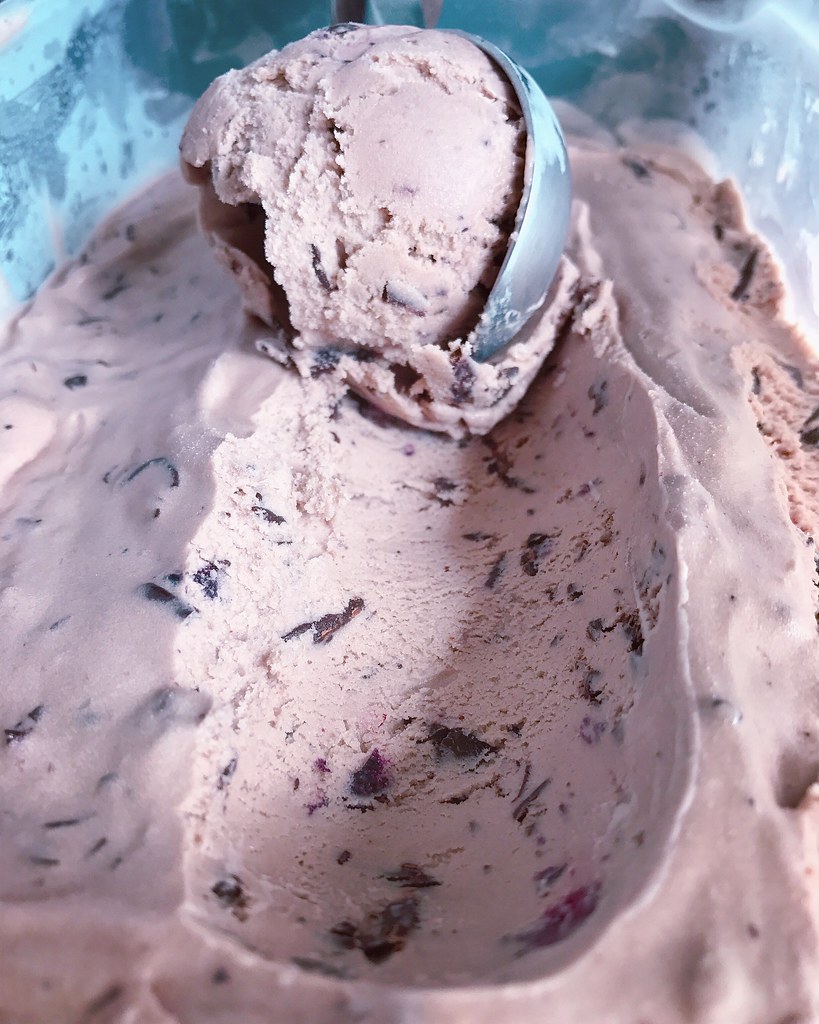
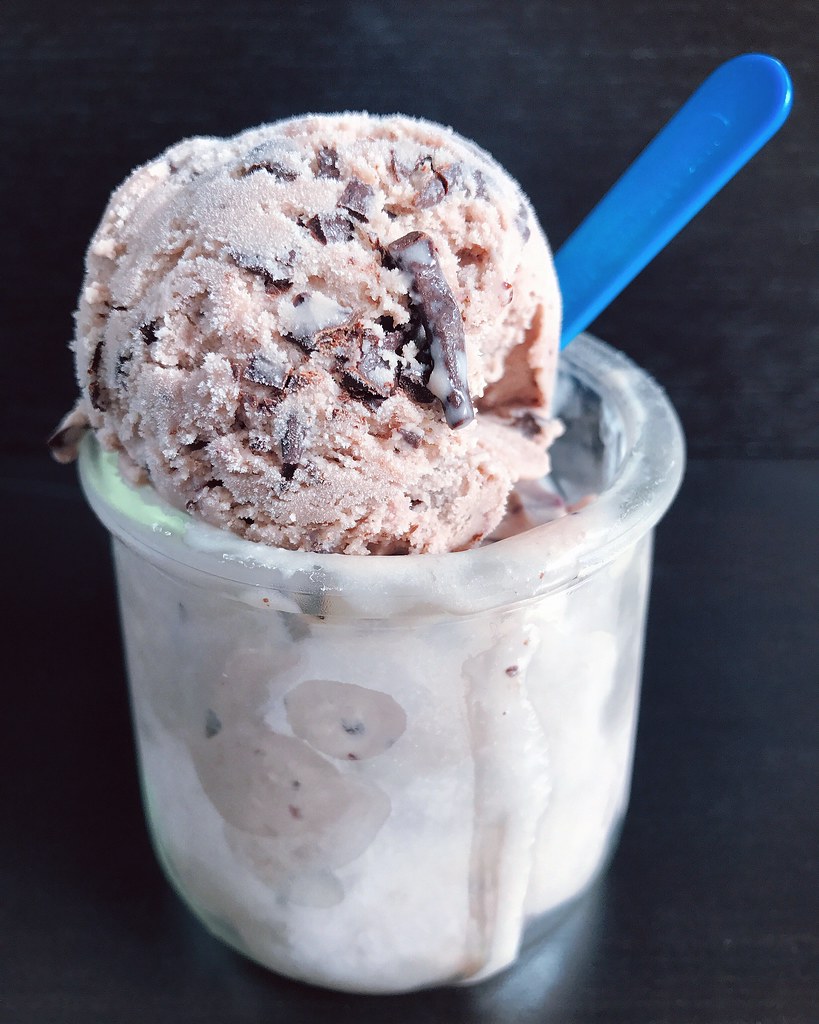
Blueberry Salted Caramel Ice Cream with Chocolate Freckles


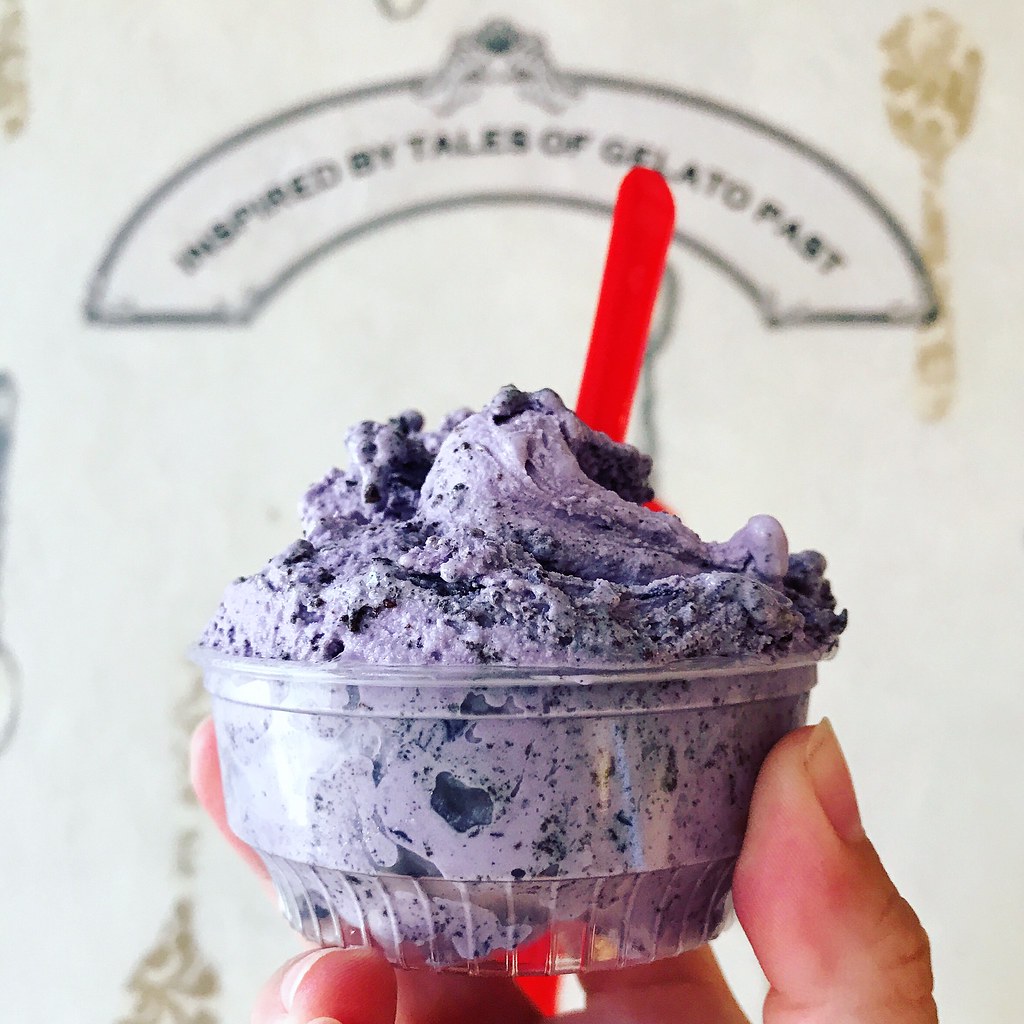
My friend Christine and I have been making a day trip to Portland, ME every summer for the last couple of years and basically spend the day stuffing ourselves.  We always go to Eventide Oysters for my favorite lobster rolls, The Holy Donut for potato donuts, Duckfat for their fries, and Gelato Fiasco for ice cream (the honeycomb ice cream sundae from Honeypaw has made it onto our itinerary for the last 2 years as well).  My favorite flavor is the Maine Wild Blueberry Caramel Sea Salt Stracciatella gelato, but they didn't have it this year so I had to settle for the Blueberry Milk and Cookies flavor which was still really good.

So when Boston Organics contacted me and offered to send me a 5 lb. box of their wild Maine blueberries, I knew the first thing I wanted to make with them.  I consulted with my favorite ice cream cookbook, Jeni's Splendid Ice Creams at Home, and realized I could make something similar using her salty caramel ice cream recipe, adding some blueberry compote, and then swirling in some chocolate freckles when the ice cream was almost done churning.
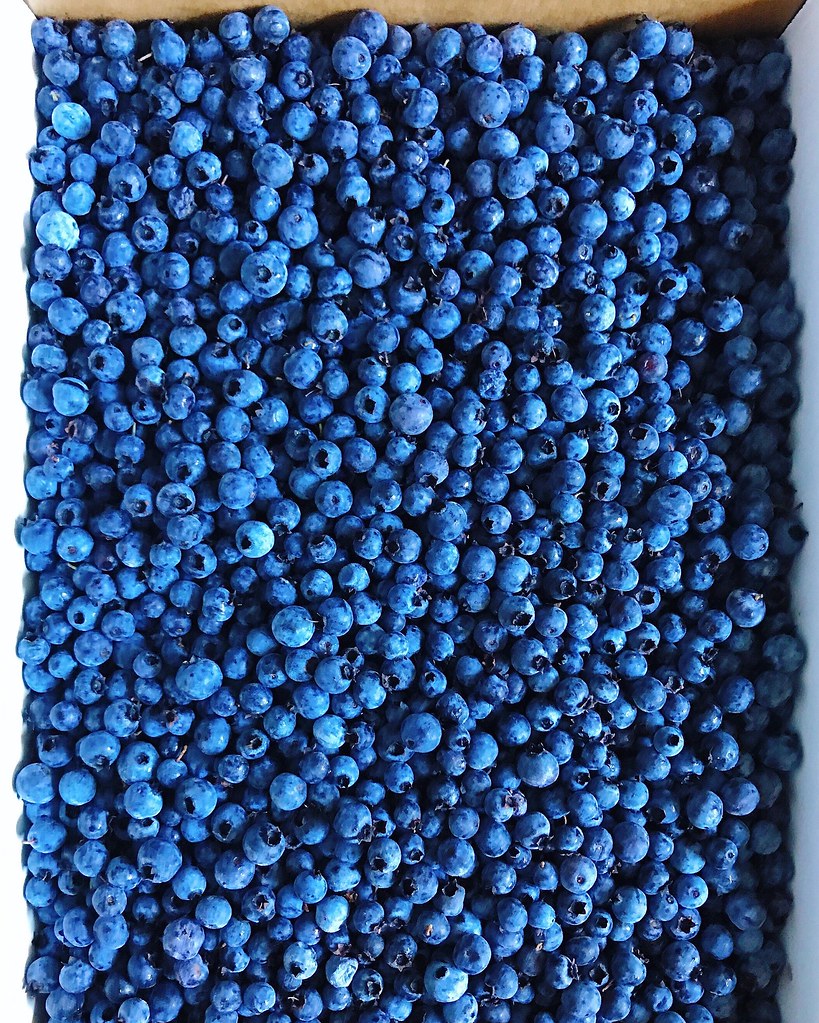

I also wanted to share some more information about these wonderful blueberries because they're so different from the ones you usually find in the grocery store.  These are from Burke Hill Farm in Cherryfield, ME and come in a compact wax box that will fit perfectly in most freezers.  Known as lowbush blueberries, these wild blueberries grow in northern New England’s naturally acidic soil and are resilient enough to withstand the region's icy winters.  They're smaller and sweeter than the highbush berries you're probably used to, and perfect for freezing, baking, and just snacking on!  You can find more information here on the Boston Organics website.

I wish the ice cream could be as brilliantly colored as the blueberry milk and cookies gelato above, but I was worried that adding too much blueberry compote to the ice cream base might make it too icy.  Regardless, the flavor is incredible; the sweetness of the caramel is tempered by the tartness of the blueberries, and the crackly dark chocolate freckles adds a fun textural component.

Blueberry Salted Caramel Ice Cream with Chocolate Freckles
makes about 1 quart

1 cup wild Maine blueberries (frozen is fine)*
2/3 cup plus 2 tablespoons sugar
2 cups whole milk
1 tablespoon plus 1 teaspoon cornstarch
3 tablespoons cream cheese, softened
1/2 teaspoon kosher salt
1 1/4 cups heavy cream
2 tablespoons light corn syrup
2 teaspoons vanilla extract
4 oz. dark chocolate, chopped

Heat the blueberries and 2 tablespoons of sugar in a small saucepan until it comes to a boil.  Gently mash the blueberries and remove from heat.

Mix a couple tablespoons of the milk with the cornstarch to make a slurry and set aside.  Whisk the cream cheese and kosher salt in a large bowl and set aside.  Mix the heavy cream and corn syrup in a measuring cup with a spout.

Add the remaining 2/3 cup of sugar to a 4-quart saucepan and heat over medium heat.  Wait until a layer of sugar has melted and turned amber before stirring with a heatproof spatula.  Once all the sugar has melted and is a dark amber remove from heat and add about 1/4 cup of the heavy cream mixture while stirring.  It will violently erupt with steam so be careful!  Continue to stir and add more and more of the cream until it is all incorporated.

Return the pan to medium-high heat and add the rest of the milk.  Bring to a boil and cook for 4 minutes.  Whisk in the cornstarch slurry and bring back to a boil.  Continue to cook and stir until slightly thickened, about one minute.

Add a little of the hot cream mixture to the cream cheese and whisk until the cream cheese is dissolved.  Add the rest of the cream mixture, vanilla, and blueberry compote and mix.  Chill the mixture, then churn in an ice cream maker according to the manufacturer's instructions.

While the ice cream is churning, place the chopped chocolate in a plastic sandwich bag, seal it shut, and then place in some very hot water.  Occasionally squeeze the chocolate around until it is all melted.  Remove the bag from the water and dry the outside.  Keep the chocolate melted but not hot.

Once the ice cream is almost done churning, snip a corner off of the sandwich bag and squeeze a steady stream of the melted chocolate into the ice cream while it continues to churn.  Pack the churned ice cream into a storage container and freeze for at least 4 hours.

*If you can't get your hands on wild Maine blueberries, you can use regular blueberries to make the compote, but you may want to boil it longer to reduce it further and add some more sugar as needed.

Next:  Crane Rangoons
Previously:  Greyscale Cream Puffs
Last Year:  Macau-Style Portuguese Chicken Rice
Three Years Ago:  Taiwanese Taro Swirl Mooncakes
Four Years Ago:  Ramen Lobster Rolls
Five Years Ago:  Caramelized Onion and Swiss Chard Quiche

Wednesday, January 4, 2017

Chocolate Babka


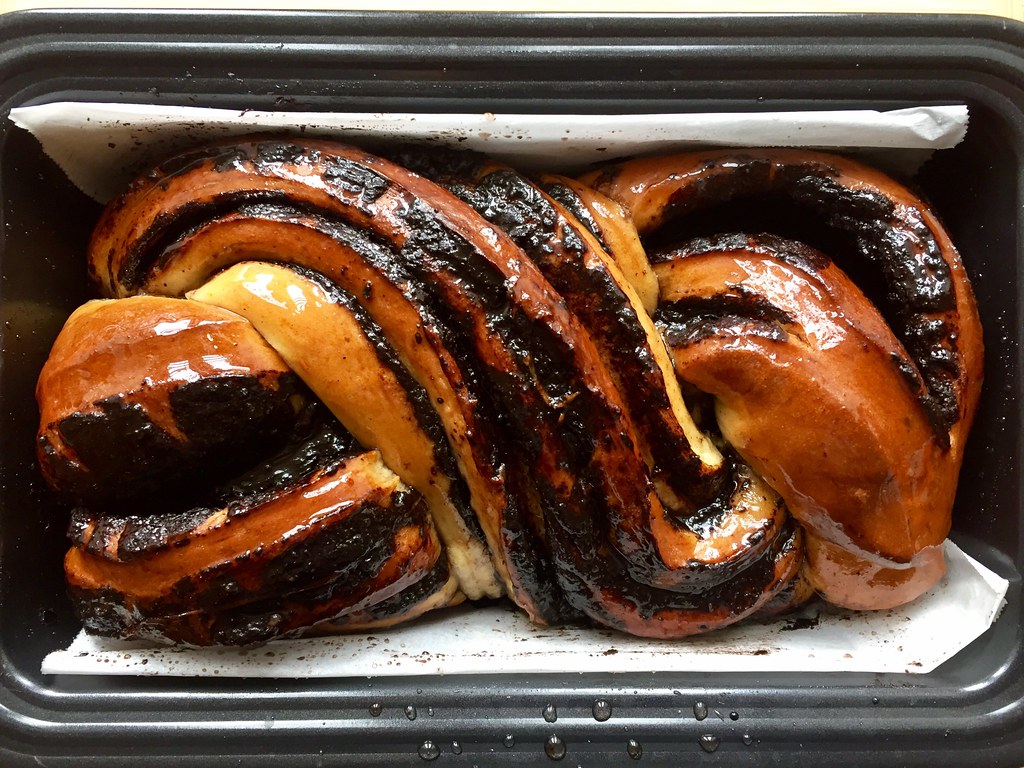
Last year I had the smart idea to try making a matcha babka wreath with milk bread dough.  In my head it would be pretty, and green-tinged, and perfect for the holidays.  In reality, it was dense, ugly, and I ended up throwing it out.

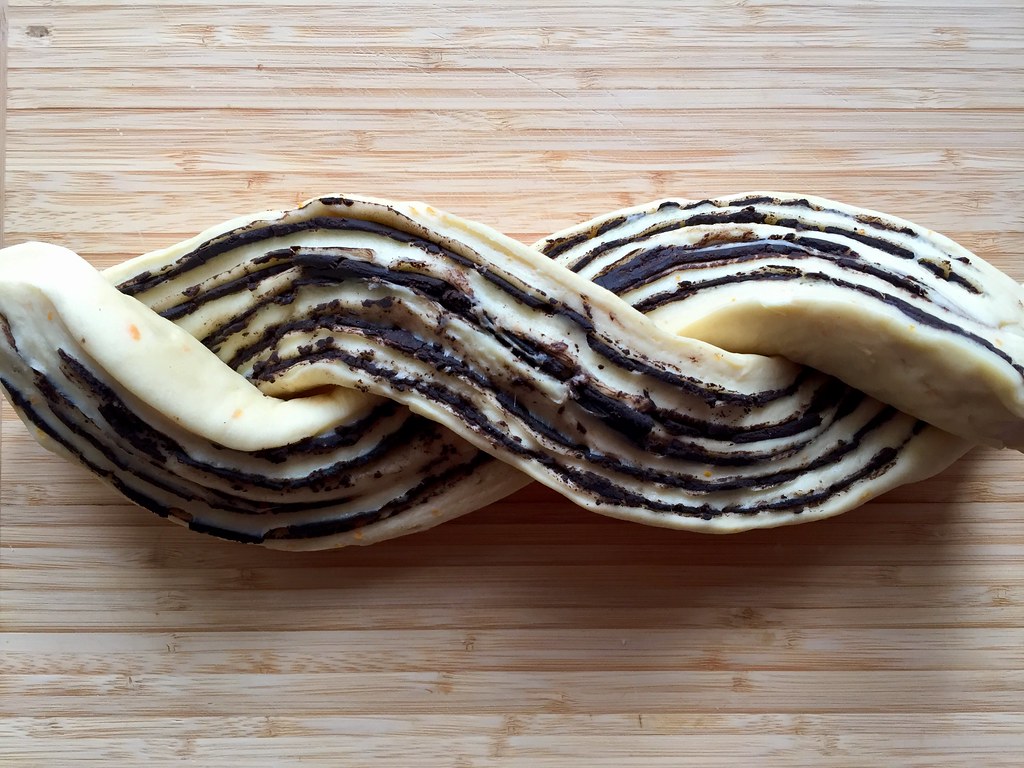
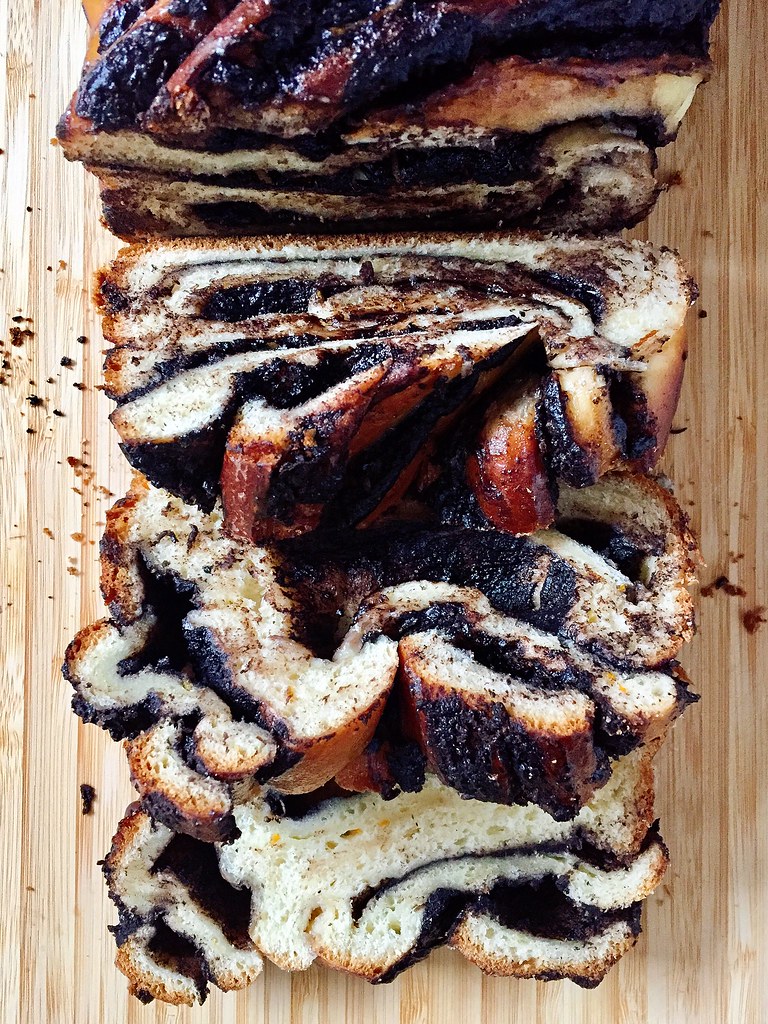
This year I decided to follow this tried-and-true recipe for chocolate babka from Smitten Kitchen.  The only change I made to the ingredients is that I used the zest from a whole orange instead of half an orange, and the smells that came out of my oven were glorious.  I also tried shaping it using what I remembered from the pictures in the Baking Breads cookbook.


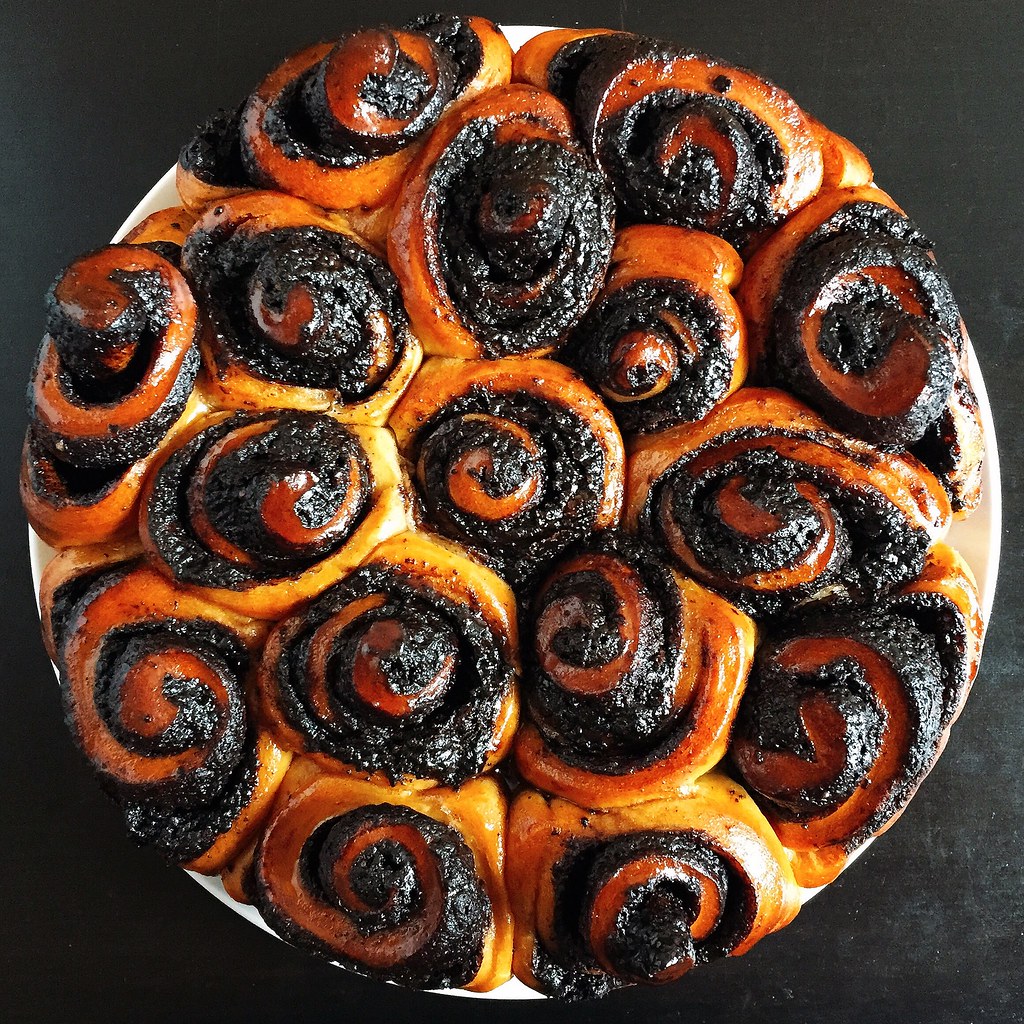
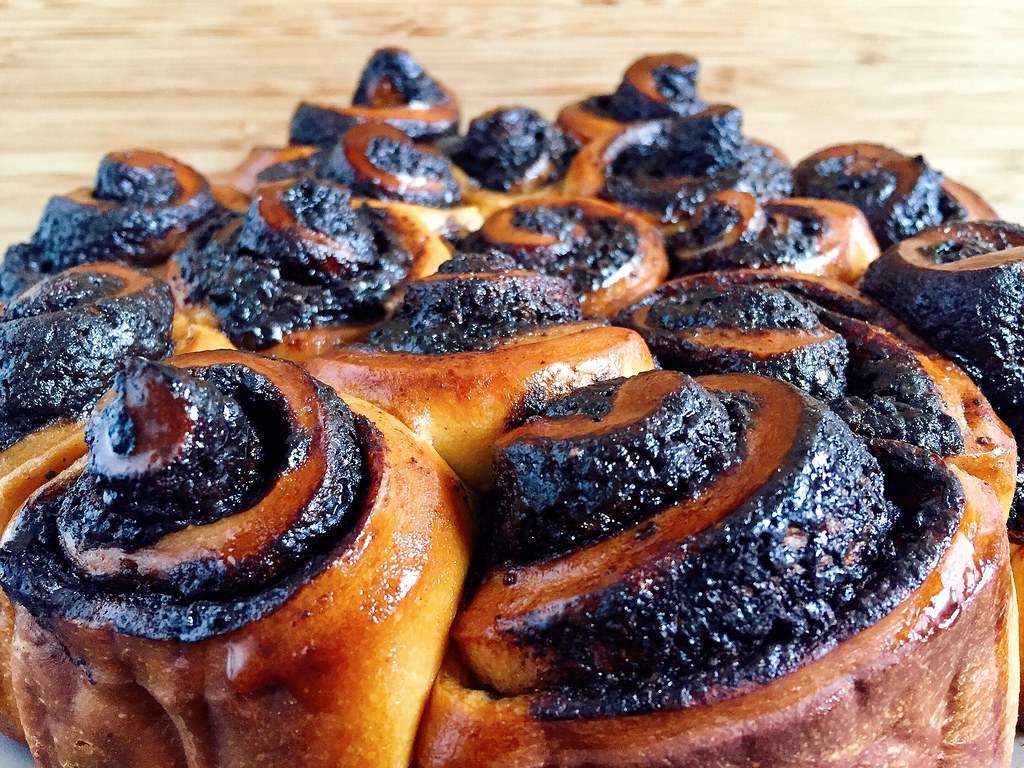
Since the recipe makes two loaves, I decided to give one of the loaves the "pull-apart swirly bread" treatment.  If you'd like to try it, roll out a quarter of the dough (half a loaf) into a rectangle about 10" wide and as long as you can get it.  Spread with 1/4 of the filling and roll it up along the long edge.  Seal the seam and place in the freezer for 15 minutes while you repeat the same with the other quarter of dough.  Slice each log into 8 pieces, and arrange all 16 pieces in a well-greased 9" springform or square pan.  Let rise for an hour and then bake for 25-30 minutes at 375°F until nicely browned.  Brush with syrup and serve.


Chocolate Babka (based on Smitten Kitchen)
makes 2 loaves

For the dough:
1 packet (2 1/4 teaspoons) active dry yeast
1/2 cup warm water (about 100 F)
4 1/4 cups all-purpose flour
1/2 cup sugar
1 teaspoon kosher salt
Zest from 1 orange
3 large eggs
11 tablespoons unsalted butter, softened

For the filling:
3/4 cup semi-sweet chocolate chips
1/2 cup unsalted butter
1/2 cup powdered sugar
1/3 cup cocoa powder
1/4 teaspoon cinnamon

For the syrup:
1/3 cup water
6 tablespoons sugar

Sprinkle the yeast over the warm water in the bowl of a stand mixer and let sit while you measure out the rest of the ingredients.  Add all the ingredients for the dough except the butter and mix with a dough hook until it comes together.  Add the butter, one tablespoon at a time, until it is all incorporated.  Knead on medium until the dough is completely smooth and comes away from the bowl.  Cover and refrigerate overnight.

The next morning, make the filling by melting the chocolate chips and butter together, stirring until smooth.  Add the powdered sugar, cocoa powder, and cinnamon and stir until it forms a spreadable paste.  Grease 2 loaf pans and line with parchment paper.

Remove half the dough from the refrigerator and roll out on a floured surface until 10" wide on the bottom and as long as you can get it.  Spread the filling on top, leaving an inch border on all sides except the bottom.  Roll up the dough in a tight spiral starting from the bottom.  Wet the top edge and seal together.  Wrap with aluminum foil and place in the freezer while you work on the second half of the dough.


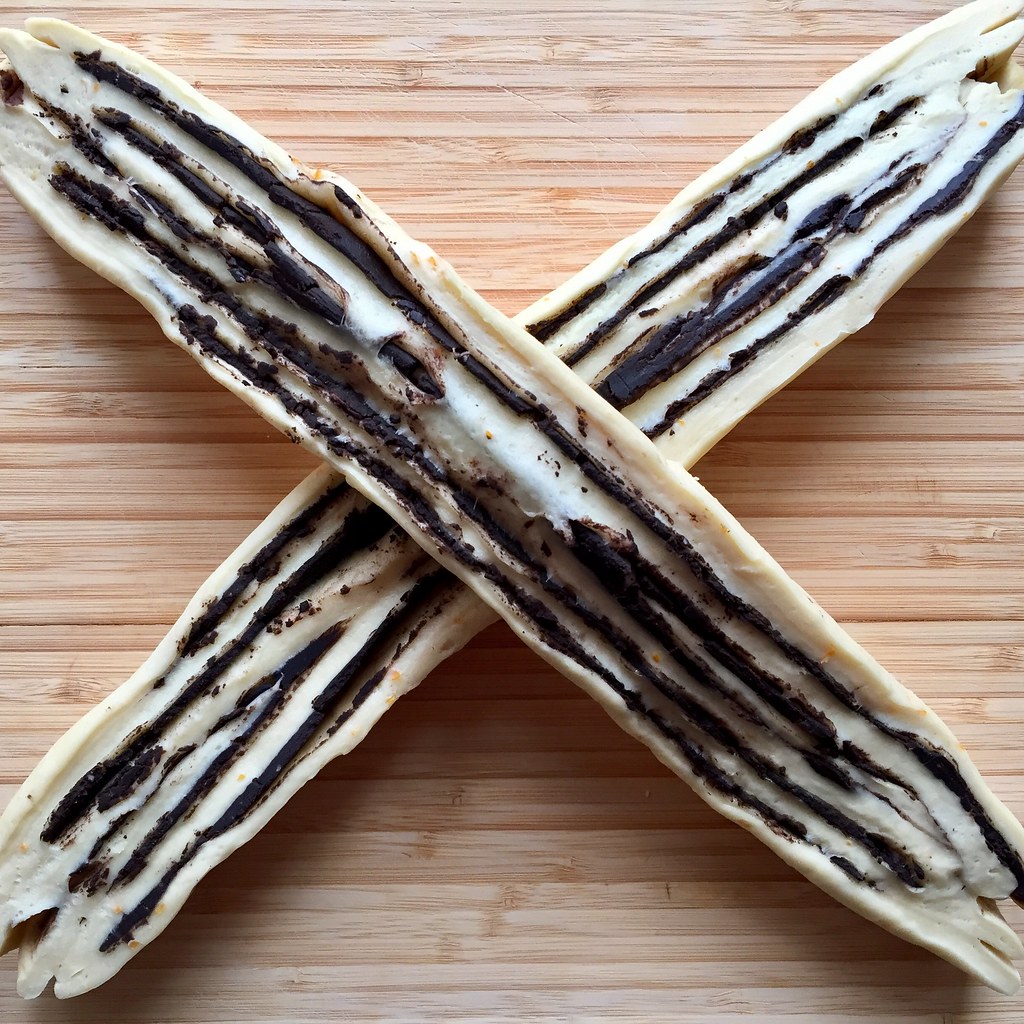
Remove the first log from the freezer and use a sharp knife to slice in half, lengthwise, revealing all the layers of dough and chocolate filling.  Make an "X" with the two halves, placing the prettier half on top.  Twist the top half and bottom half and place in one of the greased pans, tucking the ends underneath.  Repeat with the second half.  Cover both and let rise another hour.  Preheat oven to 375°F.


Bake loaves for 25-30 minutes, until a skewer meets no resistance when inserted and comes out without any dough (it will most likely come out with some chocolate filling which is very tempting to lick).

While the babka is baking, make the syrup by combining the water and sugar in a small pot and heating until the sugar is all dissolved.  Brush the loaves with the syrup as soon as they come out of the oven.


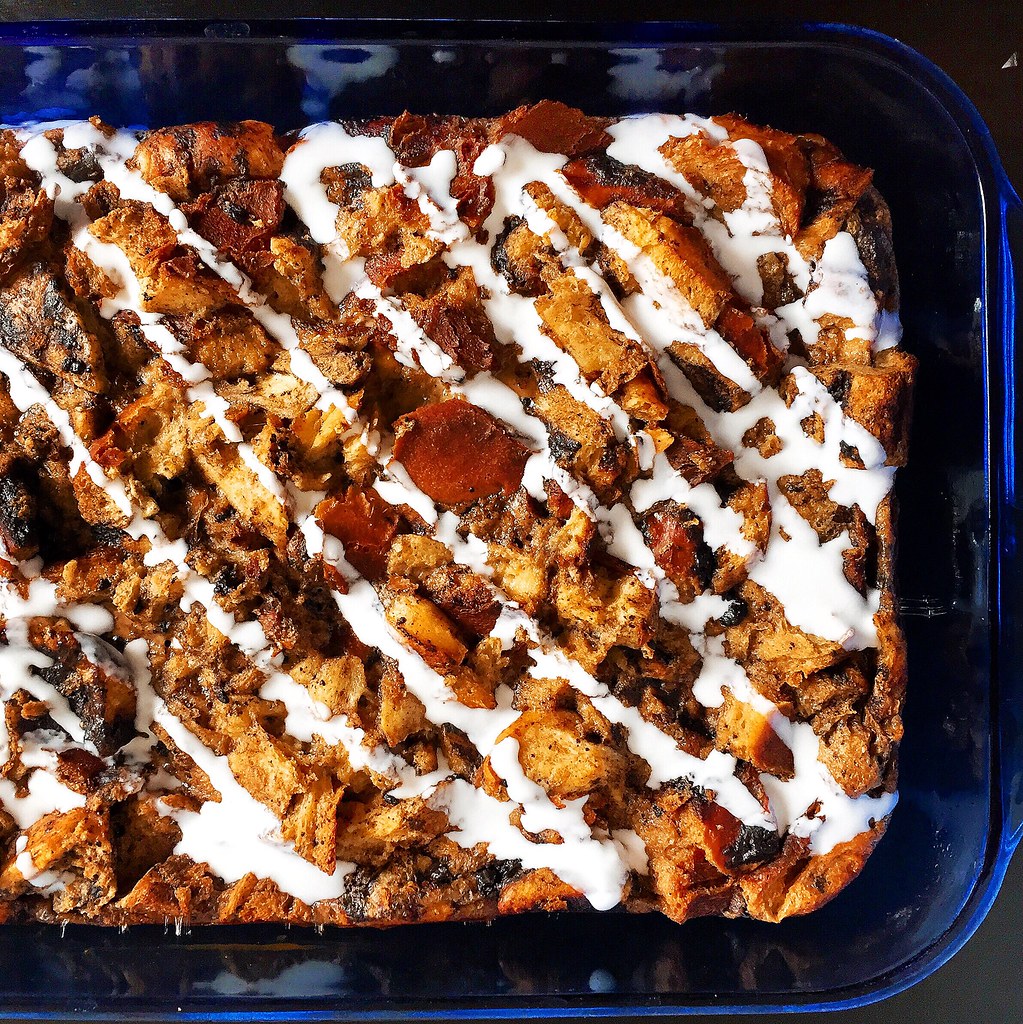
And if you manage to have any leftover babka, you can turn it into the most amazing bread pudding using this recipe from Serious Eats!  (I just added some coconut milk on top for contrast.)


Next:  Marion Cunningham's Yeast-Raised Waffles
Previously:  Pull-Apart Scallion Swirly Bread
Two Years Ago:  Zuppa Toscana
Three Years Ago:  Flower Pavlovas
Four Years Ago:  Tartine Lemon Cream Tart
Seven Years Ago:  Gaufres de Liege (Belgian Waffles)
Eight Years Ago:  Hua Juan

Monday, March 30, 2015

Chocolate Mochi Snack Cake

https://www.flickr.com/photos/joyosity/16306102183/

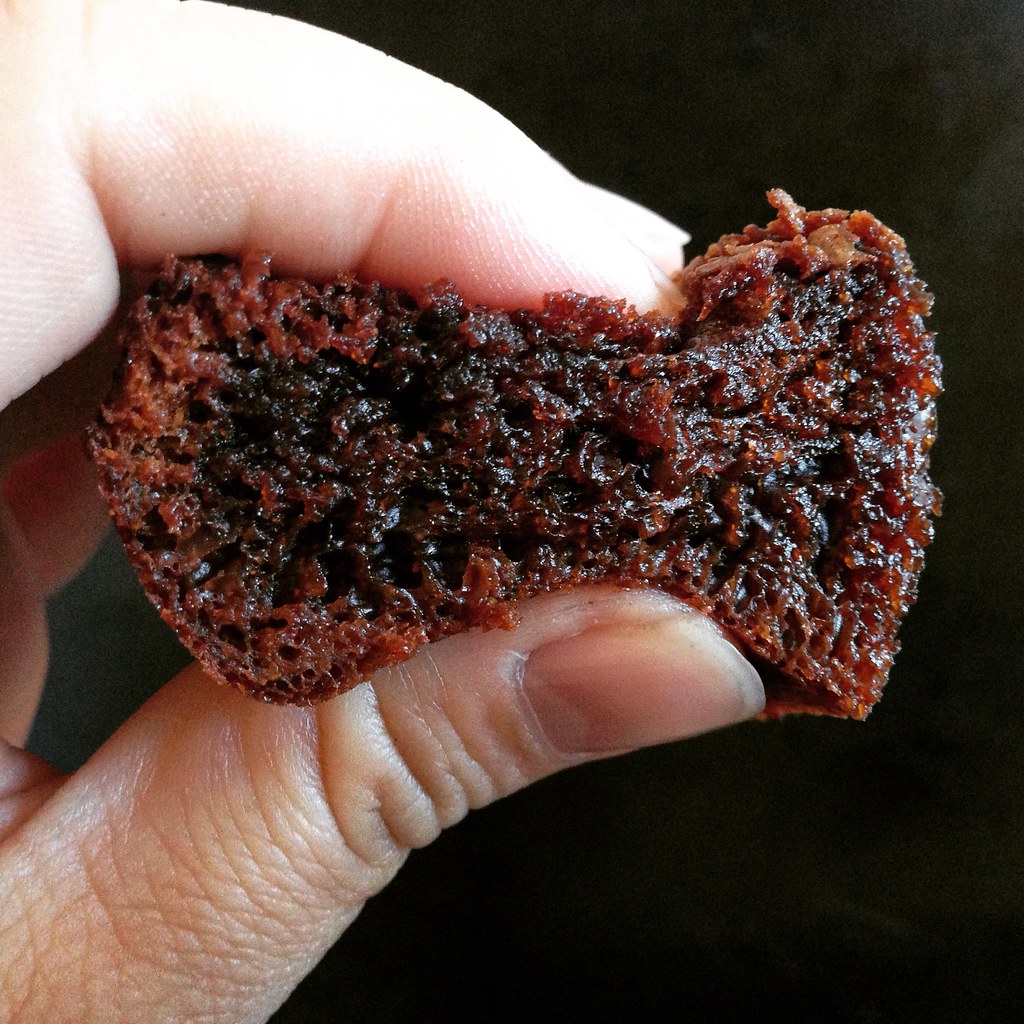
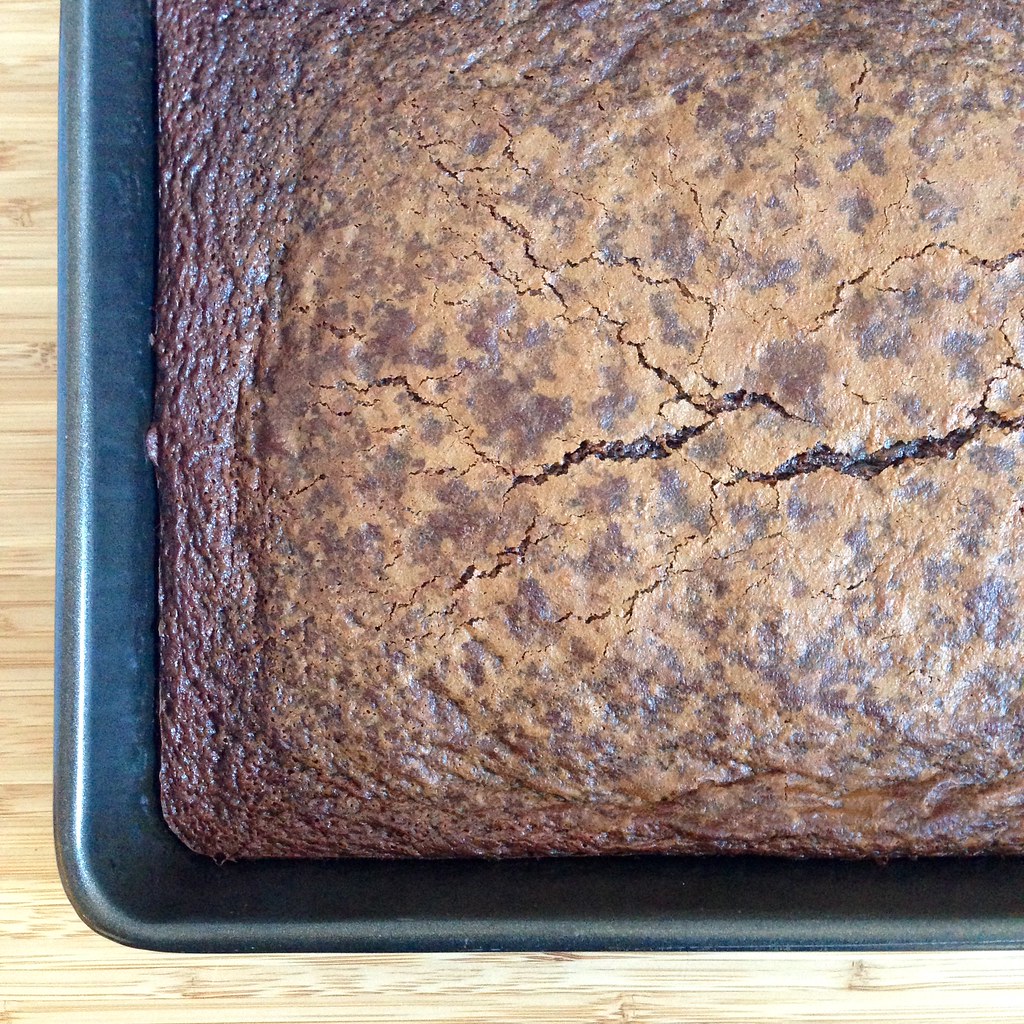
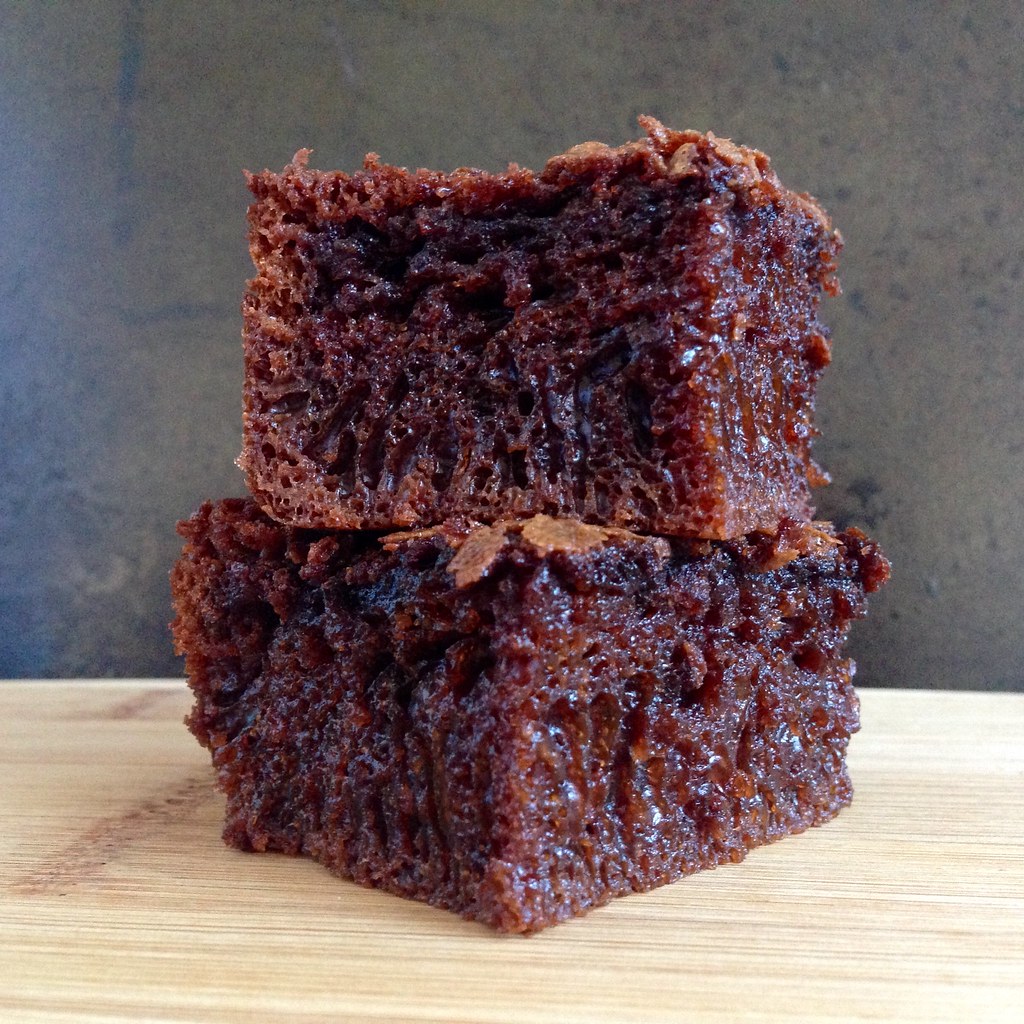
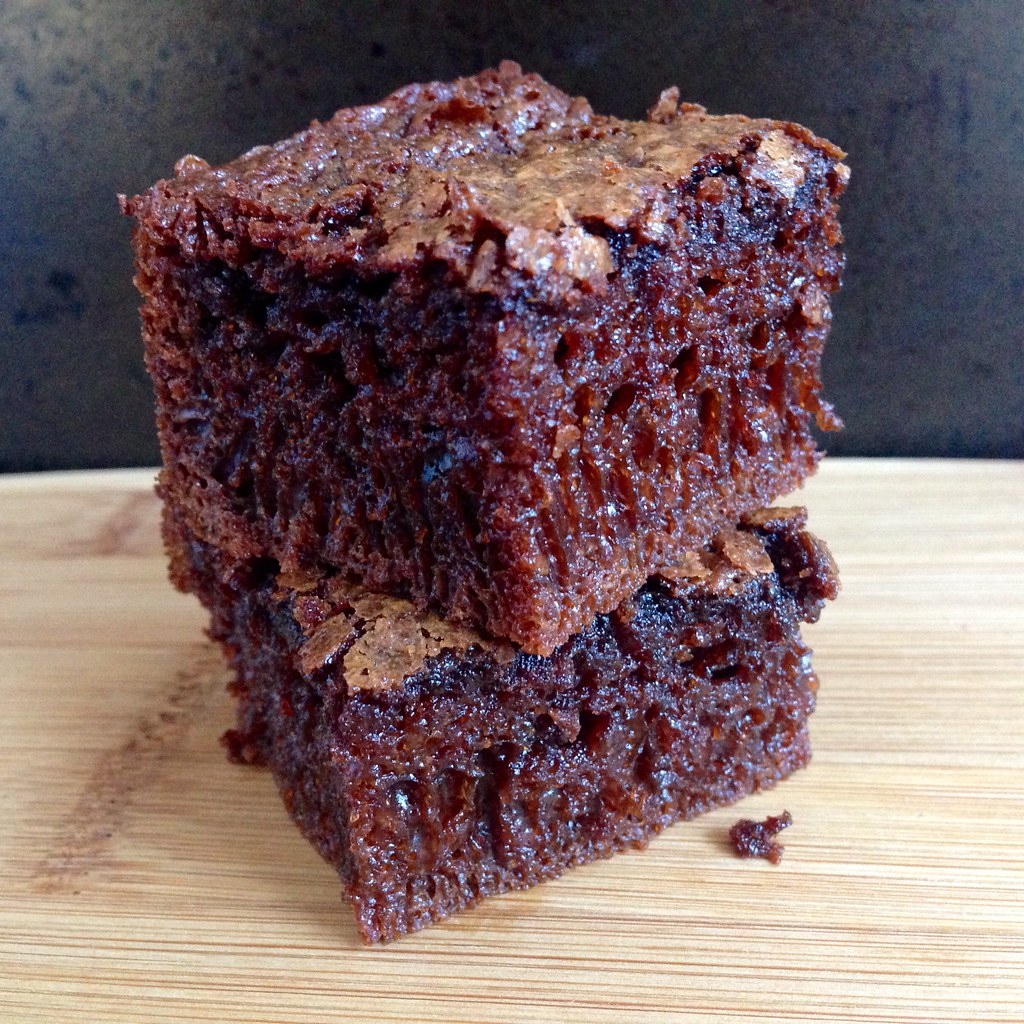
Bouncy.  Chewy  Springy.  Squishy.  These are probably not words you usually associate with a chocolate cake, and yet this Chocolate Mochi Snack Cake is all of those things.  Just looking at this cake you'd think it would be dense and crazy sweet like a brownie, but it's actually rather light and just sweet enough that you keep wanting another bite.  It reminds me of a steamed cake, like the kind you get at dim sum.

https://www.flickr.com/photos/joyosity/16738691150/

I found the recipe on Food52 and modified the directions a bit by melting the butter and chocolate right in the metal bowl of a stand mixer over a pot of simmering water.  This way you don't have to worry about possibly burning the chocolate and it's one less transfer to worry about.  If you don't have a stand mixer, you can melt the butter and chocolate in a metal bowl set over a pot of simmering water and proceed with an electric beater.  I also mixed the eggs with the evaporated milk and vanilla extract before adding to the melted butter/chocolate mixture to help prevent the eggs from cooking and curdling. 

Since this cake is made with rice flour, it is totally gluten free!  I'm not sure how you could make this without the eggs to make it vegan, but I bet you could substitute coconut milk and coconut oil for the evaporated milk and butter to make it dairy free.  Update:  I tried making the dairy free version, and it was awful. 

https://www.flickr.com/photos/joyosity/16738691000/

Chocolate Mochi Snack Cake (adapted from Food52)
makes one 9" x 13" cake

2 cups glutinous rice flour
2 scant cups sugar
1 tablespoon baking soda
1/2 cup (1 stick) unsalted butter, cut into pieces
1 cup semisweet chocolate chips
24 oz. evaporated milk
2 teaspoons vanilla extract
2 eggs, beaten

Preheat the oven to 350°F and grease a 9" x 13" baking pan.
   
Whisk together the flour, sugar, and baking soda in a large bowl.  Whisk together the evaporated milk, vanilla extract, and eggs in another bowl.  Set aside.

Melt the butter and the chocolate chips together the metal bowl of a stand mixer set over a pot of simmering water, stirring frequently until you have a smooth mixture. 
   
Remove the bowl from the pot and set it back in the stand mixer with the paddle attachment.  With the mixer running on low, add the evaporated milk, vanilla, and eggs mixture and mix until incorporated.
   
Add the dry ingredients and mix on low until the batter is smooth and lump free. Pour into the prepared pan and bake for 45 to 55 minutes, until the cake no longer jiggles. Remove from oven and let cool before serving.
   
This cake should be stored at room temperature rather than refrigerated.

https://www.flickr.com/photos/joyosity/16738468798/

Next:  Gordon Ramsay's Sublime Scrambled Eggs
Previously:  Homemade Squid Ink Pasta
Five Years Ago:  Duck Fat French Fried with Rosemary, Maldon Salt, and Truffle Oil, Apple Tarte Tatin
Six Years Ago:  Cincinnati Chili, Hong Kong Style Pan-Fried Noodles

Friday, December 12, 2014

Puppy Chow Pie

https://www.flickr.com/photos/joyosity/15999378662/

This dessert should really have another, more elegant name, like Peanut Butter-Chocolate Ganache Tart, but since it's based on the Puppy Chow treat, that's what I'm sticking with.  If you've never heard of Puppy Chow, it's the snack mix you get when you coat Crispix cereal with melted chocolate and peanut butter, then shake it in a bag with powdered sugar.  (Chex markets a version made with their cereal as Muddy Buddies.)  It's super addictive, messy to eat, and utterly delightful.  I was just thinking about making a batch the other week, so when I saw this post on The Crepes of Wrath for a Muddy Buddy Pie, I was inspired to make a Puppy Chow version.
https://www.flickr.com/photos/joyosity/16000055785/

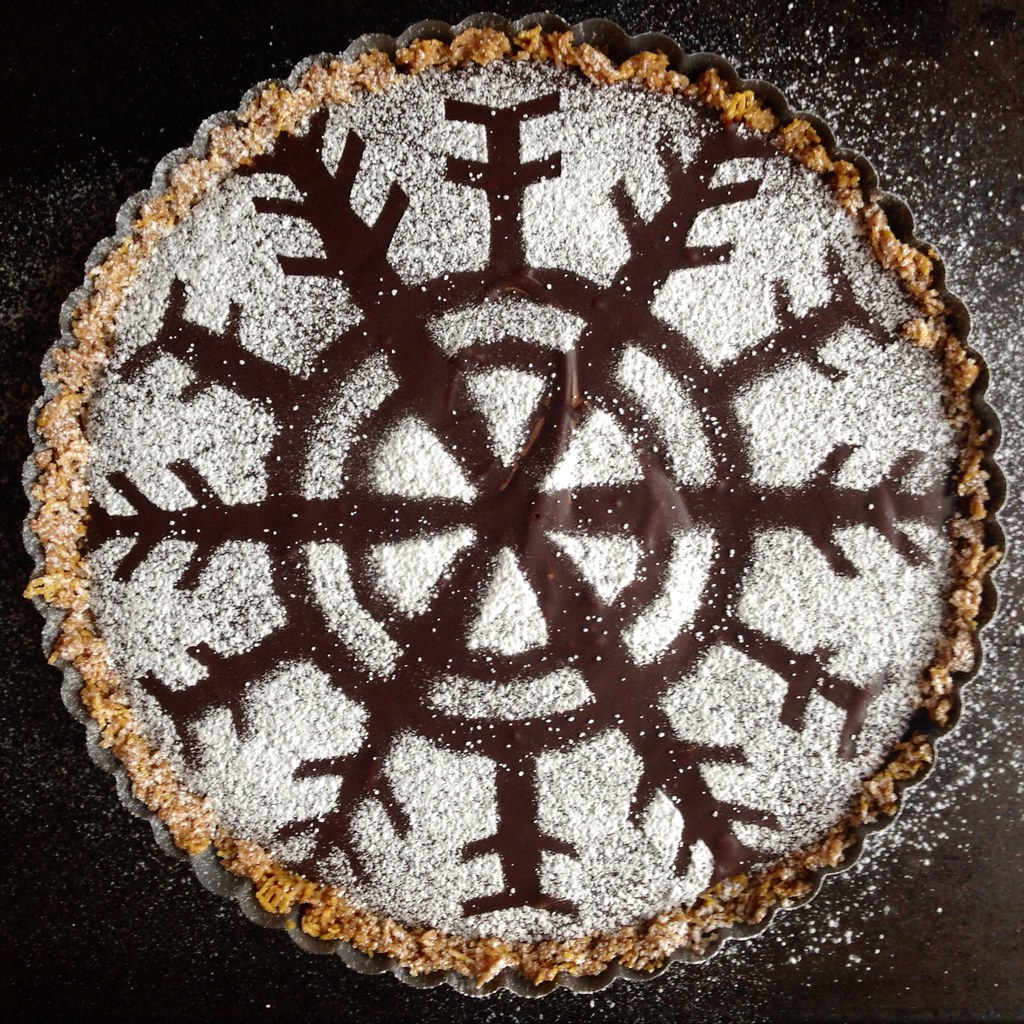
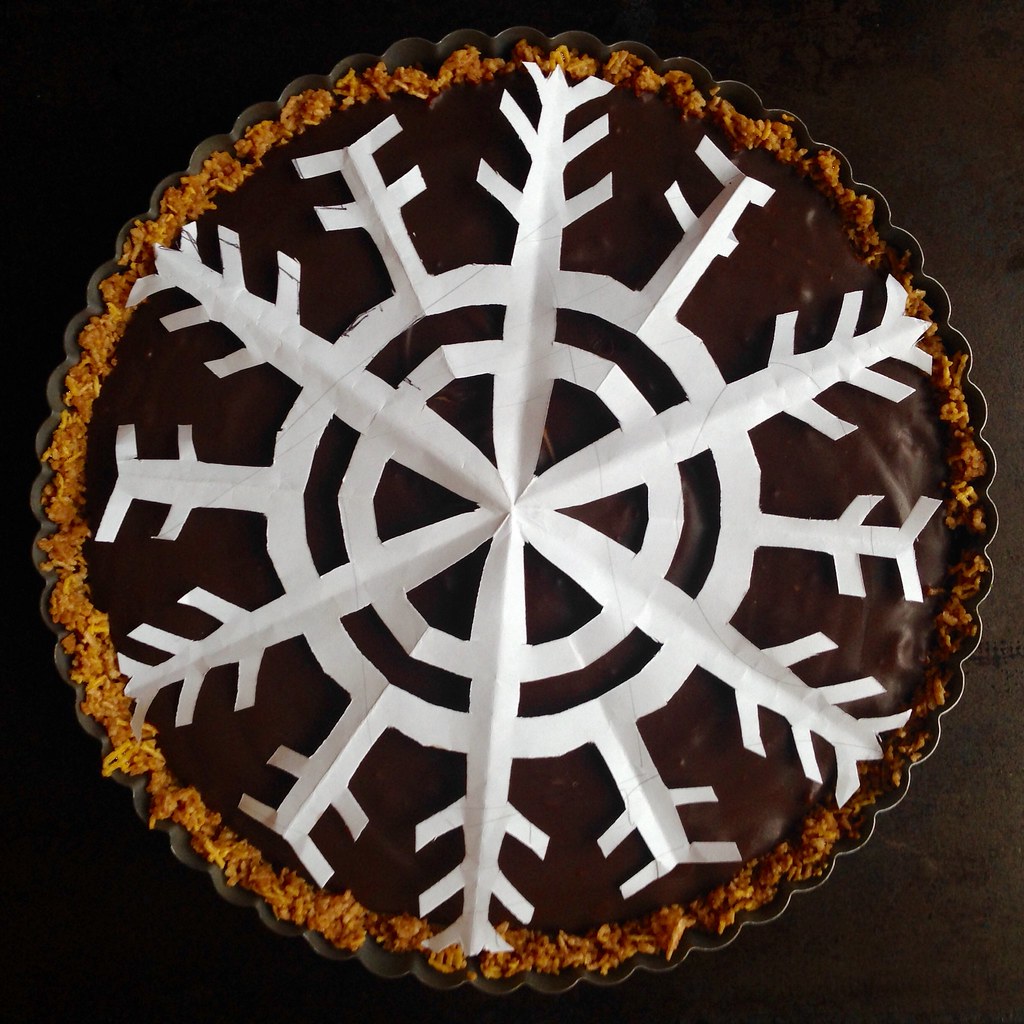
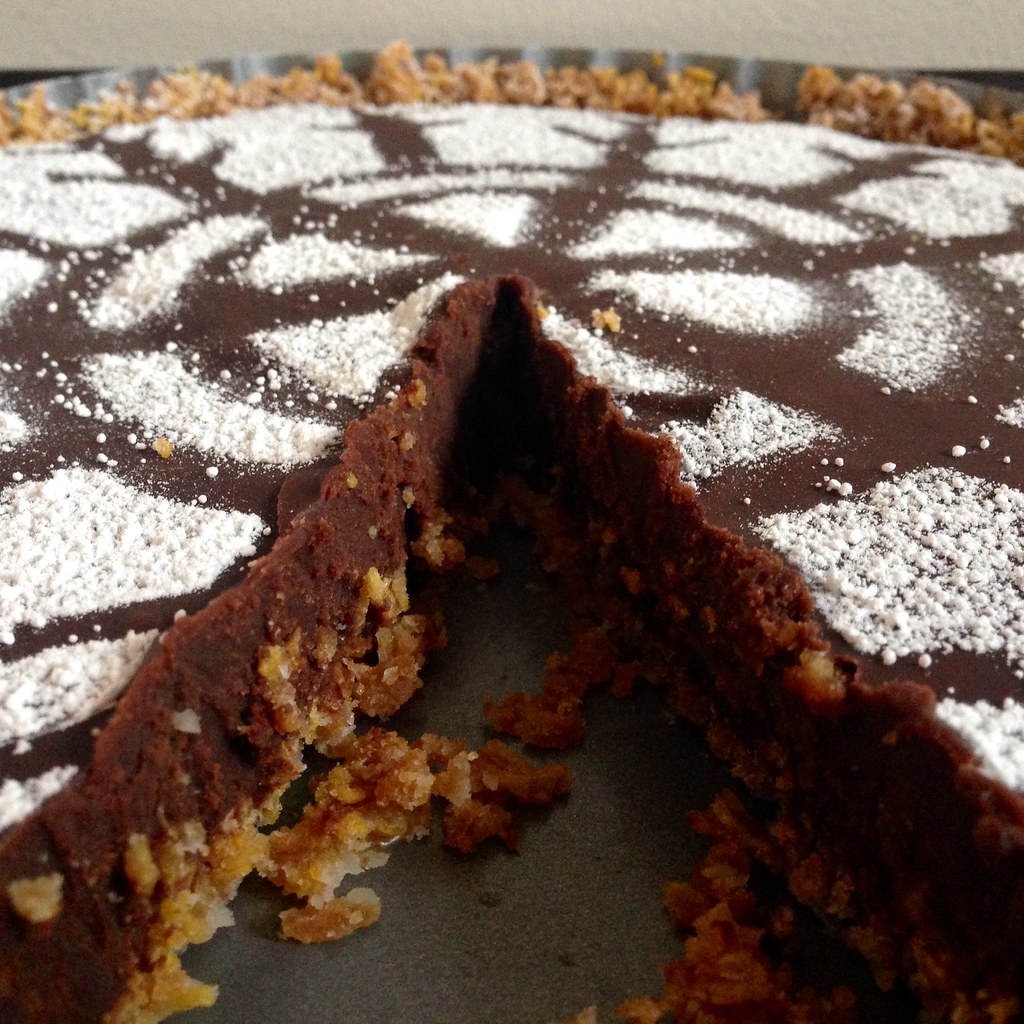
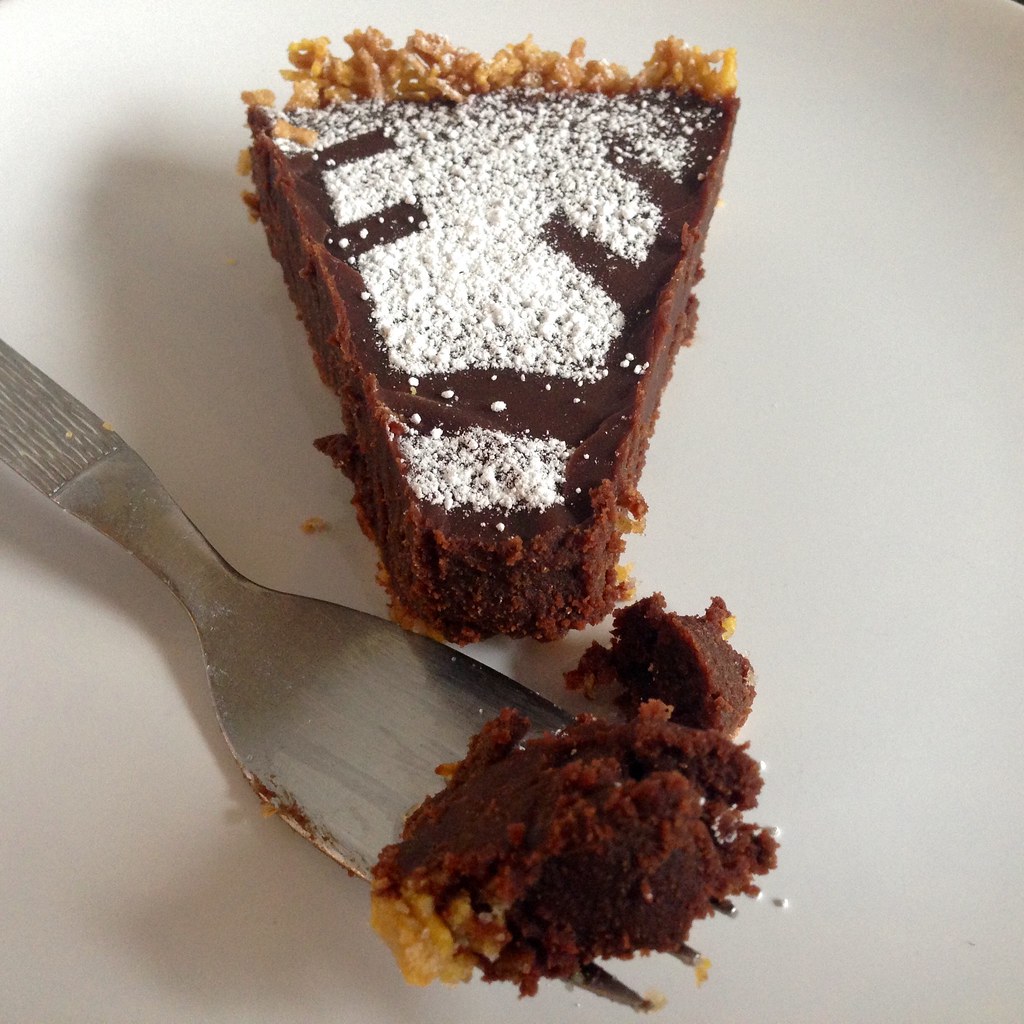
As a word of caution, this is a super, sinfully rich dessert.  There's the buttery cereal crust filled with peanut butter-chocolate ganache and topped with a dusting of powdered sugar.  I found that making a snowflake out of a 8 1/2" square of paper gives you the perfect sized template to cover the top of the pie if you want to make a pretty design.  It would probably make more sense to cut out a negative space snowflake so that the white part of the design is the snowflake itself, but I decided not to so that more of the top would be covered by the sugar.

https://www.flickr.com/photos/joyosity/15974281726/

Puppy Chow Pie (adapted from The Crepes of Wrath)
makes 1 pie

5 cups of Crispix cereal, ground into fine crumbs (about 2 cups once crushed)
1/2 cup unsalted butter, melted
1/4 cup packed brown sugar
1/2 teaspoon kosher salt
1 cup heavy cream
1 teaspoon vanilla extract
1 cup milk chocolate chips
1 cup semi-sweet chocolate chips
1/2 cup smooth peanut butter
Powdered sugar, for dusting

Preheat the oven to 350°F.  Use a blender or food processor to grind the cereal into fine crumbs (if using a blender, you may have to do this in batches so that you don't end up with fine powder at the bottom and large pieces on top).  Mix with the melted butter, brown sugar, and salt until well combined.

Transfer the mixture to a 9" pie or tart pan and press into the sides and then the bottom.  Bake for 10-12 minutes until golden, but not caramelized.  Let cool while you make the filling.

In a small pot, heat the cream and vanilla over medium heat until simmering.  Place the chocolate chips and peanut butter in a medium, heat-proof mixing bowl and pour the hot cream over the chocolate.  Stir until the chocolate has melted and the mixture is smooth.  Pour into the crust and chill overnight, or at least 6 hours.

If using a snowflake template, place on top of the pie and then dust with powdered sugar.  Serve small slices chilled or at room temperature.

https://www.flickr.com/photos/joyosity/15380439273/

Next:  Zuppa Toscana
Previously:  Pull Apart Thanksgiving Leftover Stuffed Bread
Last Year:  Miso Pumpkin Soup
Two Years Ago:  Homemade Ramen Noodles, Miso Ramen with Marinated Soft-Boiled Egg
Five Years Ago:  Wah Guay (Taiwanese Rice Cake with Meat Sauce), Tim Tam Slam Ice Cream,
Six Years Ago:  Beef Noodle (Soup) and Lu Dan, Pan-Fried Pasta with Butternut Squash, Fried Sage, and Pine Nuts

Thursday, October 23, 2014

Nigel Slater's Chocolate Beet Cake

https://www.flickr.com/photos/joyosity/15604589962/

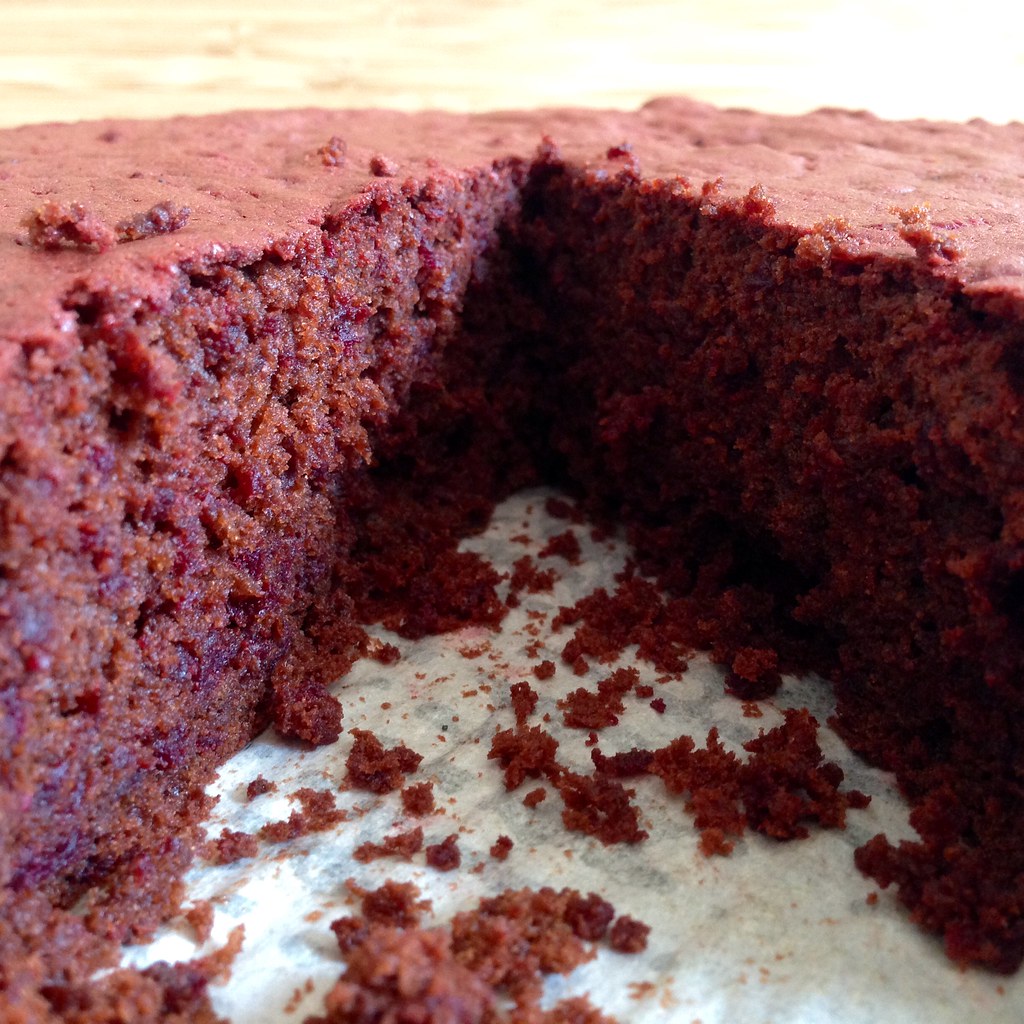
Everyone once in a while I'll look at my Boston Organics no-list and decide to update it so I can try something new.  That happened last week with beets.  I ended up getting 4 beets and no idea what to do with them after I remembered I don't particularly like beets, which is why they were on the no-list to begin with.  Sigh.  When my friend, Evelyn, suggested that I make red velvet cake I looked up a couple of recipes but didn't feel like making a cream cheese frosting to go along with it.  Then I found Nigel Slater's genius recipe for an extremely moist Chocolate Beet Cake on Food52.  I was sold.

https://www.flickr.com/photos/joyosity/15589730351/

The directions are a little fussy (boiling the beets whole and then peeling after they're cooked, not stirring the chocolate while it's melting, etc.) but I pretty much followed them to a T except I did add the sugar gradually into the egg whites while they were being beaten instead of folding it in afterwards.  Since folding something into egg whites is already such a precarious operation and beating sugar into egg whites helps to stabilize the whites, I figured it was a win-win situation.  I also decided I didn't want to risk dyeing my food processor bright pink and just grated the cooked beets into a coarse purée using a box grater, which David Lebovitz suggested in his post about this same recipe.  While this recipe isn't the quickest or simplest, I agree with David when he says that it tastes better the second day (or even the third, if it lasts that long), so you can totally make this the day before you need it if you're in a time crunch.

https://www.flickr.com/photos/joyosity/15405774579/

Two words of caution:  make sure you do not overmix the batter and make sure you don't overbake.  Overmixing will cause you to lose the precious air pockets you created when whipping the egg whites.  This is what keeps the cake from being a dense brick.  Also, if you overbake the cake, you'll lose all the delicious moistness from the beets. 

https://www.flickr.com/photos/joyosity/15406392827/

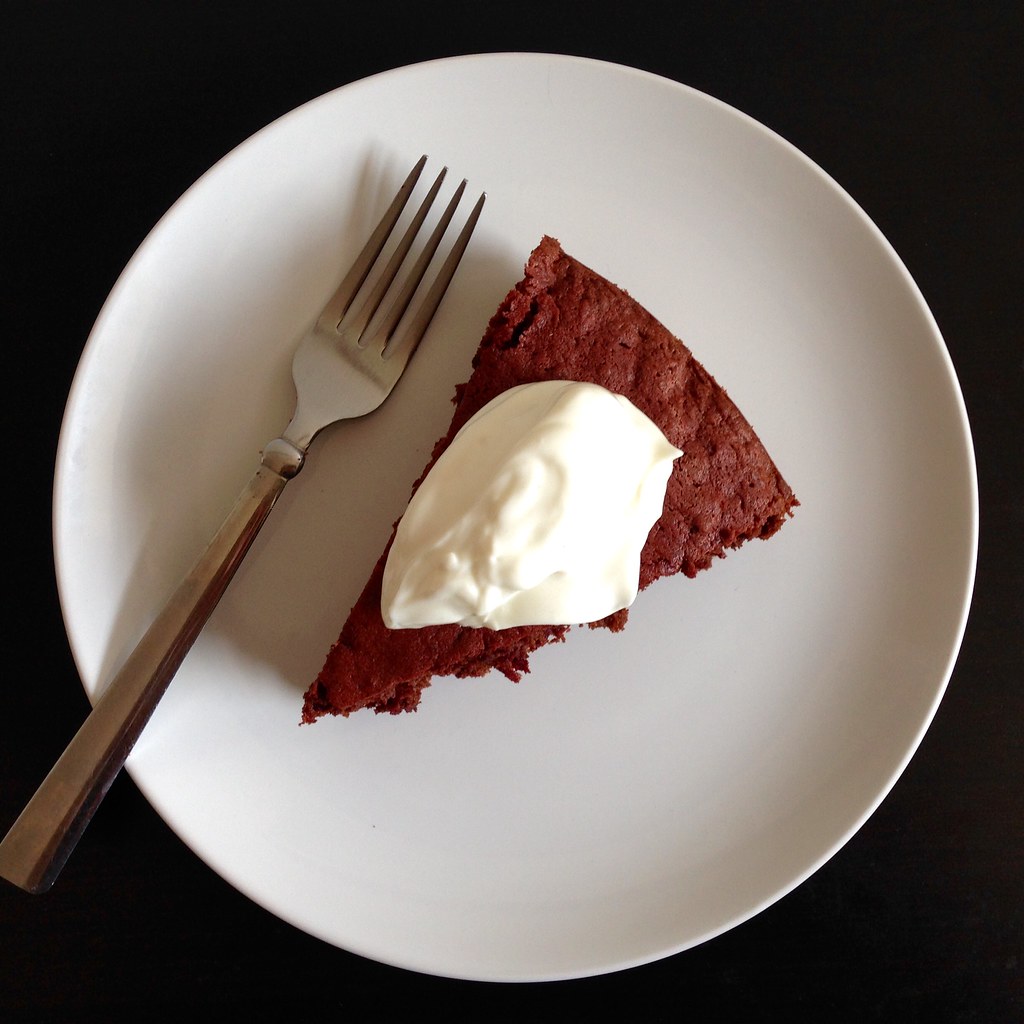
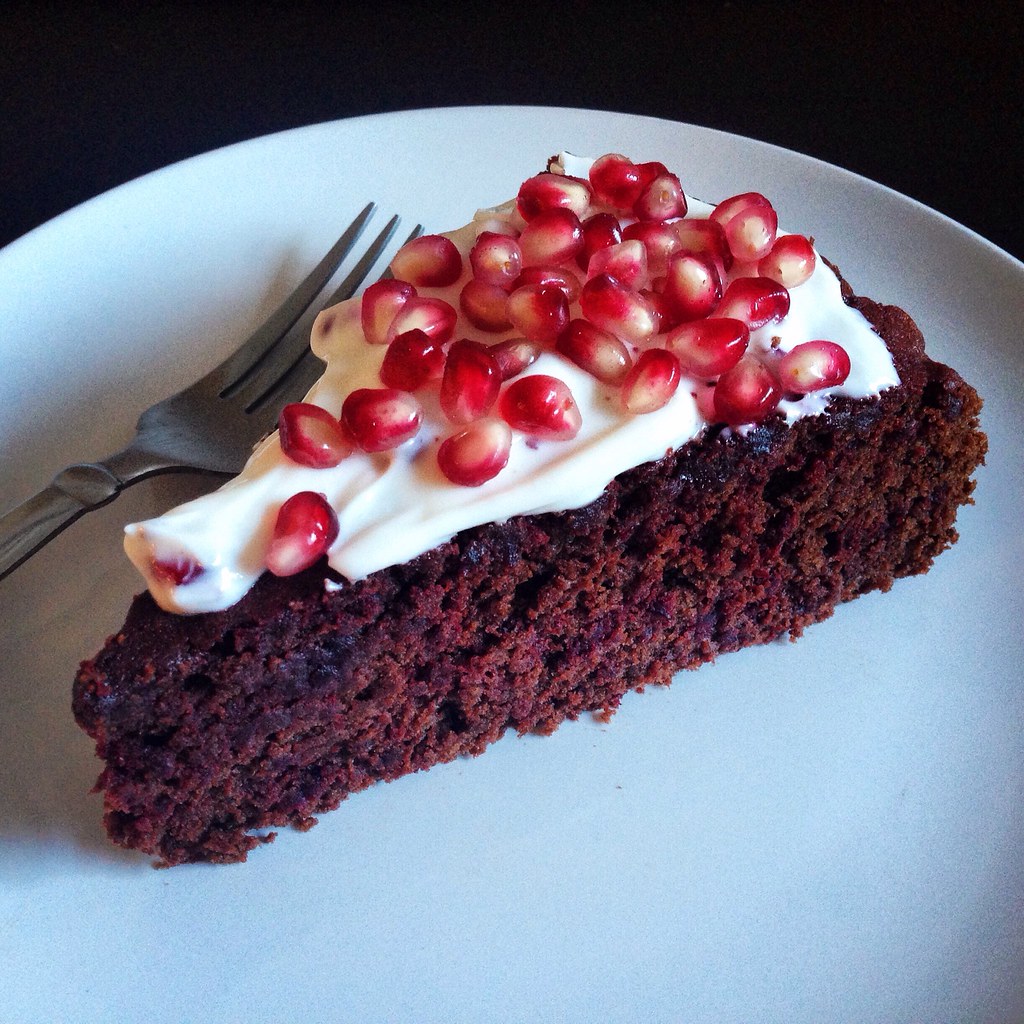
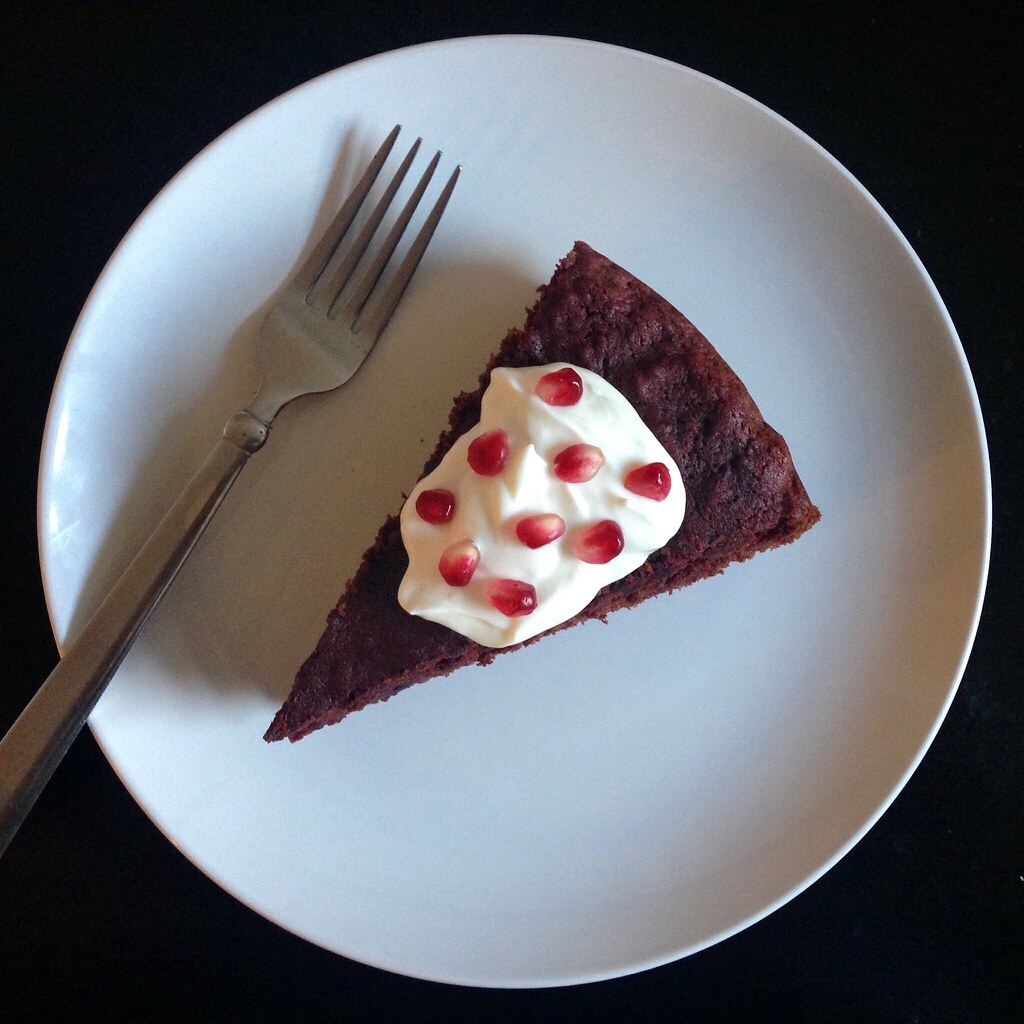
Since I didn't have any crème fraîche (who does?!) I topped my cake with Greek yogurt instead.  I imagine sour cream, coconut whipped cream, or a good vanilla ice cream would work just as well.  And since I didn't have any poppy seeds on hand, I sprinkled on some pomegranate arils instead.  I like how the pomegranate echoed the color of the beets used in the cake and also enhanced the tartness of the Greek yogurt.

https://www.flickr.com/photos/joyosity/15418097350/

Nigel Slater's Chocolate Beet Cake (from Food52)
serves 8

8 ounces fresh beets
7 ounces fine dark chocolate (70%)
1/4 cup hot espresso
3/4 cup + 2 tablespoons butter
1 cup + 2 tablespoons all-purpose flour
1 1/4 teaspoons baking powder
3 tablespoons good quality cocoa powder
5 eggs
Scant 1 cup superfine sugar
Crème fraîche or Greek yogurt
Poppy seeds or pomegranate arils, to serve

Lightly butter an 8-inch springform cake pan and line the base with a round of parchment paper. Heat the oven to 350°F.
   
Cook the beets, whole and unpeeled, in boiling unsalted water. Depending on their size, they will be tender within 30 to 40 minutes. Young ones may take slightly less. Drain them, let them cool under running water, then peel them, slice off their stem and root, and grate or process in a blender or food processor until a coarse purée.
   
Melt the chocolate, broken into small pieces, in a small bowl set over a pot of simmering water. Don’t stir.
   
When the chocolate looks almost melted, pour the hot espresso over it and stir once. Cut the butter into small pieces and add to the melted chocolate. Push the butter down under the surface of the chocolate with a spoon (as best you can) and leave to soften.
   
Sift together the flour, baking powder, and cocoa. Separate the eggs, putting the whites in a large mixing bowl. Beat the yolks together.
   
Remove the bowl of chocolate from the heat and stir until the butter has melted into the chocolate. Let sit for a few minutes, then stir in the egg yolks. Do this quickly, mixing firmly and evenly so the eggs blend into the mixture instead of cooking. Fold in the beets.

Whisk the egg whites until they form soft peaks, then add the sugar gradually as you continue to whip until all the sugar has been incorporated and the egg whites form stiff peaks. Fold the beaten egg whites into the chocolate mixture and then fold in the flour and cocoa.
   
Transfer quickly to the prepared cake pan and put in the oven, decreasing the heat immediately to 325°F. Bake for 40 minutes. The rim of the cake will feel spongy, the inner part should still wobble a little when gently shaken. Test with a cake tester or toothpick too -- if it is still gooey in the center, continue baking just until moist crumbs cling to the tester.
   
Set the cake aside to cool, loosening it around the edges with a thin icing spatula after half an hour or so. It is not a good idea to remove the cake from its pan until it is completely cold. Serve in thick slices, with crème fraîche or Greek yogurt and poppy seeds or pomegranate arils.

https://www.flickr.com/photos/joyosity/15415634899/

This cake is definitely on the less sweet side, and because I used the coarse grater to process the cooked beets, there were several moist chunks of beets laced throughout the cake, which I didn't mind.  Other than that, if no one had told me there were beets in this cake, I probably would never have guessed.  If you want to get rid of all traces of beets in this cake, you'll probably want a finer purée.

Next:  Faux Phở
Previously:  Elote-Style Cornbread Waffles
Two Years Ago:  Coconut Whipped Cream and Coconut Dulce de Leche

Tuesday, October 14, 2014

Indonesian Avocado Milkshake

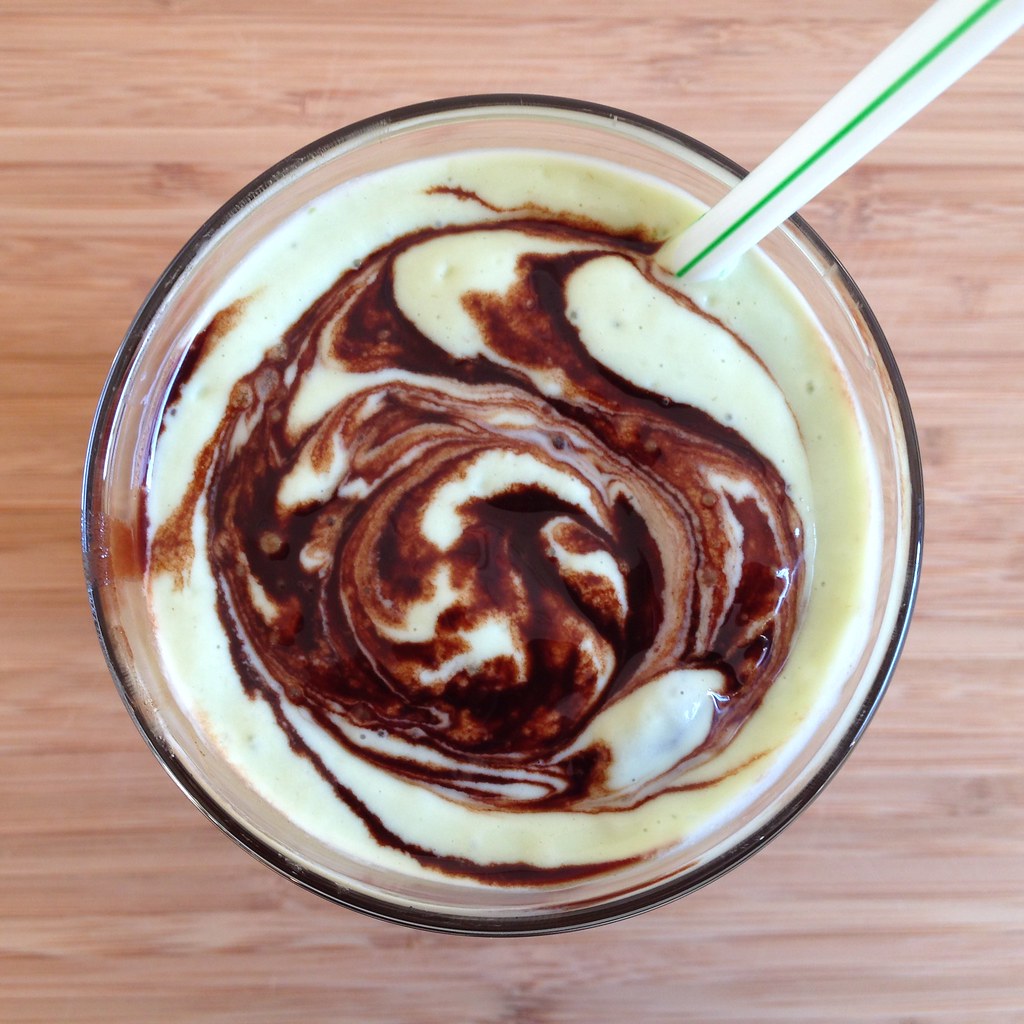
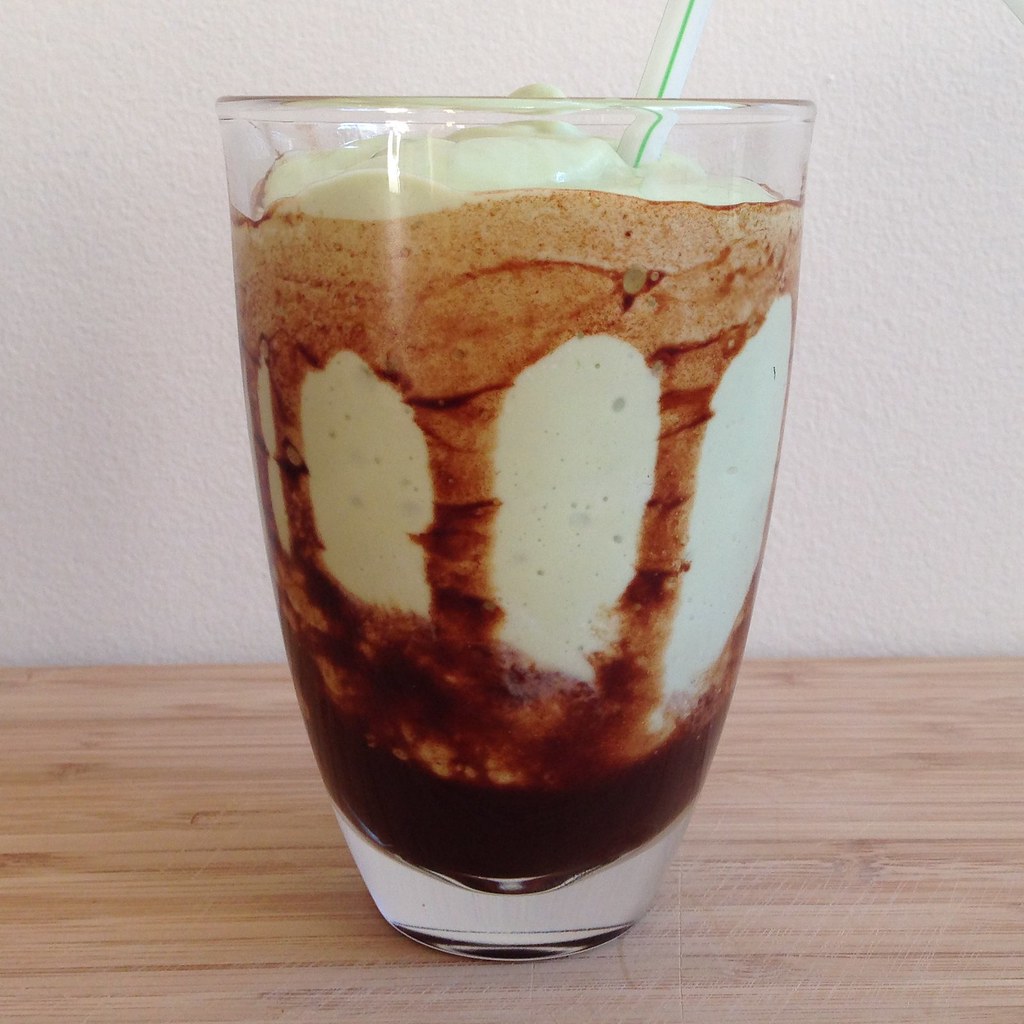
I don't usually see avocados used in sweet applications, but it's pretty popular to treat avocados as the fruit that they are in Asian countries.  For instance, take the Indonesian avocado milkshake, which adds chocolate syrup down the sides of the serving glass for an extra special touch.

I had some leftover coconut milk from making the ginger beer sherbet, so I decided to try using some in the milkshake, and the result was incredible.  The milkshake is already really creamy from the addition of the avocado, but adding coconut milk just brings the creaminess to a whole new level!

https://www.flickr.com/photos/joyosity/14676284843/

Indonesian Avocado Milkshake
makes 1 large shake or 2 smaller shakes

For the chocolate syrup:
2/3 cup water
2/3 cup sugar
1/4 cup cocoa powder

For the milkshake:
1 ripe avocado
1 cup milk (or 1/2 cup milk and 1/2 cup coconut milk for extra creaminess)
3 tablespoons sweetened condensed milk
1/2 cup ice cubes

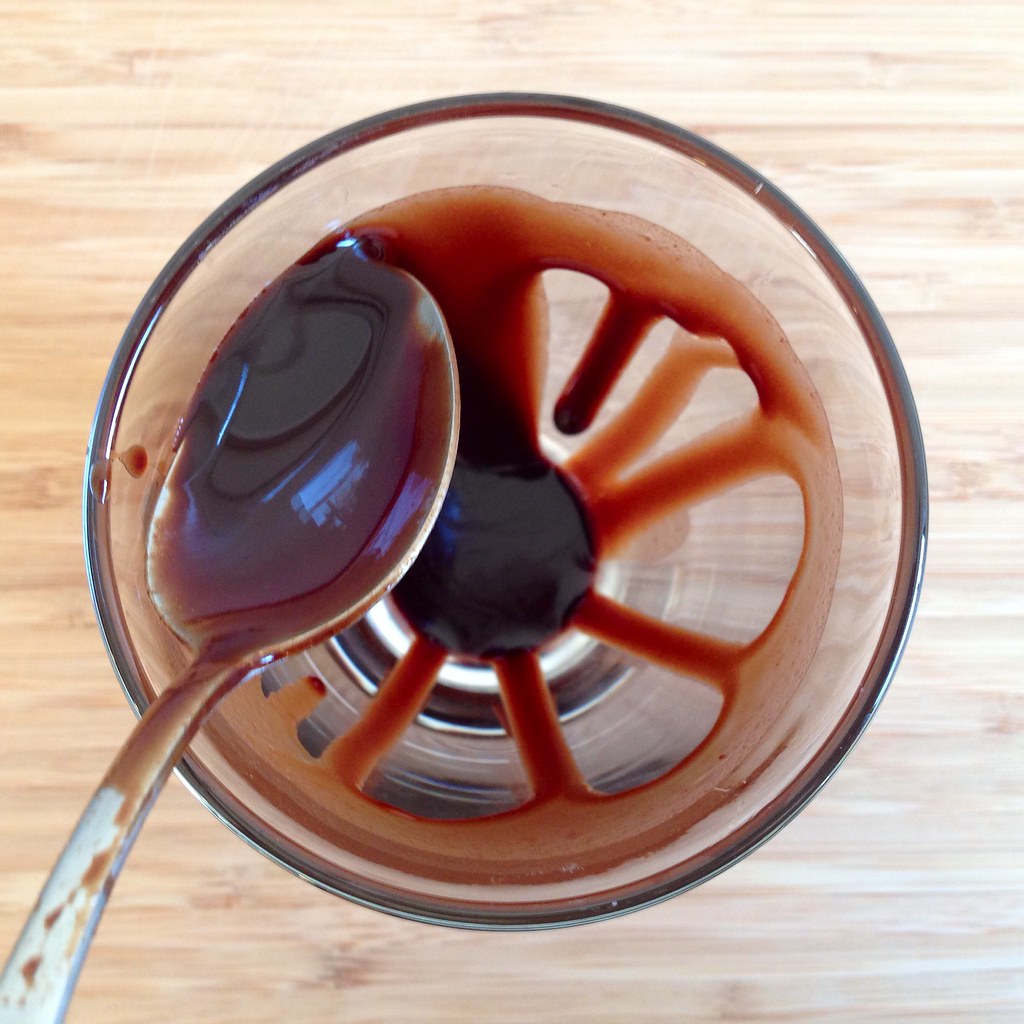
Whisk together the water, sugar, and cocoa powder in a small saucepan and bring to a boil.  Stir until the sugar has all dissolved and allow to cool.  Store in the refrigerator until ready to use.

https://www.flickr.com/photos/joyosity/14656359165/

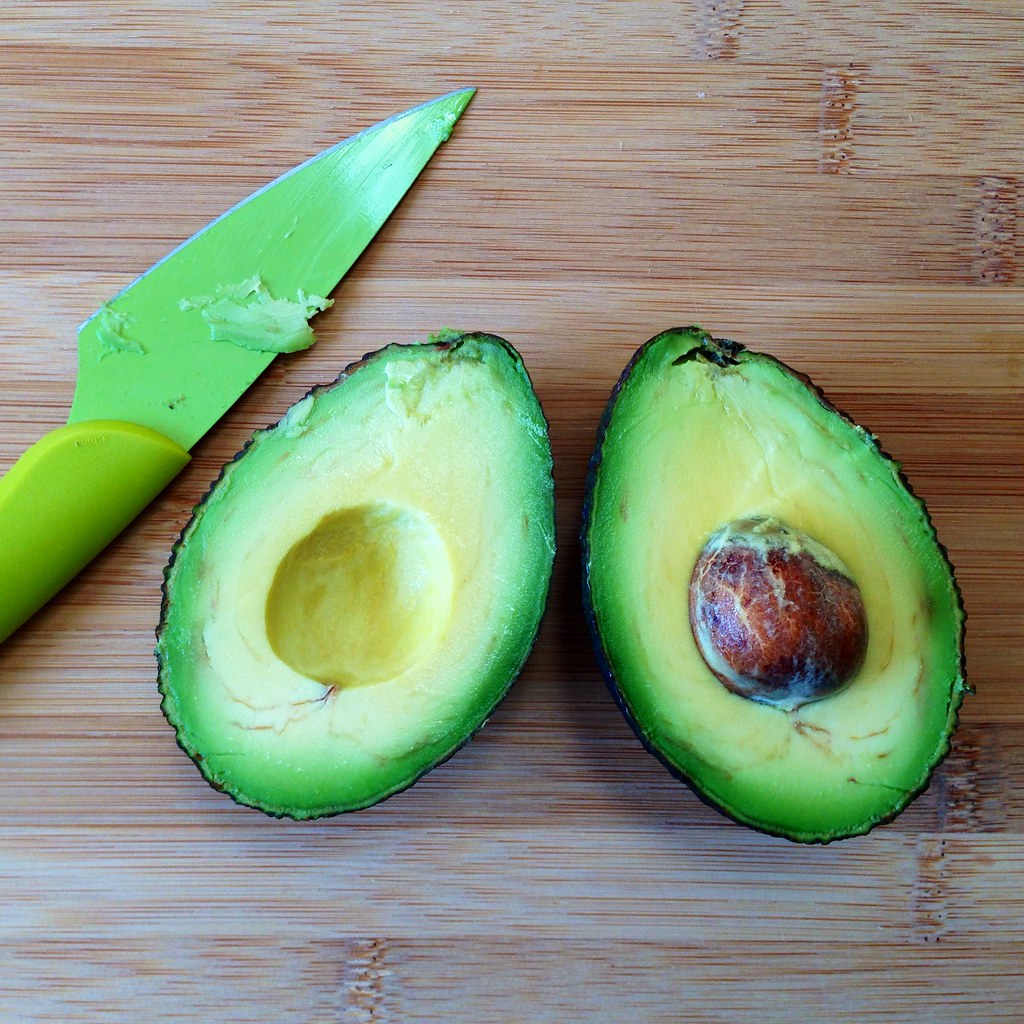
Cut the avocado in half and remove the pit.  Scoop out the flesh and add to a blender along with the coconut milk, milk, sweetened condensed milk, and ice cubes.  Blend until smooth and frothy.

https://www.flickr.com/photos/joyosity/14656357155/

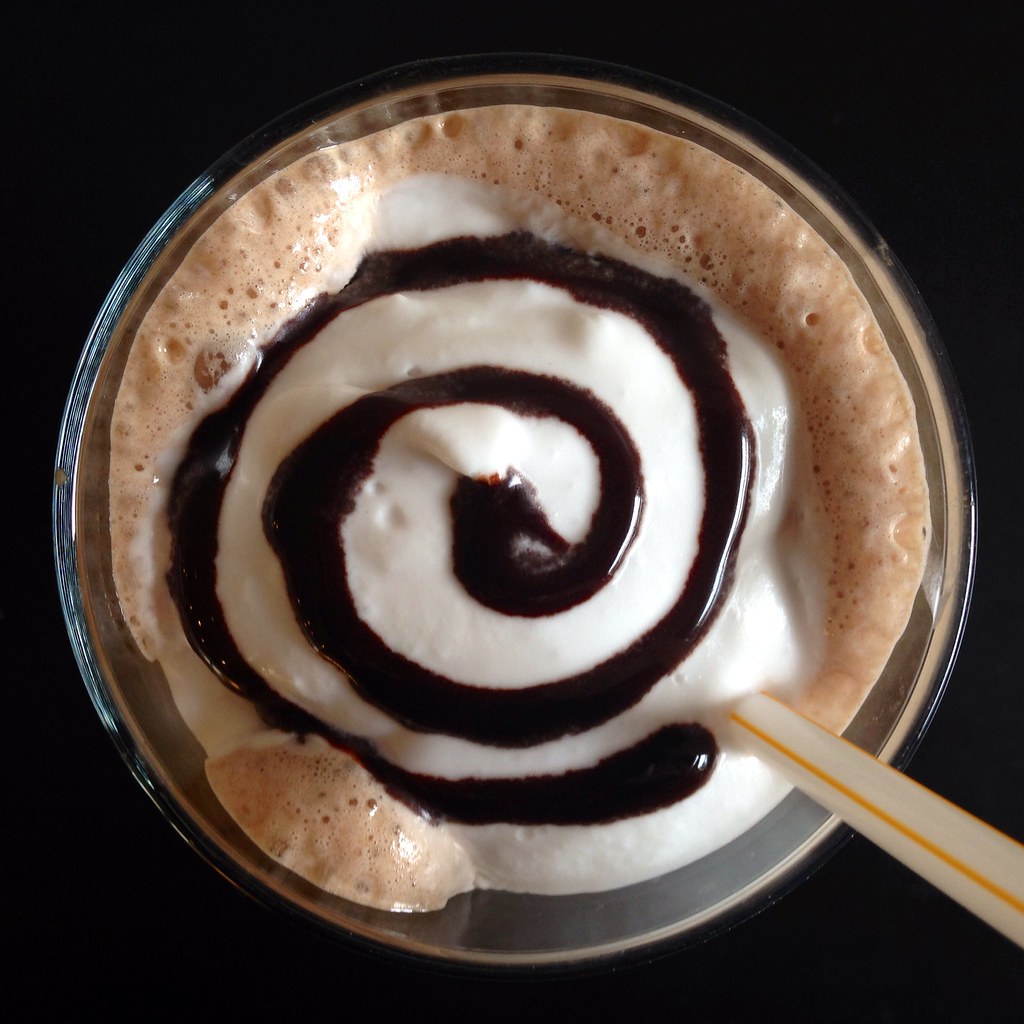
Pour the chocolate syrup around the inside of a glass and then add the avocado milkshake.  Enjoy!

https://www.flickr.com/photos/joyosity/15480057515

This recipe makes about a cup of chocolate syrup, way more than you need for the milkshake.  You can use the rest for making chocolate milk, drizzling over ice cream, whatever you want!

Next:  Jeni's Salty Vanilla Frozen Custard
Previously: Concord Grape Sorbet
Last Year:  Bahian Style Moqueca (Brazilian Fish Stew)
Two Years Ago:  Crispy Kale Pizza

Tuesday, July 15, 2014

Homemade Choco Tacos

https://www.flickr.com/photos/joyosity/14550722186/

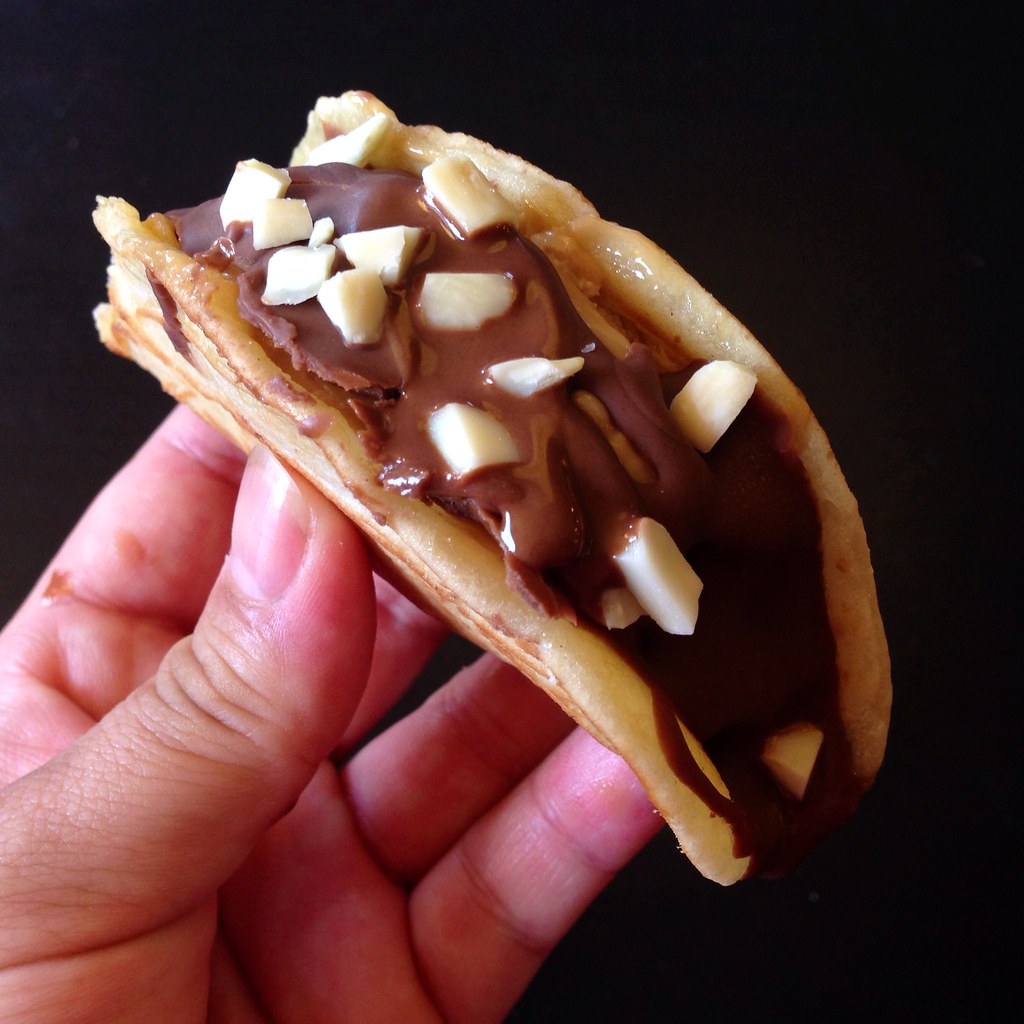
I was soooooooooo excited when I saw this post pop up on Food52.  Choco Tacos are pretty much my favorite kind of ice cream novelty, but I barely see them anymore!

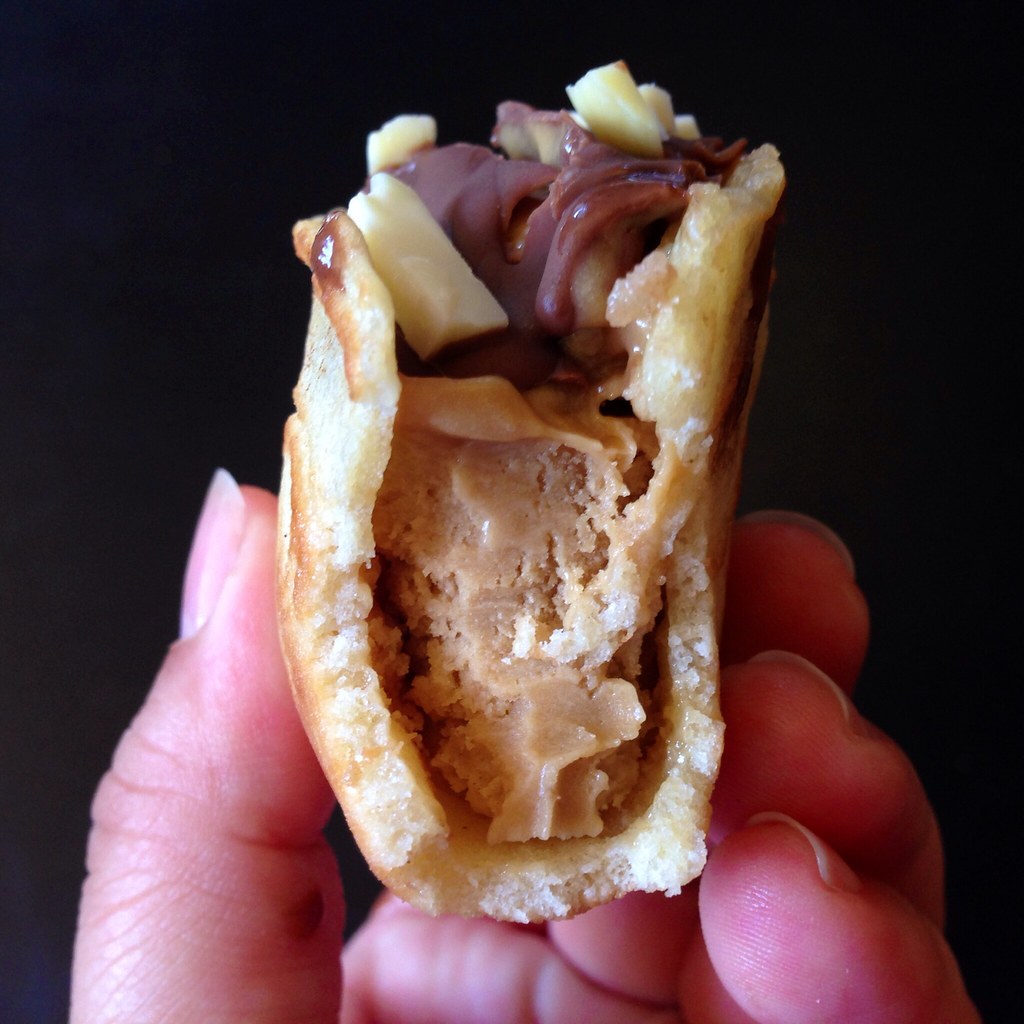
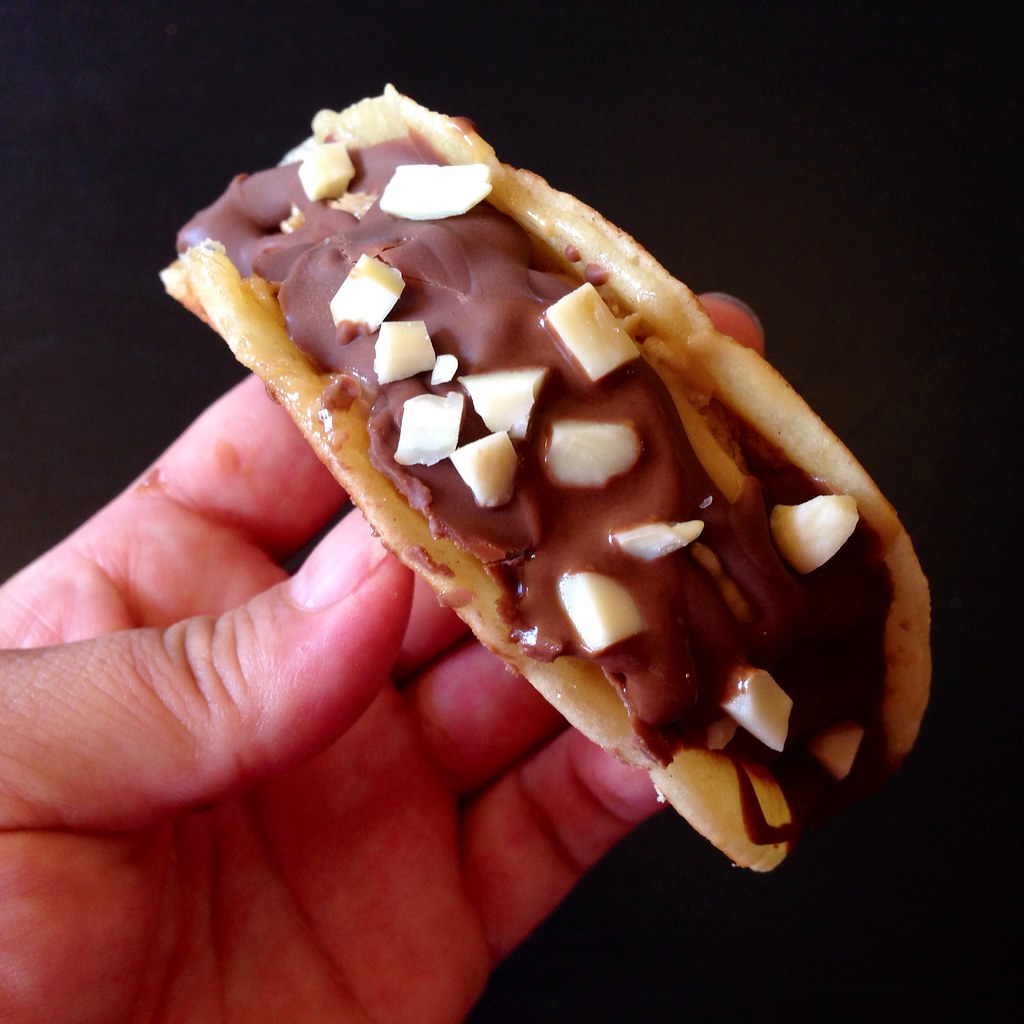
I ended up using the speculoos ice cream I had leftover from making the stroopwafel ice cream sandwiches, the leftover magic shell I had from making the Almond Joy bon bons, and chopped almonds, but feel free to use whatever kind of ice cream and toppings you want!

https://www.flickr.com/photos/joyosity/14573010772/

Homemade Choco Tacos (from Food52)
makes 4 small tacos

1/3 cups all-purpose flour
1/4 cup sugar
Pinch of kosher salt
1 tablespoon butter, plus more for greasing
2 tablespoons milk
1/8 teaspoon almond extract
1/4 teaspoon vanilla extract
1 large egg white
Ice cream of your choice
Homemade magic shell
Your choice of toppings (chopped nuts, sprinkles, etc.)

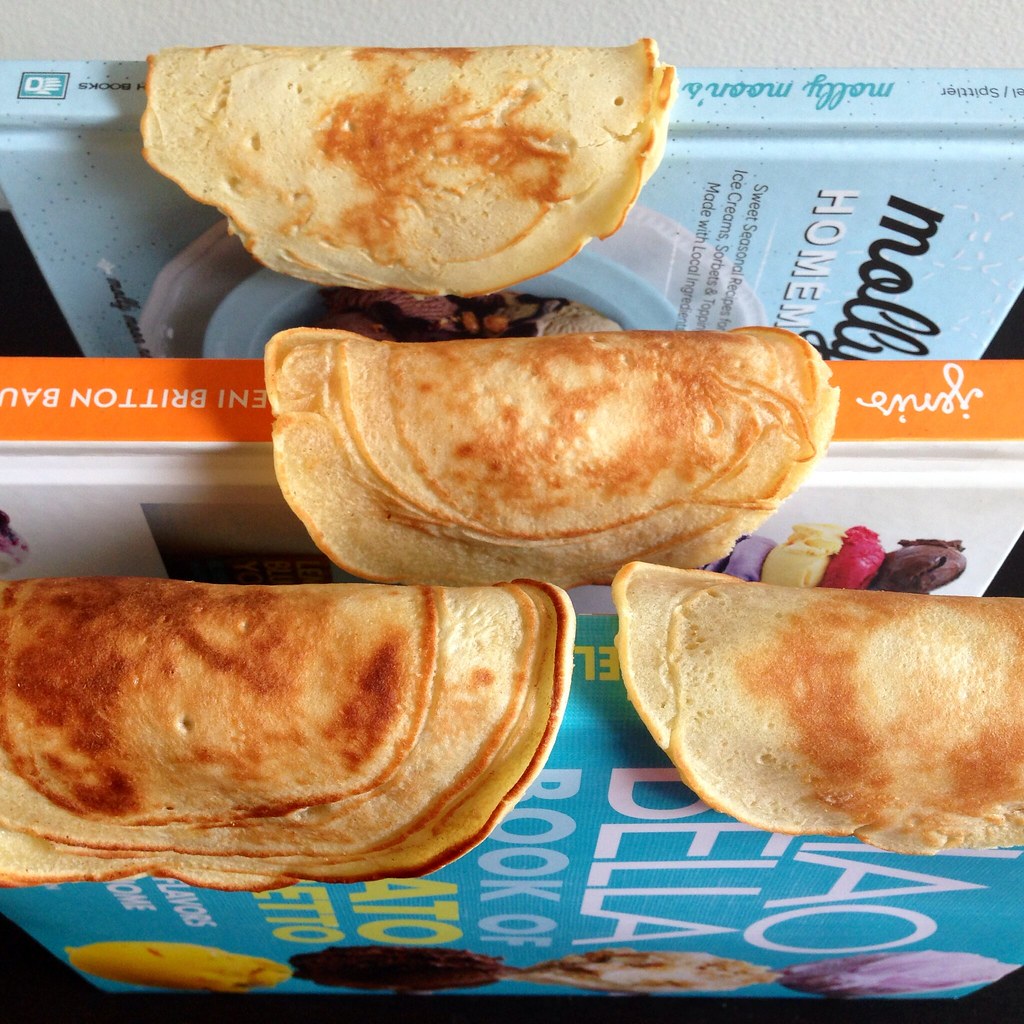
Find a couple of hardback books about 1/2" thick, wipe them clean, and set them spine side up to use as your taco shell molds.

Whisk together the flour, sugar, and salt.  In a separate bowl or glass measuring cup, microwave the butter and milk together just until the butter is almost all melted (start with 30 seconds and then 10 additional seconds at a time).  You want the mixture to be hot enough for the butter to stay liquid, but not too hot that you'll cook the egg whites.

Whisk the almond extract, vanilla extract, and egg white into the milk and butter mixture.  Add to the dry ingredients and mix until smooth.

Grease a skillet with butter and heat on medium heat.  Add about 2 1/2 tablespoons of the batter and spread out into a thin circle.  Cook for a few minutes until golden brown on the bottom and flip.  Cook another couple of minutes until lightly brown and then remove from the skillet.  Carefully fold the shell over the spine of one of the books.  I used a folded paper towel to clamp the taco shell into shape with my hand.  Let cool on the book.

Let your ice cream soften a bit and fill the taco shells once they are cooled.  Drizzle with the homemade magic shell and top with toppings of your choice.  Enjoy!

https://www.flickr.com/photos/joyosity/14572066044/

I found that I had to use a thinner book than indicated in the original recipe to achieve the shape I desired.  I was also a little disappointed that the taco shells didn't end up as crispy as the Choco Tacos I remembered.  I guess if I were to try this again, I'd lean closer to a fortune cookie batter to get that shattering crispiness.

https://www.flickr.com/photos/joyosity/14570436601/

Next:  Taiwanese Grilled Corn
Previously:  Cleveland Cassata Cake (Bonus: In a Jar!)
Last Year:  Panzanella

Monday, June 23, 2014

Orange Mocha Frappuccino!

https://www.flickr.com/photos/joyosity/2567370431

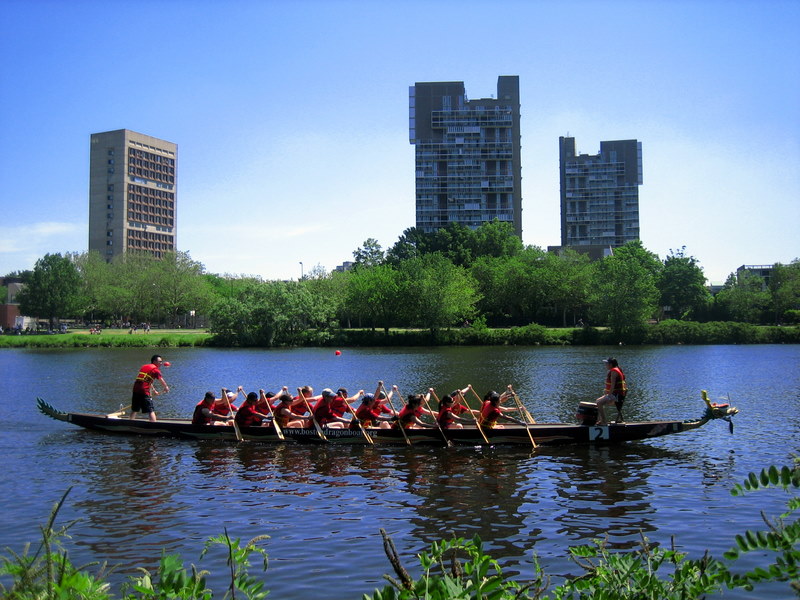
Ten years ago I paddled in my first dragon boat race.  Two years later, I started my own team and named it The Boat for Kids Who Don't Paddle Good.  Every year, before the Boston Dragon Boat Festival, we get together for a potluck and watch Zoolander.  Every year, in the official program, our team bio reads, "We're pretty sure there's a lot more to life than being really, really, ridiculously good looking, and we plan on finding out what that is."  Every year, I look forward to paddling with my team, making new friends, and leaving it all on the water.

Every year, that is, until this year.  =(  So when the team admiral told me I could make up for not being on the team by bringing orange mocha frappuccinos to this year's potluck, I thought, "challenge accepted."  Unfortunately, the same busy travel schedule that kept me from joining the team kept me from making these in time for the potluck, but I hope creating this recipe from scratch and posting it goes toward making amends.  Because you know what can really help you sort through these important issues?

https://www.flickr.com/photos/joyosity/14450993935/

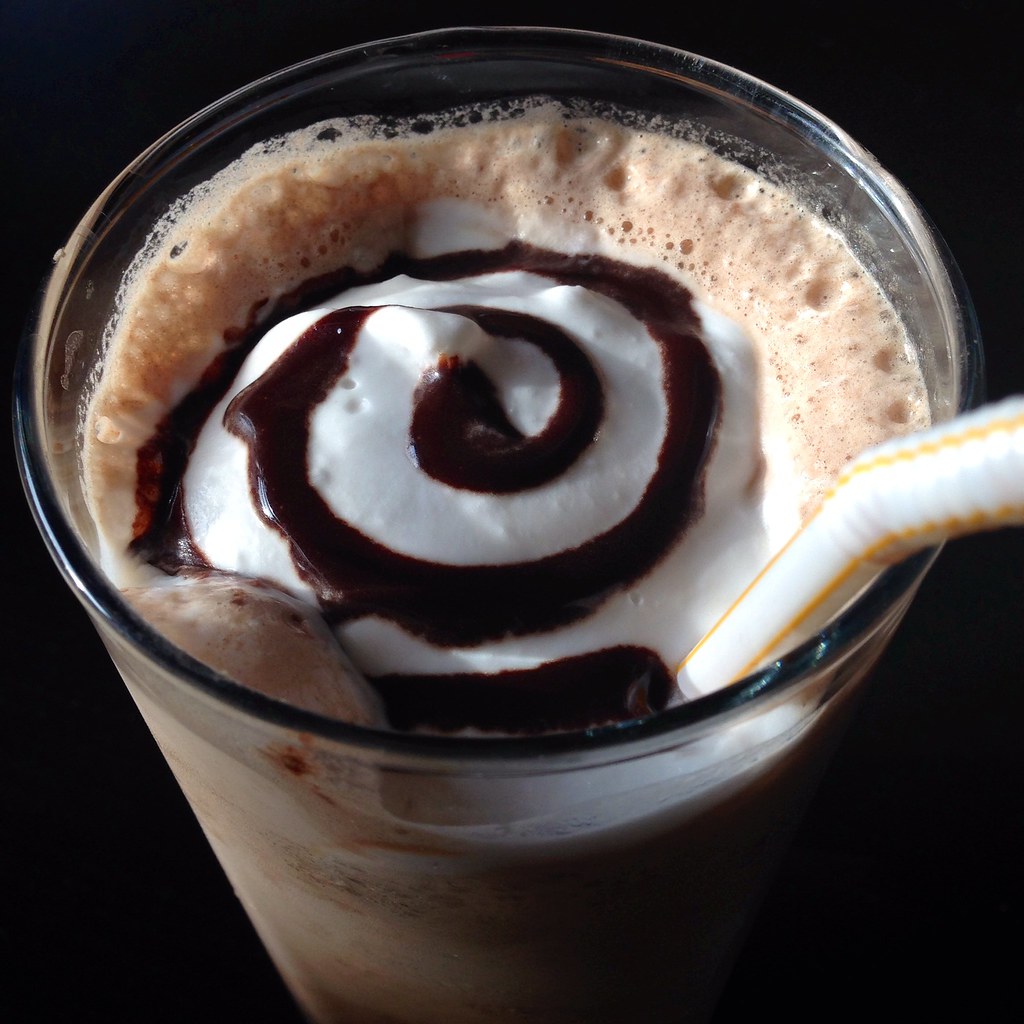
Orange Mocha Frappuccino!
makes 3 large frappes

3/4 cup coffee beans, ground
1 large orange
2/3 cup sugar
1/3 cup plus 1 tablespoon cocoa powder
Pinch of salt
1 1/2 cups milk
3 cups ice
Whipped cream (optional)

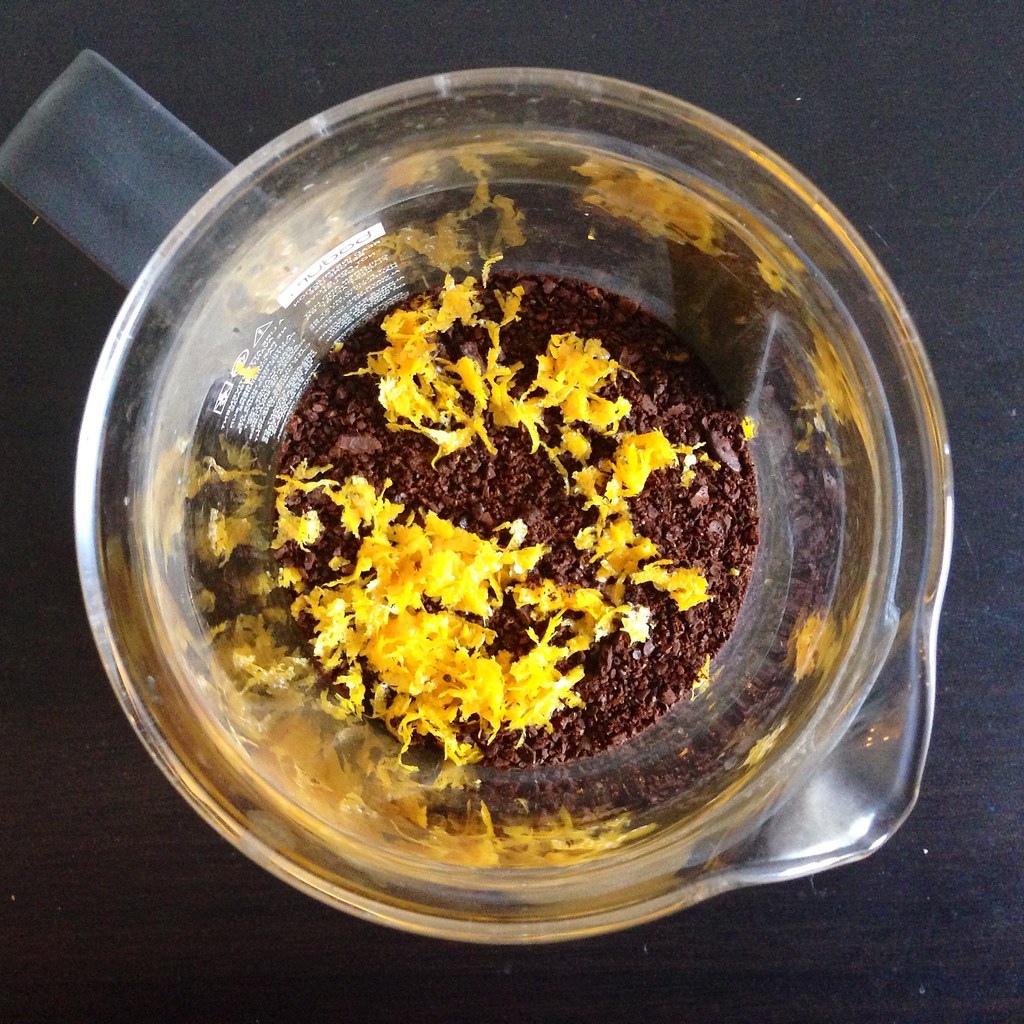
Zest and juice the orange.  Combine the ground coffee and orange zest in a 2-cup French press or measuring cup.  Add enough water to reach the 2 cup line.  Stir to make sure all the coffee grounds get wet.  Let sit a few minutes and then stir one more time to disperse all the coffee grounds that have floated to the top.  Cover and let sit overnight at room temperature.

https://www.flickr.com/photos/joyosity/14264380670/

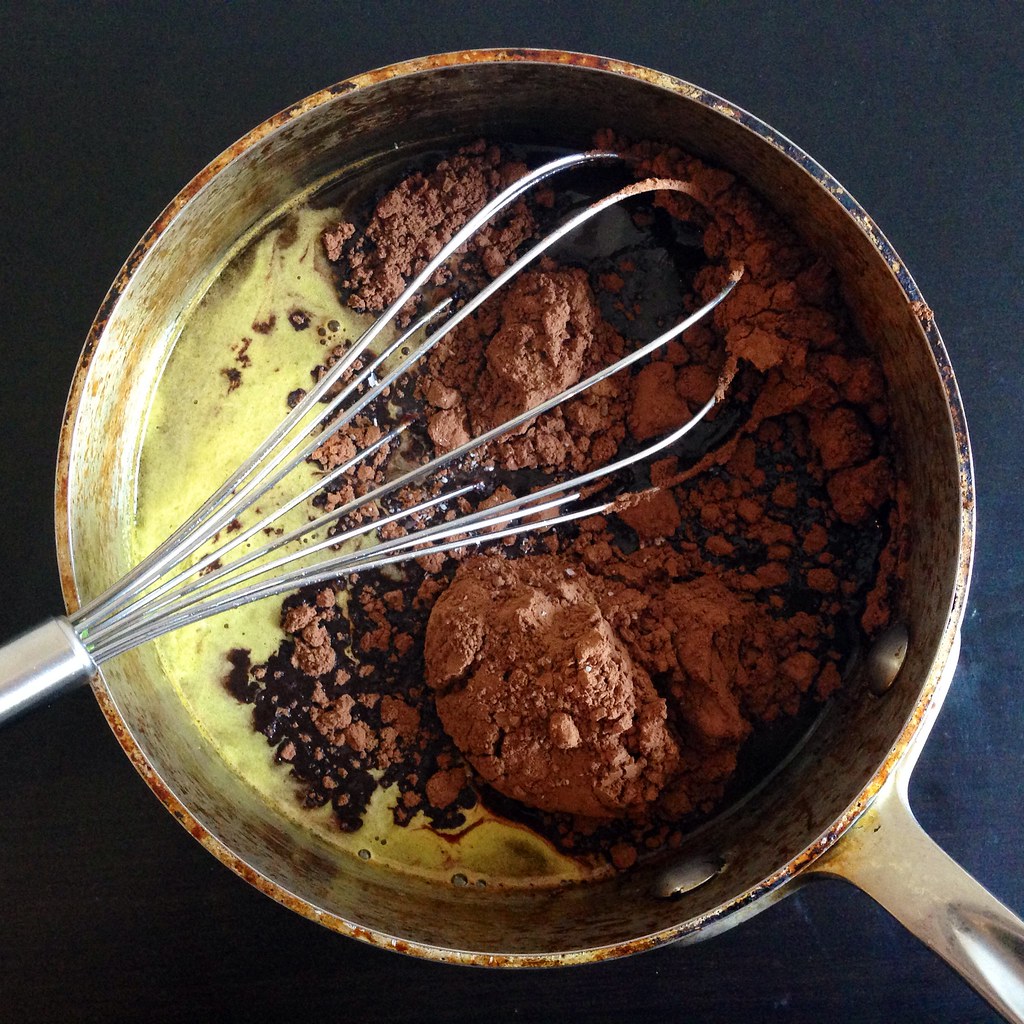
Add the orange juice to a measuring cup and add enough water to reach 2/3 cup.  Pour into a small saucepan and add the sugar, cocoa powder, and pinch of salt.  Whisk and heat over medium-low heat until it starts to simmer and is slightly thickened.  Cool and transfer to another container.  Store in the refrigerator until needed.

https://www.flickr.com/photos/joyosity/14471164813/

The next day, press and/or filter the cold brew coffee. 

For each frappuccino, combine 1/2 cup of orange cold brew coffee, 1/2 cup of milk, 3 tablespoons of the orange chocolate syrup, and a cup of ice in a blender.  Blend until frothy and pour into a tall glass.  Garnish with whipped cream (I used coconut whipped cream) if desired and more orange chocolate syrup.  Enjoy!

https://www.flickr.com/photos/joyosity/14264559107/

Alternatively, you could also freeze the cold brew coffee into ice cubes and blend those with the milk for a stronger frappe.  And you could also add some finely chopped candied orange peel or orange sugar on top for even more garnish.  You'll have more than enough orange chocolate syrup left over which you can use to make orange chocolate milk (seriously yum), drizzle over ice cream, eat with a spoon straight out of the jar....

Note:  No gasoline fights were started as a result of drinking these frappuccinos.

Next:  Plum, Nectarine, and Peach Galette
Previously: Tofu and Shiitake Potstickers
Last Year:  Passion Fruit Macarons
Four Years Ago:  Amnesty Bread

Monday, June 9, 2014

Vegan Almond Joy Ice Cream and Bon Bons

https://www.flickr.com/photos/joyosity/14371578192/

I've made coconut ice creams and coconut sorbets before, but when I saw this recipe on The Kitchn for a vegan coconut milk-based ice cream, I was pretty excited.  As someone who loves making ice cream but has a lot of lactose intolerant friends, it would be awesome to have a dairy-free homemade ice cream base to work with.

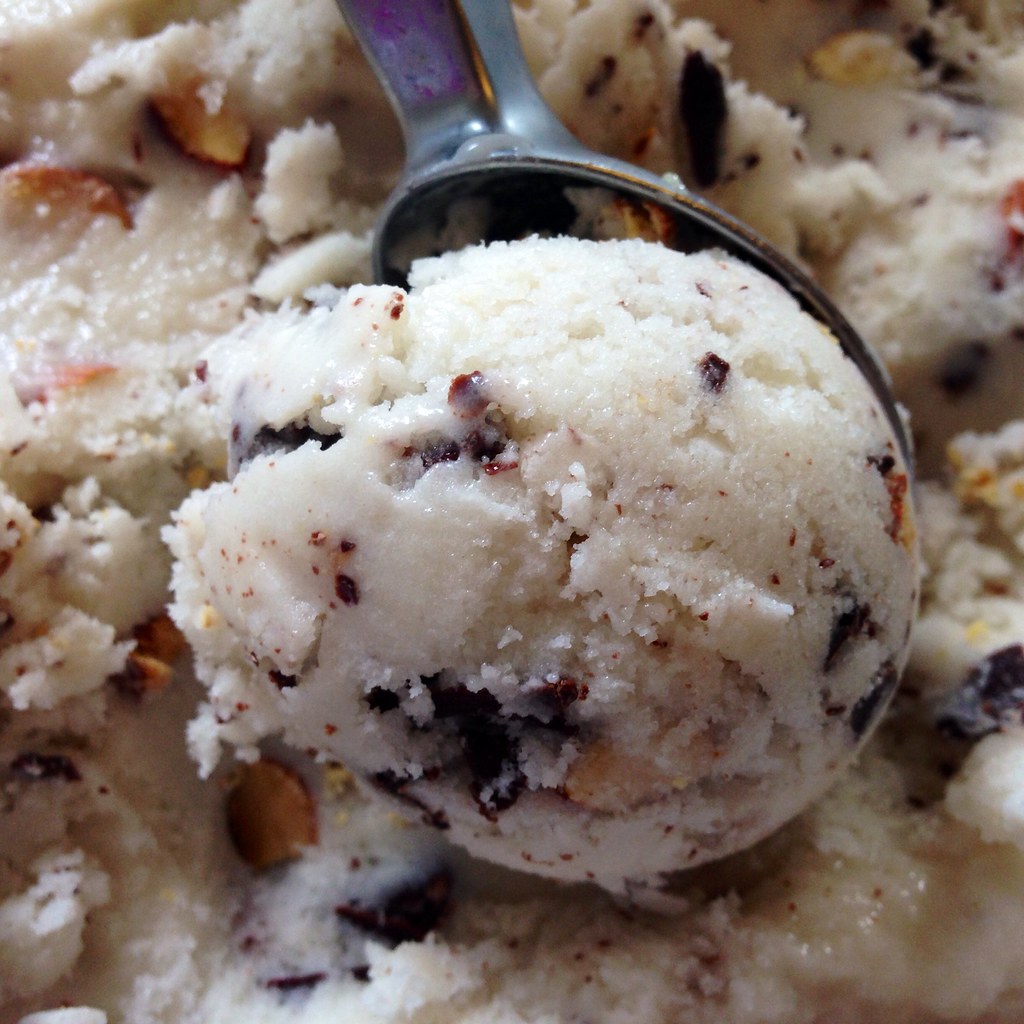
Since the recipe included chocolate and almonds, I decided to go full Almond Joy and amplify the coconut and almond flavors by adding in some coconut and almond extract and toasting the almonds.  I found the end product to be quite delicious and refreshing.  It's lighter and not as creamy as regular ice cream, but it's not icy, either.  Toasting the almonds really makes a huge difference, too!

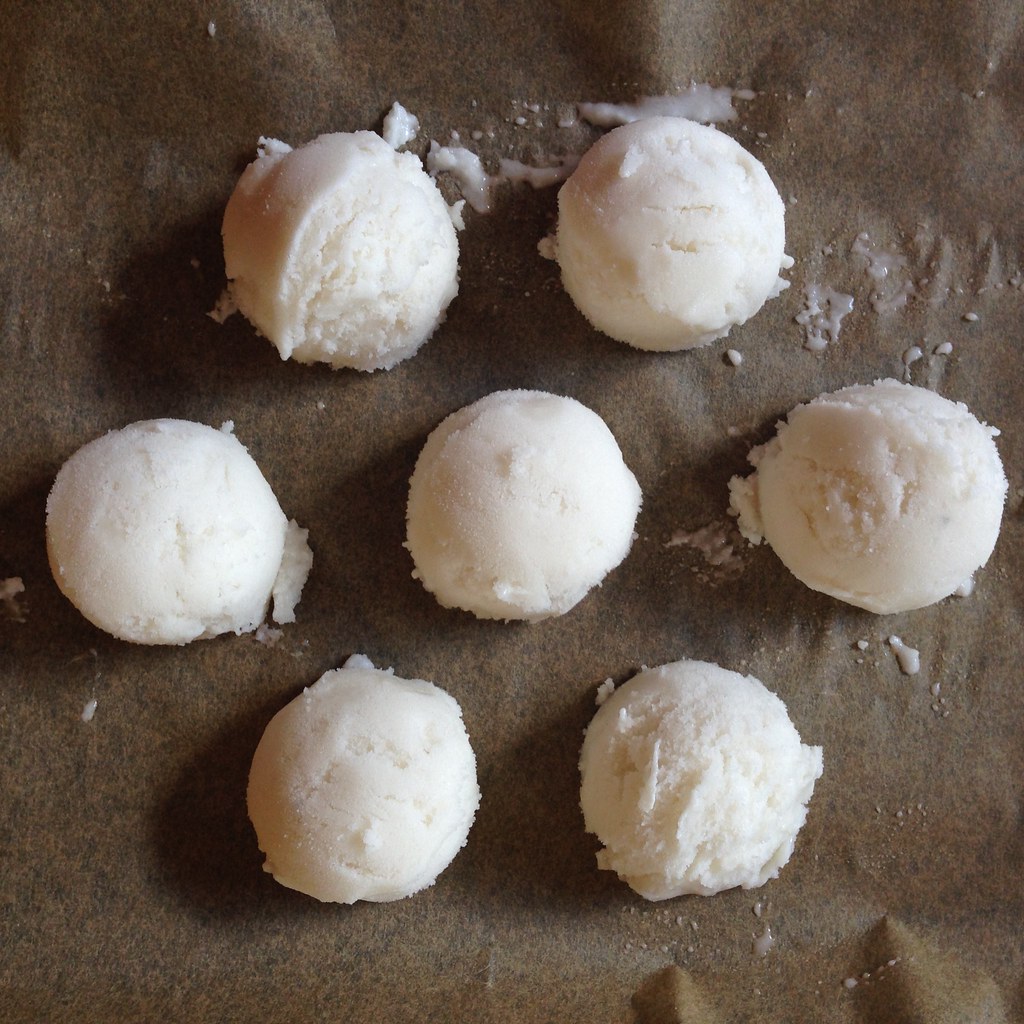
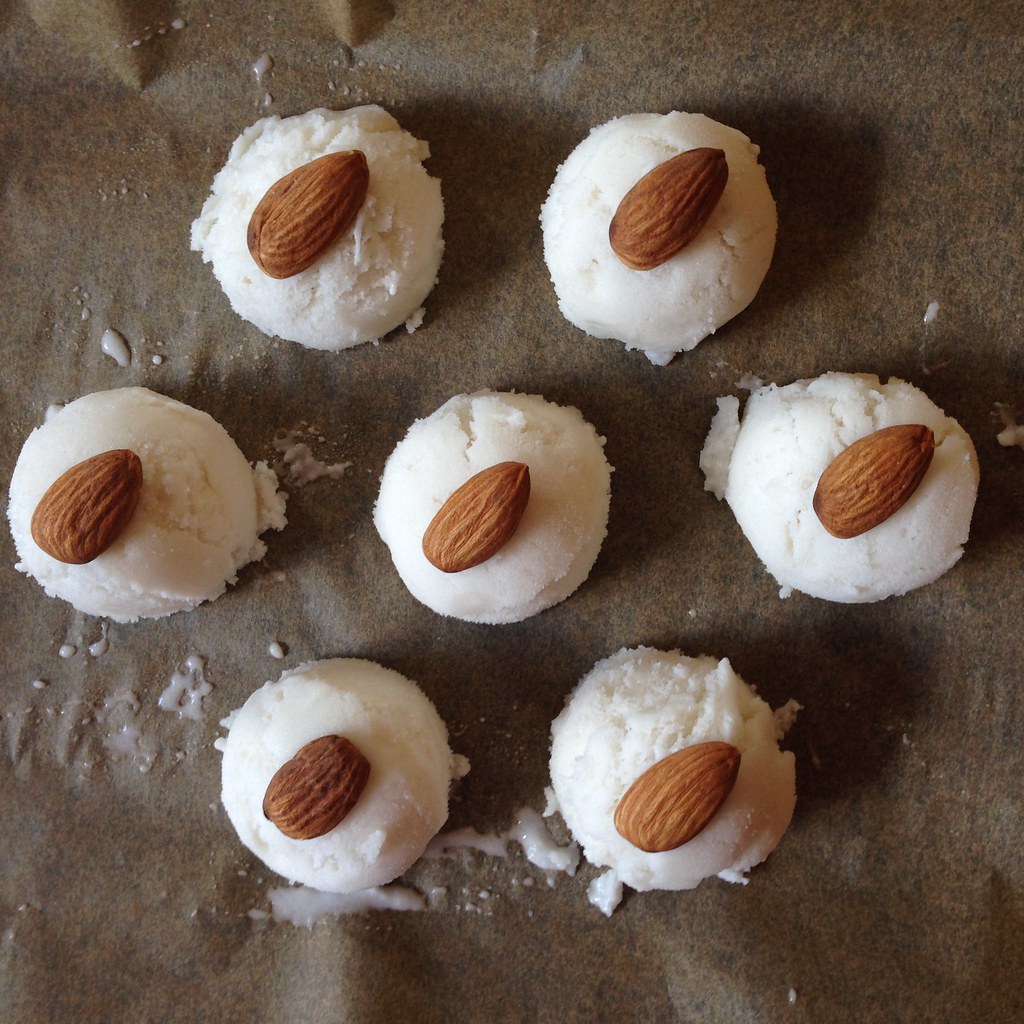
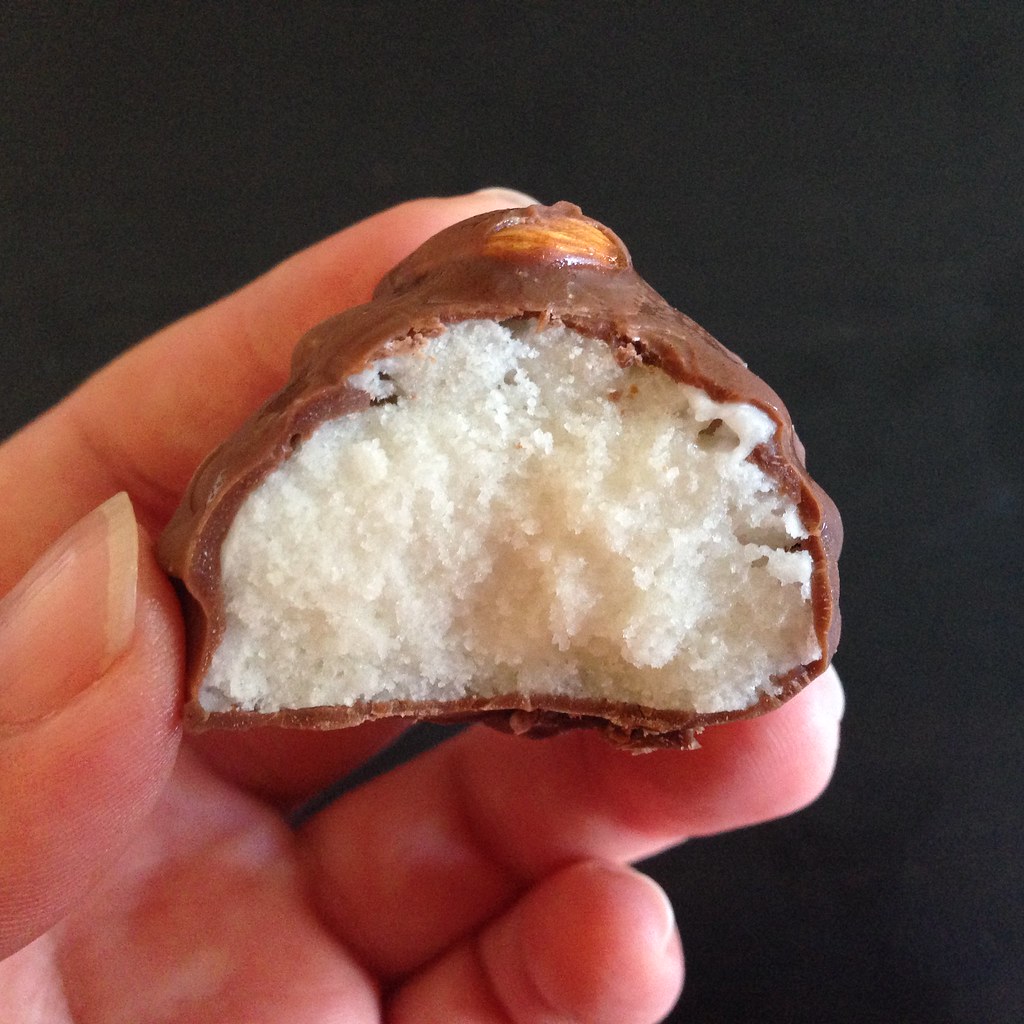
I also decided to try making bon bons out of some of the coconut ice cream I saved before mixing in the chocolate and almonds.  Topped with an almond and enrobed in homemade magic shell, it kind of looks like a fun-size Almond Joy!  I especially like how the texture of the ice cream almost looks like the coconut filling in an actual Almond Joy.

https://www.flickr.com/photos/joyosity/14373040345/

Vegan Almond Joy Ice Cream (adapted from The Kitchn)
makes about 1 quart

2 (15-ounce) cans full-fat coconut milk
1/2 cup honey or agave nectar
1/4 teaspoon kosher salt
2 tablespoons cornstarch
1 1/2 teaspoons coconut extract
1/2 teaspoon almond extract
3 ounces (85 grams) raw almonds (about 1/2 cup)
4 ounces vegan chocolate chunks or chips

Shake the cans of coconut milk thoroughly before opening.  Pour the coconut milk into a medium saucepan, leaving about 1/2 cup in one of the cans.  Add the agave or honey and salt to the saucepan. Bring to a simmer over medium-low heat until the sweetener thins and is easily mixed into the coconut milk, about 2 minutes.

Whisk the cornstarch in the remaining 1/2 cup of coconut milk until well combined. Stir into the warm coconut milk base and cook over medium heat until the mixture begins to thicken — enough so that it coats the back of a spoon, 6 to 8 minutes. Do not to allow the mixture to boil.

Remove from the heat and pour the coconut base into a separate bowl. Allow to cool on the counter for 30 minutes, then stir in the coconut and almond extract.  Cover with plastic wrap and chill in the refrigerator for 4 to 5 hours; you need the base to be very cold before you process it in the ice cream machine.

https://www.flickr.com/photos/joyosity/14186422858/

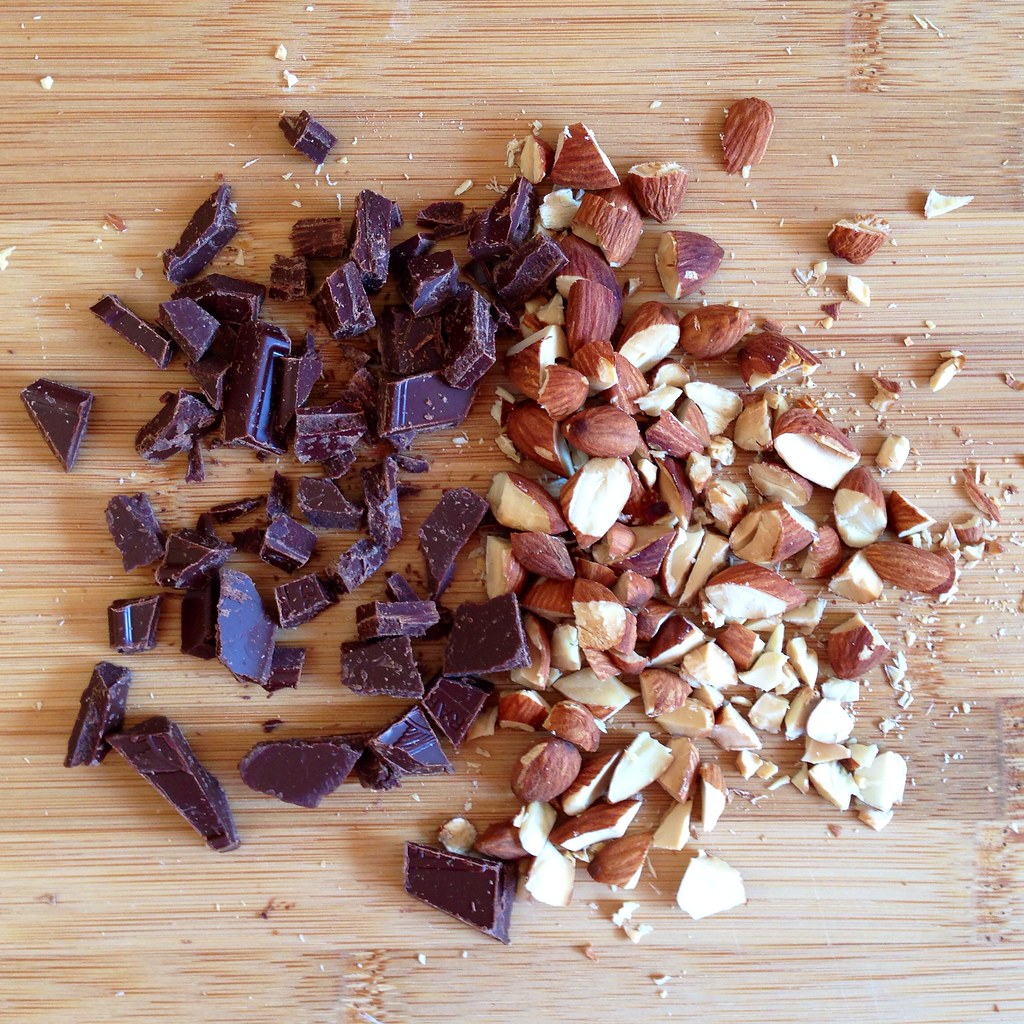
While the ice cream base is chilling, toast the almonds for about 10 minutes in a preheated 350°F oven.  Coarsely chop and store in the freezer until it is time to mix it in to the ice cream.  Put the chocolate in the freezer, too.

https://www.flickr.com/photos/joyosity/14372111824/

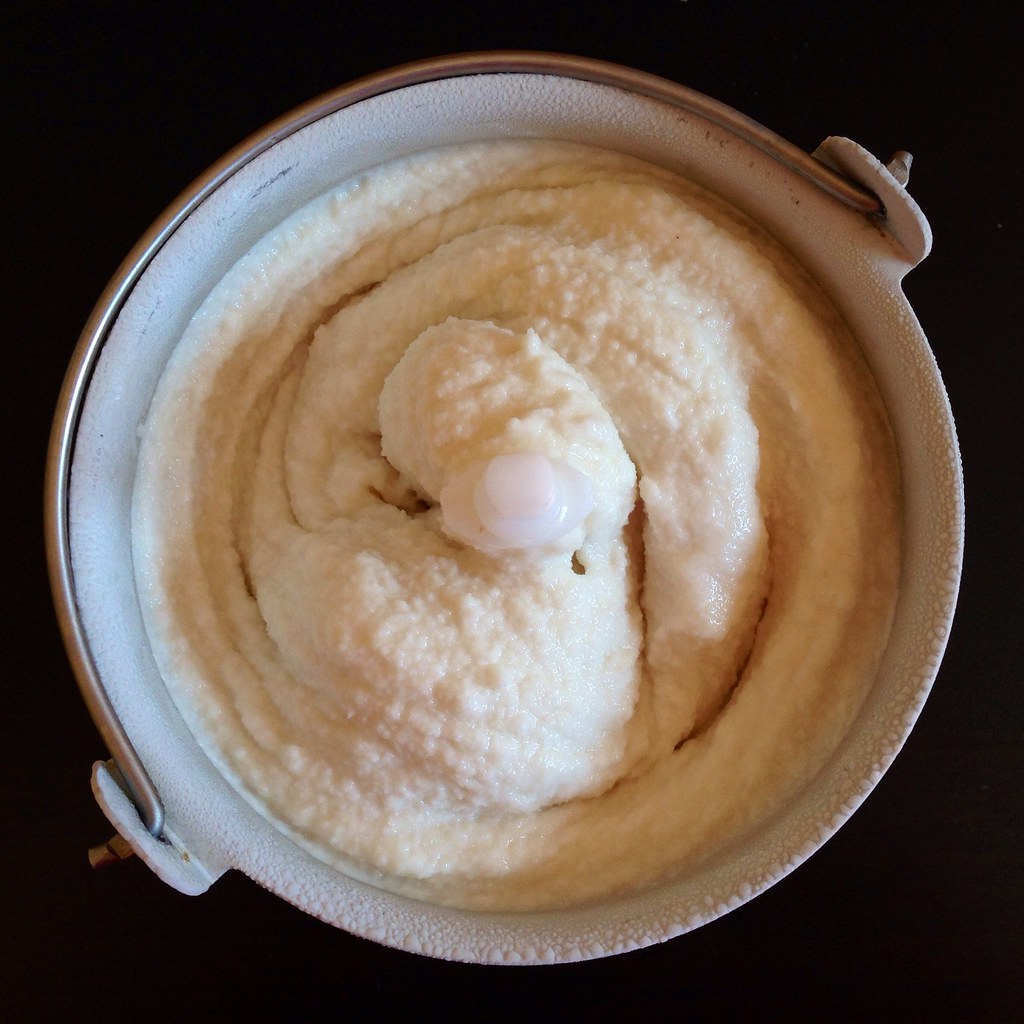
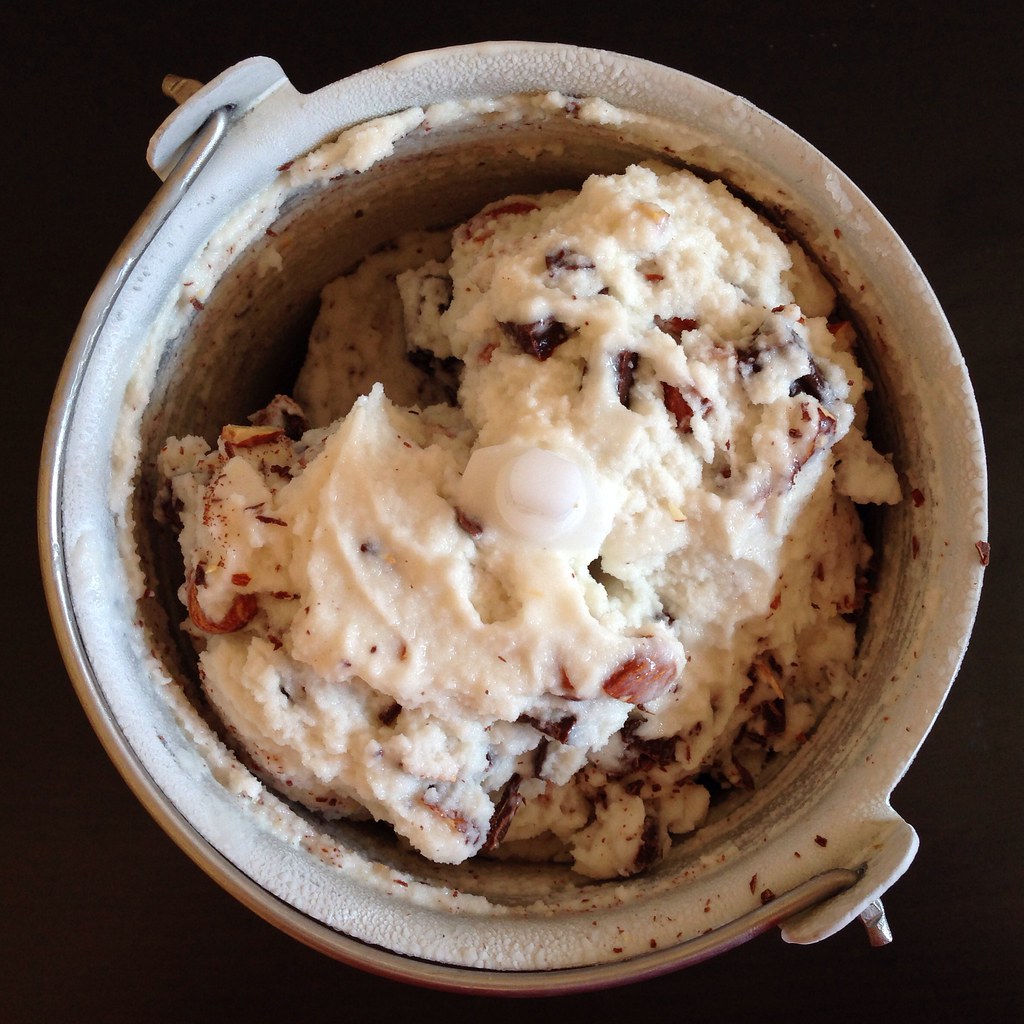
Churn the mixture in your ice cream machine following the manufacturer’s instructions.  (If you want to make the bon bons, skip the next step.)  Add the chopped almonds and chocolate chunks at the very end. When thickened to an soft-serve ice cream consistency, pack the ice cream into a storage container.  Seal with an airtight lid and freeze until firm, at least 4 hours.

https://www.flickr.com/photos/joyosity/14373035455/

Almond Joy Ice Cream Bon Bons

Coconut ice cream
Whole almonds
Homemade magic shell

Line a tray with parchment paper and chill in the freezer.

https://www.flickr.com/photos/joyosity/14393215583/

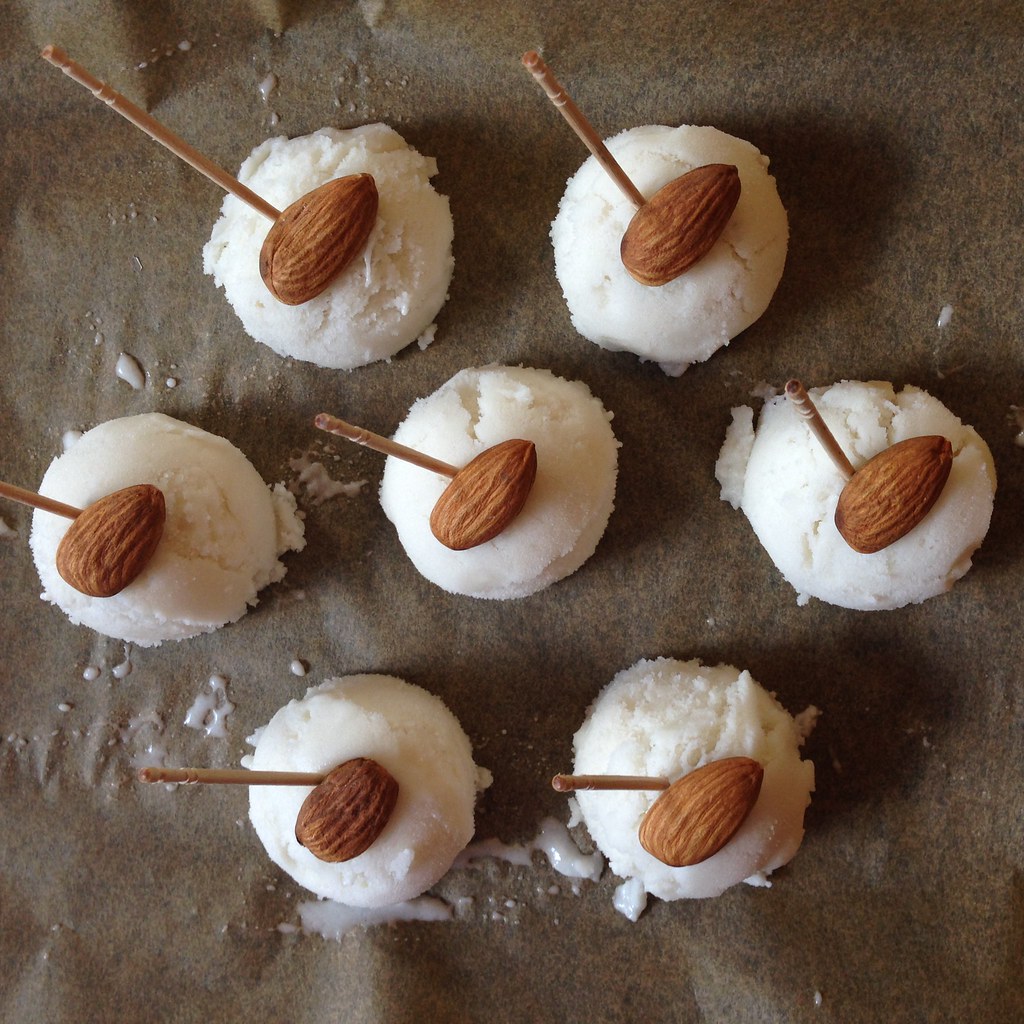
After the ice cream has hardened, scoop out small balls of the ice cream onto the parchment-lined tray, making sure to pack in the ice cream tightly so there won't be any holes in the bon bons.

https://www.flickr.com/photos/joyosity/14186476860/

Place an almond on top of each scoop.  Inset a toothpick at an angle right next to the almond.  Return the tray to the freezer and allow the ice cream balls to harden for at least 30 minutes.

https://www.flickr.com/photos/joyosity/14186402189/

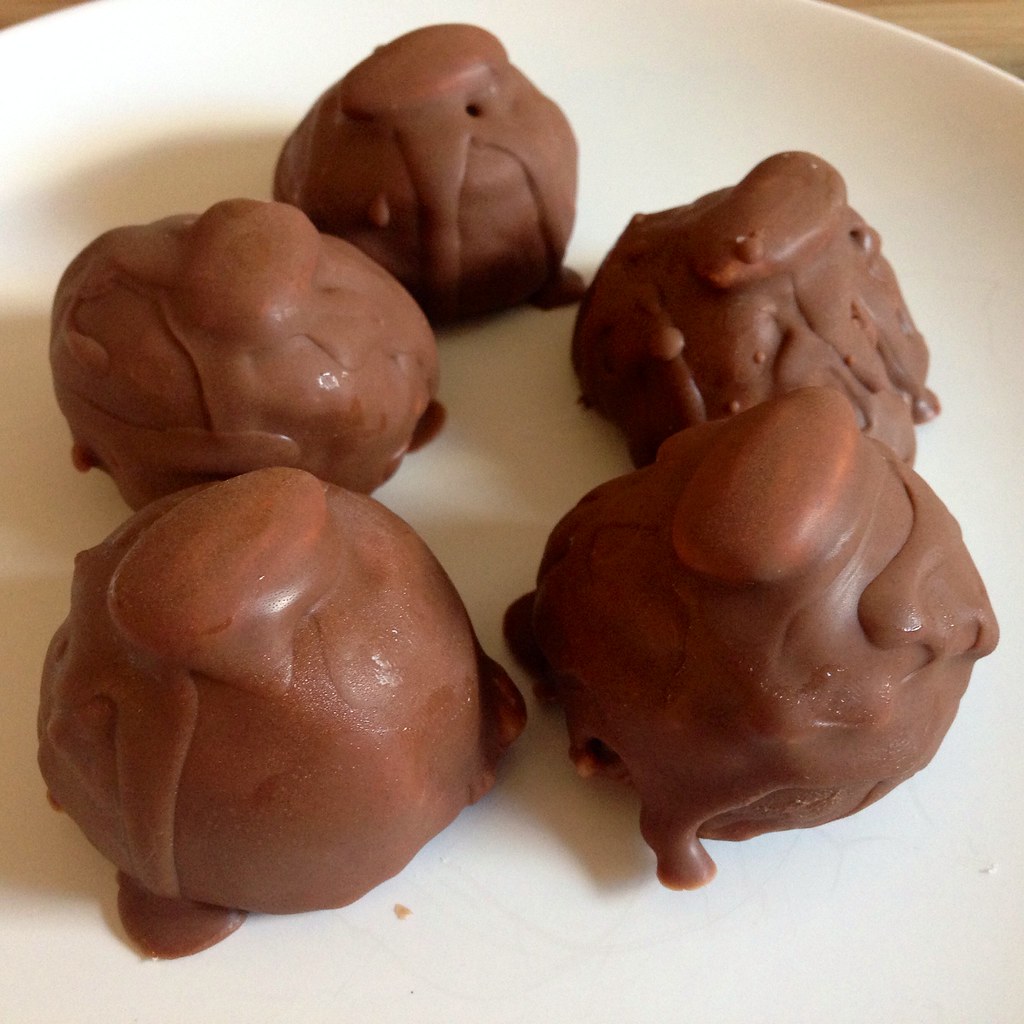
Working quickly, carefully lift the ice cream balls off the parchment paper using the toothpicks and coat with the magic shell.  I used a spoon to pour the magic shell over the ice cream, but you may have better luck dipping it.  Return the bon bon to the tray, remove the toothpick, and drizzle a little more magic shell over the hole where the toothpick was.  After you are done coating all the bon bons, return the tray to the freezer and allow to harden for at least an hour.

https://www.flickr.com/photos/joyosity/14186426048/

I wish I had let the ice cream balls harden longer in the freezer before I tried to dip them because of the 7 I scooped out, only these 5 made it intact.  And looking back, I think it would have looked nicer if I had taken the time to re-dip the bon bons again to smooth out the inconsistencies and produce a thicker coat of chocolate.  C'est la vie, they were still freaking delicious.  =)

Next:  Sesame-Crusted Tofu
Previously:  Overnight Oats in a Jar
Last Year:  Spaghetti Carbonara for One
Five Years Ago:  Kale Chips

Tuesday, May 13, 2014

Serendipitous Chocolate Chip Cookies

https://www.flickr.com/photos/joyosity/9185424347/in/photostream/

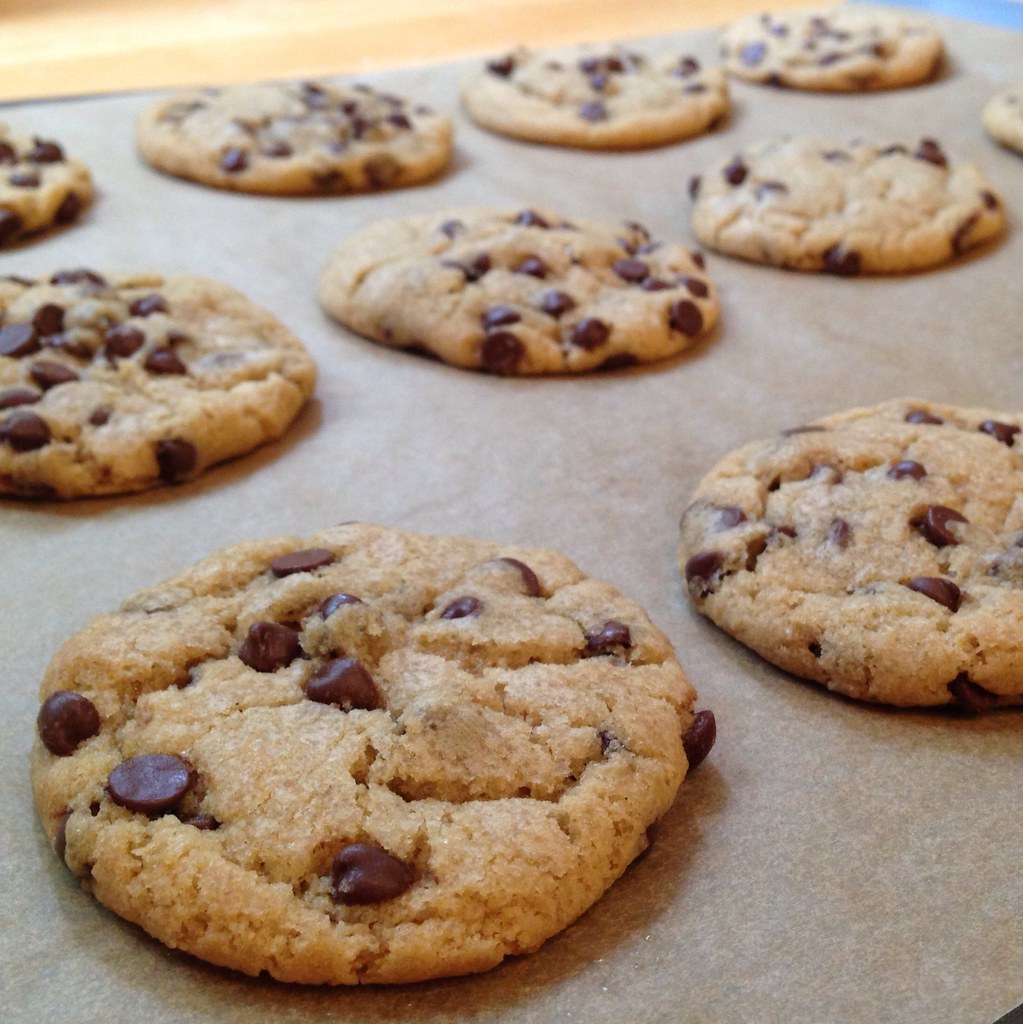
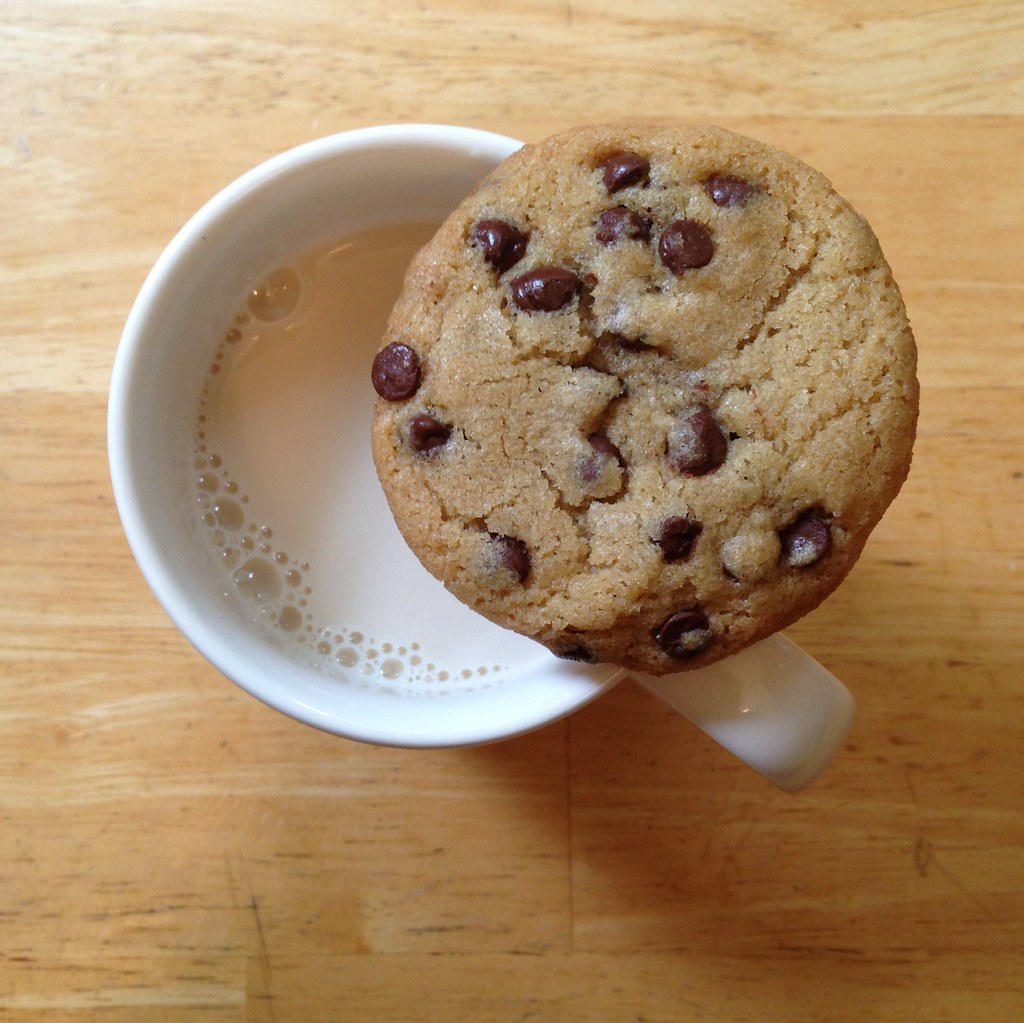
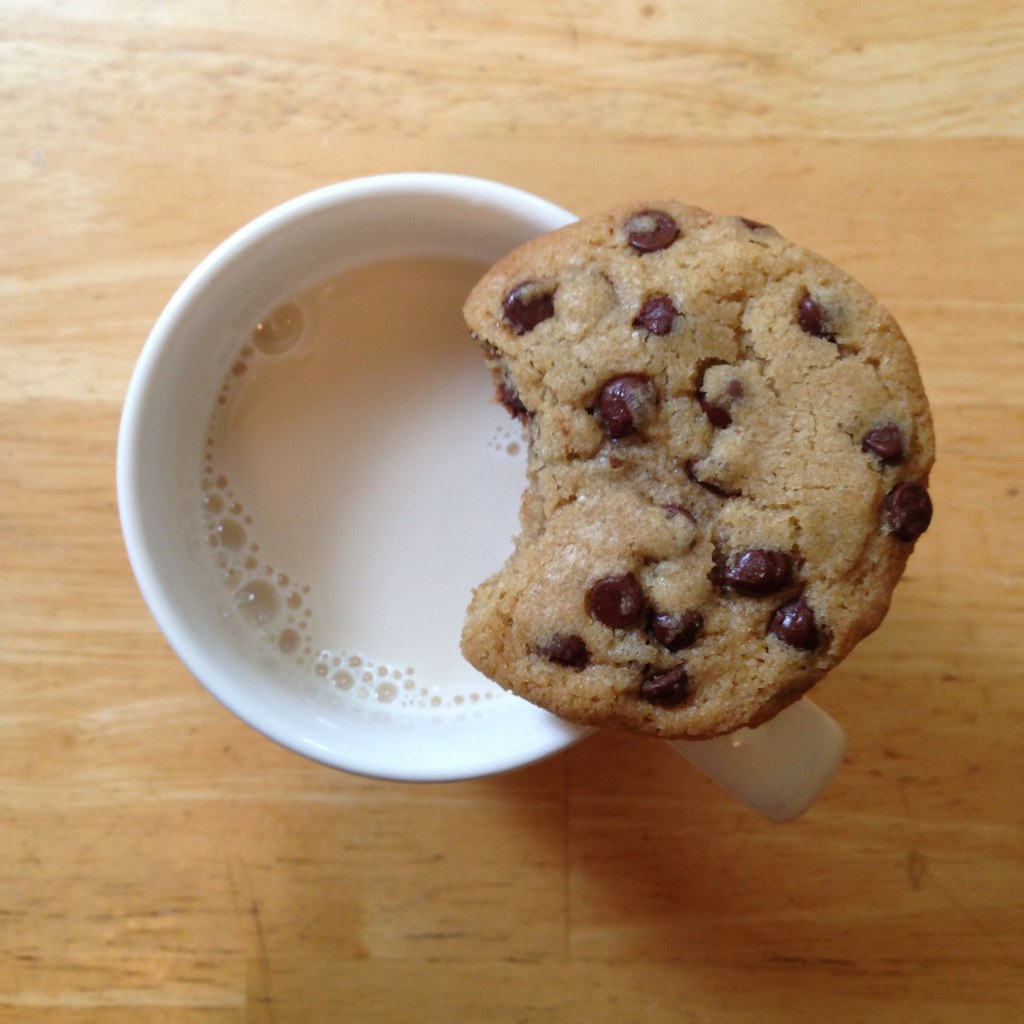
Everyone has their own favorite chocolate chip cookie recipe, and this is mine.  A couple of years ago, I attended a Sister's Appreciation Night at my church, and one of the party favors were these "chocolate chip cookie mixes in a jar" jars.  To be honest, I don't think I touched that jar until almost a year later, when I really wanted to try making America's Test Kitchen's Perfect Chocolate Chip Cookies but didn't have all the ingredients.  Undaunted, I dumped out the contents of the jar, literally separated all the chocolate chips from the rest of the dry ingredients, and proceeded as directed.  What came out of that oven were the best chocolate chip cookies I've ever had.  There was a perfect chocolate chip to cookie dough ratio, and the cookies were just slightly crisp at the edges and soft but not too gooey in the middle.

The next time I wanted to make chocolate chip cookies, I decided to try repeating my success by using the same ingredients from the "cookie in a jar" recipe and the same process as the ATK recipe.  And it worked perfectly, again.  One thing I really like about the ATK method is that you don't have to cream the butter and sugar together, meaning you can make this recipe even without an electric mixer.  The "cookie in a jar" recipe simplifies the ATK ingredients a bit by only using 1 egg instead of an egg plus an egg yolk.  I also roll out slightly smaller balls of dough than what the ATK recipe calls for due to personal preferences.

I call these my Serendipitous Chocolate Chip Cookies because I don't think I would've ever otherwise have come up with this perfect union of two different recipes by myself.

https://www.flickr.com/photos/joyosity/9188223892/in/photostream/

Serendipitous Chocolate Chip Cookies
makes 24 cookies

1 3/4 cup all-purpose flour
1 teaspoon baking powder
1 teaspoon baking soda
3/4 cup unsalted butter, divided
3/4 cup brown sugar
1/2 cup white sugar
1/4 teaspoon salt
1 teaspoon vanilla extract
1 large egg
1 cup semi-sweet chocolate chips

Preheat oven to 375°F.  Whisk together the flour, baking powder, and baking soda in a medium bowl.

https://www.flickr.com/photos/joyosity/9188207566

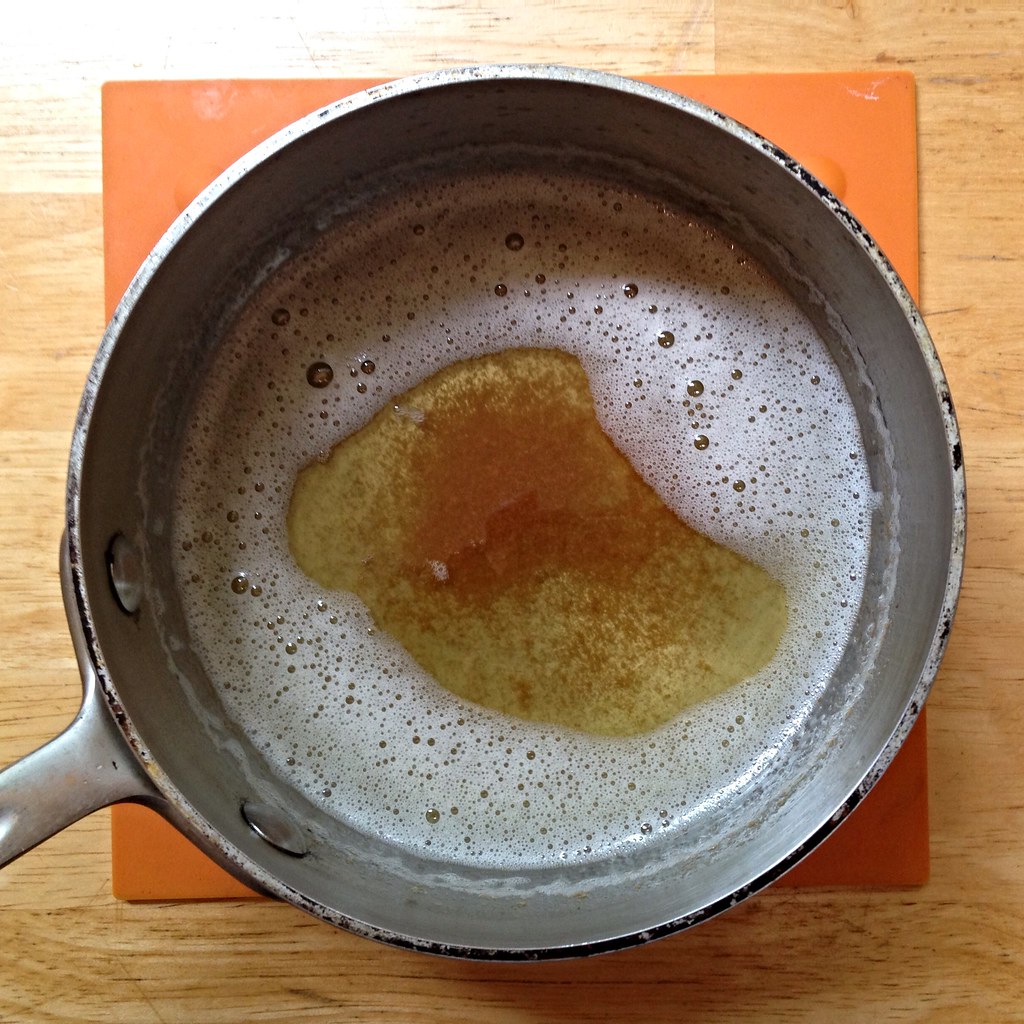
Melt 1/2 cup butter in a small saucepan over medium heat.  Continue to cook the butter until the milk solids have browned, and it has a nutty aroma. 

https://www.flickr.com/photos/joyosity/9185411417

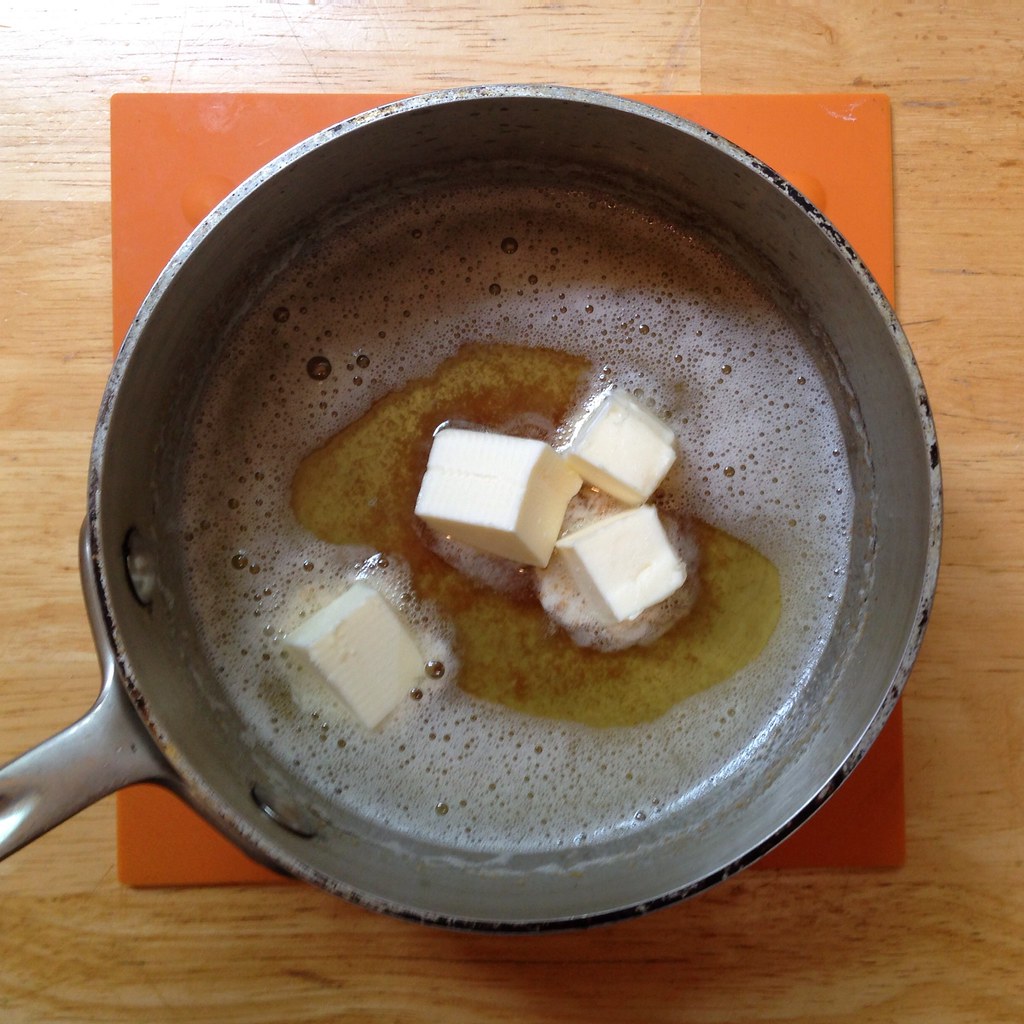
Remove from heat and add the remaining 1/4 cup of butter, stirring to melt.  Add the sugars, salt, and vanilla extract to the melted butter and whisk to combine. 

https://www.flickr.com/photos/joyosity/9188210760

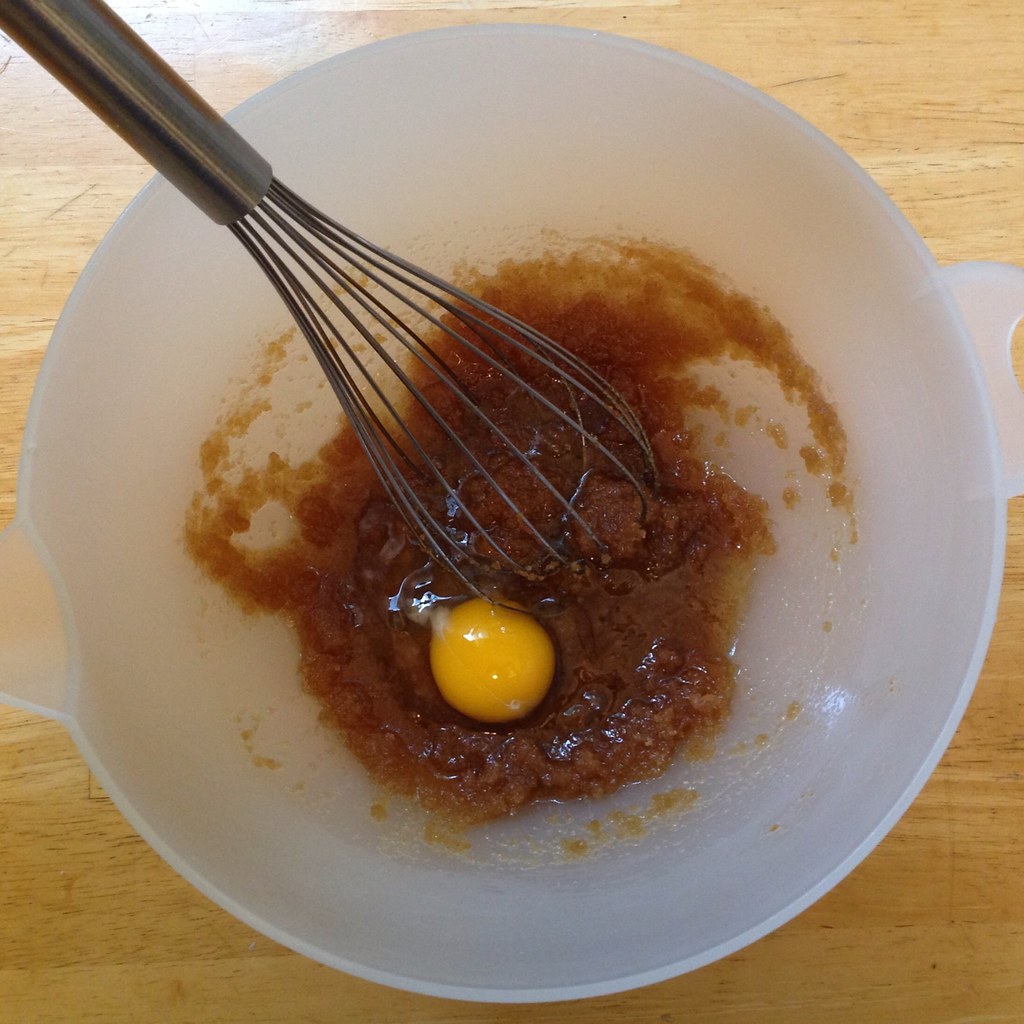
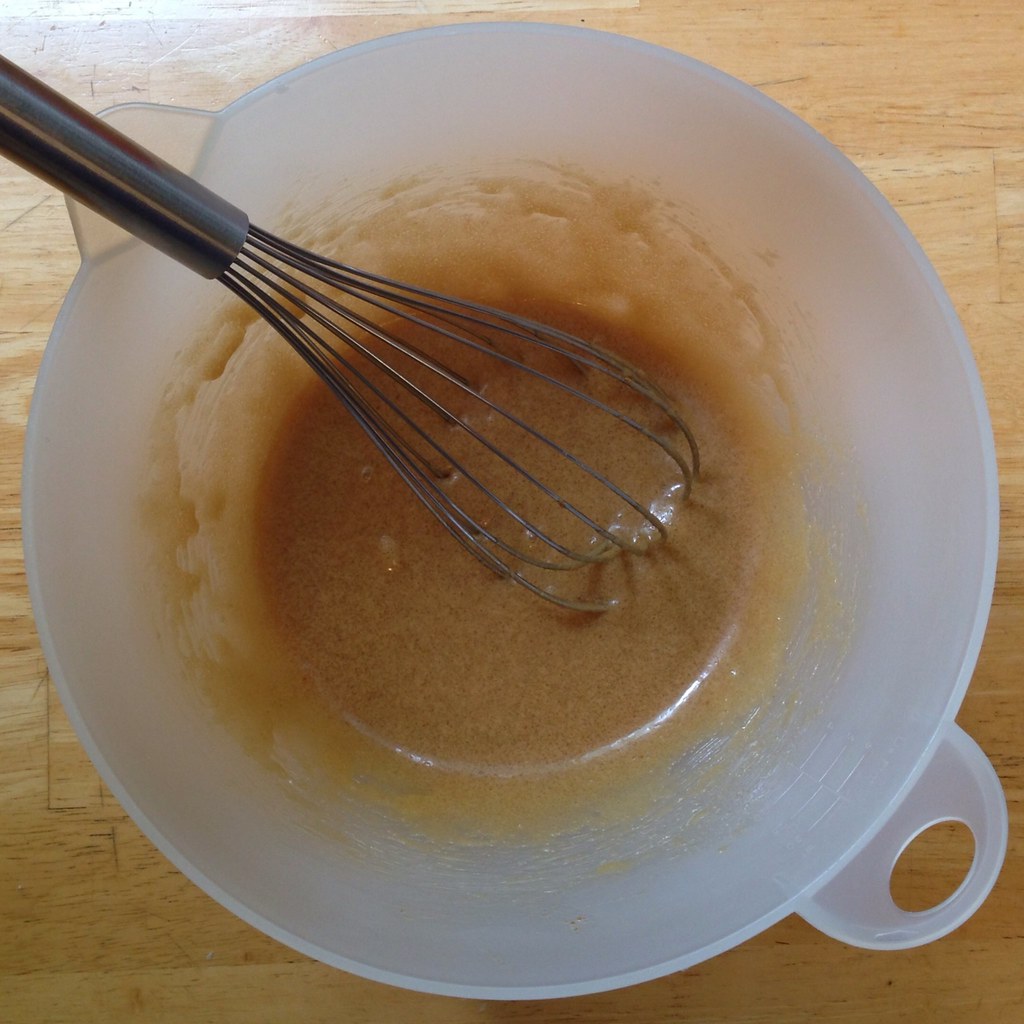
Add the egg and whisk until smooth, about 30 seconds.  Let stand 3 minutes and then whisk again for 30 seconds.  Repeat the 3 minute resting and 30 second whisking two more times.

https://www.flickr.com/photos/joyosity/9185415071

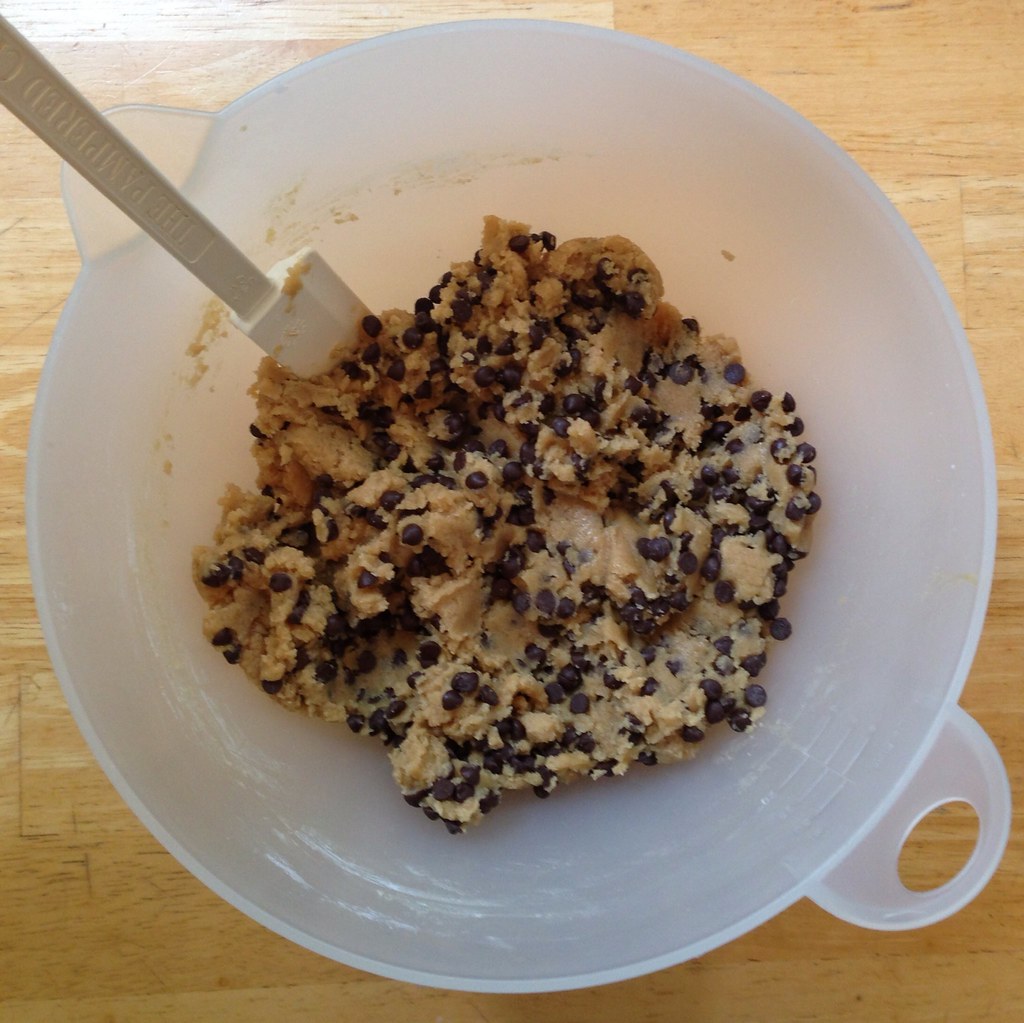
Fold in the flour mixture until just combined.  Add the chocolate chips and stir once more to make sure no pockets of flour remain.

https://www.flickr.com/photos/joyosity/9188214272

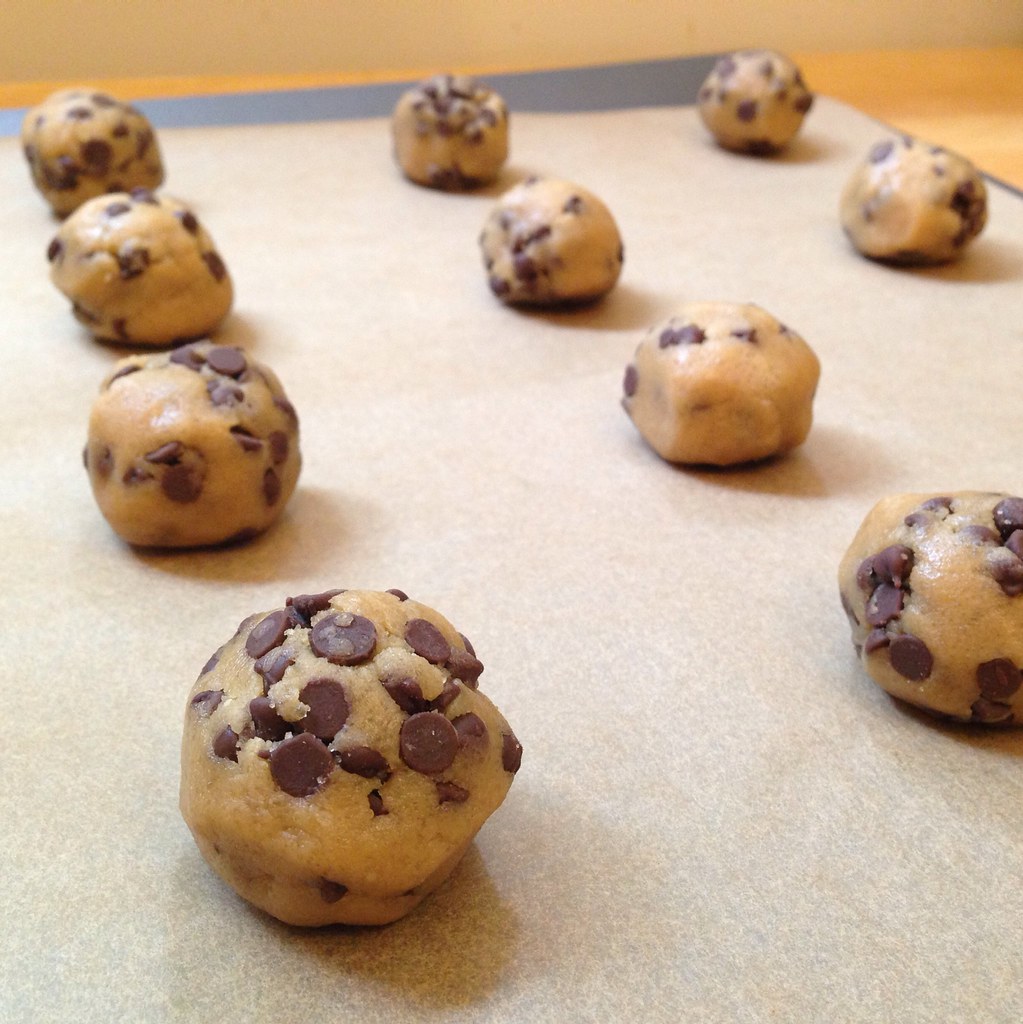
Scoop out 24 balls of dough, about 2 tablespoons each.  Give each ball of dough a quick roll with your hands to make them spherical.  Place the balls of dough onto two parchment- or Silpat-covered baking sheets, about 2 inches apart from each other.

https://www.flickr.com/photos/joyosity/9185422627

Bake 9-11 minutes, until golden brown and puffy.  Cool before serving.

https://www.flickr.com/photos/joyosity/9188224786/in/photolist-5JqqoG-eZW3zJ-eZFGmV-eZW2es-eZFFh8-eZW1C5-eZW4hs-eZW47J-eZFG8D-eZVZZs-eZVYJs-eZW3Rj-eZVXZQ-eZFDTn-eZFGDi-eZVZGY-eZVYWU-eZFDD4-eZFEEz-eZFCNn-eZW2uG/

If you wanted, you could even throw in some of the tips from the tried and true New York Times chocolate chip cookie recipe by letting the dough sit in the fridge overnight to hydrate more fully and sprinkling some flaky sea salt on top of the dough just before baking.

Next:  Corn and Black Bean Tortilla Soup
Previously:  Candied Bacon Chocolate Chip Pancakes
Five Years Ago:  Red Bean and Black Sesame Ice Cream