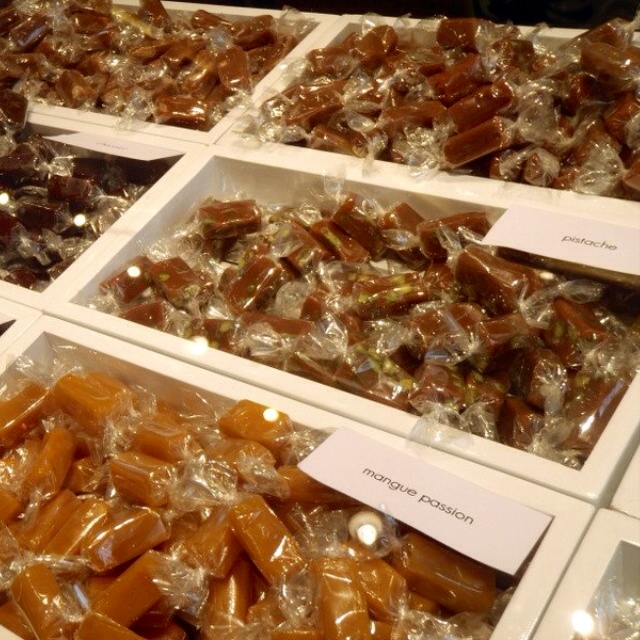
A year and a half ago, I tried making my
own version of Jacques Genin's mango passion caramels by using Smitten Kitchen's
apple cider caramels as a template. In my opinion, the vanilla passion caramels turned out great, and everyone was happy.
Then a couple of months ago, my friend Ellen sent me a link to
this recipe which linked to what was apparently the
real recipe from Jacques Genin. o_O
Unfortunately, even after
translating the recipe to English, the instructions were a little vague. There no mention of what temperature to cook the caramel to, just directions to boil for 45 minutes, which is really not enough when it comes to the precise science of candy making. And there was no helpful suggestion for how to replace the glucose with corn syrup, which is much more available, at least in my kitchen. Lastly, the recipe says it's for 4 people, but the crazy amount of each ingredient (a kilogram each of mango and passion fruit juice? 1.8 kilograms of sugar?!?) made me think it might be for more like 400 people! After reading a few comments and looking up some info online, I decided to try cooking the caramel to a "soft ball" stage, about 110°C or 230°F, and to use a 1:1 substitution of corn syrup for glucose. I also made the executive decision to divide all the quantities by 5.
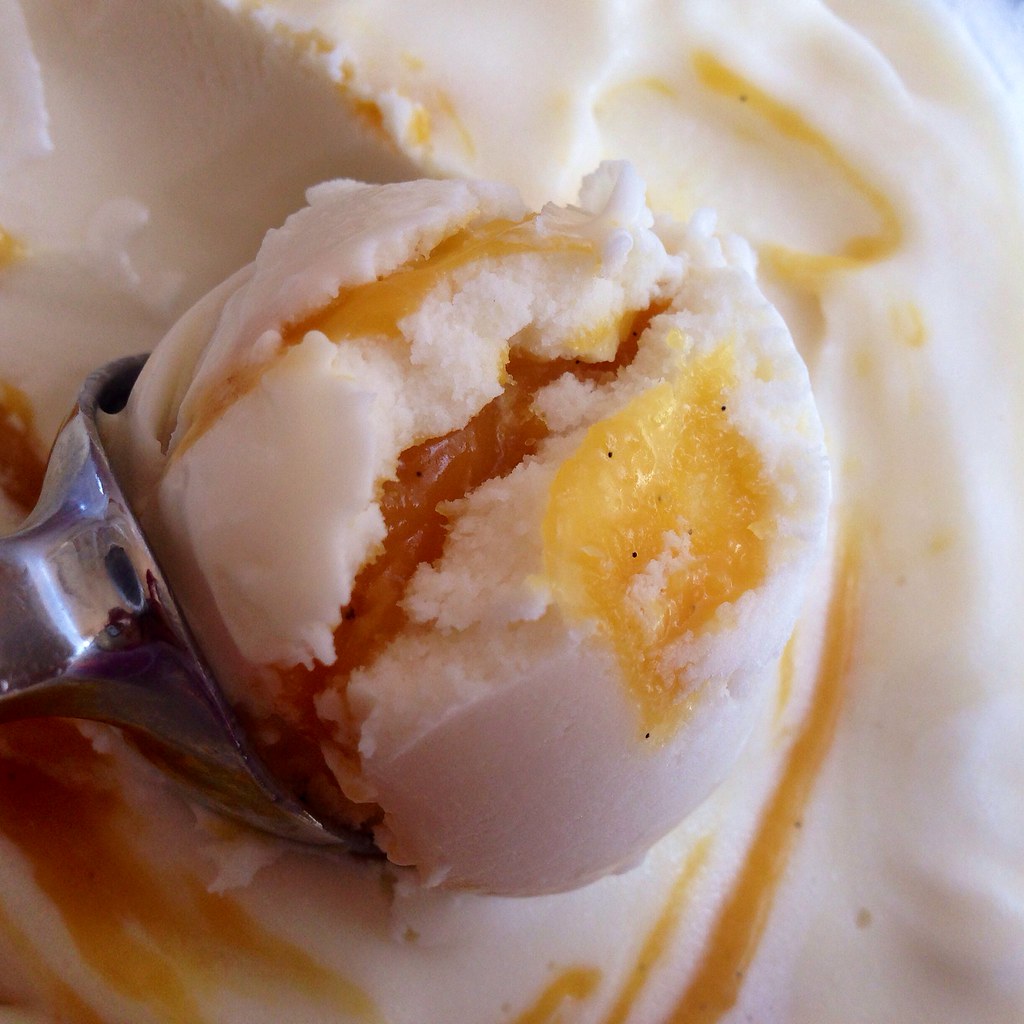
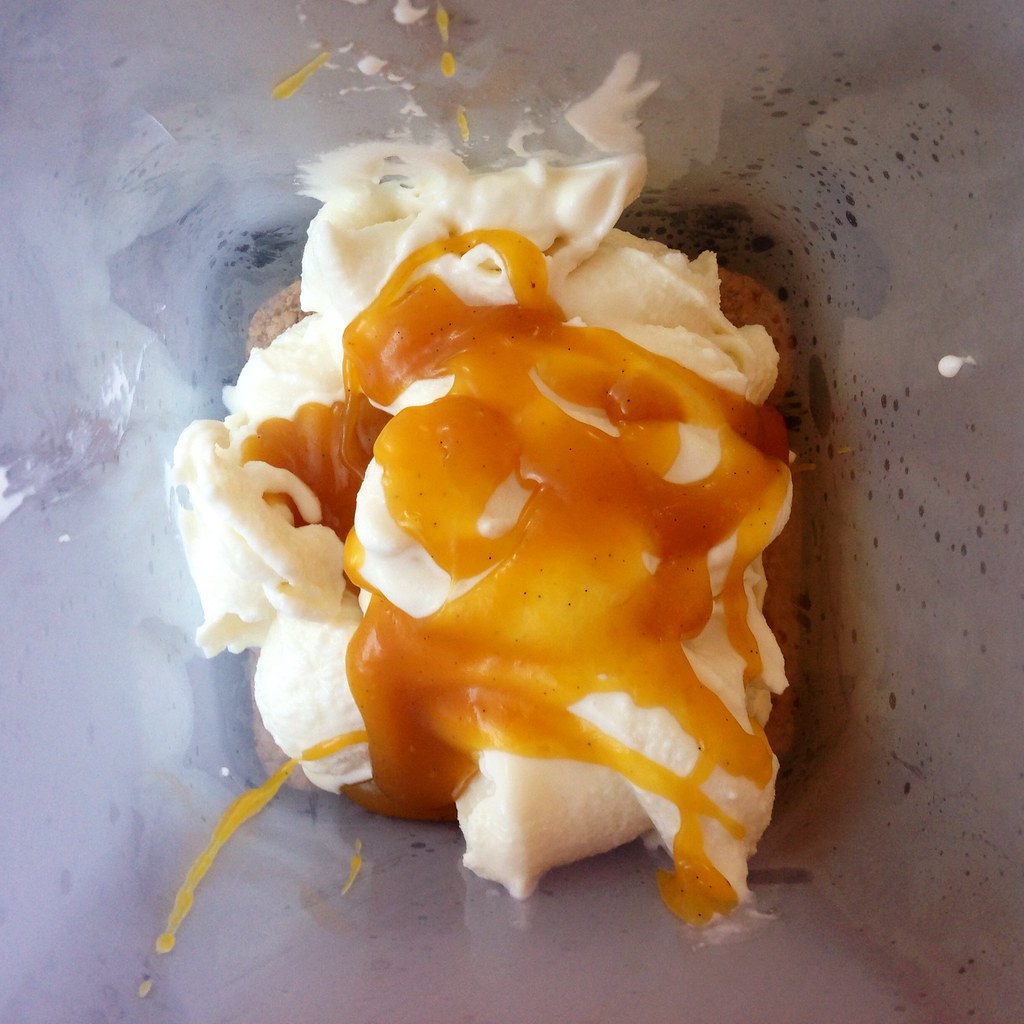
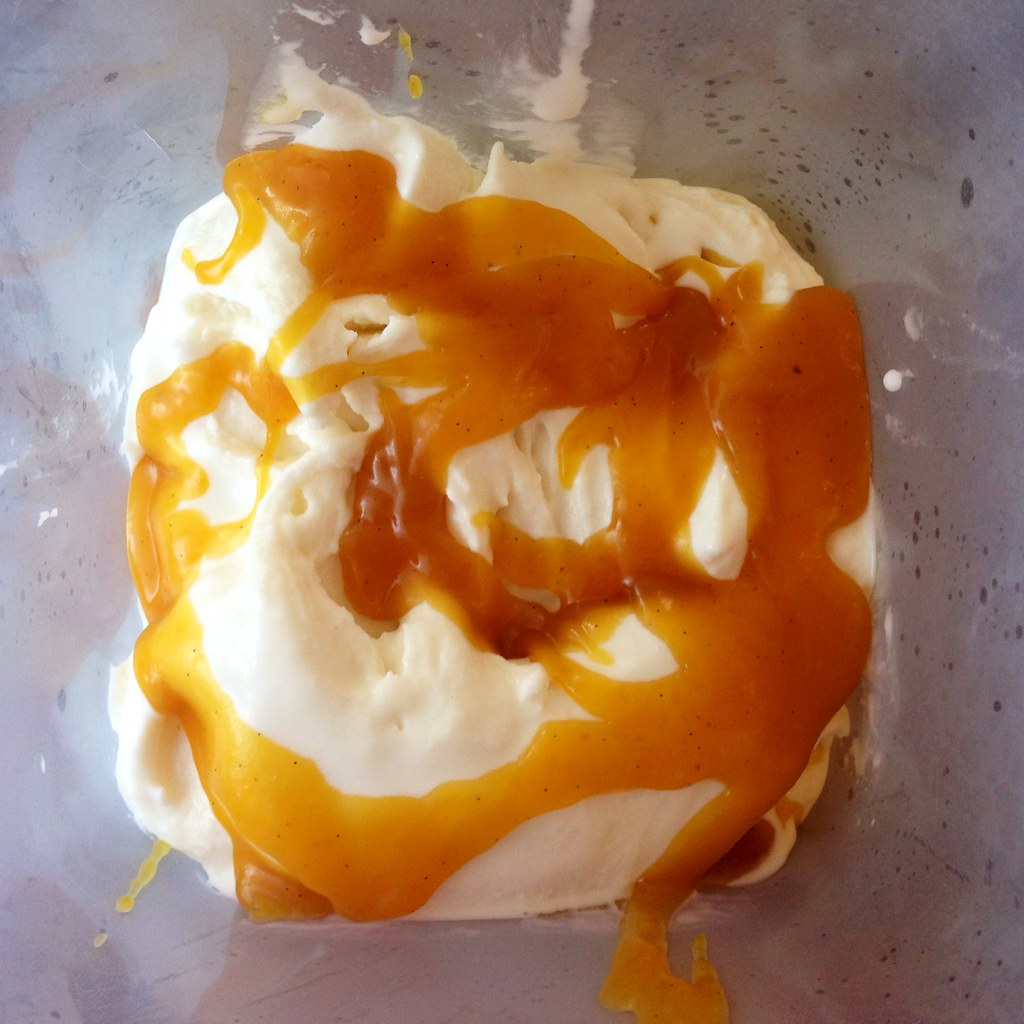
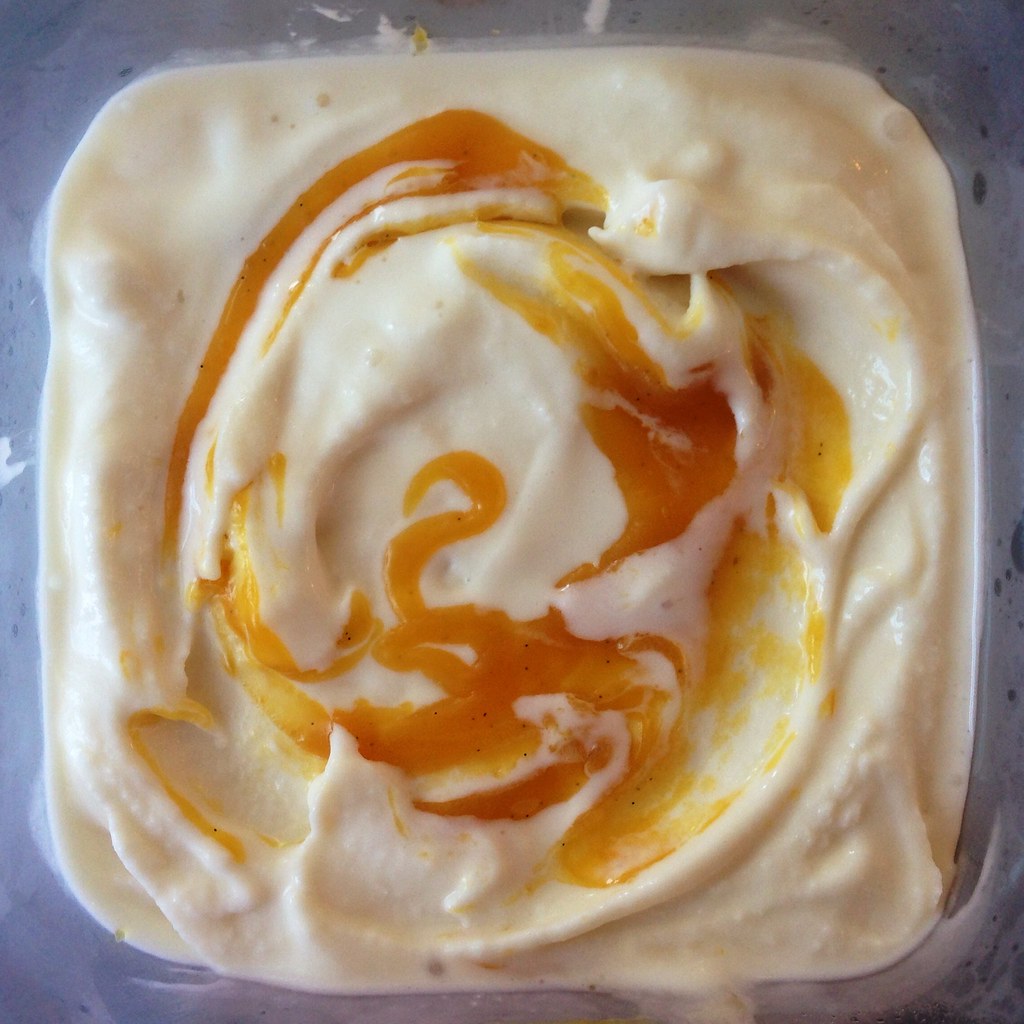
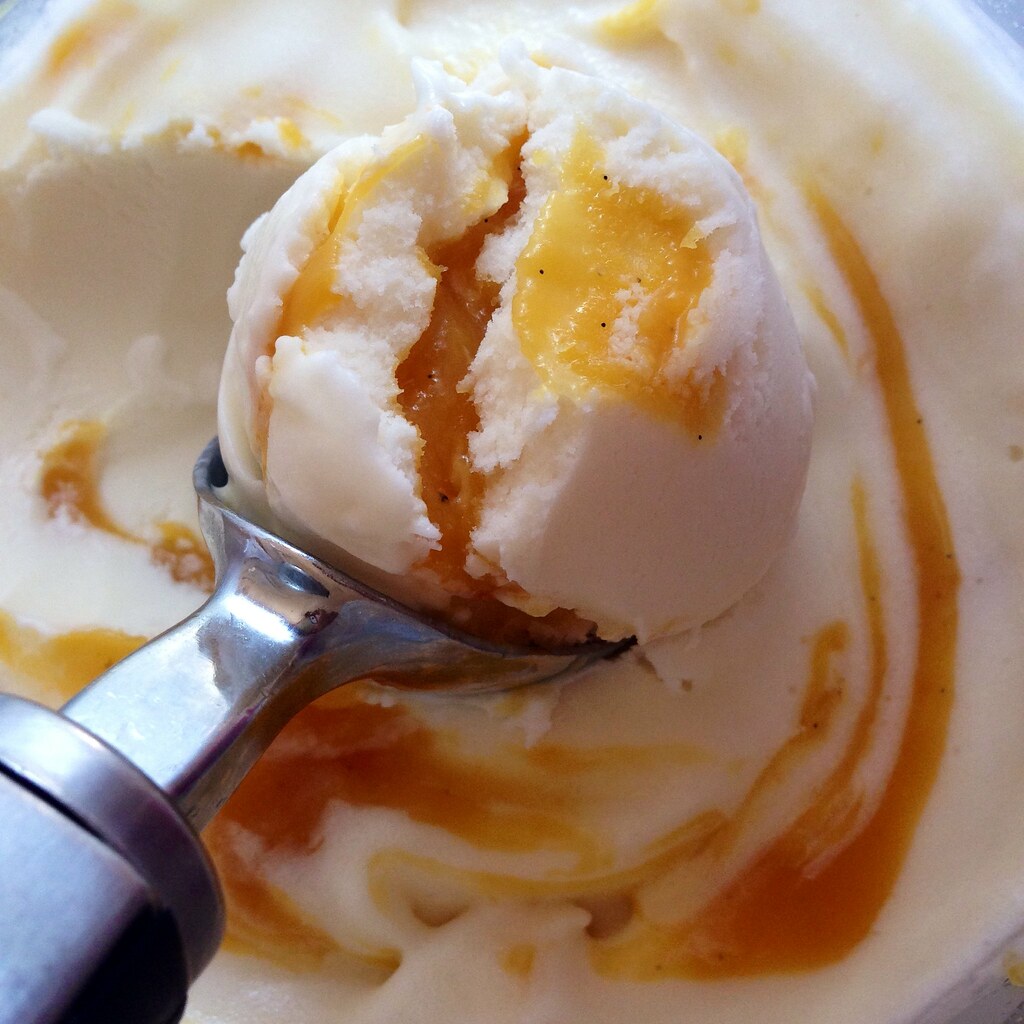
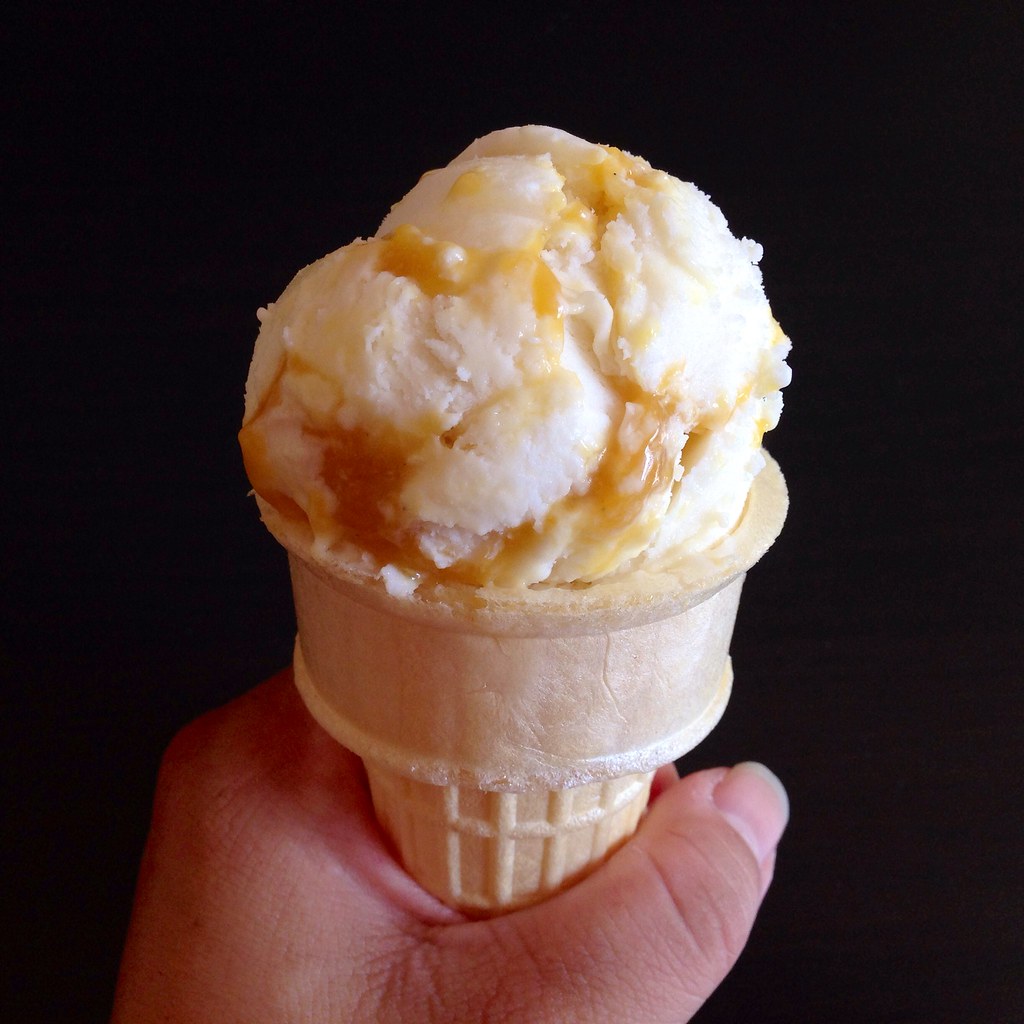
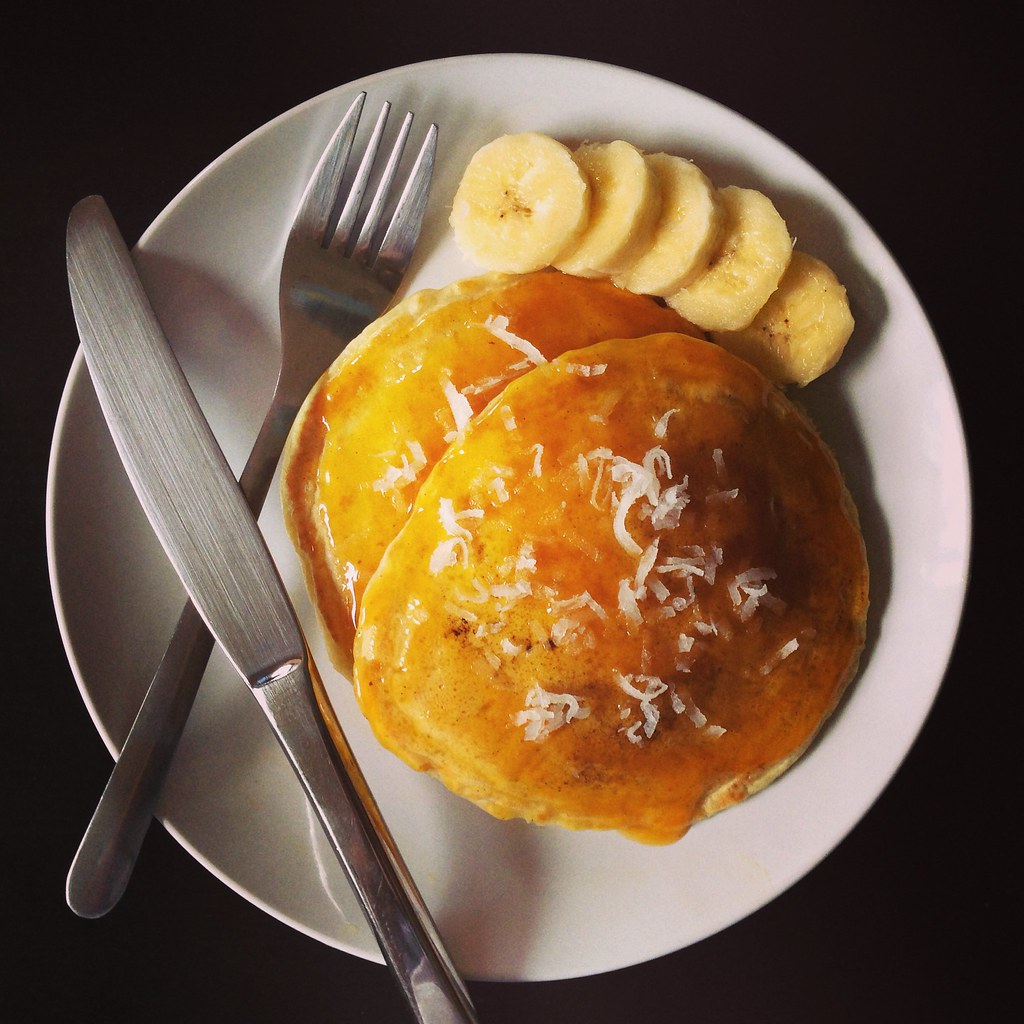
The caramel actually reached 230°F in about 45 minutes on a medium-low heat, so I thought I had gotten it right (and the volume of caramel was just right), but then when it was time to cut the caramels, they were so soft it was almost impossible! I basically had to scrape the caramel onto a piece of wax paper, and even after chilling the caramels in the freezer, they were still super soft! In the end, I gave up on trying to wrap this batch and just spooned everything into a jar. It wasn't a total loss, though. I made banana pancakes the next morning and topped them with the mango passion caramel sauce, and it was delicious! I'm thinking of swirling the rest into some coconut ice cream, whenever I get around to making that.
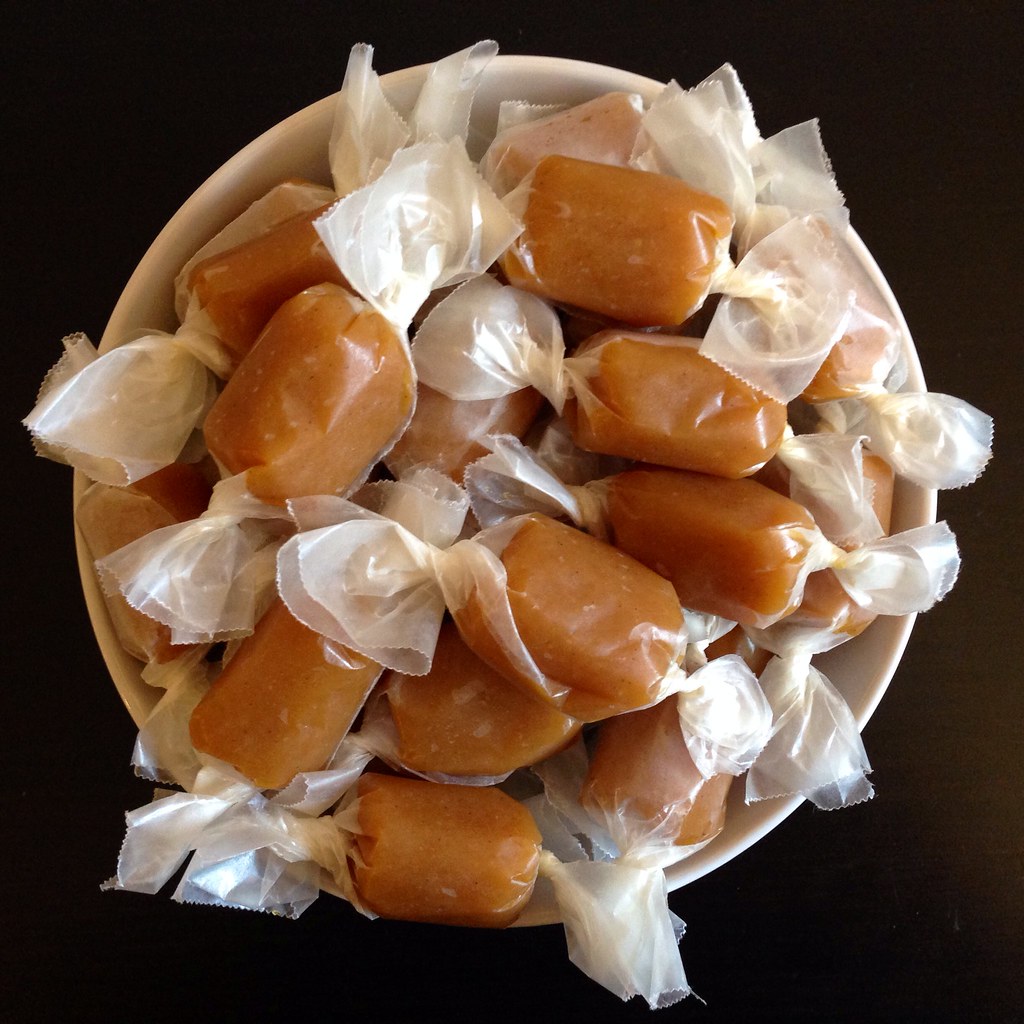
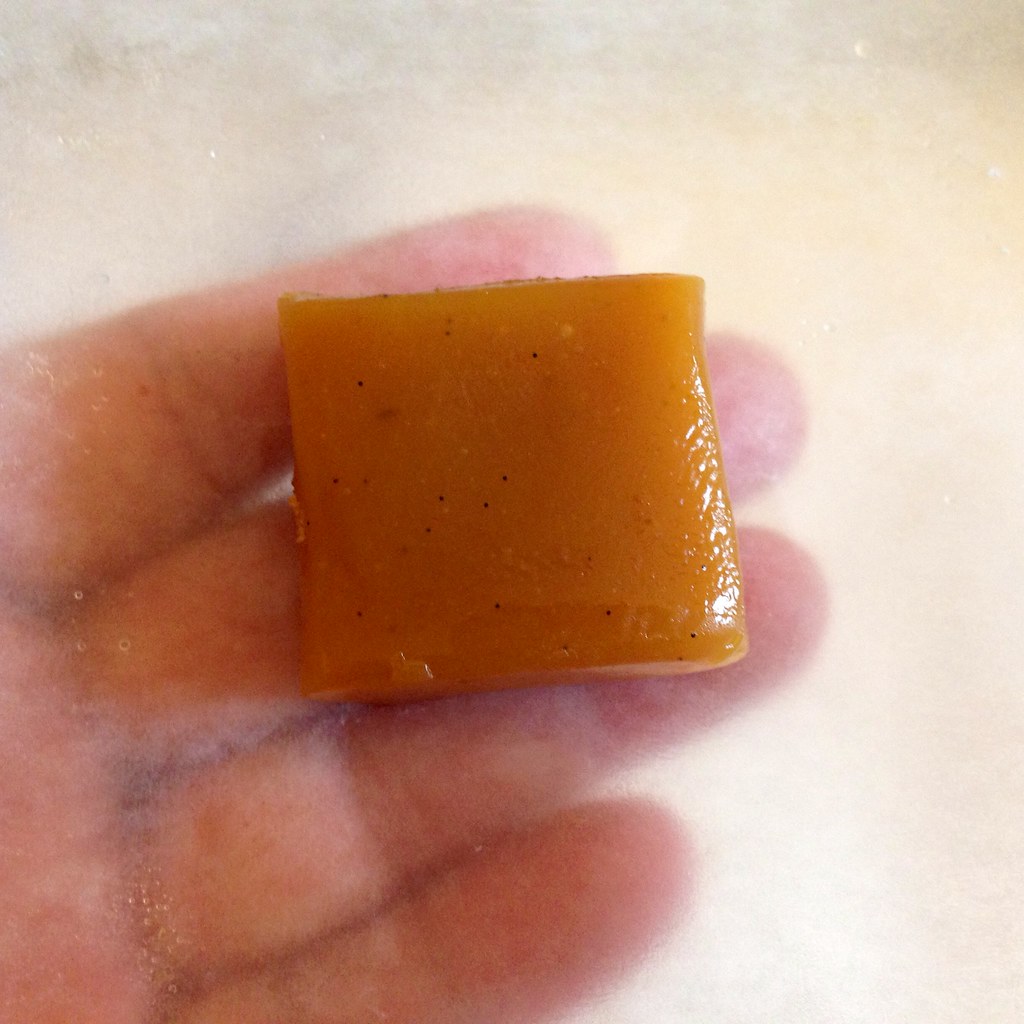
I was determined to get the caramels right though, so for the next batch I decided to use half the amount of corn syrup and to cook the caramels until 252°F, the temperature I used for the vanilla passion caramels. This time, the caramels set like they should! The only problem is the butter didn't completely mix into the caramel even though I stirred it for like 15 minutes! The next time I make these, I'll try reducing the amount of butter I add by maybe 20%.
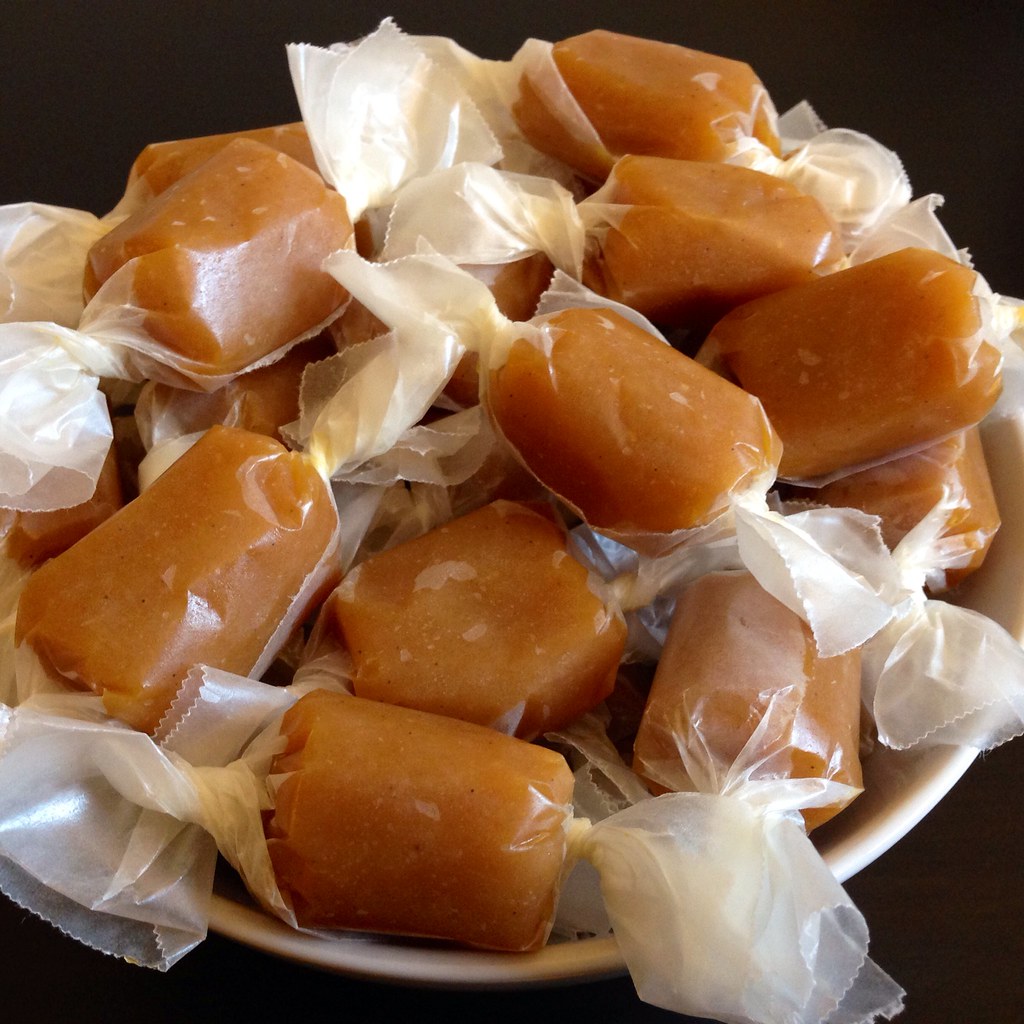
Other than that, these caramels were perfect. They're soft but not sticky with just the tiniest bit of crackle from the vanilla bean seeds. The reduction in corn syrup made a difference not only in texture but also in improving the taste. There's less of a sharp sweetness so you can taste the tartness of the fruit and the buttery goodness even more. It's been over 2 years since I had last the real thing, but this pretty much tastes exactly like what I remember. ^_^
Jacques Genin's Mango Passion Caramels (adapted from
here)
makes about 64 caramels
300 g heavy cream
200 g passion fruit pulp
200 g mango juice
1 vanilla bean, split lengthwise and cut in half if needed to fit in the pot
25 g corn syrup
360 g sugar
100 g butter, softened (consider using less; however, I haven't tried it myself)
Mix all the ingredients except for the butter in a large saucepan.
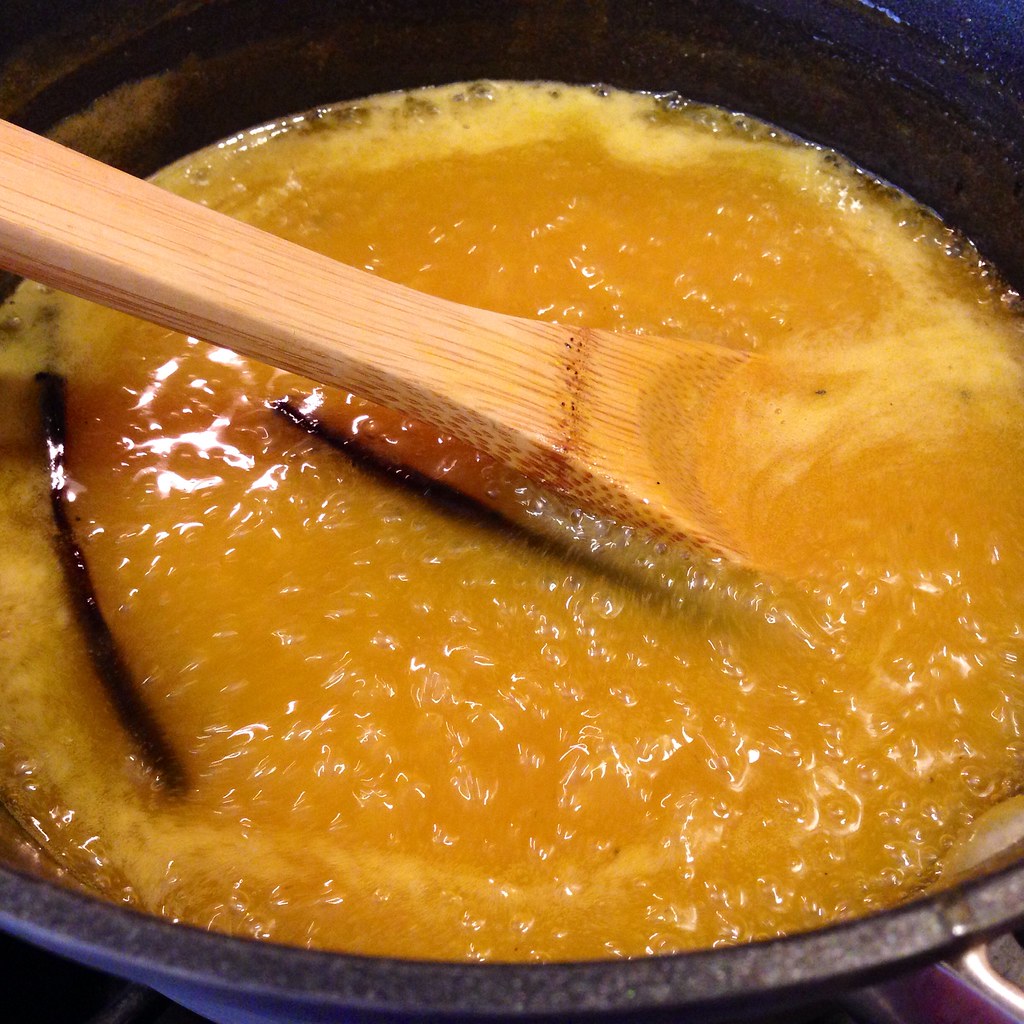
Bring to a boil, and then reduce heat to a medium/medium-low and
continue to boil for about 45-60 minutes, until the temperature reaches
252°F.
In the meantime, line a 8" square baking pan with two pieces of crisscrossed parchment paper. Cut out 3" square pieces of wax paper to use as wrappers.
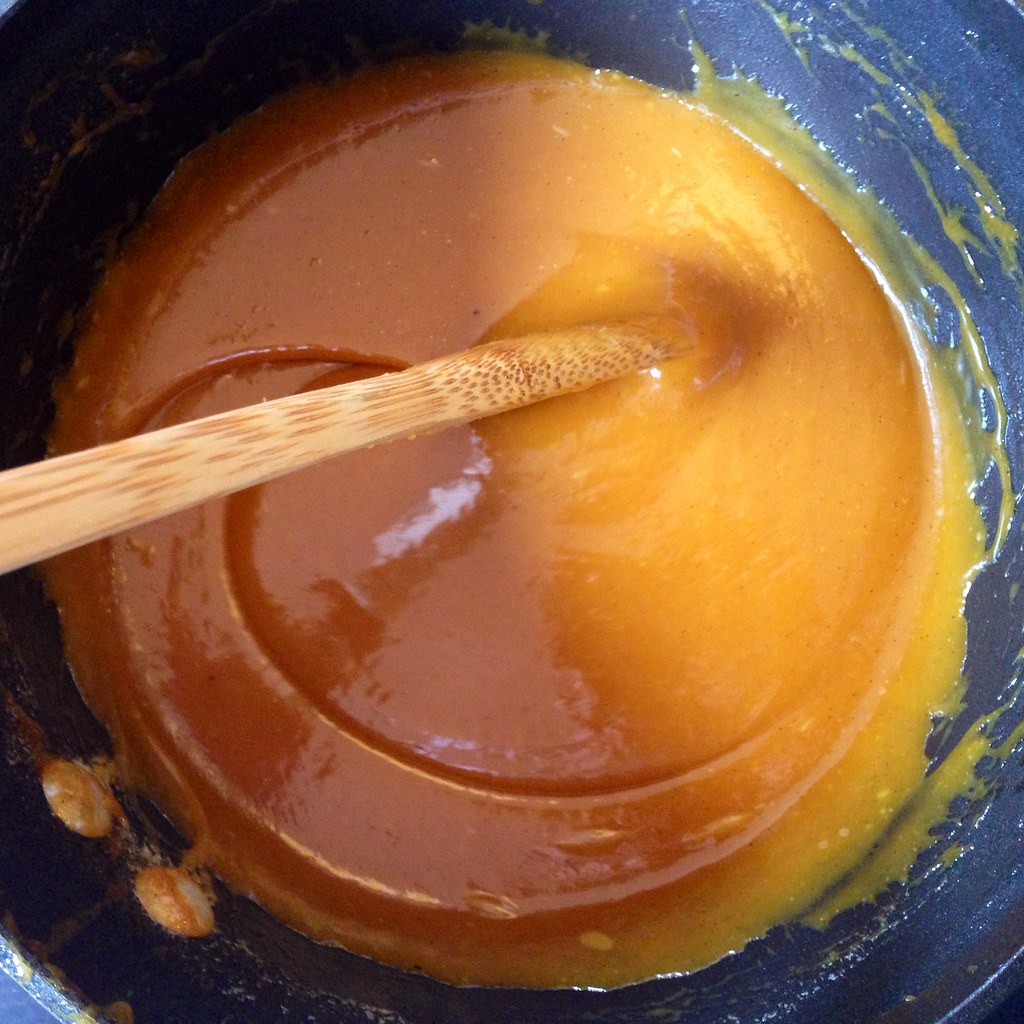
When the caramel has reached temperature, remove the vanilla bean. Add the butter and mix well. It may take a while for the butter to mix in, but it eventually will; just keep stirring.
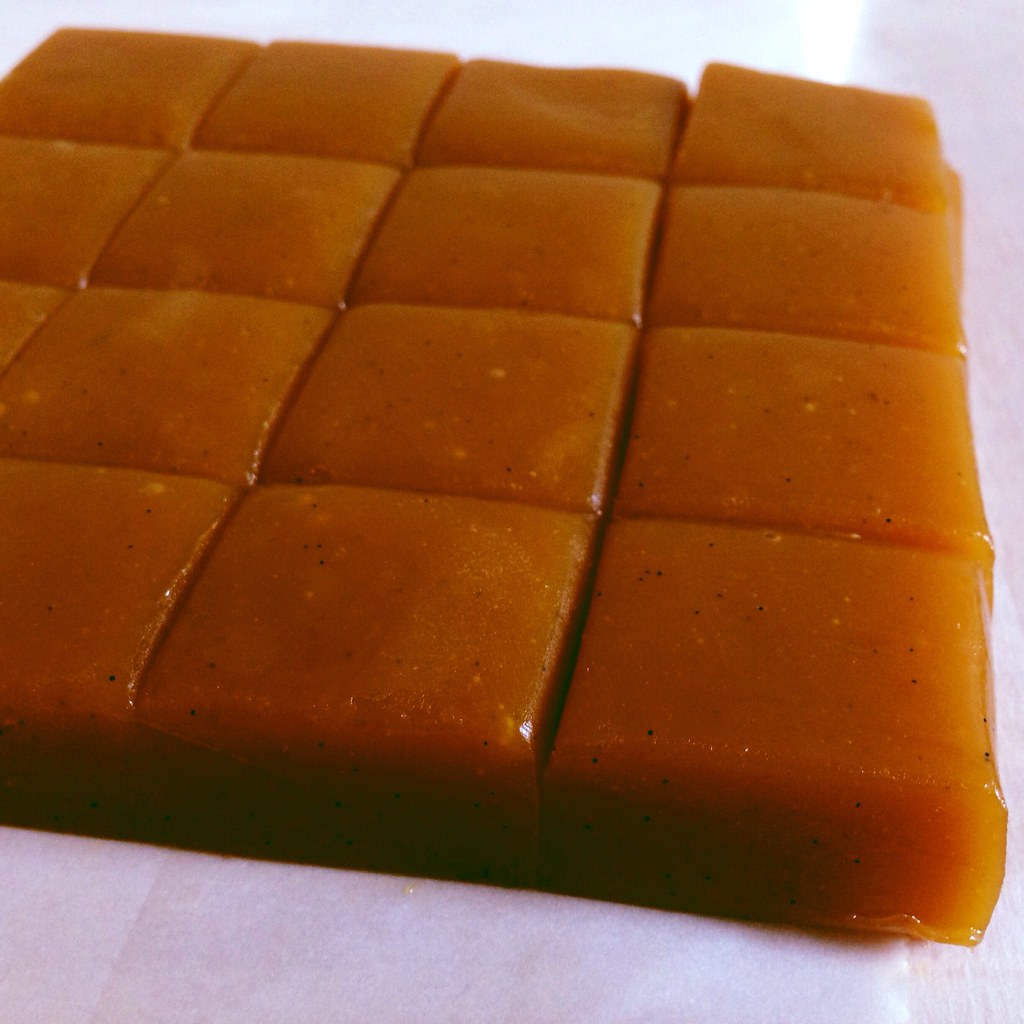
Pour into the prepared baking pan and allow to cool completely.
Cut the caramel into 1" squares. Wrap in the wax paper squares. Store in the refrigerator and bring to room temperature before eating. Die of happiness.
This recipe is actually easier than the vanilla passion caramel one since you only need one pot for everything! The hardest part was actually finding pure mango juice since most of the "mango juice" I found in stores contained water and sugar. I think I finally found some on a shelf in a random Latin grocery store in Seattle. I found the passion fruit pulp in the freezer section of my grocery store with all the other frozen Goya products.
Next:
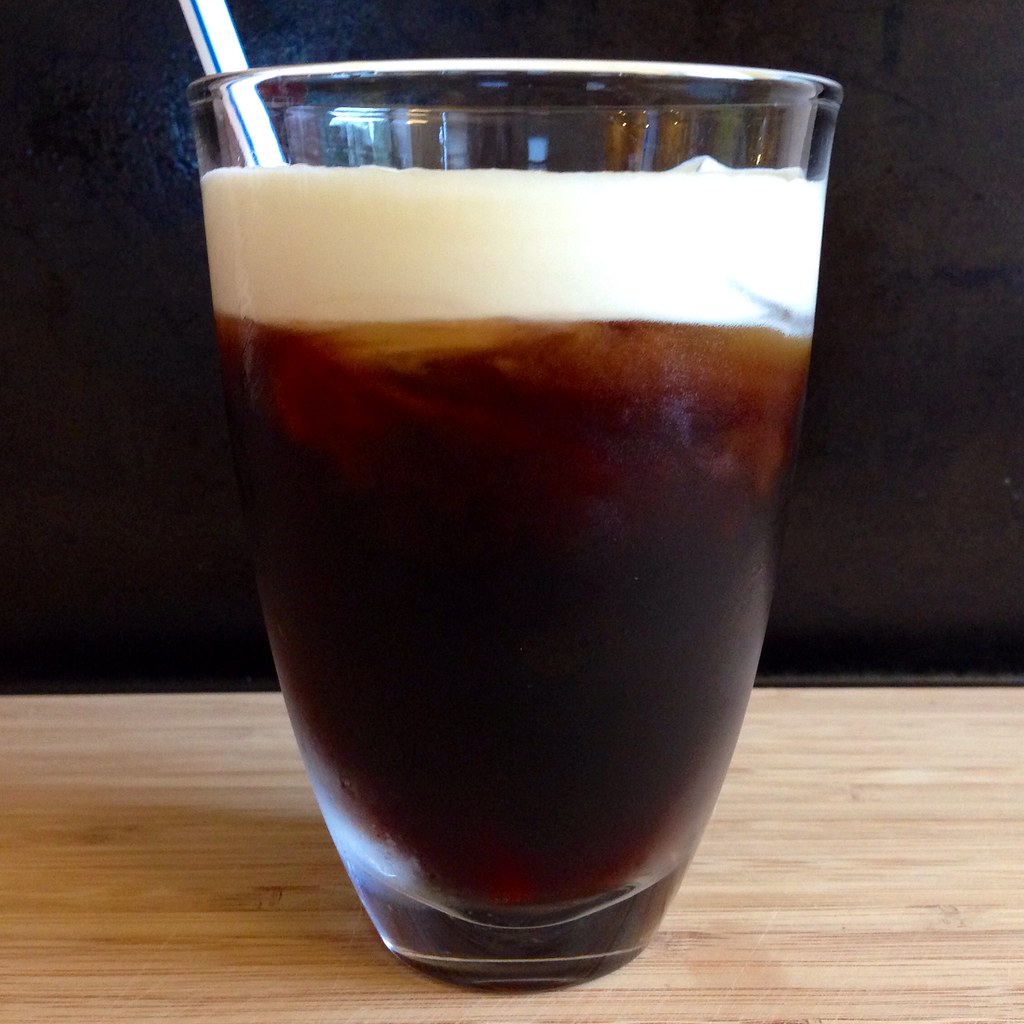
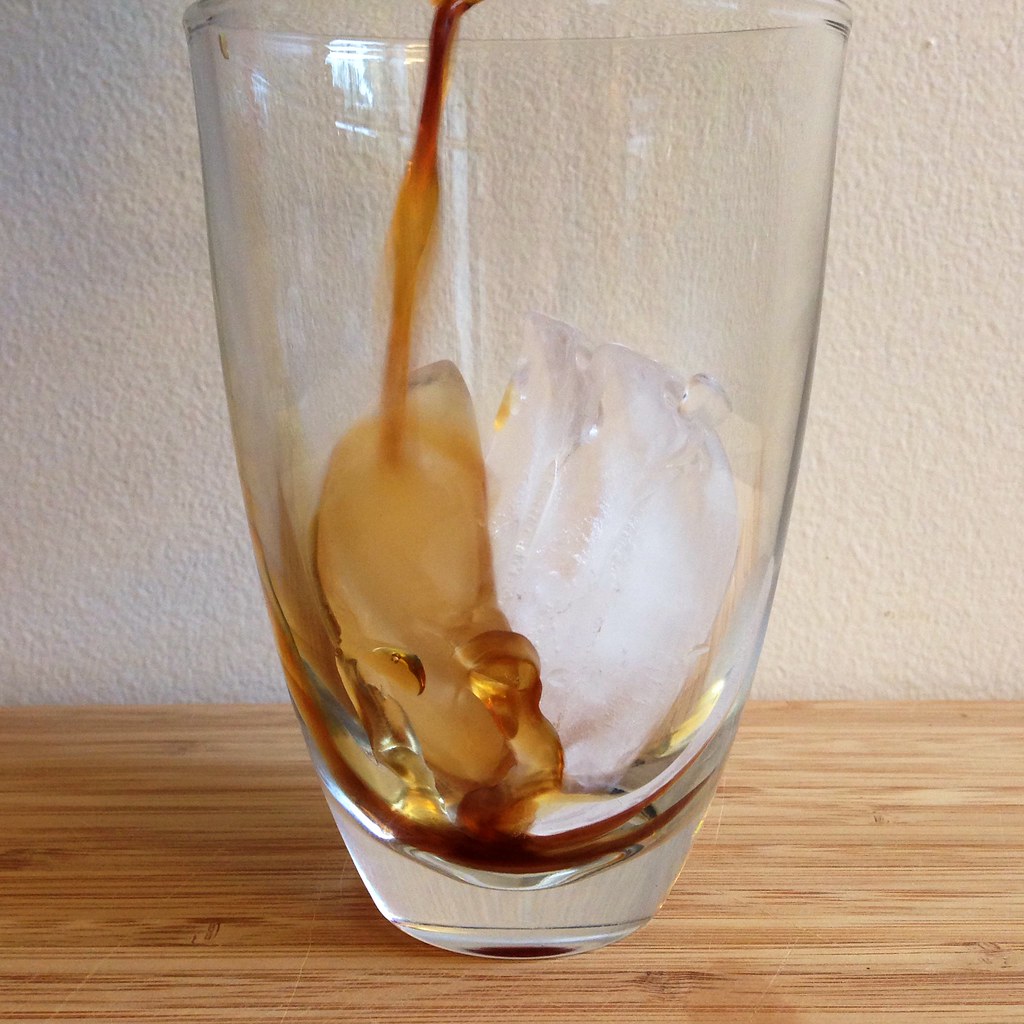
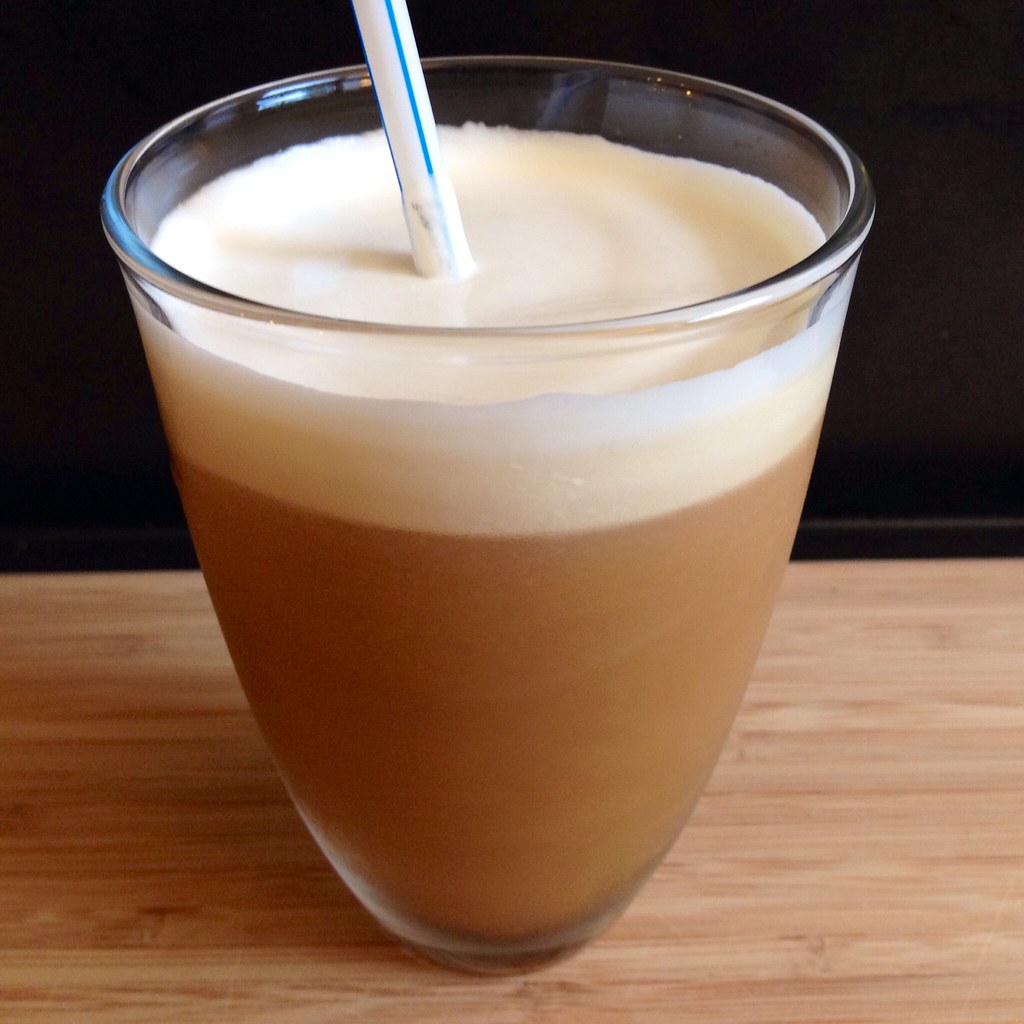
Sea Salt Cold Brew Coffee
Previously:
Grace's Ginger Scallion Fish
Last Year:
Matcha Mochi Cupcakes