Showing posts with label cheese. Show all posts

Tuesday, February 7, 2017

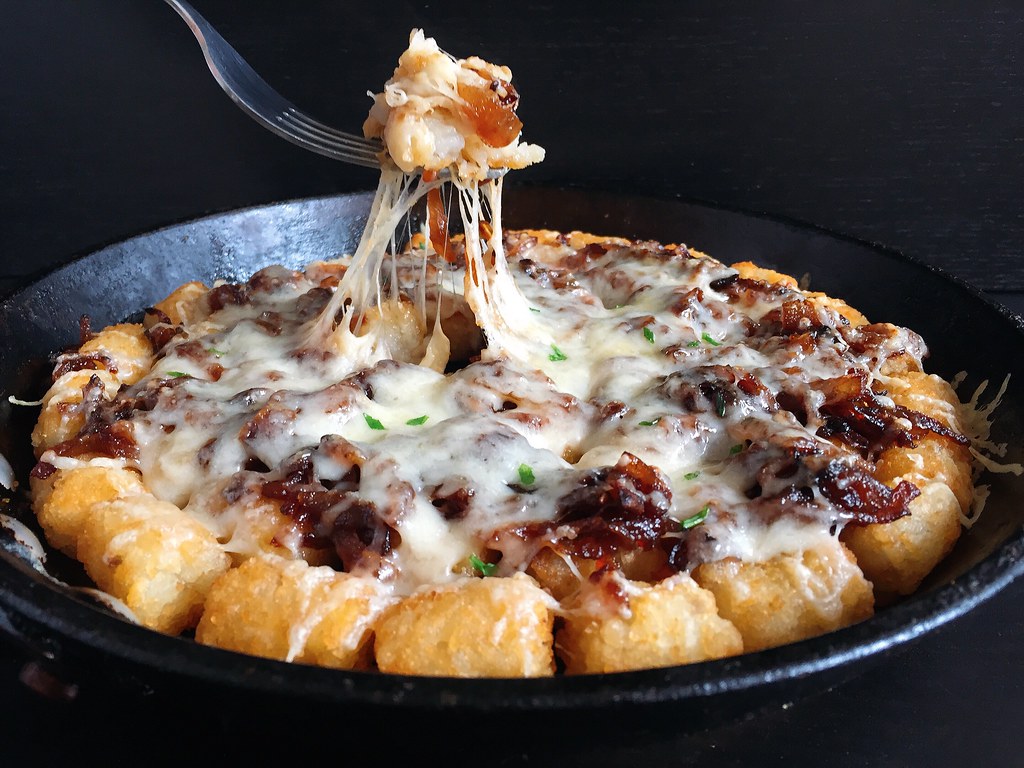
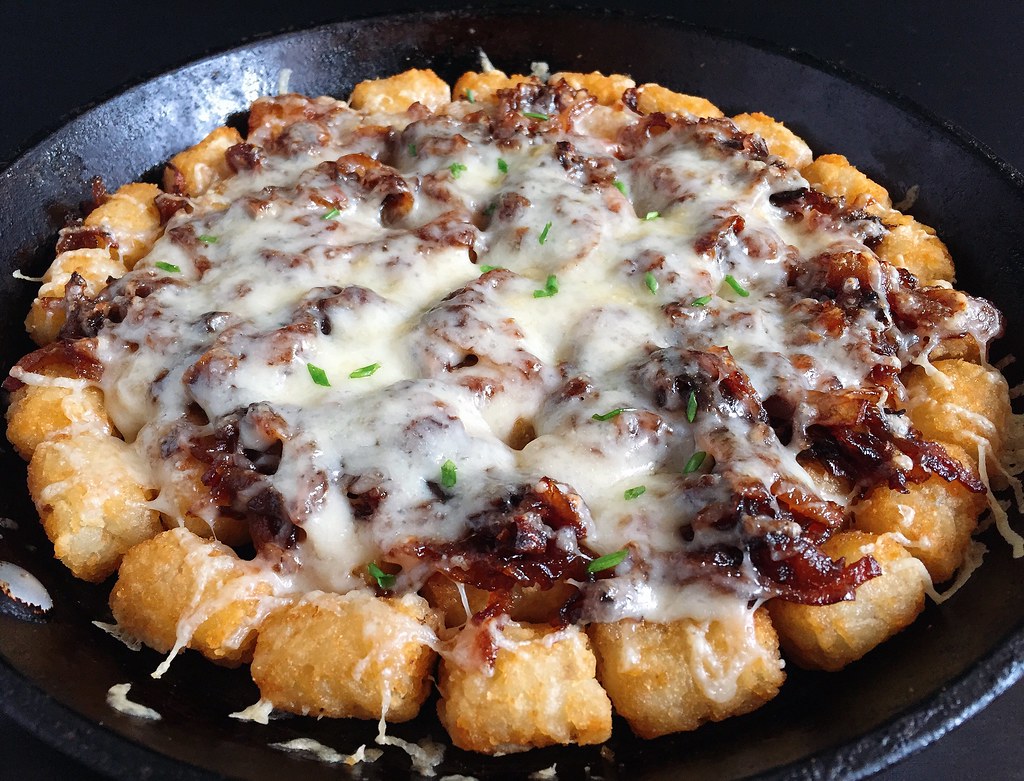
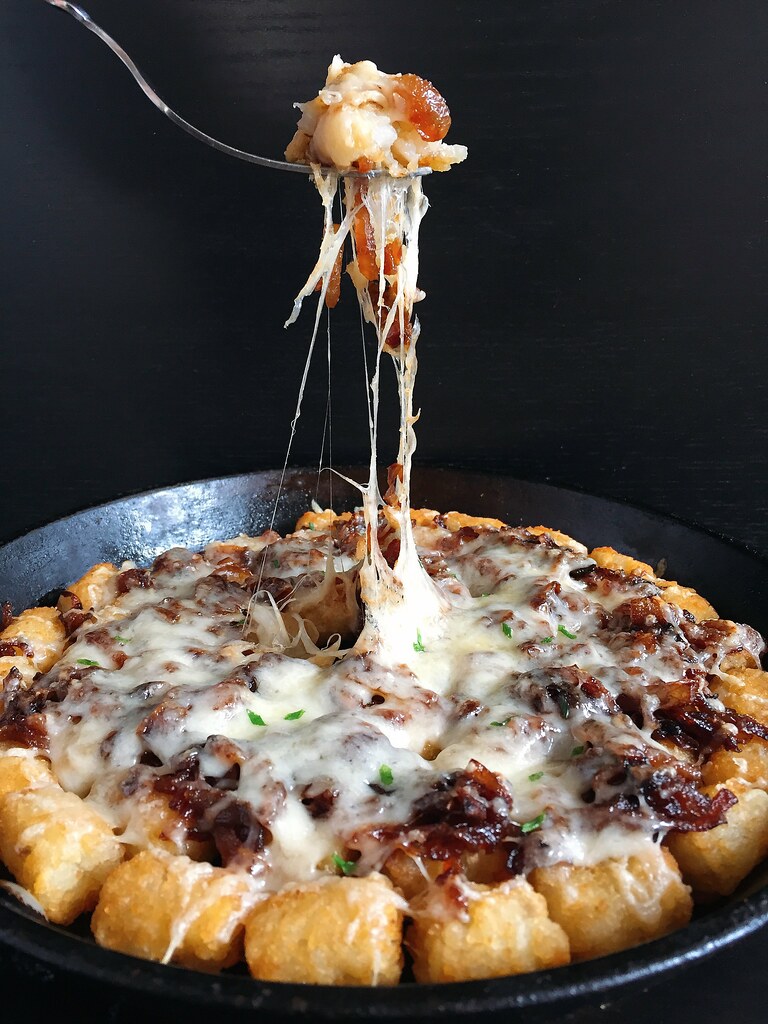
French Onion Tater Totchos


I had a good handful of Gruyere cheese leftover from making zucchini pizza the other day but no more squash so I was trying to figure out a good way to use it up.  I considered sprinkling it over some fingerling potatoes that I had gotten in my Boston Organics delivery, but then I had an eureka moment and decided to make French onion tater totchos!

They're French onion because I caramelized onions and then deglazed the pan with sherry and beef bouillon.  They're totchos because it's melted cheese and other toppings on top of tater tots that you'd eat like nachos.  But whatever you want to call them, they're amazing.

I ended up using a 10" skillet to bake the totchos in, but you could use another similarly sized pan or even double the recipe and make this in a sheet pan.  Using a full bouillon cube in the recipe as is makes a pretty salty dish, so if that's a concern for you, you can use half a cube; I was just too lazy to try to halve the cube myself.

French Onion Tater Totchos
serves 2-4

14 oz. frozen tater tots
1/2 cup cooking sherry
1 beef bouillon cube
2 medium onions, finely sliced
2 tablespoons unsalted butter
4 oz. shredded Gruyere cheese

Arrange the tater tots in a single layer and bake according to the instructions on the bag.


While the tots are baking, dissolve the bouillon cube in the sherry.  Heat a large nonstick pan over medium-high heat and add the onions.  Start cooking them without any butter until they dry up and start to color.  Turn the heat down to medium-low, add the butter, and continue cooking until the onions are soft and evenly browned.  Add the bouillon-sherry to deglaze the pan and continue cooking until most of the liquid is gone.


When the tater tots are done, remove from the oven and set the oven to broil.  Top the tots with the onion mixture and then the shredded cheese.  Broil for a few minutes until the cheese is nice and melty.  Serve immediately.

Next:  Quintessential Apple Pie with Bacon Fat Crust
Previously:  Salted Egg Yolk Mochi Ice Cream
Two Years Ago:  Burmese Coconut Noodles with Tofu
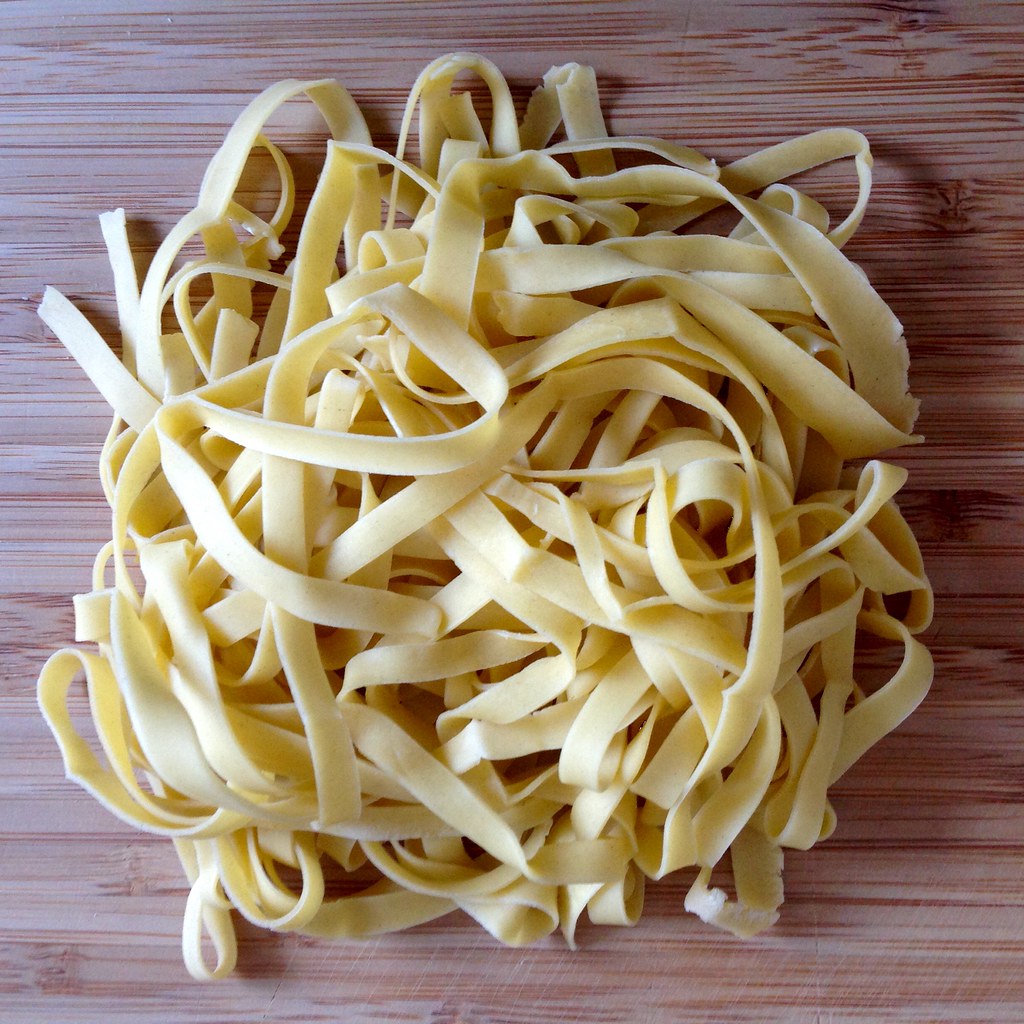
Three Years Ago:  Homemade Tagliatelle with Shaved Truffles
Four Years Ago:  Passion Fruit Marshmallows
Seven Years Ago:  Nutella Ice Cream
Eight Years Ago:  Tomato and Eggs Over Rice

Wednesday, September 7, 2016

Macau-Style Portuguese Chicken Rice
https://www.flickr.com/photos/joyosity/29466501016/in/dateposted-public/

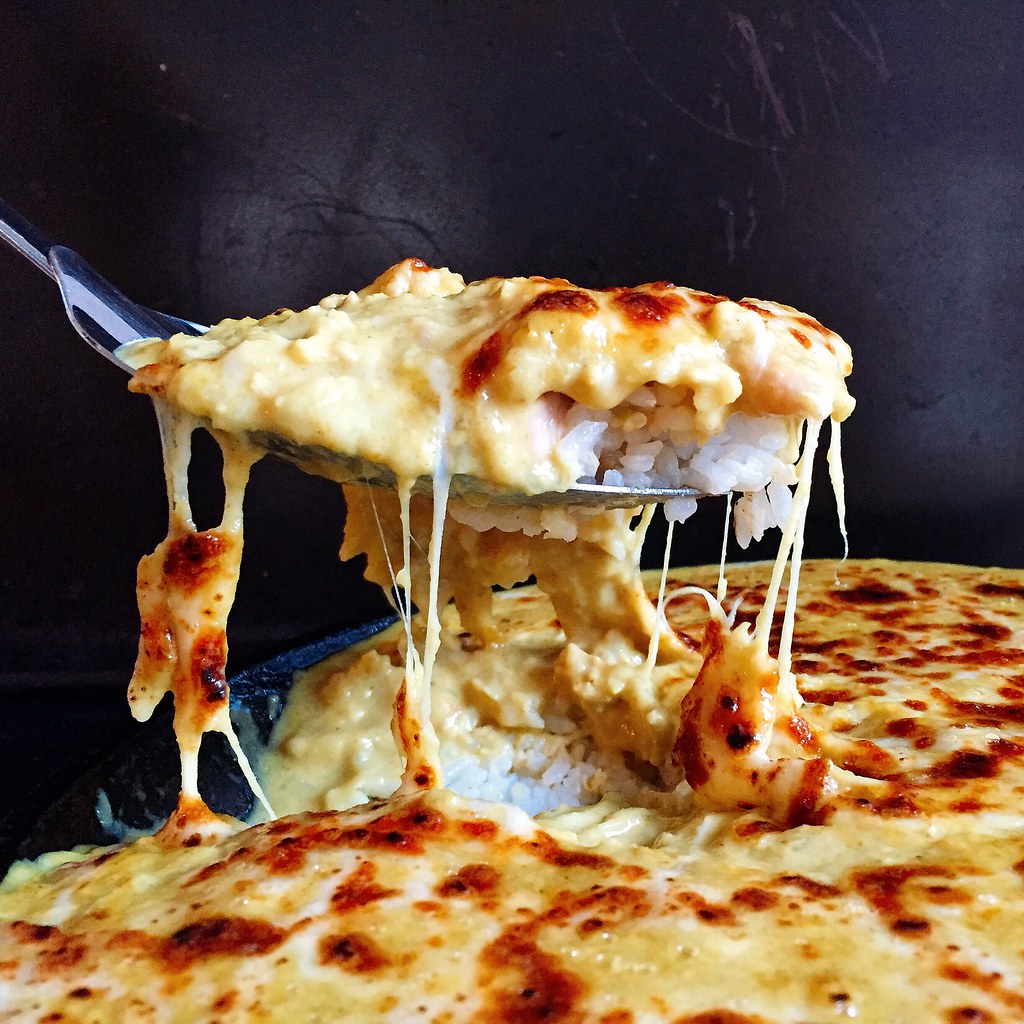
I only needed one bite of the Portuguese Chicken Rice from Double Chin to know that I needed to figure out how to make it at home.  I hadn't even ordered it myself; my friend Alvin was nice enough to let a bunch of us try his, and I'm so grateful he did.  Sadly, it's not a very photogenic dish, but once you try it, you won't care.

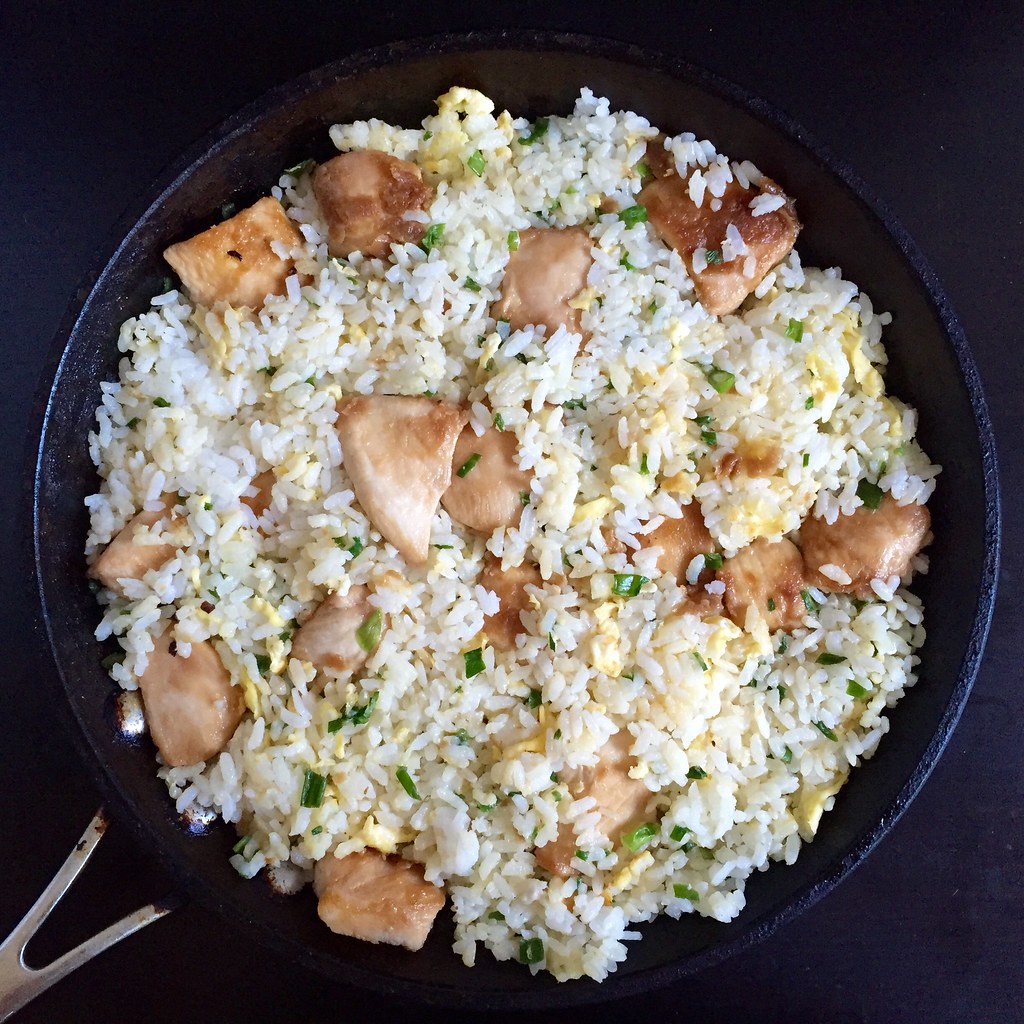
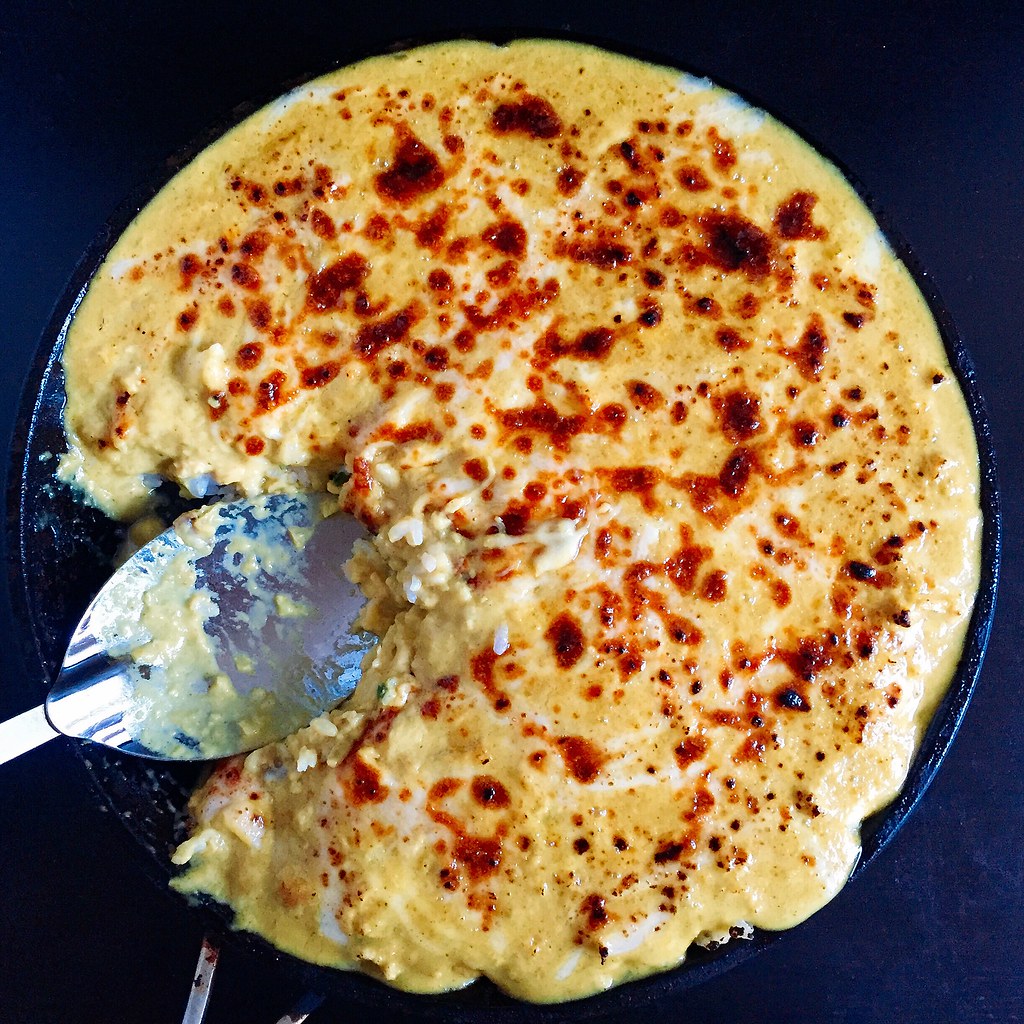
It starts with a layer of chicken fried rice topped with a mild coconut curry sauce and finished with a sprinkling of shredded cheese.  Then everything goes under the broiler until it gets all bubbly and gooey.  I know it's kind of strange to have cheese on an otherwise Asian dish, but it works so well in this case.  I think the key is to use a mild, melty cheese so that it doesn't overpower the rest of the dish.  I ended up using a mix of mozzarella and provolone.  I thought it was interesting that when I was looking for recipes on-line to use, a lot of them just listed "shredded cheese" as the ingredient without any reference to what kind of cheese.  Perhaps in Asia there is just one kind of shredded cheese available!

https://www.flickr.com/photos/joyosity/29420771461/in/dateposted-public/

I ended up referring to Lady and Pups' version because I love everything else she does, and it seemed the most similar to what I had at Double Chin.  The modifications I made were that instead of fish I used chicken and marinated it beforehand.  I used chicken breast because I prefer white meat, but feel free to use chicken thigh meat if you prefer dark meat.  I also made a couple of other modifications to her recipe based on what I had on hand (less scallions and water instead of milk) and taste preferences (half the amount of shallots).

Please note that this makes quite a bit of food.  Mandy's original recipe said that it serves 2, but it would probably be more like 6 Joy-sized servings.  And if you're wondering why it's called Portuguese chicken rice, I think it has to do with the fact that Macau was a Portuguese colony up until the end of the last century.  Apparently this dish is very popular in Hong Kong cafes, and I remember seeing something similar at one of my favorite eateries in Taiwan.

https://www.flickr.com/photos/joyosity/29211783800/in/dateposted-public/

Macau-Style Portuguese Chicken Rice (heavily adapted from Lady and Pups)
serves 4-6

For the chicken:
1 lb. boneless chicken, cut into 1" pieces
1 tablespoon cornstarch
1 tablespoon soy sauce
1 tablespoon rice wine
2 tablespoons vegetable oil

Mix all the ingredients except for the oil and marinate for 20 minutes.

Heat the oil over medium-high heat and cook the chicken until lightly brown.  Save 2/3 of it for the fried rice and finely chop the rest for the sauce.

For the fried rice:
2 tablespoons vegetable oil
2-3 eggs, beaten
3 cups day-old cooked rice, refrigerated
1/2 cup chopped scallions
Kosher salt and white pepper, to taste

Heat the oil over medium-high heat in a large pan and add the eggs.  Immediately add the rice and mix to coat.  Once the rice is heated through, add the scallions, salt, and white pepper to taste.  Add the reserved chicken and mix until even.  Remove from heat and set aside.

For the coconut curry sauce:
2 tablespoons vegetable oil
1 shallot, coarsely chopped
3 garlic cloves, coarsely chopped
1 teaspoon ginger, grated
1 tablespoon unsalted butter
1 tablespoon curry powder
1 tablespoon onion powder
2 tablespoons finely shredded unsweetened coconut
1 tablespoon all-purpose flour
13.5 oz. can coconut milk
1/2 cup water
1 1/2 cups mix of shredded mozzarella and provolone cheese, divided

Use a small blender to puree the oil, shallot, and garlic cloves.  Mix with the grated ginger and butter and cook over medium heat in a saucepan for a few minutes until very fragrant.  Add the curry powder, onion powder, coconut, and flour continue to cook for a few more minutes to toast the spices.  Whisk in the coconut milk and water and bring to a boil.  Simmer for 5-7 minutes until thickened.  Stir in the chopped chicken and 1 cup of the cheese.

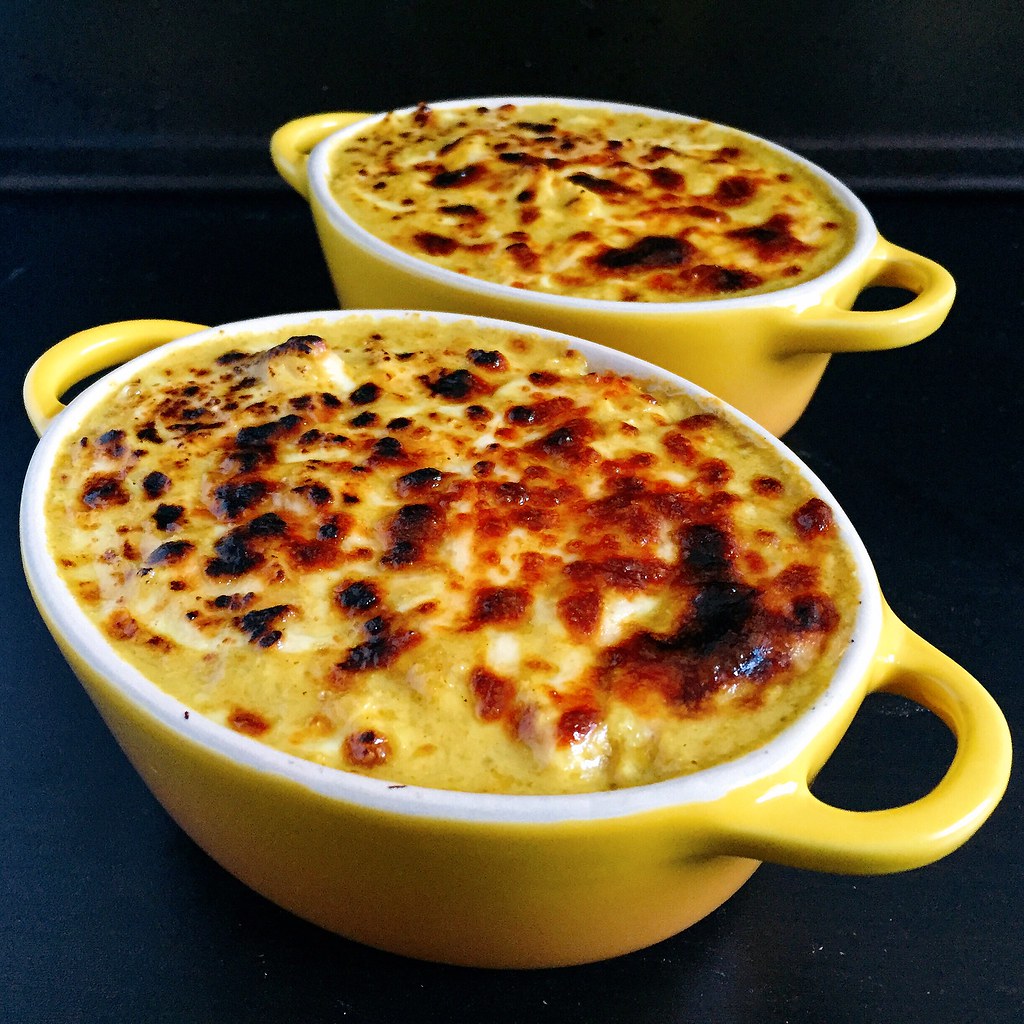
Preheat the broiler.  Transfer the fried rice to a buttered casserole dish or oven safe pan.  You can also use multiple smaller dishes.  Pour the curry sauce over the rice and top with the remaining 1/2 cup of shredded cheese.  Broil for a few minutes until browned in spots and bubbly.  Serve immediately.

https://www.flickr.com/photos/joyosity/29420773131/in/dateposted-public/

Next:  Caramelized Honeycomb Ice Cream
Previously:  Extra-Crispy Tortilla Pizza
Two Years Ago:  Taiwanese Taro Swirl Mooncakes
Three Years Ago:  Brown Butter Vinaigrette Lobster Buns
Four Years Ago:  Caramelized Onion and Swiss Chard Quiche

Monday, August 15, 2016

Zucchini Pizza


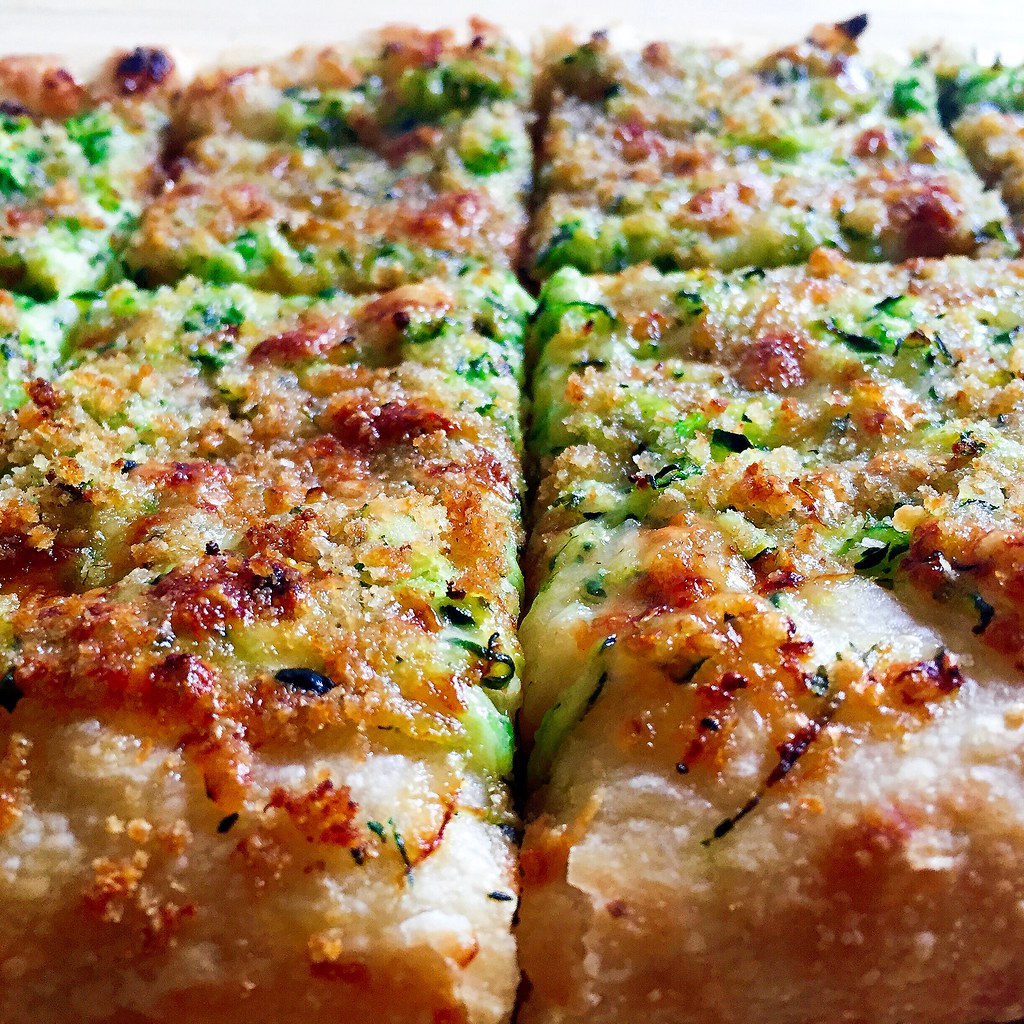
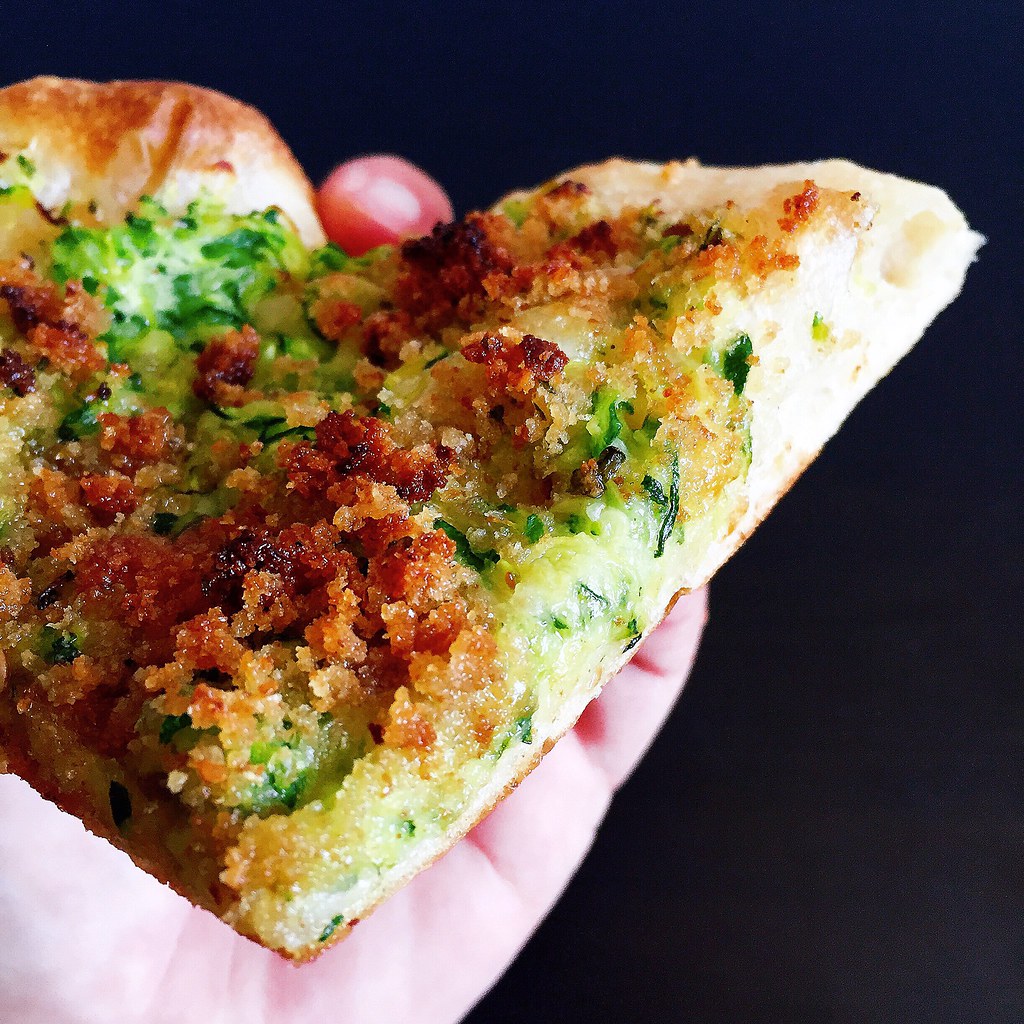
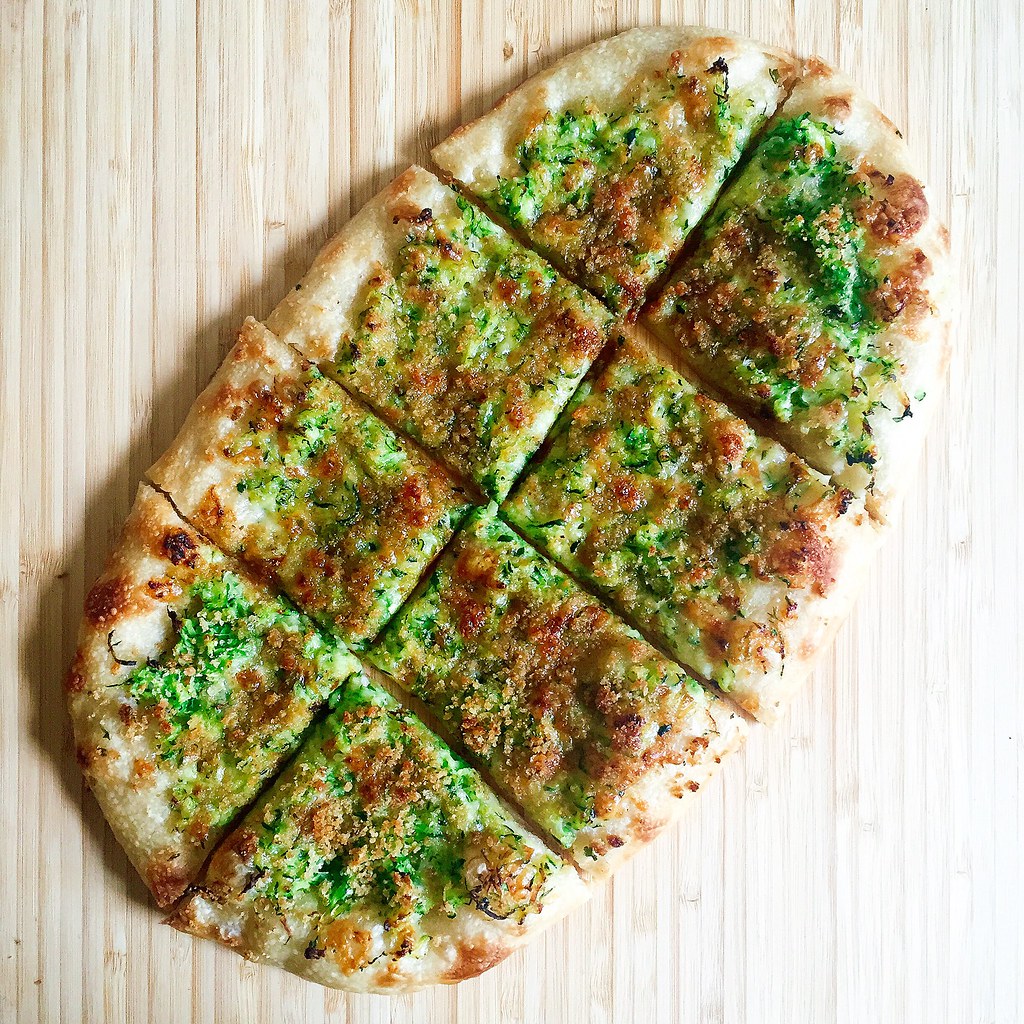
I used to cringe a little whenever I got zucchini or summer squash in my Boston Organics delivery because while I liked the vegetable enough not to add it to my "No List", I didn't like it enough to know what to do with it other than to stir fry it with garlic or grate it into an amnesty bread.  But that all changed when I saw Smitten Kitchen's post about summer squash pizza.

I tweaked the recipe (which is originally from Jim Lahey of no-knead bread fame) a little by using my favorite pizza crust instead of the one in her post because I already had some on hand.  I also tossed the breadcrumbs in a little olive oil for a little extra crunch and to protect it from burning too fast.

I wasn't really sure about having to buy the Gruyere cheese and even made it for the first time without the cheese and substituting with some minced garlic and olive oil (which, by the way, ended up being pretty darn good and worth trying if you don't eat cheese).  But then I caved in and got a small block of Gruyere.  And boy oh boy was it amazing.  Divine.  Glorious!  In the oven, the cheese melts and binds the shredded zucchini together in a holy matrimony of texture and flavor.  It's simply perfect.


Zucchini Pizza (adapted from Jim Lahey by way of Smitten Kitchen)
makes 1 pizza

8 oz. ball of pizza dough
1 medium zucchini or summer squash, about 1/2 lb.
1/2 teaspoon kosher salt
3 oz. Gruyere cheese, coarsely grated
1 generous tablespoon breadcrumbs
Drizzle of olive oil

Place a pizza stone on an oven rack set at the top 1/3 of the oven.  Preheat the oven to 500°F.

Trim off the round end of the zucchini and using the other end as a handle, shred the zucchini on the coarse holes of a box grater.  Squeeze the shredded zucchini in your hands to remove the water and transfer a fistful at a time to a small mixing bowl.  Add the salt and mix well.  Let sit for 20-30 minutes so that more water is released.  Squeeze the zucchini again until you get out as much water as possible.  Mix with the Gruyere cheese.

Mix the breadcrumbs with a little olive oil, just enough to moisten and clump them together a little.

Stretch the dough onto a parchment paper-lined flexible cutting board.  Top with the zucchini-cheese mixture then sprinkle on the breadcrumbs.  Slide the pizza (still on the parchment paper) onto the pizza stone and bake for 10 minutes, until the cheese has melted and the breadcrumbs are golden.  Use tongs to slide the pizza with the parchment paper from the pizza stone onto a cutting board.  Slice and eat!


Next:  Extra-Crispy Tortilla Pizza
Previously:  My Mom's Beef and Broccoli Stir Fry
Two Years Ago:  Grace's Ginger Scallion Fish
Three Years Ago:  S'mores Brownie Ice Cream Sandwiches

Monday, March 16, 2015

Cacio e Pepe for One

https://www.flickr.com/photos/joyosity/16708089082/

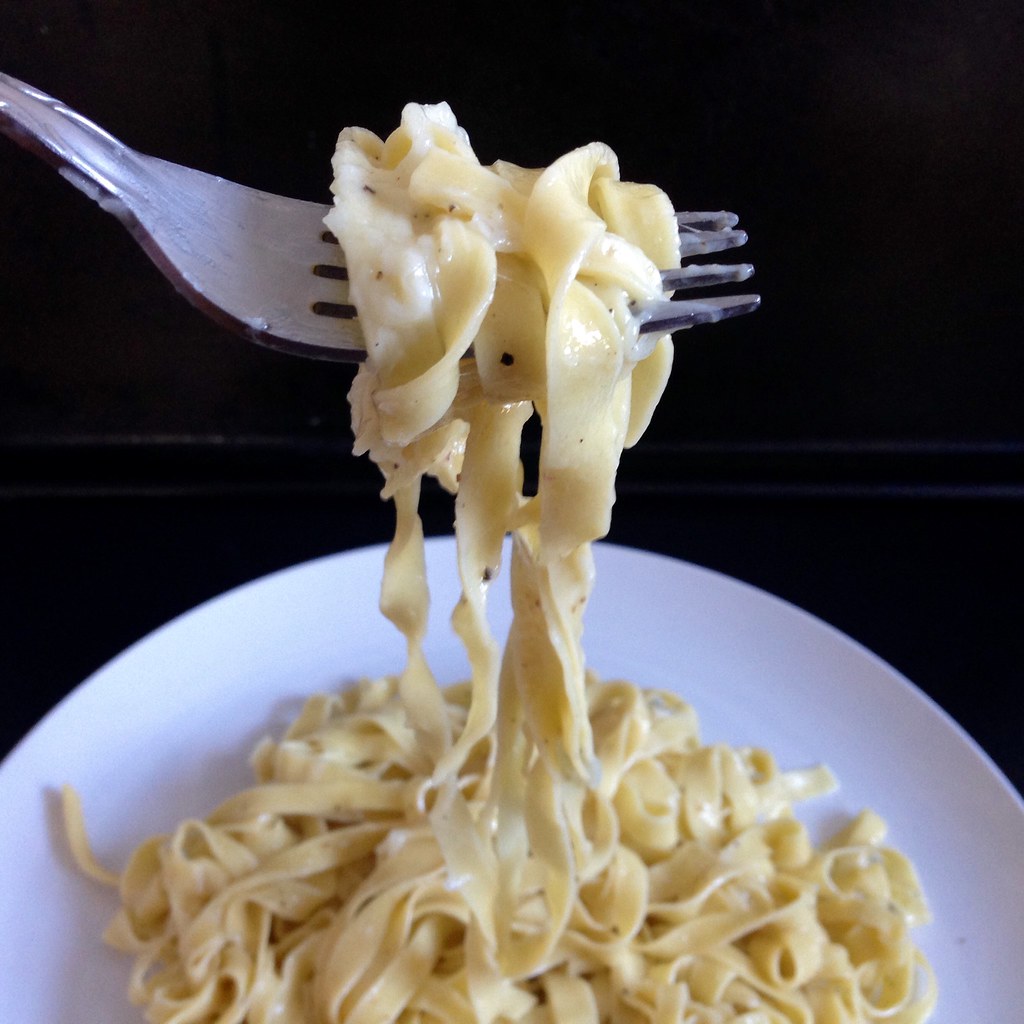
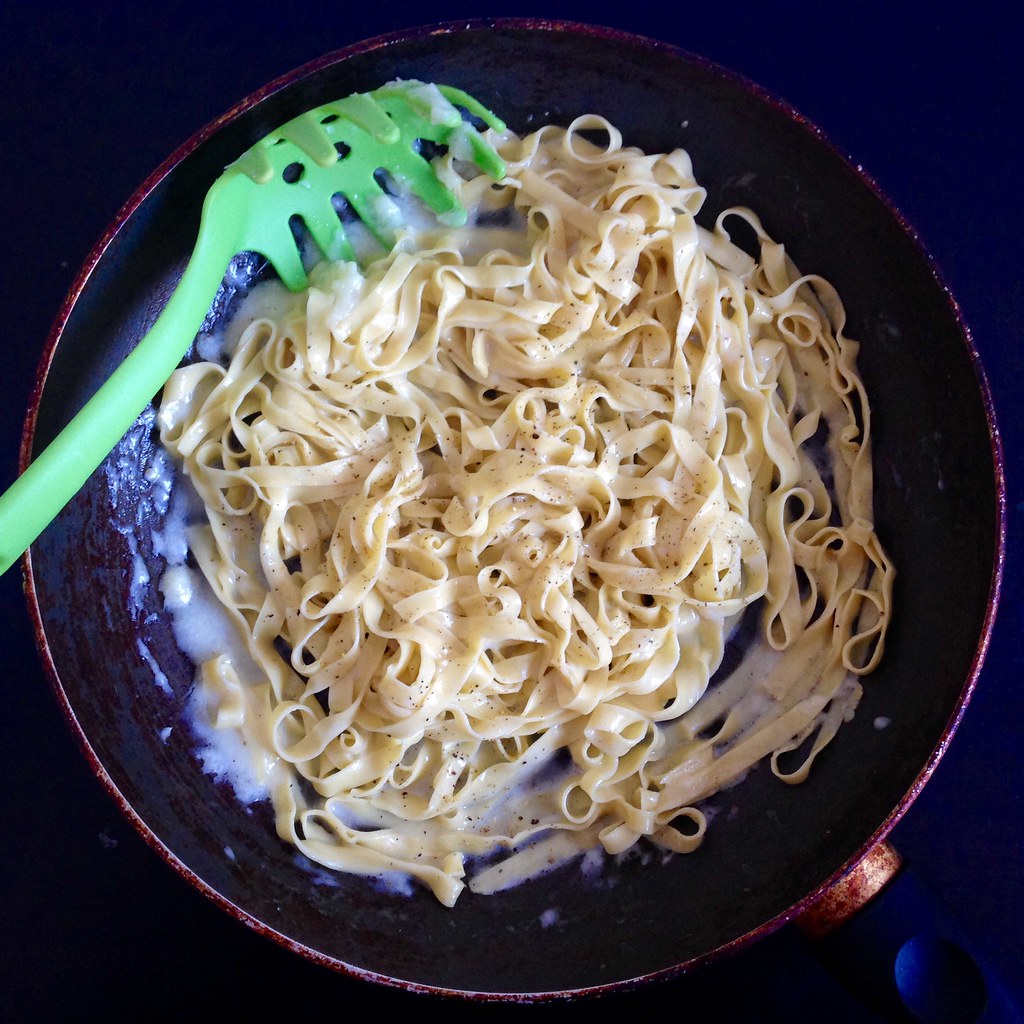
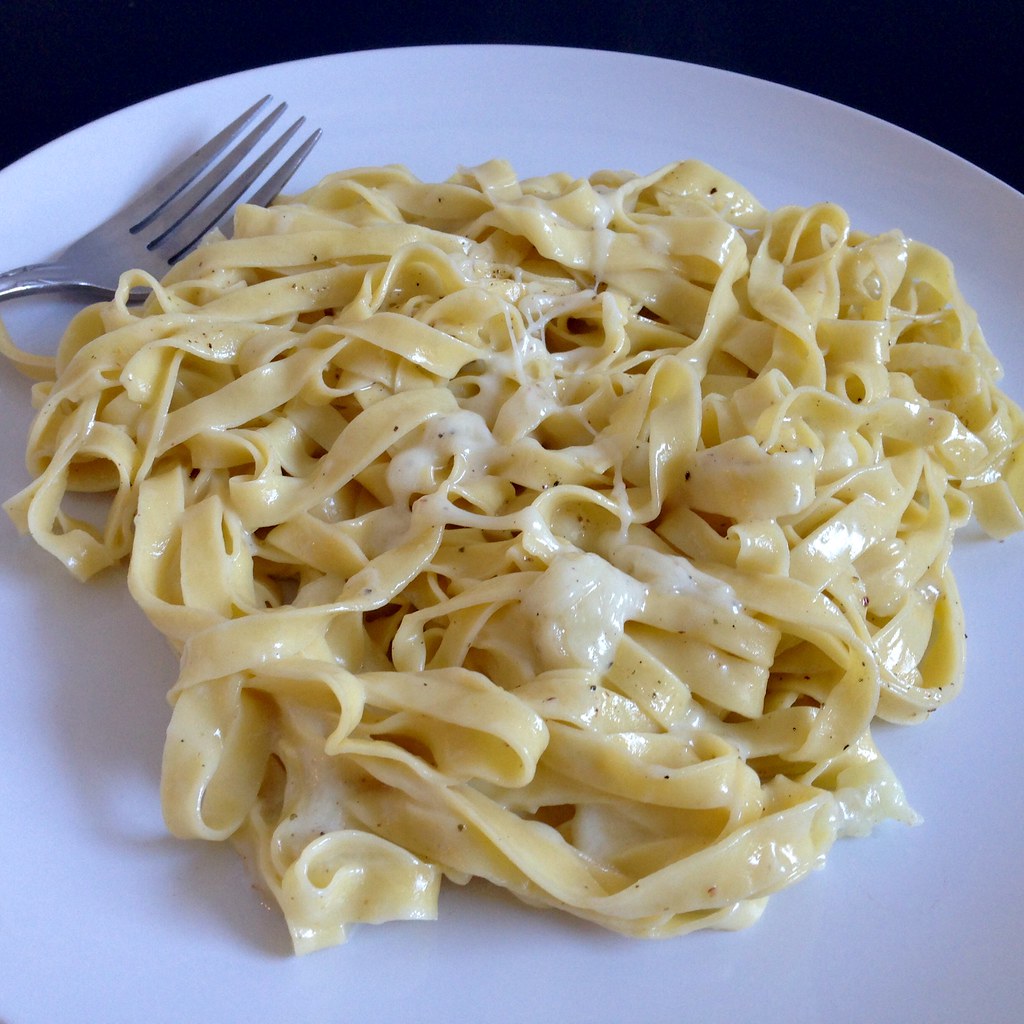
I love macaroni and cheese, but sometimes I just want to make enough for one serving.  Or I don't have any milk in the refrigerator.  Or I'm starving and and need something that only takes a few minutes to make.  Luckily, this recipe for cacio e pepe meets all those requirements!

Italian for "cheese and pepper", this dish comes together in a flash and uses ingredients you probably already have in your pantry and refrigerator.  Pecorino Romano is the traditional cheese used for cacio e pepe, but in a pinch, you could also use parmesan or another hard, grated cheese.

https://www.flickr.com/photos/joyosity/16523023239/

The first time I made this, I used the fresh pasta I had made in the previous post, but I've also since made this with regular dried spaghetti.  Obviously, the fresh pasta was better, but the version made with the dried pasta was still pretty decent, and much better than anything that comes out of a blue and orange box.  I like mine slightly gooey and with less pepper, but if you like it creamier, you can add more pasta water, and feel free to use as much pepper as you like!

https://www.flickr.com/photos/joyosity/16523023239/

Cacio e Pepe for One
serves one (duh) but can be easily doubled

Kosher salt
1 serving of uncooked pasta, dried or fresh
1 tablespoon unsalted butter or olive oil
Freshly ground black pepper, to taste
50 g (about 3/4 cup) freshly grated Pecorino Romano

Bring a pot of salted water to boil.

Add the butter and pepper to a skillet large enough to hold all the pasta.  If using fresh pasta, turn the heat on once you add the pasta to the boiling water.  If using dried pasta, wait until there is 1 minute left before the pasta is done to turn on the heat.  Toast the pepper over medium-low heat.

When the pasta is done, transfer it to the skillet using tongs or a pasta scooper.  Toss with the butter and pepper, then start adding the grated cheese, alternating with some of the pasta water.  Continue tossing until the cheese has melted and coated all the pasta.  Season to taste with additional pepper and salt.

https://www.flickr.com/photos/joyosity/16523022149/

Next:  Homemade Squid Ink Pasta
Previously:  A Better Homemade Pasta
Last Year:  Miso-Glazed Eggplant
Two Years Ago:  Happiness Cake
Five Years Ago:  Momofuku's Crack Pie
Six Years Ago:  Korean Pancake Face Off

Monday, October 20, 2014

Elote-Style Cornbread Waffles

https://www.flickr.com/photos/joyosity/15381999597/

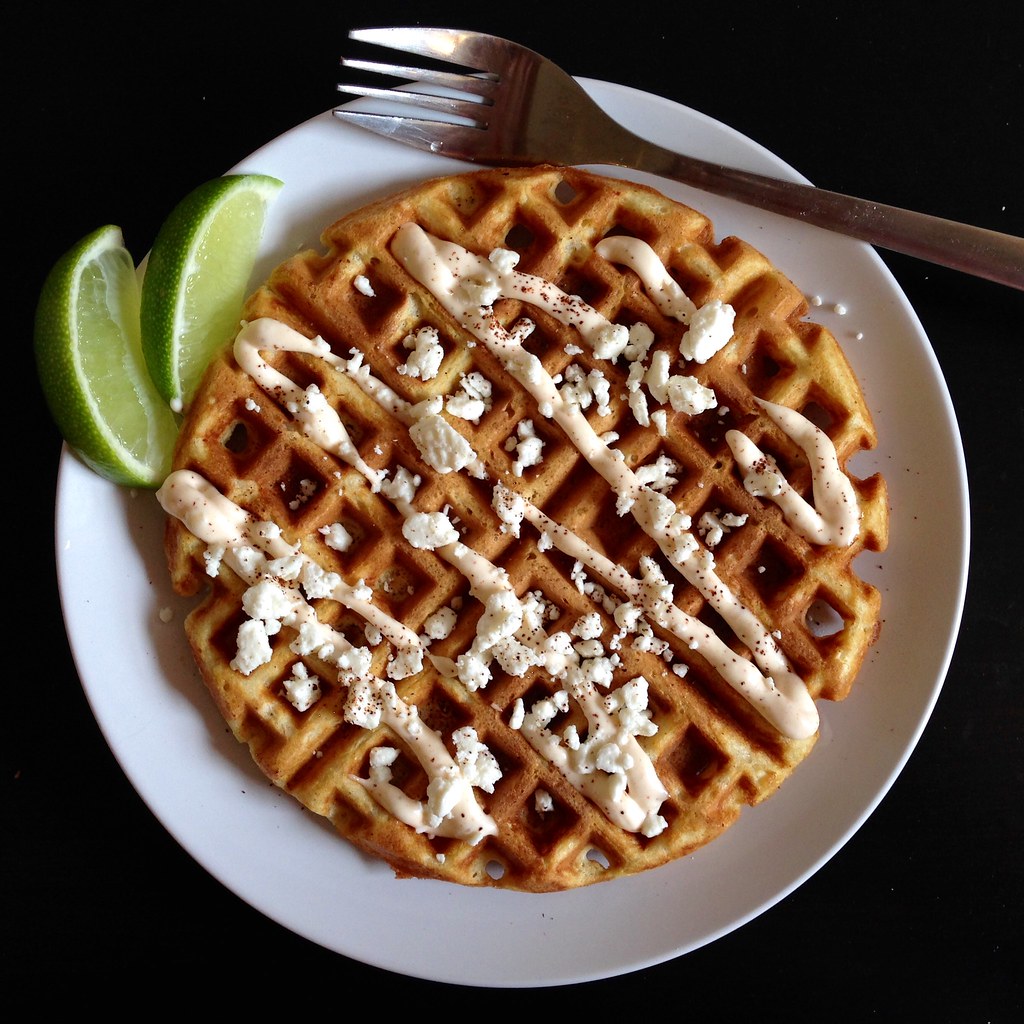
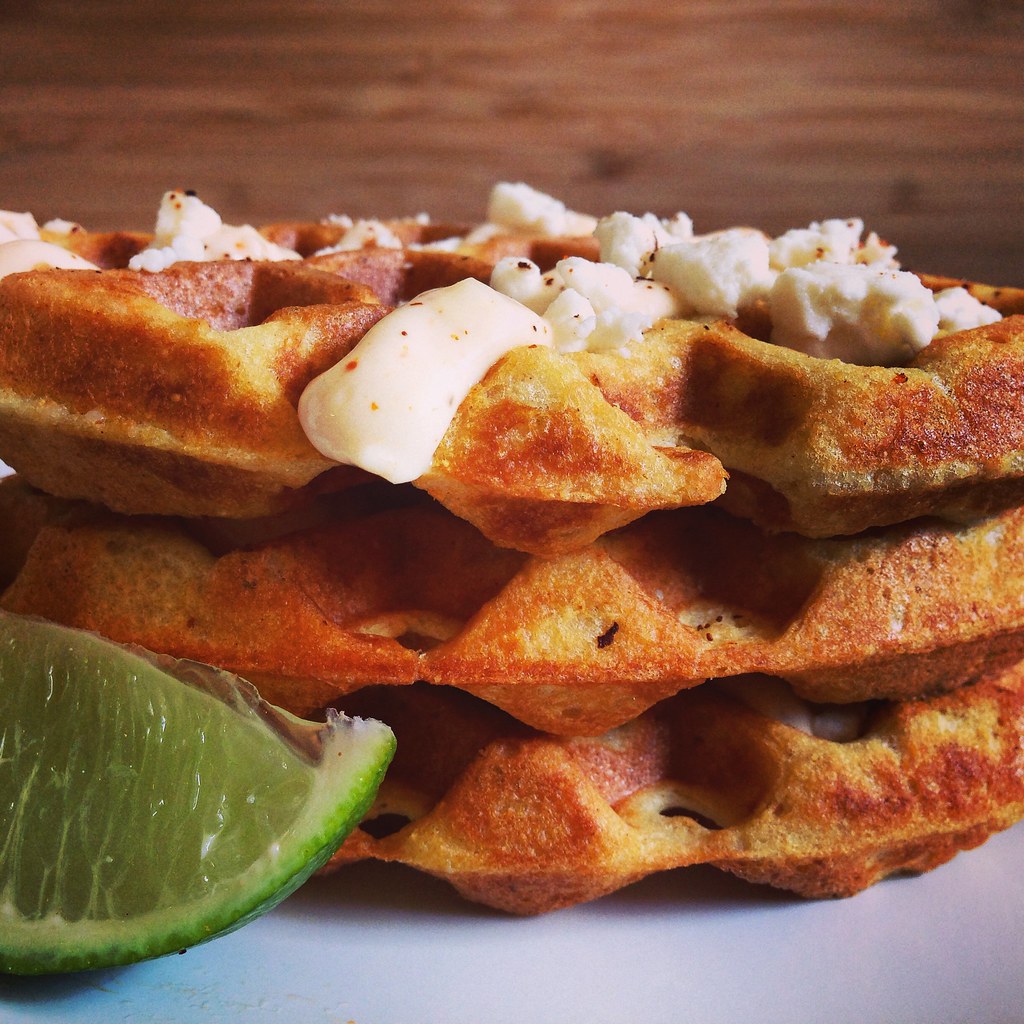
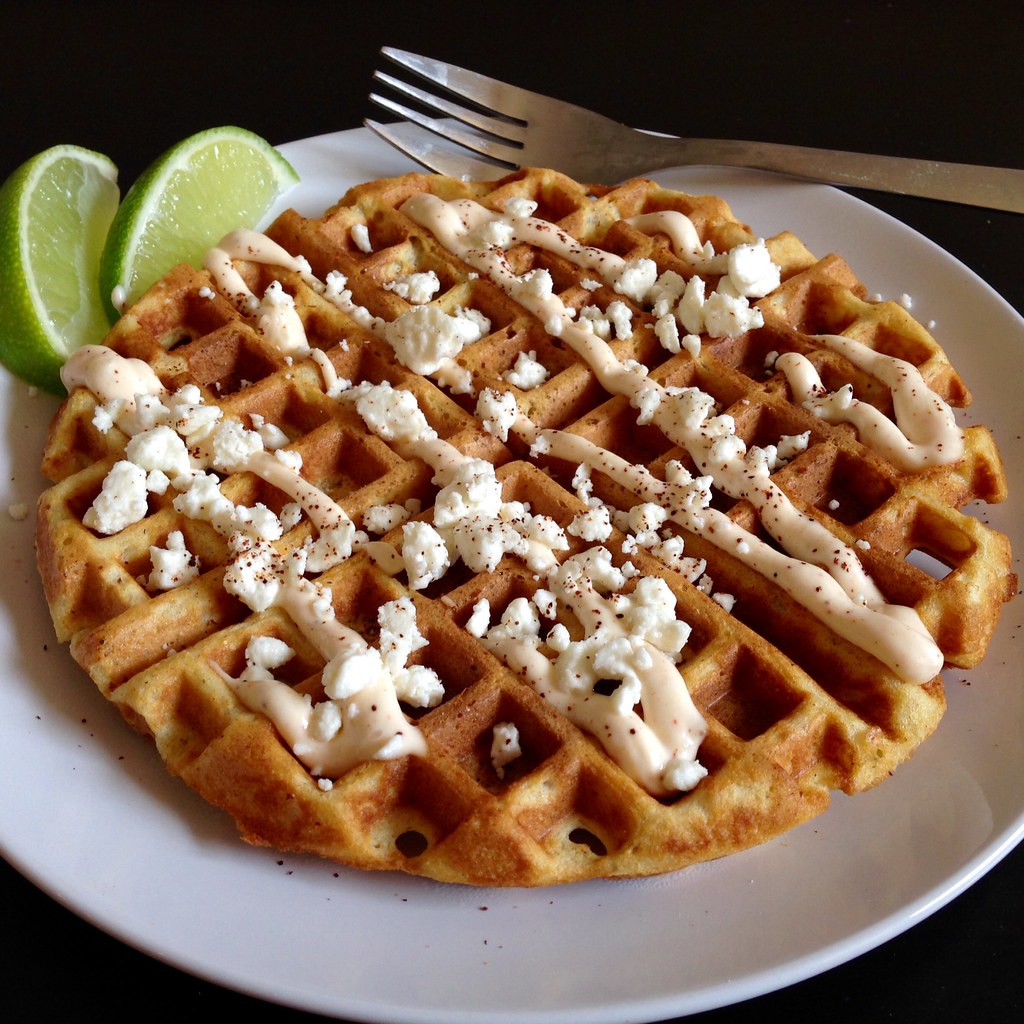
In case I haven't mentioned how much I love my church, Highrock, recently, here's another reason:  we recently had a fundraiser for the Tokyo Life Church called Highrocktoberfest.  How awesome is that?  In addition to a competition for the best home brew, there was also a chance to win a prize for the best cornbread.  At first I thought about making a sweet cornbread with honey butter, but then I came up with the idea to make cornbread waffles topped with the seasoned mayonnaise and crumbled cheese that usually goes on elote (Mexican grilled corn)!

https://www.flickr.com/photos/joyosity/15544306646/

I used the crunchy cornbread waffle recipe from King Arthur Flour and made the same mayo I had used before for elote, except I added a squirt of sriracha this time to add a bit more color and flavor.  I couldn't find any cotija cheese so I just substituted with feta.  I'm happy to say I won the cornbread competition with this recipe!

https://www.flickr.com/photos/joyosity/15568007485/

Elote-Style Cornbread Waffles (adapted from King Arthur Flour)
makes about 10 waffles

For the waffles:
1 3/4 cups buttermilk
2 eggs
5 tablespoons butter, melted and cooled
1 1/2 cups all-purpose flour
1 cup yellow cornmeal
2 tablespoons sugar
2 teaspoons baking powder
1 teaspoon baking soda
1 teaspoon salt

For the toppings:
1 cup mayonnaise
2 garlic cloves, minced
Juice from 1/2 a lime
Cayenne pepper
Chili powder
Paprika
Sriracha (optional)
1 cup crumbled cotija or feta cheese

In a medium-sized mixing bowl, whisk together the buttermilk, eggs, and melted butter or oil. In a separate bowl, blend together the dry ingredients, then quickly and gently combine the wet and dry ingredients. Let the batter sit for 10 minutes, to allow the cornmeal to soften.

In the meantime, mix the mayo, minced garlic, and lime juice together.  Add cayenne pepper, chili powder, paprika, and sriracha (if using) to taste. 

Drop the batter by 1/3-cupfuls onto a hot waffle iron and bake until the waffle iron stops steaming.  Top with the spicy mayonnaise and crumbled cheese.  Sprinkle on more cayenne pepper and/or chile powder as desired, and serve with lime wedges.

https://www.flickr.com/photos/joyosity/14947261064/

The waffles are best fresh out of the waffle iron because they start to get soft once they get to room temperature.  You can always reheat them in the oven to get them to crisp up again.  Since I was making these for a lot of people, I ended up cutting each waffle into eighths and serving them nacho-style.  If you have the corn-shaped pans for making cornbread sticks, I think it would be really cute to dress those up elote-style as well!

Next:  Nigel Slater's Chocolate Beet Cake
Previously:  Jeni's Salty Vanilla Frozen Custard
Two Years Ago:  Cranberry Royale Sorbet

Tuesday, September 2, 2014

Melanzane alla Parmigiana (Eggplant Parmesan)


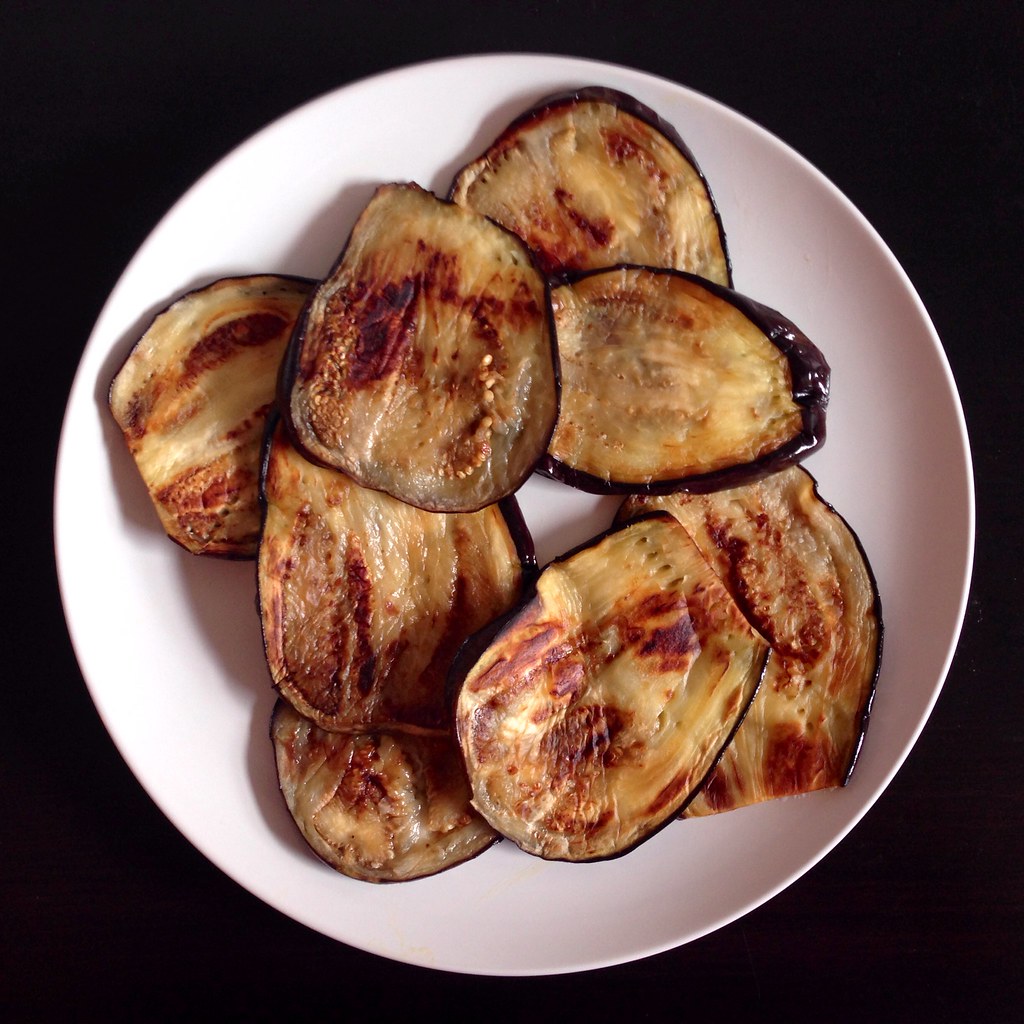
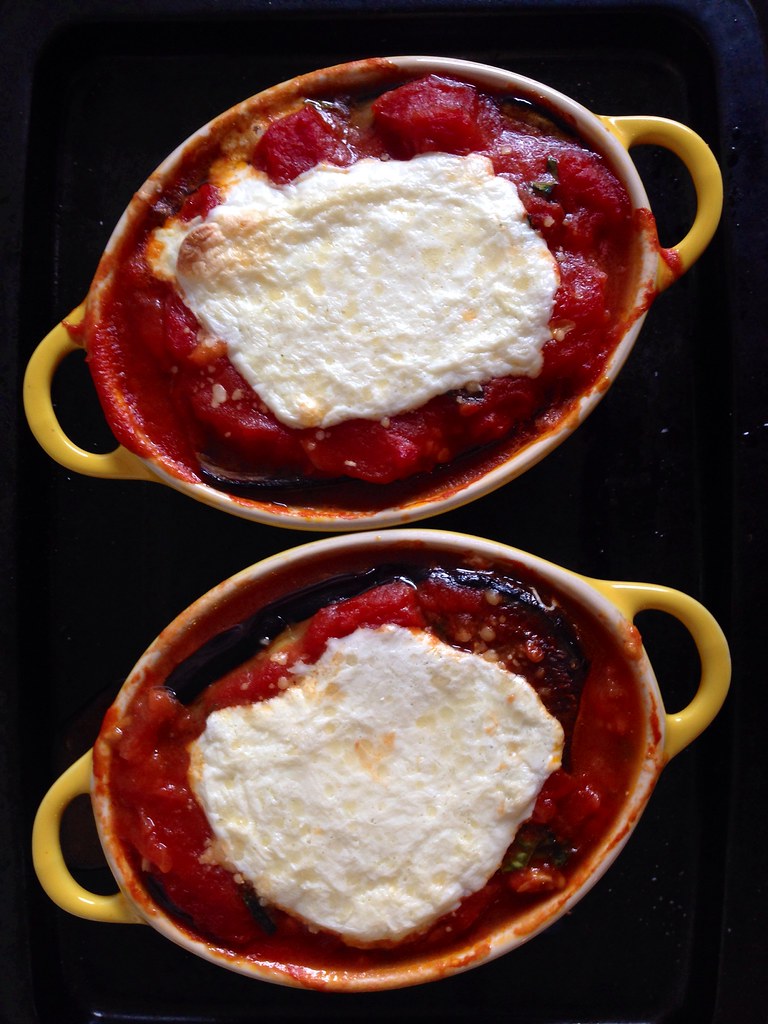
When I used to have to go to the Upper East Side for work, I loved going to this little sliver of an Italian restaurant called Tre Otto.  I always ordered the melanzane alla parmigiana, which was actually an appetizer, but quite filling with their awesome bread.  It wasn't the usual eggplant parmesan with fried, breaded eggplants cutlets (although an eggplant parm sub is my go to order at  pizza/deli joints); this was layers of delicate eggplant, fresh basil, and the most delicious tomato sauce topped with fresh mozzarella and baked to perfection.  Sadly, I no longer go to New York for work, and apparently Tre Otto is no more, but luckily, I've been able to recreate the dish at home!

https://www.flickr.com/photos/joyosity/14913653430/

Melanzane alla Parmigiana (Eggplant Parmesan)
serves 2 

1 medium eggplant (about 1 lb.)
Kosher salt
Extra virgin olive oil
2 garlic cloves, minced
28-oz. can of San Marzano whole, peeled tomatoes
Small handful of fresh basil leaves, chopped
2-3 tablespoons grated Parmesan cheese
8 oz. ball of fresh mozzarella, sliced thinly

https://www.flickr.com/photos/joyosity/14913591429/

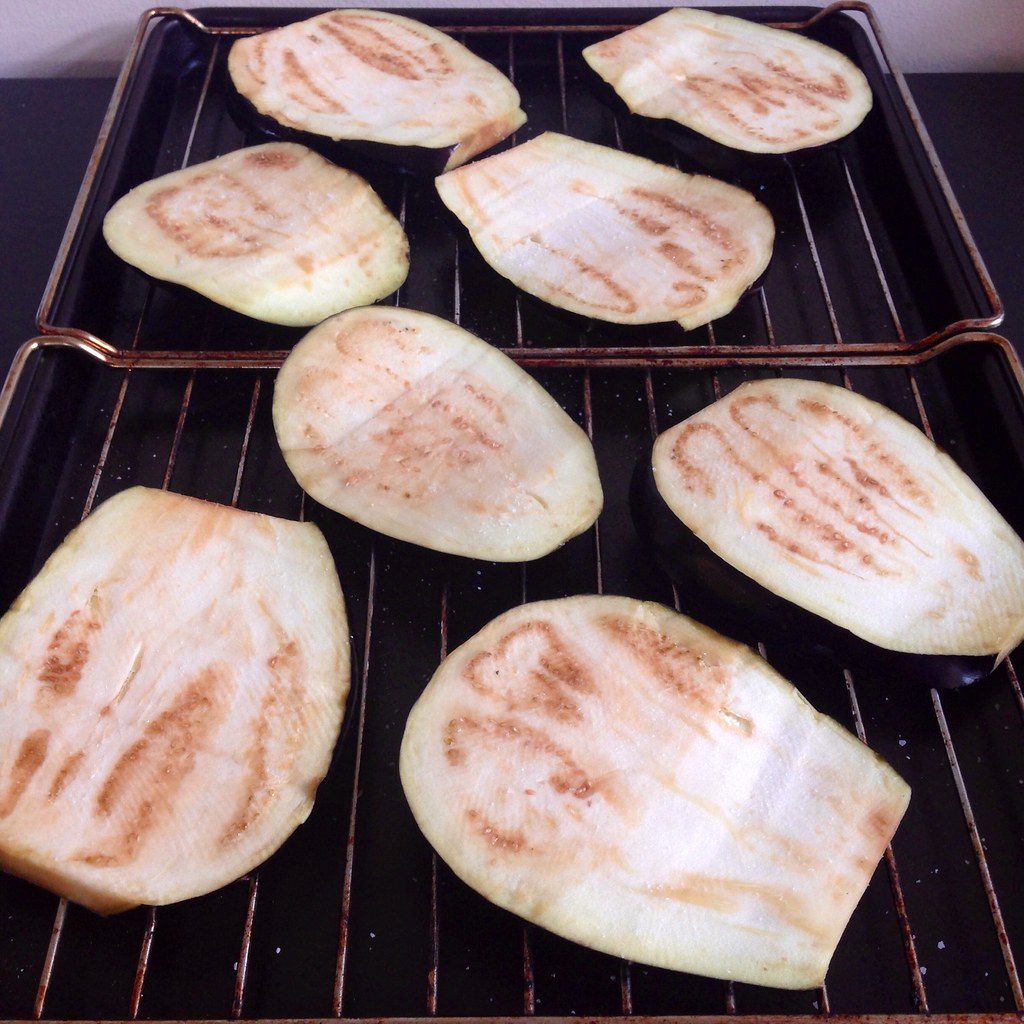
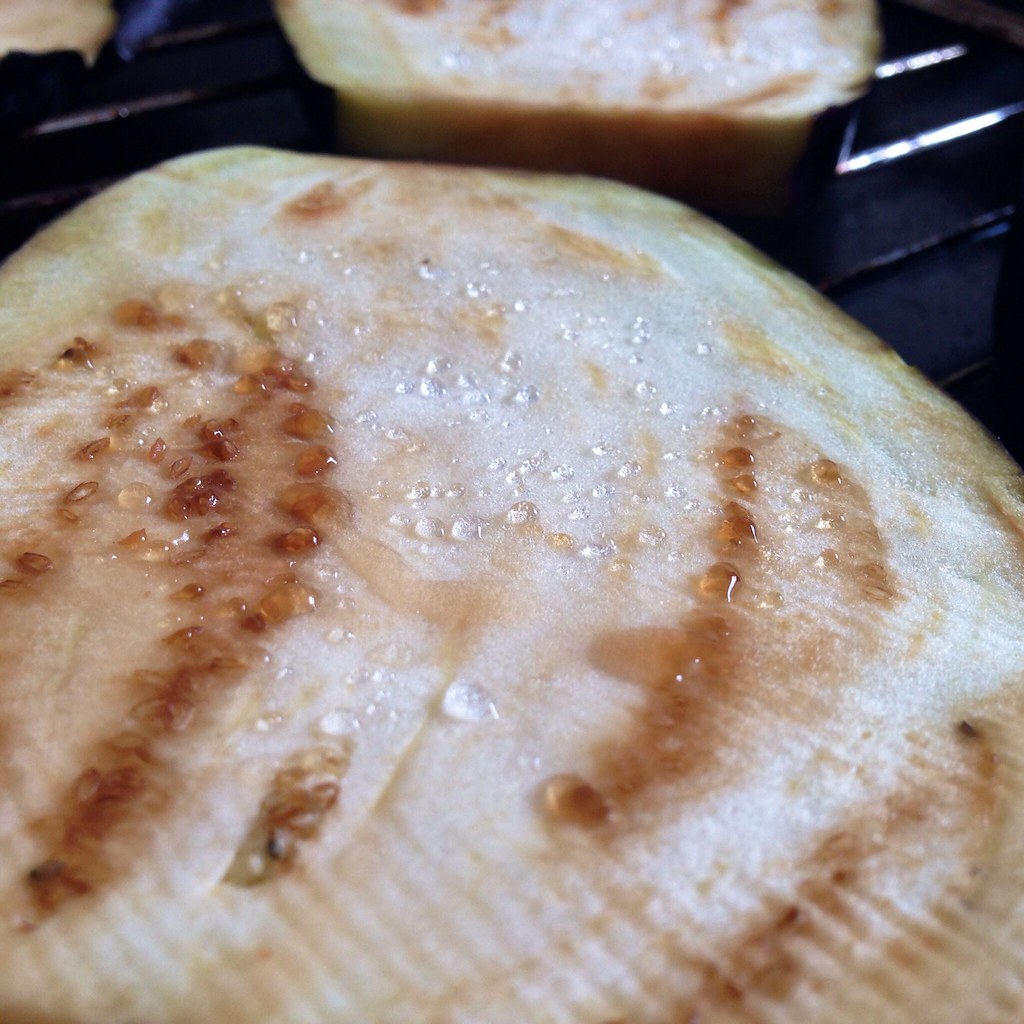
Slice the eggplant into 1/4"-1/2"slices, either lengthwise or crosswise, whatever will best fit into your baking dish.  Place the slices on a rack over a rimmed baking sheet or on paper towels and lightly salt on both sides.  Set aside while you start the tomato sauce.

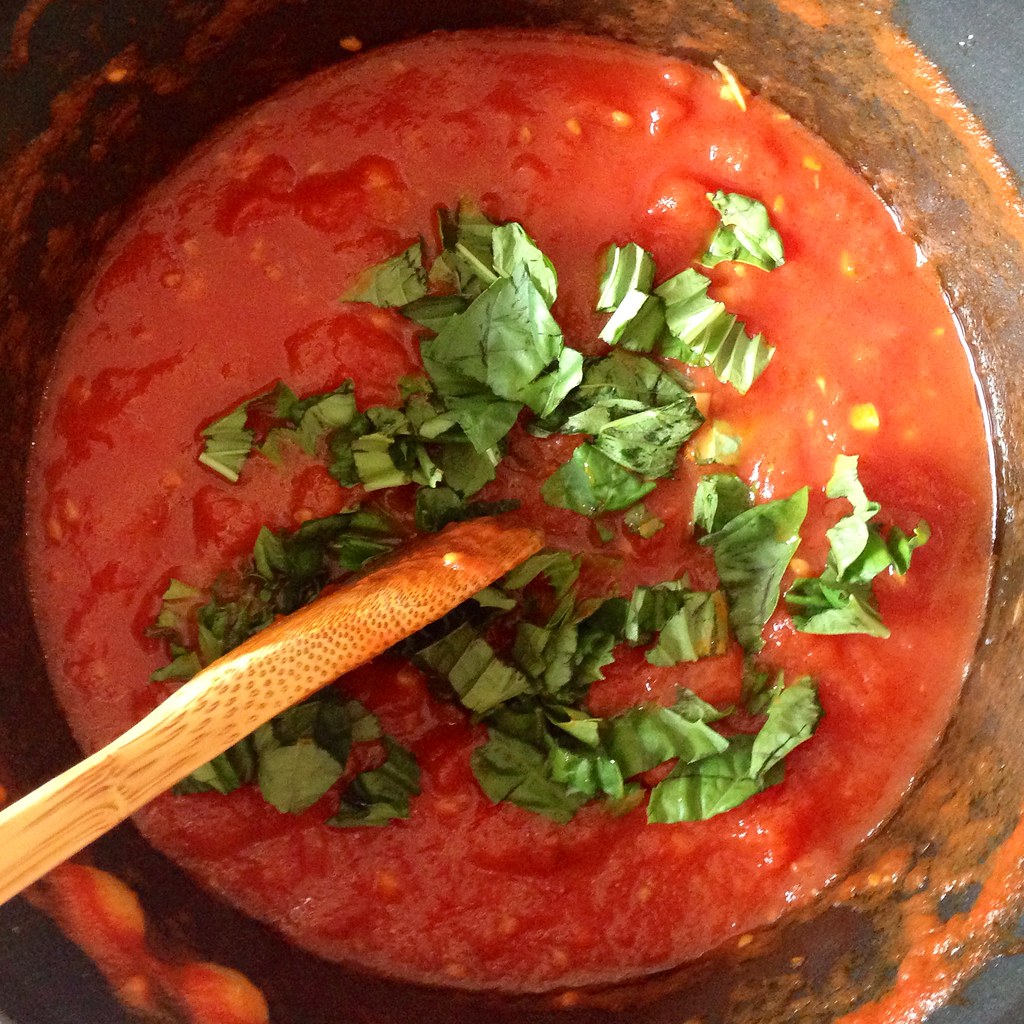
Add a tablespoon of olive oil to a large saucepan over medium heat.  When the oil is hot, add the minced garlic and cook for minute or two, until softened but not browned.  Add the tomatoes with their juices (I like to use kitchen shears to cut the tomatoes up in the can before adding them) and bring to a boil.  Lower the heat and simmer while you cook the eggplant, stirring occasionally.

Preheat the oven to 350°F.

https://www.flickr.com/photos/joyosity/15077289796/

By now, the eggplant slices should have started to sweat.  Rinse under cold water and pat dry.  Add enough olive oil to lightly cover the bottom of a large skillet and heat on medium-high.  Add only enough eggplant slices to cover the bottom of the pan in a single layer.  Brush the top of the eggplant slices with olive oil while they are cooking.  Cook each side for a couple of minutes until soft and cooked through.

https://www.flickr.com/photos/joyosity/15097273791/

By now the tomato sauce should be almost done.  Stir and few times and mash any leftover big pieces of tomato.  Salt and pepper to taste.  Stir the chopped basil into the tomato sauce and remove from heat.

https://www.flickr.com/photos/joyosity/15097276831/

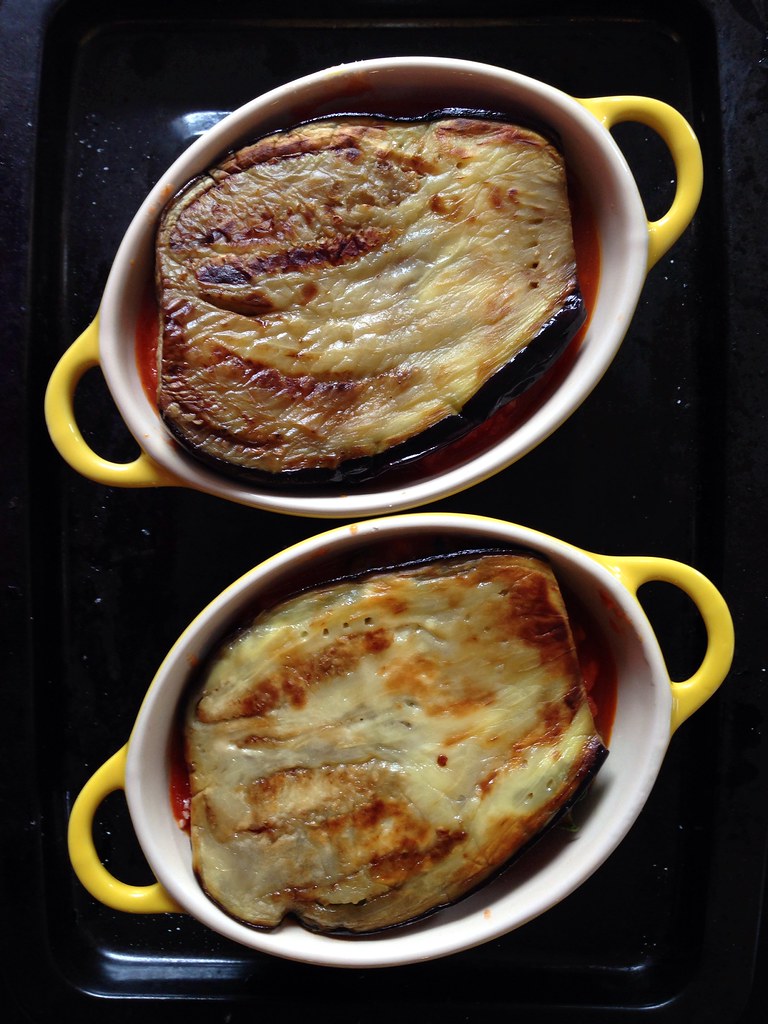
Lightly brush the bottom of a small baking dish or two individual sized ramekins with olive oil.  Start with a layer of tomato sauce, then add a layer of eggplant, a sprinkle of grated parmesan cheese, and a layer of fresh mozzarella.

https://www.flickr.com/photos/joyosity/14913728337/

Repeat layers, finishing with a layer of tomato sauce and cheese.  Bake for 30 minutes.  Let sit for 10 minutes before serving with some crusty bread.

https://www.flickr.com/photos/joyosity/15097282811/

You may have leftover sauce and/or mozzarella cheese, which would be perfect for making a margherita pizza!

Next:  Thomas Keller's Caramelized Scallops
Previously:  Salt and Pepper Tofu

Friday, January 24, 2014

Grilled Cheese Egg in a Hole


You'd think grilled cheese would be an incredibly easy thing to make, but I still remember the first time I ever tried to make one (I think I was 12 or 13) I thought I could just put a piece of American cheese between two slices of bread and toast that in the toaster oven (at least it wasn't a toaster!).  Imagine my surprise when I bit into that combination and tasted dry, flavorless disappointment instead of crispy, cheesy glory.

Since then, I've learned to butter the outside of the bread before grilling it on a skillet.  It makes a vast improvement, but trying to spread cold butter on a soft slice of bread can often be another source of frustration. Then I learned a pro-tip from Five Guys:  use mayonnaise instead of butter on the outside of a grilled cheese.  It's way more spreadable and adds just a little oomph of flavor to the sandwich.

I decided to take it up another notch by making an egg in a hole with the grilled cheese.  The hardest part of the whole endeavor was finding the right sized instrument to make the hole.  I didn't want the diameter of the hole to be too small or else it would take too long for the egg whites to cook through, but I didn't want it too wide either or else the height of the egg in the grilled cheese would be too low and the egg to grilled cheese surface area ratio would be too high.  I settled on using my rice maker's measuring cup, which had a diameter of 2 ¾".  I think a tiny bit smaller would've been perfect, but as you can see, it turned out okay.  =)


Grilled Cheese Egg in a Hole
makes 1 sandwich

2 slices soft bread, like white or potato
1-2 teaspoons mayonnaise
1-2 slices of sharp white cheddar or your favorite melty cheese
1 large egg
Fresh ground pepper and sea salt

Start heating a non-stick pan on medium-low.


Spread a thin layer of mayonnaise on one slice of bread and place mayonnaise-side down in the pan.

Cut the cheese into thirds.  Place one-third on each side of the bread in the pan.  Cut the remaining third in half and fill in the top and bottom of the gap between the other slices of cheese, leaving a cheese-less square in the middle.


Spread a thin layer of mayonnaise on the other slice of bread and place on top of the cheese, mayonnaise-side up.  Cook for a few minutes until the bottom is golden brown.


Flip the sandwich over.  Using a cookie cutter or drinking glass, cut out a hole in the middle of the sandwich about 2 ½" to 2 ¾" wide.  Remove the circle of bread (you can continue grilling this on the side of the pan) and crack the egg into the hole.  Cover and cook until the egg is set to your liking.


Slide the sandwich onto a plate.  Season the egg with fresh ground pepper and sea salt (I used a red Alaea salt, which is why the egg looks like it has measles).  Serve with tomato soup if you like.


Next:  Homemade Tagliatelle with Shaved Truffles
Previously:  Sarah Ruth's Saucepan Brownies
Last Year:  Rainbow Cookie Sandwiches
Four Years Ago:  Pear Bread
Five Years Ago:  Luo Buo Gao (Chinese Turnip Cake)

Monday, November 25, 2013

Cheese Fondue Stuffed Roasted Pumpkin

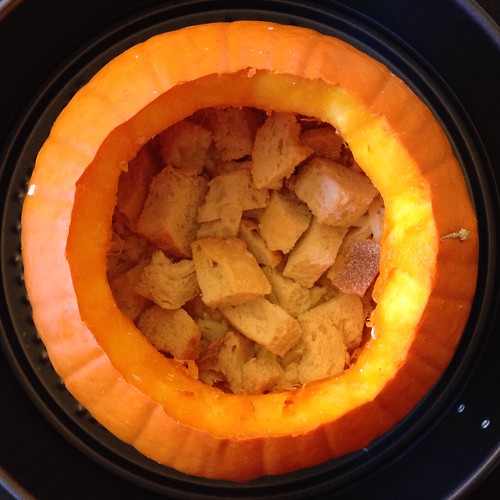
I was going to a vegetarian Thanksgivingukkah potluck, and I knew exactly what I wanted to bring.  I've been wanting to make this dish ever since I read the HuffPost Taste's article raving about it last year.  It's basically a pumpkin hollowed out and stuffed with breadcrumbs, cheese, and heavy cream, then roasted until the pumpkin is soft and scoopable and the filling is hot and bubbly.

The original recipe from Gourmet calls for a 7 lb. pumpkin, but the only pumpkin I was able to buy so late in the season was as an add-on order from Boston Organics, and it was only 3.5 lbs.  So I adapted the recipe a bit with the help of Dorie Greenspan's version and one of the reviews from the Gourmet recipe which suggested drizzling honey throughout the layers.  I stuck with the Gruyère and Emmental cheeses from the original recipe this time, but in the future, I think it'd be fine to use some cheeses that you don't need to go to Whole Foods to find, like regular Swiss or Brie.

To serve, I just used a large spoon to scoop out some of the filling and then scrape some of the pumpkin meat onto my plate.  You can also scrape all the pumpkin into the filling and mix it all up before serving or just cut the pumpkin into wedges and plate it that way.  Either way, serve the pumpkin with some extra baguette slices and maybe extra honey.  And make sure you save the pumpkin seeds to roast with olive oil and Old Bay seasoning!

http://www.flickr.com/photos/joyosity/11037518086/

Cheese Fondue Stuffed Roasted Pumpkin
serves 6-8 as an appetizer

1 sugar pumpkin, about 3 1/2 pounds
1 baguette
3 ounces Emmental cheese, coarsely grated
3 ounces Gruyère cheese, coarsely grated
1 cup heavy cream
Freshly grated nutmeg
Salt and freshly ground black pepper
Honey

Preheat oven to 450°F with rack in lower third.

http://www.flickr.com/photos/joyosity/11037566353/

Slice the baguette into 1/2 inch slices.  Cut half of them into 1/2 inch cubes.

Toast the baguette slices and cubes in a single layer on a baking sheet in oven until tops are crisp (bread will still be pale), about 7 minutes. Transfer to a rack to cool.

http://www.flickr.com/photos/joyosity/11037521854/

Remove top of pumpkin by cutting a circle around the stem with a small sharp knife. Scrape out seeds and any loose fibers from inside pumpkin with a spoon (including top of pumpkin; reserve seeds for another use if desired).  Season the inside with 1/4 teaspoon salt and a drizzle of honey.

Whisk together cream, nutmeg, 1/2 teaspoon salt, and 1/4 teaspoon pepper in a bowl. Mix together cheeses in another bowl.

http://farm8.staticflickr.com/7399/11037585703_eedf5123e3.jpg

Put a layer of toasted bread cubes in bottom of pumpkin, then cover with about 1/2 cup cheese and about 1/3 cup cream mixture. Drizzle some more honey on top of the cheese and cream.  Continue layering bread, cheese, cream mixture, and honey until pumpkin is filled to about 1/2 inch from top. (You may have some leftover bread, cheese, and cream left over.)

http://www.flickr.com/photos/joyosity/11037403005/

Cover pumpkin with top and put in an oiled small roasting pan. Brush outside of pumpkin all over with olive oil. Bake 1 hour and then remove the top.

http://www.flickr.com/photos/joyosity/11037612743/

Return the rest of the pumpkin to the oven and bake until the top of the cheese is browned and bubbly, about 10 - 15 minutes.  Serve with the rest of the baguette slices.

http://www.flickr.com/photos/joyosity/11037653336/

Next:  Thai Coconut Sticky Rice with Mango
Previously:  My Mom's Pi Jiu Ya (Beer-Braised Duck)
Last year:  Pretzel Ice Cream Pie with Homemade Magic Shell
Four years ago:  Apple-Pear-Cranberry Crisp

Thursday, October 17, 2013

Pão de Queijo (Brazilian Cheese Bread)

If you're looking for something to serve with moqueca, may I suggest pão de queijo?  These Brazilian cheese buns are soooo good and easy to make!  They kind of remind me of a savory mochi in that there's a chewiness from the tapioca flour but end up being more light and airy than dense.


The first time I made this recipe from Simply Recipes, I made the mistake of dumping the tapioca flour in my blender before adding all the liquids.  When it came time to turn on the Vitamix, nothing happened.  At first I was afraid the blender was broken but after digging around in there, I realize the blade just couldn't move around in the cement-like tapioca flour.  I ended up dumping everything into a mixing bowl and whisking it by hand, which worked out fine.  But if you'd like to make it in the blender, please learn from my mistake and put the tapioca flour in last.

I was able to find a soft farmer's cheese at my grocery store, but I've also read other recipes that use parmesan and cheddar cheeses, so you can probably use any cheese you like.  The first batch I made had a way too strong olive oil flavor, so in the second batch I cut the oil with some canola, and it turned out a lot better, in my opinion.


Pão de Queijo (Brazilian Cheese Bread) (adapted from Simply Recipes)
makes 24 small buns

Oil for greasing
1 egg
1/3 cup total olive oil and/or canola oil (adjusted to your preference)
2/3 cup milk
Scant 1 1/2 cups (170 grams) tapioca flour
1/2 cup (packed, about 66 grams) grated cheese
1 teaspoon of salt

Preheat oven to 400°F.  Grease a mini-muffin tin.


Put all of the ingredients into a blender (tapioca flour last) and pulse until smooth. You may need to use a spatula to scrape down the sides of the blender so that everything gets blended well. At this point you can store the batter in the refrigerator for up to a week.


Fill the mini-muffin tin wells until almost full.  The buns will puff a lot in the oven but then shrink a lot upon cooling.


Bake in the oven for 15-20 minutes, until all puffy and just lightly browned. Remove from oven and let cool on a rack for a few minutes.


Eat while warm or save to reheat later.


I love how cute they look all puffed up like that, especially the ones with the dimples in the middle.  They kind of remind me of minions.  ^_^

Next:  Kaddo (Afghan Pumpkin with Yogurt and Tomato Sauces)
Previously:  Moqueca (Brazilian Fish Stew)
Last year:  Magical Pumpkin Spice Latte

Friday, August 23, 2013

Mozzarella Stuffed Arancini (Risotto Balls)

While I love making risotto, I love eating arancini even more!  So every time I make risotto, I make sure I have enough leftover to make some of these fried risotto balls.  The traditional breading would be breadcrumbs with Italian seasonings, but I make mine with panko flakes for some added crunch.  And if you cut up a stick of mozzarella string cheese and stick them inside the arancini, it gets all warm and gooey after you fry it up and makes for even more of a texture contrast.


Mozzarella Stuffed Arancini
makes 6-7 balls

About 1 1/2 cups leftover risotto
1 stick mozzarella string cheese, cut into 6 pieces
Flour for coating
1 egg, beaten
Panko bread crumbs
Oil for frying

Scoop up about 1/4 cup of risotto into your hand and place a piece of the cheese in the middle.  Mold the risotto up and around the cheese to enclose it.  Pat the risotto into a ball (it will be too sticky to properly roll).  Repeat 5 more times.  Place the risotto balls on a plate a refrigerate for at least half an hour.


Prepare your breading station:  place some flour into a wide bowl, the beaten egg in another wide bowl, and some panko bread crumbs in another wide bowl.  Pour enough oil into a saucepan to reach a depth of 2 inches and start heating on high to 350°F.


Remove the balls from the fridge and one at a time, roll them in the flour to coat, the beaten egg to coat the flour, and the panko bread crumbs to coat the egg.


When the oil has reached 350°F, fry the risotto balls a few minutes on each side until golden brown.  Drain on a rack set over paper towels.  Serve warm.


These are also good at room temperature and great to pack and eat on the run.  You can also add other leftovers to the risotto balls:  cooked peas, chopped up chicken, ham, or sausages, etc. I would refrain from adding anything too wet like tomatoes for fear of making the arancini a soggy mess, though.

Next:  Jim Lahey's No-Knead Bread
Previously:  Crimini Mushroom Risotto