Wednesday, July 30, 2014

Strawberry Pop Tart Slab Pie

 https://www.flickr.com/photos/joyosity/14584412708/

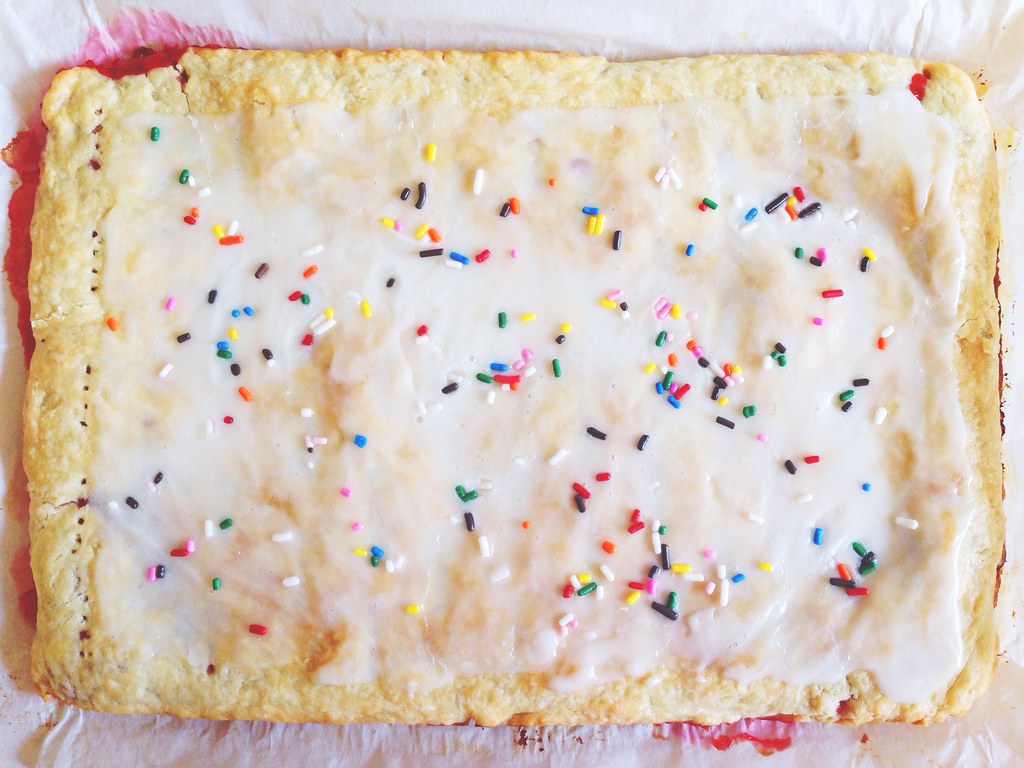
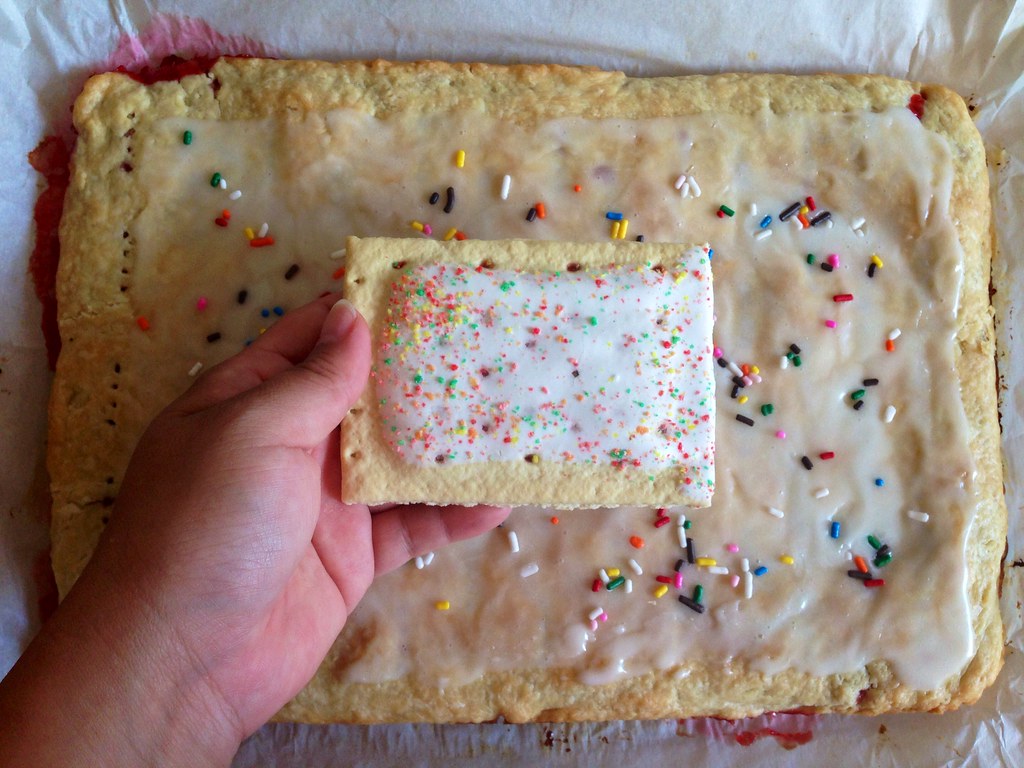
Ever since I saw this post for a S'mores Pop Tart slab pie, I just knew I had to make my own version of a frosted strawberry Pop Tart!  Can you think of anything more fun and delightful than a huge slab pie filled with jammy fresh strawberries, glazed, and topped with rainbow sprinkles?  I didn't think so. 

https://www.flickr.com/photos/joyosity/14769971405/

One pro-tip for making this pie is to use parchment paper.  You can use it to figure out how large to roll the dough out to just by creasing the paper inside the baking pan first.  You can also use it to easily transport the rolled out dough to the refrigerator and into the baking pan.  Lastly, it makes it super easy to remove the pie from the pan and totally saves time on clean up!

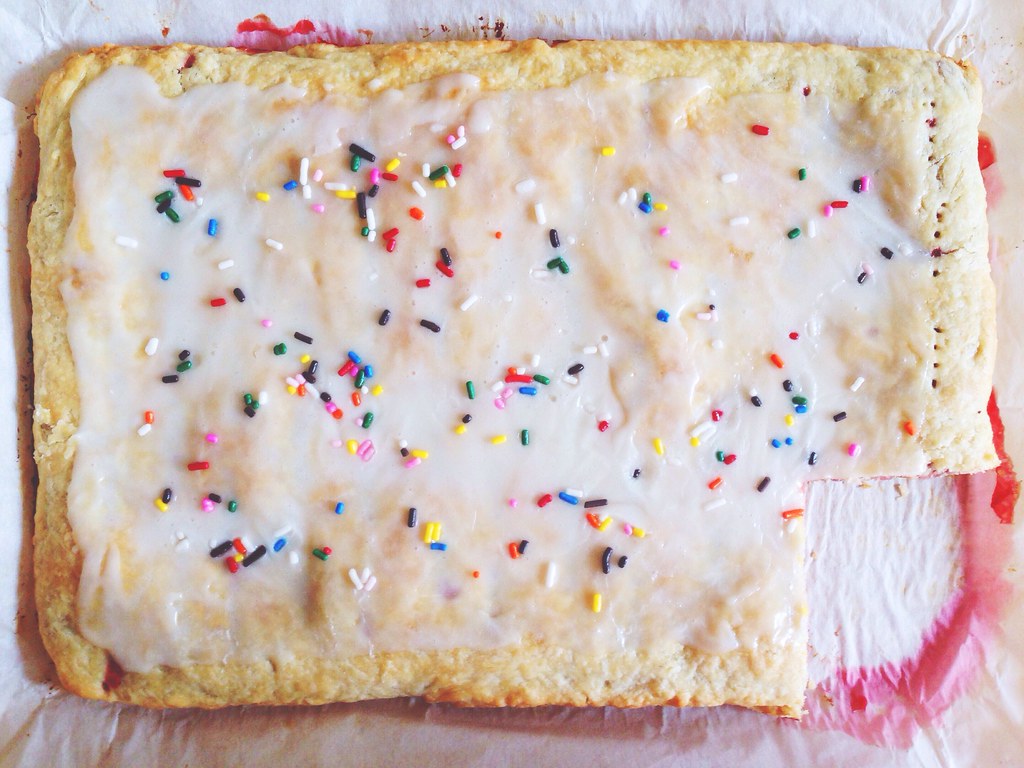
I didn't use all the glaze because I didn't want the pie to be too sickeningly sweet, but it also meant I didn't get a nice opaque frosting on top, which would have looked more authentic.  To make it super authentic, I'd also glaze one of the shorter sides of the pie all the way to the edge since my Pop Tarts always seem to be unevenly frosted like that.

https://www.flickr.com/photos/joyosity/14746960266/

Strawberry Pop Tart Slab Pie
serves 10-12 (although I served it to a small group of 5, and we pretty much demolished it)

For the crust:
2 1/2 cups flour
3 tablespoons sugar
1 teaspoon kosher salt
1 cup cold unsalted butter (2 sticks), cubed
1/4 cup ice water, more as needed

For the filling:
1 lb. fresh strawberries
1/2 cup vanilla or granulated sugar
2 tablespoons cornstarch
Pinch of kosher salt
Juice from 1/2 lemon

For the glaze:
1 cup confectioner's sugar
2 tablespoons milk
Rainbow sprinkles!

Mix the flour, sugar, and salt together in a food processor.  Add the butter and pulse until the butter has been cut into pea-sized pieces.  Add the water and pulse to combine.  Add more water if needed, a tablespoon at a time, just until the dough comes together.  Divide the dough in two, wrap with plastic wrap, and refrigerate for at least 30 minutes or overnight.

Preheat the oven to 400°F.

https://www.flickr.com/photos/joyosity/14583488247/

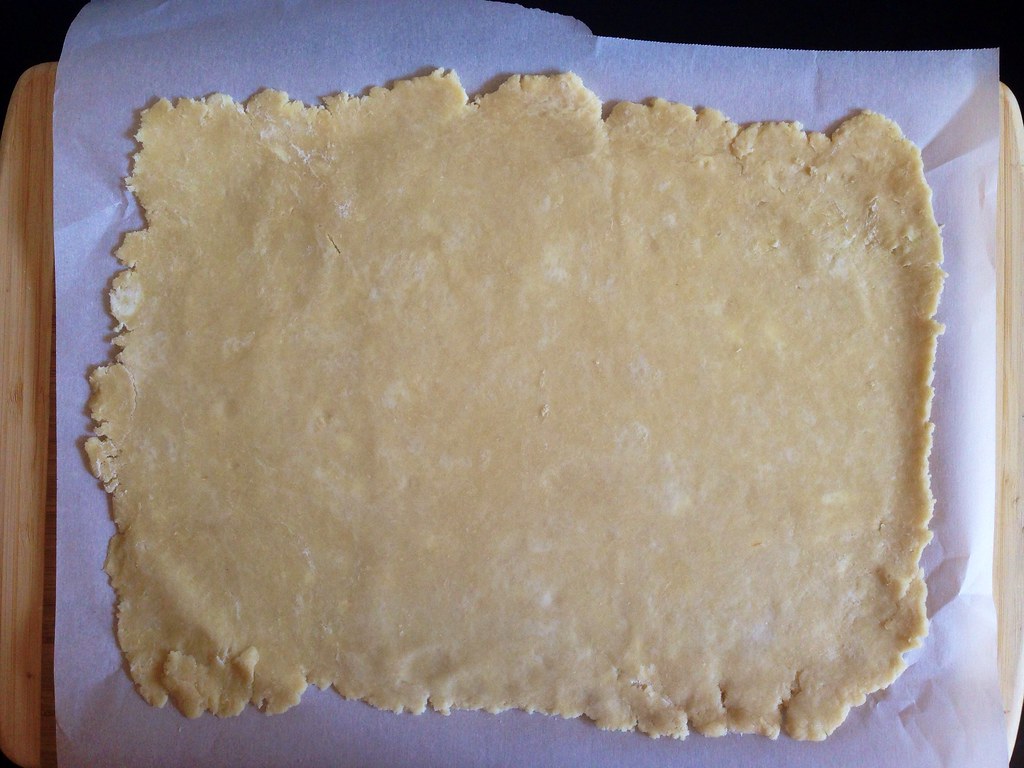
Tear off two large pieces of parchment paper and tuck each into a 9" x 13" baking pan, creasing along the sides and corners so you know how large to roll the dough.  One at a time, roll out the two pieces of dough to about 10" x 14" on the parchment paper.  It's okay if it's not perfect since you'll be tucking the sides over and under.  You can cut off any excess pieces and patch up other corners or cracks if needed, too.  Transfer the rolled out dough on the parchment paper back to the refrigerator while you prepare the filling.

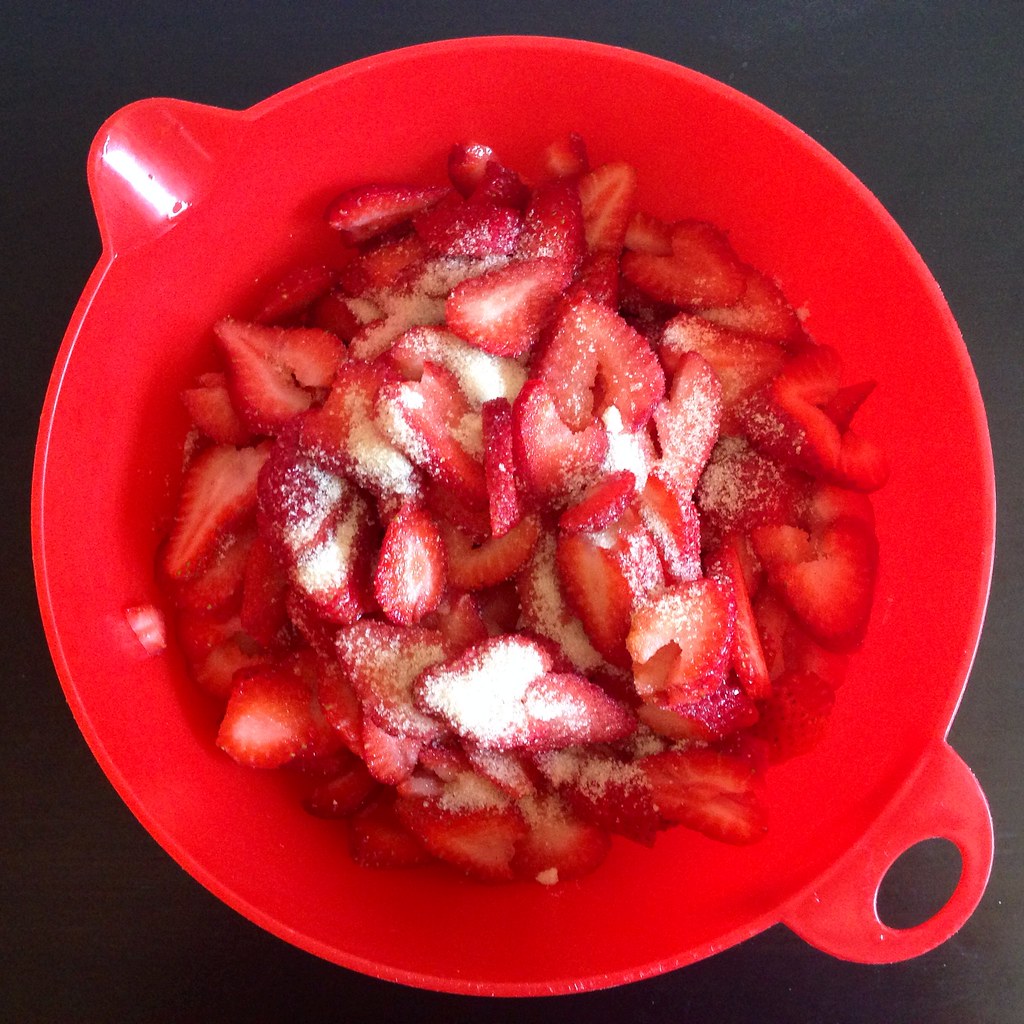
Wash, hull, and thinly slice the strawberries.  Toss with the sugar, cornstarch, salt, and lemon juice.

https://www.flickr.com/photos/joyosity/14767597874/

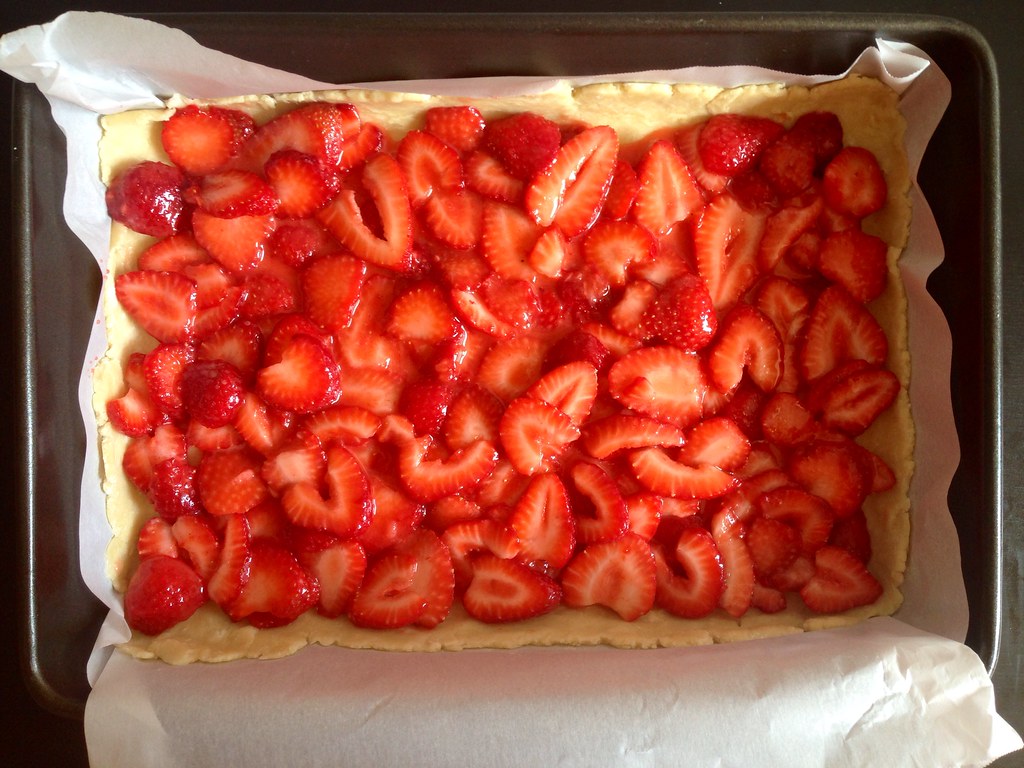
Tuck one of the rolled out crusts with the parchment paper into the baking pan, making sure there is enough dough on all sides to form a rim.  Spread the strawberry filling evenly over the crust.  Top with the other rolled out pie crust.  Carefully crimp together the edges and fold the excess dough over and under the edge, lifting up the parchment paper underneath to help with this process.  If there was a lot of extra dough, you can trim it off, but you want to make sure the filling is sealed inside.

https://www.flickr.com/photos/joyosity/14767599664/

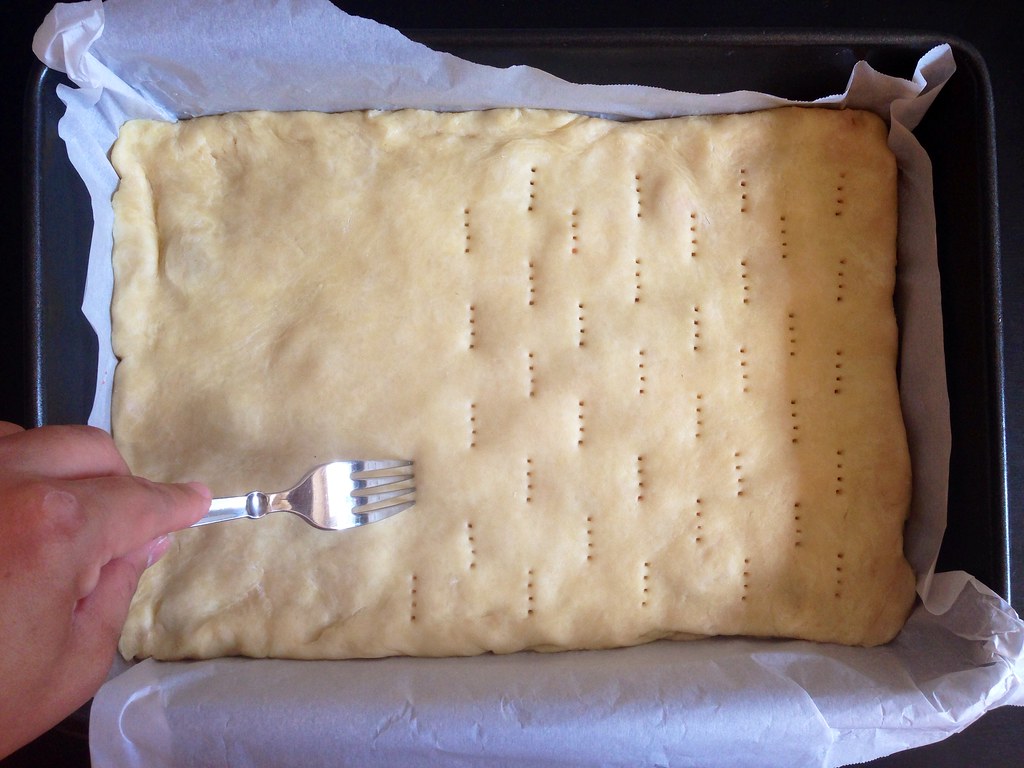
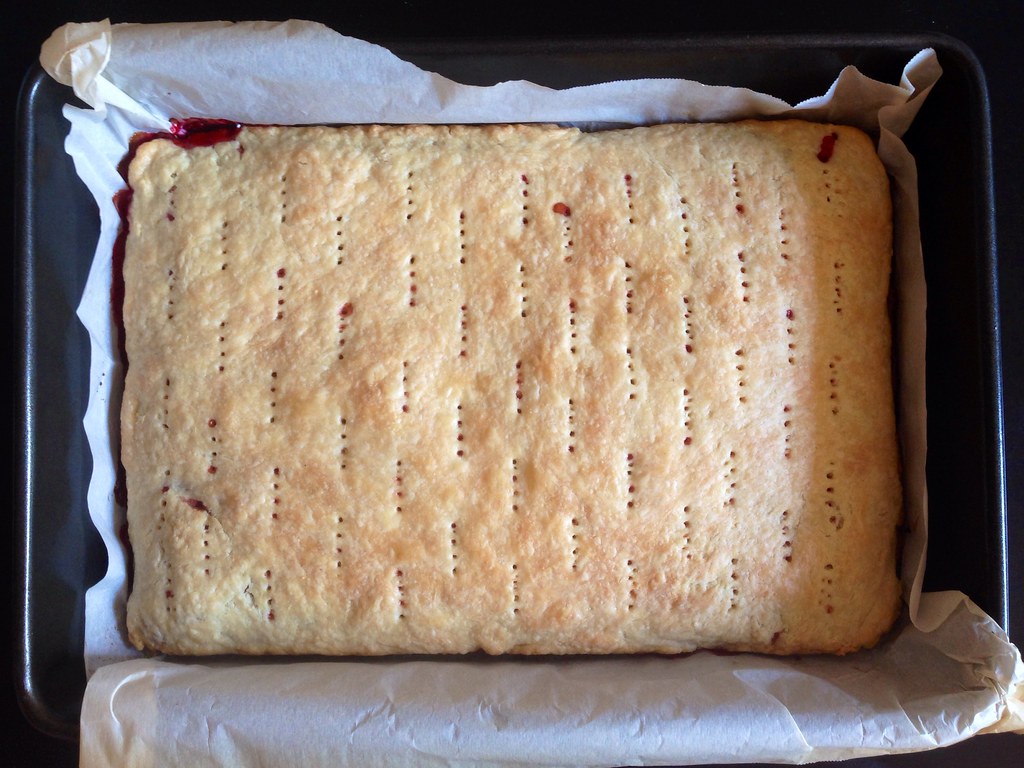
Use a fork to prick the top crust evenly all around.  Bake for 20 minutes.

Check to make sure that the holes you made are still open (sometimes they shrink and seal up), and if not, prick again with a fork.  Rotate and return to the oven for another 20 minutes or until golden brown.

https://www.flickr.com/photos/joyosity/14766793491/

Make the glaze in the meantime by mixing together the confectioner's sugar and milk.

https://www.flickr.com/photos/joyosity/14769966325/

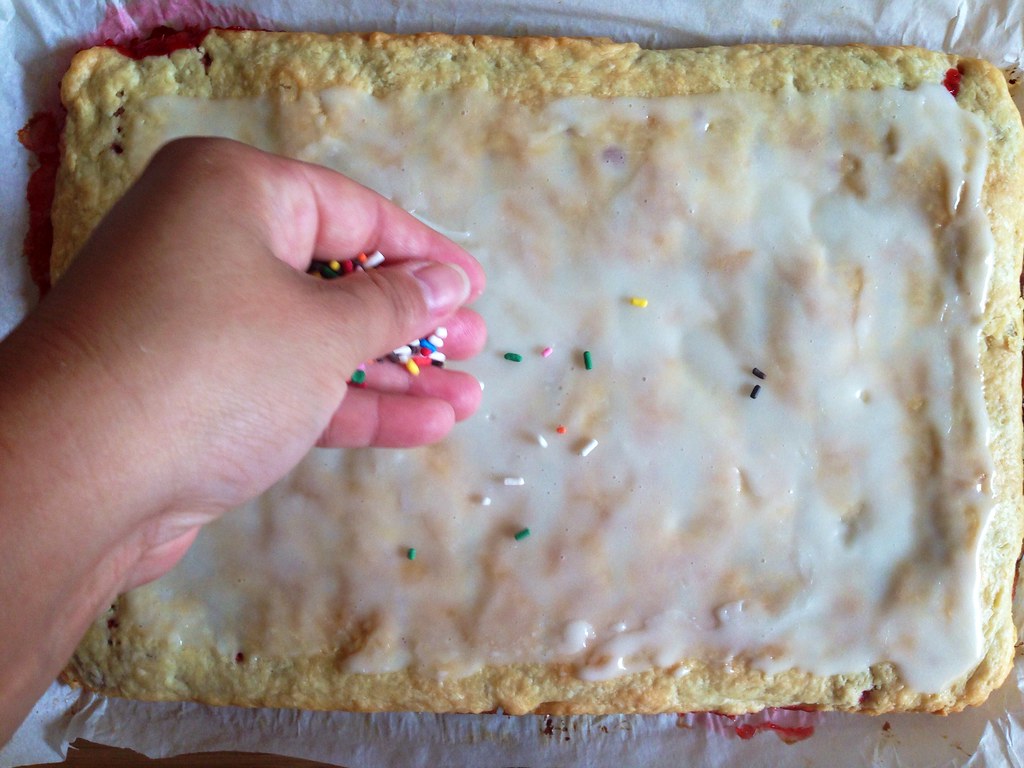
Allow the pie to cool before using the parchment paper as a sling to remove it from the pan and onto a large cutting board.  Spread the glaze over the pie, leaving a 1/2" border.  Immediately top with the rainbow sprinkles.

https://www.flickr.com/photos/joyosity/14770616552/

The pie actually reminded me a little more of a Toaster Strudel than a Pop Tart, which isn't a bad thing.  Oooh, now to make a gigantic Toaster Strudel with puff pastry and cream cheese frosting....

Next:  Grace's Ginger Scallion Fish
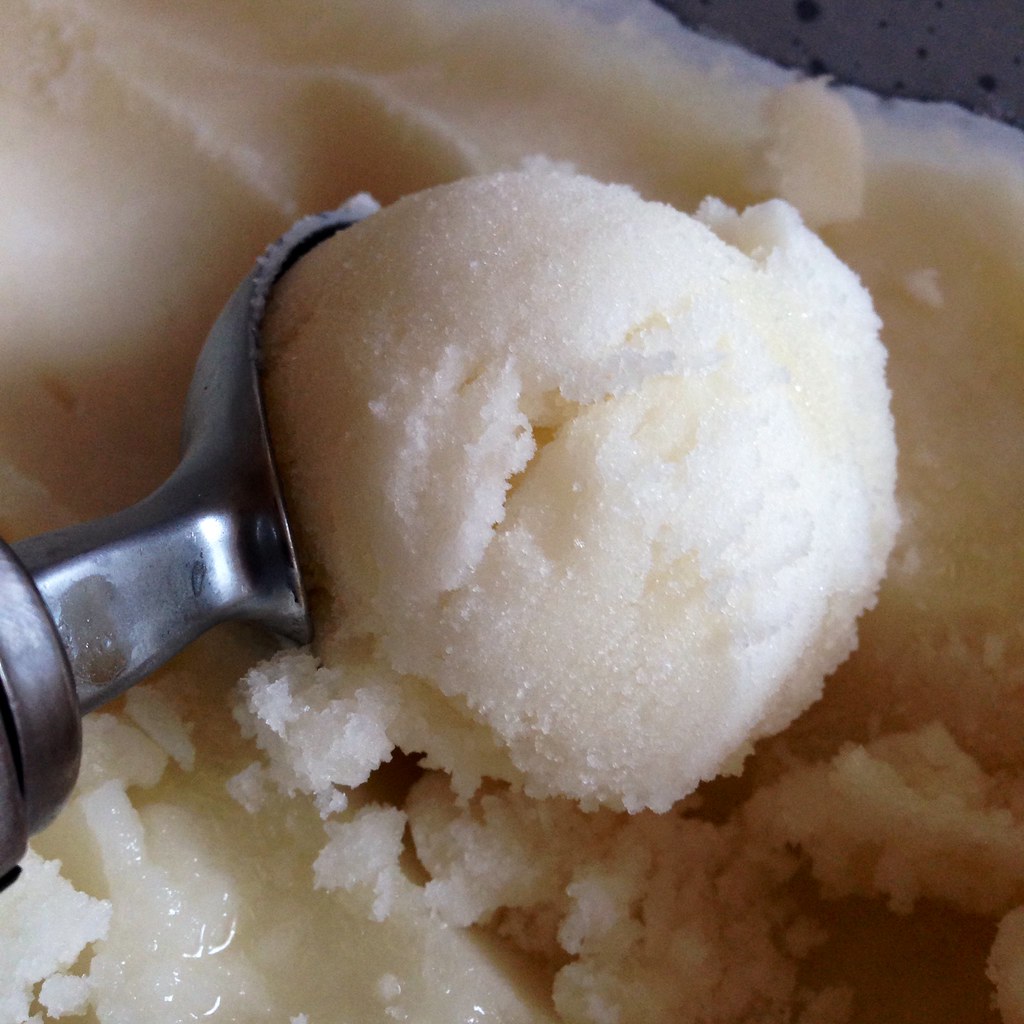
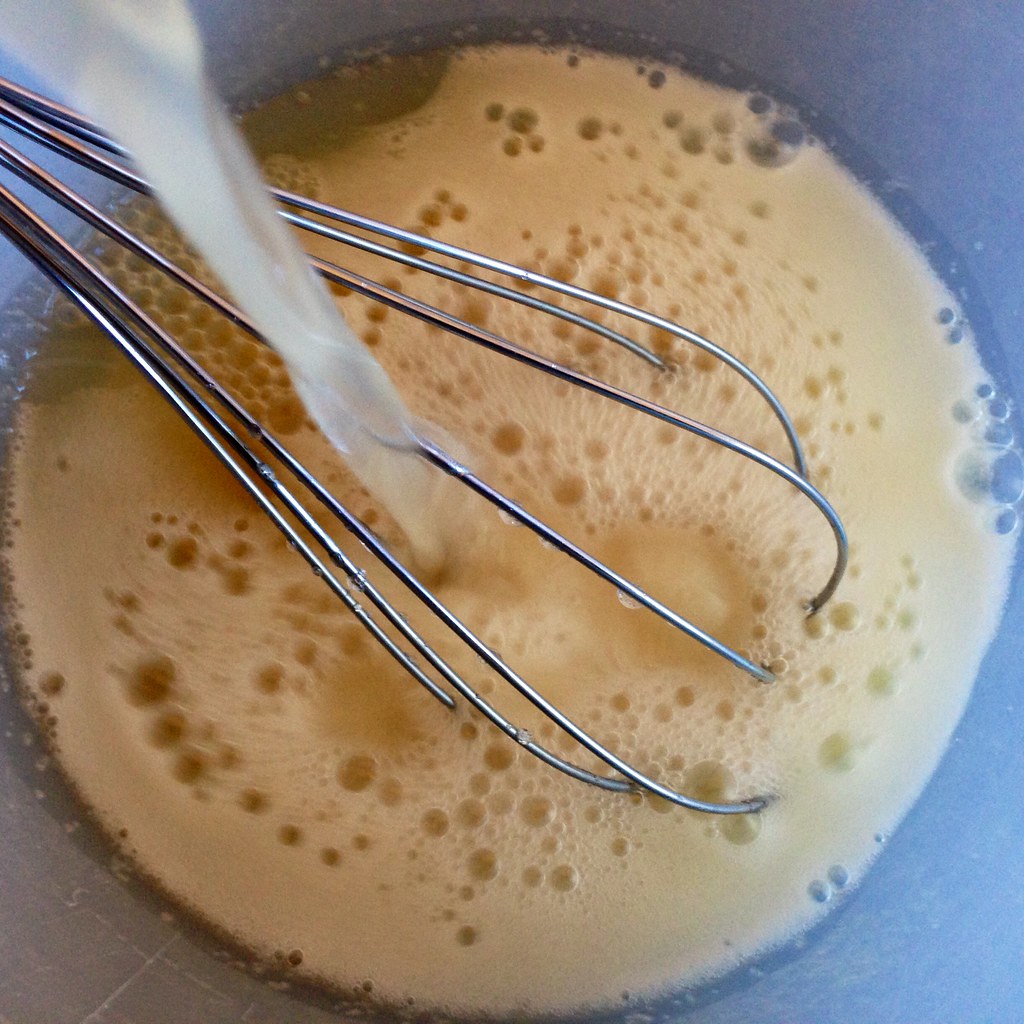
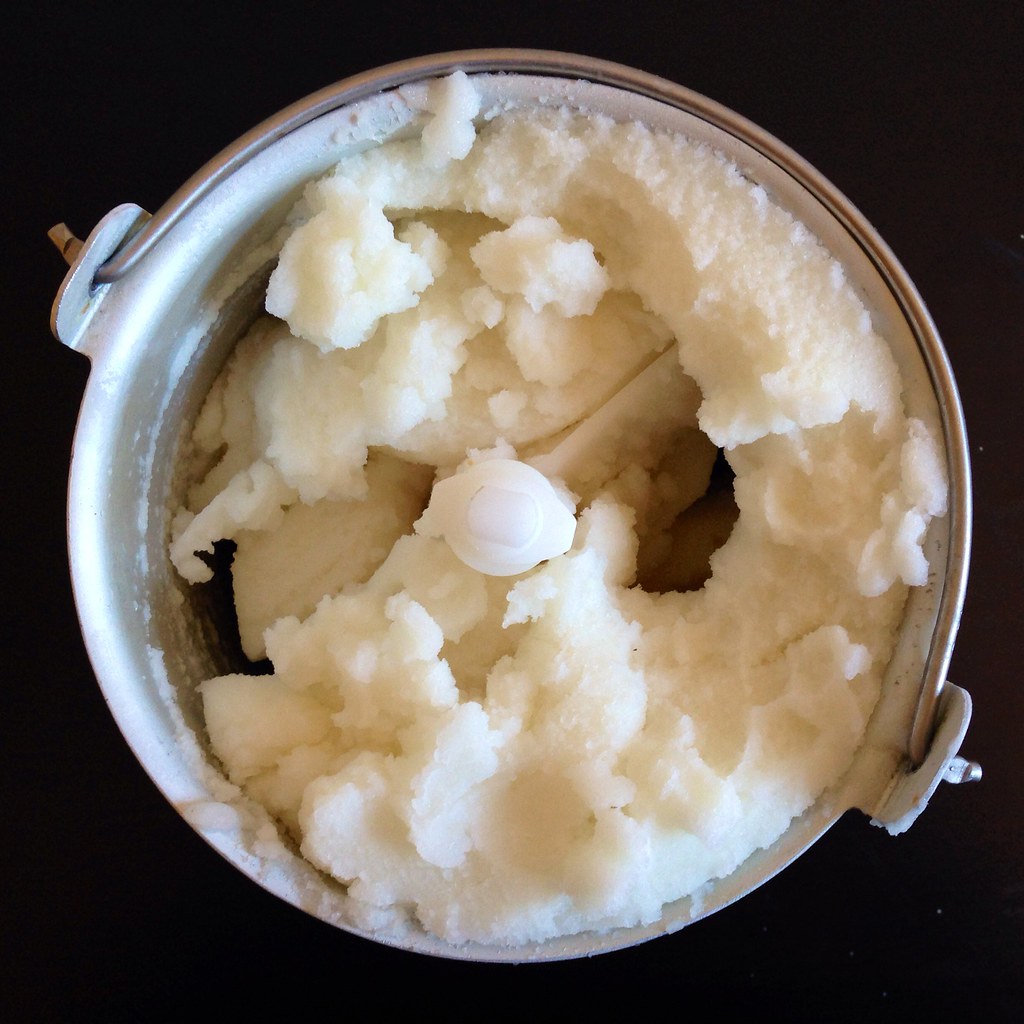
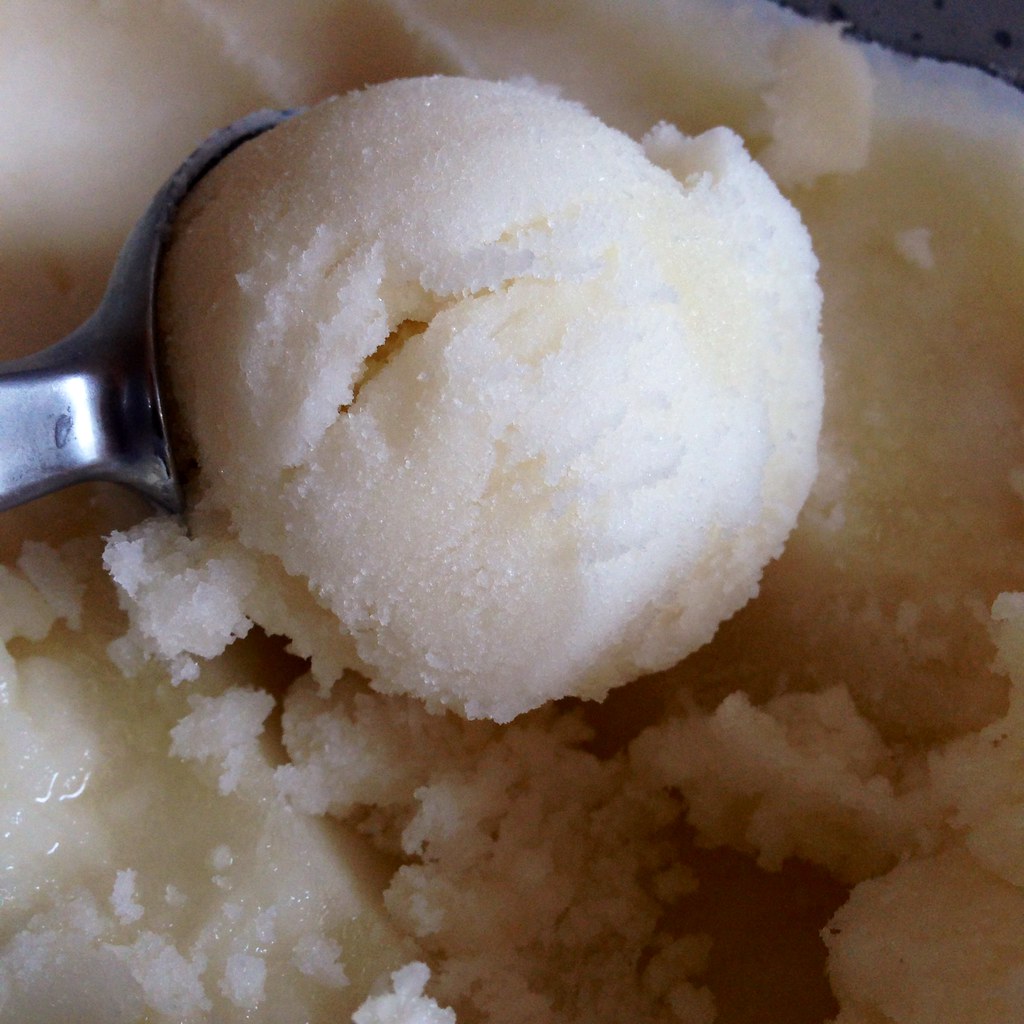
Previously:  Ginger Beer Sherbet
Last Year:  Oven Fried Mac 'n' Cheese Pizza

Monday, July 28, 2014

Ginger Beer Sherbet

How do you pronounce the word "sherbet"?  I think I've always thought it was "sher-bert" but one day I realized there's only one "r" in the word.  Anyways, I think this is the first sherbet I've ever made, and it's not even what I would call a real sherbet.  To me, a sherbet is just a sorbet with milk.

This is a ginger beer sorbet made with some coconut milk added, and guys, it's amazing.  I started off meaning to make a Dark and Stormy sorbet based on this recipe from Serious Eats, but then I forgot about adding the rum at the end.  I also didn't add the freshly grated ginger or the lime zest, and it's still awesome.  The frozen ginger beer is zippy and refreshing, and the coconut milk just rounds it out slightly with a light creaminess and nuttiness.  I served this after the New England clambake, and it was kind of just the best thing ever.  ^_^

https://www.flickr.com/photos/joyosity/14654133444/

Ginger Beer Sherbet (adapted from Serious Eats)
makes a generous quart

24 oz. ginger beer
1/2 cup turbinado or natural sugar
3/4 teaspoon kosher salt
1 cup coconut milk

https://www.flickr.com/photos/joyosity/14469930407/

Whisk all the ingredients together until the sugar dissolves.  Transfer to the refrigerator and chill thoroughly for several hours.

https://www.flickr.com/photos/joyosity/14655978992/

Churn in your ice cream maker according to the manufacturer's instructions.  Transfer to an airtight container and freeze in the freezer until hard.

https://www.flickr.com/photos/joyosity/14469730779/

Next:  Strawberry Pop Tart Slab Pie
Previously:  New England Clambake at Home
Last Year:  Oven-Fried Mac 'n' Cheese, Backyard Mint Ice Cream with Dark Chocolate Freckles, Carrot Ginger Salad Dressing

Thursday, July 24, 2014

New England Clambake at Home

https://farm4.staticflickr.com/3915/14633377936_95dc8bf433_b.jpg

After making a low country boil, I couldn't not also do a clambake!  A traditional New England clambake involves digging a pit in the sand, building a fire, adding rocks to the pit, covering them with seaweed, layering on the food, and then covering it all up with a tarp and waiting forever for it all to cook through.  It's something I'd love to do someday, but in the meantime, here's how to do it much more easily at home (and much quicker, too!).

https://www.flickr.com/photos/joyosity/14676259523/

I pretty much followed this recipe from Bon Appétit, except I tried using a couple of different types of clams:  littlenecks, cherrystones, and steamers.  I decided I like littlenecks the best; the steamers were too sandy, even after letting them spit out sand in cornmeal and salt water bath, and the cherrystones were just too big and chewy.  I really only got the cherrystones, which I learned are just older, bigger littlenecks, because they were on sale for 99¢/lb!

https://www.flickr.com/photos/joyosity/14633373146/

I like how this recipe cooks the lobster first instead of steaming them at the end on top of all the other food.  My 7-quart stockpot definitely wouldn't have fit two lobsters on top of the rest of the food, and the thought of having to hold the lid down on even just one live lobster in a pot of steaming water is too much for me to deal with.  I was actually hoping to have the store just steam them for me (most grocery stores will do so for free), but there was a long wait for them to be steamed, so I just ended up doing it myself.  Since you use the water that you cook the lobsters in to cook the rest of the food, it ends up being a nice, flavorful broth that you can serve with the rest of the clambake. I use the broth to dip the clam meat in to rinse off any last bits of sand before I pop it into my mouth.

https://www.flickr.com/photos/joyosity/14469733868/

New England Clambake at Home (adapted from Bon Appétit)
serves 4

4 dozen littleneck clams (or a mix of littlenecks and steamers), scrubbed
1/4 cup yellow cornmeal
Kosher salt
Fresh ground pepper
1 lemon, sliced into rounds
1 large onion, peeled and quartered
2 celery stalks, cut in half
6 large fresh parsley sprigs
6 fresh thyme sprigs
2 small dried bay leaves
1/4 teaspoon whole black peppercorns
2 live lobsters, 1 to 1 1/2 lb. each
2 lbs. small red potatoes
4 ears of corn, husked and halved
14 oz. kielbasa links, halved
1 1/2 sticks butter
3 large garlic cloves, finely chopped
1 teaspoon dried oregano
1 teaspoon dried basil
Lemon wedges, for serving

Place the clams and cornmeal in a very large bowl and fill with enough cold, salted water to cover.  Set aside for at least 30 minutes and up to an hour for the clams to spit up excess sand.

Fill a stock pot about a quarter of the way with cold water and bring to a boil over high heat.  Add one lobster headfirst and cover.  Cook for 10 minutes, until done, and transfer to a large platter or rimmed baking sheet.  Repeat with the other lobster.

Add the potatoes and quartered onion to the pot and bring to a boil.  Cover and cook for 10 minutes.

Layer the sausages and corn on top of the vegetables and cover again, cooking for another 10 minutes.

Rinse the clams thoroughly and add on top of the corn and sausages (if there isn't enough room in the pot, you can remove the corn, which should be cooked through).  Cover the pot tightly and boil until the clams open, about 12 minutes.

In the meantime, melt the butter in a small saucepan and add the garlic, oregano and basil.  Season with salt and pepper, to taste.

With a slotted spoon, transfer the clams, corn, sausage, and potatoes to the baking sheet with the lobsters.  Sprinkle with salt and pepper and garnish with lemon wedges.  Strain the broth and pour into 4 soup cups.  Serve seasoned butter and broth alongside the vegetables, sausages, and seafood.

https://www.flickr.com/photos/joyosity/14656339795/

The next time I make this, I'll probably try reducing the amount of water in the pot, and adding some white wine or beer to steam the food with and add more flavor to the broth.

Next:  Ginger Beer Sherbet
Previously:  Taiwanese Grilled Corn
Last Year:  Vanilla Sugar Lemonade and Mint Lemonade Slushies, Martha Stewart's Perfect Macaroni and Cheese

Thursday, July 17, 2014

Taiwanese Style Street Corn

https://www.flickr.com/photos/joyosity/14403935820/

I have to admit that I've never actually had this when I was in Taiwan, but that doesn't really matter.  When I read about Tiny Urban Kitchen's Taiwanese grilled corn, I knew I had to make it.  I already had all the ingredients for the sauce, and corn was on sale for 12 for $1.97 at Stop and Shop!  All I was missing was a grill.  Luckily, my friends Evie and Santi had a cookout at their place over the weekend, so it all worked out.

After my experience with making Mexican grilled corn, I decided to par-cook the corn before grilling it.  I've wanted to try the microwave shucking method ever since I saw this video, so I figured I could use the microwave to kill two birds with one stone.

I like to make the basting sauce the night before so that the garlic has time to really release a lot of its juices.  Make sure you use soy paste and sweet chili sauce, not soy sauce or another hot sauce.  (See this picture from Tiny Urban Kitchen for the brands we both used.)  You really want the thickness and sweetness from using those two specific sauces for this recipe.

https://www.flickr.com/photos/joyosity/14403934080/

Taiwanese Style Street Corn (adapted from Tiny Urban Kitchen)
serves 6-8

4 tablespoons soy paste
1 tablespoon sweet chili sauce
4-5 garlic cloves
6-8 ears of corn
Butter (optional)

https://www.flickr.com/photos/joyosity/14589882852/

Mix together the soy paste and sweet chili sauce.  Smash the garlic cloves, remove the skin, and add to the sauces.  I like to mash them a bit more in the sauce to really release their juices.  Let sit in the refrigerator overnight, if possible.

https://www.flickr.com/photos/joyosity/14590569565/

Cut off the stalk end of each ear of corn.  Microwave one or two at a time for 90 seconds to 2 minutes per corn.  The corn will be really, really hot so make sure you use a dependable oven mitt to remove from the microwave.


Holding the stringy end of the corn (and still using oven mitts!) shake and squeeze the corn out of the husk.  It should slide out pretty easily, and you should be able to get it out without any corn silk attached, but if there is any left on the corn, just remove it once the corn has cooled a bit.  This can also be done the night before; just store the par-cooked corn in the refrigerator and bring back to room temperature before grilling the next day.

https://www.flickr.com/photos/joyosity/14403999179/

Grill the corn on a hot grill until it starts to char.  Start basting the corn with the sauce and turning them with tongs to get a nice glaze and char all around.  Continue basting until all the sauce is used up.  You can use less, but why would you want to?  Slather with butter before serving, if desired.

https://www.flickr.com/photos/joyosity/14590585465/

I actually started basting the corn as soon as they were on the grill instead of waiting for them to char first.  I'm not sure if it made a difference, especially since the corn was already par-cooked so it didn't take too long for it to start charring.  The end result was exactly what I imagined:  sticky, salty, spicy, smoky, garlicky, crunchy, buttery sweetness.  I totally want to try using this sauce on all the things!

Next:  New England Clambake at Home
Previously:  Homemade Choco Tacos
Last Year:  French Toast Face Off

Tuesday, July 15, 2014

Homemade Choco Tacos

https://www.flickr.com/photos/joyosity/14550722186/

I was soooooooooo excited when I saw this post pop up on Food52.  Choco Tacos are pretty much my favorite kind of ice cream novelty, but I barely see them anymore!

I ended up using the speculoos ice cream I had leftover from making the stroopwafel ice cream sandwiches, the leftover magic shell I had from making the Almond Joy bon bons, and chopped almonds, but feel free to use whatever kind of ice cream and toppings you want!

https://www.flickr.com/photos/joyosity/14573010772/

Homemade Choco Tacos (from Food52)
makes 4 small tacos

1/3 cups all-purpose flour
1/4 cup sugar
Pinch of kosher salt
1 tablespoon butter, plus more for greasing
2 tablespoons milk
1/8 teaspoon almond extract
1/4 teaspoon vanilla extract
1 large egg white
Ice cream of your choice
Homemade magic shell
Your choice of toppings (chopped nuts, sprinkles, etc.)

Find a couple of hardback books about 1/2" thick, wipe them clean, and set them spine side up to use as your taco shell molds.

Whisk together the flour, sugar, and salt.  In a separate bowl or glass measuring cup, microwave the butter and milk together just until the butter is almost all melted (start with 30 seconds and then 10 additional seconds at a time).  You want the mixture to be hot enough for the butter to stay liquid, but not too hot that you'll cook the egg whites.

Whisk the almond extract, vanilla extract, and egg white into the milk and butter mixture.  Add to the dry ingredients and mix until smooth.

Grease a skillet with butter and heat on medium heat.  Add about 2 1/2 tablespoons of the batter and spread out into a thin circle.  Cook for a few minutes until golden brown on the bottom and flip.  Cook another couple of minutes until lightly brown and then remove from the skillet.  Carefully fold the shell over the spine of one of the books.  I used a folded paper towel to clamp the taco shell into shape with my hand.  Let cool on the book.

Let your ice cream soften a bit and fill the taco shells once they are cooled.  Drizzle with the homemade magic shell and top with toppings of your choice.  Enjoy!

https://www.flickr.com/photos/joyosity/14572066044/

I found that I had to use a thinner book than indicated in the original recipe to achieve the shape I desired.  I was also a little disappointed that the taco shells didn't end up as crispy as the Choco Tacos I remembered.  I guess if I were to try this again, I'd lean closer to a fortune cookie batter to get that shattering crispiness.

https://www.flickr.com/photos/joyosity/14570436601/

Next:  Taiwanese Grilled Corn
Previously:  Cleveland Cassata Cake (Bonus: In a Jar!)
Last Year:  Panzanella

Thursday, July 10, 2014

Cleveland Cassata Cake (Bonus: In a Jar!)

https://www.flickr.com/photos/joyosity/14579865401/

Growing up in Cleveland, I knew this as "the really yummy cake with the fresh strawberries."  I was aware it had a name, but because I had only heard people say it and never saw it in writing, I always thought it was a "cascada" cake.  It was only after leaving Cleveland that I realized you can't get this cake everywhere, which is so, so sad for everyone else in the world.

https://www.flickr.com/photos/joyosity/14560138156/

Think of it as the strawberry shortcake of your dreams:  layers of light, moist chiffon filled with fresh strawberries and custard and frosted with whipped cream.  For me, it's the fresh strawberries that really make this cake; they're tossed with just a couple spoonfuls of sugar to release their juices but still stay firm and almost have a little crackle because of the seeds.

https://www.flickr.com/photos/joyosity/14579875291/

I pretty much followed this recipe from Sweet Amandine, except I decided to only make a two-layer cake with half the recipe and try to make three-layer cakes-in-a-jar with the other half (similar to my Happiness Cake in a Jar).  For the two-layer cake, I chose to put the strawberries on top of the custard only because I figured it would be easier spreading the strawberries over the custard than the other way around.  Since you're not really spreading around the fillings for the cakes-in-a-jar, and it actually looks nicer for the custard to be seeping into the strawberry layer, I flip flopped it for the jar version.  I also decided to use vanilla sugar in the custard since I like the subtle additional flavoring and confectioner's sugar in the whipped cream.

https://www.flickr.com/photos/joyosity/14396545080/

Cleveland Cassata Cake (adapted from Sweet Amandine)
makes one 4-layer cake or one 2-layer cake and ten small (8 oz.) jars or twenty small (8 oz.) jars

For the custard:
6 large egg yolks
1/2 cup vanilla sugar (or regular sugar if you don't have vanilla sugar)
2 cups half and half
3 tablespoons cornstarch

For the cake:
2 1/4 cups cake flour
1 1/4 and 1/4 cups sugar, divided
1 tablespoon baking powder
1 teaspoon salt
3/4 cup cold water
1/2 cup vegetable oil
1 teaspoon lemon zest
1 teaspoon vanilla extract
5 large egg yolks at room temperature
8 large egg whites at room temperature
1/2 teaspoon cream of tartar

For the strawberries:
3 pounds strawberries
2 tablespoons sugar

For the whipped cream:
2 cups chilled heavy cream
1 tablespoon confectioner's sugar

https://www.flickr.com/photos/joyosity/14560131796/

Whisk together all of the custard ingredients in a saucepan.  Heat over medium-low heat, whisking constantly until thickened.  Turn down the heat if it starts to simmer.  Transfer the custard to a bowl, cover with plastic wrap, and cool to room temperature.  Transfer to the refrigerator and chill for at least 3 hours, or up to 2 days.

Preheat the oven to 325°F. Line the bottoms of two 9" round cake pans with lightly oiled parchment paper.  Sift or whisk together the flour, 1 1/4 cup sugar, baking powder, and salt in a large mixing bowl.

https://www.flickr.com/photos/joyosity/14603289003/

In a separate bowl, beat together the yolks, water, oil, lemon zest, and vanilla until smooth. Stir into the flour mixture. In another large bowl beat the egg whites with the cream of tartar until soft peaks form. Add the remaining 1/4 cup sugar and beat on high until the peaks are stiff but not dry.

https://www.flickr.com/photos/joyosity/14603287933/

Using a rubber spatula, fold about a quarter of the fluffy egg whites into the egg yolk mixture. Then very gently fold in the remaining whites. As soon as the egg whites are no longer visible, stop folding. Scrape the batter into the prepared cake pans and spread evenly. Bake for approximately 35 minutes or until the top springs back when lightly pressed and a toothpick inserted into the center comes out clean.

https://www.flickr.com/photos/joyosity/14582437592/

In the meantime, hull and slice the strawberries thinly, reserving a few to garnish the top of the cake with.  Sprinkle with the sugar and stir. Allow the strawberries to macerate for 1 hour, giving them a stir every so often. Strain the berries, reserving the released juices.

https://www.flickr.com/photos/joyosity/14582440632/

Allow the cakes to cool in their pans on a cooling rack for at least an hour. When completely cool, run a knife around the sides to release the cakes, cover each pan with a wax paper-lined plate, and flip. Gently lift the pans off of the cakes.

Carefully slice the cakes in half with a bread knife so you have four layers (or two, depending on how many cakes you made). Place each layer on a wax paper-lined baking sheet or plate.

Whip the cream and sugar together until stiff, making sure not to overwhip (or else you'll be making butter!).

https://www.flickr.com/photos/joyosity/14581373324/

Place one cake layer on a wax paper-lined baking sheet. Brush with the reserved strawberry juice. Cover with a layer of custard, and then a layer of strawberries.

https://www.flickr.com/photos/joyosity/14396570728/

Repeat for the following layers if you are making more than a two-layer cake.

https://www.flickr.com/photos/joyosity/14583177325/

Plop the whipped cream on top of the cake.  Use a spatula to spread the whipped cream across the top and then over the sides of the cake.  Top with the reserved strawberries, if you remembered to save any (which I didn't).

https://www.flickr.com/photos/joyosity/14583179315/

To make the cakes in a jar, bake the batter in two lightly oiled parchment paper-lined 9"x13" cake pans.  Once the cakes are cooled, use the lid of the jar as a template to cut out 10 (I was able to get 11, but 10 is a nicer, round number) circles, making sure to cut slightly inside the outline so that the cake will fit inside the jar.

https://www.flickr.com/photos/joyosity/14579872041/

Tear the remaining cake scraps into large crumbs (you will use this for the middle layer of each jar). 

https://www.flickr.com/photos/joyosity/14583187435/

Slice each cake circle in half.  Place the bottom half in the bottom of a jar.  Top with a spoonful of the sliced strawberries (including some juices) and then a spoonful of custard.  Tap the jar a few times to make sure everything is settled.  Top with a layer of the cake crumbs and then another layer of the strawberries and custard.  Place the top half of the cake circle on top of the second layer of custard and top it all off with a dollop of whipped cream.

https://www.flickr.com/photos/joyosity/14396784537/

I'm not going to lie, making this cake is definitely a labor of love, but well worth it.  When I was finally done and took my first bite, I tasted exactly like childhood. ^_^

https://www.flickr.com/photos/joyosity/14396600119/

Next:  Homemade Choco Tacos
Previously:  Watermelon Agua Fresca and Popsicles
Last Year:  BLT with Avocado and Basil Mayonnaise

Tuesday, July 8, 2014

Watermelon Agua Fresca and Popsicles

https://www.flickr.com/photos/joyosity/14540240404/

I've never been a huge fan of watermelon because I think it's too hard to eat.  If it's cut up in slices, I inevitably get it all over my face, and even if it's already cut up into nice cubes, I have a hard time spitting out the seeds (and even "seedless" watermelons have those little white seeds in them!).

https://www.flickr.com/photos/joyosity/14518641266/

Enter the watermelon agua fresca:  all the yumminess of watermelon in drinkable form!  I find that I don't even need to add any water to the blended watermelon because it's diluted enough for me over ice, but you might want to if your watermelon happens to be really sweet.

Like I did with the papaya milk, I decided to try churning the drink and then freezing it in popsicle form.  I took the extra step of mixing in some chopped chocolate chips to look like (edible!) watermelon seeds, but I don't think I added enough to really get the effect I was going for so I doubled the amount below.

https://www.flickr.com/photos/joyosity/14538355221/

Watermelon Agua Fresca and Popsicles
makes 6 drinks or twenty 3 oz. popsicles

8 cups seedless watermelon flesh, cubed
2 tablespoons fresh lime juice
2 tablespoons honey, plus more for the popsicles
6 tablespoons chocolate chips, coarsely chopped (for the popsicles, optional)

https://www.flickr.com/photos/joyosity/14540788672/

Blend the watermelon, lime juice, and honey in a blender.  Strain through a fine mesh sieve; you should end up with almost 5 cups of liquid.

https://www.flickr.com/photos/joyosity/14355097090/

For the agua fresca, pour over ice, dilute with water as desired, and enjoy!

https://www.flickr.com/photos/joyosity/14355283017/

For the popsicles, add another 2 tablespoons of honey and taste.  Add more, if necessary, until it almost tastes too sweet.  Churn the watermelon juice in an ice cream machine.  When it is mostly frozen (you can stop before it reaches soft serve consistency), stir in the chopped chocolate.  Fill your popsicle molds and freeze.  I used about 1 1/2 cups of liquid to fill six of my 3 oz. popsicle molds.

https://www.flickr.com/photos/joyosity/14541742625/

Next:  Cleveland Cassata Cake (Bonus:  In a Jar!)
Previously:  Low Country Boil
Five Years Ago:  Curried Carrot Soup