Showing posts with label drinks. Show all posts

Thursday, February 5, 2015

Matcha White Hot Chocolate

https://www.flickr.com/photos/joyosity/15815177604/

There are some flavors that just seem destined to be paired together.  Salt and pepper.  Ginger and scallion.  Chocolate and peanut butter.  To that exalted list of flavor pairings, I 'd like to nominate matcha green tea and white chocolate.

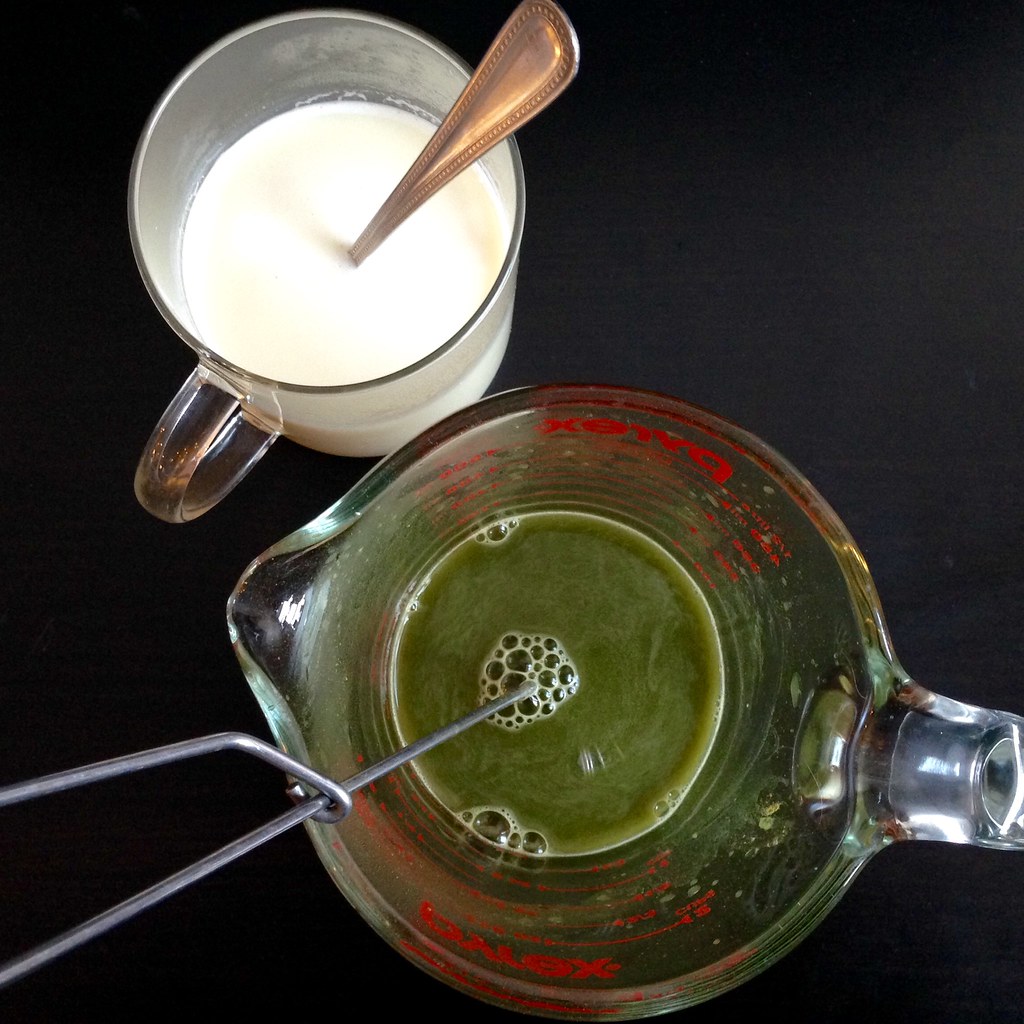
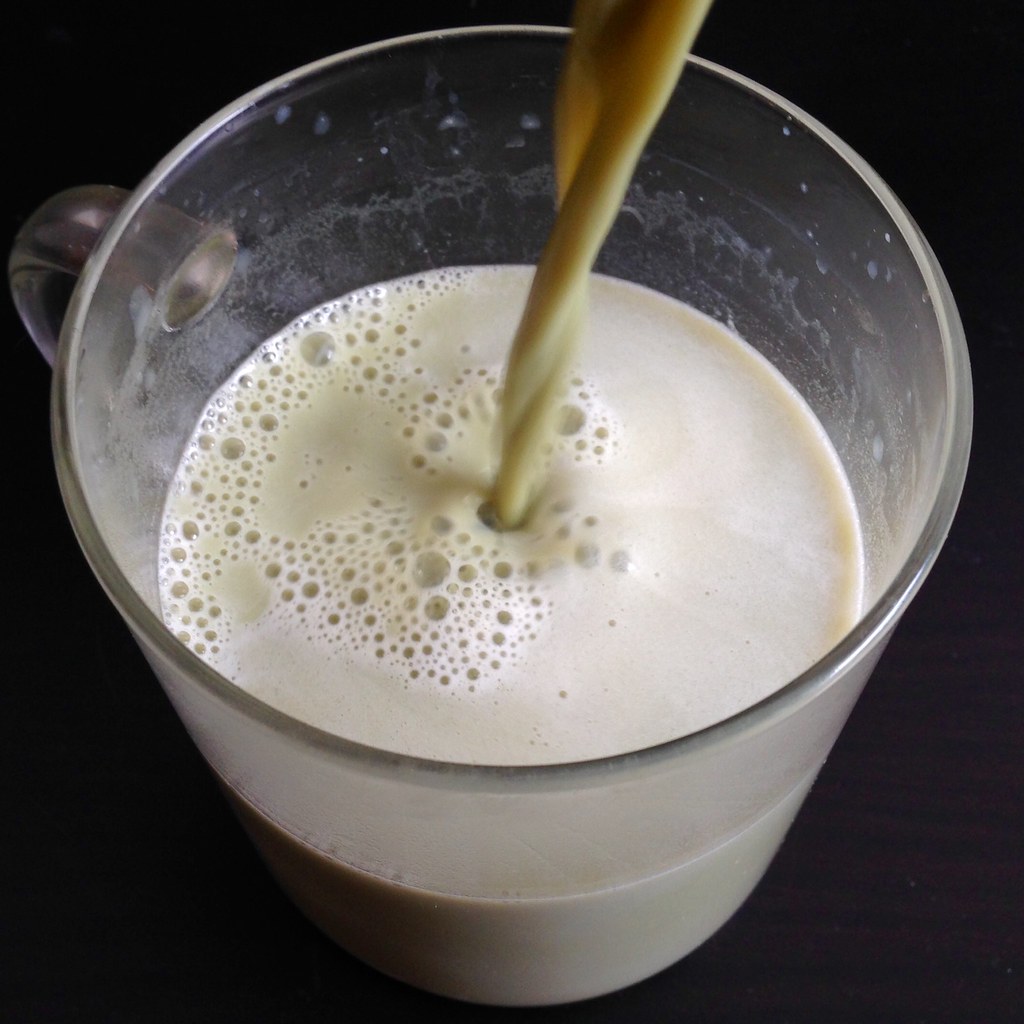
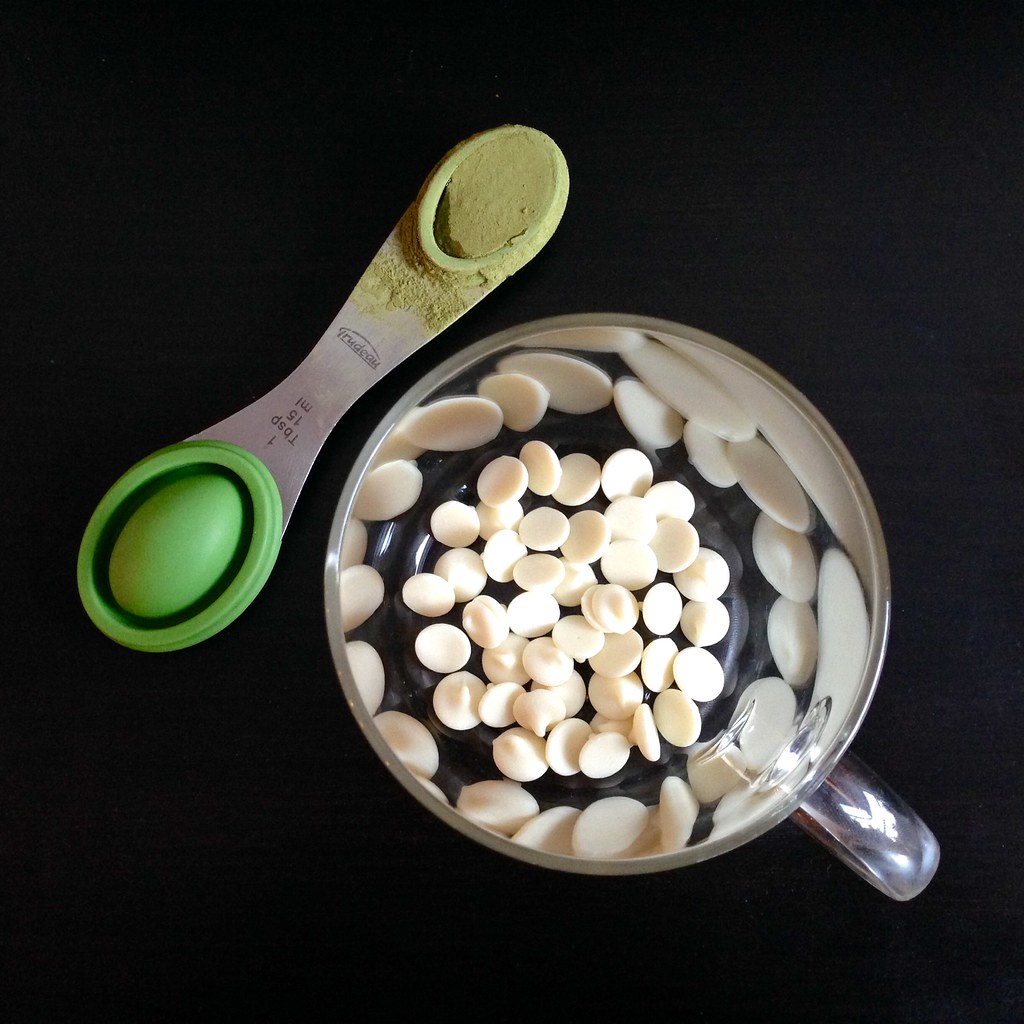
I was craving something warm, sweet, and comforting, and for some reason my mind came up with matcha and hot chocolate.  But not regular hot chocolate, a white hot chocolate.  A quick google showed me I wasn't the first one with this idea.  I followed Love & Lemons' recipe which was super simple:  melt some white chocolate chips in some milk, whisk some matcha green tea powder in some hot water, combine the two, and voila!  Matcha white hot chocolate!

https://www.flickr.com/photos/joyosity/15817632113/

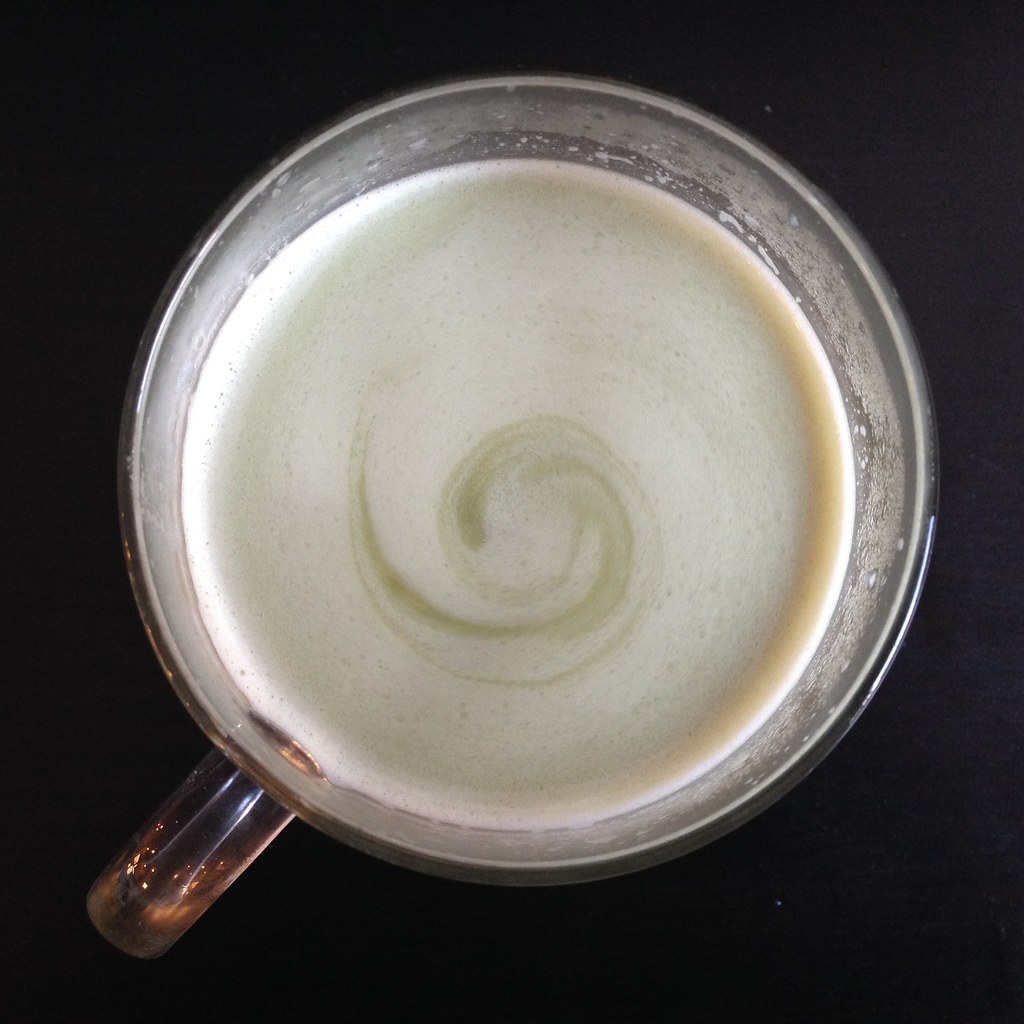
I love how the two flavors interact with each other.  By itself, matcha can be bitter and unpleasant while white chocolate can be too sickly sweet.  But paired up, they temper each other's extremes to give you a creamy, herbaceous concoction.  For the milk, I used vanilla soy milk, which adds just a hint of sweetness.  If you're looking for a thick, decadent hot chocolate, this is not the right recipe.  But if you're looking for a perfectly balanced, subtly flavored hot chocolate that you can drink without feeling too guilty, it doesn't get any better than this.

https://www.flickr.com/photos/joyosity/16435933741/

Matcha White Hot Chocolate (adapted from Love & Lemons)
makes 1 cup

3 tablespoons white chocolate chips
3/4 cups vanilla soy milk
1 teaspoon matcha green tea powder
1/2 cup hot water

Melt the white chocolate chips in 1/4 cup of the soy milk by microwaving on high for 30 seconds.  Stir until combined.  Heat the rest of the soy milk and mix together.

Whisk the match into the hot water.  Combine with the soy milk mixture and serve.

https://www.flickr.com/photos/joyosity/15817631143/

Next:  Heart-Shaped Tamgaoyaki
Previously:  Burmese Coconut Noodles with Tofu
Two Years Ago:  Passion Fruit Marshmallows
Five Years Ago:  Nutella Ice Cream
Six Years Ago:  Tomato and Eggs over Rice

Tuesday, October 14, 2014

Indonesian Avocado Milkshake

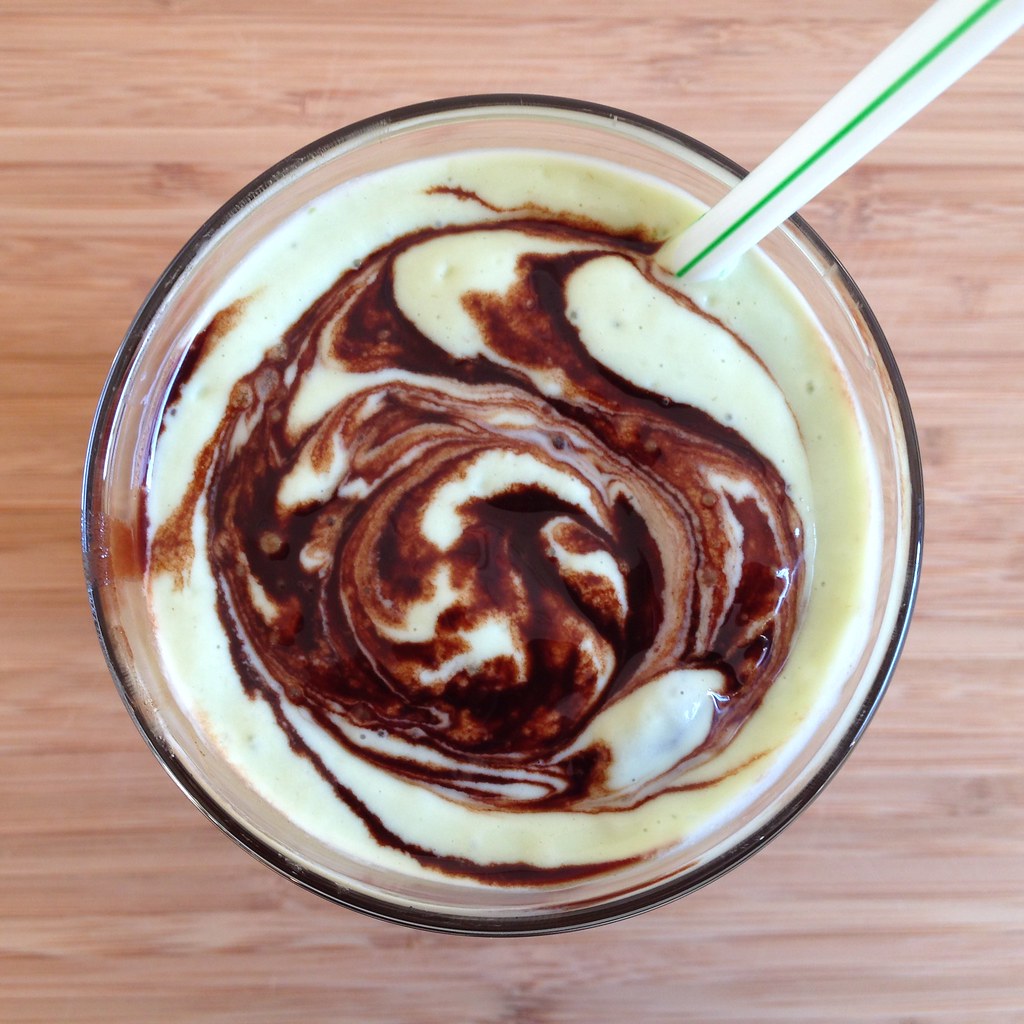
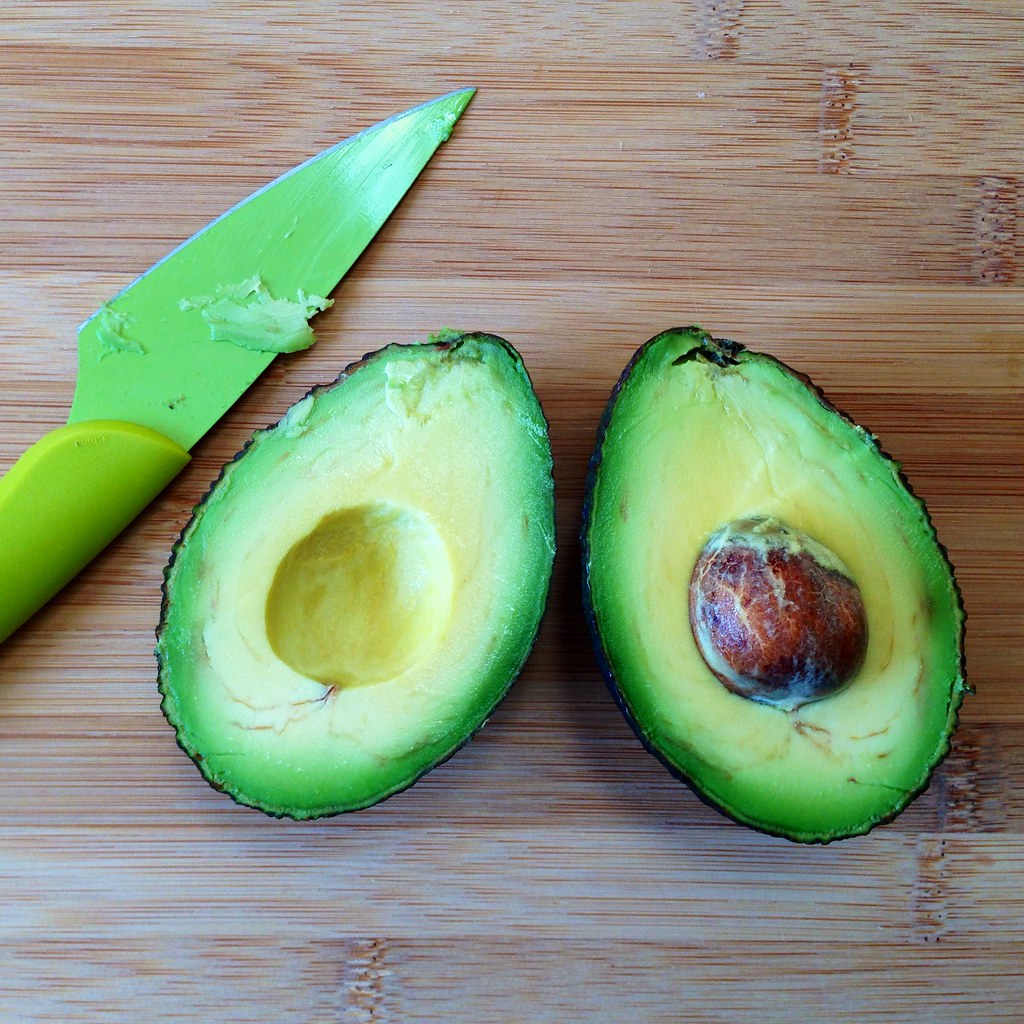
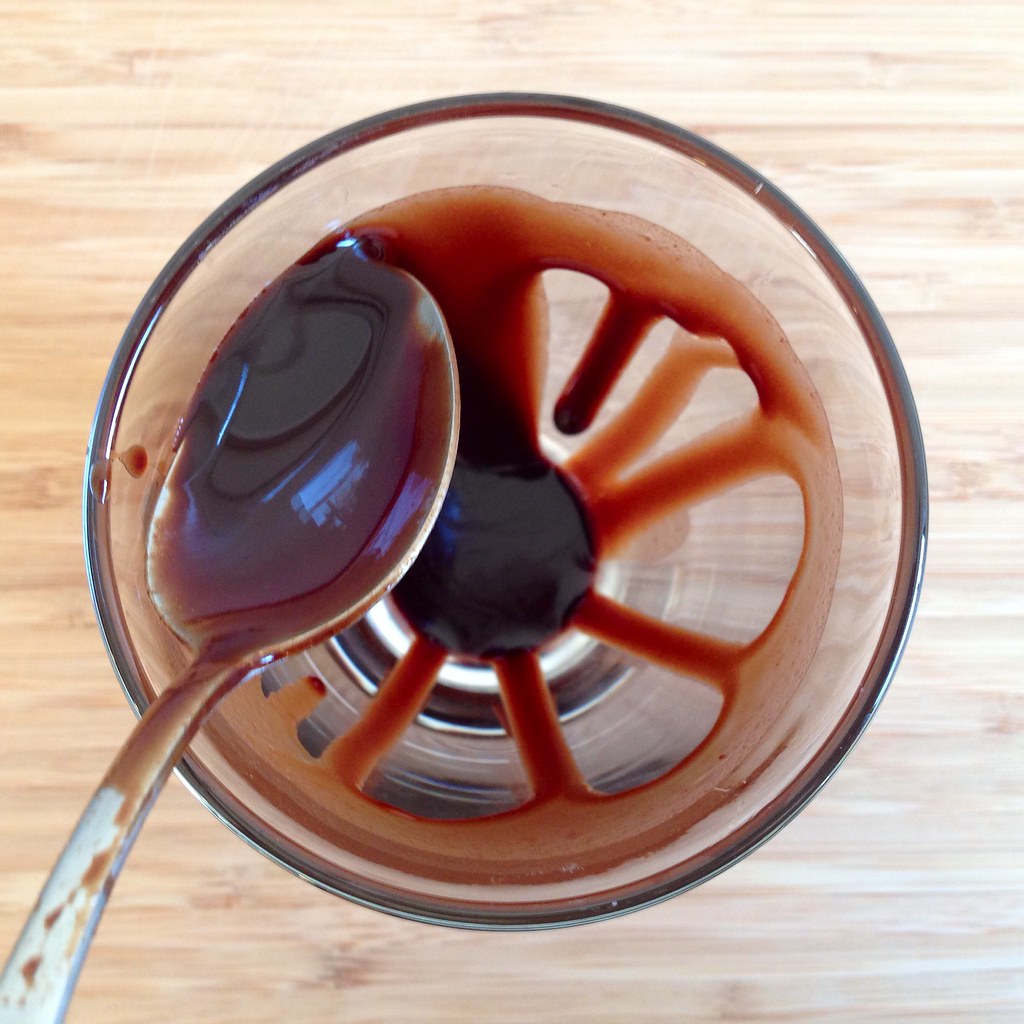
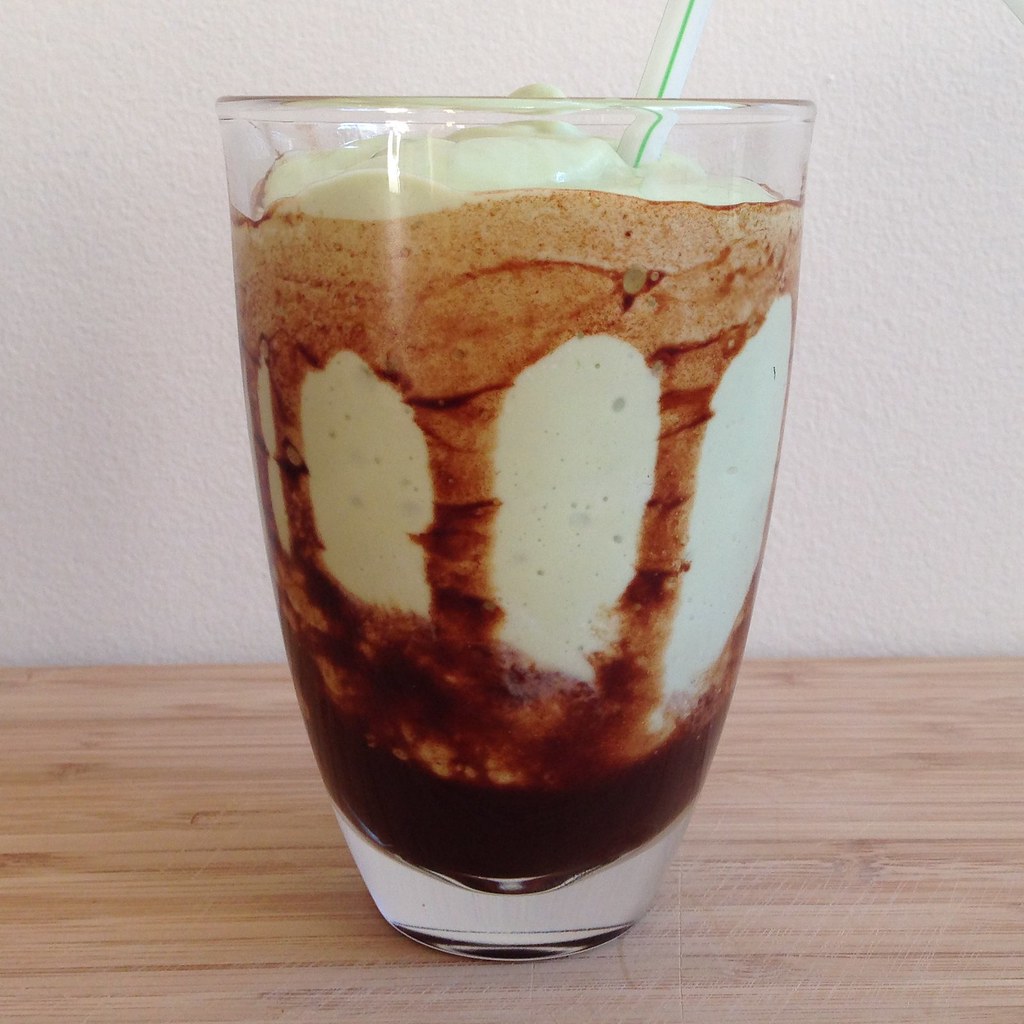
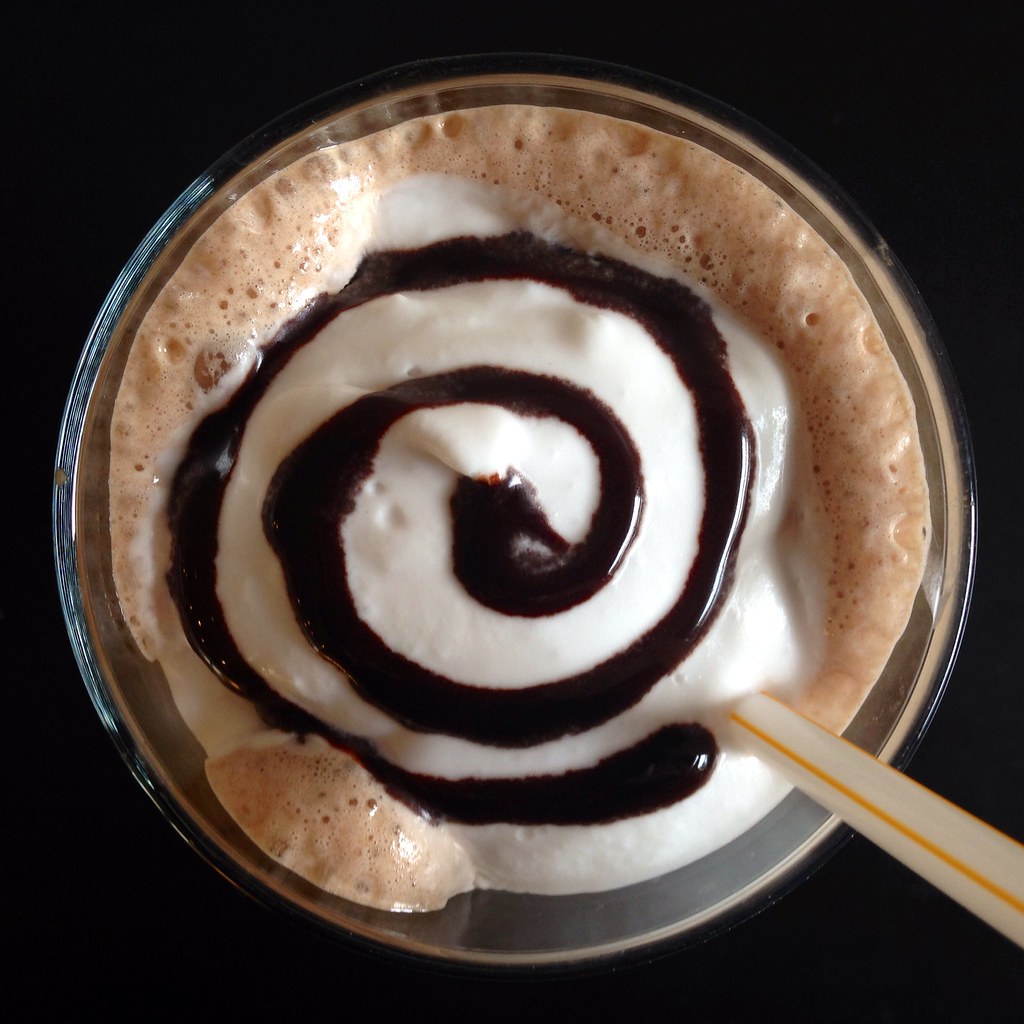
I don't usually see avocados used in sweet applications, but it's pretty popular to treat avocados as the fruit that they are in Asian countries.  For instance, take the Indonesian avocado milkshake, which adds chocolate syrup down the sides of the serving glass for an extra special touch.

I had some leftover coconut milk from making the ginger beer sherbet, so I decided to try using some in the milkshake, and the result was incredible.  The milkshake is already really creamy from the addition of the avocado, but adding coconut milk just brings the creaminess to a whole new level!

https://www.flickr.com/photos/joyosity/14676284843/

Indonesian Avocado Milkshake
makes 1 large shake or 2 smaller shakes

For the chocolate syrup:
2/3 cup water
2/3 cup sugar
1/4 cup cocoa powder

For the milkshake:
1 ripe avocado
1 cup milk (or 1/2 cup milk and 1/2 cup coconut milk for extra creaminess)
3 tablespoons sweetened condensed milk
1/2 cup ice cubes

Whisk together the water, sugar, and cocoa powder in a small saucepan and bring to a boil.  Stir until the sugar has all dissolved and allow to cool.  Store in the refrigerator until ready to use.

https://www.flickr.com/photos/joyosity/14656359165/

Cut the avocado in half and remove the pit.  Scoop out the flesh and add to a blender along with the coconut milk, milk, sweetened condensed milk, and ice cubes.  Blend until smooth and frothy.

https://www.flickr.com/photos/joyosity/14656357155/

Pour the chocolate syrup around the inside of a glass and then add the avocado milkshake.  Enjoy!

https://www.flickr.com/photos/joyosity/15480057515

This recipe makes about a cup of chocolate syrup, way more than you need for the milkshake.  You can use the rest for making chocolate milk, drizzling over ice cream, whatever you want!

Next:  Jeni's Salty Vanilla Frozen Custard
Previously: Concord Grape Sorbet
Last Year:  Bahian Style Moqueca (Brazilian Fish Stew)
Two Years Ago:  Crispy Kale Pizza

Friday, August 8, 2014

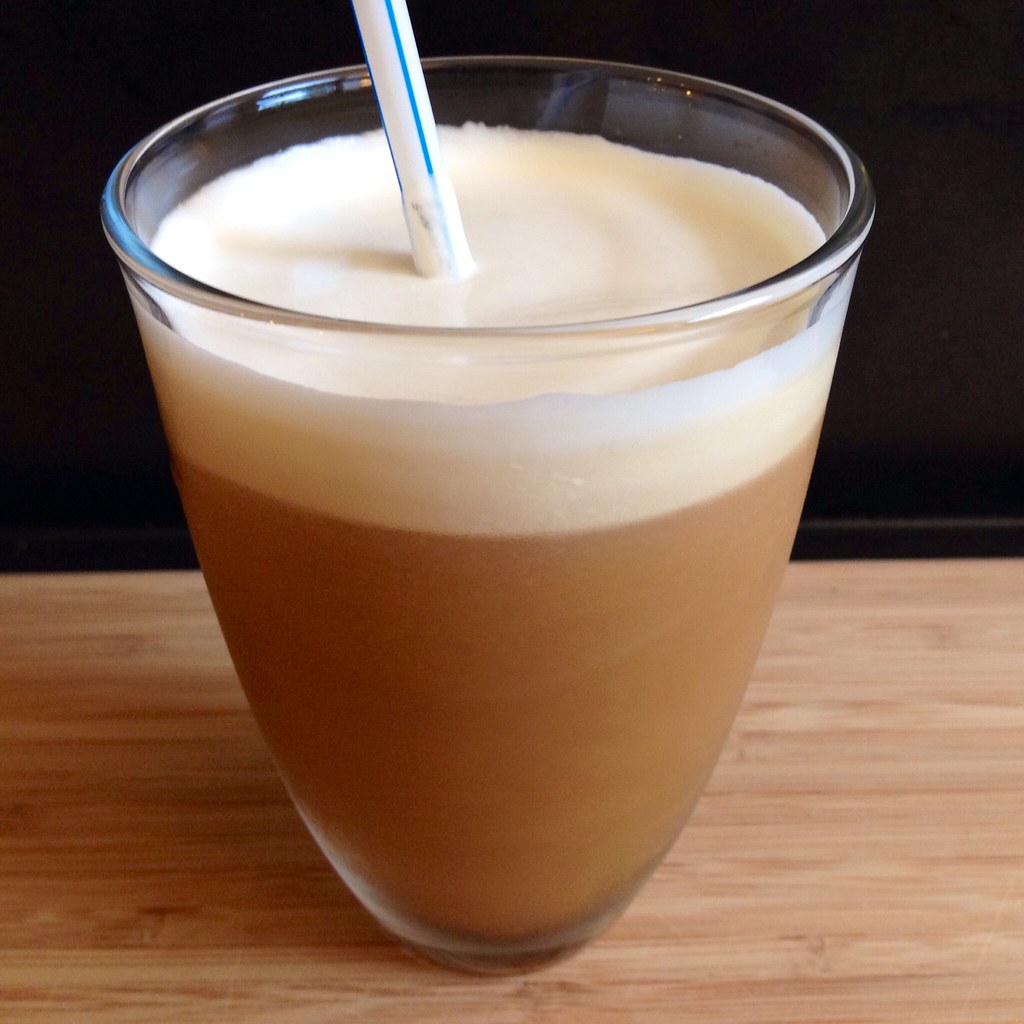
Sea Salt Cold Brew Coffee

https://www.flickr.com/photos/joyosity/14631293897/

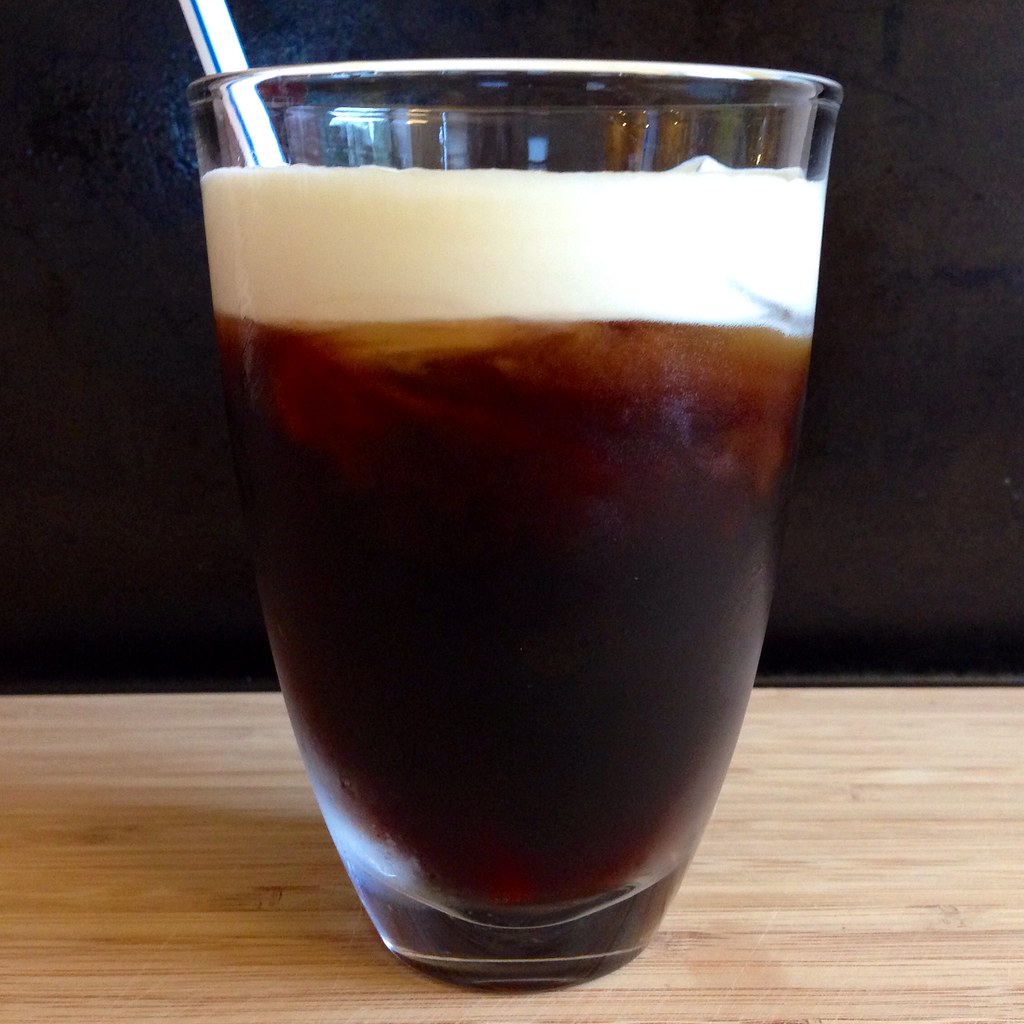
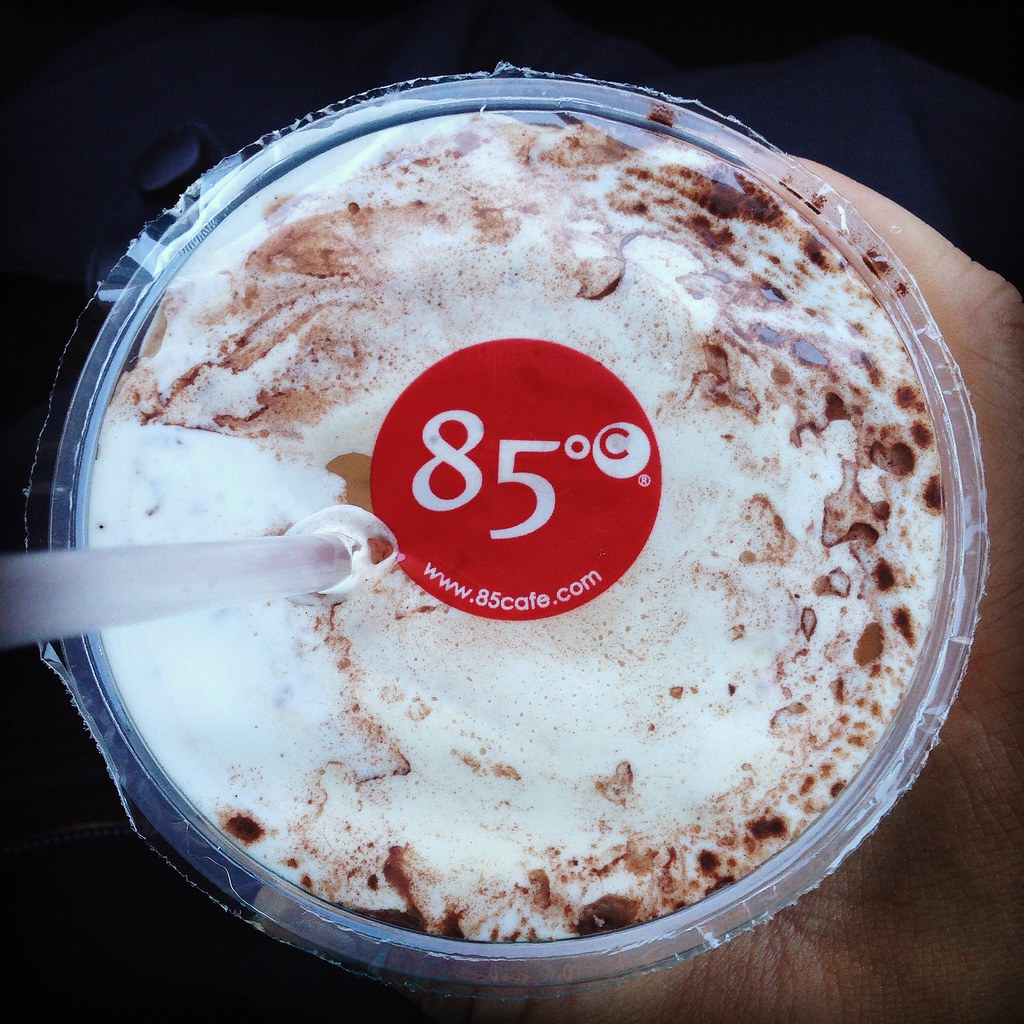
I was in Irvine recently for a family vacation, and one of the places I looked forward to going to the most was 85°C, a cafe and bakery chain from Taiwan.  Their most popular drink is probably the sea salt coffee, an iced coffee drink with cream and a pinch of sea salt for that salty-sweet flavor dimension.

https://www.flickr.com/photos/joyosity/14631174759/

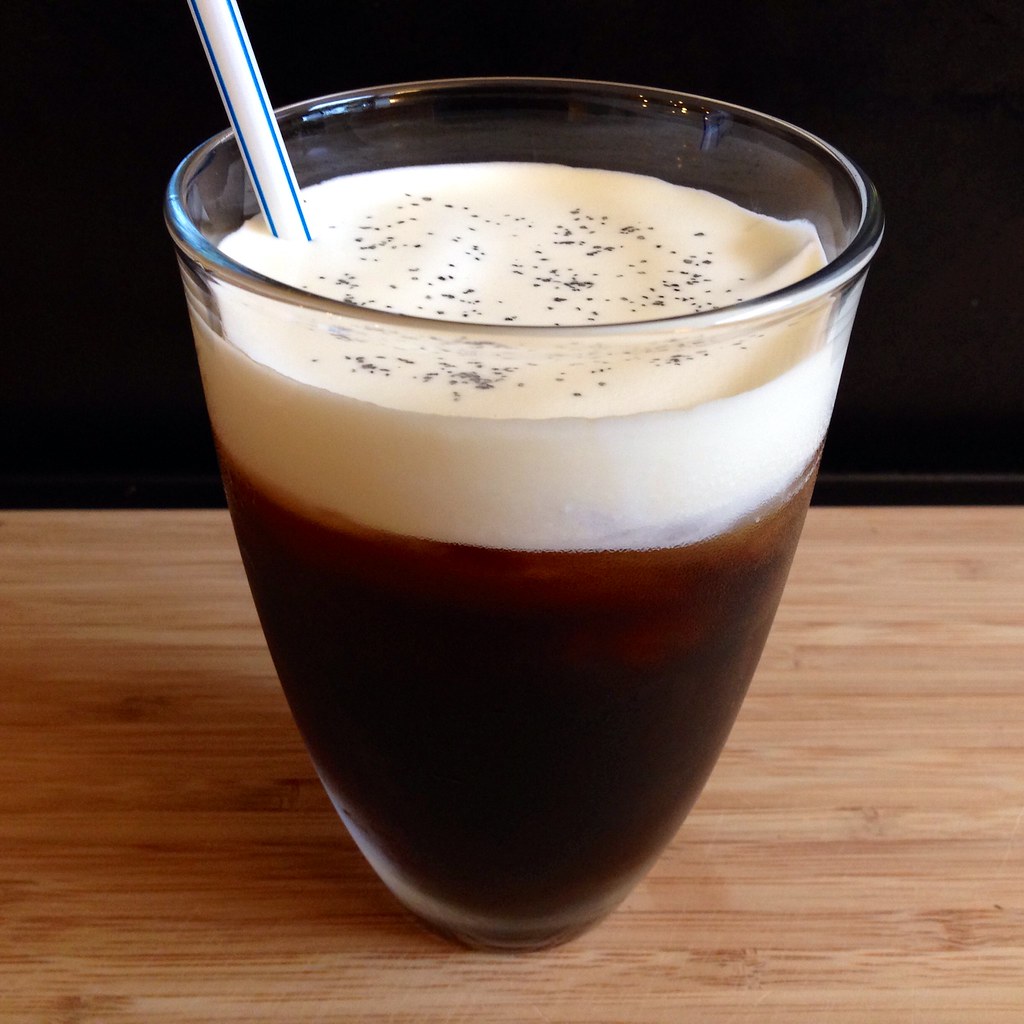
Since I had some extra cream from making the mango passion caramels, I decided to try to recreate the sea salt coffee at home using cold brew coffee.  Instead of making a simple syrup in order to sweeten the iced coffee, I just added brown sugar to the ground coffee like I do for the magical cold brew coffee.  The sugar naturally dissolves all on its own during the overnight cold brew process.

https://www.flickr.com/photos/joyosity/14794845856/

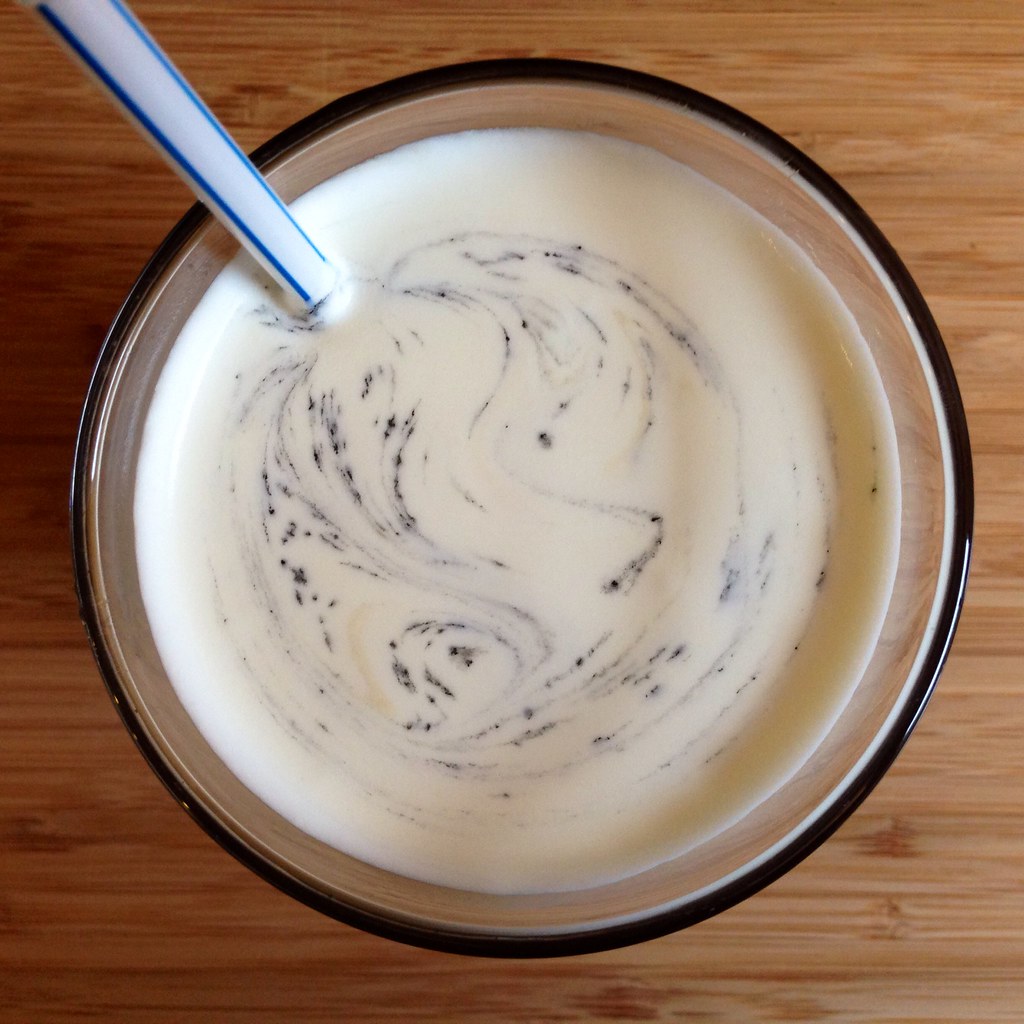
For extra funsies, I topped the drink with some Hawaiian black lava sea salt, but you can use regular sea salt or skip that step if you like.  I particularly liked how it looked once I started swirling it around.

https://www.flickr.com/photos/joyosity/14837670083/

Sea Salt Cold Brew Coffee
makes 3-4 drinks

1/2 cup coffee beans, ground
3 tablespoons brown sugar
1/2 cup heavy cream, chilled
1/4 teaspoon sea salt, plus more for garnishing if desired
Ice cubes

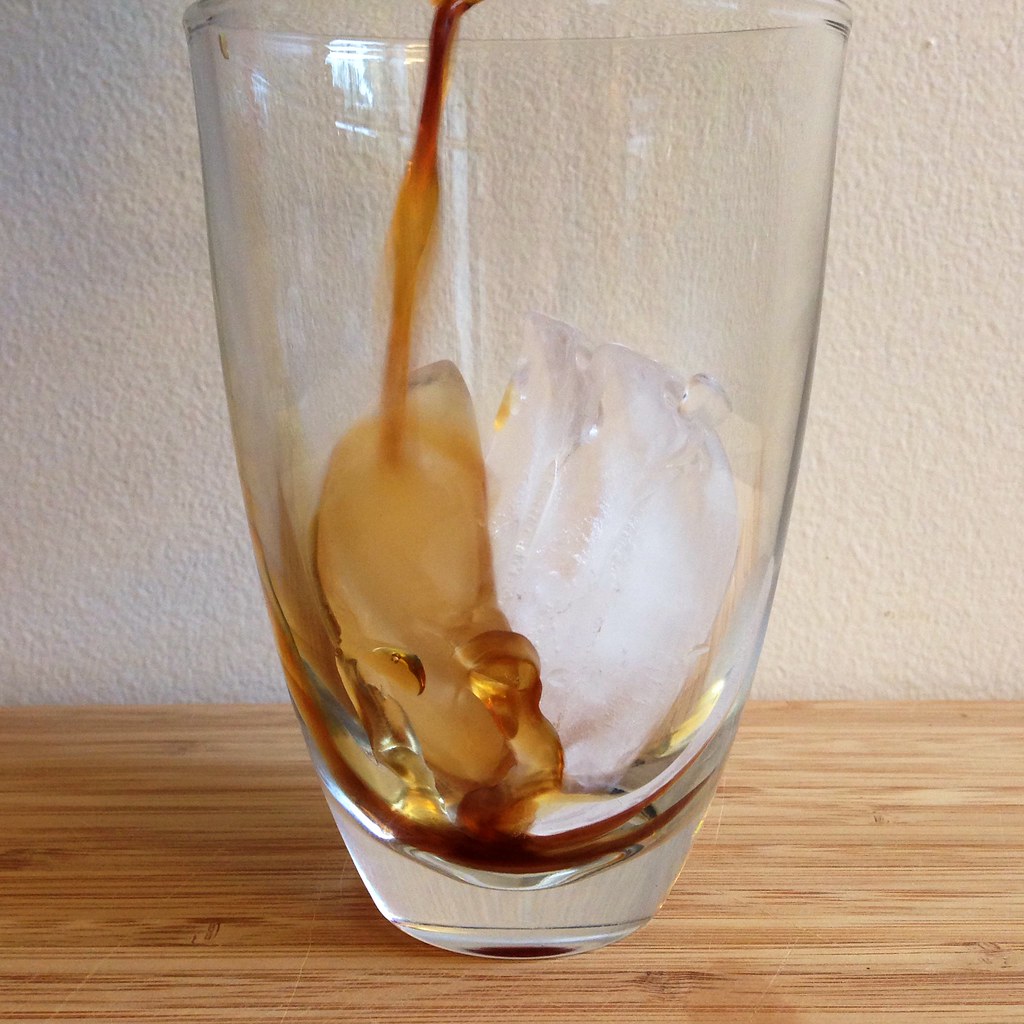
Combine the ground coffee with the brown sugar in a 2-cup French press or measuring cup.  Add enough cold, filtered water to reach the 2 cup line.  Stir to make sure all the coffee grounds get wet.  Let sit a few minutes and then stir one more time to disperse all the coffee grounds that have floated to the top.  Cover and let sit overnight at room temperature.

The next day, press and/or filter the cold brew coffee.  Store in the refrigerator until needed.

Whip together the heavy cream and 1/4 teaspoon sea salt until the cream has thickened but before it reaches soft peaks.

https://www.flickr.com/photos/joyosity/14631200118/

Add 3-4 ice cubes to each glass and fill with coffee, leaving at least a half inch of space on top. Spoon the cream on top and garnish with additional sea salt, if desired.  Serve with a straw and stir to combine the coffee and cream layers.

https://www.flickr.com/photos/joyosity/14815474374/

The next time I make coconut whipped cream, I might try to see if it would work well as a replacement for the heavy cream here.

Next:  Coconut Ice Cream with Mango Passion Caramel Swirl
Previously:  Jacques Genin's Mango Passion Caramels
Last Year:  Matcha Green Tea Ice Cream with Matcha Mochi Bits

I am submitting this post to Asian Food Fest #10 Aug 2014 : Taiwan hosted by travelling-foodies.

Tuesday, July 8, 2014

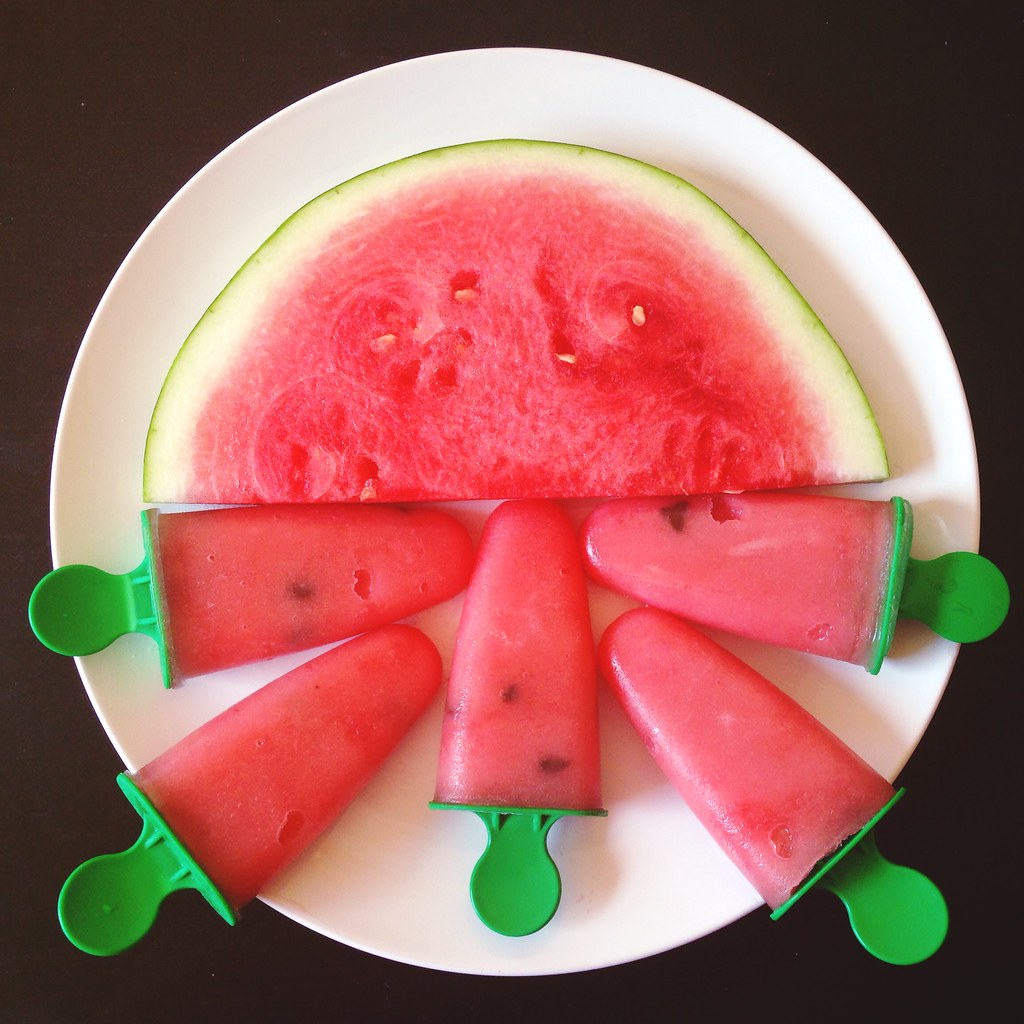
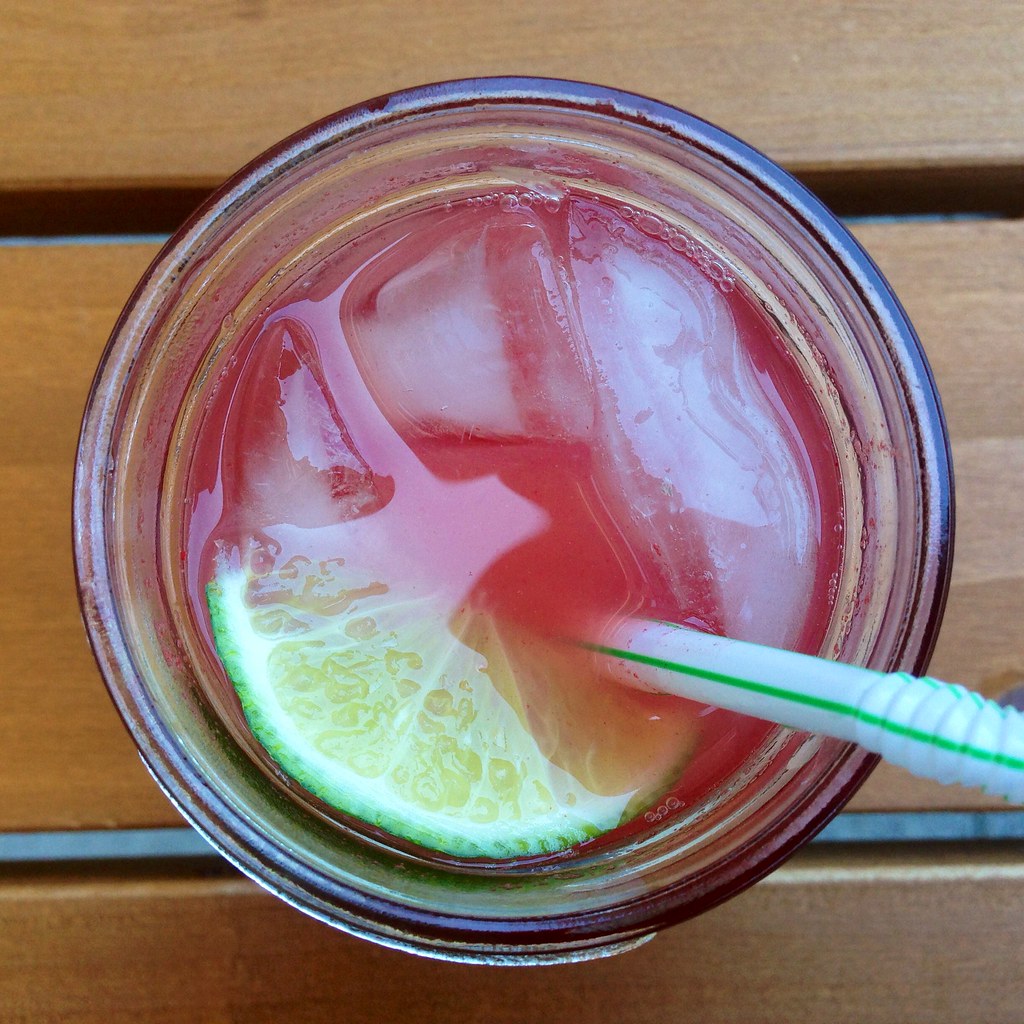
Watermelon Agua Fresca and Popsicles

https://www.flickr.com/photos/joyosity/14540240404/

I've never been a huge fan of watermelon because I think it's too hard to eat.  If it's cut up in slices, I inevitably get it all over my face, and even if it's already cut up into nice cubes, I have a hard time spitting out the seeds (and even "seedless" watermelons have those little white seeds in them!).

https://www.flickr.com/photos/joyosity/14518641266/

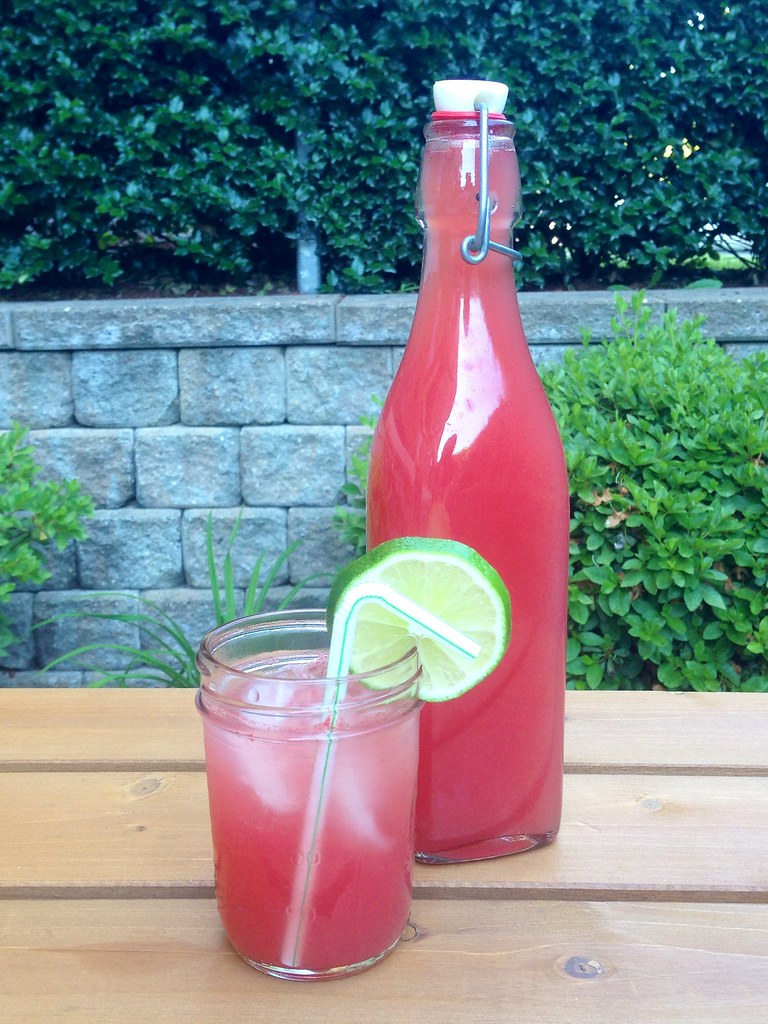
Enter the watermelon agua fresca:  all the yumminess of watermelon in drinkable form!  I find that I don't even need to add any water to the blended watermelon because it's diluted enough for me over ice, but you might want to if your watermelon happens to be really sweet.

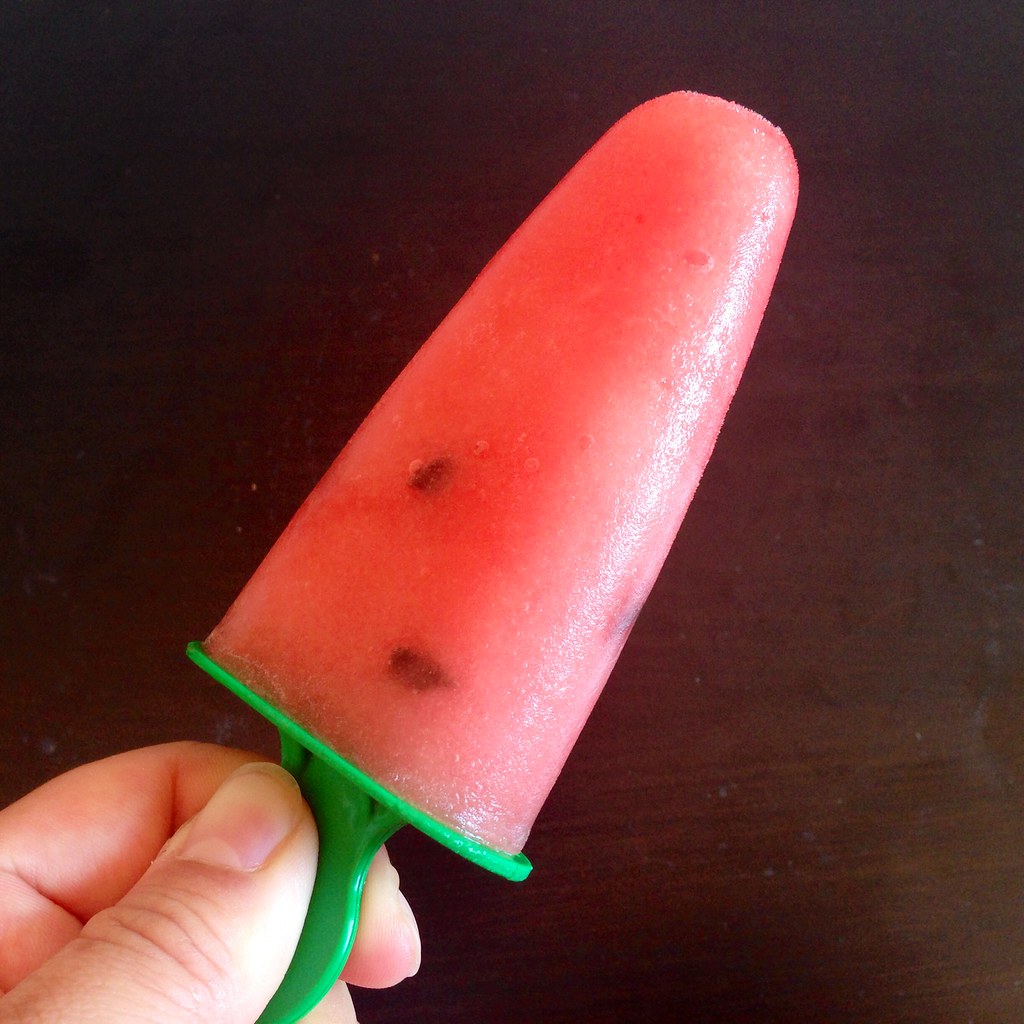
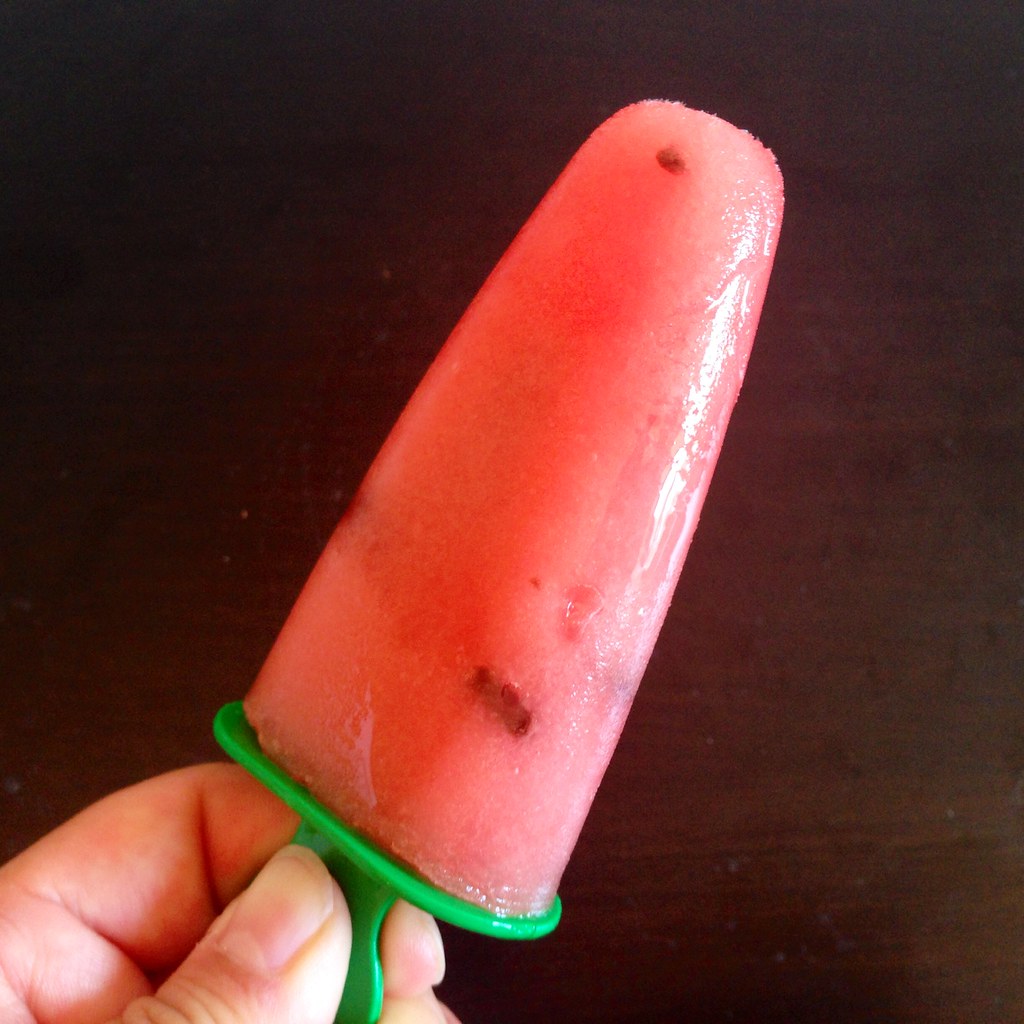
Like I did with the papaya milk, I decided to try churning the drink and then freezing it in popsicle form.  I took the extra step of mixing in some chopped chocolate chips to look like (edible!) watermelon seeds, but I don't think I added enough to really get the effect I was going for so I doubled the amount below.

https://www.flickr.com/photos/joyosity/14538355221/

Watermelon Agua Fresca and Popsicles
makes 6 drinks or twenty 3 oz. popsicles

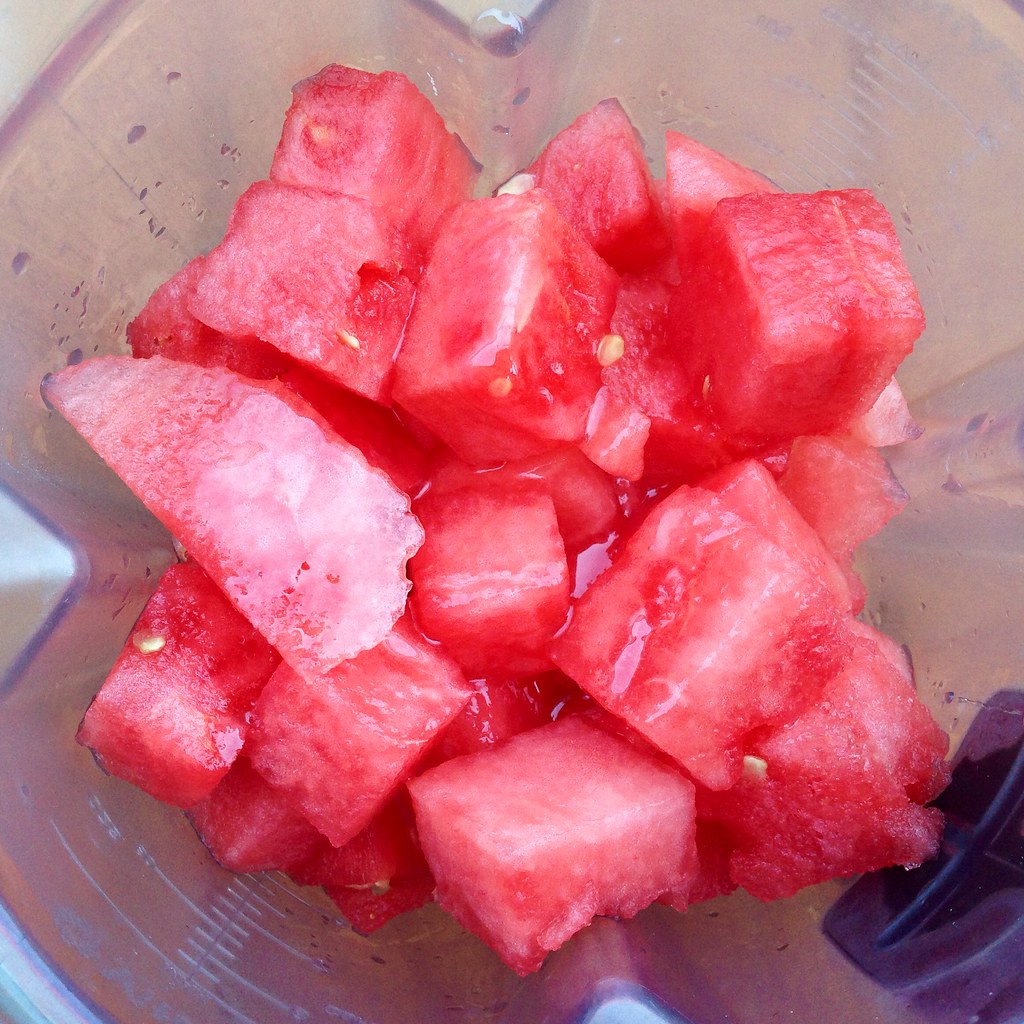
8 cups seedless watermelon flesh, cubed
2 tablespoons fresh lime juice
2 tablespoons honey, plus more for the popsicles
6 tablespoons chocolate chips, coarsely chopped (for the popsicles, optional)

https://www.flickr.com/photos/joyosity/14540788672/

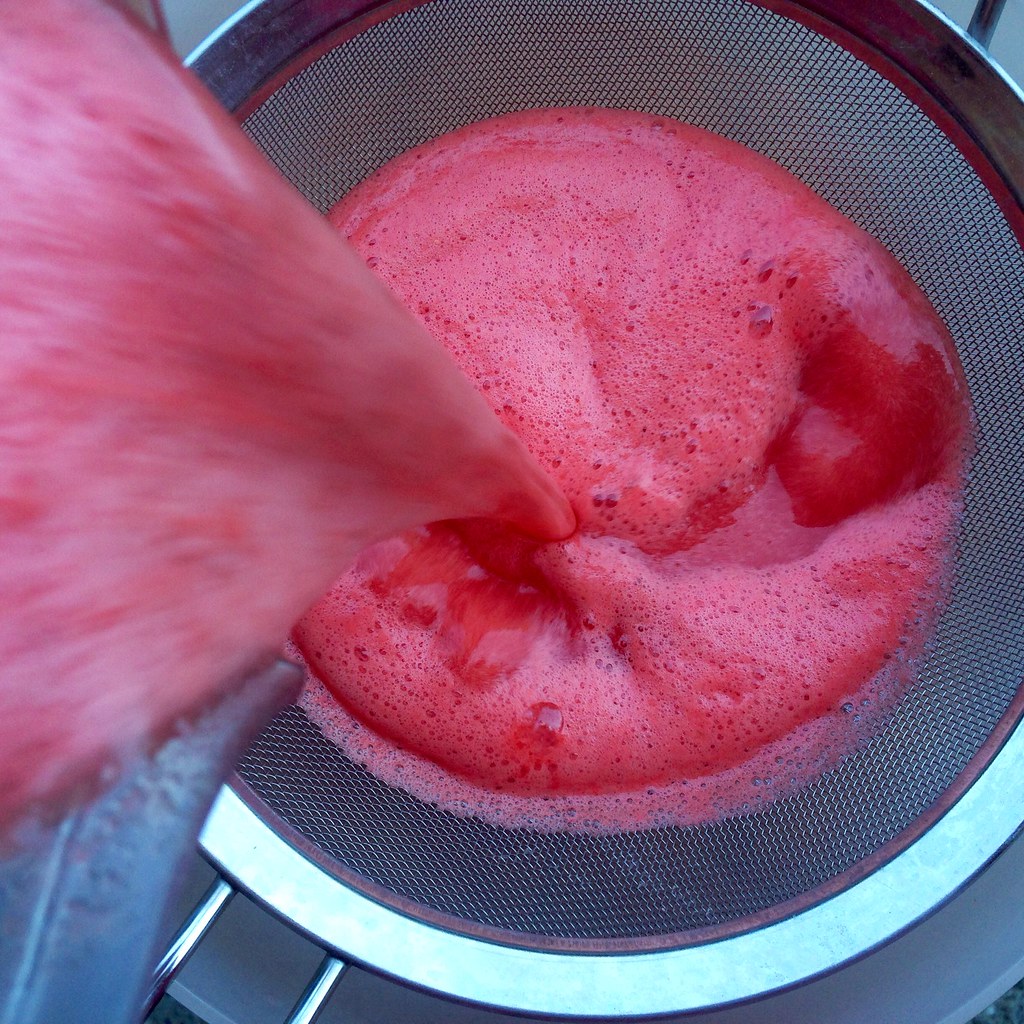
Blend the watermelon, lime juice, and honey in a blender.  Strain through a fine mesh sieve; you should end up with almost 5 cups of liquid.

https://www.flickr.com/photos/joyosity/14355097090/

For the agua fresca, pour over ice, dilute with water as desired, and enjoy!

https://www.flickr.com/photos/joyosity/14355283017/

For the popsicles, add another 2 tablespoons of honey and taste.  Add more, if necessary, until it almost tastes too sweet.  Churn the watermelon juice in an ice cream machine.  When it is mostly frozen (you can stop before it reaches soft serve consistency), stir in the chopped chocolate.  Fill your popsicle molds and freeze.  I used about 1 1/2 cups of liquid to fill six of my 3 oz. popsicle molds.

https://www.flickr.com/photos/joyosity/14541742625/

Next:  Cleveland Cassata Cake (Bonus:  In a Jar!)
Previously:  Low Country Boil
Five Years Ago:  Curried Carrot Soup

Tuesday, July 1, 2014

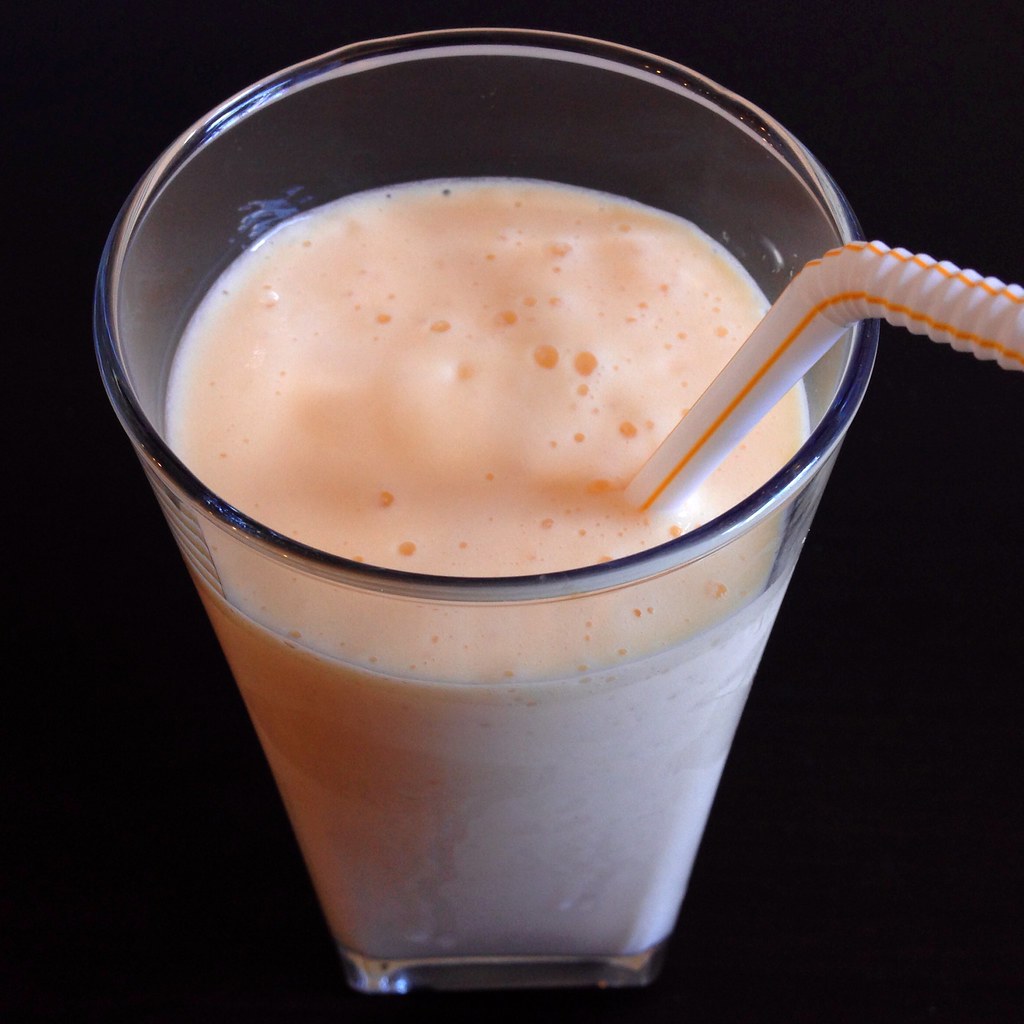
Papaya Milk and Papaya Milk Popsicles

https://www.flickr.com/photos/joyosity/14473091451/

TIL that when you google "papaya milk", the second hit that comes up is, "Does ready made papaya juice made boobs bigger?"  Wut?  Is that a thing?

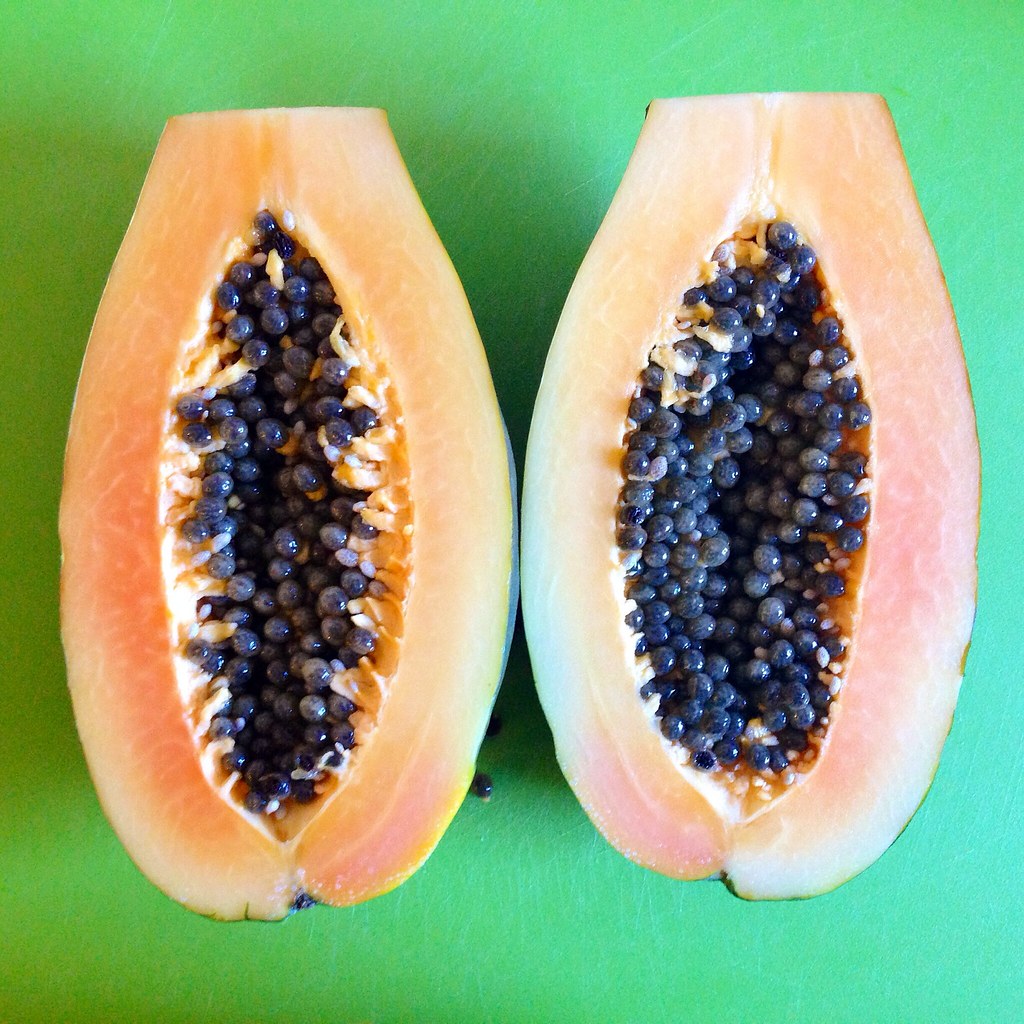
I don't know if it does or not, but papaya milk will definitely make you happier.  It's a popular drink from Taiwan and only consists of papaya, milk, honey (or sugar), and ice.  Somehow, that simple combination makes a super yummy, refreshing tropical drink perfect for a hot summer day.  If you've never had one, you might be surprised at the complexity of the flavors; the slight bitterness of the papaya only accentuates the sweetness of the fruit (kind of like how a little salt can also bring out sweetness in desserts).  I prefer to use honey instead of sugar since sugar doesn't always dissolve as well in the cold drink.  I wish the flesh of the papaya I had gotten was more red than yellow since traditionally papaya milk is a pinkish-peach color, but I was afraid the papaya was going to spoil if I had let it ripen any longer!

https://www.flickr.com/photos/joyosity/14473090481/

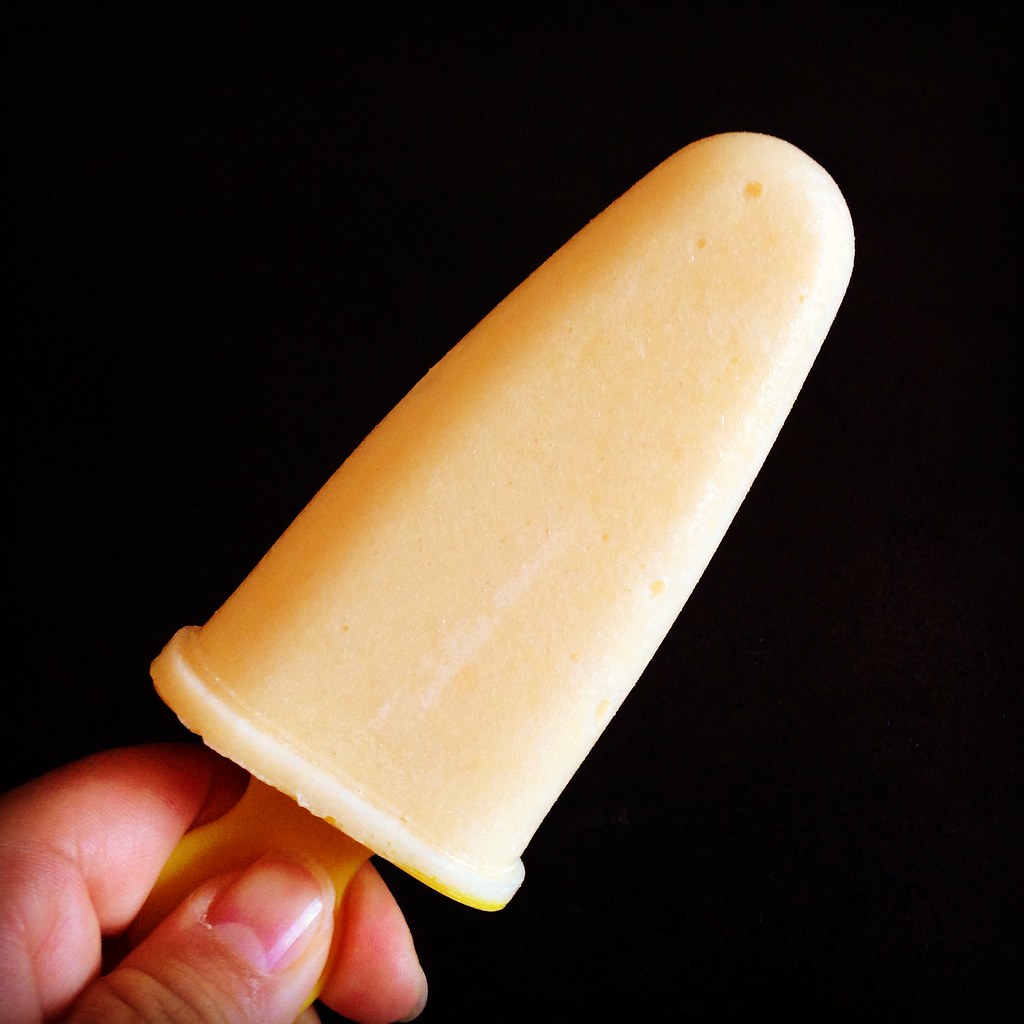
I toyed with the idea of making a popsicle version of the drink, too.  Since the drink separates upon sitting, I decided to churn it first in my ice cream machine before filling the popsicle molds.  The resulting texture was more creamy than icy, probably also helped by not adding any ice to the popsicle base.  You'll want to add a lot more honey or sugar to the popsicle base since sweetness is a lot harder to taste once something is frozen.

Papaya Milk or Papaya Milk Popsicles
makes 4 smoothies or twelve 2 oz. popsicles

2 cups of cubed papaya
2 cups milk
Honey (or sugar), to taste
Ice (for the milkshake)

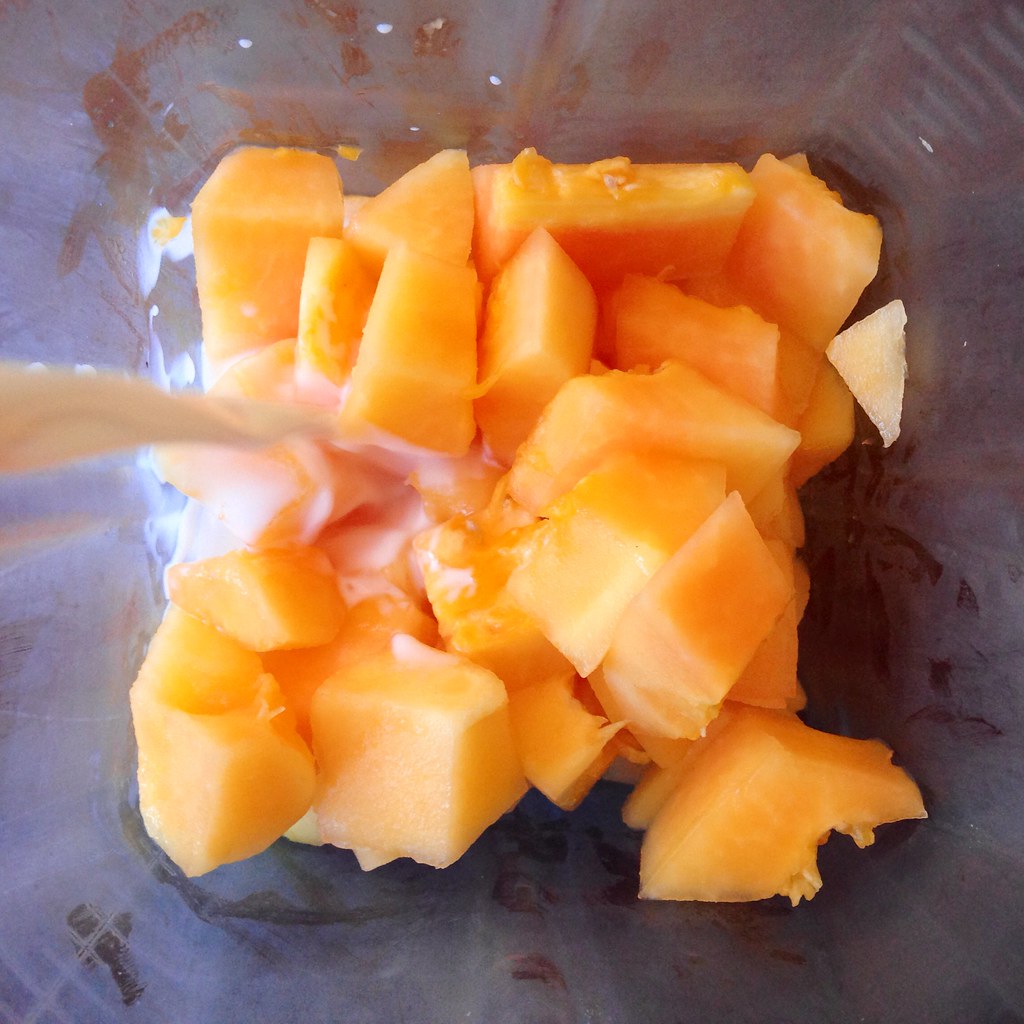
If making the smoothie, blend the papaya, milk, 2 tablespoons of honey, and a cup of ice.  Add more honey and/or ice depending on your own preferences.  Drink immediately.

https://www.flickr.com/photos/joyosity/14290004697/

If making the popsicles, blend the papaya, milk, and start with 4 tablespoons of honey.  Taste, and add more honey if needed, until it is almost too sweet.  Chill and then churn in the ice cream maker until mostly frozen (you can stop before it reaches soft serve consistency).  Fill your popsicle molds and freeze until hard.  Enjoy!

https://www.flickr.com/photos/joyosity/14453360196/

Next:  Low Country Boil
Previously:  Shashuka with Polenta
Last Year:  Bubble Tea Popsicles
Four Years Ago:  Coconut Lime Sorbet

Monday, June 23, 2014

Orange Mocha Frappuccino!

https://www.flickr.com/photos/joyosity/2567370431

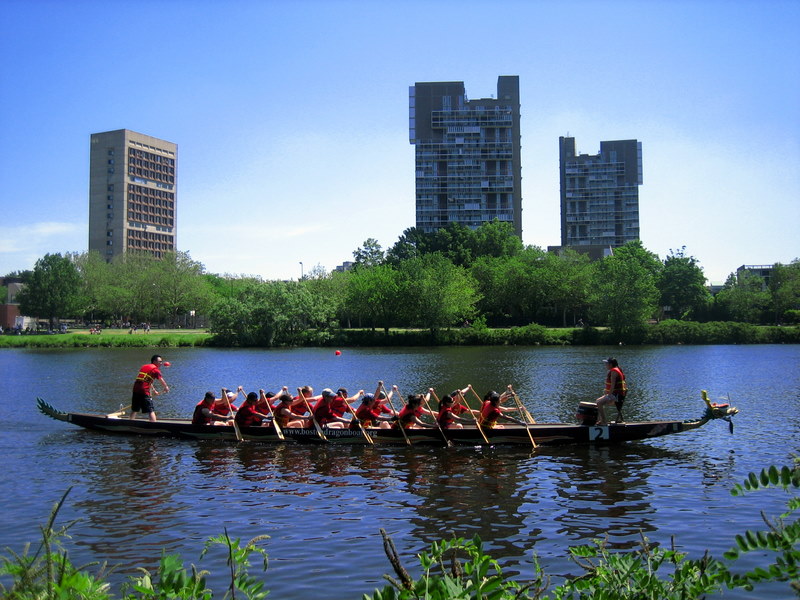
Ten years ago I paddled in my first dragon boat race.  Two years later, I started my own team and named it The Boat for Kids Who Don't Paddle Good.  Every year, before the Boston Dragon Boat Festival, we get together for a potluck and watch Zoolander.  Every year, in the official program, our team bio reads, "We're pretty sure there's a lot more to life than being really, really, ridiculously good looking, and we plan on finding out what that is."  Every year, I look forward to paddling with my team, making new friends, and leaving it all on the water.

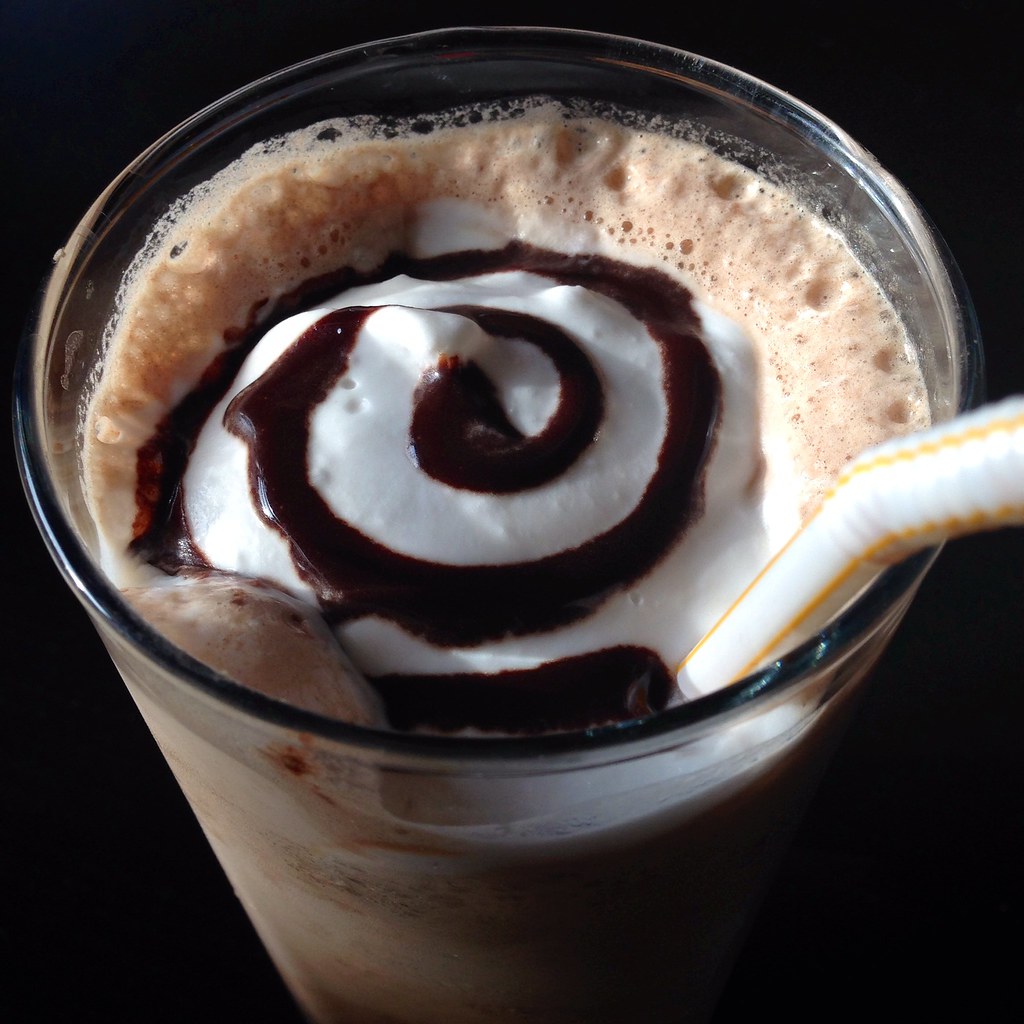
Every year, that is, until this year.  =(  So when the team admiral told me I could make up for not being on the team by bringing orange mocha frappuccinos to this year's potluck, I thought, "challenge accepted."  Unfortunately, the same busy travel schedule that kept me from joining the team kept me from making these in time for the potluck, but I hope creating this recipe from scratch and posting it goes toward making amends.  Because you know what can really help you sort through these important issues?

https://www.flickr.com/photos/joyosity/14450993935/

Orange Mocha Frappuccino!
makes 3 large frappes

3/4 cup coffee beans, ground
1 large orange
2/3 cup sugar
1/3 cup plus 1 tablespoon cocoa powder
Pinch of salt
1 1/2 cups milk
3 cups ice
Whipped cream (optional)

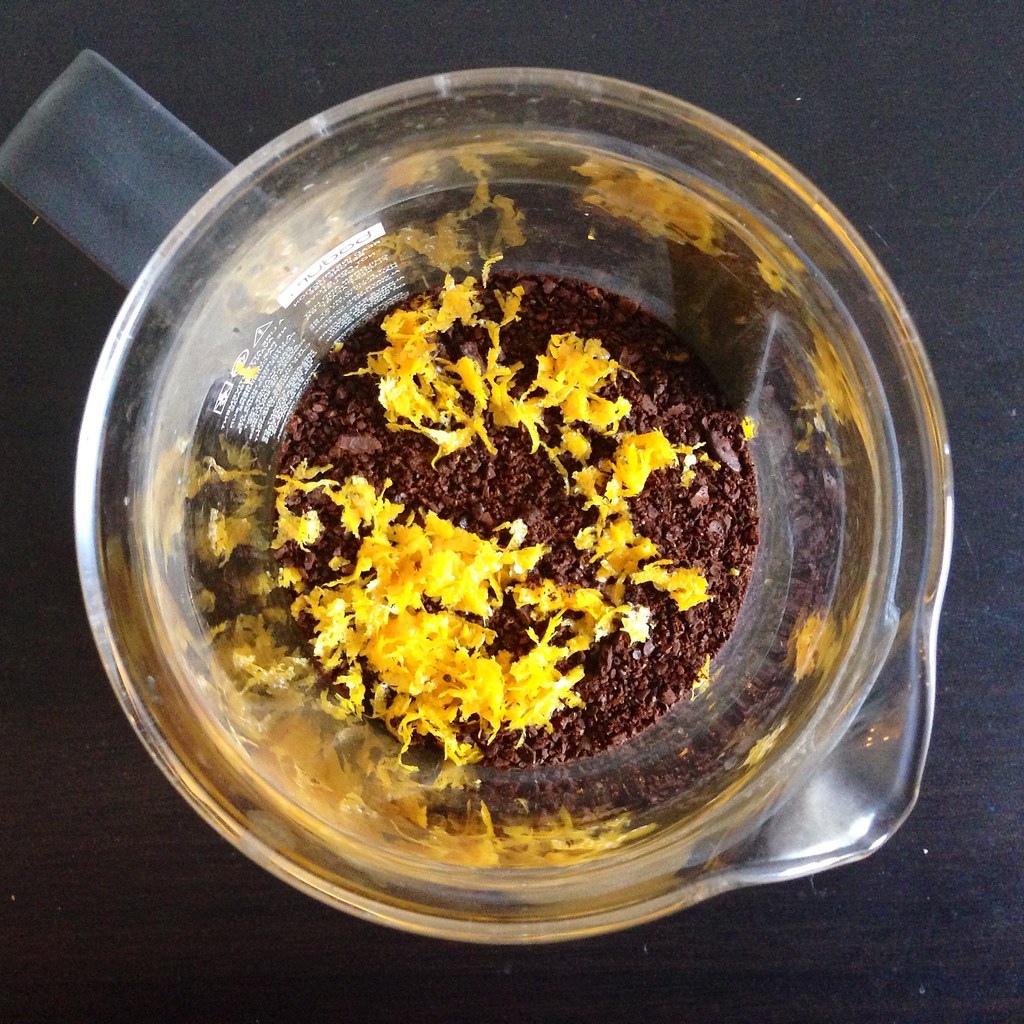
Zest and juice the orange.  Combine the ground coffee and orange zest in a 2-cup French press or measuring cup.  Add enough water to reach the 2 cup line.  Stir to make sure all the coffee grounds get wet.  Let sit a few minutes and then stir one more time to disperse all the coffee grounds that have floated to the top.  Cover and let sit overnight at room temperature.

https://www.flickr.com/photos/joyosity/14264380670/

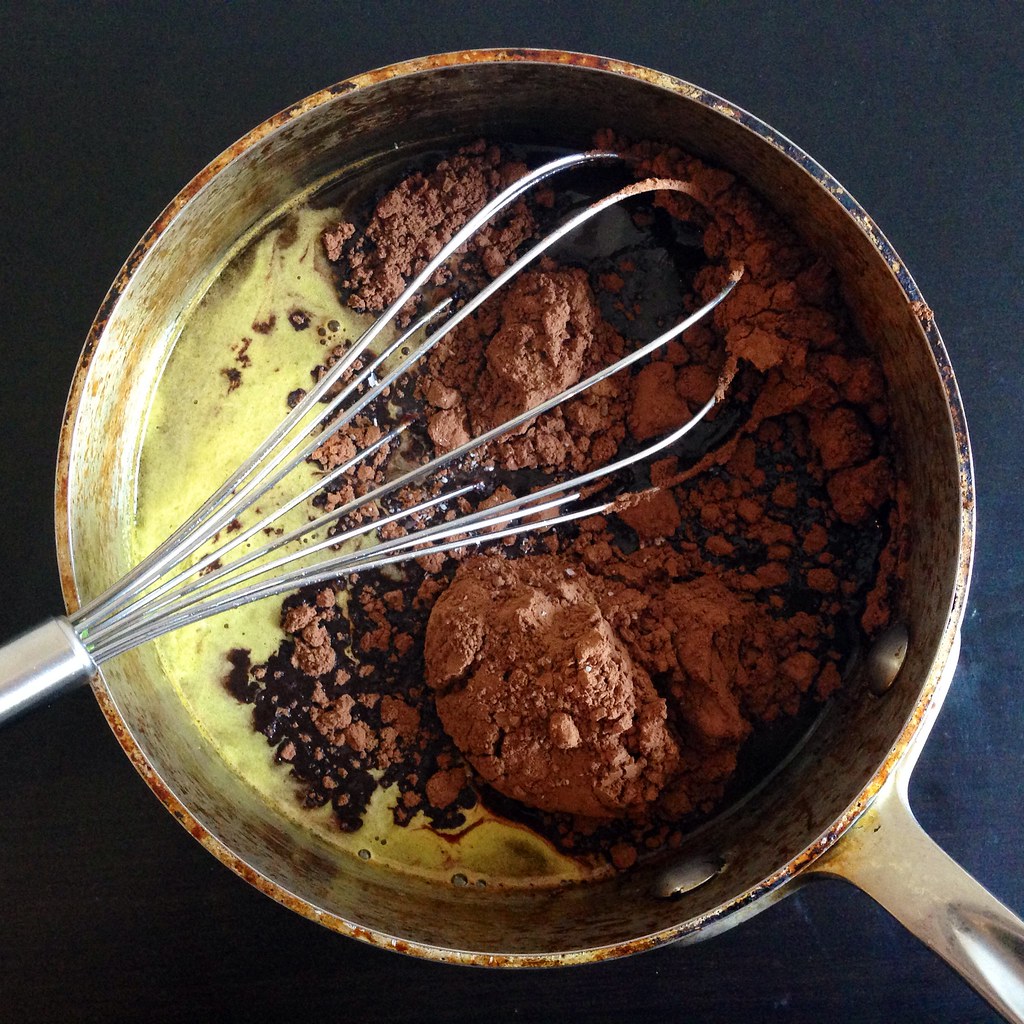
Add the orange juice to a measuring cup and add enough water to reach 2/3 cup.  Pour into a small saucepan and add the sugar, cocoa powder, and pinch of salt.  Whisk and heat over medium-low heat until it starts to simmer and is slightly thickened.  Cool and transfer to another container.  Store in the refrigerator until needed.

https://www.flickr.com/photos/joyosity/14471164813/

The next day, press and/or filter the cold brew coffee. 

For each frappuccino, combine 1/2 cup of orange cold brew coffee, 1/2 cup of milk, 3 tablespoons of the orange chocolate syrup, and a cup of ice in a blender.  Blend until frothy and pour into a tall glass.  Garnish with whipped cream (I used coconut whipped cream) if desired and more orange chocolate syrup.  Enjoy!

https://www.flickr.com/photos/joyosity/14264559107/

Alternatively, you could also freeze the cold brew coffee into ice cubes and blend those with the milk for a stronger frappe.  And you could also add some finely chopped candied orange peel or orange sugar on top for even more garnish.  You'll have more than enough orange chocolate syrup left over which you can use to make orange chocolate milk (seriously yum), drizzle over ice cream, eat with a spoon straight out of the jar....

Note:  No gasoline fights were started as a result of drinking these frappuccinos.

Next:  Plum, Nectarine, and Peach Galette
Previously: Tofu and Shiitake Potstickers
Last Year:  Passion Fruit Macarons
Four Years Ago:  Amnesty Bread

Tuesday, June 3, 2014

Homemade Ginger Beer

https://www.flickr.com/photos/joyosity/9147428336/in/photolist-eWk86w-eWce3T-eWcdRD-eWjJJ1-eWjJdE-eWjHfE-eW8kMX-eWjHNs-eWjWYj-eW8ymk-eW8kkZ-eWjXKE

In my first post ever, I explained how I used to not really be a big fan of ginger but have since grown to love it, especially when used in sweet concoctions.  I especially love it in ginger beer; the extra bite it has compared to regular ginger ale is so refreshing and delicious.  Since I'm not a big drinker, I always check to see if a bar serves Dark & Stormies so that I can order just the ginger beer.

After trying every brand I can get my hands on, I can say that I'm a fan of Gosling's, AJ Stephan's, and Fever Tree but really, really dislike Blenheim and Reed's.  Most recently I discovered Rachel's Ginger Beer in Seattle and was really tempted to buy a growler to take home until I remembered that I can make my own!

https://www.flickr.com/photos/joyosity/9145203379

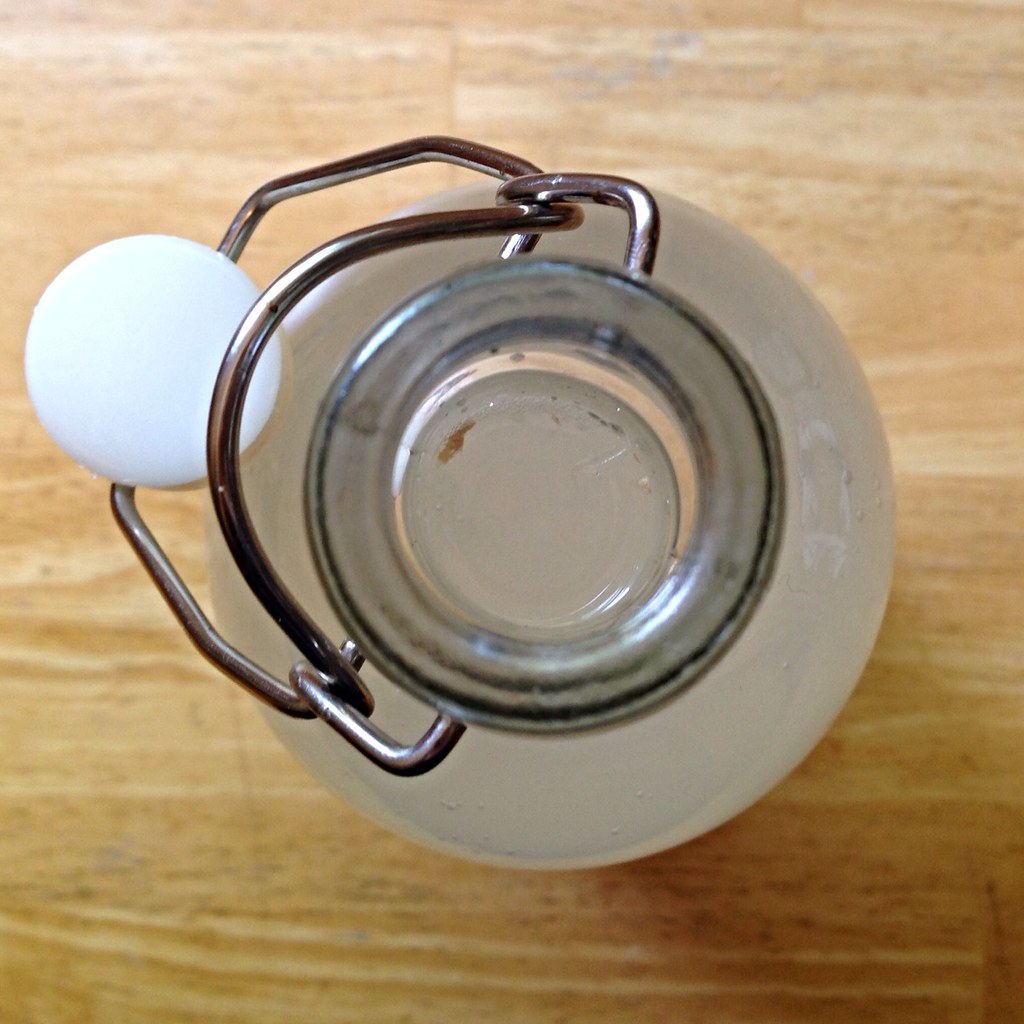
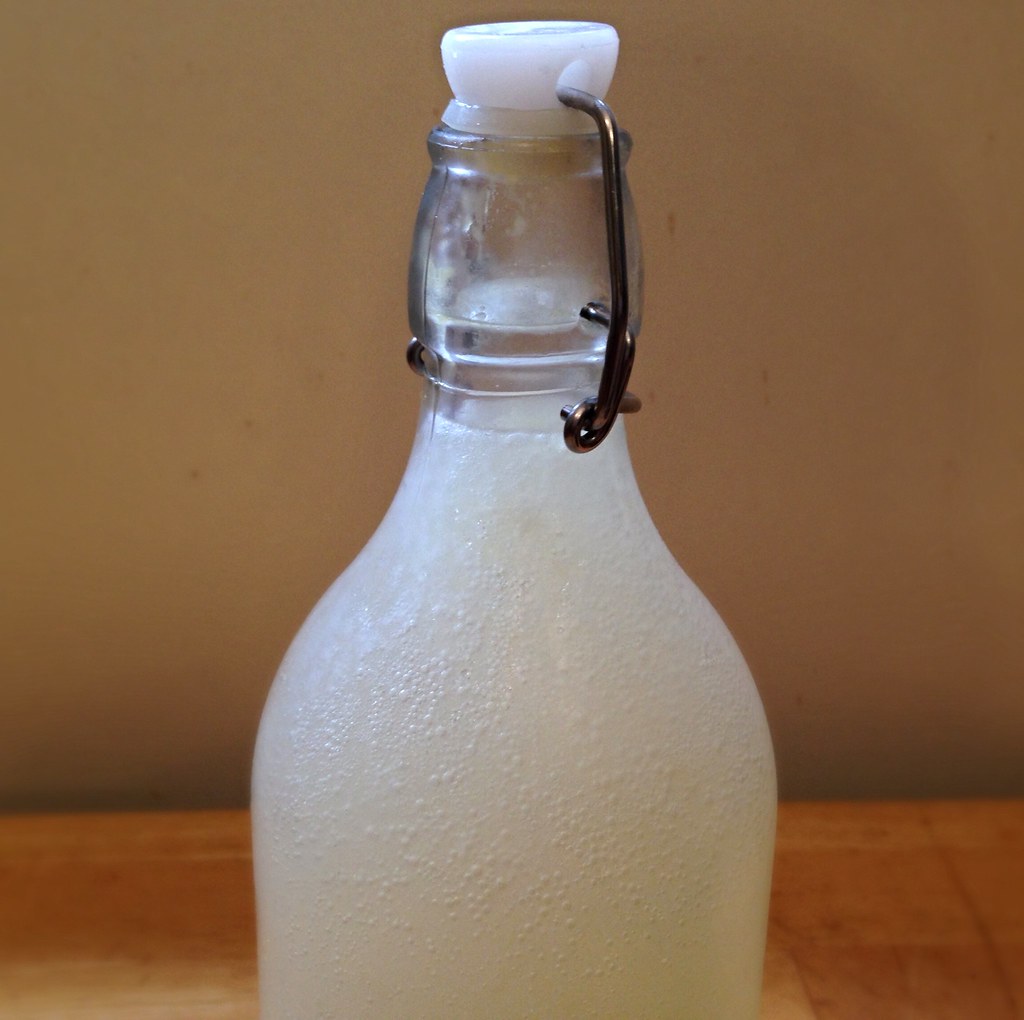
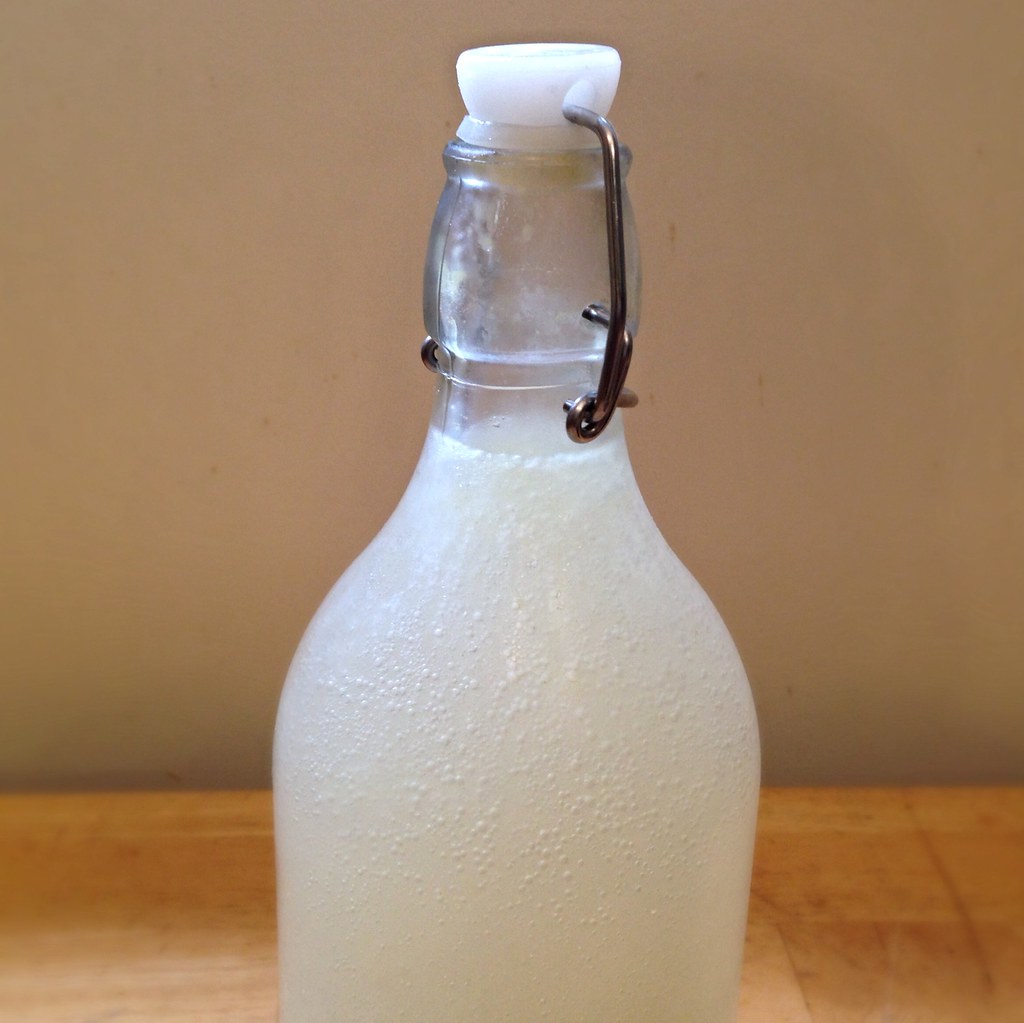
You'll need either one of these glass swing-top bottles or an empty, clean plastic soda bottle.  It's recommended to use the plastic bottle since you can tell when the drink is done fermenting by squeezing the bottle (if it doesn't give, it's done) but since I very rarely have soda bottles at home, I usually just take a chance with the glass bottles.  I'll admit that once or twice I've opened the bottle before it was done, but the non-fizzy beverage is still pretty yummy as long as it's served ice-cold.
https://www.flickr.com/photos/joyosity/9145918247/

The recipe calls for what seems like a lot of sugar, but that's partly because the yeast is going to eat the sugar to make carbon dioxide.  If you want a less sweet drink, you can reduce the amount of sugar, but I wouldn't cut back too much in case you lose out on the fizziness.  I've used "instant" and regular baker's yeast for this, and I don't think it makes much of a difference since it's going into so much water.  And since we're using yeast to produce the carbonation, there's a small amount of alcohol in the finished product.  How much?  Barely enough for me to taste, and I can usually taste alcohol since I dislike the taste so much (see above).

Last note:  you can strain the ginger beer if you really want to get rid of all the sediments, but I never do because the grated ginger doesn't really bother me, and I feel like you'd lose a lot of carbonation during the straining process.  Most of the solids either end up floating on top or settling to the bottom anyways, so it's pretty easy to avoid them if you really want.  If you're not planning on straining the solids out, I'd recommend peeling the ginger before grating it (a spoon works really well for this!).

https://www.flickr.com/photos/joyosity/9147379558

Homemade Ginger Beer (adapted from here)
makes a 1 liter bottle

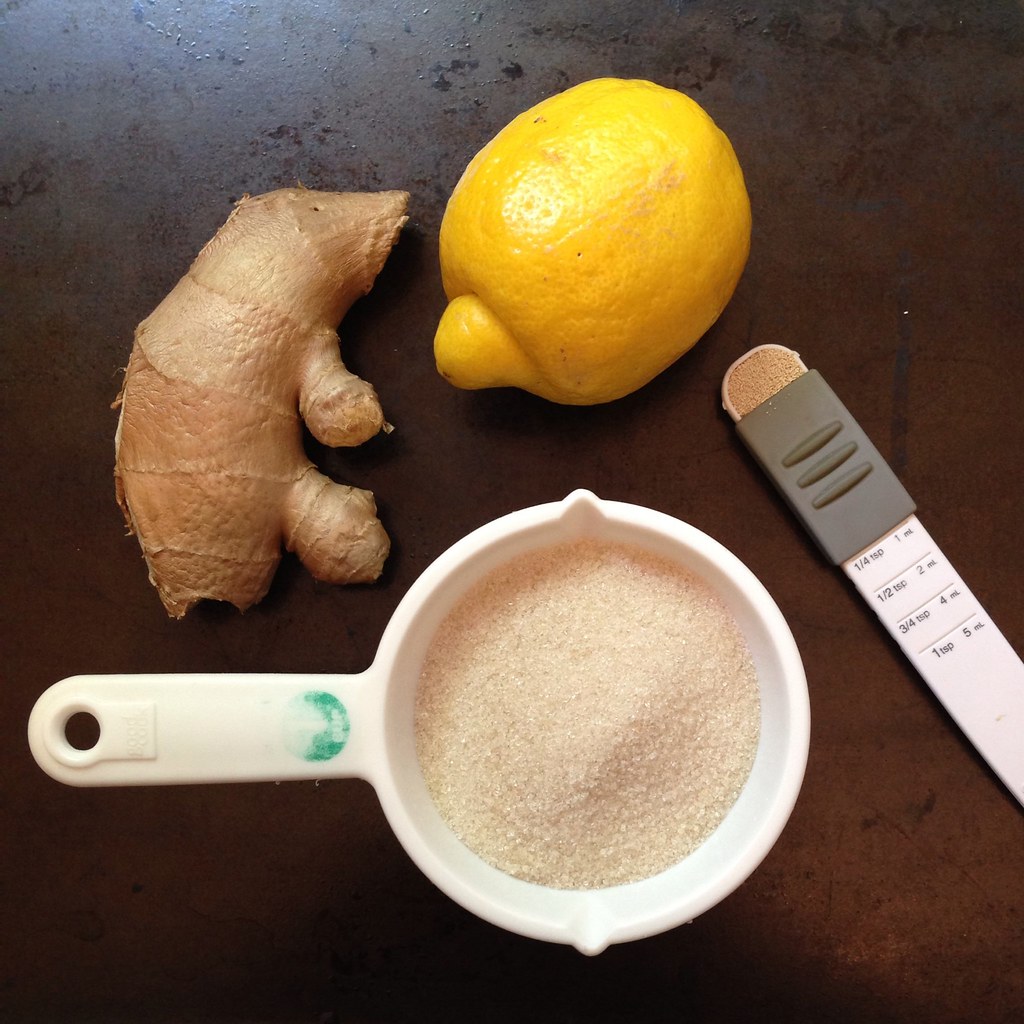
1/2 cup sugar
1/8 teaspoon yeast
1 tablespoon of freshly grated ginger
Juice from half a lemon
Cold spring or filtered water

https://www.flickr.com/photos/joyosity/9147381402

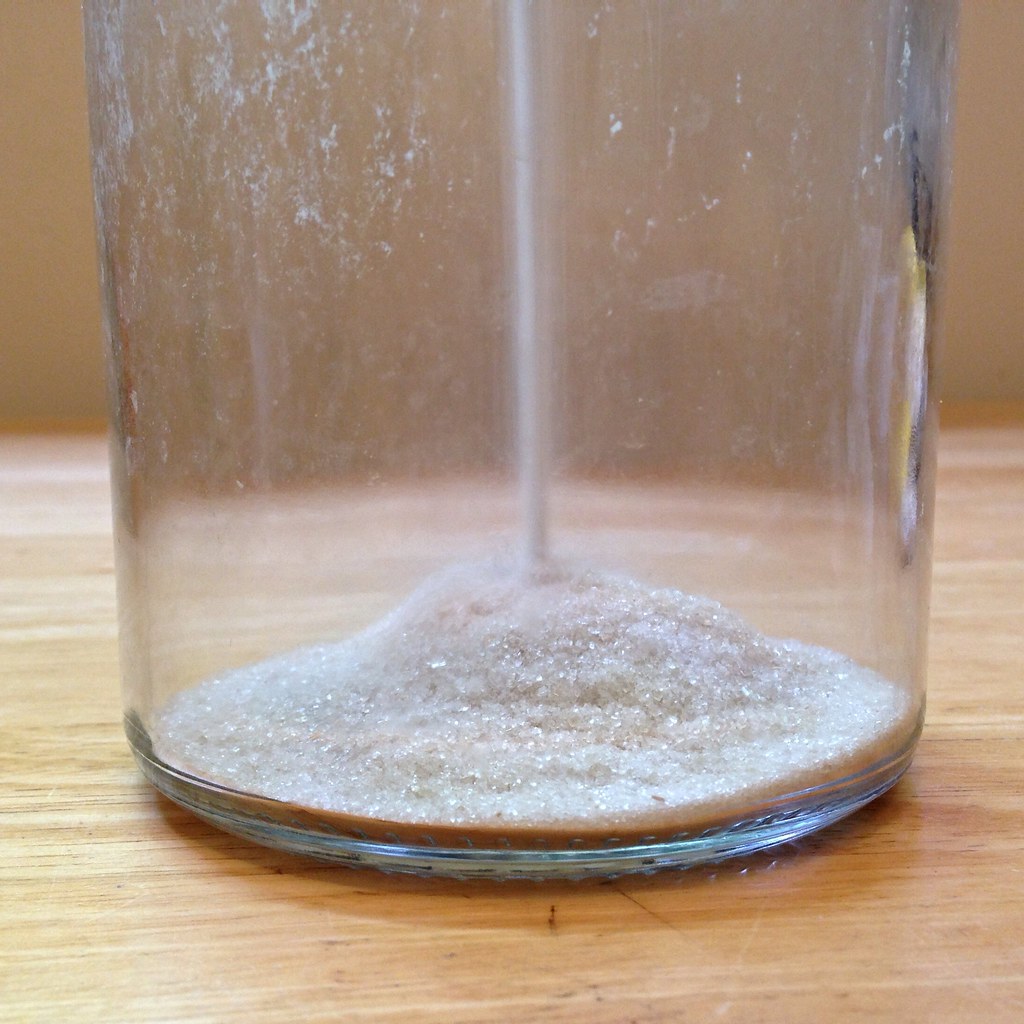
Use a funnel to pour the sugar and yeast into a swing-top 1 liter glass bottle.

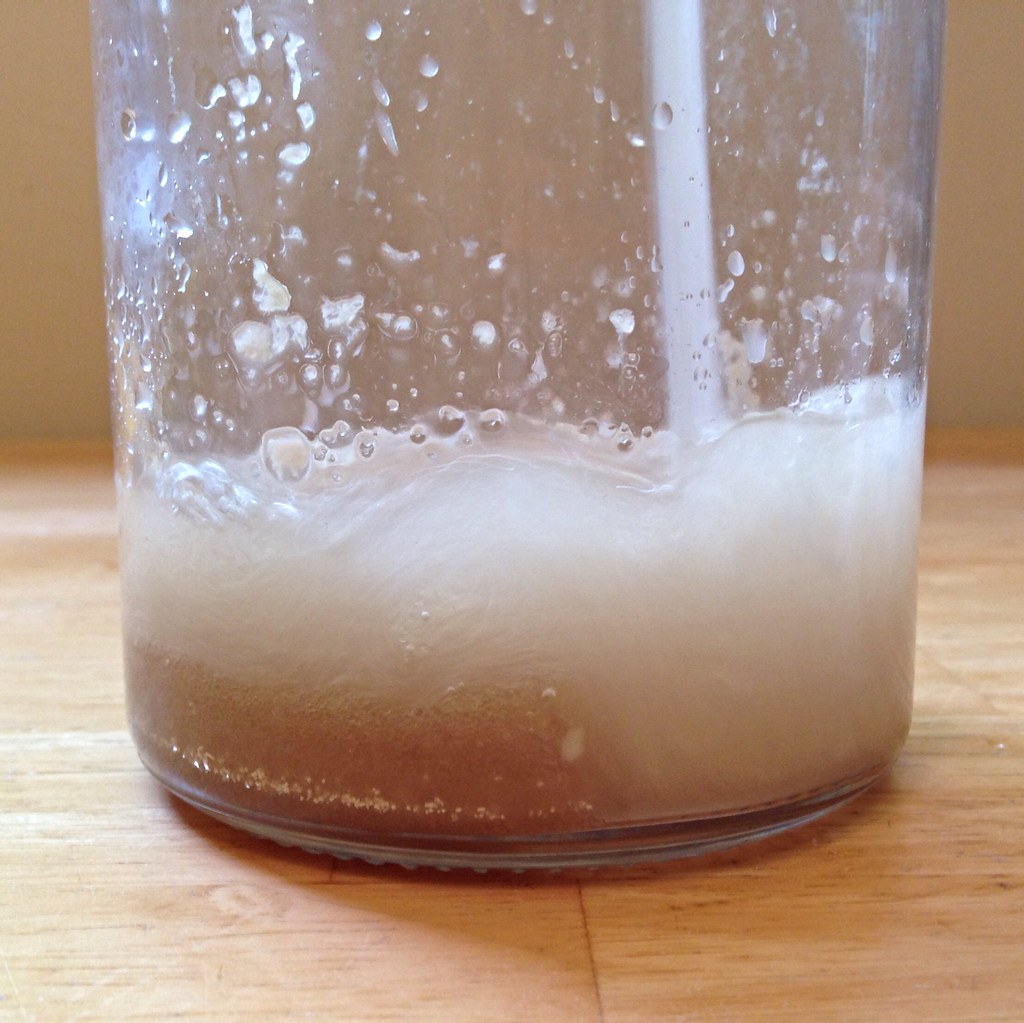
Mix the freshly grated ginger with the lemon juice in a measuring cup with a spout.  Transfer the ginger and lemon juice to the bottle.  Rinse out the measuring cup with some of the cold spring or filtered water and pour that into the bottle.  Fill the bottle about half way with more cold water.

https://www.flickr.com/photos/joyosity/9147425706

Seal the bottle and shake well to mix all the ingredients together.  You want to make sure that all the sugar at the bottom has been mixed into the solution.  Carefully open the bottle and add more water until there is only an inch of air left at the top.  Seal the bottle and shake again.

https://www.flickr.com/photos/joyosity/9145918899

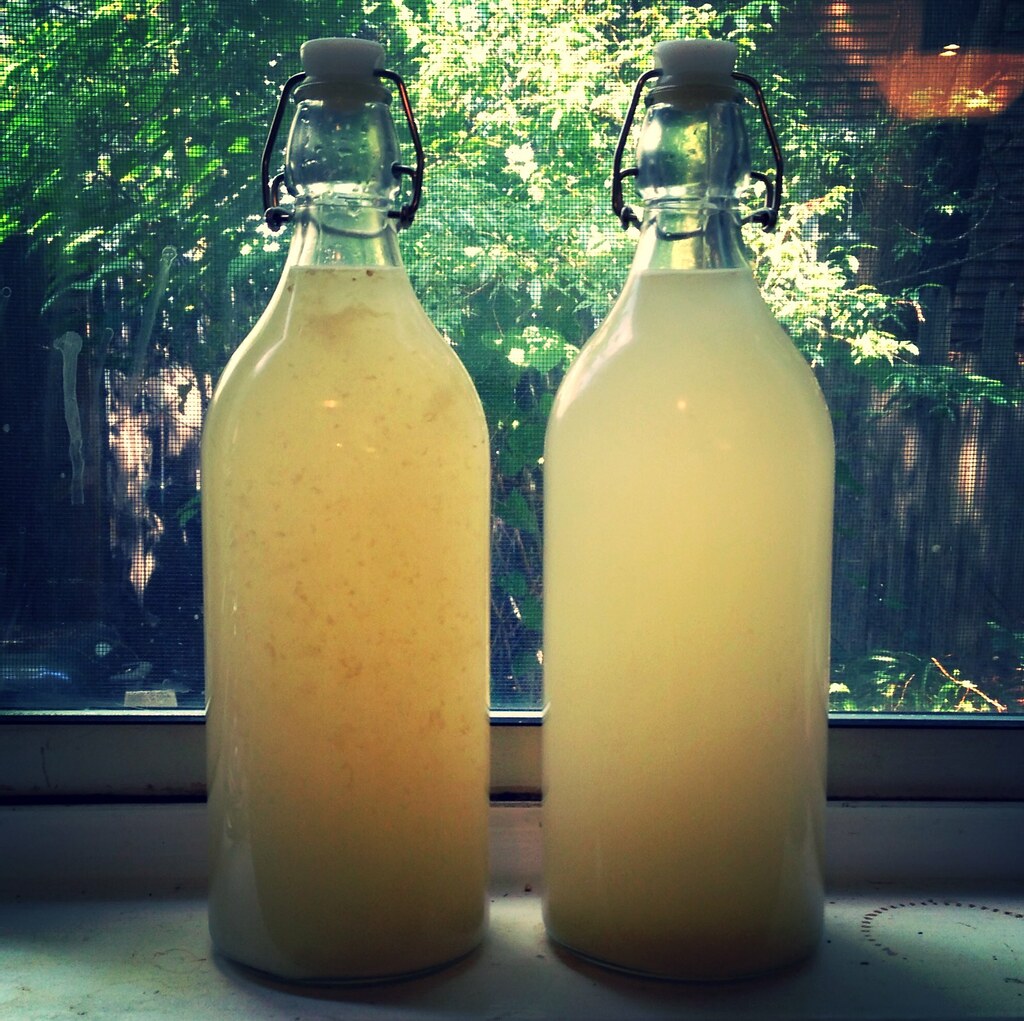
Leave the bottle in a warm place out of direct sunlight (unlike the picture at the very top) for about 2 days and then move to the refrigerator to stop the fermentation.  Sometimes you can tell when it's ready because if you shake the bottle, you'll see bubbles form, but sometimes you don't, and it's still fizzy.  If you really want to make sure the ginger beer is ready, double the recipe and fill up a 2 litter plastic soda bottle.  Test the fermentation by squeezing the bottle; when it doesn't give anymore, it's done.

Pour over ice and enjoy!

https://www.flickr.com/photos/joyosity/9147459764

Next:  Overnight Oats in a Jar
Previously: Blueberry Buttermilk Mini Pies
Five Years Ago:  Black Sesame Ice Cream
Friday, July 19, 2013

Vanilla Sugar Lemonade and Mint Lemonade Slushies

I had my mac and cheese post all ready to go, but it's just way too hot today to think about turning on the oven or the stove.  So here's another post I've been working on that seems a better match for today's weather.


A couple of weeks ago, Food52 posted a video to show how to make The Best Lemonade You've Ever Had.  Strangely, there was no recipe attached, just a method involving rubbing the lemons in the sugar to scent them before making a simple syrup out of the sugar.  You had to dig into the comments to find that they recommend using equal volumes of lemon juice and simple syrup and that the simple syrup was made with equal volumes of the lemon scented sugar and water.
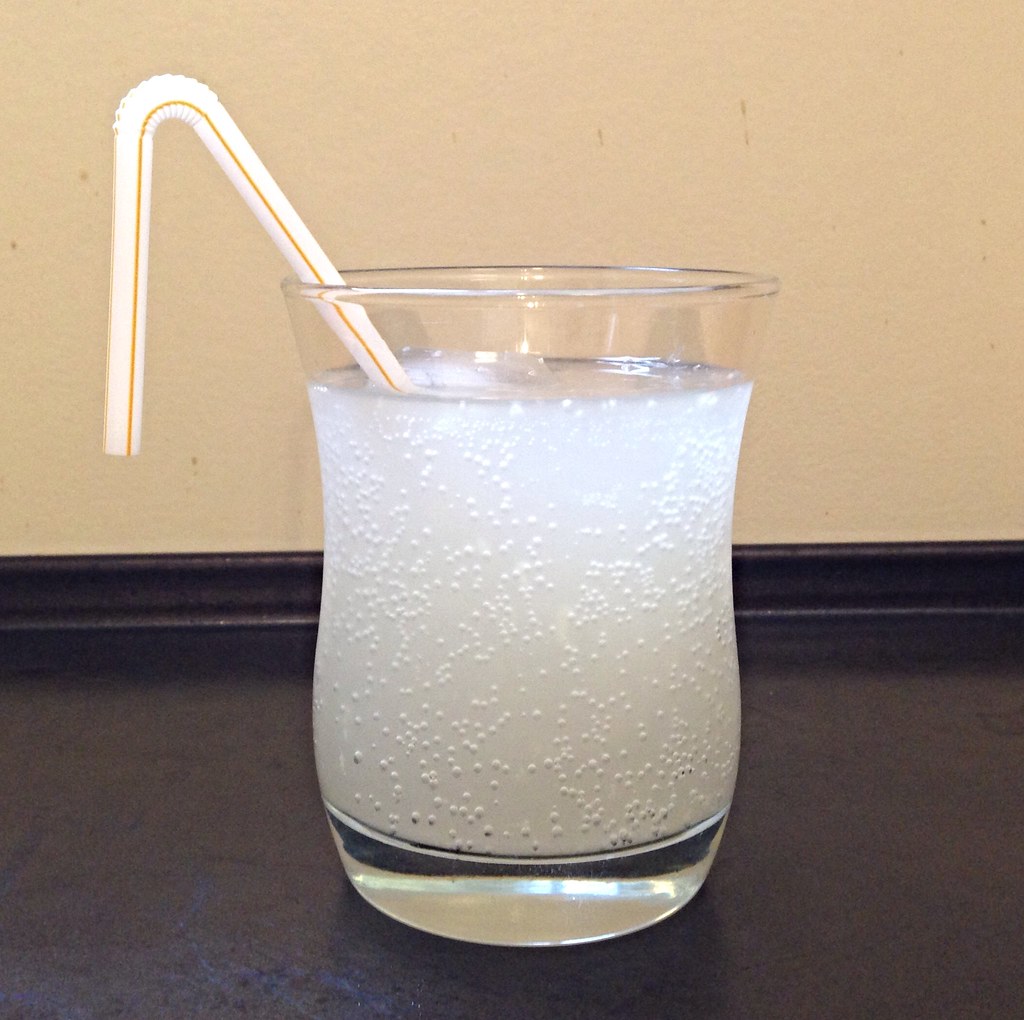

I tried the method, and on a whim, decided to use vanilla sugar* instead of plain sugar.  Wow.  This was definitely the best lemonade I had ever had.  It's been over a week since I made it, and I've made it several times since then, but I still can't put into words what makes it so great.  The vanilla just elevates the lemonade to another level but in a subtle, understated way.


Vanilla Sugar Lemonade (adapted from Food52)
makes 4 servings

2 large organic lemons, washed and dried
1/2 cup vanilla sugar*
Water


Place the sugar in a wide bowl.  One at a time, rub the outside of the lemons with the vanilla sugar.  Wipe off any sugar that remains on the lemons back into the bowl.


Roll the lemons on a hard surface to make juicing easier.  Slice the lemons in half and juice into a measuring cup.  I was able to get a little more than half a cup of juice.


Add more sugar if you want to match the volume of lemon juice.  Add an equal volume of hot water to the sugar and stir until dissolved to make a simple syrup.


Add the lemon juice and simple syrup to a pitcher or bottle.  Dilute with enough cold water to taste.  I add about 4 parts cold water to 1 part lemon juice/simple syrup solution.  It's still just the tiniest bit too strong for me to drink straight up but perfect once you add a few cubes of ice.  =)


*To make the vanilla sugar, I've been adding the spent vanilla bean pods to an air-tight container of sugar every time I make something that uses fresh vanilla beans.  After letting it sit there for a few days, the sugar absorbs the scent of the vanilla and becomes vanilla sugar!  You can use it in just about anything sweet:  cookies, cakes, ice cream, etc.


Then a couple of days ago I get a text from my friend Paula asking me if I wanted any of the mint she and her family had just picked from their backyard!  I immediately accepted even though I wasn't sure what I would do with it yet.  Then when I was making my third batch of lemonade in probably as many days, I started wondering if maybe I could rub the mint with the sugar and add some mint flavor to the lemonade that way.


So after rubbing the lemons in the sugar, I dropped in a handful of mint leaves and rubbed those all around.  I left the leaves in the sugar while pouring the hot water in and let it steep for a bit before straining out the leaves.  I found that I was able to extract a lot of the mint flavor this way without having to leave the mint leaves in the actual lemonade.  And if you really like the taste of mint, I'd recommend tearing the mint leaves up before adding them to the sugar to release even more oils.


To take it one step further, I decided to blend the mint lemonade with some ice to make a mint lemonade slushie, inspired by Ilene's post.


Yisss....

Next:  Martha Stewart's Perfect Macaroni and Cheese
Previously:  French Toast Face Off