Showing posts with label pasta. Show all posts

Friday, July 24, 2015

Pasta con le Sarde

https://www.flickr.com/photos/joyosity/19947216972/in/dateposted-public/

I had the pleasure of joining my cousin in Italy again, this time on a 9 day trip to Sicily.  We started in Palermo and made our way in a counter-clockwise tour of the island.  One of my favorite stops was the geological formation known as Scala dei Turchi just to the west of Agrigento.

https://www.flickr.com/photos/joyosity/19947987432/in/dateposted-public/

It looks like a milky-white set of steps rising out of the Mediterranean Sea, and it's completely free to explore.  While I'm really glad I was able to climb it, I do hope that one day soon the government will decide to protect the area since it will likely become quite damaged from all the human activity.  For more pictures of the trip, check out my Instagram feed.

https://www.flickr.com/photos/joyosity/19960107201/in/dateposted-public/

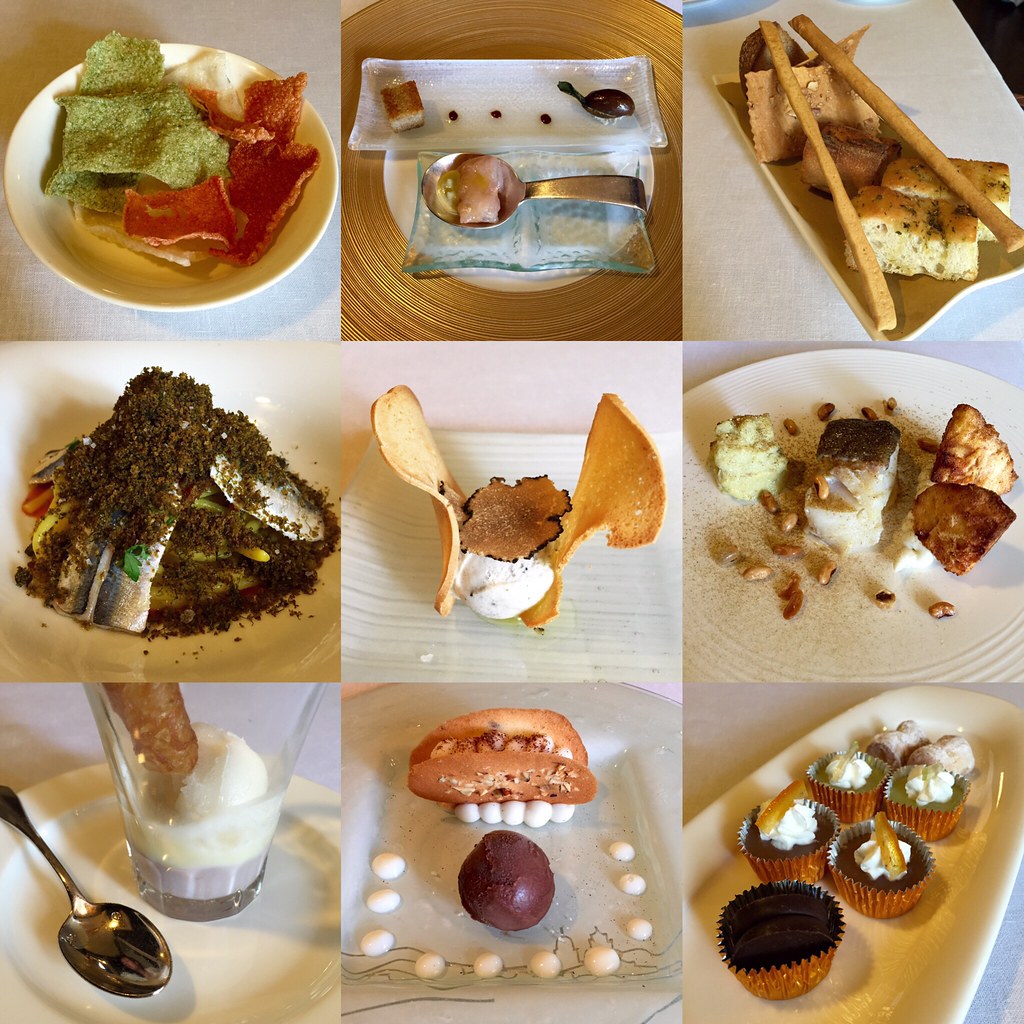
One of my other favorite stops was the UNESCO world heritage Baroque town of Ragusa.  Not only is it absolutely lovely, it has some of the best restaurants on the island including the 2 Michelin-starred Ristorante Duomo.  We were able to have a 7 course lunch there for only 45 euros (that's like $50 with the recent exchange rate)!
https://www.flickr.com/photos/joyosity/19960413271/in/dateposted-public/

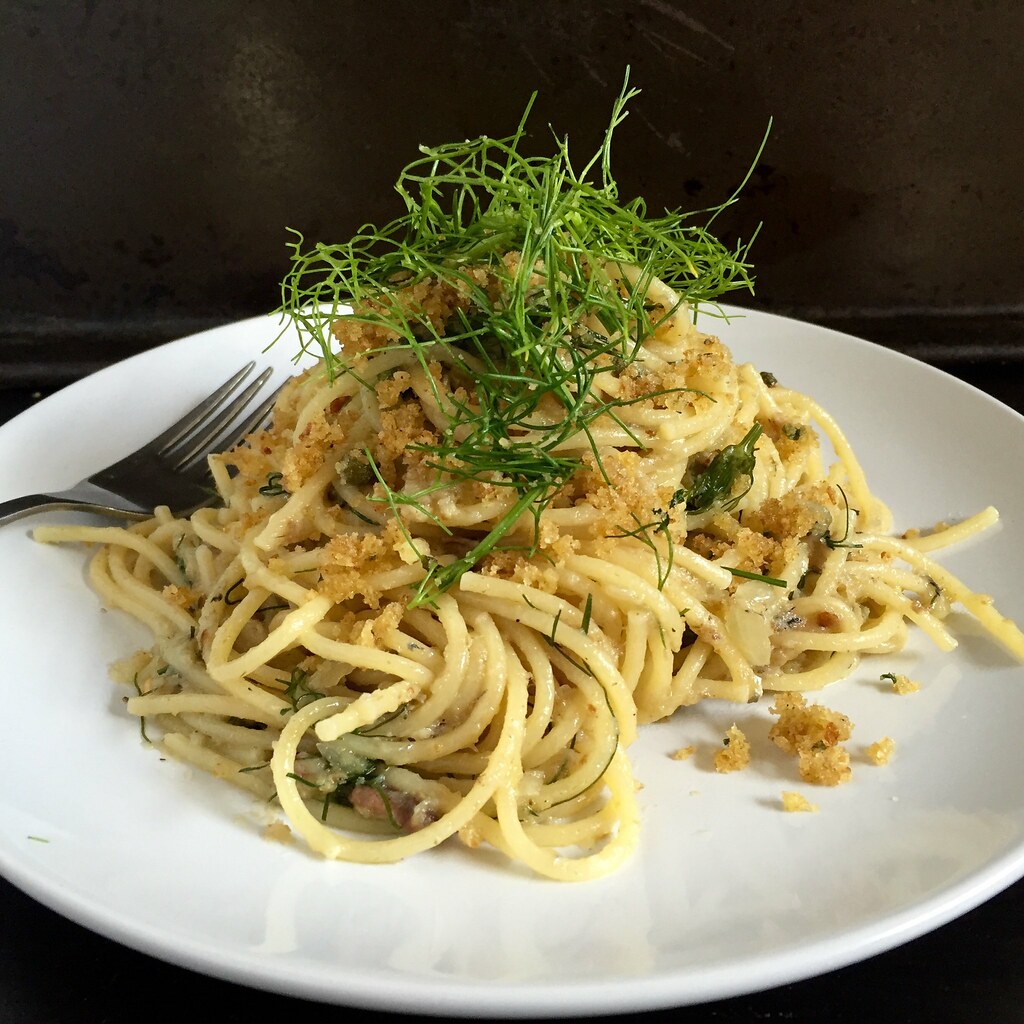
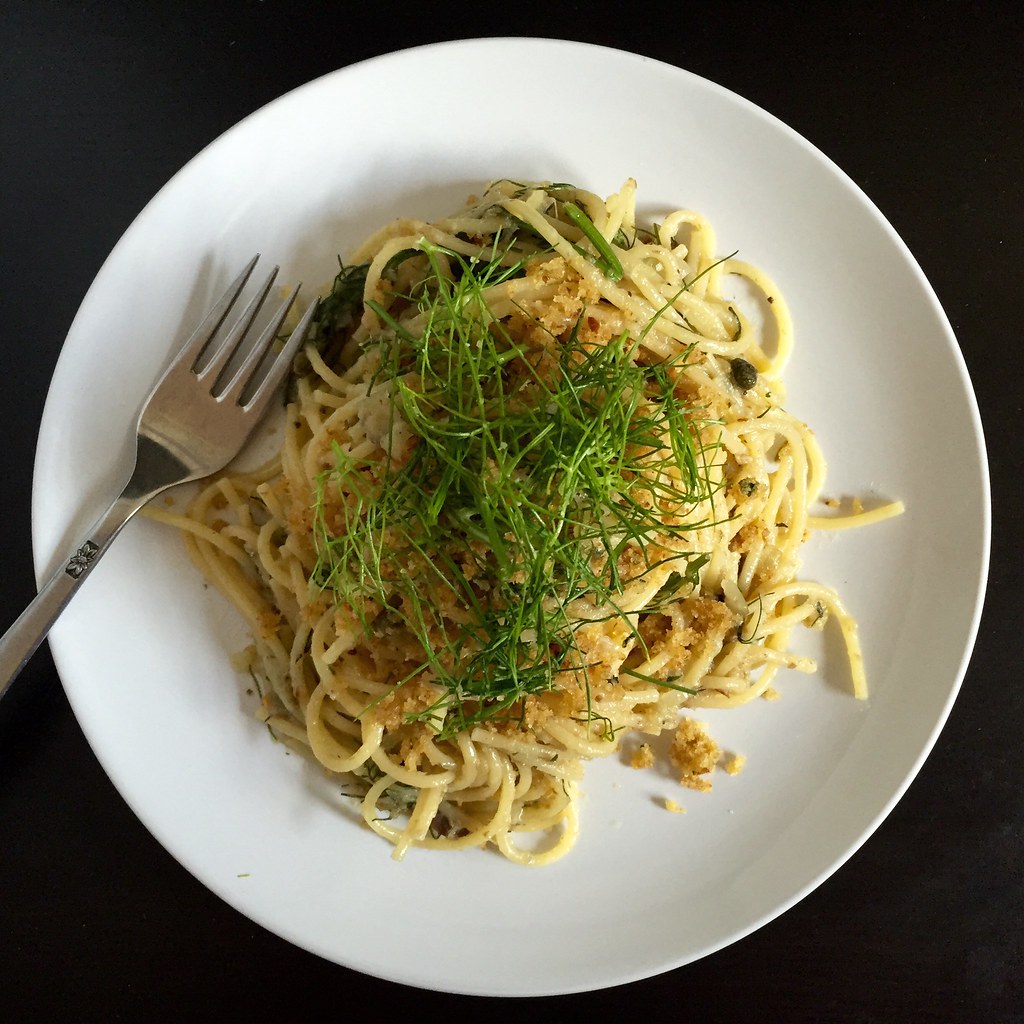
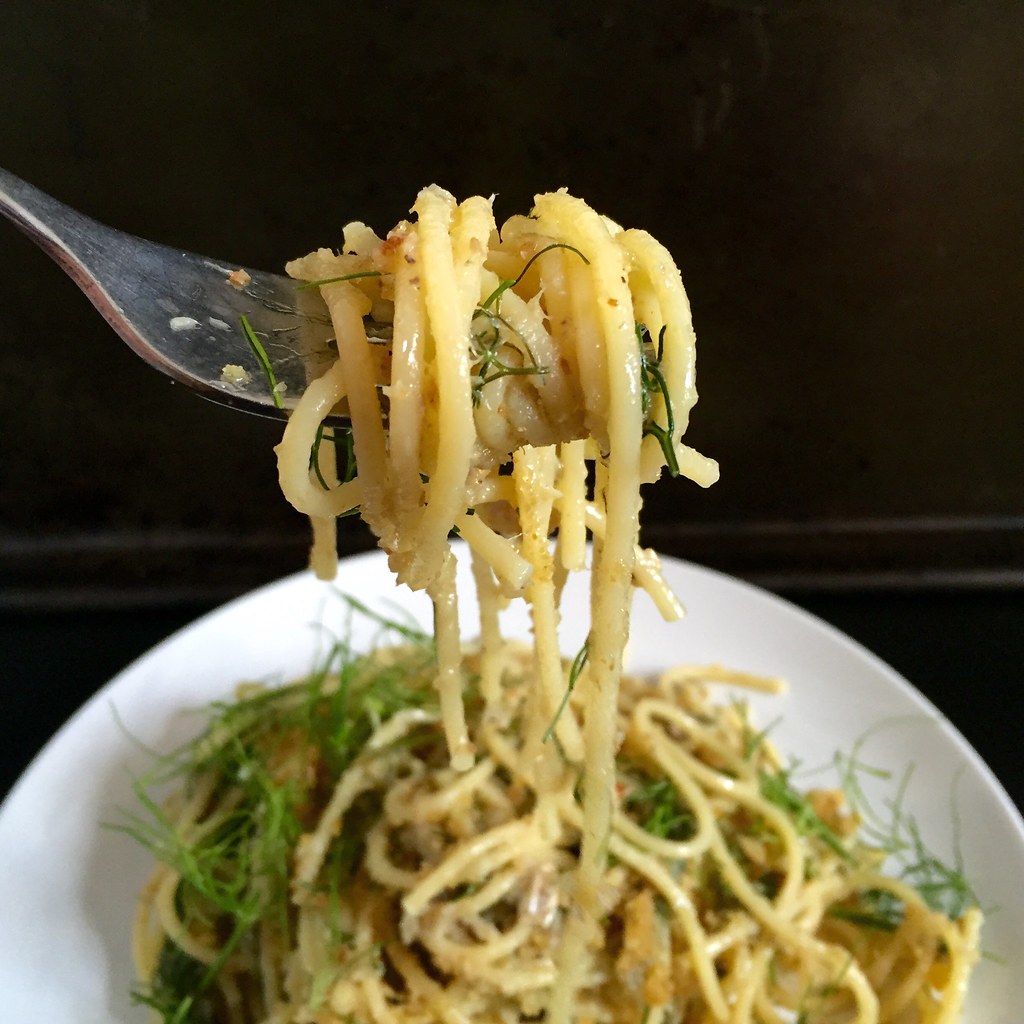
The pasta course was their take on a traditional Sicilian dish:  pasta con le sarde.  From what I remember the waiter saying, they used homemade saffron spaghetti with olive oil poached sardines and bread crumbs with wild fennel.  The version I made uses dry spaghetti from a box and canned sardines, but it's still pretty good, especially if you like sardines.
https://www.flickr.com/photos/joyosity/19947217002/in/dateposted-public/

Pasta con le Sarde (adapted from The New York Times Cooking)
serves 2

1/4 cup raisins
A pinch of red pepper flakes
1/3 cup dry white wine
1/4 cup olive oil plus 3 tablespoons
1 small fennel bulb, finely chopped, fronds chopped and reserved
1 small onion, finely chopped
1 garlic clove, minced
1 tablespoons butter
1/4 cup dry bread crumbs
2 cans sardines in oil
1/2 pound spaghetti or bucatini
1/4 cup pine nuts, toasted
2 tablespoons capers, rinsed
Kosher salt and freshly ground pepper, to taste

Combine the raisins, red pepper flakes, and wine in a small bowl and set aside.

In a heavy skillet, heat 1/4 cup of olive oil over medium-low heat.  When hot, add the fennel bulb, onion, and garlic.  Season with salt and cook, stirring occasionally, until the fennel is tender, about 25 minutes.

In the meantime, melt the butter in a small pan and add 1 tablespoon olive oil.  Add the bread crumbs and cook until golden brown.  Set aside.

Bring a large pot of salted water to a boil.

When the fennel mixture is ready, add the wine mixture and sardines, breaking them into pieces.  Bring to a boil and gently simmer for 10 minutes.

Add the pasta to the boiling water and cook according to the instructions on the box until al dente.  Strain and return the pasta to the pot set over low heat.  Fold in the fennel-sardine mixture.  Toss in the remaining 2 tablespoons of olive oil.  Add 3/4 of the fennel fronts, the pine nuts, capers, and 1/4 of the bread crumbs.  Season to taste with salt and pepper.

Divide the pasta among two plates and sprinkle the remaining bread crumbs and fennel fronds over each.  Serve immediately.
https://www.flickr.com/photos/joyosity/19960039311/in/dateposted-public/

Next:  Mini Homemade Pretzel Dogs
Previously:  Garlic Naan
Last Year:  Cleveland Cassata Cake (Bonus:  In a Jar!)
Two Years Ago:  Backyard Mint Ice Cream with Dark Chocolate Freckles
Five Years Ago:  Coconut Lime Sorbet
Six Years Ago:  Curried Carrot Soup

Monday, May 11, 2015

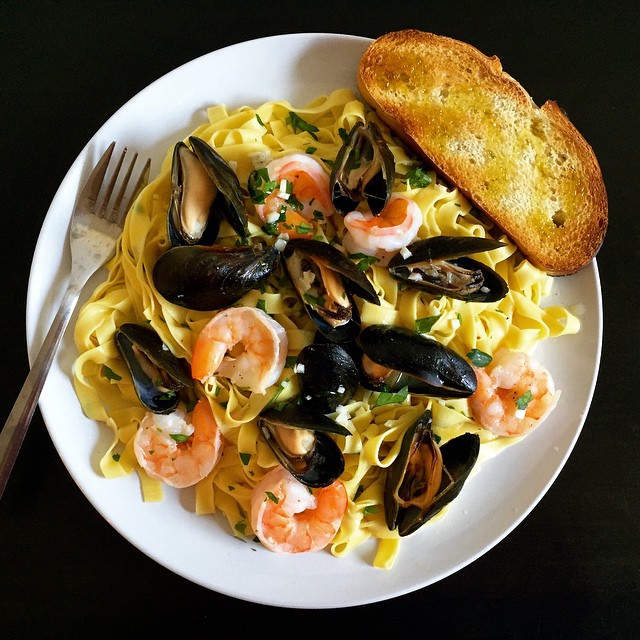
Scoglio all'Andiamo (Saffron Fettuccine with Seafood in a Lemon Garlic White Wine Sauce)

https://www.flickr.com/photos/joyosity/17320160279/in/dateposted-public/

Last year I was lucky enough to win two nights at a Marriott resort of my choosing in the Caribbean through an Instagram contest.  At first I considered going to St. Kitts & Nevis since I had never been before, but the airfare was outrageous, so I ended up choosing to go back to Grand Cayman.  I used my points to stay an extra two nights at the Ritz Carlton and brought along two girlfriends. 

https://www.flickr.com/photos/joyosity/17475397226/in/dateposted-public/

I was sad to find out that the Periwinkle restaurant at the Ritz was gone because I had the best truffle fries of my life there a few years ago, but when I found out that the Italian restaurant that had replaced it, Andiamo, had the truffle parmesan fries on their menu, I insisted that we go there for our last dinner on the island.

https://www.flickr.com/photos/joyosity/17501766415/in/dateposted-public/

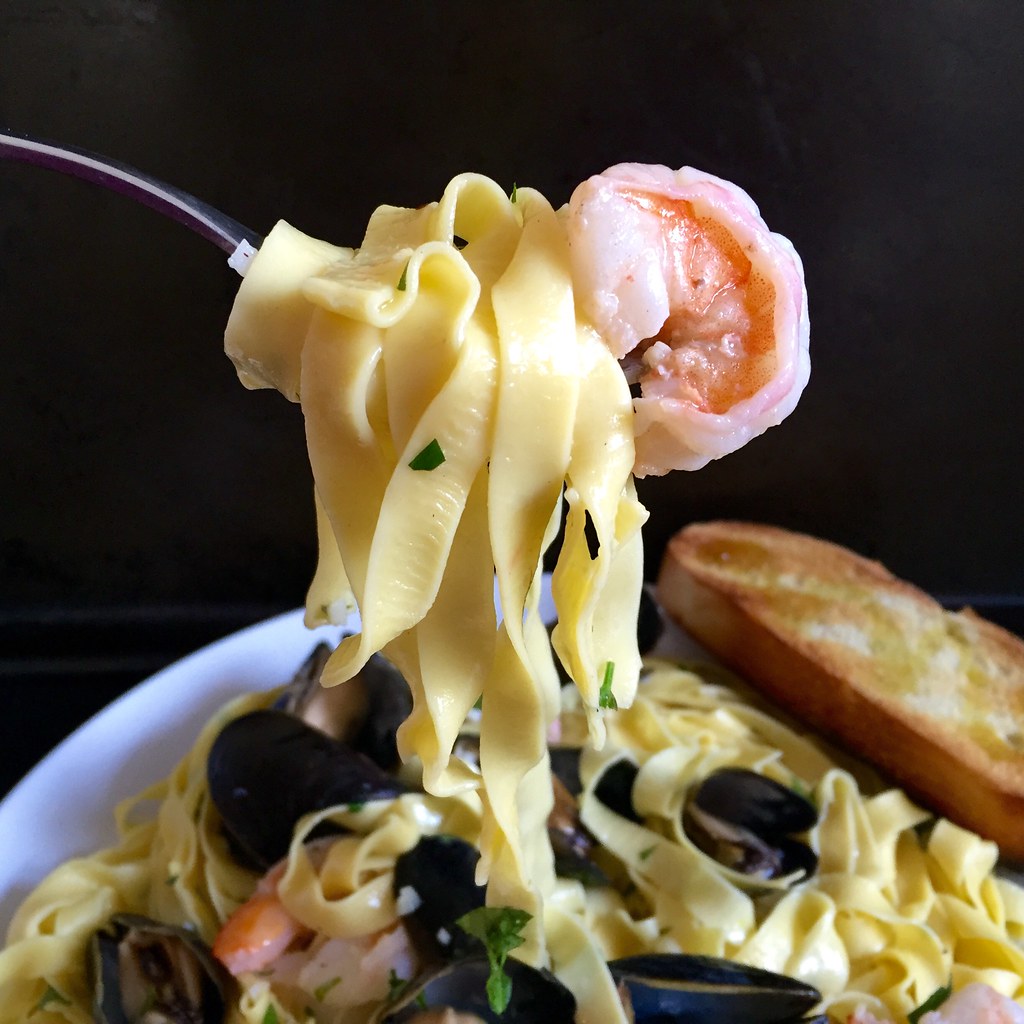
The fries were as good--if not better--than I remember them being, but I was also really impressed with their version of pasta allo scoglio, also known as pasta ai frutti di mare.  Scoglio means "rocky seashore" in Italian, and all types of seafood can be used in this dish.  Shrimp and mussels were on sale, so that's what I used, but clams, scallops, and calamari would also work.

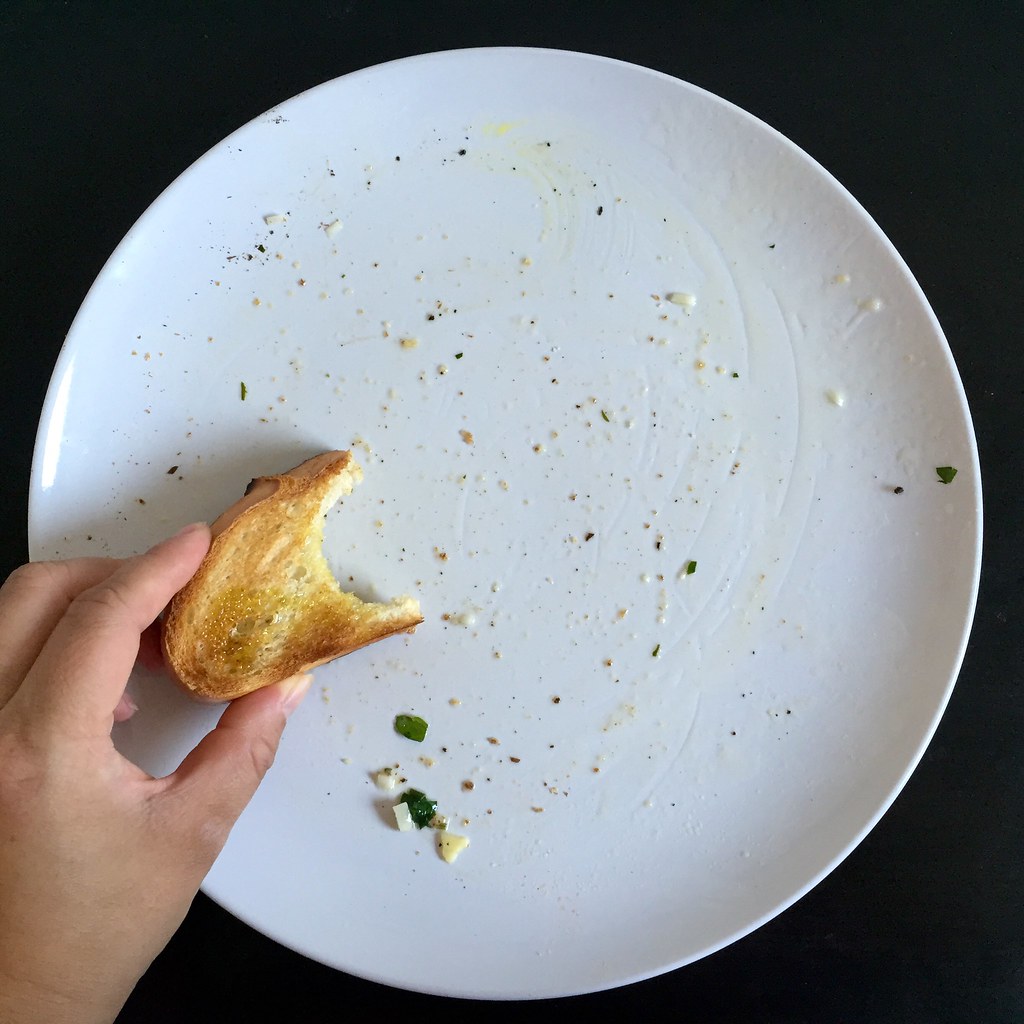
Unlike most recipes for pasta allo scoglio, there were no tomatoes in Andiamo's version; all I tasted was a clean white wine sauce with garlic and lemons spiked with the delicious juices from the clams and mussels.  The sauce was so good we asked for another basket of bread just so we could soak it all up.  The pasta they used was a saffron fettuccine, which I attempted to make from scratch.  Since I didn't have any saffron on hand, I added some saffron salt to the fresh pasta dough and finished the dish with more saffron salt.  If I were to make this again, I'd probably add a pinch of turmeric to the pasta dough to bring out the bright yellow coloring more.

https://www.flickr.com/photos/joyosity/16881598383/in/dateposted-public/

Scoglio all'Andiamo (Saffron Fettuccine with Seafood in a Lemon Garlic White Wine Sauce)
serves 2-3

1/4 cup butter
2 garlic cloves, minced
2/3 cup dry white wine
1 lb. mussels and/or clams
1 lb. peeled raw shrimp and/or scallops
1/2 lb. dried fettuccine or 3/4 lb. fresh fettuccine
Juice from 1/2 a lemon
1 tablespoon chopped parsley (optional)
Saffron salt (if you have it, if not, regular sea salt is fine)
Freshly ground pepper
Lemon slices

Bring a pot of salted water to boil.  Cook the fettuccine to al dente (if using fresh pasta, wait until the after adding the shrimp to the pan to start cooking the pasta).

In the meantime, melt the butter over medium-low heat in a large skillet.  Add the garlic cloves and saute for a minute.  Add the white wine and the mussels and/or clams.  Cover and let steam until the shellfish have opened.  Use a slotted spoon to remove the shellfish from the skillet and set aside in a bowl.

Add the shrimp and/or scallops and cook until just opaque.  Add the cooked pasta, lemon juice, parsley, and shellfish back to the skillet and toss well.  Season with salt and pepper to taste.  Serve immediately with lemon slices and crusty bread to soak up any leftover sauce.

https://www.flickr.com/photos/joyosity/16881596943/in/dateposted-public/

Next:  Taiwanese Oyster Omelet (Without the Oysters)
Previously:  Gordon Ramsay's Sublime Scrambled Eggs - Two Ways
Last Year:  Candied Bacon Chocolate Chip Pancakes
Five Years Ago:  Passion Fruit Ice Cream
Six Years Ago:  Carrot Cake Ice Cream

Monday, March 23, 2015

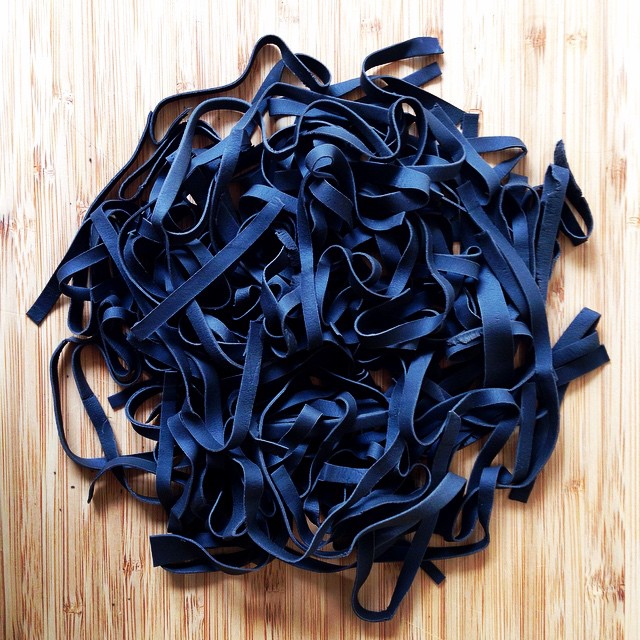
Homemade Squid Ink Pasta

https://www.flickr.com/photos/joyosity/16898807432/

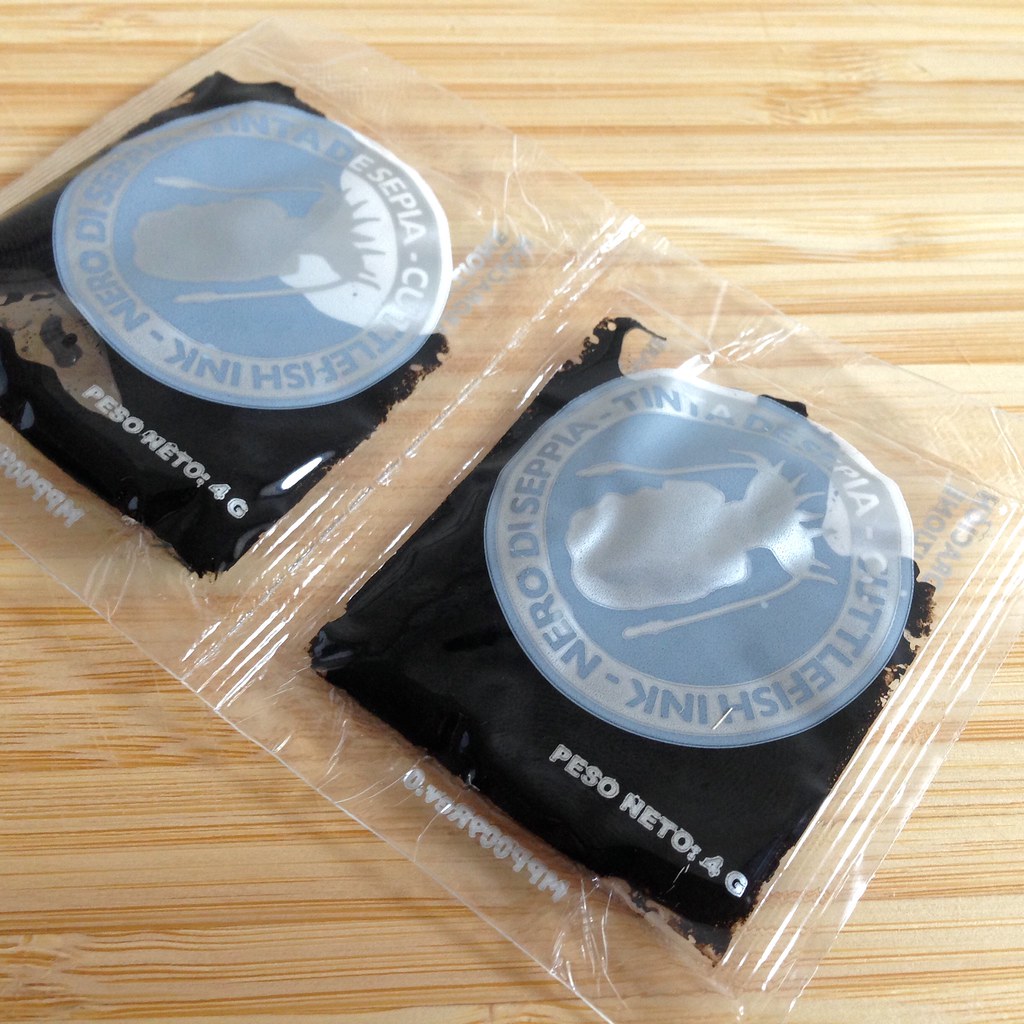
I've been wanting to make my own squid ink pasta ever since I first had it in Venice, so I was pretty excited when I finally found some squid ink at DiLaurenti on my last trip to Seattle.  It came in these little pricey packets, but a little goes a long way.

https://www.flickr.com/photos/joyosity/16887462805/

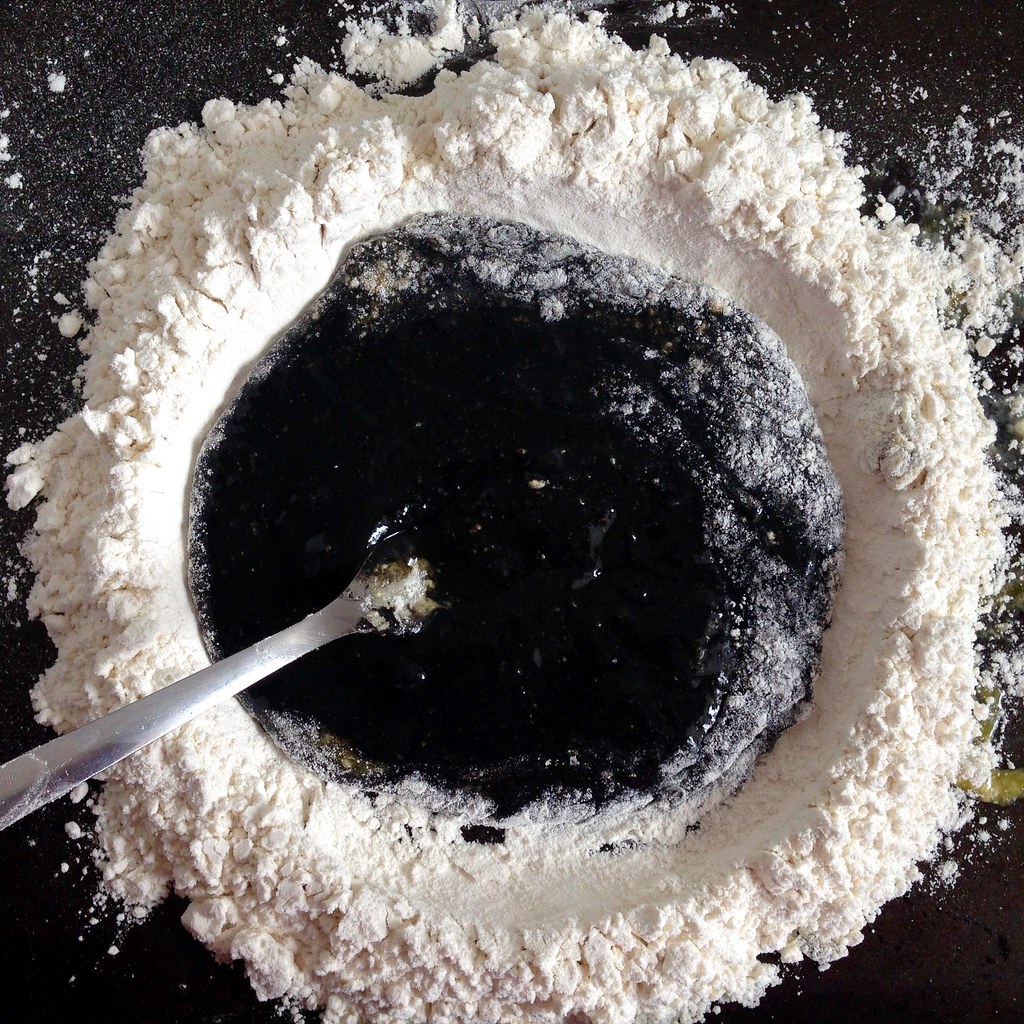
I pretty much followed my recipe for a better homemade pasta, but I substituted squid ink for one of the egg yolks.  Because this recipe produces a drier dough, you don't have to dust the pasta with any additional flour to keep it from sticking, and it also lets the color of the squid ink pasta shine through.

https://www.flickr.com/photos/joyosity/16700059530/

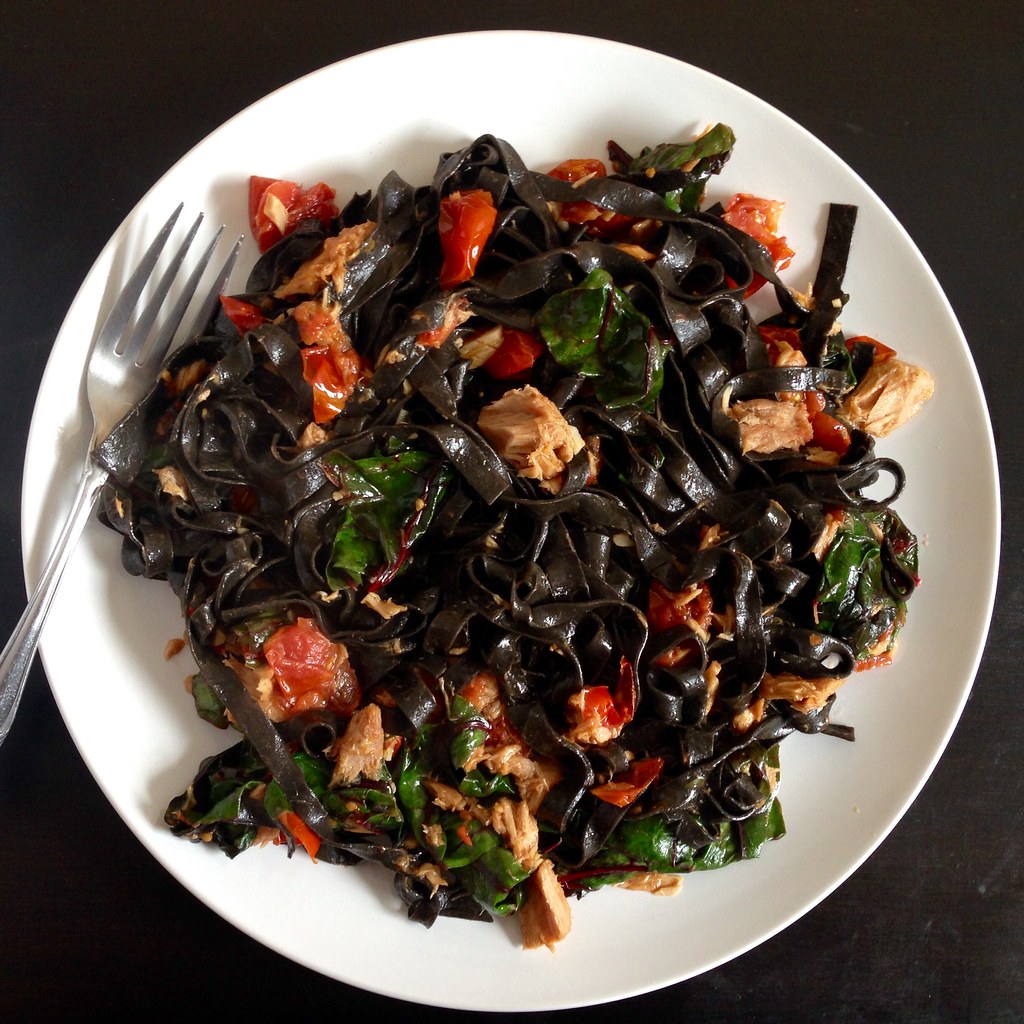
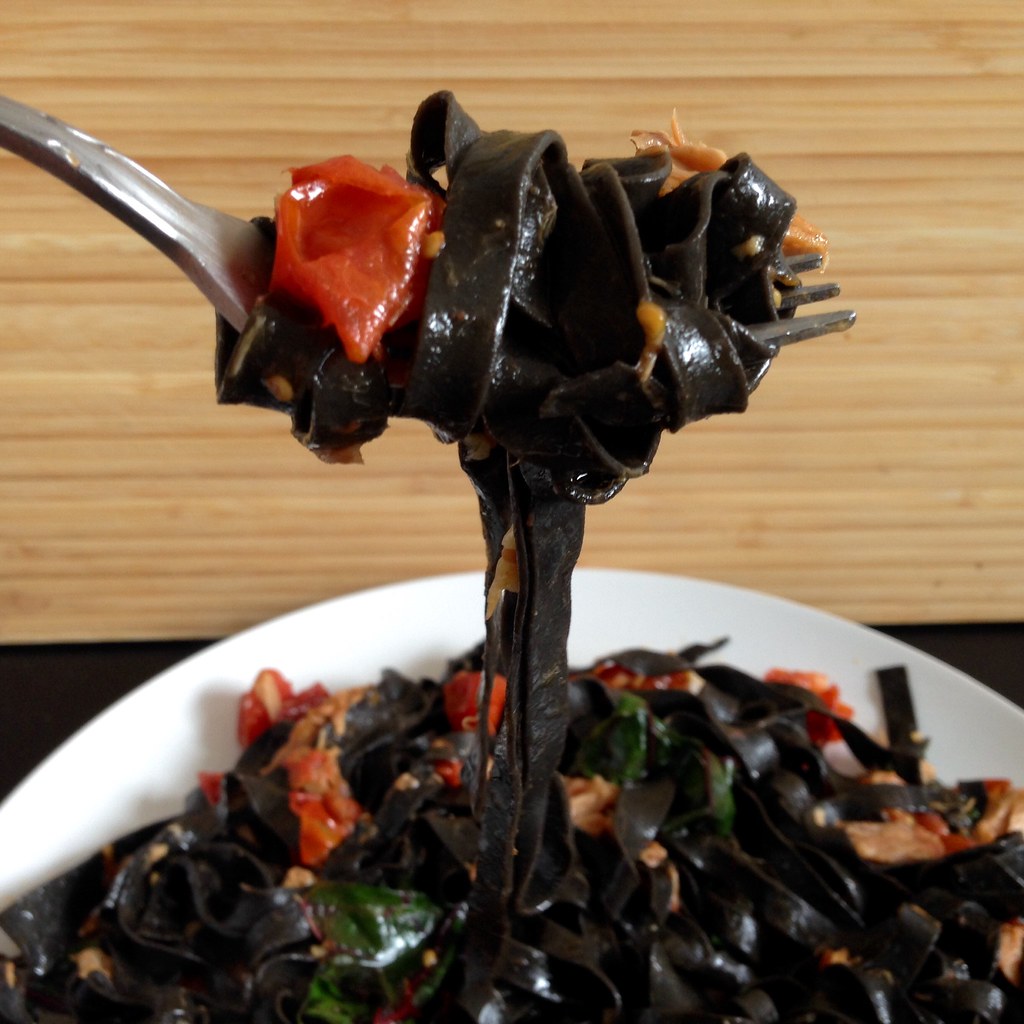
I found that I could really smell and taste the brininess of the squid ink compared to the dried squid ink pasta I had bought from Venice.  I ended up using this pasta to make the First Night in Florence Spaghetti, and it just made that already fantastic dish even better.

https://www.flickr.com/photos/joyosity/16699830358/

Homemade Squid Ink Pasta
makes 2 servings

1 cup all-purpose flour
1 large egg
2 large egg yolks
8 grams (about 1 1/2 teaspoons) squid ink

On a large, rimmed baking sheet, make a pile with the flour and dig a well in the middle.  Crack the egg into the well and add the egg yolks and squid ink.

Using a fork, start stirring the liquids and slowly incorporating more and more of the flour into the well until you have a nice, thick paste.  Combine with the rest of the flour and start kneading with your hands.  If the dough is too dry, wet your hands as many times as you need just for it to all come together.

Continue kneading by hand or in a stand mixer (with the dough hook attachment) until you have a smooth, uniform dough.  Cover tightly with plastic wrap and let rest for at least 20 minutes.  At this point you can refrigerate the dough, well wrapped, overnight and bring it back to room temperature the next day before continuing.

Cut the dough in half.  Run one half through the pasta machine set at its widest setting.  Fold the dough in thirds and run through the machine again, repeating 3 times.  Then, run the dough halfway through and pinch the ends together so it forms a loop.  Adjust the setting to one notch thinner and roll through, continuing to adjust the setting one notch thinner each time the loop has gone all the way around.  When the dough looks almost transparent, stop and cut the dough out of the machine and then in half.  Repeat the whole process with the other half of the dough.

If your dough is feeling tacky at this point, let it dry a bit on some tea towels.  Otherwise, you can go ahead and fold the dough in half three times so you have a manageable width to cut.  Using a sharp knife, cut the noodles into the width you desire.  Shake out the noodles and let them dry some more on the tea towel.

Bring a pot of salted water to a rolling boil.  Add the pasta and stir occasionally so that the noodles don't stick to each other.  The pasta is done when they float to the surface.  Remove from the water immediately to preserve its perfect al dente texture.  Toss with the sauce of your choice.

https://www.flickr.com/photos/joyosity/16680119357/

Next:  Chocolate Mochi Snack Cake
Previously:  Cacio e Pepe for One
Last Year:  Dan Bing (Taiwanese Egg Crepe)
Five Years Ago:  Mama Huang's Secret Beer Duck Recipe
Six Years Ago:  Carrot Cake Cupcakes with Cream Cheese Frosting

Monday, March 16, 2015

Cacio e Pepe for One

https://www.flickr.com/photos/joyosity/16708089082/

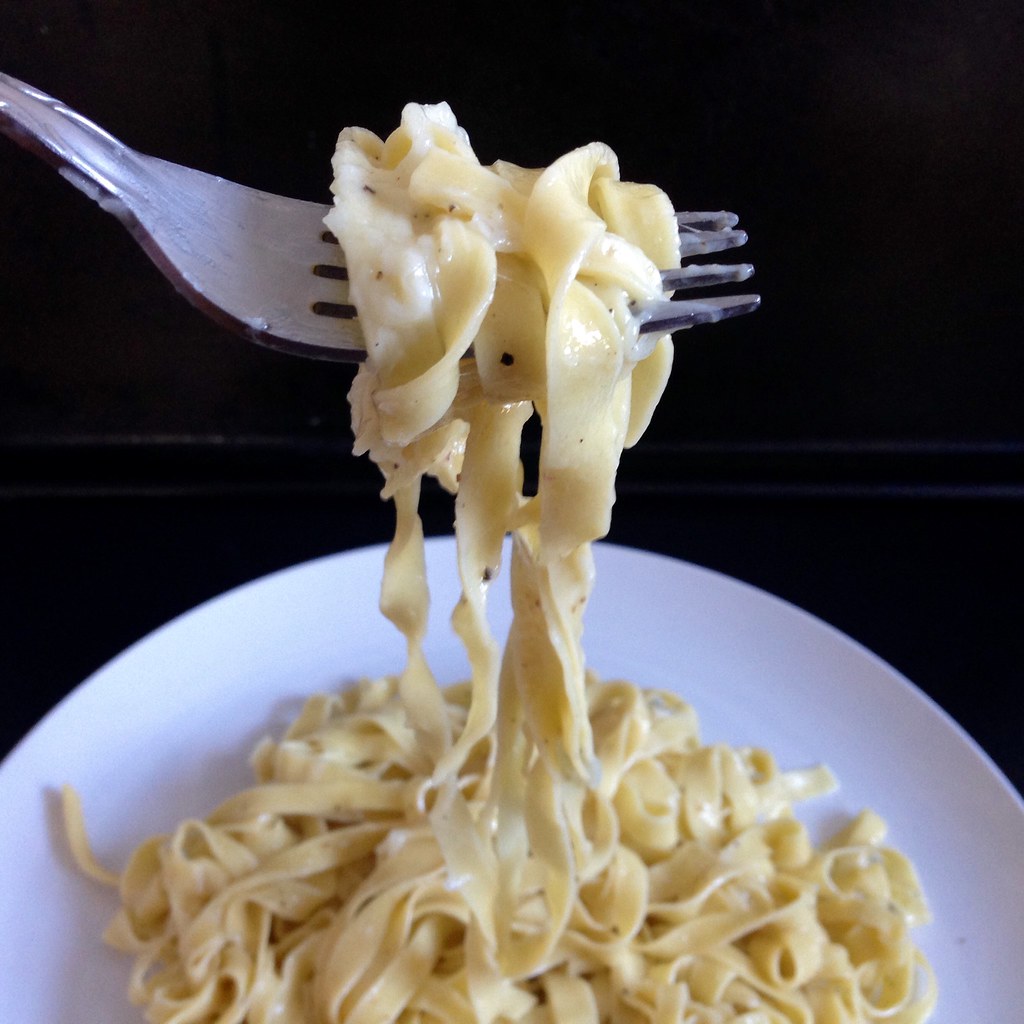
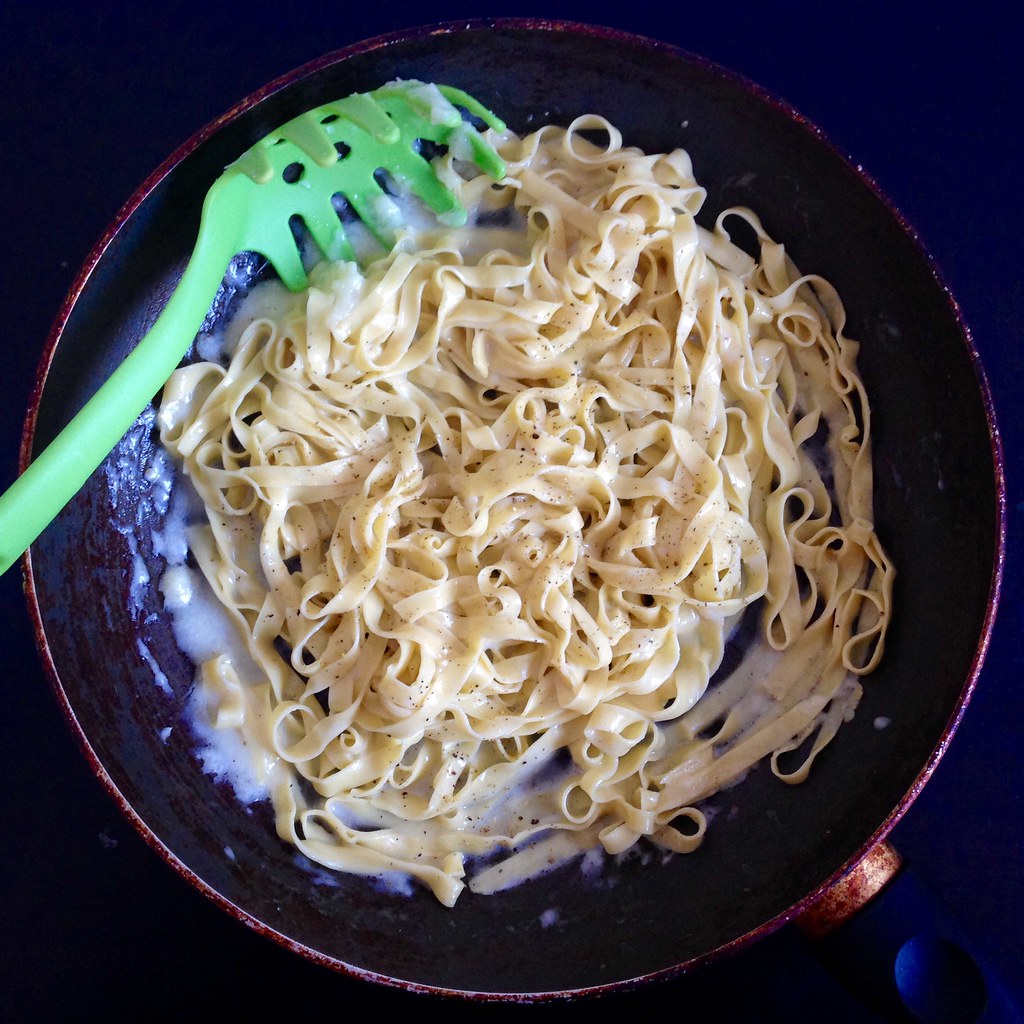
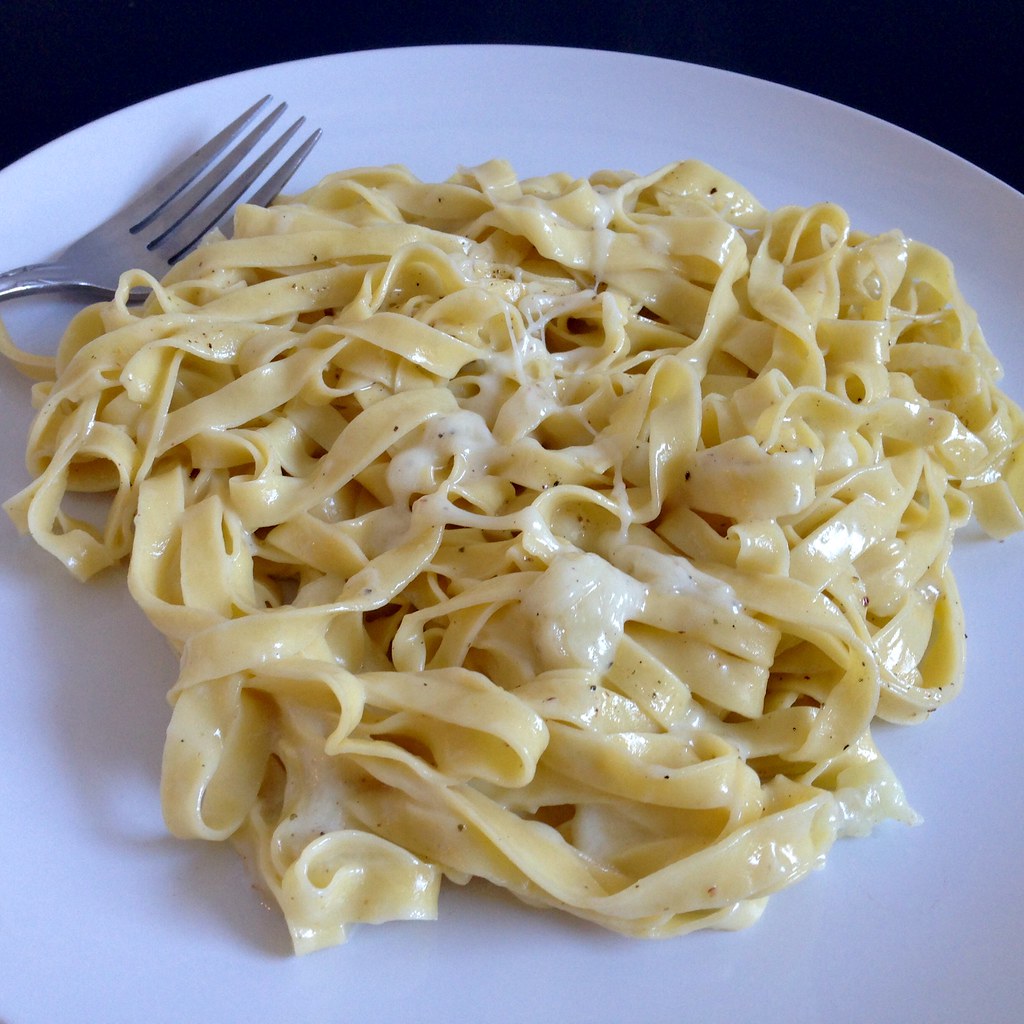
I love macaroni and cheese, but sometimes I just want to make enough for one serving.  Or I don't have any milk in the refrigerator.  Or I'm starving and and need something that only takes a few minutes to make.  Luckily, this recipe for cacio e pepe meets all those requirements!

Italian for "cheese and pepper", this dish comes together in a flash and uses ingredients you probably already have in your pantry and refrigerator.  Pecorino Romano is the traditional cheese used for cacio e pepe, but in a pinch, you could also use parmesan or another hard, grated cheese.

https://www.flickr.com/photos/joyosity/16523023239/

The first time I made this, I used the fresh pasta I had made in the previous post, but I've also since made this with regular dried spaghetti.  Obviously, the fresh pasta was better, but the version made with the dried pasta was still pretty decent, and much better than anything that comes out of a blue and orange box.  I like mine slightly gooey and with less pepper, but if you like it creamier, you can add more pasta water, and feel free to use as much pepper as you like!

https://www.flickr.com/photos/joyosity/16523023239/

Cacio e Pepe for One
serves one (duh) but can be easily doubled

Kosher salt
1 serving of uncooked pasta, dried or fresh
1 tablespoon unsalted butter or olive oil
Freshly ground black pepper, to taste
50 g (about 3/4 cup) freshly grated Pecorino Romano

Bring a pot of salted water to boil.

Add the butter and pepper to a skillet large enough to hold all the pasta.  If using fresh pasta, turn the heat on once you add the pasta to the boiling water.  If using dried pasta, wait until there is 1 minute left before the pasta is done to turn on the heat.  Toast the pepper over medium-low heat.

When the pasta is done, transfer it to the skillet using tongs or a pasta scooper.  Toss with the butter and pepper, then start adding the grated cheese, alternating with some of the pasta water.  Continue tossing until the cheese has melted and coated all the pasta.  Season to taste with additional pepper and salt.

https://www.flickr.com/photos/joyosity/16523022149/

Next:  Homemade Squid Ink Pasta
Previously:  A Better Homemade Pasta
Last Year:  Miso-Glazed Eggplant
Two Years Ago:  Happiness Cake
Five Years Ago:  Momofuku's Crack Pie
Six Years Ago:  Korean Pancake Face Off

Tuesday, March 3, 2015

A Better Homemade Pasta Recipe

https://www.flickr.com/photos/joyosity/16670047286/

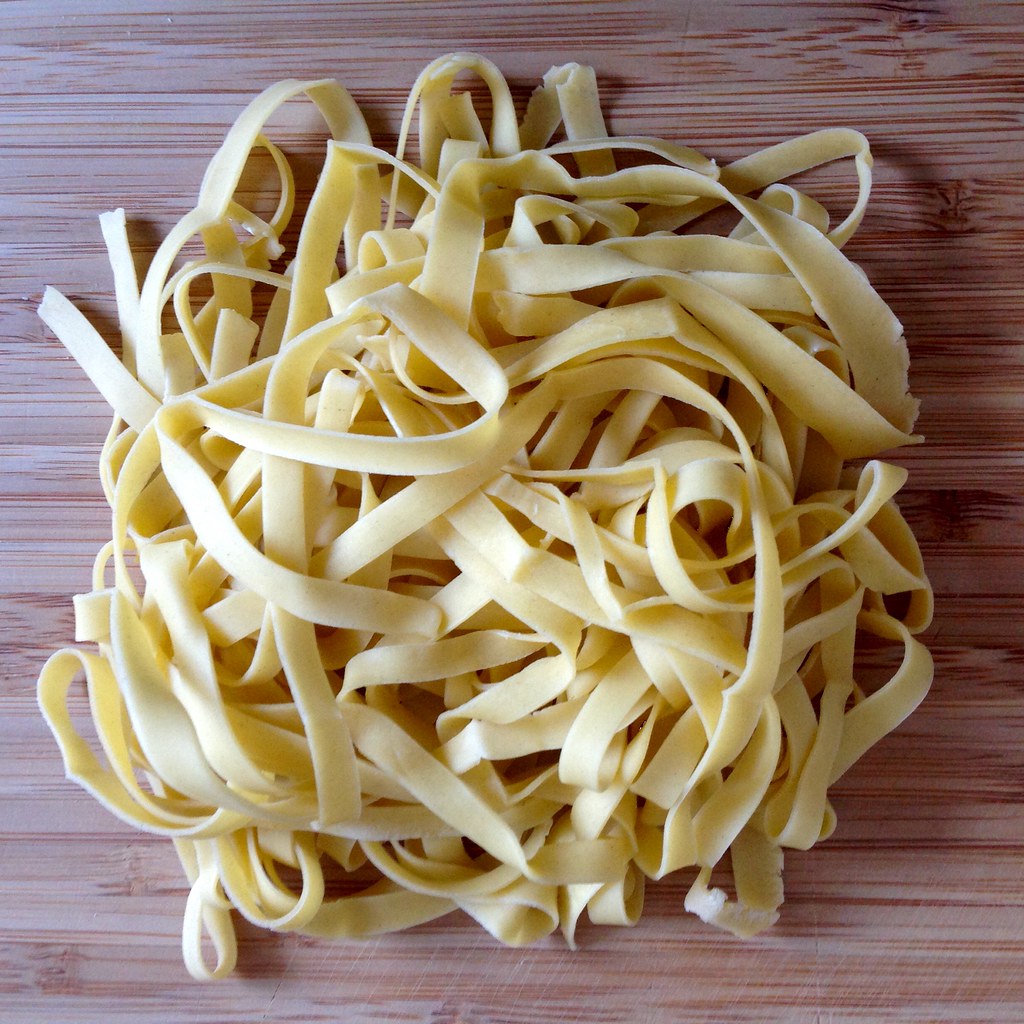
I had three egg yolks left over from making the matcha financiers, so it was perfect timing that I came across this recipe which needed 3 egg yolks (plus 1 whole egg) for making homemade pasta.  I've posted about making pasta before, but even then I commented on how it didn't look like the homemade pasta I had eaten in Italy.  I had hopes that using more egg yolks would make a difference, giving me something closer in looks and taste.

https://www.flickr.com/photos/joyosity/16509852739/

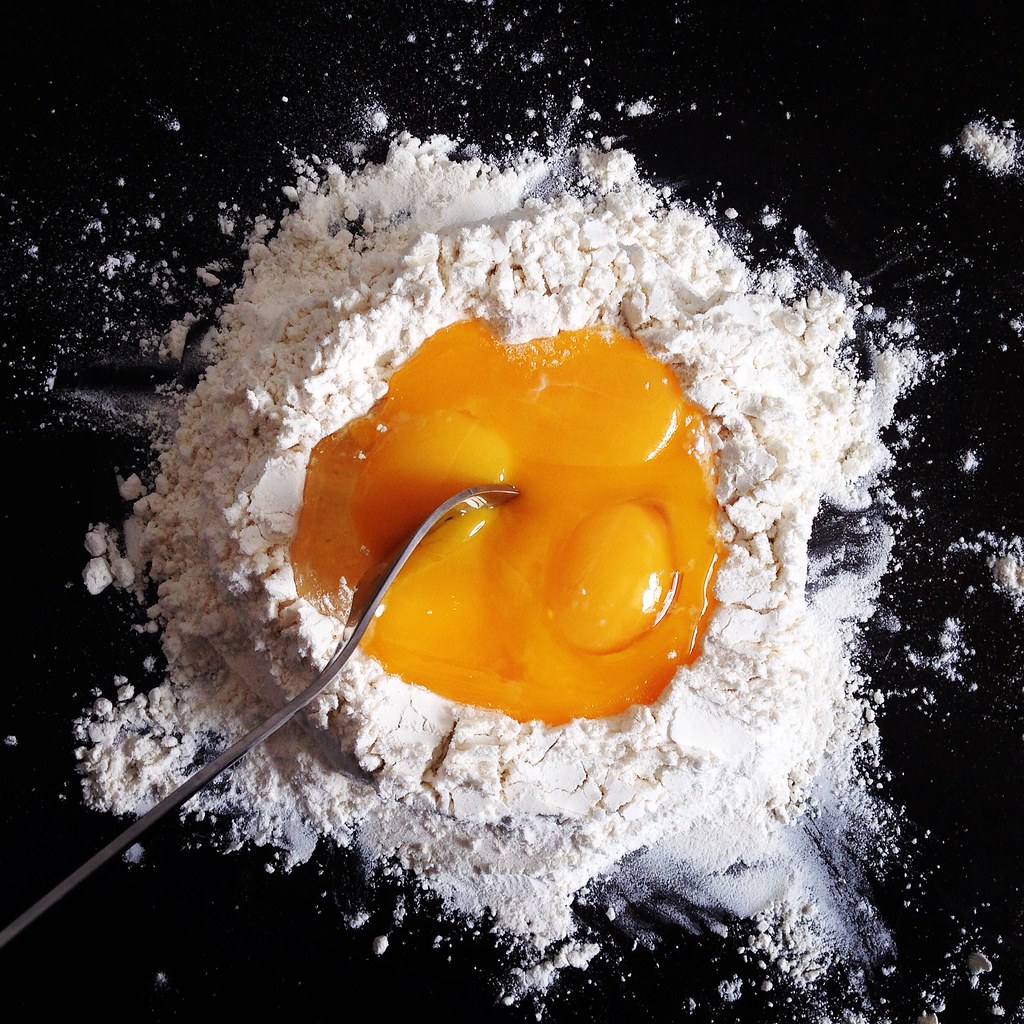
I'm going to share two tips I use when making pasta:  one I came up with on my own, and one I learned from Lady and Pups.  First, instead of making the dough straight on your counter- or tabletop, make it in a rimmed baking sheet.  That way if the eggs accidentally spill over your flour well (like mine did), it won't run all over the place.

https://www.flickr.com/photos/joyosity/16508591810/

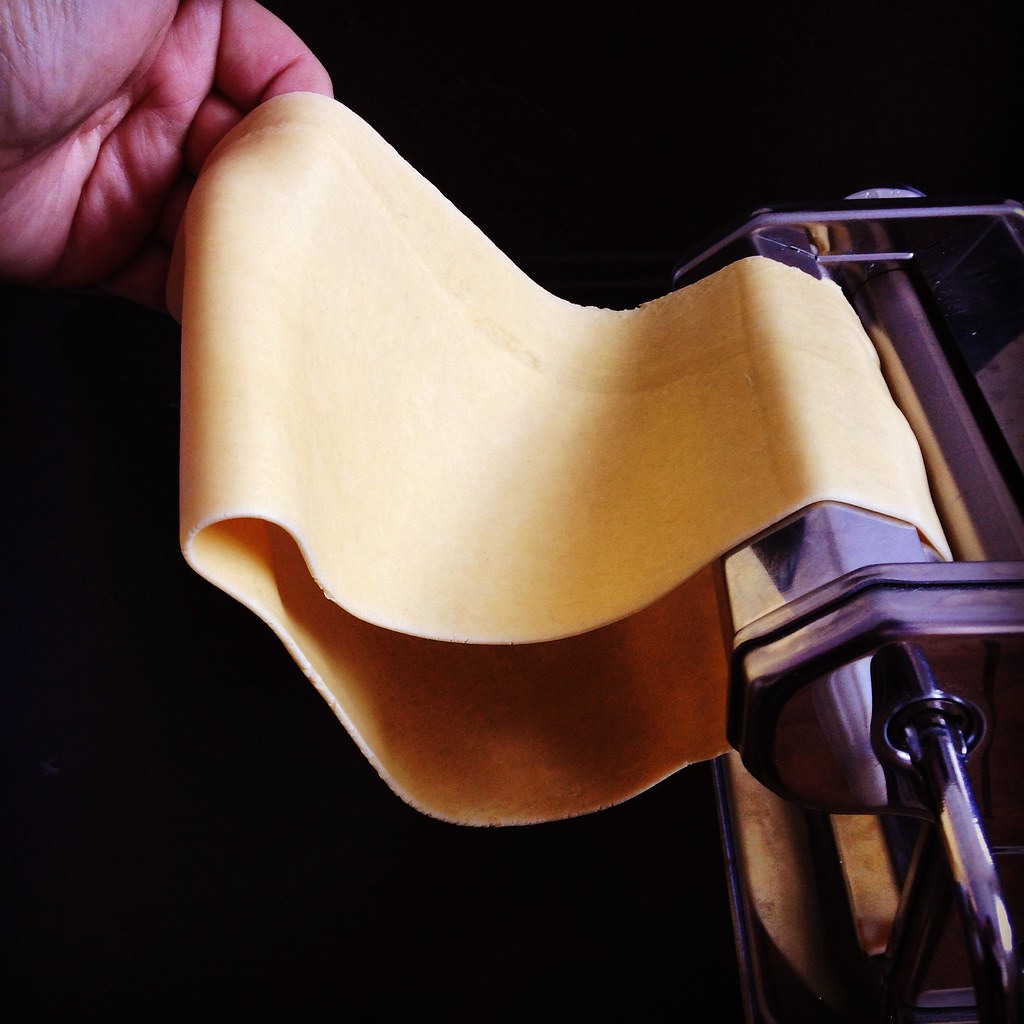
Second, I love this genius tip from Lady and Pups:  seal the ends of your dough together once you're ready to roll your pasta thinner in a pasta machine so that you don't have to refeed the dough in every time you change the setting.  It makes the dough so much easier to work with, especially once the dough gets super thin and long!

https://www.flickr.com/photos/joyosity/16695980185/

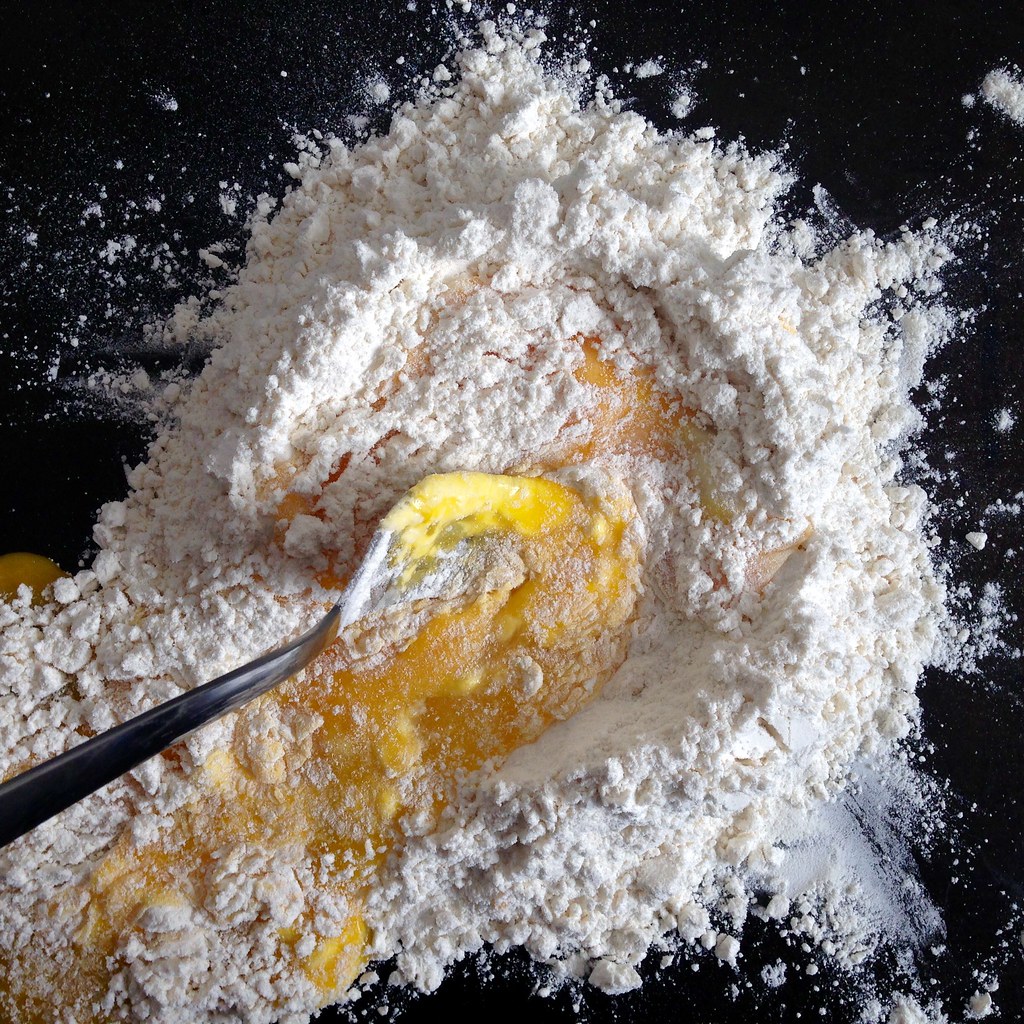
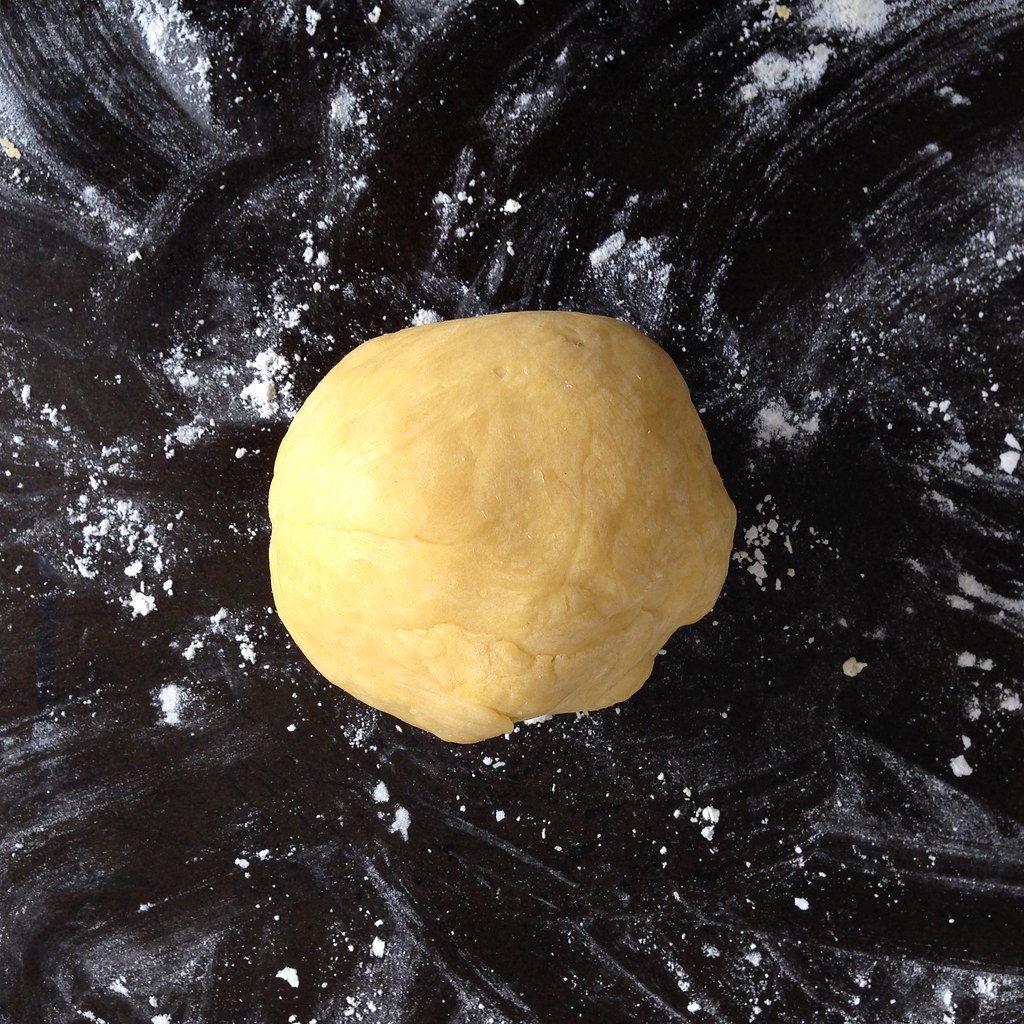
This dough is pretty dry, so you might want to wet your hands while kneading it just until everything comes together.  Then you can take the easy way out and throw it into your stand mixer (with the dough hook attachment) to continue kneading, if you have one.  If not, keep kneading until it's nice and glossy; it will take a while, but you'll get there eventually.

https://www.flickr.com/photos/joyosity/16694677671/

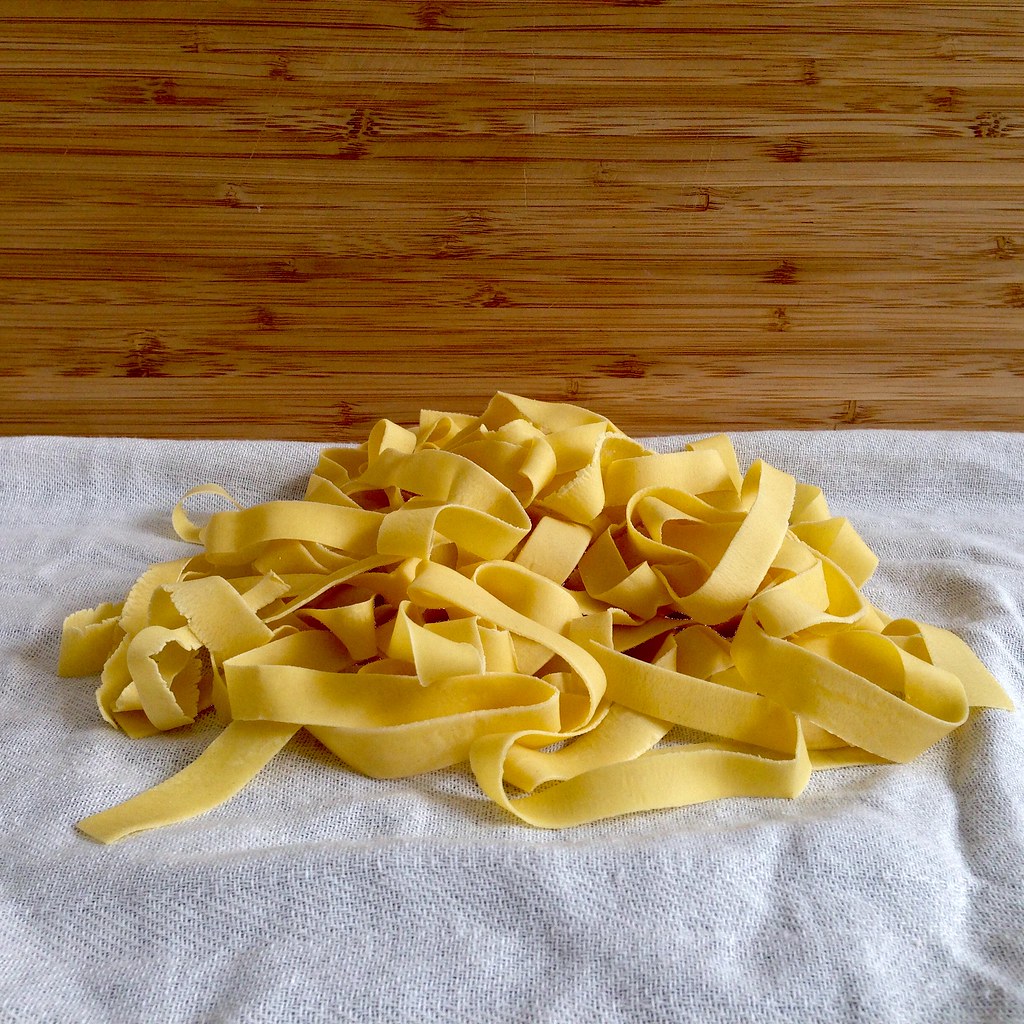
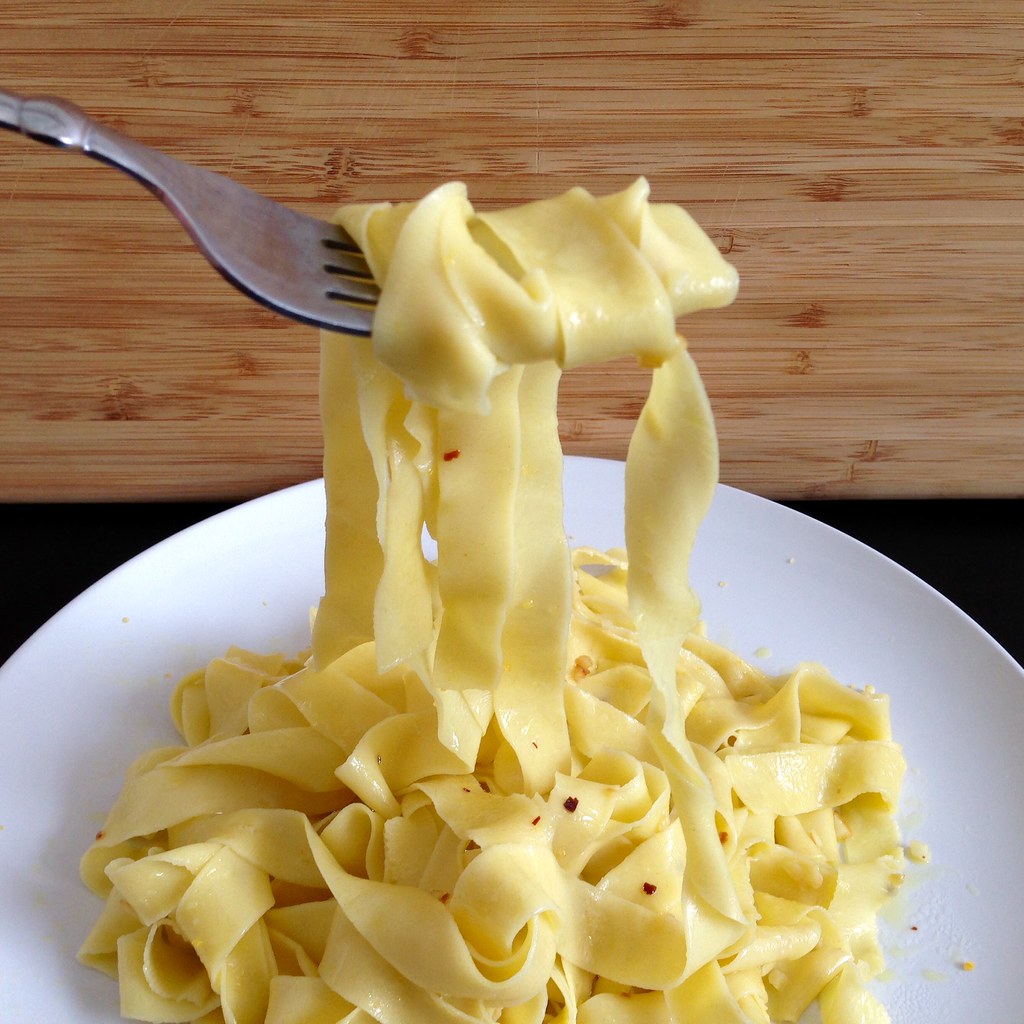
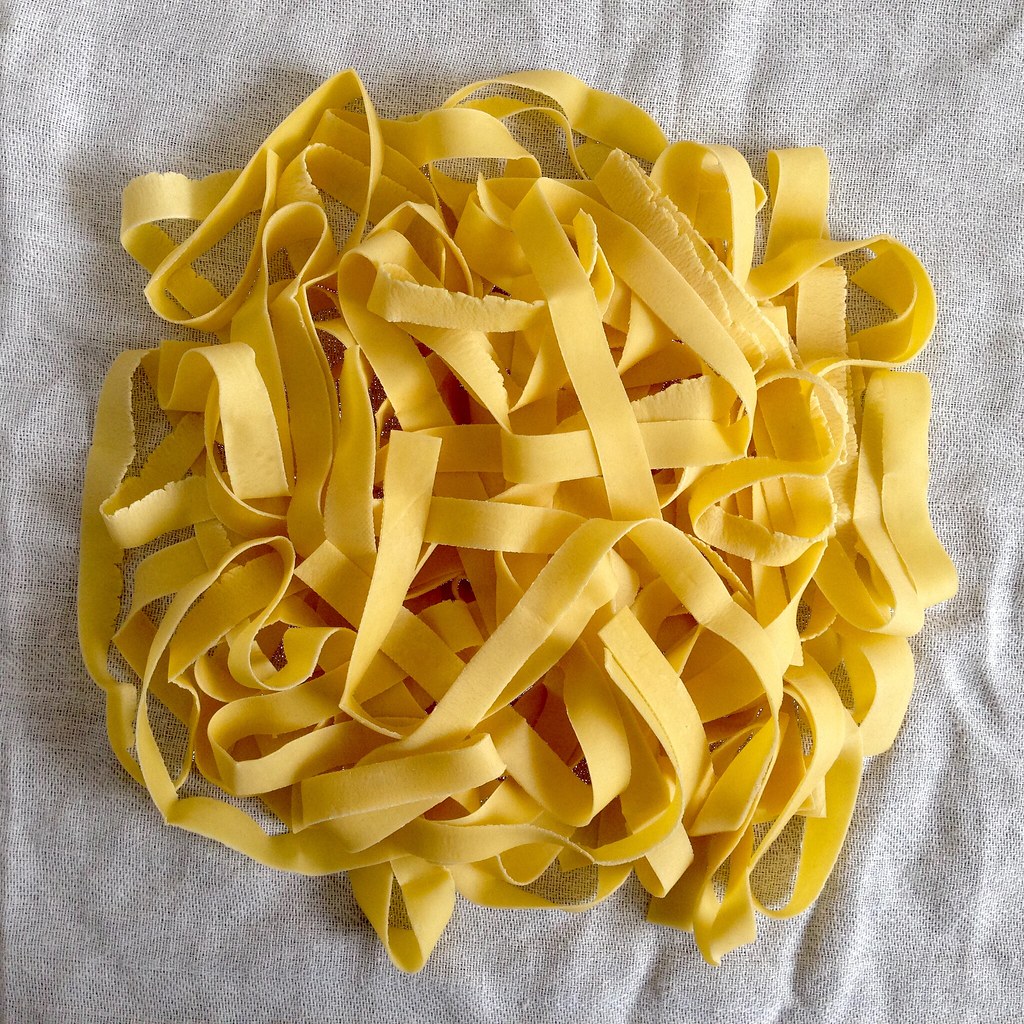
After you've rolled out the dough so that it's so thin it's almost transparent, you can cut it into any width you want:  super wide for pappardelle, wide for fettuccine, thin for tagliatelle, or super thin for bavettine.  This pasta is so good you'll just want to toss it with a really simple sauce so you can really appreciate the noodles.  Here I've made it aglio e olio, with just some garlic and olive oil, and a pinch of salt and red pepper flakes.  Buon appetito!

https://www.flickr.com/photos/joyosity/16508595100/

A Better Homemade Pasta Recipe (adapted from Food52)
makes 2 servings

1 cup all-purpose flour
1 large egg
3 large egg yolks
A pinch of salt

On a large, rimmed baking sheet, make a pile with the flour and dig a well in the middle.  Crack the egg into the well and add the egg yolks and salt.

Using a fork, start stirring the eggs and slowly incorporating more and more of the flour into the well until you have a nice, thick paste.  Combine with the rest of the flour and start kneading with your hands.  If the dough is too dry, wet your hands as many times as you need just for it to all come together.

Continue kneading by hand or in a stand mixer (with the dough hook attachment) until you have a smooth, uniform dough.  Cover tightly with plastic wrap and let rest for at least 20 minutes.  At this point you can refrigerate the dough, well wrapped, overnight and bring it back to room temperature the next day before continuing.

Cut the dough in half.  Run one half through the pasta machine set at its widest setting.  Fold the dough in thirds and run through the machine again, repeating 3 times.  Then, run the dough halfway through and pinch the ends together so it forms a loop.  Adjust the setting to one notch thinner and roll through, continuing to adjust the setting one notch thinner each time the loop has gone all the way around.  When the dough looks almost transparent, stop and cut the dough out of the machine and then in half.  Repeat the whole process with the other half of the dough.  You will end up with 4 sheets of pasta dough.

If your dough is feeling tacky at this point, let it dry a bit on some tea towels.  Otherwise, you can go ahead and fold the dough in half three times so you have a manageable width to cut.  Using a sharp knife, cut the noodles into the width you desire.  Shake out the noodles and let them dry some more on the tea towel.

Bring a pot of salted water to a rolling boil.  Add the pasta and stir occasionally so that the noodles don't stick to each other.  The pasta is done when they float to the surface.  Remove from the water immediately to preserve its perfect al dente texture.  Toss with the sauce of your choice.

https://www.flickr.com/photos/joyosity/16076036413/

A few suggestions for sauces:
Next:  Cacio e Pepe for One
Previously:  Matcha Financiers with White Chocolate Centers
Last Year:  Mushroom Marsala Pizza
Two Years Ago:  Peking Duck Pizza
Five Years Ago:  Bacon Fat Caramels
Six Years Ago:  Potato Leek Soup with Bacon

Tuesday, February 17, 2015

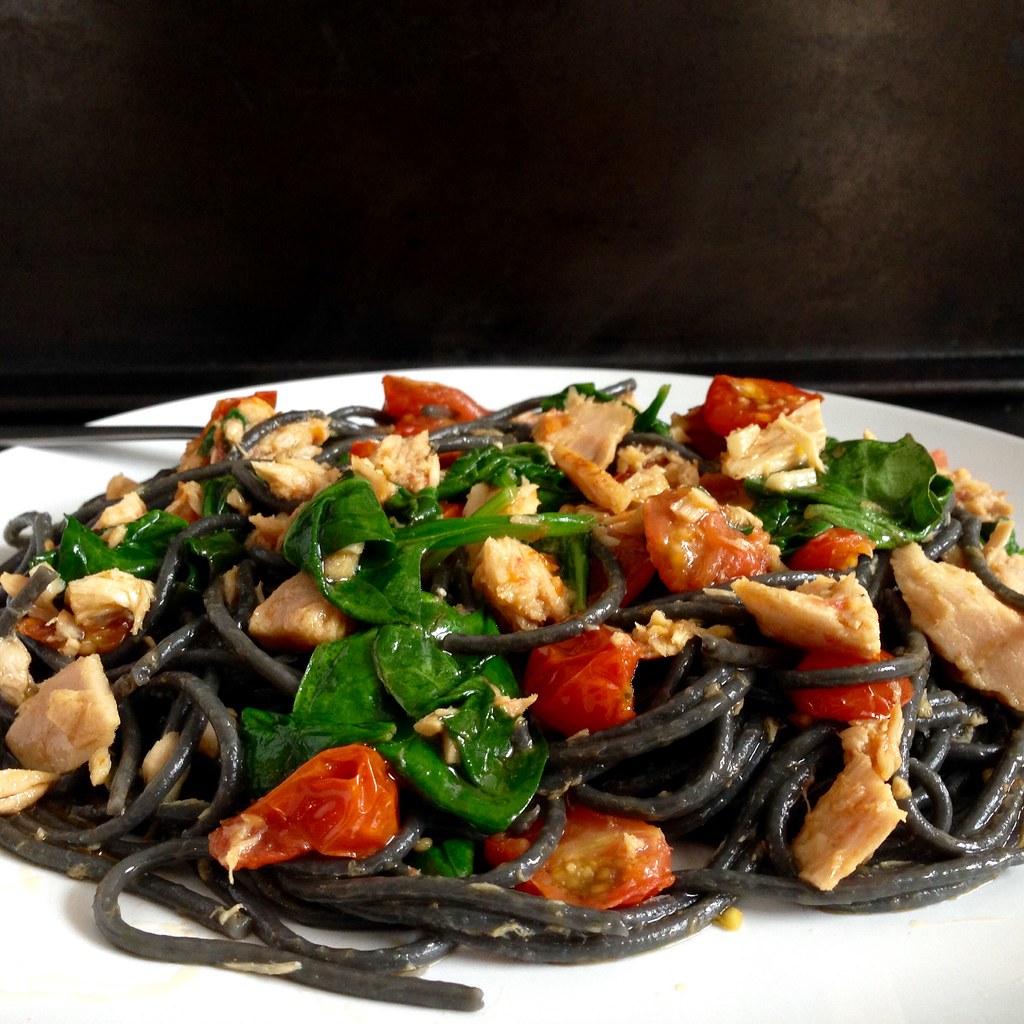
First Night in Florence Spaghetti

https://www.flickr.com/photos/joyosity/16300798869/

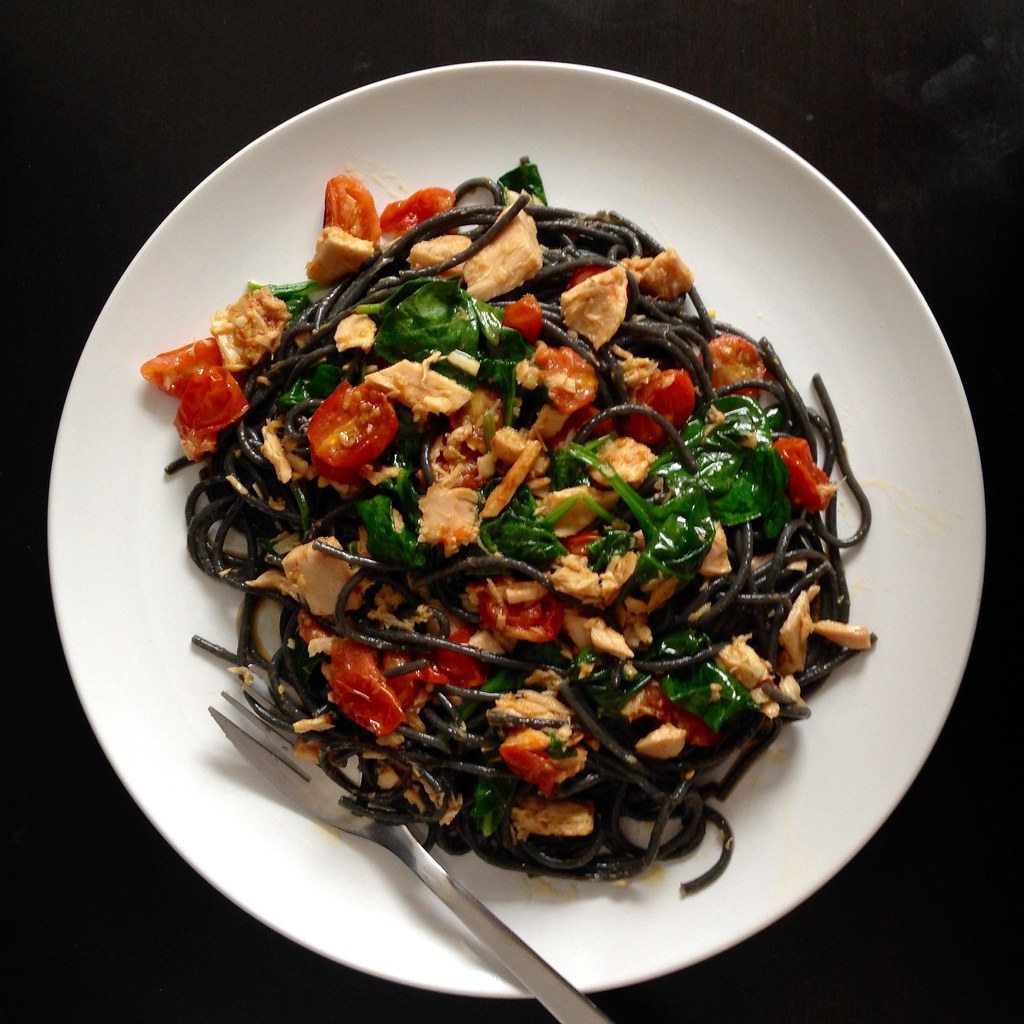
I have made this dish four times in as many days since I first discovered it.  Maybe it's because I'm feeling nostalgic for Italy and wanting to get out of this crazy New England snow.  Maybe it's the way the olive oil, tomatoes, and lemon juice come together like magic to make this unbelievably fresh tasting sauce.  Or maybe it's the way the tuna and garlic linger on the tongue and then in my dreams.  Whatever it is, you need to make this pasta stat.

This dish comes together quickly; while the pasta is cooking, you'll be starting the sauce so that by the time the pasta is almost al dente, you toss it into the pan that the sauce is in to finish cooking it.  So I usually start cutting up the tomatoes and mincing the garlic while I wait for the water to boil.

For this recipe, make sure you use the tuna that's packed in olive oil, not water.  And don't pour out the oil; add it to the sauce.  Speaking of olive oil, you'll want to use a good one, and lots of it.  I used the last of the olive oil I got from Tuscany for this, and it was worth it.  I also used the last of the squid ink pasta I got from Venice since I figured the brininess would go well with the tuna (and because it's photogenic).  All this just means I'll have to go back to Italy soon to stock up again!

https://www.flickr.com/photos/joyosity/16301169797/

First Night in Florence Spaghetti (adapted from The Solitary Cook by way of Food52)
serves 2

1/2 package of spaghetti
Kosher salt and freshly ground pepper, to taste
Good olive oil, and lots of it
1 pint grape tomatoes, quartered
3 cloves garlic, minced
1 tin of tuna packed in olive oil
A few handfuls of spinach or Swiss chard leaves
Juice of 1/2 a lemon

Get a large pot of salted water boiling.  Add the pasta and start a timer to cook for 3 minutes less than what the package calls for (i.e. if the package says to cook the spaghetti for 10 minutes, cook it for 7).

In a pan large enough to hold all the pasta, add 5-6 generous glugs of olive oil heat on medium-high (it should be at least twice what you think you'll need).  Once the oil starts to shimmer, add the tomatoes and a generous pinch of salt.  While the tomatoes soften, you may want to (carefully!) smoosh them to help release their juices.  When there are 2 minutes left on the pasta, add the minced garlic.  When there is 1 minute left on the pasta, add the tuna plus the oil it's packed in, breaking up any large chunks of fish.

When the timer is up on the pasta, use tongs or a pasta spoon to add the spaghetti to the pan.  Add some of the pasta cooking water to the pan too (the original recipe calls for a few ladlefuls, but I like a little less than that).  Add the greens and lemon juice and toss everything around, cooking until the leaves is just wilted.  Taste the sauce and season with salt and pepper as needed. 

https://www.flickr.com/photos/joyosity/16301169597/

Next:  Hugo & Victor's Pink Grapefruit Tart
Previously:  Odile's Fresh Orange Cake
Last Year:  Okonomiyaki
Six Years Ago:  New England Clam Chowda with Homemade Oyster Crackers

Wednesday, January 21, 2015

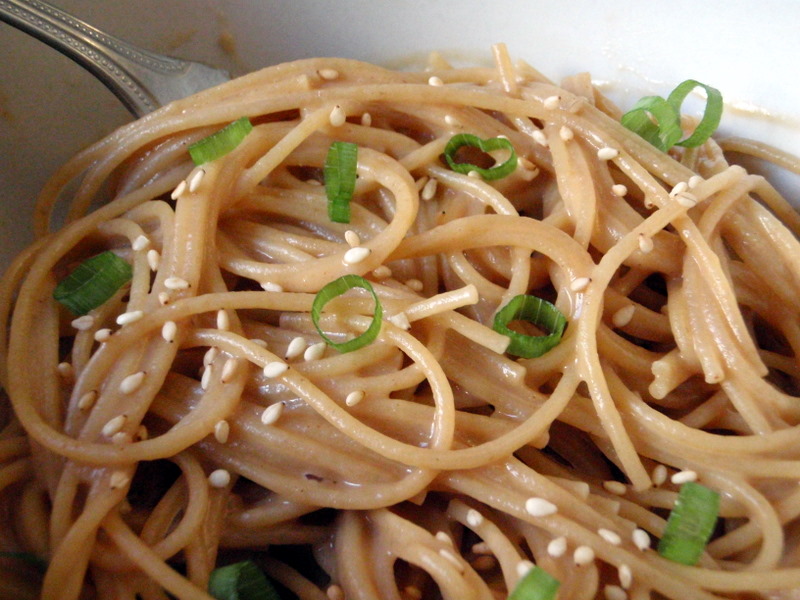
Peanut Butter Noodles

https://www.flickr.com/photos/joyosity/3163681184/in/photostream/

Recently my friends (and even my mom!) have been telling me that the recipes I've been posting have become too complicated.  So here's one of the simplest recipes I know; it was actually one of the first things I learned how to make when I started cooking in college.

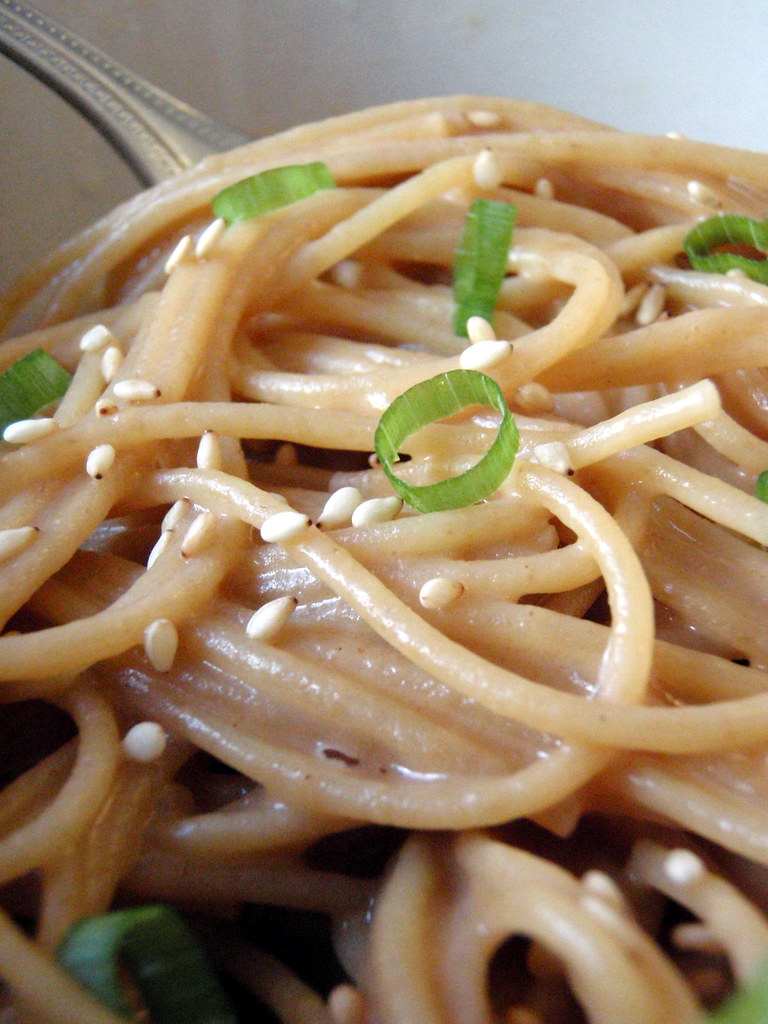
The recipe comes from my friend, Jaleen, who, if I recall correctly, got it from her family.  You probably have all the main ingredients in your pantry already:  peanut butter, pasta, soy sauce, vinegar, sesame oil, and sugar.  You literally don't even need measuring spoons for this; the sauce is made up of 3 parts peanut butter, 3 parts soy sauce, 1 part vinegar, 1 part sesame oil, and a pinch of sugar.  If I'm just making enough for myself, I use a small spoon, and if I want to make more than one serving, I'll grab a large spoon to measure.  I prefer to use smooth peanut butter, but this works just as well with chunky.  For the vinegar, rice wine vinegar is suggested, but regular white vinegar or cider vinegar would do in a pinch.

Depending on what else you have on hand, you can add a plethora of toppings:  toasted sesame seeds, sliced almonds, chopped scallions, shredded chicken, baked tofu, and shredded cucumbers are just a few ideas.  You can serve this dish cold or at room temperature so it's easily packable for lunch, picnic, or potluck.  See, I told you it was easy!  The hardest part about this recipe might be trying to mix the peanut butter into the other liquids without splashing, but if you stir carefully and long enough, you'll end up with a smooth, homogenous peanut sauce.

https://www.flickr.com/photos/joyosity/3163681058/in/photostream/

Peanut Butter Noodles
serves as many as you want

3 parts peanut butter
3 parts soy sauce
1 part sesame oil
1 part vinegar (rice wine vinegar preferred)
A pinch of sugar
Cooked noodles

Mix the peanut butter, soy sauce, sesame oil, vinegar, and sugar together until the sauce becomes smooth and creamy.

Toss with the cooked noodles, adding some of the pasta water if you want to thin out the sauce.  Serve with  toasted sesame seeds, sliced almonds, chopped scallions, shredded chicken, baked tofu, and/or shredded cucumbers if you like.

Next:  San Bei (Taiwanese Three Cup) Tofu and Ramen
Previously:  Zuppa Toscana
Last Year:  Flower Pavlovas, Banoffee Pie
Two Years Ago:  Spicy Tuna with Crispy Sushi Rice, Traditional Croissants
Five Years Ago:  Banana Bread Yeasted Waffles
Six Years Ago:  Nian Gao (Mochi Cake), Mayonnaise Shrimp with Candied Walnuts

Friday, February 14, 2014

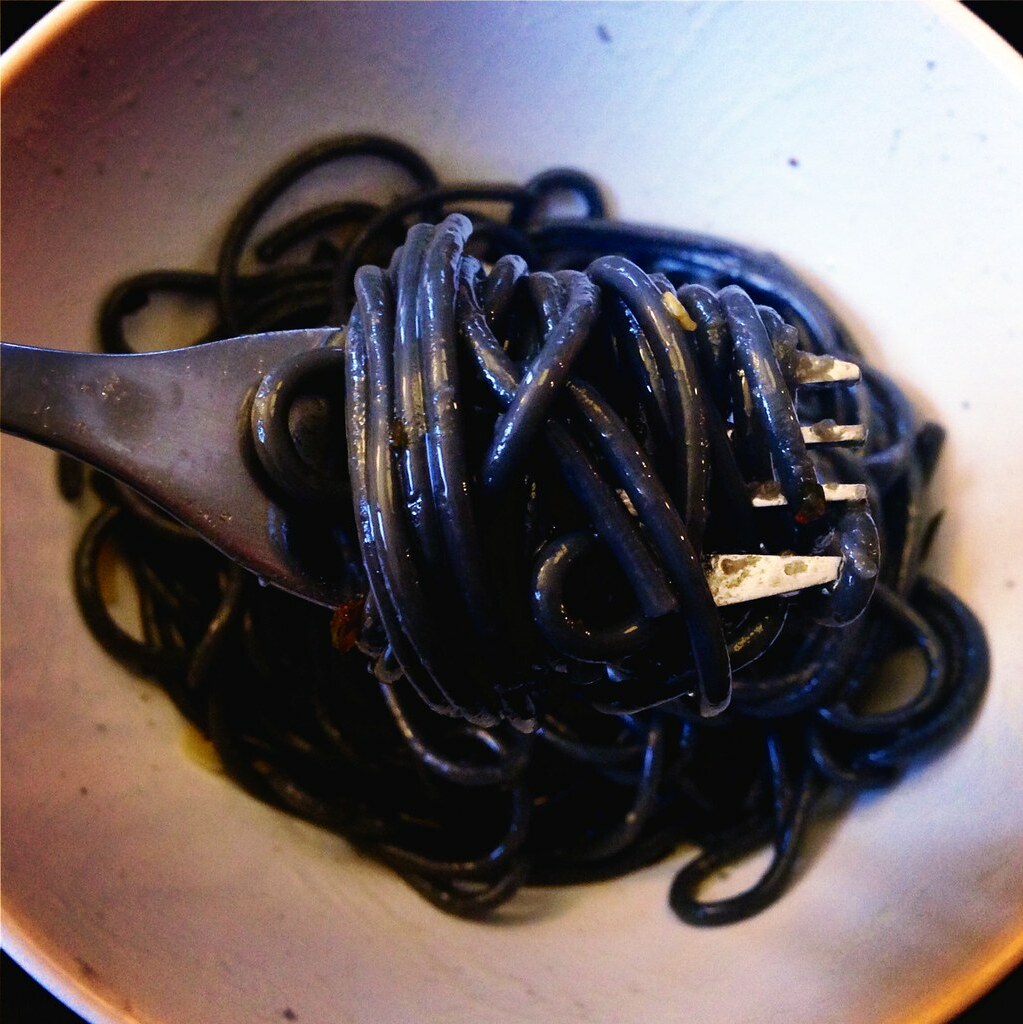
Squid Ink Spaghetti Aglio e Olio

Last year for Valentine's Day I celebrated by making jjajungmyeon (Korean black bean noodles).  This year, I stayed with the color scheme but went Italian and made squid ink spaghetti aglio e olio, inspired by my trip to Venice.

http://www.flickr.com/photos/joyosity/12505268373/

After our time in Rome, my cousin Leslie and I took the train up to La Serenissima.  Despite being colder and rainier than Rome, Venice was amazing.  At just about every bridge we crossed, I felt like I had to stop and take a picture; it was so picturesque! 

http://www.flickr.com/photos/joyosity/12505624834/

We spent the first half of our trip either using the complimentary hotel shuttle boat to St. Mark's Square or trudging through the rain on foot to get around.  The city wasn't that big, so we were able to see St. Mark's Basilica, the Doge's Palace, the Accademia, and Rialto Bridge pretty easily this way. 

http://www.flickr.com/photos/joyosity/12505161015/

It wasn't until we decided to get a pass for the vaporetto (the public water bus), though, that I really began to feel like more than just a tourist.  At last we were able to see Venice from the Grand Canal as it was meant to be seen.  It didn't hurt that we were usually surrounded by locals commuting back and forth from work, either.

http://www.flickr.com/photos/joyosity/12505153025/

While scouring the grocery store on the last day for edible souvenirs to bring home, I found a package of spaghetti al nero di seppia, or squid ink spaghetti.  I had ordered spaghetti with cuttlefish ink sauce a couple of times in Venice a couple of times and really enjoyed it, so I decided to buy the pasta and try to make it at home.  Unfortunately, I haven't been able to find any actual squid or cuttlefish ink to make the sauce with, although in my search I did find squid ink pasta at a local Italian store, so you probably don't have to go all the way to Venice to find the pasta.  Without any ink, I decided to prepare the pasta simply, aglio e olio, with garlic and olive oil and a pinch of red pepper flakes.  This recipe is even easier than spaghetti carbonara and you're almost certain to already have all the ingredients (you can use regular spaghetti if you don't have any squid ink pasta).

http://www.flickr.com/photos/joyosity/12508839434/

Squid Ink Spaghetti Aglio e Olio
serves 1

A small fistful of squid ink spaghetti
A few glugs of olive oil
1 garlic clove, thinly sliced
A pinch of red pepper flakes
Sea salt 
Chopped parsley or basil

Bring a pot of salted water boil.  Add the spaghetti to the pot and cook according to the packaging (mine says to cook for 10-12 minutes).

In the meantime, add the olive oil and sliced garlic to a small saucepan and set on low heat.  Once the garlic starts to sizzle, add the red pepper flakes and sea salt to taste.  Continue to heat while the spaghetti is cooking, but do not allow the garlic to brown.  If this starts to happen, remove the pan from heat.

When the spaghetti is done cooking, use a pasta scooper to add it to the saucepan.  You want a little bit of the pasta water to go along with it so don't worry about draining it first.  Toss the spaghetti with the olive oil until it is well coated.  Plate and garnish with some chopped parsley or basil.  Serve immediately.

https://www.flickr.com/photos/joyosity/12505985415/

Next:  Okonomiyaki
Previously:  Homemade Tagliatelle with Shaved Truffles
Last Year:  Jjajungmyeon (Korean Black Bean Noodles)
Four Years Ago:  Nutella Ice Cream
Five Years Ago:  Tomato and Eggs over Rice

Friday, February 7, 2014

Homemade Tagliatelle with Shaved Truffles


I just got back from another trip to Italy!  A couple of weeks ago, my cousin Leslie asked me if I'd like to join her on a business trip to Rome and after a quick check to see if I could fly there using my miles, I happily accepted.


Rome in winter is quite different from Rome in the summer.  For one thing, there's a lot less people, meaning less or no lines for attractions. Piazza Navona was basically deserted, and I had a hard time explaining to Leslie what was so magical about that square in the summertime.  The weather was in the 50s and rainy, but it didn't stop us from eating as much gelato as we could.  I was able to revisit Grom, Il Gelato di San Crispino, and my favorite, Gelateria del Teatro (where I had to have the rosemary honey & lemon flavor again).  We also tried the gelato at Fatamorgana, which is supposedly the gelateria that started the whole natural ingredients trend.


I ate a lot of pizza and pasta, some better than others (the pizza at the cafeteria in the Vatican Museum was surprisingly good, but that might be because I was hungry), but the best dish I had all vacation was the tagliatelle al tartufo bianco from Piccolo Arancio, near the Trevi Fountain.  It was the most expensive pasta on the menu, almost double the price of all the other pastas, but it was so worth it.


The tagliatelle must have been freshly made, and you could taste the eggs in the dough.  They were cooked to a perfect al dente and simply dressed with some salt and butter so that the white truffle flavor could shine through.  It was definitely one of those dishes that make you stop and say grace again because it's just that good.  Naturally, I had to try to replicate it at home.

Homemade Tagliatelle with Shaved Truffles
serves 2

1 1/2 cup all-purpose flour
2 large eggs
3-4 tablespoons unsalted butter
Sea salt and freshly ground pepper
White truffle (if you can find it; otherwise a black truffle will work, too)


Crack the eggs into a well made in the middle of the flour.  Using a fork, gently beat the eggs and gradually draw more and more of the flour into the mixture until it forms a dough.  Knead the dough for several minutes until it is smooth and elastic.  Cover and let rest while you go find your pasta maker and set it up.

Cut the dough in half, covering the half that you are not working with. Roll the dough through the largest opening of your pasta maker, fold in half and repeat at the largest setting several times until the dough is nice and uniform.  At that point, start decreasing the size of the opening each time after you roll the dough through (without folding the dough in half in between).  Stop when you reach the second smallest opening.


Fold the long strip of rolled dough into thirds and then one or two more times on the same axis so that you you have a manageable length to cut. Cut the dough into quarter-inch strips and unroll the noodles.  Repeat the rolling and cutting process with the other half of the dough.  Let the noodles rest and dry a bit while you boil a pot of salted water.

Cook the noodles in boiling, salted water for 3-5 minutes until al dente. Drain the water, leaving the pasta in the pot.  Add the butter and salt and pepper to taste.  Toss the pasta in the pot until the butter melts and coats all the strands.  Plate the pasta and shave some truffle on top.  Serve immediately.


Sadly, mine doesn't look nearly as good as the dish I had a Piccolo Arancio, but I think it tastes almost as good!


Monday, July 22, 2013

Martha Stewart's Perfect Macaroni and Cheese

...And back to our regularly scheduled program!  What was left of my four foot baguette was now so stale that the only thing it was good for was bread crumbs, and what better way to use bread crumbs (other than with fried eggs) than to top macaroni and cheese!

I haven't always gotten the best results with recipes from Martha Stewart (e.g. the sugar cookie recipe I used for the rainbow cookies), but her recipe for macaroni and cheese is so tried and true that I had to use it.  This is pretty much a no-frills recipe:  straight up macaroni baked in a cheese sauce with only some buttered bread crumbs for garnish.  I was tempted to add caramelized onions, herbs, and at the very least, use some bacon fat in there, but I resisted (mostly because I was bringing this to a potluck and there were going to be some vegetarians there).  The only change I made was that I used the last foot or so of my baguette instead of white bread for the bread crumbs.


Martha Stewart's Perfect Macaroni and Cheese (adapted from Martha Stewart)
makes 12 servings

2 cups bread crumbs, diced into 1/4- to 1/2-inch cubes
8 tablespoons (1 stick) unsalted butter, plus more for dish
5 1/2 cups milk
1/2 cup all-purpose flour
2 teaspoons kosher salt
1/4 teaspoon freshly grated nutmeg
1/4 teaspoon freshly ground black pepper
1/4 teaspoon cayenne pepper
4 1/2 cups (about 18 ounces) grated sharp white cheddar
2 cups (about 8 ounces) grated Gruyere or 1 1/4 cups (about 5 ounces) grated pecorino Romano
1 pound elbow macaroni

Heat the oven to 375ºF. Butter a 9"x12" baking dish; set aside.


Place bread pieces in a medium bowl.  Melt 2 tablespoons butter, pour over the bread, and toss. Set the breadcrumbs aside.

In a medium saucepan set over medium heat, heat milk. Melt remaining 6 tablespoons butter in a high-sided skillet over medium heat. When butter bubbles, add flour. Cook, stirring, 1 minute.

Slowly pour hot milk into flour-butter mixture while whisking. Continue cooking, whisking constantly, until the mixture bubbles and becomes thick.


Remove the pan from the heat. Stir in salt, nutmeg, black pepper, cayenne pepper, 3 cups cheddar, and 1 1/2 cups Gruyere or 1 cup pecorino Romano. Set cheese sauce aside.


Fill a large saucepan with water. Bring to a boil. Add macaroni; cook 2 to 3 fewer minutes than manufacturer's directions, until outside of pasta is cooked and inside is underdone. (Different brands of macaroni cook at different rates; be sure to read the instructions.)


Transfer the macaroni to a colander, rinse under cold running water, and drain well. Stir macaroni into the reserved cheese sauce.


Pour the mixture into the prepared casserole dish. Sprinkle remaining 1 1/2 cups cheddar and 1/2 cup Gruyere or 1/4 cup pecorino Romano; scatter breadcrumbs over the top.


Bake until browned on top, about 30 minutes. Transfer dish to a wire rack to cool for 5 minutes; serve.


Even without any additions, I loved the result.  The cheddar and pecorino were sharp and strong, and the cayenne pepper added just the right amount of kick.  By undercooking the pasta by 2-3 minutes and finishing it up in the oven with the cheese sauce, the macaroni stays nice and firm and not mushy at all.  And the bread crumbs add a good amount of crunch for a change in texture.  Still, I think a little bacon fat in there would have been lovely.  ^_^


If you happen to end up with any leftovers, you can use them to make an oven-fried mac 'n' cheese pizza!

Next:  Oven-Fried Mac 'n' Cheese Pizza
Previously:  Vanilla Sugar Lemonade and Mint Lemonade Slushies