Showing posts with label mini. Show all posts

Thursday, July 10, 2014

Cleveland Cassata Cake (Bonus: In a Jar!)

https://www.flickr.com/photos/joyosity/14579865401/

Growing up in Cleveland, I knew this as "the really yummy cake with the fresh strawberries."  I was aware it had a name, but because I had only heard people say it and never saw it in writing, I always thought it was a "cascada" cake.  It was only after leaving Cleveland that I realized you can't get this cake everywhere, which is so, so sad for everyone else in the world.
https://www.flickr.com/photos/joyosity/14560138156/

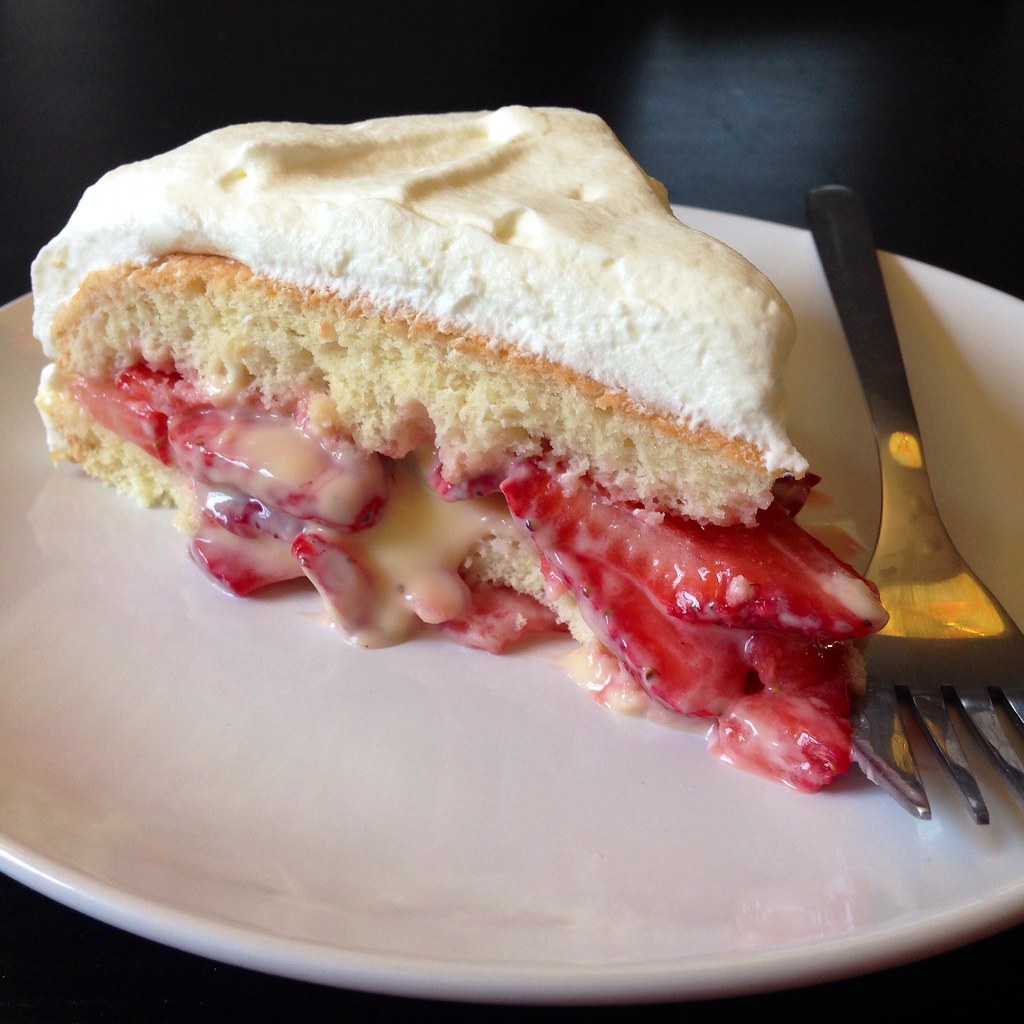
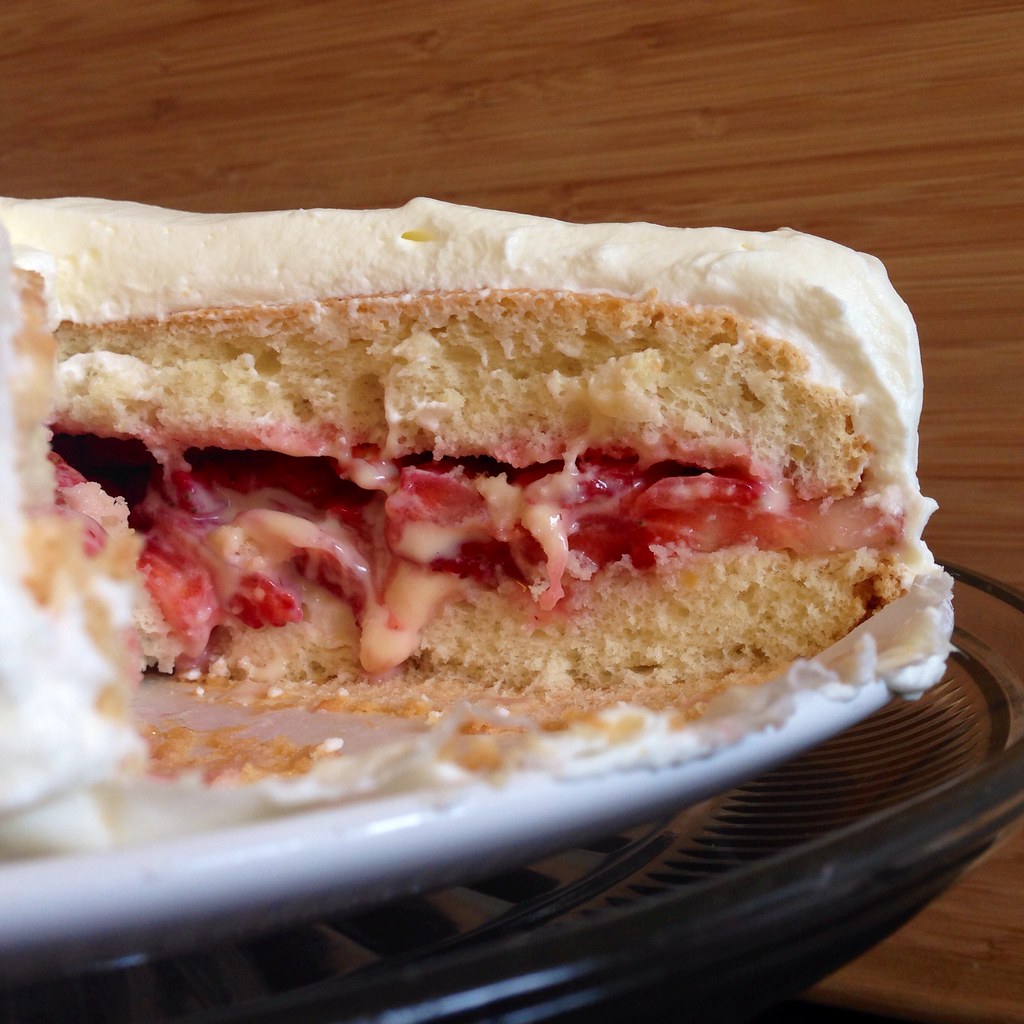
Think of it as the strawberry shortcake of your dreams:  layers of light, moist chiffon filled with fresh strawberries and custard and frosted with whipped cream.  For me, it's the fresh strawberries that really make this cake; they're tossed with just a couple spoonfuls of sugar to release their juices but still stay firm and almost have a little crackle because of the seeds.
https://www.flickr.com/photos/joyosity/14579875291/

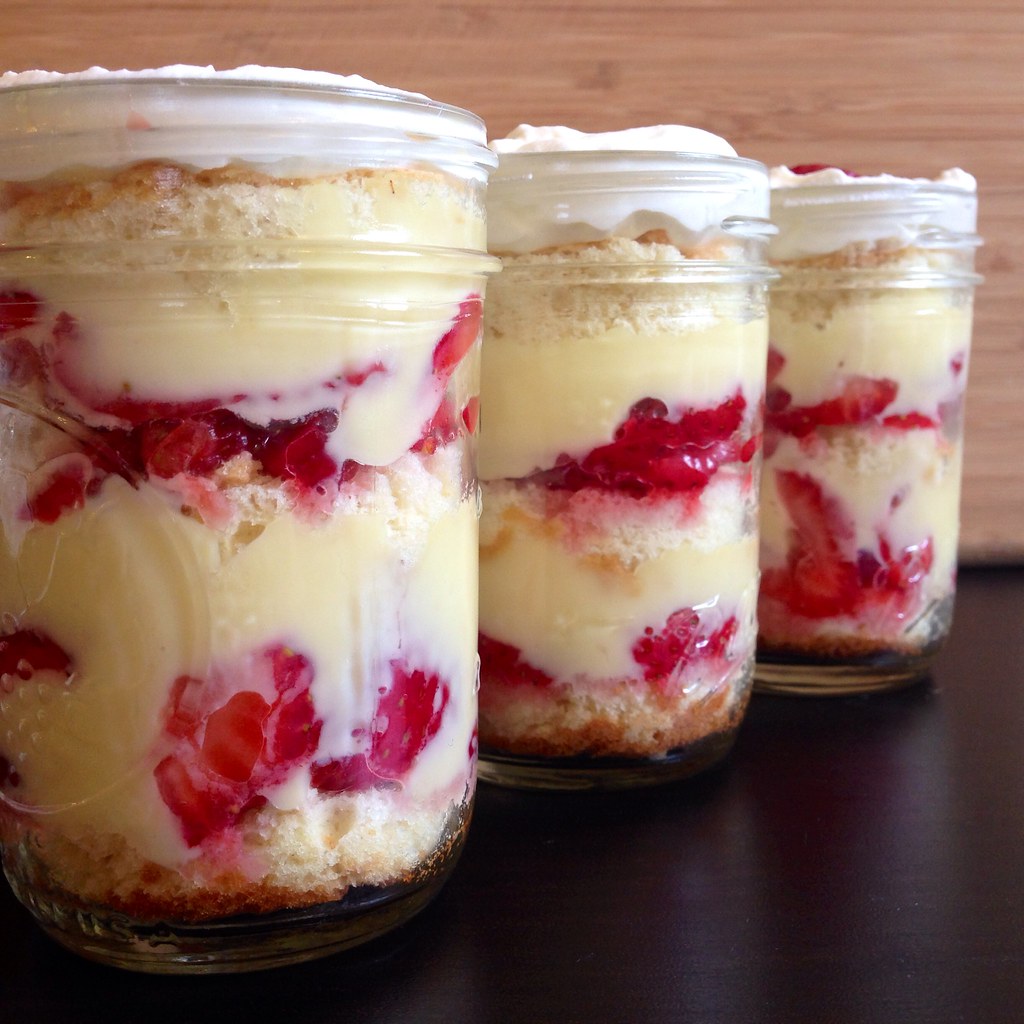
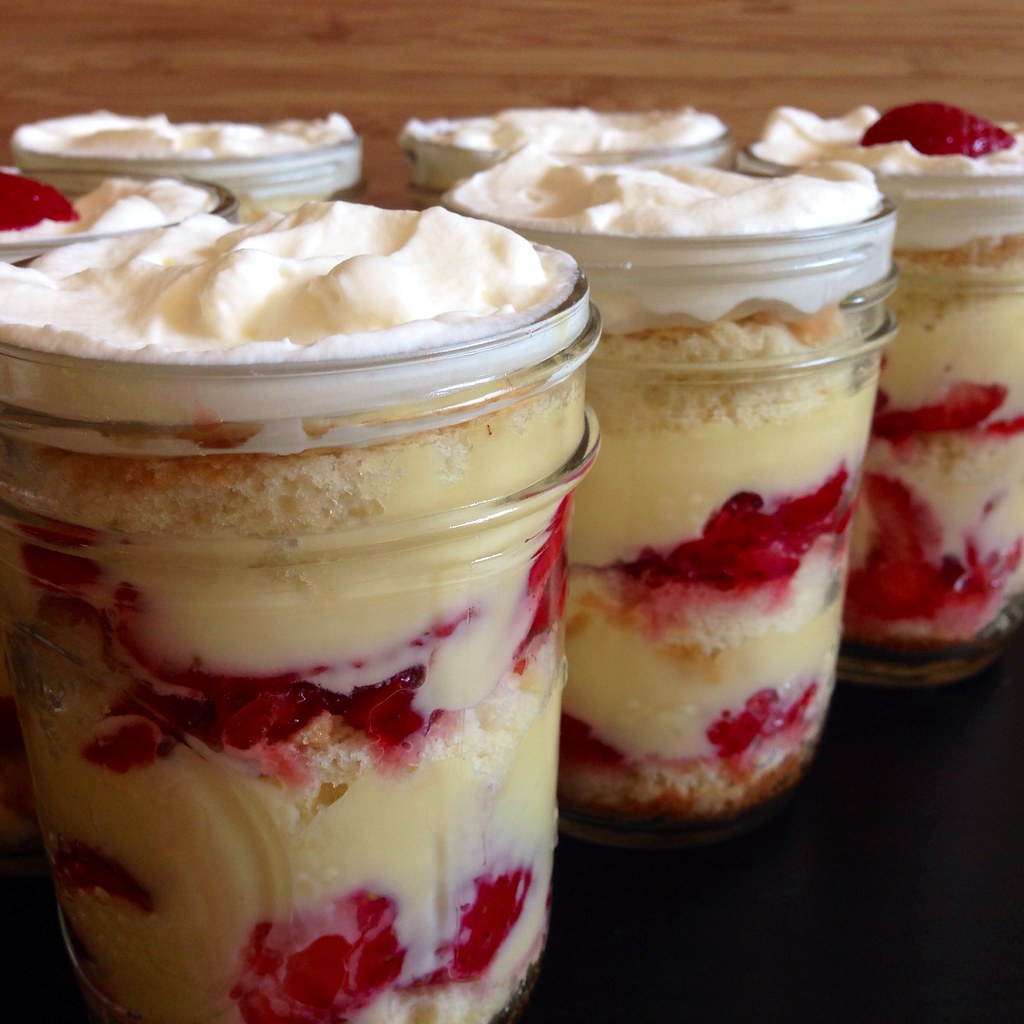
I pretty much followed this recipe from Sweet Amandine, except I decided to only make a two-layer cake with half the recipe and try to make three-layer cakes-in-a-jar with the other half (similar to my Happiness Cake in a Jar).  For the two-layer cake, I chose to put the strawberries on top of the custard only because I figured it would be easier spreading the strawberries over the custard than the other way around.  Since you're not really spreading around the fillings for the cakes-in-a-jar, and it actually looks nicer for the custard to be seeping into the strawberry layer, I flip flopped it for the jar version.  I also decided to use vanilla sugar in the custard since I like the subtle additional flavoring and confectioner's sugar in the whipped cream.
https://www.flickr.com/photos/joyosity/14396545080/

Cleveland Cassata Cake (adapted from Sweet Amandine)
makes one 4-layer cake or one 2-layer cake and ten small (8 oz.) jars or twenty small (8 oz.) jars

For the custard:
6 large egg yolks
1/2 cup vanilla sugar (or regular sugar if you don't have vanilla sugar)
2 cups half and half
3 tablespoons cornstarch

For the cake:
2 1/4 cups cake flour
1 1/4 and 1/4 cups sugar, divided
1 tablespoon baking powder
1 teaspoon salt
3/4 cup cold water
1/2 cup vegetable oil
1 teaspoon lemon zest
1 teaspoon vanilla extract
5 large egg yolks at room temperature
8 large egg whites at room temperature
1/2 teaspoon cream of tartar

For the strawberries:
3 pounds strawberries
2 tablespoons sugar

For the whipped cream:
2 cups chilled heavy cream
1 tablespoon confectioner's sugar
https://www.flickr.com/photos/joyosity/14560131796/

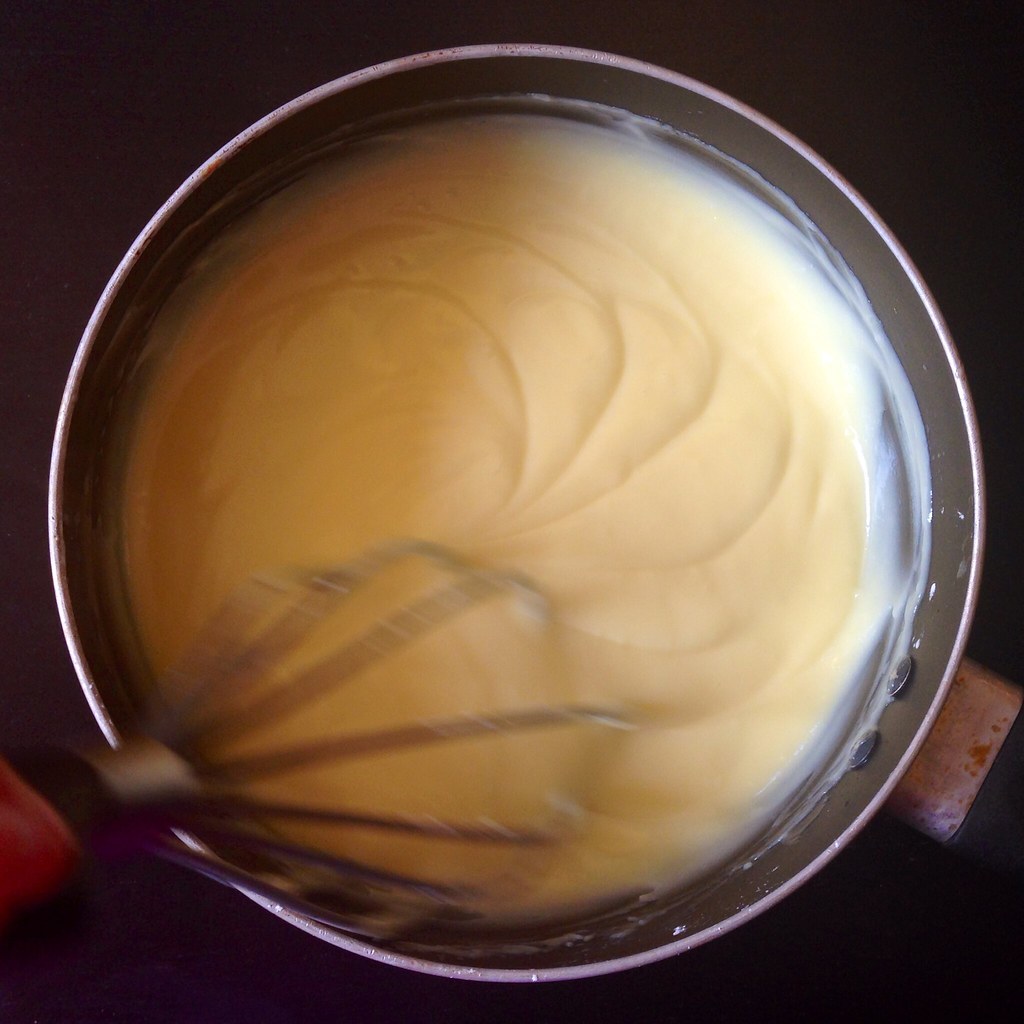
Whisk together all of the custard ingredients in a saucepan.  Heat over medium-low heat, whisking constantly until thickened.  Turn down the heat if it starts to simmer.  Transfer the custard to a bowl, cover with plastic wrap, and cool to room temperature.  Transfer to the refrigerator and chill for at least 3 hours, or up to 2 days.

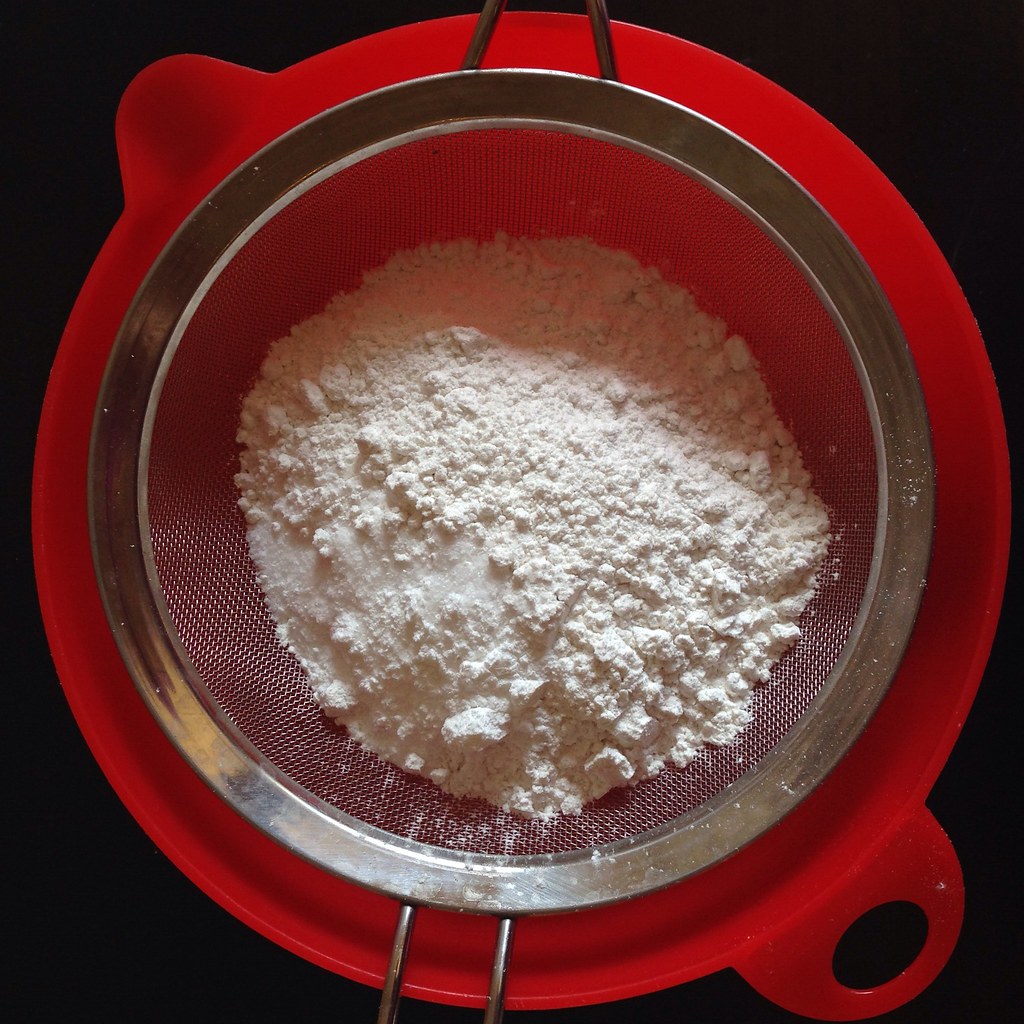
Preheat the oven to 325°F. Line the bottoms of two 9" round cake pans with lightly oiled parchment paper.  Sift or whisk together the flour, 1 1/4 cup sugar, baking powder, and salt in a large mixing bowl.
https://www.flickr.com/photos/joyosity/14603289003/

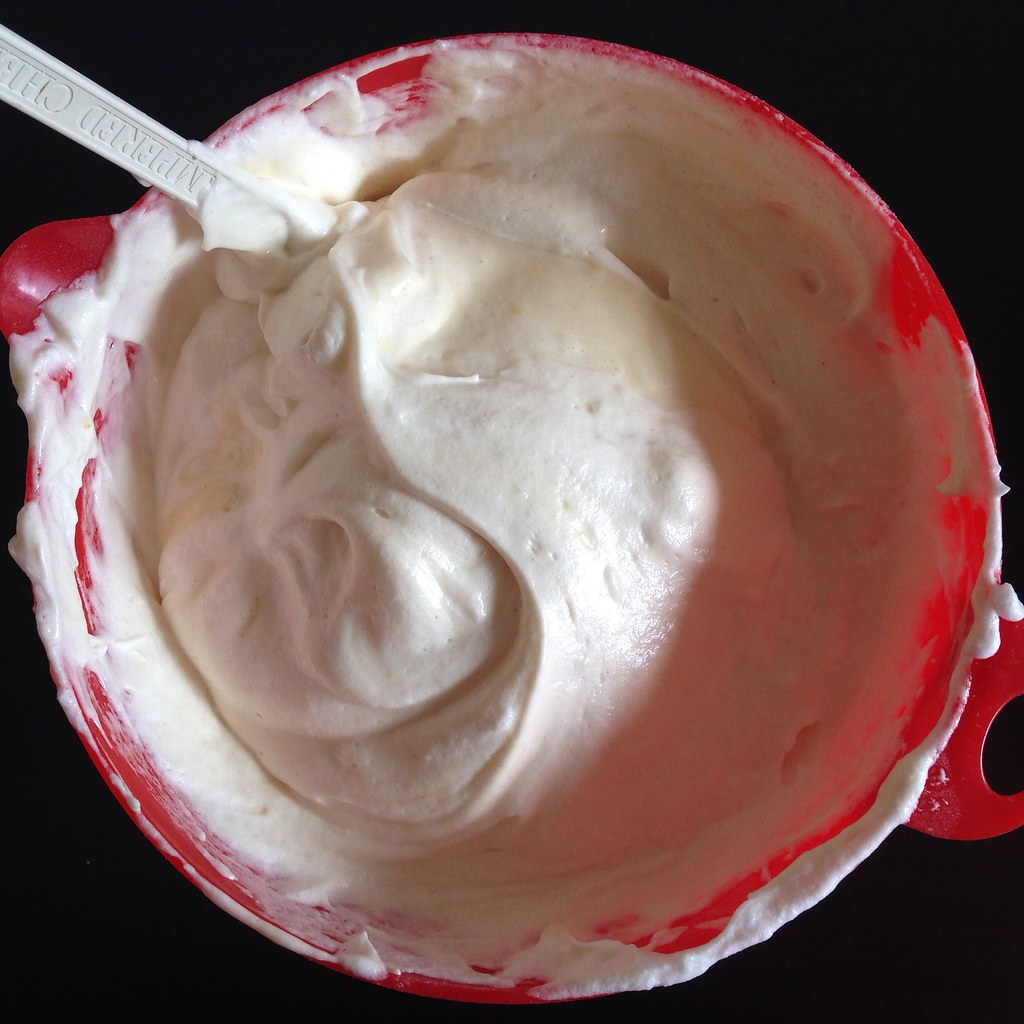
In a separate bowl, beat together the yolks, water, oil, lemon zest, and vanilla until smooth. Stir into the flour mixture. In another large bowl beat the egg whites with the cream of tartar until soft peaks form. Add the remaining 1/4 cup sugar and beat on high until the peaks are stiff but not dry.
https://www.flickr.com/photos/joyosity/14603287933/

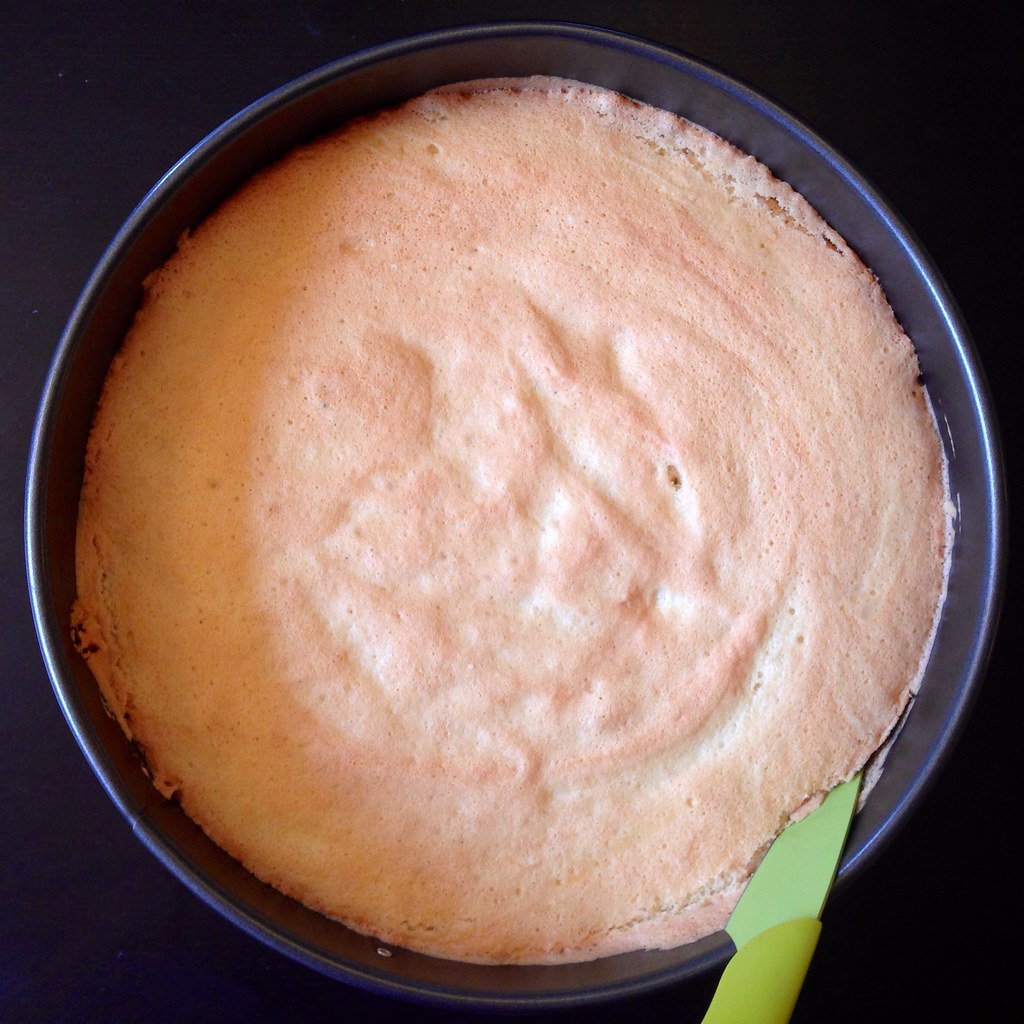
Using a rubber spatula, fold about a quarter of the fluffy egg whites into the egg yolk mixture. Then very gently fold in the remaining whites. As soon as the egg whites are no longer visible, stop folding. Scrape the batter into the prepared cake pans and spread evenly. Bake for approximately 35 minutes or until the top springs back when lightly pressed and a toothpick inserted into the center comes out clean.
https://www.flickr.com/photos/joyosity/14582437592/

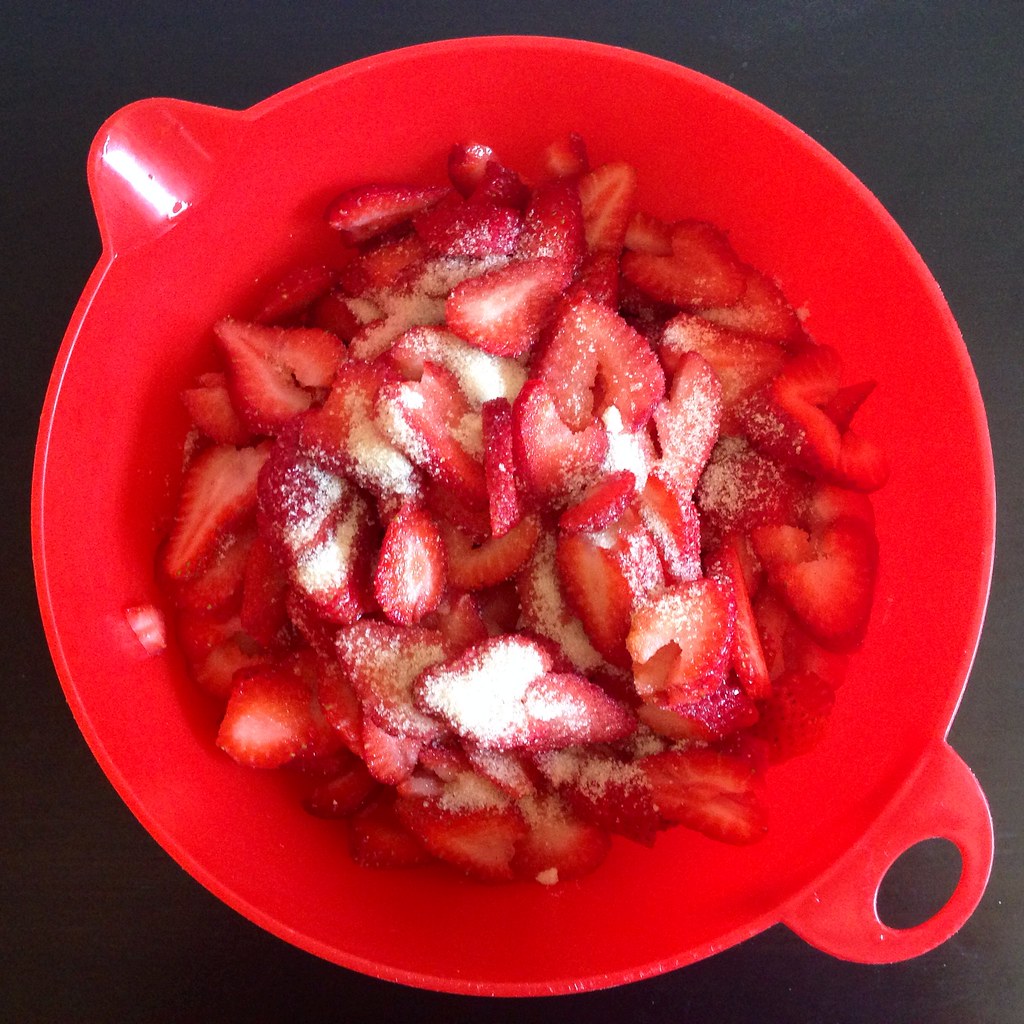
In the meantime, hull and slice the strawberries thinly, reserving a few to garnish the top of the cake with.  Sprinkle with the sugar and stir. Allow the strawberries to macerate for 1 hour, giving them a stir every so often. Strain the berries, reserving the released juices.
https://www.flickr.com/photos/joyosity/14582440632/

Allow the cakes to cool in their pans on a cooling rack for at least an hour. When completely cool, run a knife around the sides to release the cakes, cover each pan with a wax paper-lined plate, and flip. Gently lift the pans off of the cakes.

Carefully slice the cakes in half with a bread knife so you have four layers (or two, depending on how many cakes you made). Place each layer on a wax paper-lined baking sheet or plate.

Whip the cream and sugar together until stiff, making sure not to overwhip (or else you'll be making butter!).
https://www.flickr.com/photos/joyosity/14581373324/

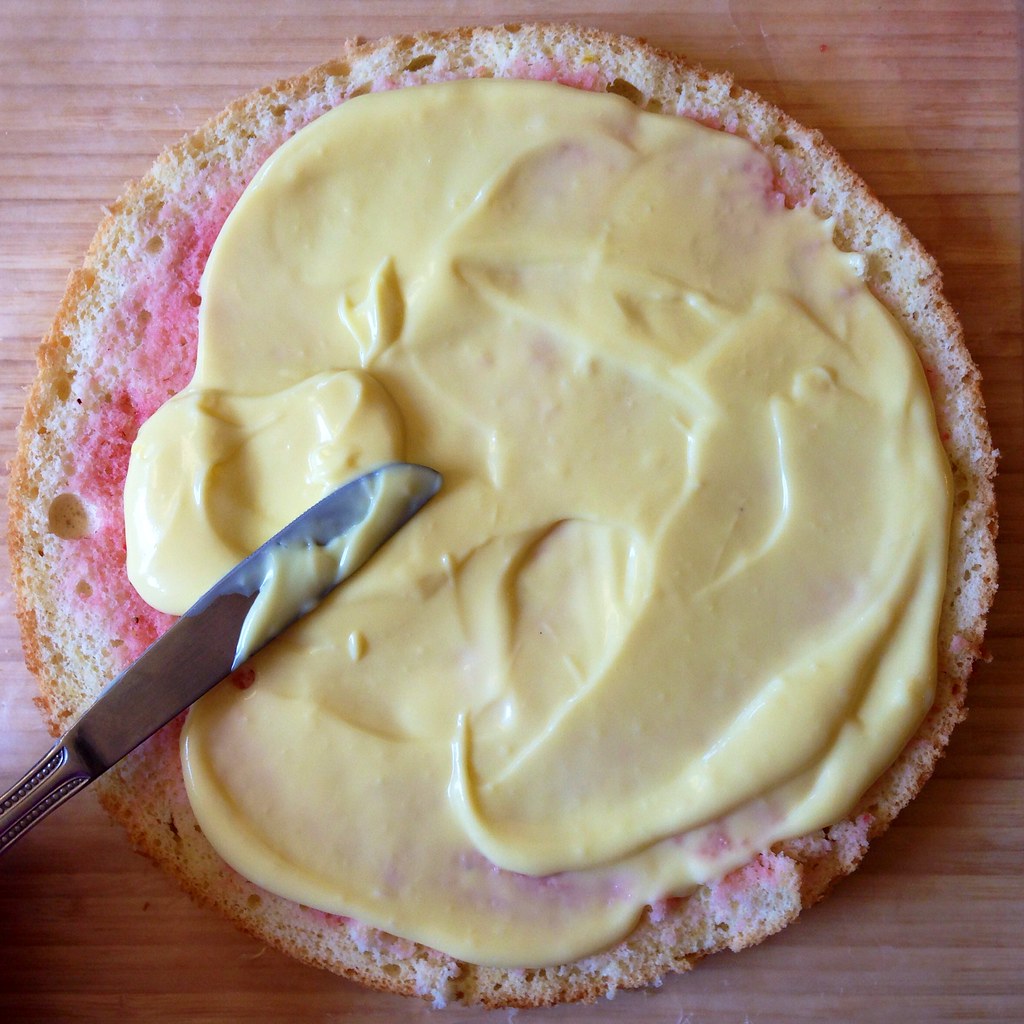
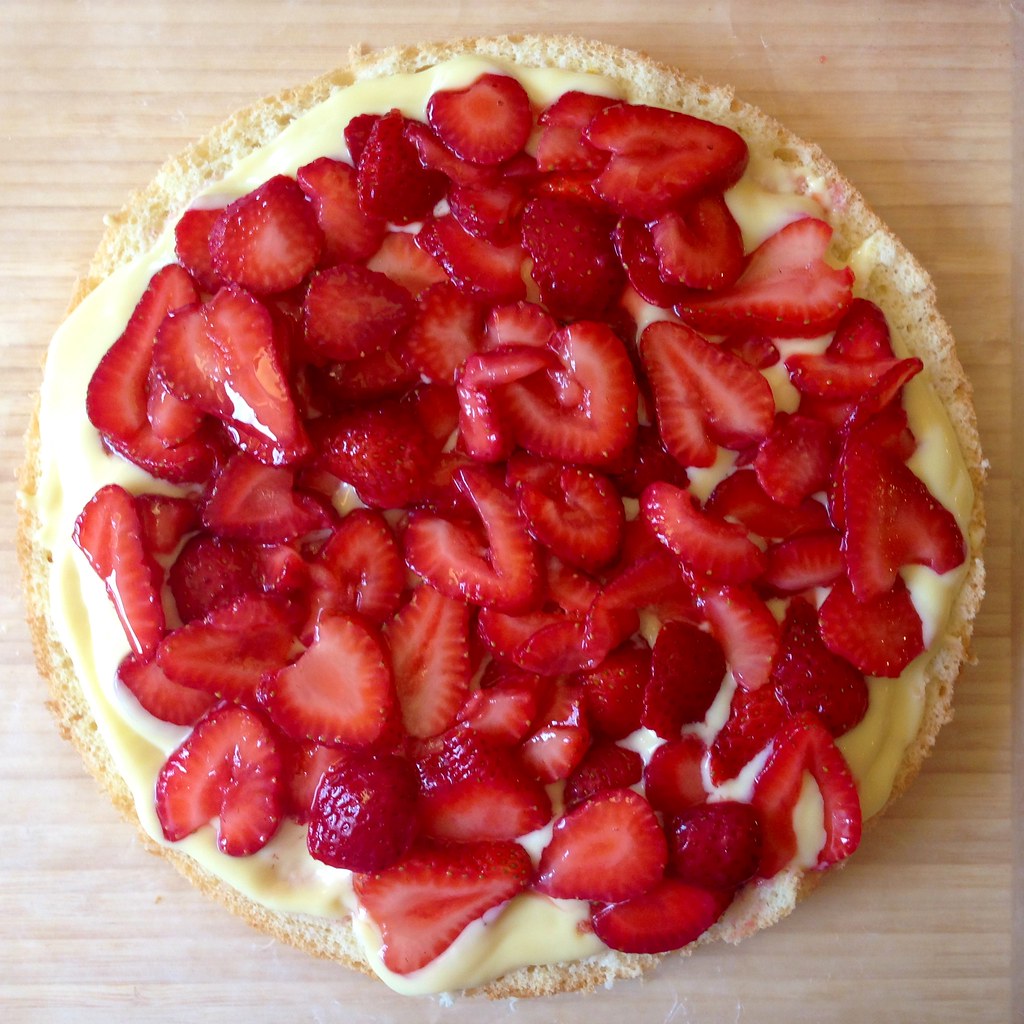
Place one cake layer on a wax paper-lined baking sheet. Brush with the reserved strawberry juice. Cover with a layer of custard, and then a layer of strawberries.
https://www.flickr.com/photos/joyosity/14396570728/

Repeat for the following layers if you are making more than a two-layer cake.
https://www.flickr.com/photos/joyosity/14583177325/

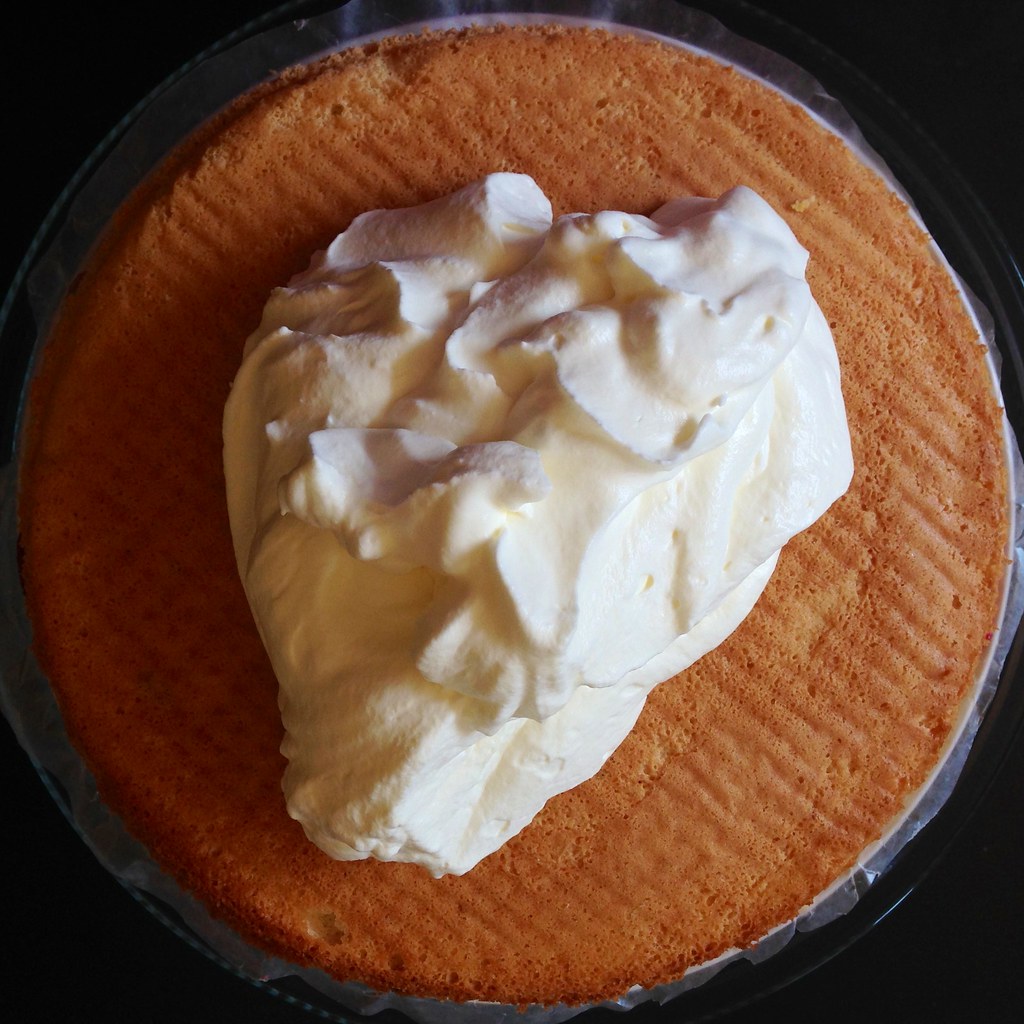
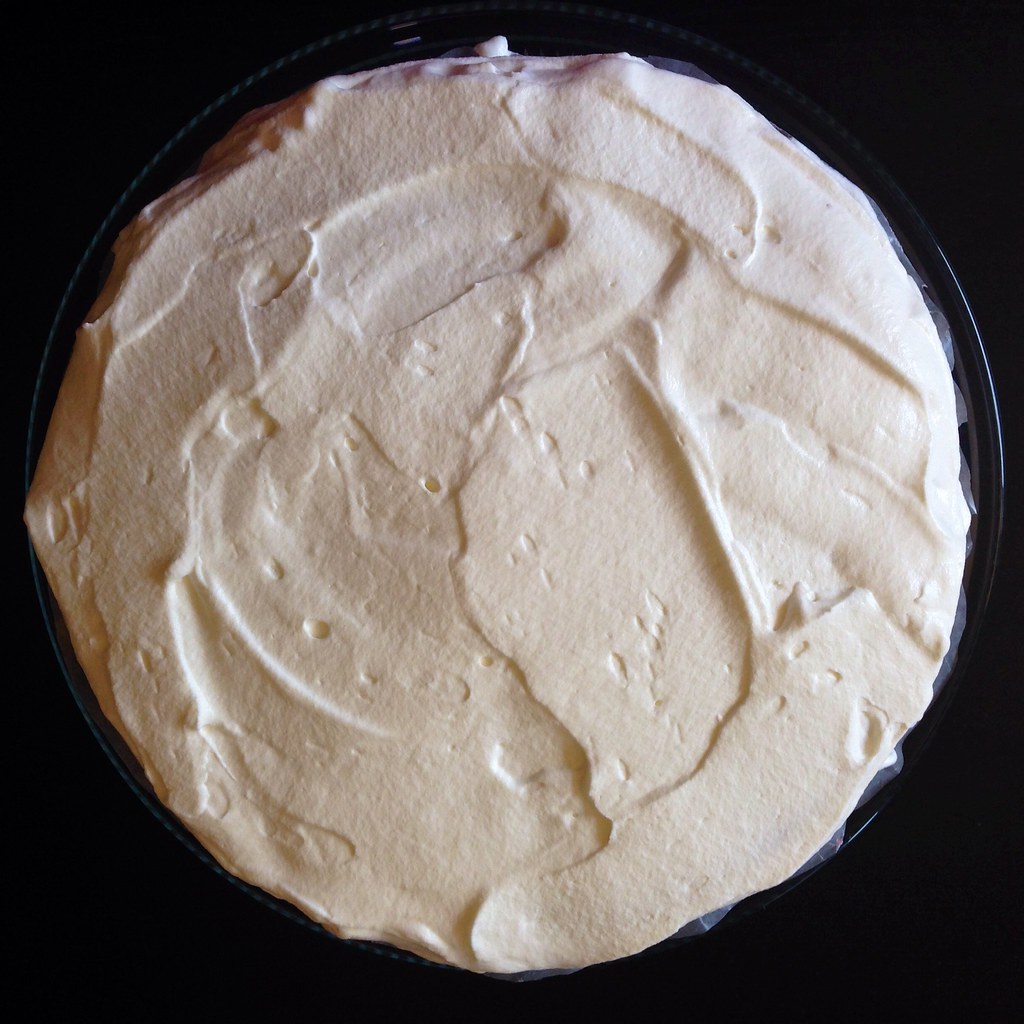
Plop the whipped cream on top of the cake.  Use a spatula to spread the whipped cream across the top and then over the sides of the cake.  Top with the reserved strawberries, if you remembered to save any (which I didn't).
https://www.flickr.com/photos/joyosity/14583179315/

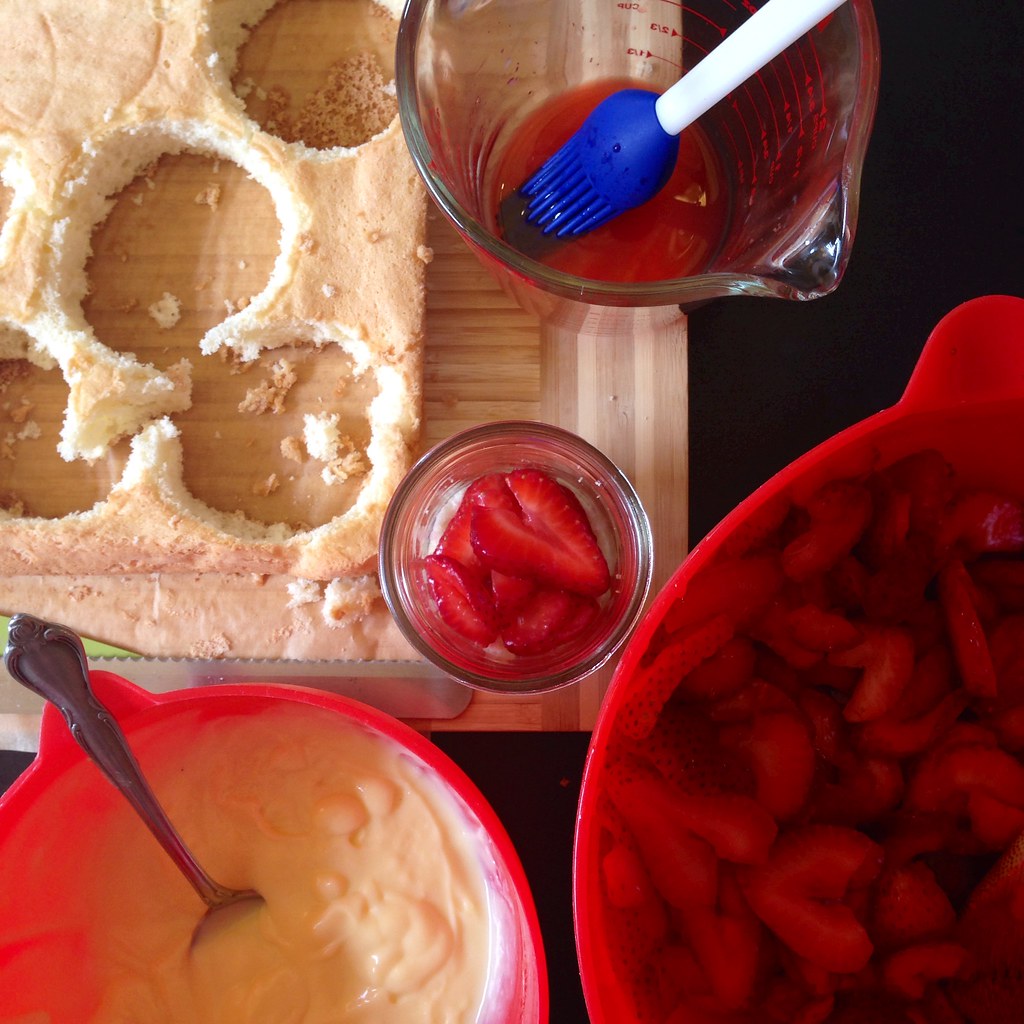
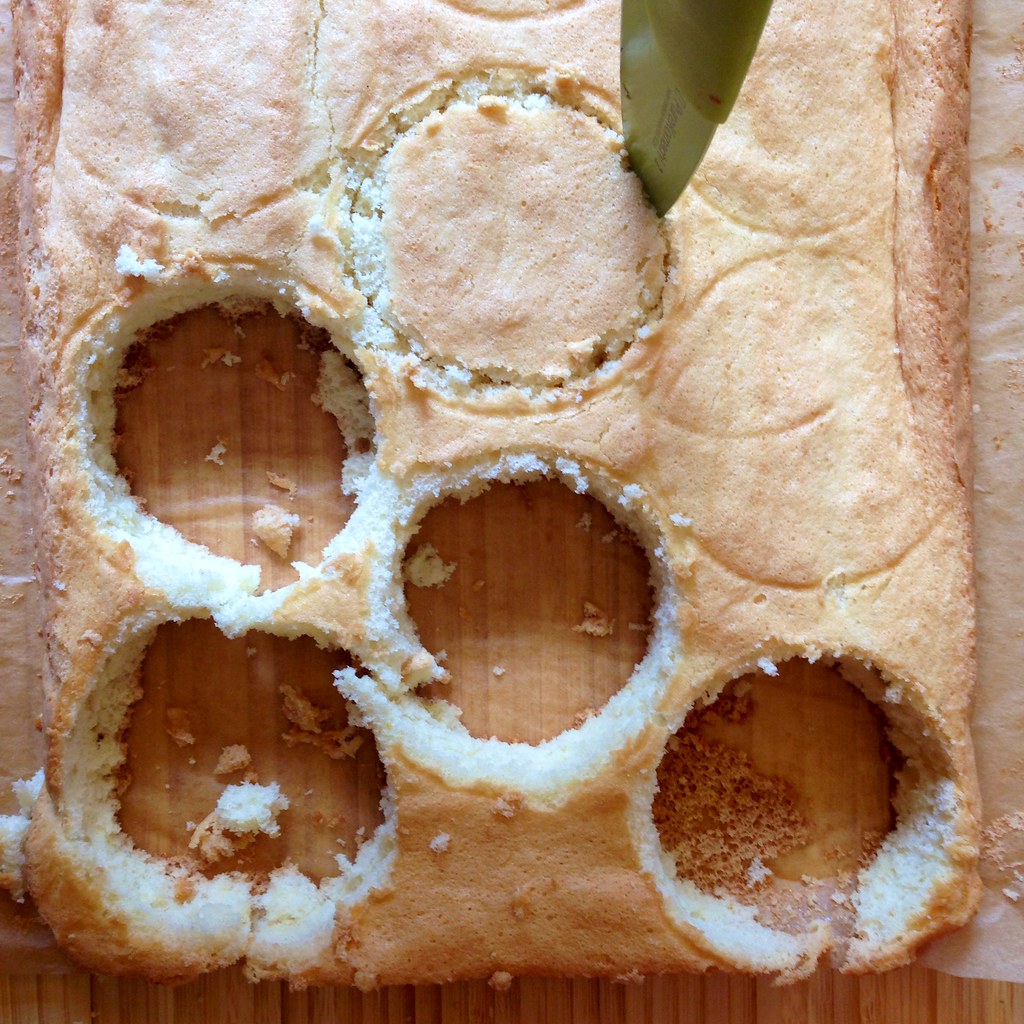
To make the cakes in a jar, bake the batter in two lightly oiled parchment paper-lined 9"x13" cake pans.  Once the cakes are cooled, use the lid of the jar as a template to cut out 10 (I was able to get 11, but 10 is a nicer, round number) circles, making sure to cut slightly inside the outline so that the cake will fit inside the jar.
https://www.flickr.com/photos/joyosity/14579872041/

Tear the remaining cake scraps into large crumbs (you will use this for the middle layer of each jar). 
https://www.flickr.com/photos/joyosity/14583187435/

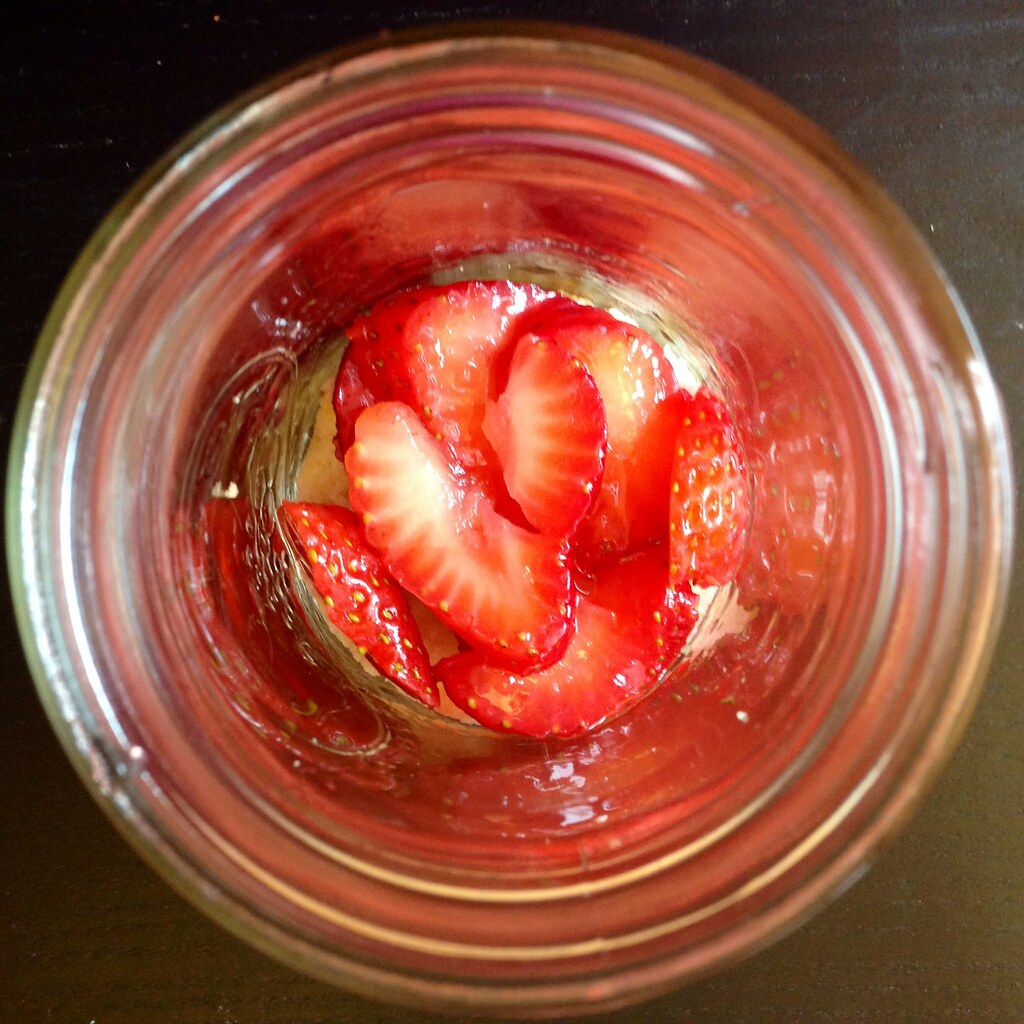
Slice each cake circle in half.  Place the bottom half in the bottom of a jar.  Top with a spoonful of the sliced strawberries (including some juices) and then a spoonful of custard.  Tap the jar a few times to make sure everything is settled.  Top with a layer of the cake crumbs and then another layer of the strawberries and custard.  Place the top half of the cake circle on top of the second layer of custard and top it all off with a dollop of whipped cream.
https://www.flickr.com/photos/joyosity/14396784537/

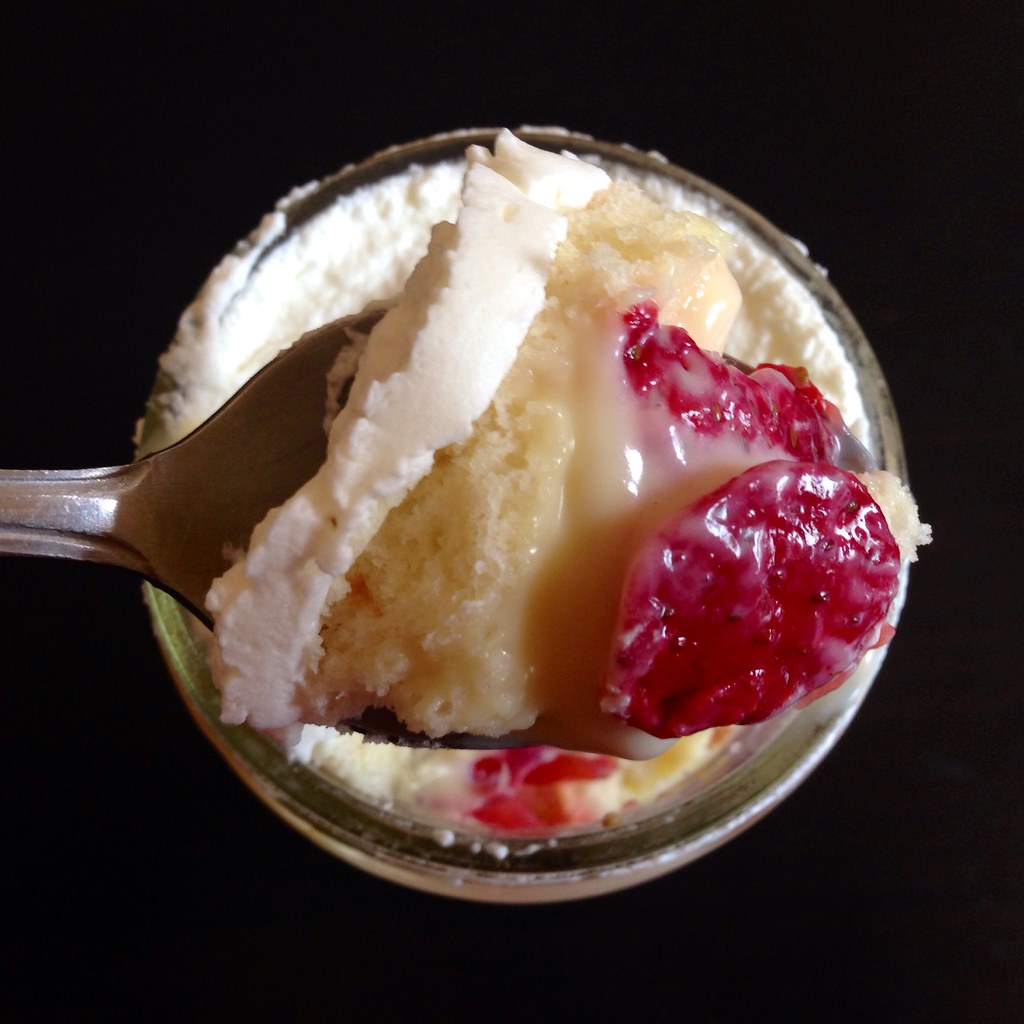
I'm not going to lie, making this cake is definitely a labor of love, but well worth it.  When I was finally done and took my first bite, I tasted exactly like childhood. ^_^
https://www.flickr.com/photos/joyosity/14396600119/

Next:  Homemade Choco Tacos
Previously:  Watermelon Agua Fresca and Popsicles
Last Year:  BLT with Avocado and Basil Mayonnaise

Wednesday, June 18, 2014

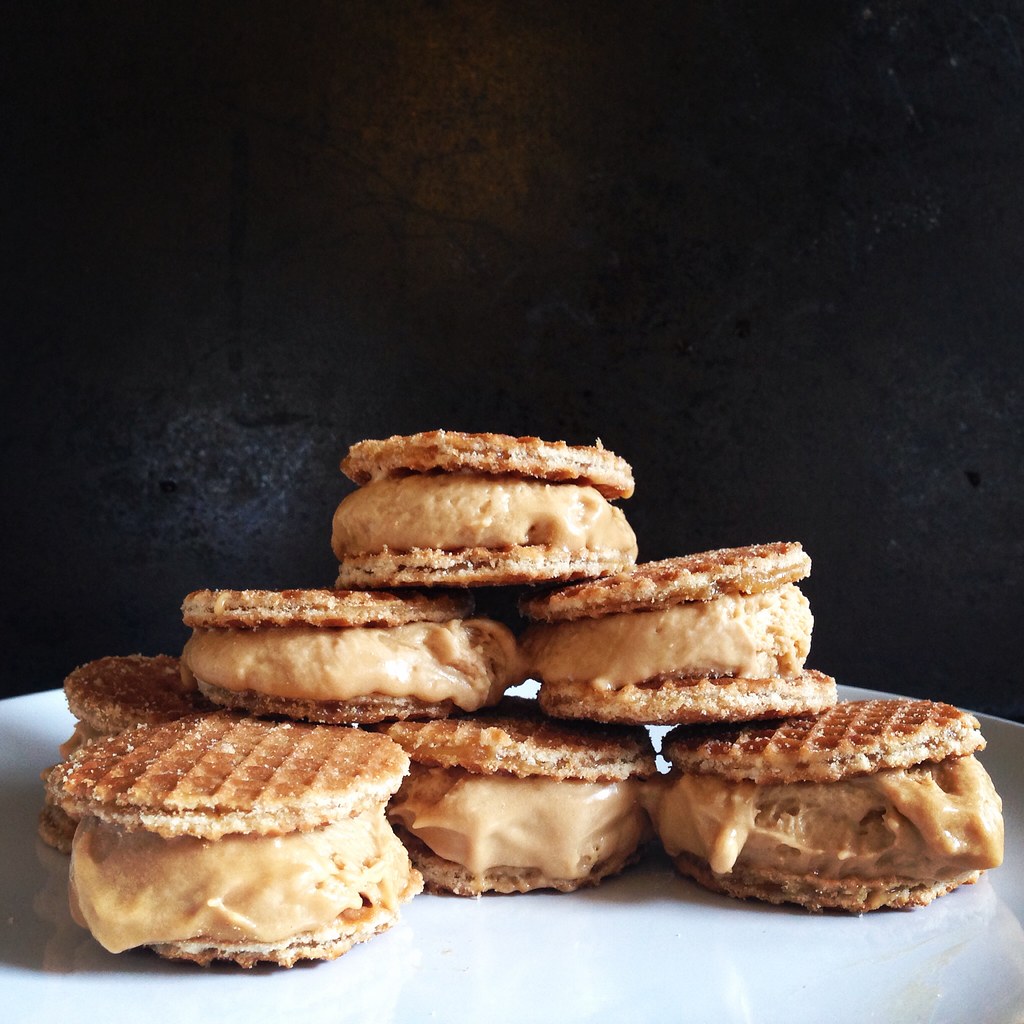
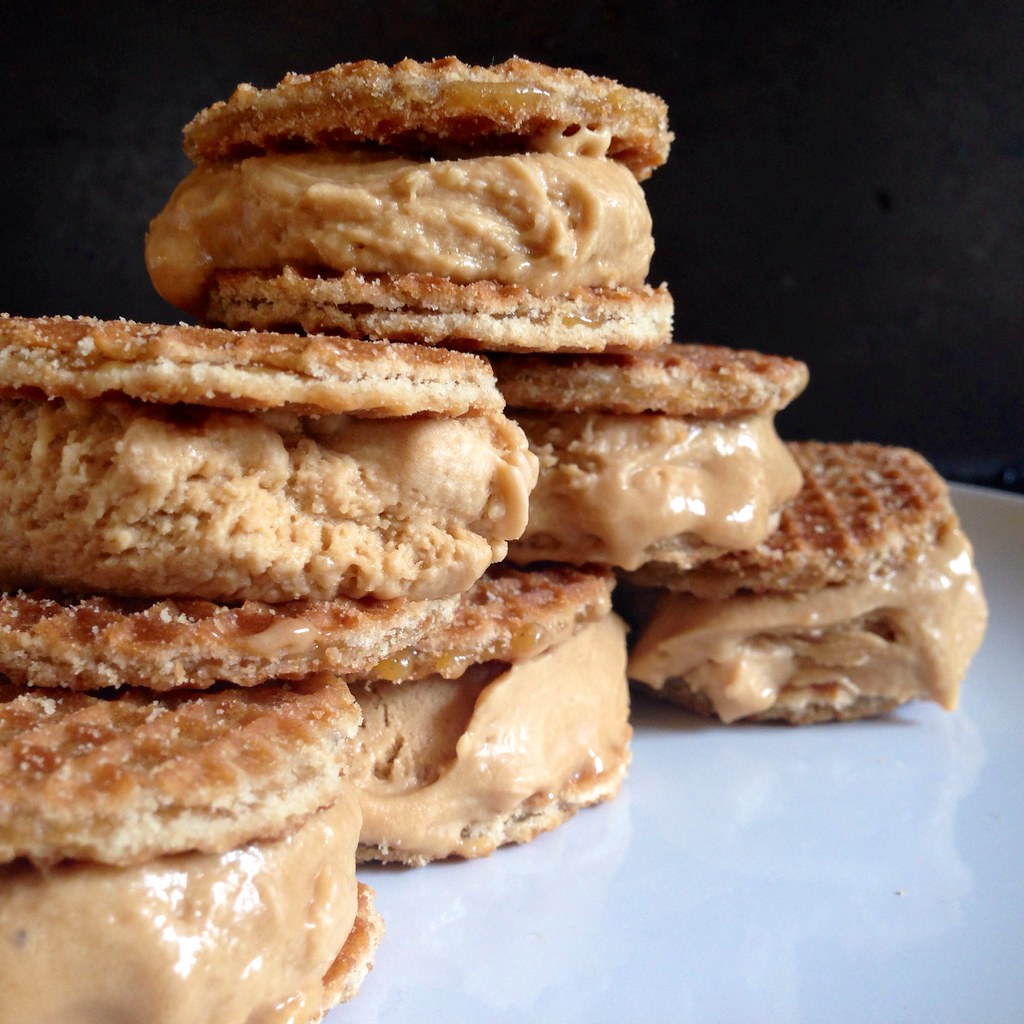
Speculoos (Cookie Butter) Ice Cream and Mini Stroopwafel Ice Cream Sandwiches

https://www.flickr.com/photos/joyosity/14245385560/

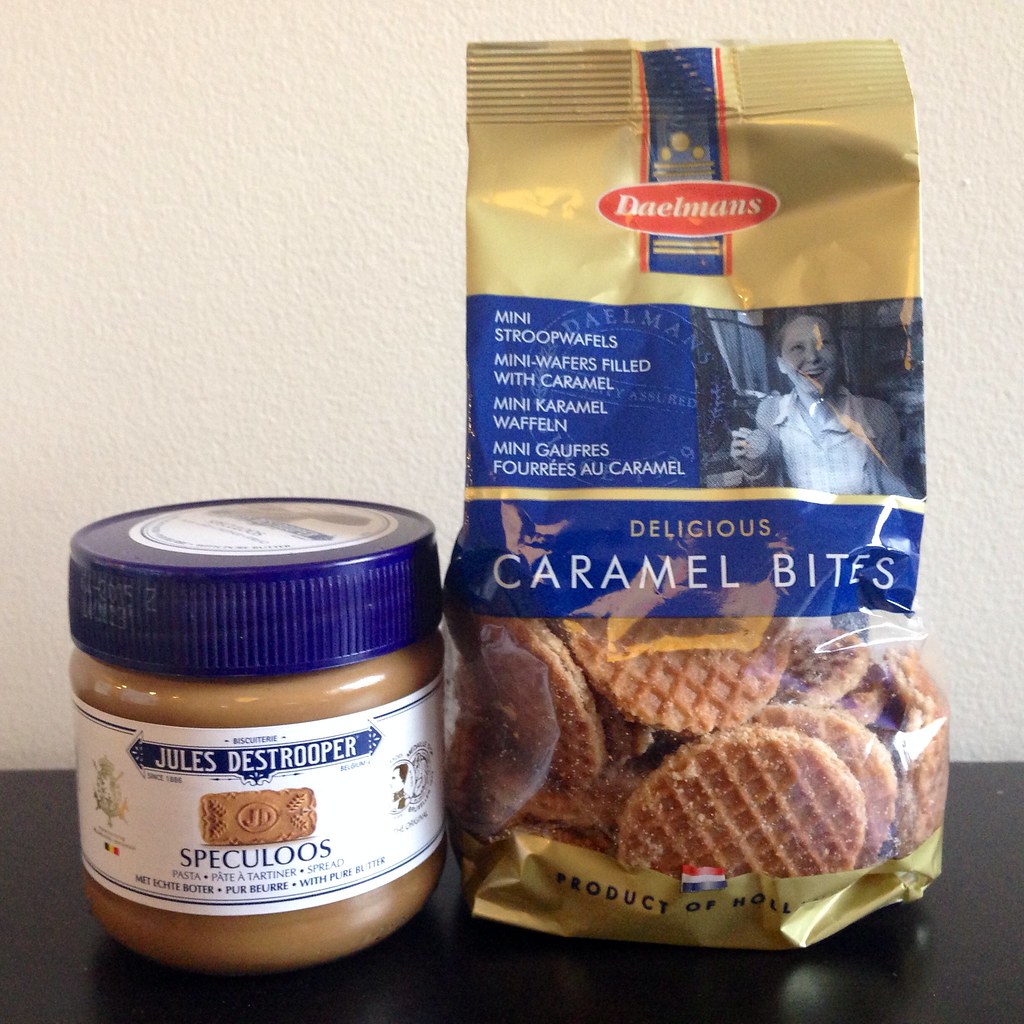
The Dutch have definitely got the monopoly on fun food names.  Stroopwafels?  Speculoos?  The only thing better than saying these things is eating them.  You might know speculoos better as the cookie that goes into Trader Joe's Cookie Butter or the Biscoff cookies you get on Delta flights.  They're kind of like gingerbread cookies but less spicy and more caramelized.

I was introduced to stroopwafels back when I worked at a company that had their European headquarters in the Netherlands.  It was pretty much required for all colleagues visiting our office in the U.S. to bring stroopwafels as a gift since we loved them so much.  They're basically two thin, crispy waffles sandwiching a layer of delicious caramel.  You're supposed to put them on top of a mug of hot coffee or tea so that the steam melts the caramel before you eat it.

https://www.flickr.com/photos/joyosity/14421770572/

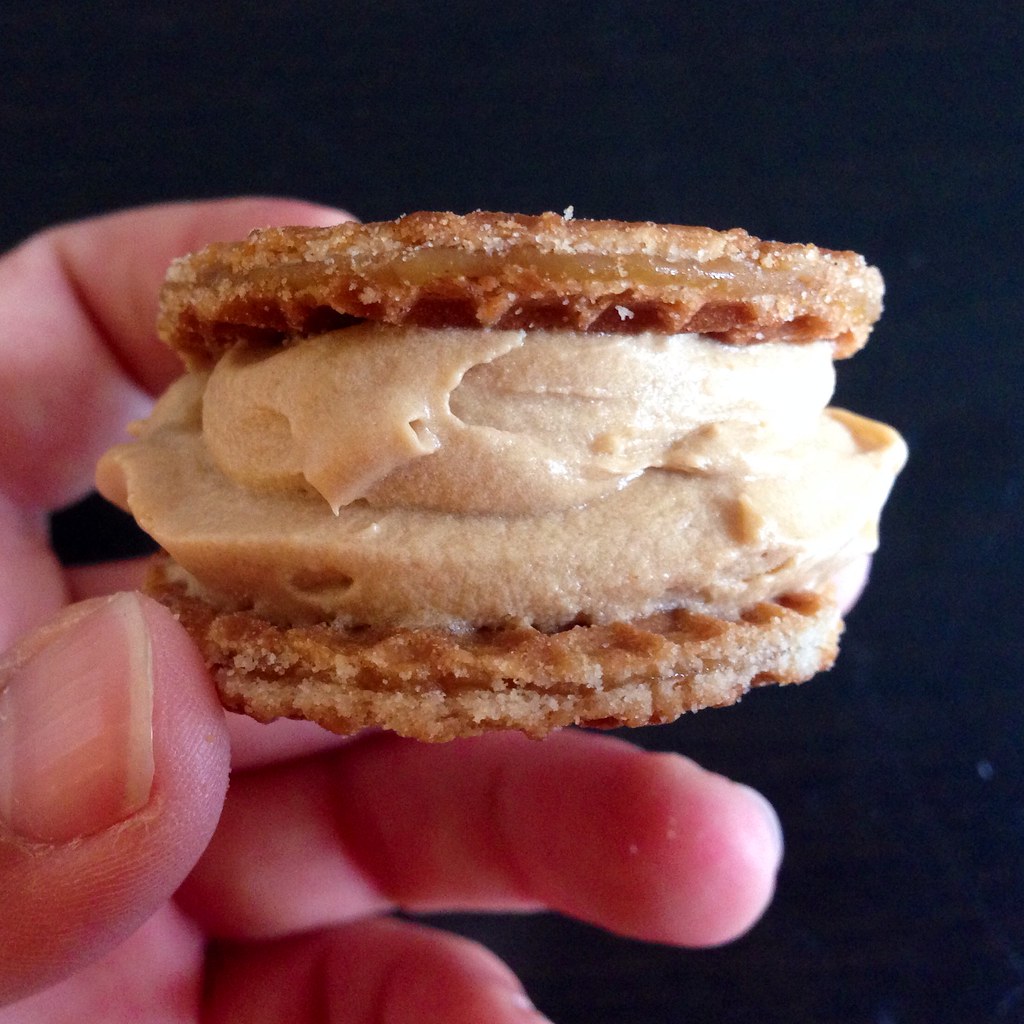
When my cousin brought me a jar of real speculoos spread as a souvenir from her trip to Europe, I decided to try and make an ice cream out of it.  Then I thought about making it into an ice cream sandwich with a pair of stroopwafels.  And because I have this obsession with making mini versions of everything, I decided to use the mini stroopwafels from Trader Joe's.

https://www.flickr.com/photos/joyosity/14421772082/

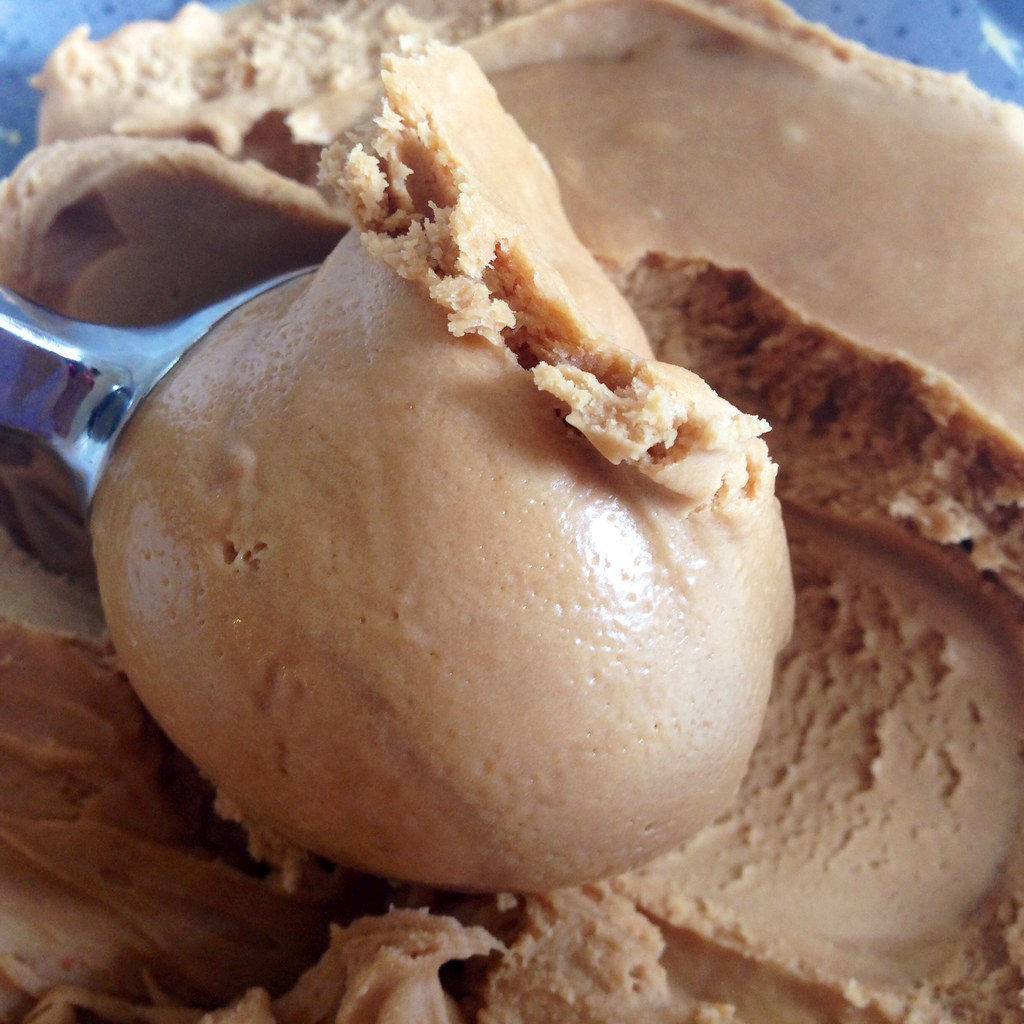
For the speculoos ice cream, I decided to try following the two ingredient recipe I used in the past for Nutella ice cream, substituting the speculoos spread for the Nutella.  The resulting ice cream is amazingly velvety and unctuous, pretty much like cookie butter itself.

https://www.flickr.com/photos/joyosity/14423057035/

Speculoos (Cookie Butter) Ice Cream
makes about 3/4 quart

1 1/4 cup speculoos spread (cookie butter)
One 12 oz. can (1 1/2 cups) evaporated milk

https://www.flickr.com/photos/joyosity/14443238963/

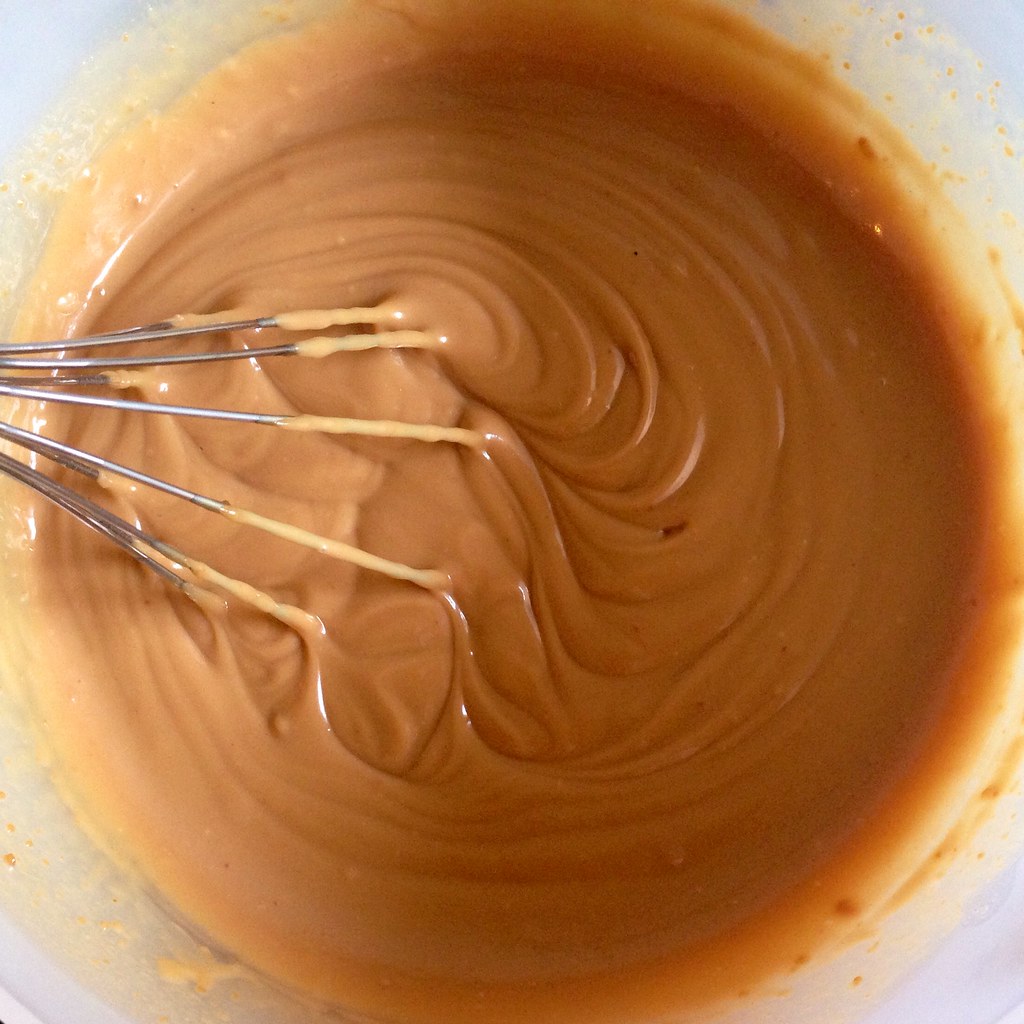
Whisk together the speculoos spread and the evaporated milk until fully combined.  There will be small lumps of cookie bits, and that's okay.  Chill completely in the refrigerator.

https://www.flickr.com/photos/joyosity/14236459990/

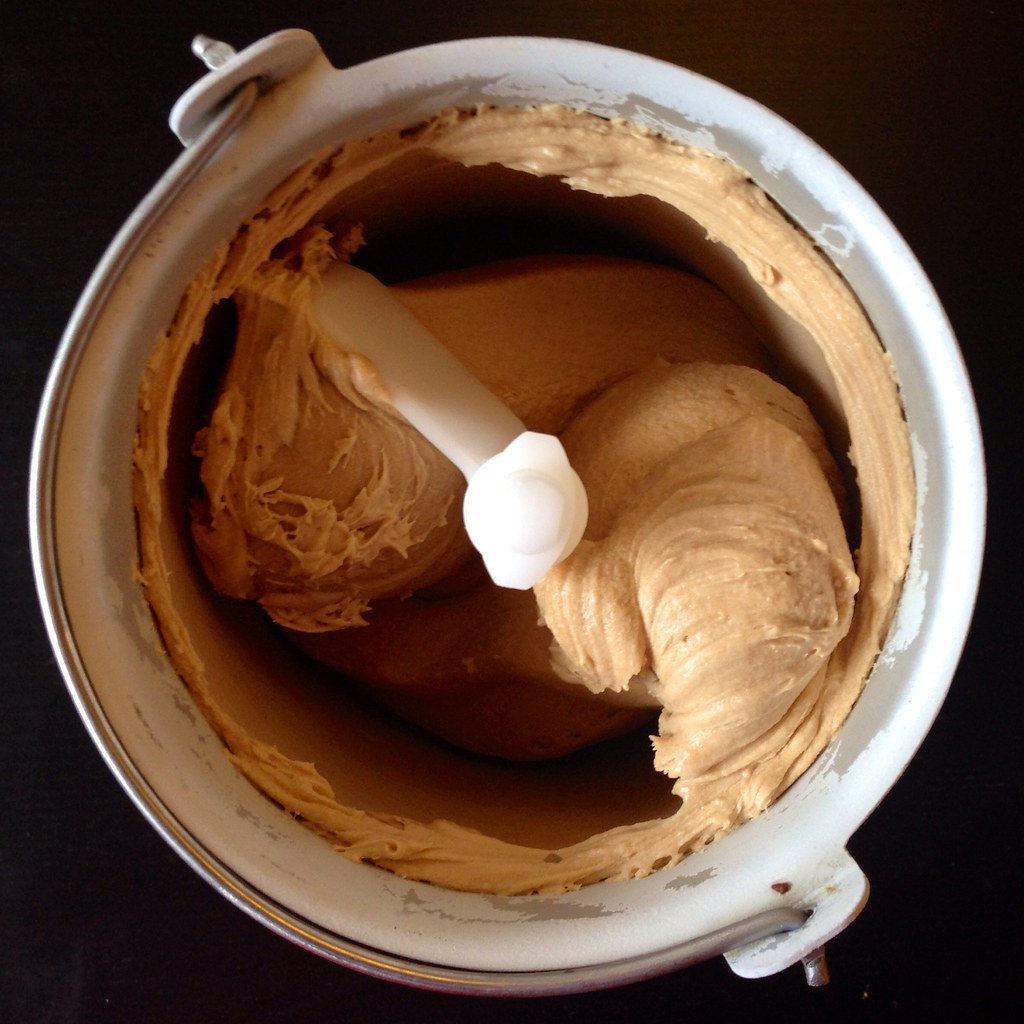
Churn in the ice cream maker according to the manufacturer's directions.  Transfer to an air-tight container and freeze in the freezer until hard.

https://www.flickr.com/photos/joyosity/14236413979/

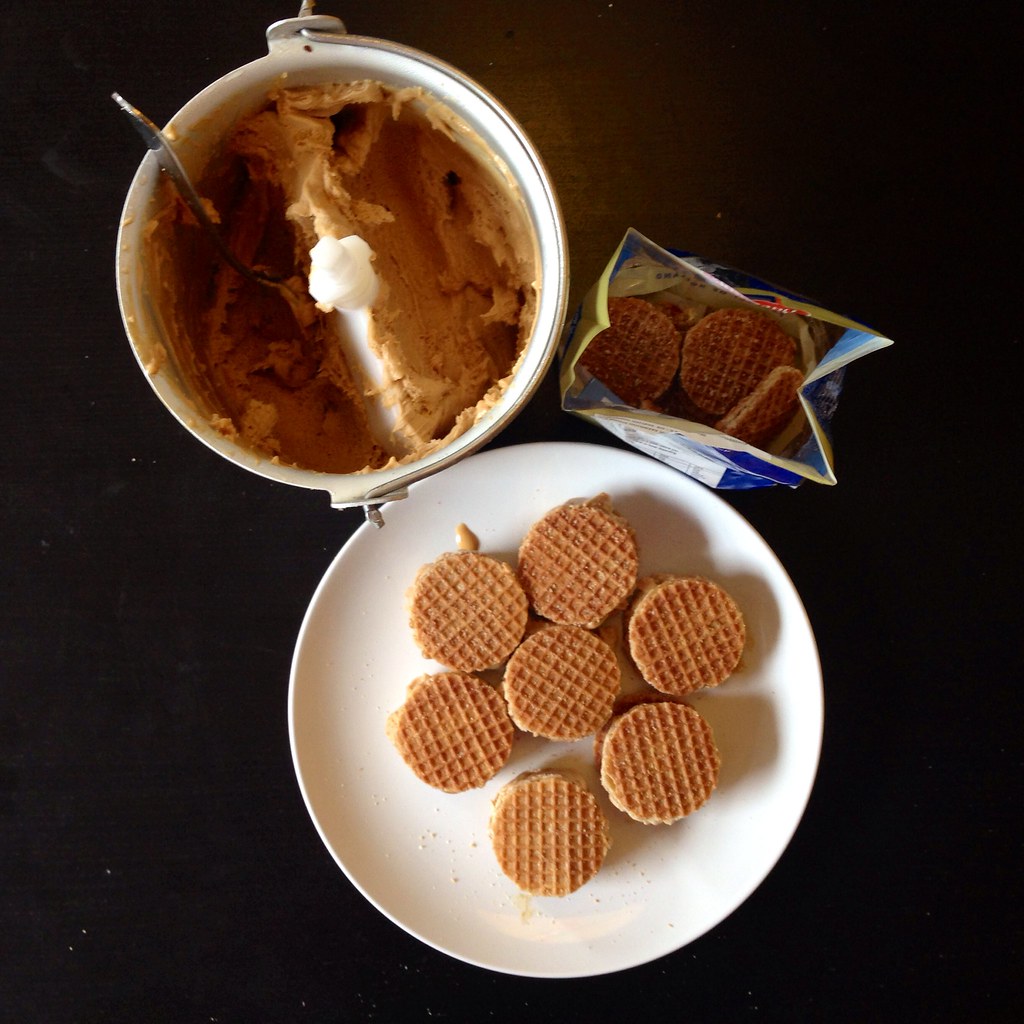
For the ice cream sandwiches, I experimented with freezing the stroopwafels vs. warming the stroopwafels in the microwave first.  Surprisingly, the warmed stroopwafels worked better for the ice cream sandwiches because the cookies were soft enough to bite through without smooshing the ice cream out the other side.  Of course, the warmed stroopwafels cause the ice cream to melt more quickly, but because these are mini ice cream sandwiches, it's pretty easy to finish them in just a couple of bites.

https://www.flickr.com/photos/joyosity/14245385560/

Next:  Tofu and Shiitake Potstickers
Previously:  Orange and Fennel Salt-Baked Salmon
Last Year:  Mango Coconut Rice Pudding Pops and Ice Cream

Wednesday, May 28, 2014

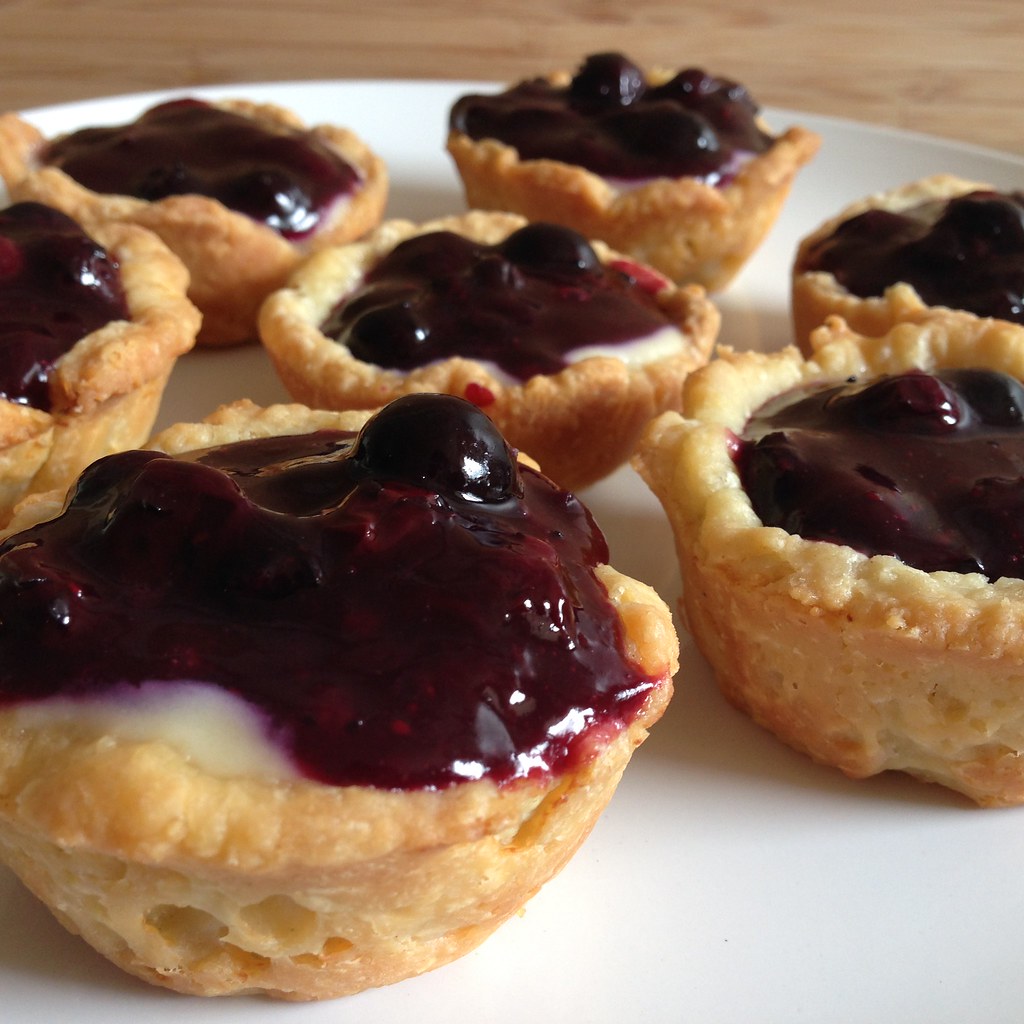
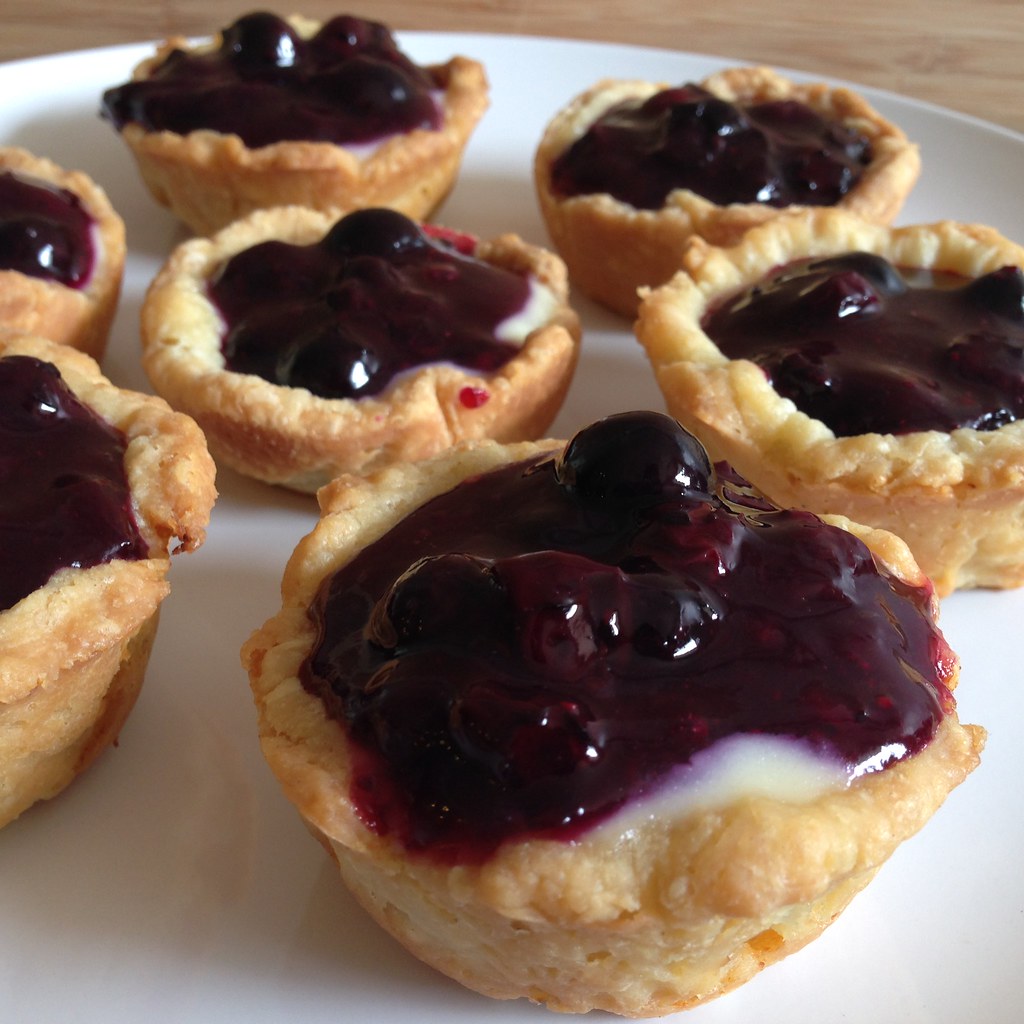
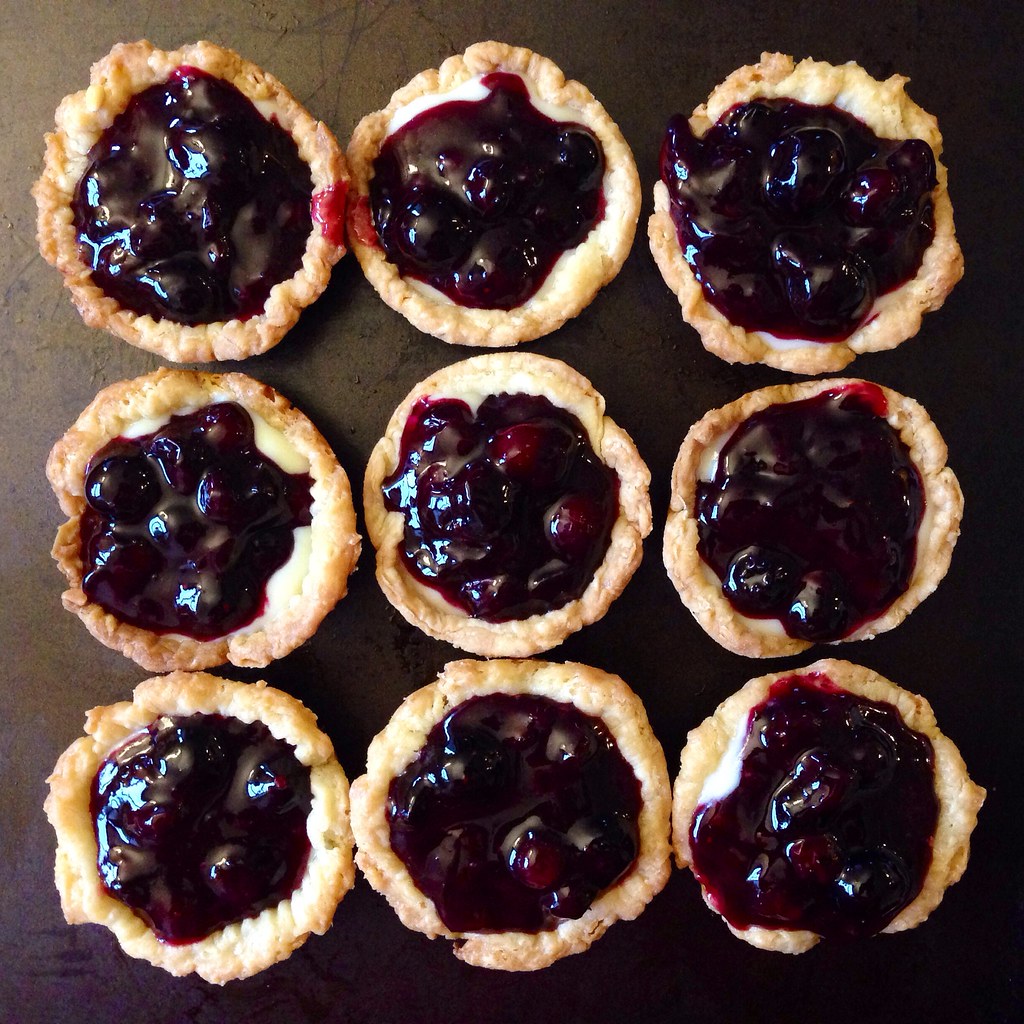
Blueberry Buttermilk Mini Pies

https://www.flickr.com/photos/joyosity/14100187299/

Last year I ate the best pie I've ever had at this popular, local restaurant.  Luckily, I was friends with someone who worked there, so I begged her for the recipe.  She was able to get it from the pastry chef, but I don't want anyone to get in trouble (myself included!) so I'm going to refrain from saying which restaurant it is.

I will say, however, that this is a damn fine pie.  The sweet blueberry filling pairs nicely with the tart buttermilk pastry cream.  And the crust.  OMG, the crust....  I mean, I really like the vodka pie crust recipe from America's Test Kitchen, but this all-butter crust is simply amazing.  The texture is unlike any other pie crust I've ever tasted; it's practically crispy!  I'm guessing one of the main reasons it doesn't get all soggy like a lot of other pie crusts is because you blind bake the pie crust before filling it.

https://www.flickr.com/photos/joyosity/14283533291/

I decided to make these into mini pies so that I could more easily share them with friends, and also so I wouldn't be getting into as much trouble for sharing a secret recipe word for word.  I hope.  O_o  I did have to adapt the recipe a bit since the one I got was for 10 pies, if that helps. 

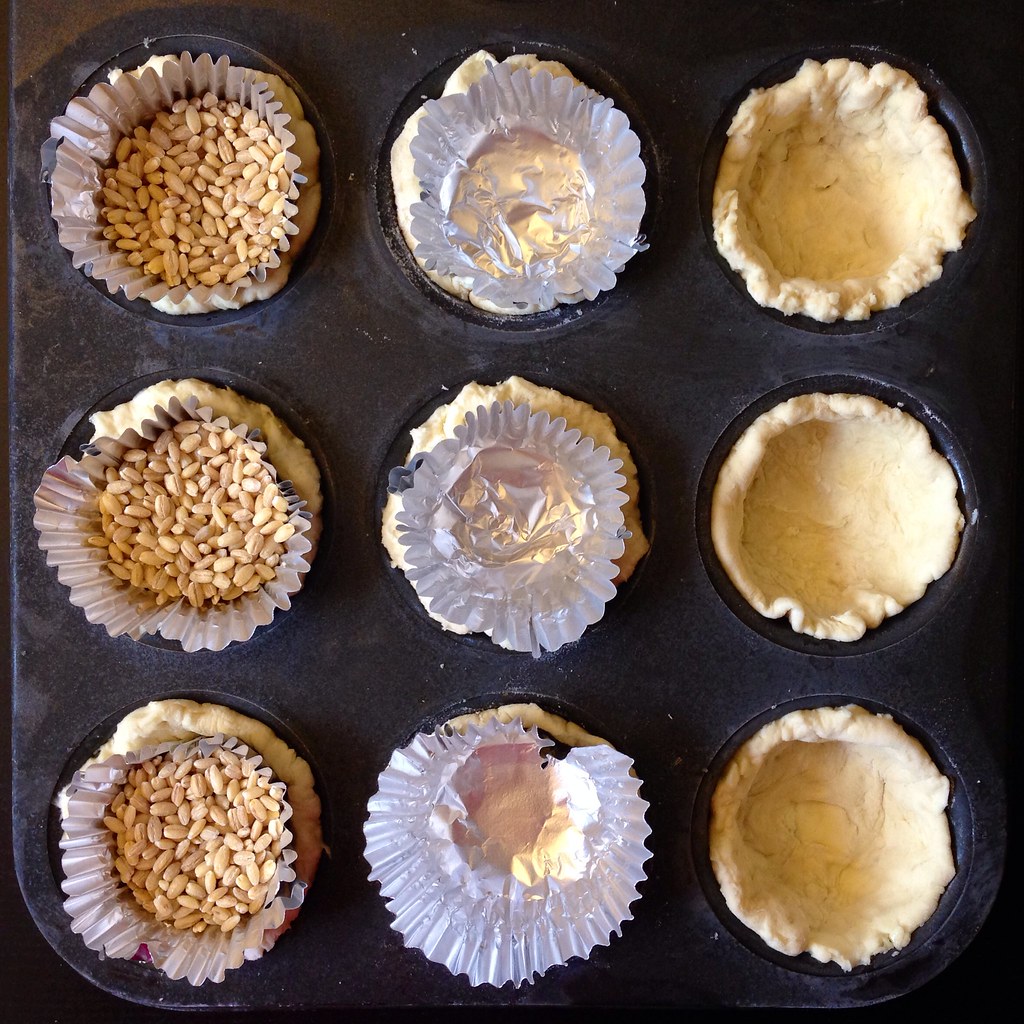
To blind bake the mini pie crusts in a muffin tin, I used aluminum cupcake liners to line the top of the pie crusts before weighing it down with pearl barley.  You can also use dried beans, rice, or of course, pie weights.  If you don't want to go through the trouble, you can try docking the pie crusts by poking the bottom several times with a fork, but I haven't tested that method, so I can't guarantee it'll work.

https://www.flickr.com/photos/joyosity/14100267238/

Blueberry Buttermilk Mini Pies
makes 12 mini pies

For the pie crust
160 g all-purpose flour
25 g sugar
1/4 teaspoon salt
120 g cold butter, cubed
Ice water
Cooking spray

https://www.flickr.com/photos/joyosity/14100230430/

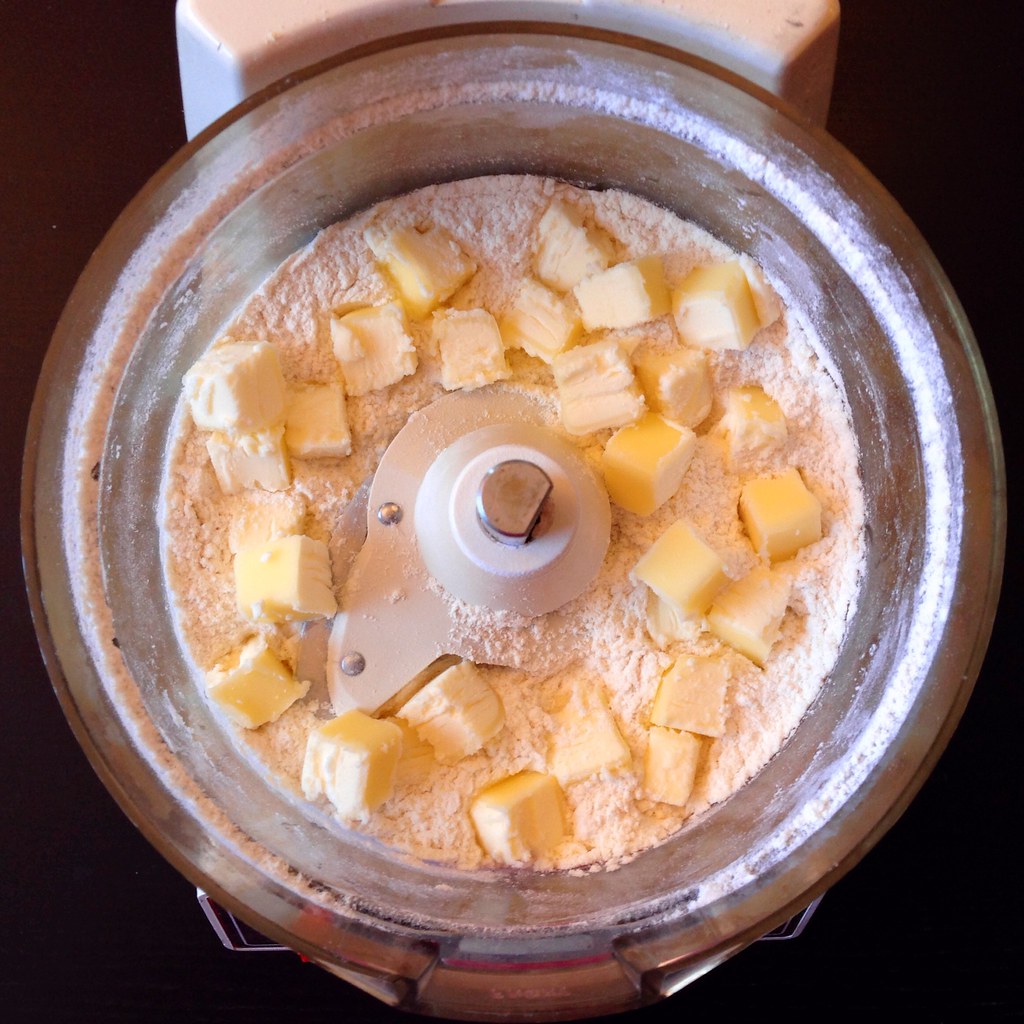
Mix the flour, sugar, and salt together in a food processor.  Add the butter and pulse until the butter has been cut into pea-sized pieces.  Transfer to a small bowl.

Add ice water (just the water, not the ice) to the butter flour mixture by hand; only add enough water for the dough to come together but not be sticky.  Cover and allow dough to relax in refrigerator overnight.

https://www.flickr.com/photos/joyosity/14263734316/

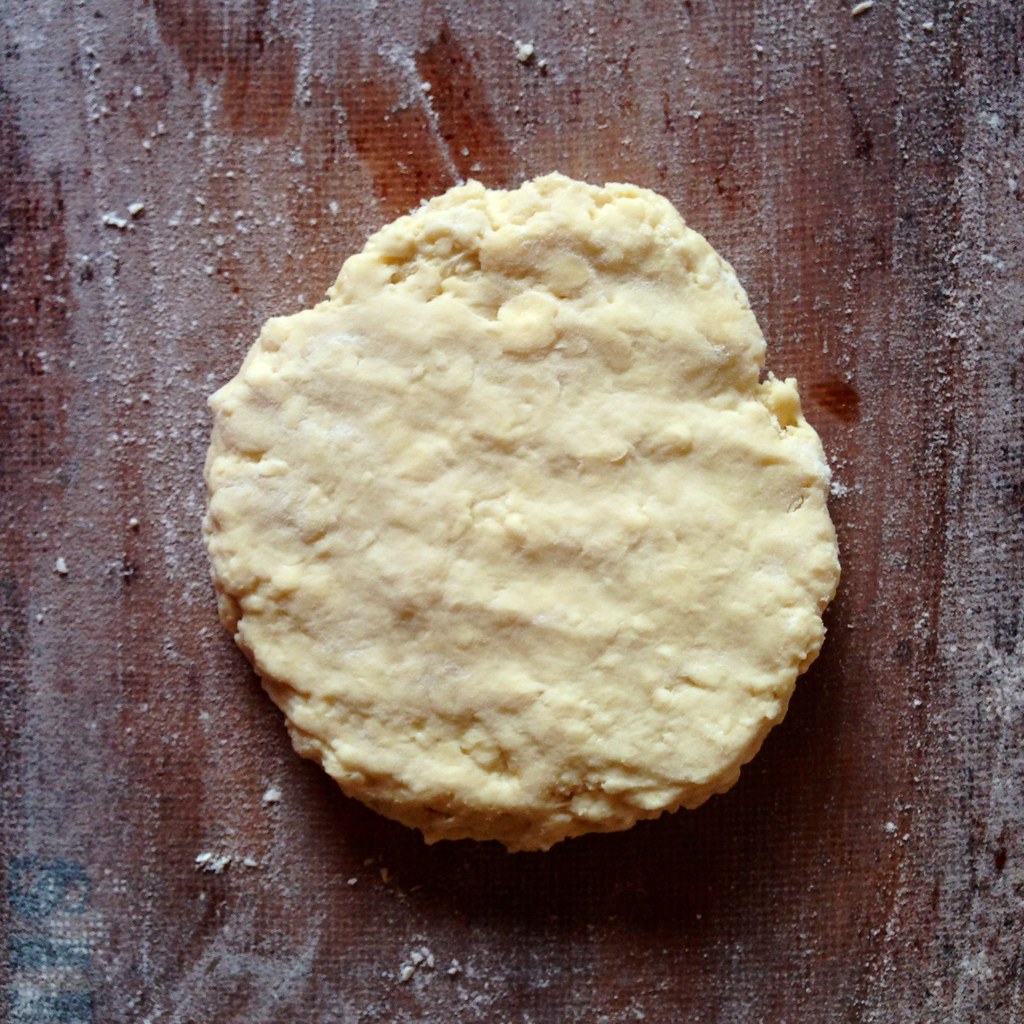
The next day, roll out the dough to about 1/8".  (If you added a little too much water, like I did, make sure to flour the surface and top of the dough well before rolling.)  Use a flattened cupcake liner as a stencil, cut out 12 circles (you will probably need to re-roll out leftover scraps to get the last 2 circles).  Set aside any leftover scraps in the fridge for now.

https://www.flickr.com/photos/joyosity/14286855975/

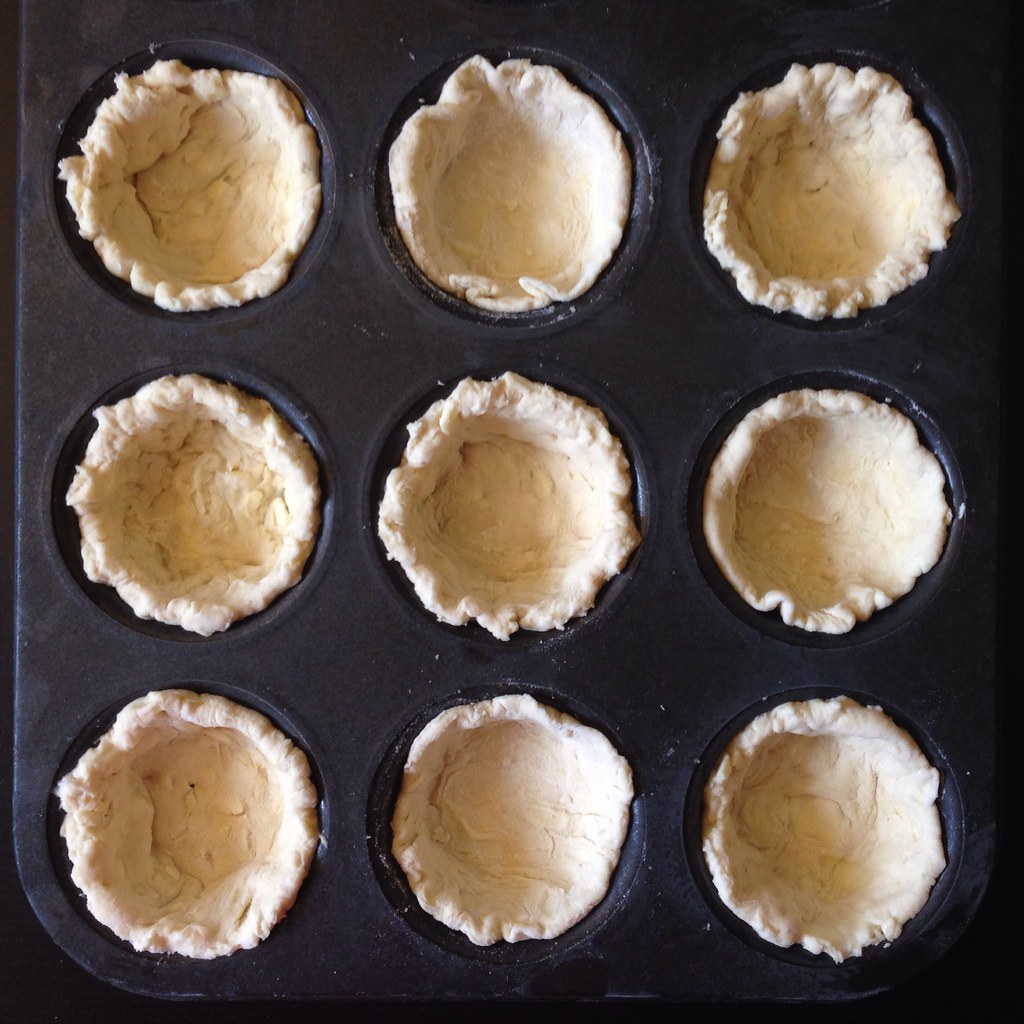
Generously grease the wells of a muffin tin with cooking spray.  Press the pie crust circles into each well.  Place a cupcake liner on top of each pie crust.  Transfer the pie crusts to the freezer for at least 30 minutes.

Preheat the oven to 350°F. 

https://www.flickr.com/photos/joyosity/14307040343/

Once the pie crusts have frozen, fill the cupcake liners with you pie weight of choice (see above).  Bake for 20 minutes, or until the edges of the pie crusts just start to brown.  Remove the cupcake liners and pie weights.  If there are any holes in the crusts, use the leftover scraps to carefully patch them (which, as you can see below, I failed to do). Return the crusts to the oven and bake for another 5-10 minutes until the bottom of the pie crust is cooked through.  Allow to cool completely.  Carefully twist the pie crusts in the muffin tins to release.

https://www.flickr.com/photos/joyosity/14307076573/

For the buttermilk pastry cream
100 g buttermilk
32 g sugar, divided
8 g cornstarch
1 egg
10 g butter, melted and cooled
1 g salt

Whisk together 12 g (about 1 tablespoon) of sugar and the cornstarch.  Add the egg and whisk until mixed.

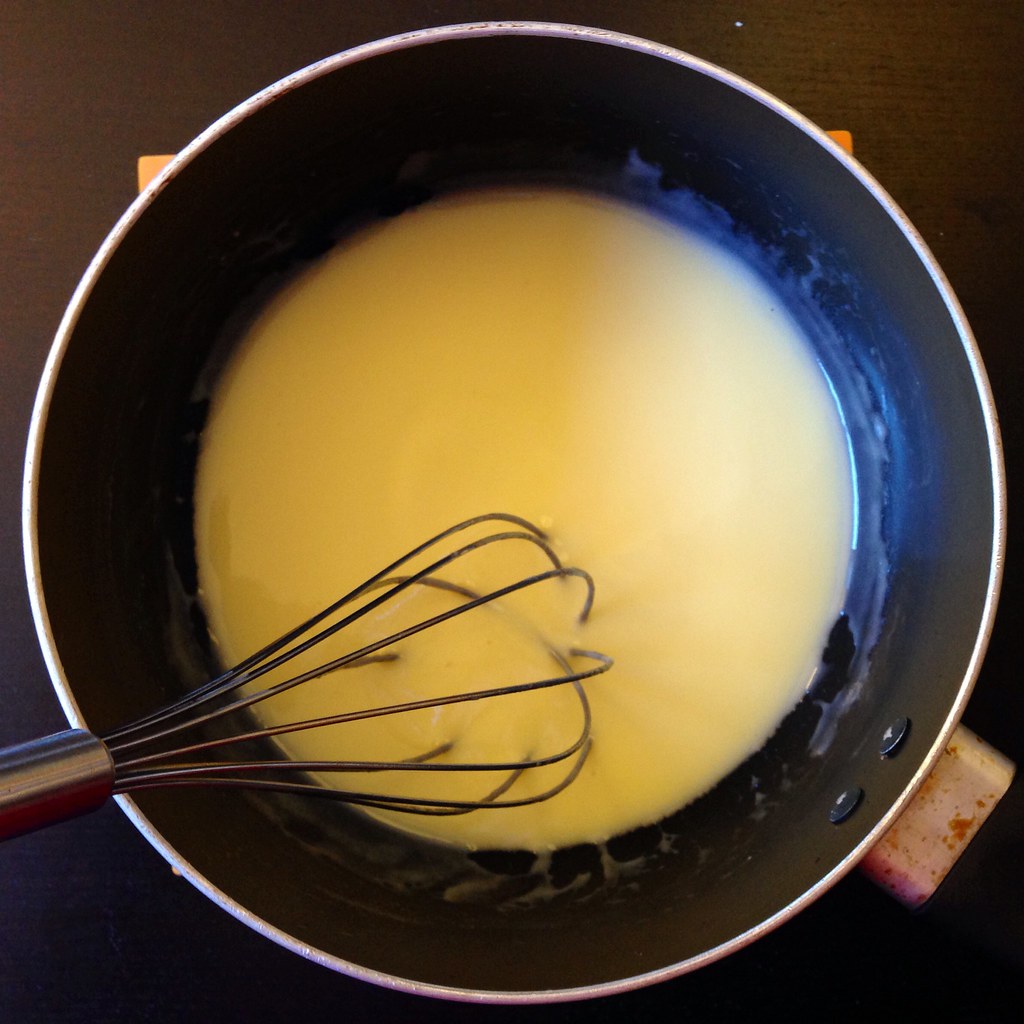
In a small saucepan, bring the buttermilk and remaining sugar to a simmer.  Temper the hot buttermilk mixture into the egg mixture and return to the saucepan.  Cook over medium-low heat, scraping constantly, until it boils and thickens and no starch is detected on tongue.

https://www.flickr.com/photos/joyosity/14284886282/

Pour into a small bowl, cover with plastic wrap directly on the custard, and place in the refrigerator until the surface is at room temperature.  Mix in the soft butter and salt, and return to the refrigerator to chill again.

For the blueberry filling
500 g blueberries, divided
100 g sugar
1 teaspoon salt
20 g cornstarch
15 g fresh lemon juice

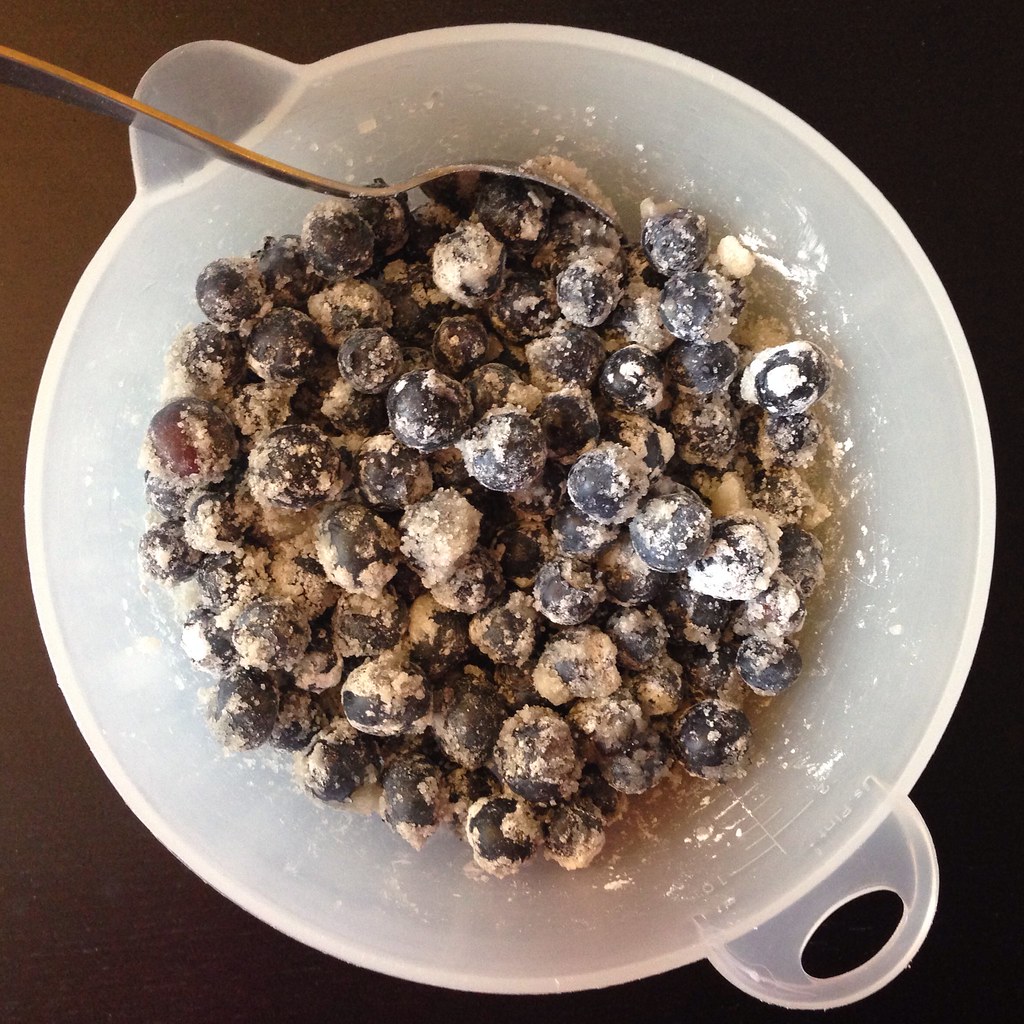
https://www.flickr.com/photos/joyosity/14100255268/

Toss 350 g of the blueberries with the sugar, salt, and cornstarch and transfer to a small saucepan.

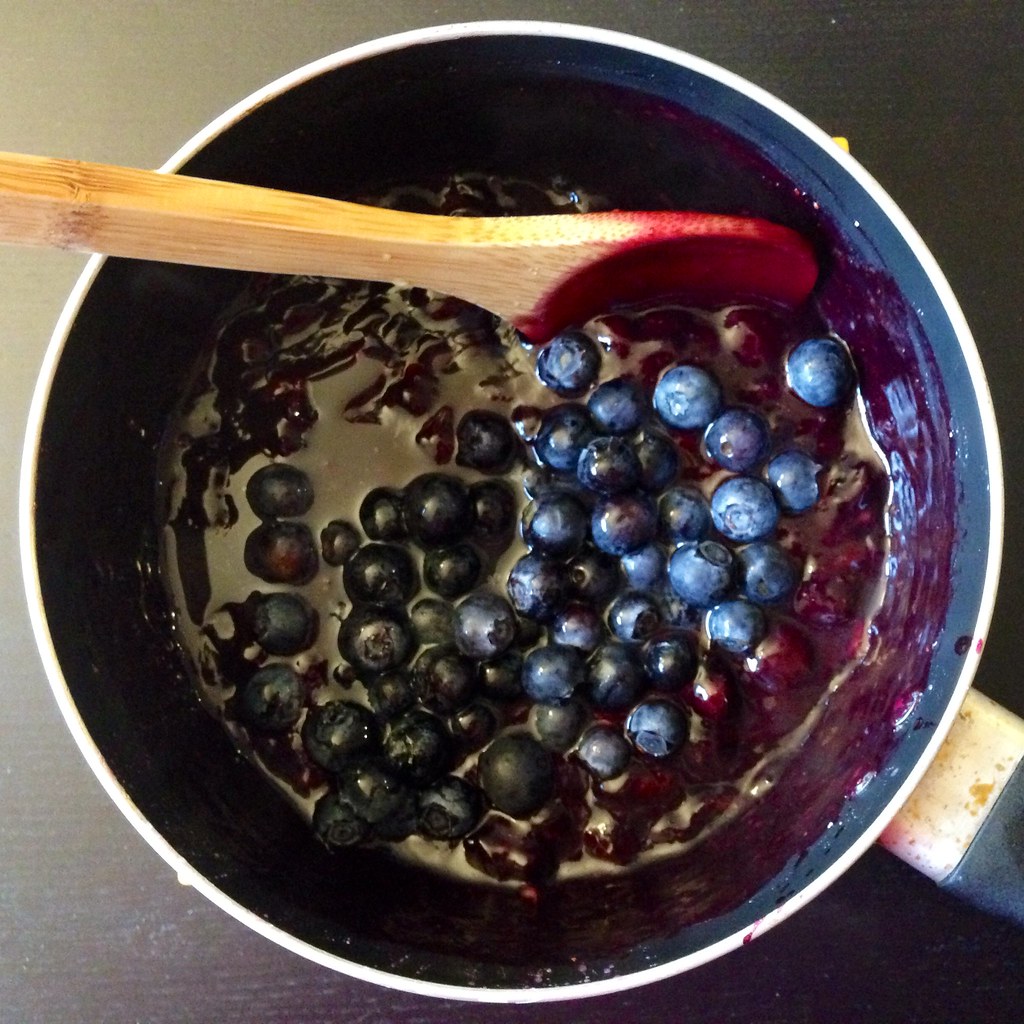
Cook on medium heat, scraping throughout until blueberries break down, thicken, and no starch is detectable on tongue (should be a chunky jam consistency).

https://www.flickr.com/photos/joyosity/14286896605/

Turn off the heat and add the remaining fresh blueberries and lemon juice.  Allow to cool to room temperature, stirring occasionally to release the heat.

https://www.flickr.com/photos/joyosity/14284890432/

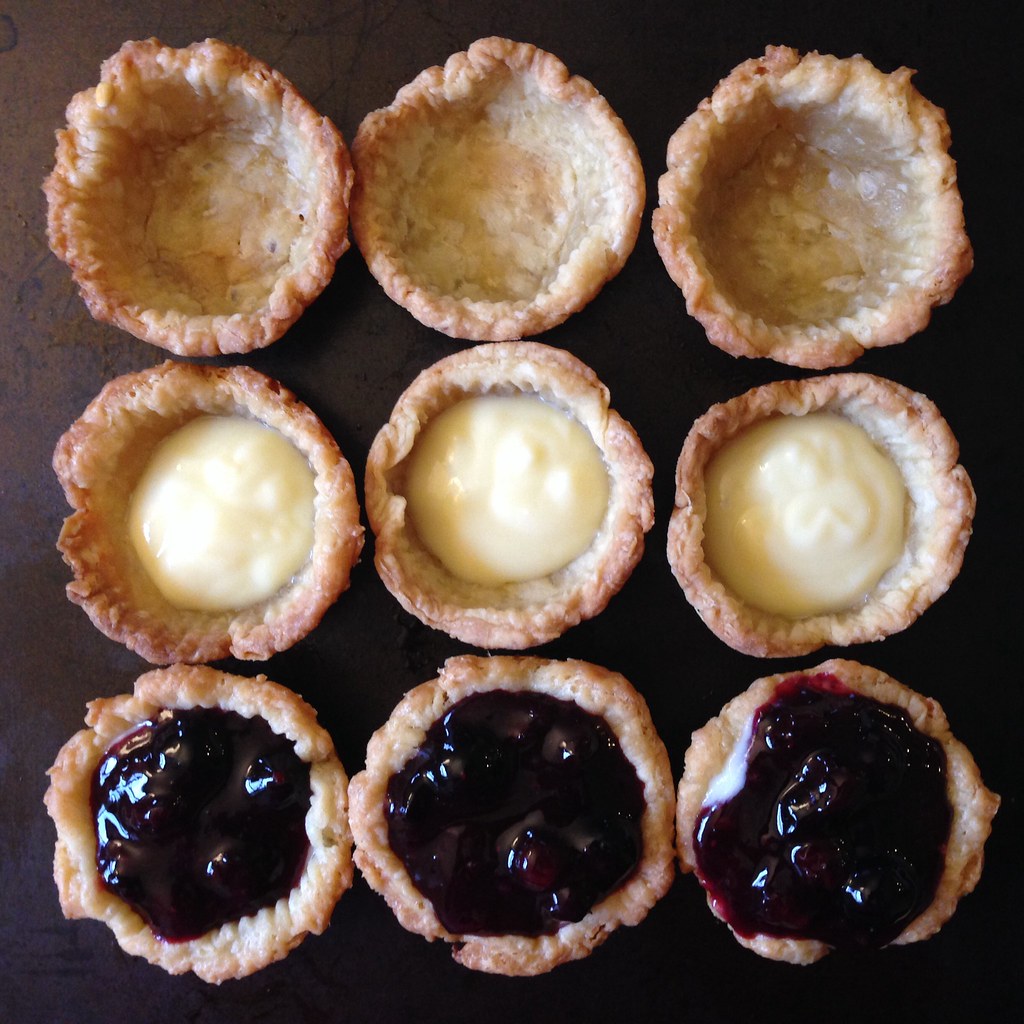
Divide the buttermilk pastry cream among the 12 pie crusts.  Top with the blueberry filling.  Keep mini pies chilled until serving. 

https://www.flickr.com/photos/joyosity/14100216588/
Five Years Ago:  Butter Mochi Cupcakes

Thursday, April 10, 2014

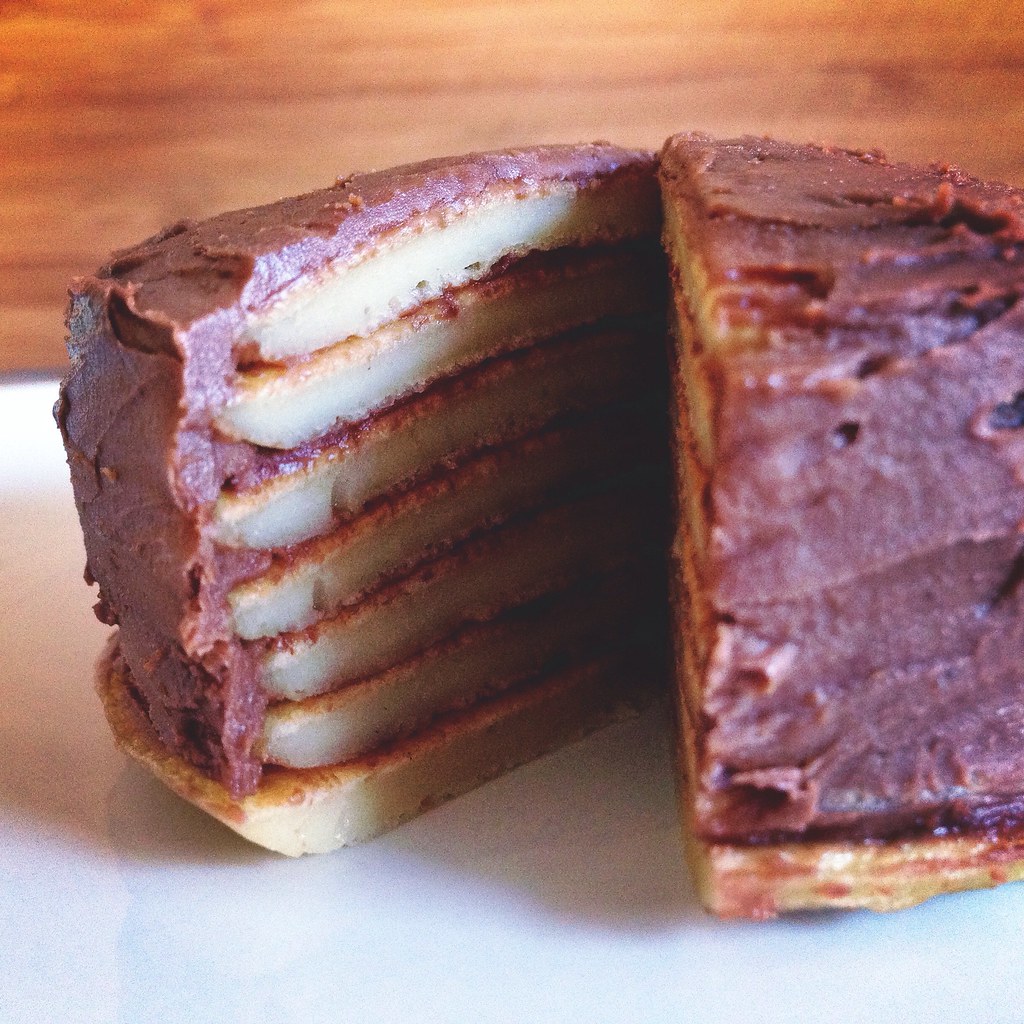
Nutella Mini Crepe Cakes

https://www.flickr.com/photos/joyosity/13746963953/

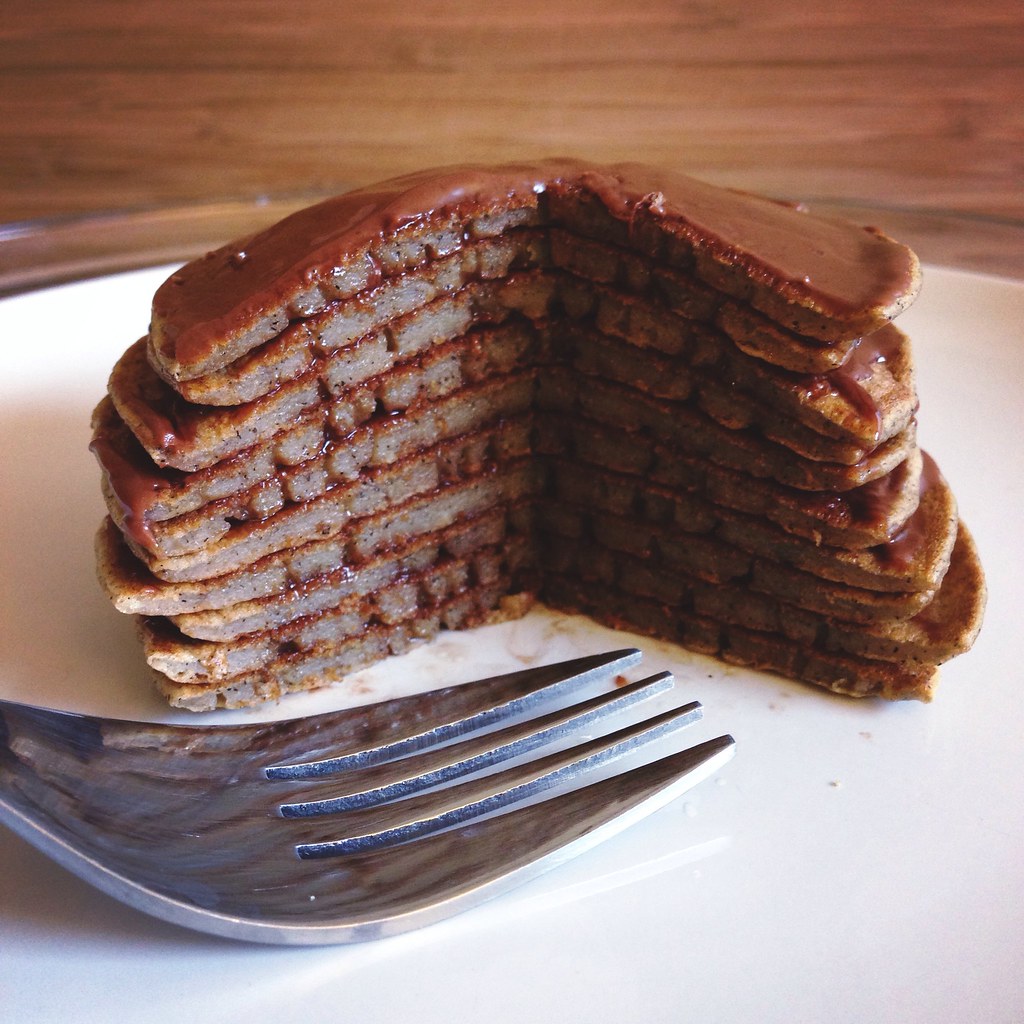
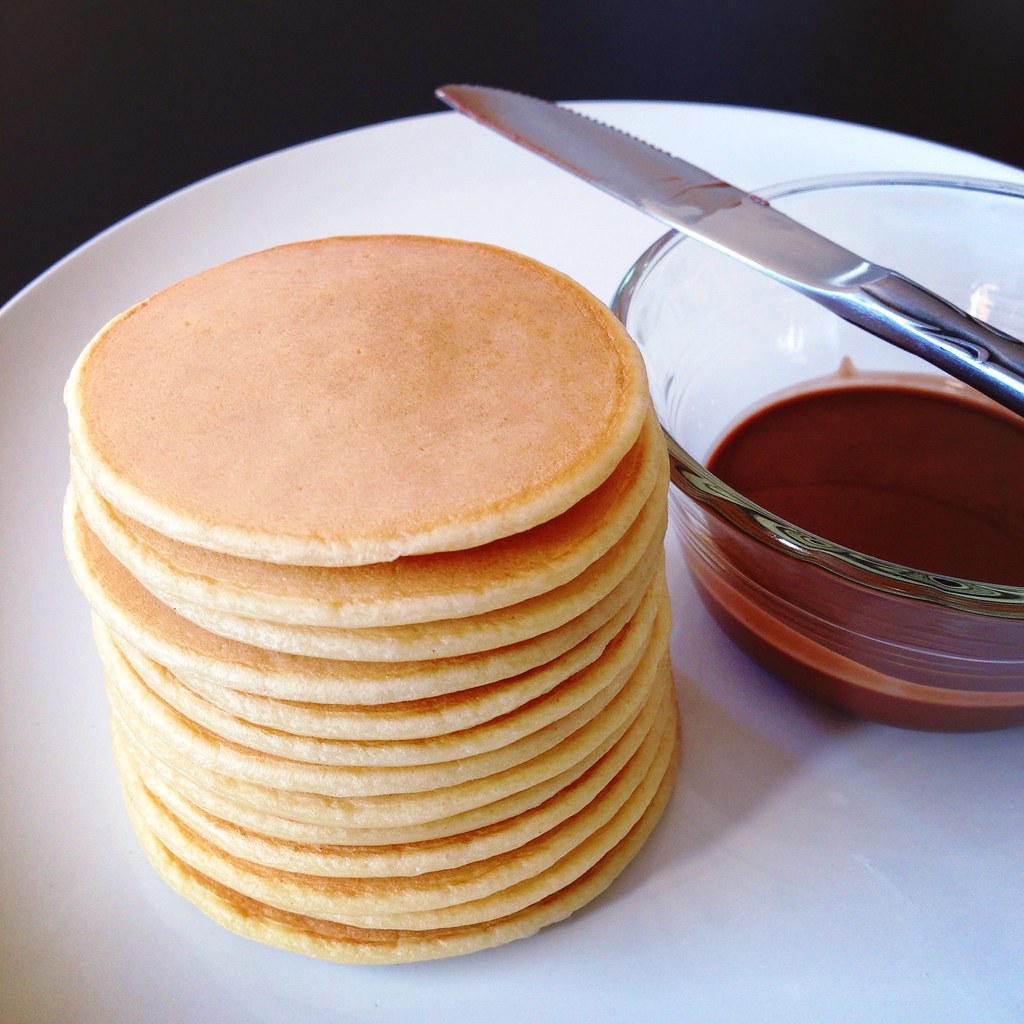
Like my post on flower pavlovas, this post is less of a recipe and more of a tutorial.  I had some leftover buckwheat pancake batter last weekend and after seeing these super cute mini crepe cakes, I thought I'd try to make some myself.  I was ambitious enough to make ten tiny crepes, but not enough to make my own filling so I just melted some Nutella and used that in between the layers.

https://www.flickr.com/photos/joyosity/13747045125/

Instead of using a cookie cutter to cut out the mini crepes, I wanted to see if I could make consistently sized crepes by using the same amount of batter each time.  I used a Chinese soup spoon that holds about 4 teaspoons of batter, and it worked pretty well.

https://www.flickr.com/photos/joyosity/13681661635/

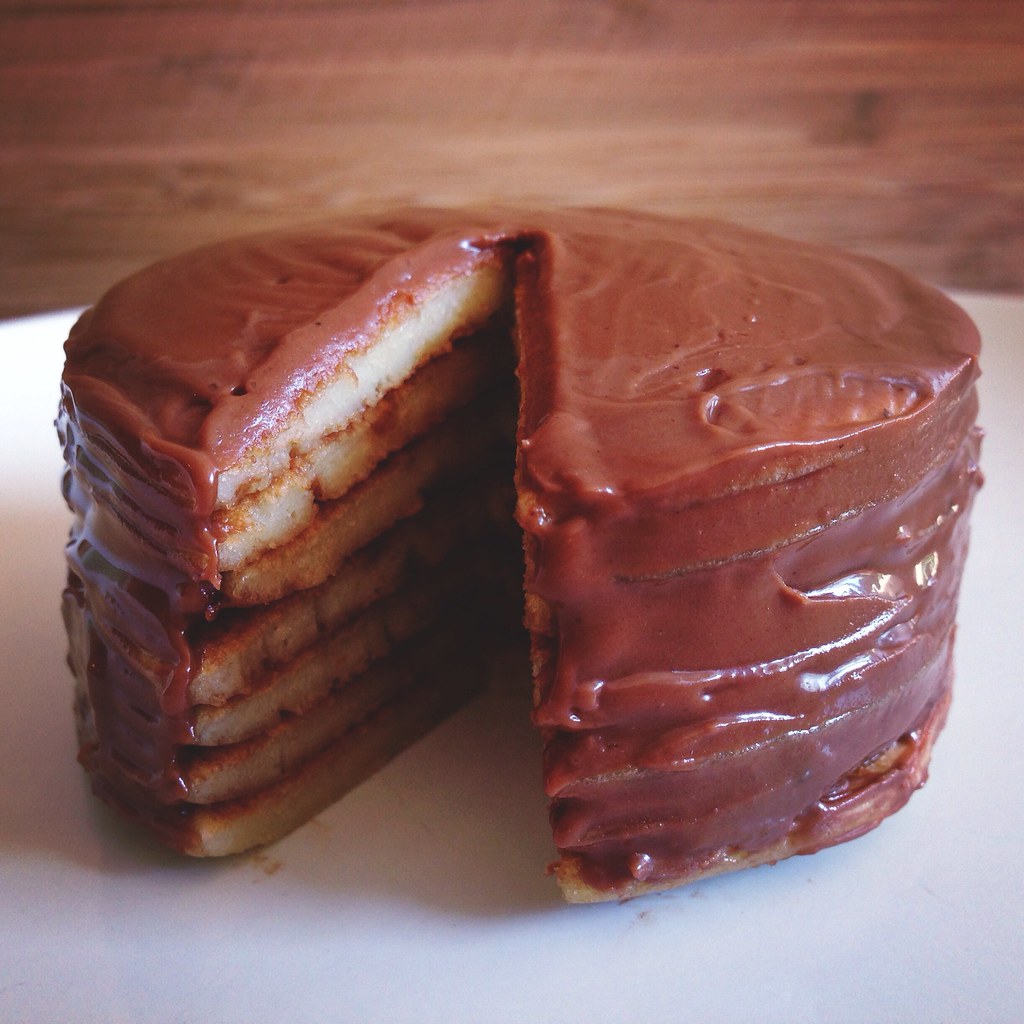
For the next batch, I wanted to try frosting the outside of the "cakes" to make it look more like a miniature layer cake.  I was out of the buckwheat batter, so I used Alton Brown's sweet crepe batter.  I found that if I carefully poured the batter into the center of the heated pan, the crepes stayed more or less the same size and shape each time.  It did mean I wasn't getting paper thin crepes because I wasn't swirling the batter around, but I was more concerned about reproducibility than the thinness of the crepes. 

https://www.flickr.com/photos/joyosity/13746914643/

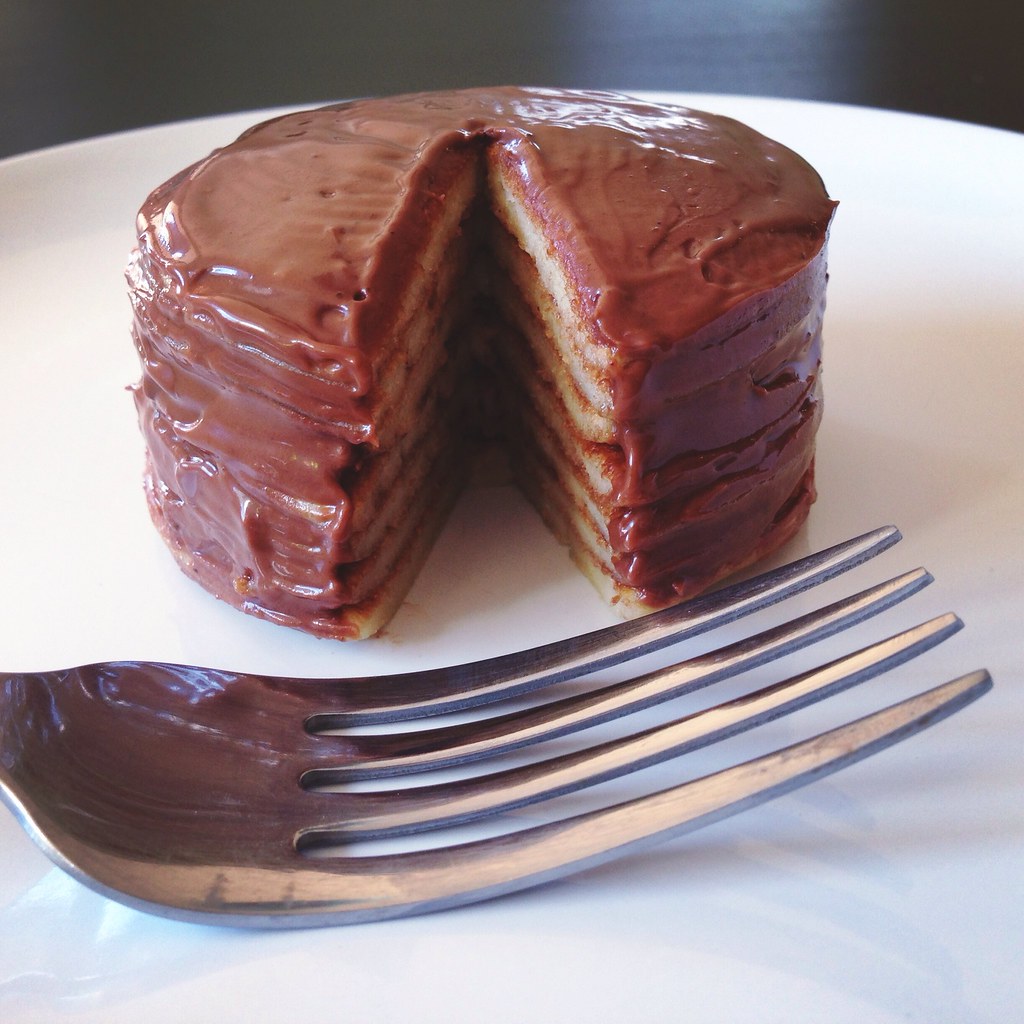
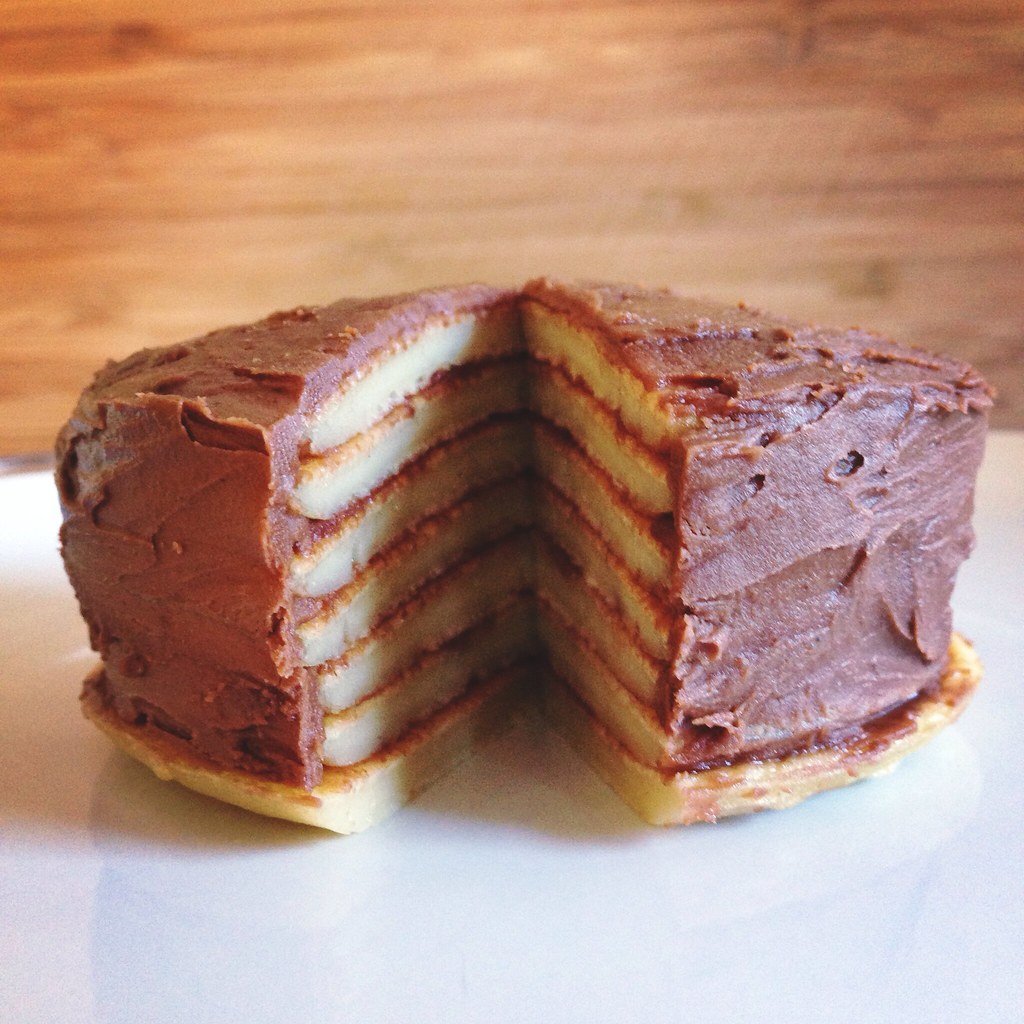
I microwaved the Nutella for about 20 seconds so it was easier to spread.  I was able to get a nice glossy coat with the warm Nutella, but it didn't stick to the sides of the crepe cake very well.  So for the last batch I frosted the outside with room temperature Nutella after stirring it around a bit.

https://www.flickr.com/photos/joyosity/13746760385/

Doesn't that look a full-sized layer cake?  (Ignore the bottom layer which was too big and stuck out; I shouldn't have used it.)  I can't get over how cute these are!  I dream about making a Happiness Cake version with mini-chocolate crepes, passion fruit curd filling, and coffee frosting.

https://www.flickr.com/photos/joyosity/13681667145/

Next:  Easy Chilaquiles with Fried Egg and Avocado
Previously:  Dan Bing (Taiwanese Egg Crepe)
Four Years Ago:  The Best Scones in the World, Jean-Georges Vongerichten's Fried Rice, Alphabet and Rosemary Cheddar Crackers
Five Years Ago:  Cupcake Bites, Samoa Cupcakes, Coconut Lime Cakelets, Matzo Crack

Thursday, April 2, 2009

Cupcake Bites

A rainbow of cupcake bites

I've been enchanted by the cake pops that Bakerella has been making, especially these Hello Kitty ones, but they just seemed a little too daunting to try so when I saw The Pioneer Woman's post about how Bakerella makes cupcake bites, I knew I didn't have an excuse anymore. Because while they are just as cute, they're also quite simple to make. All you need is cake mix, frosting, some sprinkles, a peanut butter candy mold, and melting chocolate in different colors (I got the latter two at Michaels). I opted to pick up a squeeze bottle as well, but you could just as easily do without.

Cake crumbs

So here's how you go about making them. First bake a cake. I chose to use a Devil's Food cake mix, but just about anything will work. Once it's done, cool it completely and then use your hands to rip it all into crumbs.

Add frosting

Add frosting to the crumbs. Bakerella uses a whole tub, but I don't like mine as sweet so I added about 4/5. Next time I think I can get away with adding even less. Basically you just want it to gooey enough that you can roll the cake/frosting mixture into balls without it coming apart.

Mix well

After you've mixed the cake crumbs and frosting thoroughly, let it sit in the fridge to chill. You can skip this step, but I find that rolling chilled cake crumbs is less messy. You definitely want to chill the balls once they are rolled, though. Make sure that the balls are just a little smaller in diameter than the widest part (the top) of the molds.

Roll into balls

While the balls are chilling, you can start melting the chocolate. I followed the instructions on the squeeze bottle and filled the bottle halfway and then putting it into some very hot water to melt the chocolate. If you don't have a squeeze bottle, you can just melt the chocolates according to the directions on the bag in the microwave and use a spoon to dispense it.

Fill the mold halfway

Make sure you have your balls ready for the next step because it's a little time sensitive. You want to fill the mold a little less than halfway with chocolate, and while it is still liquid, insert a cake ball and push it down so that the chocolate comes up and fills the rest of the mold. Once you have finished making a tray, pop it into the freezer to chill for a few minutes.

Press a ball in

When the chocolate is set, carefully remove them from the tray, and you should have a bunch of unfrosted mini-cupcake looking things. The next step is also time sensitive, so make sure you have everything ready before you proceed.

Chilled

You'll want to melt some more chocolate (use a different color than what you used for the bottom) in a small bowl. Holding the cupcake bite by the bottom, dip it into the melted chocolate until it almost reaches the top of the hardened chocolate. I give it a good whirl in there to make sure that all the sides are evenly covered. Then place it right-side-up on a plate or tray. While the top chocolate is still liquidy, top it with some sprinkles. I didn't get any good shots of this part because, after all, I only have two hands, but you can take a look at the pictures on The Pioneer Woman's post for a better idea.

Pink cupcake bites

If you wait too long, the top chocolate will get too hard and the sprinkles won't stick. This happened with some of my yellow cupcake bites, so I had to re-dip the tops to get the sprinkles to stick. Bakerella uses mini-M&M's for the very top, but since I didn't have any, I used these little red cinnamon candies, which in my opinion, are even cuter because they're smaller.

A bite out of a cupcake bite

I made a batch for ArtSpeak at Highrock last week as practice for the batch I'm making for the dessert tasting fundraiser I'm participating in this Saturday. It's called A Little Peace, and it's being held at the Vietnamese American Community Center (42 Charles Street, Dorchester, MA/MBTA Redline @ Fields Corner) from 7 - 10 pm. Tickets are $27 at the door, and you can find out more here. I'm actually participating in the Ocean Spray Bake-Off Challenge, which means I needed to incorporate Craisins into what I made. After thinking about how to do that a bit, I came up with "Rum Craisin Cupcake Bites". Basically the idea is the same as above, but I added some rum to the cake/frosting mixture and rolled each ball around a couple of Craisins before dipping. I believe voting is done by popular vote among the people who attend, so if you're free on Saturday night, please come to the fundraiser!

And if you're free tonight and happen to have an extra $95 lying around, please come to Share Our Strength's Taste of the Nation, being held at the Hynes Convention Center from 6:30 pm - 9 pm. Basically there will be 74 fine restaurants and 40 wineries from around the area donating their food and drink for an all-you-can-eat-and-drink event plus a live band and silent auction. Because everything is donated and everyone working it is a volunteer, 100% of ticket sales from Taste of the Nation are granted to the most effective anti-hunger organizations working to end childhood hunger in America. If you come before 7:30 pm, James and I will be two of the first people you see because we're the champagne pourers! So even if you don't want to eat some of the best food in Boston and drink to your heart's content, you should come just to see us try to set up a champagne glass pyramid for fun. =)