Showing posts with label seafood. Show all posts

Monday, May 11, 2015

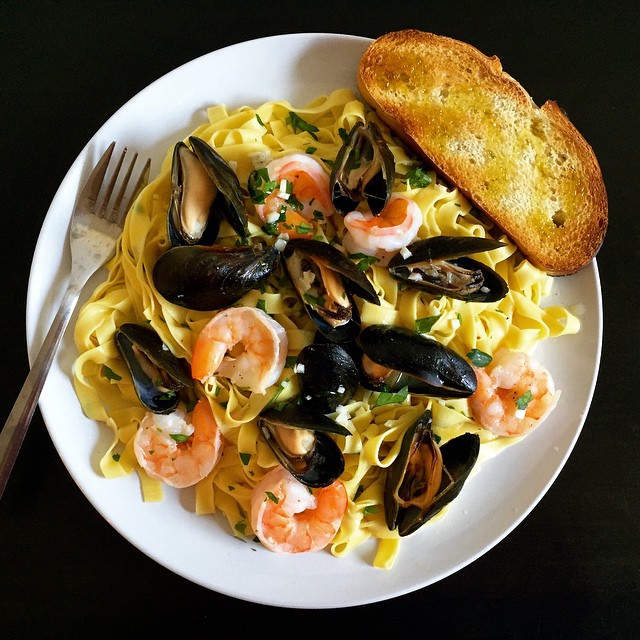
Scoglio all'Andiamo (Saffron Fettuccine with Seafood in a Lemon Garlic White Wine Sauce)

https://www.flickr.com/photos/joyosity/17320160279/in/dateposted-public/

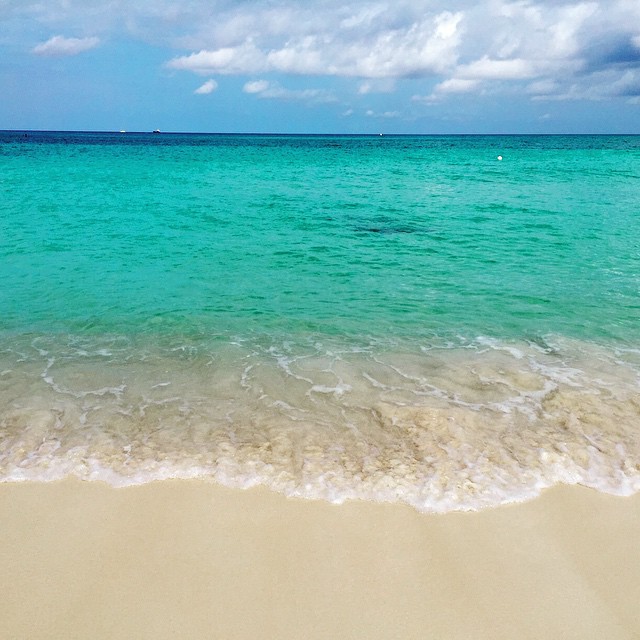
Last year I was lucky enough to win two nights at a Marriott resort of my choosing in the Caribbean through an Instagram contest.  At first I considered going to St. Kitts & Nevis since I had never been before, but the airfare was outrageous, so I ended up choosing to go back to Grand Cayman.  I used my points to stay an extra two nights at the Ritz Carlton and brought along two girlfriends. 

https://www.flickr.com/photos/joyosity/17475397226/in/dateposted-public/

I was sad to find out that the Periwinkle restaurant at the Ritz was gone because I had the best truffle fries of my life there a few years ago, but when I found out that the Italian restaurant that had replaced it, Andiamo, had the truffle parmesan fries on their menu, I insisted that we go there for our last dinner on the island.
https://www.flickr.com/photos/joyosity/17501766415/in/dateposted-public/

The fries were as good--if not better--than I remember them being, but I was also really impressed with their version of pasta allo scoglio, also known as pasta ai frutti di mare.  Scoglio means "rocky seashore" in Italian, and all types of seafood can be used in this dish.  Shrimp and mussels were on sale, so that's what I used, but clams, scallops, and calamari would also work.

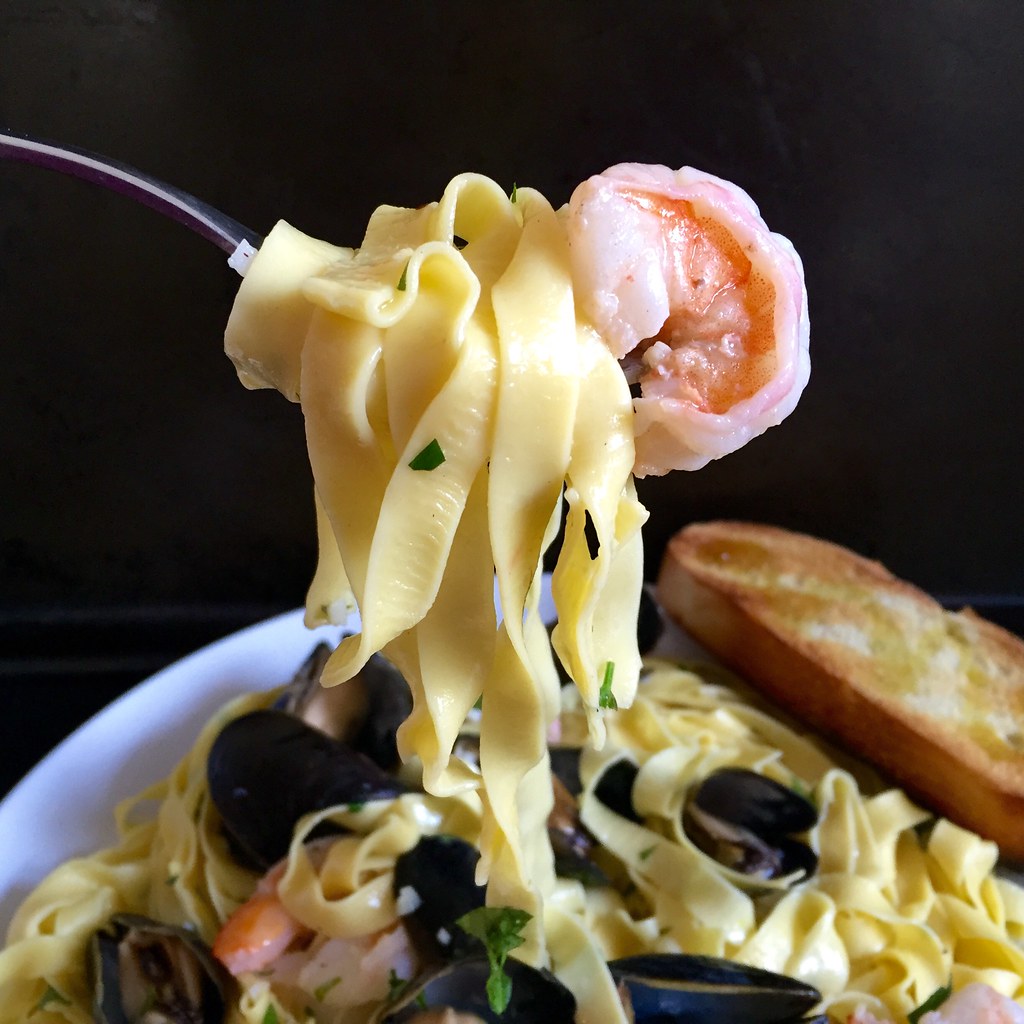
Unlike most recipes for pasta allo scoglio, there were no tomatoes in Andiamo's version; all I tasted was a clean white wine sauce with garlic and lemons spiked with the delicious juices from the clams and mussels.  The sauce was so good we asked for another basket of bread just so we could soak it all up.  The pasta they used was a saffron fettuccine, which I attempted to make from scratch.  Since I didn't have any saffron on hand, I added some saffron salt to the fresh pasta dough and finished the dish with more saffron salt.  If I were to make this again, I'd probably add a pinch of turmeric to the pasta dough to bring out the bright yellow coloring more.
https://www.flickr.com/photos/joyosity/16881598383/in/dateposted-public/

Scoglio all'Andiamo (Saffron Fettuccine with Seafood in a Lemon Garlic White Wine Sauce)
serves 2-3

1/4 cup butter
2 garlic cloves, minced
2/3 cup dry white wine
1 lb. mussels and/or clams
1 lb. peeled raw shrimp and/or scallops
1/2 lb. dried fettuccine or 3/4 lb. fresh fettuccine
Juice from 1/2 a lemon
1 tablespoon chopped parsley (optional)
Saffron salt (if you have it, if not, regular sea salt is fine)
Freshly ground pepper
Lemon slices

Bring a pot of salted water to boil.  Cook the fettuccine to al dente (if using fresh pasta, wait until the after adding the shrimp to the pan to start cooking the pasta).

In the meantime, melt the butter over medium-low heat in a large skillet.  Add the garlic cloves and saute for a minute.  Add the white wine and the mussels and/or clams.  Cover and let steam until the shellfish have opened.  Use a slotted spoon to remove the shellfish from the skillet and set aside in a bowl.

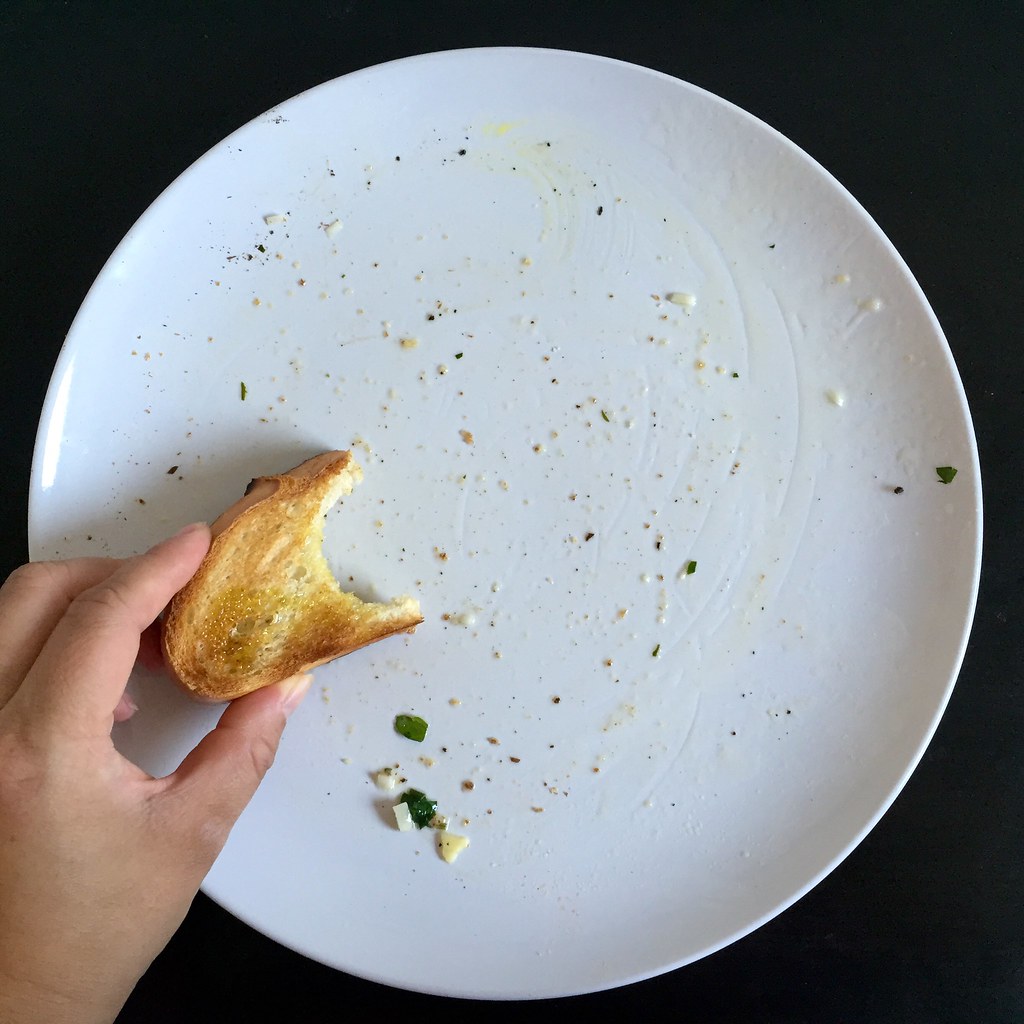
Add the shrimp and/or scallops and cook until just opaque.  Add the cooked pasta, lemon juice, parsley, and shellfish back to the skillet and toss well.  Season with salt and pepper to taste.  Serve immediately with lemon slices and crusty bread to soak up any leftover sauce.
https://www.flickr.com/photos/joyosity/16881596943/in/dateposted-public/

Next:  Taiwanese Oyster Omelet (Without the Oysters)
Previously:  Gordon Ramsay's Sublime Scrambled Eggs - Two Ways
Last Year:  Candied Bacon Chocolate Chip Pancakes
Five Years Ago:  Passion Fruit Ice Cream
Six Years Ago:  Carrot Cake Ice Cream

Monday, March 23, 2015

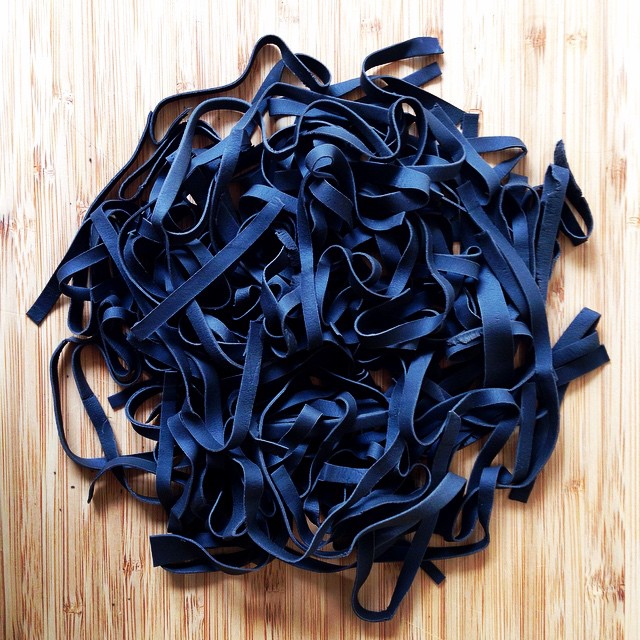
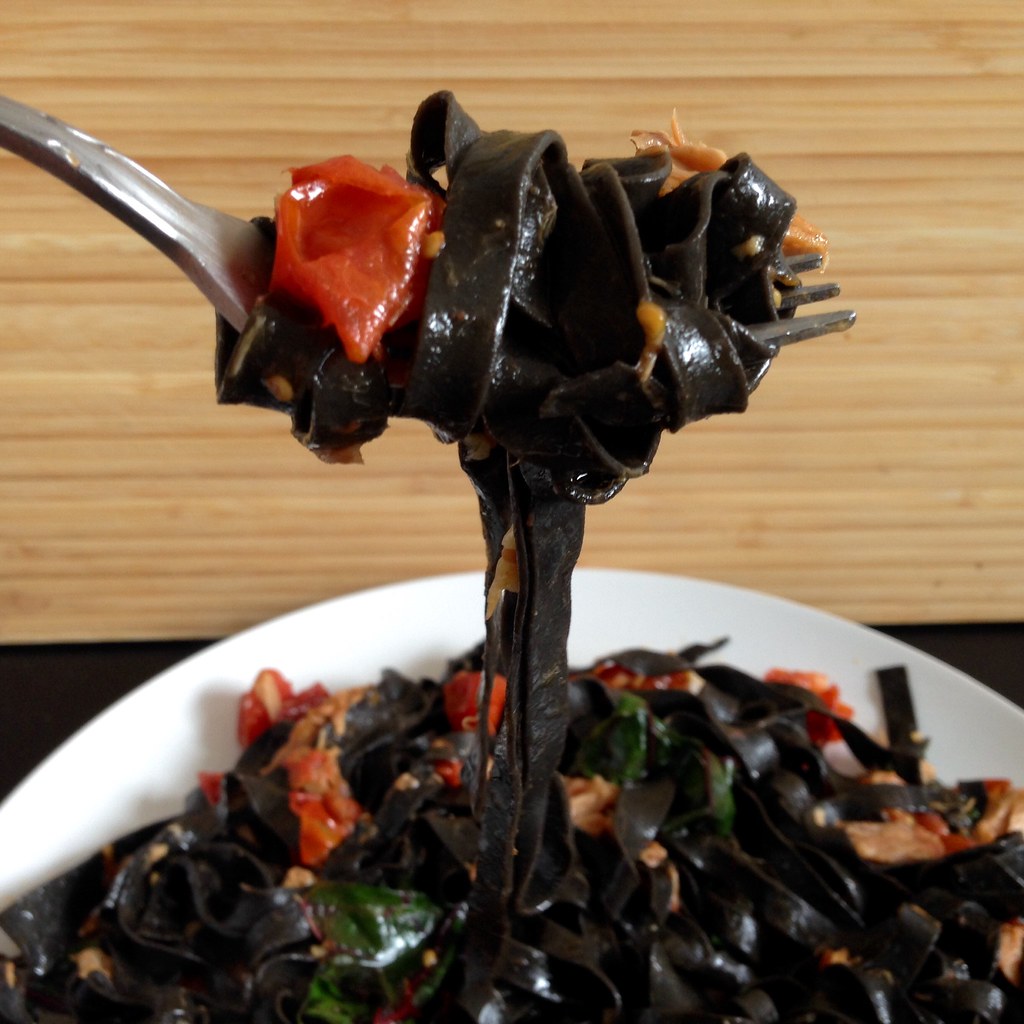
Homemade Squid Ink Pasta

https://www.flickr.com/photos/joyosity/16898807432/

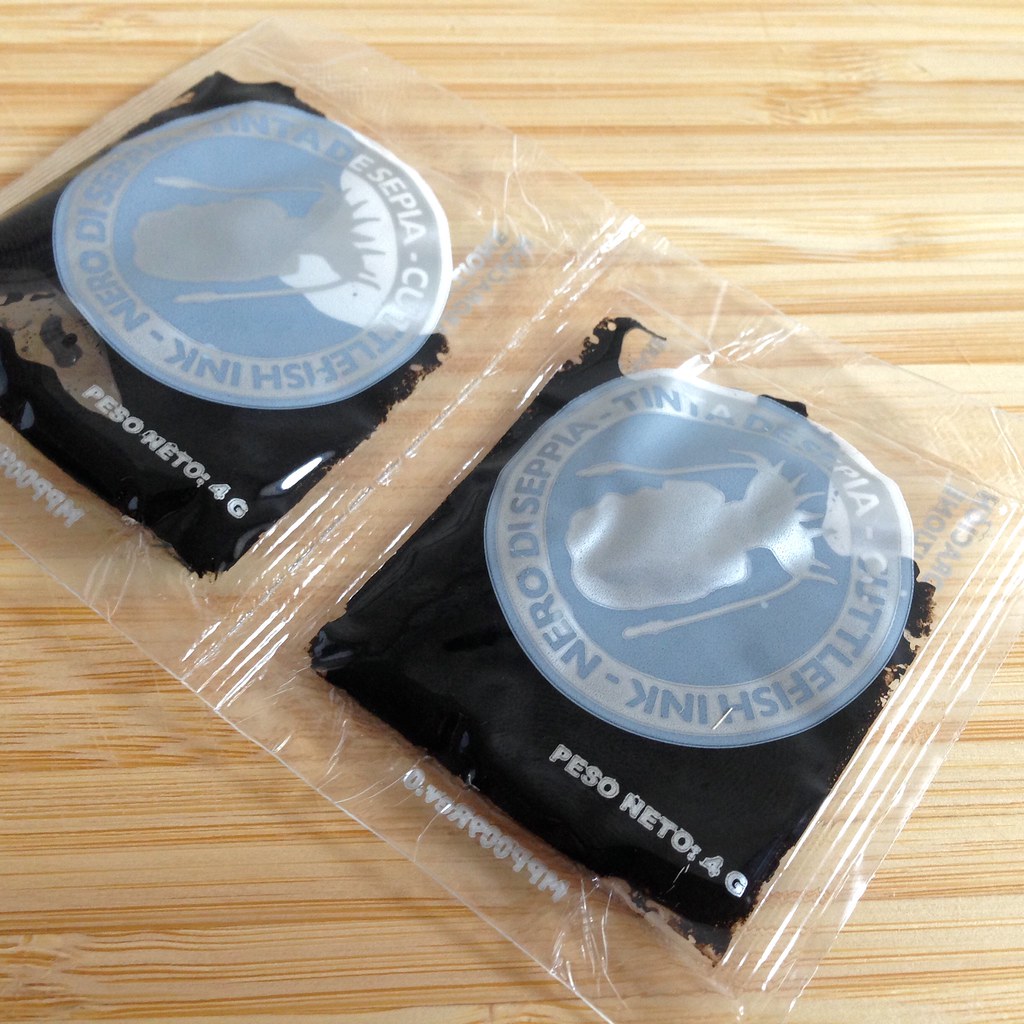
I've been wanting to make my own squid ink pasta ever since I first had it in Venice, so I was pretty excited when I finally found some squid ink at DiLaurenti on my last trip to Seattle.  It came in these little pricey packets, but a little goes a long way.

https://www.flickr.com/photos/joyosity/16887462805/

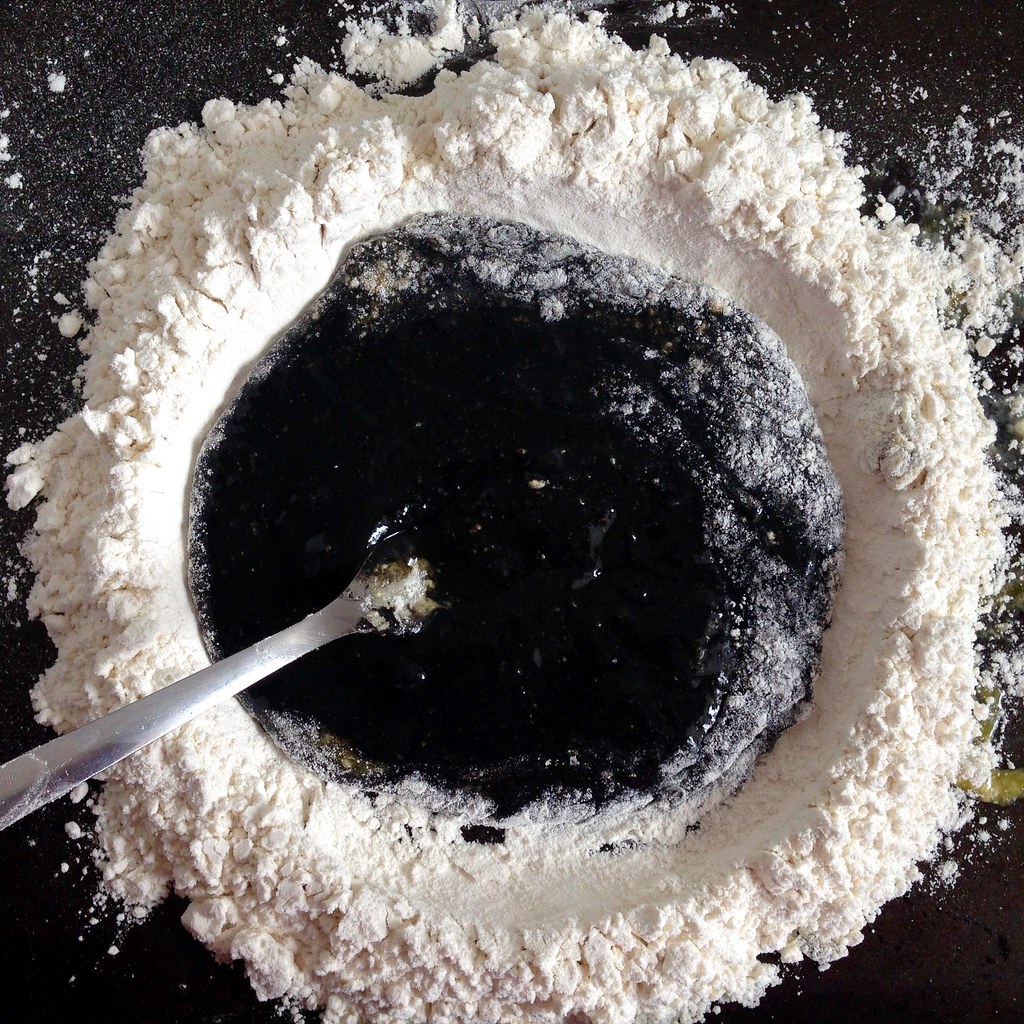
I pretty much followed my recipe for a better homemade pasta, but I substituted squid ink for one of the egg yolks.  Because this recipe produces a drier dough, you don't have to dust the pasta with any additional flour to keep it from sticking, and it also lets the color of the squid ink pasta shine through.

https://www.flickr.com/photos/joyosity/16700059530/

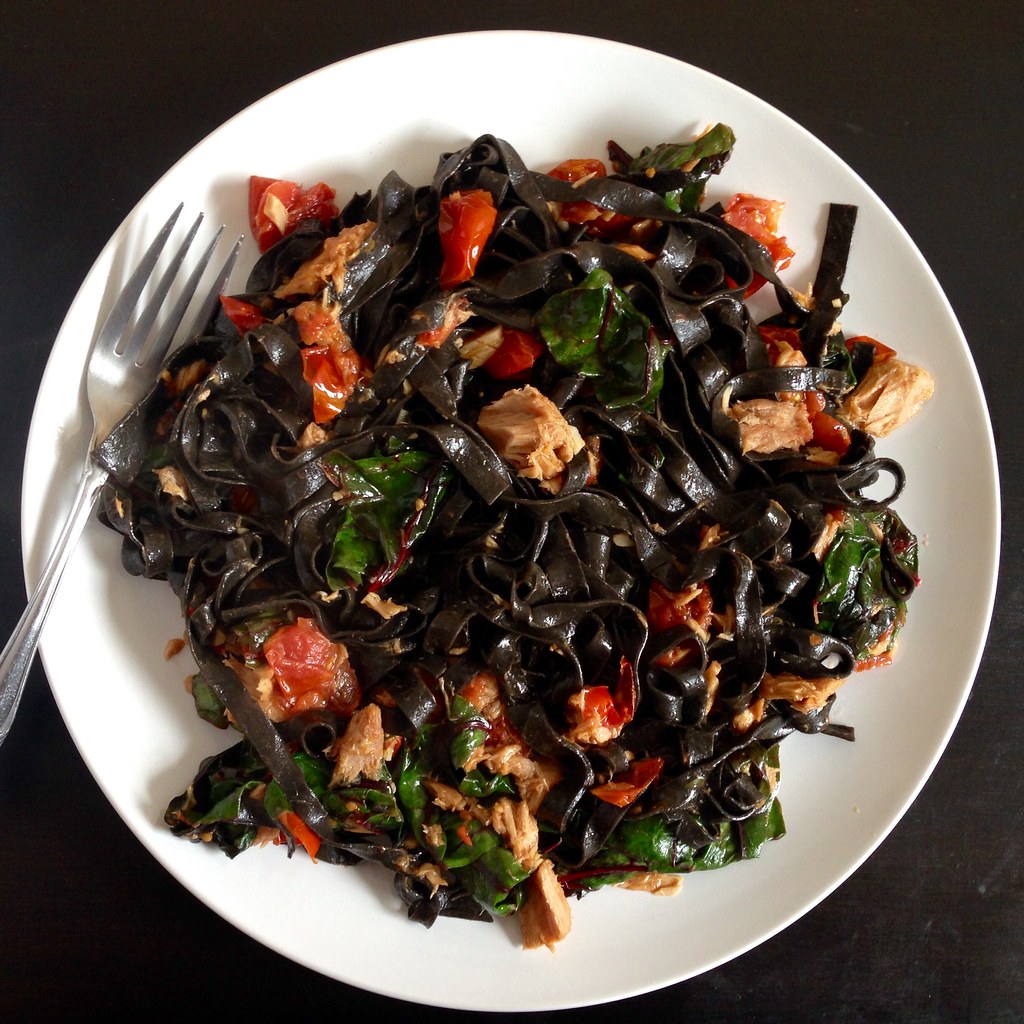
I found that I could really smell and taste the brininess of the squid ink compared to the dried squid ink pasta I had bought from Venice.  I ended up using this pasta to make the First Night in Florence Spaghetti, and it just made that already fantastic dish even better.

https://www.flickr.com/photos/joyosity/16699830358/

Homemade Squid Ink Pasta
makes 2 servings

1 cup all-purpose flour
1 large egg
2 large egg yolks
8 grams (about 1 1/2 teaspoons) squid ink

On a large, rimmed baking sheet, make a pile with the flour and dig a well in the middle.  Crack the egg into the well and add the egg yolks and squid ink.

Using a fork, start stirring the liquids and slowly incorporating more and more of the flour into the well until you have a nice, thick paste.  Combine with the rest of the flour and start kneading with your hands.  If the dough is too dry, wet your hands as many times as you need just for it to all come together.

Continue kneading by hand or in a stand mixer (with the dough hook attachment) until you have a smooth, uniform dough.  Cover tightly with plastic wrap and let rest for at least 20 minutes.  At this point you can refrigerate the dough, well wrapped, overnight and bring it back to room temperature the next day before continuing.

Cut the dough in half.  Run one half through the pasta machine set at its widest setting.  Fold the dough in thirds and run through the machine again, repeating 3 times.  Then, run the dough halfway through and pinch the ends together so it forms a loop.  Adjust the setting to one notch thinner and roll through, continuing to adjust the setting one notch thinner each time the loop has gone all the way around.  When the dough looks almost transparent, stop and cut the dough out of the machine and then in half.  Repeat the whole process with the other half of the dough.

If your dough is feeling tacky at this point, let it dry a bit on some tea towels.  Otherwise, you can go ahead and fold the dough in half three times so you have a manageable width to cut.  Using a sharp knife, cut the noodles into the width you desire.  Shake out the noodles and let them dry some more on the tea towel.

Bring a pot of salted water to a rolling boil.  Add the pasta and stir occasionally so that the noodles don't stick to each other.  The pasta is done when they float to the surface.  Remove from the water immediately to preserve its perfect al dente texture.  Toss with the sauce of your choice.

https://www.flickr.com/photos/joyosity/16680119357/

Next:  Chocolate Mochi Snack Cake
Previously:  Cacio e Pepe for One
Last Year:  Dan Bing (Taiwanese Egg Crepe)
Five Years Ago:  Mama Huang's Secret Beer Duck Recipe
Six Years Ago:  Carrot Cake Cupcakes with Cream Cheese Frosting

Tuesday, September 9, 2014

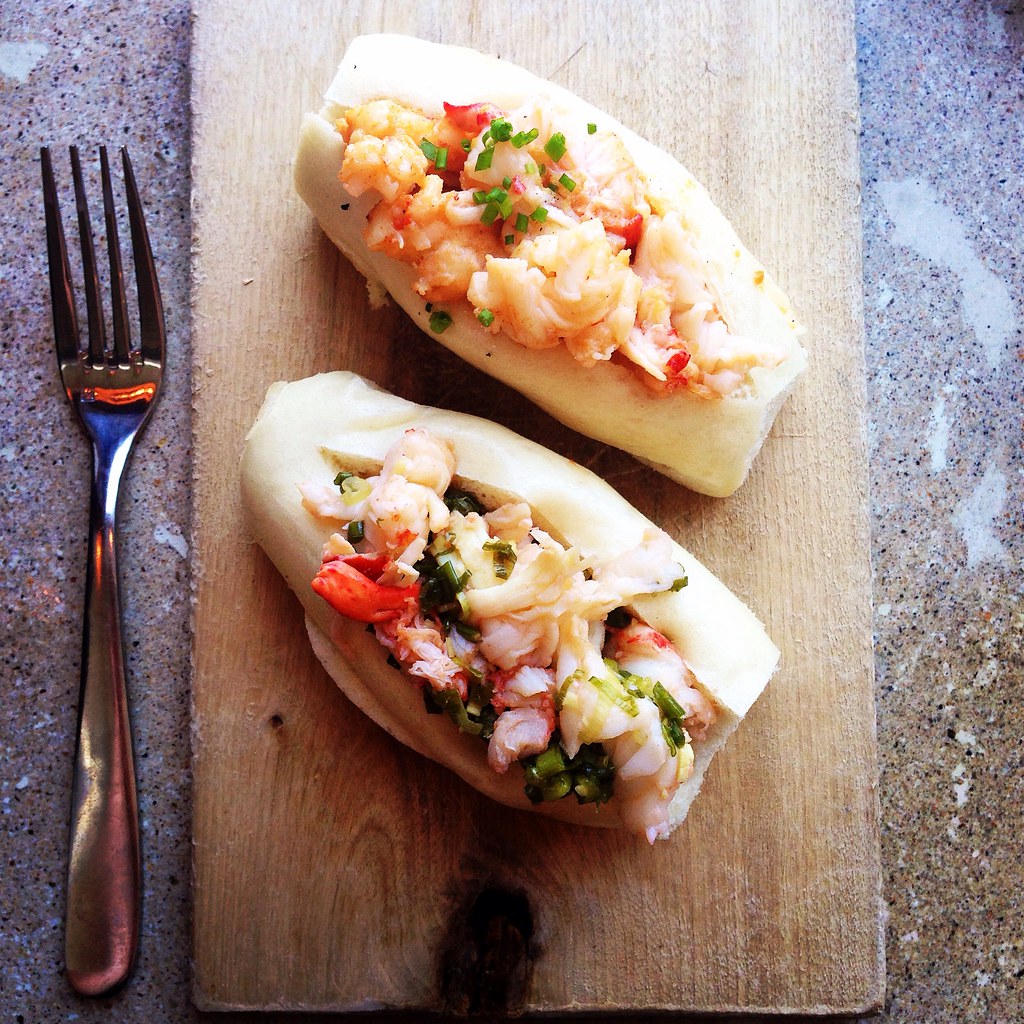
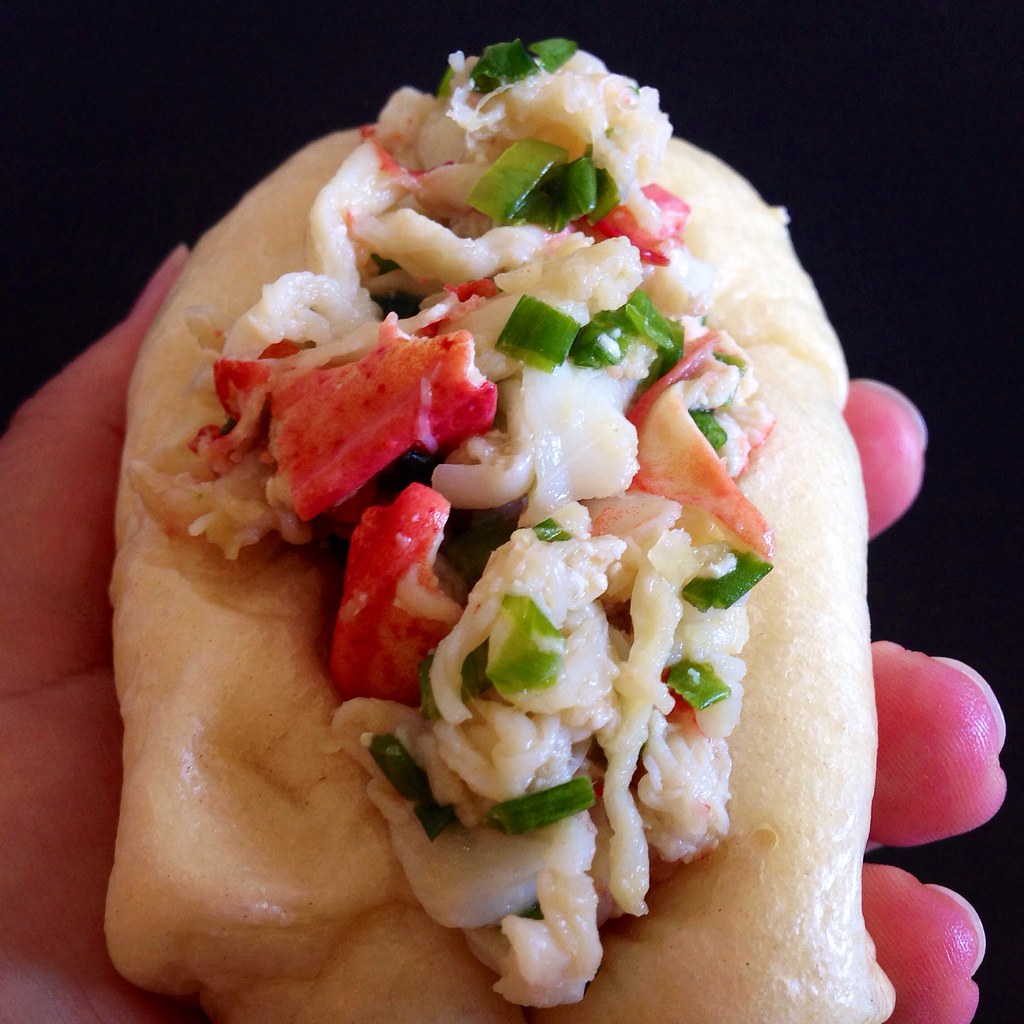
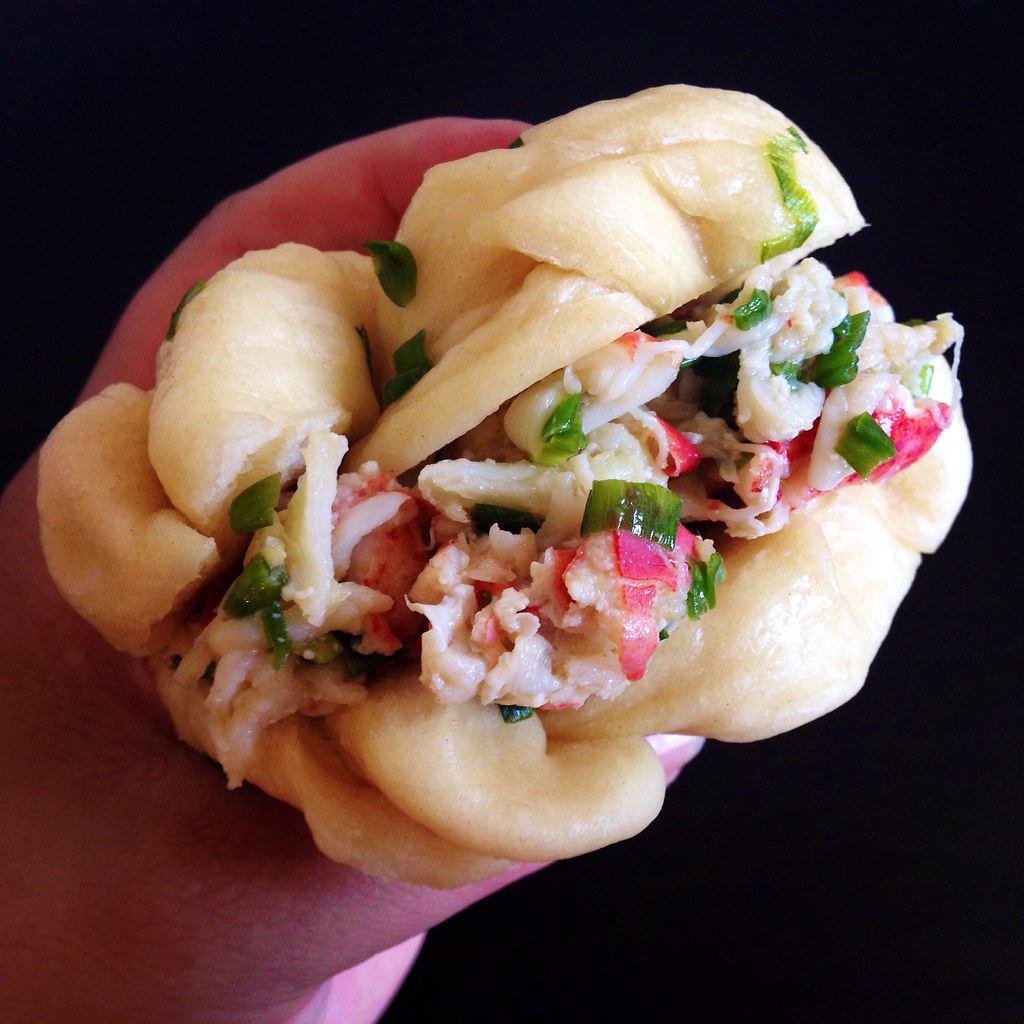
Ginger Scallion Lobster Buns

https://www.flickr.com/photos/joyosity/15138821161/

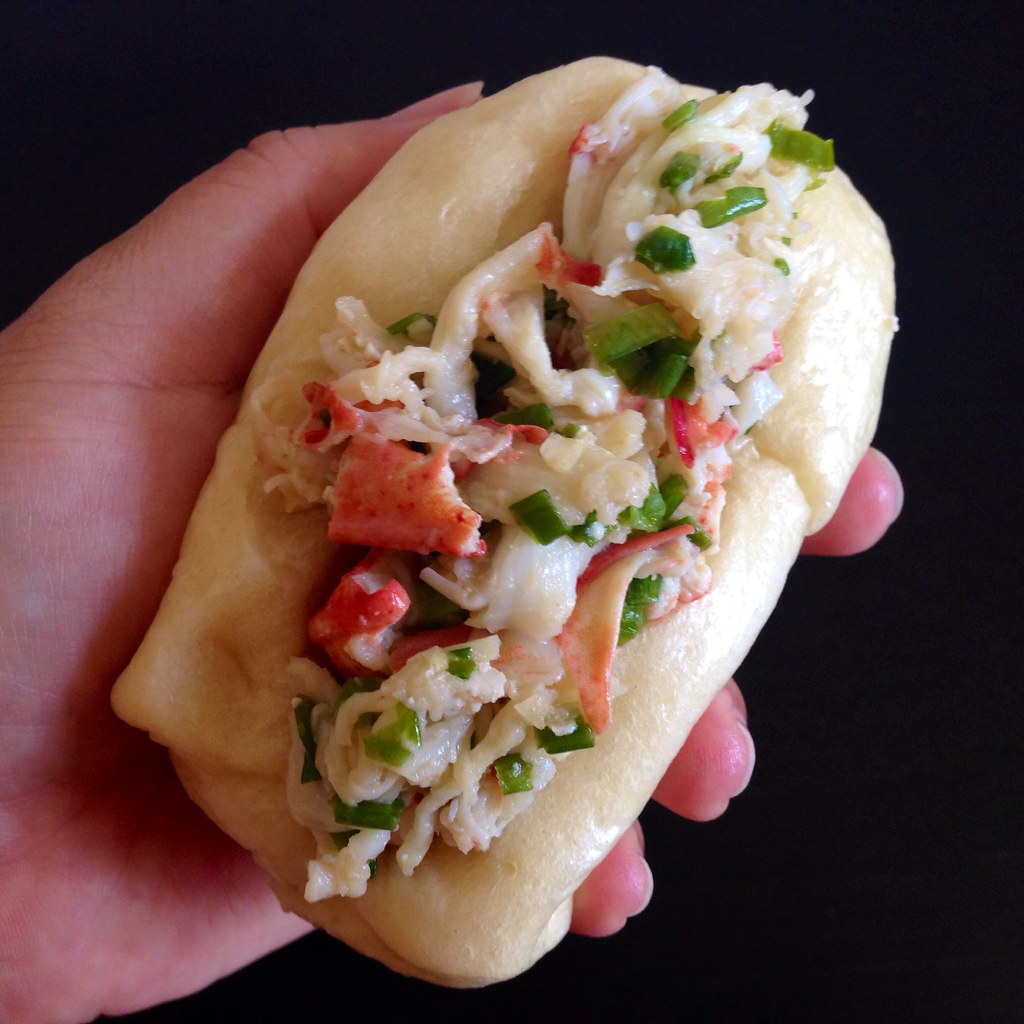
This past Labor Day I went on a road trip to Portland, ME with two of my favorite people in the world.  I insisted that we go to Eventide Oyster Co. since I was still dreaming about their lobster rolls from my trip 2 years ago.  This time the Hollandaise lobster roll had been replaced on their menu by a ginger scallion version, which I just had to try, along with my favorite from last time, the brown butter lobster roll.

https://www.flickr.com/photos/joyosity/14955116369/

I took a bite of the ginger scallion lobster roll first and decided right then and there that it was my favorite lobster roll ever, until I took a bite of the brown butter one.  Both were just so good in their own special way!  I knew I had to try to recreate the ginger scallion lobster roll at home, and this time, I was going to make my own steamed buns.  I used my mom's recipe for making hua juan except I omitted the sesame scallion glaze and just shaped the rolls by rolling the dough into a long snake and cutting them into about 5" logs.  I also made some hua juan to use for buns since I figured it was in the same flavor profile.

After trying both, I really preferred the sandwiches made with the hua juan.  They're just so pretty, and the added flavor and texture really complements the ginger scallion lobster well.  You can also just use store bought steamed buns, but I guarantee that the fresh made ones will be better than anything you can get from a store.

https://www.flickr.com/photos/joyosity/14955254728/

Ginger Scallion Lobster Buns
serves 4-6

3 1.5 lb lobsters, steamed
3/4 cup chopped scallions
1 tablespoon grated ginger
1 tablespoon minced garlic
1 tablespoon sesame oil
1 teaspoon soy sauce
1/2 teaspoon rice wine vinegar
1/2 teaspoon salt
12 hua juan or steamed buns

Remove the meat from from the claws, knuckles, and tail of the lobsters.  Chop or tear into small pieces and mix with the scallions, ginger, garlic, sesame oil, soy sauce, rice wine vinegar, and salt.

Slice the hua juan or steamed buns in half, leaving one side attached.  Fill the buns with the ginger scallion lobster salad and enjoy!

https://www.flickr.com/photos/joyosity/14955253608/

Next:  Hokkaido Milk Bread Three Ways (Traditional, Braided, and Taro Swirl)
Previously:  Taiwanese Taro Swirl Mooncakes
Last Year:  Lobster Bisque

Thursday, September 4, 2014

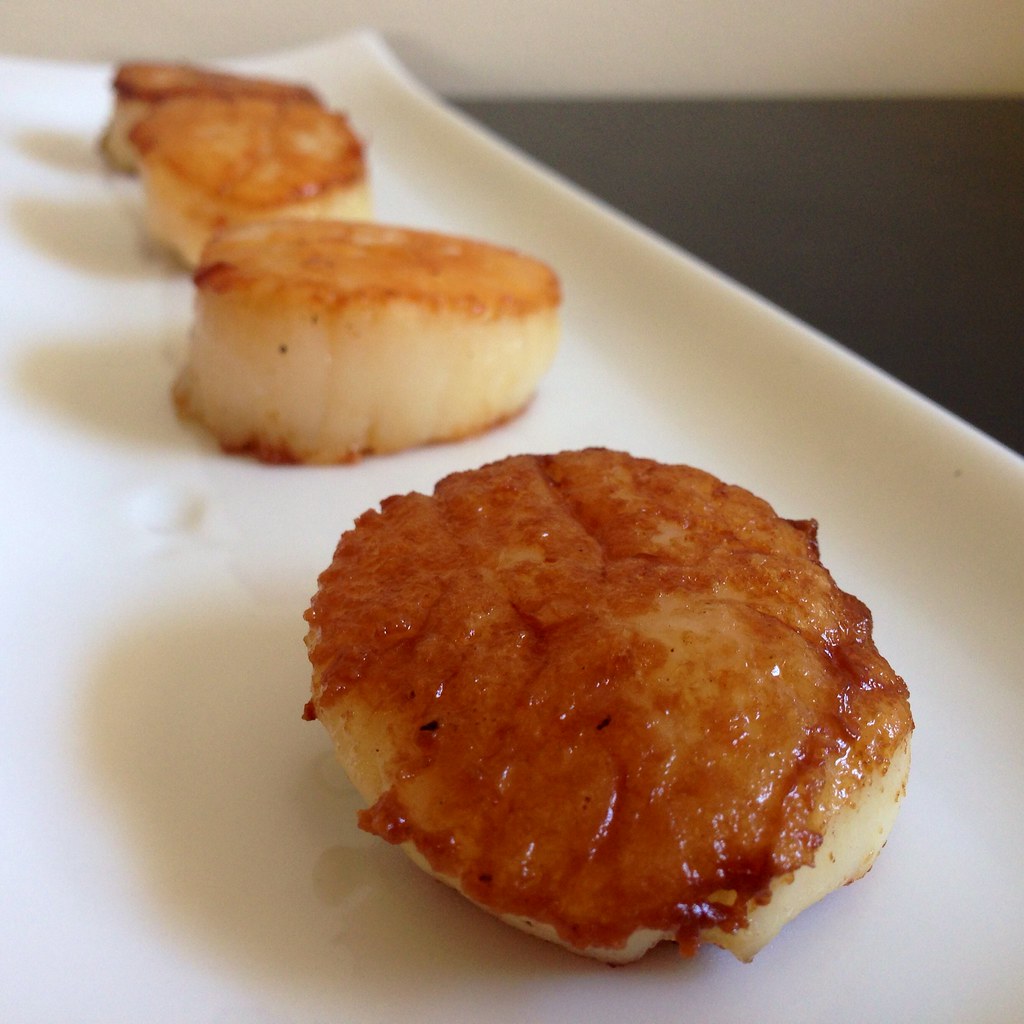
Thomas Keller's Caramelized Scallops

https://www.flickr.com/photos/joyosity/15084765972/

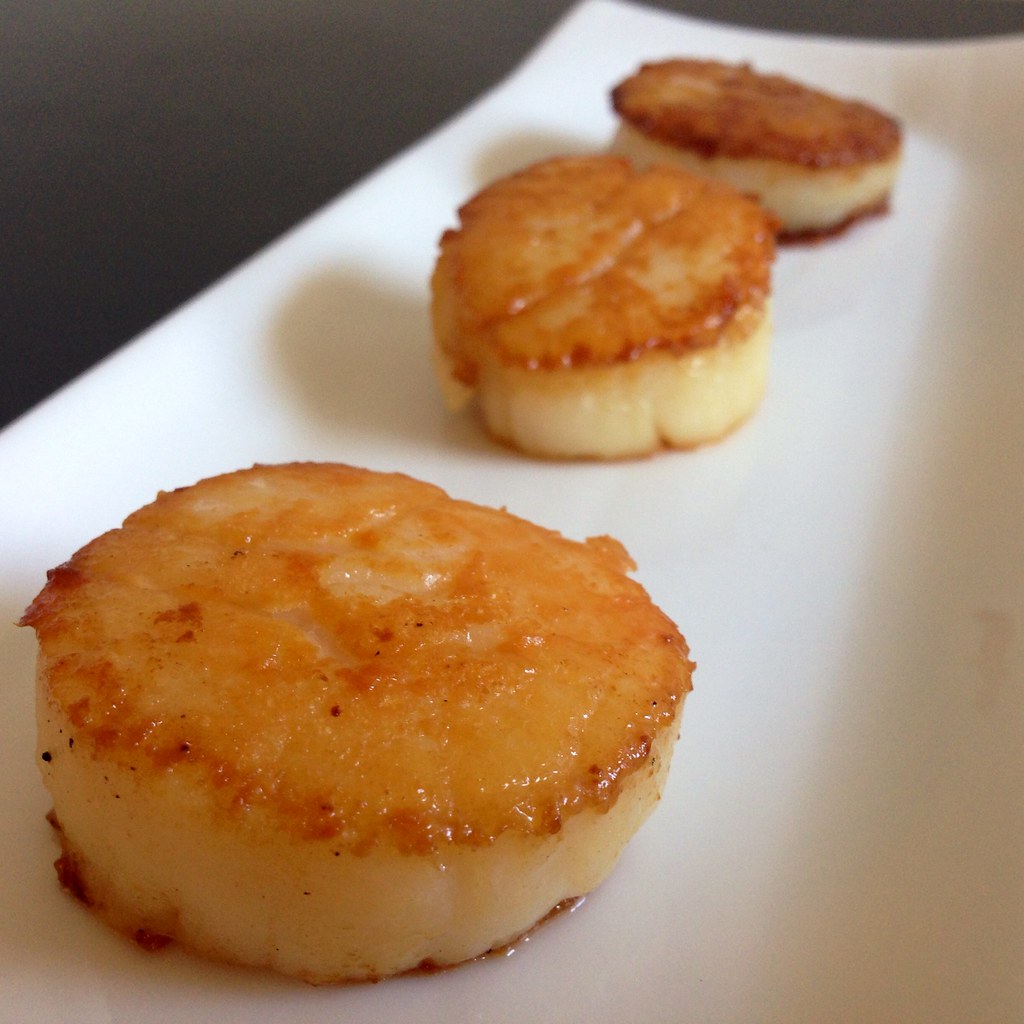
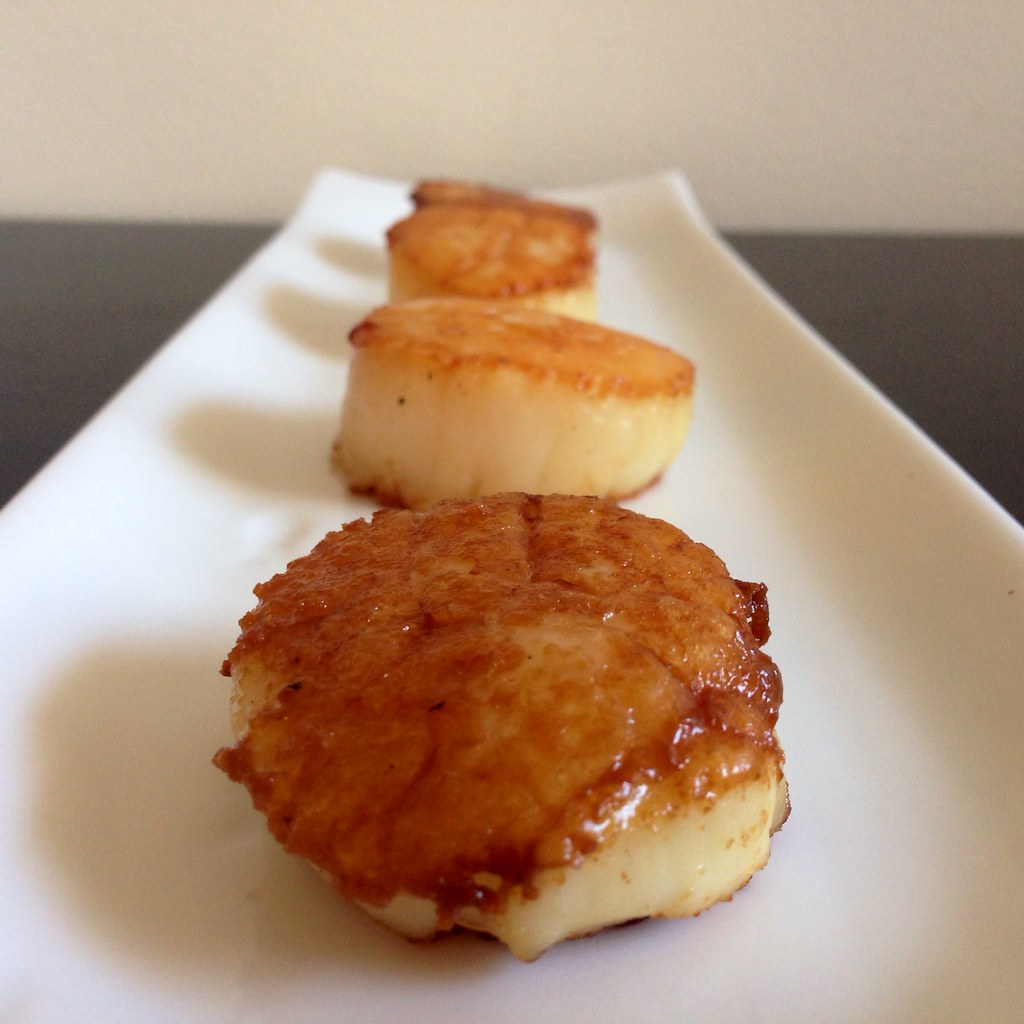
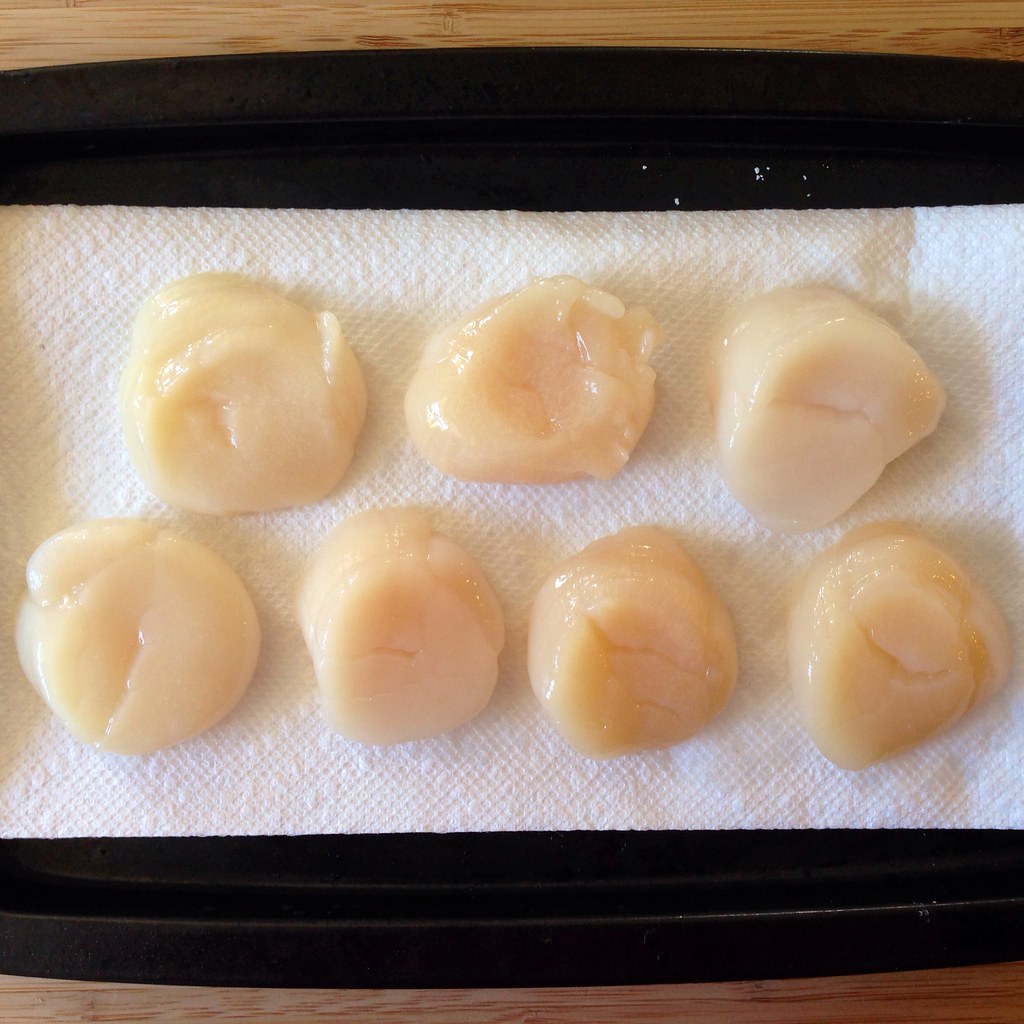
The first time I made these, it was because one of my friends really, really wanted to make something from Thomas Keller's Ad Hoc at Home cookbook with me.  I picked the caramelized scallops because I've always wanted to learn how to make those beautiful seared scallops you always see TV and it was probably one of the simplest recipes in the book.

Keller's recipe uses size U7 scallops, which means there are 7 scallops per pound.  Those are some ridiculously big scallops.  I asked for the 7 largest scallops at my local grocery store, and they only weighed a little more than half a pound.  =(

To account for the differences in size, I adapted his recipe by decreasing the brine and cooking time slightly.  I also changed the ratio of hot to cold water since I found that I had a hard time getting the salt to dissolve in the amount of hot water specified.  If you can find U7 scallops, bravo.  For the rest of us sad souls, here's how to make normal sized caramelized scallops.

https://www.flickr.com/photos/joyosity/14898538588/

Thomas Keller's Caramelized Scallops (adapted from Ad Hoc at Home)
serves 2

1/2 cup kosher salt
1 cup hot water
1 cold water
12 of the largest sea scallops you can find (about a pound)
About 2 tablespoons clarified butter
1/2 lemon (optional)

Line a small baking sheet with paper towels. Combine the salt with the hot water in a small bowl, stirring to dissolve the salt. Add the cold water and refrigerate until cold.

https://www.flickr.com/photos/joyosity/15082107371/

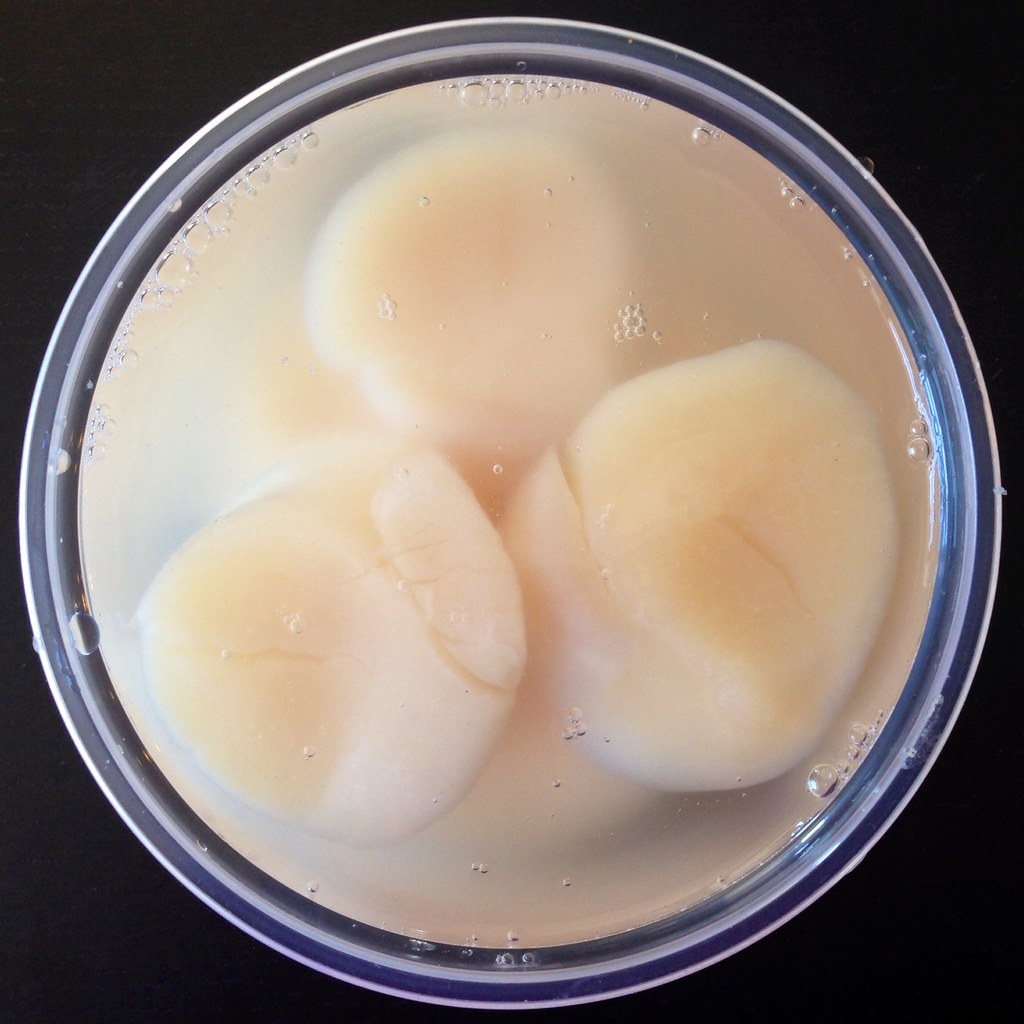
Add the scallops to the brine and let stand for 8 minutes (no longer, or the scallops may become too salty). Drain the scallops, rinse under cold water, and arrange in a single layer on the paper towels.

https://www.flickr.com/photos/joyosity/14898561047/

Heat the clarified butter in a large stainless steel frying pan over medium-high heat until it ripples and begins to smoke. (Although you may be tempted to use a nonstick pan, a stainless steel pan will produce a more beautiful caramelized exterior.)

https://www.flickr.com/photos/joyosity/15085119315/

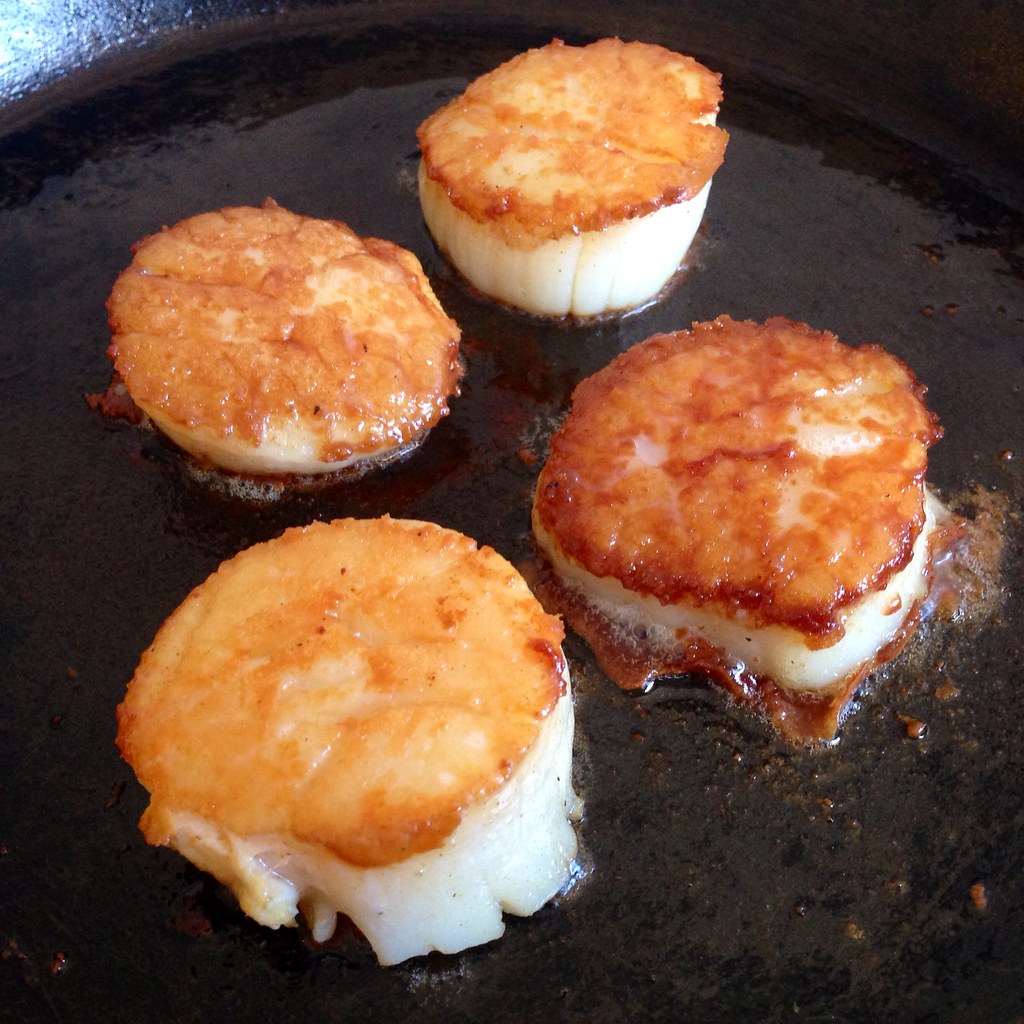
Sprinkle the scallops lightly with salt and add them to the pan, without crowding. (If necessary, cook the scallops in two pans or in 2 batches; if they touch, they will steam rather than caramelize.) Cook, without moving the scallops, until the bottoms are a rich golden brown, 2 1/2 - 3 minutes. Turn the scallops and caramelize the second side.

https://www.flickr.com/photos/joyosity/14898483250/

Transfer the scallops to a serving platter and serve with a squeeze of lemon juice on top, if desired.

Previously: Melanzane alla Parmigiana (Eggplant Parmesan)
Last Year:  Brown Butter Vinaigrette Lobster Buns

Tuesday, August 26, 2014

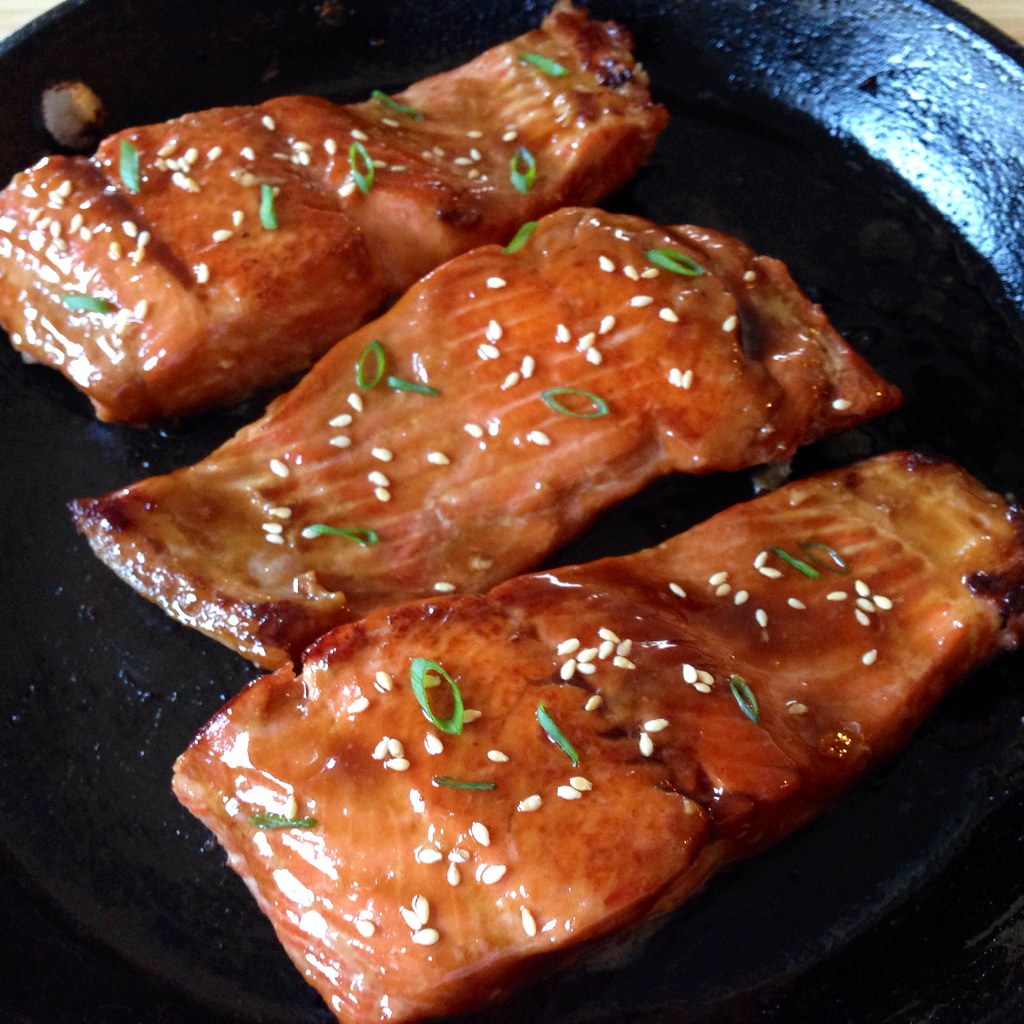
Crispy Skinned Salmon Teriyaki

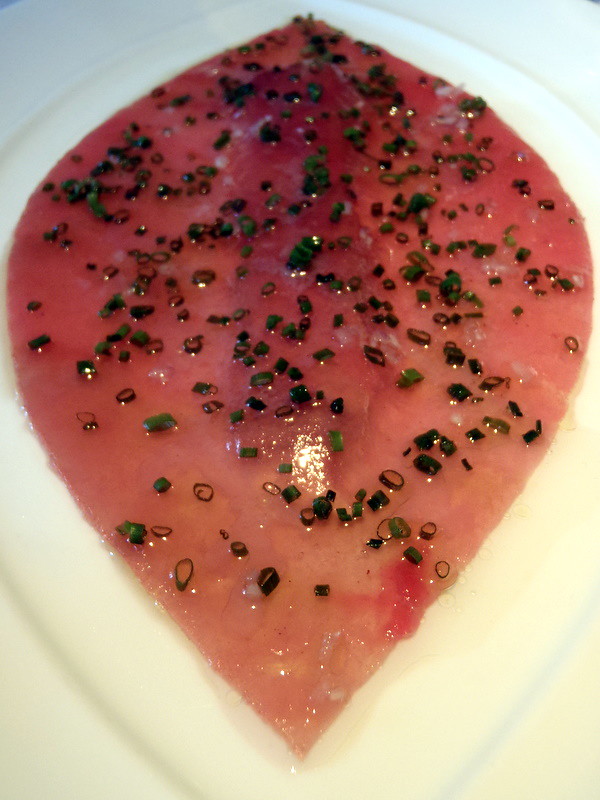
The other best meal I've had in my life (besides lunch at L'Arpège) was at Eric Ripert's Blue at the Ritz Carlton on Grand Cayman.  I ordered the tasting menu, and course after course of the best seafood I'd ever had were brought out to me starting with his signature Tuna Foie Gras.

https://www.flickr.com/photos/joyosity/4870169683/in/set-72157624669411682

I'm usually not a fan of foie gras not only because of the animal cruelty behind it, but also because I just don't really think it lives up to the hype.  But I'll admit, that dish was the first time I liked foie gras.  


Sadly, I've never been to Ripert's outpost in New York, La Bernardin, but I will gladly try his genius recipe for making crispy-skinned fish.  The technique is surprisingly simple and uses a secret ingredient:  Wondra flour.  If you can't find this in your supermarket, you can substitute with all-purpose flour or fine cornmeal.  

I decided to take the recipe a step further and marinate the salmon first and then slather it with some homemade teriyaki sauce at the end.  I liked this technique because instead of a dry slab of salmon meat topped with a corn syrup sweetened soy sauce, you get a moist, flavorful fillet of salmon with a crispy skin. 

https://www.flickr.com/photos/joyosity/14767060278/

Crispy Skinned Salmon Teriyaki (adapted from Food52)
serves 4

4 six oz. skin-on salmon fillets
1/4 cup soy sauce
1/4 cup mirin
1/4 cup sake or rice wine
1 tablespoon sugar
1 teaspoon cornstarch mixed in 1 tablespoon water
1 tablespoon canola oil
Wondra flour for dusting
Chopped scallions and sesame seed for garnishing

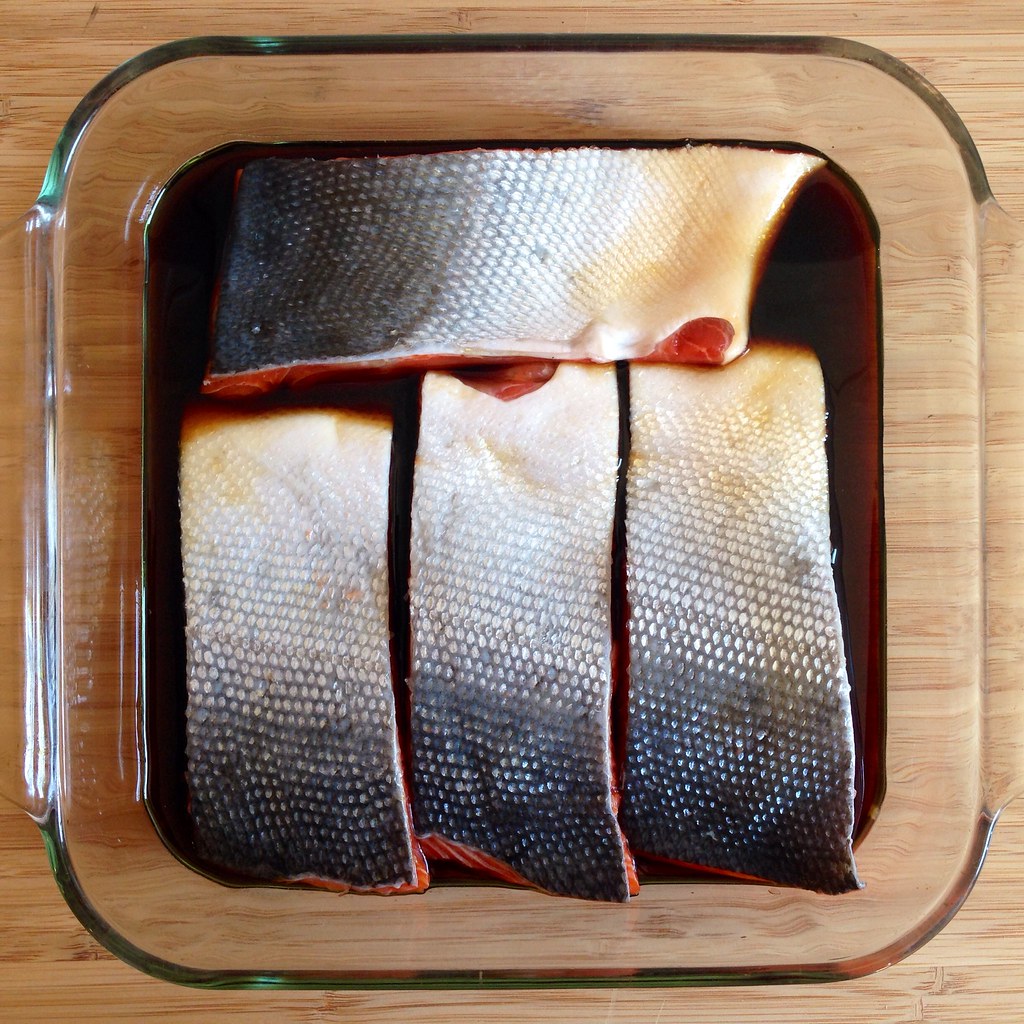
Mix together the soy sauce, mirin, sake, and sugar and heat in the microwave on high for a minute.  Stir until the sugar has completely dissolved.  Transfer to a small baking dish and add the salmon fillets, skin side up.  Cover and marinate in the refrigerator for 30 minutes to overnight.

https://www.flickr.com/photos/joyosity/14950565201/

Preheat the oven to 400°F. 

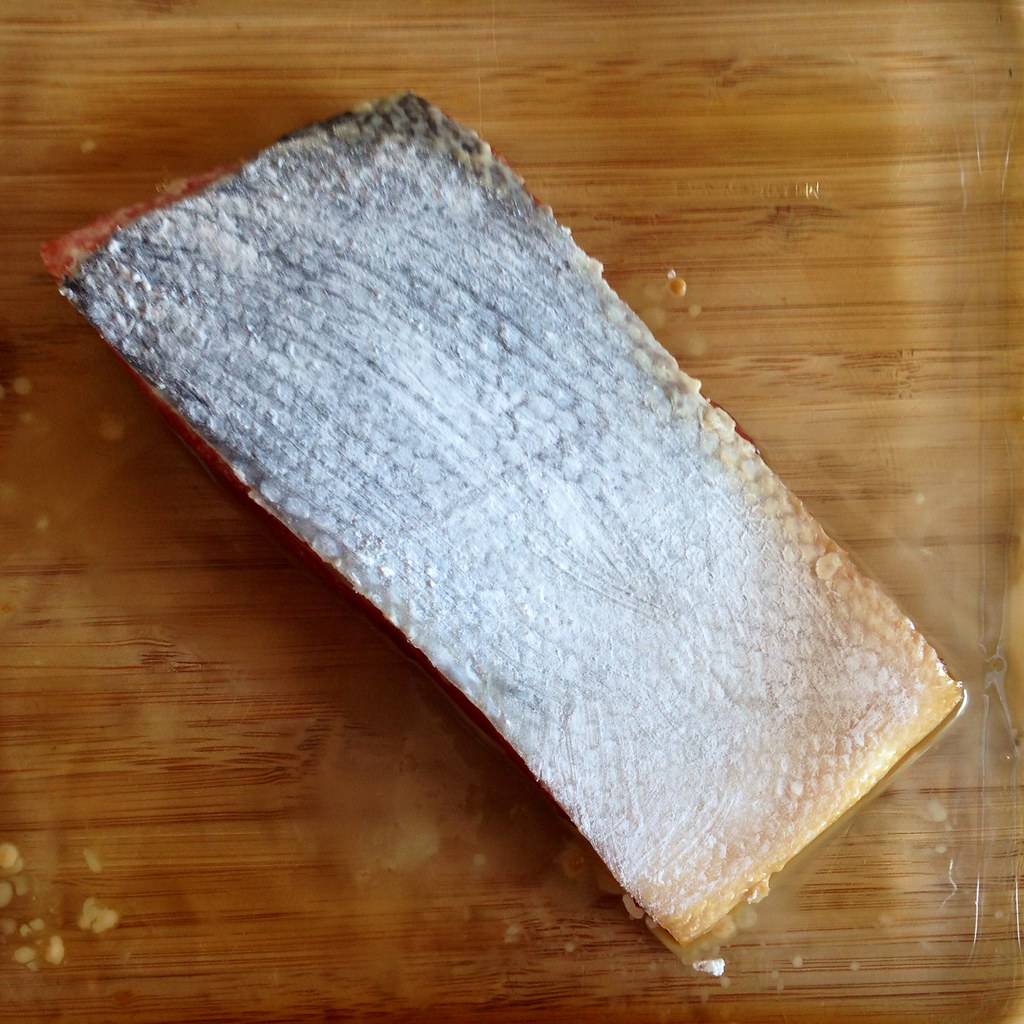
Remove the salmon from the baking dish and reserve the marinade.  Dry the skin with a paper towel and dust with Wondra flour, blowing off the excess.

https://www.flickr.com/photos/joyosity/14953327742/

Pour the marinade into a small saucepan and heat on medium until it starts to simmer.  Add the cornstarch slurry and stir until the teriyaki sauce thickens.  Remove from heat and set aside.

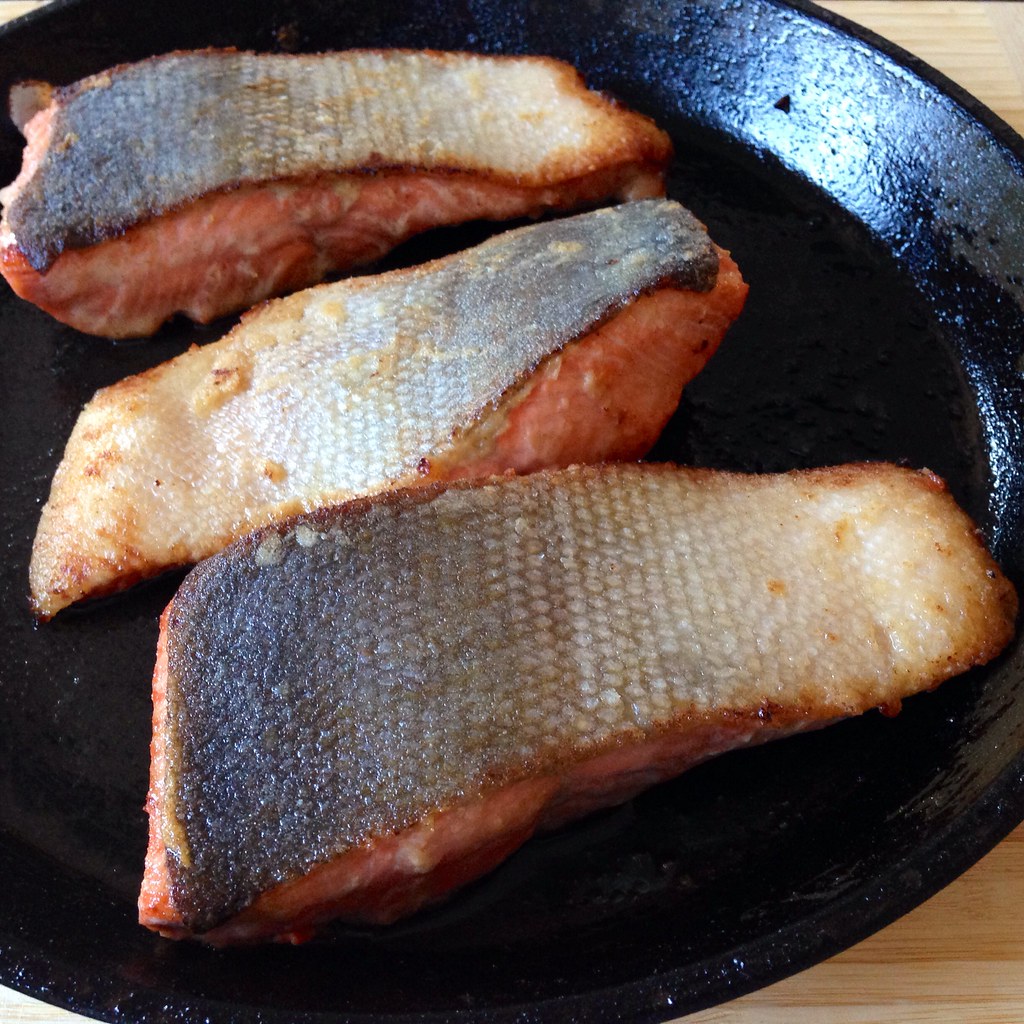
Heat the oil in a large, oven- and flame-proof sauté pan on the stovetop until the oil is very hot, but not smoking.  Put the fish in the pan, skin side down, and press down on the fish with a spatula. Sear on the stovetop over medium heat until golden brown on the bottom, about 3 minutes. 

https://www.flickr.com/photos/joyosity/14953679585/

Turn the fish over, put the pan in the oven, and cook another 2 to 3 minutes, until a metal skewer can be easily inserted into the center of the fillet and, if left for 5 seconds, feels just warm when touched to your lip. 

https://www.flickr.com/photos/joyosity/14930679306/

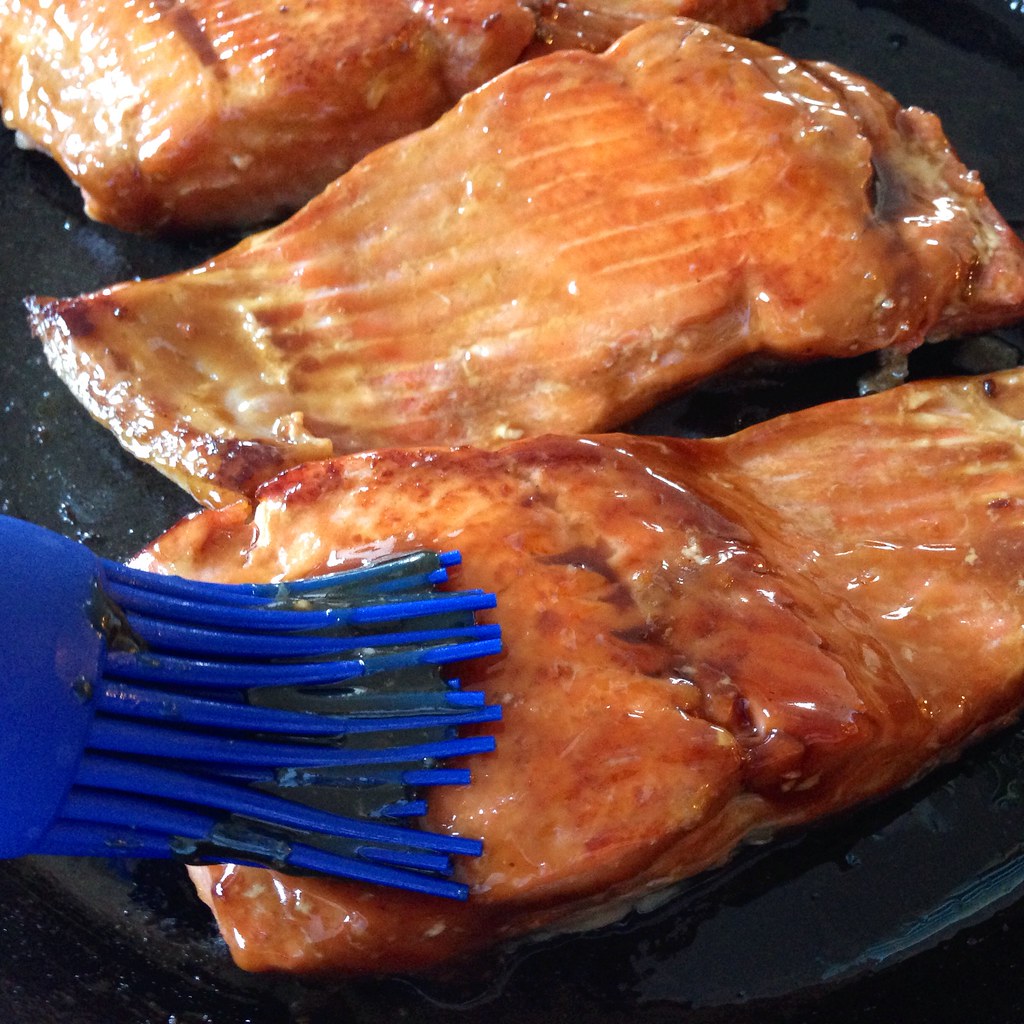
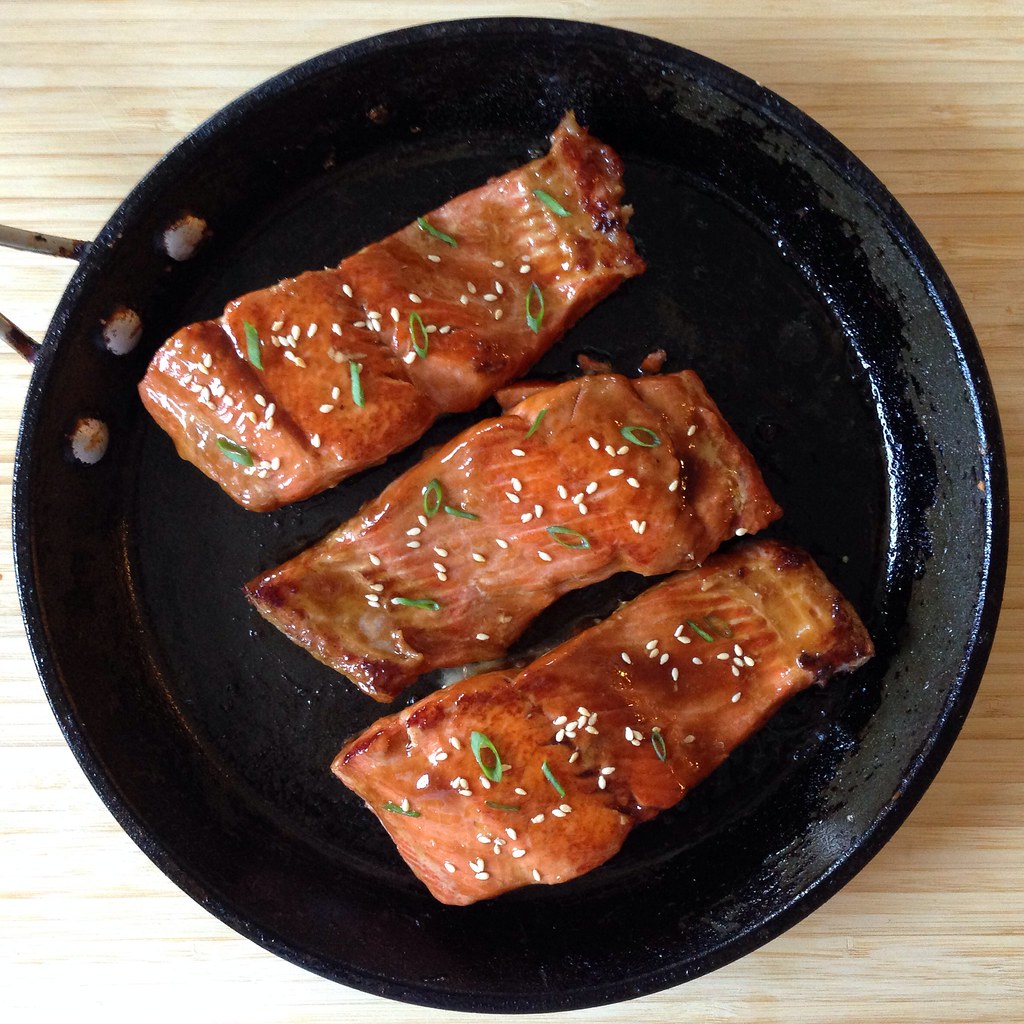
Remove from the oven, turn the fillets over again, and brush with the teriyaki sauce.  Garnish with chopped scallions and sesame seeds and serve immediately.

https://www.flickr.com/photos/joyosity/14953334332/

Next:  Salt and Pepper Tofu
Previously:  Bill Smith's Atlantic Beach Pie
Last Year:  Mozzarella Stuffed Arancini (Risotto Balls)

Thursday, August 14, 2014

Citrus Cured Salmon

https://www.flickr.com/photos/joyosity/14901944553/in/photostream/

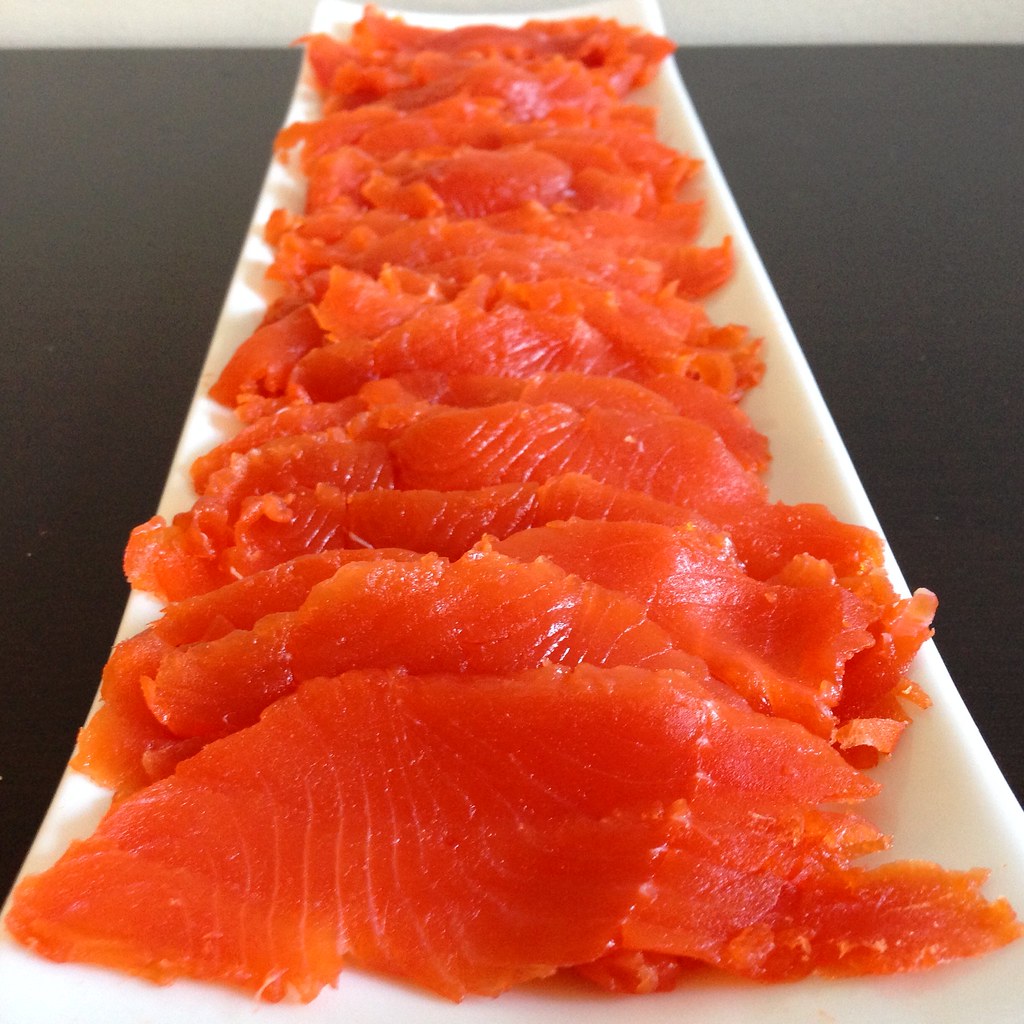
Ever since I saw Jen's post for Thomas Keller's citrus marinated salmon, I've wanted to try it out.  I love cold-smoked salmon, and the thought that I could make something similar at home was really intriguing to me.  I was in Seattle again recently, and went to Pike Place Market specifically to get another Copper River sockeye salmon just for this purpose.  Since the salmon is never actually cooked, you'll want to get the freshest sushi-grade salmon available and treat it as you would if preparing sushi by keeping it chilled as much as possible.

https://www.flickr.com/photos/joyosity/14695379010/

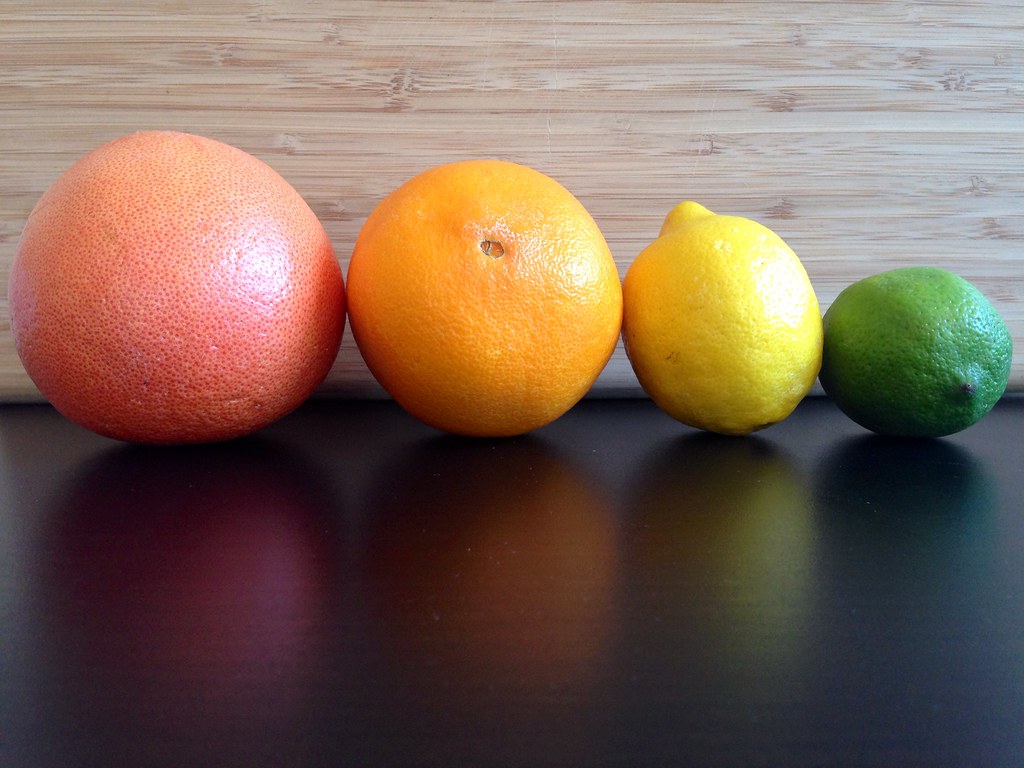
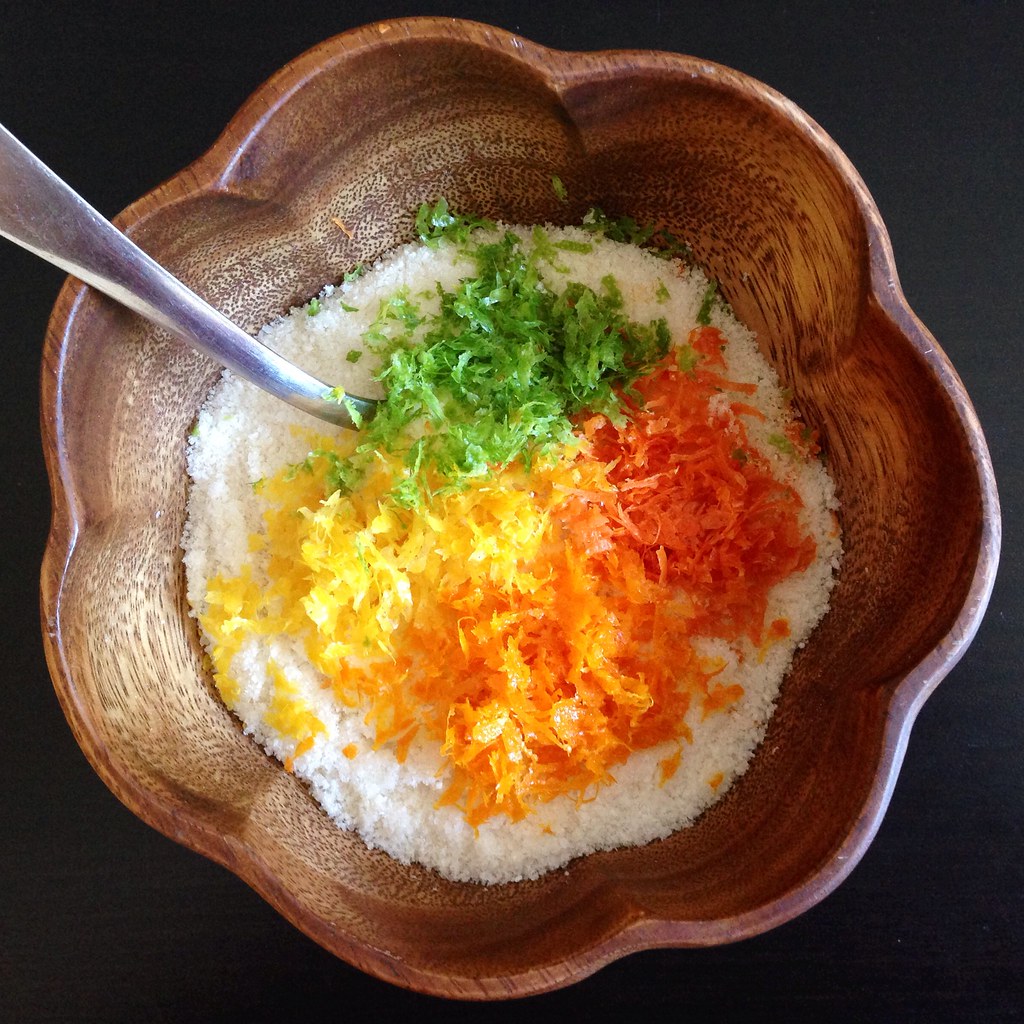
Jen's recipe calls for a teaspoon and a half each of lime zest, lemon zest, orange zest, and grapefruit zest, but it's okay if you don't have all four citrus fruits; you just need about 2 tablespoons total of citrus zest for this recipe.  Since I had the time to cure my salmon for a full 24 hours, I chose not to press the salmon while curing it, trusting that time and salt would perform the necessary osmosis.

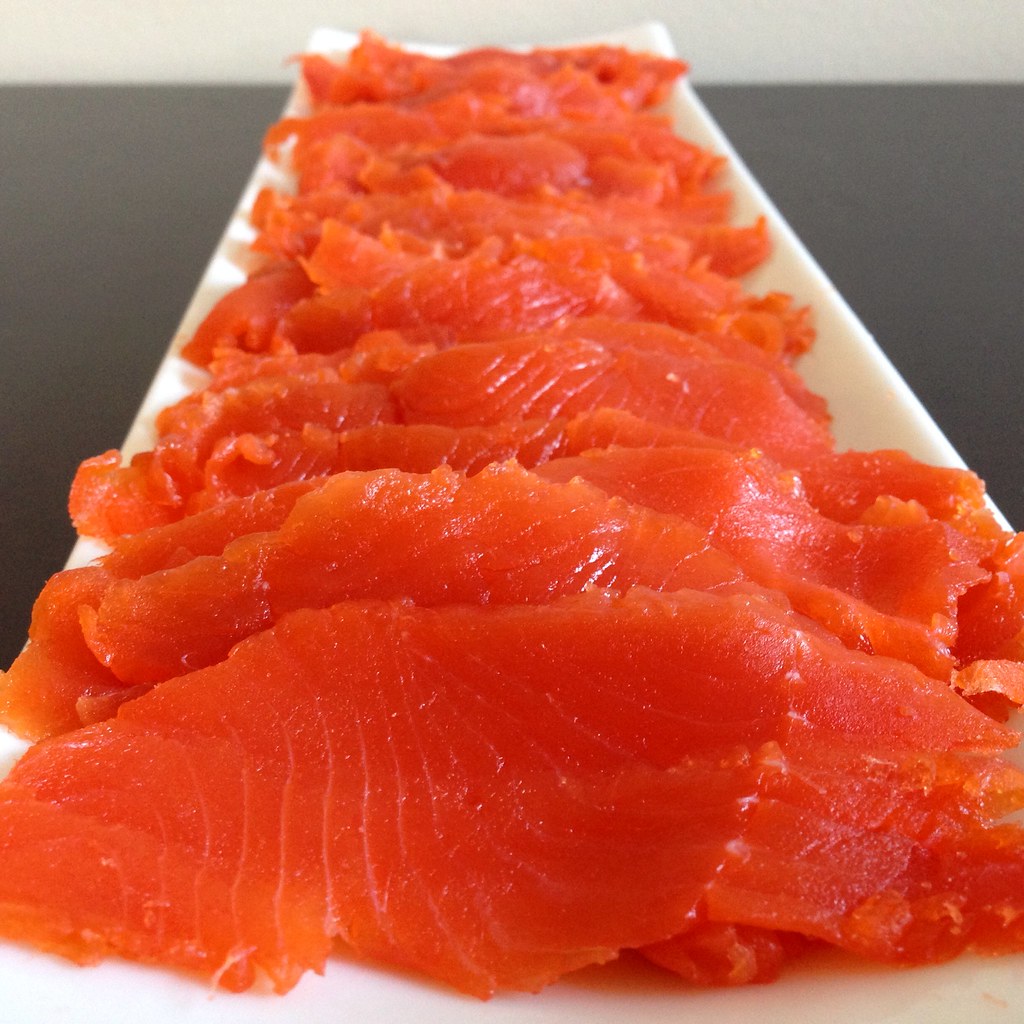
The change in texture of the cured salmon is pretty spectacular.  It's a lot more dense and almost gummy like pâte de fruit.  By itself, the cured salmon can be pretty salty, but served with some crème fraîche or sour cream and crackers, it makes for a wonderfully impressive appetizer!

https://www.flickr.com/photos/joyosity/14901944553/

Citrus Cured Salmon (adapted from Tiny Urban Kitchen)
serves 6-8

Zest from 1 pink grapefruit
Zest from 1 orange
Zest from 1 lemon
Zest from 1 lime
1/2 cup kosher salt
1/2 cup sugar
1 salmon filet, skin removed (about 2 lbs.)

https://www.flickr.com/photos/joyosity/14879604864/

Mix the zests, salt, and sugar together.

Feel along the salmon and if there are any pin bones, remove them with tweezers or pliers.

https://www.flickr.com/photos/joyosity/14695376000/

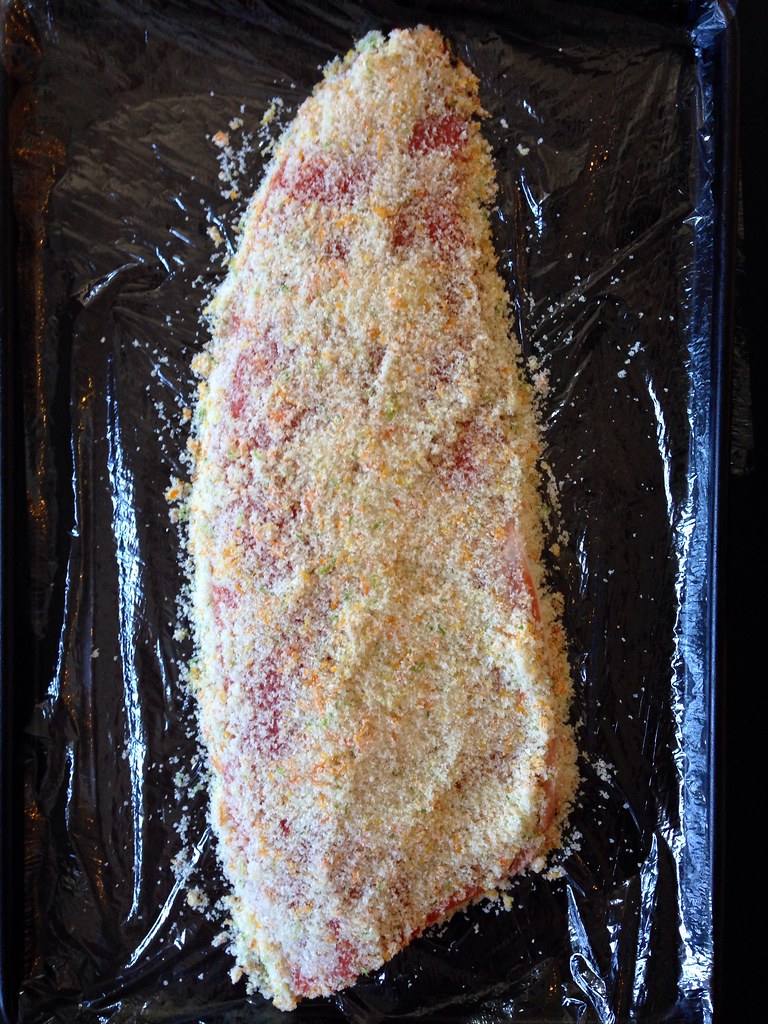
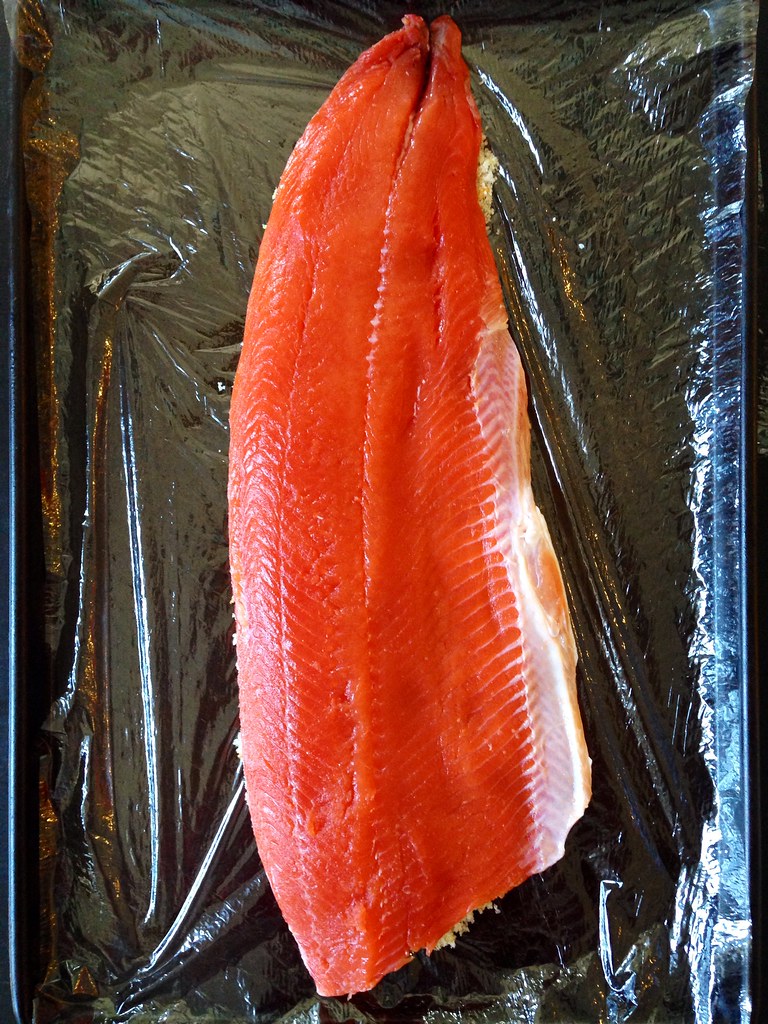
Line a large tray with enough plastic wrap to completely wrap the filet.  Spoon half of the salt mixture onto the tray in the shape of the filet.  Place the filet on top, and spoon the rest of the salt mixture on top of the salmon.  Spread the salt mixture evenly over the fish. 

https://www.flickr.com/photos/joyosity/14695452018/

 Wrap well with the plastic wrap, and transfer the tray to the refrigerator.  Let cure for 24 hours.

https://www.flickr.com/photos/joyosity/14901937893/

Unwrap the salmon and rinse under cold water.  Pat dry and transfer to a cutting board.  With a sharp knife, cut thin slices at an angle against the grain.

https://www.flickr.com/photos/joyosity/14695538077/

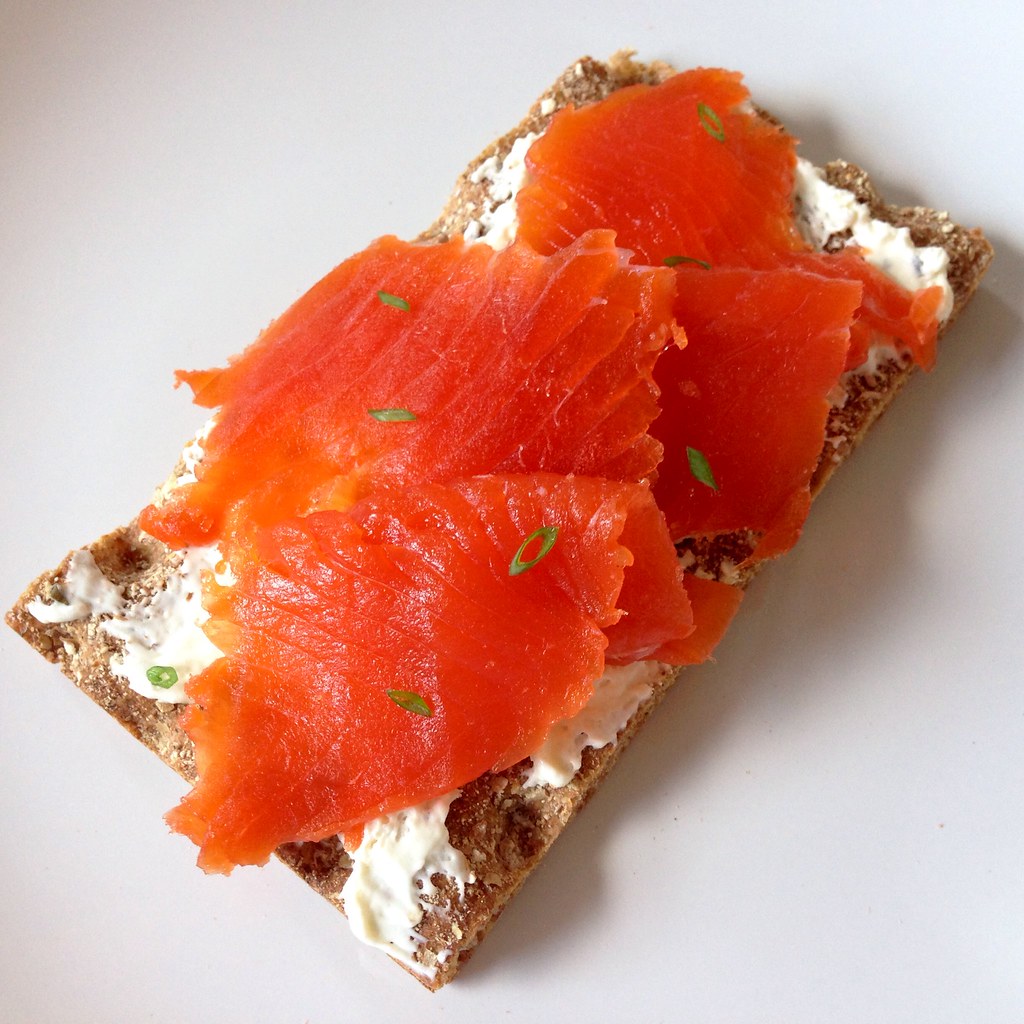
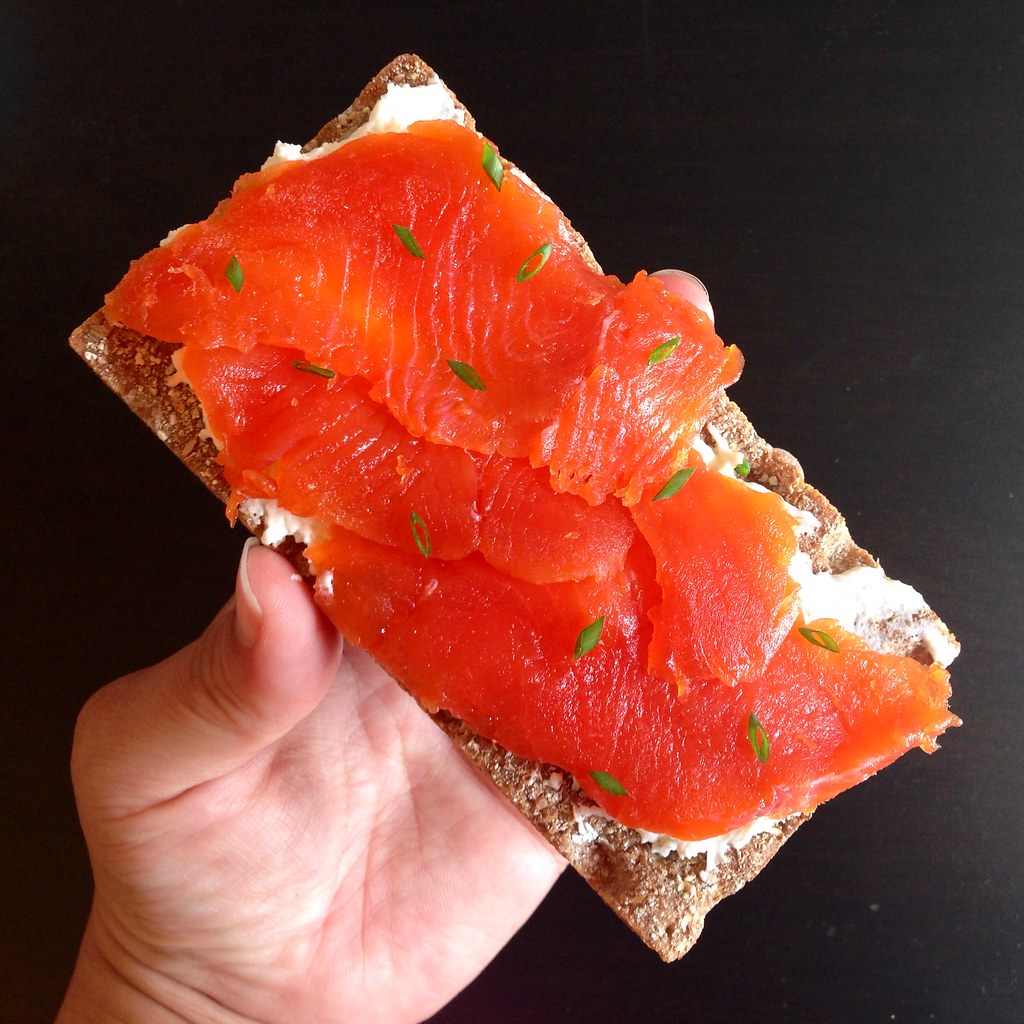
Serve with crème fraîche, sour cream, or cream cheese and crackers or bread.  I served mine with chive cream cheese and hearty crispbread.

https://www.flickr.com/photos/joyosity/14710143737/

After you've zested the fruits, you'll want to use them right away for something else or else they'll dry up really quickly.  I recommend juicing them; I used the juice to make an Atlantic Beach Pie!

Next:  Bill Smith's Atlantic Beach Pie
Previously:  Coconut Ice Cream with Mango Passion Caramel Swirl
Last Year:  Shakshuka Pizza

Friday, August 1, 2014

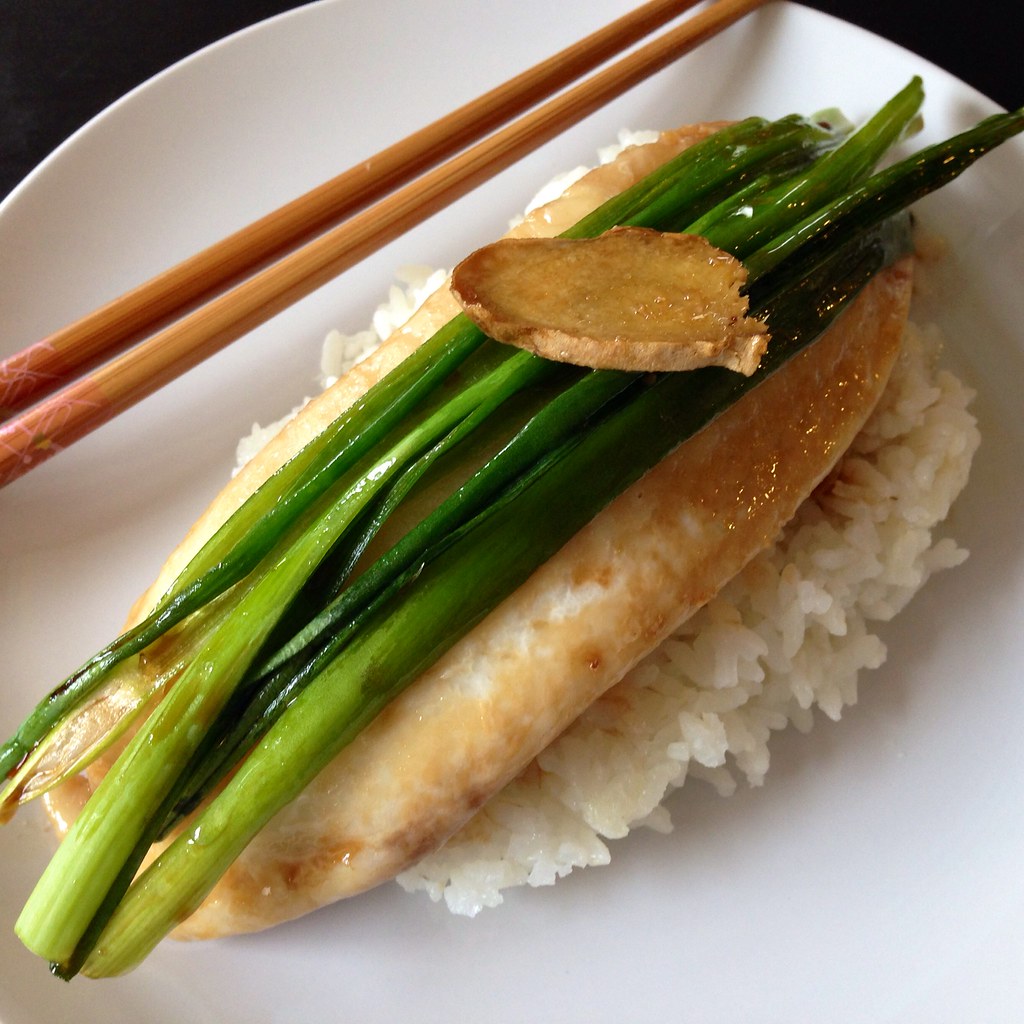
Grace's Ginger Scallion Fish

https://www.flickr.com/photos/joyosity/14748592291/in/photostream/

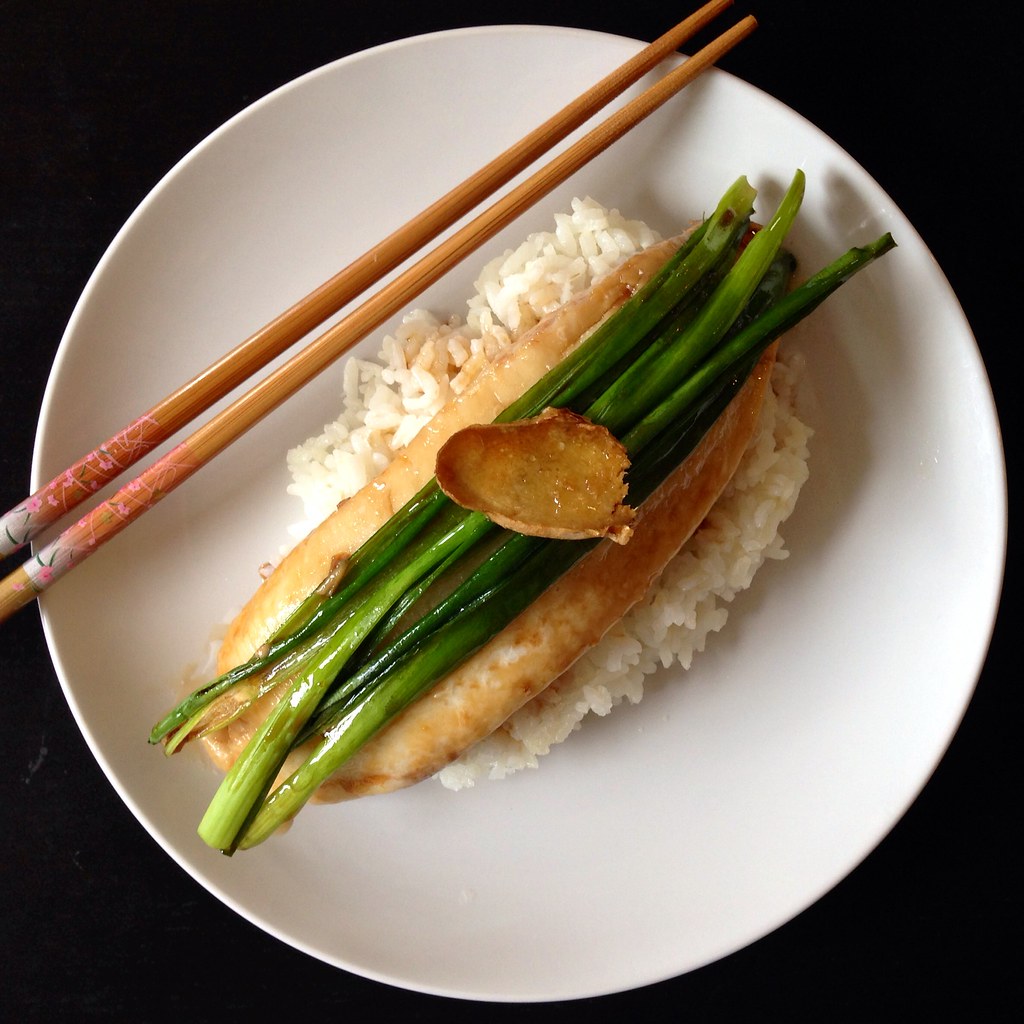
One of my friends posted a picture of some steamed fish she made on Facebook, and it looked so good I had to ask for the recipe.  Turns out the fish isn't so much steamed as baked in the oven, but it's so moist and tender, it might as well have been steamed!

First you bake the fish with some rice wine and ginger slices just until the fish is barely done.  The ginger slices are then added to some oil being heated on the stove, and the fish is topped with scallions.  Then comes my favorite part:  you pour the ginger-infused hot oil over the scallions and fish to seal in moisture and flavor.  Finally a sweet soy based sauce is poured over everything.  This is great served over steamed rice, and in my opinion, is even better the next day when the fish has absorbed some of the sauce!

https://www.flickr.com/photos/joyosity/14565102988/

Grace's Ginger Scallion Fish
serves 2-4

1-2 lbs. white fish filets (I've used cod and tilapia, but I bet sole, flounder, and orange roughy would work well, too)
5 tablespoons rice wine, divided 
2 inch ginger root, thinly sliced
1/4 cup vegetable oil
1 bunch scallions, green parts only
6 tablespoons soy sauce
4 tablespoons sugar
5 tablespoons water

Preheat the oven to 400°F.

https://www.flickr.com/photos/joyosity/14771618693/

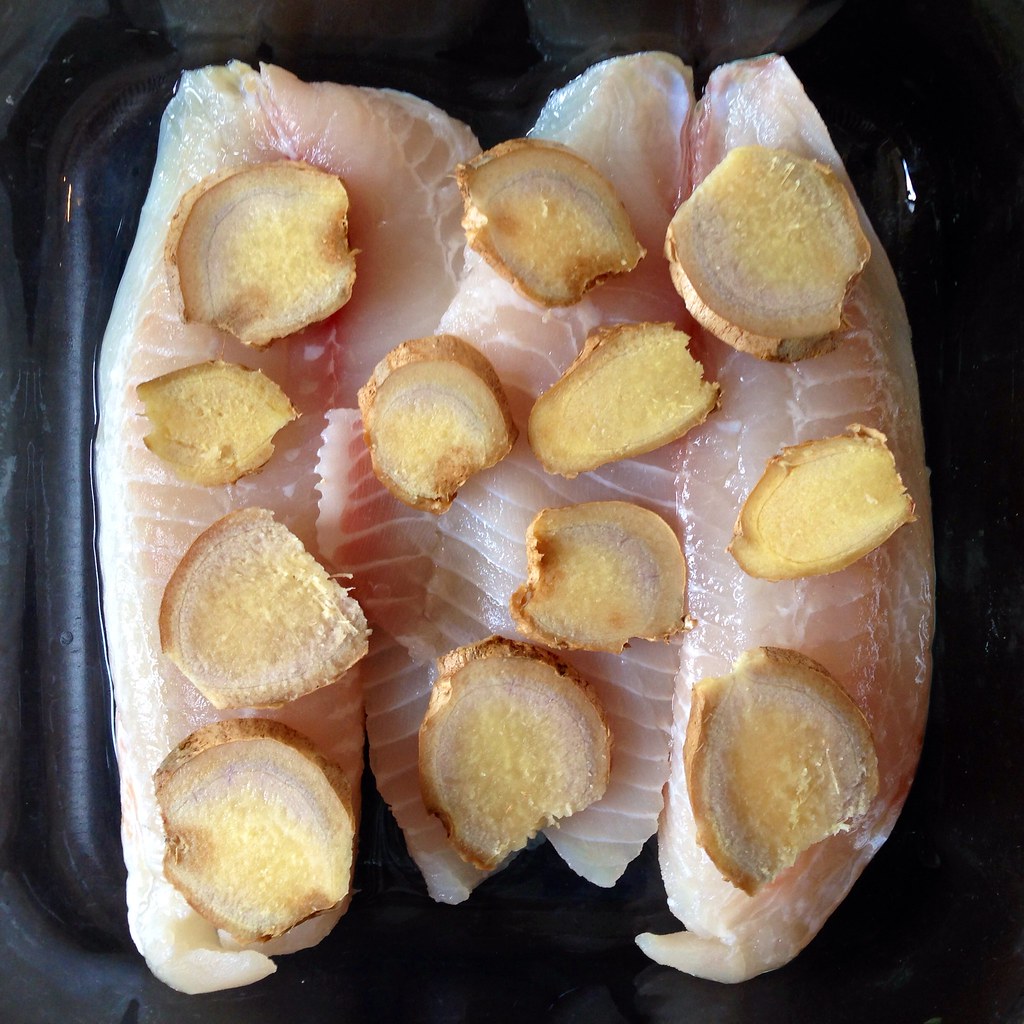
Place the fish filets in a small baking pan.  Sprinkle 2 tablespoons of rice wine over the fish and then arrange the ginger slices on top.  Bake for 12 minutes or until the fish is just cooked through (do not overcook).

Meanwhile, heat up the oil in a small saucepan over medium low.  Mix the remaining 3 tablespoons of rice wine with the soy sauce, sugar, and water and heat for 1 minute in the microwave.  Stir to dissolve the sugar.

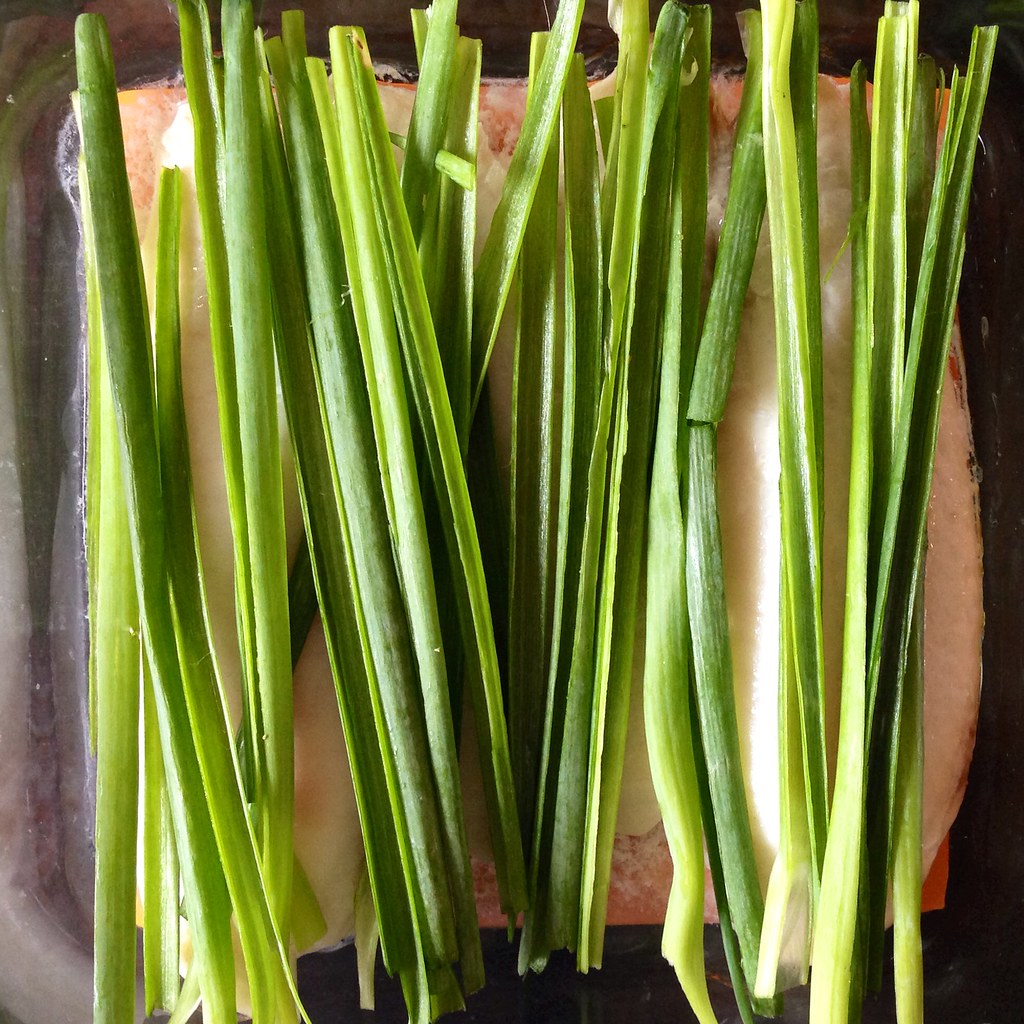
Slice the scallions in half lengthwise or julienne, if you can be bothered.

https://www.flickr.com/photos/joyosity/14751438622/

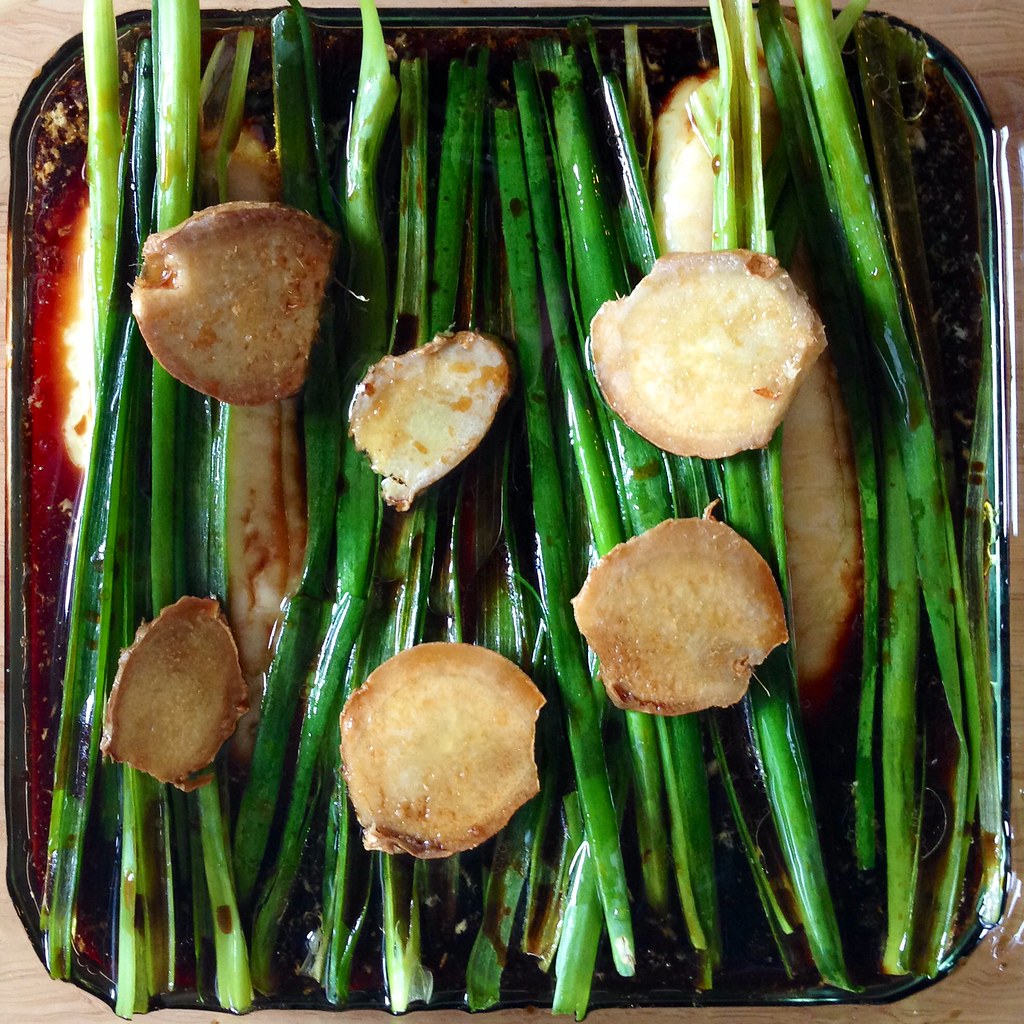
When the fish is done, remove the ginger slices and transfer to the hot oil.  Arrange the scallion on top of the fish.

https://www.flickr.com/photos/joyosity/14748590261/

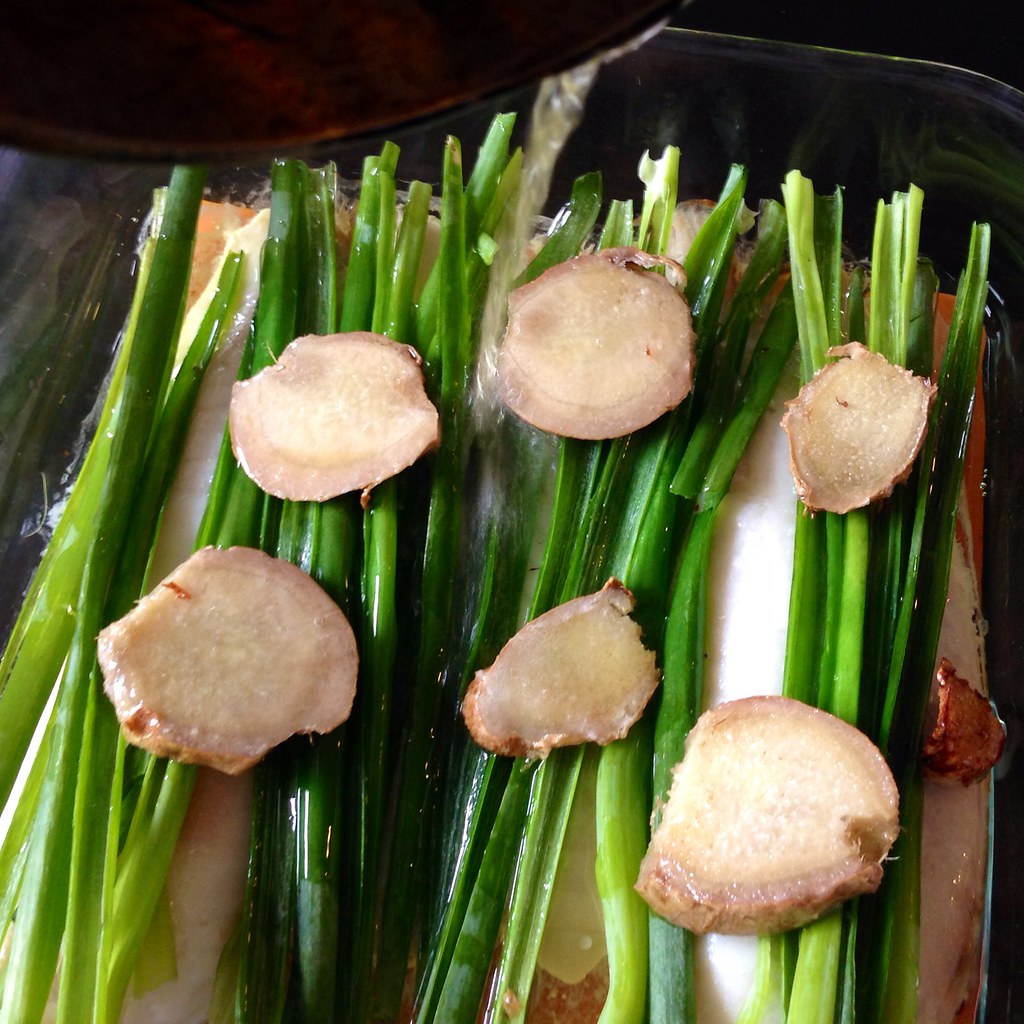
Bring the heat up on the oil to medium high and cook until the ginger just starts to brown.  Immediately pour the hot oil onto the fish.  (It's okay with the ginger falls out.)

https://www.flickr.com/photos/joyosity/14751163114/

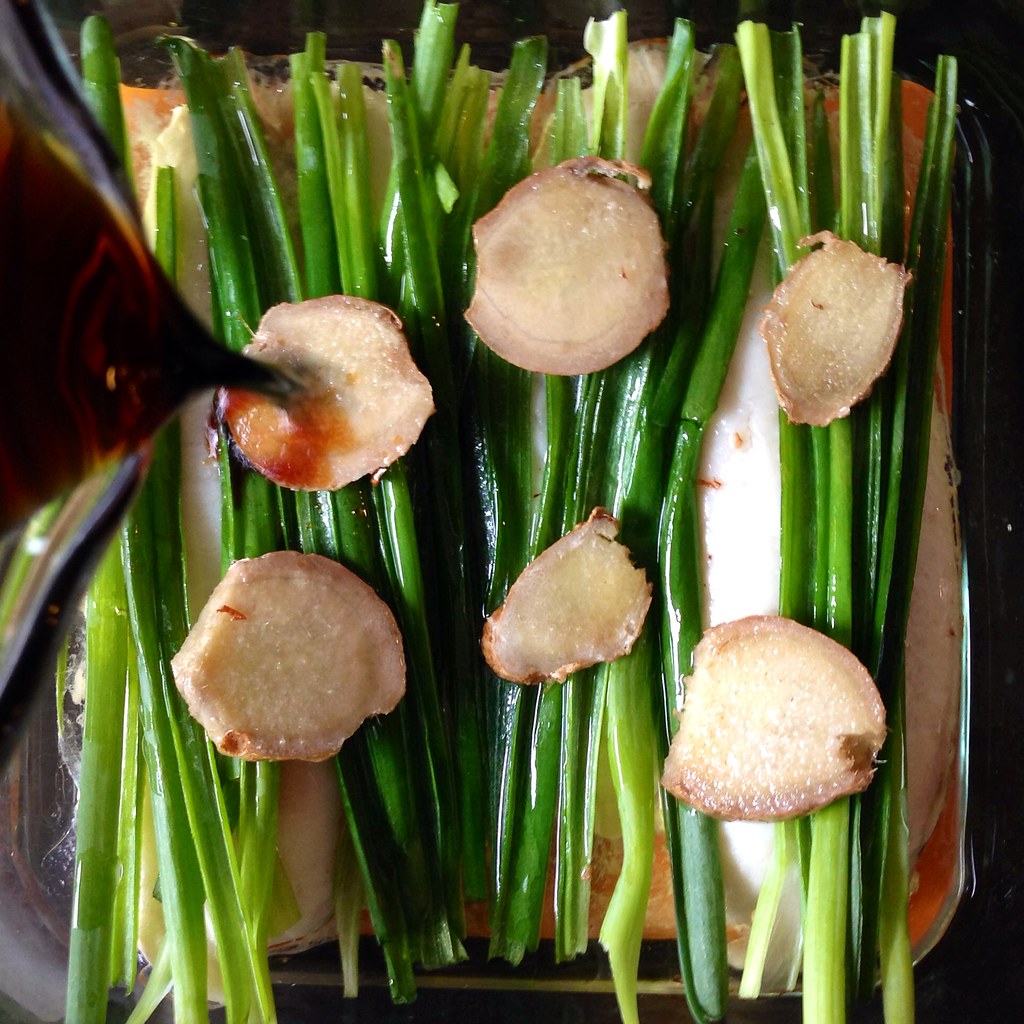
Pour the soy sauce mixture over the fish and serve warm with rice.

https://www.flickr.com/photos/joyosity/14771622413/

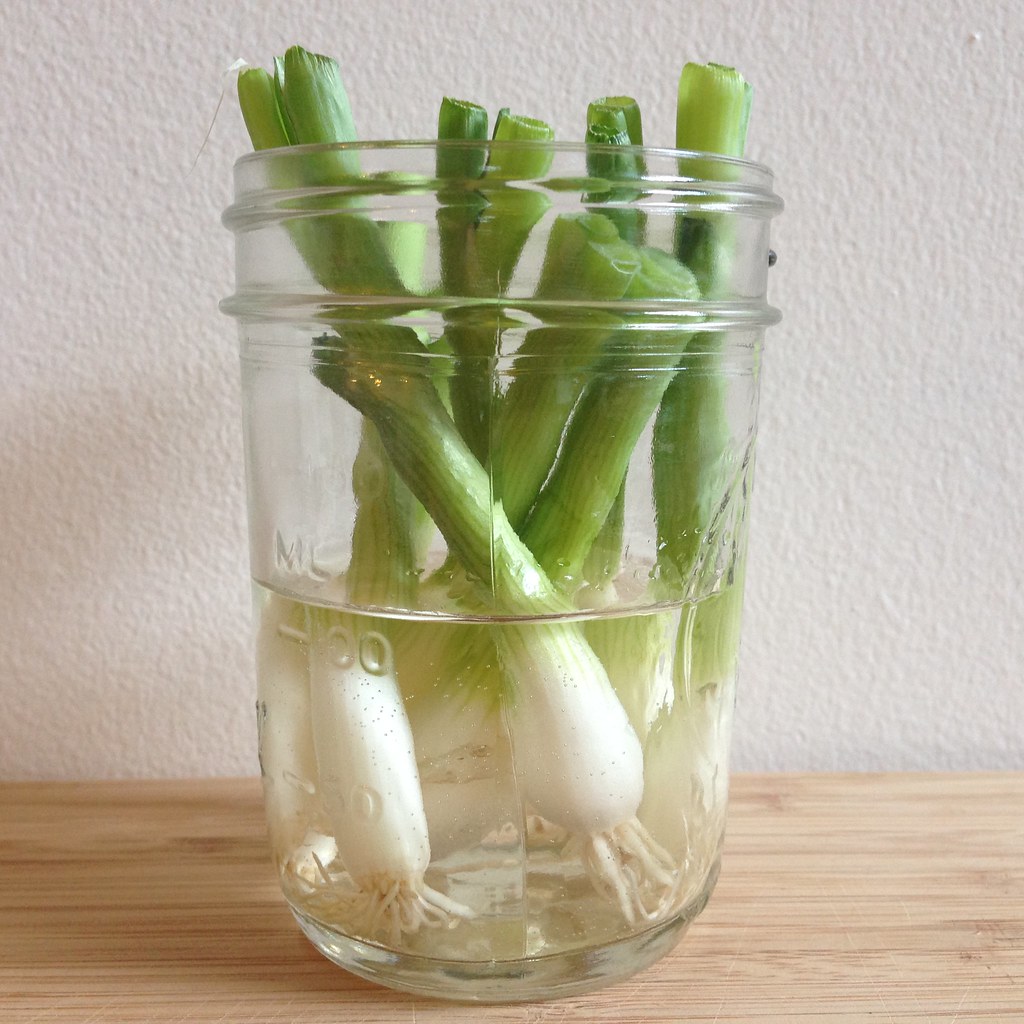
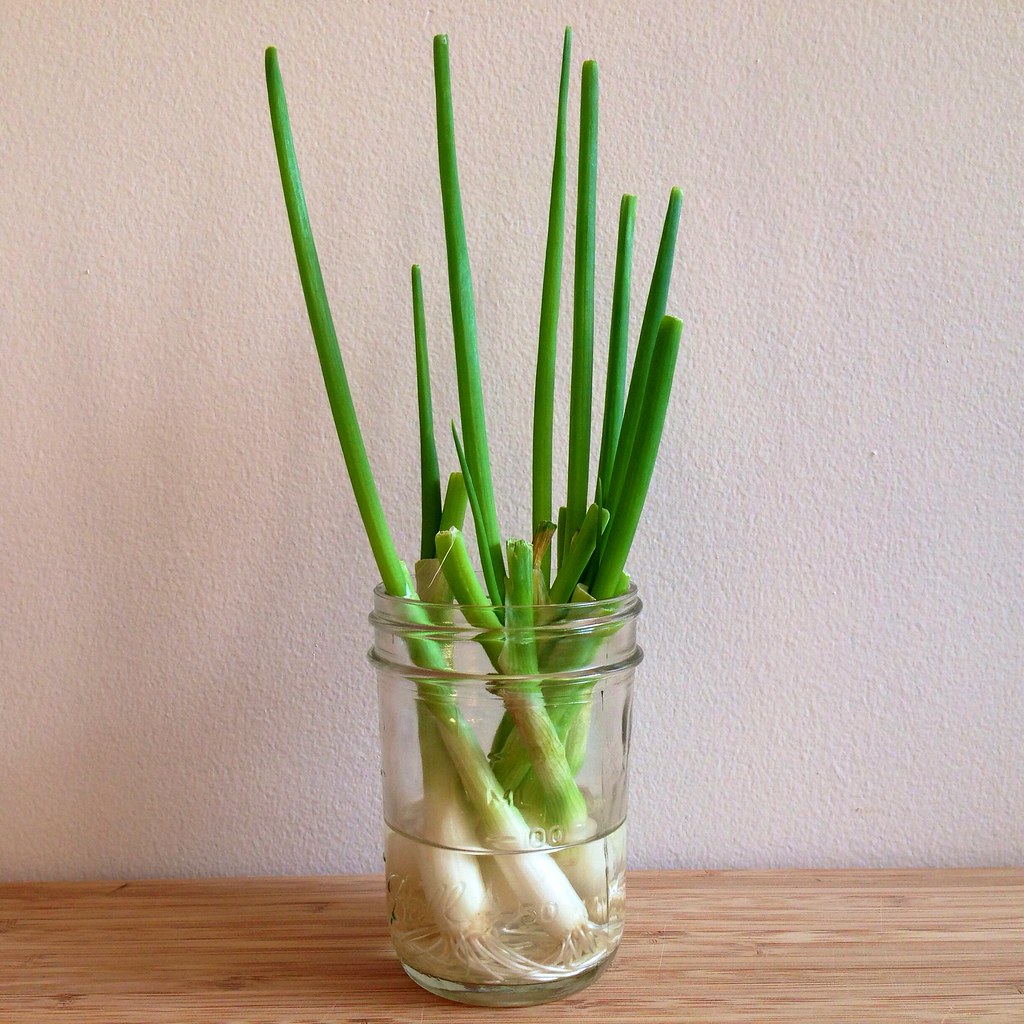
Pro-tip:  Don't throw out the scallion roots after you've chopped off the green part!  Put them in some water and leave them in a sunny place. 

https://www.flickr.com/photos/joyosity/14603396277/

They'll start regrowing, and you can get a lot more mileage out of them.  The picture below shows how much they grew in only 5 days!  That's enough to make some tomato and eggs over rice.  =)

https://www.flickr.com/photos/joyosity/14770672126/

Next:  Jacques Genin's Mango Passion Caramels
Previously:  Strawberry Pop Tart Slab Pie
Last Year:  Cold Soba Noodle Salad with Bake Tofu and Edamame, S'mores Brownie Ice Cream Sandwiches
Thursday, July 24, 2014

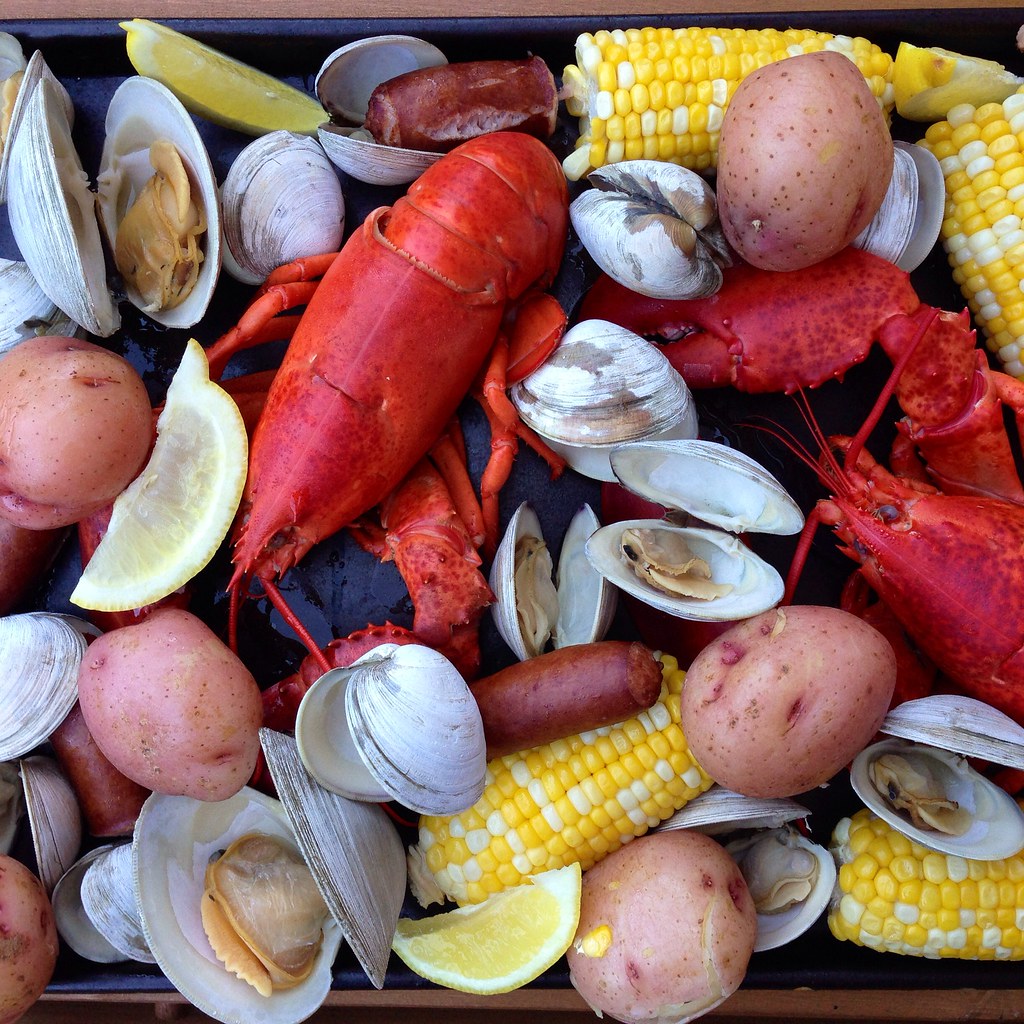
New England Clambake at Home

https://farm4.staticflickr.com/3915/14633377936_95dc8bf433_b.jpg

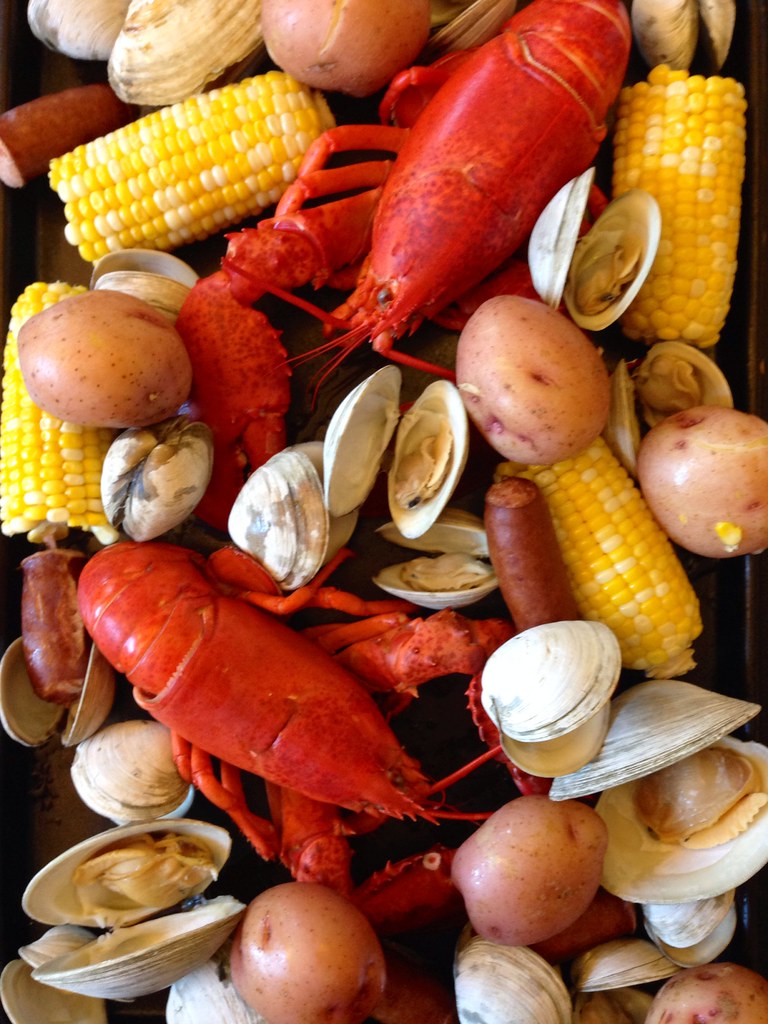
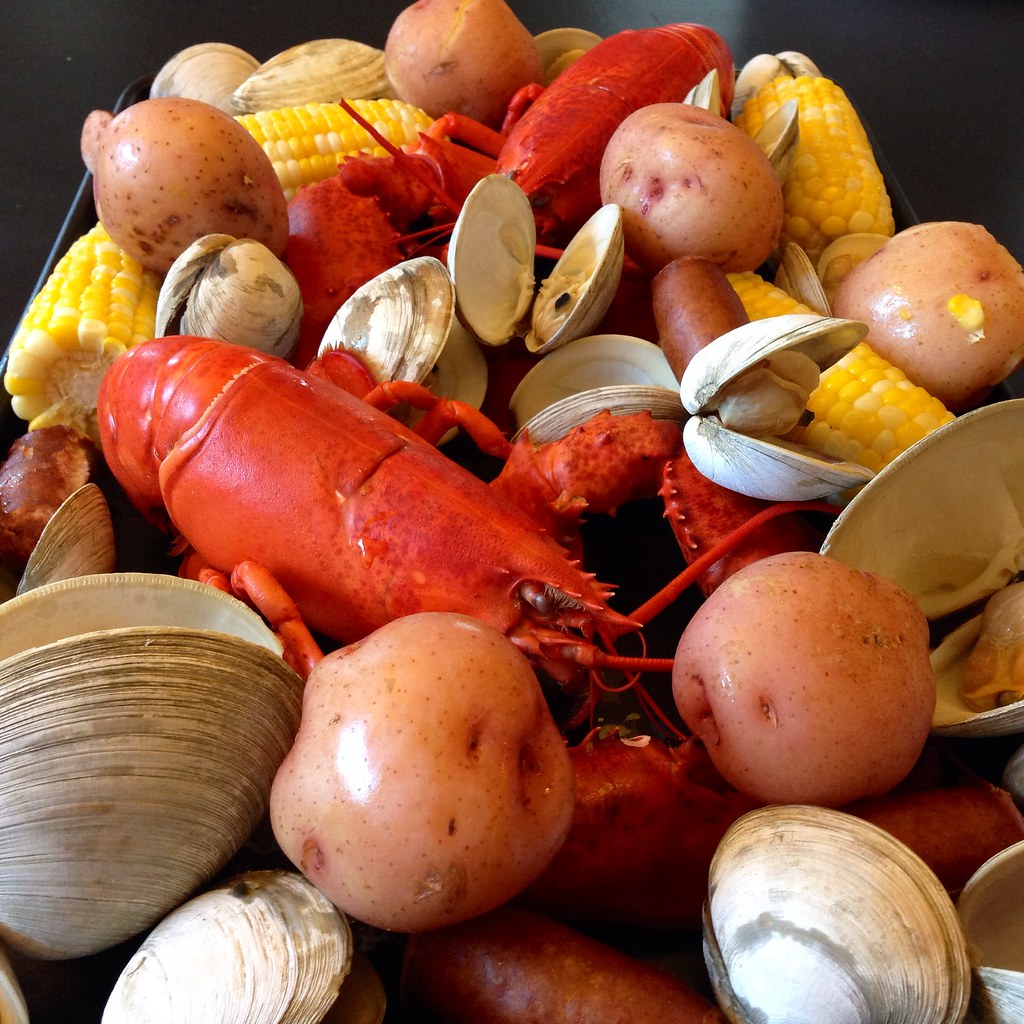
After making a low country boil, I couldn't not also do a clambake!  A traditional New England clambake involves digging a pit in the sand, building a fire, adding rocks to the pit, covering them with seaweed, layering on the food, and then covering it all up with a tarp and waiting forever for it all to cook through.  It's something I'd love to do someday, but in the meantime, here's how to do it much more easily at home (and much quicker, too!).

https://www.flickr.com/photos/joyosity/14676259523/

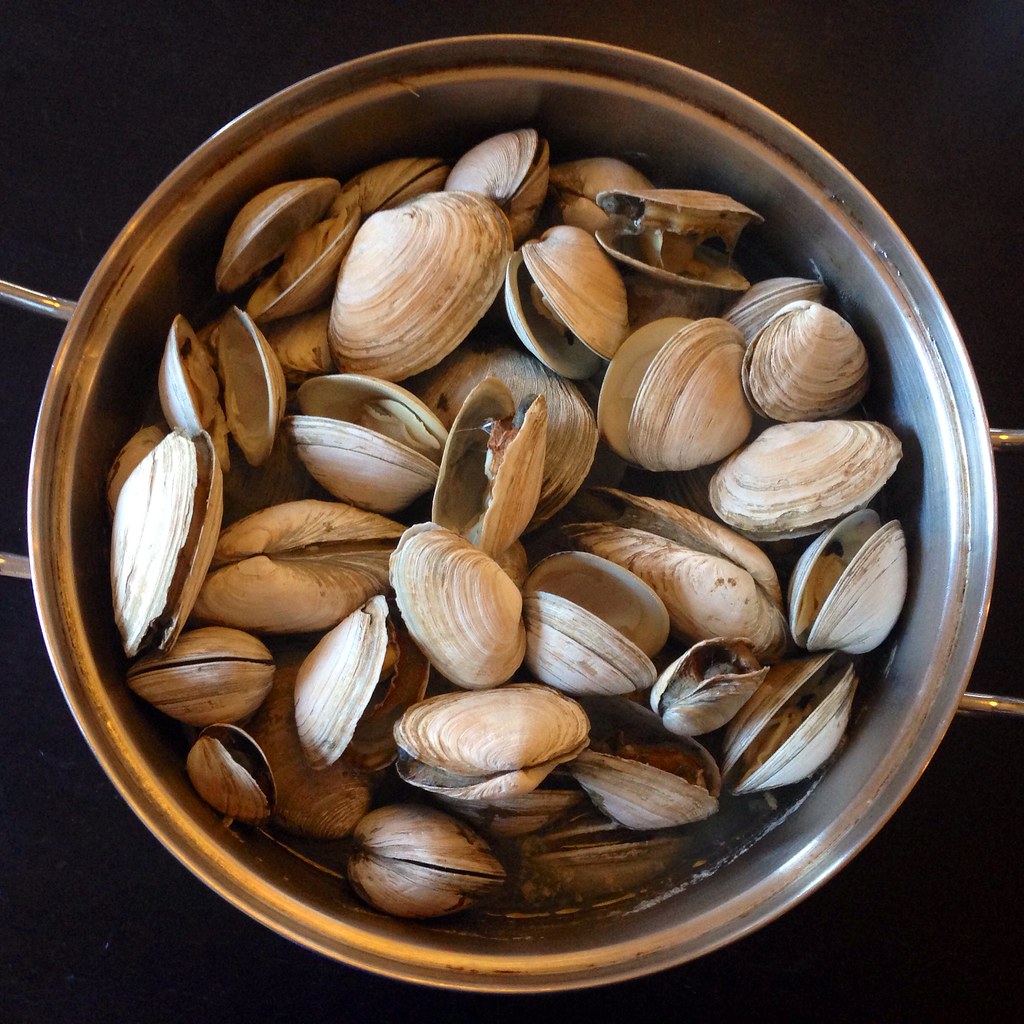
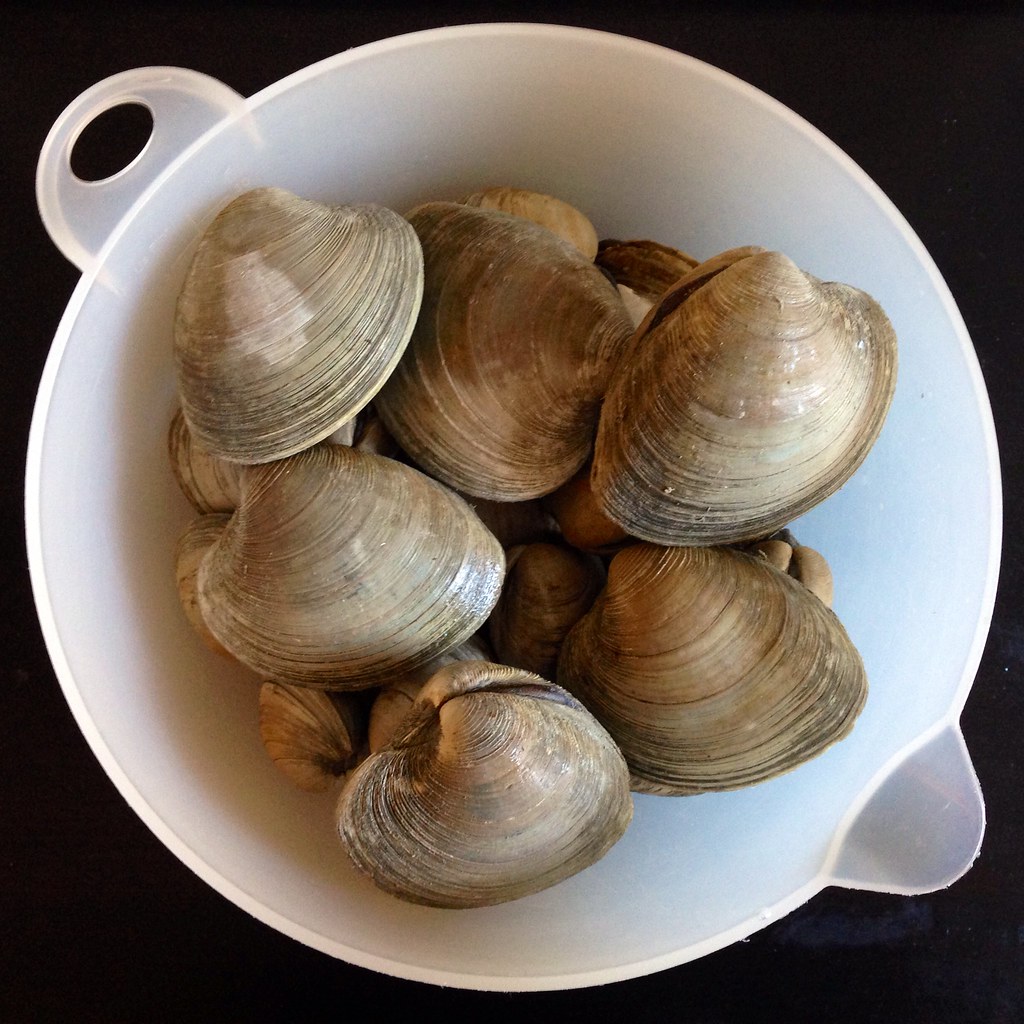
I pretty much followed this recipe from Bon Appétit, except I tried using a couple of different types of clams:  littlenecks, cherrystones, and steamers.  I decided I like littlenecks the best; the steamers were too sandy, even after letting them spit out sand in cornmeal and salt water bath, and the cherrystones were just too big and chewy.  I really only got the cherrystones, which I learned are just older, bigger littlenecks, because they were on sale for 99¢/lb!

https://www.flickr.com/photos/joyosity/14633373146/

I like how this recipe cooks the lobster first instead of steaming them at the end on top of all the other food.  My 7-quart stockpot definitely wouldn't have fit two lobsters on top of the rest of the food, and the thought of having to hold the lid down on even just one live lobster in a pot of steaming water is too much for me to deal with.  I was actually hoping to have the store just steam them for me (most grocery stores will do so for free), but there was a long wait for them to be steamed, so I just ended up doing it myself.  Since you use the water that you cook the lobsters in to cook the rest of the food, it ends up being a nice, flavorful broth that you can serve with the rest of the clambake. I use the broth to dip the clam meat in to rinse off any last bits of sand before I pop it into my mouth.
https://www.flickr.com/photos/joyosity/14469733868/

New England Clambake at Home (adapted from Bon Appétit)
serves 4

4 dozen littleneck clams (or a mix of littlenecks and steamers), scrubbed
1/4 cup yellow cornmeal
Kosher salt
Fresh ground pepper
1 lemon, sliced into rounds
1 large onion, peeled and quartered
2 celery stalks, cut in half
6 large fresh parsley sprigs
6 fresh thyme sprigs
2 small dried bay leaves
1/4 teaspoon whole black peppercorns
2 live lobsters, 1 to 1 1/2 lb. each
2 lbs. small red potatoes
4 ears of corn, husked and halved
14 oz. kielbasa links, halved
1 1/2 sticks butter
3 large garlic cloves, finely chopped
1 teaspoon dried oregano
1 teaspoon dried basil
Lemon wedges, for serving

Place the clams and cornmeal in a very large bowl and fill with enough cold, salted water to cover.  Set aside for at least 30 minutes and up to an hour for the clams to spit up excess sand.

Fill a stock pot about a quarter of the way with cold water and bring to a boil over high heat.  Add one lobster headfirst and cover.  Cook for 10 minutes, until done, and transfer to a large platter or rimmed baking sheet.  Repeat with the other lobster.

Add the potatoes and quartered onion to the pot and bring to a boil.  Cover and cook for 10 minutes.

Layer the sausages and corn on top of the vegetables and cover again, cooking for another 10 minutes.

Rinse the clams thoroughly and add on top of the corn and sausages (if there isn't enough room in the pot, you can remove the corn, which should be cooked through).  Cover the pot tightly and boil until the clams open, about 12 minutes.

In the meantime, melt the butter in a small saucepan and add the garlic, oregano and basil.  Season with salt and pepper, to taste.

With a slotted spoon, transfer the clams, corn, sausage, and potatoes to the baking sheet with the lobsters.  Sprinkle with salt and pepper and garnish with lemon wedges.  Strain the broth and pour into 4 soup cups.  Serve seasoned butter and broth alongside the vegetables, sausages, and seafood.

https://www.flickr.com/photos/joyosity/14656339795/

The next time I make this, I'll probably try reducing the amount of water in the pot, and adding some white wine or beer to steam the food with and add more flavor to the broth.

Next:  Ginger Beer Sherbet
Previously:  Taiwanese Grilled Corn
Last Year:  Vanilla Sugar Lemonade and Mint Lemonade Slushies, Martha Stewart's Perfect Macaroni and Cheese