Showing posts with label mushrooms. Show all posts

Sunday, March 18, 2018

My Mom's Taiwanese Zongzi (粽子)


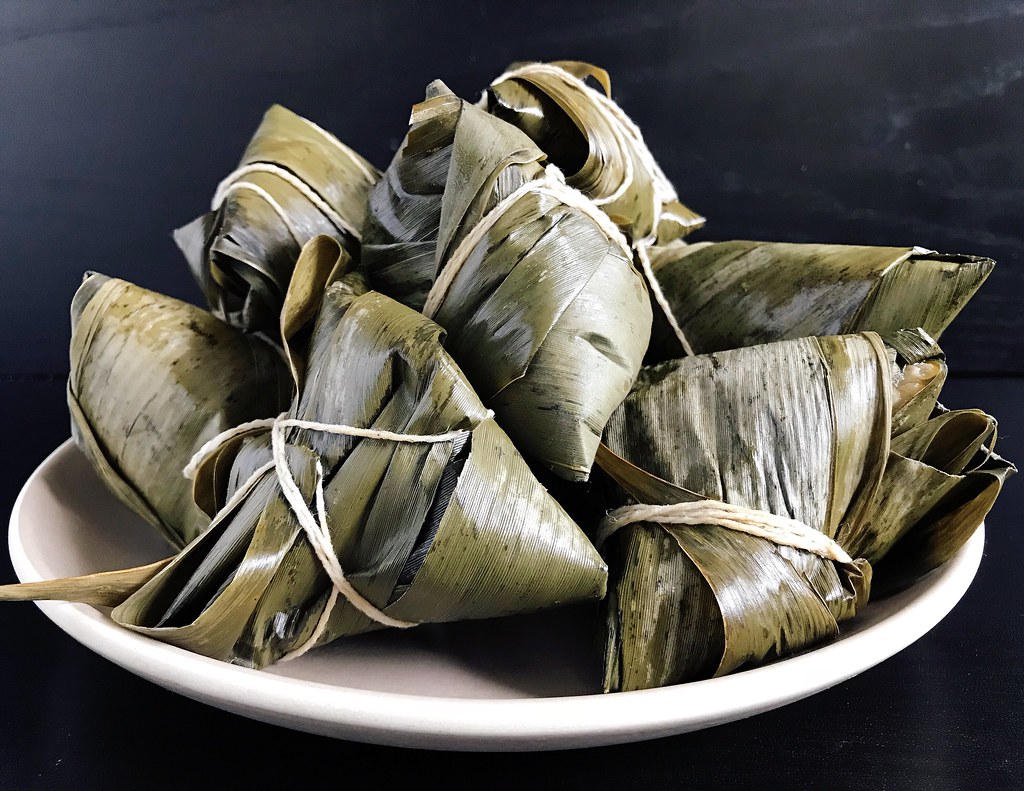
I've been paddling in the annual Boston Dragon Boat Festival for over a decade now, and every year I consider trying to make zongzi, the traditional food eaten for the festival, but by the time the festival rolls around, I always find myself too busy with the races or traveling to attempt them.  This year I decided to get a head start (the festival is celebrated on the 5th day of the 5th month of the lunar calendar, so June 18 this year).  If you don't know what zongzi are, they're packets of sticky rice wrapped in bamboo leaves (or sometimes lotus or banana leaves).  The fillings differ depending on where you are, and sometimes they're even sweet!  The ones I grew up with were filled with marinated pork, shiitake mushrooms, fried shallots, peanuts, and sometimes chestnuts and/or dried baby shrimp.  I've also had versions with salted duck egg yolks and Chinese sausage in them too.
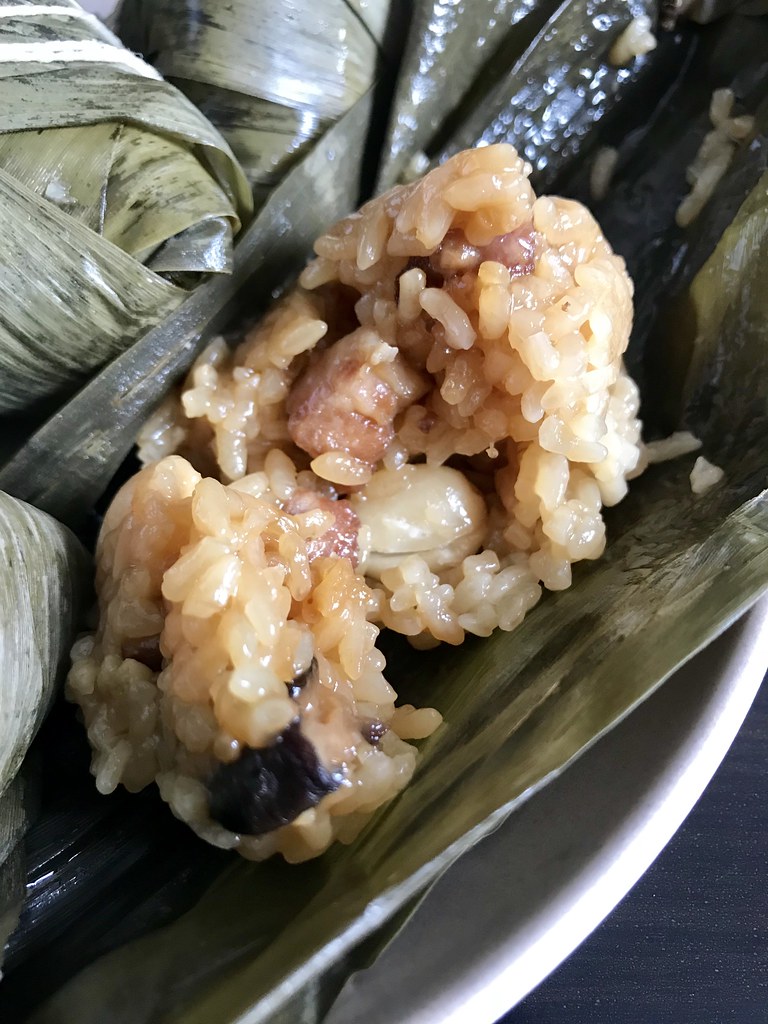

Even beyond the fillings there are different ways to wrap zongzi.  The ones my mom makes are shaped like tetrahedrons, whereas I've also seen them wrapped in a rectangular shape.  Some of the recipes I've found online cook the zongzi in boiling water for up to 8 hours, but because the filling is cooked before being stuff in the sticky rice, you only need to cook these for an hour.  My mom told me that in southern Taiwan they boil it for even shorter by wrapping cooked sticky rice and boiling just long enough to impart the bamboo leaf flavor.
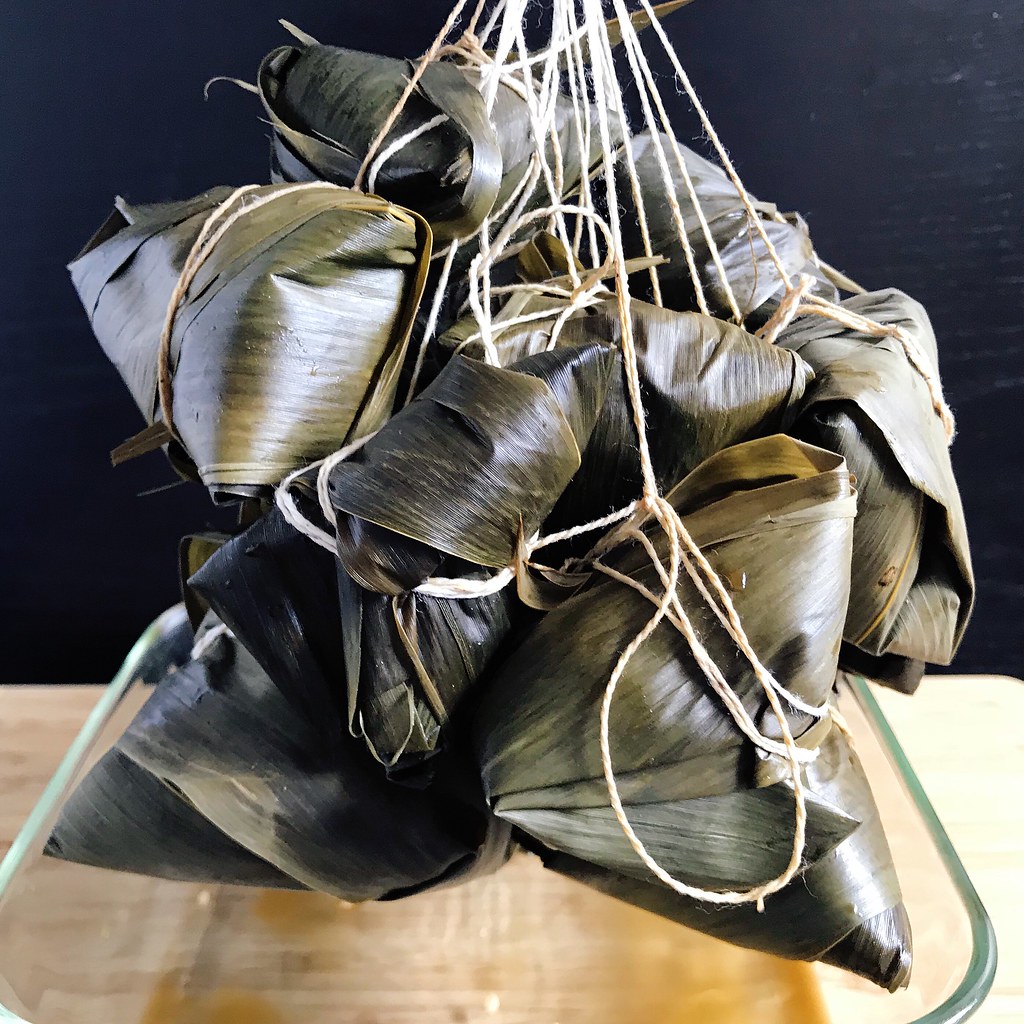

I posted a picture of these zongzi on Instagram and mentioned that when I had asked my mom for the recipe, she told me it would be too hard to make.  I don't think my mom has ever told me something would be too hard for me to do before, so it only made me want to make them even more.  I was really surprised to read in the comments though that a lot of other people had the same reaction from their mothers when they had asked them for their recipe!  I wonder if that's what their moms told them too, and they're just passing the advice along.
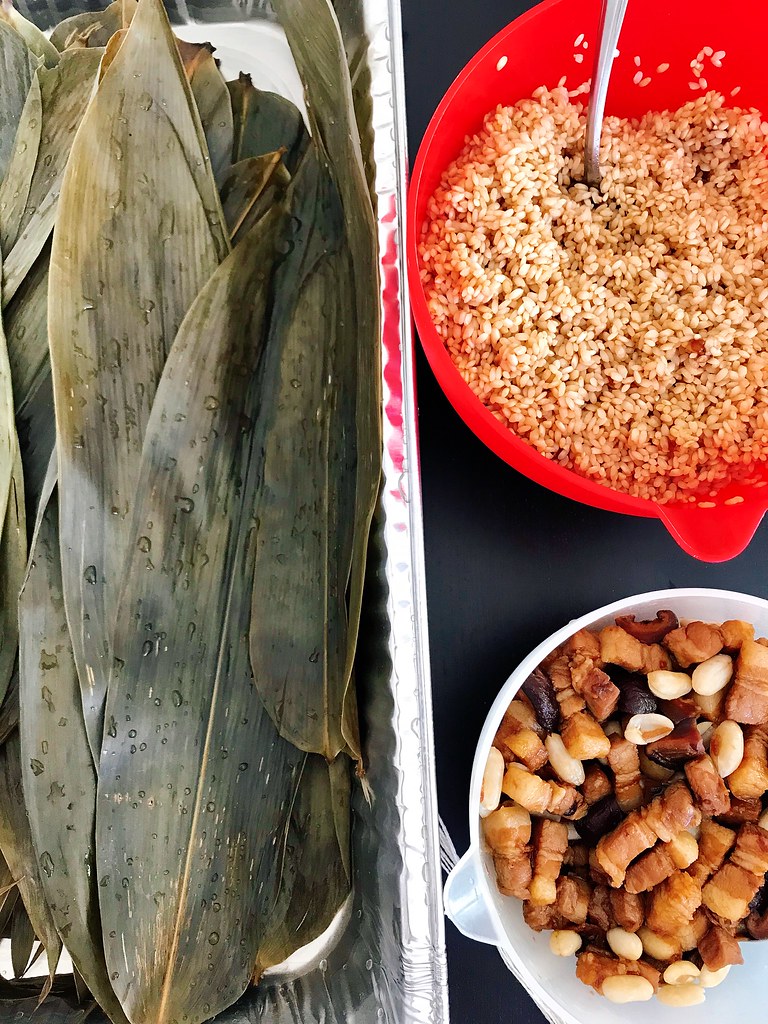

Since these are indeed very difficult to make, I wanted to share some of the tips I figured out while trying to figure it out myself:
  • Soak at least 1.5 times as many leaves as you think you'll need.  A good portion of mine would tear while I was trying to wrap them at which point you have to start all over.  Don't throw those leaves away, though!  Fold them in half vertically, and use wrap the outside of any of your more precariously wrapped zongzi to add another layer of protection.
  • Be very careful handling the leaves.  The edges are razor sharp and will give you a wicked paper cut!
  • My mom folds the bottom of the leaves up so that the root ends don't stick out, but a lot of other people just cut that end off.  
  • My mom ties a bunch of strings to a doorknob so there's tension on the string when you try to tie it around the zongzi with one hand (the other hand is used to hold the zongzi tightly closed).  Some of my friends mentioned that their moms would use a broomstick set across two chairs for the same purpose.  I read somewhere that you can also hold one end of the string between your teeth, and actually that method worked the best for me, although I know my dentist friends would definitely frown on that because there's a chance of chipping your tooth from all the tension.
  • I found that the easiest way to tie the string around the zongzi was to place it close to the anchored end and use your free hand to wrap the other end of the string multiple times around the zongzi.  You want to try to wrap it around the "equator" of the tetrahedron, so that there are two corners on either end.  This will help keep the string in place, otherwise it may fall off when you're cooking it (I know from experience).
I made this video to show you how to wrap the zongzi, but after showing it my mom to confirm it's how she wraps hers, she said she does it differently!
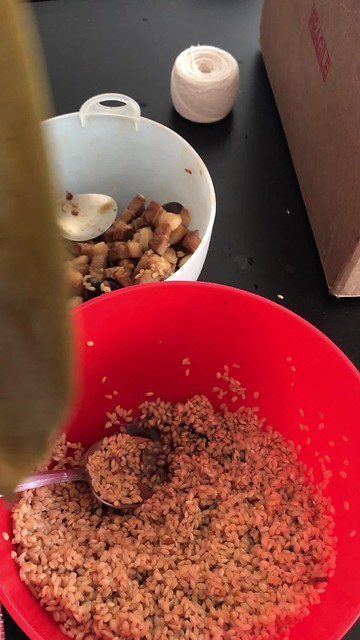
How to make zongzi

Then she sent me a link to this video which she said is more like how she wraps it.  I love listening to it because you hear a mixture of Taiwanese and Mandarin which is kind of like what I heard growing up.  That said, if you wrap it my way, you'll get smaller zongzi and will probably be able to make at least 24 with the amount of ingredients below.  If you wrap it the way my mom does, you'll make fewer but, larger ones.
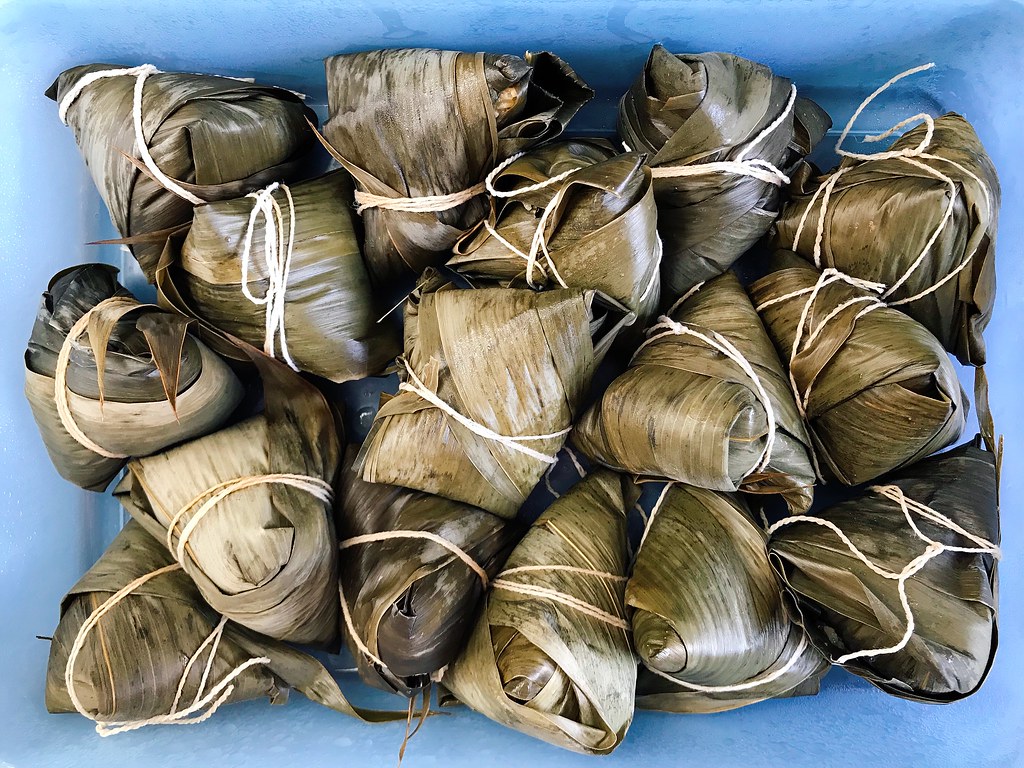


Taiwanese-Style Zongzi
makes 12-24 depending on how you wrap them

3 1/2 cups glutinous rice
6 oz. bamboo leaves
8 dried shiitake mushrooms
1/2 cup raw peanuts
2/3 cup soy sauce, divided
2 tablespoons rice wine
2 tablespoons sugar, divided
1 lb. pork belly
1 tablespoon oil
2 tablespoons fried shallots
Kitchen twine

Soak glutinous rice in room temperature water for 2 hours or overnight.

Soak bamboo leaves in room temperature water for an hour or overnight, weighing them down so they're completely submerged.

Soak shiitake mushrooms in room temperature water for an hour or overnight, also weighing them down so they're completely submerged.  Soak the peanuts for an hour or overnight in a separate bowl.

Combine 1/3 cup soy sauce, the rice wine, and 1 tablespoon of sugar in a medium bowl.  Slice the pork into bite-sized pieces and marinate in the soy mixture for an hour.

Cut the kitchen twine into 60" pieces (this is easy for me since that's my wingspan).  Gather them all together and fold in half.  Make a loop knot at that halfway point so that there are now twice as many pieces of 30" long twine connected at the top by a loop knot. 

Wash the bamboo leaves thoroughly after they've softened.  Drain the rice and then add the remaining soy sauce and sugar and mix.  Cut the ends off the mushrooms and slice the caps into quarters.  Drain the peanuts.

Heat a large wok or pan over medium heat and add the oil.  Add the sliced mushroom, pork, and fried shallots.  Stir fry until the pork is almost completely cooked through.  Transfer to a bowl.  Add any liquids left in the pan to the rice and mix well.

Set up your work station:  hook the twine over a sturdy latch-style doorknob or cabinet handle*.  Have the bamboo leaves, seasoned sticky rice, peanuts, and meat mixture nearby with a large spoon.

Grab two of the leaves and with the smooth sides facing you, position them so that they overlap slightly on the bottom and angle towards each other at the top.  Fold the bottom half inch up and over so that the tough root end doesn't stick out anymore (or cut off the bottom half inch)*.  Now fold the sides of the bottom of the leaves together like a book.  Fold the bottom inch or two up along one side and then open up the leaves so that it forms a short cone.

Continue to grip the bottom of the cone with one hand and use the other hand to place a large spoonful or two of the rice in the cone.  Pack it down well, then add a spoonful of the cooked filling, making sure to get a bit of each of the ingredients.  Cover the filling with another spoonful of the rice and pack it down again.  Fold the top of the leaves over the rice so that now you have a 4-sided pyramid.  Fold the remaining portion of the leaves that are still sticking out together and then continue to wrap around the pyramid.  Holding the pyramid tightly with one hand, use the other hand to wrap the twine around the middle a couple of times and then tie it off tightly.  Leave it hanging from the twine and wrap the rest of the zongzi.

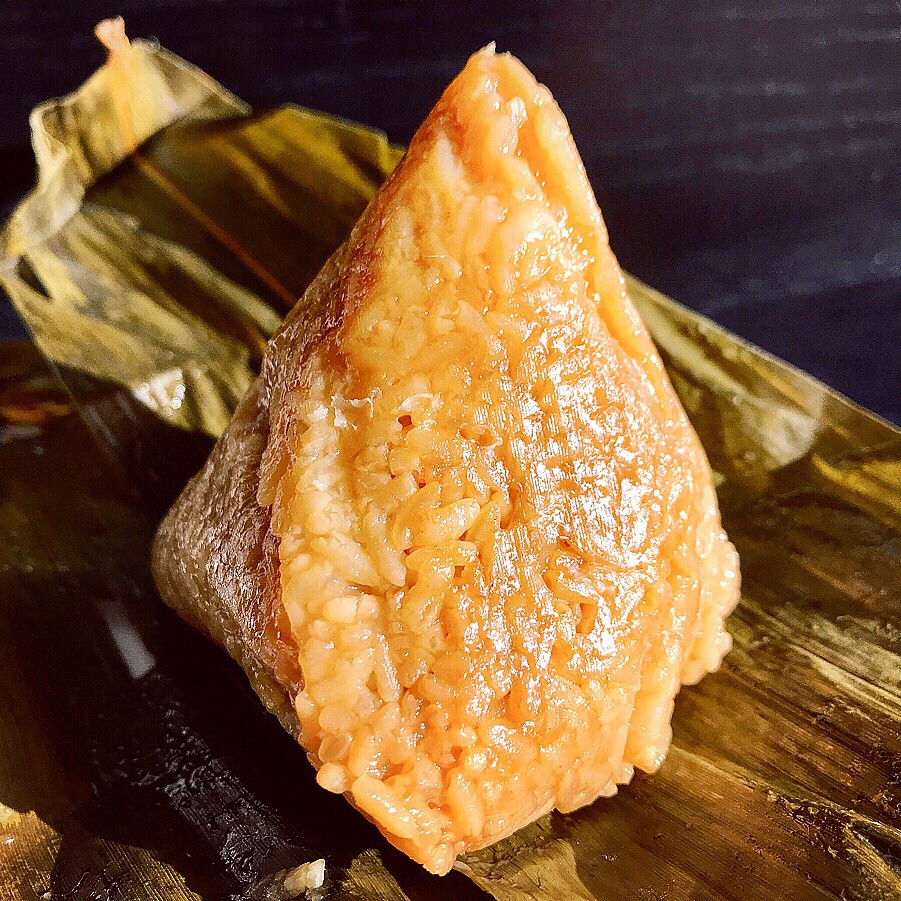
Bring a large pot of water to a boil and submerge the zong zi.  Continue to cook for an hour, until the sticky rice is cooked through.  Drain and let the zong zi cool before unwrapping to eat, discarding the leaf.  Serve with sweet chili sauce and/or soy paste.  These freeze very well, just microwave to reheat!

*See my tips above for variations.

Next: Strawberry Matcha Cream Cheese Tart
Previously:  Candied Carrot Rose Tart
Last Year:  Japanese Chicken Curry Rice
Two Years Ago:  Tropical Pulled Pork on Griddled Banana Bread Sandwiches
Three Years Ago:  A Better Homemade Pasta Recipe
Four Years Ago:  Mushroom Marsala Pizza
Five Years Ago:  Peking Duck Pizza
Eight Years Ago:  Bacon Fat Caramels
Nine Years Ago:  The Feng Family Secret Peking Duck Recipe

Friday, June 20, 2014

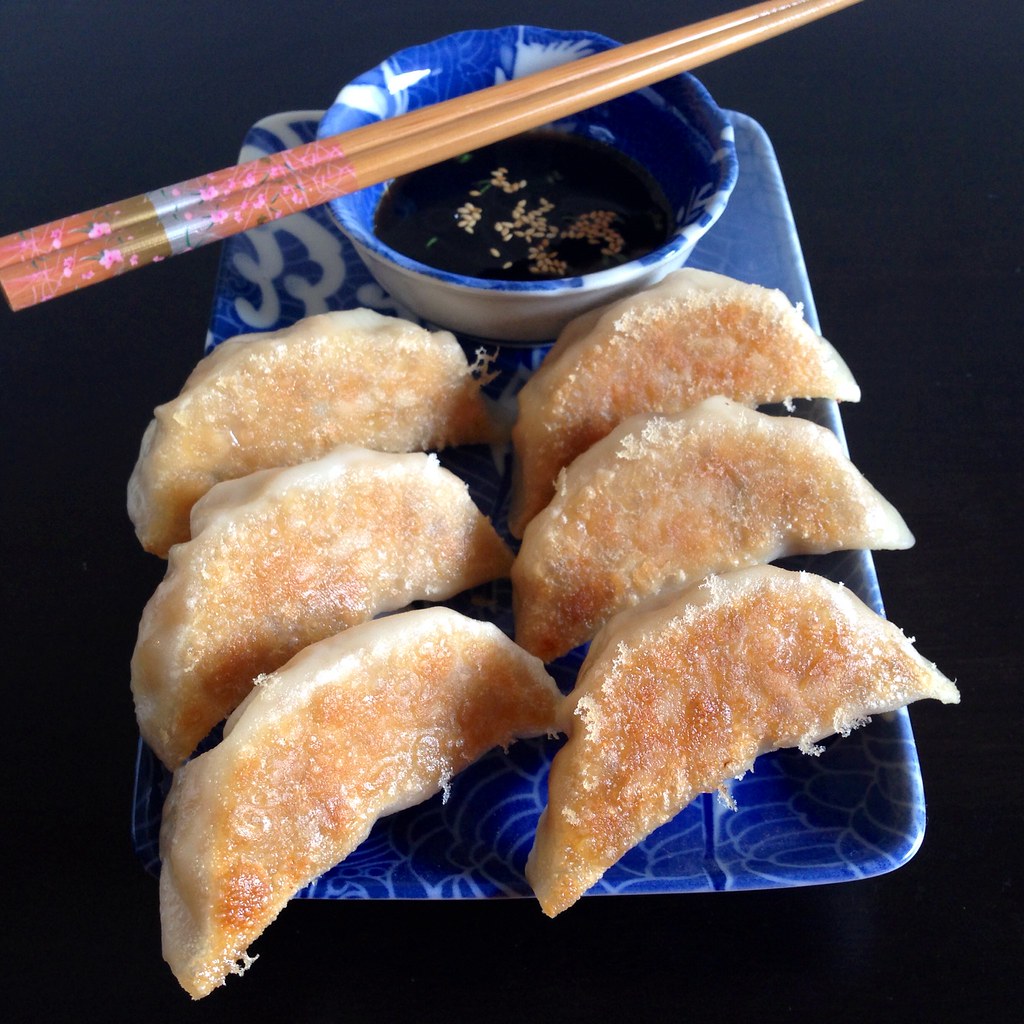
Tofu and Shiitake Potstickers

https://www.flickr.com/photos/joyosity/14443992303/

When I cut out most meats from my diet a few years ago, the one thing I missed the most wasn't steaks or burgers.  It was my mom's pork and cabbage dumplings.  To be honest, I still make and eat them once in a while because they're so good, but my tummy always feels funny after.

Enter this lovely vegetarian recipe from The Kitchn that gave me the courage to try using pressed tofu as a substitute for the pork.  Their recipe actually uses baked tofu, which may be easier to find in an American supermarket; either way, you want to use a very firm, dense tofu.  If you can only find plain firm tofu, you can press and bake it yourself to get it to the consistency you need for this recipe.

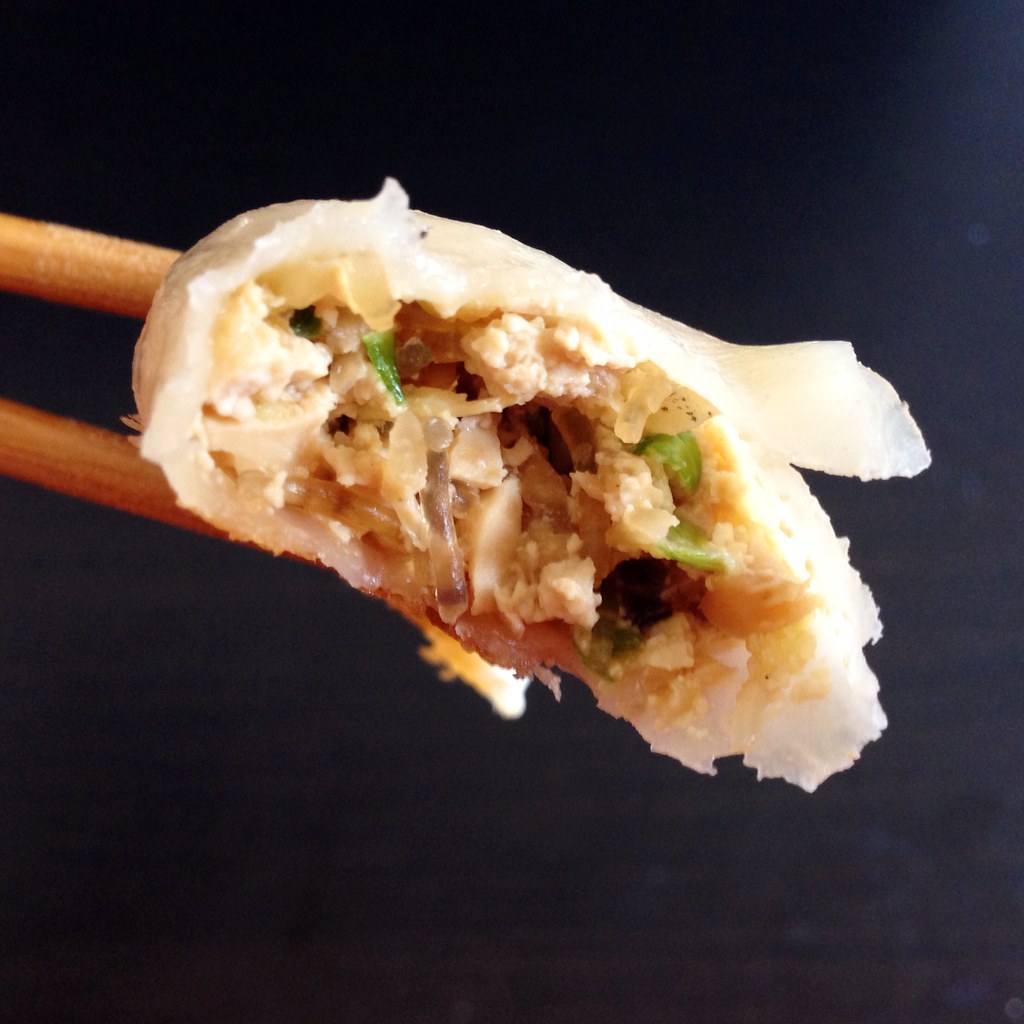
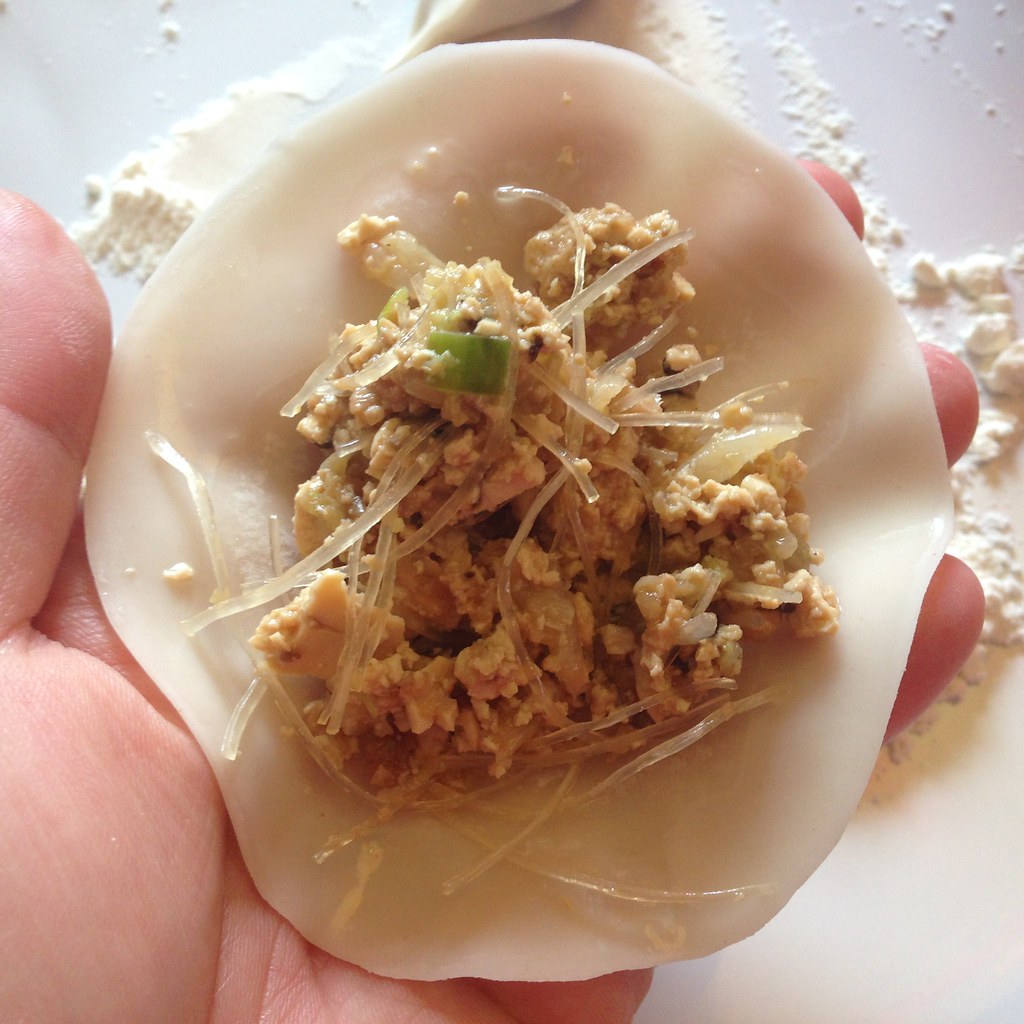
Because tofu can be pretty bland on its own, I like the addition of the shiitake mushrooms to add more umami to the filling.  I also added bean thread vermicelli because I really like the texture they add to the dumplings.  A big difference between this recipe and the one I usually make is that the cabbage is cooked first before being used in the filling.  This allows you to squeeze a lot more water out of the cabbage so the filling isn't as watery.

https://www.flickr.com/photos/joyosity/14237159429/

Tofu and Shiitake Potstickers (adapted from The Kitchn)
makes about 60 dumplings

6-8 dried shiitake mushrooms
1 bundle bean thread vermicelli
1 small napa cabbage, roughly chopped
Vegetable oil
Kosher salt
24 oz. pressed tofu
2 scallions, thinly sliced
6 tablespoons soy sauce
2 tablespoons sesame oil
2 tablespoon sugar
1 egg, beaten
60 dumpling wrappers

Soak the shiitake mushrooms and bean thread vermicelli in cold water.  Remove the bean thread vermicelli after about 15 minutes.  Continue to soak the mushrooms until they are easy to slice,.

Use a food processor to finely chop the vermicelli, napa cabbage, and reconstituted mushrooms separately.

Heat 2 teaspoons of oil in a large skillet over medium-high heat.  Add the mushrooms and saute for a few minutes until softened.  Add the cabbage and a few pinches of salt.  Stir fry until the cabbage is completely wilted, about 3-4 minutes.  Set aside and allow to cool.

https://www.flickr.com/photos/joyosity/14237352437/

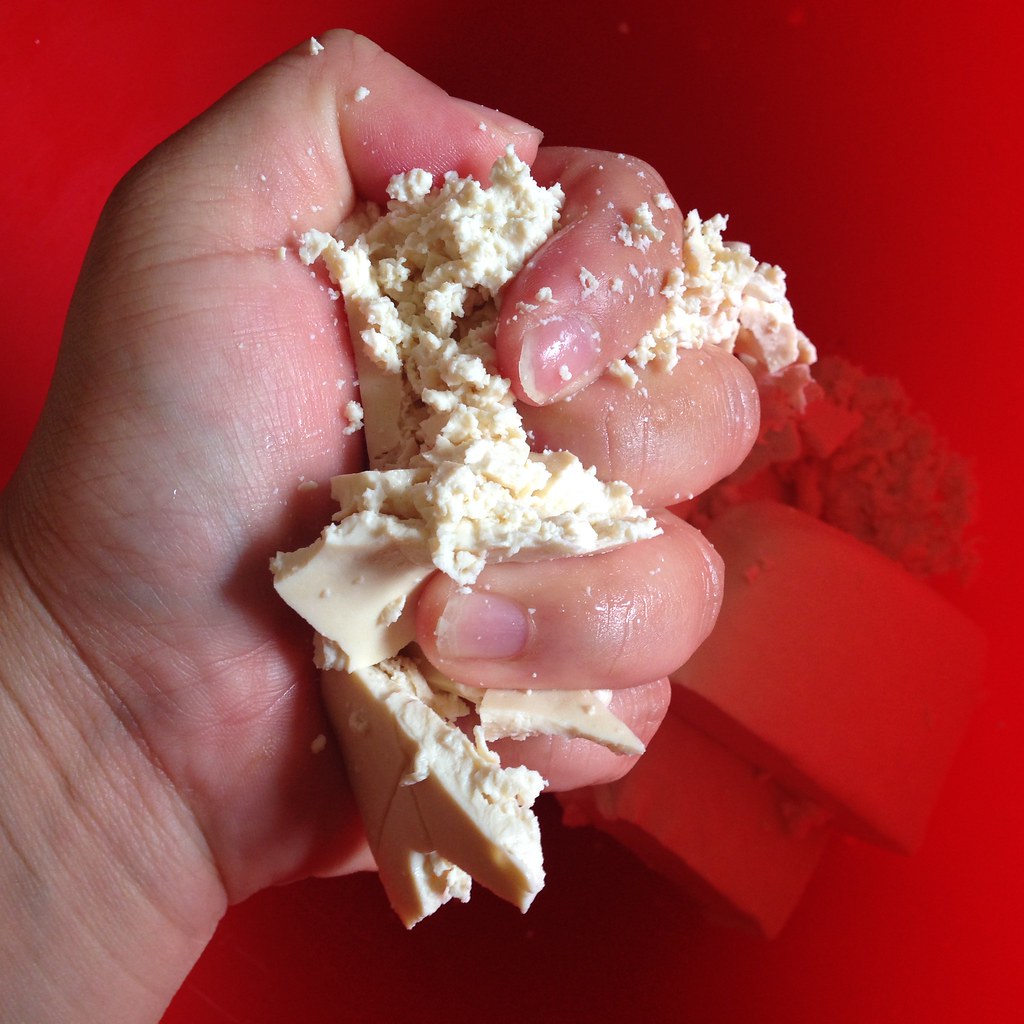
Meanwhile, crumble the tofu into a large mixing bowl.  Add the vermicelli, scallions, soy sauce, sesame oil, sugar, and egg.  Stir to combine.

Squeeze handfuls of the cooled mushroom-cabbage mixture in your fist to squeeze out as much moisture as possible and add to the tofu mixture.

https://www.flickr.com/photos/joyosity/14422670284/

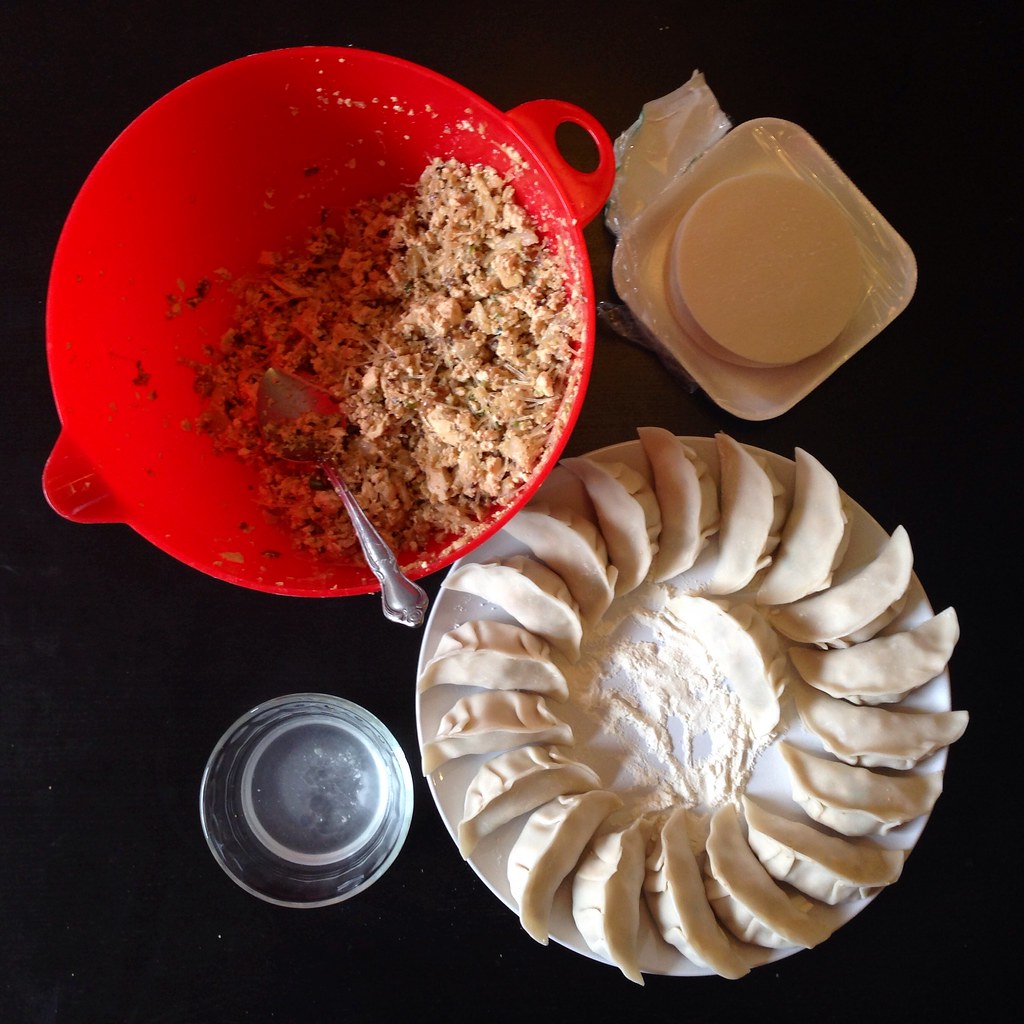
Prepare plates or trays with flour for dipping and have a small bowl of warm water ready. Hold the wrapper in one hand and use the other to dip a finger in the water and wet the edges of the wrapper.

https://www.flickr.com/photos/joyosity/14237207460/

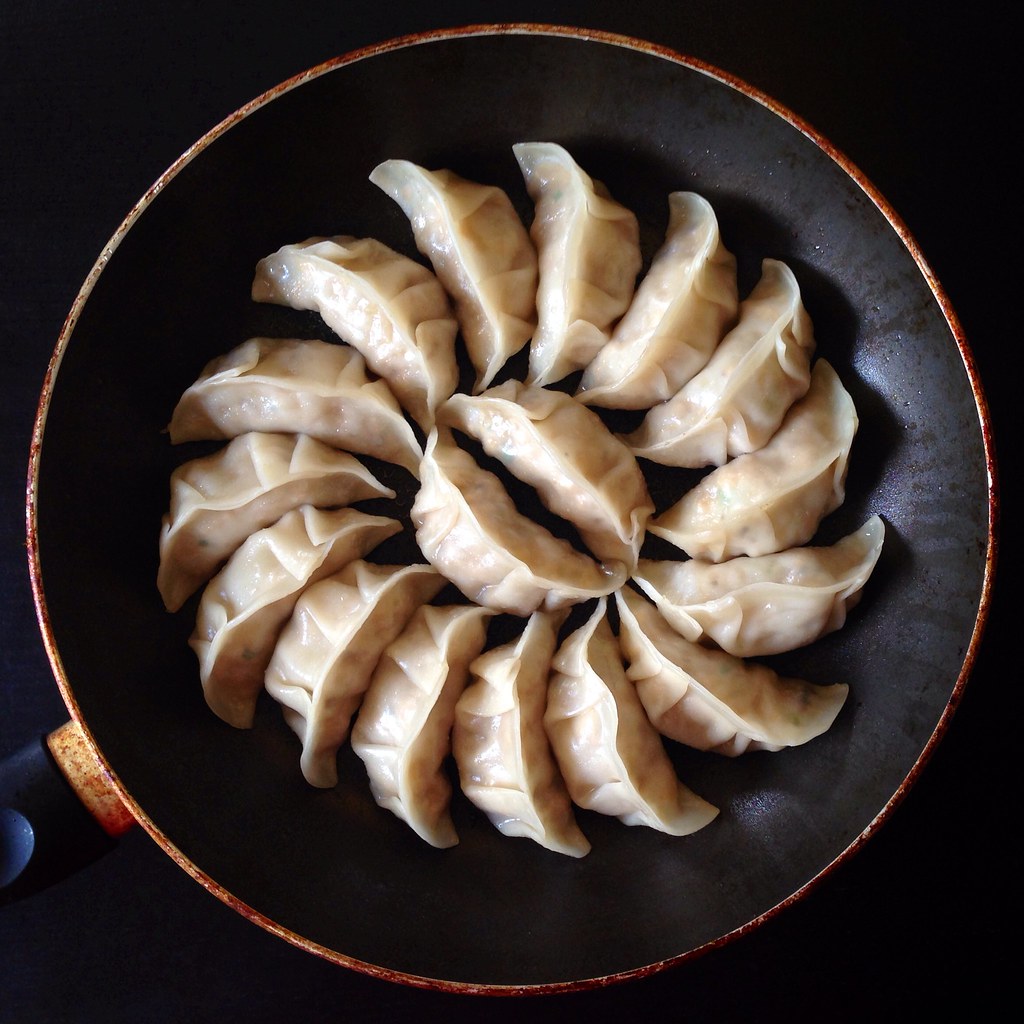
Put a spoonful of the filling in the middle of the wrapper and fold in half.  Seal center portion of the joined edges.  Make two pleats on both the left and right side of the dumpling.  Make sure that the whole thing is totally sealed and then dip the bottom in the flour and place on the tray.  Repeat 59 times.  (You can find a small video of how to fold the dumplings here.)

Once a tray is filled, if you are planning on freezing the dumplings, place it in your freezer and work on the next tray.  By the time the second tray is ready, the dumplings on the first tray should be solid enough to place in a freezer bag.

https://www.flickr.com/photos/joyosity/14237157379/

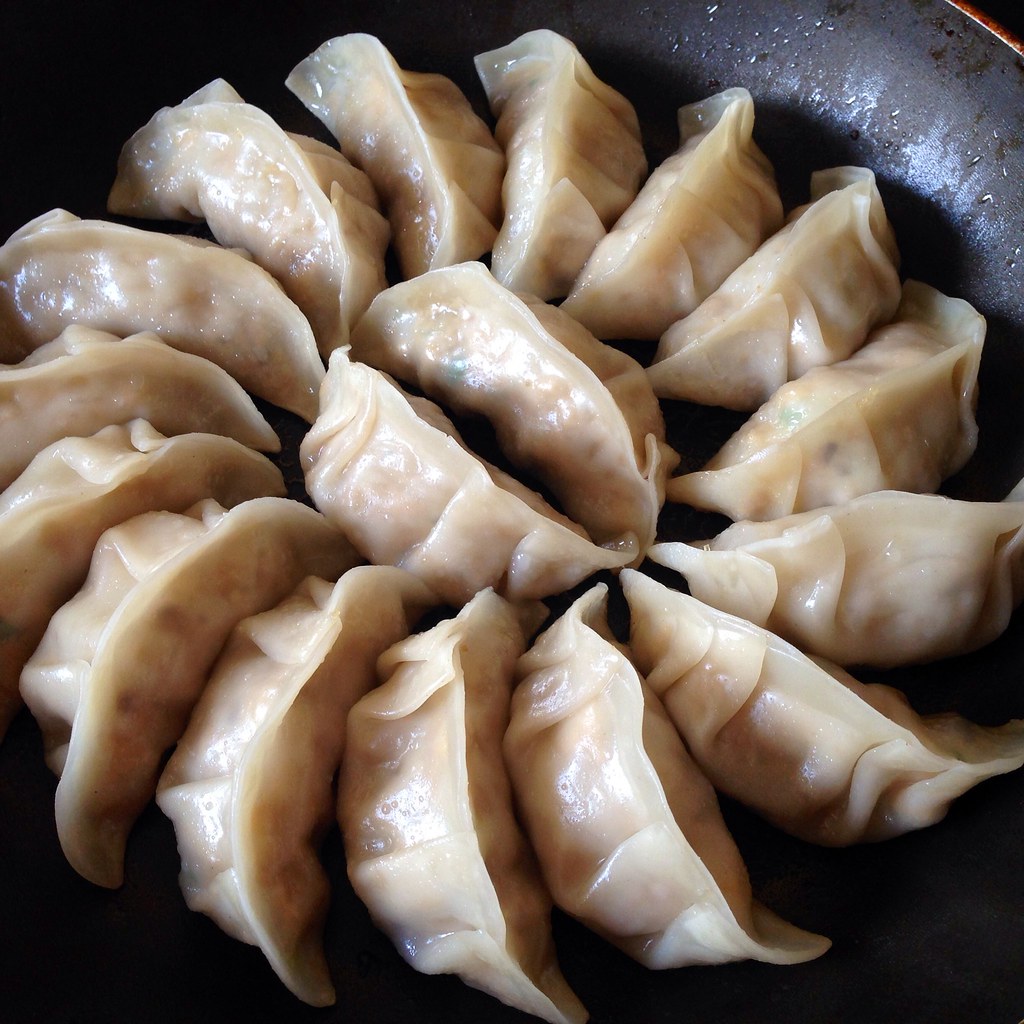
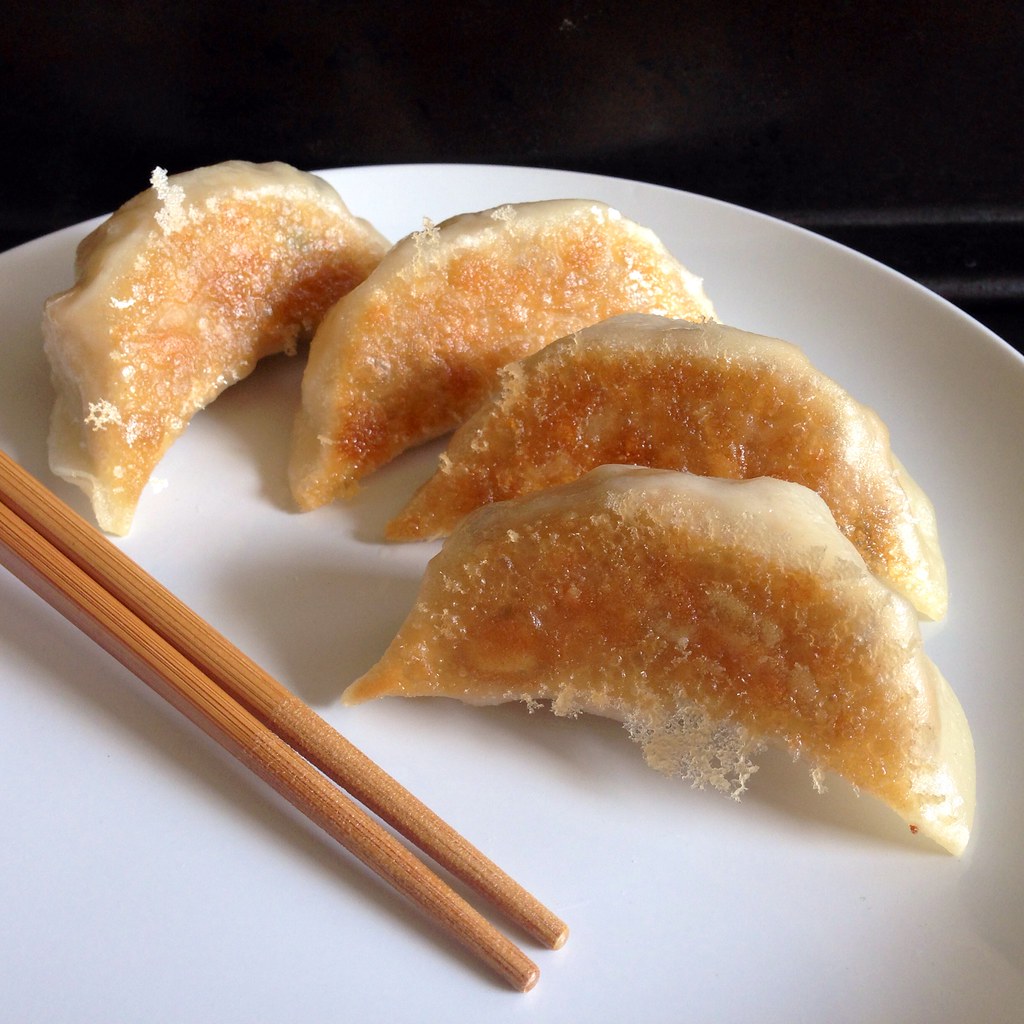
When you are ready to cook the dumplings, heat a tablespoon of oil in a frying pan on medium-high. Add the dumplings one at a time so that they are sitting upright.  Once the bottoms are browned, add about a 1/4 cup of water (about 1/2 cup if cooking frozen dumplings). If you like your potstickers extra crispy, add some flour or cornstarch to the water and mix to get rid of the lumps before you add it to the pan.  Cover and let cook for a few minutes until the water is almost all gone and the dumpling skins are translucent.  Remove the lid and let the rest of the water cook off.

https://www.flickr.com/photos/joyosity/14423805705/

Serve with a dipping sauce made with soy sauce, rice wine vinegar, sesame oil, and a pinch of sugar.

https://www.flickr.com/photos/joyosity/14422517212/

I was quite impressed with how good of a ground meat substitute the crumbled, pressed tofu was.  Seriously, if I wasn't paying attention, I might not have noticed that I was eating a vegetarian dumpling at all!

Next:  Orange Mocha Frappuccino!
Previously:  Speculoos (Cookie Butter) Ice Cream and Mini Stroopwafel Ice Cream Sandwiches
Four Years Ago:  World Peace Cookies

Monday, March 3, 2014

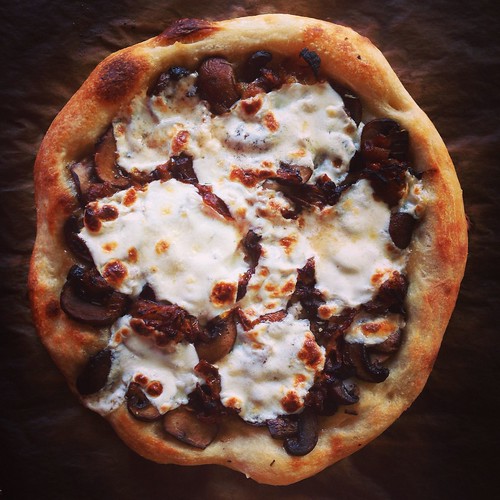
Mushroom Marsala Pizza

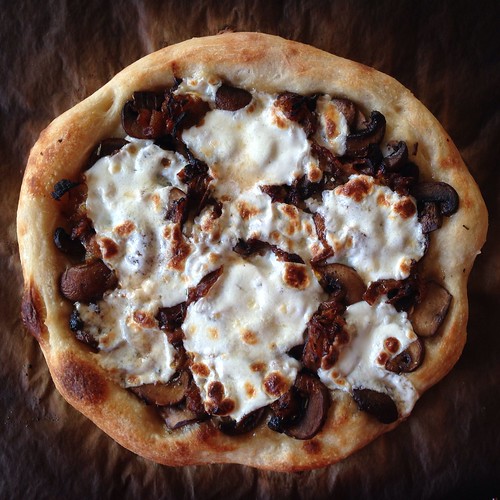
Every time I get crimini mushrooms in my Boston Organics delivery now I've been making this pizza.  I've made several variations--with fresh mozzarella, with shredded mozzarella, with rosemary, with thyme instead--and this is my favorite iteration so far.

http://www.flickr.com/photos/joyosity/12860223445/

Mushroom Marsala Pizza
makes two 10" pizzas

2 8 oz. balls of pizza dough
Olive oil
1 onion, sliced thinly
1 lb. crimini mushrooms, washed and sliced
2 small or 1 large garlic clove, minced
1/2 cup Marsala wine
1 teaspoon fresh thyme, chopped
Kosher salt and freshly ground black pepper
6 oz. fresh mozzarella cheese, sliced

Preheat the oven to 550°F or as hot as it will go.

Heat a non-stick pan on medium-high and add the sliced onions.  Cook until browned, but not burnt.  Add a glug of olive oil and continue to stir while cooking.  Add another glug of olive oil when the onions become dry and start sticking to the pan, about another 5 minutes.

http://www.flickr.com/photos/joyosity/12860282923/

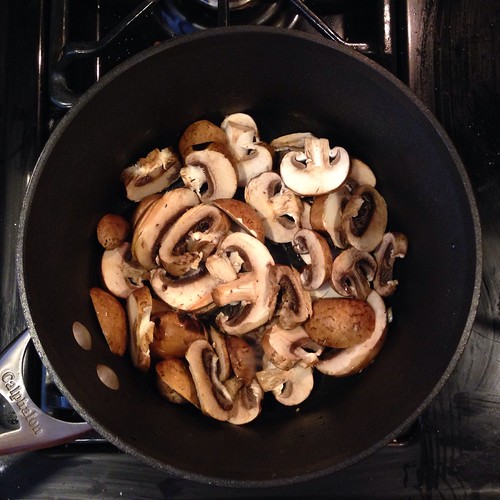
Once the onions are evenly caramelized, add the mushrooms and garlic.  Sauté for 4 minutes. Add wine and simmer until almost all liquid is absorbed, stirring frequently. Add the thyme and season with salt and pepper.  Set aside while you prepare the pizza dough.

http://www.flickr.com/photos/joyosity/12549817445/

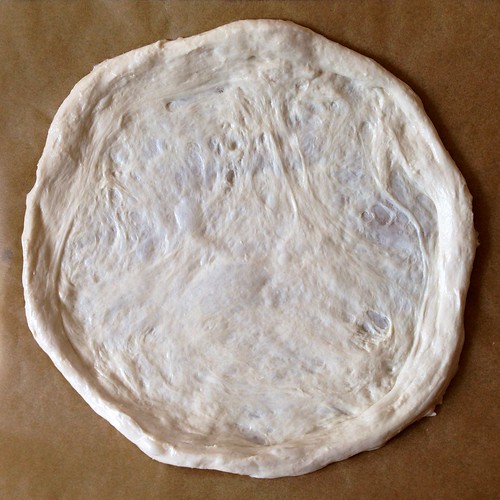
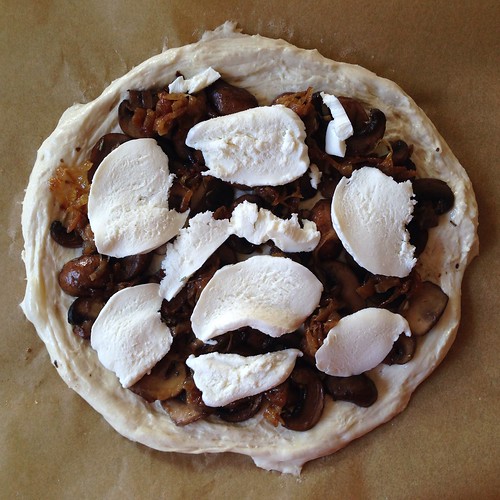
Stretch the dough onto a parchment paper-lined flexible cutting board.  Lightly brush with olive oil.  Top each pizza with half the mushroom and onion mixture.  Top each with half the cheese.

http://www.flickr.com/photos/joyosity/12860629684/

Slide one of the pizzas and parchment paper onto the pizza stone and bake for 5 minutes. After 5 minutes, turn the oven to broil and broil for 1-2 minutes.

Use tongs to slide the pizza with the parchment paper from the pizza stone onto a cutting board.  Slice and serve.

http://www.flickr.com/photos/joyosity/12860219925/

Next:  Miso-Glazed Eggplant
Previously:  Hotter Crash Potatoes
Last Year:  Peking Duck Pizza
Four Years Ago:  Bacon Fat Caramels
Five Years Ago:  Potato Leek Soup with Bacon

Monday, November 18, 2013

My Mom's Taiwanese Sticky Rice

 http://www.flickr.com/photos/joyosity/10875412813/in/photostream/

One of the reasons I started this blog 5 years ago was to document and share my mom's amazing Taiwanese cooking.  Since then, I've gone on to post a lot of different recipes, but hers are still my favorite ones because they remind me of home.

The other day I was craving some of her sticky rice and called her up to ask for the recipe.  This is how awesome my mom is:  she was able to tell me how to make it right then and there without looking anything up!  She was excited to share this new technique she developed where she first par-cooks the sweet rice and then bakes it off in a casserole dish instead of using a rice cooker.  Apparently when using a rice cooker sometimes the sticky rice can get too mushy but when using this technique it's always "QQ", or chewy.

Instead of cooking the aromatics in a different pan and then transferring everything into a casserole dish, I just used my Dutch oven (don't know how I lived without this baby!)  If you don't have one, just transfer the rice to a casserole dish with a lid, or do what my mom does and just cover it with aluminum foil.

My mom usually makes this with pork or chicken, but I decided to make it with Chinese sausage (which I guess makes it more Cantonese than Taiwanese).  You can find the Chinese sausage and fried shallots (sometimes labelled fried red onions) in a Chinese grocery store.  If you like cilantro, it makes a great topping, but if you don't, it still tastes great without it.  For a little kick, I highly recommend serving it with some sweet chili sauce.


My Mom's Taiwanese Sticky Rice
serves 6-8

3 1/2 cups sweet glutinous rice
6-7 dried shiitake mushrooms
1 tablespoon oil
3 links Chinese sausage, chopped
2 tablespoons fried shallots
2 tablespoons rice wine
1 tablespoon sugar
1/3 cup soy sauce
1 tablespoon sesame oil

Soak the sweet rice and mushrooms in room temperature water for an hour.  The mushrooms will float so place a lid or dish on top to weigh them down.

Preheat the oven to 350°F.  Start boiling 4 cups of water in a large pot. 

Squeeze the water out of the mushrooms and cut off the stems.  Slice the mushroom caps and set aside.

Drain the rice and add to the boiling water.  Make sure that the water covers the rice, adding more water if needed.  Cook for about 5 minutes, stirring frequently, until almost all the water is absorbed.  The rice will have plumped but won't be soft yet.

In the meantime, heat up the oil in a Dutch oven over medium heat.  Add the sausage and cook for a few minutes until the fat is rendered out but before it browns.  Add the mushroom and fried shallots and stir fry for about a minute or two.  Add the rice wine, sugar, soy sauce, and sesame oil and mix well.

Add the rice to the Dutch oven.  Mix very well so that the rice is the same color throughout.  Cover and bake for 20 minutes.

Fluff and serve with cilantro and sweet chili sauce, if desired.


Next:  My Mom's Pi Jiu Ya (Beer-Braised Duck)
Previously:  Kaddo (Afghan Pumpkin with Yogurt and Tomato Sauces)
Last Year:  Duchikey (or Simplified Turducken)
Five Years Ago:  Homemade Crystallized Ginger

Wednesday, August 21, 2013

Crimini Mushroom Risotto

If I had to pinpoint the one dish that made me love cooking, it'd be risotto. It's not one of those quick, easy recipes that you can throw together in 15 minutes or less. It takes time and almost-constant attention, which you can only give something you love.

You start with arborio rice, a short grain rice, which is chewier and starchier than long grain rice. The rice is sauteed first before any liquids are added, until the edges start to get translucent and the center is still opaque. Then some white wine is added to deglaze the pan and add some depth of flavor. Once the wine has been fully absorbed, hot stock is added a ladleful at a time. In between each addition of stock, you need to stir the risotto and make sure that all the liquid has been absorbed before adding the next ladleful. This is what gives the risotto the velvety, creamy texture.  That, and love.

I love mushroom risotto because it's a great way to showcase the sometimes subtle flavor of mushrooms.  I finally got a shipment of crimini mushrooms in my Boston Organics delivery last week so I was excited to make this dish with them.  It's even better if you have wild mushrooms, though, like morels if you can get your hands on them.


Crimini Mushroom Risotto
makes 4 servings

1/2 lb. crimini mushrooms, finely chopped
1 tablespoon olive oil
6 tablespoons unsalted butter, divided
Kosher salt
1 small onion, chopped
1 garlic clove, minced
1 2/3 cup arborio rice
1/4 cup white wine
1 quart mushroom, vegetable, or chicken stock, hot
1 teaspoon parsley, chopped
1/3-1/2 cup Parmesan reggiano cheese, grated
Truffle salt (optional)


Heat the olive oil and 2 tablespoons of butter in a large saute pan on medium heat.  Add the mushrooms and saute until softened.  Season to taste with salt, transfer to a bowl (along with the juices), and set aside.


In the same pan, melt 2 more tablespoons of butter and add the chopped onions.  Once the onions start to sweat, add the garlic and cook for another minute or two until softened.


Add the arborio rice and stir so that it doesn't stick to the bottom of the pan.  After about 5 minutes, once the rice has started to turn translucent on the edges but is still opaque in the center, add the white wine and stir to deglaze the pan.


Once the wine has been absorbed, add a ladleful of hot stock and keep stirring.  Continue to add the stock a ladleful at a time once the rice has absorbed all the liquid.


When all the stock has been used up, add the mushrooms along with their juices back into the rice and stir.  Cover the rice for 2 minutes to finish cooking.


Remove from heat and stir in the chopped parsley, remaining 2 tablespoons of butter, and cheese.  Finish with truffle salt, if using.  Serve immediately.


Even though the dish gets all creamy, the rice should still have some bite to it and not be all mushy.  If you do happen to have leftovers, make sure you refrigerate them so that you can make arancini (risotto balls) out of them (recipe coming up next)!

Next:  Mozzarella Stuffed Arancini (Risotto Balls)
Previously:  Shakshuka Pizza