Showing posts with label dumplings. Show all posts

Friday, December 15, 2017

Pork, Cabbage, and Tofu Dumplings


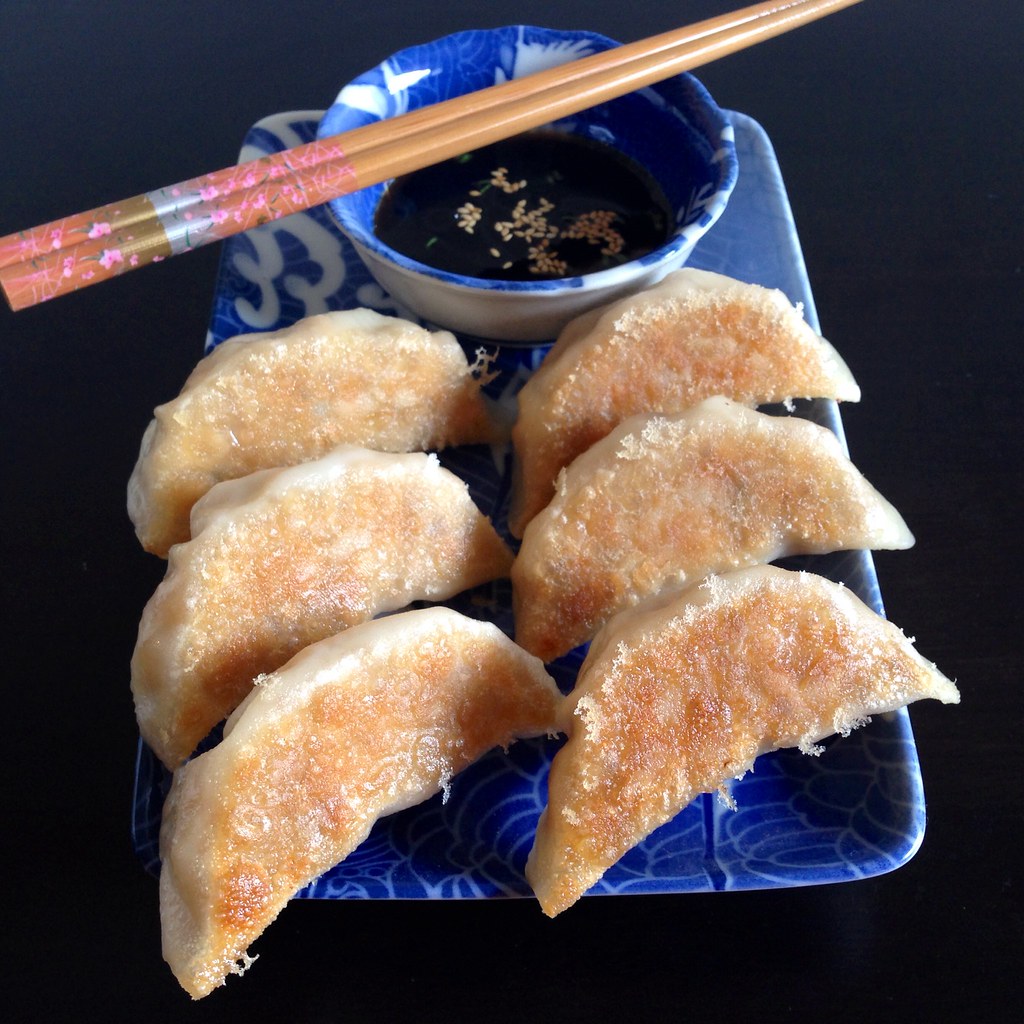
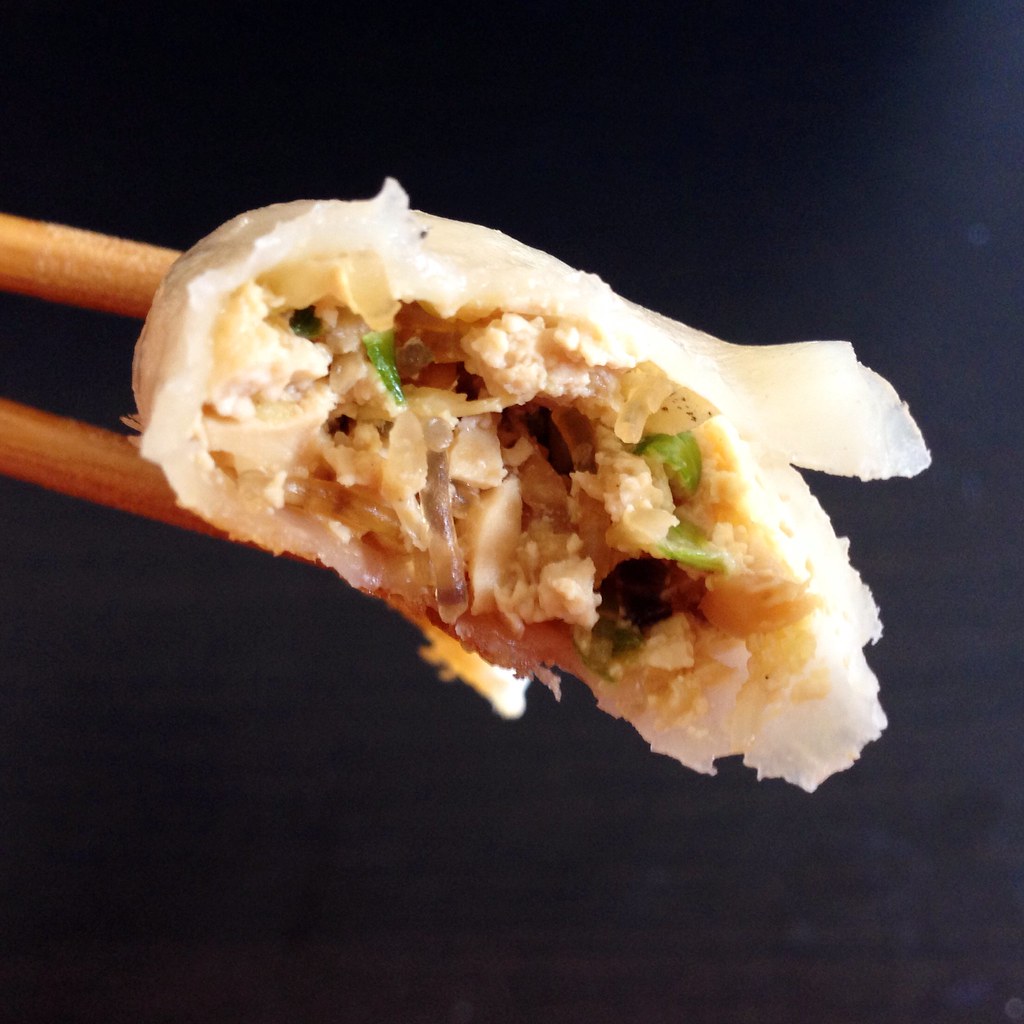
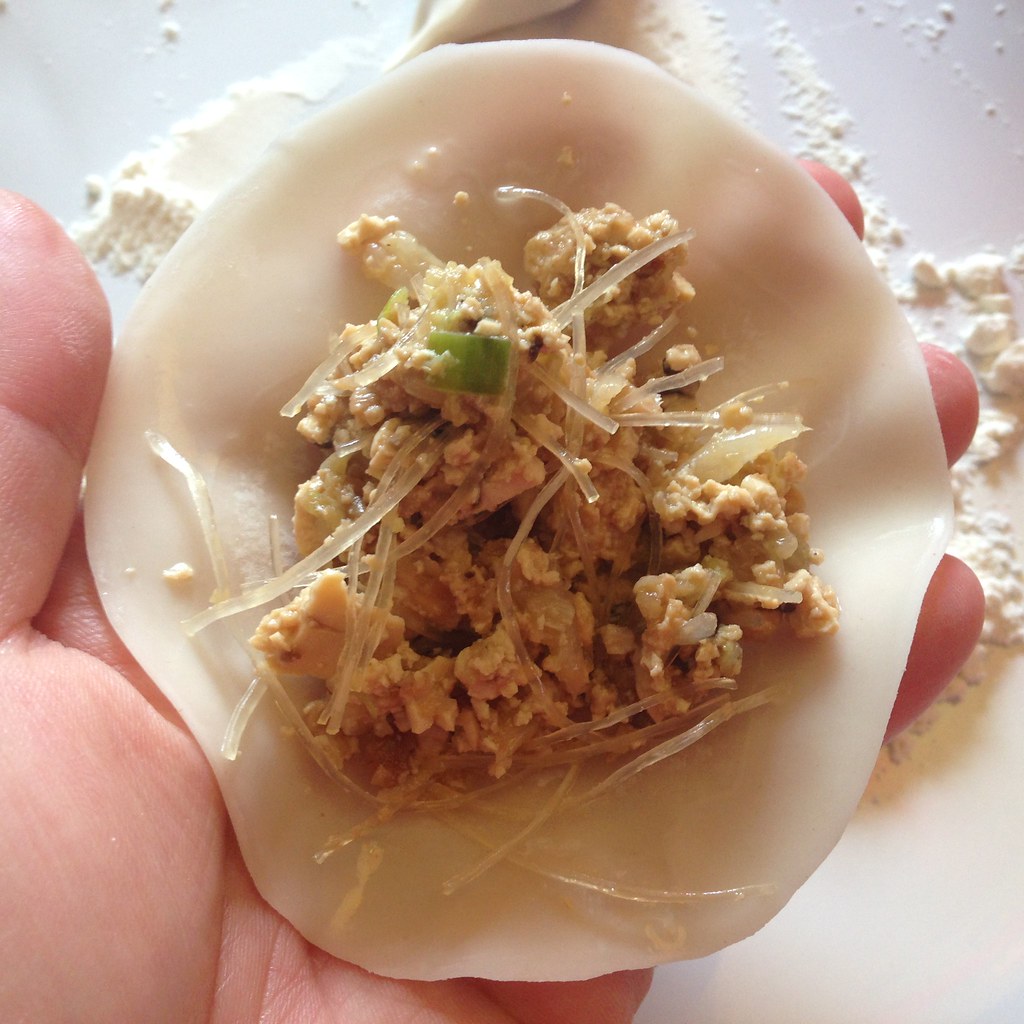
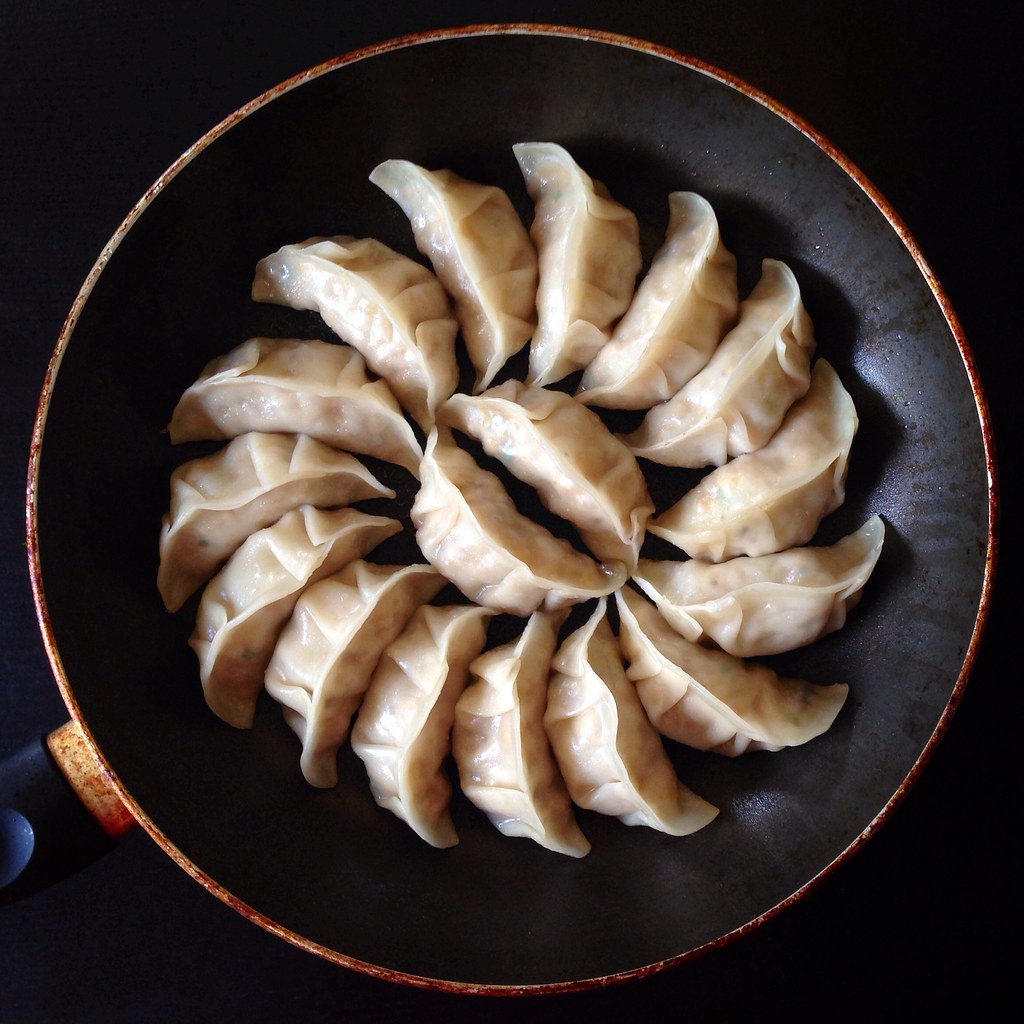
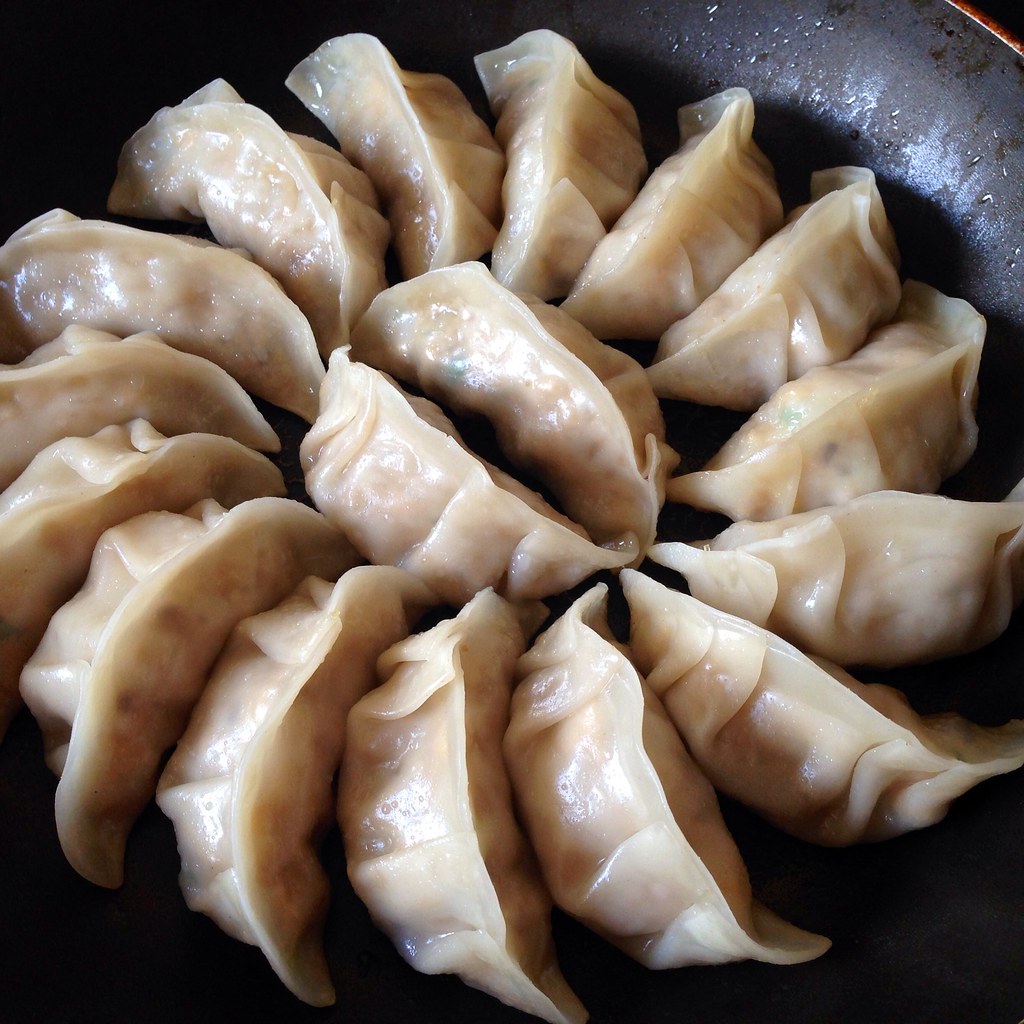
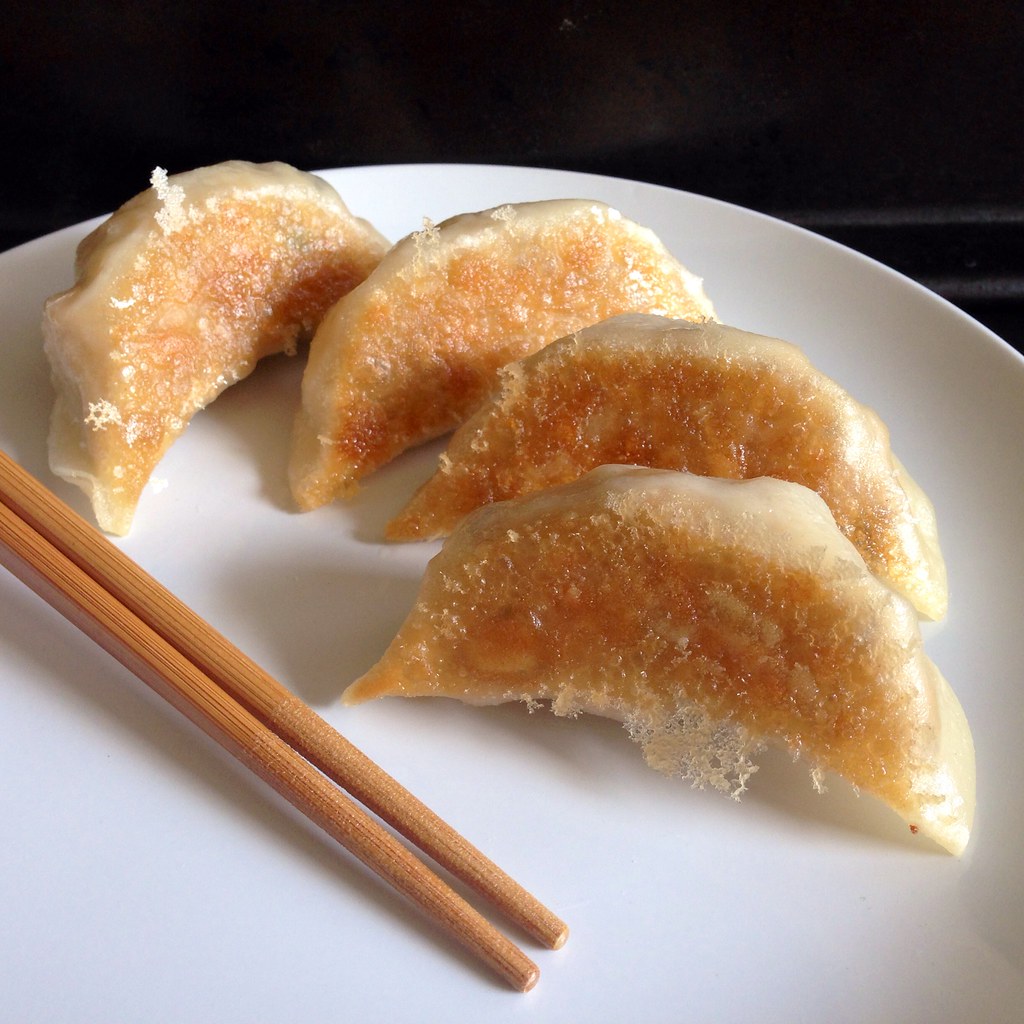
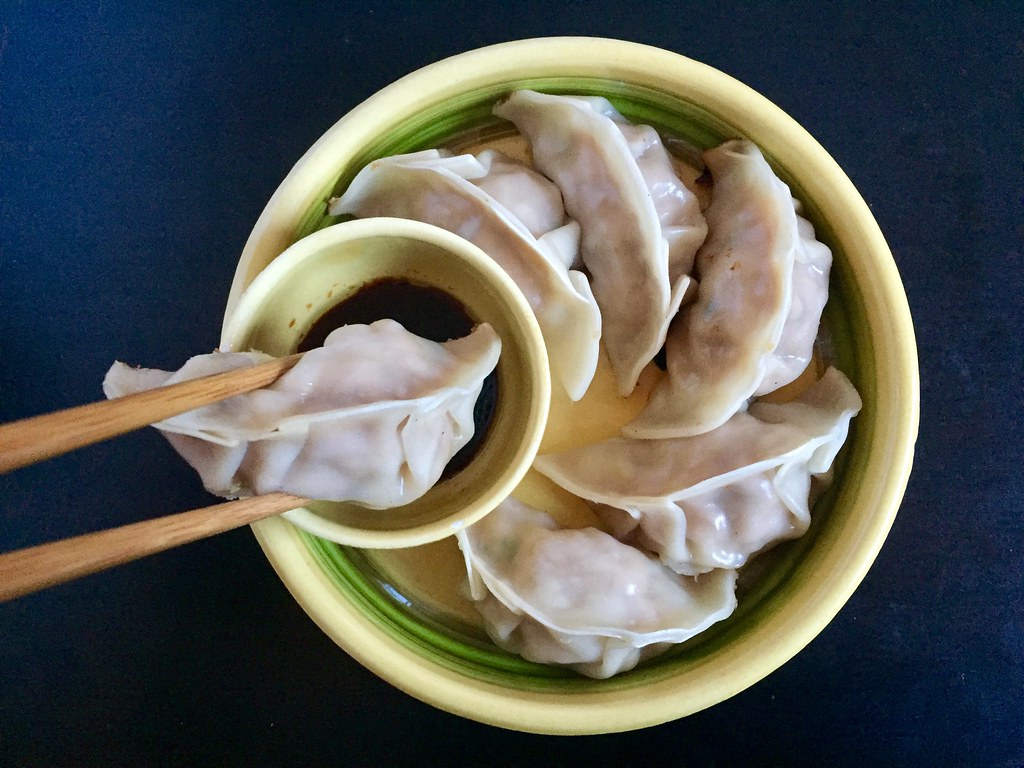
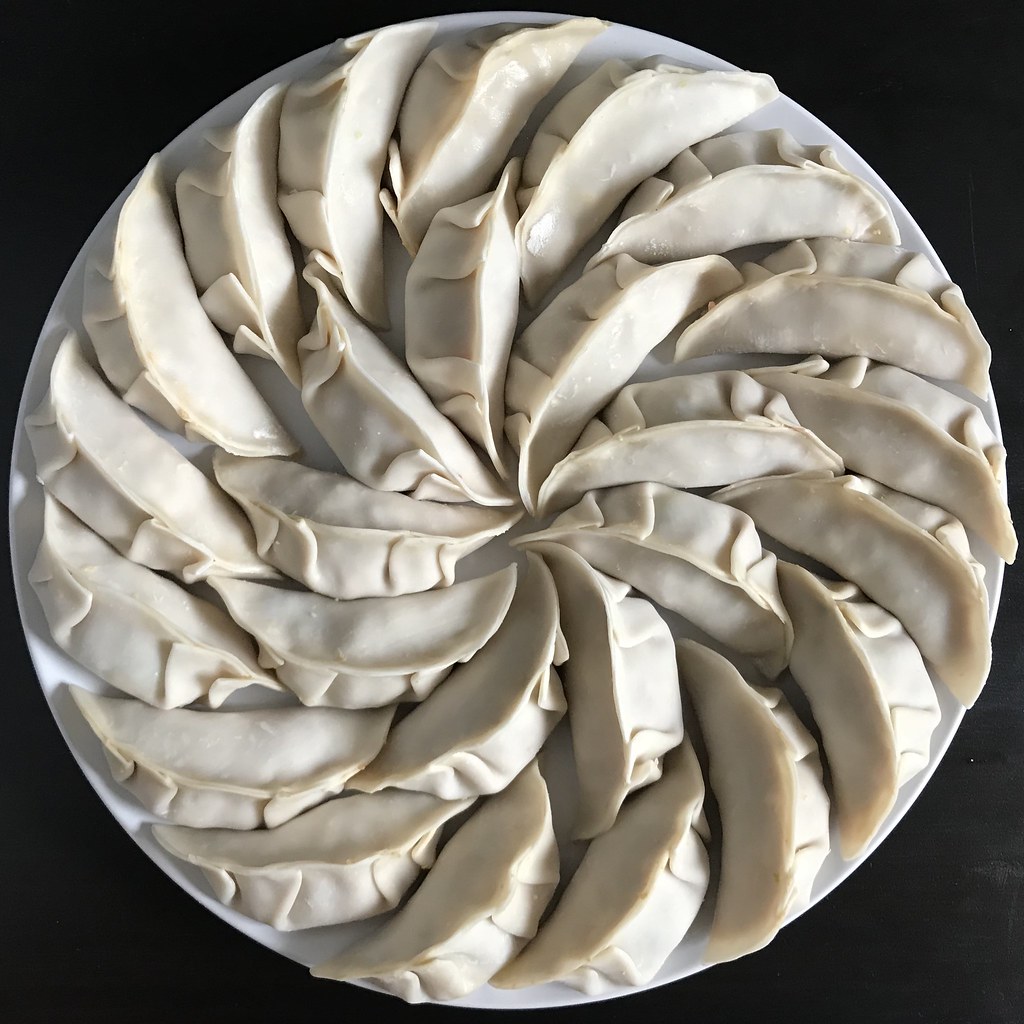
Next up in my updated posts is my mom's pork and cabbage dumplings!  I made these slightly healthier by substituting some of the pork for tofu and reducing the soy sauce, sesame oil, and sugar a bit.  See my original post from 9(!) years ago for a lot of tips and tricks to making and cooking the dumplings (as well as to see how my photography skills have improved over the years, haha).

Pork, Cabbage, and Tofu Dumplings
makes about 80

1-1.5 lbs. ground pork
1 medium head of napa cabbage, roughly chopped
1/2 teaspoon salt
19 oz. firm tofu
2 bundles of bean thread vermicelli
4 scallions, chopped
1/2 cup soy sauce
4 tablespoons sesame oil
1 tablespoon sugar
80 dumpling skins (about 2 packs)

Press the tofu between a couple layers of paper towels for 15 minutes.  Soak the bean thread vermicelli in lukewarm water for 15 minutes.

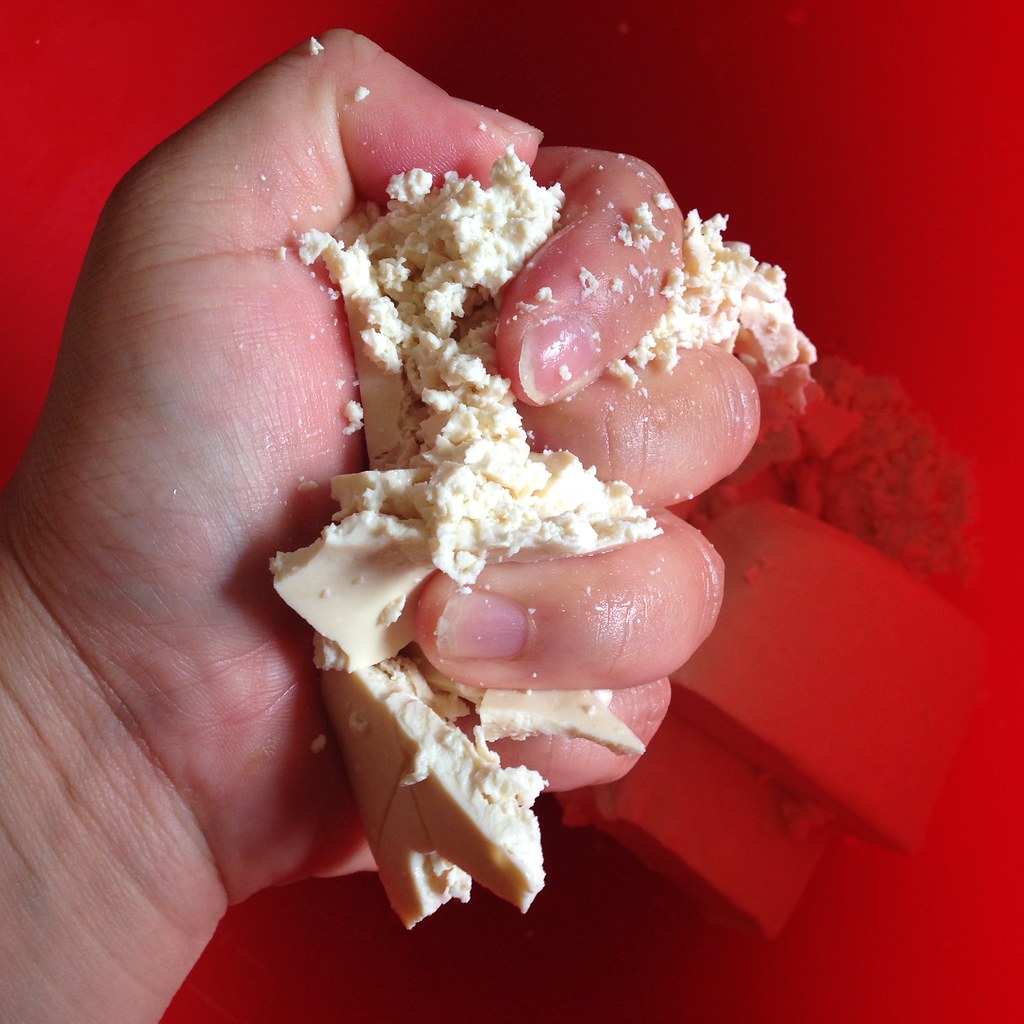
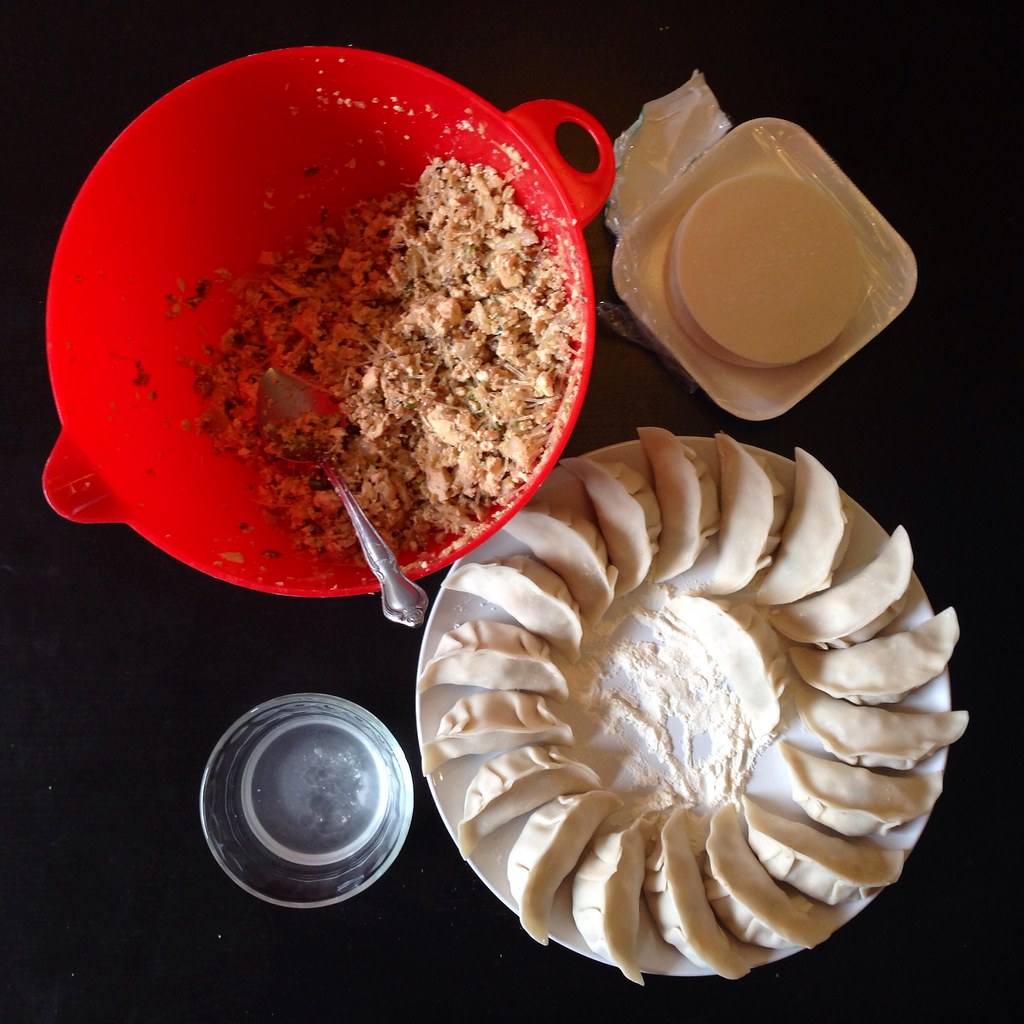
Use a food processor to finely chop the napa cabbage and transfer to a large bowl.  Mix the salt in and let rest for 15 minutes.  Squeeze handfuls of the cabbage over a sink to discard the water that's been released.  Add the squeezed cabbage back to the large bowl after drying it out.  Chop the softened noodles and add to the cabbage.  Crumble the tofu into the bowl and add the pork.  Add the scallions, soy sauce, sesame oil, and sugar and mix well.

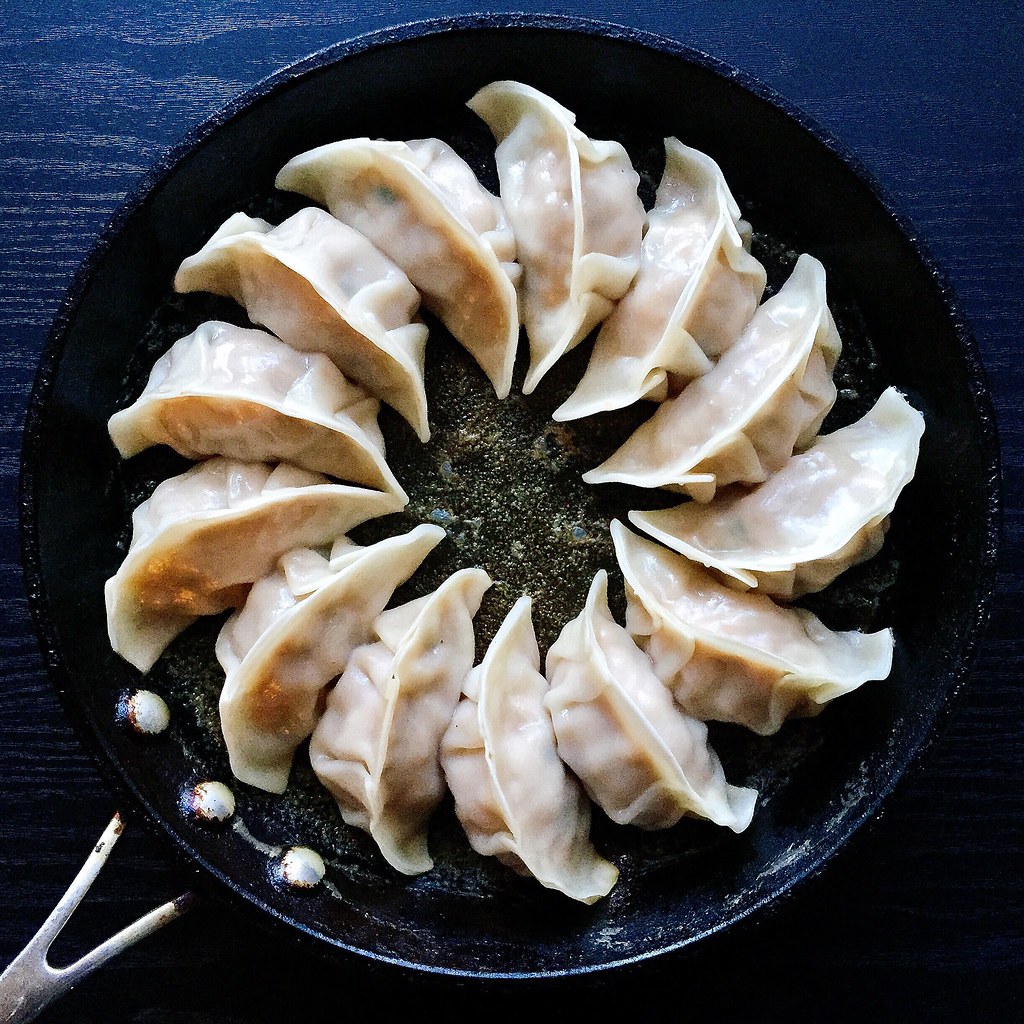
Fill the dumpling skins and seal the wrappers with a little water on the edges.  Boil or steam-fry the dumplings and serve.  If not eating immediately, place the plates of filled dumplings in the freezer until firm, then transfer to freezer bags.

Next:  Candied Carrot Rose Tart
Previously:  My Mom's Steamed Bao Buns
Last Year:  Pull-Apart Scallion Swirly Bread
Three Years Ago:  Puppy Chow Pie
Four Years Ago:  Miso Pumpkin Soup
Five Years Ago:  Homemade Ramen Noodles
Eight Years Ago:  Tim Tam Slam Ice Cream
Nine Years Ago:  Pork and Cabbage Dumplings

Saturday, October 21, 2017

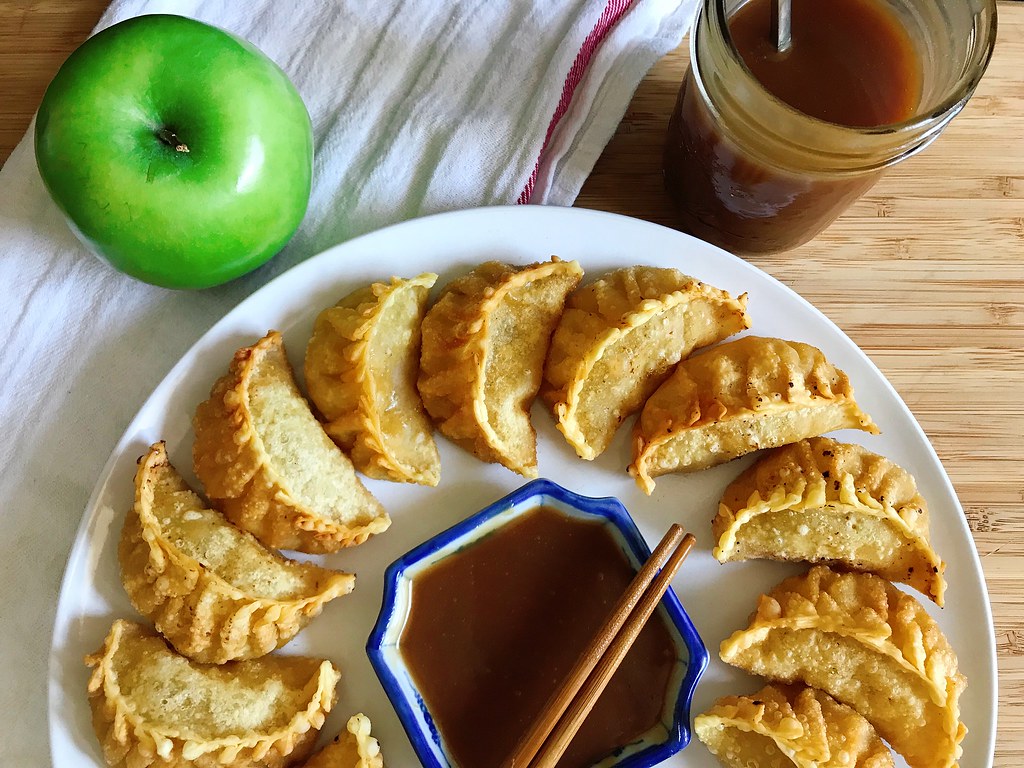
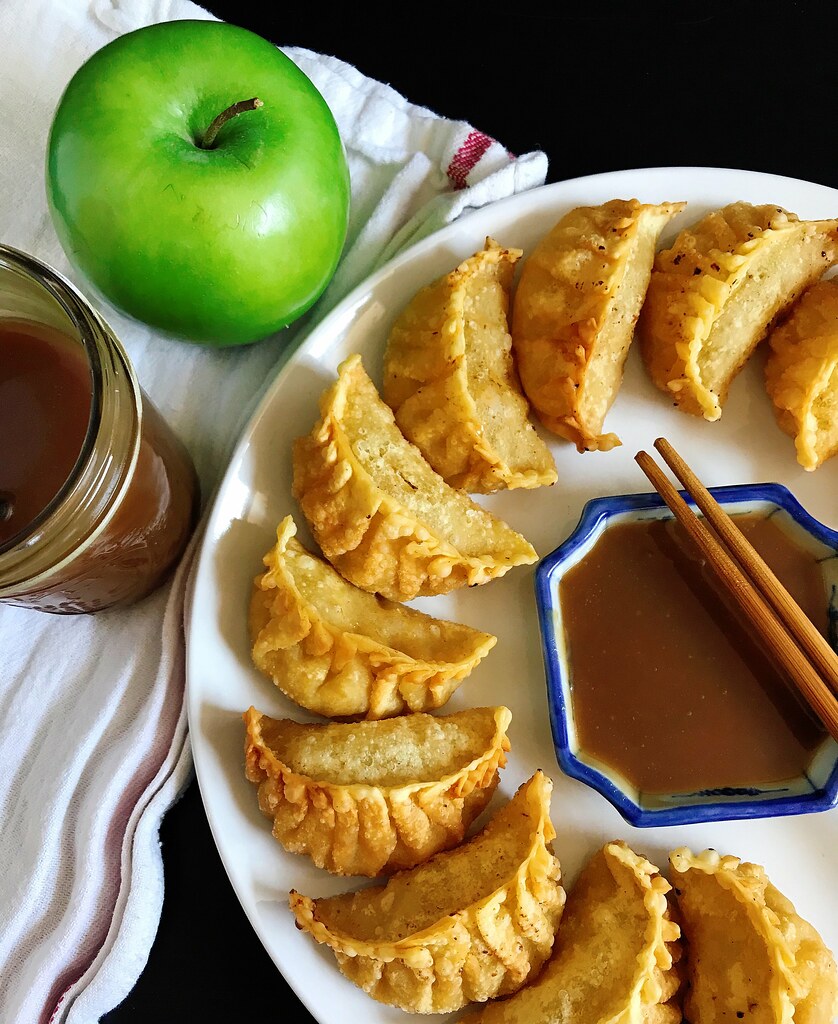
Deep Fried Apple Dumplings with Miso Caramel Dipping Sauce


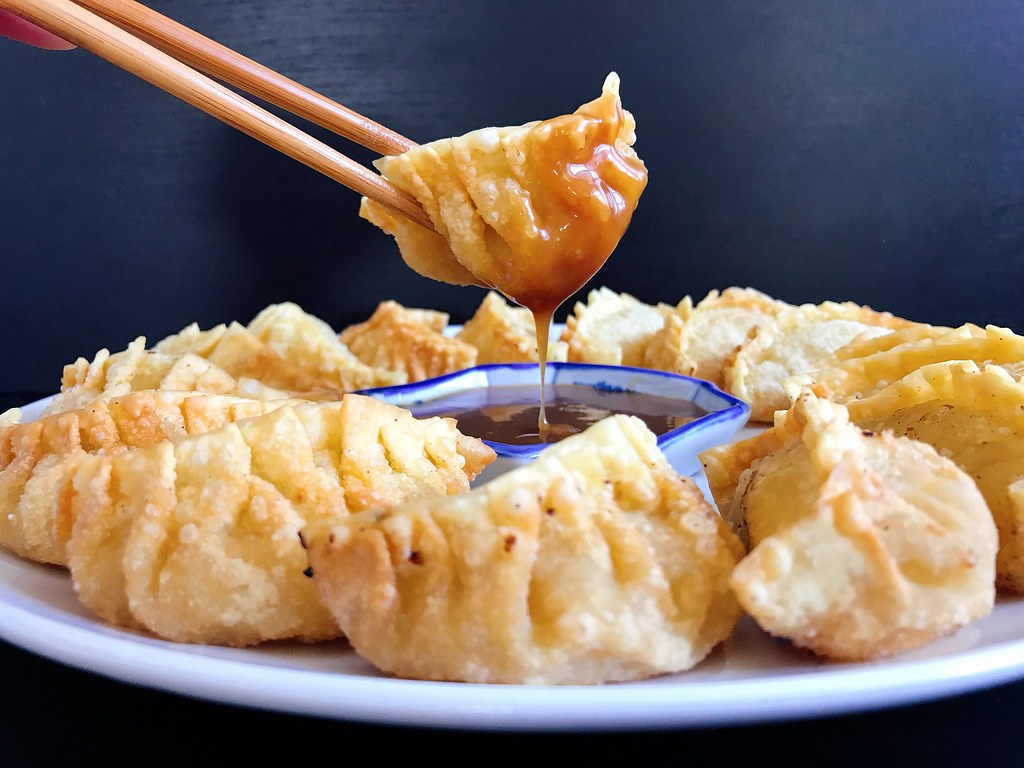
You know how sometimes something is really, really hyped up and you're just like, "uh huh, okay, but it can't actually be that amazing."  Well, I just wanted to let you know that miso caramel is *actually* that amazing!  I first heard about it on Food52, but then I noticed that some of my favorite food bloggers were also incorporating it into their apple pies and raving about it.  It is rather rich and strong so it might not be for everyone, but if you like salted caramel and miso, you'll probably love this caramel too.  The best way I can describe it is "flavor bomb".  Try it on ice cream, in apple pies, with apple slices, or just straight out of the jar!


The reason I even decided to make miso caramel is because I was invited by Rebecca and Ruth from Square Meal Round Table to join a fall collaboration with a bunch of other Instagrammers/food bloggers centered around the prompt #Aisforalltheapples.  I had the idea to make apple dumplings, but not the American baked kind using pastry dough; I wanted to make them with Hong Kong style dumpling skins and shape them like pot stickers.  Get it?  Instead of pan-frying them, though, I was going to deep fry them like McDonald's used to fry their apple pies!  And I figured to continue with the Asian twist, I'd pair the apple dumplings with miso caramel sauce.


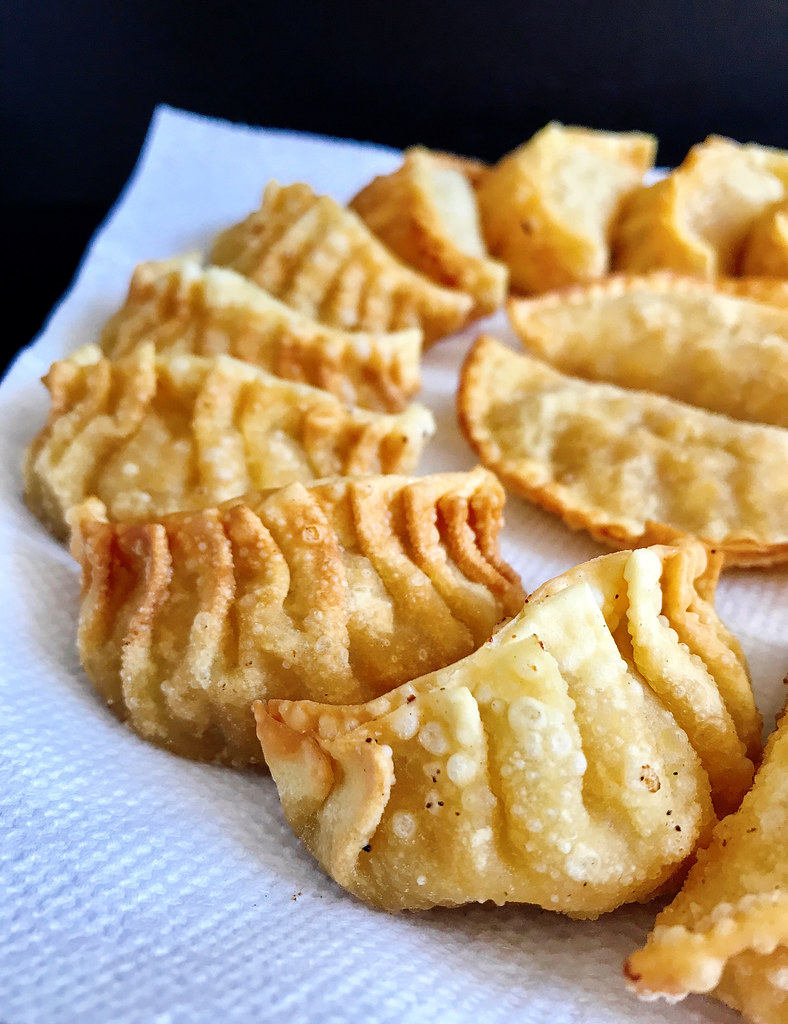
When it came time to shape the dumplings, I decided to go a little crazy with the pleating since I knew I wasn't making that many, but it's entirely unnecessary to do that many pleats.  In fact, I also experimented with making a couple that were just folded in half, sealed, and then crimped with a fork so that the looked like little hand pies (see above).  This shape was actually the easiest to fry evenly and dip in the caramel, so I'd probably make them this way in the future, unless I specifically wanted the pot sticker shape.


Deep Fried Apple Dumplings
makes about 2 dozen

2 apples (I used gala but fuji or pink lady would work too)
3 tablespoons brown sugar, packed
1/2 teaspoon ground cinnamon
1/4 teaspoon cornstarch
Pinch of salt
Dumpling skins
Oil for frying

Peel the apples and finely dice.  Mix with the brown sugar, cinnamon, cornstarch, and salt in a small saucepan.  Heat over medium-low heat for about 5 minutes, until the apples are tender and liquid starts to form.  Transfer to a bowl and allow to cool to room temperature.

Wet the edges of the dumpling skins and fill with the apple mixture.  Seal tightly.

Heat the oil in a pot to 350°F.  Fry the dumplings until golden brown and drain on a paper towel-lined plate.  Serve immediately with the miso caramel dipping sauce (recipe below).

Miso Caramel Dipping Sauce (from Minxeats via Food52)
makes 1 pint

3/4 cup granulated sugar
1/4 cup water
1/2 cup heavy cream
2 tablespoons white miso

Heat the sugar and water over medium-high heat in a medium saucepan.  Bring to a boil and continue to cook without stirring until it turns a medium amber and wisps of smoke just start to appear.  Immediately remove from heat and whisk in the heavy cream.  If the caramel seizes, just return the pan to low heat and continue to whisk until everything is liquid again.  Whisk in the miso.  Pour into a glass jar and store in the refrigerator if not using immediately.  Rewarm briefly in the microwave before using after refrigeration.


Check out the rest of the entries in this collaboration below!

Next:  Slow-Roasted Ginger Scallion Salmon
Previously:  Crane Rangoons
Last Year:  Pear Apple Cranberry Slab Pie
Two Years Ago:  Pad Thai
Three Years Ago:  Mochi Donuts and Pon de Rings
Four Years Ago:  Bahian Style Moqueca (Brazilian Fish Stew)
Five Years Ago:  Magical Pumpkin Spice Latte

Monday, October 16, 2017

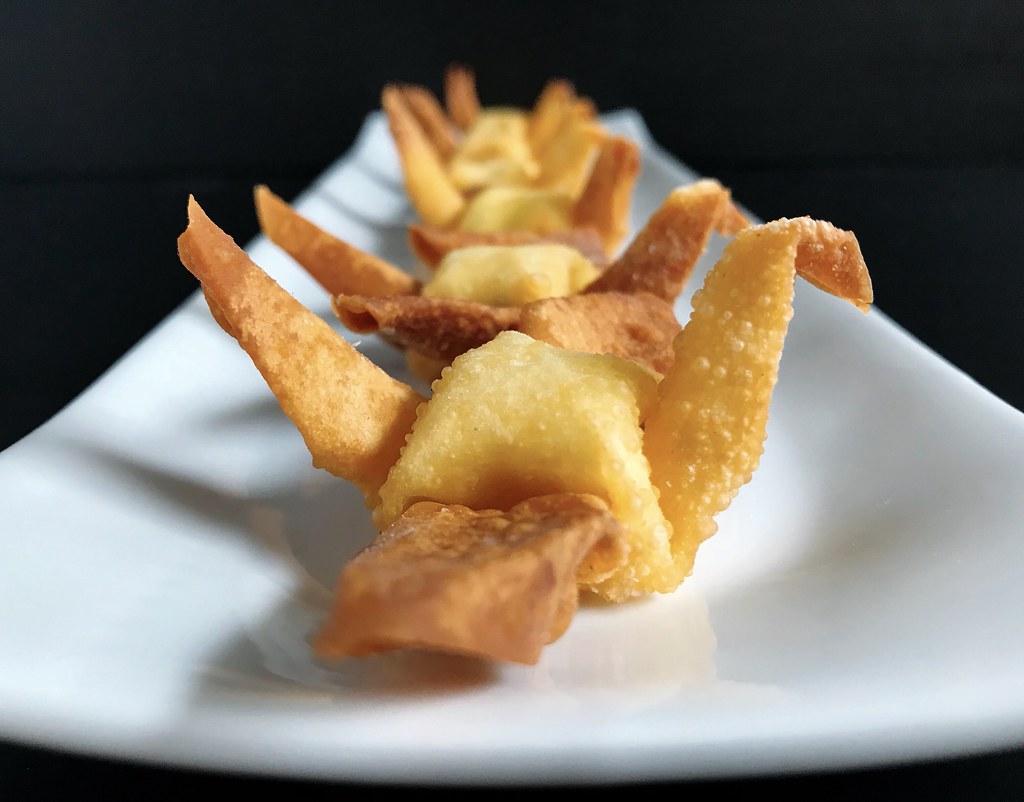
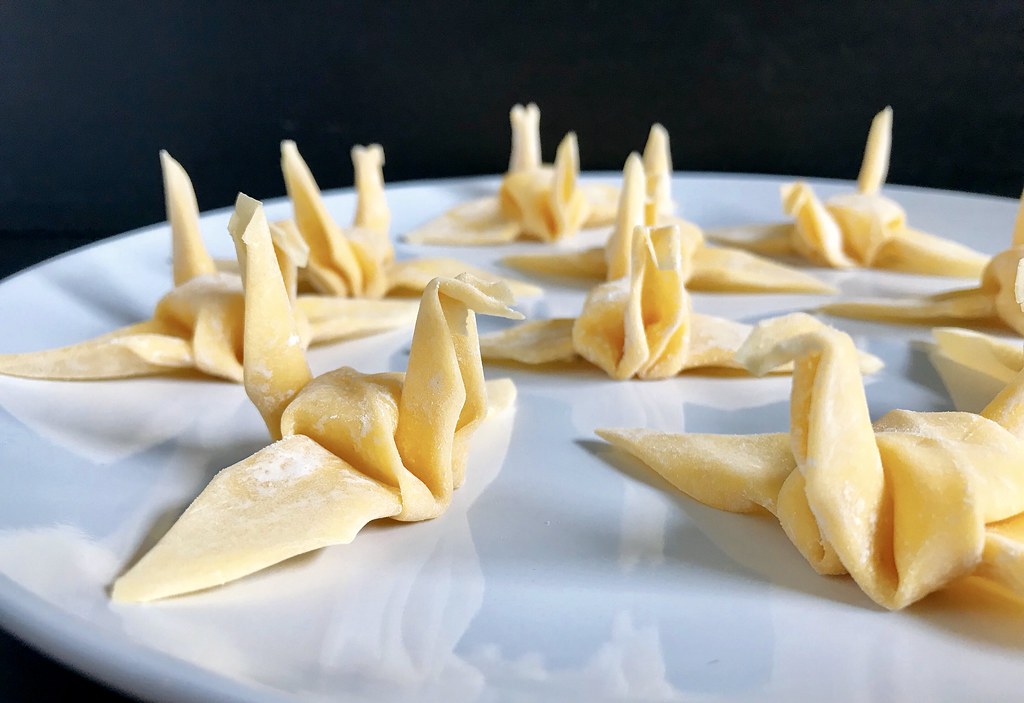
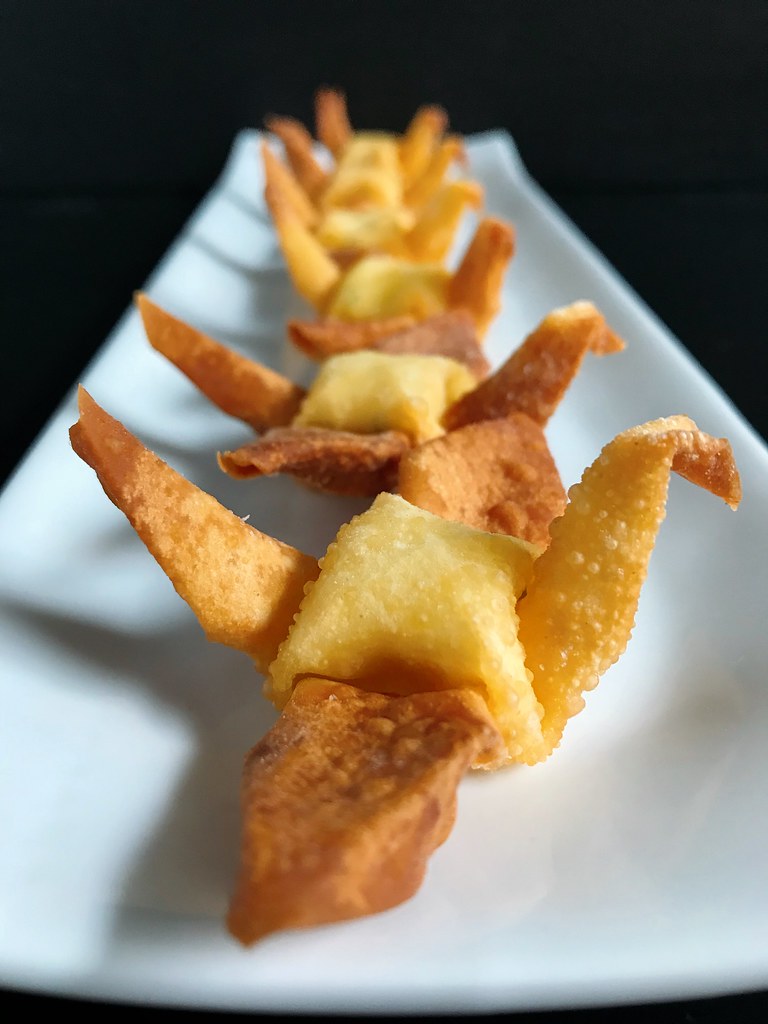
Crane Rangoons


I've been toying with the idea to make these ever since I saw an article on Food52 about someone who folded wonton skins into origami cranes and deep fried them.  Naturally the only logical progression would be to stuff them with cream cheese and make crane rangoons, right?

My mom taught me how to fold paper cranes when I was a kid, and it's basically muscle memory for me, but if you're not familiar with how to fold a crane you'll definitely want to practice with paper first.  One thing I realized as I was doing research for this post is that the way my mom taught me how to fold a paper crane is different than the most popular way on the internet.  In fact, I can't seem to find a single tutorial showing the method my mom taught me!  It's a very disorienting feeling to realize that something that you thought everyone else knew is actually just something only your family knows.

Anyways, for science, I tried both ways with a wonton skin, and there doesn't seem to be too much of a difference.  I think the hollow space in the crane's body may be a tad larger using my mom's method, and the tail and head are a bit fatter so it's a little easier to have a defined head.  Both honestly, I'm not sure those differences are a big enough of a deal to learn a new way to fold a crane, especially since it's hard enough folding one with a wonton skin.


You will want to get the freshest, most pliable wonton skins you can find, and the thinner the better.  The ones I used weren't a perfect square, but you can still get a pretty decent looking crane.  Also, instead of making perfect creases like you'd usually do with paper, you want to try not to press down too hard on any folds so that the wonton skin doesn't break.

After I finished folding the cranes, I microwaved them for 8-10 seconds, just enough to make them a little stiffer, but not totally cooked.  Basically I watched them as they microwaved and pulled them out as soon as they started to distort.  At that point, I was still able to manipulate them back into the desired shape.

Then I whipped up some softened cream cheese with some chopped scallions and a pinch or two of salt.  To fill the cranes, I used a piping bag with a no. 12 round tip.  A slightly smaller tip would probably have been a little better, but you don't want to use a tiny one or else the scallions might get stuck in the tip.

I deep fried the crane rangoons in 375°F oil until they were golden brown.  After some trial and error, it seemed like frying them upside down was the best way to get them to cook as evenly as possible.  When they were done, I let them drain on a paper towel-lined plate.


Friday, June 20, 2014

Tofu and Shiitake Potstickers

https://www.flickr.com/photos/joyosity/14443992303/

When I cut out most meats from my diet a few years ago, the one thing I missed the most wasn't steaks or burgers.  It was my mom's pork and cabbage dumplings.  To be honest, I still make and eat them once in a while because they're so good, but my tummy always feels funny after.

Enter this lovely vegetarian recipe from The Kitchn that gave me the courage to try using pressed tofu as a substitute for the pork.  Their recipe actually uses baked tofu, which may be easier to find in an American supermarket; either way, you want to use a very firm, dense tofu.  If you can only find plain firm tofu, you can press and bake it yourself to get it to the consistency you need for this recipe.

Because tofu can be pretty bland on its own, I like the addition of the shiitake mushrooms to add more umami to the filling.  I also added bean thread vermicelli because I really like the texture they add to the dumplings.  A big difference between this recipe and the one I usually make is that the cabbage is cooked first before being used in the filling.  This allows you to squeeze a lot more water out of the cabbage so the filling isn't as watery.

https://www.flickr.com/photos/joyosity/14237159429/

Tofu and Shiitake Potstickers (adapted from The Kitchn)
makes about 60 dumplings

6-8 dried shiitake mushrooms
1 bundle bean thread vermicelli
1 small napa cabbage, roughly chopped
Vegetable oil
Kosher salt
24 oz. pressed tofu
2 scallions, thinly sliced
6 tablespoons soy sauce
2 tablespoons sesame oil
2 tablespoon sugar
1 egg, beaten
60 dumpling wrappers

Soak the shiitake mushrooms and bean thread vermicelli in cold water.  Remove the bean thread vermicelli after about 15 minutes.  Continue to soak the mushrooms until they are easy to slice,.

Use a food processor to finely chop the vermicelli, napa cabbage, and reconstituted mushrooms separately.

Heat 2 teaspoons of oil in a large skillet over medium-high heat.  Add the mushrooms and saute for a few minutes until softened.  Add the cabbage and a few pinches of salt.  Stir fry until the cabbage is completely wilted, about 3-4 minutes.  Set aside and allow to cool.

https://www.flickr.com/photos/joyosity/14237352437/

Meanwhile, crumble the tofu into a large mixing bowl.  Add the vermicelli, scallions, soy sauce, sesame oil, sugar, and egg.  Stir to combine.

Squeeze handfuls of the cooled mushroom-cabbage mixture in your fist to squeeze out as much moisture as possible and add to the tofu mixture.

https://www.flickr.com/photos/joyosity/14422670284/

Prepare plates or trays with flour for dipping and have a small bowl of warm water ready. Hold the wrapper in one hand and use the other to dip a finger in the water and wet the edges of the wrapper.

https://www.flickr.com/photos/joyosity/14237207460/

Put a spoonful of the filling in the middle of the wrapper and fold in half.  Seal center portion of the joined edges.  Make two pleats on both the left and right side of the dumpling.  Make sure that the whole thing is totally sealed and then dip the bottom in the flour and place on the tray.  Repeat 59 times.  (You can find a small video of how to fold the dumplings here.)

Once a tray is filled, if you are planning on freezing the dumplings, place it in your freezer and work on the next tray.  By the time the second tray is ready, the dumplings on the first tray should be solid enough to place in a freezer bag.

https://www.flickr.com/photos/joyosity/14237157379/

When you are ready to cook the dumplings, heat a tablespoon of oil in a frying pan on medium-high. Add the dumplings one at a time so that they are sitting upright.  Once the bottoms are browned, add about a 1/4 cup of water (about 1/2 cup if cooking frozen dumplings). If you like your potstickers extra crispy, add some flour or cornstarch to the water and mix to get rid of the lumps before you add it to the pan.  Cover and let cook for a few minutes until the water is almost all gone and the dumpling skins are translucent.  Remove the lid and let the rest of the water cook off.

https://www.flickr.com/photos/joyosity/14423805705/

Serve with a dipping sauce made with soy sauce, rice wine vinegar, sesame oil, and a pinch of sugar.

https://www.flickr.com/photos/joyosity/14422517212/

I was quite impressed with how good of a ground meat substitute the crumbled, pressed tofu was.  Seriously, if I wasn't paying attention, I might not have noticed that I was eating a vegetarian dumpling at all!

Next:  Orange Mocha Frappuccino!
Previously:  Speculoos (Cookie Butter) Ice Cream and Mini Stroopwafel Ice Cream Sandwiches
Four Years Ago:  World Peace Cookies

Sunday, June 14, 2009

Daring Cooks Challenge #2: Homemade Bulgogi Dumplings

Bulgogi dumplings

My first thought after seeing the second Daring Cook's challenge was, "Why mess with perfection?" Jen from Use Real Butter had chosen Chinese dumplings as the challenge, which coincidentally, was one of my first posts on The Cooking of Joy. I've been making my mom's recipe for dumplings for as long as I can remember not only because it's my mom's but quite simple because it is the best-tasting dumpling I've ever had. In my opinion, it has the perfect ratio (1:1) of meat to vegetable and is just seasoned enough that you can serve it boiled with only some sriracha sauce for heat, if you want. So seriously, why mess with perfection?

But Jen's request to "try something different" if we'd made Chinese dumplings before echoed in my head as a challenge. Then when I came up with the idea to make kalbi using the kiwi, pear, and apple I had gotten in my Boston Organics delivery, I started thinking about making a beef dumpling filling with the same marinade. And using Romaine lettuce instead of napa cabbage as the vegetable since Romaine is traditionally eaten with kalbi and bulgogi (Korean marinated barbecued sirloin beef). And ssamjang (seasoned soybean paste) as the condiment. And thus, the bulgogi dumpling was born.

One of the other requirements for the Daring Cook's challenge was to make your own wrappers. Jen had posted a recipe that used warmed water instead of the boiling water recipe I was used to. Since I was doing something different anyways, I figured I'd try her recipe (using her mom's version to mix the dough) but I soon realized that I much preferred the boiling water version. The warm water version gave a really stiff dough that was much harder to work with. At first I thought that maybe I hadn't added enough water, but the recipe only called for 1/2 cup water for 2 cups of flour, and I had already added about 2/3 cup of water. So I ended up scrapping half of the warm water dough and making a half batch of the boiling water dough, which I've reprinted here. Using the boiling water and kneading the dough for a good five minutes allows the dough to develop a lot of gluten. Resting it for 20 minutes makes it even more pliable so that you should have no problems rolling out your wrappers and stretching them while wrapping.

Warm water wrapper Boiling water wrapper
Wrapped dumplings Wrapped dumplings
Wrapped dumplings P5231205-1

Above is a side by side visual comparison of the two wrappers with the boiling water ones on the right. The reason for the color discrepancy is simply because I ran out of bleached all-purpose flour after making the warm water wrappers and used unbleached all-purpose flour for the boiling water ones.


Bulgogi Dumplings

makes about 56 dumplings

1 bundle bean thread vermicelli
1 lb. ground beef (I used 80% lean meat)
1/2 head romaine lettuce, washed and roughly chopped
3 scallions, roughly chopped
1/2 cup kalbi marinade
1/2 tablespoon sesame oil
56 homemade dumpling wrappers (recipe below)

Soak the bean thread vermicelli in a bowl filled with hot water for 15 minutes.

While the vermicelli is soaking, use a food processor to mince the lettuce and scallions. Transfer to a large mixing bowl.

Squeeze out the excess water in the vermicelli and use the food processor to chop into about 1/2" pieces. Add to the mixing bowl.

Add the ground beef, marinade, and sesame oil and mix well. Cover and refrigerate until ready to use.

Once you have your dumpling wrappers ready, prepare plates or trays with flour for dipping. Put a spoonful of the filling in the middle of a wrapper and fold in half. Seal center portion of the joined edges. Make two pleats on both the left and right side of the dumpling. Make sure that the whole thing is totally sealed and then dip the bottom in the flour and place on the tray. Here are step-by-step photos to show you how it's done, or you can check out this video, but ignore the part about wetting the edges. Since we are using fresh dumpling wrappers here, you can skip that step.

To pan-fry the dumplings, heat a frying pan on high and add oil once it is hot. Once the oil is hot, add the dumplings one at a time so that they are sitting upright. Once the bottoms are browned, add about a 1/2 cup of water (for 8 dumplings, my usual serving size). If you like your dumplings extra crispy, add 1 tablespoon of flour or cornstarch to the water and mix to get rid of the lumps before you add it to the pan. Be very careful as the steam coming off the pan may burn you. Cover and let cook for a few minutes until the water is almost all gone. Remove the lid and let the rest of the water cook off.

Homemade Dumpling Wrappers (adapted from here)
makes about 56 wrappers

3 cups all-purpose flour
1 cup boiling water
4 tablespoons cold water
Flour for dusting

Pour boiling water into the flour, quickly stir with a fork or chopstick, mix well, then add the cold water. Mix and knead into a soft dough about 5 minutes.

Cover with damp cloth or paper towel. Set aside and rest for 20 minutes.

Knead the dough for 1 minute and divide into 4 quarters. Roll one quarter into a long snake and pinch into about 1 inch lengths.

Dust flour on work surface. Roll each piece into a circle of about a 3 inch diameter. Try to make the edges thinner than the middle.

Bulgogi dumplings with gochujang

Instead of the usual soy sauce, vinegar, sesame oil, and sugar dipping sauce I like to have with my dumplings, I just served it with ssamjang. The intense saltiness of the season soybean sauce complemented the sweetness of the marinade, but I have to admit both flavors were a little too strong, so I tried wrapping some Romaine lettuce around a dumpling, similar to how I like to eat my kalbi.

Bulgogi dumpling wrap

This combination ended up being perfect as now there was a balance of all the oral senses: taste (sweet and salty), temperature (hot and cold), and texture (crunchy and soft).

Bulgogi dumpling wrap

So once again, the Daring Cooks Challenge forced me to try something I normally wouldn't have made, which is the point of a challenge, I suppose. To be honest, I'll probably continue to stick with my mom's dumpling recipe and store bought wrappers, but it was pretty fun to make these, and I'm looking forward to next month's challenge!

Tuesday, January 27, 2009

Xiao Long Bao (Steamed Soup Dumplings)

New word of the day: as⋅pic [as-pik]– noun, a savory jelly usually made with meat or fish stock and gelatin.

Of course, when you say it, it sounds like the action of relieving an itch in your butt crack. Anyways, aspic is the secret ingredient for making xiao long bao, or steamed soup dumplings. Because aspic is solid, you can easily wrap it in a dumpling along with the meat filling, and when you steam it, the aspic melts and becomes the hot, gushing soup that squirts out of the bun and burns your tongue.

You can make your own aspic by either making fresh stock and boiling it down and chilling it so that it solidifies or dissolving unflavored gelatin (like Knox) in chicken broth and chilling it. I found out that if I chilled the leftover braising liquid from making my mom's beer duck (sorry, it's a classified recipe now, but you can probably find it on-line somewhere else) it solidifies into an aspic. And since I had made some beer duck the night before and Liv and Ruth were making fresh dumpling skins, I figured we should try to make some xiao long bao as well!

First, to make the homemade dumpling skins, all you need is flour and hot water. Ruth doesn't really use measurements and mostly goes by feel, but I found this recipe on the chowhound forums that works pretty well.

Homemade dumpling skins

Homemade Dumpling Skins
(adapted from here)
makes 56 skins

3 cups all-purpose flour
1 cup boiling water
4 tablespoons cold water
Flour for dusting

Pour boiling water into the flour, quickly stir with a fork or chopstick, mix well, then add the cold water. Mix and knead into a soft dough about 5 minutes.

Cover with damp cloth or paper towel. Set aside and rest for 20 minutes.

Knead the dough for 1 minute and divide into 4 quarters. Roll one quarter into a long snake and pinch into about 1 inch lengths.

Dough waiting to be rolled

Dust flour on work surface. Roll each piece into a circle of about a 3 inch diameter.

Homemade dumpling skin

You'll want to make the edges a little thinner than the center, and for xiao long bao, you definitely want the edges very thin since you'll be doing a lot of pleating. The great thing about making your own skin for wrapping dumplings is that it's much stretchier than the kind you buy so you don't need to worry as much about overfilling. Also, you don't need to add that ring of water around the edge to make the dough stick. In fact, if you get the dough wet (from the filling or whatnot), it doesn't stick as well. If that happens, just set it aside and work on the next one. When it dries out a bit you can try pinching it again to make it stick.

Now back to making xiao long bao. Actually, this is a very un-traditional version since I was just using my mom's pork and cabbage dumpling filling and beer duck aspic. A more traditional xiao long bao filling wouldn't have the napa cabbage or bean thread vermicelli in it and maybe would have shrimp or crab meat in it instead. But I wasn't about to make a separate filling or aspic for this experiment so tough cookies.

Xiao long bao

Joy's Untraditional Xiao Long Bao
makes however many you want

Leftover braising sauce from Mama Huang's Beer Duck, chilled overnight to form an aspic
Pork and cabbage dumpling filling
Homemade dumpling skins (recipe above)
2 large napa cabbage leaves per steamer tray, washed
Ginger, peeled and julienned
Black vinegar

Take a dumpling skin, spoon some dumpling filling into it and spread it out to form a thin layer.

Add a 1/2 teaspoon of aspic. Add a little more dumpling filling on top.

Gather one edge of the dumpling skin and start pleating all the way around, twisting at the end to seal. (Here's a video of Ruth showing us how to do this, with Liv reminding us how to pronounce the gelatinous soup.)

Place two napa cabbage leaves on the bottom of each steamer tray, cutting off the white stem if necessary to fit.

Wrapped xiao long bao

Place the wrapped dumplings on the leaves and steam for 10 minutes.

Steamed xiao long bao

Serve with a dipping sauce of julienned ginger and black vinegar.

Ginger and black vinegar

I didn't really notice the addition of the cabbage and vermicelli in the filling that much because the duck aspic melts into this wonderful broth that almost overwhelms everything else. In fact, I wish the pork filling I used wasn't seasoned because the duck aspic was more than enough seasoning by itself. Just remember to be careful biting into the soup dumplings because the soup may be really, really hot!

Monday, December 15, 2008

Pork and Cabbage Dumplings
Shui jiao

Another favorite thing my mom makes are her dumplings. She also taught me how to wrap them, and I've definitely become something of a dumpling wrapping nazi when I'm at dumpling making parties. I really, really don't like the dumplings without pleats, the ones that just lay there on its side looking so pitiful. Not only do they just not look like real dumplings, they can't sit upright so they take up more space both on the tray and in the frying pan. This is a problem because a) you don't want the fresh dumplings to touch one another or else they will stick together, and b) you want the dumplings to be able to stand upright on the frying pan so that you can fry the bottom and steam the rest (I'll tell you how below).

And while I'm on the topic of personal preferences, I like my dumplings thin-skinned. Not really sure why, other than it's a texture preference. I also do not like the ones with Chinese chives--the flavor is way too strong! I find that pork and cabbage are the perfect fillers because they are innocuous enough to deliver the flavors of the seasonings used. Another weird quirk of mine: I don't like black pepper. But to compensate I use white pepper which is a little less piquant.

A couple of tips for making dumplings:
  • If you don't have a food processor (I didn't have one for years until Carsten gave me his, thanks Carsten!) you can use a blender for the cabbage and scallions, but you'll need to add water so that the cabbage and stuff can move around. Just make sure you squeeze out the water thoroughly afterwards. I haven't tried using a blender to mince ginger, but I have a feeling it wouldn't work properly. Fortunately, there is much less ginger than cabbage to mince, and there's always the chef's knife and a cutting board.
  • To taste test the filling, just microwave a teaspoon or so for about 20 seconds. Yes, this is a tip from my mom. Isn't she the smartest?
  • You want the filling to be moist, but not swimming in liquid because the excess liquid will often seep out of the wrapped dumplings and cause them to stick to each other. If you see a lot of excess liquid in your filling, transfer it into a sieve placed over a bowl (but not touching the bottom of the bowl). The liquid will seep out on its own, and you'll be back in business. Another way my mom combats this issue is to add bean thread vermicelli so that it soaks up some of the liquid. It also adds a wonderful dimension to the texture of the filling.
  • One of the hardest parts of folding a dumpling properly is getting the skin pliant enough. If you have really fresh dumpling skins, this won't be an issue as they'll be elastic enough for you to stretch and fold to your heart's content. If they've been in the fridge or freezer for a while, one way to get the edges softer is to wet them with warm water before you add the filling so they have some time to soften.
  • To keep the freshly-wrapped dumplings from sticking to each other, place a few tablespoons of flour on the tray you'll be using to set the dumplings on after you wrap them. Dip each dumpling in the flour so that the bottom won't stick to the tray. Make sure that when you set them down they don't touch each other. When the tray is filled with fresh dumplings and if you are planning on freezing the dumplings, place the tray in the freezer for about 15 minutes or until they are starting to feel a little stiff. Then pop them in a freezer bag or Tupperware and put back in the freezer.
  • Here is a quick video (thanks Annie for her videography skills) for how to wrap the dumplings. I'm especially proud of the serendipitous Taiwan-shaped imprint I leave in the flour after dipping my dumpling. You can also check out step-by-step photos for how to wrap starting here.

My Mom's Pork and Cabbage Dumplings
makes about 124 dumplings

2.5 lbs. ground pork
1 medium head of napa cabbage, roughly chopped
4 scallions, roughly chopped
1 tablespoon ginger, peeled and roughly sliced
2 bundles of bean thread vermicelli (dong fen)
3/4 cup soy sauce
6 tablespoons sesame oil
2 teaspoons white pepper
3 tablespoons sugar
124 round dumpling wrappers (2 packs)
flour

1) Soak the bean thread vermicelli in a bowl filled with hot water for 15 minutes.

2) While the vermicelli is soaking, use a food processor to mince the cabbage, scallions, and ginger. Transfer to a large mixing bowl by handfuls, squeezing out the extra water.

3) Squeeze out the excess water in the vermicelli and use the food processor to chop into about 1/2" pieces. Add to the mixing bowl.

4) Add the ground pork, soy sauce, sesame oil, white pepper, and sugar to the bowl and mix well. Taste test the filling by microwaving about a teaspoon of the mixture for about 20 seconds and tasting the result. Add more soy sauce, sesame oil, pepper, or sugar as necessary.

5) Prepare plates or trays with flour for dipping and have a small bowl of warm water ready. Hold the wrapper in one hand and use the other to dip a finger in the water and wet the edges of the wrapper. Put a spoonful of the filling in the middle of the wrapper and fold in half. Seal center portion of the joined edges. Make two pleats on both the left and right side of the dumpling. Make sure that the whole thing is totally sealed and then dip the bottom in the flour and place on the tray. Repeat 123 times.

6) Once a tray is filled, if you are planning on freezing the dumplings, place it in your freezer and work on the next tray. By the time the second tray is ready, the dumplings on the first tray should be solid enough to place in a freezer bag. I usually add another tablespoon of flour to the bag just to make sure that nothing sticks together.

Cooking shui jiao

7) To boil the dumplings (i.e. to make shui jiao): bring a pot of water to boiling. Drop the frozen or fresh dumplings in and stir occasionally to make sure they don't stick to one another. After a few minutes, they will start to float, and they are ready once the skin is swollen (a few minutes after they start to float).

8) To pan-fry the dumplings (i.e. to make guo tie): heat a frying pan on high and add oil once it is hot. Once the oil is hot (I sprinkle a few drops of water onto the pan and wait for them to sizzle and evaporate), add the dumplings one at a time so that they are sitting upright. Once the bottoms are browned, add about a 1/2 cup of water (for 8 dumplings, my usual serving size). If you like your guo tie extra crispy, add 1 T of flour or cornstarch to the water and mix to get rid of the lumps before you add it to the pan. Be very careful as the steam coming off the pan may burn you. Cover and let cook for a few minutes until the water is almost all gone. Remove the lid and let the rest of the water cook off.

9) Serve with a dipping sauce. Straight soy sauce works, but if you have the time, add some vinegar, sesame oil, and sugar.

Making guo tie (pot stickers)