Wednesday, July 25, 2018
Cherry Pit Ice Cream with Cherry Ripple and Brown Butter Streusel
Have you ever heard of cherry pit ice cream? Apparently within the pits of all stone fruits (cherries, peaches, nectarines, etc.) is a white kernel that smells like an almond. If you steep the kernels in alcohol, you can make a bitter almond extract, and if you steep them in an ice cream base, you can make a delicious ice cream with a subtle almond taste.
Getting to the kernel requires smashing the pits open, which can get kind of messy. Additionally, a toxic chemical, amygdalin, may be released when doing so, but apparently it can be neutralized by cooking. So it's up to you if you want to break the pits open to get to the kernel or not, but I did so because 1. it's fun to smash things, and 2. I wanted to extract as much of the bitter almond flavor as possible.
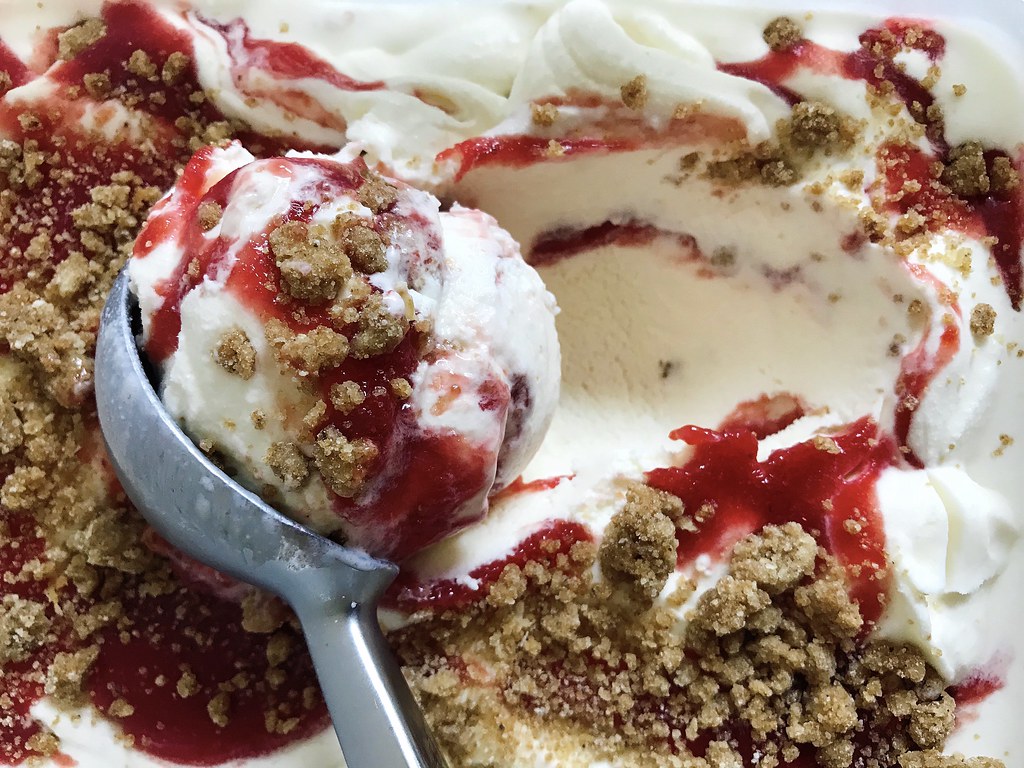
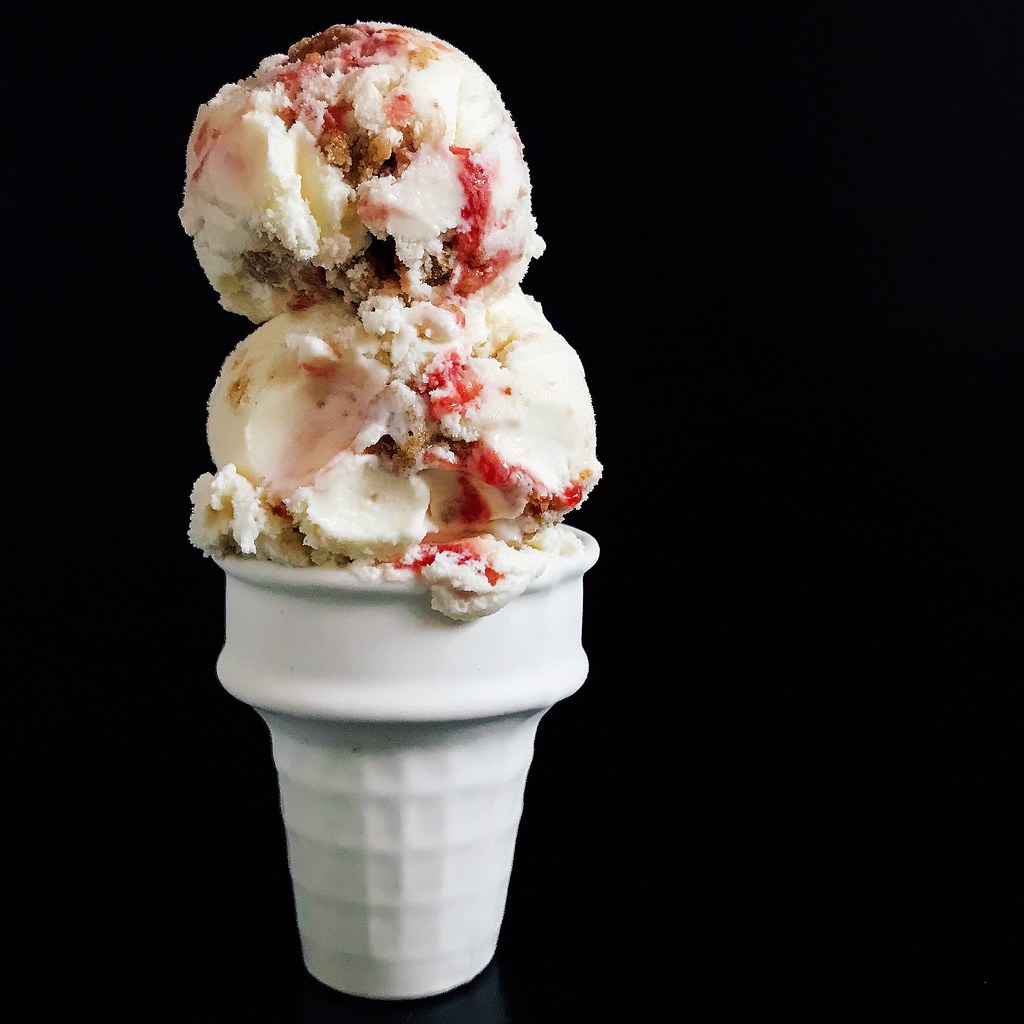
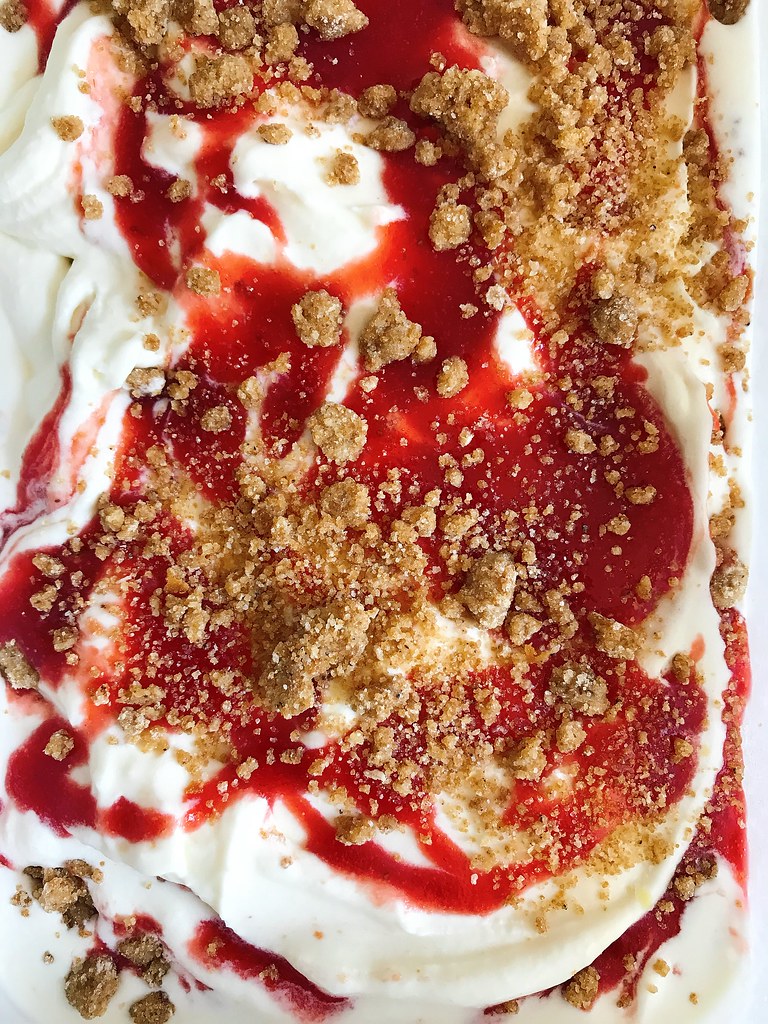
I used the blank slate Philadelphia-style ice cream recipe from Hello, My Name Is Ice Cream, as the base for the ice cream and added a cherry ripple for fruitiness and brown butter streusel for crunch. Both the ripple and streusel are also adapted from recipes in Hello, My Name is Ice Cream. I really love the combination of all 3 parts, especially the streusel, because I really enjoy the extra texture it provides.
Cherry Pit Ice Cream with Cherry Ripple and Brown Butter Streusel
makes about 1 quart
For the cherry ripple:
1 lb. sour cherries*
50 g sugar
50 g corn syrup
Remove the stems and pit the cherries, reserving the pits. Combine the cherries, sugar, and corn syrup in a saucepan and cook over medium heat until the sugar has dissolved.
Transfer to a blender and blend until smooth. Return the contents to the saucepan and continue to cook until thick and jammy. Remove from the heat and strain through a fine-mesh sieve. Store in the refrigerator until ready to use.
*Note, I made this with sour cherries, but if you want to use sweet cherries, you'll probably want to reduce the amount of sugar and corn syrup.
For the brown butter streusel:
37 g unsalted butter
50 g flour
Scant 1/8 teaspoon baking powder
1/4 teaspoon kosher salt
25 g brown sugar
25 g sugar
Preheat the oven to 350°F and line a sheet pan with parchment paper or a Silpat.
Melt the butter in a small saucepan over medium heat until the milk solids have separated and started to brown. Immediately remove from the heat and set aside to cool down.
Whisk together the flour, baking powder, salt, and sugars. Add the browned butter and mix until there are no dry bits. Transfer the streusel to the sheet pan and break up any large lumps.
Bake for 10 minutes, then stir the streusel to redistribute on the pan. Bake for another 10-15 minutes until the streusel is golden brown and cooked through. Cool the streusel on a wire rack and then store in the freezer until ready to use.
For the cherry pit ice cream:
Pits from the pound of sour cherries
380 g cream
400 g milk (plus 2 tablespoons of milk if using cornstarch)
50 g corn syrup
20 g milk powder
150 g sugar
10 g cornstarch or 3 g commercial stabilizer
Place the cherry pits in a sturdy freezer bag and cover with a dish towel. Use a heavy saucepan or mallet to crack the pits open to expose the white kernels within. I would suggest doing this on the ground with a cutting board underneath because there's a good chance you'll make some holes in the bag.
Place the cracked pits and kernels in a medium heavy-bottomed saucepan and add the cream, milk, and corn syrup. Cook over medium heat until the mixture reaches a boil, stirring occasionally to prevent scorching. In the meantime, prepare a large ice water bath. When the mixture is boiling, transfer to a metal bowl and place in the ice water bath. Stirring occasionally, bring the mixture down to room temperature and then chill in the fridge for 4-6 hours.
Mix the milk powder, sugar, and commercial stabilizer, if using, in a small bowl. If using the cornstarch, mix with 2 tablespoons of cold milk. Prepare another ice water bath.
After the ice cream base has finished steeping, strain through a fine-mesh sieve into the saucepan and whisk in the milk powder mixture. Bring to a boil again, stirring to prevent scorching. Continue to cook for 2 minutes, then add the cornstarch slurry, if using, and continue to cook for another minute until slightly thickened.
Pour the ice cream base into a metal bowl and place in the ice water bath. Stirring occasionally, bring the mixture down to room temperature and then chill in the fridge for 4 hour or overnight. Place a storage container in the freezer.
Churn the ice cream base in your ice cream machine until thick and creamy.
Spoon a layer of the cherry ripple on the bottom of the storage container. Scatter some of the streusel over the ripple, then spread a third of the ice cream into the container. Drizzle a third of the ripple over the ice cream and sprinkle a third of the streusel over that. Repeat the layers two more times (you may have cherry ripple than you need; if so, save in the fridge for up to 2 weeks). Press a piece of plastic wrap directly on the surface of the ice cream, cover with the lid, and freeze for at least 4 hours, until completely firm.
Next: Tomato and Eggs over Rice (Updated)
Previously: Sourdough Discard Pizza Dough
Last Year: Greyscale Cream Puffs
Two Years Ago: My Mom's Beef and Broccoli Stir Fry
Three Years Ago: Pasta con le Sarde
Four Years Ago: Strawberry Pop Tart Slab Pie
Five Years Ago: Zuni Cafe's Fried Eggs in Bread Crumbs
Eight Years Ago: Slow Cooker Bolognese Sauce
Sunday, July 8, 2018
Sourdough Discard Pizza Dough
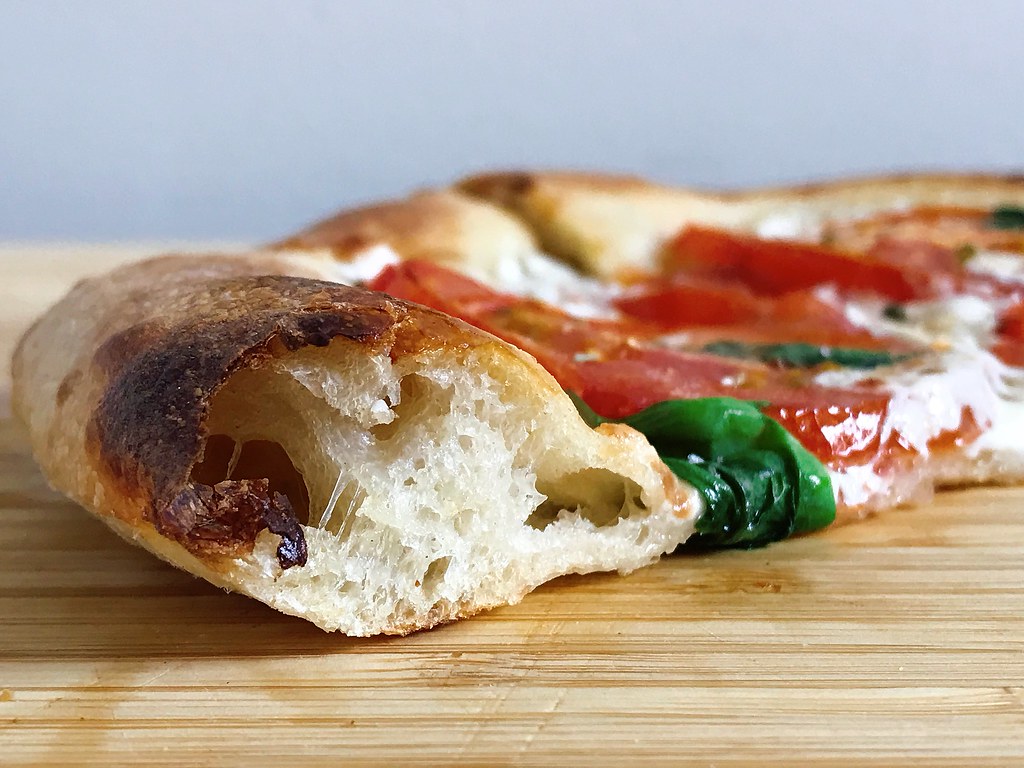
I've been making sourdough bread once a week now for the last couple of months, and I've been lamenting all the sourdough discard I've had to throw away (plus, it stinks up my trash can!). My friend Alison who originally gave me the sourdough starter also mentioned that I could find some recipes online that used sourdough discard. That gave me the idea to try to use it for pizza dough.
Since I've been using the Tartine Bread country loaf recipe, the starter I use is 100% hydration with a 50/50 mix of all-purpose and whole wheat flour. I basically just applied that math to the pizza dough I've been making the last few years and found that it works pretty well and even adds a little more flavor.
After making the same recipe for so many years, it's naturally migrated towards what works for me in my kitchen. To account for the addition of the sourdough discard, I reduced the amount of yeast I add to just a pinch. If you have enough time and want even more flavor, you could probably omit the additional yeast altogether. I add it for insurance, just in case the discard isn't active enough. Update: My sourdough starter is now active enough I don't add the extra yeast!
Sourdough Discard Pizza Dough
makes two 8 oz. balls of pizza dough (enough for two 10" pizzas)
50 grams sourdough discard (100% hydration)
150 grams warm water (about 90-95°F)
225 grams all-purpose flour
5 grams kosher salt
A pinch of yeast (optional, use if your starter discard isn't very active)
Olive oil
Mix the sourdough discard and warm water together in a medium mixing bowl. Add the flour and mix until there are no dried bits left. Cover and let sit 20-30 minutes.
Sprinkle the salt and yeast over the dough. Wet one of your hands thoroughly with warm water and use it to knead the salt into the dough until you can't feel it anymore. Refer to my original pizza dough post for the fold and pinch method. You should rewet your hands a few times during this process to keep the dough from sticking to you and to help the salt dissolve. Cover and let rest.
After 30-60 minutes, apply a fold to help develop the gluten. During the last fold I dribble some olive oil into the bottom of the bowl and then flip the dough over so the seam is on the bottom and the top (which used to be on the bottom) is coated with oil. Cover and let rest until the dough has doubled in volume, around 6 hours depending on the temperature of your kitchen and how active the sourdough discard is.
Prepare 2 sandwich bags by folding the tops over and adding a little olive oil to each. Flour your work surface and transfer the dough onto it. Flour a knife or scraper and divide the dough in half. Shape each half into a ball. Transfer to the bags, seal, and refrigerate for at least 3 hours and up to 2 days. You can also freeze the dough until ready to use; just thaw it in the fridge overnight the day before you want pizza.
Next: Cherry Pit Ice Cream with Cherry Ripple and Brown Butter Streusel
Previously: Strawberry Matcha Cream Cheese Tart
Last Year: 3-28 Slab Pie
Two Years Ago: My Mom's Beef and Broccoli Stir Fry
Three Years Ago: Pasta con le Sarde
Four Years Ago: Cleveland Cassata Cake
Five Years Ago: Bubble Tea Popsicles
Eight Years Ago: Coconut Lime Sorbet
Subscribe to:
Comments (Atom)


