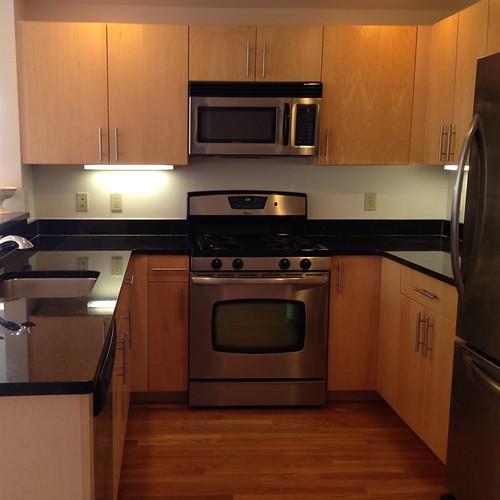
A new chapter of my life started recently when I became a homeowner for the first time. The first picture I saw of the place was of the kitchen, and it basically had me at hello.
It's not the biggest, nor is it the brightest, but something about it just called out to me in a way that none of the other listings I'd been looking at for the last 2 months did. It was the first place I physically went to look at, and I made an offer the same day!
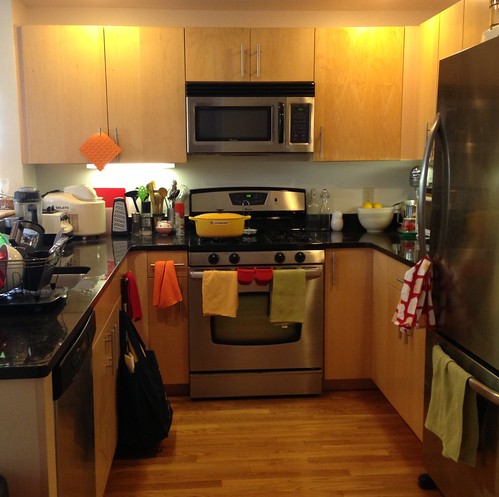
The kitchen was the very first room that I unpacked; can you spot my Vitamix blender, Kitchenaid stand mixer, and Lello gelato maker? I also acquired my very first piece of Le Creuset! I picked up the Dutch oven from Bed, Bath, and Beyond for half off (old, discontinued model) on tax-free weekend with a 20% off coupon. ^_^
I decided the first thing I would make in my new home in the Le Creuset would be Jim Lahey's No-Knead Bread. After all, what's more homey than homemade bread?
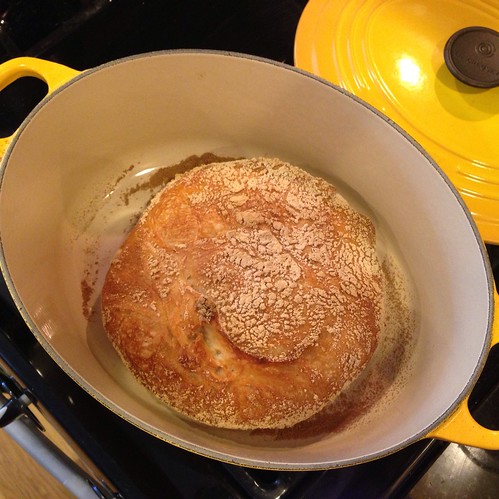
This recipe was printed in The New York Times in 2006 and pretty much revolutionized homemade bread baking. The recipe calls for a very wet, shaggy dough which you let rise overnight and is baked in a Dutch oven with the lid on for the first half hour. This allows steam to build up in the Dutch oven which does something to the dough so that you get the most gorgeous, crispy crust after the lid is removed. My guess is that it has something to do with keeping the exterior of the dough from cooking too much before the inside has had a chance to bake through. Usually it's almost impossible to get this kind of crust from a home oven, but the use of a super-wet dough and the Dutch oven changed all that.
No-Knead Bread (adapted from The New York Times)
makes 1 small loaf
1 1/2 cups bread flour, more for dusting
1/8 teaspoon instant yeast
1/2 teaspoon salt
3/4 cup water
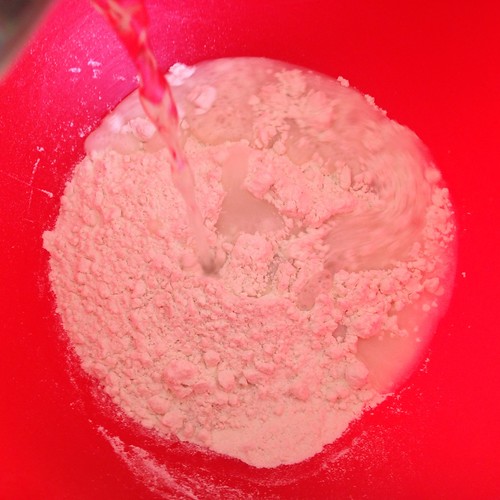
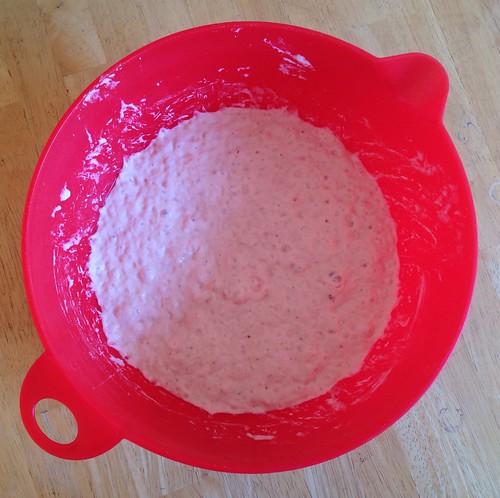
In a large bowl combine flour, yeast and salt. Add water, and stir until blended; dough will be shaggy and sticky. Cover bowl with plastic wrap. Let dough rest at least 12 hours, preferably about 18, at warm room temperature, about 70°F.
Dough is ready when its surface is dotted with bubbles. Lightly flour a work surface and place dough on it; sprinkle it with a little more flour and fold it over on itself once or twice. Cover loosely with plastic wrap and let rest about 15 minutes.
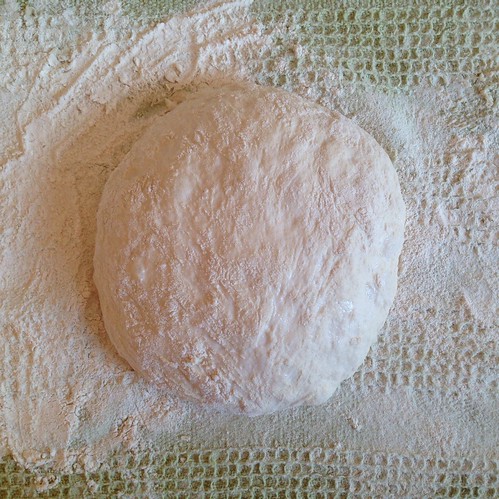
Using just enough flour to keep dough from sticking to work surface or to your fingers, gently and quickly shape dough into a ball. Generously coat a cotton towel (not terry cloth) with flour; put dough seam side down on towel and dust with more flour. Cover with another cotton towel and let rise for about 2 hours. When it is ready, dough will be more than double in size and will not readily spring back when poked with a finger.
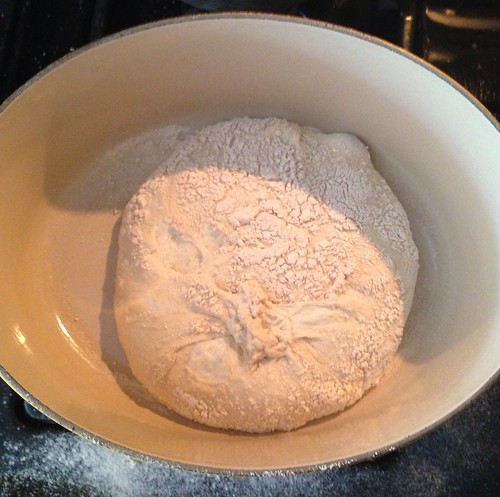
At least a half-hour before dough is ready, heat oven to 450°F. Put a 5-quart heavy covered pot (cast iron, enamel, Pyrex or ceramic) in oven as it heats. When dough is ready, carefully remove pot from oven. Slide your hand under towel and turn dough over into pot, seam side up; it may look like a mess, but that is okay. Shake pan once or twice if dough is unevenly distributed; it will straighten out as it bakes. Cover with lid and bake 30 minutes, then remove lid and bake another 15 to 30 minutes, until loaf is beautifully browned. Cool on a rack.
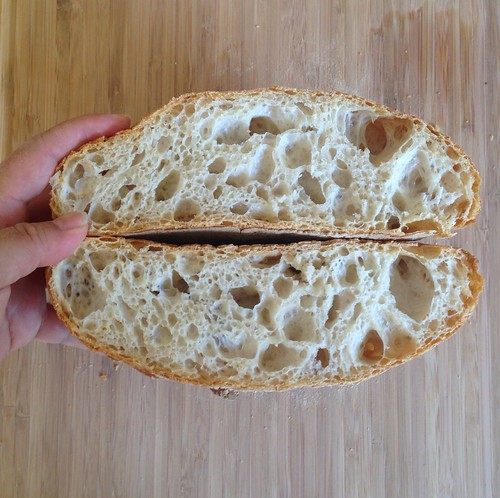
I was quite pleased with the texture of the bread and especially the crust. I would say this is a good, dependable recipe to use for making crusty, white bread, but I think I'm going to experiment a little bit with making my own starter for some more complexity of flavor....
Next: Brown Butter Vinaigrette Lobster Buns
Previously: Mozzarella Stuffed Arancini (Risotto Balls)
Subscribe to:
Post Comments (Atom)



Congrats on your new home and that lovely kitchen space!
ReplyDeleteThanks!
DeleteFirst time commenting--but love reading and looking at what you are making. Great kitchen. And isn't that bread delicious? I love making it.
ReplyDeleteThanks a lot!
DeleteIs it possible to make this using a cast iron skilled without a lid?
ReplyDeleteI wouldn't suggest it. You want a tight fitting lid so that the bread "steams" in the oven before you take the lid off. I have tried making this in a stock pot with a lid, but it didn't work as well as when I made it in the Dutch oven.
Delete