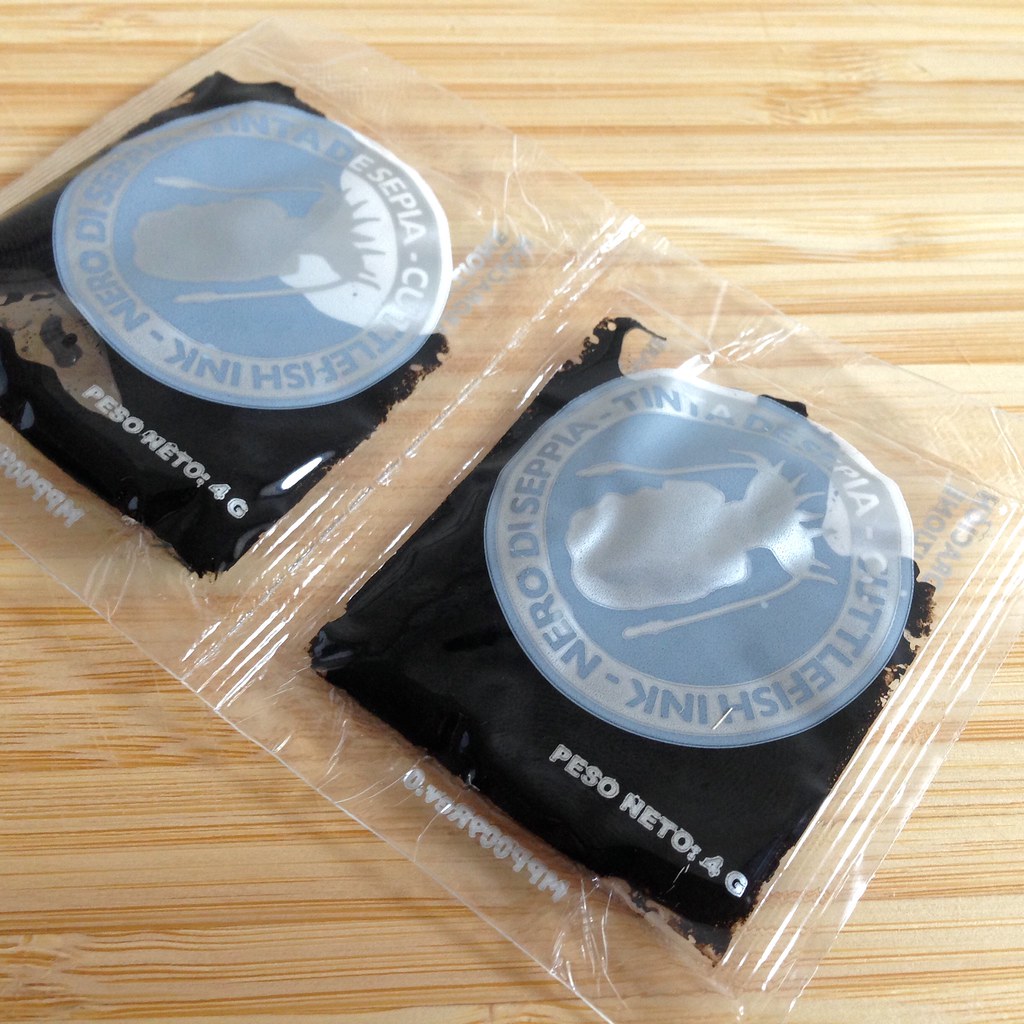
I've been wanting to make my own squid ink pasta ever since I first had it in Venice, so I was pretty excited when I finally found some squid ink at DiLaurenti on my last trip to Seattle. It came in these little pricey packets, but a little goes a long way.
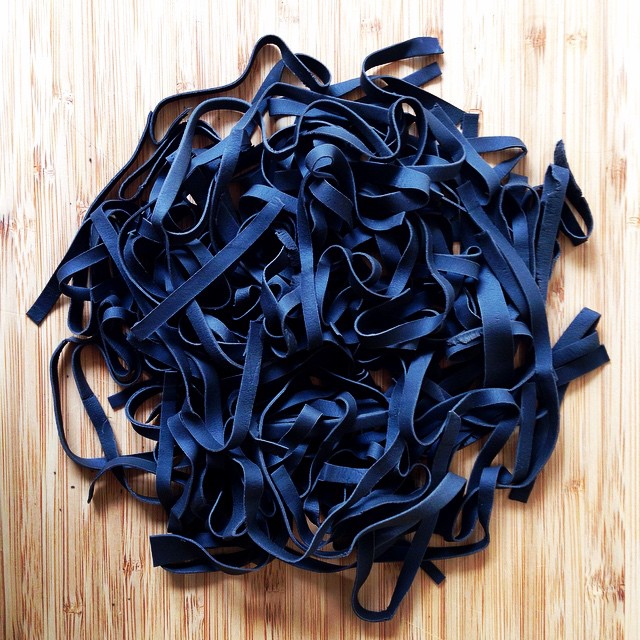
I pretty much followed my recipe for a better homemade pasta, but I substituted squid ink for one of the egg yolks. Because this recipe produces a drier dough, you don't have to dust the pasta with any additional flour to keep it from sticking, and it also lets the color of the squid ink pasta shine through.
I found that I could really smell and taste the brininess of the squid ink compared to the dried squid ink pasta I had bought from Venice. I ended up using this pasta to make the First Night in Florence Spaghetti, and it just made that already fantastic dish even better.

Homemade Squid Ink Pasta
makes 2 servings
1 cup all-purpose flour
1 large egg
2 large egg yolks
8 grams (about 1 1/2 teaspoons) squid ink
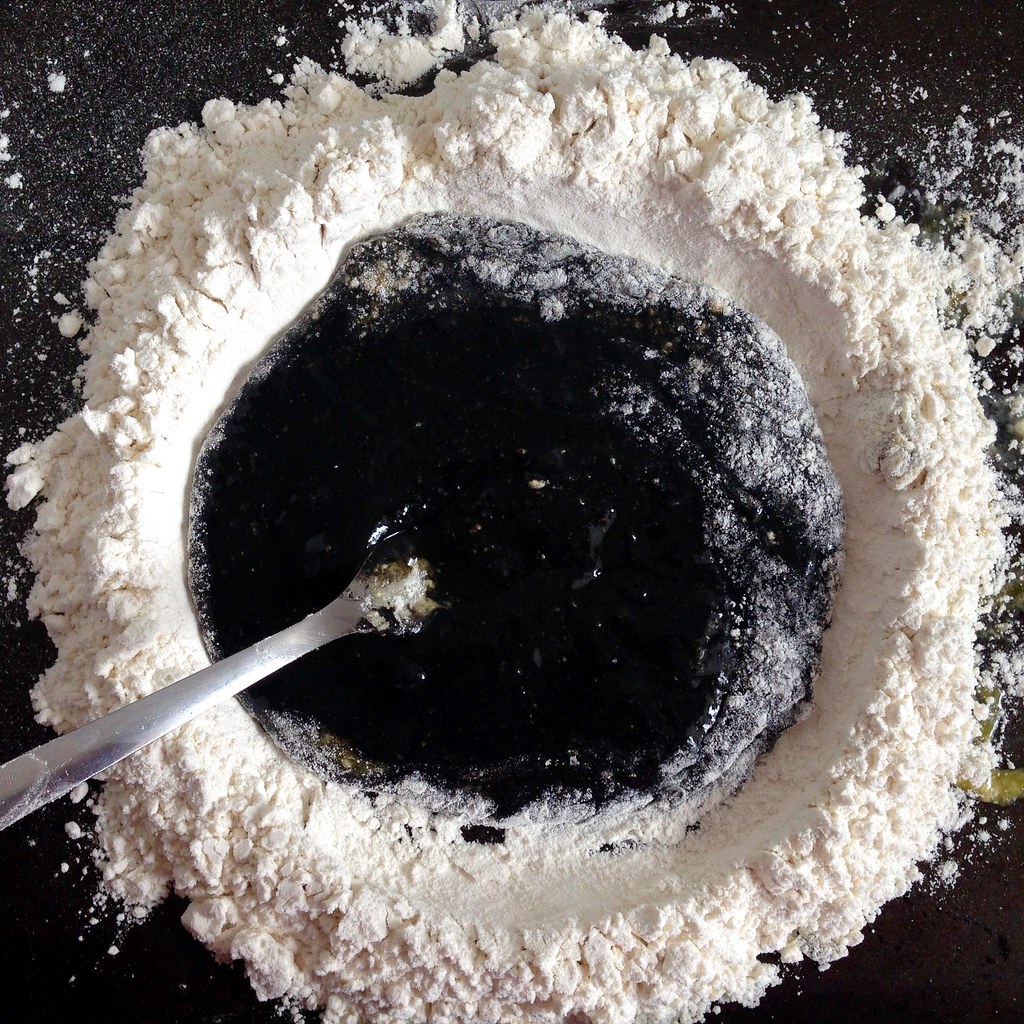
On a large, rimmed baking sheet, make a pile with the flour and dig a well in the middle. Crack the egg into the well and add the egg yolks and squid ink.
Using a fork, start stirring the liquids and slowly incorporating more and more of the flour into the well until you have a nice, thick paste. Combine with the rest of the flour and start kneading with your hands. If the dough is too dry, wet your hands as many times as you need just for it to all come together.
Continue kneading by hand or in a stand mixer (with the dough hook attachment) until you have a smooth, uniform dough. Cover tightly with plastic wrap and let rest for at least 20 minutes. At this point you can refrigerate the dough, well wrapped, overnight and bring it back to room temperature the next day before continuing.
Cut the dough in half. Run one half through the pasta machine set at its widest setting. Fold the dough in thirds and run through the machine again, repeating 3 times. Then, run the dough halfway through and pinch the ends together so it forms a loop. Adjust the setting to one notch thinner and roll through, continuing to adjust the setting one notch thinner each time the loop has gone all the way around. When the dough looks almost transparent, stop and cut the dough out of the machine and then in half. Repeat the whole process with the other half of the dough.
If your dough is feeling tacky at this point, let it dry a bit on some tea towels. Otherwise, you can go ahead and fold the dough in half three times so you have a manageable width to cut. Using a sharp knife, cut the noodles into the width you desire. Shake out the noodles and let them dry some more on the tea towel.
Bring a pot of salted water to a rolling boil. Add the pasta and stir occasionally so that the noodles don't stick to each other. The pasta is done when they float to the surface. Remove from the water immediately to preserve its perfect al dente texture. Toss with the sauce of your choice.

Next: Chocolate Mochi Snack Cake
Previously: Cacio e Pepe for One
Last Year: Dan Bing (Taiwanese Egg Crepe)
Five Years Ago: Mama Huang's Secret Beer Duck Recipe
Six Years Ago: Carrot Cake Cupcakes with Cream Cheese Frosting


I've never had squid ink pasta, but you've inspired me to make some - now to find some squid ink!
ReplyDeleteFinding the squid ink was actually the hardest part of this whole recipe! Good luck! (You can buy some on Amazon if you're desperate.)
DeleteHi, Joy! I can't believe that the recipe only required 1 1/2 teaspoons of squid ink. Your pasta achieved the rich dark color and the gloss that you were probably aiming for. Surely, this will come very handy for people out there who love to explore new exquisite recipes like this. Thank you for sharing!
ReplyDeleteMegan Anderson @ Cafe Fina