Tuesday, June 3, 2014
Homemade Ginger Beer
In my first post ever, I explained how I used to not really be a big fan of ginger but have since grown to love it, especially when used in sweet concoctions. I especially love it in ginger beer; the extra bite it has compared to regular ginger ale is so refreshing and delicious. Since I'm not a big drinker, I always check to see if a bar serves Dark & Stormies so that I can order just the ginger beer.
After trying every brand I can get my hands on, I can say that I'm a fan of Gosling's, AJ Stephan's, and Fever Tree but really, really dislike Blenheim and Reed's. Most recently I discovered Rachel's Ginger Beer in Seattle and was really tempted to buy a growler to take home until I remembered that I can make my own!
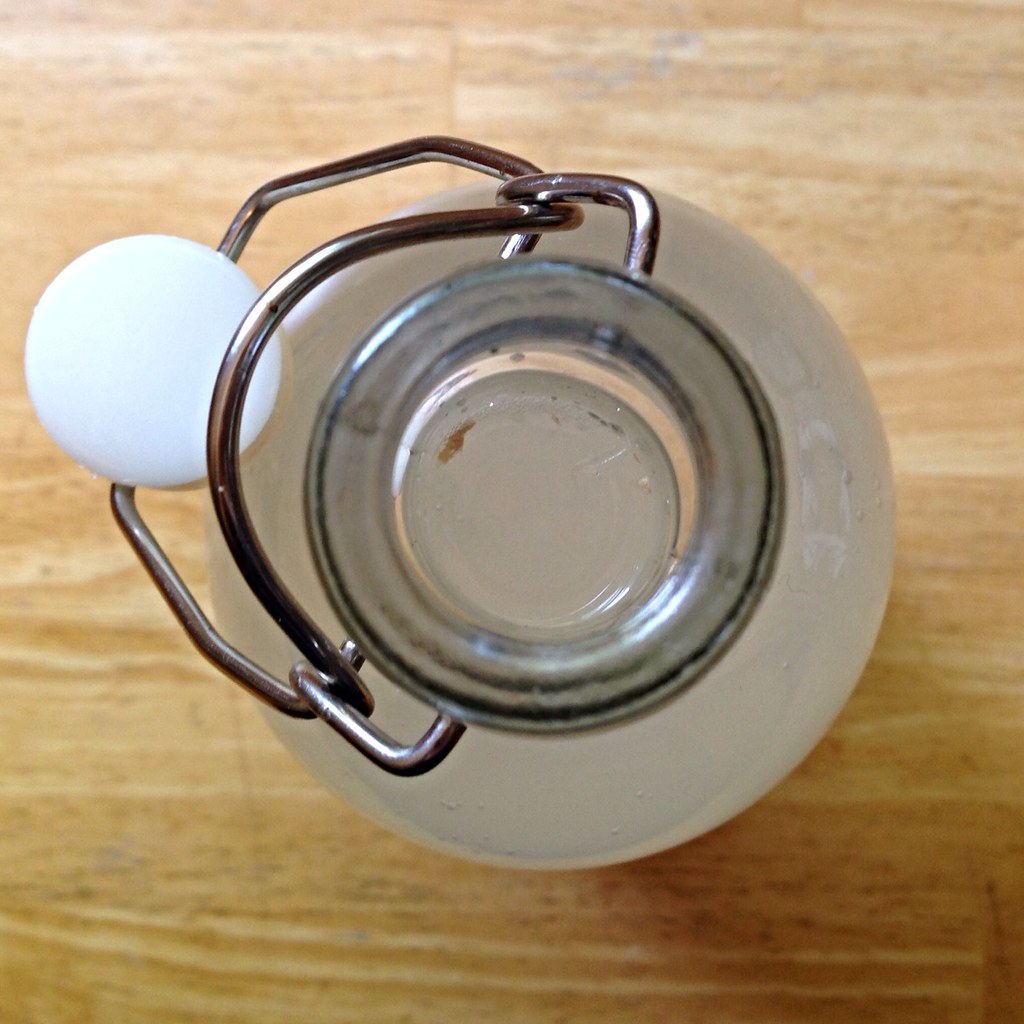
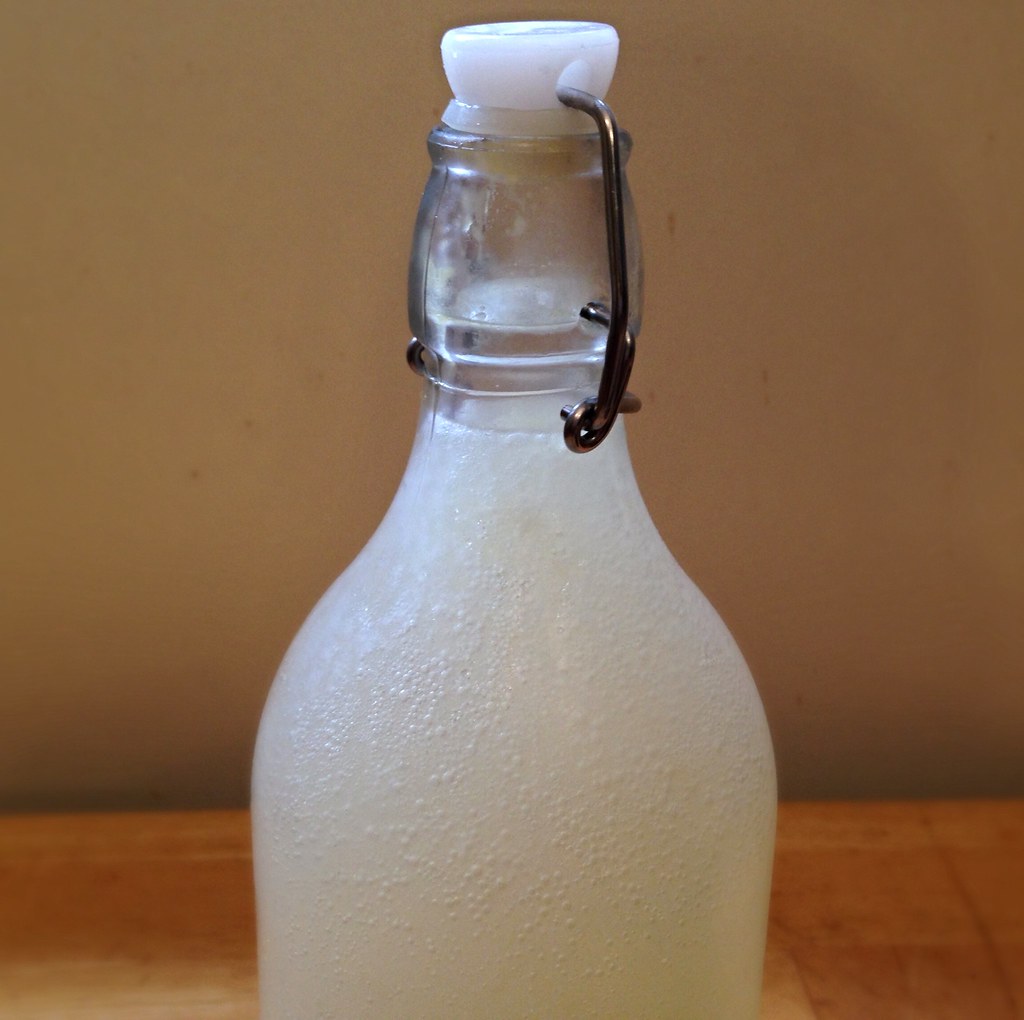
You'll need either one of these glass swing-top bottles or an empty, clean plastic soda bottle. It's recommended to use the plastic bottle since you can tell when the drink is done fermenting by squeezing the bottle (if it doesn't give, it's done) but since I very rarely have soda bottles at home, I usually just take a chance with the glass bottles. I'll admit that once or twice I've opened the bottle before it was done, but the non-fizzy beverage is still pretty yummy as long as it's served ice-cold.
The recipe calls for what seems like a lot of sugar, but that's partly because the yeast is going to eat the sugar to make carbon dioxide. If you want a less sweet drink, you can reduce the amount of sugar, but I wouldn't cut back too much in case you lose out on the fizziness. I've used "instant" and regular baker's yeast for this, and I don't think it makes much of a difference since it's going into so much water. And since we're using yeast to produce the carbonation, there's a small amount of alcohol in the finished product. How much? Barely enough for me to taste, and I can usually taste alcohol since I dislike the taste so much (see above).
Last note: you can strain the ginger beer if you really want to get rid of all the sediments, but I never do because the grated ginger doesn't really bother me, and I feel like you'd lose a lot of carbonation during the straining process. Most of the solids either end up floating on top or settling to the bottom anyways, so it's pretty easy to avoid them if you really want. If you're not planning on straining the solids out, I'd recommend peeling the ginger before grating it (a spoon works really well for this!).
Homemade Ginger Beer (adapted from here)
makes a 1 liter bottle
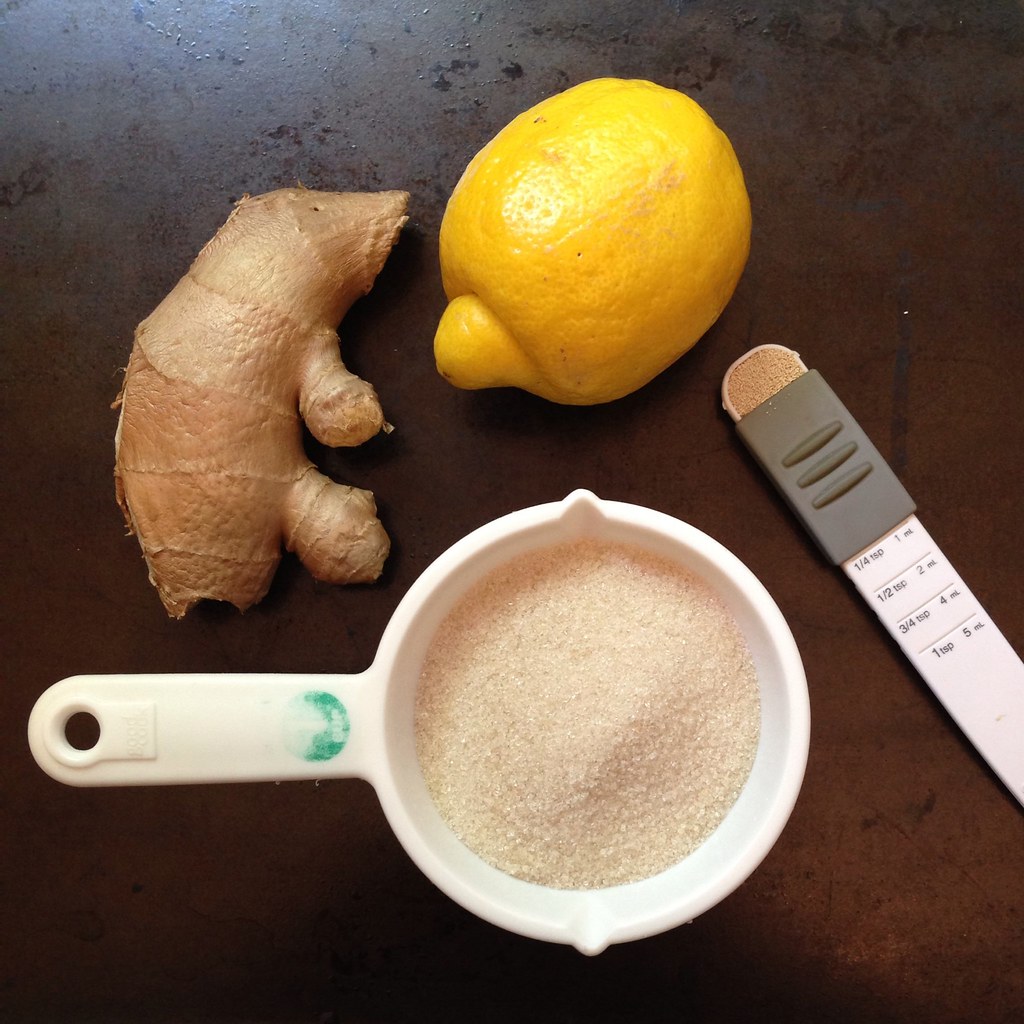
1/2 cup sugar
1/8 teaspoon yeast
1 tablespoon of freshly grated ginger
Juice from half a lemon
Cold spring or filtered water
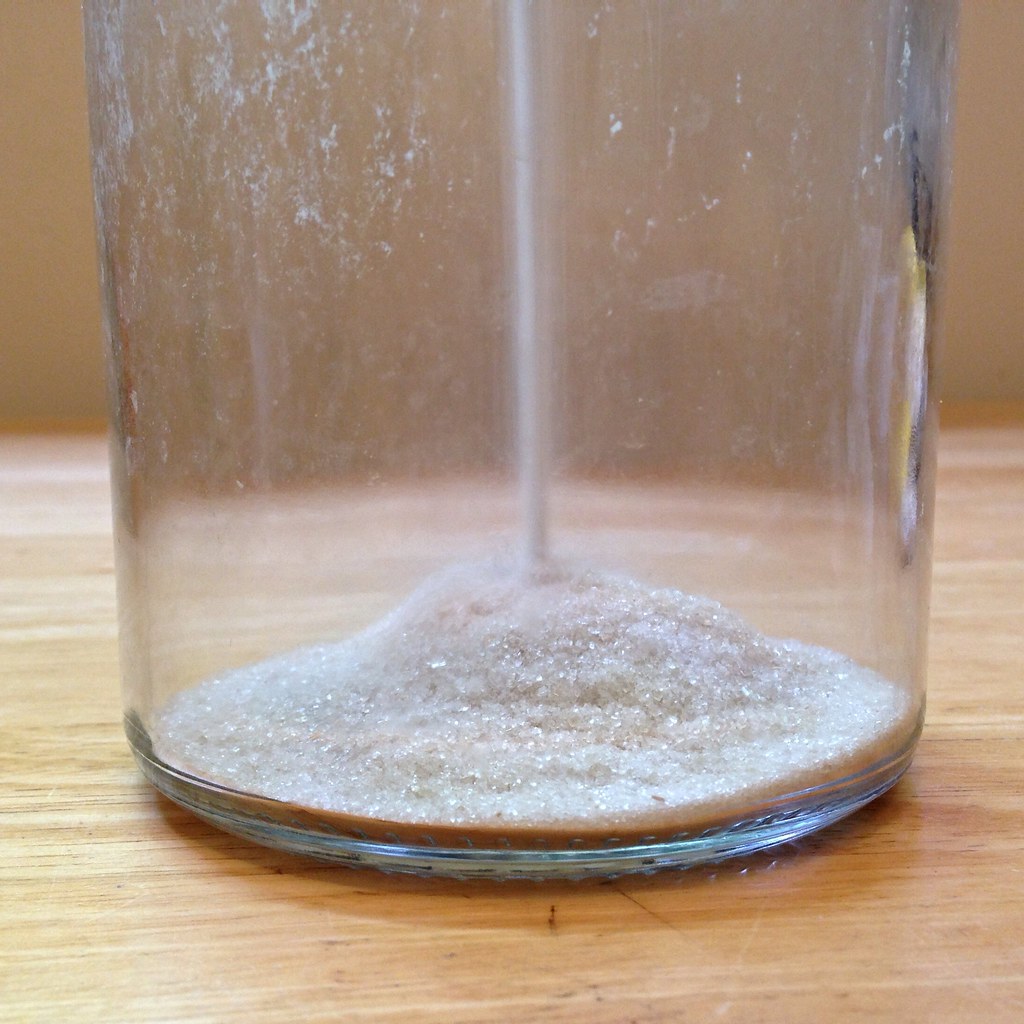
Use a funnel to pour the sugar and yeast into a swing-top 1 liter glass bottle.
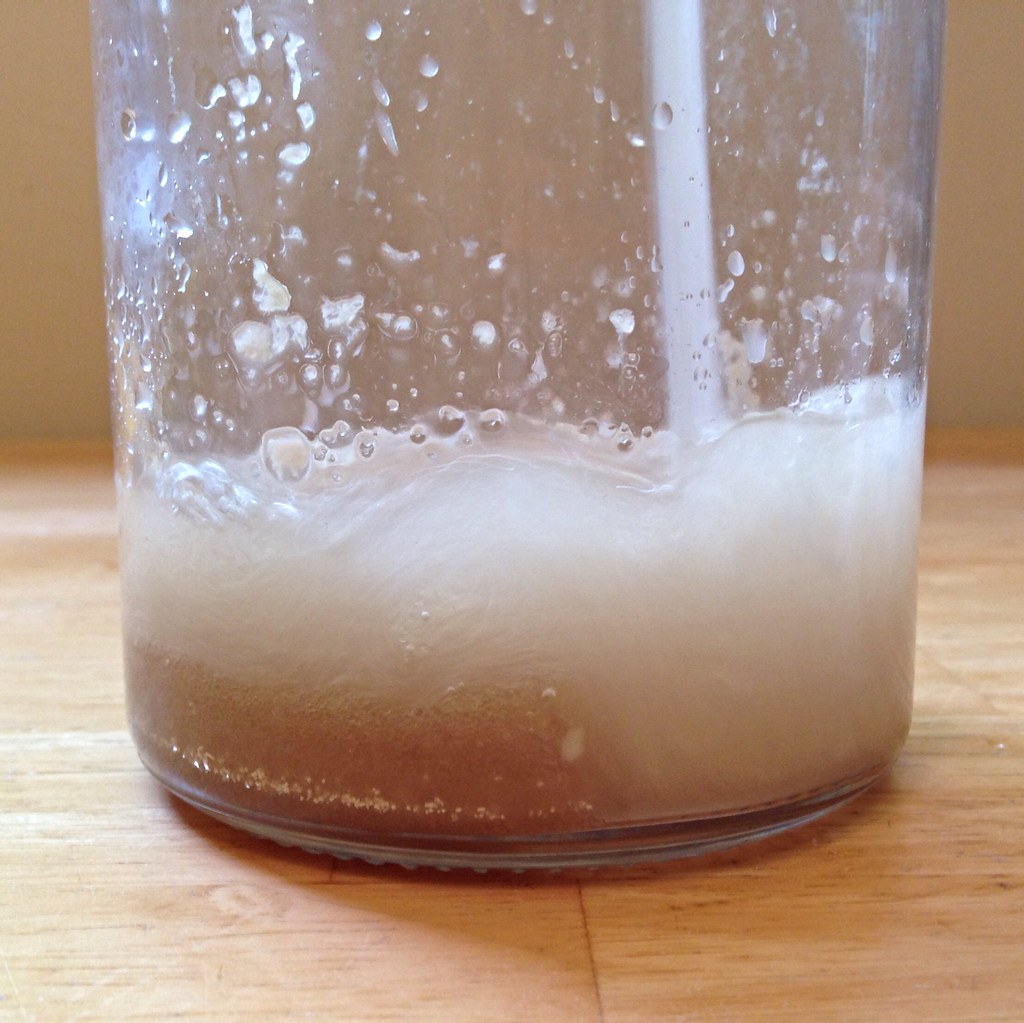
Mix the freshly grated ginger with the lemon juice in a measuring cup with a spout. Transfer the ginger and lemon juice to the bottle. Rinse out the measuring cup with some of the cold spring or filtered water and pour that into the bottle. Fill the bottle about half way with more cold water.
Seal the bottle and shake well to mix all the ingredients together. You want to make sure that all the sugar at the bottom has been mixed into the solution. Carefully open the bottle and add more water until there is only an inch of air left at the top. Seal the bottle and shake again.
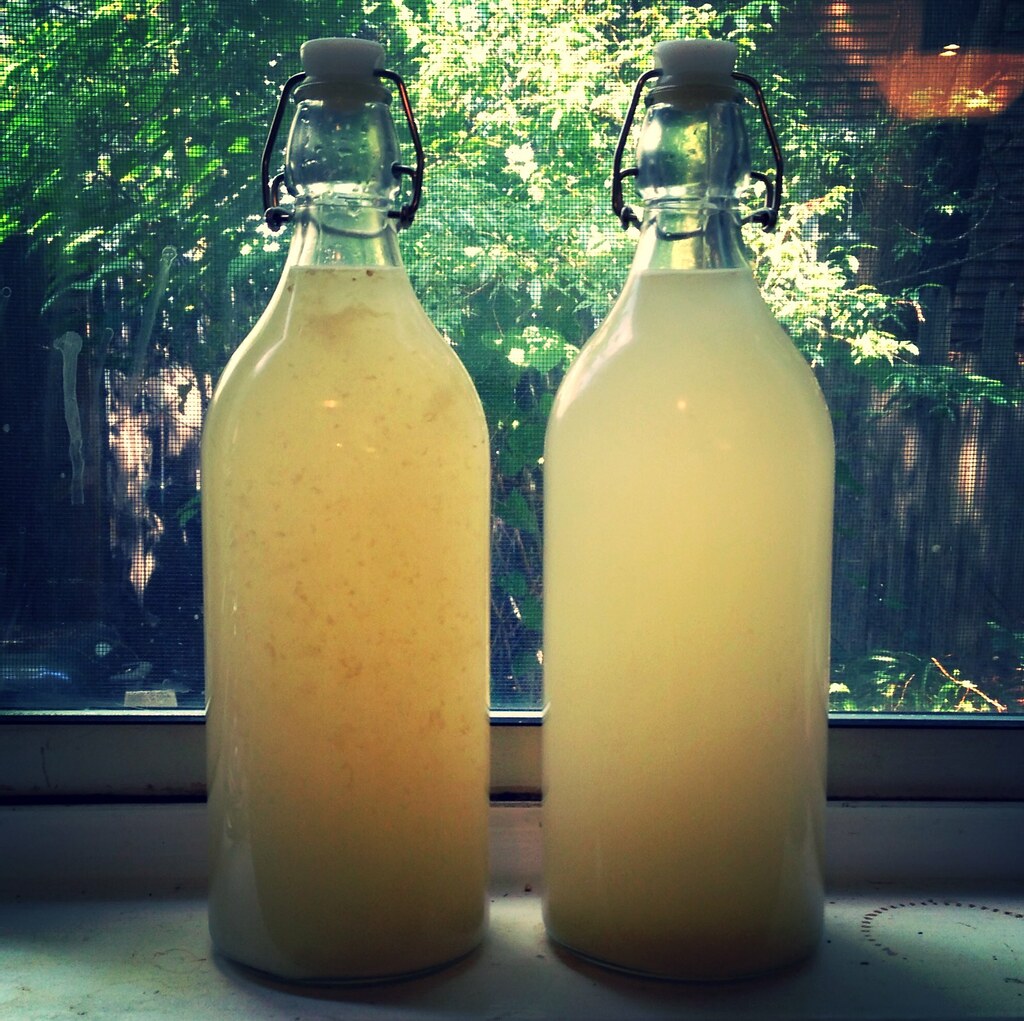
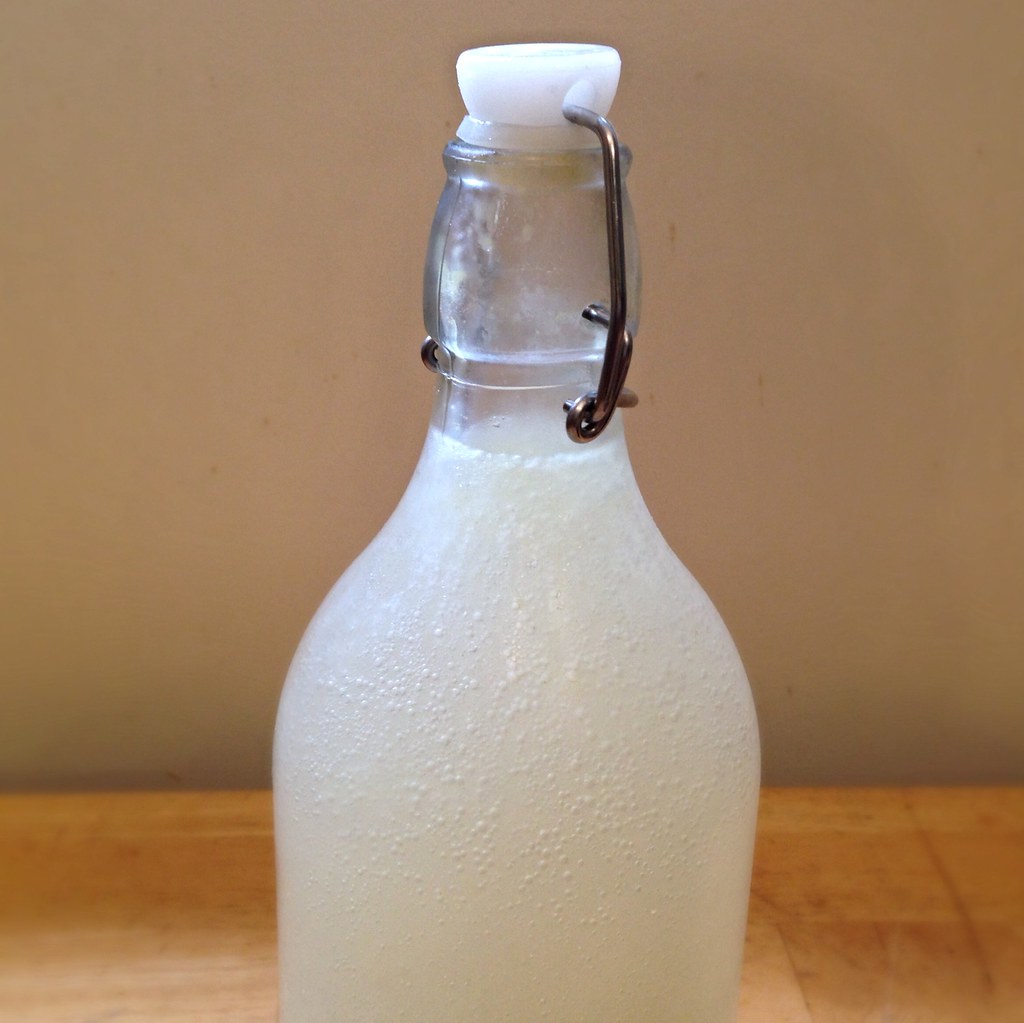
Leave the bottle in a warm place out of direct sunlight (unlike the picture at the very top) for about 2 days and then move to the refrigerator to stop the fermentation. Sometimes you can tell when it's ready because if you shake the bottle, you'll see bubbles form, but sometimes you don't, and it's still fizzy. If you really want to make sure the ginger beer is ready, double the recipe and fill up a 2 litter plastic soda bottle. Test the fermentation by squeezing the bottle; when it doesn't give anymore, it's done.
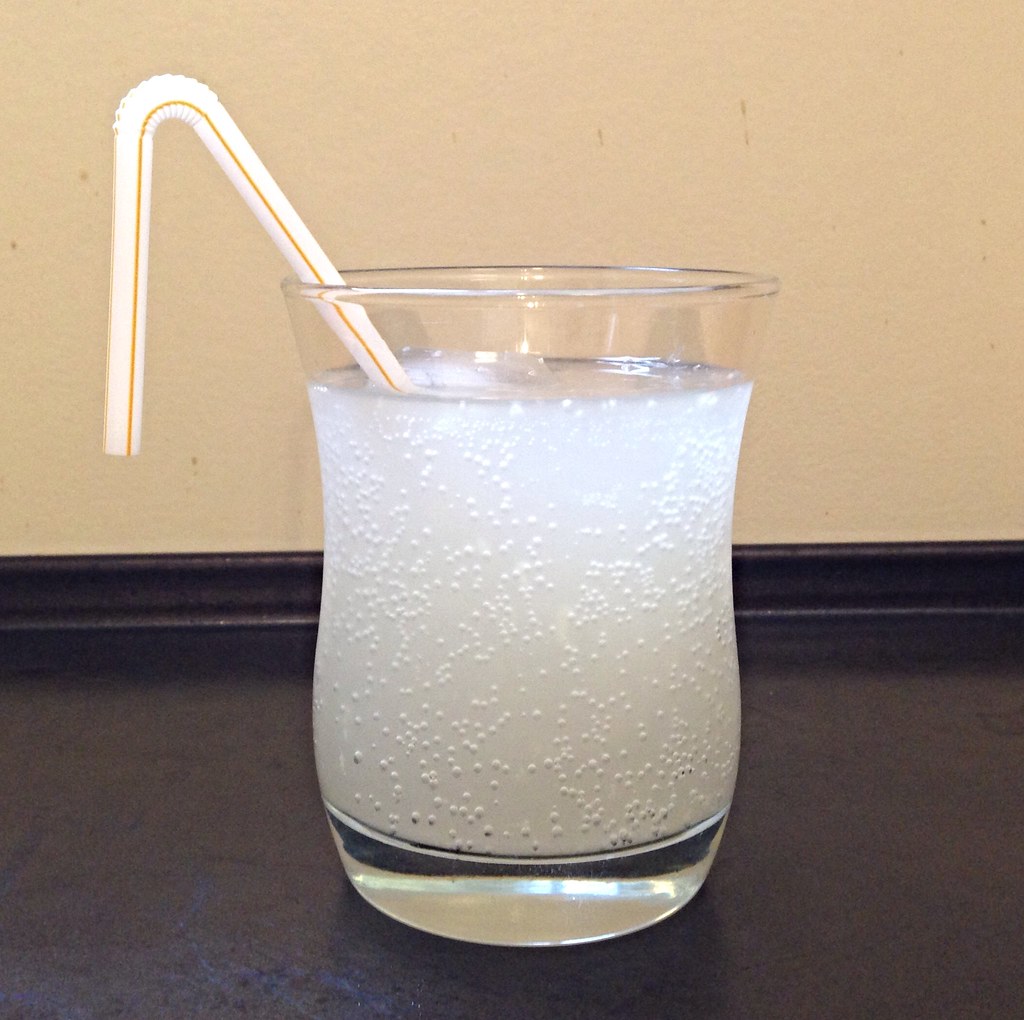
Pour over ice and enjoy!
Next: Overnight Oats in a Jar
Previously: Blueberry Buttermilk Mini Pies
Five Years Ago: Black Sesame Ice Cream
Subscribe to:
Post Comments (Atom)


Where do you get those plastic bottles with the plugs?
ReplyDeleteI got mine from IKEA.
Delete