Showing posts with label ice cream. Show all posts

Wednesday, July 25, 2018

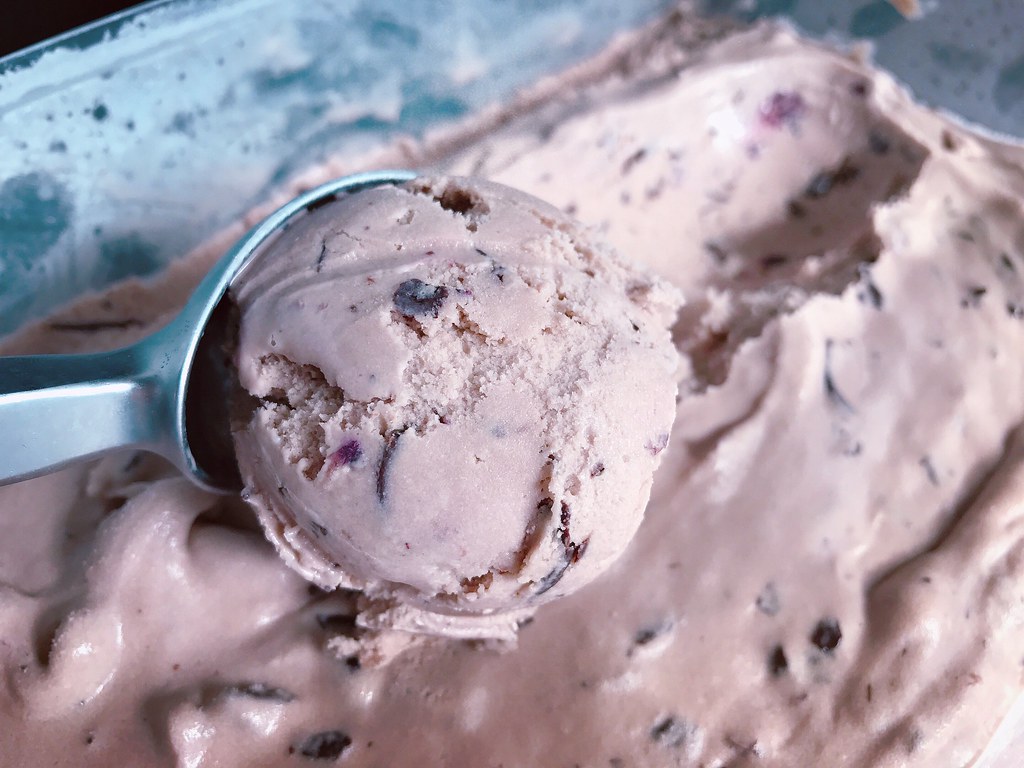
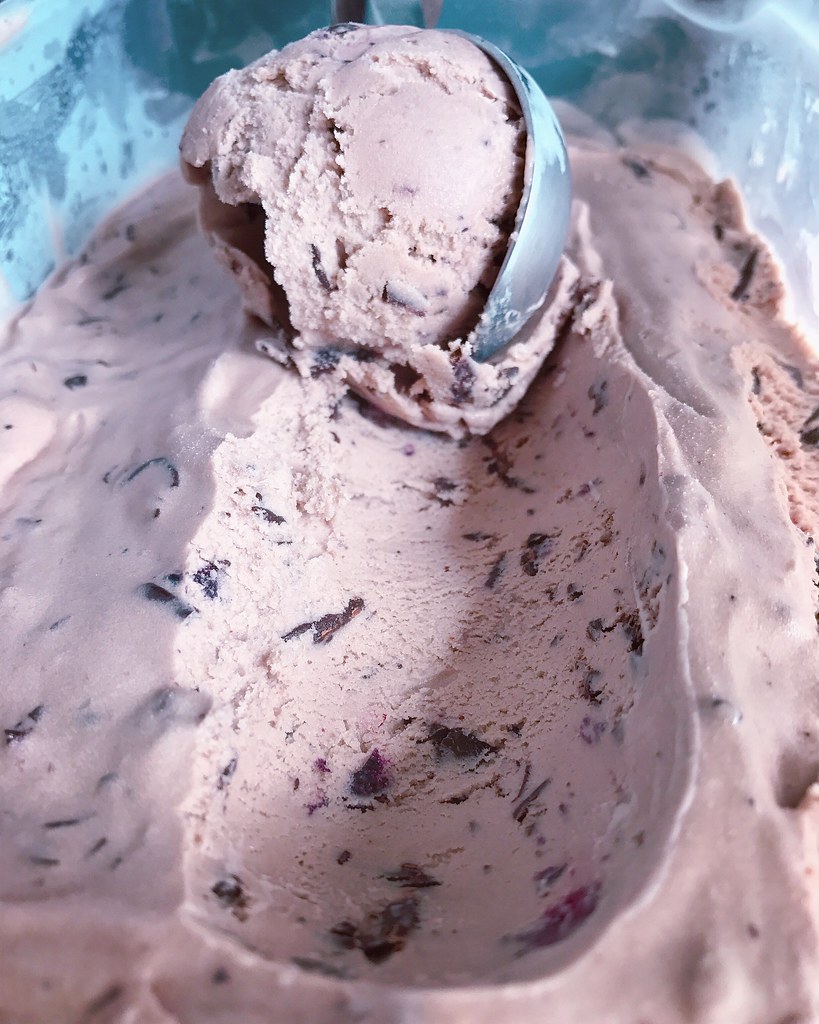
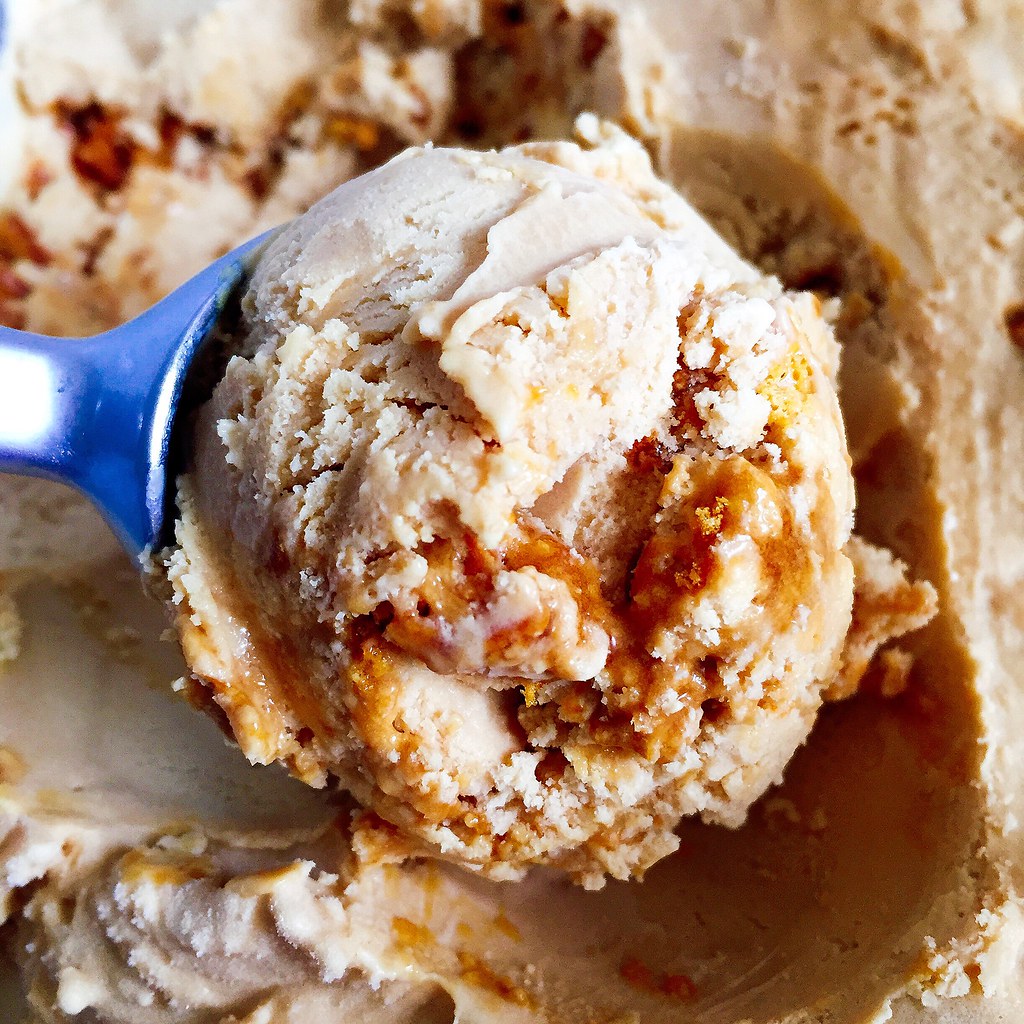
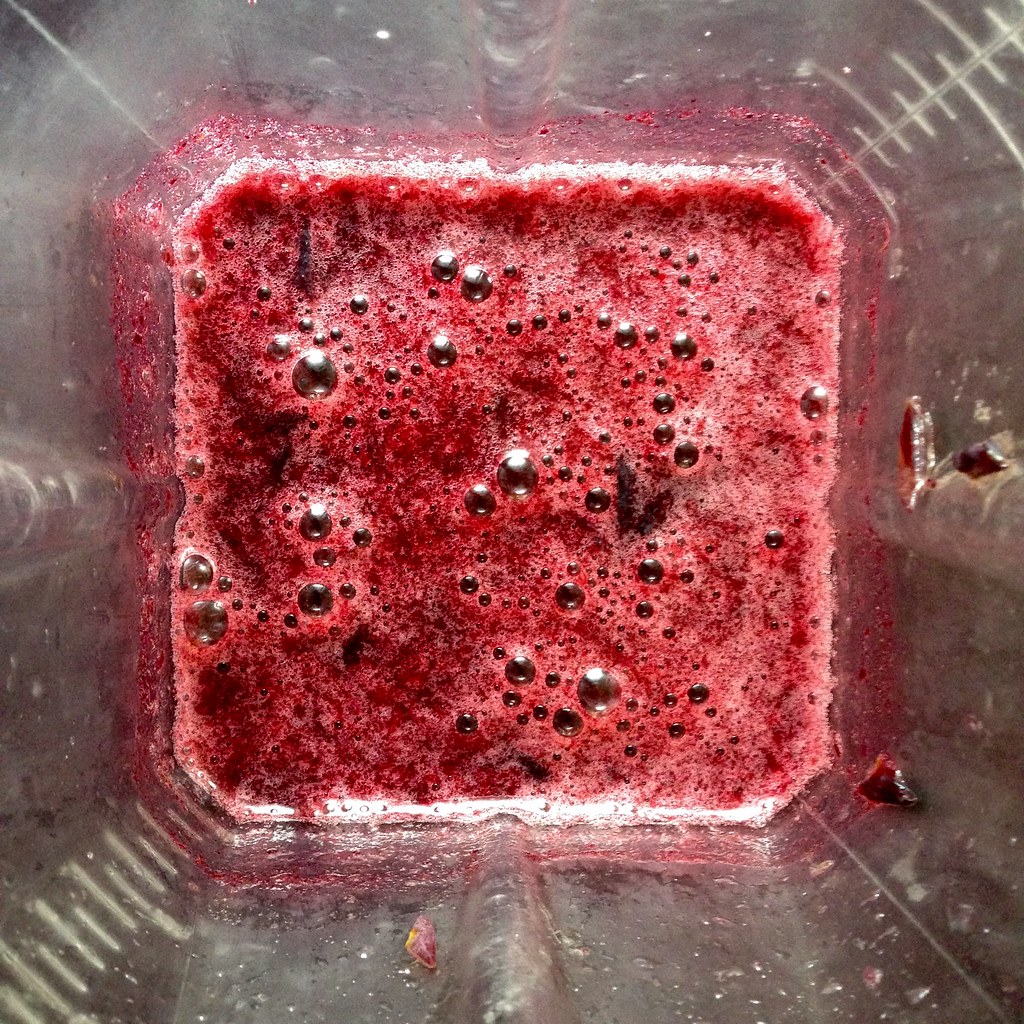
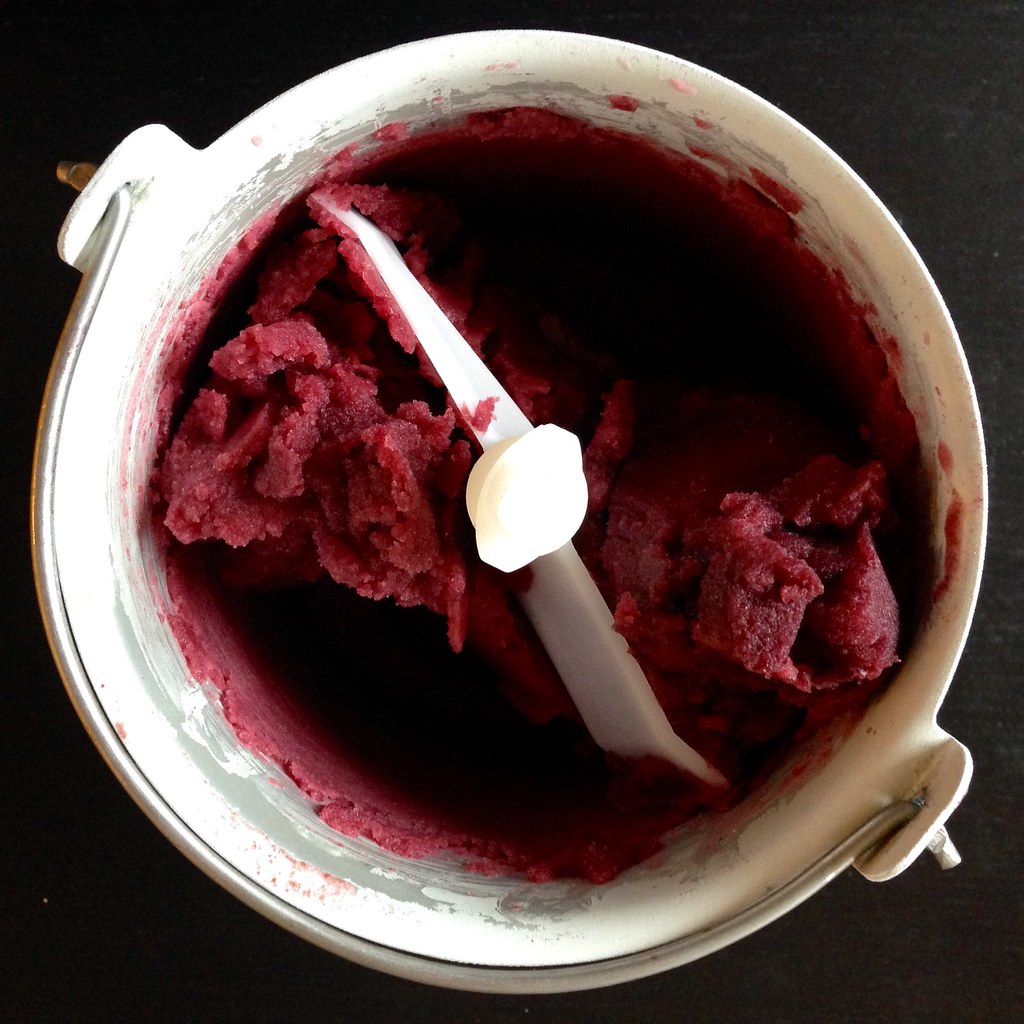
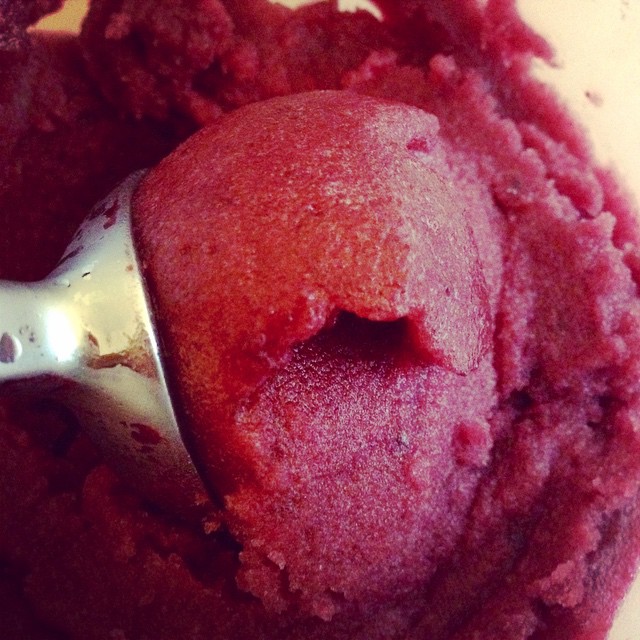
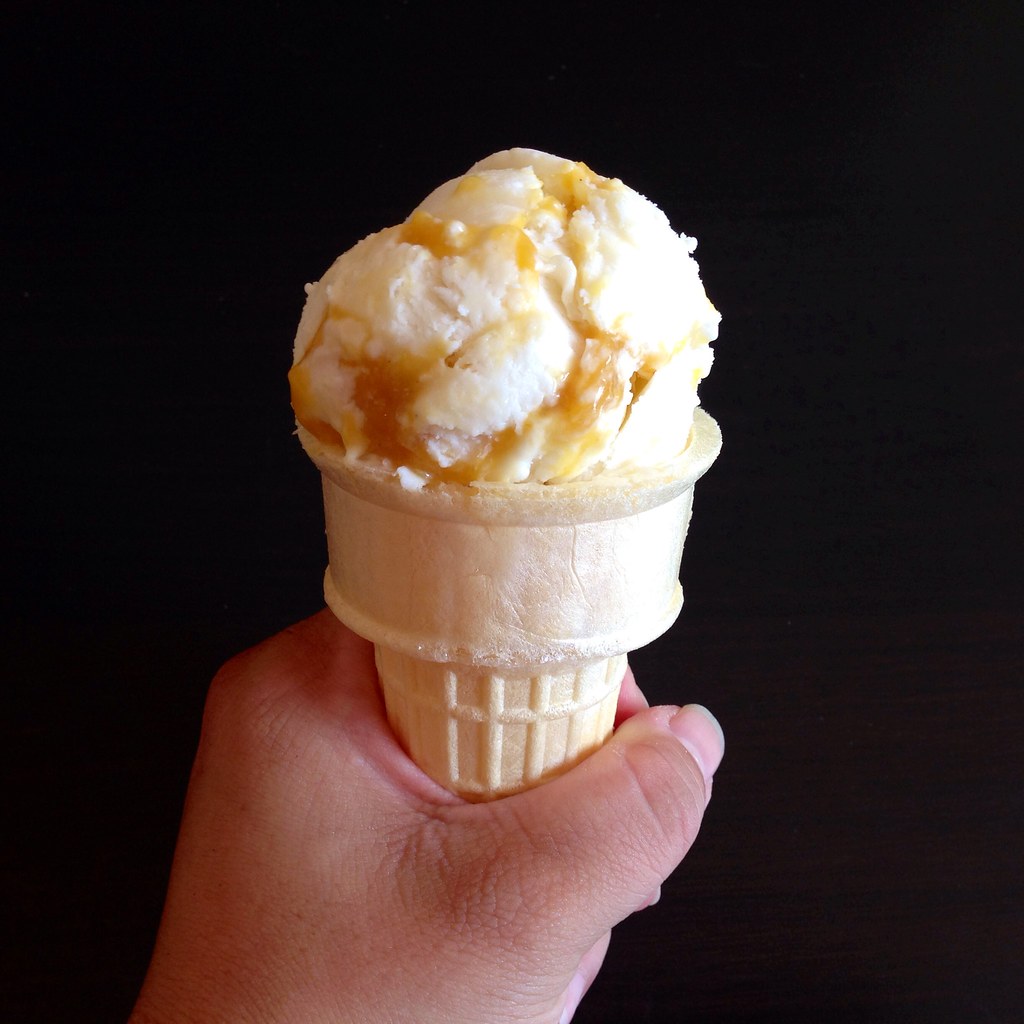
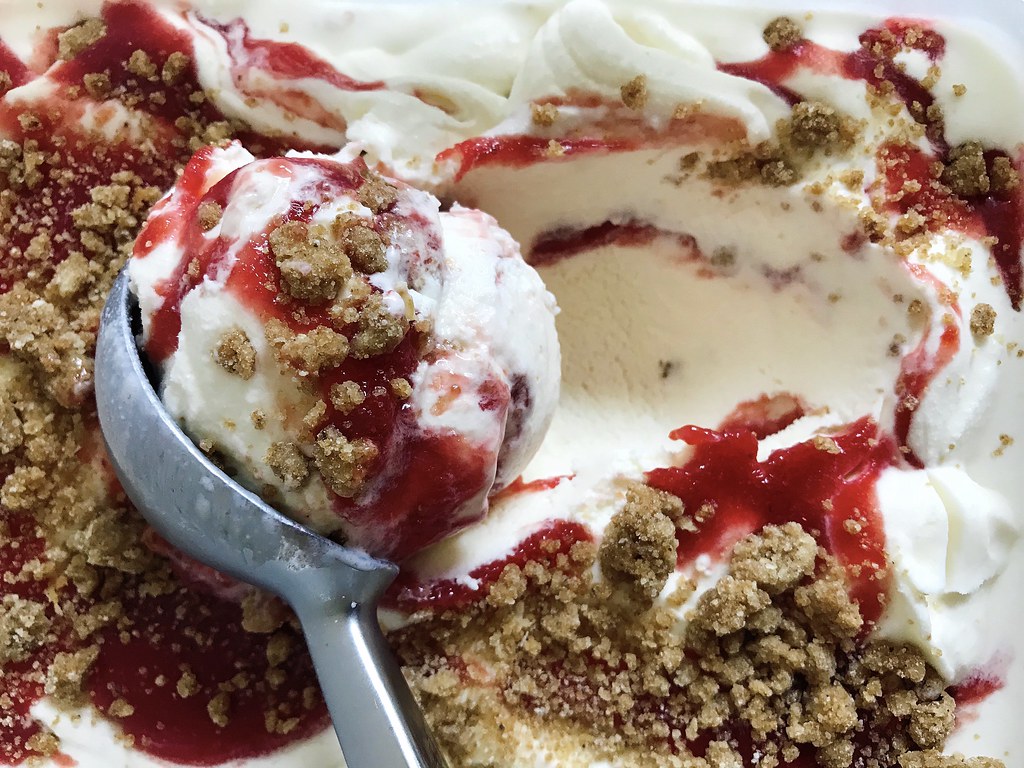
Cherry Pit Ice Cream with Cherry Ripple and Brown Butter Streusel


Have you ever heard of cherry pit ice cream?  Apparently within the pits of all stone fruits (cherries, peaches, nectarines, etc.) is a white kernel that smells like an almond.  If you steep the kernels in alcohol, you can make a bitter almond extract, and if you steep them in an ice cream base, you can make a delicious ice cream with a subtle almond taste.

Getting to the kernel requires smashing the pits open, which can get kind of messy.  Additionally, a toxic chemical, amygdalin, may be released when doing so, but apparently it can be neutralized by cooking.  So it's up to you if you want to break the pits open to get to the kernel or not, but I did so because 1. it's fun to smash things, and 2. I wanted to extract as much of the bitter almond flavor as possible.

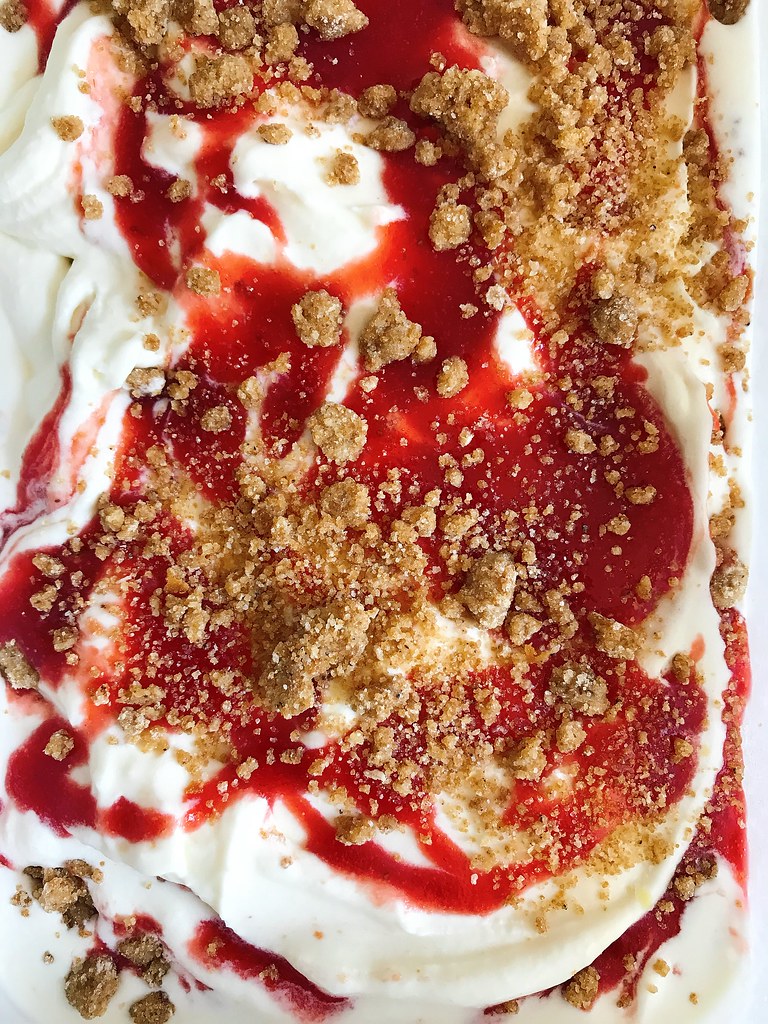
I used the blank slate Philadelphia-style ice cream recipe from Hello, My Name Is Ice Cream, as the base for the ice cream and added a cherry ripple for fruitiness and brown butter streusel for crunch.  Both the ripple and streusel are also adapted from recipes in Hello, My Name is Ice Cream.  I really love the combination of all 3 parts, especially the streusel, because I really enjoy the extra texture it provides.
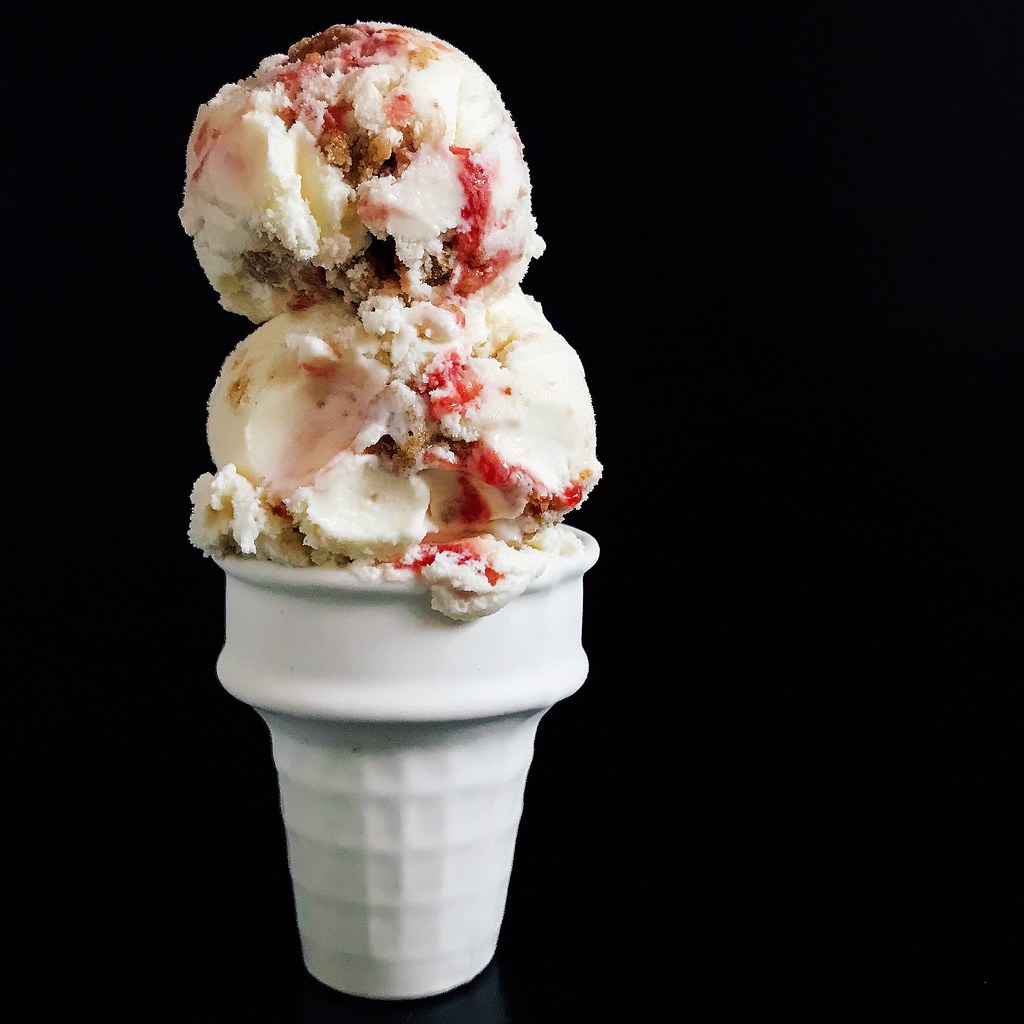

Cherry Pit Ice Cream with Cherry Ripple and Brown Butter Streusel
makes about 1 quart

For the cherry ripple:

1 lb. sour cherries*
50 g sugar
50 g corn syrup

Remove the stems and pit the cherries, reserving the pits.  Combine the cherries, sugar, and corn syrup in a saucepan and cook over medium heat until the sugar has dissolved.

Transfer to a blender and blend until smooth.  Return the contents to the saucepan and continue to cook until thick and jammy.  Remove from the heat and strain through a fine-mesh sieve.  Store in the refrigerator until ready to use.

*Note, I made this with sour cherries, but if you want to use sweet cherries, you'll probably want to reduce the amount of sugar and corn syrup.

For the brown butter streusel:

37 g unsalted butter
50 g flour
Scant 1/8 teaspoon baking powder
1/4 teaspoon kosher salt
25 g brown sugar
25 g sugar

Preheat the oven to 350°F and line a sheet pan with parchment paper or a Silpat.

Melt the butter in a small saucepan over medium heat until the milk solids have separated and started to brown.  Immediately remove from the heat and set aside to cool down.

Whisk together the flour, baking powder, salt, and sugars.  Add the browned butter and mix until there are no dry bits.  Transfer the streusel to the sheet pan and break up any large lumps.

Bake for 10 minutes, then stir the streusel to redistribute on the pan.  Bake for another 10-15 minutes until the streusel is golden brown and cooked through.  Cool the streusel on a wire rack and then store in the freezer until ready to use.

For the cherry pit ice cream:

Pits from the pound of sour cherries
380 g cream
400 g milk (plus 2 tablespoons of milk if using cornstarch)
50 g corn syrup
20 g milk powder
150 g sugar
10 g cornstarch or 3 g commercial stabilizer

Place the cherry pits in a sturdy freezer bag and cover with a dish towel.  Use a heavy saucepan or mallet to crack the pits open to expose the white kernels within.  I would suggest doing this on the ground with a cutting board underneath because there's a good chance you'll make some holes in the bag.

Place the cracked pits and kernels in a medium heavy-bottomed saucepan and add the cream, milk, and corn syrup.  Cook over medium heat until the mixture reaches a boil, stirring occasionally to prevent scorching.  In the meantime, prepare a large ice water bath.  When the mixture is boiling, transfer to a metal bowl and place in the ice water bath.  Stirring occasionally, bring the mixture down to room temperature and then chill in the fridge for 4-6 hours.

Mix the milk powder, sugar, and commercial stabilizer, if using, in a small bowl.  If using the cornstarch, mix with 2 tablespoons of cold milk.  Prepare another ice water bath.

After the ice cream base has finished steeping, strain through a fine-mesh sieve into the saucepan and whisk in the milk powder mixture.  Bring to a boil again, stirring to prevent scorching.  Continue to cook for 2 minutes, then add the cornstarch slurry, if using, and continue to cook for another minute until slightly thickened.

Pour the ice cream base into a metal bowl and place in the ice water bath.  Stirring occasionally, bring the mixture down to room temperature and then chill in the fridge for 4 hour or overnight.  Place a storage container in the freezer.

Churn the ice cream base in your ice cream machine until thick and creamy.

Spoon a layer of the cherry ripple on the bottom of the storage container.  Scatter some of the streusel over the ripple, then spread a third of the ice cream into the container.  Drizzle a third of the ripple over the ice cream and sprinkle a third of the streusel over that.  Repeat the layers two more times (you may have cherry ripple than you need; if so, save in the fridge for up to 2 weeks).  Press a piece of plastic wrap directly on the surface of the ice cream, cover with the lid, and freeze for at least 4 hours, until completely firm.

Next:  Tomato and Eggs over Rice (Updated)
Previously:  Sourdough Discard Pizza Dough
Last Year:  Greyscale Cream Puffs
Two Years Ago:  My Mom's Beef and Broccoli Stir Fry
Three Years Ago:  Pasta con le Sarde
Four Years Ago:  Strawberry Pop Tart Slab Pie
Five Years Ago:  Zuni Cafe's Fried Eggs in Bread Crumbs
Eight Years Ago:  Slow Cooker Bolognese Sauce

Tuesday, September 12, 2017

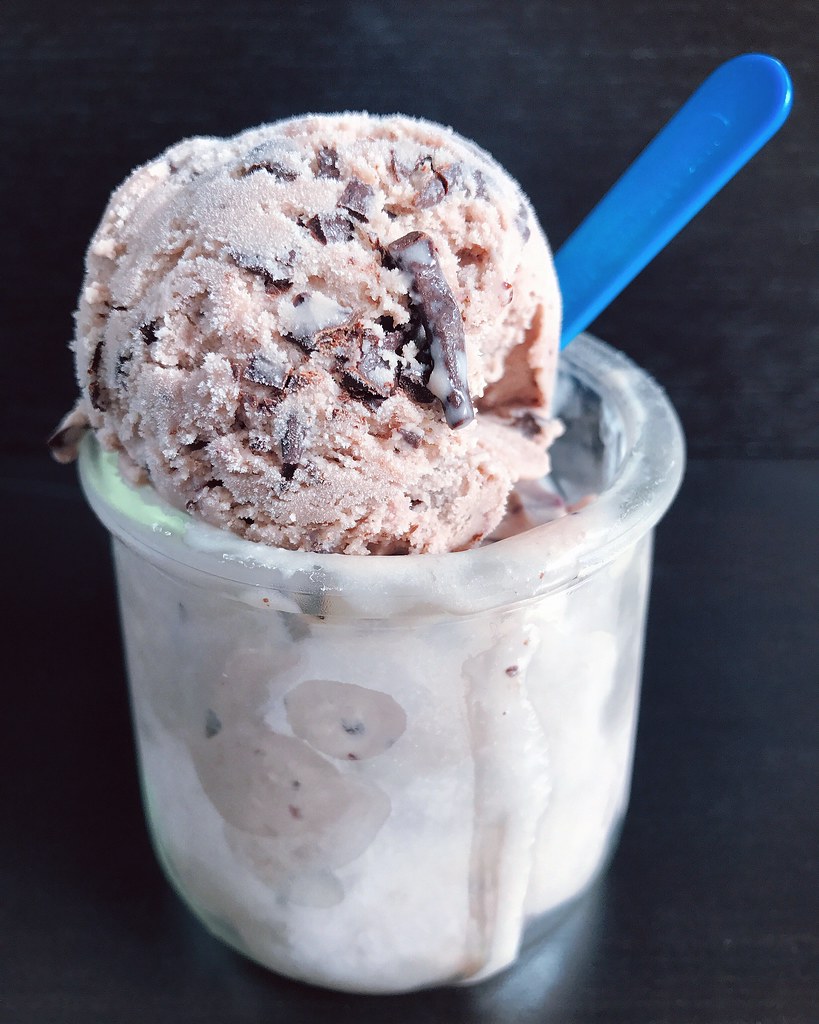
Blueberry Salted Caramel Ice Cream with Chocolate Freckles


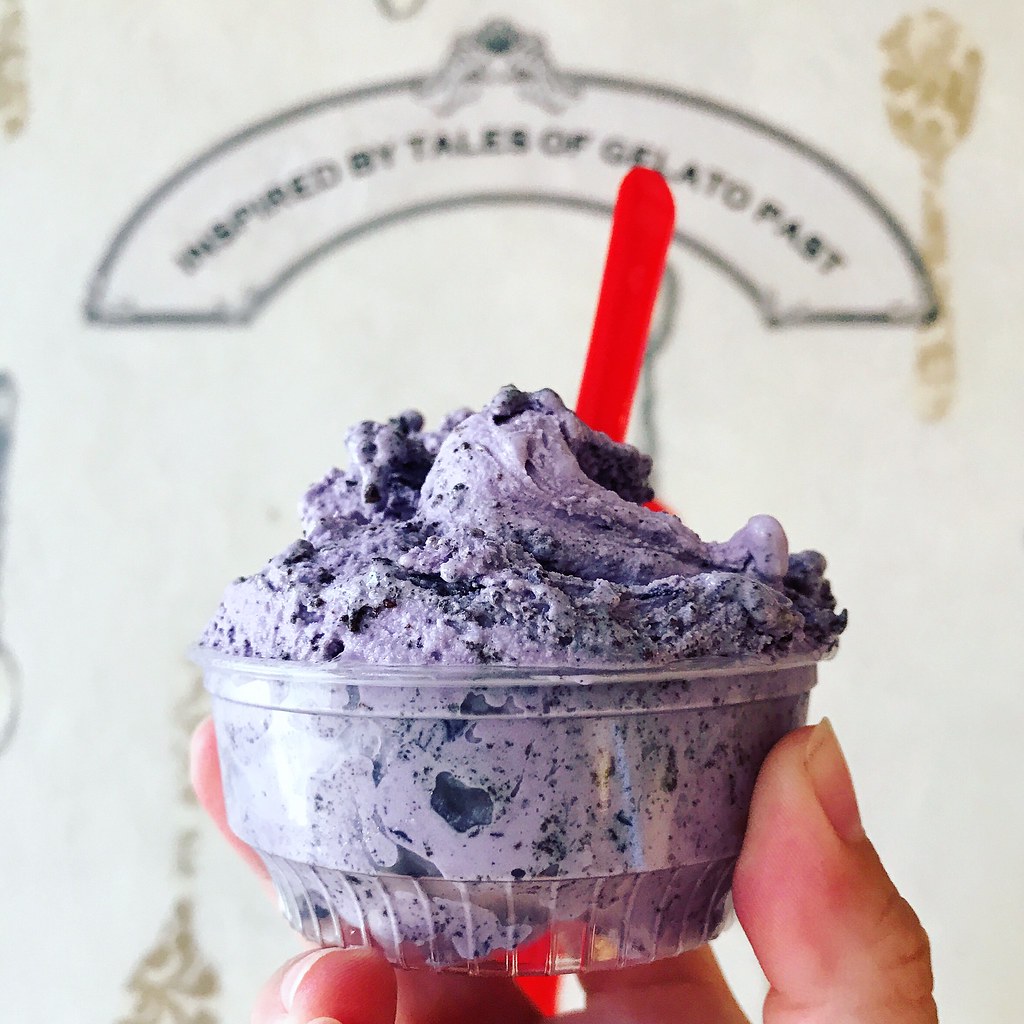
My friend Christine and I have been making a day trip to Portland, ME every summer for the last couple of years and basically spend the day stuffing ourselves.  We always go to Eventide Oysters for my favorite lobster rolls, The Holy Donut for potato donuts, Duckfat for their fries, and Gelato Fiasco for ice cream (the honeycomb ice cream sundae from Honeypaw has made it onto our itinerary for the last 2 years as well).  My favorite flavor is the Maine Wild Blueberry Caramel Sea Salt Stracciatella gelato, but they didn't have it this year so I had to settle for the Blueberry Milk and Cookies flavor which was still really good.


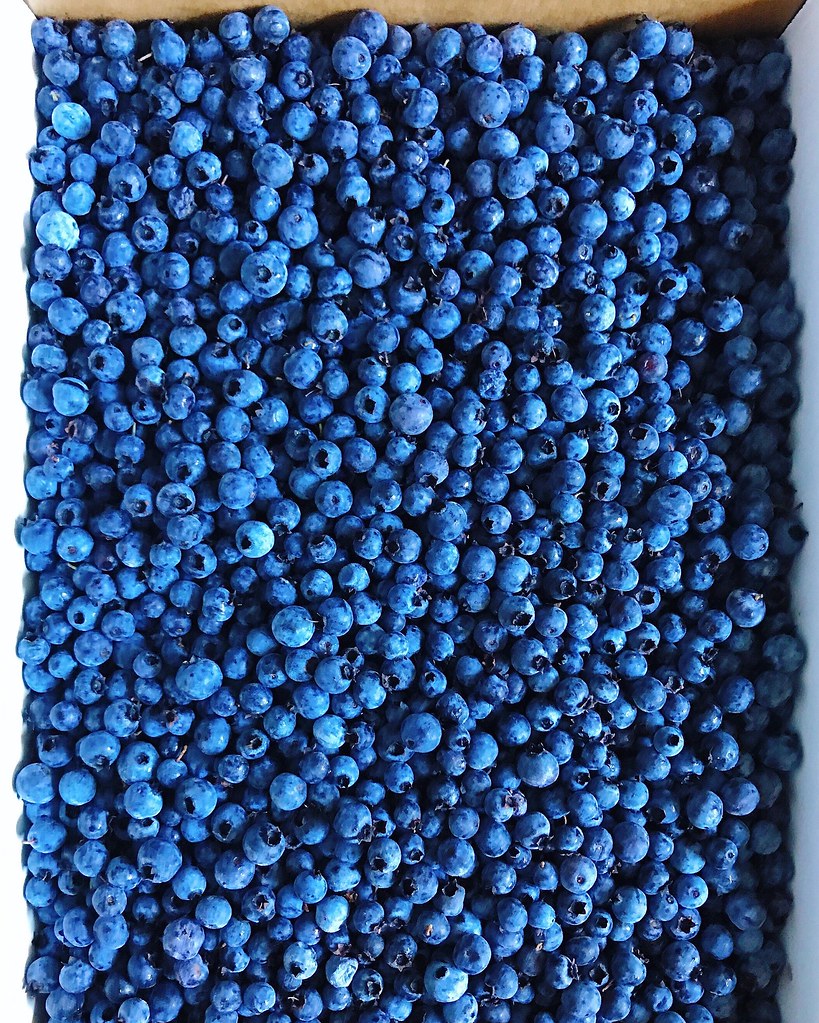
So when Boston Organics contacted me and offered to send me a 5 lb. box of their wild Maine blueberries, I knew the first thing I wanted to make with them.  I consulted with my favorite ice cream cookbook, Jeni's Splendid Ice Creams at Home, and realized I could make something similar using her salty caramel ice cream recipe, adding some blueberry compote, and then swirling in some chocolate freckles when the ice cream was almost done churning.


I also wanted to share some more information about these wonderful blueberries because they're so different from the ones you usually find in the grocery store.  These are from Burke Hill Farm in Cherryfield, ME and come in a compact wax box that will fit perfectly in most freezers.  Known as lowbush blueberries, these wild blueberries grow in northern New England’s naturally acidic soil and are resilient enough to withstand the region's icy winters.  They're smaller and sweeter than the highbush berries you're probably used to, and perfect for freezing, baking, and just snacking on!  You can find more information here on the Boston Organics website.

I wish the ice cream could be as brilliantly colored as the blueberry milk and cookies gelato above, but I was worried that adding too much blueberry compote to the ice cream base might make it too icy.  Regardless, the flavor is incredible; the sweetness of the caramel is tempered by the tartness of the blueberries, and the crackly dark chocolate freckles adds a fun textural component.


Blueberry Salted Caramel Ice Cream with Chocolate Freckles
makes about 1 quart

1 cup wild Maine blueberries (frozen is fine)*
2/3 cup plus 2 tablespoons sugar
2 cups whole milk
1 tablespoon plus 1 teaspoon cornstarch
3 tablespoons cream cheese, softened
1/2 teaspoon kosher salt
1 1/4 cups heavy cream
2 tablespoons light corn syrup
2 teaspoons vanilla extract
4 oz. dark chocolate, chopped

Heat the blueberries and 2 tablespoons of sugar in a small saucepan until it comes to a boil.  Gently mash the blueberries and remove from heat.

Mix a couple tablespoons of the milk with the cornstarch to make a slurry and set aside.  Whisk the cream cheese and kosher salt in a large bowl and set aside.  Mix the heavy cream and corn syrup in a measuring cup with a spout.

Add the remaining 2/3 cup of sugar to a 4-quart saucepan and heat over medium heat.  Wait until a layer of sugar has melted and turned amber before stirring with a heatproof spatula.  Once all the sugar has melted and is a dark amber remove from heat and add about 1/4 cup of the heavy cream mixture while stirring.  It will violently erupt with steam so be careful!  Continue to stir and add more and more of the cream until it is all incorporated.

Return the pan to medium-high heat and add the rest of the milk.  Bring to a boil and cook for 4 minutes.  Whisk in the cornstarch slurry and bring back to a boil.  Continue to cook and stir until slightly thickened, about one minute.

Add a little of the hot cream mixture to the cream cheese and whisk until the cream cheese is dissolved.  Add the rest of the cream mixture, vanilla, and blueberry compote and mix.  Chill the mixture, then churn in an ice cream maker according to the manufacturer's instructions.

While the ice cream is churning, place the chopped chocolate in a plastic sandwich bag, seal it shut, and then place in some very hot water.  Occasionally squeeze the chocolate around until it is all melted.  Remove the bag from the water and dry the outside.  Keep the chocolate melted but not hot.

Once the ice cream is almost done churning, snip a corner off of the sandwich bag and squeeze a steady stream of the melted chocolate into the ice cream while it continues to churn.  Pack the churned ice cream into a storage container and freeze for at least 4 hours.

*If you can't get your hands on wild Maine blueberries, you can use regular blueberries to make the compote, but you may want to boil it longer to reduce it further and add some more sugar as needed.


Next:  Crane Rangoons
Previously:  Greyscale Cream Puffs
Last Year:  Macau-Style Portuguese Chicken Rice
Three Years Ago:  Taiwanese Taro Swirl Mooncakes
Four Years Ago:  Ramen Lobster Rolls
Five Years Ago:  Caramelized Onion and Swiss Chard Quiche

Monday, January 30, 2017

Salted Egg Yolk Mochi Ice Cream


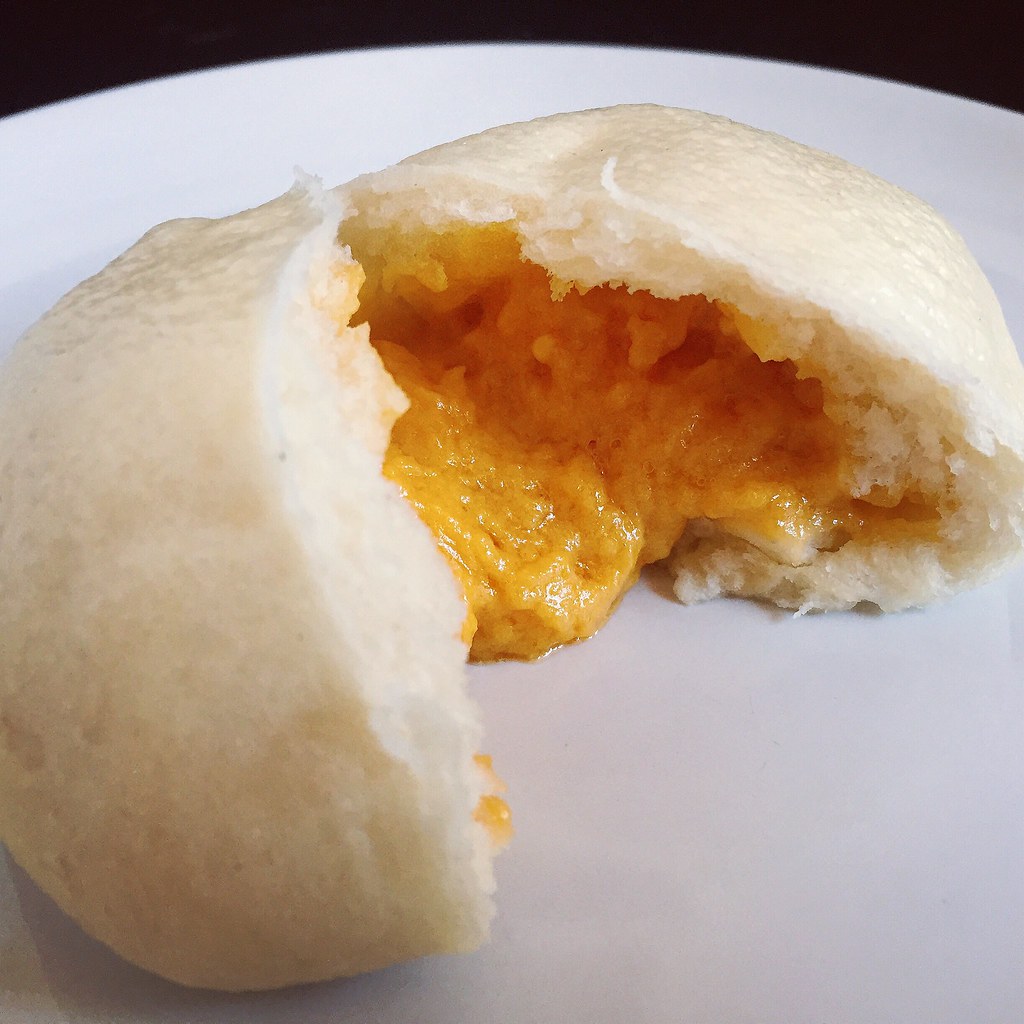
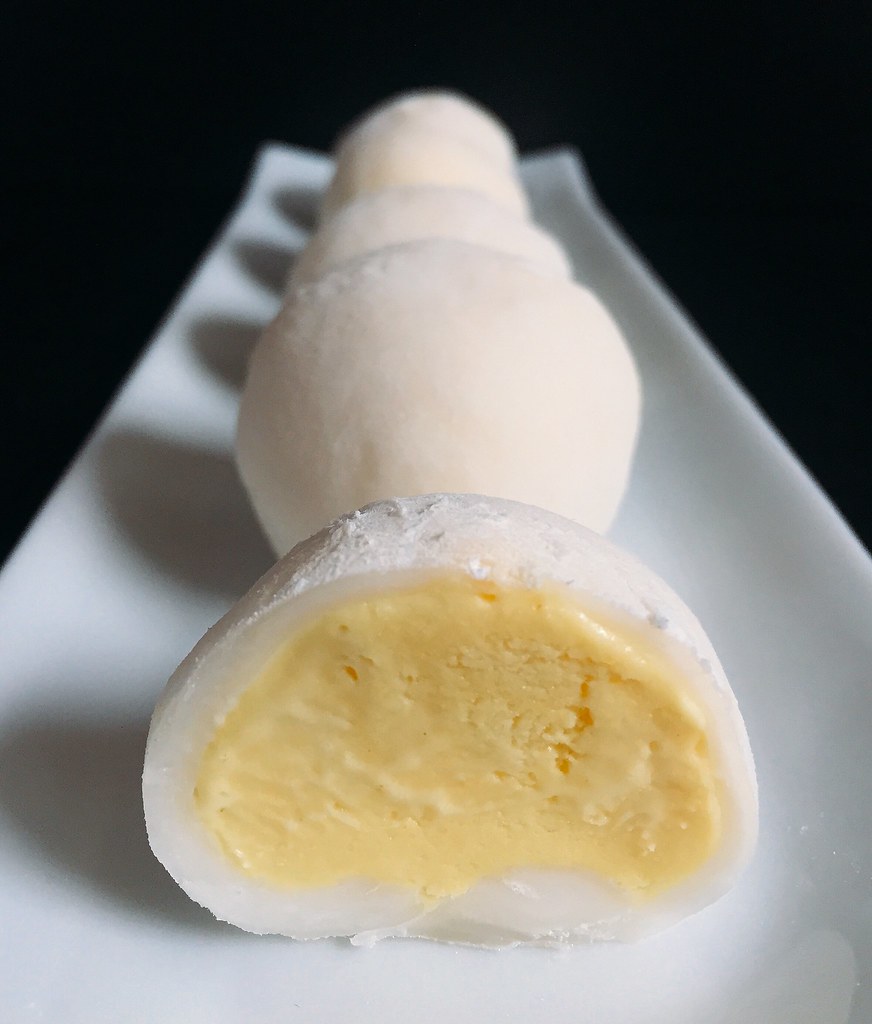
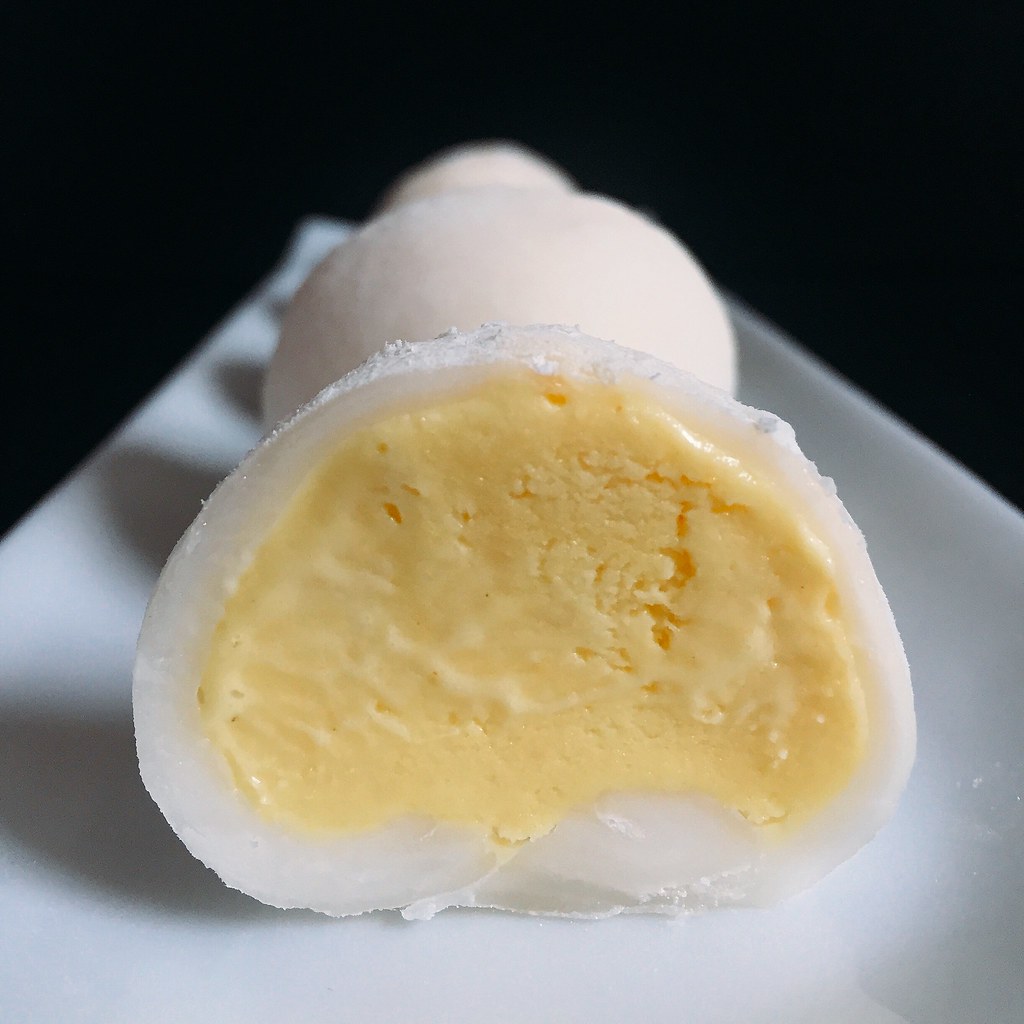
Earlier last year I discovered a new kind of steamed bun, the liu sha bao.  I think translated directly it means "quicksand bun" but it's actually a lot better tasting that it sounds.  Inside is a molten filling made of salted egg yolk custard, and I could probably eat 5 of them in a row.  I tried making some a few weeks ago, but the result was just okay and not really worth all the work when I can just get the perfected bun at dim sum.


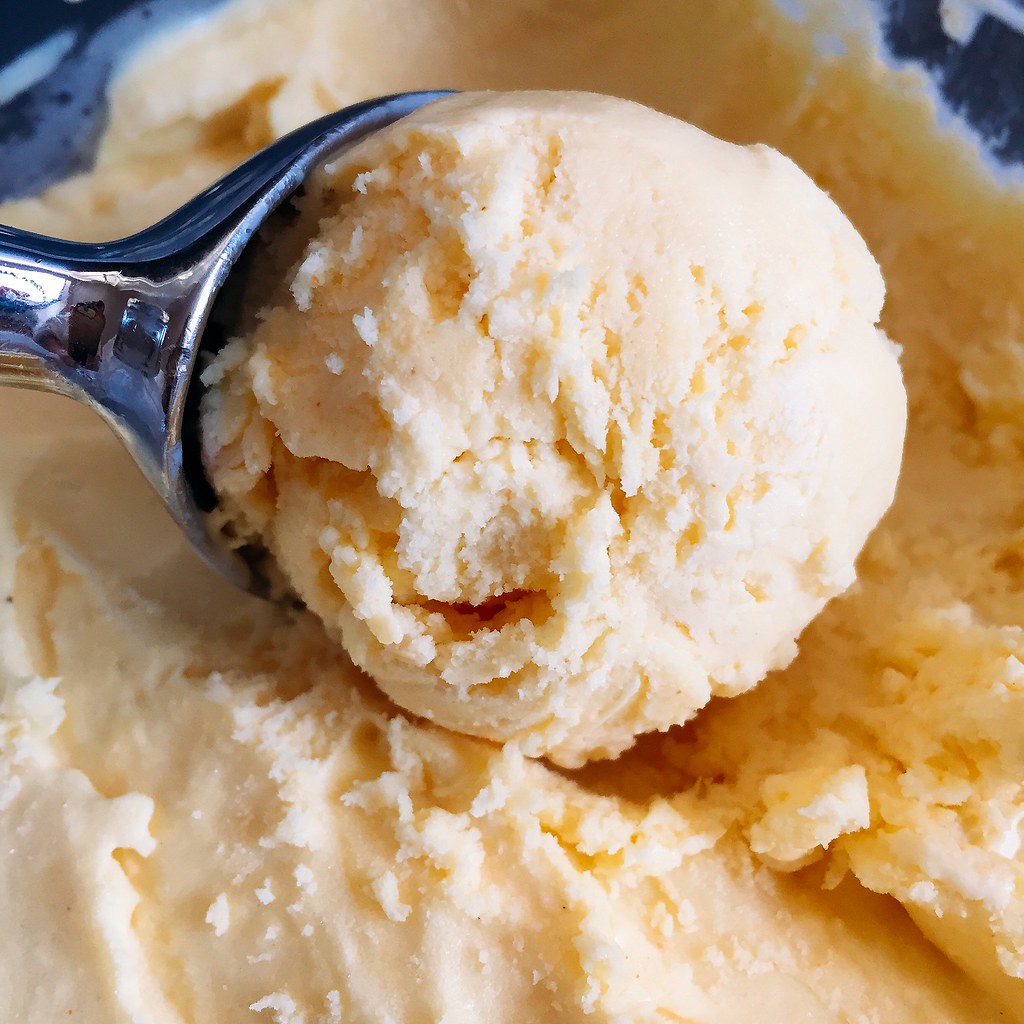
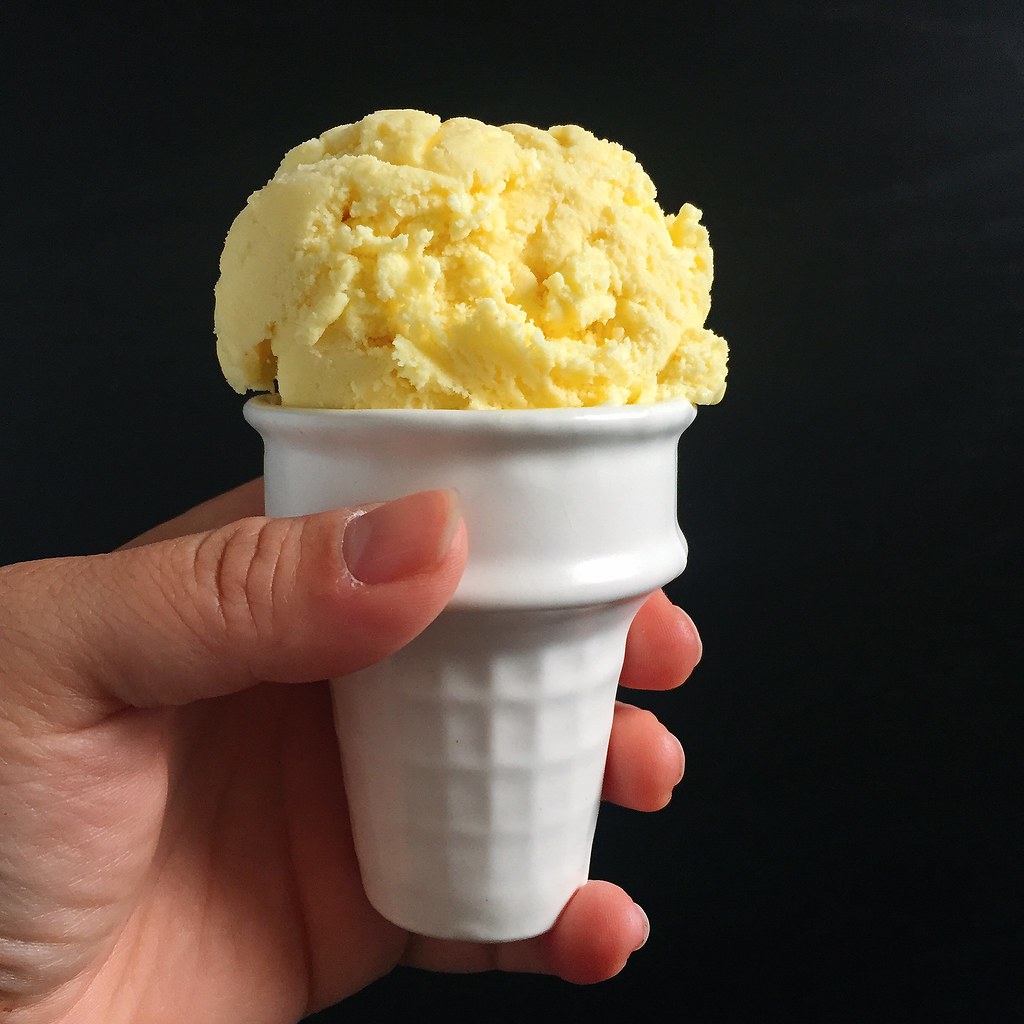
Because of that experiment I still had 3 cooked salted duck eggs sitting in my fridge, though, so I figured I'd try to make an ice cream out of them.  I followed the template of Jeni's Salty Vanilla Frozen Custard, but I replaced 3 of the raw egg yolks with 3 cooked salted duck egg yolks, which you can find in the egg section of a Chinese grocery store.  I reduced the salt a little because the egg yolks were already salted and added a little bit of turmeric to increase the yellow coloring of the ice cream.  It still comes out a rather pale yellow, but I didn't want to add any artificial food coloring.


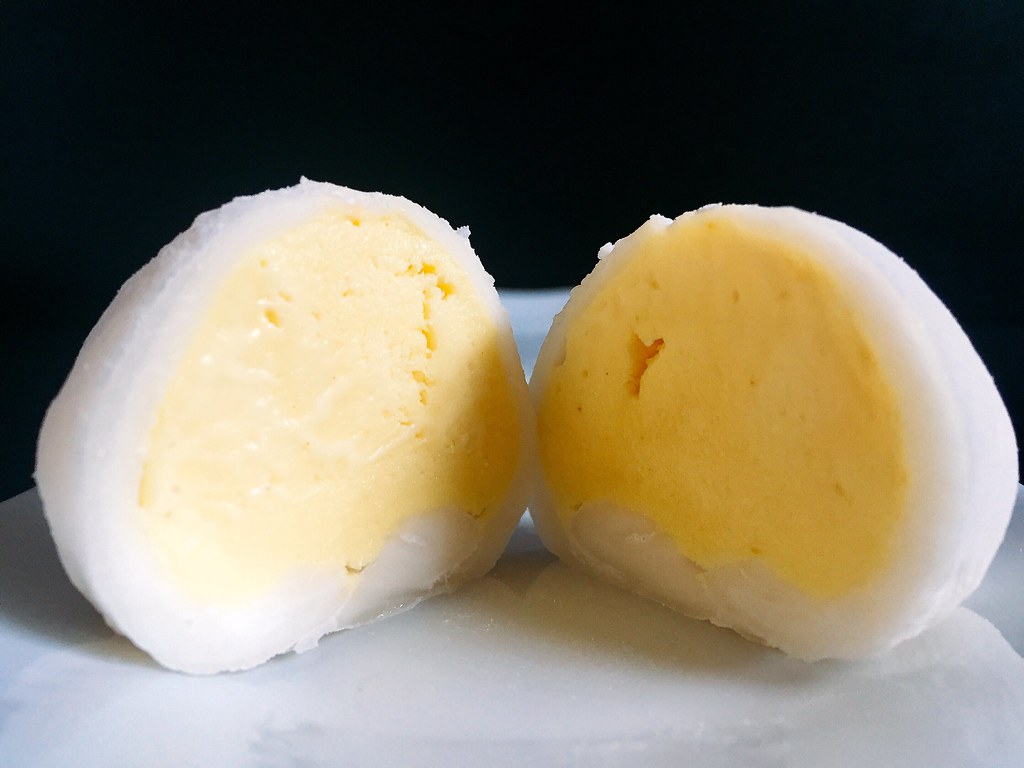
The resulting ice cream is incredibly rich, and tastes pretty much like the inside of a liu sha bao but in ice cream form.  So I decided to try making it into mochi ice cream to continue down that path.  I've tried making mochi ice cream before and that attempt was disastrous, to say the least, so this time I made sure to follow a trusted recipe.  I'm happy to say that the one from Just One Cookbook worked marvelously.  These salted egg yolk mochi ice creams are perfect because you only need a couple of bites of the ice cream, and the soft, chewy mochi helps keep the intense flavor from being too overwhelming.  Plus, I think they look super cute and remind me of liu sha bao!


Salted Egg Yolk Ice Cream (adapted from Jeni's Splendid Ice Cream Desserts)
makes about 1 quart

3 cooked salted duck eggs
2 tablespoons cream cheese, softened
1/2 teaspoon kosher salt
1/8 teaspoon turmeric
2 3/4 cups whole milk
3 large raw egg yolks
1 tablespoon plus 2 teaspoons cornstarch
1 cup heavy cream
3/4 cup sugar
2 tablespoons light corn syrup

Carefully crack and peel the salted duck eggs, removing the whites until you are left with only the egg yolks.  Mash the egg yolks in a medium bowl, then add the cream cheese, salt, and turmeric and whisk until smooth.

Mix about 2 tablespoons of the milk, the raw egg yolks, and cornstarch in a small bowl and set aside.  Fill a large bowl with ice and water.

Combine the remaining milk, the cream, sugar, and corn syrup in a 4-quart saucepan, bring to a boil over medium-high heat, and boil for 4 minutes. Remove from the heat and gradually add about 2 cups of the hot milk mixture to the egg yolk mixture, one ladleful at a time, stirring well after each addition. Pour the mixture back into the saucepan and heat over medium heat, stirring constantly with a heatproof spatula, just until the mixture thickens. Remove from the heat and strain through a sieve if necessary.

Gradually whisk the hot milk mixture into the cream cheese mixture until smooth. Pour the mixture into a 1-gallon Ziploc freezer bag and submerge the sealed bag in the ice bath. Let stand, adding more ice as necessary, until cold, about 30 minutes.

Remove the frozen canister from the freezer, assemble your ice cream machine, and turn it on. Pour the custard base into the canister and spin until thick and creamy.

Pack the custard into a storage container. Press a sheet of parchment directly against the surface and seal with an airtight lid. Freeze in the coldest part of your freezer until firm, at least 4 hours.


Mochi Ice Cream (adapted from Just One Cookbook)
makes about 6-8 pieces

Ice cream
3/4 cup glutinous rice flour
1/4 cup sugar
3/4 cup water
1/2 cup cornstarch

Place a cupcake pan in the freezer to chill.  Use a cookie dough scooper to scoop 6-8 balls of ice cream.  Place each ball on an aluminum cupcake liner in the cupcake pan and freeze for several hours until hard.

Whisk together the glutinous rice flour, sugar, and water in a medium microwaveable bowl.  Cover and microwave for 30 seconds.  Stir with a wet rubber spatula then microwave for another 30 seconds.  Continue to stir and microwave in 30 second increments until the mochi comes together in a slightly translucent, sticky mass.

Generously dust a Silpat or parchment paper with cornstarch.  Transfer the mochi on top and dust with additional cornstarch.  Dust a rolling pin with cornstarch and roll out the mochi into a thin layer, about 1/8".  Chill in the refrigerator for 15 minutes.

Use a 3 1/2" cookie cutter to cut the mochi into circles.  I was able to easily cut out 6 circles, and if you want, you can reroll the scraps to make more circles, just make sure to redust with cornstarch.

Place one of the scoops of ice cream in the center of a mochi circle.  Bring the edges of the mochi up and over the ice cream and seal together, working quickly so that the ice cream doesn't melt.  Wrap in plastic wrap and return to the freezer.  Repeat with the other scoops of ice cream and mochi circles.

When ready to eat, let sit at room temperature for a few minutes so that the mochi can soften.


Next:  French Onion Tater Totchos
Previously:  Marion Cunningham's Yeast-Raised Waffles
Two Years Ago:  San Bei (Taiwanese Three Cup) Tofu and Ramen
Three Years Ago:  Grilled Cheese Egg in a Hole
Four Years Ago:  Homemade Bagels
Seven Years Ago:  Sweet Potato Gnocchi with Maple Cinnamon Sage Brown Butter
Eight Years Ago:  Dutch Babies

Monday, September 12, 2016

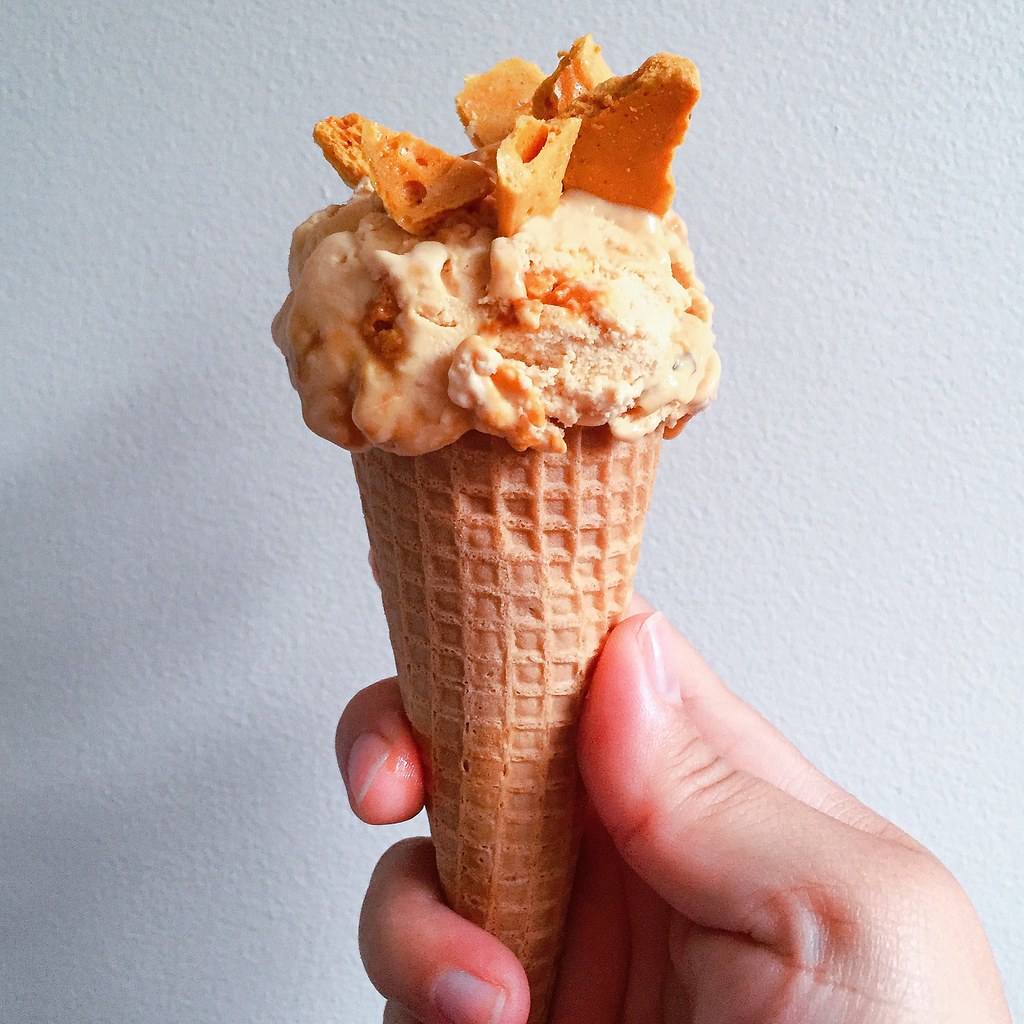
Caramelized Honeycomb Ice Cream


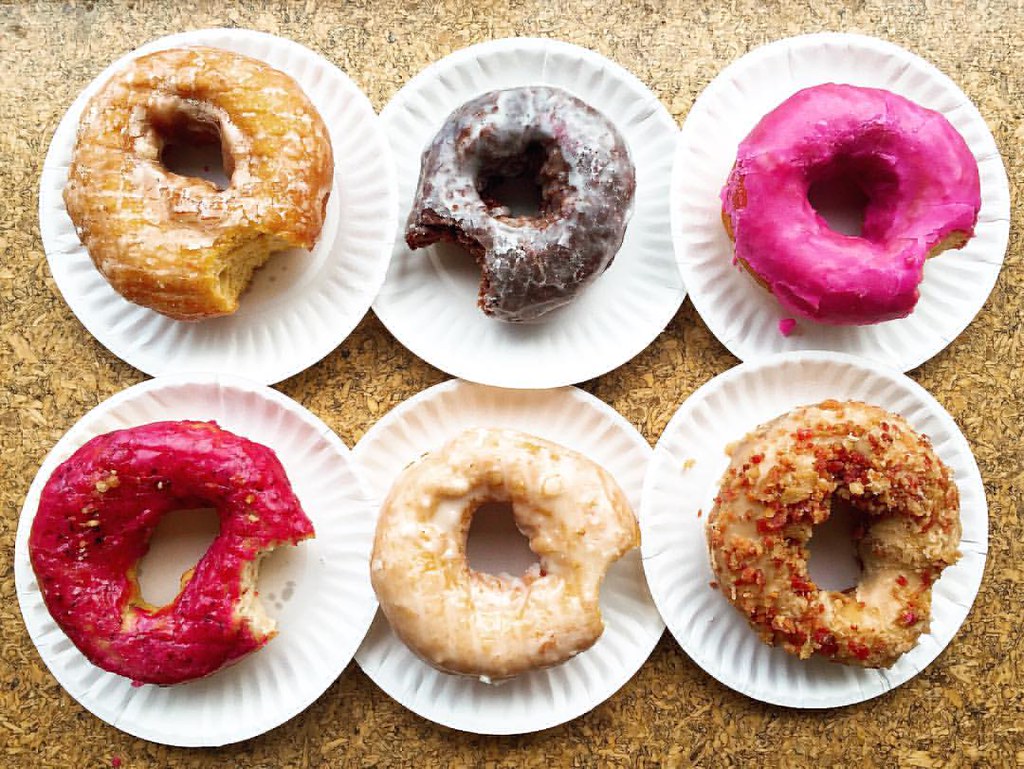
My friend Christine and I took our annual gorgefest stuffing of the faces eat all the things road trip up to Portland, ME on Labor Day and hit all our usual spots.  First was The Holy Donut for their Maine potato donuts.  Here we have the sweet potato ginger glazed, sea salt chocolate, pomegranate, maple bacon, fresh lemon, and triple berry flavors.  I think my favorite was the maple bacon.


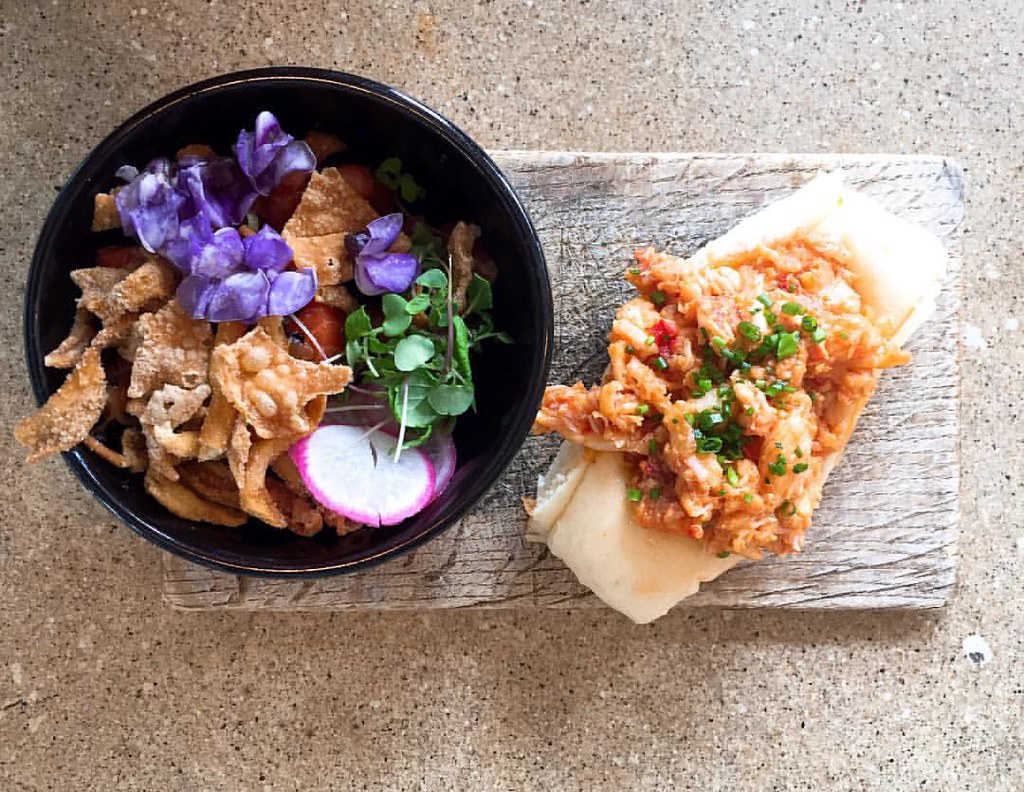
Then on to Eventide Oysters for their brown butter lobster rolls (which I've tried to recreate).  We also tried the salmon poke this time, which I thought was prettier than it tasted.


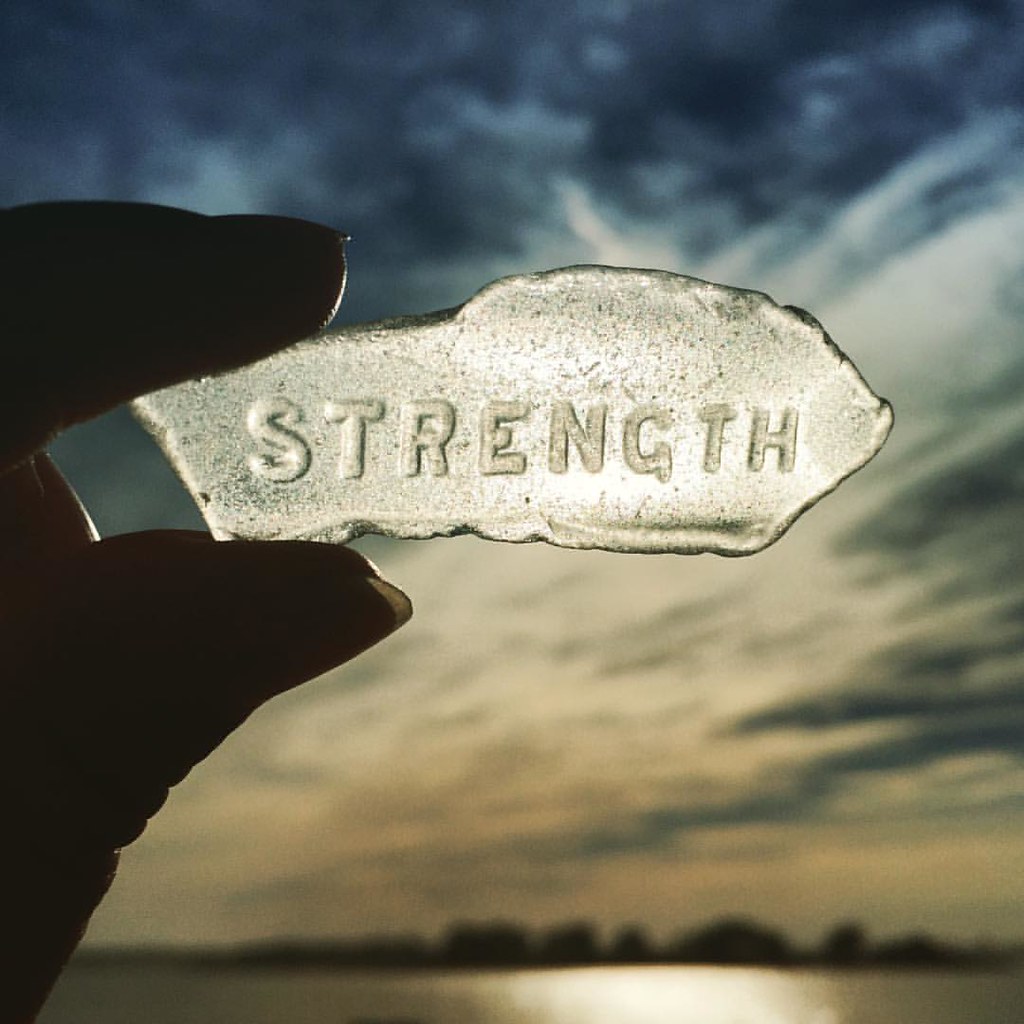
Since it was such a beautiful day, and we had some time before dinner, we took the ferry over to Peaks Island to see if there was anything interesting there.  There wasn't.  But Christine did find this awesome piece of sea glass there!


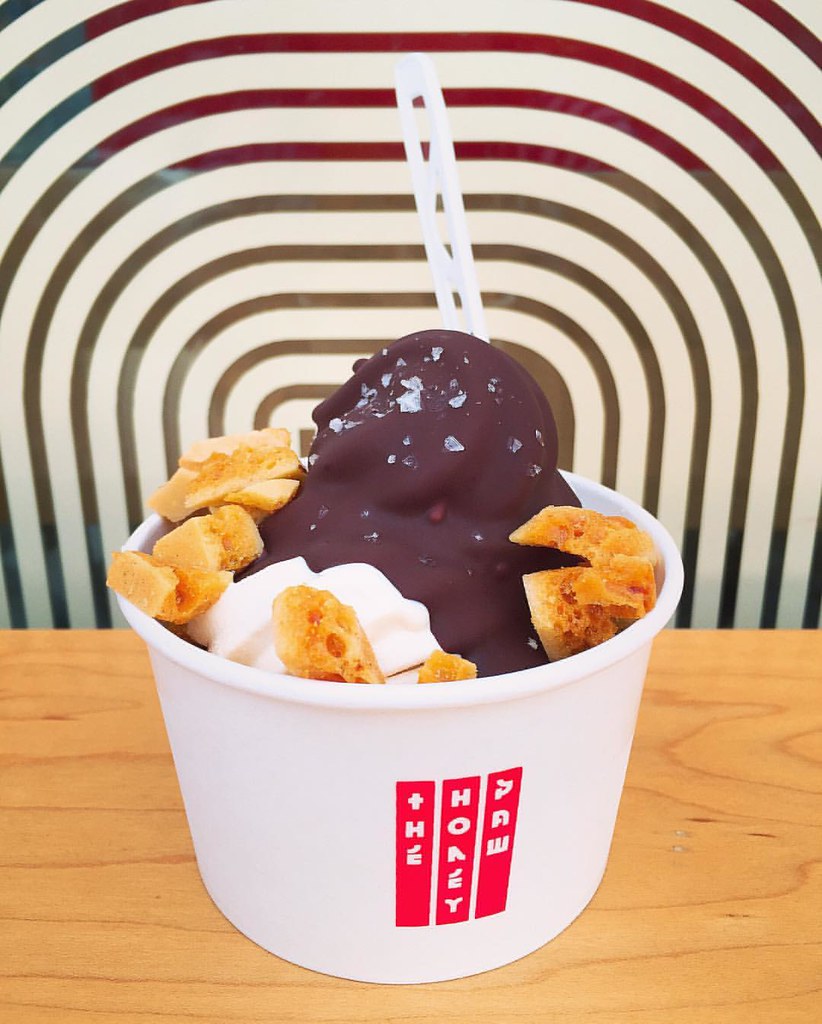
After dinner at Duck Fat, we decided to grab some dessert from The Honey Paw, a new fusion restaurant next door to Eventide.  We tried the caramelized honeycomb soft serve with magic shell and honeycomb candy.


It might have been the best thing we ate that day and is definitely going on our to-eat list for future trips!

I tried to recreate it at home using one of Jeni's recipes as a guide, but I wasn't able to get that pure honey flavor that was the reason I loved the original version.  But then I realized it reminded me of Toscanini's burnt caramel ice cream, which is a very, very good thing.  I also liked how the honeycomb candy--also made with one of Jeni's recipes--added a unique texture when layered in with the ice cream.


Caramelized Honeycomb Ice Cream (adapted from Jeni's Splendid Ice Creams at Home)
makes about 1 quart

For the honeycomb candy:
1 1/2 cups sugar
1/2 cup water
3 tablespoons honey
1/3 cup corn syrup
1 tablespoon baking soda

Bring the sugar, water, honey, and corn syrup to a boil in a large saucepan over medium-high heat.  When it reaches 300°F, remove from heat and stir in the baking soda.  Pour into a parchment-lined baking sheet and let cool.  Break into small pieces.  You'll only need about half the amount that this recipe makes for the ice cream, but it's great eaten on its own or coated with chocolate.  Store in an airtight container.

For the ice cream:
2 cups whole milk
1 tablespoon plus 2 teaspoons cornstarch
4 tablespoons cream cheese, softened
1/2 teaspoon kosher salt
2/3 cup honey
1 1/2 cups heavy cream

Make a slurry with the cornstarch and 2 tablespoons of the milk and set aside.  Whisk the cream cheese and salt in a medium bowl until smooth.

Caramelize the honey in a large saucepan over medium-high heat.  Stir in about 1/4 of the cream to loosen it up and then stir in the rest of the cream.  Add the remaining milk and bring to a boil over medium-high heat.  Boil for 4 minutes, then whisk in the cornstarch slurry.  Bring the mixture back to a boil and cook until slightly thickened, about 1 minute.

Gradually whisk the hot milk mixture into the cream cheese until smooth.  Chill the mixture in an ice bath or in the refrigerator until cold.

Churn according to your ice cream maker's instructions.  Pack the ice cream into a storage container, mixing in the honeycomb candy as you go.  Freeze in your freezer until firm, at least 4 hours.


Next:  Soy Garlic Glazed Korean Fried Cauliflower
Previously:  Macau-Style Portuguese Chicken Rice
Two Years Ago:  Ginger Scallion Lobster Buns
Three Years Ago:  Ramen Lobster Rolls

Wednesday, November 26, 2014

Jeni's Crème Sans Lait (Dairy-Free Ice Cream)

https://www.flickr.com/photos/joyosity/15872847295/

I don't think I will ever stop raving about Jeni's ice cream recipes.  I've made her Backyard Mint Ice Cream with Dark Chocolate Freckles, her Sweet Corn Ice Cream with Black Raspberry Swirl, her Pluot Lambic Sorbet, her Cranberry Royale Sorbet, and her Salty Vanilla Frozen Custard with great success.  The best part, though, is that it's really easy to adapt her ice cream base to make your own creations!  I've made a Tim Tam Slam ice cream (Tim Tams in a coffee ice cream), a Coconut Ice Cream with Mango Passion Caramel Swirl, a Rosemary Honey and Lemon Frozen Yogurt, a Matcha Green Tea Ice Cream with Match Mochi Bits, and a Sticky Toffee Pudding Ice Cream all using her ice cream base recipe.

I've experimented with making a vegan ice cream before, and found it to be pretty good, but I was excited to see that Jeni had included her own version of a vegan ice cream in her new book, Jeni's Splendid Ice Cream Desserts (thanks for the housewarming gift, Ellen!).  She uses a combination of almond milk, tapioca starch, raw cashews, and coconut oil in the Crème Sans Lait (French for cream without milk) to simulate the texture of frozen cream and milk.  I tweaked the recipe so that there were less containers to wash; with these directions you end up only using one saucepan and a blender to make the base!

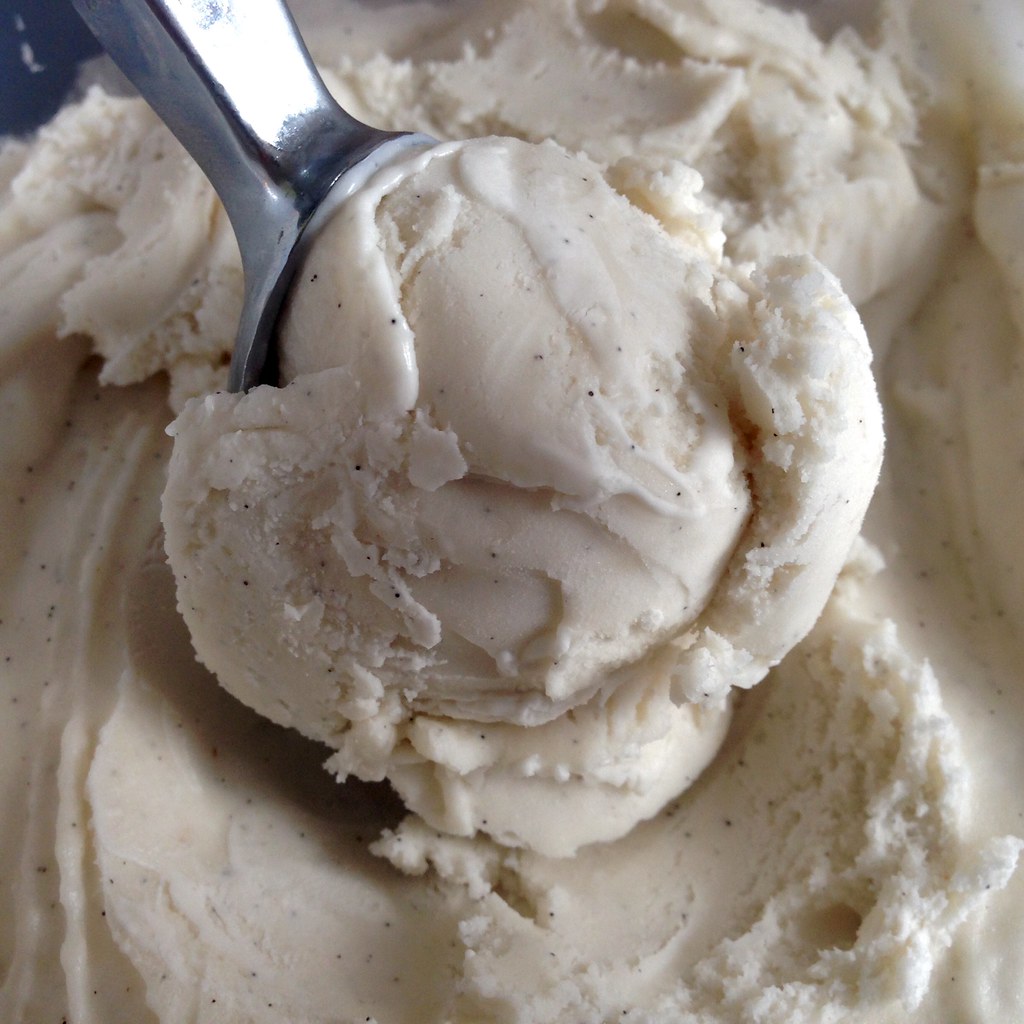
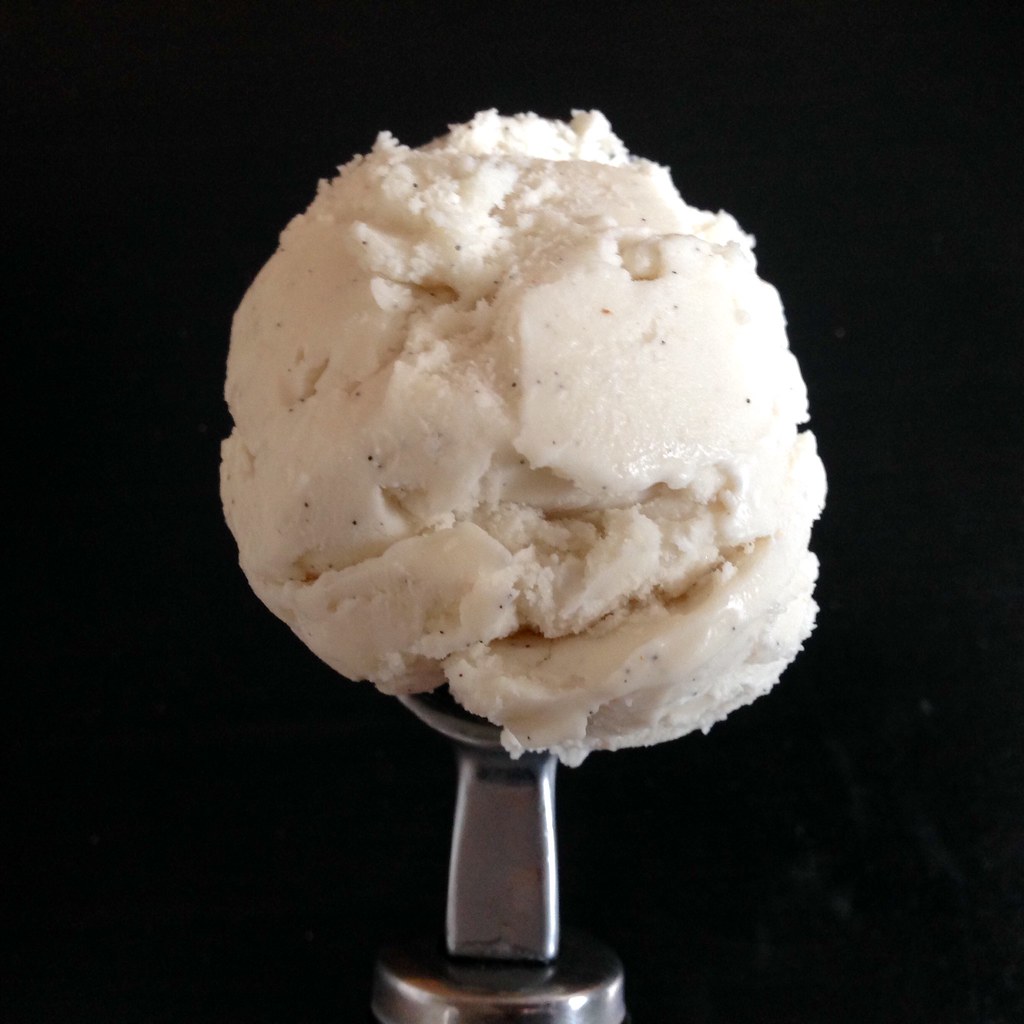
When you taste it, you're going to notice immediately that it's not real ice cream.  But, it is the best vegan ice cream I've ever had.  It's incredibly creamy, which I think comes from the coconut oil, but it doesn't taste like coconuts or cashews or almonds; it just tastes like real vanilla.  I love that it scoops and melts like real ice cream, and it goes great with pies, cakes, and all the other desserts you'll have for Thanksgiving!

https://www.flickr.com/photos/joyosity/15686829119/

Jeni's Crème Sans Lait (Dairy-Free Ice Cream) from Jeni's Splendid Ice Cream Desserts
makes about 1 quart

2 3/4 cups almond milk, divided
2 tablespoons tapioca starch
1/2 cup raw cashews
1 1/4 cups refined coconut oil, at room temperature
2/3 cup sugar
1/3 cup light corn syrup
1 vanilla bean, split, seeds scraped out, seeds and bean reserved

Pulverize the raw cashews into a very fine paste in a good blender.  Add the coconut oil and blend until combined. Fill a large bowl with ice and water.

Combine the 2 1/2 cups of almond milk, the sugar, corn syrup, and vanilla seeds and bean pod in a 4-quart saucepan and heat over medium-high heat until bubbling.  Mix the remaining 1/4 cup of almond milk with the tapioca starch in the measuring cup you used to make a smooth slurry.

Drizzle the tapioca starch slurry into the bubbling almond milk mixture, and stir well. Bring the mixture to a boil over medium-high heat, reduce to a simmer, and let simmer for 30 seconds until the mixture thickens slightly. Remove from the heat.

Remove the vanilla bean and pour the mixture into the blender with the cashews and coconut oil. Blend on high for 3 minutes to homogenize. Then pour the mixture into a 1-gallon Ziploc bag and submerge the sealed bag in the ice bath. Let stand, adding more ice as necessary, until cold, about 30 minutes.

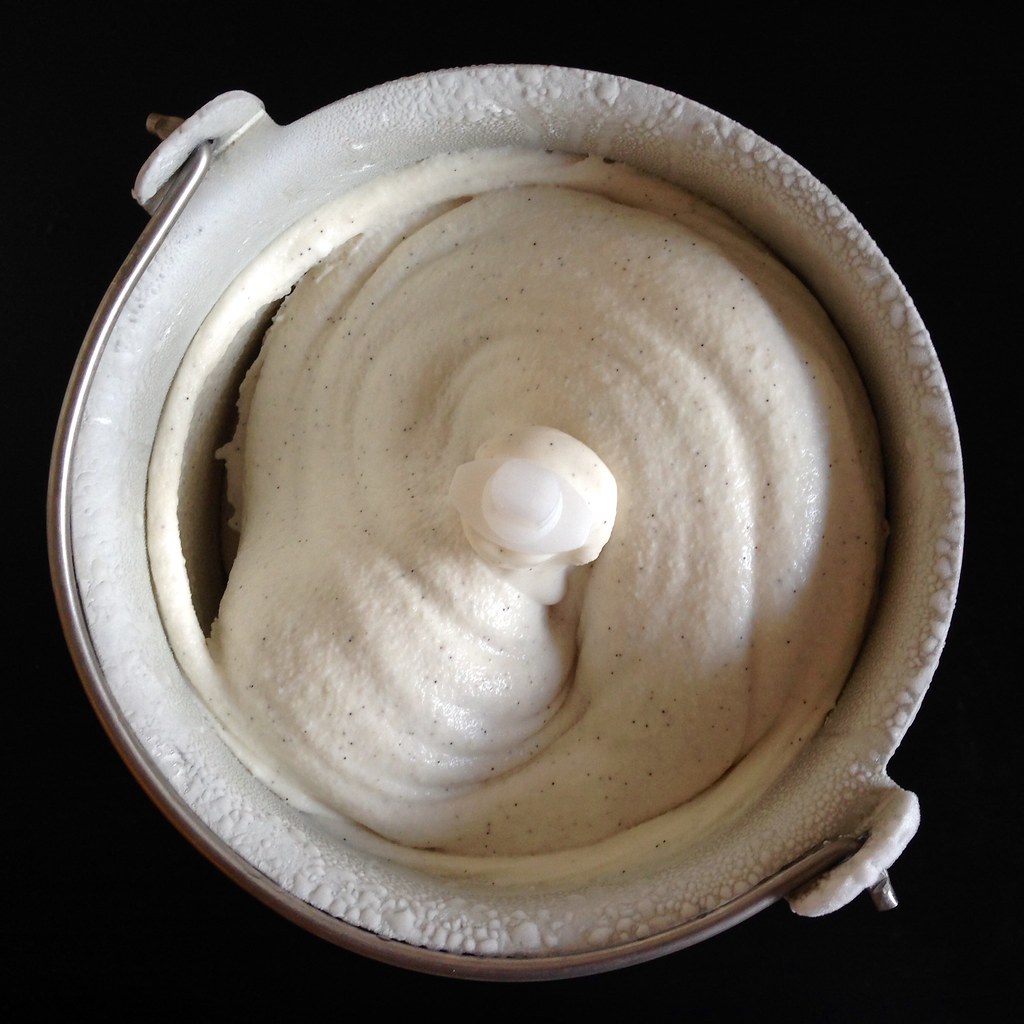
Remove the frozen canister from the freezer, assemble your ice cream machine, and turn it on. Pour the crème base into the canister and spin until thick and creamy. Pack the crème into a storage container. Press a sheet of parchment directly against the surface, and seal with an airtight lid. Freeze in the coldest part of your freezer until firm, at least 4 hours.

https://www.flickr.com/photos/joyosity/15872203882/

Next:  Pull-Apart Thanksgiving Leftover Stuffed Bread
Previously:  Cranberry-Port Gelée
Last Year:  Cheese Fondue Stuffed Roasted Pumpkin
Two Years Ago:  Ramen Cabbage Salad
Five Years Ago:  Apple-Pear-Cranberry Crisp

Thursday, October 16, 2014

Jeni's Salty Vanilla Frozen Custard

https://www.flickr.com/photos/joyosity/15146148990/

Most homemade ice cream recipes call for using egg yolks to reduce the iciness and increase the body of the ice cream since most consumer ice cream machines can't produce the same texture of commercially produced ice creams.  Then Jeni Britton Bauer came along with her genius eggless ice cream base that used cornstarch to thicken and cream cheese to provide the protein.  Since I don't usually like tasting eggs in the ice creams I make, I've been using her ice cream base for years with amazing results.

https://www.flickr.com/photos/joyosity/15332560542/

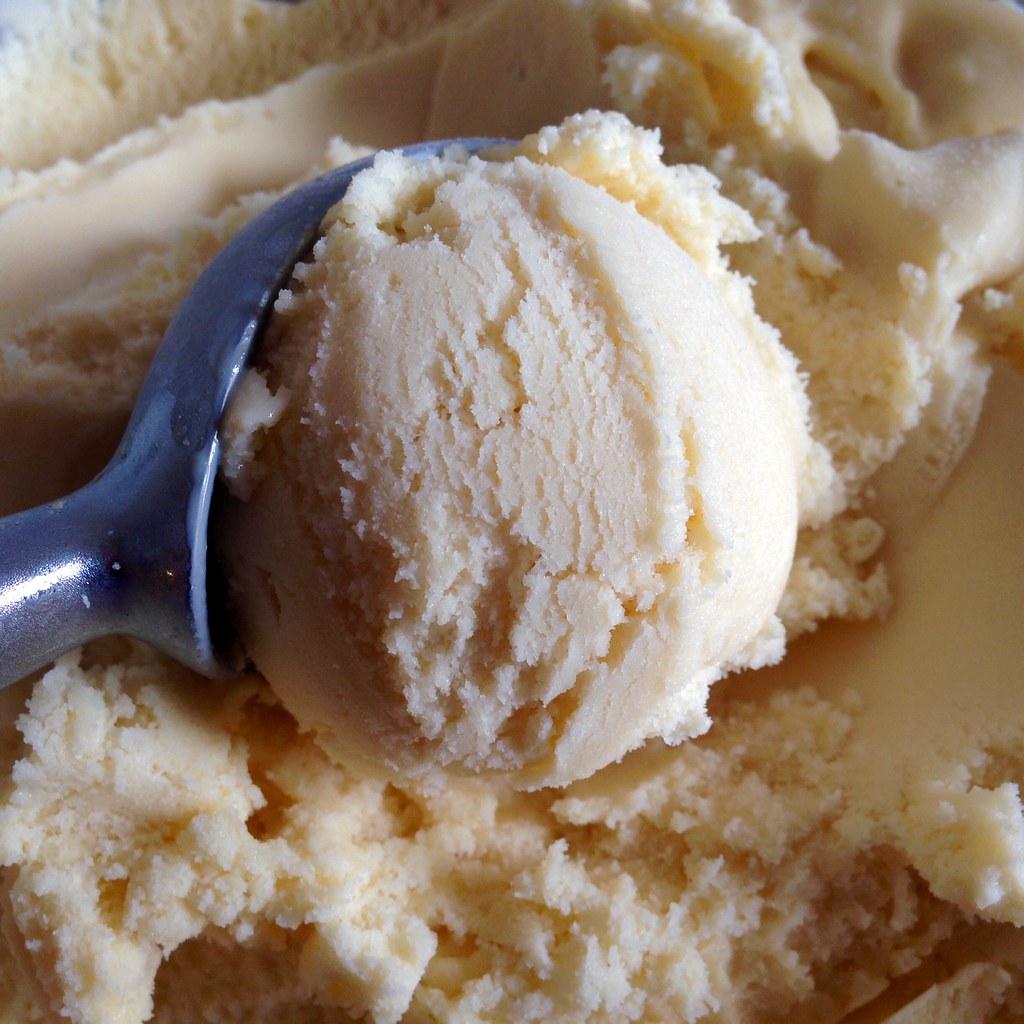
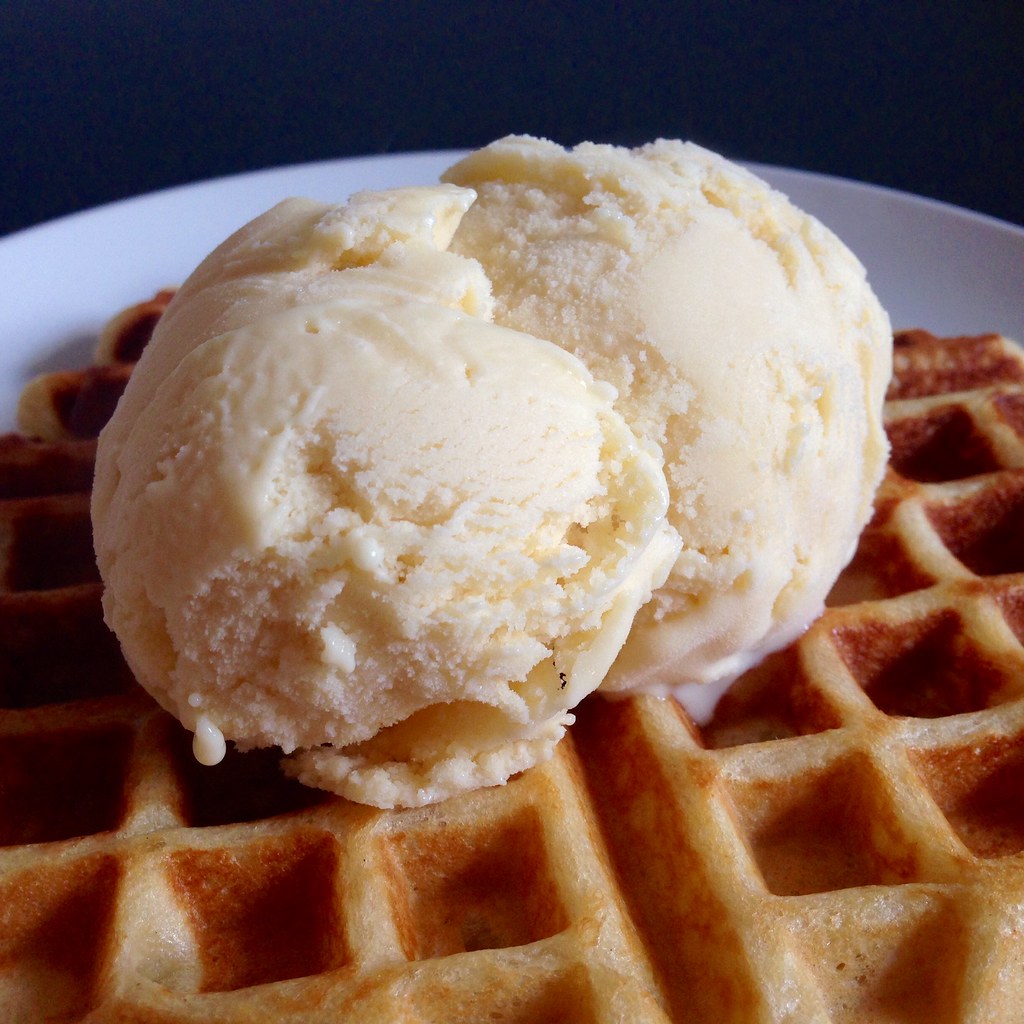
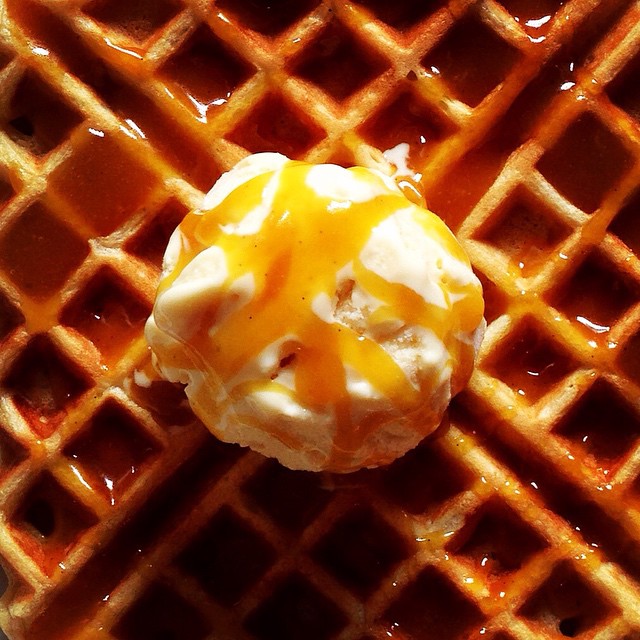
So when Jeni came out with a new book which included a recipe for a frozen custard, I knew I had to try it to see if I would like it as much as her other ice creams.  The answer, my friends, is a wholehearted yes!!!  This is basically the French vanilla ice cream of my dreams.  It's rich with vanilla flavor that's deepened with the addition of salt.  Instead of being an unwanted distraction, the egg yolks truly belong here. I couldn't stop eating this by the spoonful while it sat in the freezer to harden after churning.  While it's great by itself, it goes perfect with pies and waffles and anything else you can think of!  Do yourself a favor and try it on a waffle topped with mango passion caramel sauce.  You can thank me later.  ^_^

https://www.flickr.com/photos/joyosity/14928697694/

Jeni's Salty Vanilla Frozen Custard (from Jeni's Splendid Ice Cream Desserts)
makes about 1 quart

2 3/4 cups whole milk
6 large egg yolks
1 tablespoon plus 2 teaspoons cornstarch
2 tablespoons cream cheese, softened
3/4 teaspoon fine sea salt
3 teaspoons vanilla extract
1 cup heavy cream
3/4 cup sugar
2 tablespoons light corn syrup

Mix about 2 tablespoons of the milk, the egg yolks, and cornstarch in a small bowl and set aside. Whisk the cream cheese, salt, and vanilla in a medium bowl until smooth. Fill a large bowl with ice and water.

Combine the remaining milk, the cream, sugar, and corn syrup in a 4-quart saucepan, bring to a boil over medium-high heat, and boil for 4 minutes. Remove from the heat and gradually add about 2 cups of the hot milk mixture to the egg yolk mixture, one ladleful at a time, stirring well after each addition. Pour the mixture back into the saucepan and heat over medium heat, stirring constantly with a heatproof spatula, just until the mixture comes to a boil. Remove from the heat and strain through a sieve if necessary.

Gradually whisk the hot milk mixture into the cream cheese mixture until smooth. Pour the mixture into a 1-gallon Ziploc freezer bag and submerge the sealed bag in the ice bath. Let stand, adding more ice as necessary, until cold, about 30 minutes.

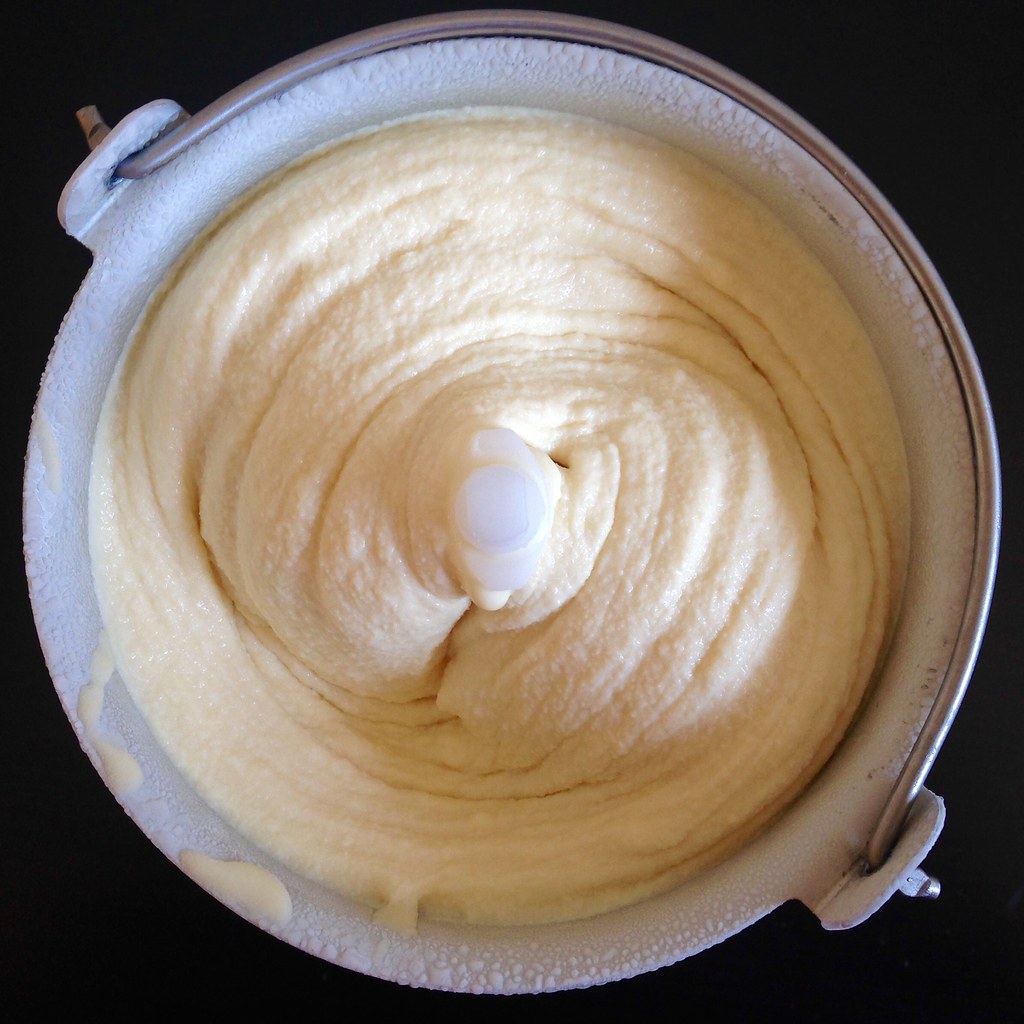
Remove the frozen canister from the freezer, assemble your ice cream machine, and turn it on. Pour the custard base into the canister and spin until thick and creamy.

Pack the custard into a storage container. Press a sheet of parchment directly against the surface and seal with an airtight lid. Freeze in the coldest part of your freezer until firm, at least 4 hours.

https://www.flickr.com/photos/joyosity/15332556612/

Next:  Elote-Style Cornbread Waffles
Previously:  Indonesian Avocado Milkshake
Last Year:  Pão de Queijo (Brazilian Cheese Bread)
Two Years Ago:  Magical Pumpkin Spice Latte

Monday, October 6, 2014

Concord Grape Sorbet

https://www.flickr.com/photos/joyosity/15265436048/

I mentioned in my last post that my main purpose on my most recent trip to Italy was to eat as much good gelato as I could.  I wasn't joking.  I think the first 9 pictures I shared from the trip were just pictures of all the gelato I was eating.

https://www.flickr.com/photos/joyosity/15192959088/

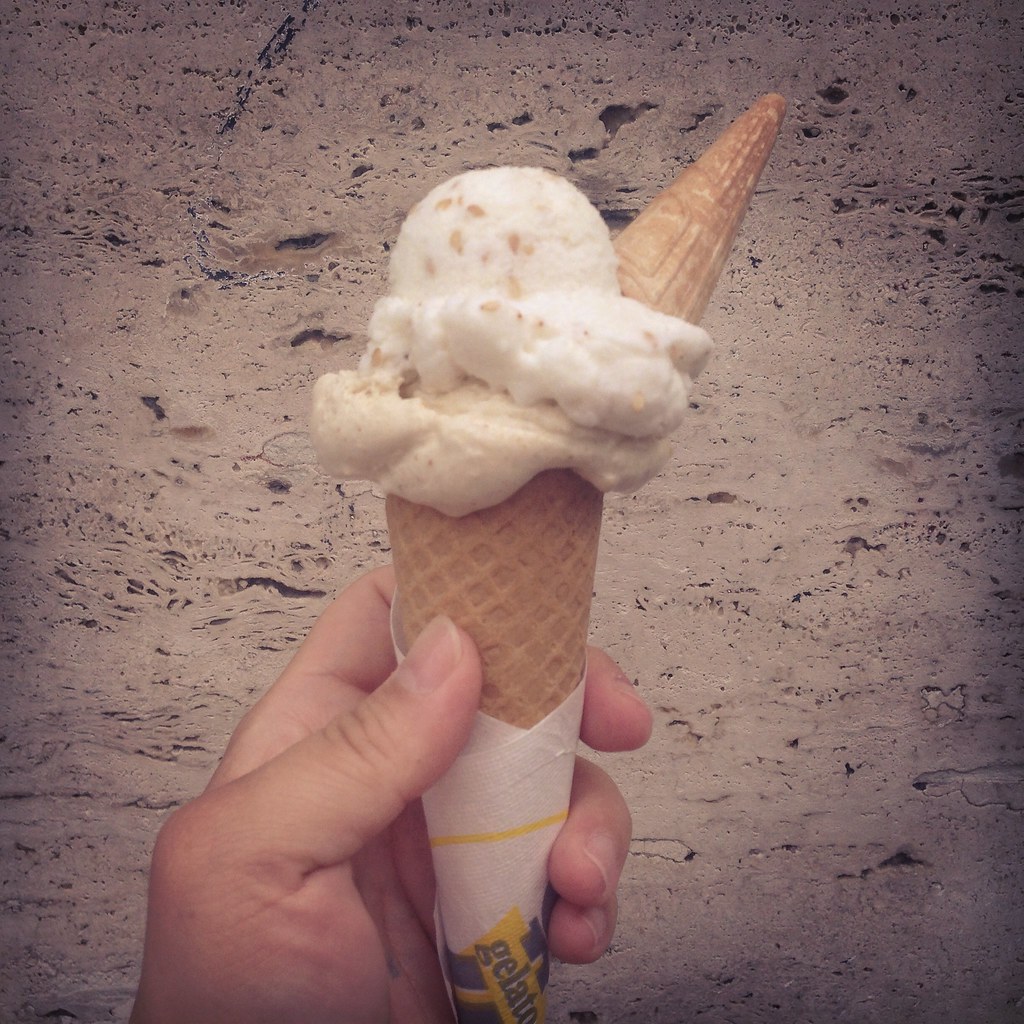
I started off in Rome with a rice, sesame, and chestnut honey gelato from Il Gelato di Claudio Torce.  I learned later from my cousin that the little cone on top is actually supposed to be used as an edible spoon.  So cute!

https://www.flickr.com/photos/joyosity/15192798699/

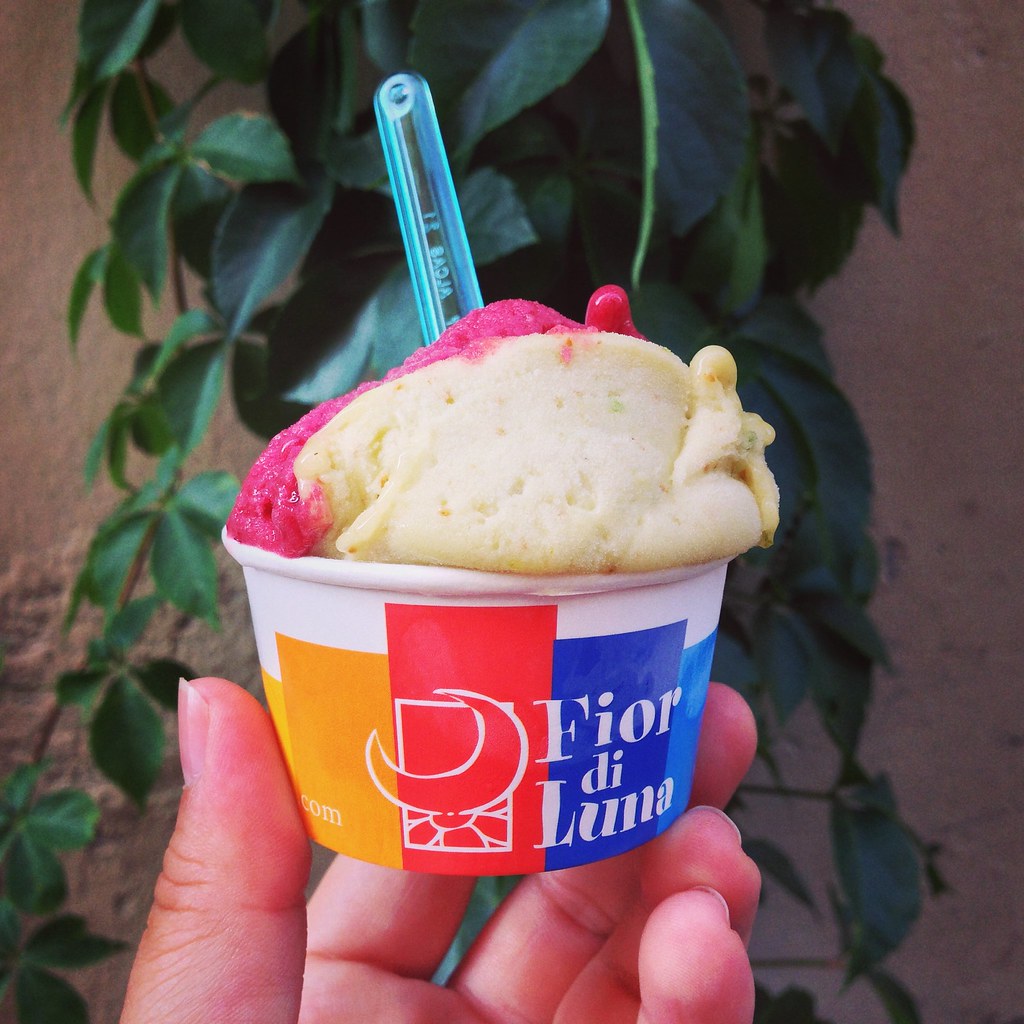
Next I wandered into the Trastavere neighborhood for a bit of Fior di Luna's Concord grape sorbetto and fig gelato.  The Concord grape flavor was perfect but overwhelmed the more subtle fig.

https://www.flickr.com/photos/joyosity/15379231242/

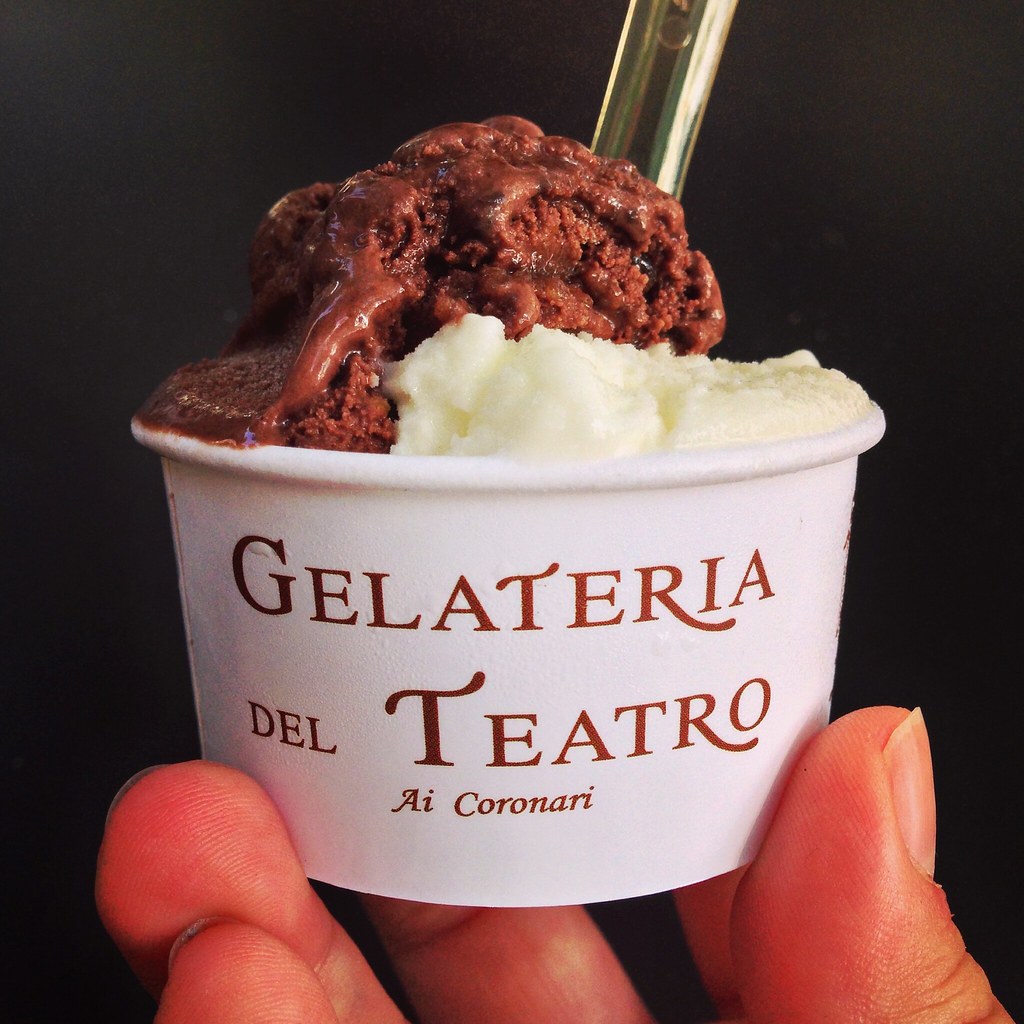
Lastly, I stopped by my all time favorite gelateria in Rome, Gelateria del Teatro for their chocolate orange and my favorite flavor, honey rosemary lemon

https://www.flickr.com/photos/joyosity/15175068178/

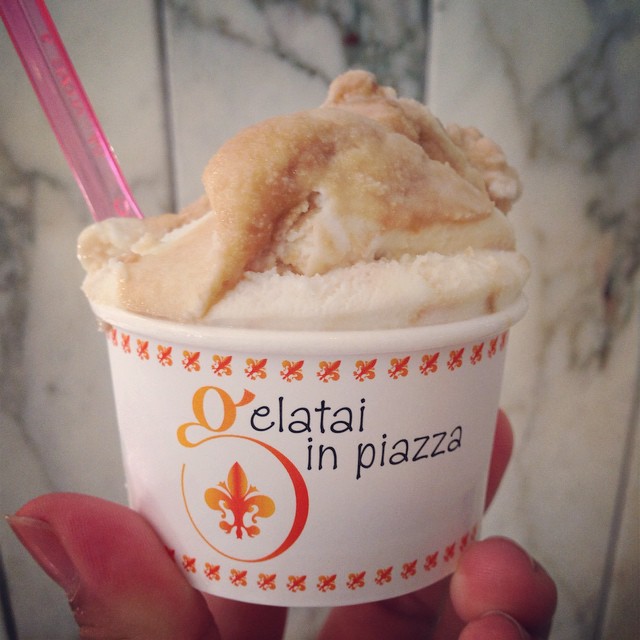
In Florence, I tried the panna cotta with caramel at Il Triangolo delle Bermuda (where I also had the ribollita).

https://www.flickr.com/photos/joyosity/15361354462/

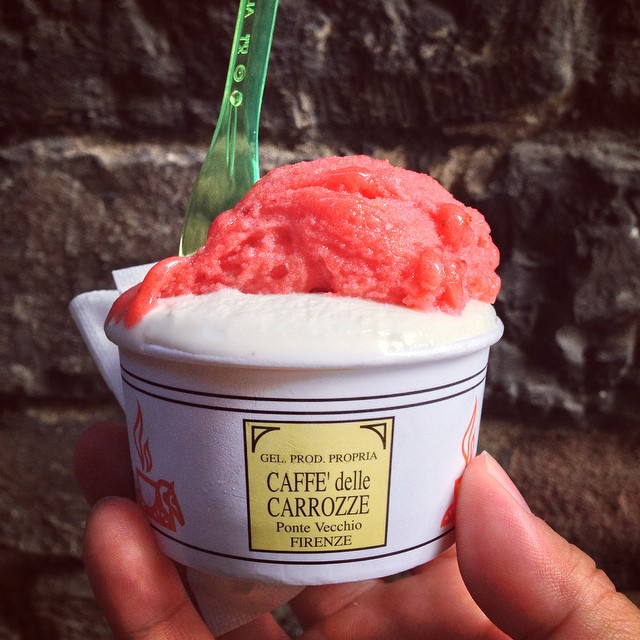
Right next to the Ponte Vecchio is Gelateria delle Carrozze, where I tried their strawberry and coconut gelato.  Both were very true to flavor.

https://www.flickr.com/photos/joyosity/15174908039/

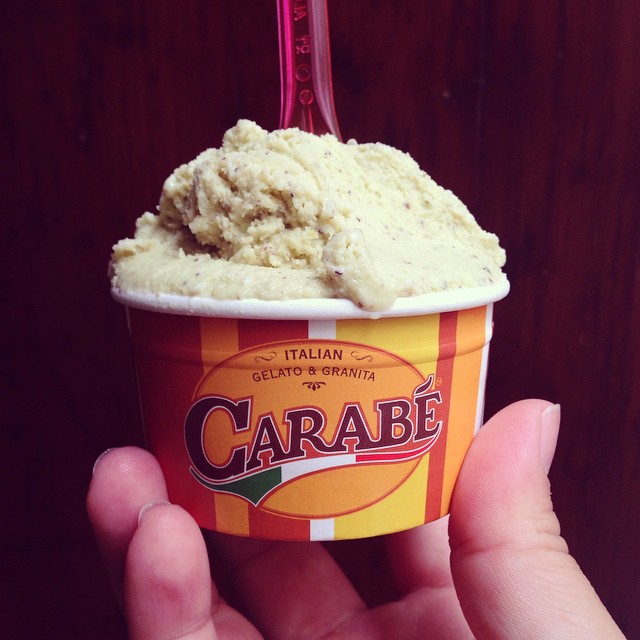
The next day we stopped by Carabé in between the Accademia and the Duomo for a scoop of pistachio.

https://www.flickr.com/photos/joyosity/15254129589/

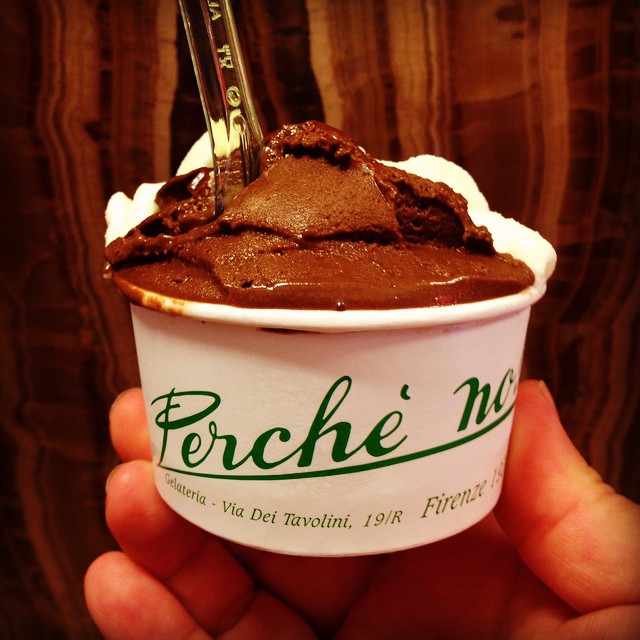
After lunch at Cantinetta dei Verrazzano, we went across the street to Perché No? (which means "why not?") for a chocolate sorbet and mint gelato.

https://www.flickr.com/photos/joyosity/15174977500/

The last gelato of the day was an amaretto from Carapina, which ended up being my favorite in Florence because of the texture.  I love that real Italian gelato is kept at a temperature just above freezing so it's always soft and easy to scoop. 

https://www.flickr.com/photos/joyosity/15358490871/

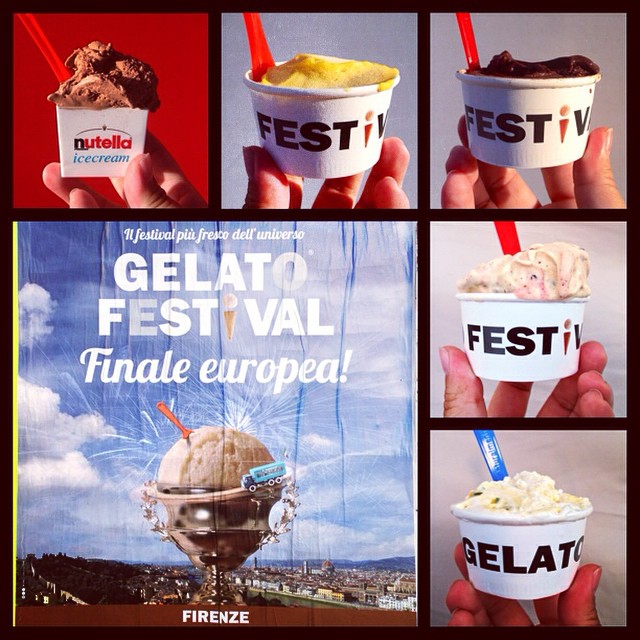
Coincidentally, we just happened to be in Florence the same time as the gelato festival!  After having 5 gelatos for dinner the following day, I was officially done with gelato for a while.  (I didn't have my next scoop until several days later after a 2 hour hike between Monterosso and Vernazza in Cinque Terre!)

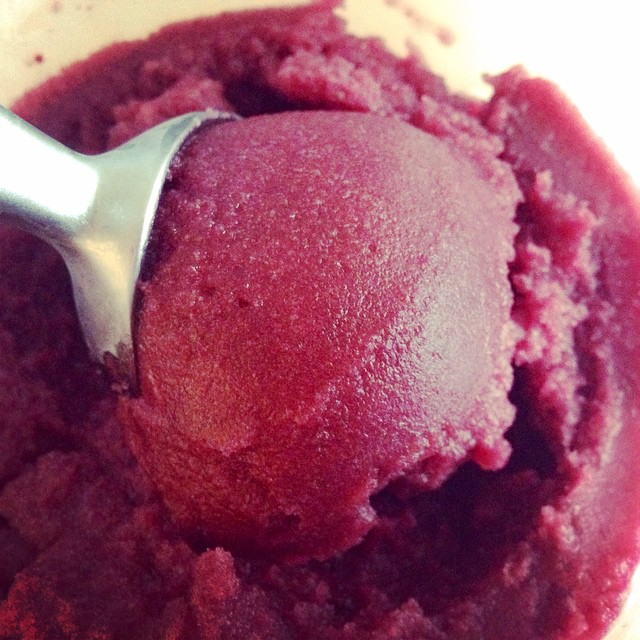
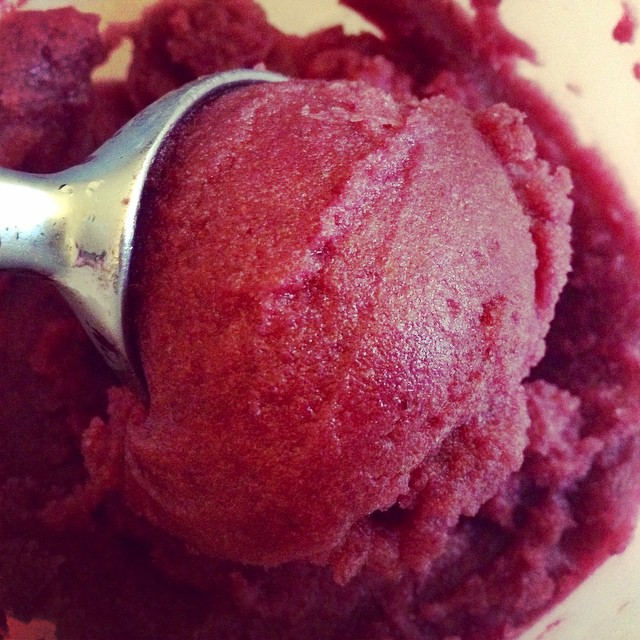
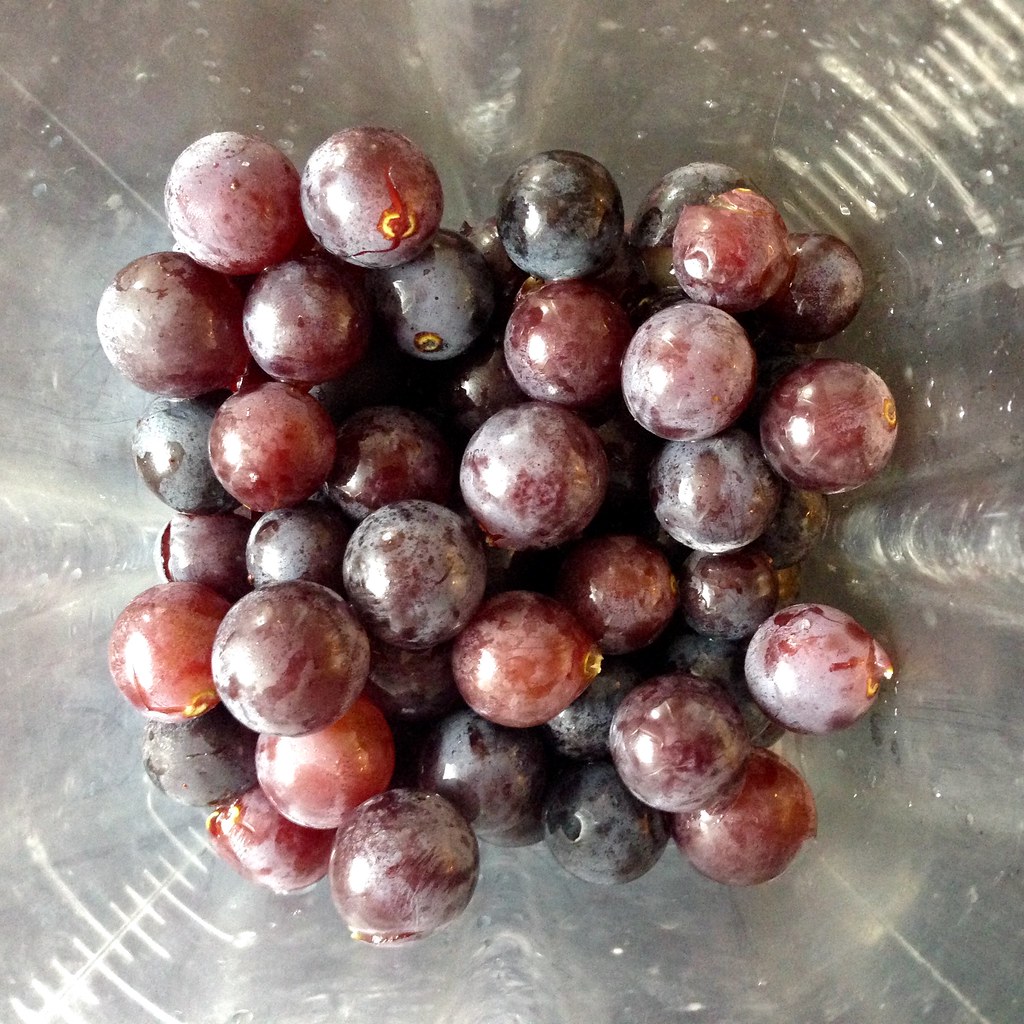
Out of all these, the flavor that impressed me the most was the Concord grape sorbetto from Fior di Luna.  I remember trying the Concord grape flavor from San Crispino the year before and not being very impressed, but this time it was the complete opposite.  The sorbet totally captured the full burst of flavor you get when biting into a Concord grape without all the hassle of having to spit out the seeds and skin afterward.  Luckily, Concord grape season is upon us, so I was able to get a couple of quarts from the supermarket to try to recreate the sorbet.

I basically followed the recipe from Gourmet, but instead of adding the full amount of sugar, I started with 1/4 cup, which ended up being enough for me.  Depending on how much purée you end up with and how sweet your grapes are, you'll want to adjust the amount of sugar; it should taste just a little too sweet at room temperature since once it's frozen it'll taste less sweet.  To add a little depth to the sorbet I added a pinch of salt and a tablespoon of red wine, which also helps keep the sorbet from getting too icy.

https://www.flickr.com/photos/joyosity/15448886841/

Concord Grape Sorbet (adapted from Gourmet)
makes about 3 cups

2 quarts Concord grapes, destemmed
1/4 cup sugar, plus more, to taste
1 pinch salt
1 tablespoon red wine

https://www.flickr.com/photos/joyosity/15255635710/

Purée half of grapes in a blender until smooth, then force through a fine-mesh sieve into a bowl, discarding solids.  (If you have a very powerful blender like a Vitamix, you probably don't want to blend on high since you want the seeds to stay whole.)

https://www.flickr.com/photos/joyosity/15255565509/

Repeat with remaining grapes to yield 3 cups purée. (I ended up with a little more than 2 cups.)  Whisk in sugar, salt, and red wine.  Taste and add more sugar if necessary, just until the mixture is a little too sweet at room temperature.  Chill until very cold, 3 to 6 hours.

https://www.flickr.com/photos/joyosity/15439151721/

Freeze in ice cream maker, then transfer to an airtight container and put in freezer to firm up, at least 2 hours.

https://www.flickr.com/photos/joyosity/15265309279/

You can also pour the frozen churned sorbet into popsicle molds to make really awesome Concord grape popsicles!

Next:  Indonesian Avocado Milkshake
Previously:  Ribollita (Tuscan Bread Soup)
Last Year:  Apple Cider Donuts
Two Years Ago:  Magical Cold Brew Coffee

Tuesday, August 12, 2014

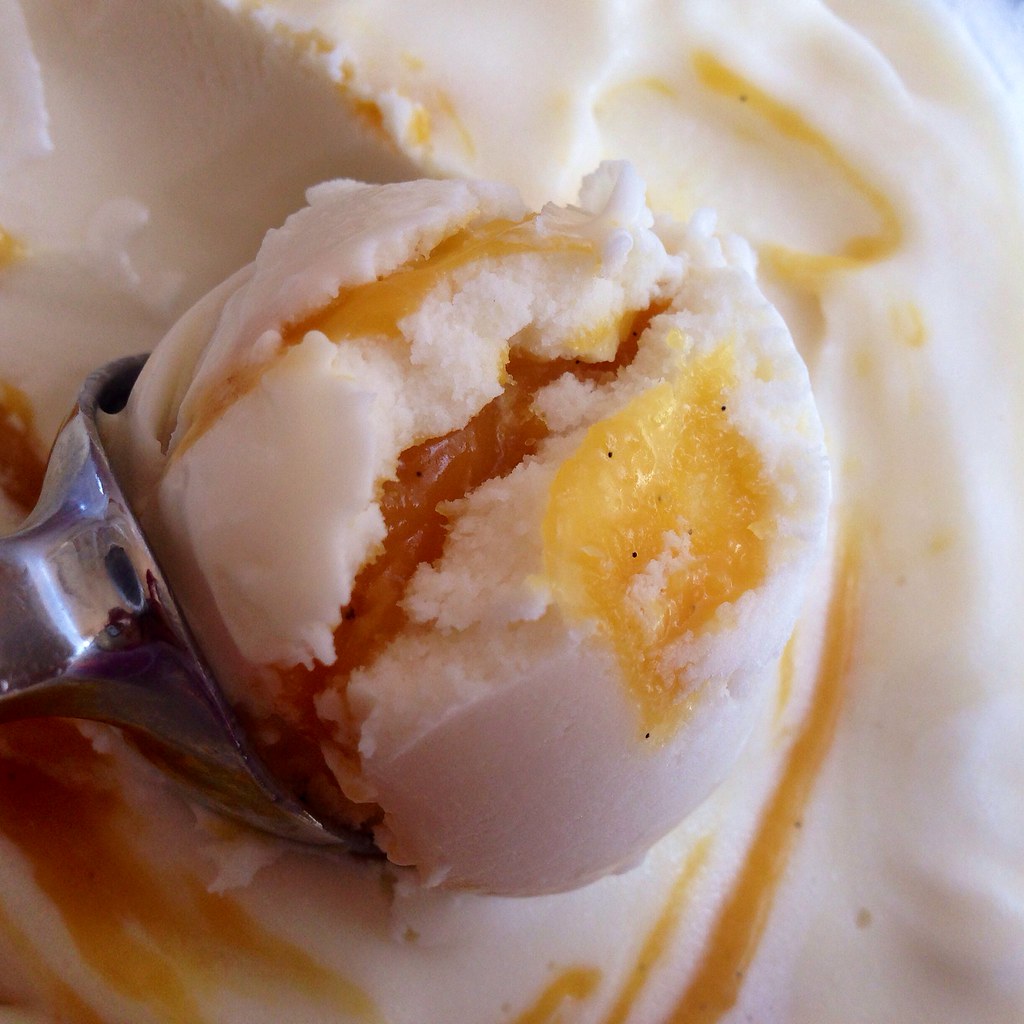
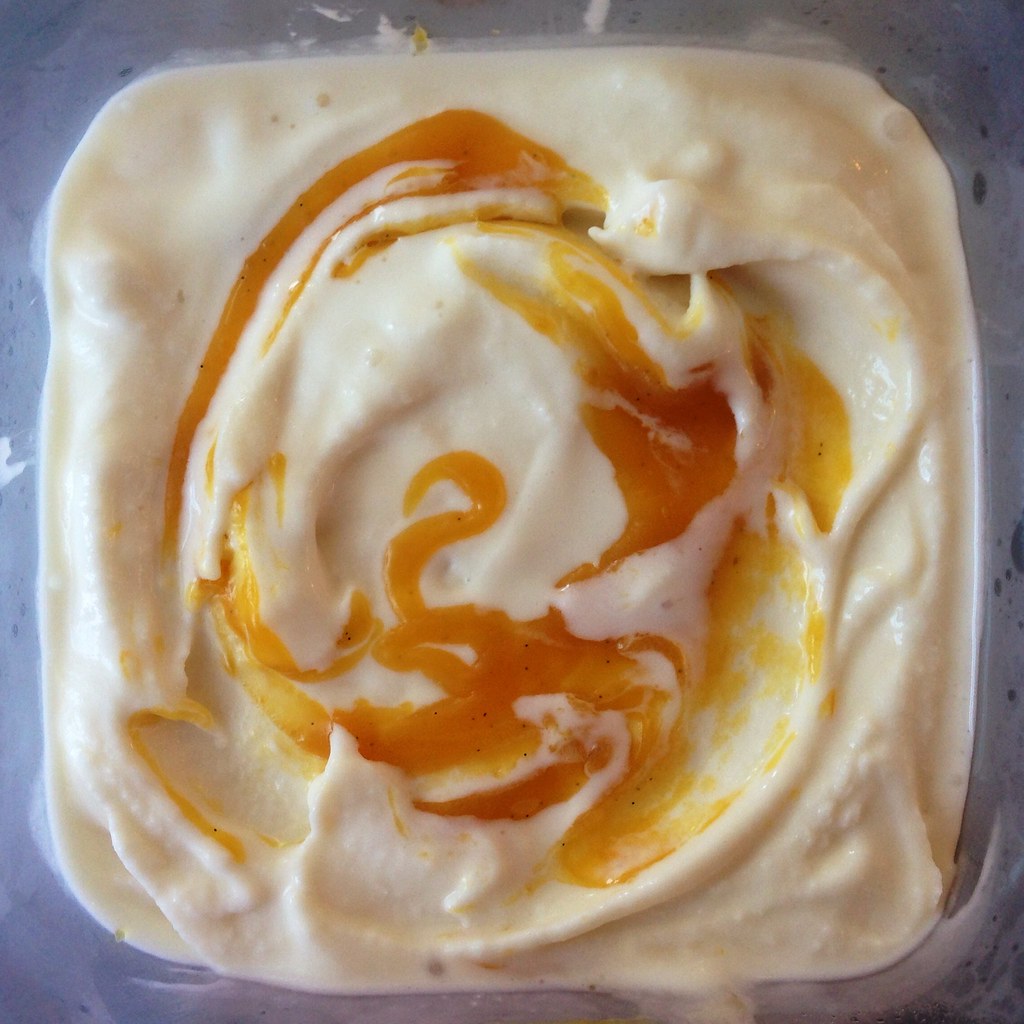
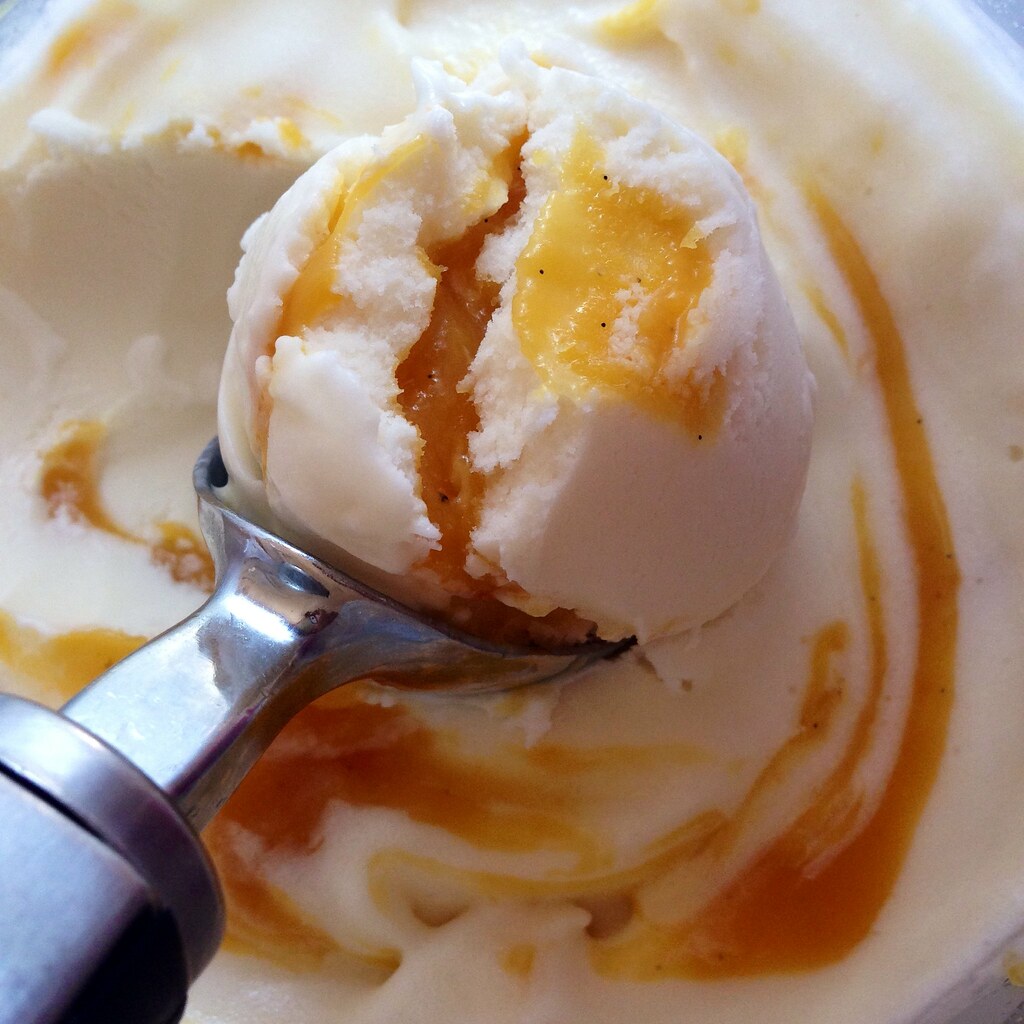
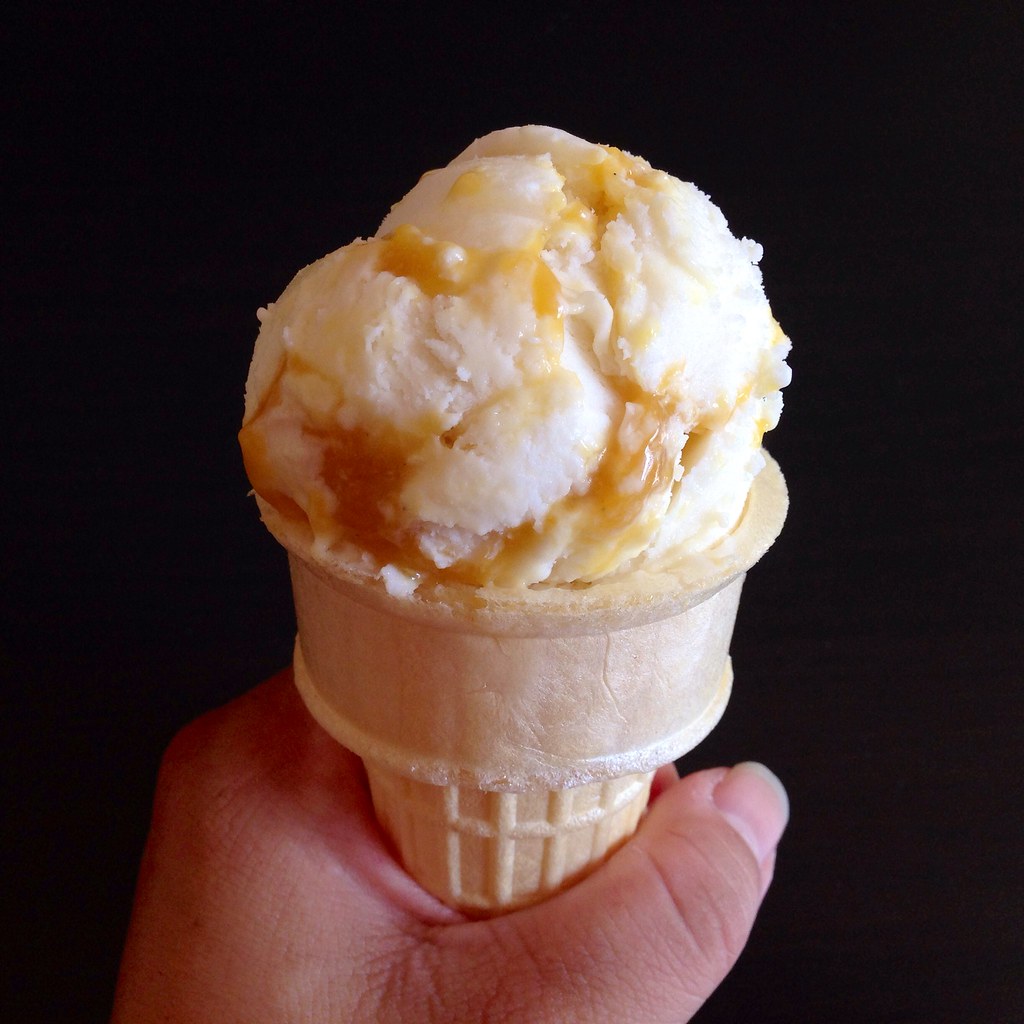
Coconut Ice Cream with Mango Passion Caramel Swirl

https://www.flickr.com/photos/joyosity/14878833631/

When I messed up my first batch of mango passion caramels by making something more akin to caramel sauce, I knew I didn't want to waste it so I poured it into a jar and left it in my fridge until I could figure out what to do with it.  Since it didn't turn hard when frozen, it seemed ideal to swirl into an ice cream...a white ice cream would be good to showcase the color...what would go well with mango and passion fruit...coconut ice cream!

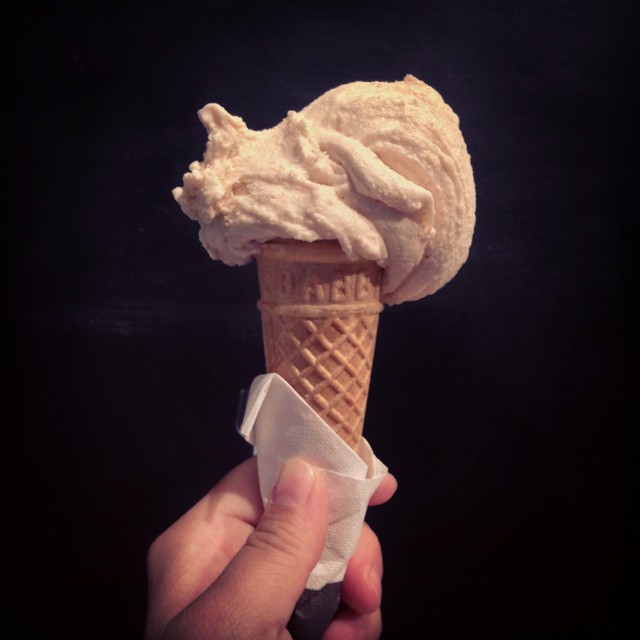
I've made a few coconut ice creams before, but this time I wanted to try making one using Jeni's ice cream base as a template.  Her Bangkok Peanut ice cream used some coconut milk, but I decided to amp up the coconut flavor by using a whole can of coconut milk and cutting back on the whole milk and heavy cream.  The result is unbelievably creamy and a perfect balance for the tart mango passion caramel swirl.  Eating this ice cream is like a free trip to a tropical island!

https://www.flickr.com/photos/joyosity/14879431644/

Coconut Ice Cream with Mango Passion Caramel Swirl
makes about 1 quart

3/4 cup whole milk
1 tablespoon plus 1 teaspoon cornstarch
3 tablespoons cream cheese, softened
1/8 teaspoon kosher salt
13.5 oz. can coconut milk (not light)
1/2 cup heavy cream
2/3 cup sugar
2 tablespoons light corn syrup
Mango Passion Caramel Sauce*

Mix about 2 tablespoons of the milk with the cornstarch in a small bowl to make a smooth slurry.  Whisk the cream cheese and salt in a medium bowl until smooth.

Combine the remaining milk, the coconut milk, cream, sugar, and corn syrup in a 4-quart saucepan.  Bring to a rolling boil over medium-high heat and boil for 4 minutes.  Remove from heat and gradually whisk in the cornstarch slurry.

Return the mixture to a boil over medium-high heat and cook, stirring until the mixture is slightly thickened, about 1 minute.  Remove from heat.

https://www.flickr.com/photos/joyosity/14858890626/

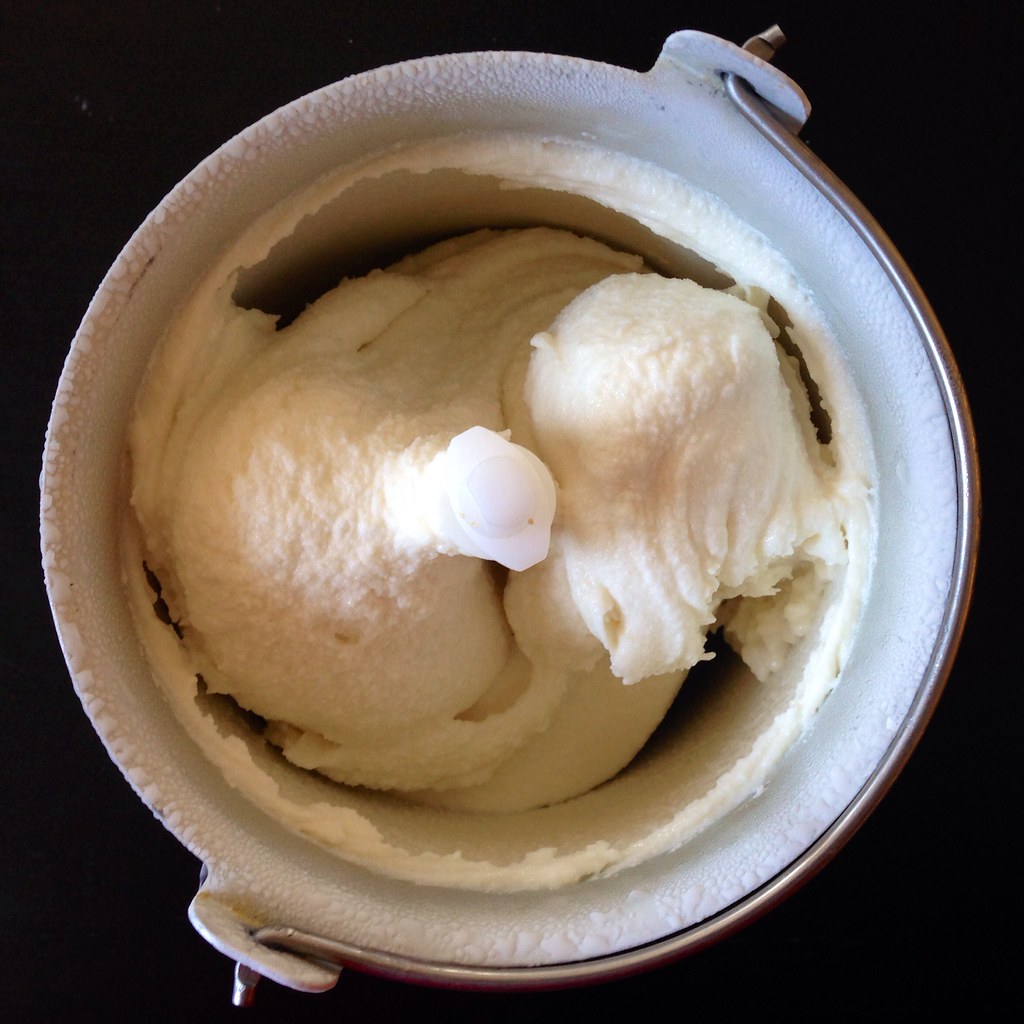
Gradually whisk the hot milk mixture into the cream cheese until smooth.  Chill the mixture thoroughly.  Churn according to your ice cream maker's instructions.

https://www.flickr.com/photos/joyosity/14878830341/

https://www.flickr.com/photos/joyosity/14858889336/

https://www.flickr.com/photos/joyosity/14881533582/

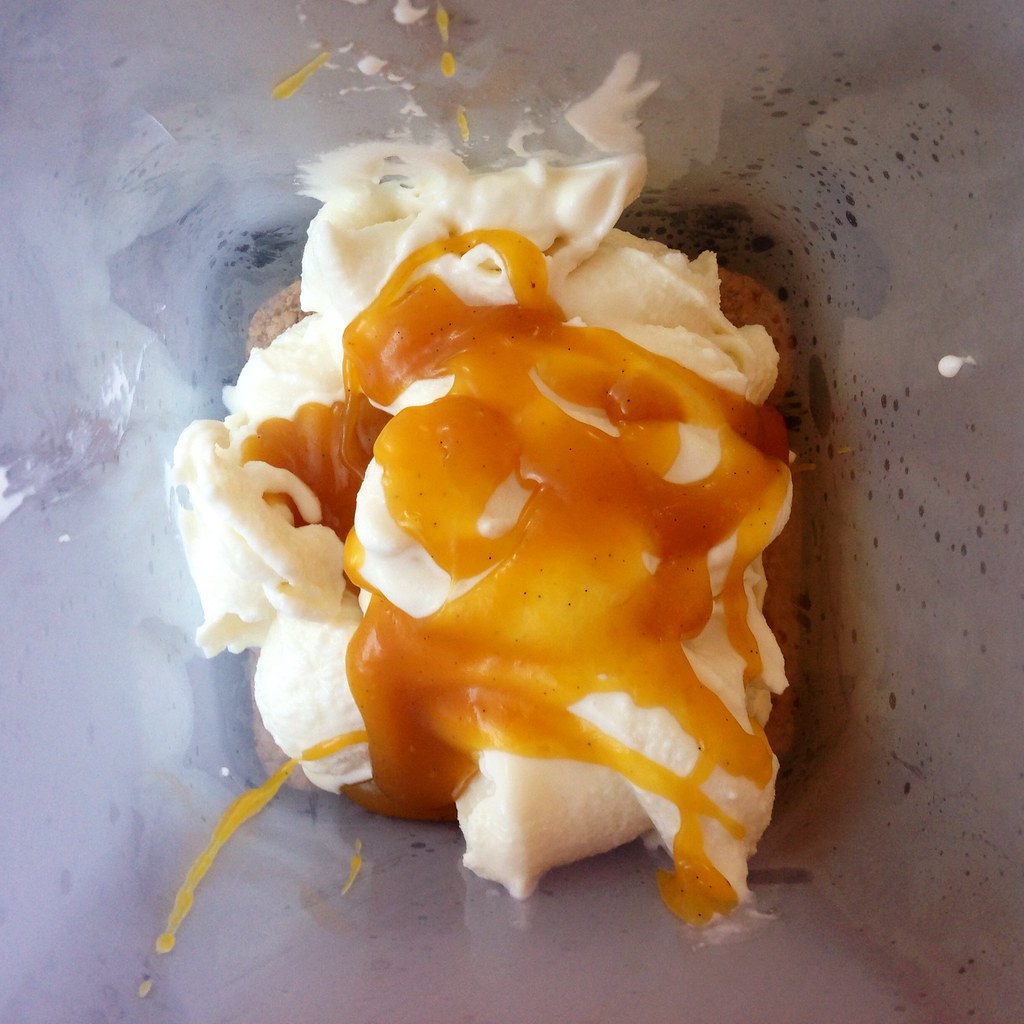
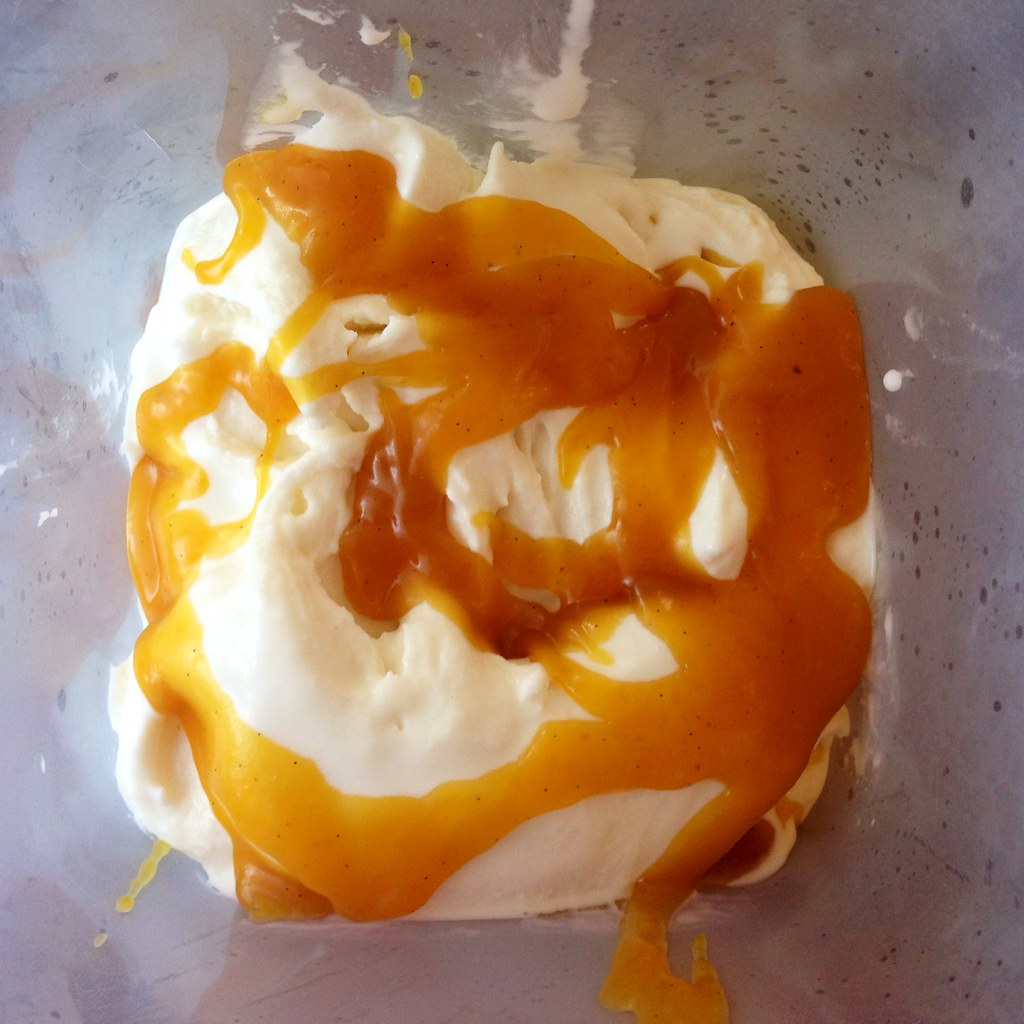
Pack the ice cream into a storage container, alternating it with layers of the mango passion caramel sauce and ending with a spoonful of sauce; do not mix.  Freeze until hard, at least 4 hours.
https://www.flickr.com/photos/joyosity/14695268018/

*Make the mango passion caramel sauce by following the directions for making mango passion caramels, double the amount of corn syrup, and only heat the caramel to 230°F.  Allow the caramel sauce to cool to room temperature before using.  The recipe will make more than you need for this ice cream recipe; you can use the rest for topping pancakes, pouring over other ice creams, etc.
https://www.flickr.com/photos/joyosity/14858894066/

Next:  Citrus Cured Salmon
Previously:  Sea Salt Cold Cream Coffee
Last Year:  Almond Pesto Pizza