Showing posts with label cookies. Show all posts

Wednesday, June 18, 2014

Speculoos (Cookie Butter) Ice Cream and Mini Stroopwafel Ice Cream Sandwiches

https://www.flickr.com/photos/joyosity/14245385560/

The Dutch have definitely got the monopoly on fun food names.  Stroopwafels?  Speculoos?  The only thing better than saying these things is eating them.  You might know speculoos better as the cookie that goes into Trader Joe's Cookie Butter or the Biscoff cookies you get on Delta flights.  They're kind of like gingerbread cookies but less spicy and more caramelized.

I was introduced to stroopwafels back when I worked at a company that had their European headquarters in the Netherlands.  It was pretty much required for all colleagues visiting our office in the U.S. to bring stroopwafels as a gift since we loved them so much.  They're basically two thin, crispy waffles sandwiching a layer of delicious caramel.  You're supposed to put them on top of a mug of hot coffee or tea so that the steam melts the caramel before you eat it.

https://www.flickr.com/photos/joyosity/14421770572/

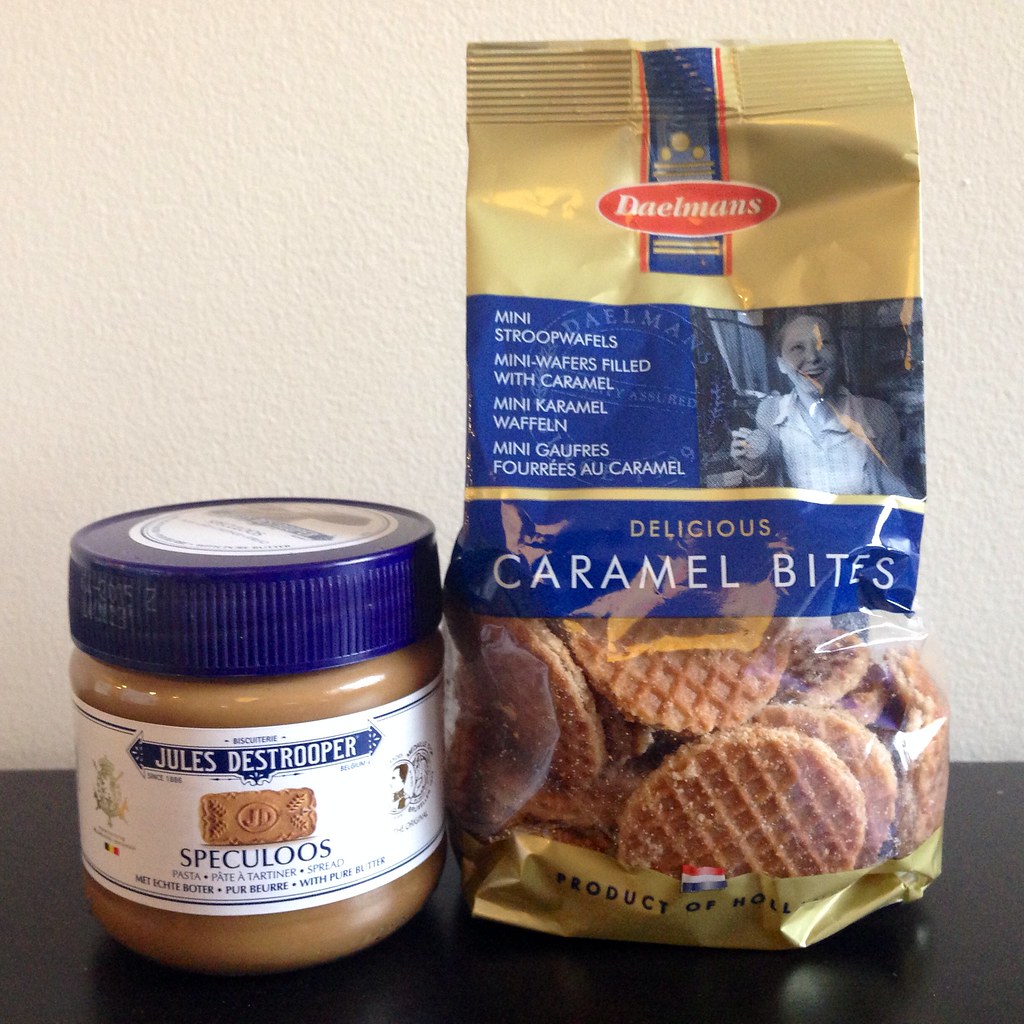
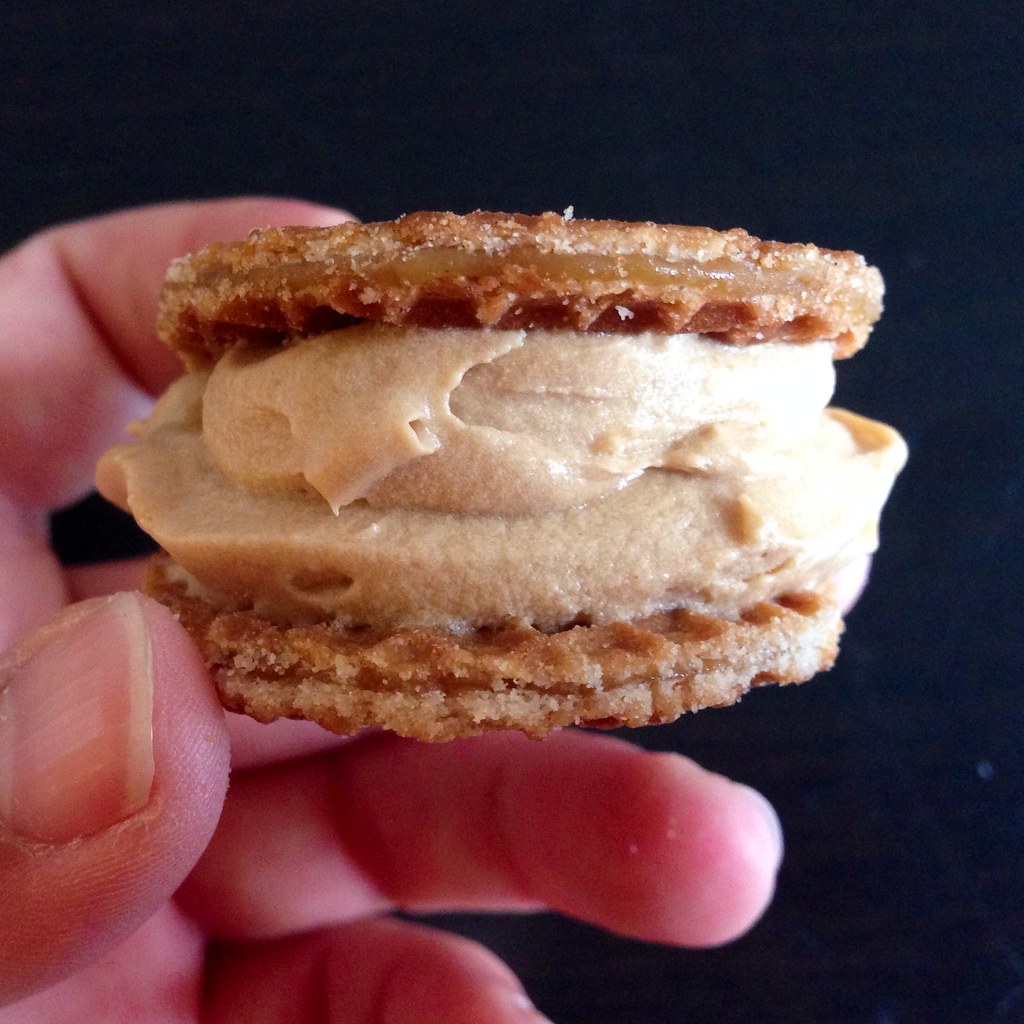
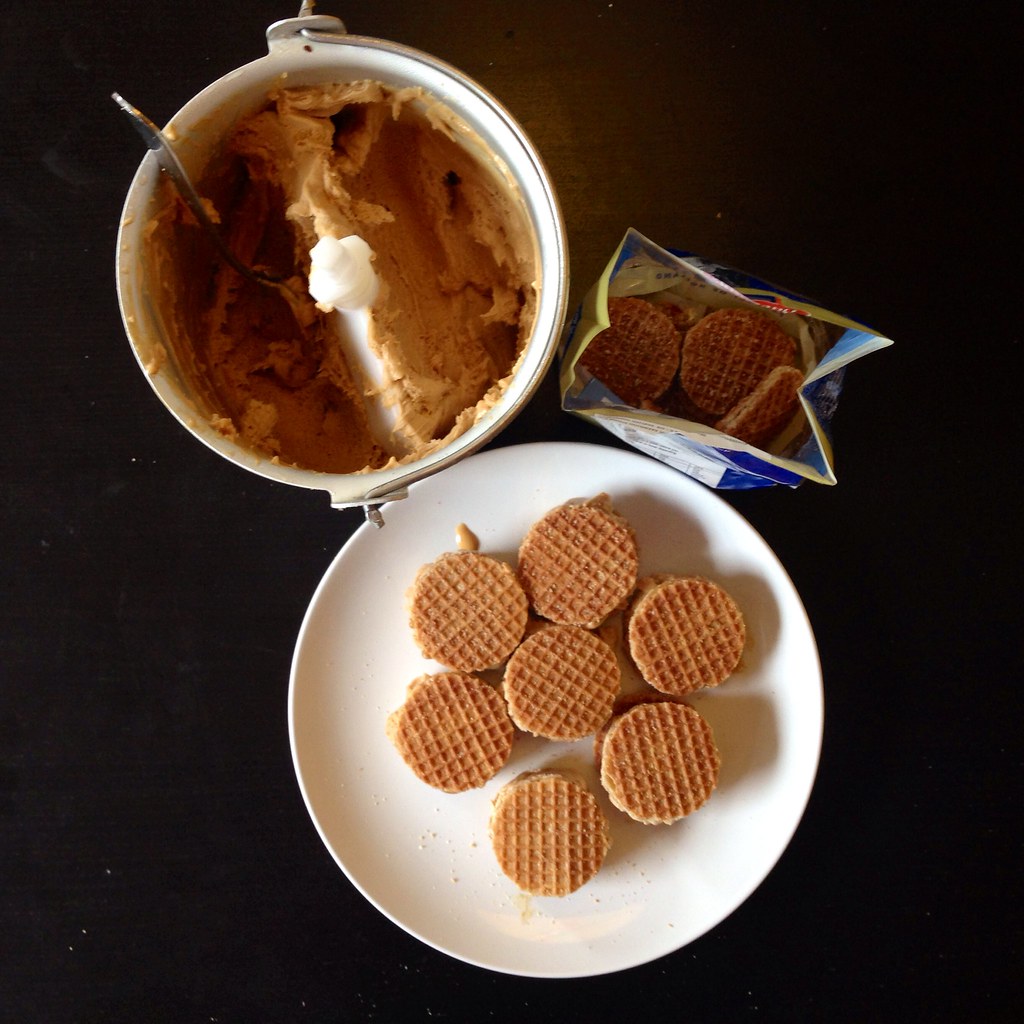
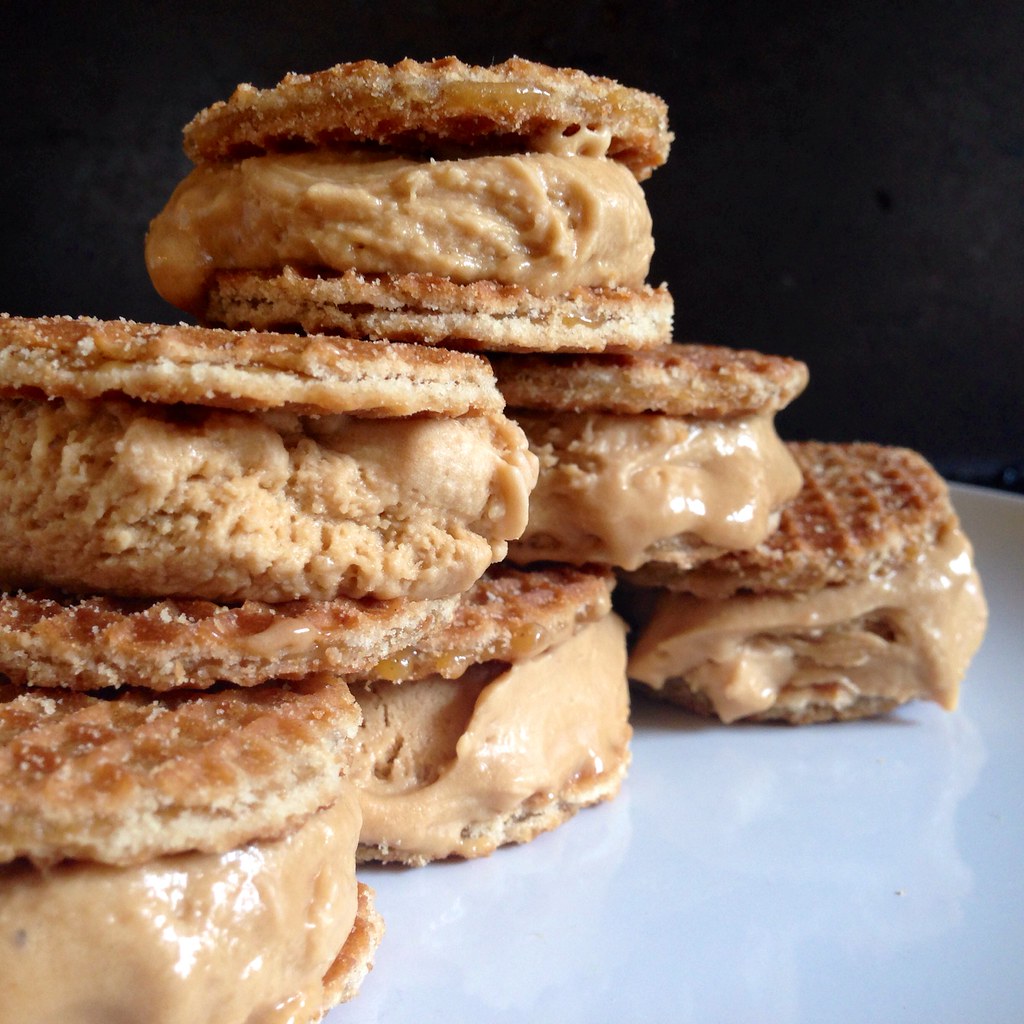
When my cousin brought me a jar of real speculoos spread as a souvenir from her trip to Europe, I decided to try and make an ice cream out of it.  Then I thought about making it into an ice cream sandwich with a pair of stroopwafels.  And because I have this obsession with making mini versions of everything, I decided to use the mini stroopwafels from Trader Joe's.

https://www.flickr.com/photos/joyosity/14421772082/

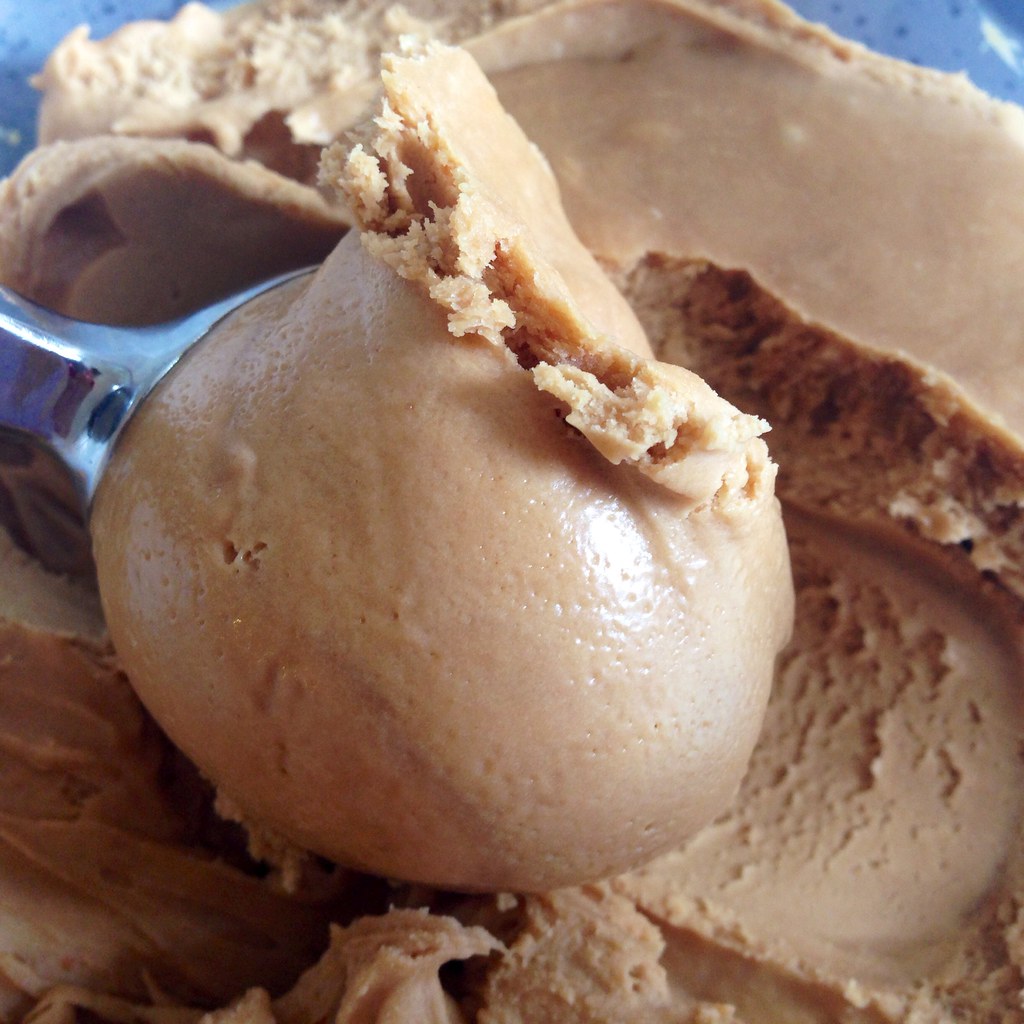
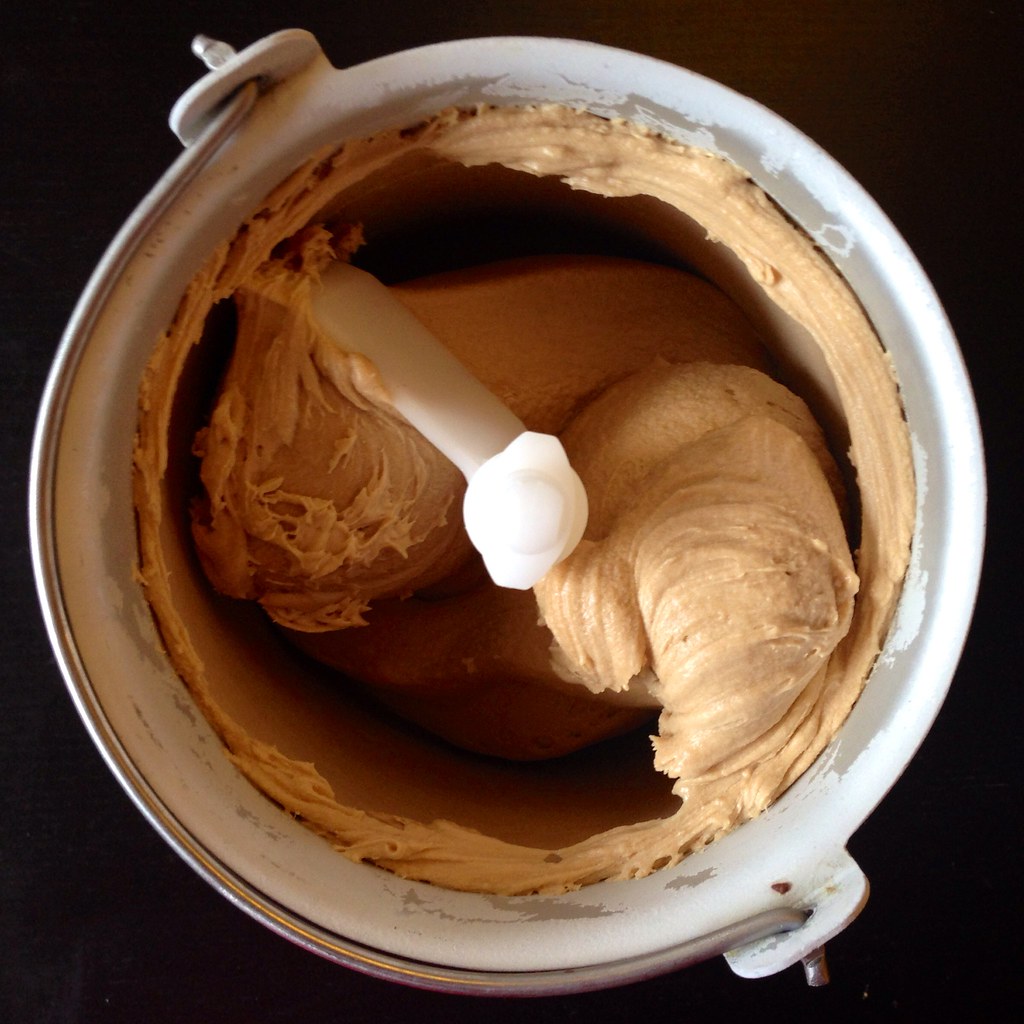
For the speculoos ice cream, I decided to try following the two ingredient recipe I used in the past for Nutella ice cream, substituting the speculoos spread for the Nutella.  The resulting ice cream is amazingly velvety and unctuous, pretty much like cookie butter itself.

https://www.flickr.com/photos/joyosity/14423057035/

Speculoos (Cookie Butter) Ice Cream
makes about 3/4 quart

1 1/4 cup speculoos spread (cookie butter)
One 12 oz. can (1 1/2 cups) evaporated milk

https://www.flickr.com/photos/joyosity/14443238963/

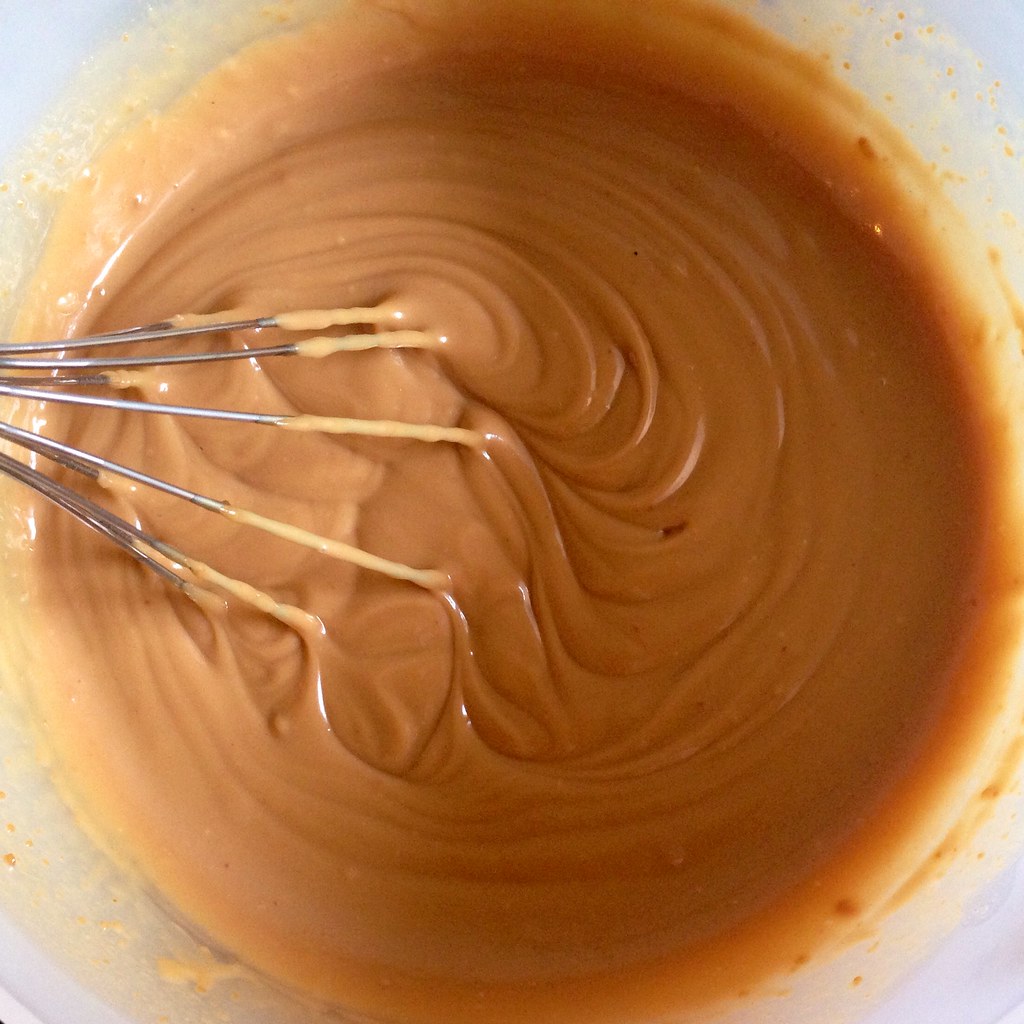
Whisk together the speculoos spread and the evaporated milk until fully combined.  There will be small lumps of cookie bits, and that's okay.  Chill completely in the refrigerator.

https://www.flickr.com/photos/joyosity/14236459990/

Churn in the ice cream maker according to the manufacturer's directions.  Transfer to an air-tight container and freeze in the freezer until hard.

https://www.flickr.com/photos/joyosity/14236413979/

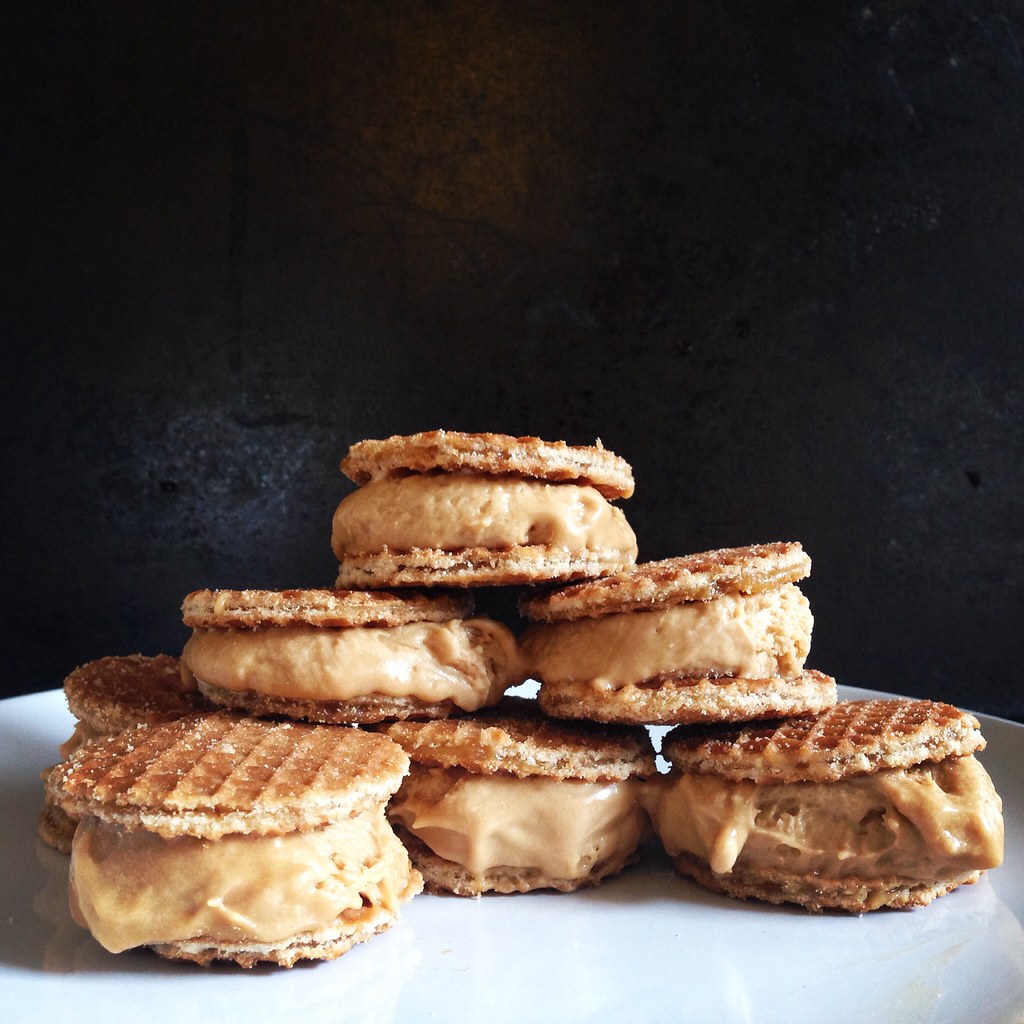
For the ice cream sandwiches, I experimented with freezing the stroopwafels vs. warming the stroopwafels in the microwave first.  Surprisingly, the warmed stroopwafels worked better for the ice cream sandwiches because the cookies were soft enough to bite through without smooshing the ice cream out the other side.  Of course, the warmed stroopwafels cause the ice cream to melt more quickly, but because these are mini ice cream sandwiches, it's pretty easy to finish them in just a couple of bites.

https://www.flickr.com/photos/joyosity/14245385560/

Next:  Tofu and Shiitake Potstickers
Previously:  Orange and Fennel Salt-Baked Salmon
Last Year:  Mango Coconut Rice Pudding Pops and Ice Cream

Tuesday, May 13, 2014

Serendipitous Chocolate Chip Cookies

https://www.flickr.com/photos/joyosity/9185424347/in/photostream/

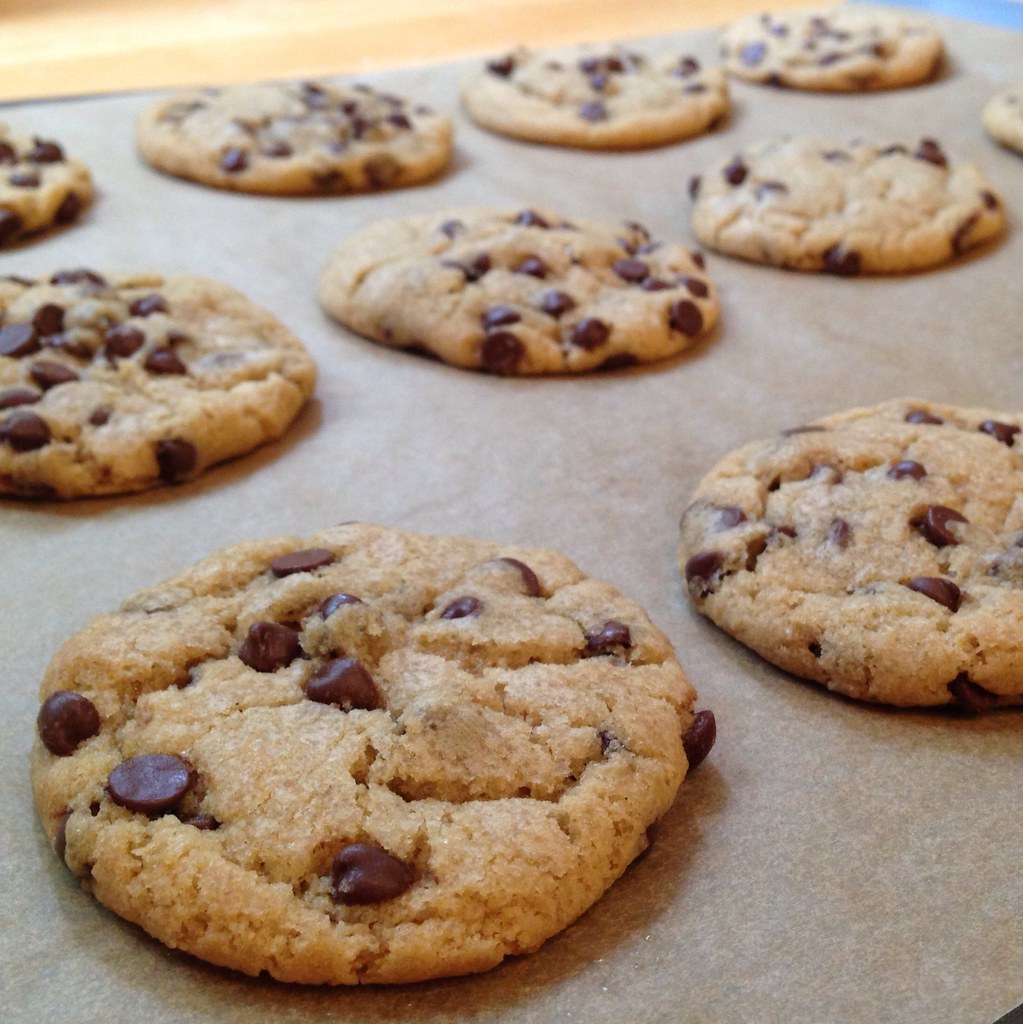
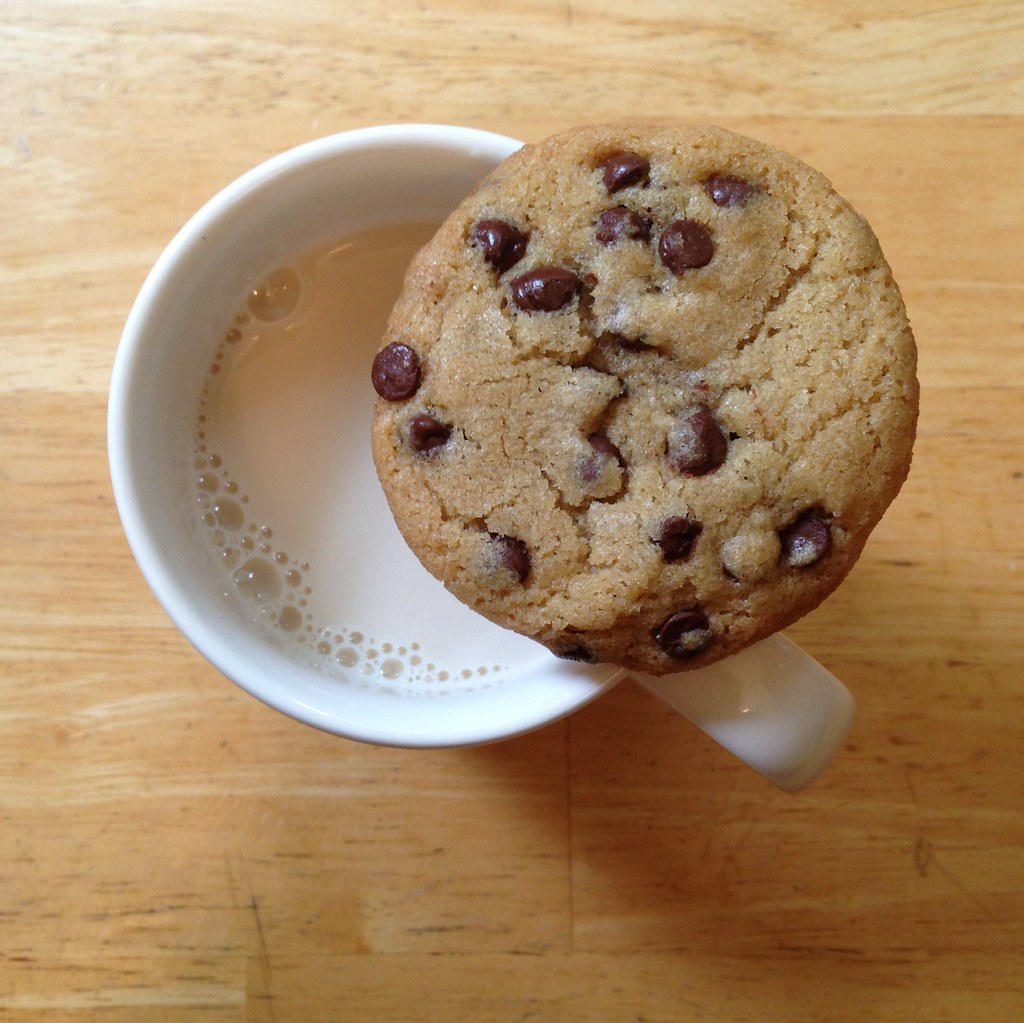
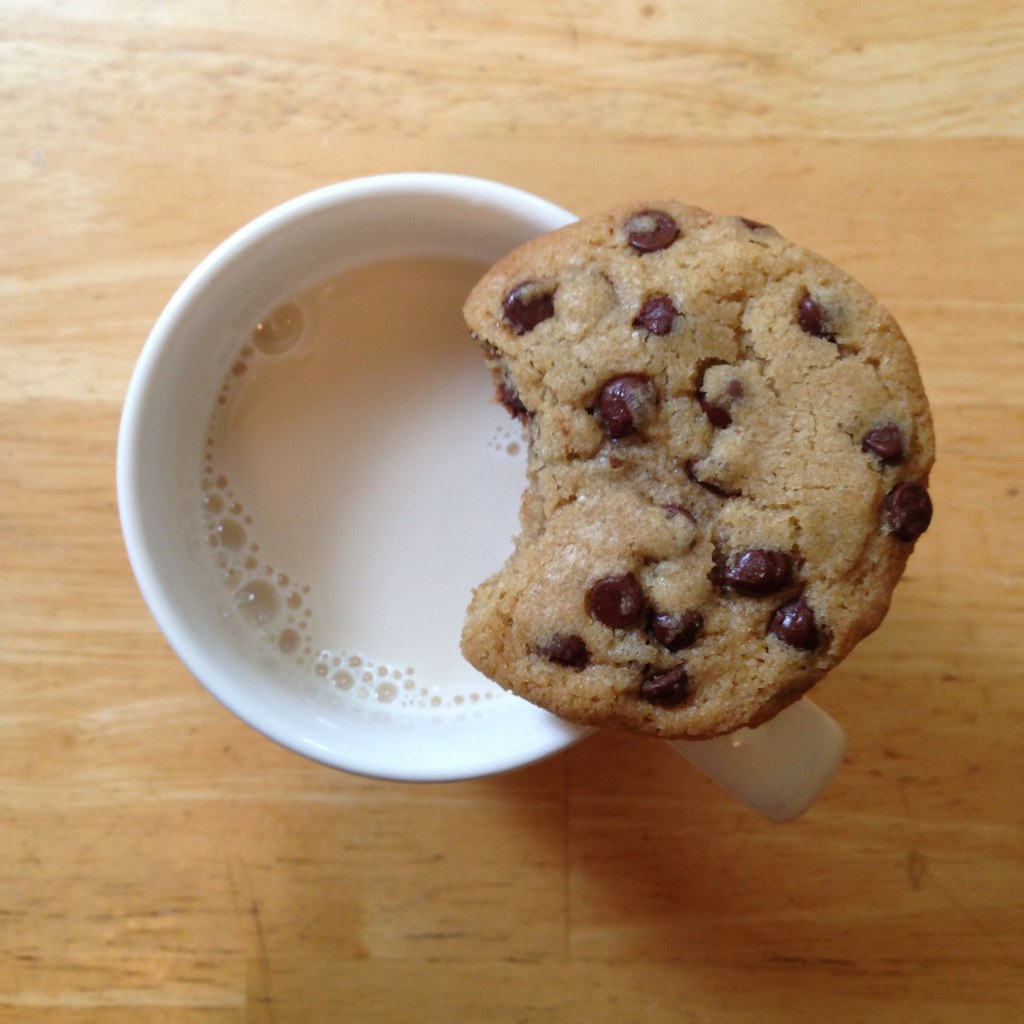
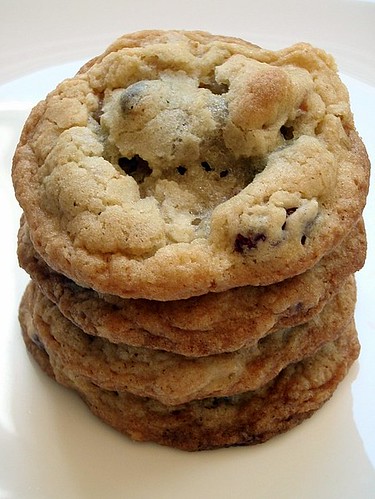
Everyone has their own favorite chocolate chip cookie recipe, and this is mine.  A couple of years ago, I attended a Sister's Appreciation Night at my church, and one of the party favors were these "chocolate chip cookie mixes in a jar" jars.  To be honest, I don't think I touched that jar until almost a year later, when I really wanted to try making America's Test Kitchen's Perfect Chocolate Chip Cookies but didn't have all the ingredients.  Undaunted, I dumped out the contents of the jar, literally separated all the chocolate chips from the rest of the dry ingredients, and proceeded as directed.  What came out of that oven were the best chocolate chip cookies I've ever had.  There was a perfect chocolate chip to cookie dough ratio, and the cookies were just slightly crisp at the edges and soft but not too gooey in the middle.

The next time I wanted to make chocolate chip cookies, I decided to try repeating my success by using the same ingredients from the "cookie in a jar" recipe and the same process as the ATK recipe.  And it worked perfectly, again.  One thing I really like about the ATK method is that you don't have to cream the butter and sugar together, meaning you can make this recipe even without an electric mixer.  The "cookie in a jar" recipe simplifies the ATK ingredients a bit by only using 1 egg instead of an egg plus an egg yolk.  I also roll out slightly smaller balls of dough than what the ATK recipe calls for due to personal preferences.

I call these my Serendipitous Chocolate Chip Cookies because I don't think I would've ever otherwise have come up with this perfect union of two different recipes by myself.

https://www.flickr.com/photos/joyosity/9188223892/in/photostream/

Serendipitous Chocolate Chip Cookies
makes 24 cookies

1 3/4 cup all-purpose flour
1 teaspoon baking powder
1 teaspoon baking soda
3/4 cup unsalted butter, divided
3/4 cup brown sugar
1/2 cup white sugar
1/4 teaspoon salt
1 teaspoon vanilla extract
1 large egg
1 cup semi-sweet chocolate chips

Preheat oven to 375°F.  Whisk together the flour, baking powder, and baking soda in a medium bowl.

https://www.flickr.com/photos/joyosity/9188207566

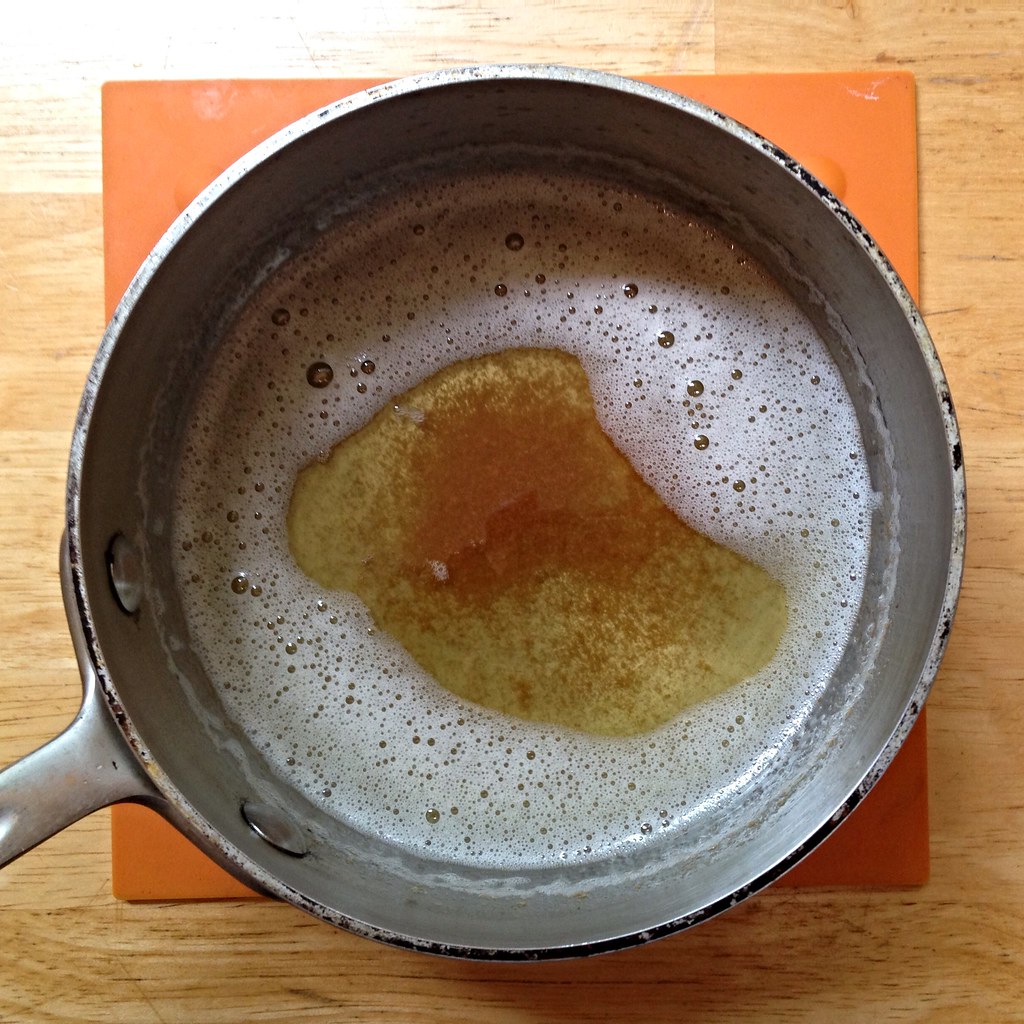
Melt 1/2 cup butter in a small saucepan over medium heat.  Continue to cook the butter until the milk solids have browned, and it has a nutty aroma. 

https://www.flickr.com/photos/joyosity/9185411417

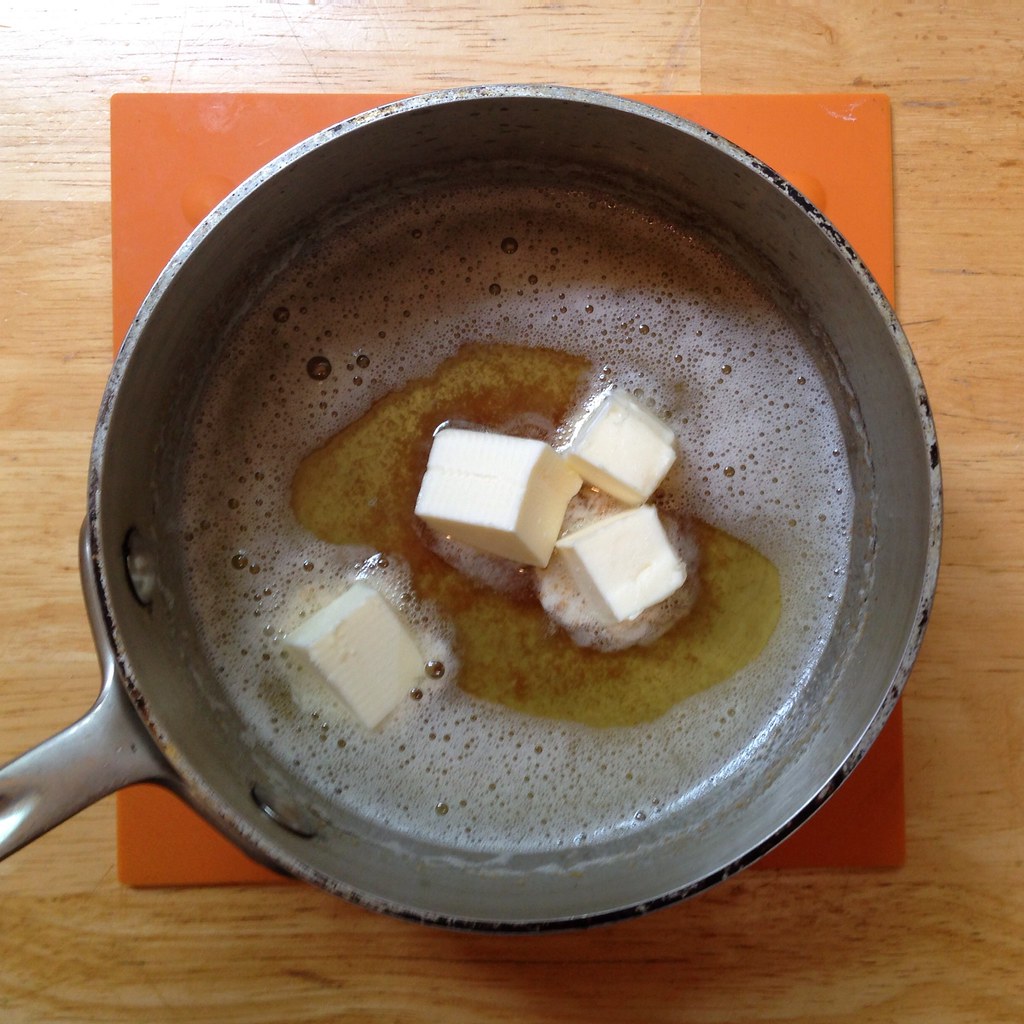
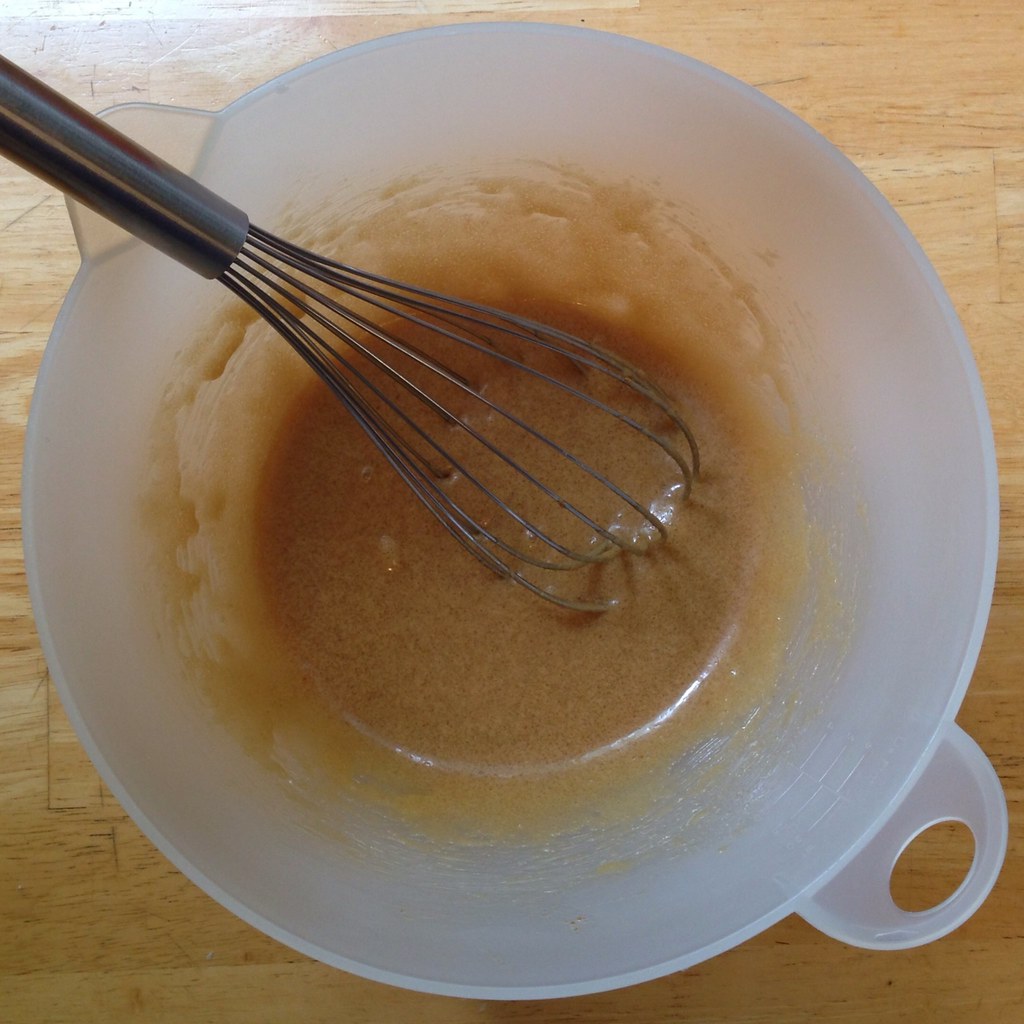
Remove from heat and add the remaining 1/4 cup of butter, stirring to melt.  Add the sugars, salt, and vanilla extract to the melted butter and whisk to combine. 

https://www.flickr.com/photos/joyosity/9188210760

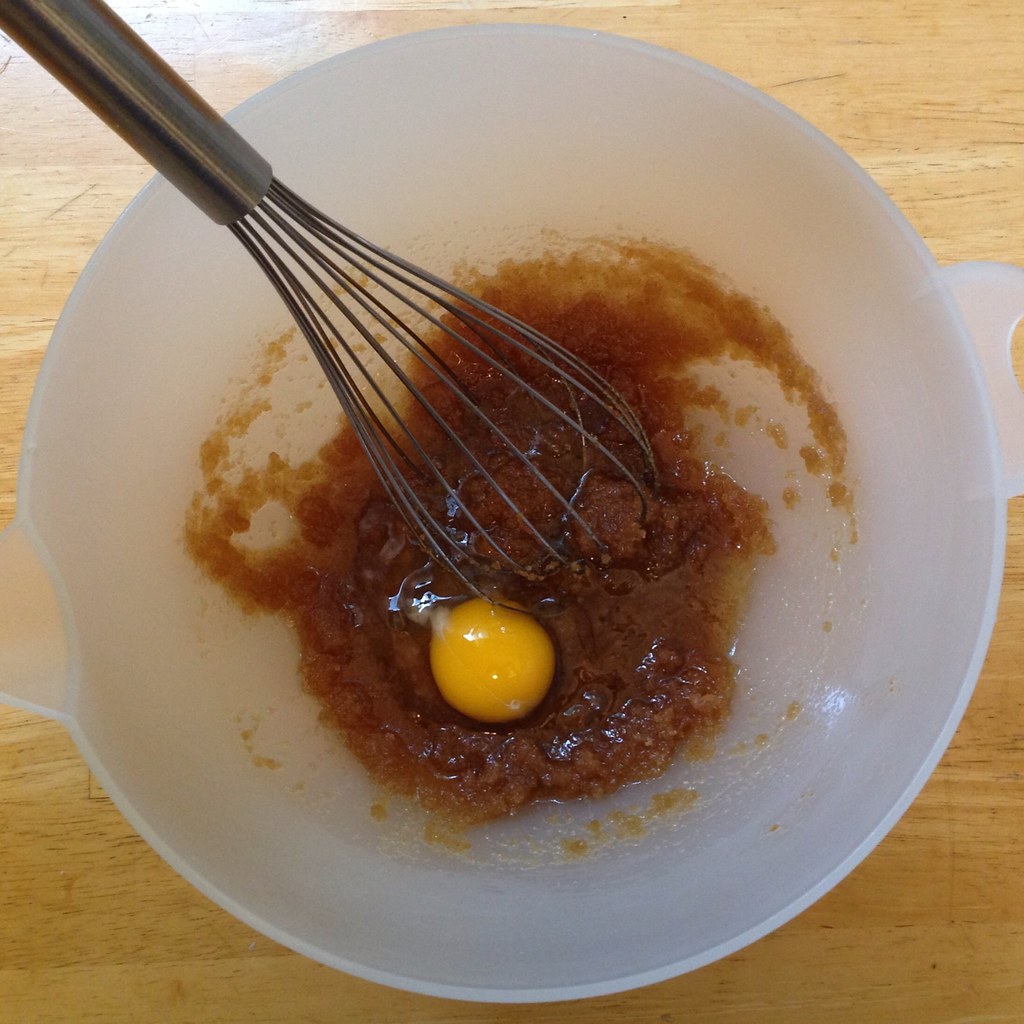
Add the egg and whisk until smooth, about 30 seconds.  Let stand 3 minutes and then whisk again for 30 seconds.  Repeat the 3 minute resting and 30 second whisking two more times.

https://www.flickr.com/photos/joyosity/9185415071

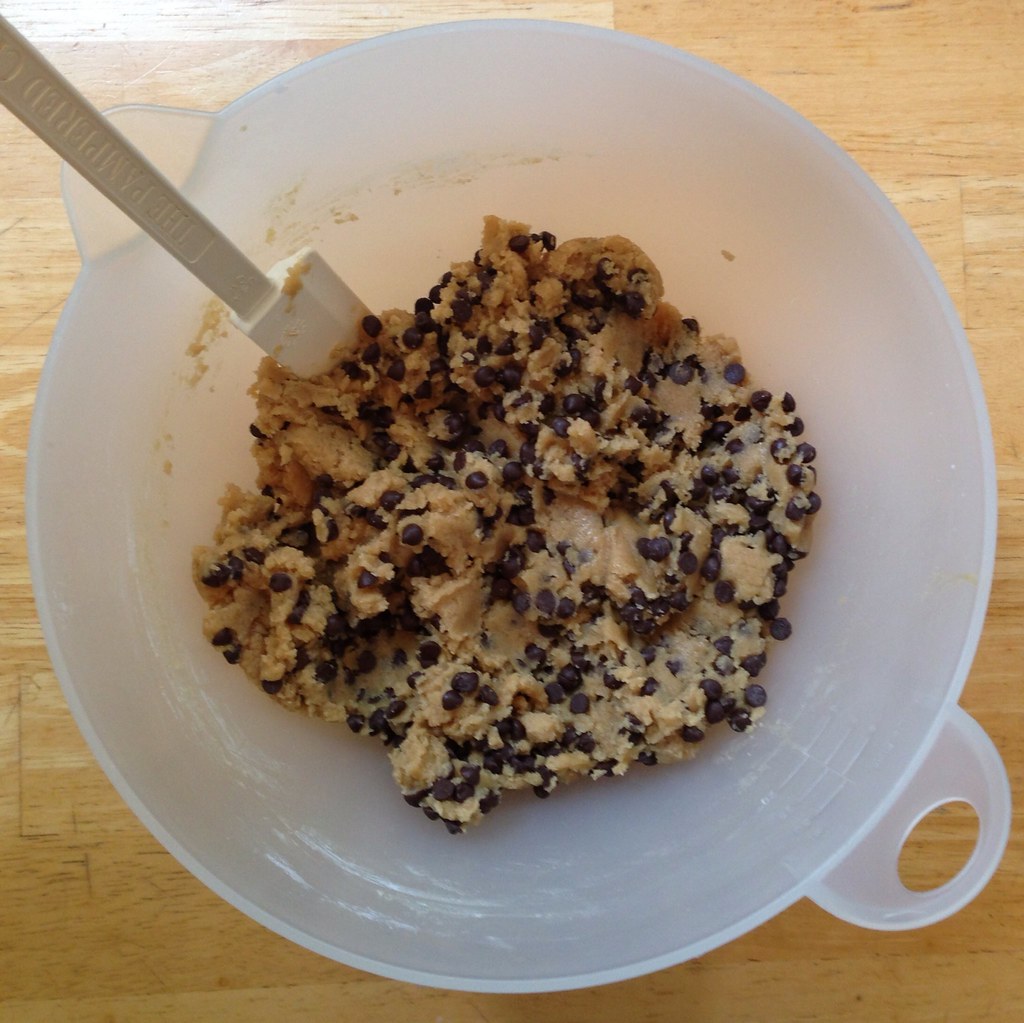
Fold in the flour mixture until just combined.  Add the chocolate chips and stir once more to make sure no pockets of flour remain.

https://www.flickr.com/photos/joyosity/9188214272

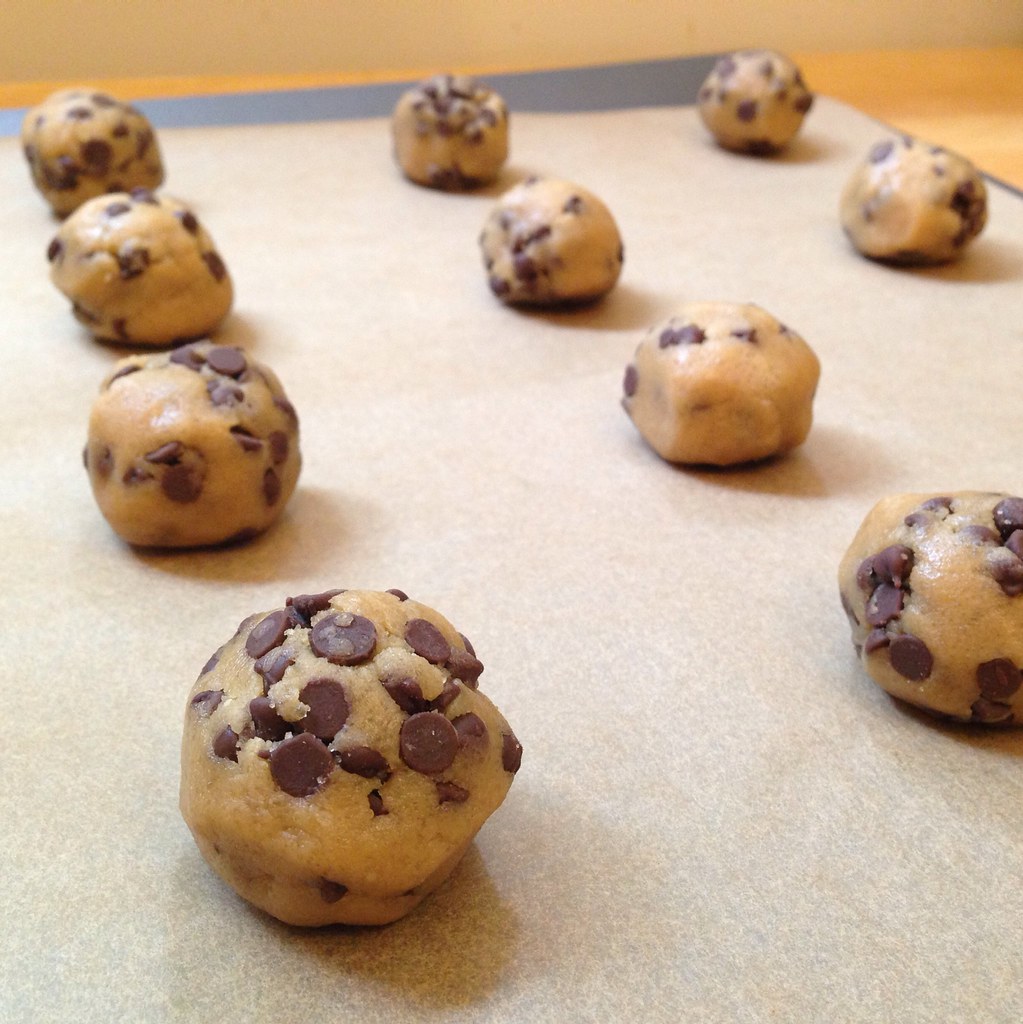
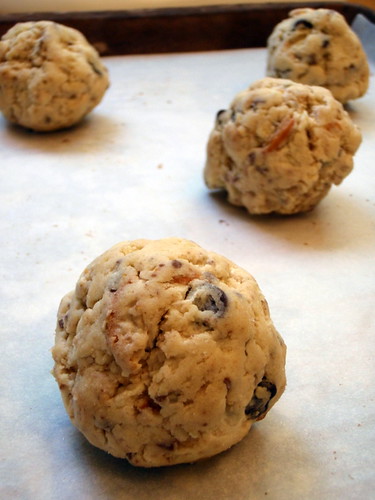
Scoop out 24 balls of dough, about 2 tablespoons each.  Give each ball of dough a quick roll with your hands to make them spherical.  Place the balls of dough onto two parchment- or Silpat-covered baking sheets, about 2 inches apart from each other.

https://www.flickr.com/photos/joyosity/9185422627

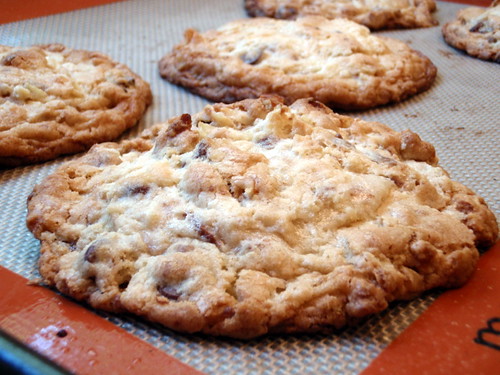
Bake 9-11 minutes, until golden brown and puffy.  Cool before serving.

https://www.flickr.com/photos/joyosity/9188224786/in/photolist-5JqqoG-eZW3zJ-eZFGmV-eZW2es-eZFFh8-eZW1C5-eZW4hs-eZW47J-eZFG8D-eZVZZs-eZVYJs-eZW3Rj-eZVXZQ-eZFDTn-eZFGDi-eZVZGY-eZVYWU-eZFDD4-eZFEEz-eZFCNn-eZW2uG/

If you wanted, you could even throw in some of the tips from the tried and true New York Times chocolate chip cookie recipe by letting the dough sit in the fridge overnight to hydrate more fully and sprinkling some flaky sea salt on top of the dough just before baking.

Next:  Corn and Black Bean Tortilla Soup
Previously:  Candied Bacon Chocolate Chip Pancakes
Five Years Ago:  Red Bean and Black Sesame Ice Cream

Friday, January 25, 2013

Rainbow Cookie Sandwiches

It all started with unicorn poop.  I saw this post and wanted to make my own, but I didn't want to go out and buy all the glittery stuff.  And I didn't want to use the sugar cookie recipe that she used because I didn't have any shortening.  So I did a quick search for sugar cookie recipes and decided to use Martha Stewart's Ideal Sugar Cookie recipe.

But then I found out why unicorns are now extinct.  Their poop is really hard to work with, so I think they must have been constipated all the time.  This was as close as I could get my cookies to looking like unicorn poop:

Unicorn poop
 
Sure it's kind of pretty, but then I ran into a second problem.  It didn't taste very good.  Or rather, they didn't taste as good as they looked.  Now I know you're probably thinking, well, what did you expect from unicorn poop?

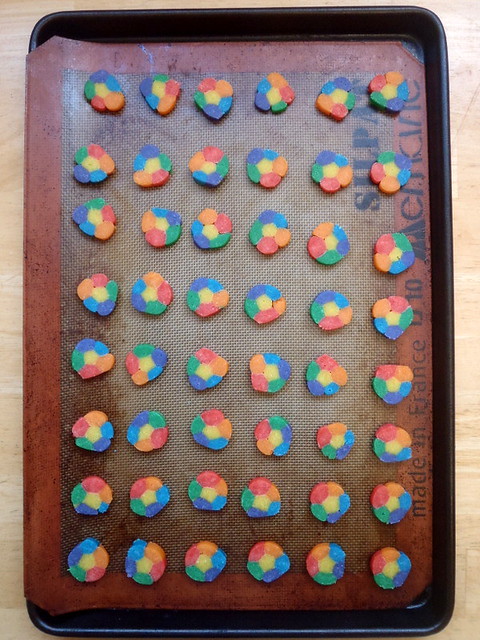
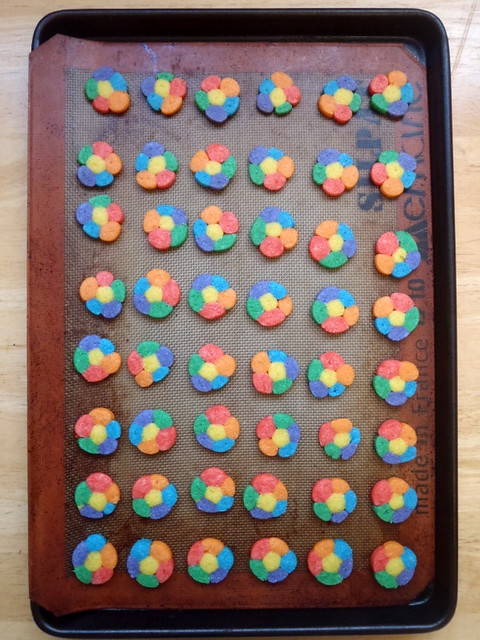
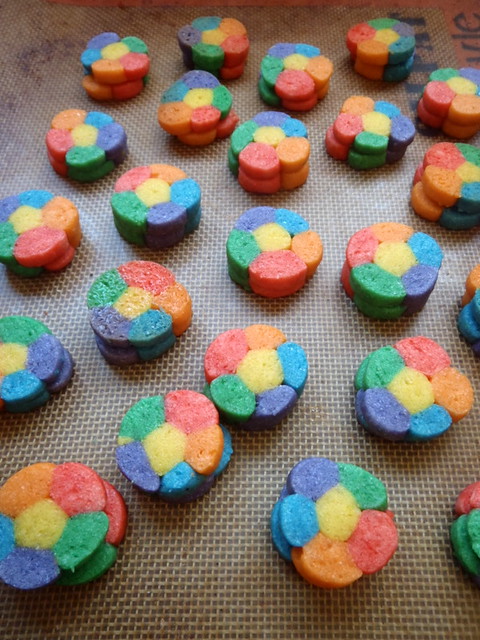
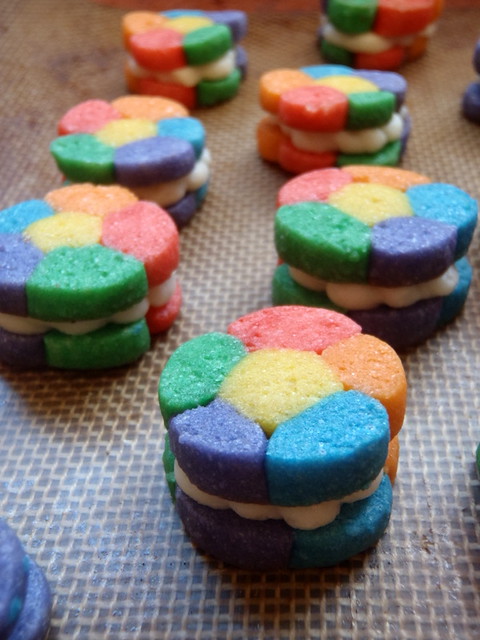
Then a friend made the suggestion of adding icing and making them into cookie sandwiches.  Brilliant!  I decided to go with the filling for the homemade Oreos from the Flour Bakery cookbook.  And since it was so hard to twist the different colors together, I chose to just press the seven different colored doughs together into kind of a flower/pentagonal shape.  I kind of like how the white colored filling looks like clouds, expanding on the whole rainbow theme.

To get the super vivid, technicolored dough, you'll need to use gel food coloring, and not the watery kind you usually find at the grocery store.  If you can't find any though, you could always just make pretty daisy cookie sandwiches by coloring one rope of dough yellow (the regular food coloring should be fine for this purpose) and putting it in the middle of the other white colored ropes.

Rainbow Cookie Sandwiches
makes 4 dozen

1 batch of your favorite sugar cookie dough
Red, orange, yellow, green, blue, and purple gel food coloring

1/2 cup unsalted butter, softened
1 2/3 cup confectioner's sugar
1 teaspoon vanilla extract
1 tablespoon milk
Pinch of kosher salt

P1043178
 
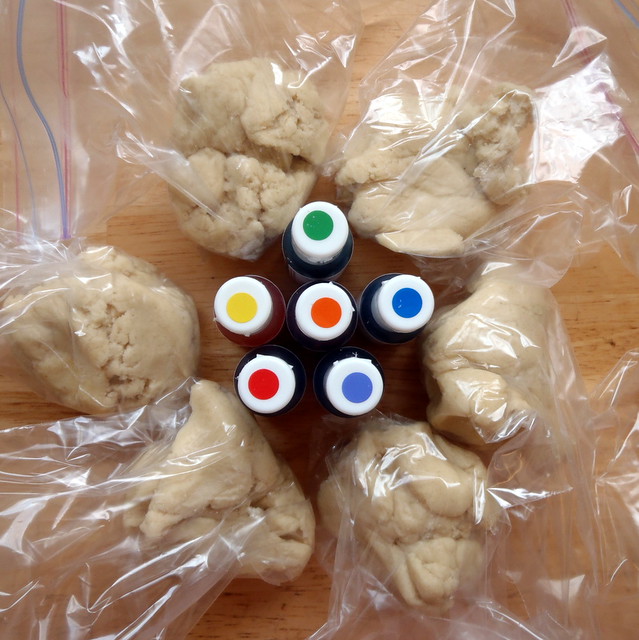
Divide the dough into six equal parts and put each in a separate sandwich bag. (A food scale is helpful for this.)

P1043179
 
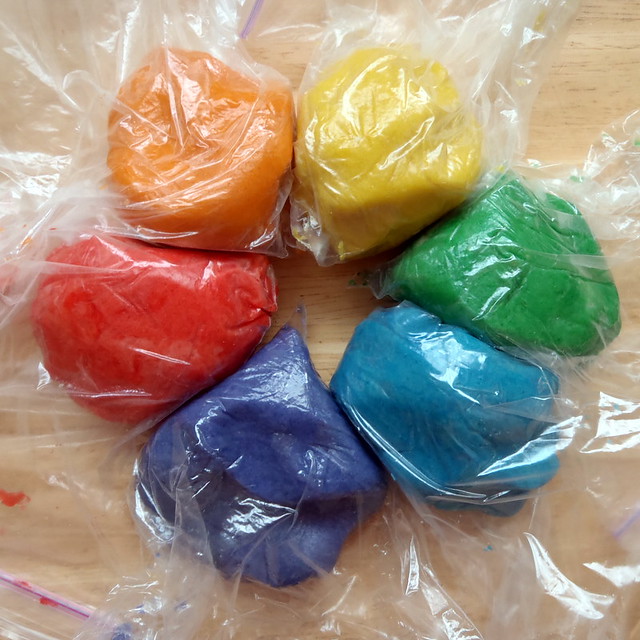
Add a few drops of red food coloring into one bag and squish around with your hands until the dough is evenly colored.  Add more food coloring to get it as bright as you like.  Repeat for the 5 other colors.  (I don't have any kids, but speaking as a kid at heart, this part was really fun.  So if you trust your kid, you might ask them to help you out with this part.  But I'd keep them away from any white carpeting, just in case.)

P1043180
 
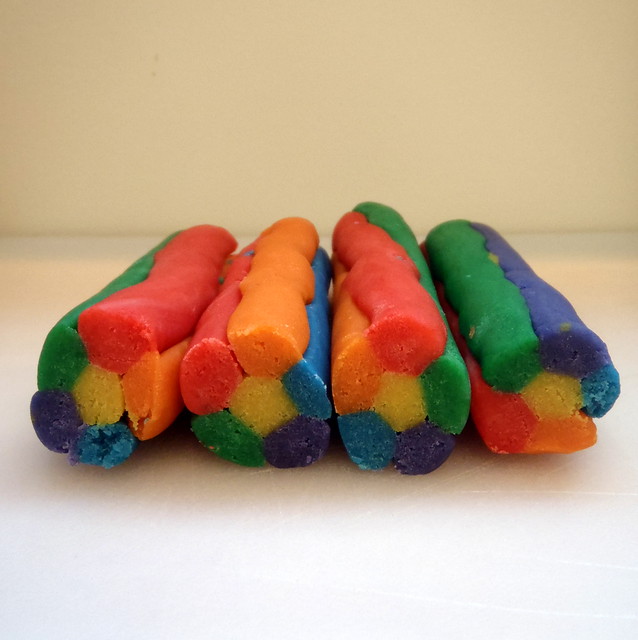
Roll each colored dough into a long rope, about a centimeter wide.  The ropes will be very long, so it's easier to divide the dough into half first.  Make sure your hands are clean in between each color so that you don't muddy the colors.

P1063188
 
Stack the six different colored ropes together to form a pentagon with one of the ropes in the middle.  Lightly roll this tube around so that the ropes stick to each other.  Cover with plastic wrap and chill in the refrigerator for at least 1 hour.

Preheat the oven to 350°F.  Line two baking sheets with a Silpat or parchment paper and set aside.  If you only have one baking sheet, just bake the cookies in two batches.

P1063189
 
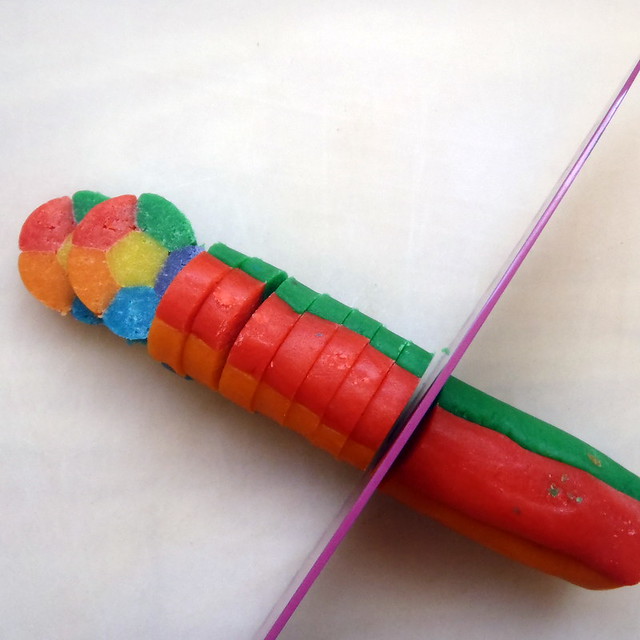
Slice the chilled cookie dough into about 1/8 inch thickness.  Space evenly on the baking sheet.  These cookies will spread a little, so give them at bit of space in between each one.

Rainbow cookies
 
Bake for about 10 minutes; do not allow to brown.  Allow to cool completely.

Rainbow cookies
 
To make the filling, beat the butter until smooth and creamy.  Add the sugar and vanilla extract and beat until smooth.  Add the milk and salt and beat until smooth again.

Flour's Oreo filling
 
Scoop into a pastry bag if you have one.  (I forgot to put the tip in before I filled my pastry bag so I didn't end up using one and just cut a small hole at the corner.)

Rainbow cookies
 
Match similarly shaped cookies together.  If you are using a pastry bag, pipe a layer of filling onto one cookie and top with its matching half, pressing down slightly to make it stick.

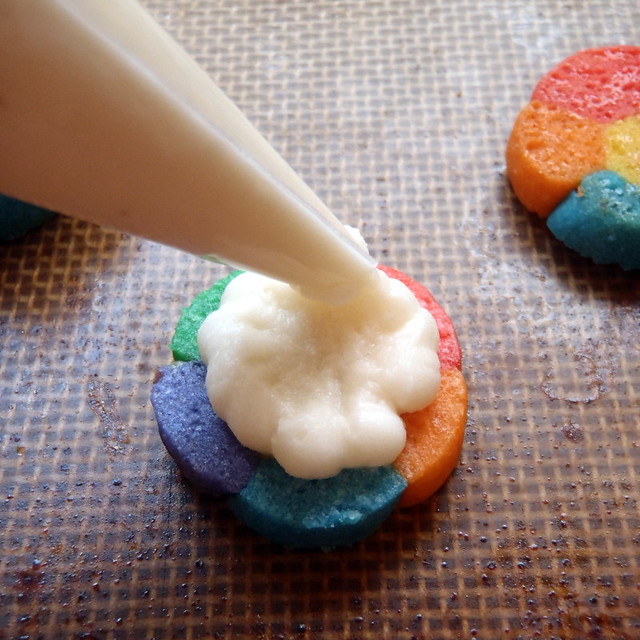
Piping the filling
 
If you have the time and inclination, move the pastry bag in and out of the center while moving around the cookie (like you're drawing flower) so that the outside edge of the filling makes a scalloped shape.  Otherwise, just pipe a spiral or if you're not using a pastry bag, use a spatula or butter knife to spread some of the filling onto the cookie.

Rainbow cooking sandwiches
 
If I were to make these again, I think I'd actually use a lemon flavored icing instead of a vanilla flavored one to make them even more delicious!

Next:  Bagel Bombs
Previously:  Pains au Chocolat (Chocolate Croissants)
Three years ago:  Pear Bread
Four years ago:  Luo Buo Gao (Chinese Turnip Cake)

Monday, June 21, 2010

World Peace Cookies

P6123034

The story behind these cookies is that Dorie Greenspan's neighbor had told her that the cookies were so good that, "in our house, we call them World Peace Cookies, because we're convinced that a daily dose of the cookies is all that's needed to ensure planetary peace and happiness." I've been meaning to make these cookies for quite a while, but it wasn't until the Boston Dragon Boat Festival dock staff kept bugging me for some homemade cookies that I finally decided to make them to appease the two Petes.

These are basically chocolate shortbreads, or sables, with chocolate chunks and a dash of salt. I made a whole batch, meaning to bring them to a party, but they were so good I decided to keep most of them for myself. They're perfect eating with a glass of cold milk, and if I had had any vanilla ice cream on hand, I would have totally made ice cream sandwiches with them.

World Peace Cookies (from Dorie Greenspan's Baking: From My Home to Yours)
makes about 36 cookies

1 1/4 cups all-purpose flour
1/3 cup unsweetened cocoa powder
1/2 teaspoon baking soda
1 stick plus 3 tablespoons (11 tablespoons) unsalted butter, at room temperature
2/3 cup (packed) light brown sugar
1/4 cup sugar
1/2 teaspoon fleur de sel or 1/4 teaspoon fine sea salt
1 teaspoon pure vanilla extract
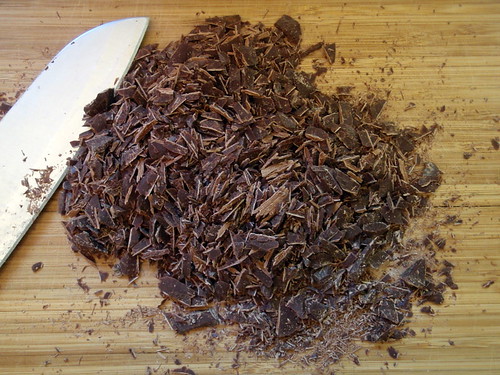
5 ounces bittersweet chocolate, chopped into chips, or a generous 3/4 cup store-bought mini chocolate chips

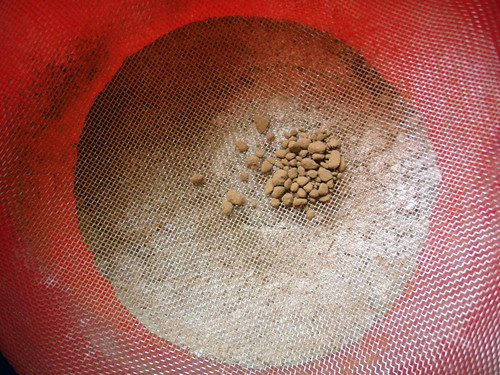
Sifting flour, cocoa, and baking soda
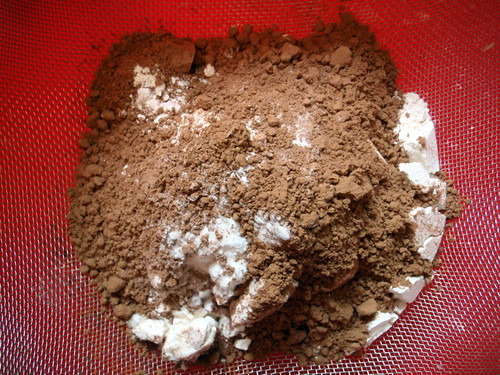
Sift the flour, cocoa and baking soda together.
Cocoa turds
Working with a stand mixer, preferably fitted with a paddle attachment, or with a hand mixer in a large bowl, beat the butter on medium speed until soft and creamy. Add both sugars, the salt and vanilla extract and beat for 2 minutes more.
Chopping up the chocolate
Turn off the mixer. Pour in the dry ingredients, drape a kitchen towel over the stand mixer to protect yourself and your kitchen from flying flour and pulse the mixer at low speed about 5 times, a second or two each time. Take a peek — if there is still a lot of flour on the surface of the dough, pulse a couple of times more; if not, remove the towel. Continuing at low speed, mix for about 30 seconds more, just until the flour disappears into the dough — for the best texture, work the dough as little as possible once the flour is added, and don't be concerned if the dough looks a little crumbly. Toss in the chocolate pieces and mix only to incorporate.
Cooking dough log
Turn the dough out onto a work surface, gather it together and divide it in half. Working with one half at a time, shape the dough into logs that are 1 1/2 inches in diameter. Wrap the logs in plastic wrap and refrigerate them for at least 3 hours. (The dough can be refrigerated for up to 3 days or frozen for up to 2 months. If you've frozen the dough, you needn't defrost it before baking — just slice the logs into cookies and bake the cookies 1 minute longer.)
Center a rack in the oven and preheat the oven to 325°F. Line two baking sheets with parchment or silicone mats.
Using a sharp thin knife, slice the logs into rounds that are 1/2 inch thick. (The rounds are likely to crack as you're cutting them — don't be concerned, just squeeze the bits back onto each cookie.) Arrange the rounds on the baking sheets, leaving about 1 inch between them.
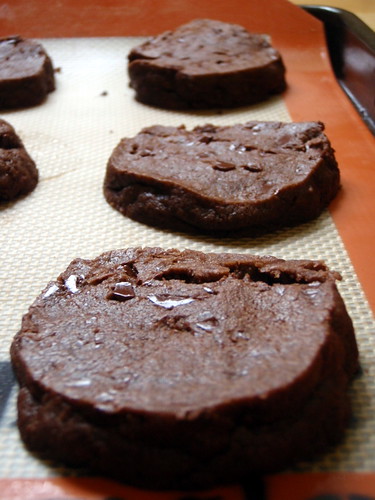
Bake the cookies one sheet at a time for 12 minutes — they won't look done, nor will they be firm, but that's just the way they should be. Transfer the baking sheet to a cooling rack and let the cookies rest until they are only just warm, at which point you can serve them or let them reach room temperature.
P6123029

Thursday, April 29, 2010

Compost Cookies

P4242817

When my friend, Stephen, turned 30, I asked him what he'd like me to make for his birthday party, and he replied, "I am a fan of all types of cookies." Which was great, because I've been wanting to make Momofuku Milk Bar's Compost Cookies for a long time now, but I kind of needed the right occasion to make them because there was no way I was going to be able to eat them all by myself. And these cookies deserve an audience.

Sure, the name might cause people to pause, but I'm guessing the reason behind it is that you throw a little bit of everything into these cookies: potato chips, pretzels, chocolate chips, etc. If you're a fan of the sweet and salty, you'll love these cookies. I ended up making a batch of the 6 oz. cookies and a batch of cookies where I portioned out the dough into 1" balls, which ended up giving me about 50 "normal" sized cookies. And to save time, I alternated between using a parchment lined stoneware baking sheet and a silpat lined metal baking sheet, both of which worked well in protecting the cookies from getting burnt.

P4242829

Compost Cookies (from here)
makes 15 big cookies or 50 smaller cookies

1 cup unsalted butter
1 cup sugar
3/4 cup light brown sugar
1 tablespoon corn syrup
1 teaspoon vanilla extract
2 large eggs
1 3/4 cups AP flour
2 teaspoons baking powder
1 teaspoon baking soda
2 teaspoons kosher salt
1 1/2 cups your favorite baking ingredients! (I used semi-sweet chocolate chips and Heath toffee bits)
1 1/2 cups your favorite snack foods (I used Wavy potato chips and peanut butter pretzel sandwiches)

P4242803

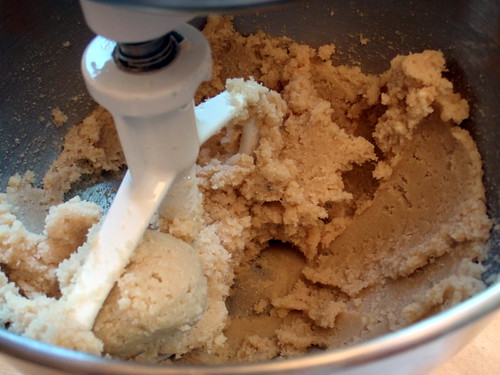
In a stand mixer with the paddle attachment, cream butter, sugars and corn syrup on medium high for 2-3 minutes until fluffy and pale yellow in color. Scrape down the sides of the mixing bowl with a spatula.

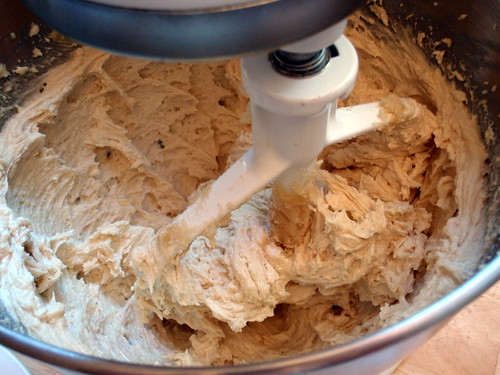
On a lower speed, add eggs and vanilla to incorporate. Increase mixing speed to medium-high and start a timer for 10 minutes. During this time the sugar granules will fully dissolve, the mixture will become an almost pale white color and your creamed mixture will double in size.

P4242804

When time is up, add the flour, baking powder, baking soda, and salt. Mix by hand just until your dough comes together and all remnants of dry ingredients have incorporated. Scrape down the sides of the mixing bowl with a spatula.

P4242805

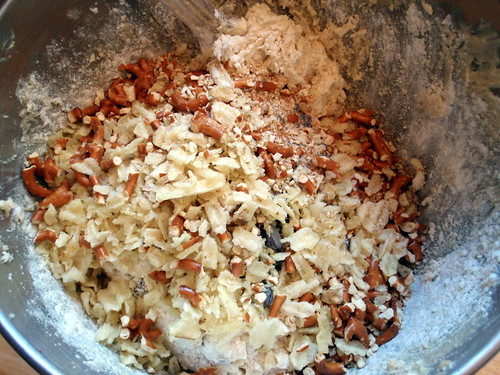
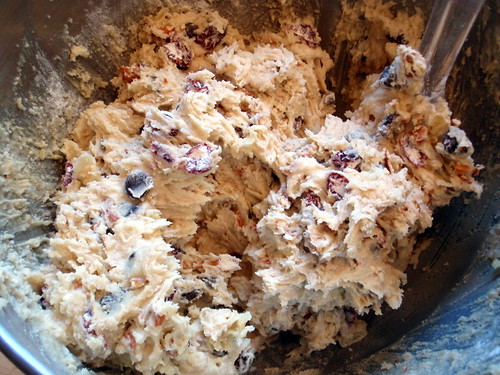
Add in the hodgepodge of your favorite baking ingredients and mix until they are evenly incorporated into the dough. Add in your favorite snack foods last, until they are just incorporated.

P4242807

Portion cookie dough into 6 oz. mounds onto a plate. Wrap portioned cookie dough tightly with plastic wrap and refrigerate for a minimum of 1 hour or up to 1 week.

DO NOT BAKE your cookies from room temperature or they will not hold their shape.

Preheat the conventional oven to 400°F.

P4242827

When the oven reads 400°F and your cookie dough has been chilled at least an hour, roll the cookie dough mounds into balls and arrange on a parchment or silpat-lined sheet pan a minimum of 4" apart in any direction.

Bake 9-11 minutes. While in the oven, the cookies will puff, crackle and spread.

P4242834

At 9 minutes the cookies should be browned on the edges and just beginning to brown towards the center. Leave the cookies in the oven for the additional minutes if these colors don't match up and your cookies stills seem pale and doughy on the surface.

Cool the cookies completely on the sheet pan before transferring to a plate or an airtight container or tin for storage. At room temperature, cookies will keep fresh 5 days. In the freezer, cookies will keep fresh 1 month.

P4242818

Monday, May 18, 2009

Sage and Apricot Shortbread Cookies

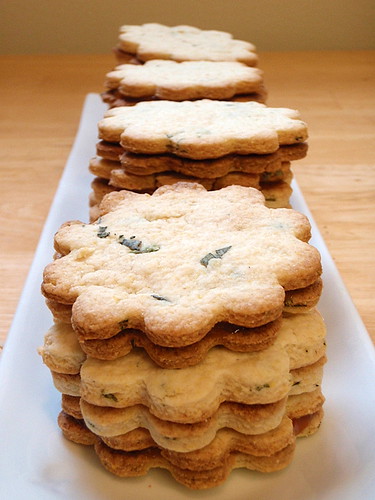
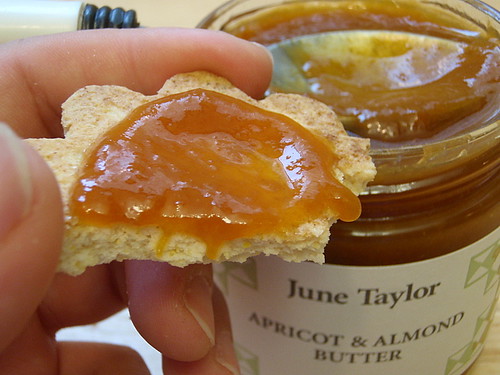
After making the Zuni ricotta gnocchi with browned butter and sage, I had a bunch of leftover fresh sage. I could've made another savory dish, but then I spotted Tartelette's post for rosemary and apricot shortbread cookies, which in turn, were based on Better Homes and Garden's apricot-sage cookies. This was quite serendipitous because I was actually looking for a way to use up this most wonderful apricot & almond butter I had bought from the Ferry Building Farmer's Market when I had visited SF a couple of weeks ago. This stuff is out of this world. As in when I had my first taste, my eyes lit up just like Jonathan's did when he tasted the honey in 1 Samuel 14. That's right, it's Bible-quoting good.

I'd been hogging it all to myself, just smearing some on whole wheat toast and eating that for breakfast, second breakfast, elevensies, etc. But I realized it deserved to be showcased and shared. And sage shortbread cookies sounded like a pretty good way to do that.

Sage Apricot Cookies

Sage and Apricot Shortbread Cookies
(based on the recipe from BHG.com)
makes 20 sandwich cookies

1 3/4 cups all-purpose flour
1/3 cup sugar
1/4 cup yellow cornmeal
1/2 cup butter
2 Tbsp. snipped fresh sage
3 Tbsp. milk
Apricot spreadable fruit (I used June Taylor's apricot & almond butter)

Preheat oven to 375 °F. In a bowl stir together flour, sugar, and cornmeal. Cut in butter until mixture resembles fine crumbs (I used a fork for this). Stir in sage. Add milk. Stir with fork to combine; form into ball. Knead until smooth; divide in half.

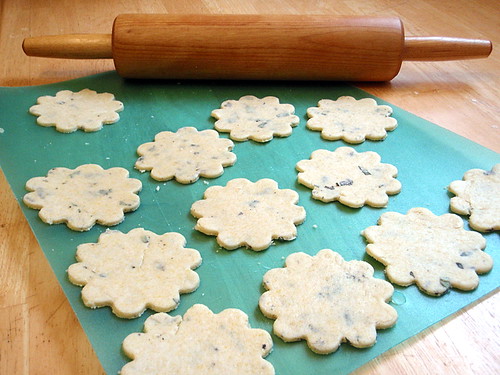
Rolled-out cookies

On lightly floured surface, roll half the dough at a time to 1/4-inch thickness. Using 2-inch round cookie cutter, cut out dough.

Place cutouts 1 inch apart on ungreased cookie sheet. Bake about 10 minutes or until edges are firm and bottoms are very lightly browned. Transfer cookies to wire rack. Cool.

Spread bottoms of half the cookies with spreadable fruit. Top with remaining cookies.

Topping with apricot & almond butter

To store: Place in layers separated by waxed paper in an airtight container; cover. Store at room temperature up to 3 days. Or freeze unfilled cookies up to 3 months. Thaw cookies; fill with spreadable fruit.

Unfortunately, I discovered that the apricot & almond butter wasn't really viscous enough to be used in a sandwich cookie; it kept smooshing out the sides when you bit into the cookie. And interestingly enough, I could barely taste the sage, although almost all my friends who tried it immediately commented on the savoriness of the cookies. Personally, I probably would've added some salt to the cookie mix or sprinkled some sea salt on top of the cookies right before baking them.

Thursday, December 18, 2008

Macarons: A Lesson in Humility

A few months ago Ellen was telling me about her obsession with macarons and how she was going to try to make them. I wasn't that familiar with these confections although I had seen plenty of beautiful pictures of them on other food blogs. Turns out that 1) they are another species entirely from the coconut macaroons (two o's) that I'm used to, and 2) supposed to be incredibly difficult to make. Naturally, that meant I was going to try at some point.

So first of all, macarons are made with almond flour, sugar, and egg whites, whipped to a meringue. They are then sandwiched with the an appropriate filling (ganache, buttercream, jam, curd, etc.) and the resulting sandwich is also (confusingly) called a macaron. An unique feature of the macaron cookie is called the "feet"--the uneven, ruffled skirt around the edge. Amazingly enough, you want feet on your macarons. The hard part about making a macaron mostly involves the meringue and folding in the tant-pour-tant (the one-to-one mixture of almond flour and sugar). One fold too many or too little will result in cracked and/or hollow cookies and no feet.

Another difficult part about making macarons is amassing the ingredients and tools needed to make them. Egg whites aren't hard to come by, but one tip that has been circulating around is that they should be "aged" at room temperature at least overnight and up to 72 hours. Sure it sounds disgusting, but any germs and bacteria that might grow would be killed in the oven and the aged egg whites hold a meringue that much better because more water has evaporated, leaving more of the structural proteins. Next, almond flour. If you can't find any you can always make it yourself with almonds and a food processor (although I'm not sure how you would get almond flour vs. almond butter) but luckily enough, Harvest carries almond meal in their bulk bins. Unfortunately, the almonds aren't skinned beforehand, so there's flecks of almond skin in the meal, but what can you do? (Actually, now that I think about it, maybe I can sieve the meal beforehand to try to get rid of the skin....) Anyways, you'll want to use the food processor to grind the meal even finer. One great tip I read is to use the food processor to mix the almond flour and powdered sugar so that you don't have to individually sift the two (which is great because I don't have a sifter, although I guess a sieve would work).

To make the macarons you need a mixer (a stand mixer is ideal but I'm too cheap so I just used a hand mixer), pastry bag (again, too cheap to buy so I just filled a large Ziploc bag and cut a hole in the corner), high quality baking sheets (I used my Pampered Chef stoneware cookie sheet), parchment paper, Silpat, or non-stick aluminum foil (I used parchment paper), a food processor (thanks, Carsten!), a candy thermometer, and ideally, a food scale.

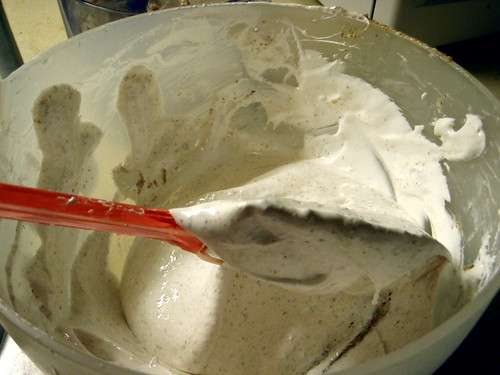
Folding the meringue
You can tell it's an Italian meringue because it is so glossy.

There are two ways of making meringue for the macarons, the French way or the Italian way. The Italian way is a little more difficult and involves streaming boiling sugar syrup into the egg whites are they are being whipped but results in almost foolproof macarons as the Italian meringue is much more stable than French meringue. So I chose to try the Italian method. Since I didn't have a food scale (yes, I am cheap!) I used Lesley's recipe here which is "translated" from Tartelette's and decided to try my hand at making a hazelnut macaron with Nutella filling.

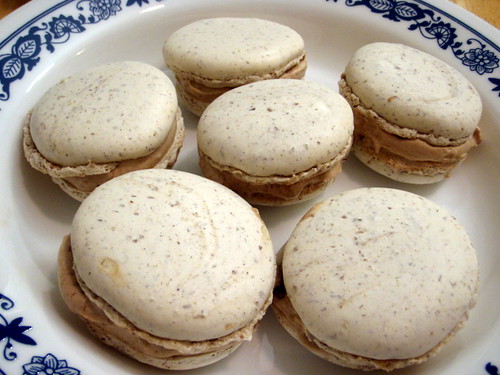
Nutella cream macarons
Yes, you can see the specks of almond skin, but look, you can see feet as well!

Hazelnut Macarons (based on Lesley's recipe)
Ingredients:
1/2 cup aged egg whites (comes out to about 4 egg whites)
3 T sugar
1 1/4 cups powdered sugar
1 cup almond meal
2 tsp. hazelnut extract

For syrup:
3/4 cups sugar
1/4 cups water

Begin by placing the water and sugar for the syrup in a small saucepan and bring to a boil. Once the sugar syrup registers 170° F on a candy thermometer, start whipping two of your egg whites. When the egg whites have started to froth, slowly add the 3 T sugar.

When the sugar syrup gets to 230° F on a candy thermometer, add it in driblets to your egg whites (which should hold soft peaks at this point).

Whip the mixture for 10 - 15 minutes, until cool.

Mix the remaining egg whites with the almond meal and powdered sugar in a food processor. Fold this mixture and the hazelnut extract into the meringue mixture.

Fill a pastry bag with a 1/4 inch tip (or a large Ziploc bag with a corner snipped off) with your mixture. Pipe 1" circles on cookie sheets lined with parchment paper, non-stick aluminum foild, or Silpat.

Bake at 320° F for 12 - 15 minutes. After they are done baking, allow them to cool and carefully transfer them to an airtight container. Macarons can be stored in the fridge or freezer.

I made the filling used in the picture above with this recipe, but in the end, I decided I liked just plain Nutella as a filling. I forgot to mention that I had never actually had a macaron before, so I was quite surprised at how sweet it was with my first bite. But after a while I knew what to expect, and it might have helped that I was eating them chilled from the freezer (the colder something is, the less sweet it will taste; one reason why there is so much sugar in an ice cream recipe).

So ta-da! I made my first batch and didn't have too many issues: my macarons had feet, weren't hollow, and didn't have any cracks. The hardest part was actually piping the cookies as I had never piped anything before in my life, and I wasn't exactly using the best tool. The macaron batter is actually quite drippy so you really have to be careful if you aren't using a pastry tip. I would definitely recommend having your parchment paper already cut and spread out so that you can pipe all the macarons at one time. One site I read recommending drawing 1" circles onto the paper beforehand so you know when to stop piping and also where to place them. Another tip that I read on many, many sites is to let the macarons sit for an hour before putting them in the oven so that the top can dry out. I didn't really adhere to this with my first batch as I figured that by the time I had piped the last macaron, the first one would have already had a chance to sit a bit.
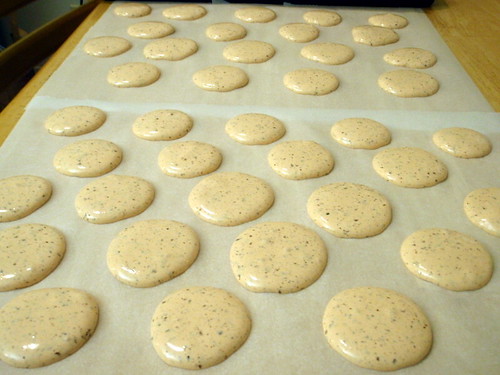
Piped macarons
Piped orange macarons (although not very orange in color)

So now that I had one good batch under my belt, I figured it was time to try a different flavor, and I settled on orange macarons with clementine curd using the recipe here. I added orange extract to the macaron batter and used food coloring to try to get them orange. I'm not used to using food coloring, and even though I read that baked macarons come out much lighter than the batter, I was just too scared to get much color into the cookies. And this time I decided to let them sit after being piped. Well I think that was a mistake. Of the four trays I made, only the first one came out without cracks, and I'm pretty sure that was because that one didn't sit as long as the others. Even so, the macarons from the first tray were almost all hollow. =( I was able to salvage a few to take pictures of, but the rest I'm just eating individually and dipping into the curd like chips and dip. I also need to find a filling that's not as runny. As you can see in the picture below, the curd is starting to drip out the sides and one of the principles of macaron making is that the filling should never go past the circumference of the cookie.
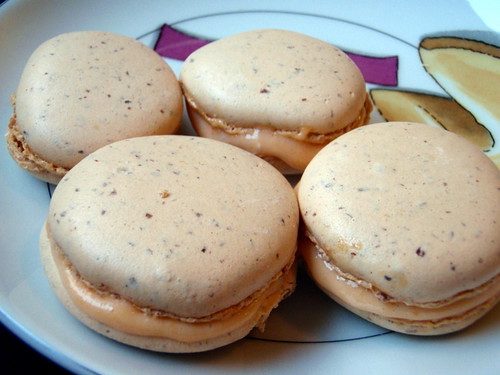
Orange macarons with clementine curd

Now I understand the angst of making macarons; even the "almost fool-proof" recipes can go horribly wrong. But I'm not entirely defeated; I think I'll try to make more macarons in the next few days. I even have the egg whites sitting out already. It's really too bad Highrock is a nut-free church or else I'd bring some for people to try. Anyone have any ideas for other flavor combinations? I might try a peppermint macaron and chocolate ganache combo or maybe a coconut macaron with orange marshmallow creme filling....


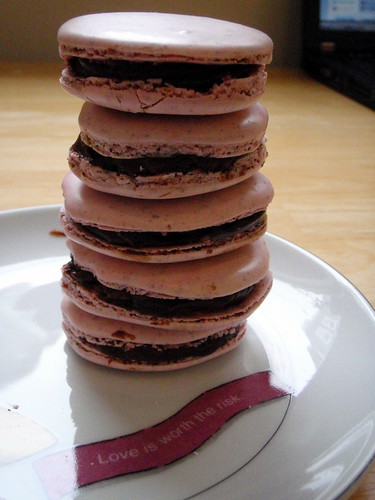
P.S. I tried the peppermint macarons with peppermint chocolate ganache!
Peppermint macarons with peppermint chocolate ganache