It started with the best and healthiest of intentions. When I saw that Boston Organics was offering organic popcorn as an add-on, I thought, "Ooh! I love popcorn; I should order some!" And then once I received it, I thought, I could use my air popper (thanks, Susan, I'm still using it after all these years!) to pop this. But then the evil food fairy that sits on my left shoulder said, "Yes, you could, but what's the unhealthiest thing you could do with this?"
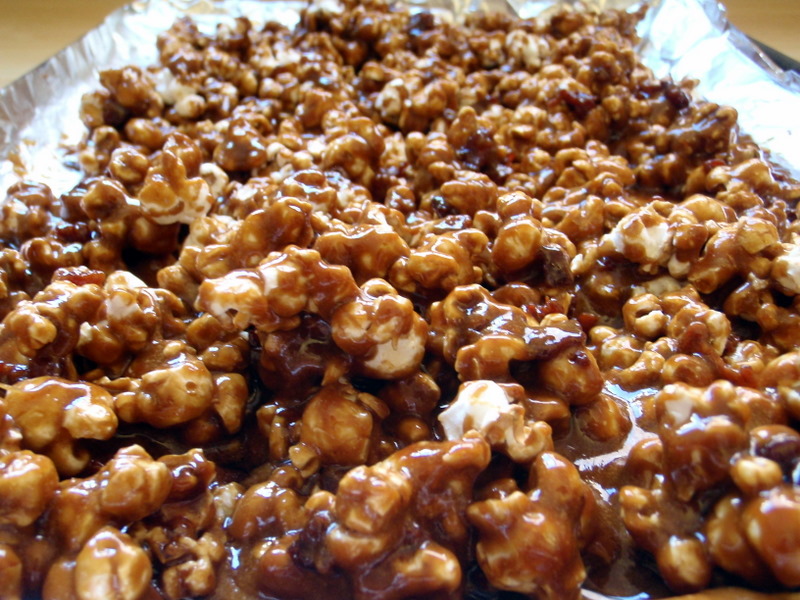
Ladies and gentlemen, I present to you bacon caramel corn.
With all the hoopla over bacon the past couple of years, I figured (correctly) that I couldn't have been the first person to come up with the idea and googled for a recipe. I used the one I found on bunrab.com, and the only changes I made were omitting the almonds, using a cup of light brown sugar and a cup of dark brown sugar instead of 2 cups of golden brown sugar, and popping the popcorn in bacon fat, just because I had some and wanted to see what popcorn popped in bacon fat tasted like.
1/2 pound bacon
1/3 cup organic popcorn kernels*
1 cup butter
2 cups brown sugar (I used 1 cup light and 1 cup dark just because)
1/2 cup light corn syrup
2 teaspoons kosher salt
1 teaspoon baking soda
1/3 cup organic popcorn kernels*
1 cup butter
2 cups brown sugar (I used 1 cup light and 1 cup dark just because)
1/2 cup light corn syrup
2 teaspoons kosher salt
1 teaspoon baking soda
Cut bacon into a fine dice and fry until crisp. Reserve 2 tablespoons of the bacon fat.
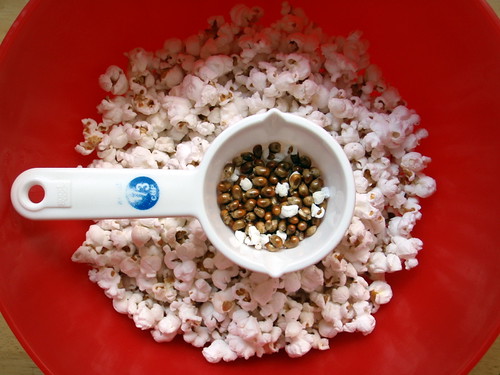
Heat the bacon fat in a large pot with a cover. Add 3 popcorn kernels and cover. Listen for all three kernels to pop, and add the rest of the popcorn kernels. Cover and shake until popping stops. Put popped corn in a non-stick roasting pan, making sure to remove the unpopped kernels.
Preheat oven to 200°F.
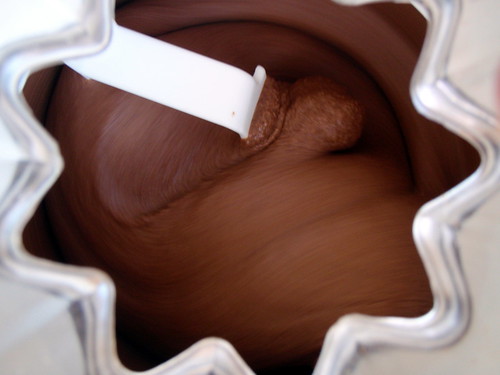
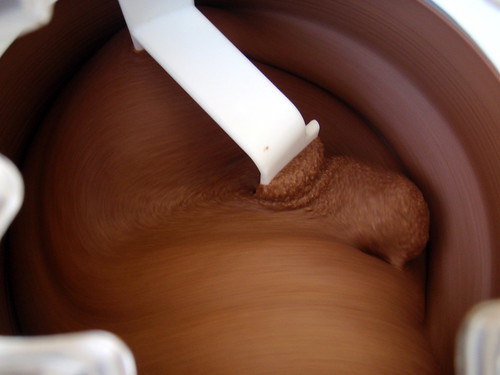
Heat butter, brown sugar, corn syrup and salt in a saucepan over medium high heat until it reaches 300°F on your candy thermometer.
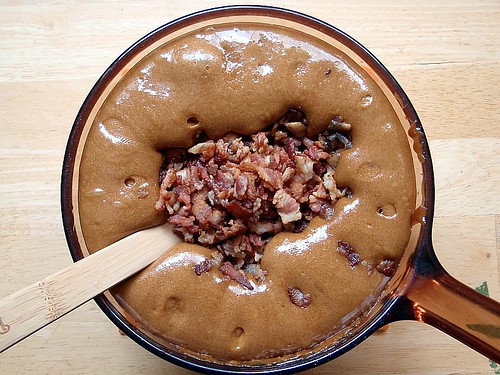
Remove from heat, stir in baking soda and bacon (the caramel will explode in volume at this point so make sure you use a large enough saucepan) and pour this caramel mixture over the popcorn (do this quickly so that the caramel doesn’t cool and stiffen).
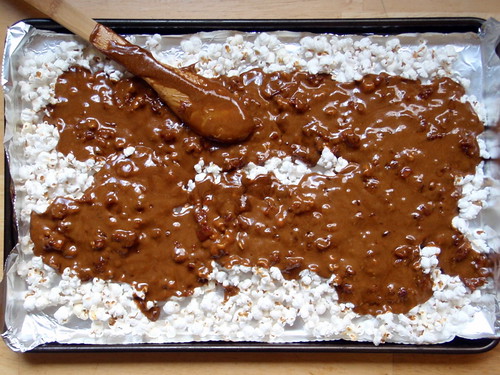
Stir the mixture with a couple wooden spoons and place in the oven for a total of an hour rearranging the popcorn to evenly distribute the caramel and bacon every 15 minutes. Add more salt (if necessary) during this process. Cool and break into bite-sized pieces.

*Popping 1/3 cup of organic popcorn kernels gave me ~6 cups popped corn plus quite a few unpopped kernels. I'd guess if you are using a gourmet popping corn you may need to use less than 1/3 cup of kernels to get 6 cups of popped corn, which is the amount you need for this recipe.
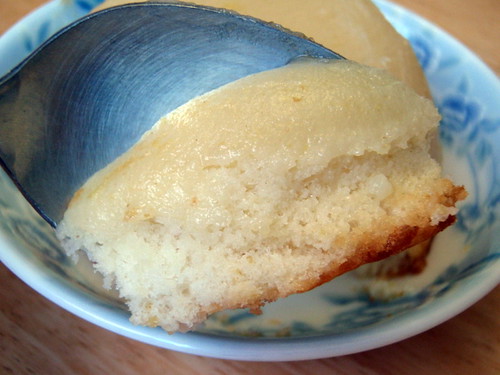
So I tried some of the bacon fat-popped corn before dousing it with the caramel, and while I could taste a whiff of bacon, I personally think butter pairs better with popcorn. Bacon and caramel, however, pair together wonderfully (a fact which I will devote the next post to). Do I really need to describe how awesome bacon, caramel, and popcorn taste together? It's so good I had to hide this from some of my vegetarian friends for fear they'd give up their convictions just to try some. See what a good friend I am?
Next: Bacon Fat Caramels
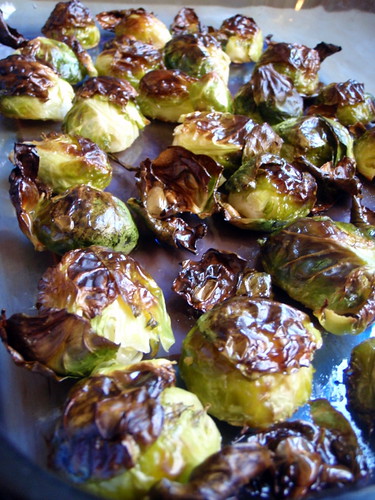
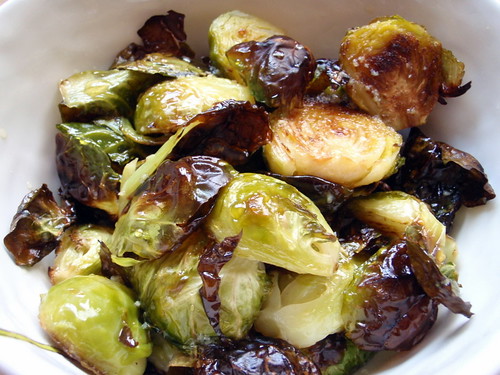
Previously: Faux Momofuku Brussels Sprouts