Showing posts with label caramel. Show all posts

Saturday, October 21, 2017

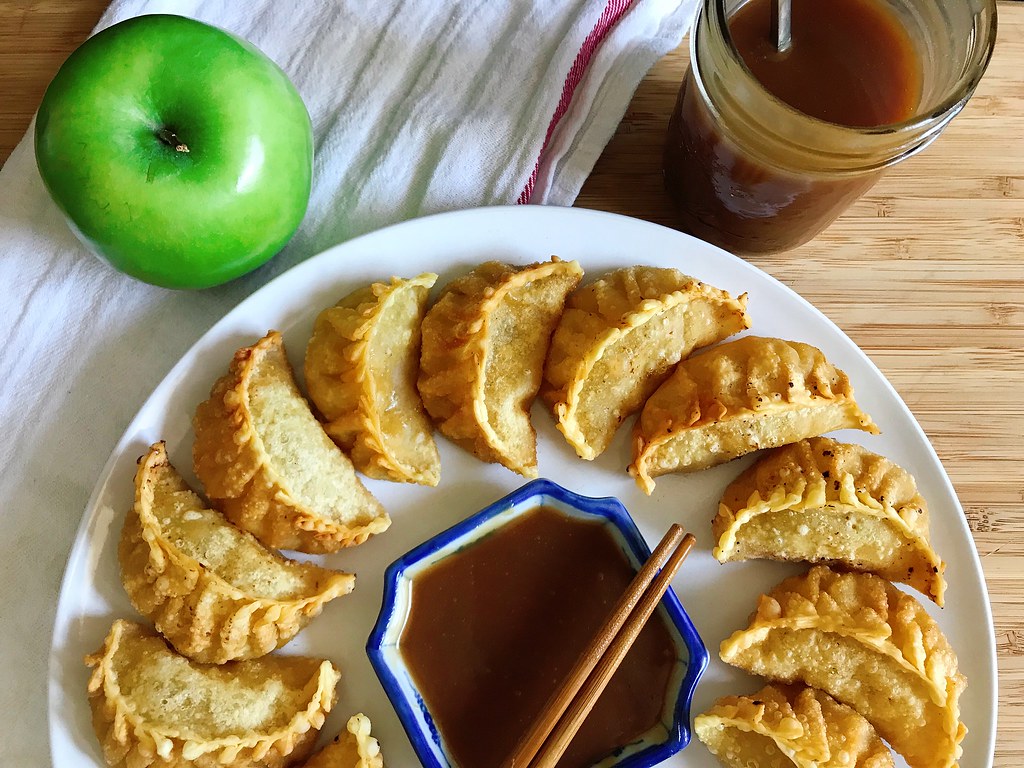
Deep Fried Apple Dumplings with Miso Caramel Dipping Sauce


You know how sometimes something is really, really hyped up and you're just like, "uh huh, okay, but it can't actually be that amazing."  Well, I just wanted to let you know that miso caramel is *actually* that amazing!  I first heard about it on Food52, but then I noticed that some of my favorite food bloggers were also incorporating it into their apple pies and raving about it.  It is rather rich and strong so it might not be for everyone, but if you like salted caramel and miso, you'll probably love this caramel too.  The best way I can describe it is "flavor bomb".  Try it on ice cream, in apple pies, with apple slices, or just straight out of the jar!


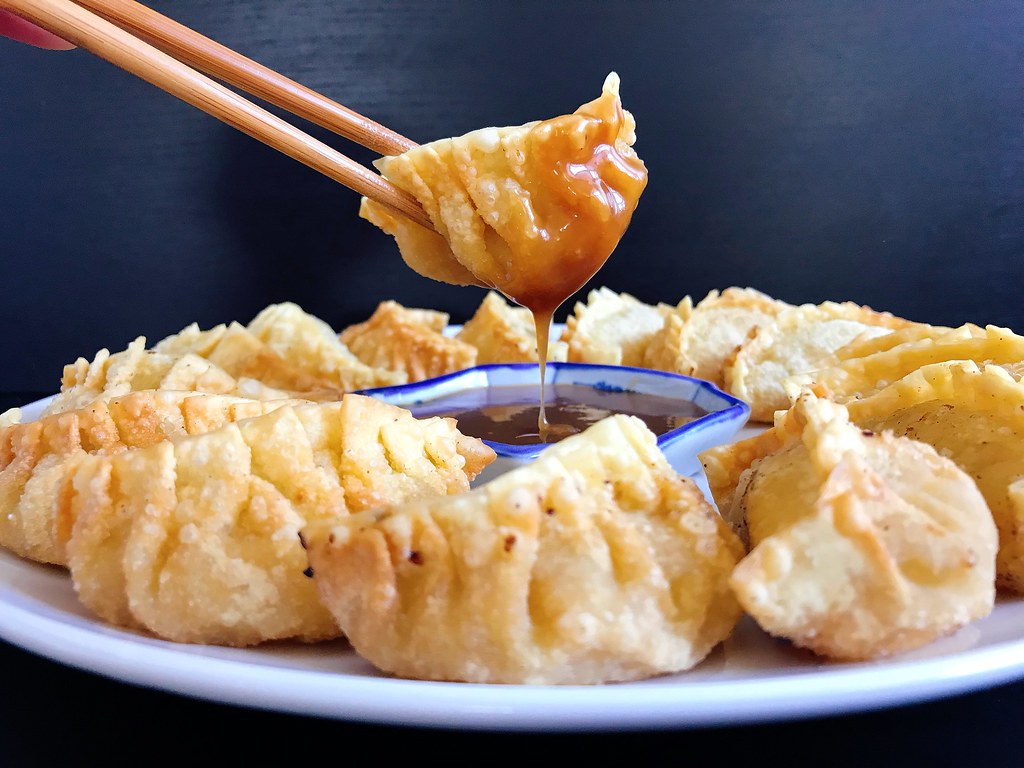
The reason I even decided to make miso caramel is because I was invited by Rebecca and Ruth from Square Meal Round Table to join a fall collaboration with a bunch of other Instagrammers/food bloggers centered around the prompt #Aisforalltheapples.  I had the idea to make apple dumplings, but not the American baked kind using pastry dough; I wanted to make them with Hong Kong style dumpling skins and shape them like pot stickers.  Get it?  Instead of pan-frying them, though, I was going to deep fry them like McDonald's used to fry their apple pies!  And I figured to continue with the Asian twist, I'd pair the apple dumplings with miso caramel sauce.
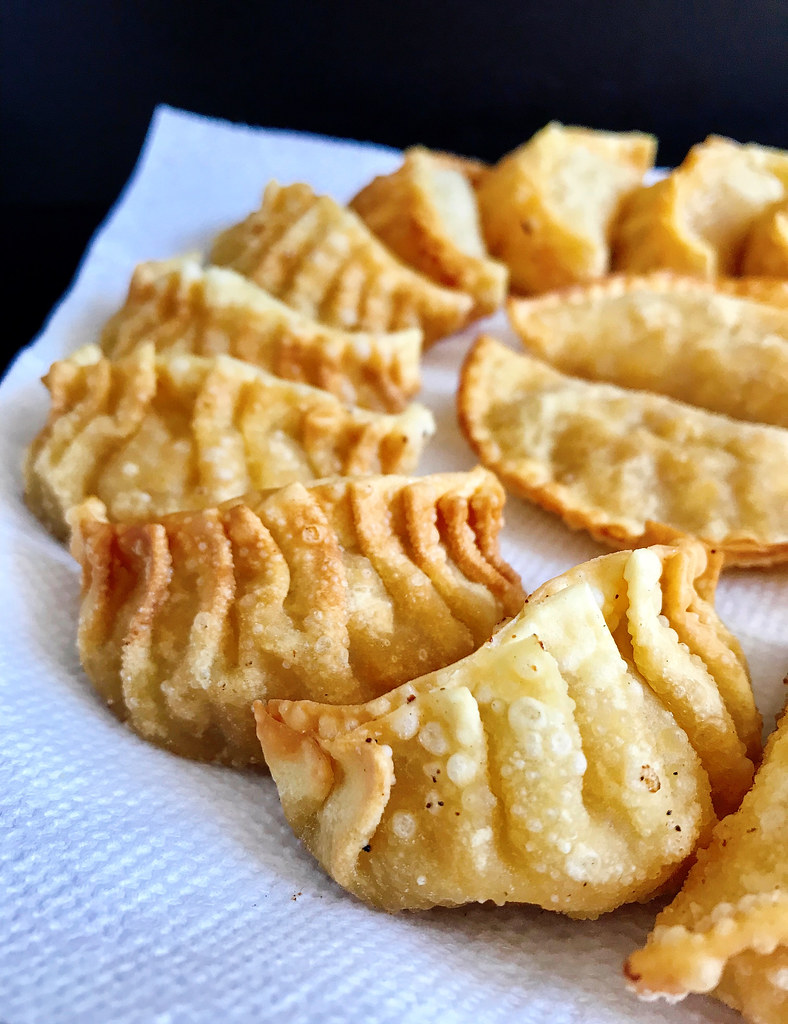

When it came time to shape the dumplings, I decided to go a little crazy with the pleating since I knew I wasn't making that many, but it's entirely unnecessary to do that many pleats.  In fact, I also experimented with making a couple that were just folded in half, sealed, and then crimped with a fork so that the looked like little hand pies (see above).  This shape was actually the easiest to fry evenly and dip in the caramel, so I'd probably make them this way in the future, unless I specifically wanted the pot sticker shape.
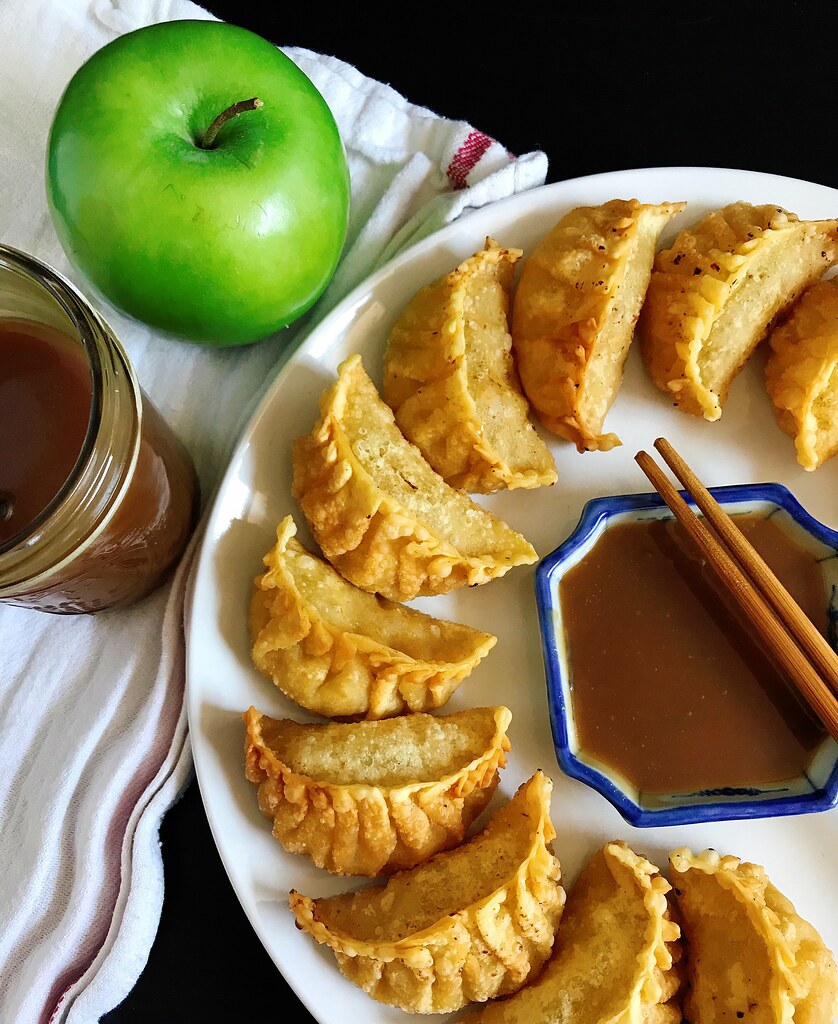

Deep Fried Apple Dumplings
makes about 2 dozen

2 apples (I used gala but fuji or pink lady would work too)
3 tablespoons brown sugar, packed
1/2 teaspoon ground cinnamon
1/4 teaspoon cornstarch
Pinch of salt
Dumpling skins
Oil for frying

Peel the apples and finely dice.  Mix with the brown sugar, cinnamon, cornstarch, and salt in a small saucepan.  Heat over medium-low heat for about 5 minutes, until the apples are tender and liquid starts to form.  Transfer to a bowl and allow to cool to room temperature.

Wet the edges of the dumpling skins and fill with the apple mixture.  Seal tightly.

Heat the oil in a pot to 350°F.  Fry the dumplings until golden brown and drain on a paper towel-lined plate.  Serve immediately with the miso caramel dipping sauce (recipe below).

Miso Caramel Dipping Sauce (from Minxeats via Food52)
makes 1 pint

3/4 cup granulated sugar
1/4 cup water
1/2 cup heavy cream
2 tablespoons white miso

Heat the sugar and water over medium-high heat in a medium saucepan.  Bring to a boil and continue to cook without stirring until it turns a medium amber and wisps of smoke just start to appear.  Immediately remove from heat and whisk in the heavy cream.  If the caramel seizes, just return the pan to low heat and continue to whisk until everything is liquid again.  Whisk in the miso.  Pour into a glass jar and store in the refrigerator if not using immediately.  Rewarm briefly in the microwave before using after refrigeration.

Check out the rest of the entries in this collaboration below!

Next:  Slow-Roasted Ginger Scallion Salmon
Previously:  Crane Rangoons
Last Year:  Pear Apple Cranberry Slab Pie
Two Years Ago:  Pad Thai
Three Years Ago:  Mochi Donuts and Pon de Rings
Four Years Ago:  Bahian Style Moqueca (Brazilian Fish Stew)
Five Years Ago:  Magical Pumpkin Spice Latte

Tuesday, September 12, 2017

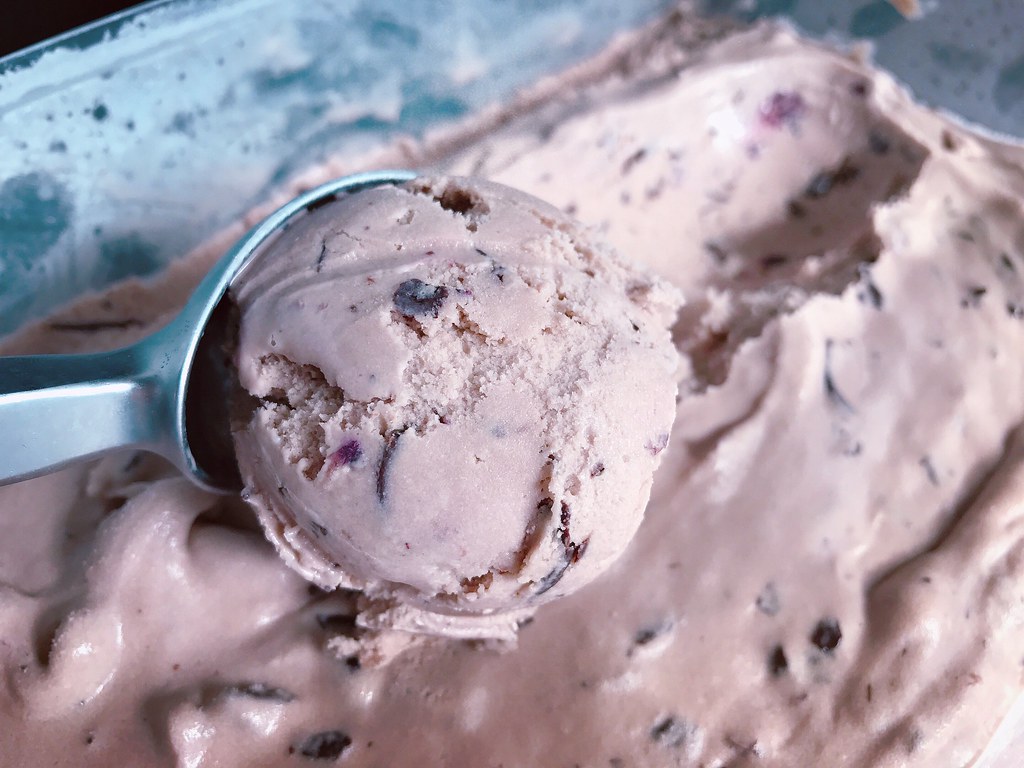
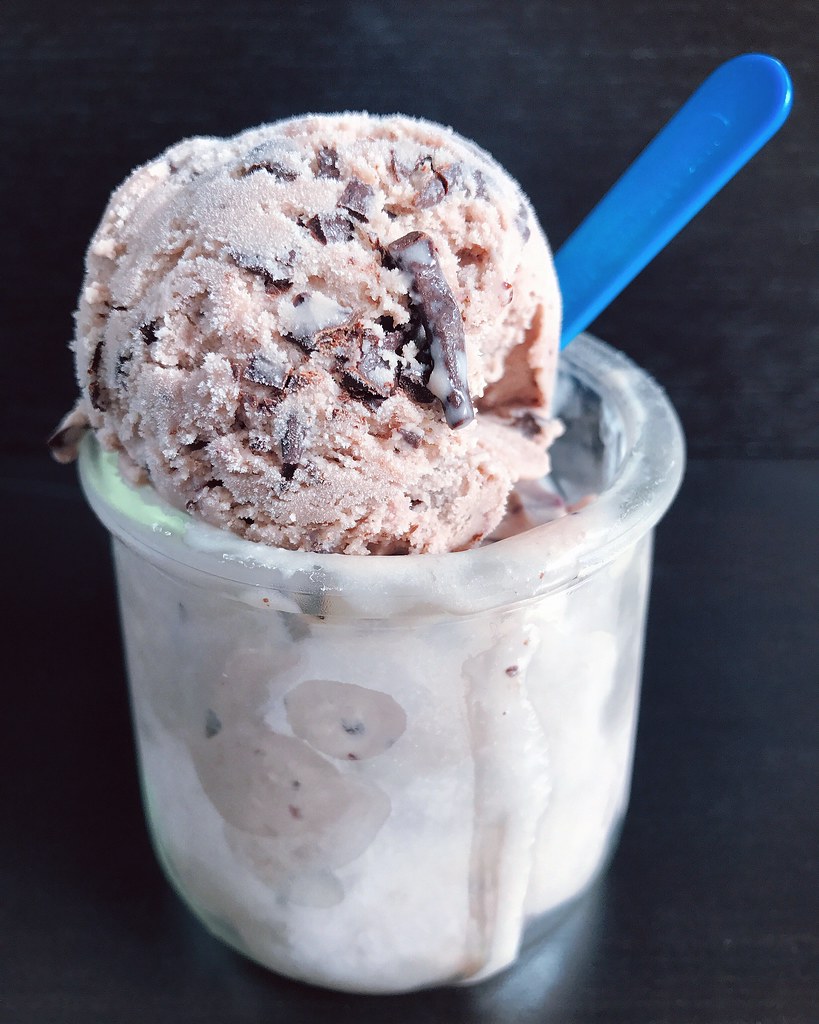
Blueberry Salted Caramel Ice Cream with Chocolate Freckles

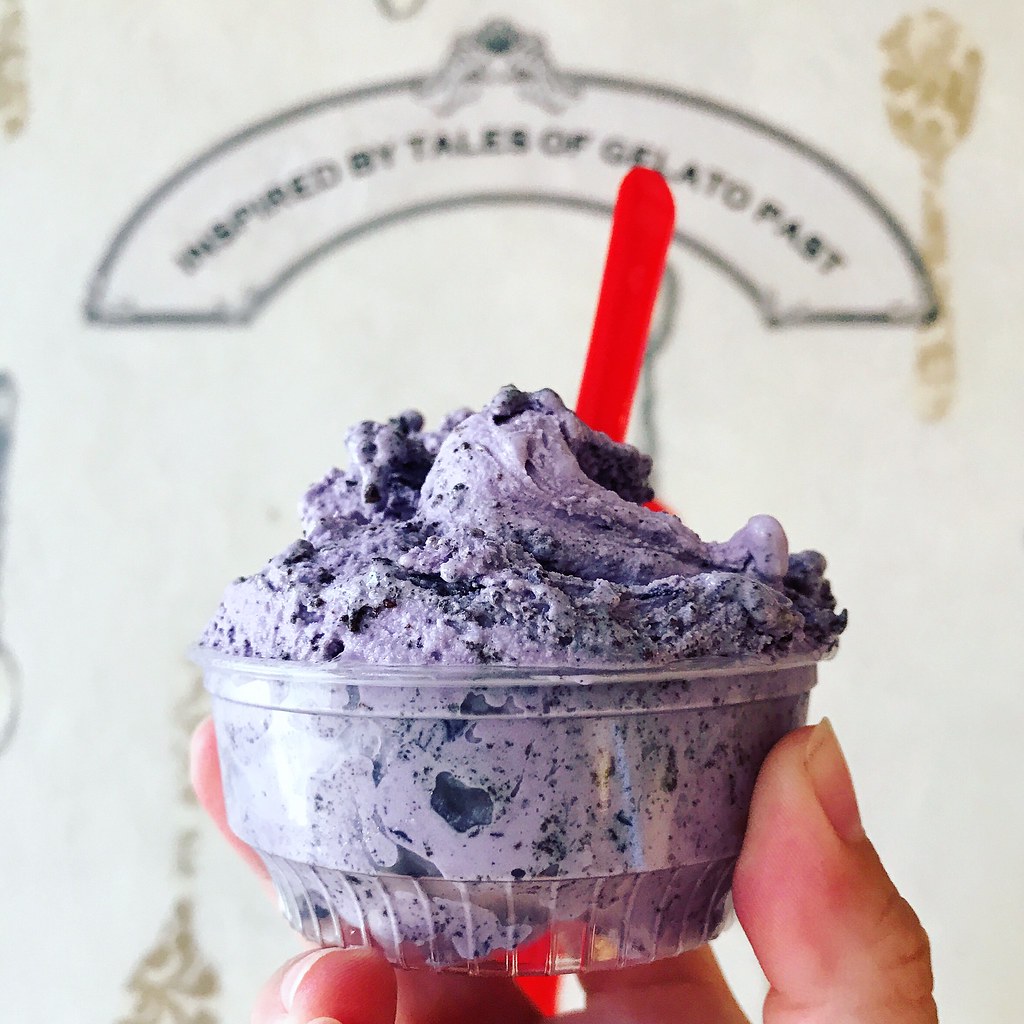
My friend Christine and I have been making a day trip to Portland, ME every summer for the last couple of years and basically spend the day stuffing ourselves.  We always go to Eventide Oysters for my favorite lobster rolls, The Holy Donut for potato donuts, Duckfat for their fries, and Gelato Fiasco for ice cream (the honeycomb ice cream sundae from Honeypaw has made it onto our itinerary for the last 2 years as well).  My favorite flavor is the Maine Wild Blueberry Caramel Sea Salt Stracciatella gelato, but they didn't have it this year so I had to settle for the Blueberry Milk and Cookies flavor which was still really good.

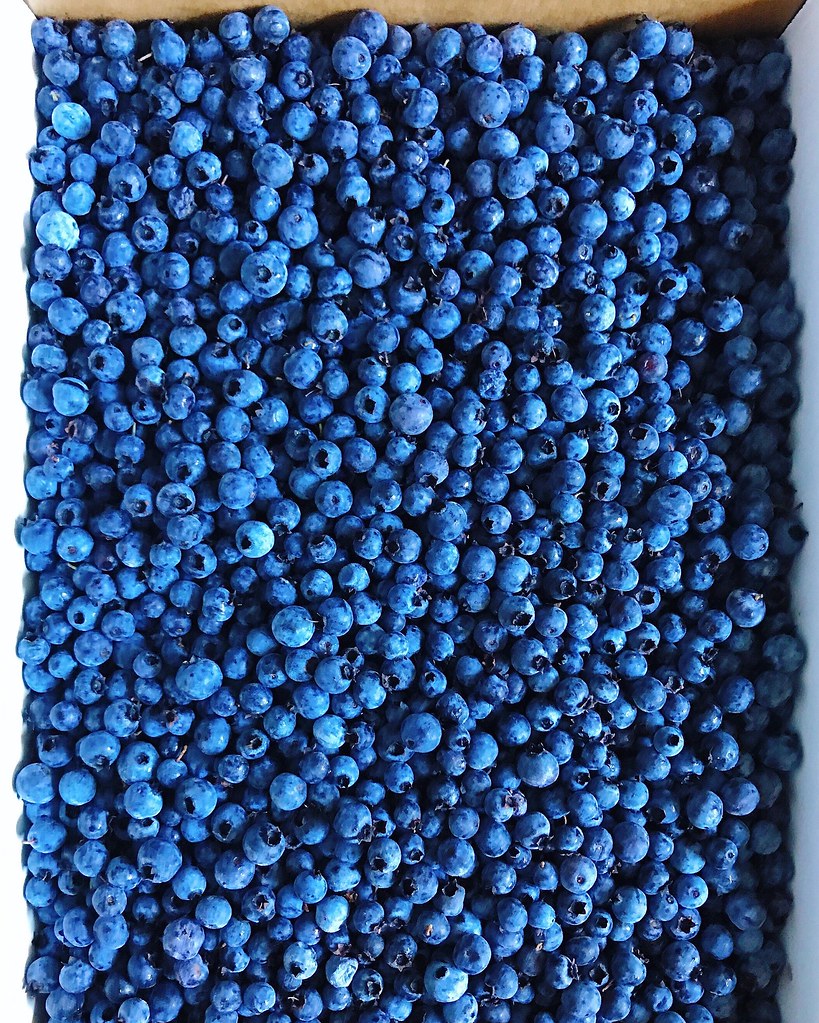
So when Boston Organics contacted me and offered to send me a 5 lb. box of their wild Maine blueberries, I knew the first thing I wanted to make with them.  I consulted with my favorite ice cream cookbook, Jeni's Splendid Ice Creams at Home, and realized I could make something similar using her salty caramel ice cream recipe, adding some blueberry compote, and then swirling in some chocolate freckles when the ice cream was almost done churning.


I also wanted to share some more information about these wonderful blueberries because they're so different from the ones you usually find in the grocery store.  These are from Burke Hill Farm in Cherryfield, ME and come in a compact wax box that will fit perfectly in most freezers.  Known as lowbush blueberries, these wild blueberries grow in northern New England’s naturally acidic soil and are resilient enough to withstand the region's icy winters.  They're smaller and sweeter than the highbush berries you're probably used to, and perfect for freezing, baking, and just snacking on!  You can find more information here on the Boston Organics website.

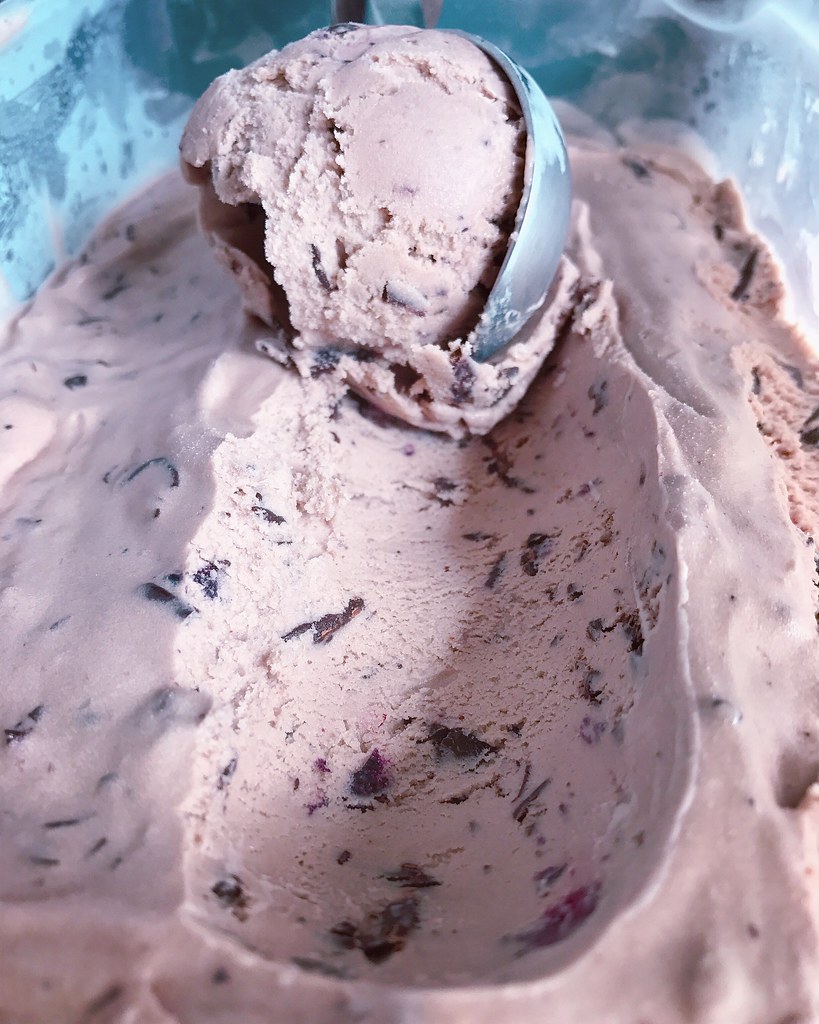
I wish the ice cream could be as brilliantly colored as the blueberry milk and cookies gelato above, but I was worried that adding too much blueberry compote to the ice cream base might make it too icy.  Regardless, the flavor is incredible; the sweetness of the caramel is tempered by the tartness of the blueberries, and the crackly dark chocolate freckles adds a fun textural component.


Blueberry Salted Caramel Ice Cream with Chocolate Freckles
makes about 1 quart

1 cup wild Maine blueberries (frozen is fine)*
2/3 cup plus 2 tablespoons sugar
2 cups whole milk
1 tablespoon plus 1 teaspoon cornstarch
3 tablespoons cream cheese, softened
1/2 teaspoon kosher salt
1 1/4 cups heavy cream
2 tablespoons light corn syrup
2 teaspoons vanilla extract
4 oz. dark chocolate, chopped

Heat the blueberries and 2 tablespoons of sugar in a small saucepan until it comes to a boil.  Gently mash the blueberries and remove from heat.

Mix a couple tablespoons of the milk with the cornstarch to make a slurry and set aside.  Whisk the cream cheese and kosher salt in a large bowl and set aside.  Mix the heavy cream and corn syrup in a measuring cup with a spout.

Add the remaining 2/3 cup of sugar to a 4-quart saucepan and heat over medium heat.  Wait until a layer of sugar has melted and turned amber before stirring with a heatproof spatula.  Once all the sugar has melted and is a dark amber remove from heat and add about 1/4 cup of the heavy cream mixture while stirring.  It will violently erupt with steam so be careful!  Continue to stir and add more and more of the cream until it is all incorporated.

Return the pan to medium-high heat and add the rest of the milk.  Bring to a boil and cook for 4 minutes.  Whisk in the cornstarch slurry and bring back to a boil.  Continue to cook and stir until slightly thickened, about one minute.

Add a little of the hot cream mixture to the cream cheese and whisk until the cream cheese is dissolved.  Add the rest of the cream mixture, vanilla, and blueberry compote and mix.  Chill the mixture, then churn in an ice cream maker according to the manufacturer's instructions.

While the ice cream is churning, place the chopped chocolate in a plastic sandwich bag, seal it shut, and then place in some very hot water.  Occasionally squeeze the chocolate around until it is all melted.  Remove the bag from the water and dry the outside.  Keep the chocolate melted but not hot.

Once the ice cream is almost done churning, snip a corner off of the sandwich bag and squeeze a steady stream of the melted chocolate into the ice cream while it continues to churn.  Pack the churned ice cream into a storage container and freeze for at least 4 hours.

*If you can't get your hands on wild Maine blueberries, you can use regular blueberries to make the compote, but you may want to boil it longer to reduce it further and add some more sugar as needed.


Next:  Crane Rangoons
Previously:  Greyscale Cream Puffs
Last Year:  Macau-Style Portuguese Chicken Rice
Three Years Ago:  Taiwanese Taro Swirl Mooncakes
Four Years Ago:  Ramen Lobster Rolls
Five Years Ago:  Caramelized Onion and Swiss Chard Quiche

Monday, September 12, 2016

Caramelized Honeycomb Ice Cream


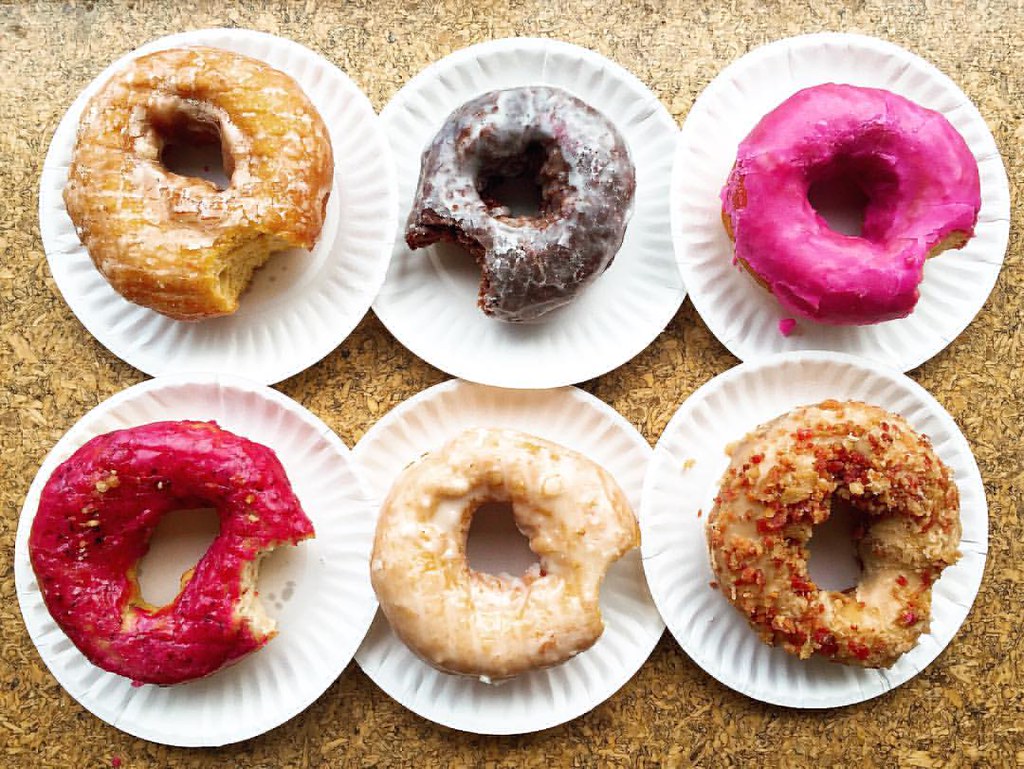
My friend Christine and I took our annual gorgefest stuffing of the faces eat all the things road trip up to Portland, ME on Labor Day and hit all our usual spots.  First was The Holy Donut for their Maine potato donuts.  Here we have the sweet potato ginger glazed, sea salt chocolate, pomegranate, maple bacon, fresh lemon, and triple berry flavors.  I think my favorite was the maple bacon.


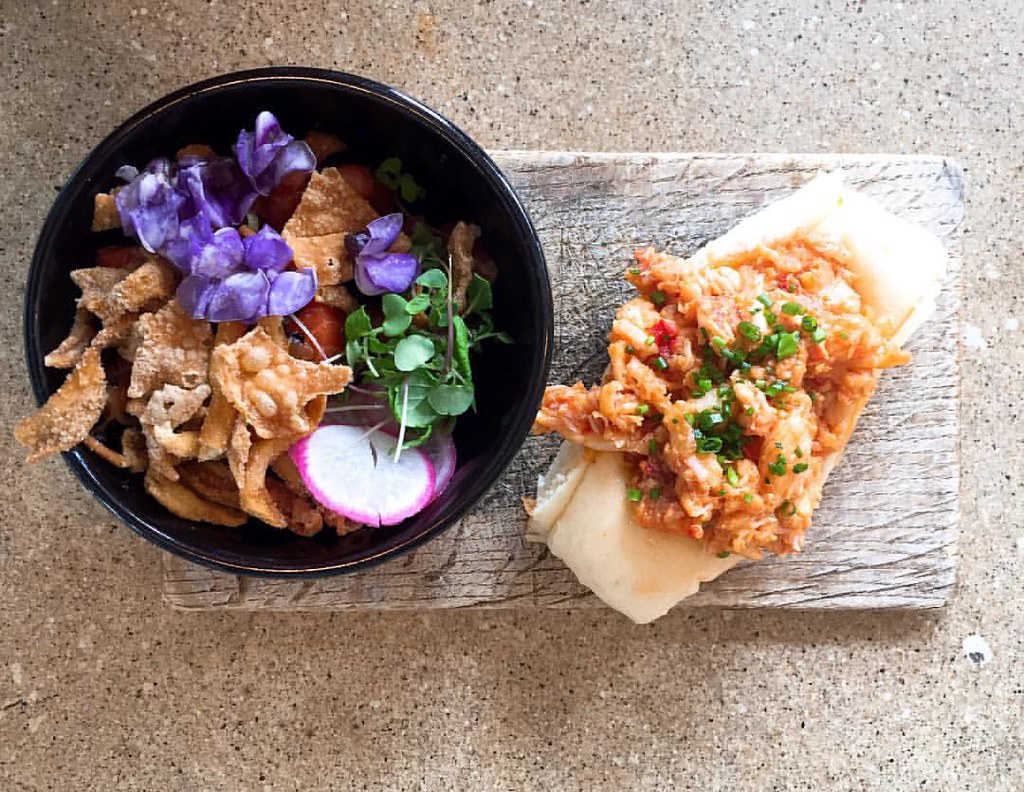
Then on to Eventide Oysters for their brown butter lobster rolls (which I've tried to recreate).  We also tried the salmon poke this time, which I thought was prettier than it tasted.


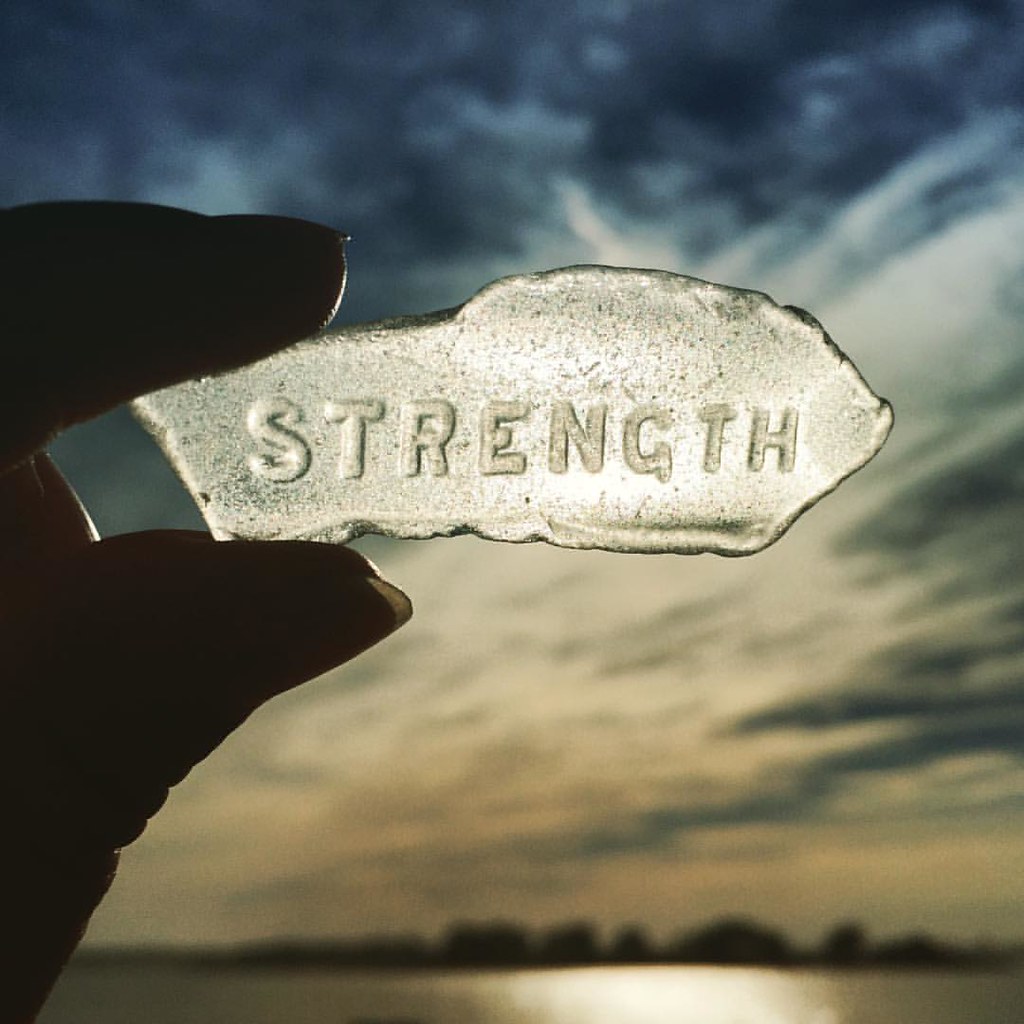
Since it was such a beautiful day, and we had some time before dinner, we took the ferry over to Peaks Island to see if there was anything interesting there.  There wasn't.  But Christine did find this awesome piece of sea glass there!


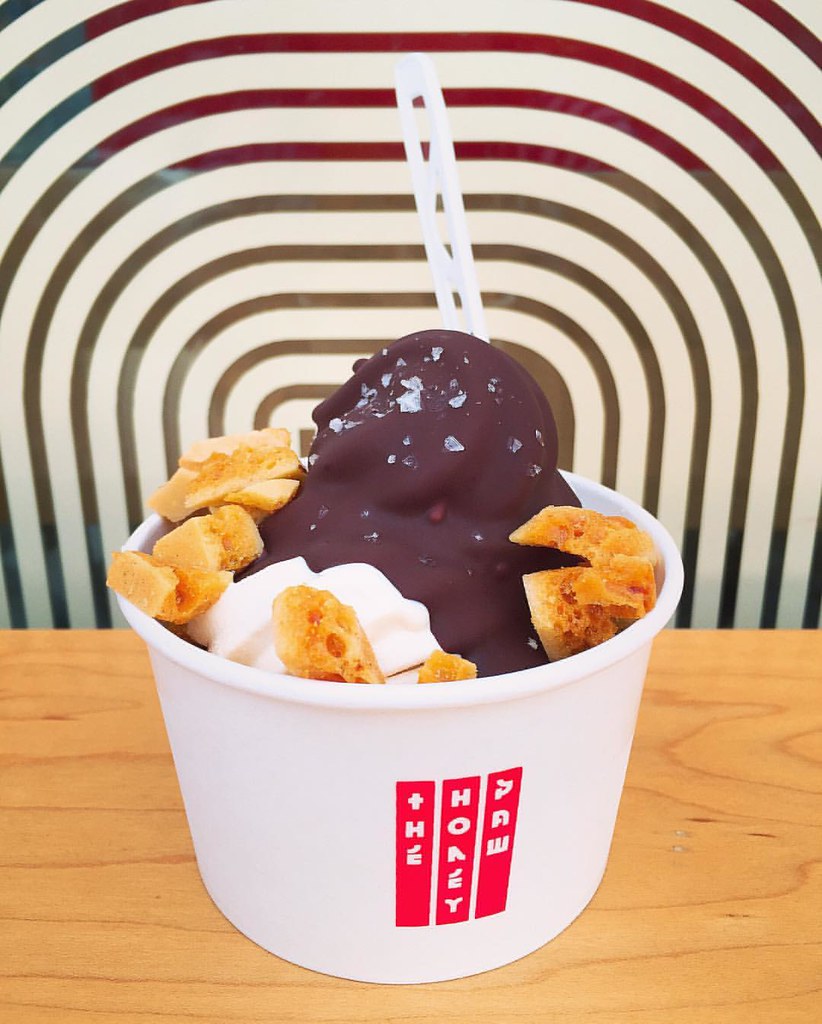
After dinner at Duck Fat, we decided to grab some dessert from The Honey Paw, a new fusion restaurant next door to Eventide.  We tried the caramelized honeycomb soft serve with magic shell and honeycomb candy.


It might have been the best thing we ate that day and is definitely going on our to-eat list for future trips!

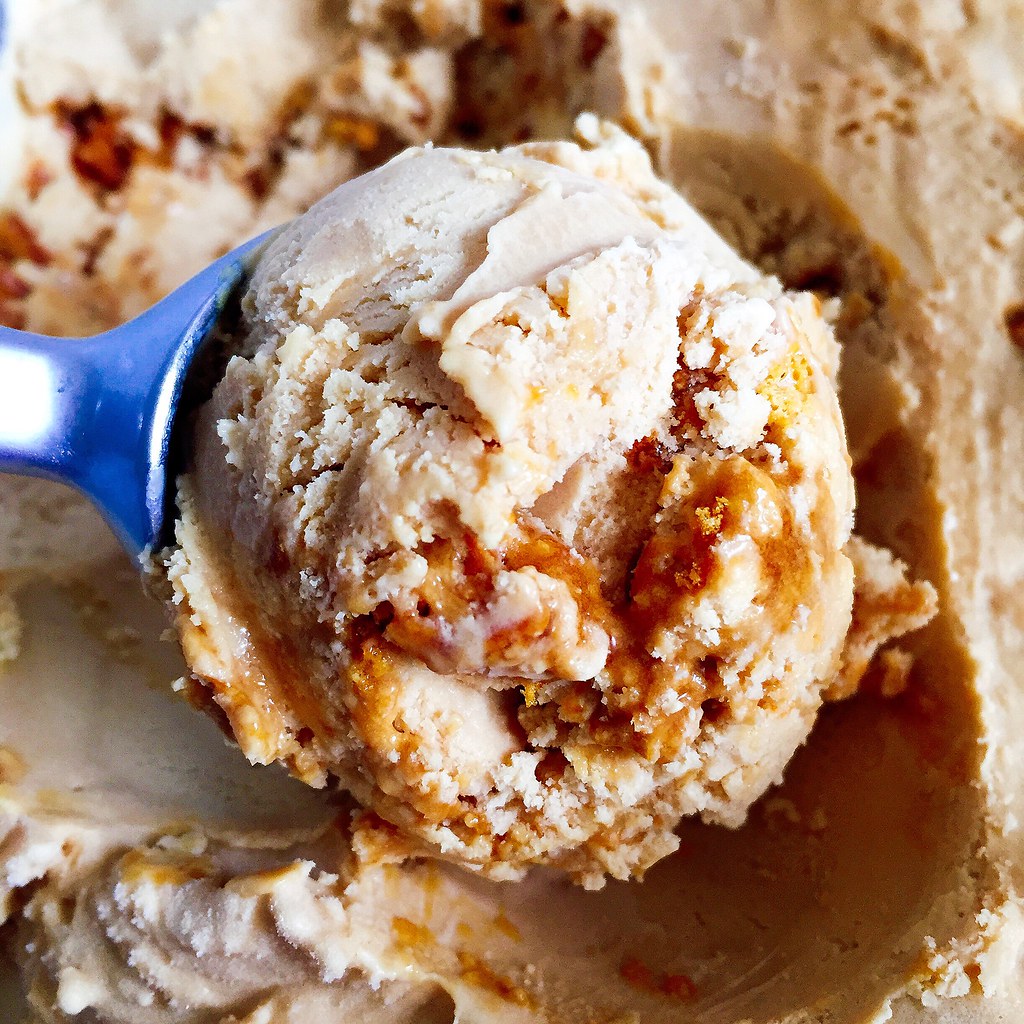
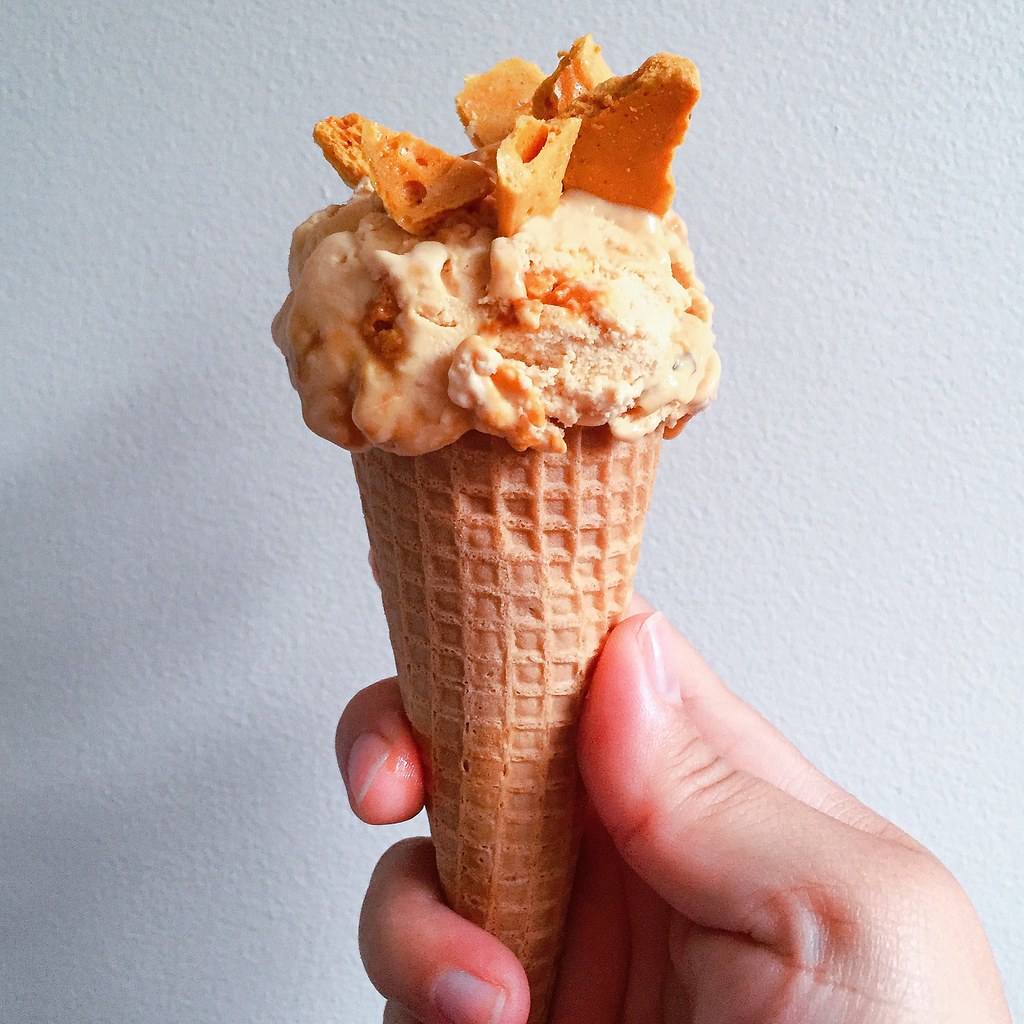
I tried to recreate it at home using one of Jeni's recipes as a guide, but I wasn't able to get that pure honey flavor that was the reason I loved the original version.  But then I realized it reminded me of Toscanini's burnt caramel ice cream, which is a very, very good thing.  I also liked how the honeycomb candy--also made with one of Jeni's recipes--added a unique texture when layered in with the ice cream.


Caramelized Honeycomb Ice Cream (adapted from Jeni's Splendid Ice Creams at Home)
makes about 1 quart

For the honeycomb candy:
1 1/2 cups sugar
1/2 cup water
3 tablespoons honey
1/3 cup corn syrup
1 tablespoon baking soda

Bring the sugar, water, honey, and corn syrup to a boil in a large saucepan over medium-high heat.  When it reaches 300°F, remove from heat and stir in the baking soda.  Pour into a parchment-lined baking sheet and let cool.  Break into small pieces.  You'll only need about half the amount that this recipe makes for the ice cream, but it's great eaten on its own or coated with chocolate.  Store in an airtight container.

For the ice cream:
2 cups whole milk
1 tablespoon plus 2 teaspoons cornstarch
4 tablespoons cream cheese, softened
1/2 teaspoon kosher salt
2/3 cup honey
1 1/2 cups heavy cream

Make a slurry with the cornstarch and 2 tablespoons of the milk and set aside.  Whisk the cream cheese and salt in a medium bowl until smooth.

Caramelize the honey in a large saucepan over medium-high heat.  Stir in about 1/4 of the cream to loosen it up and then stir in the rest of the cream.  Add the remaining milk and bring to a boil over medium-high heat.  Boil for 4 minutes, then whisk in the cornstarch slurry.  Bring the mixture back to a boil and cook until slightly thickened, about 1 minute.

Gradually whisk the hot milk mixture into the cream cheese until smooth.  Chill the mixture in an ice bath or in the refrigerator until cold.

Churn according to your ice cream maker's instructions.  Pack the ice cream into a storage container, mixing in the honeycomb candy as you go.  Freeze in your freezer until firm, at least 4 hours.


Next:  Soy Garlic Glazed Korean Fried Cauliflower
Previously:  Macau-Style Portuguese Chicken Rice
Two Years Ago:  Ginger Scallion Lobster Buns
Three Years Ago:  Ramen Lobster Rolls

Thursday, November 6, 2014

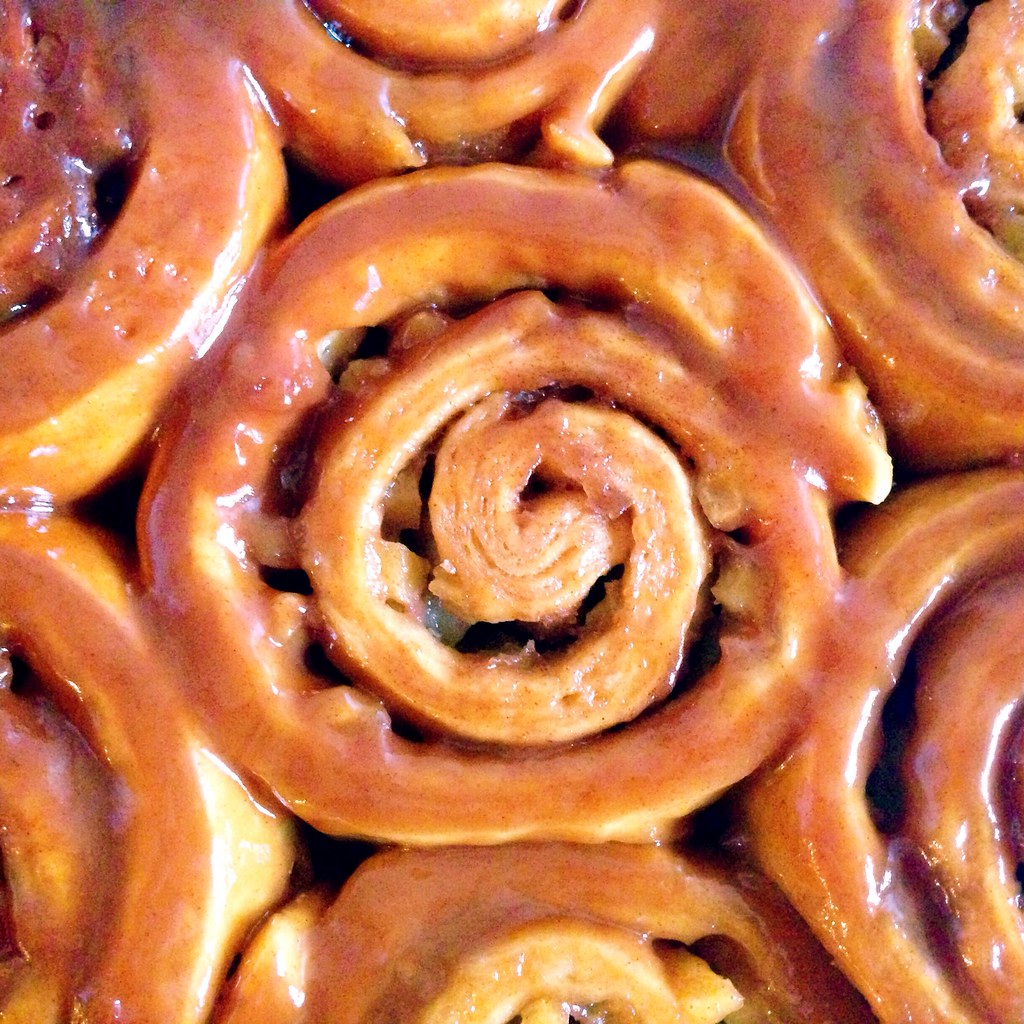
Caramel Apple Cinnamon Rolls

https://www.flickr.com/photos/joyosity/15706357572/

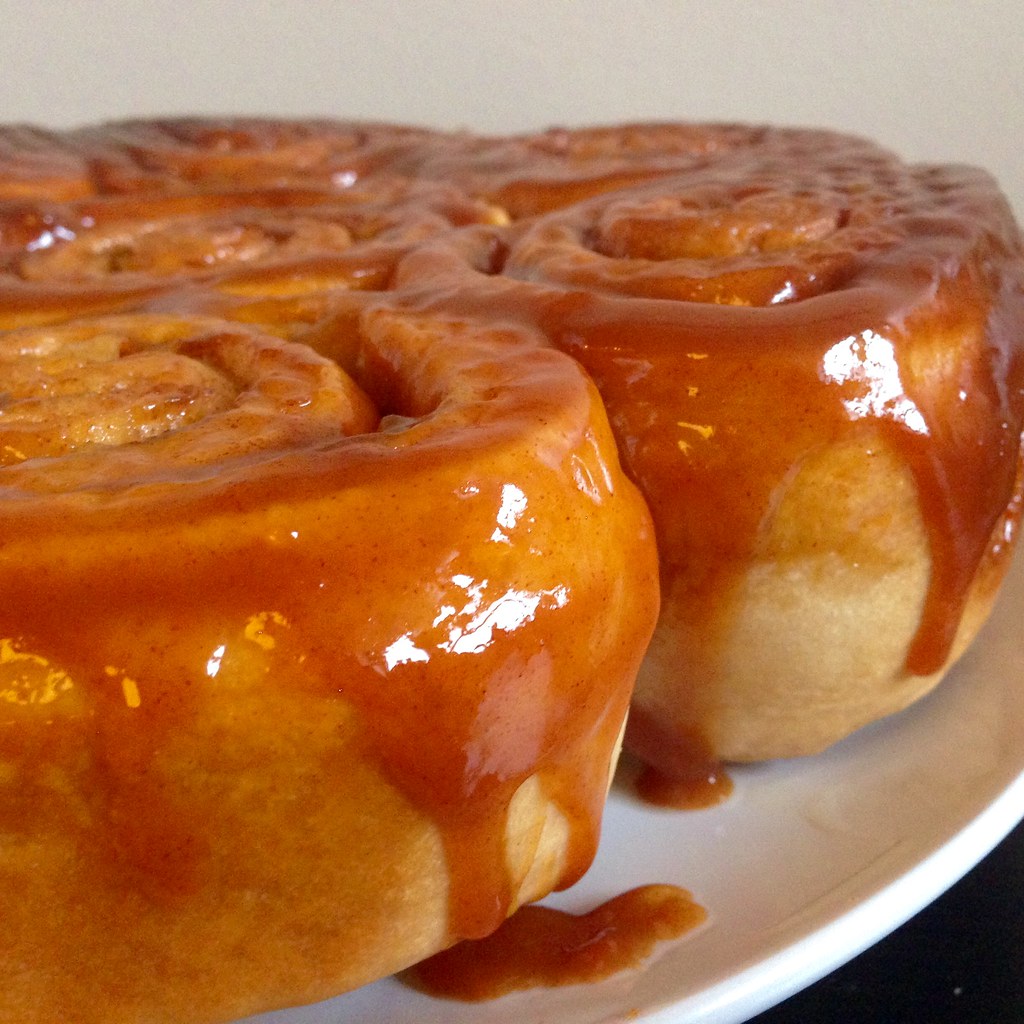
As soon as I saw this recipe on Use Real Butter, I knew I needed to make it.  Combining soft, warm cinnamon rolls with ooey, gooey caramel sauce and diced apples is a totally irresistible combination!

I didn't have two round pans, so I ended up baking half the rolls in a round pan and half in a square pan.  Because of the shapes of the pans, I decided to make the suggested 7 rolls in the round pan and 9 smaller rolls in the square pan.  I would definitely take the suggestion to place a sheet pan or aluminum foil underneath the pans while baking to catch any caramel that might spill over.

Reducing the apple cider and making the caramel takes a bit of time and monitoring, so you can do those steps the day before if you like.  You could even make everything up to the point where you place the shaped buns in the baking pans and refrigerate them overnight to bake the following morning after they've come to room temperature and doubled in size.

I underestimated the amount of all-purpose flour I had on hand when I started making this and had to replace half the amount of flour with white whole wheat flour.  I don't think it affected the flavor too much, but it was probably less fluffy and soft as it could have been.  I also halved the amount of butter used in the filling because I didn't think I needed a full stick in there.  I like to think of my version as "half-healthy".

https://www.flickr.com/photos/joyosity/15085119054/

Caramel Apple Cinnamon Rolls (adapted from Use Real Butter)
makes 14 large or 18 smaller rolls

For the dough:
6 1/2 cups all-purpose flour
4 1/2 teaspoons active dry yeast
2 cups milk
1/4 cup sugar
1/4 cup butter
1 1/2 teaspoons salt
1 egg
Vegetable oil

For the filling:
1/2 cup packed brown sugar
1/2 cup granulated sugar
1/4 cup all-purpose flour
1 tablespoon ground cinnamon
1/4 cup butter
2 cups apple, peeled, cored, and small dice

For the apple cider caramel:
2 cups apple cider
1 cup heavy cream
3/4 cup granulated sugar
1/2 teaspoon ground cinnamon
2 teaspoons vanilla extract
1/4 teaspoon sea salt

Combine 2 1/2 cups of flour and the yeast in the mixing bowl of a stand mixer. Place the milk, 1/4 cup sugar, 1/4 cup butter, and 1 1/2 teaspoons salt in a medium saucepan over medium heat. Stir together to dissolve the sugar until the mixture is just warm (the butter should be just melted). Pour the milk mixture into the mixing bowl containing the flour and yeast. Add the egg. Beat with paddle attachment for 30 seconds on low speed. Beat on high speed for 3 minutes. Stir in as much of the remaining flour as the dough can take. Knead 3-5 minutes until the dough is smooth and elastic (you can do this with a dough hook and finish by hand or knead by hand). Grease a large bowl with the vegetable oil. Shape the dough into a ball and place in the large greased bowl. Turn the dough over to coat the entire thing with oil. Cover and let rise in a warm place for 45-60 minutes or until the volume has doubled.

In a medium bowl, combine the brown sugar, 1/2 cup granulated sugar, 1/4 cup all-purpose flour, and 1 tablespoon cinnamon. Cut 1/2 cup butter into the mixture until it resembles coarse crumbs. Set aside.

Pour the apple cider into a medium saucepan and warm over medium-high heat. Let the cider boil down until it has reduced to 1/4 cup in volume (doesn’t have to be exact, but no more than 1/3 cup), about 20 minutes.  Measure out the cream into a microwaveable measuring cup and microwave for 30 seconds .  Place the sugar in a clean medium saucepan over medium heat. When the sugar begins to melt, gently swirl it around to distribute the rest of the unmelted sugar. When completely melted, let the liquid sugar turn a medium to dark amber color. Slowly pour the hot cream into the caramelized sugar while stirring. It will splatter and bubble, that’s okay, keep stirring. Return the pan to low heat and stir until all of the hard caramelized sugar has melted and your sauce has thickened, about 20 minutes. Stir in the reduced apple cider, 1/2 teaspoon cinnamon, 1/4 teaspoon sea salt, and vanilla.

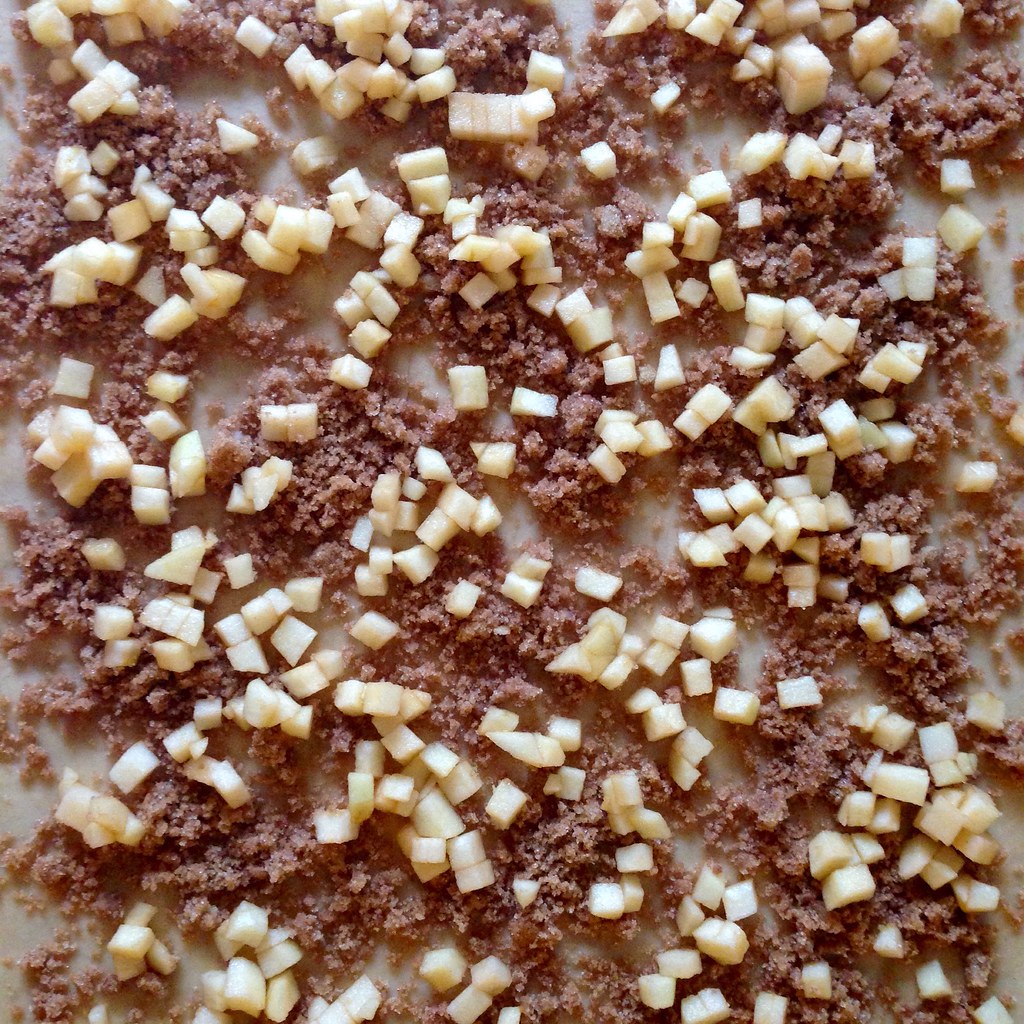
Punch the dough down and turn it out onto a lightly-floured large (bigger than 24×16 inches) work surface. Alternatively, you can halve the dough and work on a smaller surface, which is what I did.  Cover with a damp cloth and let rest for 10 minutes. Butter two 9-inch round pans or two 8-inch square pans. Pour half of the apple cider caramel in each pan. Set aside. Roll the dough out into a 24×16-inch rectangle, if you're working with all the dough at once.  If you're only working with half, roll out into a 12x16-in rectangle. Sprinkle the cinnamon-sugar filling evenly over the rectangle, leaving a 1-inch margin bare along the long side furthest from you (this is to make sure you can pinch it closed when you roll it up). Do the same with the diced apple.

https://www.flickr.com/photos/joyosity/15519462948/

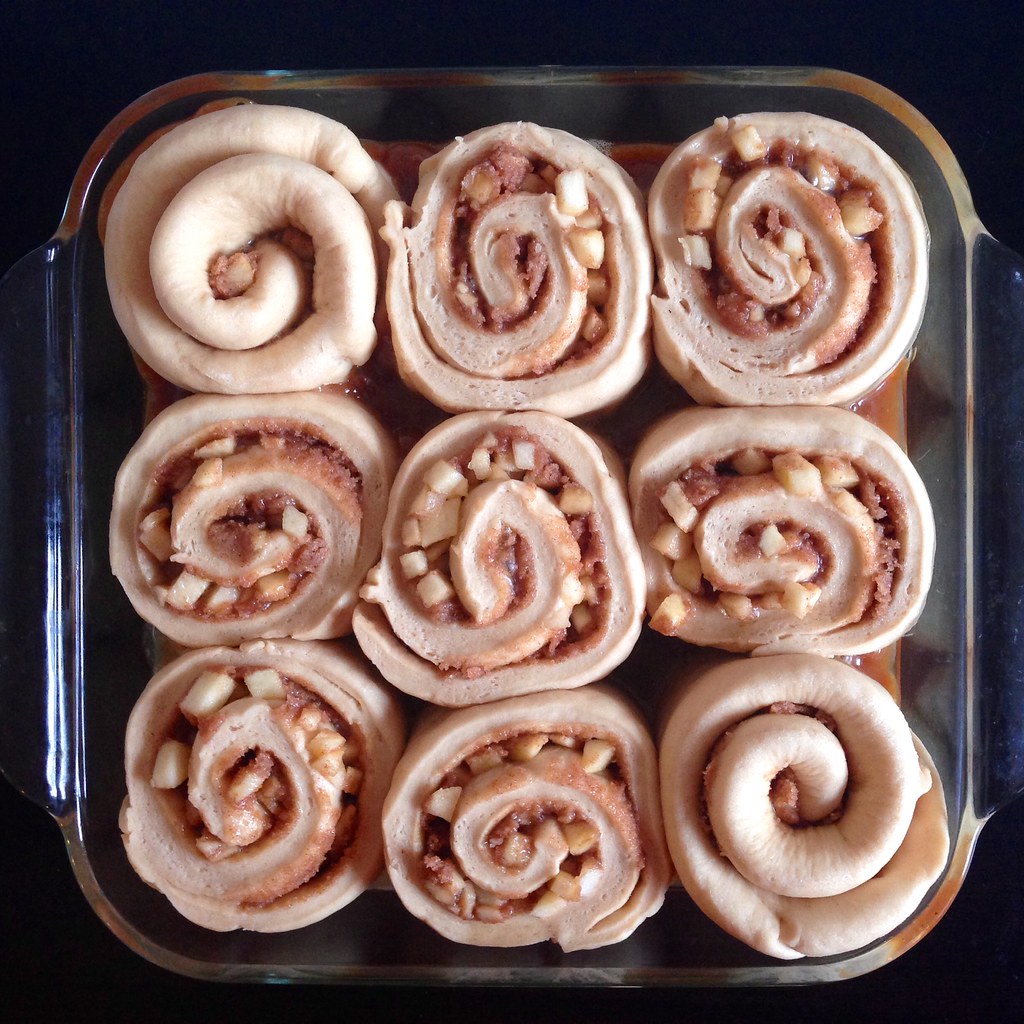
Roll up the dough incrementally to ensure that the filling stays put.  Pinch the clean edge onto the roll to seal it. Cut the roll into 14 equal-width pieces if you are using the round pans and 18 equal-width pieces if you are using the square pans. Set the slices cut-side down in the baking pans, cover and let rise for 45 minutes until doubled in volume.

https://www.flickr.com/photos/joyosity/15519579757/

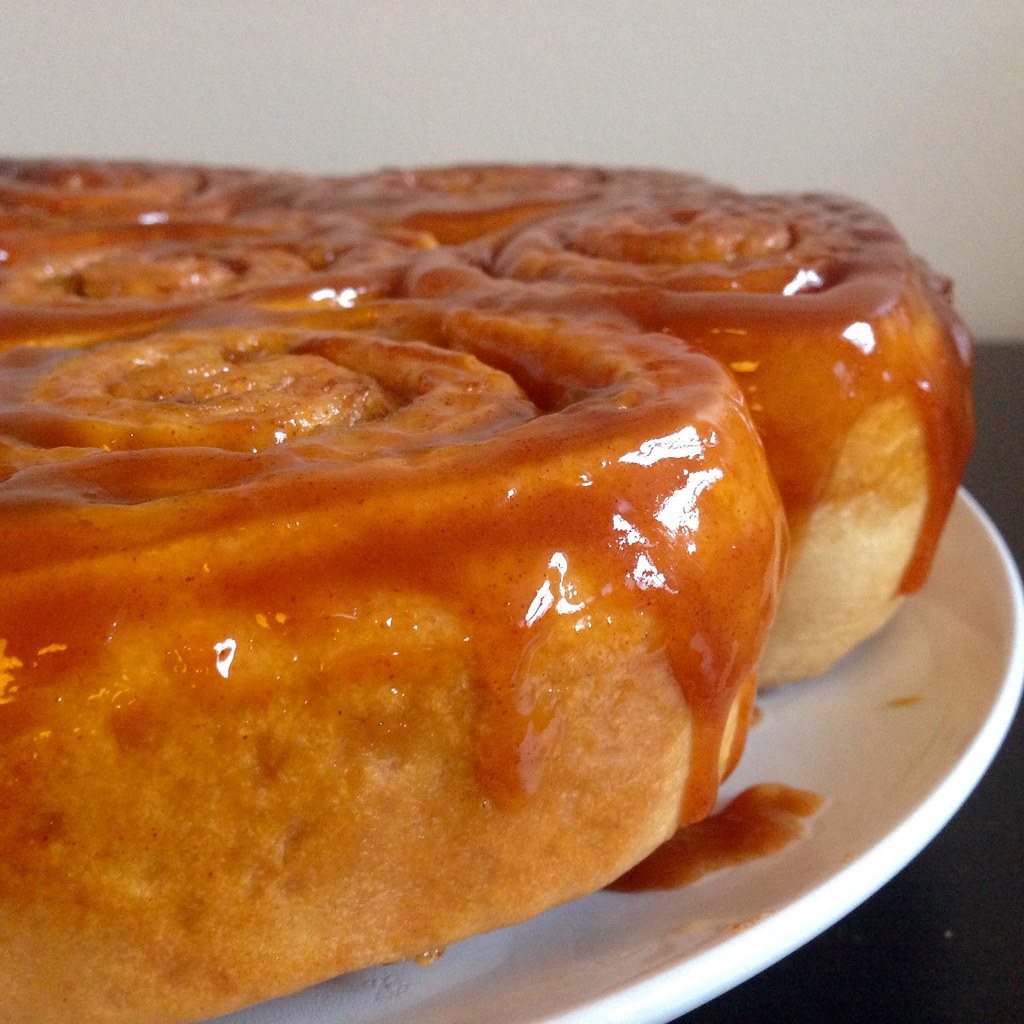
Preheat oven to 350°F. Uncover the rolls and bake for 45 minutes until lightly browned. If using 2-inch high pans, you may want to set foil or a baking sheet under the rack to catch any caramel drips. Invert the baking pans onto a serving plate and serve warm.

https://www.flickr.com/photos/joyosity/15706358332/

Next:  Spatchcock Chicken with Roasted Root Vegetables
Previously:  Raindrop Cake
Two Years Ago:  Cereal Milk Panna Cotta with Cornflake Crunch

Tuesday, August 12, 2014

Coconut Ice Cream with Mango Passion Caramel Swirl

https://www.flickr.com/photos/joyosity/14878833631/

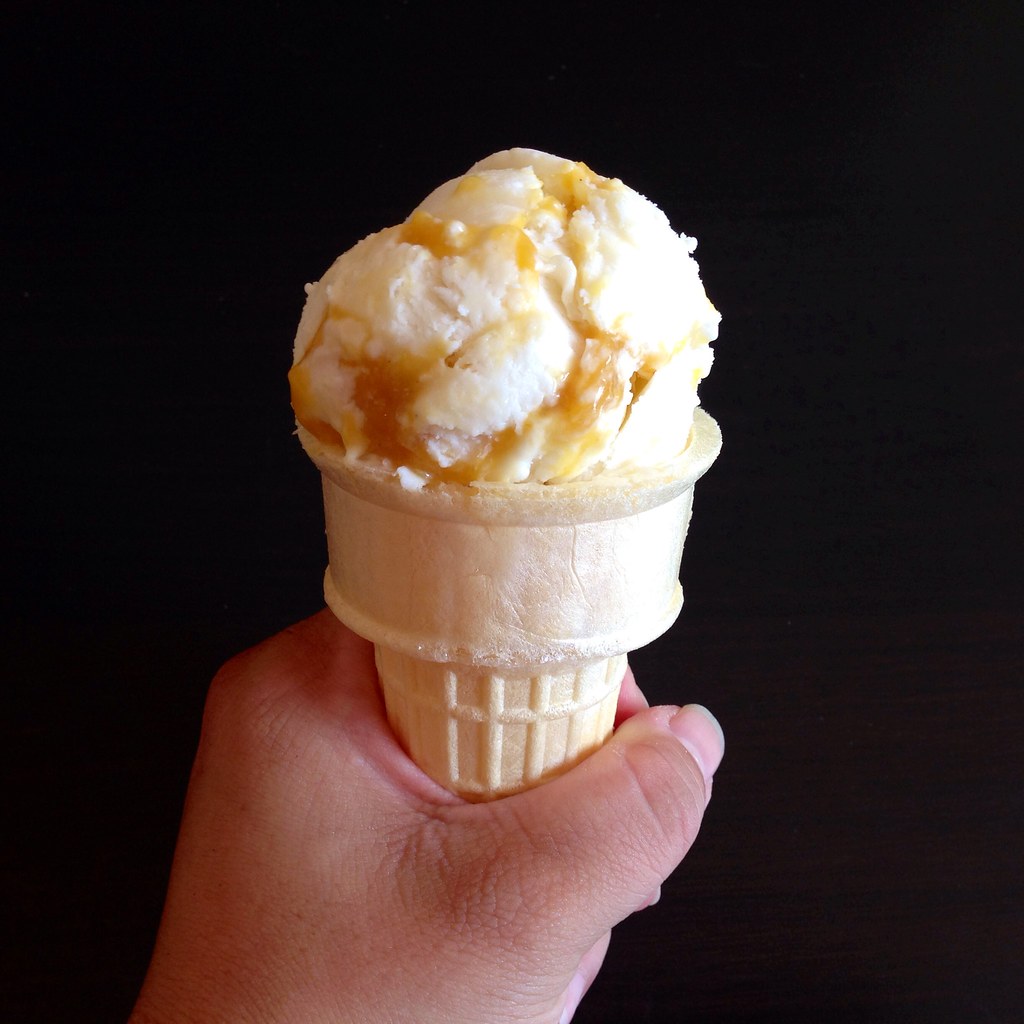
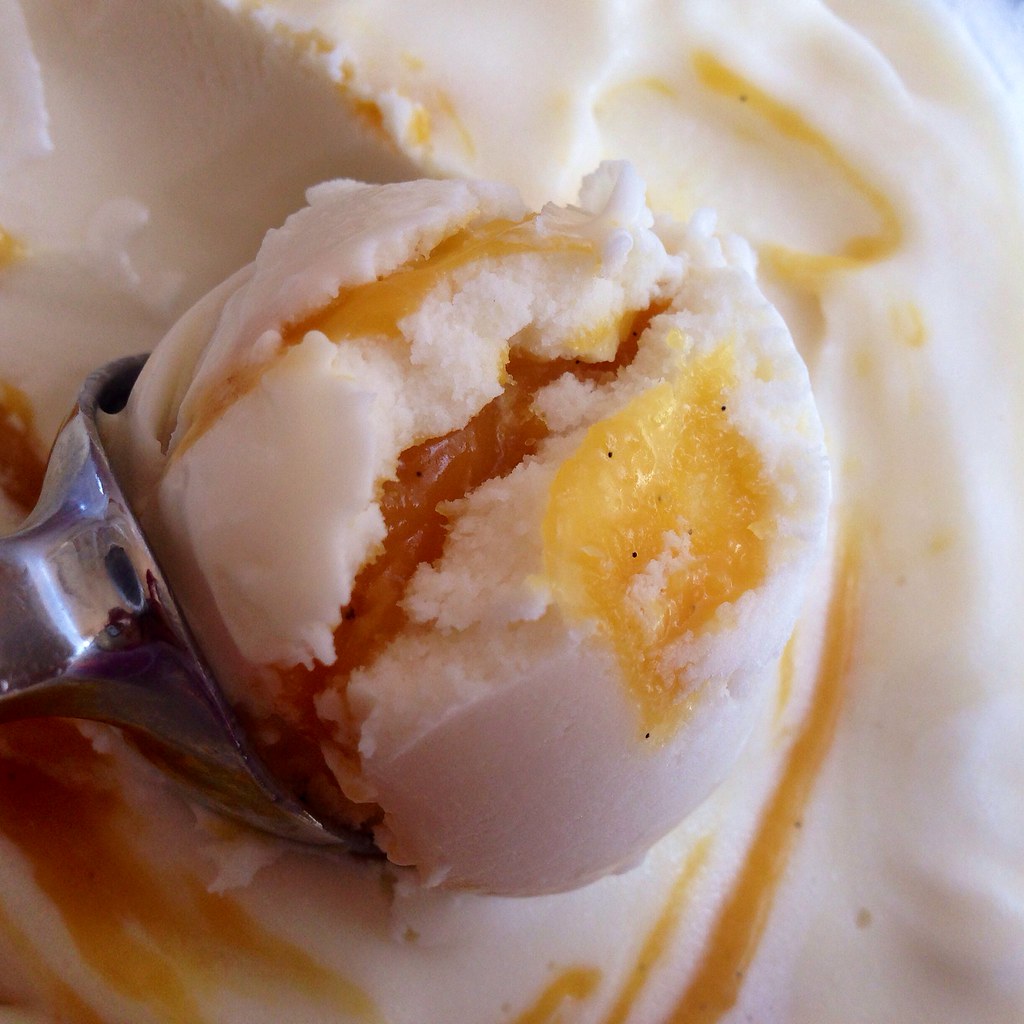
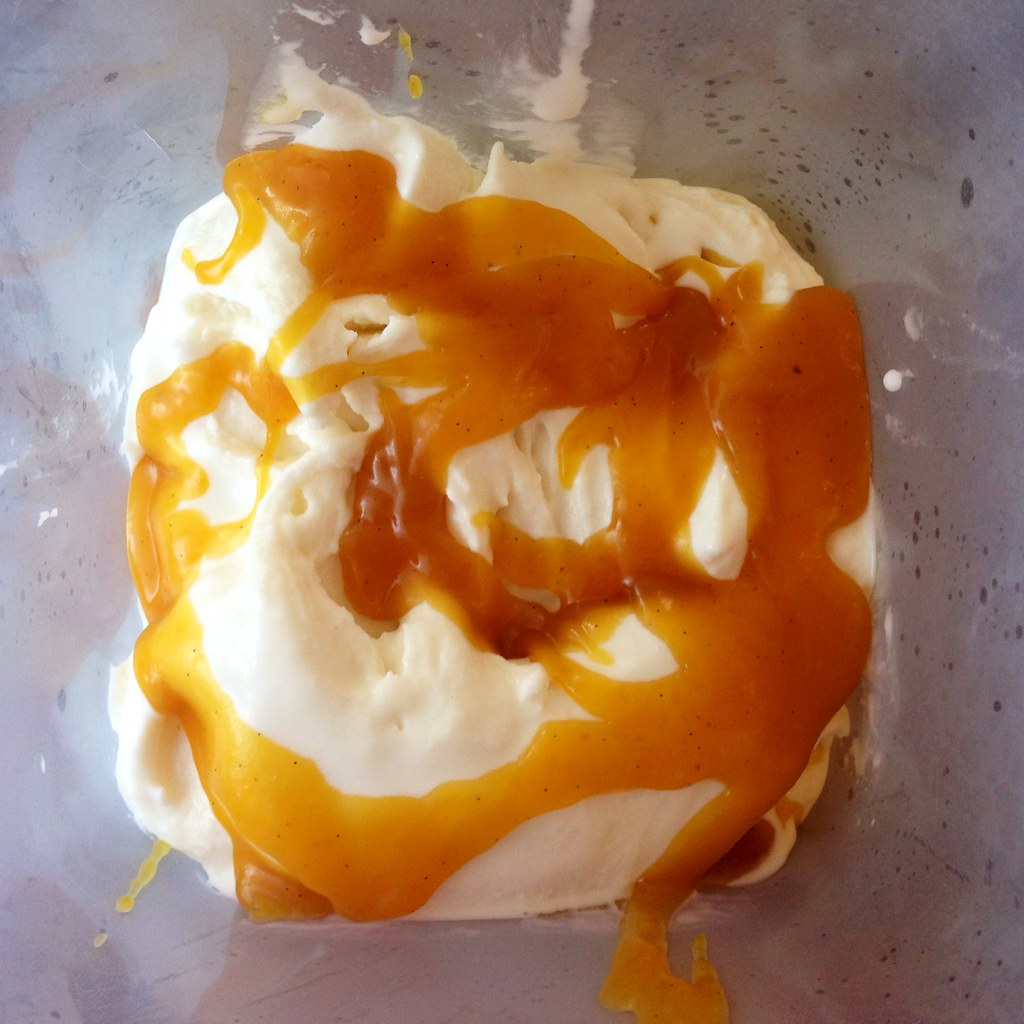
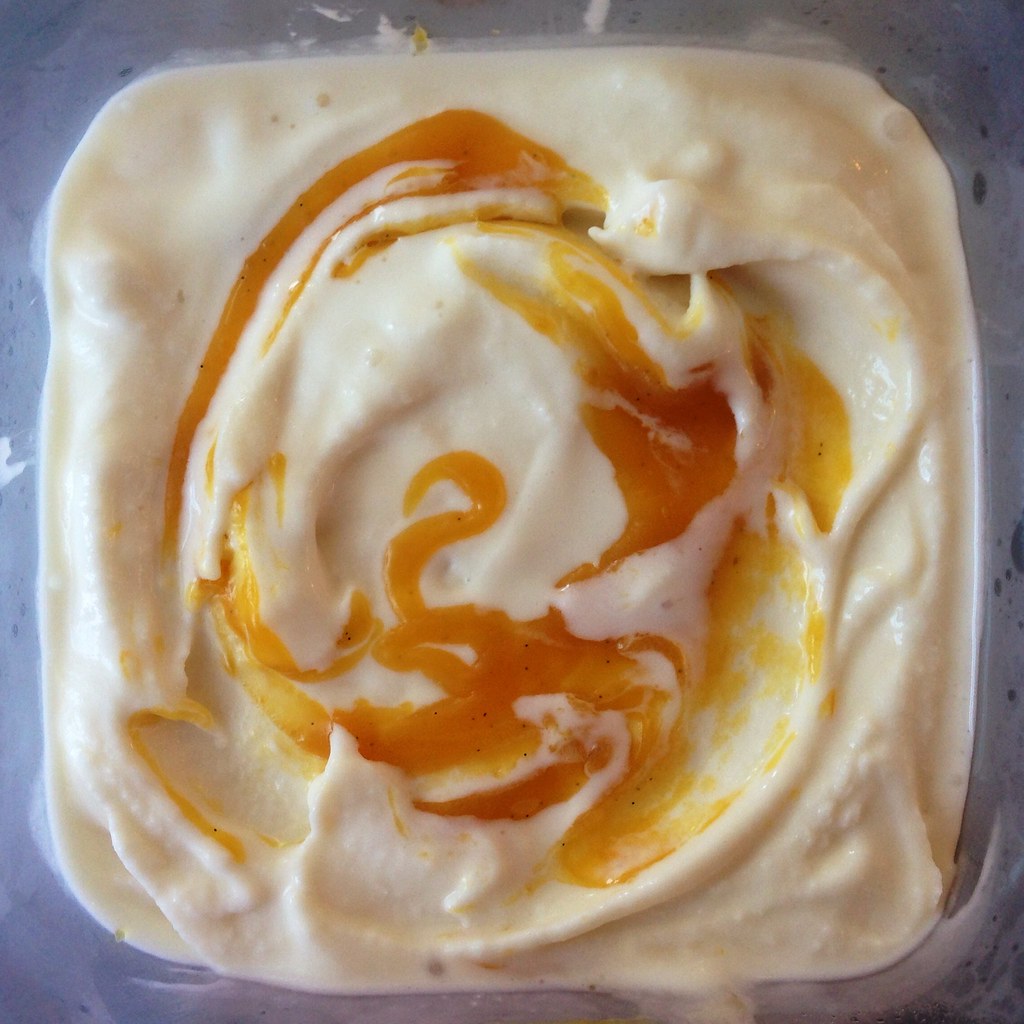
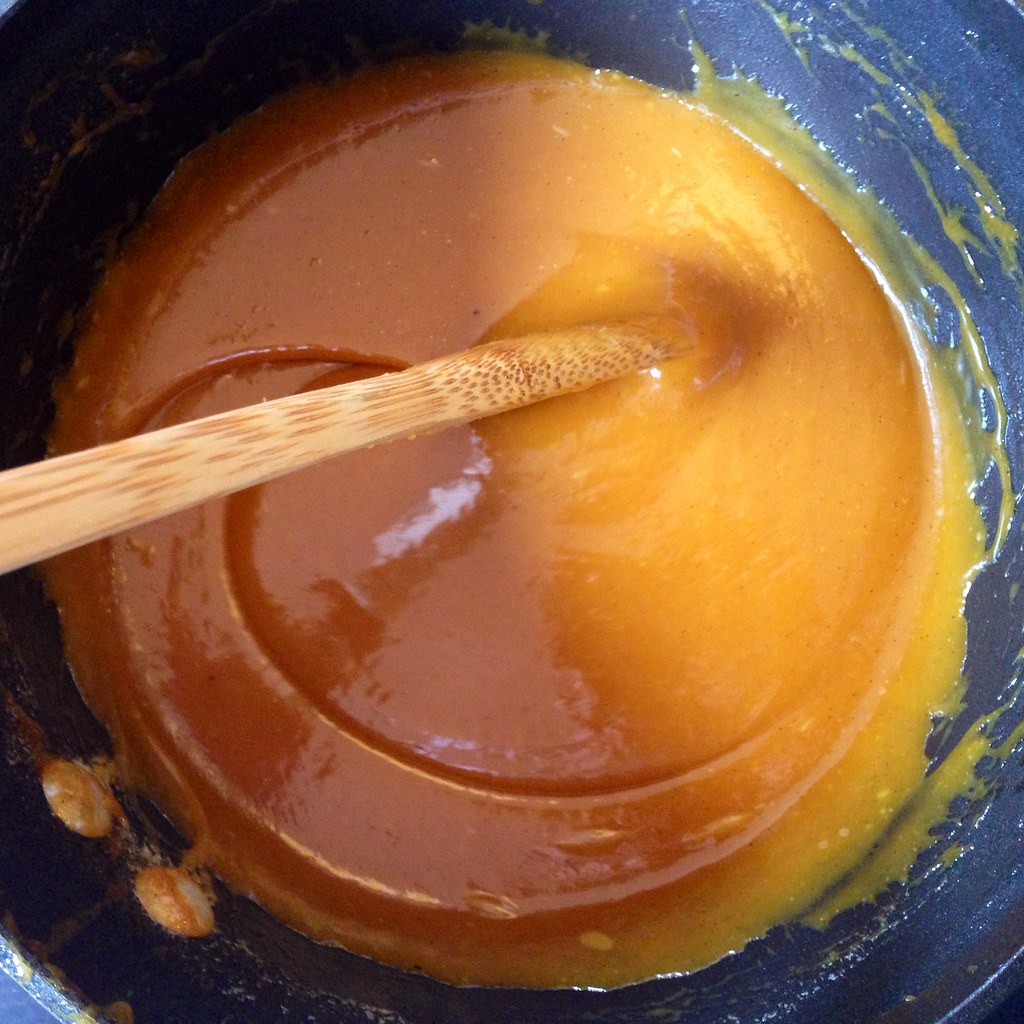
When I messed up my first batch of mango passion caramels by making something more akin to caramel sauce, I knew I didn't want to waste it so I poured it into a jar and left it in my fridge until I could figure out what to do with it.  Since it didn't turn hard when frozen, it seemed ideal to swirl into an ice cream...a white ice cream would be good to showcase the color...what would go well with mango and passion fruit...coconut ice cream!

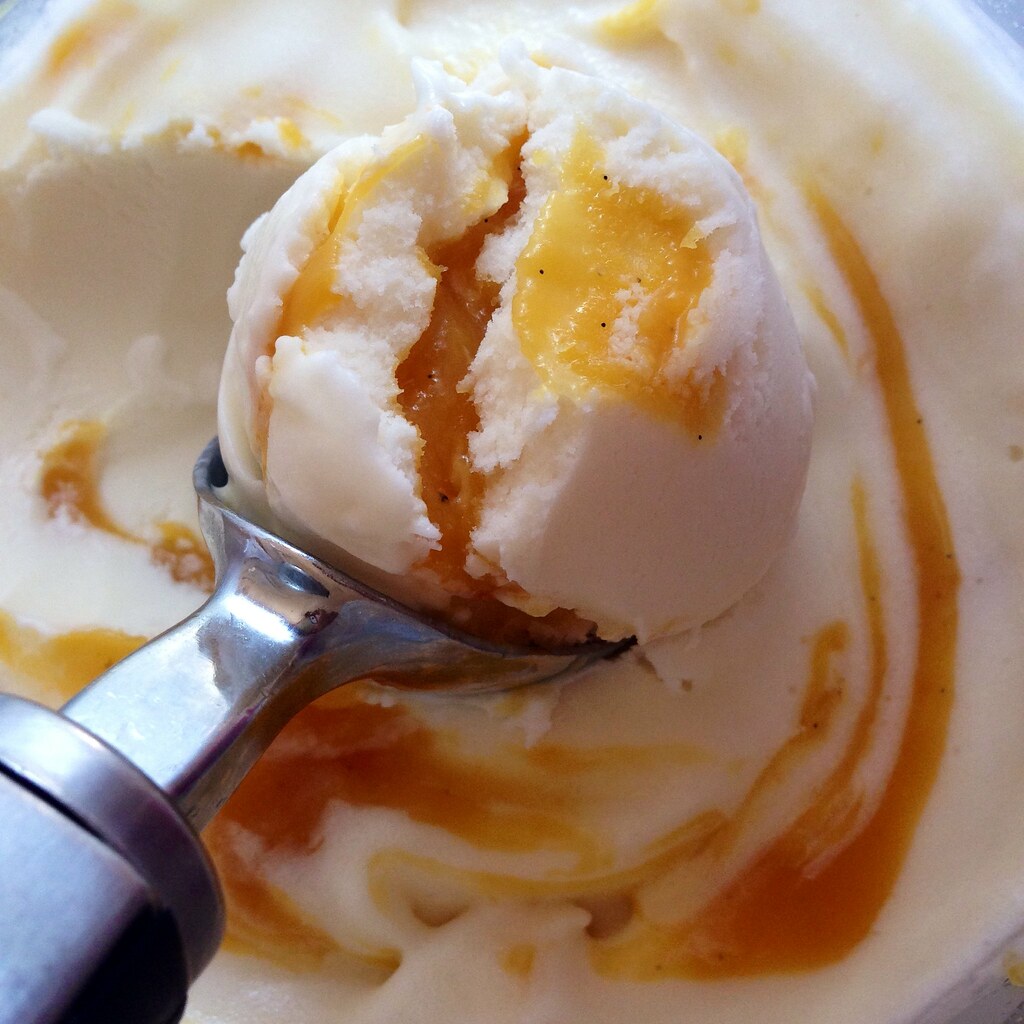
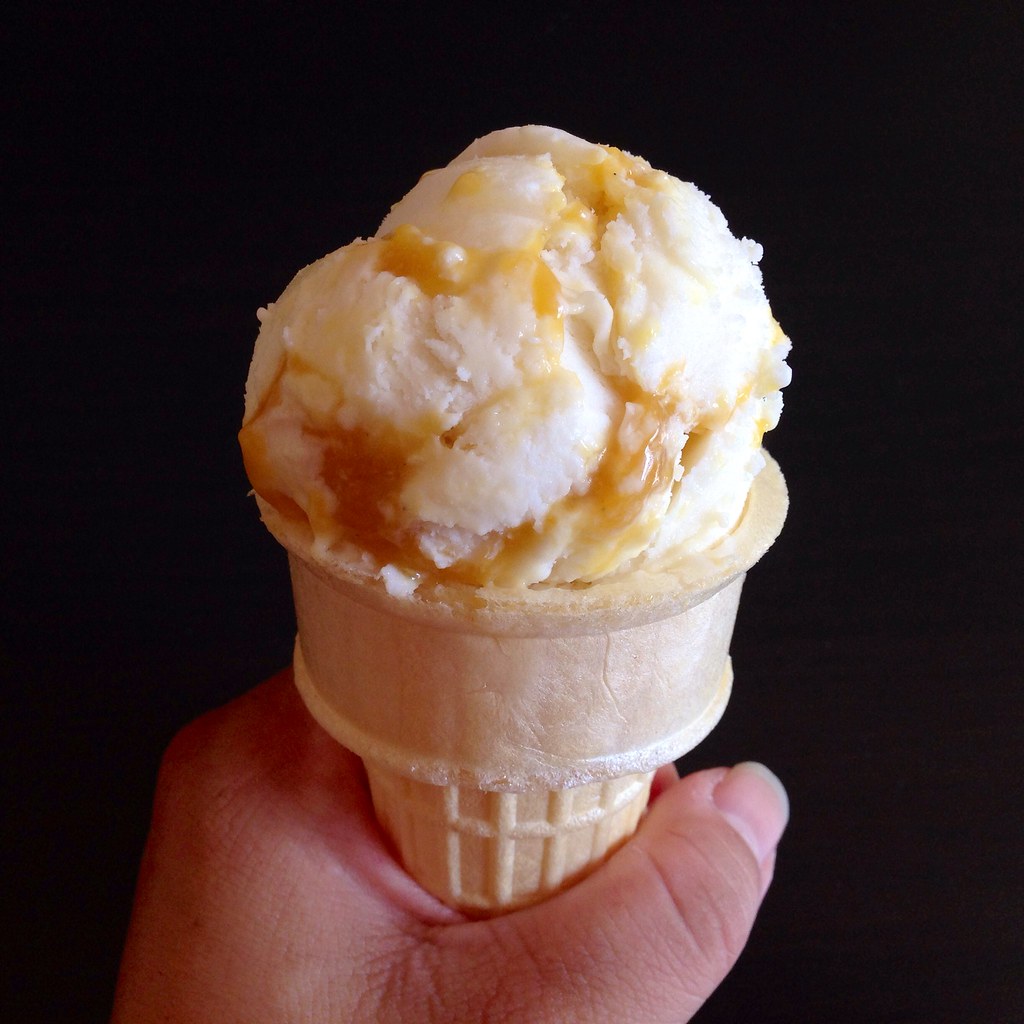
I've made a few coconut ice creams before, but this time I wanted to try making one using Jeni's ice cream base as a template.  Her Bangkok Peanut ice cream used some coconut milk, but I decided to amp up the coconut flavor by using a whole can of coconut milk and cutting back on the whole milk and heavy cream.  The result is unbelievably creamy and a perfect balance for the tart mango passion caramel swirl.  Eating this ice cream is like a free trip to a tropical island!

https://www.flickr.com/photos/joyosity/14879431644/

Coconut Ice Cream with Mango Passion Caramel Swirl
makes about 1 quart

3/4 cup whole milk
1 tablespoon plus 1 teaspoon cornstarch
3 tablespoons cream cheese, softened
1/8 teaspoon kosher salt
13.5 oz. can coconut milk (not light)
1/2 cup heavy cream
2/3 cup sugar
2 tablespoons light corn syrup
Mango Passion Caramel Sauce*

Mix about 2 tablespoons of the milk with the cornstarch in a small bowl to make a smooth slurry.  Whisk the cream cheese and salt in a medium bowl until smooth.

Combine the remaining milk, the coconut milk, cream, sugar, and corn syrup in a 4-quart saucepan.  Bring to a rolling boil over medium-high heat and boil for 4 minutes.  Remove from heat and gradually whisk in the cornstarch slurry.

Return the mixture to a boil over medium-high heat and cook, stirring until the mixture is slightly thickened, about 1 minute.  Remove from heat.

https://www.flickr.com/photos/joyosity/14858890626/

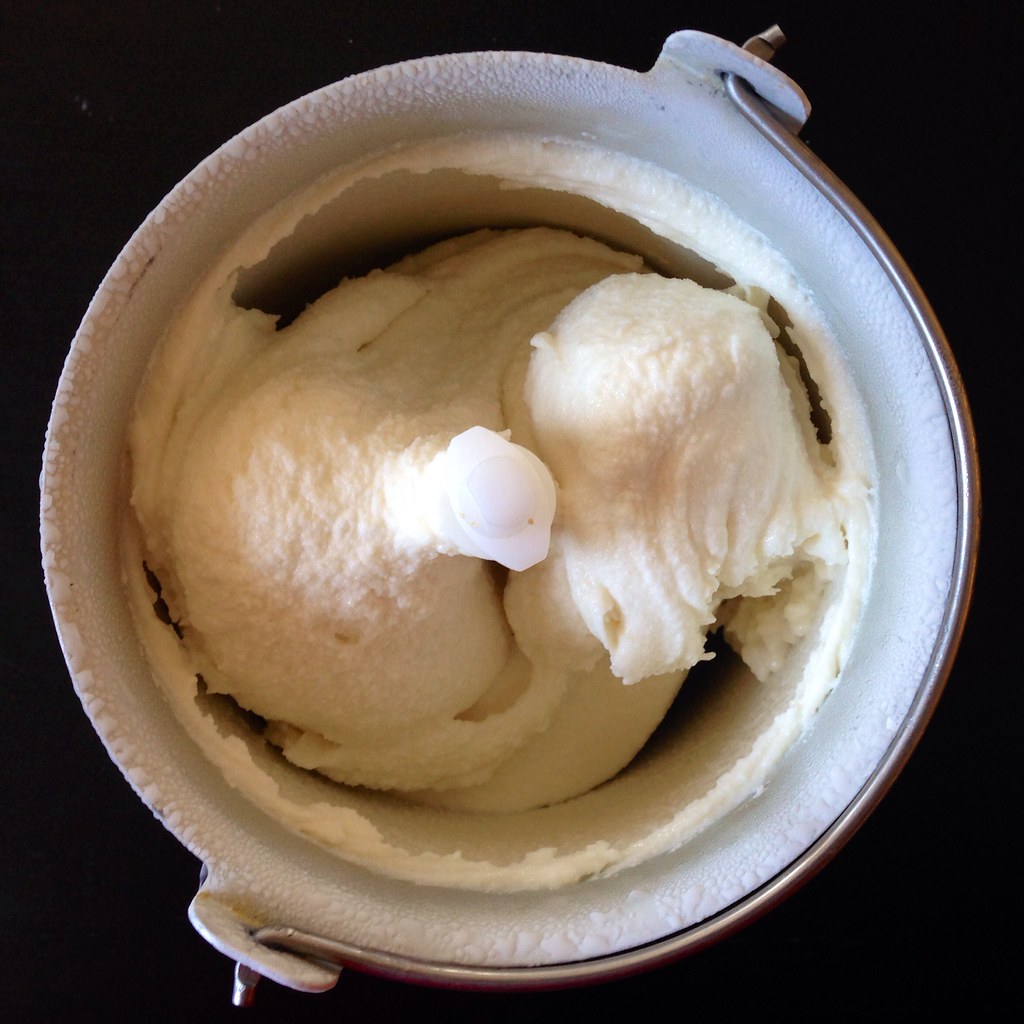
Gradually whisk the hot milk mixture into the cream cheese until smooth.  Chill the mixture thoroughly.  Churn according to your ice cream maker's instructions.

https://www.flickr.com/photos/joyosity/14878830341/

https://www.flickr.com/photos/joyosity/14858889336/

https://www.flickr.com/photos/joyosity/14881533582/

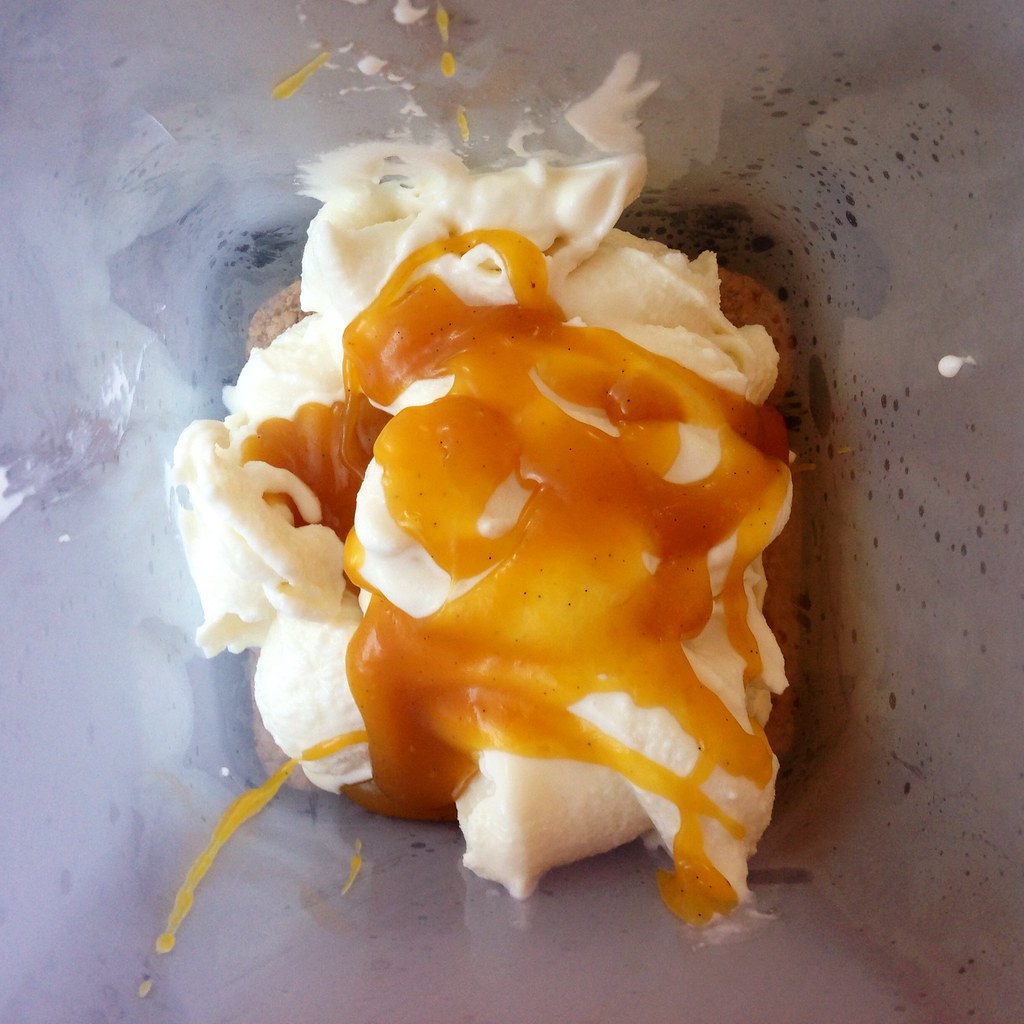
Pack the ice cream into a storage container, alternating it with layers of the mango passion caramel sauce and ending with a spoonful of sauce; do not mix.  Freeze until hard, at least 4 hours.

https://www.flickr.com/photos/joyosity/14695268018/

*Make the mango passion caramel sauce by following the directions for making mango passion caramels, double the amount of corn syrup, and only heat the caramel to 230°F.  Allow the caramel sauce to cool to room temperature before using.  The recipe will make more than you need for this ice cream recipe; you can use the rest for topping pancakes, pouring over other ice creams, etc.

https://www.flickr.com/photos/joyosity/14858894066/

Next:  Citrus Cured Salmon
Previously:  Sea Salt Cold Cream Coffee
Last Year:  Almond Pesto Pizza

Tuesday, August 5, 2014

Jacques Genin's Mango Passion Caramels

https://www.flickr.com/photos/joyosity/14790038296/

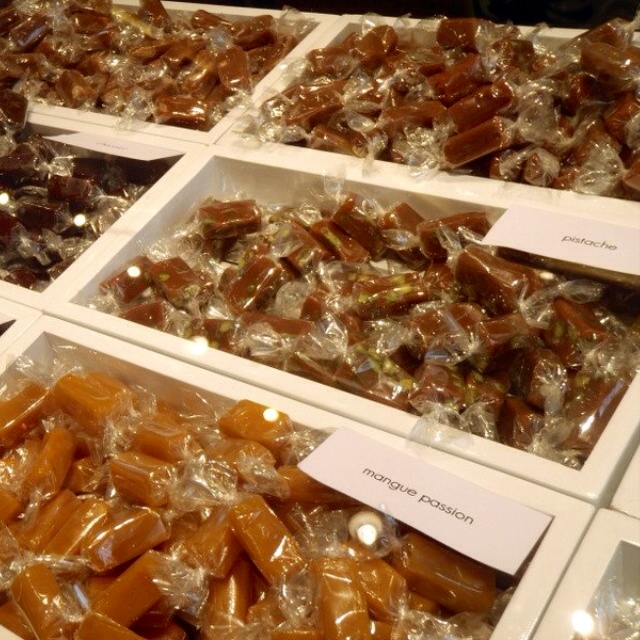
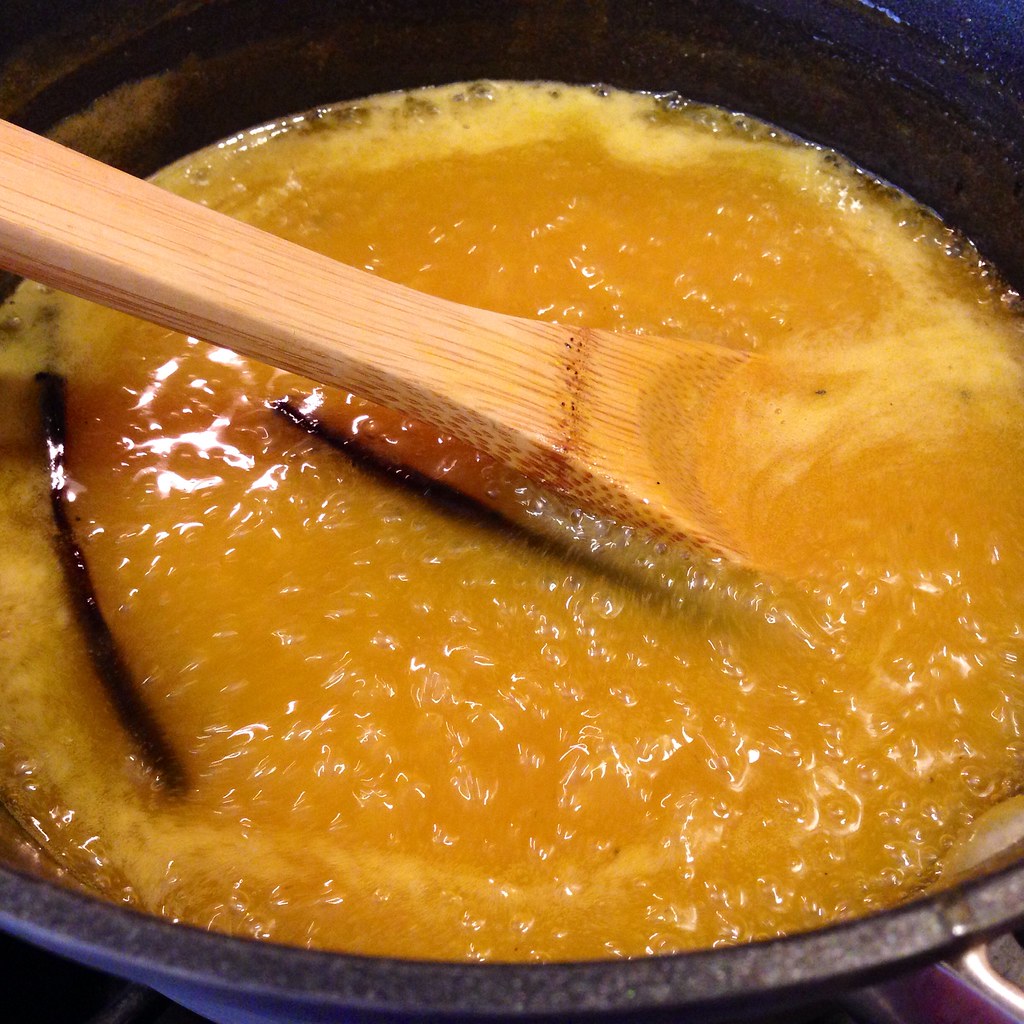
A year and a half ago, I tried making my own version of Jacques Genin's mango passion caramels by using Smitten Kitchen's apple cider caramels as a template.  In my opinion, the vanilla passion caramels turned out great, and everyone was happy.

Then a couple of months ago, my friend Ellen sent me a link to this recipe which linked to what was apparently the real recipe from Jacques Genin.  o_O

https://www.flickr.com/photos/joyosity/14790157756/

Unfortunately, even after translating the recipe to English, the instructions were a little vague.  There no mention of what temperature to cook the caramel to, just directions to boil for 45 minutes, which is really not enough when it comes to the precise science of candy making.  And there was no helpful suggestion for how to replace the glucose with corn syrup, which is much more available, at least in my kitchen.  Lastly, the recipe says it's for 4 people, but the crazy amount of each ingredient (a kilogram each of mango and passion fruit juice?  1.8 kilograms of sugar?!?) made me think it might be for more like 400 people!  After reading a few comments and looking up some info online, I decided to try cooking the caramel to a "soft ball" stage, about 110°C or 230°F, and to use a 1:1 substitution of corn syrup for glucose.  I also made the executive decision to divide all the quantities by 5.

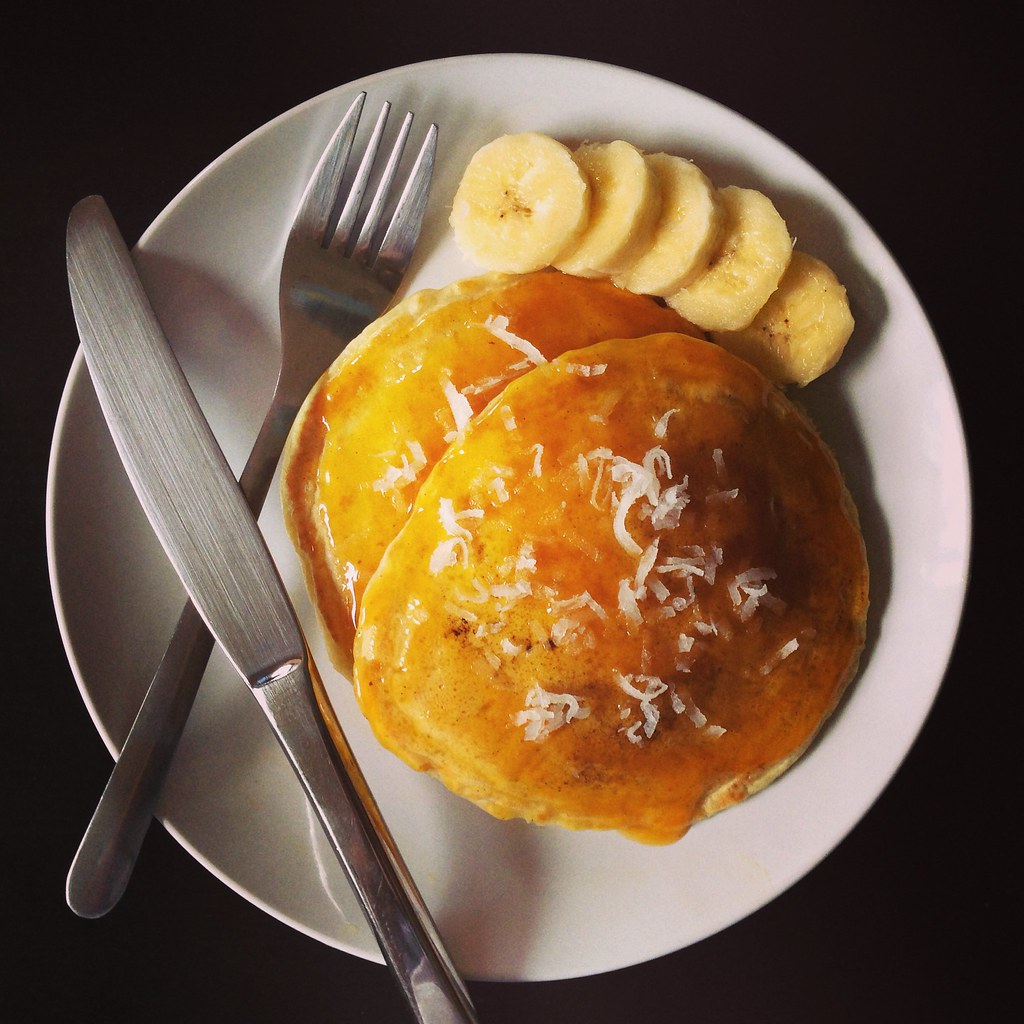
The caramel actually reached 230°F in about 45 minutes on a medium-low heat, so I thought I had gotten it right (and the volume of caramel was just right), but then when it was time to cut the caramels, they were so soft it was almost impossible!  I basically had to scrape the caramel onto a piece of wax paper, and even after chilling the caramels in the freezer, they were still super soft!  In the end, I gave up on trying to wrap this batch and just spooned everything into a jar.  It wasn't a total loss, though.  I made banana pancakes the next morning and topped them with the mango passion caramel sauce, and it was delicious!  I'm thinking of swirling the rest into some coconut ice cream, whenever I get around to making that.

https://www.flickr.com/photos/joyosity/14813037295/

I was determined to get the caramels right though, so for the next batch I decided to use half the amount of corn syrup and to cook the caramels until 252°F, the temperature I used for the vanilla passion caramels.  This time, the caramels set like they should!  The only problem is the butter didn't completely mix into the caramel even though I stirred it for like 15 minutes!  The next time I make these, I'll try reducing the amount of butter I add by maybe 20%.

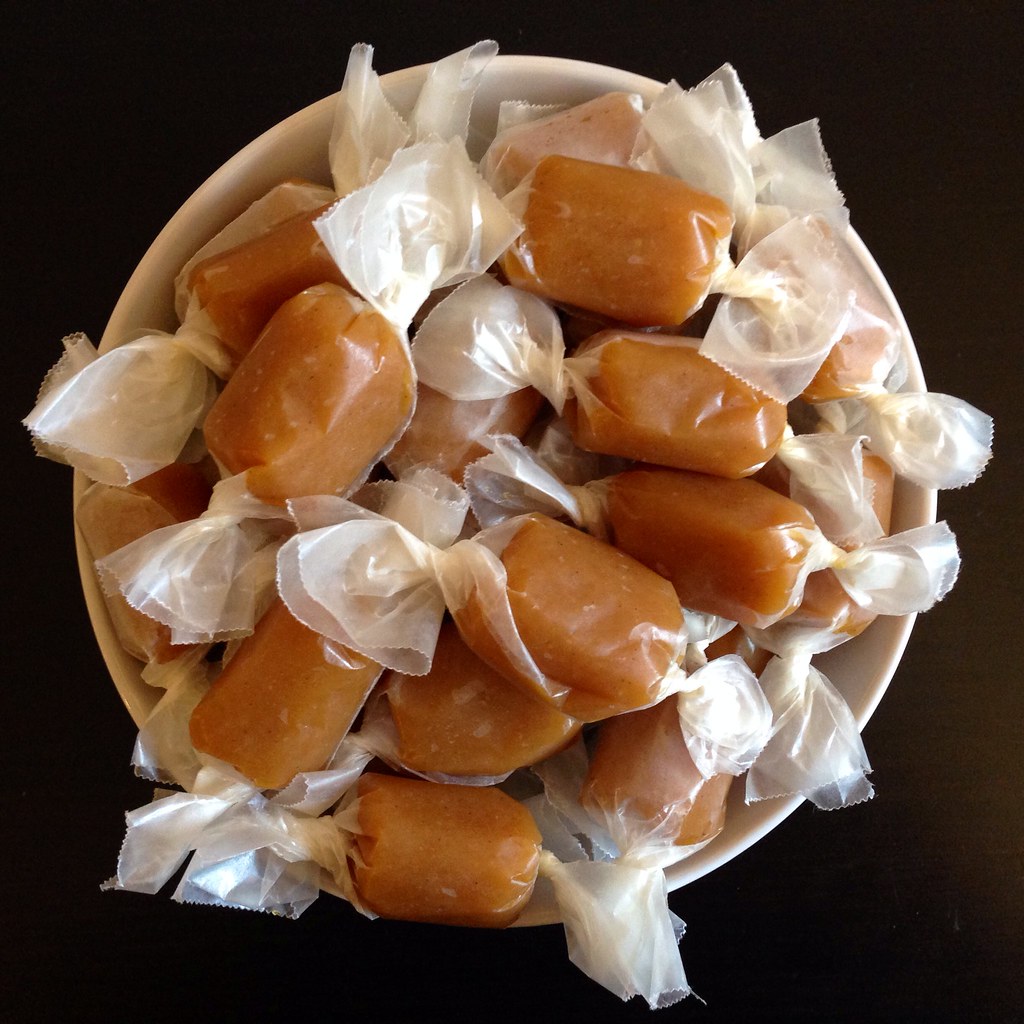
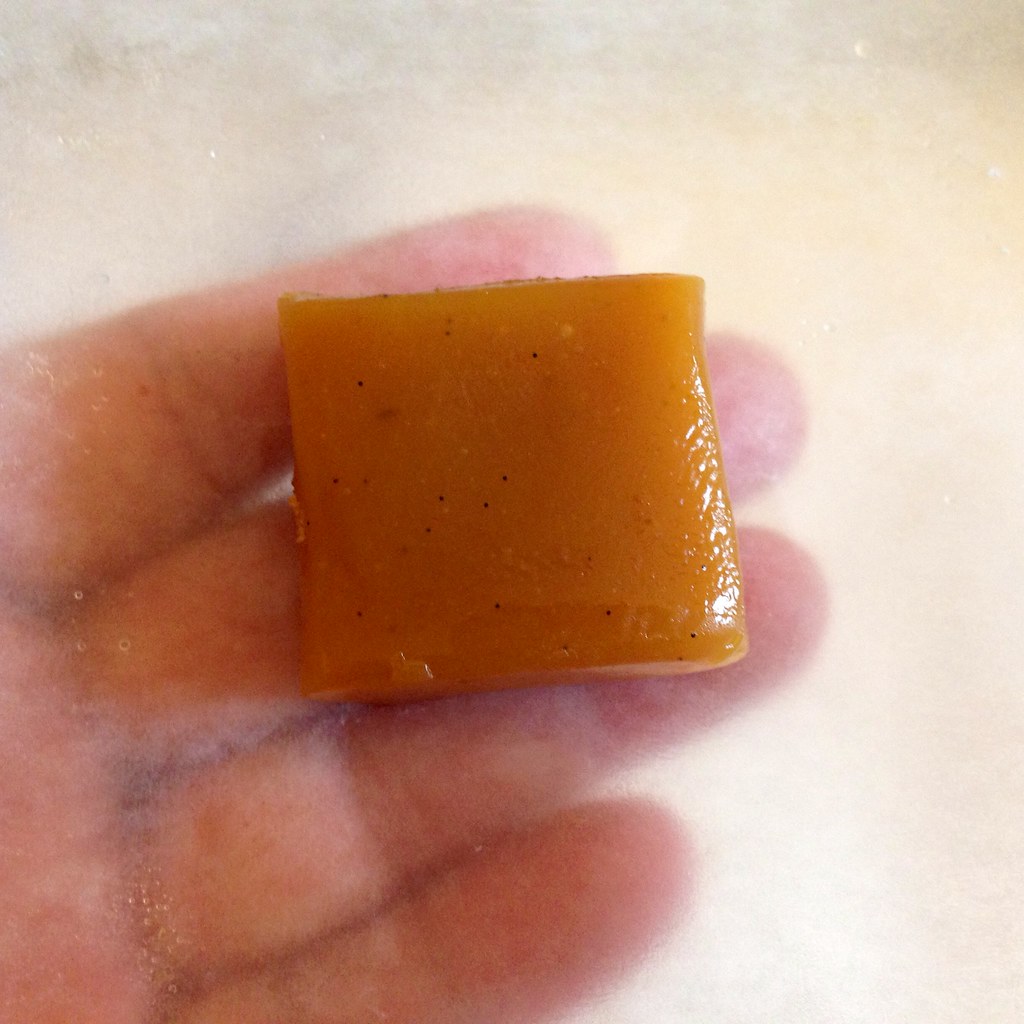
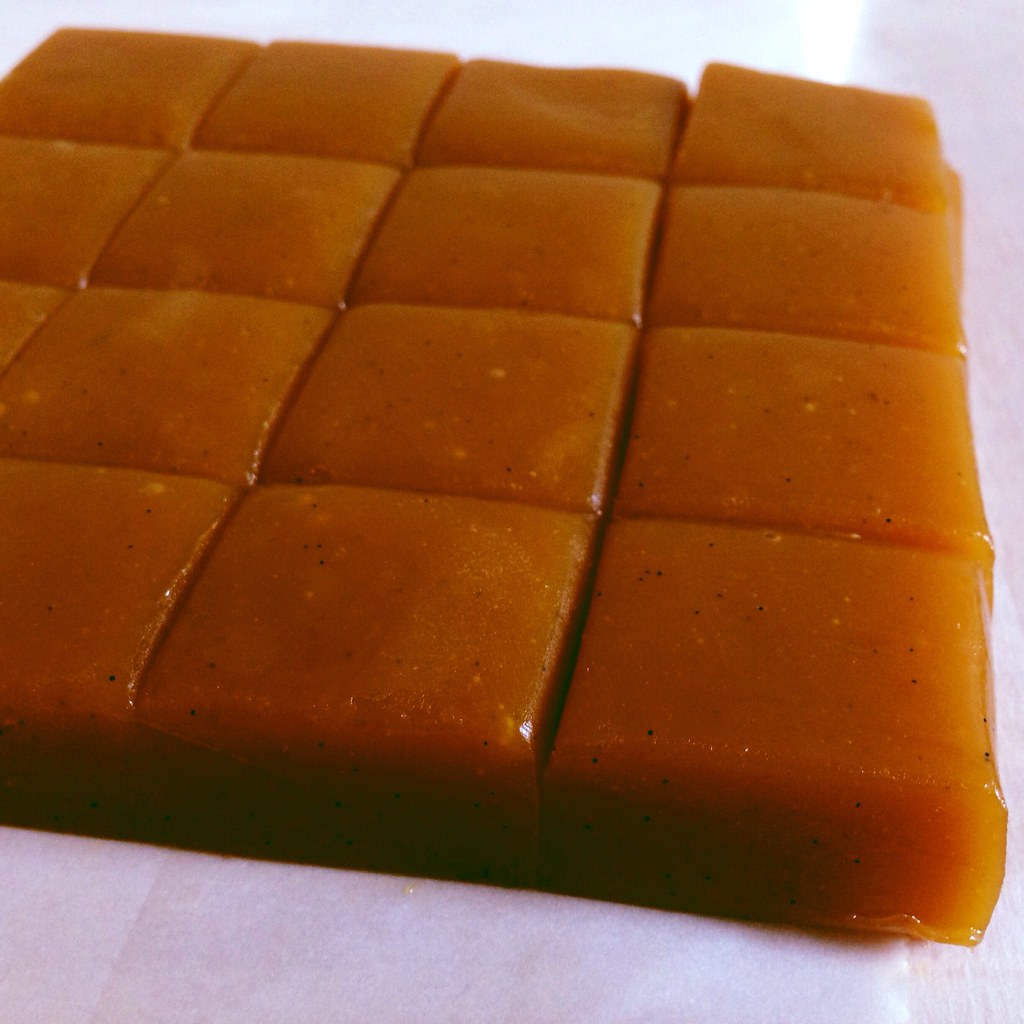
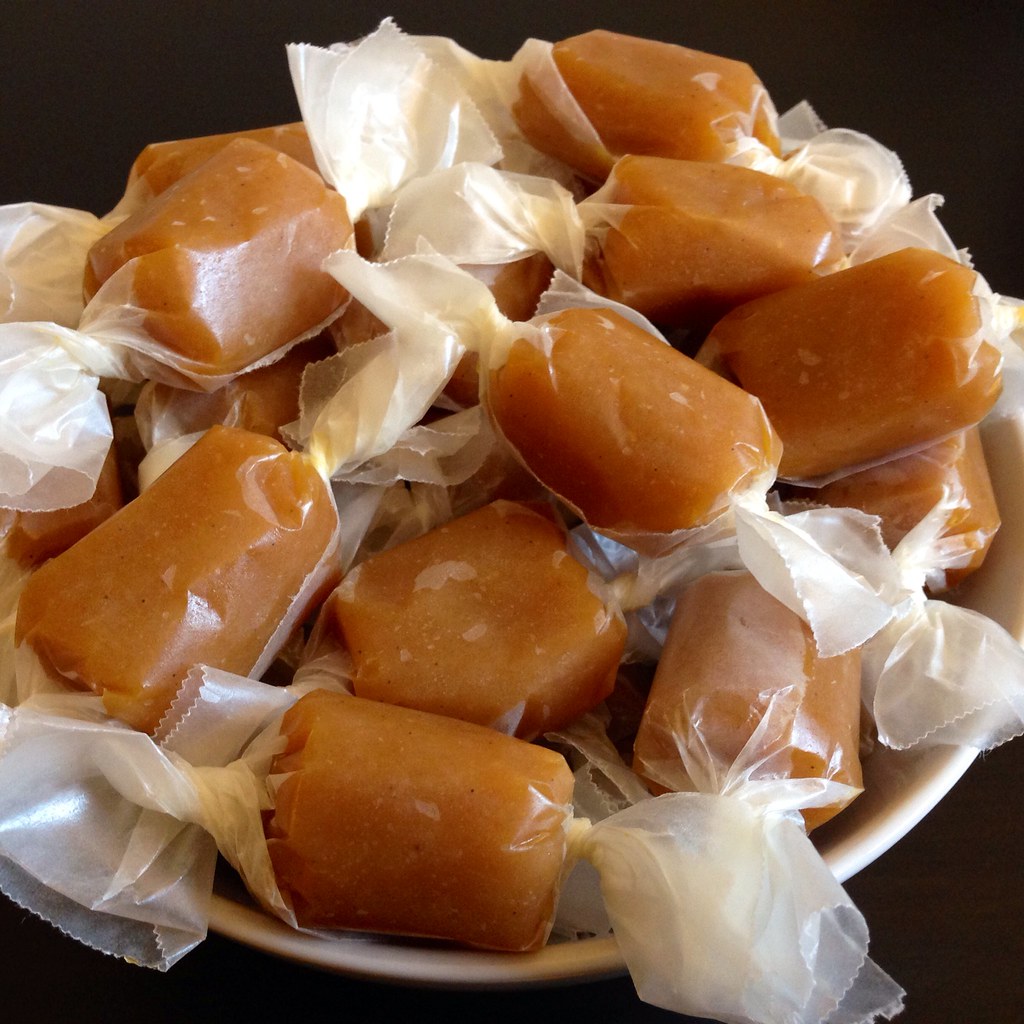
Other than that, these caramels were perfect.  They're soft but not sticky with just the tiniest bit of crackle from the vanilla bean seeds.  The reduction in corn syrup made a difference not only in texture but also in improving the taste.  There's less of a sharp sweetness so you can taste the tartness of the fruit and the buttery goodness even more.  It's been over 2 years since I had last the real thing, but this pretty much tastes exactly like what I remember.  ^_^

https://www.flickr.com/photos/joyosity/14813041795/

Jacques Genin's Mango Passion Caramels (adapted from here)
makes about 64 caramels

300 g heavy cream
200 g passion fruit pulp
200 g mango juice
1 vanilla bean, split lengthwise and cut in half if needed to fit in the pot
25 g corn syrup
360 g sugar
100 g butter, softened (consider using less; however, I haven't tried it myself)

https://www.flickr.com/photos/joyosity/14626398378/

Mix all the ingredients except for the butter in a large saucepan.  Bring to a boil, and then reduce heat to a medium/medium-low and continue to boil for about 45-60 minutes, until the temperature reaches 252°F.  

In the meantime, line a 8" square baking pan with two pieces of crisscrossed parchment paper.  Cut out 3" square pieces of wax paper to use as wrappers.

https://www.flickr.com/photos/joyosity/14626373959/

When the caramel has reached temperature, remove the vanilla bean.  Add the butter and mix well. It may take a while for the butter to mix in, but it eventually will; just keep stirring.

https://www.flickr.com/photos/joyosity/14810664004/

Pour into the prepared baking pan and allow to cool completely.

https://www.flickr.com/photos/joyosity/14810718604/

Cut the caramel into 1" squares.  Wrap in the wax paper squares.  Store in the refrigerator and bring to room temperature before eating.  Die of happiness.

https://www.flickr.com/photos/joyosity/14812678942/

This recipe is actually easier than the vanilla passion caramel one since you only need one pot for everything!  The hardest part was actually finding pure mango juice since most of the "mango juice" I found in stores contained water and sugar.  I think I finally found some on a shelf in a random Latin grocery store in Seattle.  I found the passion fruit pulp in the freezer section of my grocery store with all the other frozen Goya products.

Next:  Sea Salt Cold Brew Coffee
Previously:  Grace's Ginger Scallion Fish
Last Year:  Matcha Mochi Cupcakes

Wednesday, June 18, 2014

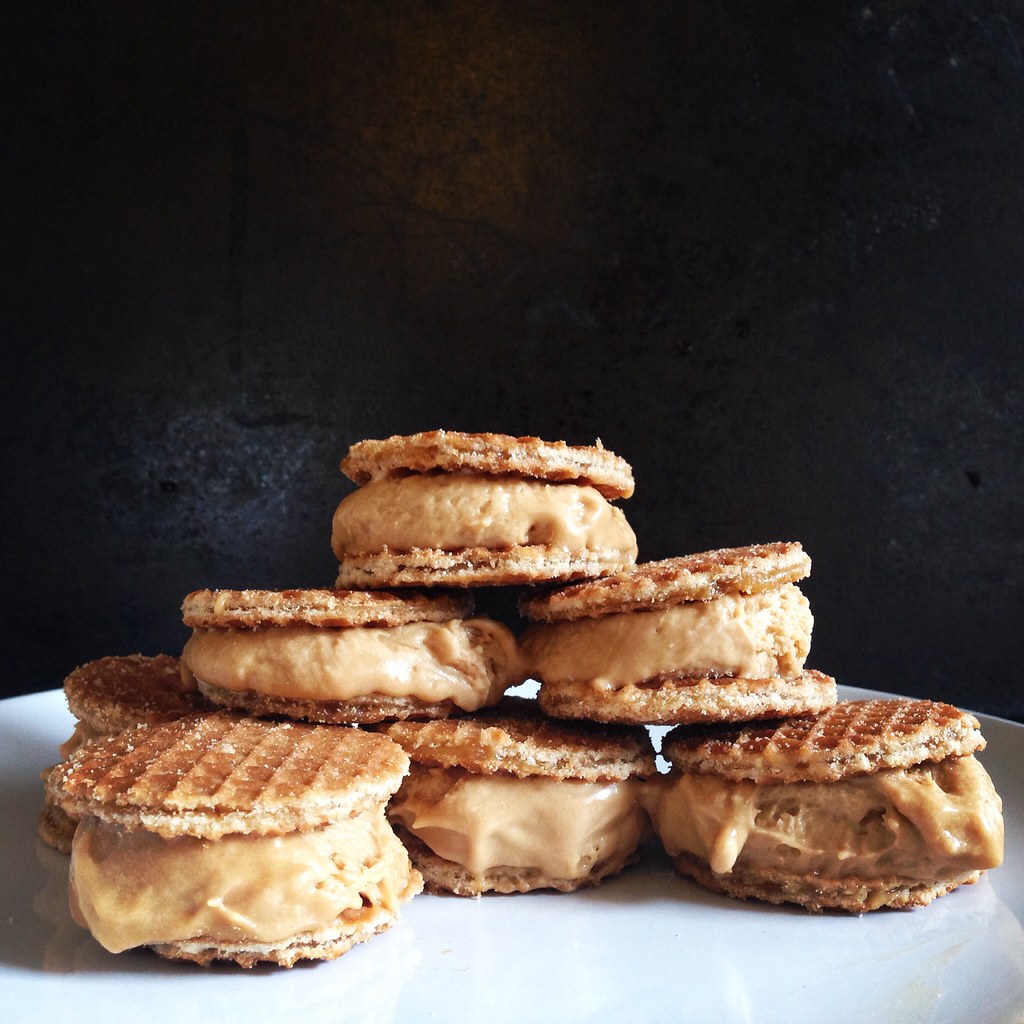
Speculoos (Cookie Butter) Ice Cream and Mini Stroopwafel Ice Cream Sandwiches

https://www.flickr.com/photos/joyosity/14245385560/

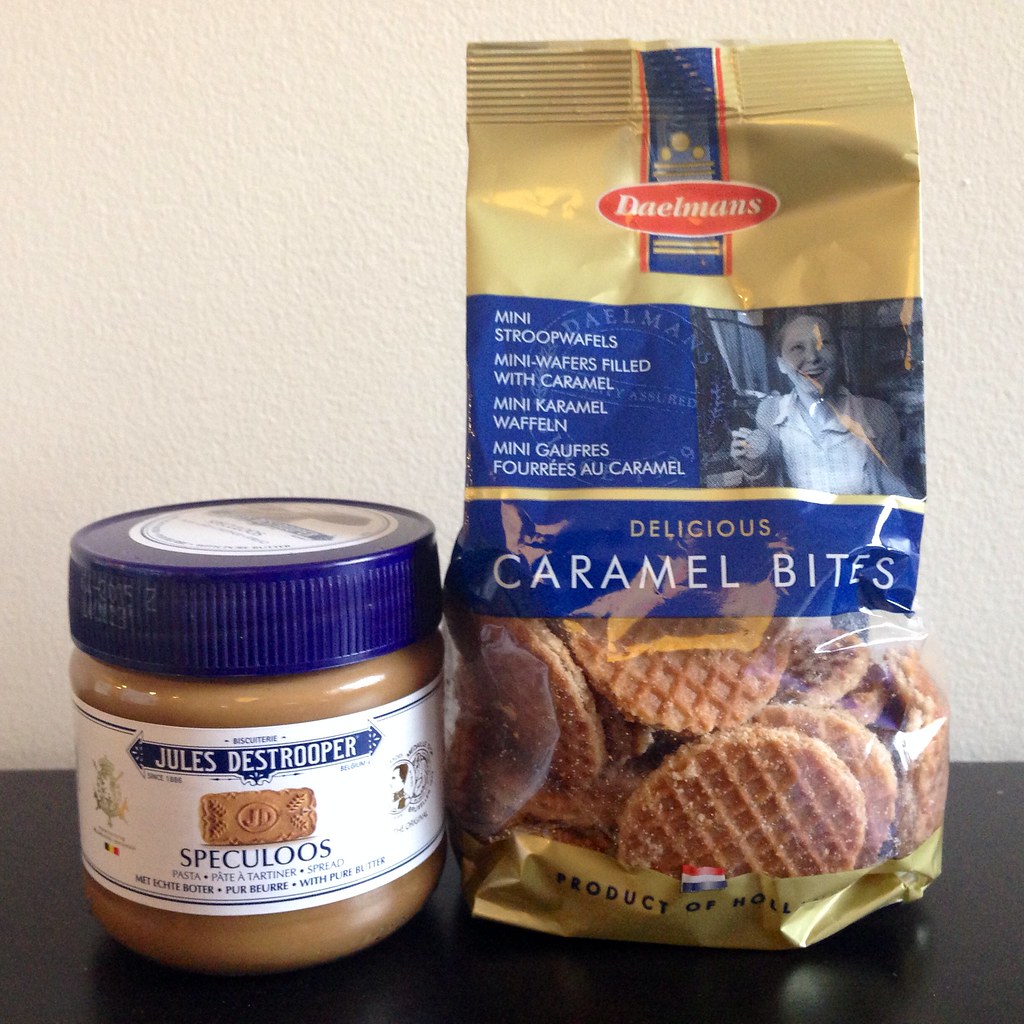
The Dutch have definitely got the monopoly on fun food names.  Stroopwafels?  Speculoos?  The only thing better than saying these things is eating them.  You might know speculoos better as the cookie that goes into Trader Joe's Cookie Butter or the Biscoff cookies you get on Delta flights.  They're kind of like gingerbread cookies but less spicy and more caramelized.

I was introduced to stroopwafels back when I worked at a company that had their European headquarters in the Netherlands.  It was pretty much required for all colleagues visiting our office in the U.S. to bring stroopwafels as a gift since we loved them so much.  They're basically two thin, crispy waffles sandwiching a layer of delicious caramel.  You're supposed to put them on top of a mug of hot coffee or tea so that the steam melts the caramel before you eat it.

https://www.flickr.com/photos/joyosity/14421770572/

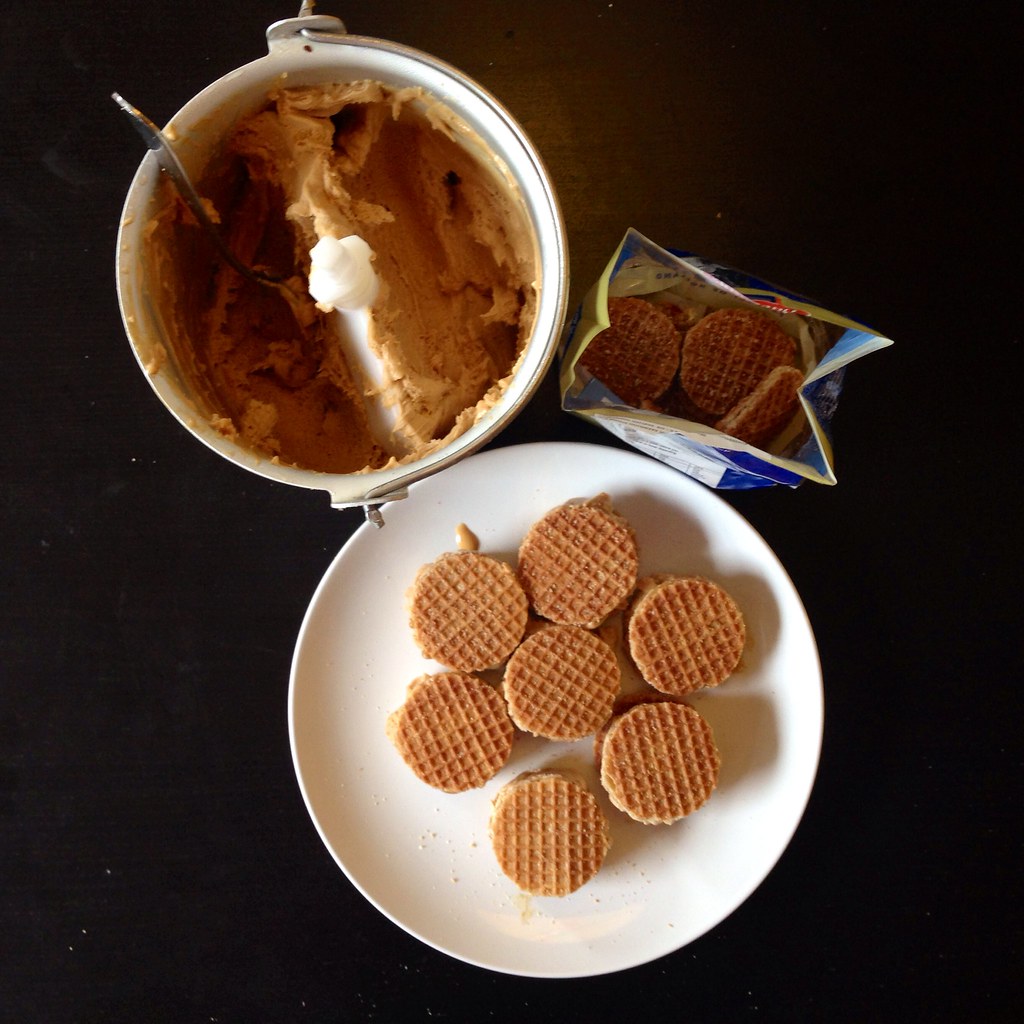
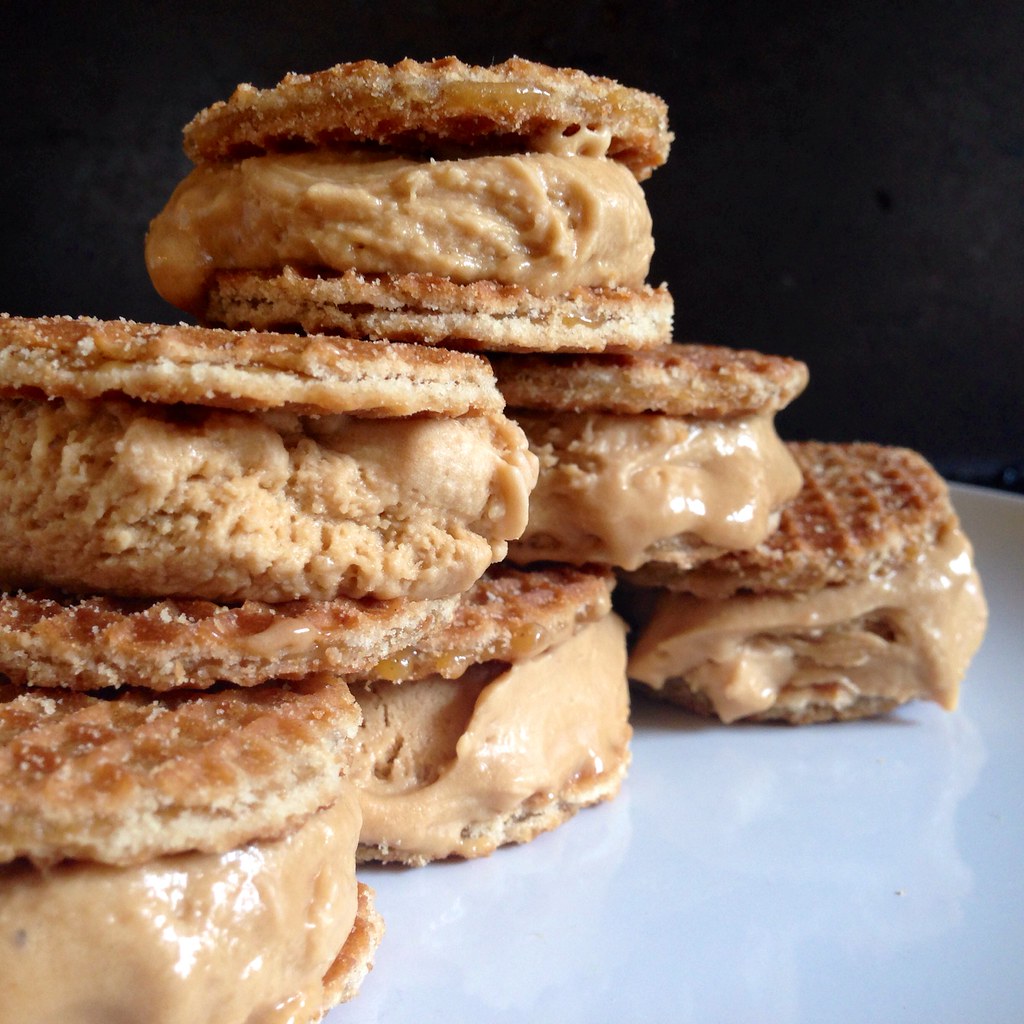
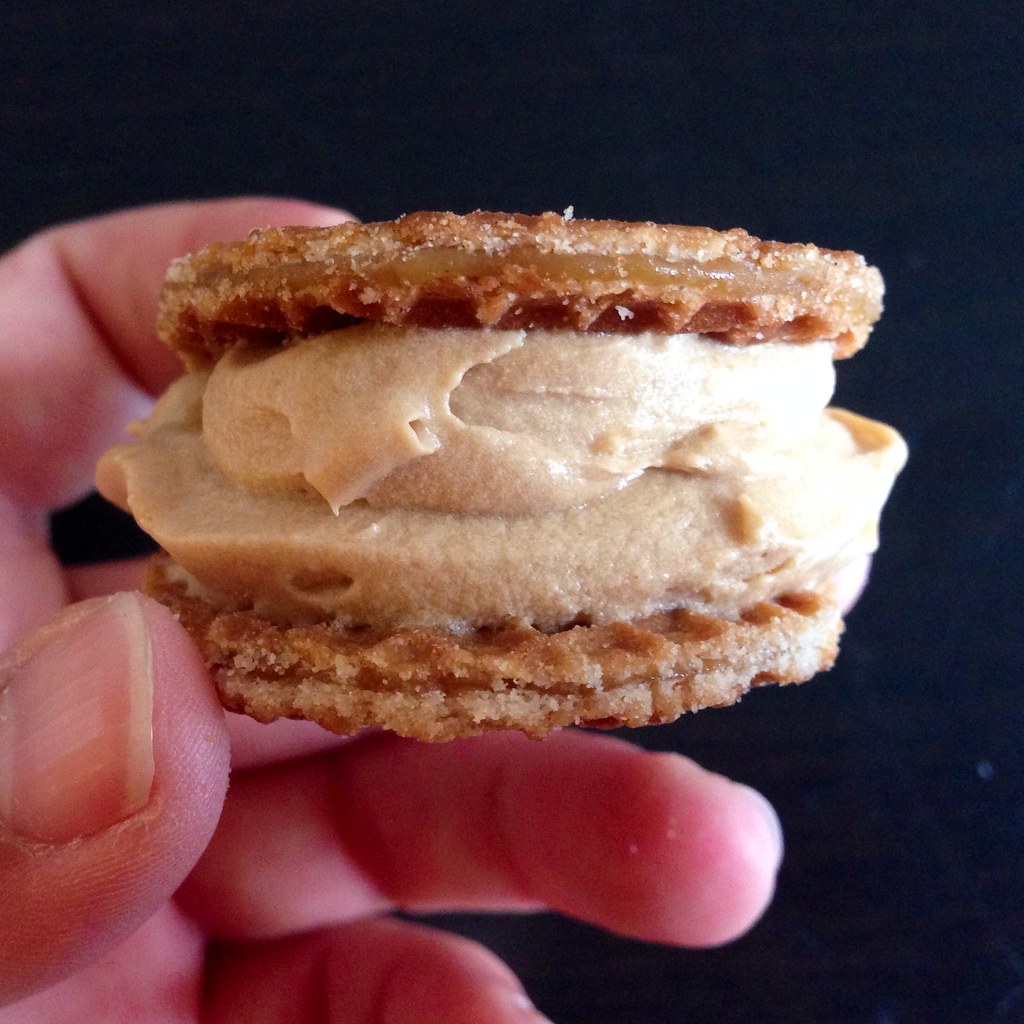
When my cousin brought me a jar of real speculoos spread as a souvenir from her trip to Europe, I decided to try and make an ice cream out of it.  Then I thought about making it into an ice cream sandwich with a pair of stroopwafels.  And because I have this obsession with making mini versions of everything, I decided to use the mini stroopwafels from Trader Joe's.

https://www.flickr.com/photos/joyosity/14421772082/

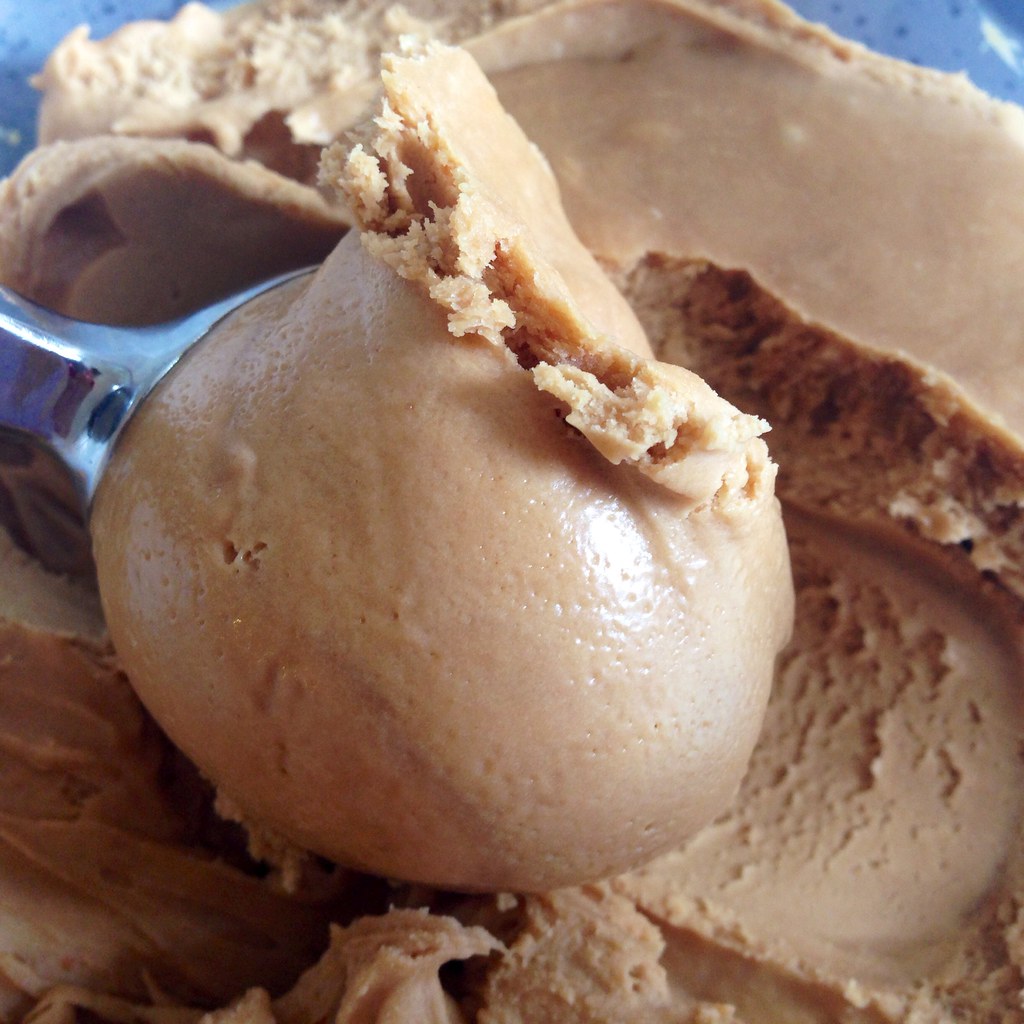
For the speculoos ice cream, I decided to try following the two ingredient recipe I used in the past for Nutella ice cream, substituting the speculoos spread for the Nutella.  The resulting ice cream is amazingly velvety and unctuous, pretty much like cookie butter itself.

https://www.flickr.com/photos/joyosity/14423057035/

Speculoos (Cookie Butter) Ice Cream
makes about 3/4 quart

1 1/4 cup speculoos spread (cookie butter)
One 12 oz. can (1 1/2 cups) evaporated milk

https://www.flickr.com/photos/joyosity/14443238963/

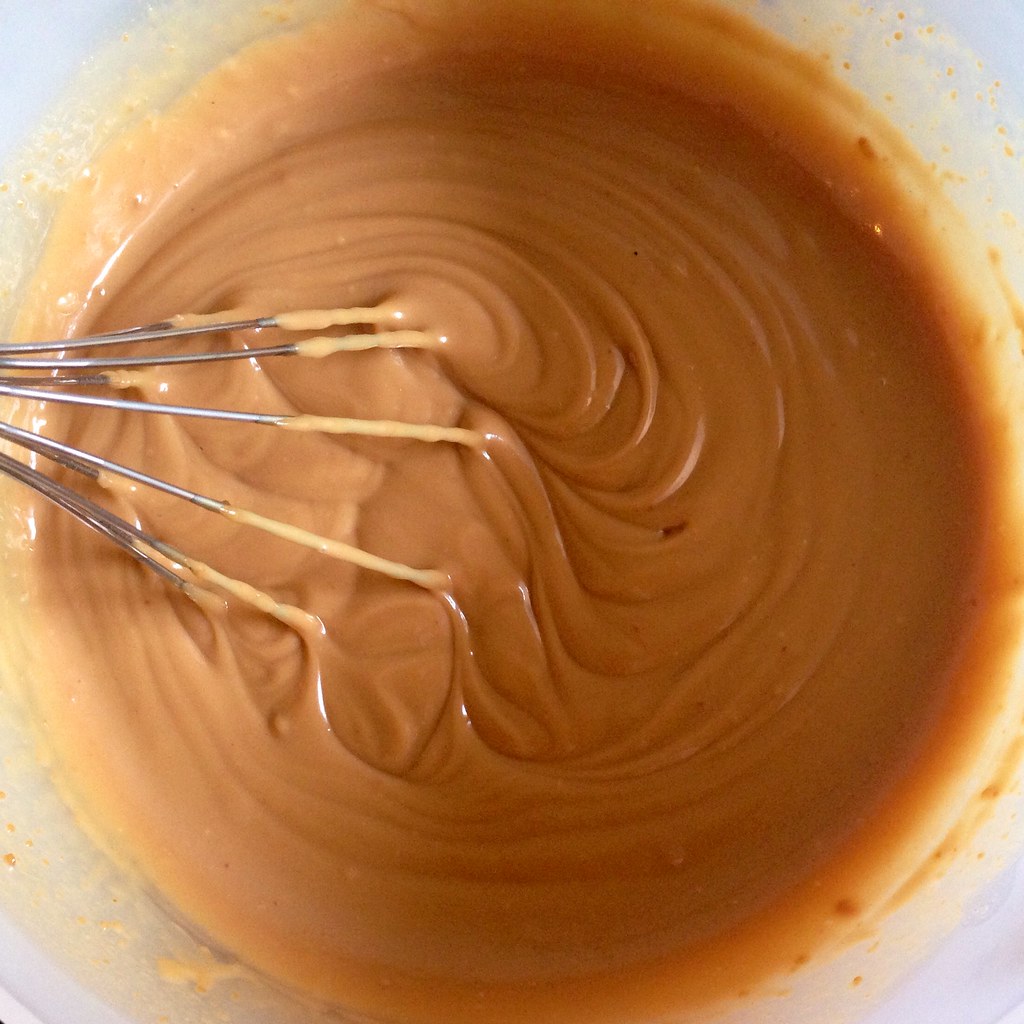
Whisk together the speculoos spread and the evaporated milk until fully combined.  There will be small lumps of cookie bits, and that's okay.  Chill completely in the refrigerator.

https://www.flickr.com/photos/joyosity/14236459990/

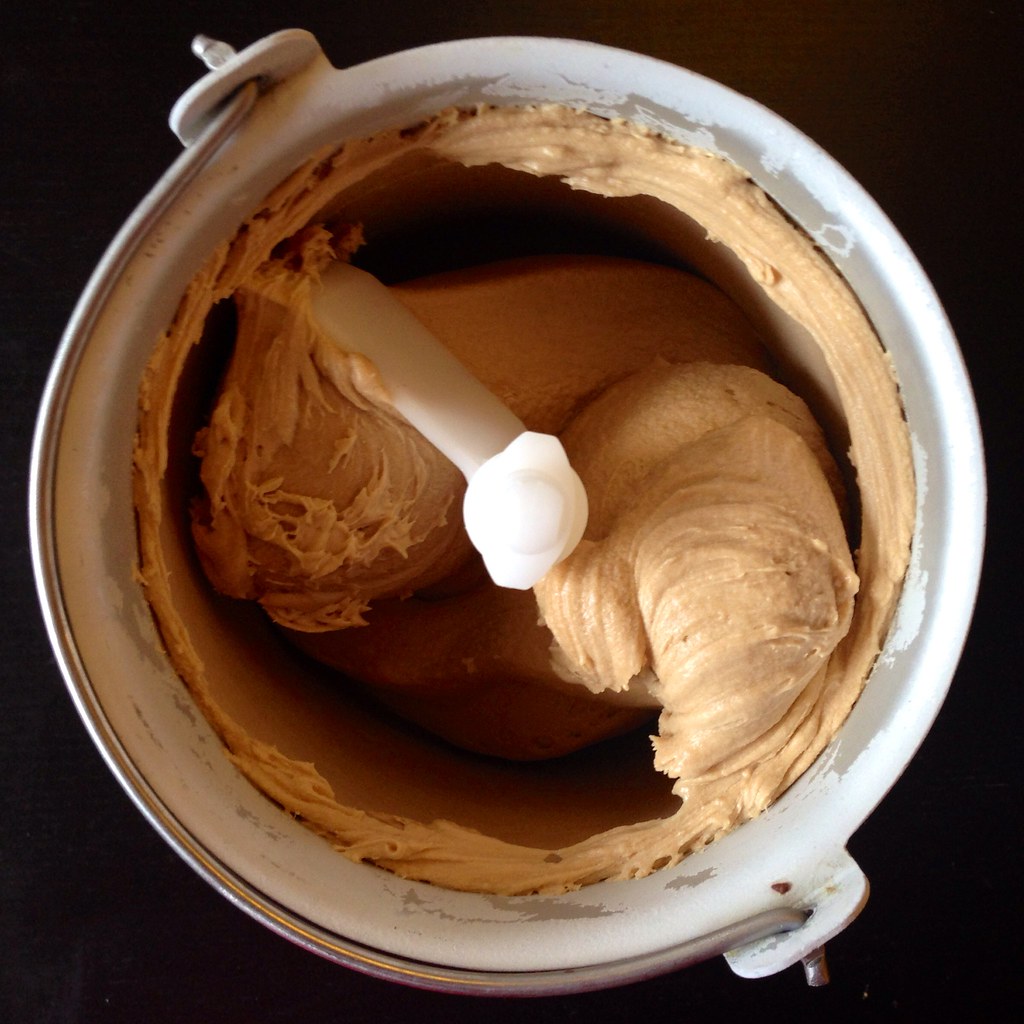
Churn in the ice cream maker according to the manufacturer's directions.  Transfer to an air-tight container and freeze in the freezer until hard.

https://www.flickr.com/photos/joyosity/14236413979/

For the ice cream sandwiches, I experimented with freezing the stroopwafels vs. warming the stroopwafels in the microwave first.  Surprisingly, the warmed stroopwafels worked better for the ice cream sandwiches because the cookies were soft enough to bite through without smooshing the ice cream out the other side.  Of course, the warmed stroopwafels cause the ice cream to melt more quickly, but because these are mini ice cream sandwiches, it's pretty easy to finish them in just a couple of bites.

https://www.flickr.com/photos/joyosity/14245385560/

Next:  Tofu and Shiitake Potstickers
Previously:  Orange and Fennel Salt-Baked Salmon
Last Year:  Mango Coconut Rice Pudding Pops and Ice Cream

Friday, September 20, 2013

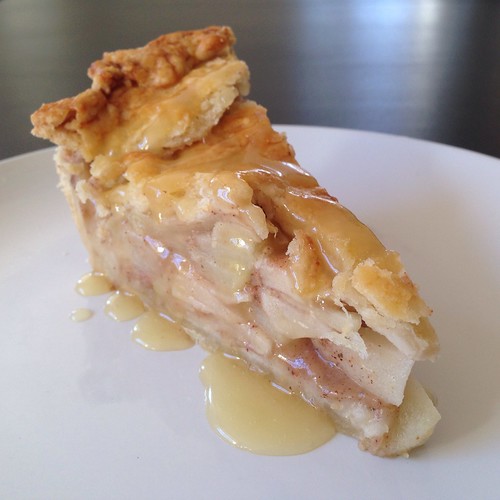
Salted Butter Caramel Apple Pie with Vodka Pie Crust


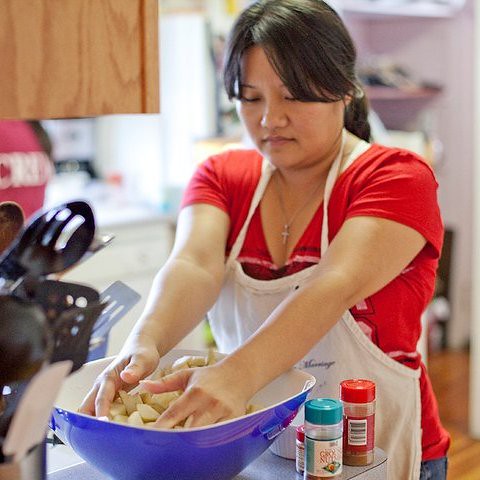
My church went apple picking last weekend, and I went with the express purpose of picking apples to make this pie.  Or more precisely, so I could make this pie crust from America's Test Kitchen.  I first made the vodka pie crust three years ago with Tammy.  It made the flakiest, most flavorful pie crust I had ever eaten, but it uses shortening, an ingredient I don't usually have on hand.  Luckily, my new roommate had some from when she made this same pie crust (it's her favorite, too!).

*photo by Tammy Hui

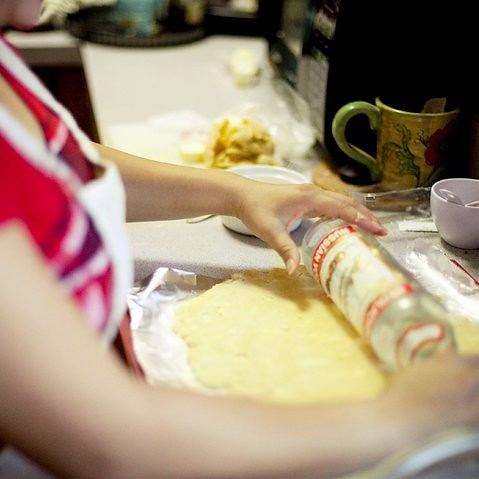
According to America's Test Kitchen, the addition of the vodka helps to keep the pie dough tender because it inhibits the formation of gluten while still acting like a binder for the dry ingredients.  The shortening also helps to prevent gluten from forming because unlike butter, it doesn't contain any water.  Yay, science! 

*Pro-tip:  If you don't have a rolling pin, the vodka bottle works!

I adapted the filling and salted caramel sauce from Sally's Baking Addiction.  Sadly, I took my sugar off the heat too soon, and my sauce is more of a blond sweet butter sauce than a caramel, but it still tastes uber delicious!


If you can, try to use a variety of apples for the pie so you have some sweet and some tart, some softer and some firmer.  I picked Macintosh, Golden Supreme, and Honeycrisp apples for this pie.


Salted Butter Caramel Apple Pie with Vodka Pie Crust
makes 1 pie

For the pie crust:
2 1/2 cups all-purpose flour
2 tablespoons sugar
1 teaspoon salt
12 tablespoons unsalted butter, cut into 1/4-inch pieces and chilled
8 tablespoons vegetable shortening, cut into 4 pieces and chilled
1/4 cup vodka, chilled
1/4 cup ice water


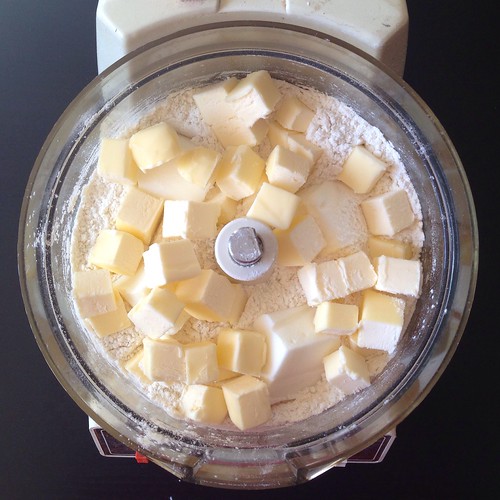
Process 1 1/2 cups flour, sugar, and salt together in food processor until combined.  Scatter butter and shortening over top and continue to process until incorporated and mixture begins to form uneven clumps with no remaining floury bits.  Sprinkle remaining 1 cup flour over dough and pulse until mixture has broken up into pieces and is evenly distributed around the bowl.


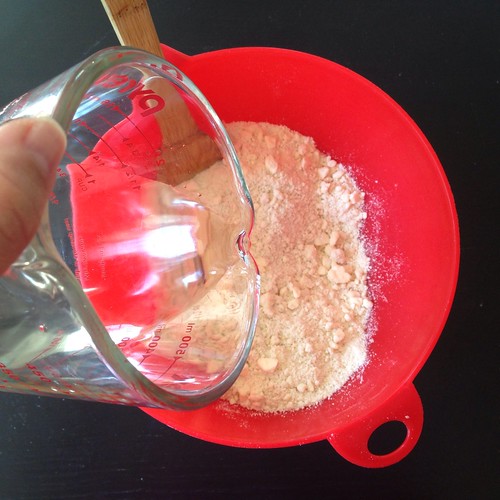
Transfer mixture to a large bowl.  Sprinkle vodka and ice water over mixture.  Stir and press dough together, using stiff rubber spatula, until dough sticks together.


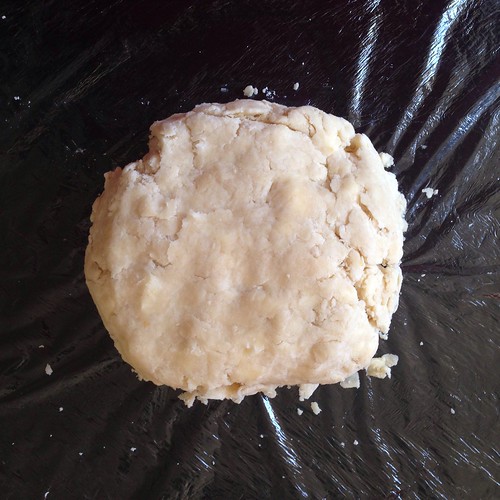
Divide dough into 2 even pieces.  Turn each piece of dough onto a sheet of plastic wrap and flatten each into a 4-inch disk.  Wrap each piece tightly in plastic and refrigerate for at least 1 hour.

For the caramel sauce:
1 cup granulated sugar
1 1/2 teaspoons salt
1/2 cup room temperature water
12 tablespoons unsalted butter, softened to room temperature
2 tablespoons heavy cream


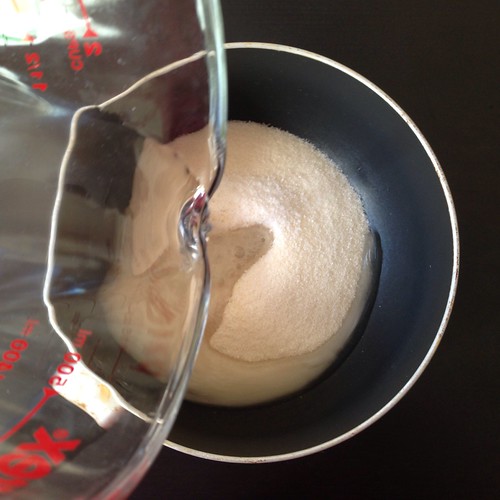
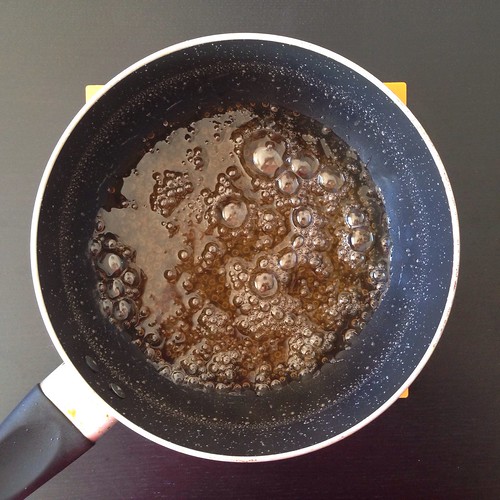
Combine the granulated sugar, salt, and water in a medium saucepan over medium-high heat, stirring constantly, until the sugar is dissolved.  Turn the heat down to medium-low and cook without stirring, until the syrup becomes a medium dark amber caramel, about 15 minutes.


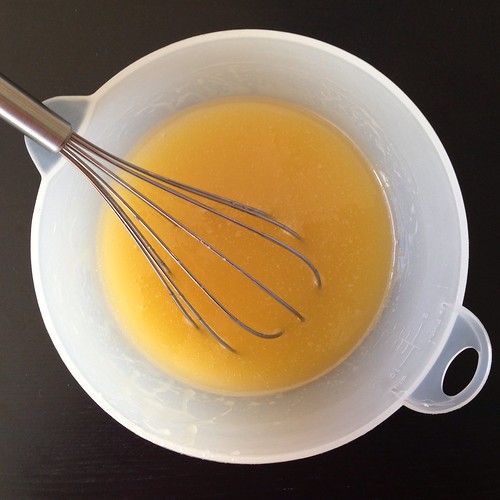
Remove the pan from heat and immediately stir in the room temperature butter and cold heavy cream. Do not worry if the butter starts to separate; it will come together as the caramel cools. Transfer the caramel to a medium bowl and whisk until the caramel begins to come together.  Set aside.


For the apple pie:
2 teaspoons fresh lemon zest
1/4 cup fresh lemon juice
6 large apples, cored, peeled, and thinly sliced (use a variety for better flavor, such as Macintosh, Golden Supreme, and Honey Crisp)
1/4 cup all-purpose flour
1/4 teaspoon ground cloves
1/4 teaspoon ground nutmeg
1 1/2 teaspoons ground cinnamon
1/2 cup granulated sugar
1 egg yolk
1 tablespoon milk


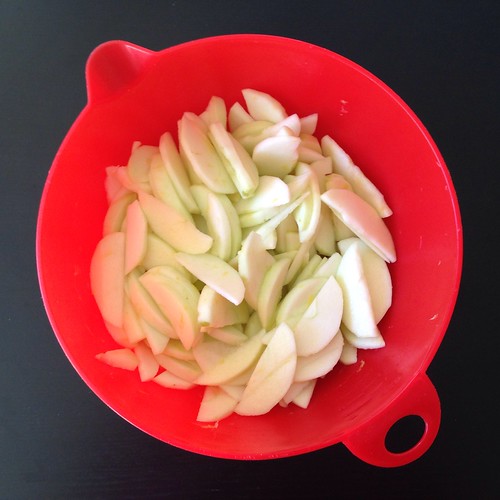
Put the lemon zest and lemon juice into a very large bowl. Add the apples and toss gently. In a small mixing bowl, combine the flour, cloves, nutmeg, cinnamon, and sugar. Pour over the apples and gently toss to combine. Set aside.

Preheat oven to 400°F.

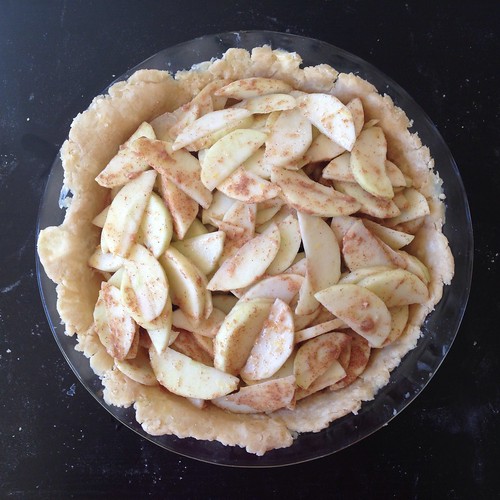
On a floured work surface, roll out one of the balls of chilled dough (keep the other one in the refrigerator). Turn the dough about a quarter turn after every few rolls until you have a circle about 12" in diameter. Carefully place the dough into a 9"x2" pie dish. Tuck it in with your fingers, making sure it is smooth.


Fill the pie crust with the apples. There are a lot of apples, but pile them tightly and very high. Drizzle with 1/2 cup of the salted caramel, reserving the rest for topping.

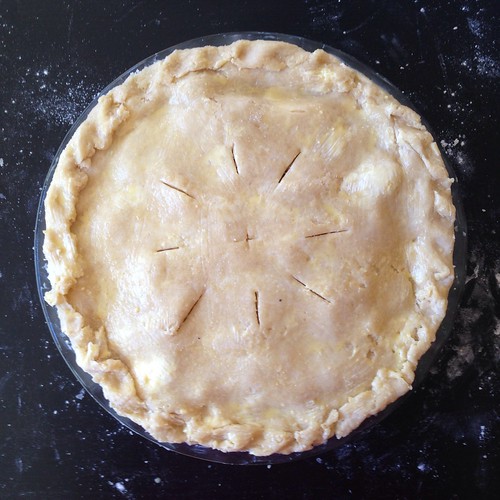
Roll out the other ball of dough to a 10" circle.  Carefully place on top of the pie.  Fold over any excess dough and crimp all the way around.  Cut a few slits into the top with a sharp knife.


Make an egg wash by beating the egg yolk with the milk.  Brush the top with a very thin coating.


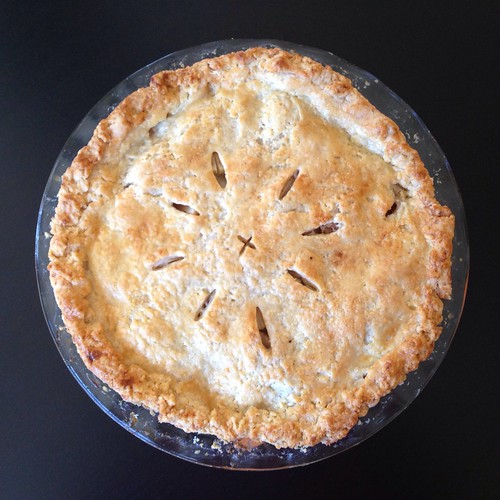
Place the pie onto a large baking sheet and bake for 20 minutes. Keeping the pie in the oven, turn the temperature down to 350°F and bake for an additional 40-50 minutes. If the top of your pie is getting too brown, cover loosely with aluminum foil. The pie will be done when the caramel begins to bubble up. A small knife inserted inside should come out relatively clean.


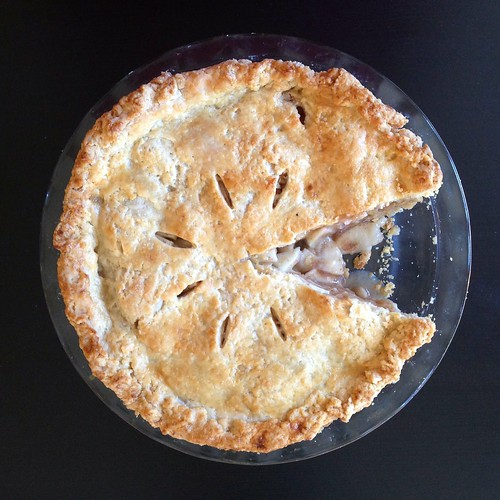
Allow the pie to cool for 4 hours before serving. Drizzle the pie with the extra caramel sauce to serve.


Previously:   Sweet Corn Ice Cream with Black Raspberry Swirl
Next:  Apple Cider Donuts