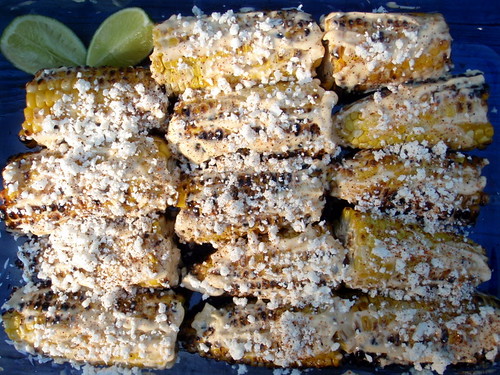
Showing posts with label corn. Show all posts

Monday, October 20, 2014

Elote-Style Cornbread Waffles

https://www.flickr.com/photos/joyosity/15381999597/

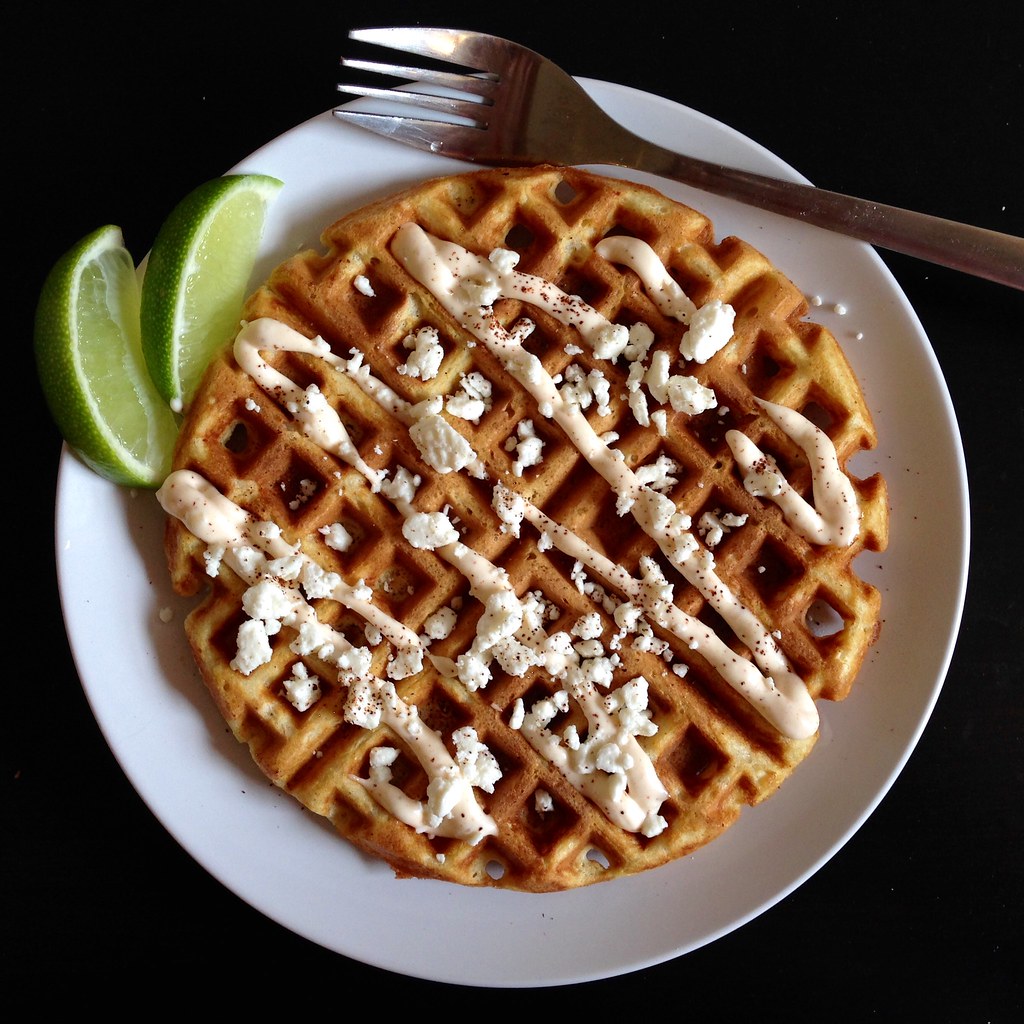
In case I haven't mentioned how much I love my church, Highrock, recently, here's another reason:  we recently had a fundraiser for the Tokyo Life Church called Highrocktoberfest.  How awesome is that?  In addition to a competition for the best home brew, there was also a chance to win a prize for the best cornbread.  At first I thought about making a sweet cornbread with honey butter, but then I came up with the idea to make cornbread waffles topped with the seasoned mayonnaise and crumbled cheese that usually goes on elote (Mexican grilled corn)!

https://www.flickr.com/photos/joyosity/15544306646/

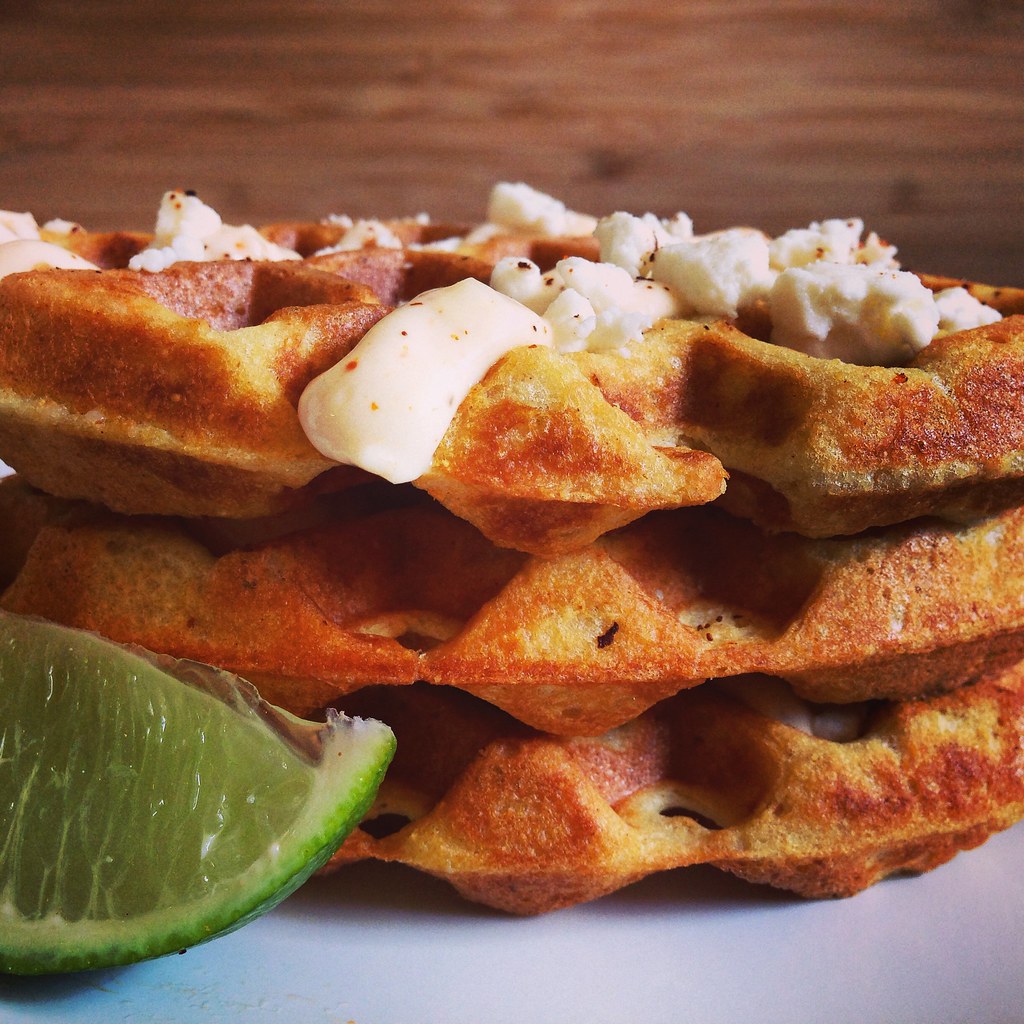
I used the crunchy cornbread waffle recipe from King Arthur Flour and made the same mayo I had used before for elote, except I added a squirt of sriracha this time to add a bit more color and flavor.  I couldn't find any cotija cheese so I just substituted with feta.  I'm happy to say I won the cornbread competition with this recipe!
https://www.flickr.com/photos/joyosity/15568007485/

Elote-Style Cornbread Waffles (adapted from King Arthur Flour)
makes about 10 waffles

For the waffles:
1 3/4 cups buttermilk
2 eggs
5 tablespoons butter, melted and cooled
1 1/2 cups all-purpose flour
1 cup yellow cornmeal
2 tablespoons sugar
2 teaspoons baking powder
1 teaspoon baking soda
1 teaspoon salt

For the toppings:
1 cup mayonnaise
2 garlic cloves, minced
Juice from 1/2 a lime
Cayenne pepper
Chili powder
Paprika
Sriracha (optional)
1 cup crumbled cotija or feta cheese

In a medium-sized mixing bowl, whisk together the buttermilk, eggs, and melted butter or oil. In a separate bowl, blend together the dry ingredients, then quickly and gently combine the wet and dry ingredients. Let the batter sit for 10 minutes, to allow the cornmeal to soften.

In the meantime, mix the mayo, minced garlic, and lime juice together.  Add cayenne pepper, chili powder, paprika, and sriracha (if using) to taste. 

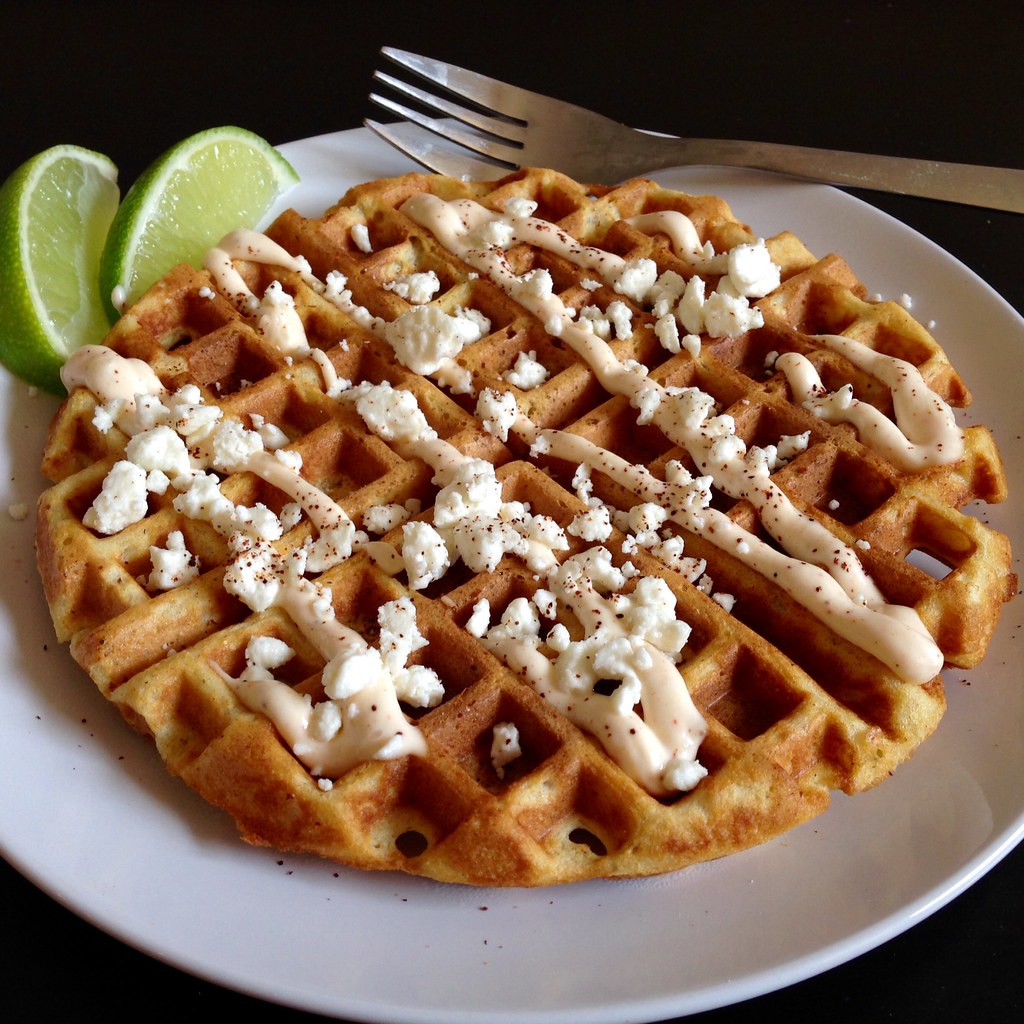
Drop the batter by 1/3-cupfuls onto a hot waffle iron and bake until the waffle iron stops steaming.  Top with the spicy mayonnaise and crumbled cheese.  Sprinkle on more cayenne pepper and/or chile powder as desired, and serve with lime wedges.
https://www.flickr.com/photos/joyosity/14947261064/

The waffles are best fresh out of the waffle iron because they start to get soft once they get to room temperature.  You can always reheat them in the oven to get them to crisp up again.  Since I was making these for a lot of people, I ended up cutting each waffle into eighths and serving them nacho-style.  If you have the corn-shaped pans for making cornbread sticks, I think it would be really cute to dress those up elote-style as well!

Next:  Nigel Slater's Chocolate Beet Cake
Previously:  Jeni's Salty Vanilla Frozen Custard
Two Years Ago:  Cranberry Royale Sorbet

Thursday, July 24, 2014

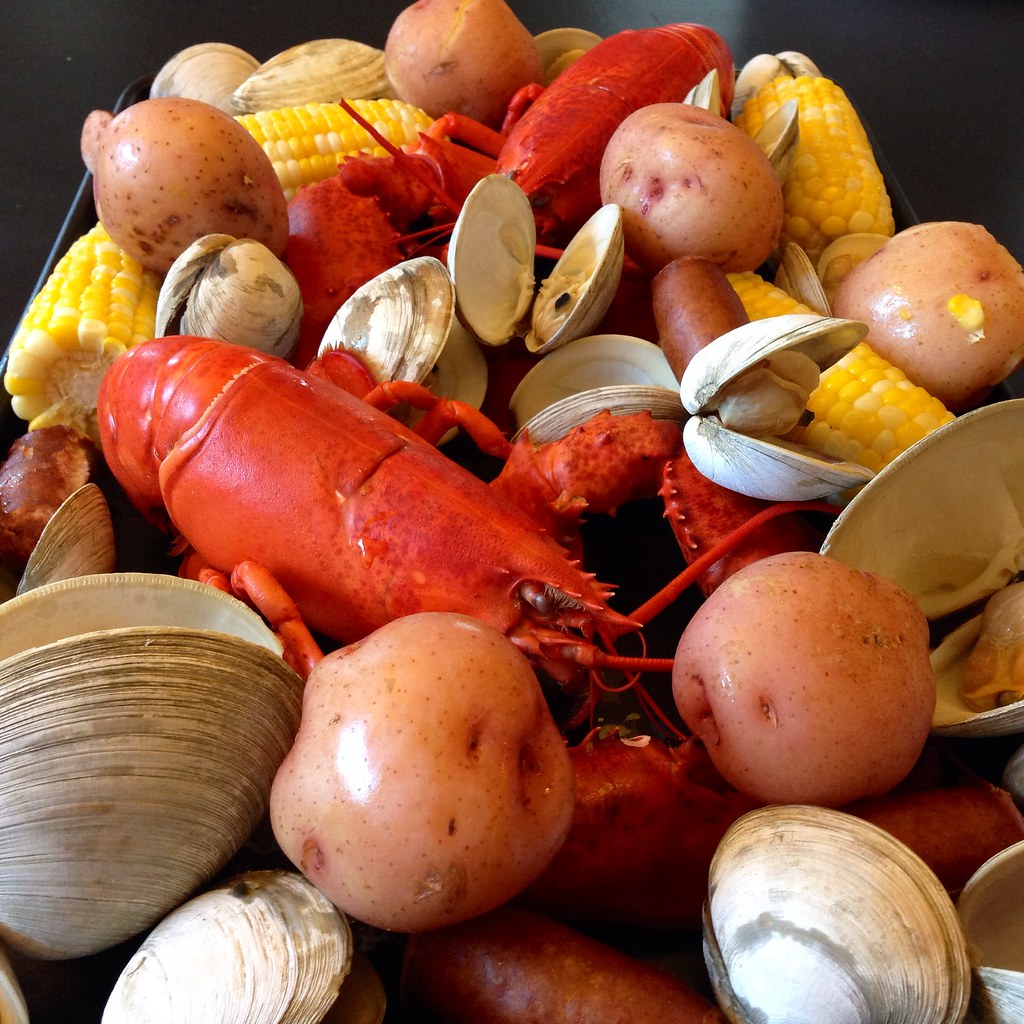
New England Clambake at Home

https://farm4.staticflickr.com/3915/14633377936_95dc8bf433_b.jpg

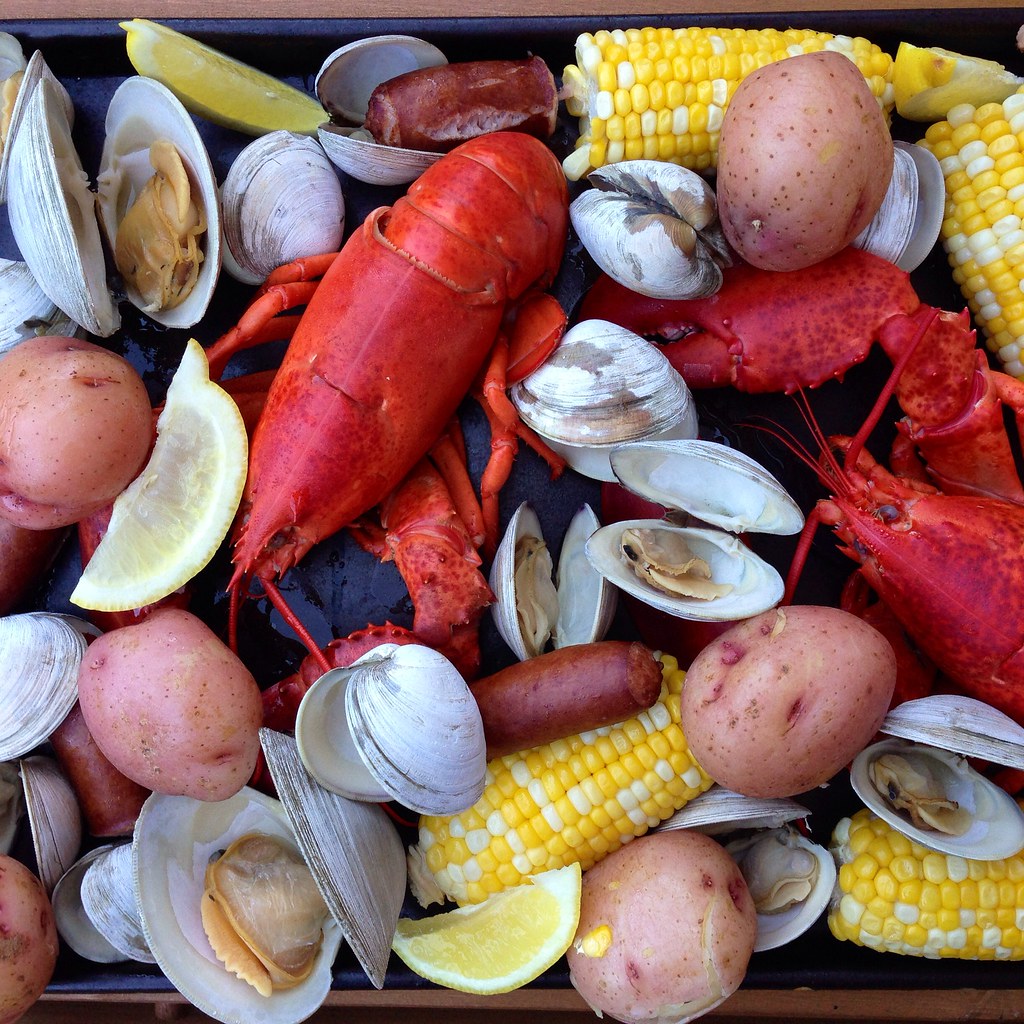
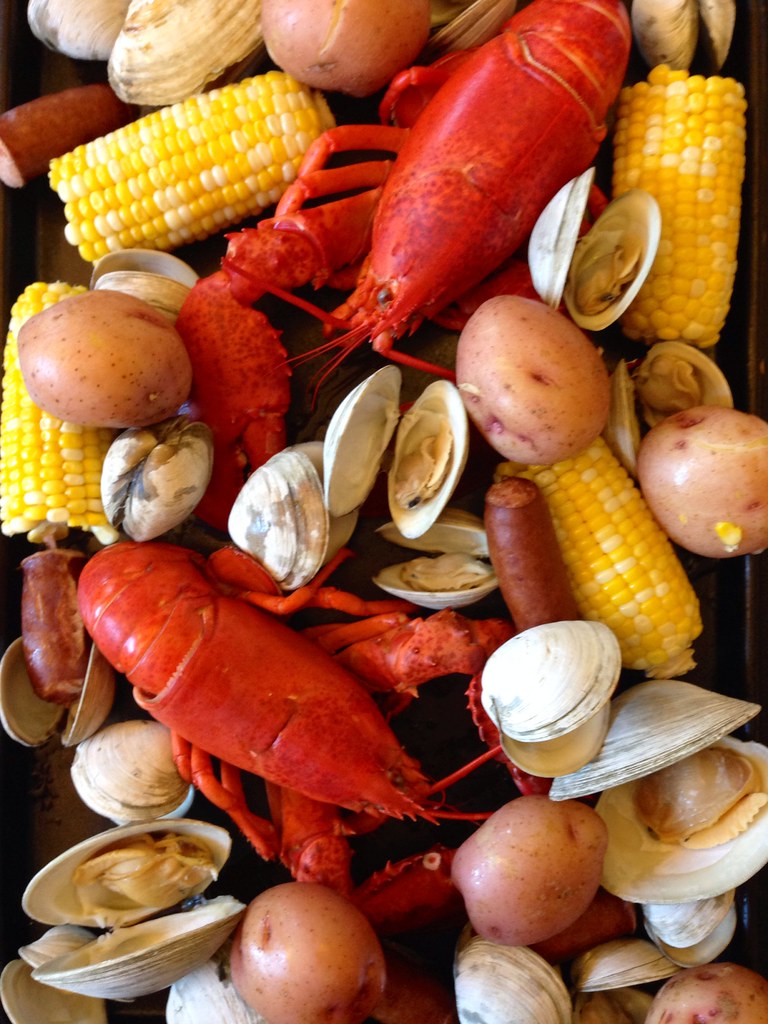
After making a low country boil, I couldn't not also do a clambake!  A traditional New England clambake involves digging a pit in the sand, building a fire, adding rocks to the pit, covering them with seaweed, layering on the food, and then covering it all up with a tarp and waiting forever for it all to cook through.  It's something I'd love to do someday, but in the meantime, here's how to do it much more easily at home (and much quicker, too!).

https://www.flickr.com/photos/joyosity/14676259523/

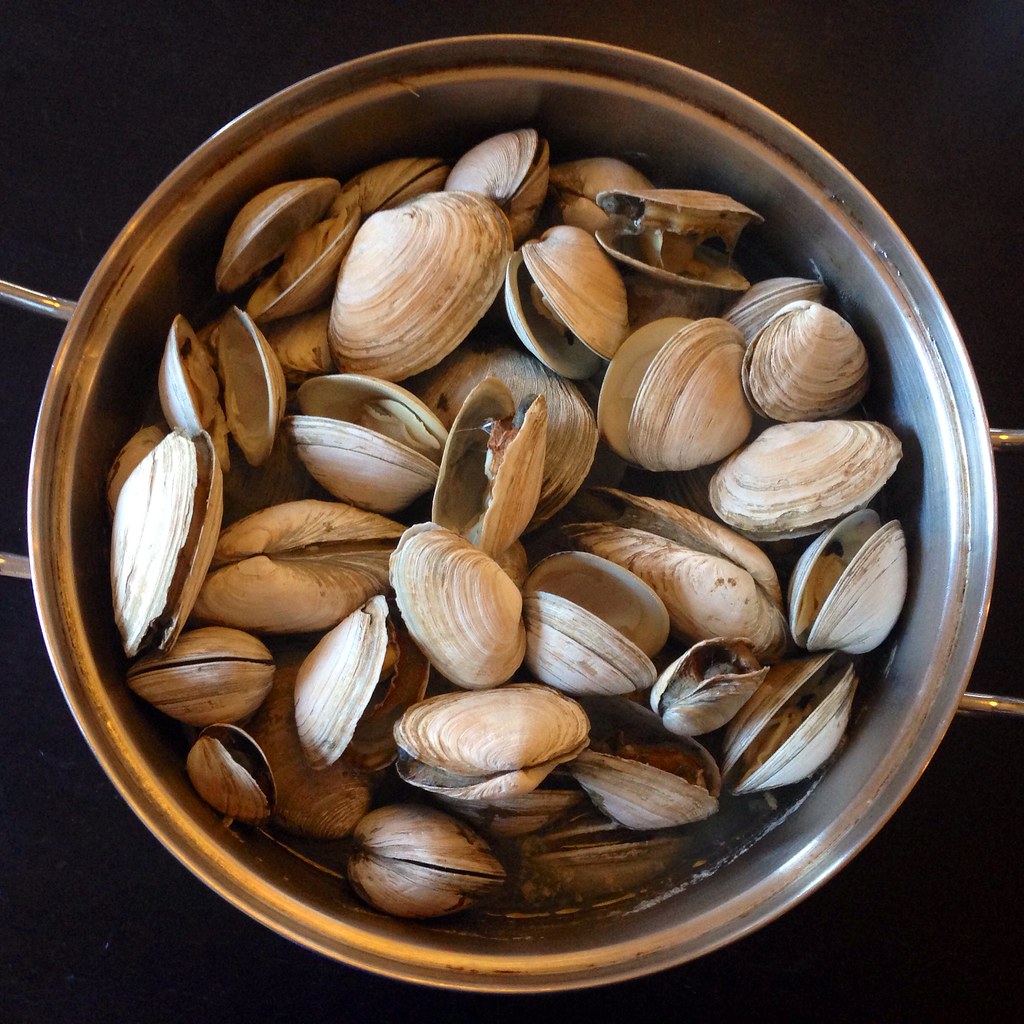
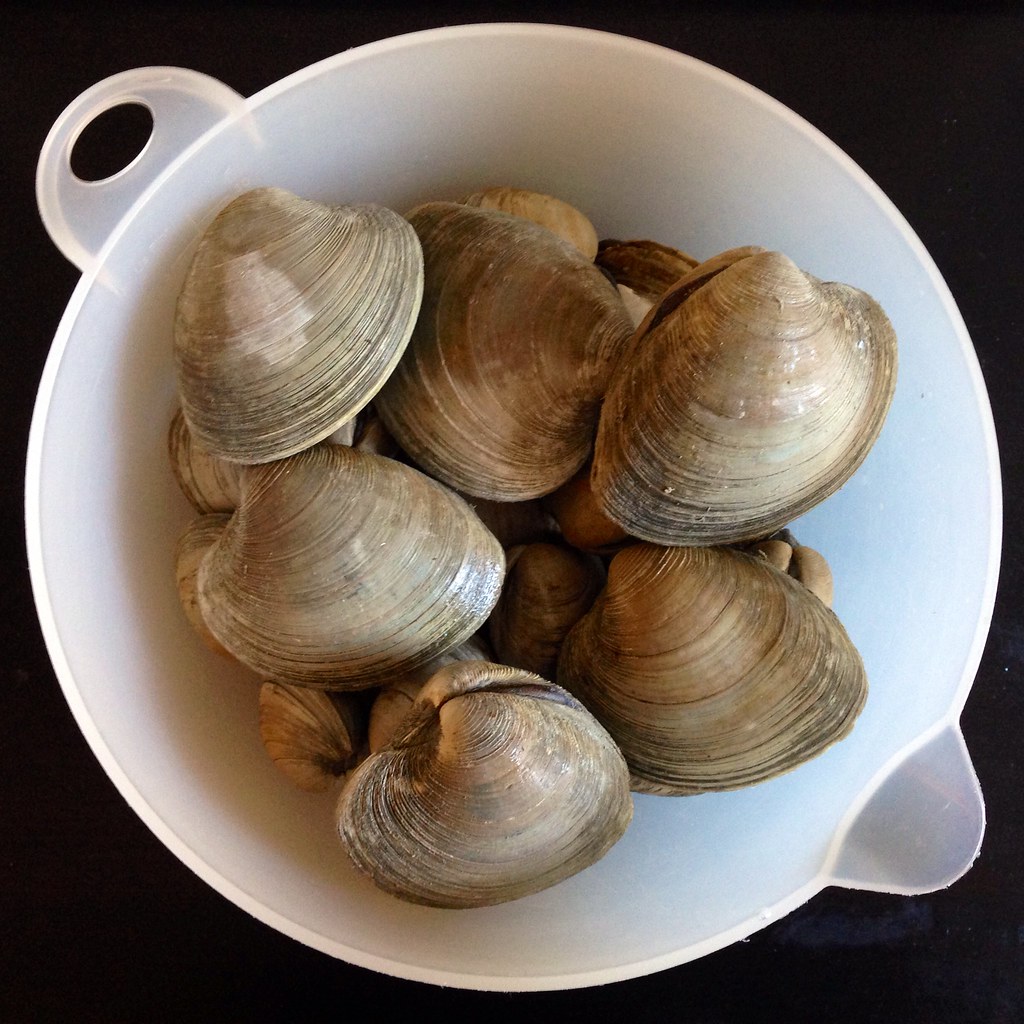
I pretty much followed this recipe from Bon Appétit, except I tried using a couple of different types of clams:  littlenecks, cherrystones, and steamers.  I decided I like littlenecks the best; the steamers were too sandy, even after letting them spit out sand in cornmeal and salt water bath, and the cherrystones were just too big and chewy.  I really only got the cherrystones, which I learned are just older, bigger littlenecks, because they were on sale for 99¢/lb!

https://www.flickr.com/photos/joyosity/14633373146/

I like how this recipe cooks the lobster first instead of steaming them at the end on top of all the other food.  My 7-quart stockpot definitely wouldn't have fit two lobsters on top of the rest of the food, and the thought of having to hold the lid down on even just one live lobster in a pot of steaming water is too much for me to deal with.  I was actually hoping to have the store just steam them for me (most grocery stores will do so for free), but there was a long wait for them to be steamed, so I just ended up doing it myself.  Since you use the water that you cook the lobsters in to cook the rest of the food, it ends up being a nice, flavorful broth that you can serve with the rest of the clambake. I use the broth to dip the clam meat in to rinse off any last bits of sand before I pop it into my mouth.

https://www.flickr.com/photos/joyosity/14469733868/

New England Clambake at Home (adapted from Bon Appétit)
serves 4

4 dozen littleneck clams (or a mix of littlenecks and steamers), scrubbed
1/4 cup yellow cornmeal
Kosher salt
Fresh ground pepper
1 lemon, sliced into rounds
1 large onion, peeled and quartered
2 celery stalks, cut in half
6 large fresh parsley sprigs
6 fresh thyme sprigs
2 small dried bay leaves
1/4 teaspoon whole black peppercorns
2 live lobsters, 1 to 1 1/2 lb. each
2 lbs. small red potatoes
4 ears of corn, husked and halved
14 oz. kielbasa links, halved
1 1/2 sticks butter
3 large garlic cloves, finely chopped
1 teaspoon dried oregano
1 teaspoon dried basil
Lemon wedges, for serving

Place the clams and cornmeal in a very large bowl and fill with enough cold, salted water to cover.  Set aside for at least 30 minutes and up to an hour for the clams to spit up excess sand.

Fill a stock pot about a quarter of the way with cold water and bring to a boil over high heat.  Add one lobster headfirst and cover.  Cook for 10 minutes, until done, and transfer to a large platter or rimmed baking sheet.  Repeat with the other lobster.

Add the potatoes and quartered onion to the pot and bring to a boil.  Cover and cook for 10 minutes.

Layer the sausages and corn on top of the vegetables and cover again, cooking for another 10 minutes.

Rinse the clams thoroughly and add on top of the corn and sausages (if there isn't enough room in the pot, you can remove the corn, which should be cooked through).  Cover the pot tightly and boil until the clams open, about 12 minutes.

In the meantime, melt the butter in a small saucepan and add the garlic, oregano and basil.  Season with salt and pepper, to taste.

With a slotted spoon, transfer the clams, corn, sausage, and potatoes to the baking sheet with the lobsters.  Sprinkle with salt and pepper and garnish with lemon wedges.  Strain the broth and pour into 4 soup cups.  Serve seasoned butter and broth alongside the vegetables, sausages, and seafood.

https://www.flickr.com/photos/joyosity/14656339795/

The next time I make this, I'll probably try reducing the amount of water in the pot, and adding some white wine or beer to steam the food with and add more flavor to the broth.

Next:  Ginger Beer Sherbet
Previously:  Taiwanese Grilled Corn
Last Year:  Vanilla Sugar Lemonade and Mint Lemonade Slushies, Martha Stewart's Perfect Macaroni and Cheese

Thursday, July 17, 2014

Taiwanese Style Street Corn
https://www.flickr.com/photos/joyosity/14403935820/

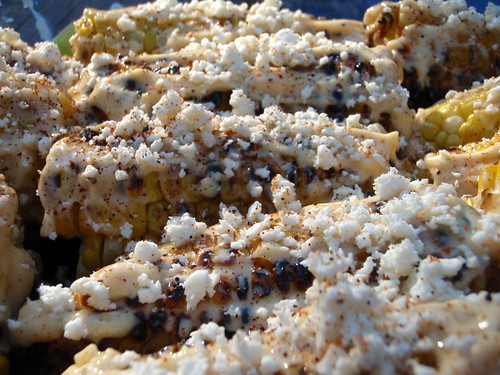
I have to admit that I've never actually had this when I was in Taiwan, but that doesn't really matter.  When I read about Tiny Urban Kitchen's Taiwanese grilled corn, I knew I had to make it.  I already had all the ingredients for the sauce, and corn was on sale for 12 for $1.97 at Stop and Shop!  All I was missing was a grill.  Luckily, my friends Evie and Santi had a cookout at their place over the weekend, so it all worked out.

After my experience with making Mexican grilled corn, I decided to par-cook the corn before grilling it.  I've wanted to try the microwave shucking method ever since I saw this video, so I figured I could use the microwave to kill two birds with one stone.

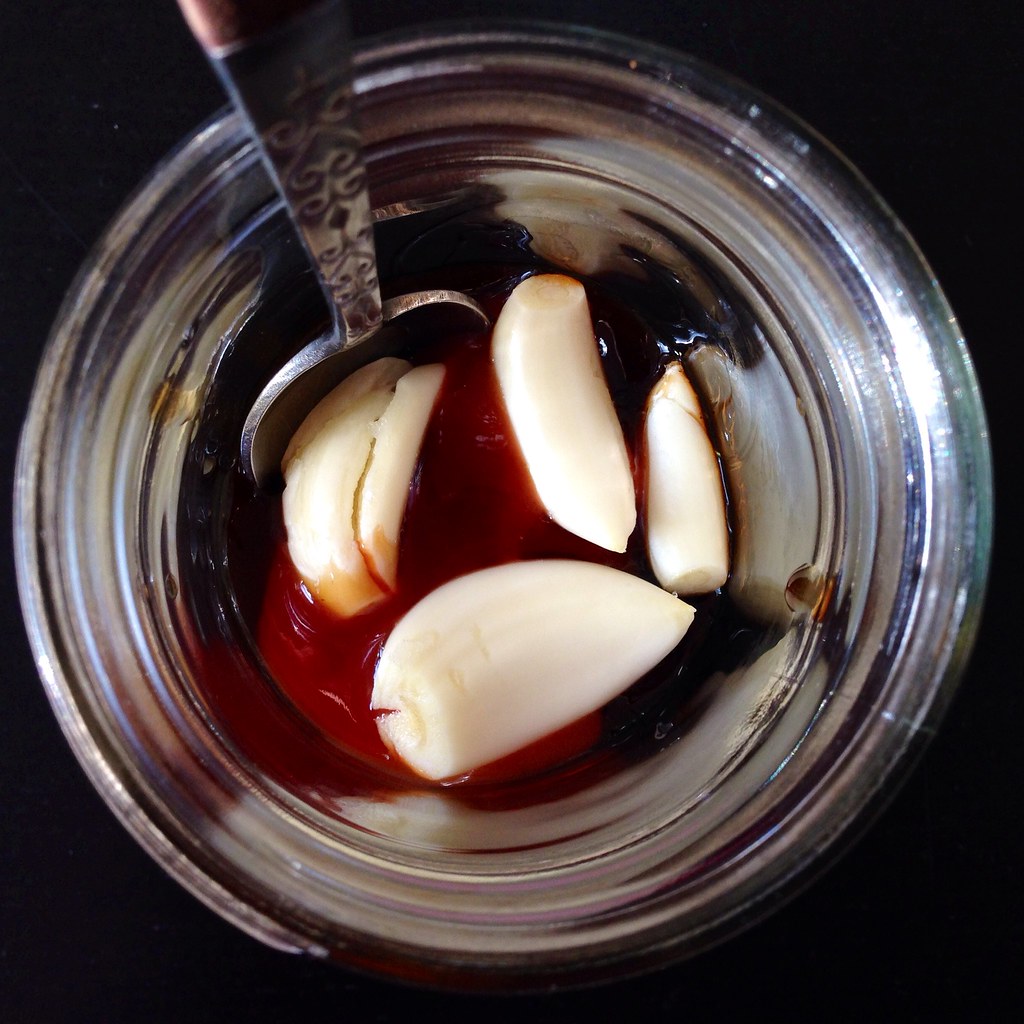
I like to make the basting sauce the night before so that the garlic has time to really release a lot of its juices.  Make sure you use soy paste and sweet chili sauce, not soy sauce or another hot sauce.  (See this picture from Tiny Urban Kitchen for the brands we both used.)  You really want the thickness and sweetness from using those two specific sauces for this recipe.

https://www.flickr.com/photos/joyosity/14403934080/

Taiwanese Style Street Corn (adapted from Tiny Urban Kitchen)
serves 6-8

4 tablespoons soy paste
1 tablespoon sweet chili sauce
4-5 garlic cloves
6-8 ears of corn
Butter (optional)

https://www.flickr.com/photos/joyosity/14589882852/

Mix together the soy paste and sweet chili sauce.  Smash the garlic cloves, remove the skin, and add to the sauces.  I like to mash them a bit more in the sauce to really release their juices.  Let sit in the refrigerator overnight, if possible.

https://www.flickr.com/photos/joyosity/14590569565/

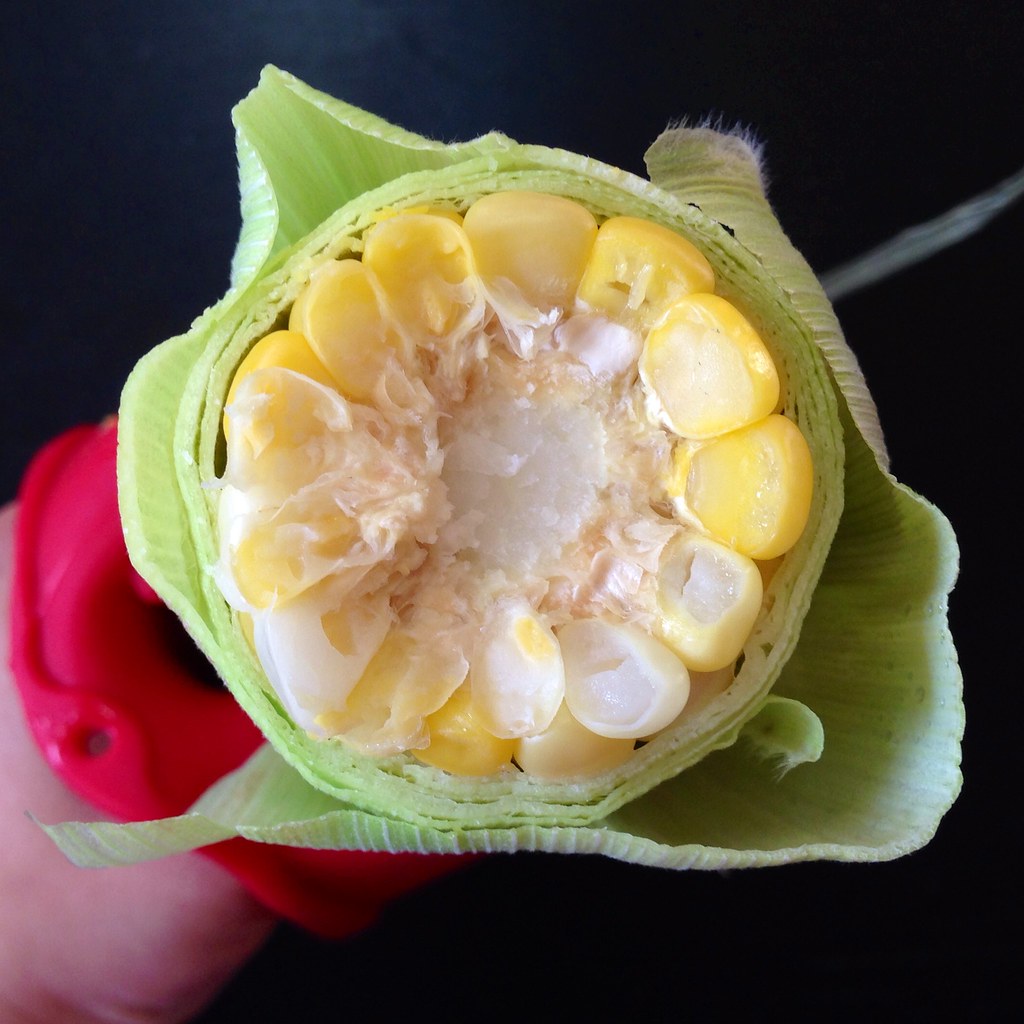
Cut off the stalk end of each ear of corn.  Microwave one or two at a time for 90 seconds to 2 minutes per corn.  The corn will be really, really hot so make sure you use a dependable oven mitt to remove from the microwave.


Holding the stringy end of the corn (and still using oven mitts!) shake and squeeze the corn out of the husk.  It should slide out pretty easily, and you should be able to get it out without any corn silk attached, but if there is any left on the corn, just remove it once the corn has cooled a bit.  This can also be done the night before; just store the par-cooked corn in the refrigerator and bring back to room temperature before grilling the next day.

https://www.flickr.com/photos/joyosity/14403999179/

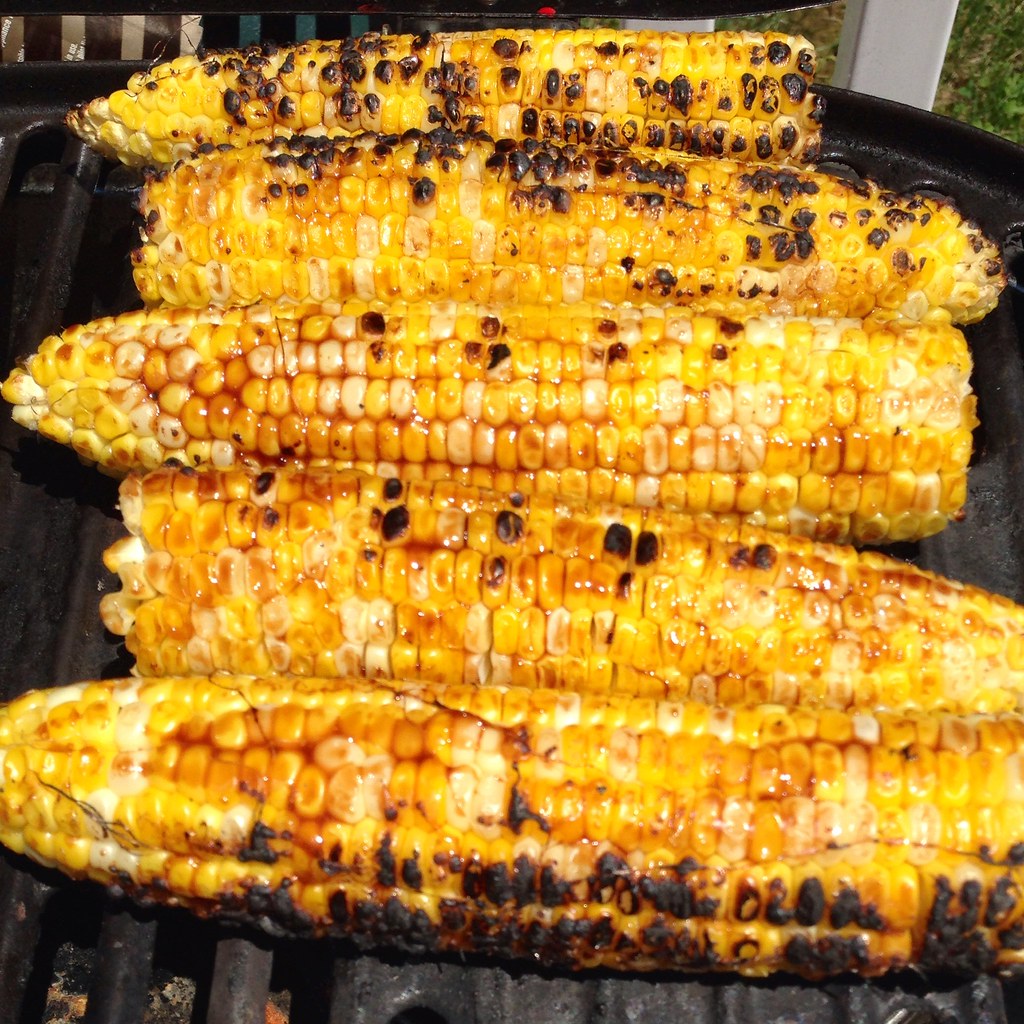
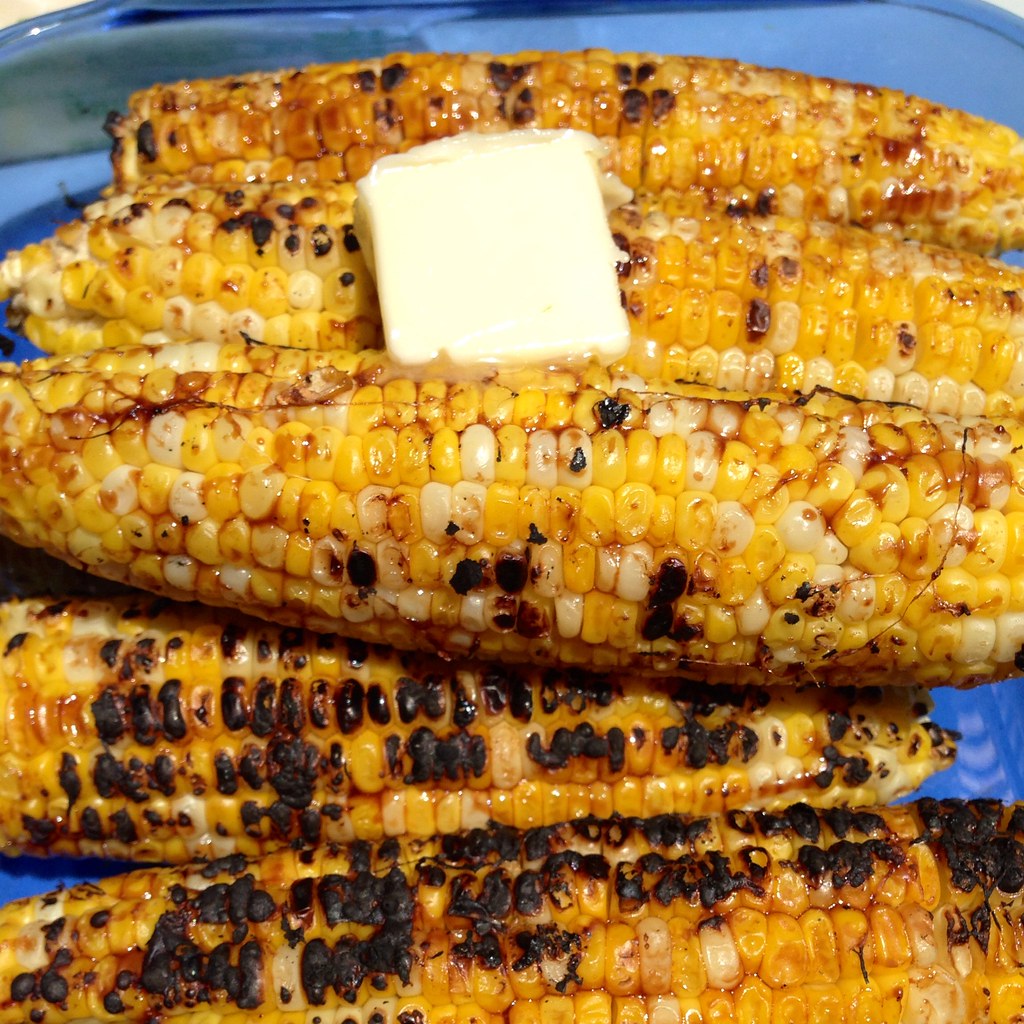
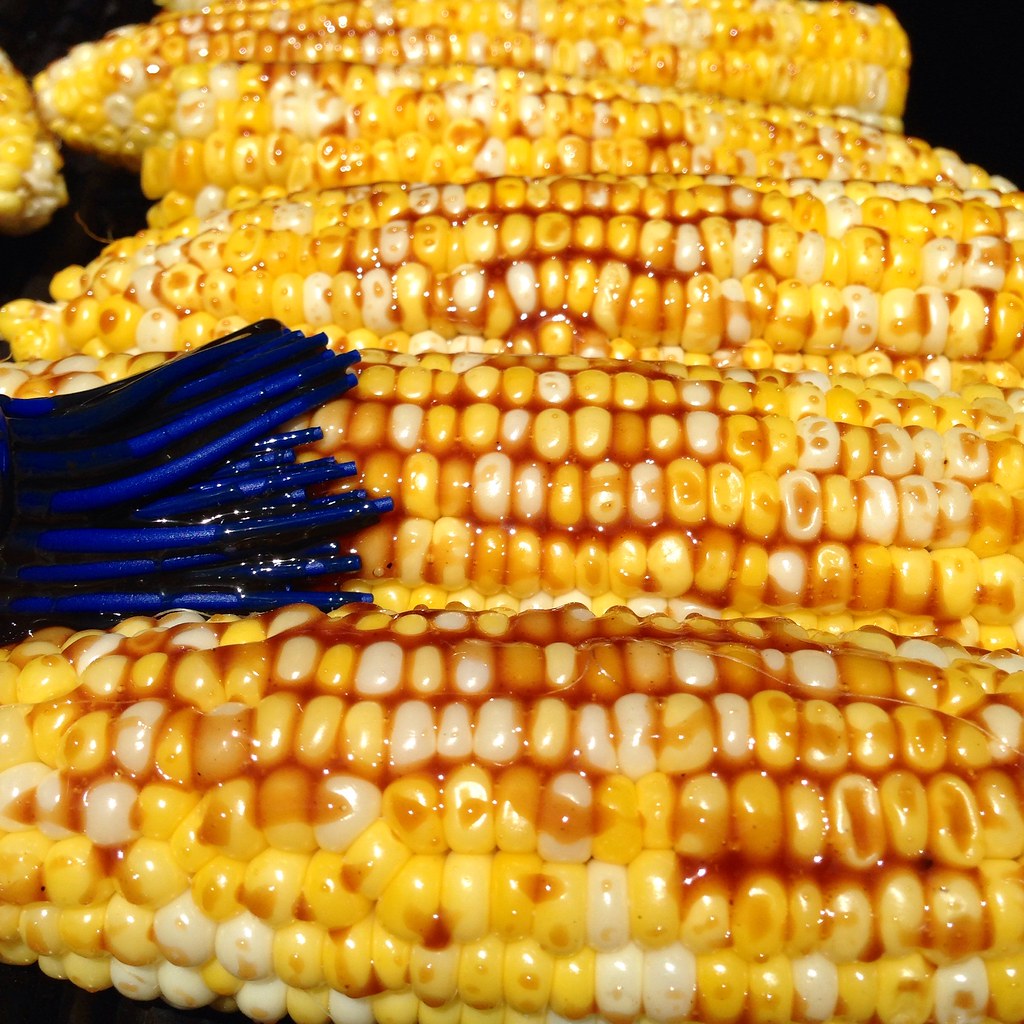
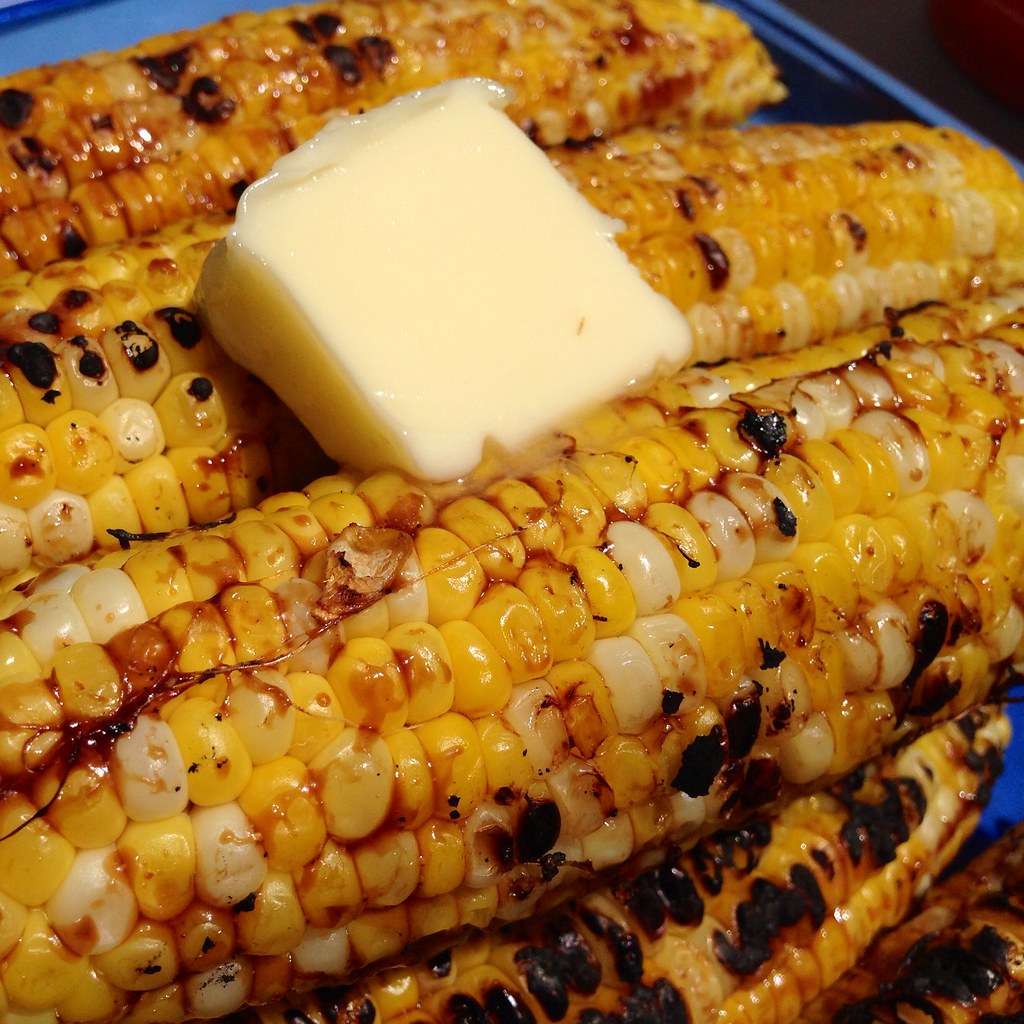
Grill the corn on a hot grill until it starts to char.  Start basting the corn with the sauce and turning them with tongs to get a nice glaze and char all around.  Continue basting until all the sauce is used up.  You can use less, but why would you want to?  Slather with butter before serving, if desired.

https://www.flickr.com/photos/joyosity/14590585465/

I actually started basting the corn as soon as they were on the grill instead of waiting for them to char first.  I'm not sure if it made a difference, especially since the corn was already par-cooked so it didn't take too long for it to start charring.  The end result was exactly what I imagined:  sticky, salty, spicy, smoky, garlicky, crunchy, buttery sweetness.  I totally want to try using this sauce on all the things!

Next:  New England Clambake at Home
Previously:  Homemade Choco Tacos
Last Year:  French Toast Face Off

Thursday, July 3, 2014

Low Country Boil

https://www.flickr.com/photos/joyosity/14531594466/

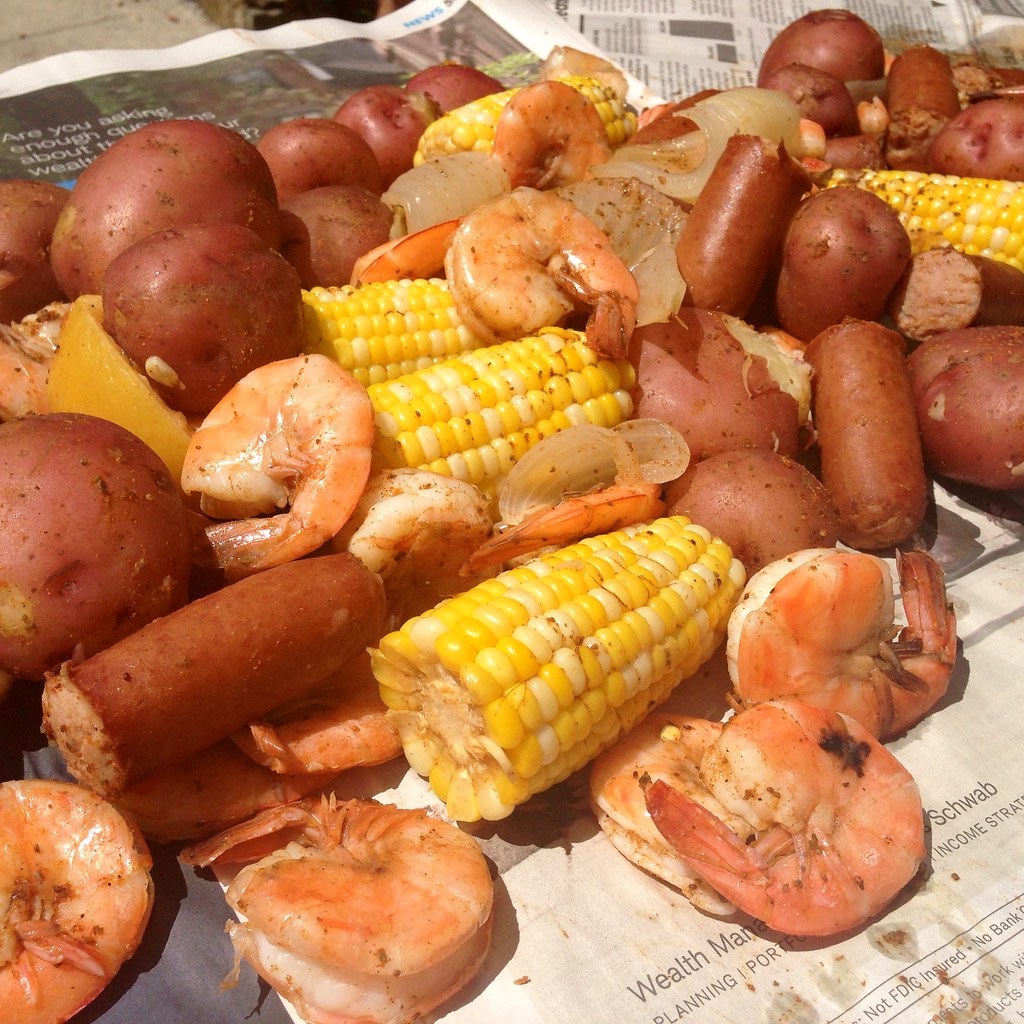
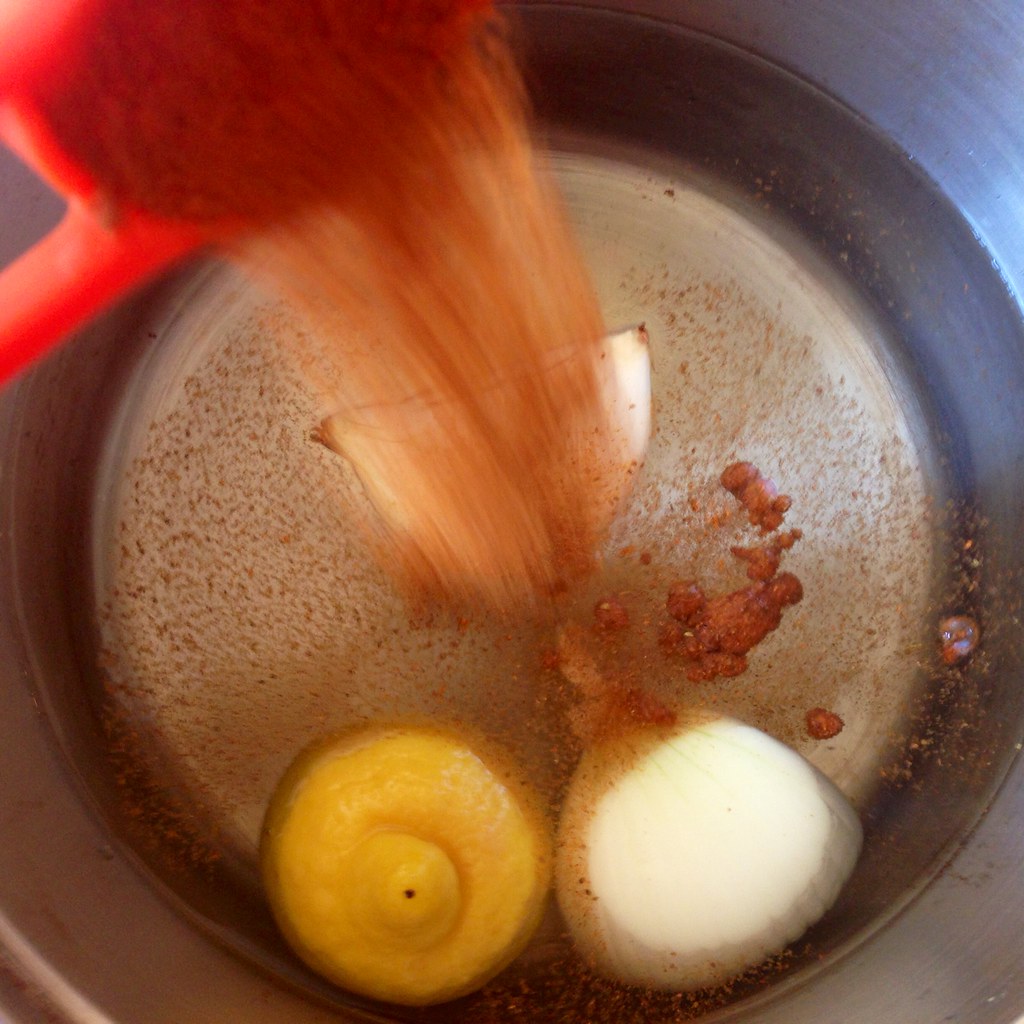
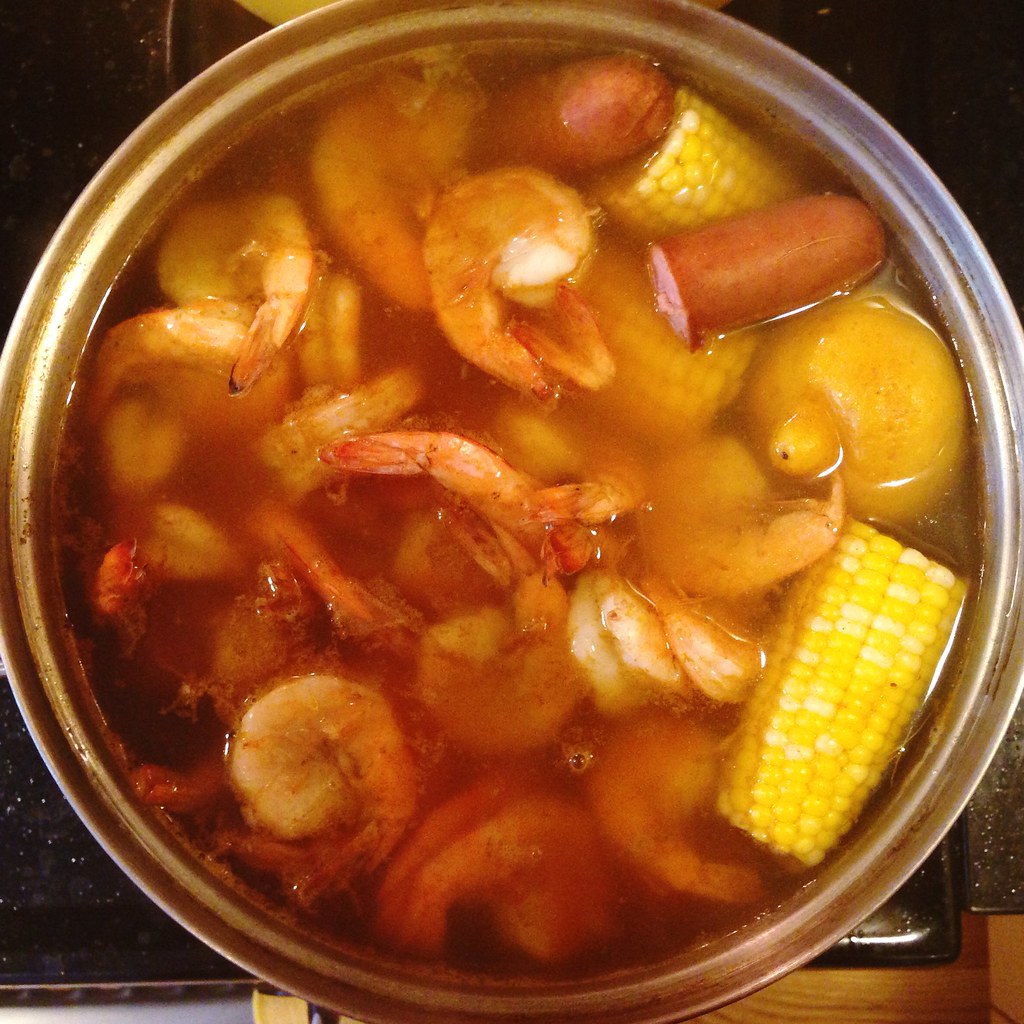
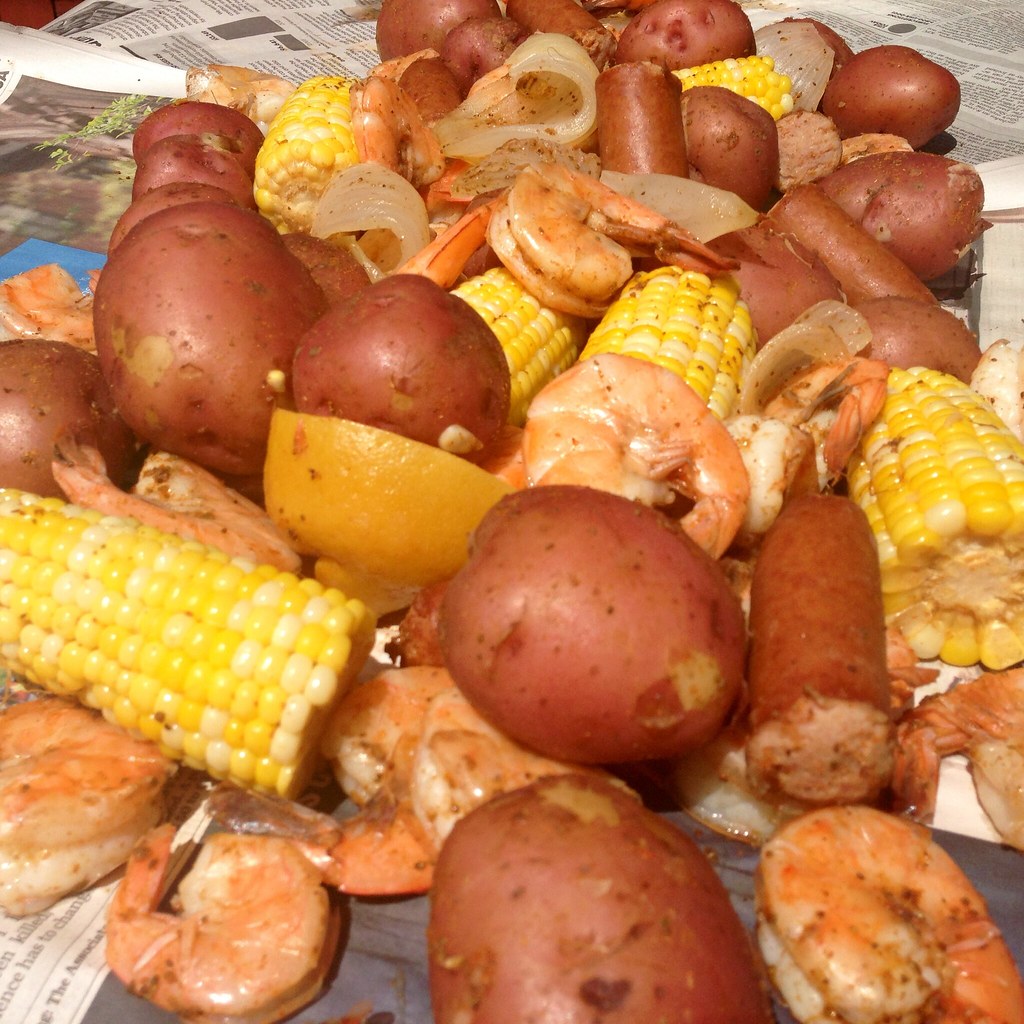
The first time I heard of low country boil was when someone posted on reddit asking for a recipe.  Intrigued, I looked it up to discover it was kind of like a clam bake, but with shrimp.  Basically, you boil a large pot of water, douse it with Old Bay or crab boil (which apparently is a spice sachet you can buy, but I couldn't find any at my local grocery store in Boston) and then add potatoes, corn, smoked sausage, and shrimp in succession.  Then you drain it, and--here's my favorite part--dump it onto a newspaper-lined table to eat outside without any plates and utensils.  How fun is that?  (Apologies for the vertical filming.)


After looking up a bunch of recipes, I decided to also add a lemon and onion to the water, although I only had half a lemon and half an onion left in my fridge.  Feel free to use a whole lemon (halved) and a whole onion (quartered) if you like.  You could probably also use less potatoes, but I really wanted to leftover potatoes to make some hash the next morning, so I threw in the whole 3 lb. bag of potatoes.

Low Country Boil
serves 4

4 quarts water
1/2 lemon
1/2 onion, quartered
1/4 cup Old Bay (plus more for serving)
3 lbs. red potatoes
4 ears of corn, shucked and cut in half
14 oz. kielbasa links, cut in half
2 lbs. shell-on raw shrimp

https://www.flickr.com/photos/joyosity/14368073579/

Add the lemon, onion, and Old Bay to the water in a large pot and bring to a boil.  Add the potatoes and let cook for 15 minutes.

Add the corn and kielbasa and cook for 5 minutes.  Add the shrimp, give it a good stir, cover the pot, and turn off the heat.  Let sit for about 4 minutes, until the shrimp are pink.

https://www.flickr.com/photos/joyosity/14368227697/

Drain the contents of the pot (I just poured everything into the pasta insert that I set in my sink).  Line an outdoor table with lots of newspapers, and dump the low country boil onto the newspaper.  Serve with additional Old Bay.  Enjoy!

https://www.flickr.com/photos/joyosity/14553796462/

Next:  Watermelon Agua Fresca and Popsicles
Previously:  Papaya Milk and Papaya Milk Popsicles
Last Year:  Potatoes Boulangère
Four Years Ago:  Slow Cooker Bolognese Sauce

Monday, May 26, 2014

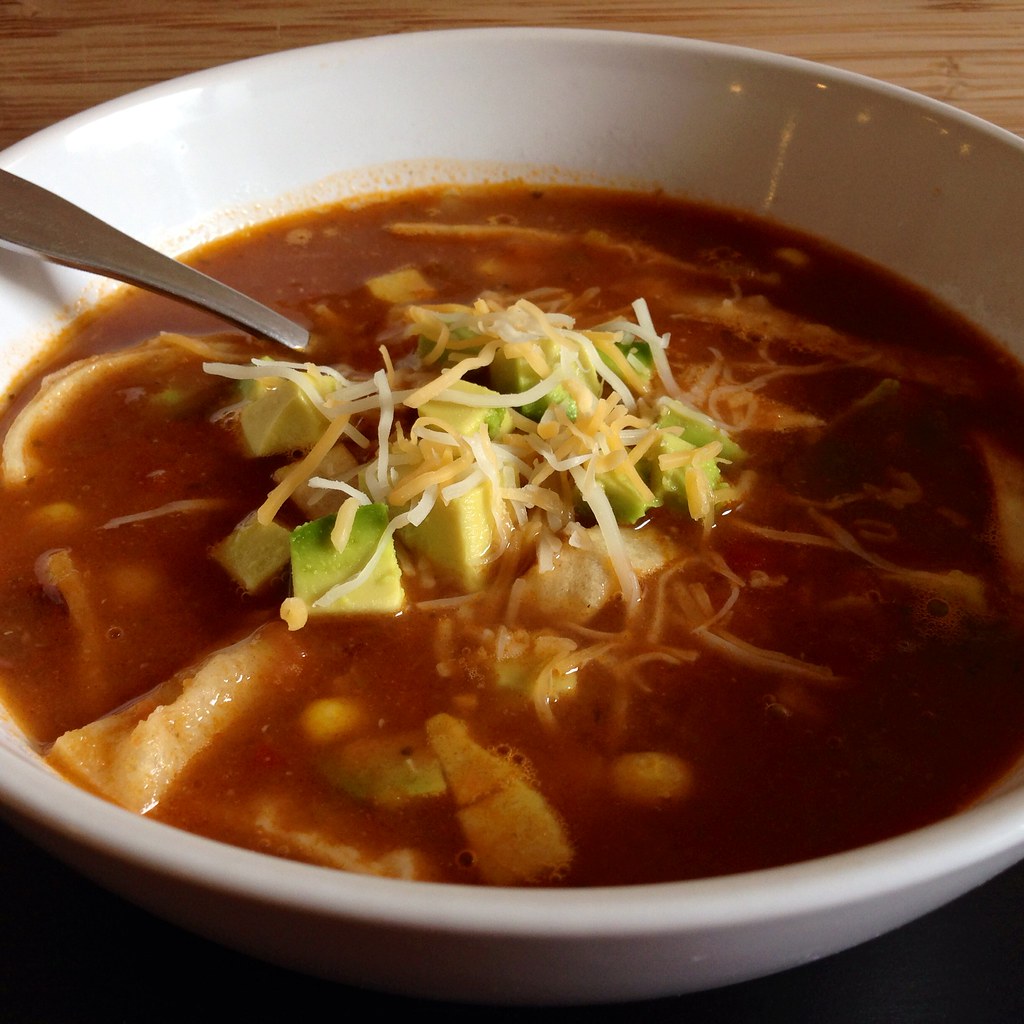
Corn and Black Bean Tortilla Soup


https://www.flickr.com/photos/joyosity/14238218406/

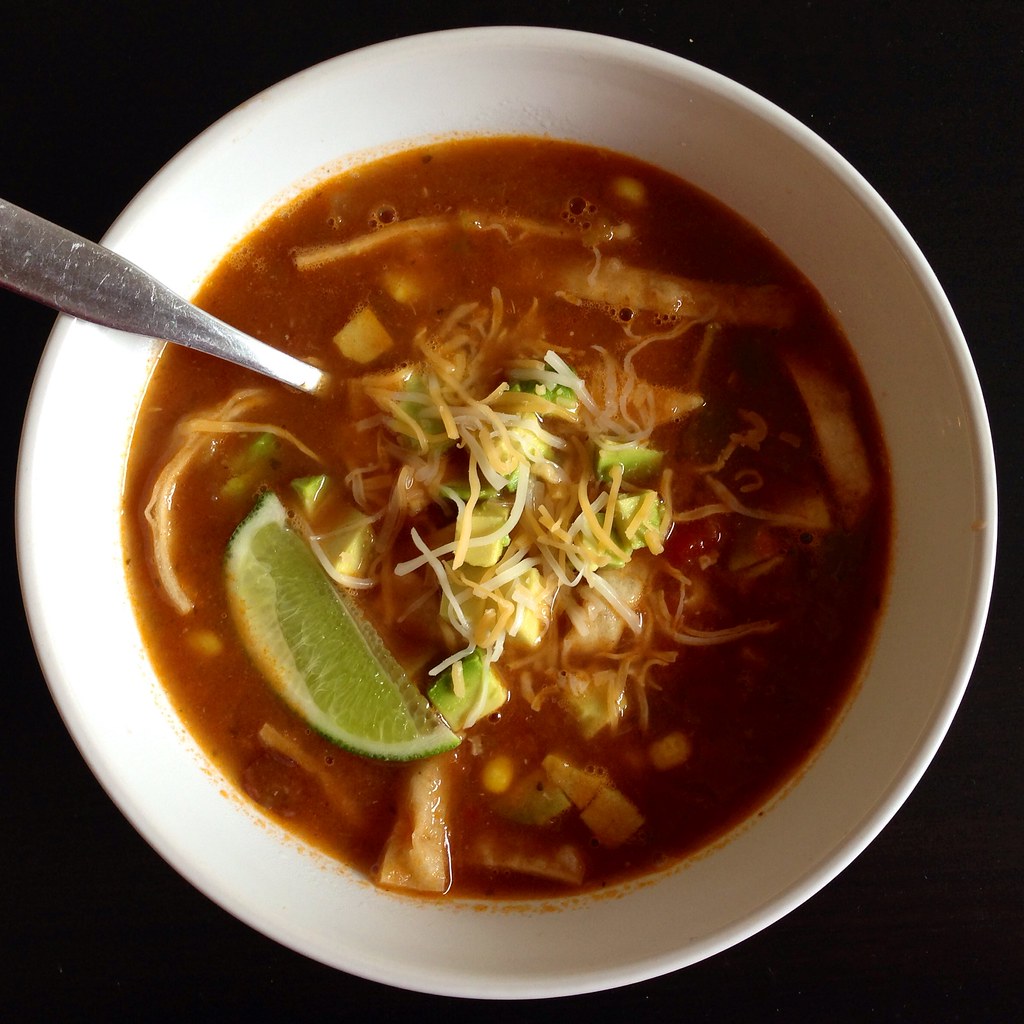
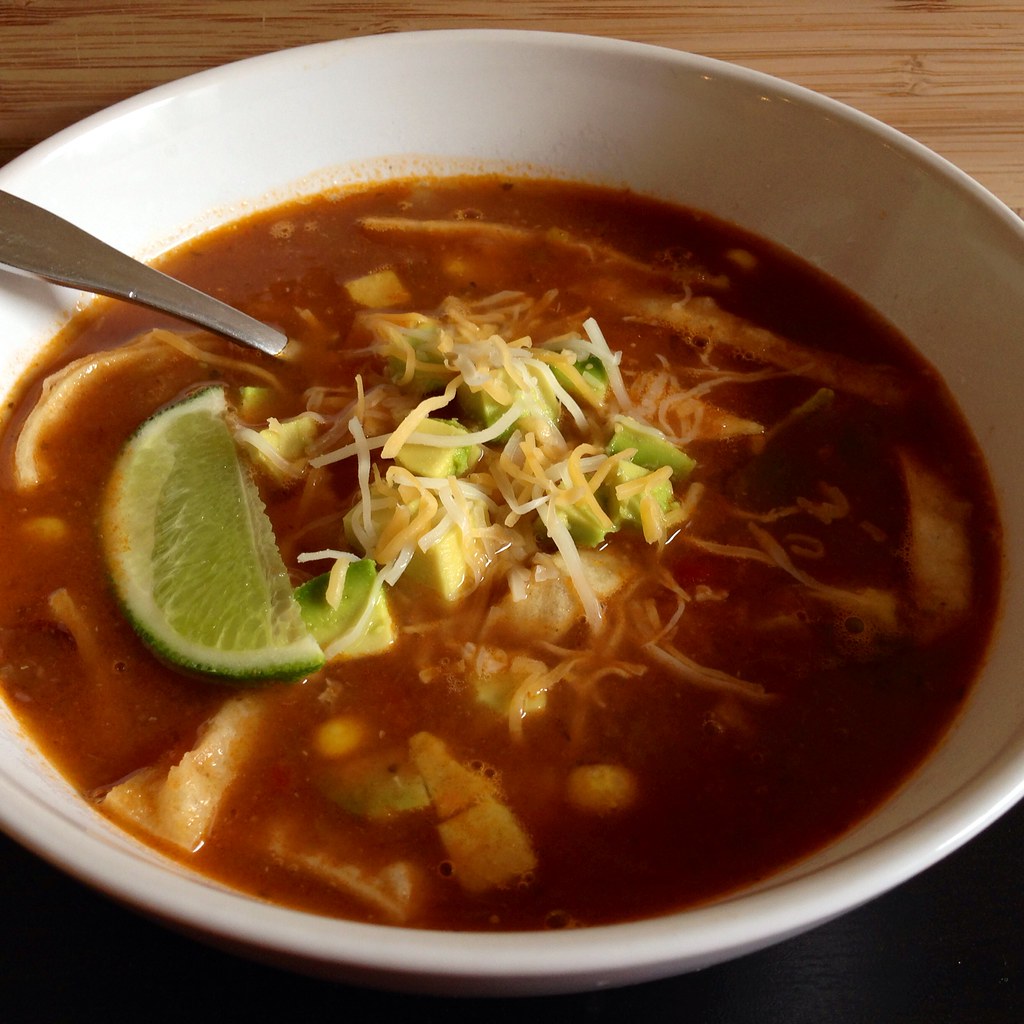
I think I first discovered tortilla soup at the Wolfgang Puck Café in Chicago O'Hare, and it soon became my go-to during layovers in Terminal 3.  It's relatively light and refreshing after a long flight but still filling enough to be a full meal for me.  Of course, I always ask for extra tortilla strips because I like to add them a little bit at a time as I eat the soup so that there are always be some crunchy ones even towards the end. 

The only reason I haven't made this soup before is that I never had any corn tortillas on hand.  But after making the chilaquiles, I had some left over, so it was time to finally try it out.  I did some research on-line and cobbled together my own recipe with a lot of influence from The Pioneer Woman and Simply Recipes.

https://www.flickr.com/photos/joyosity/14261340875/

Corn and Black Bean Tortilla Soup
makes 4 servings

3-4 corn tortillas, preferably slightly stale and dry
1/4 cup vegetable oil
1 onion
1 green bell pepper
2 garlic cloves
1 teaspoon cumin
1 teaspoon adobo seasoning
4 cups vegetable or chicken broth
1 can (14.5 oz.) of diced tomatoes with jalepenos
1 cup corn kernels, fresh or frozen
1 can (15.5 oz.) can black beans, drained
1 tablespoon cornmeal
1 avocado
1/2 cup shredded Monterey Jack cheese
1 lime, quartered

https://www.flickr.com/photos/joyosity/14260946314/

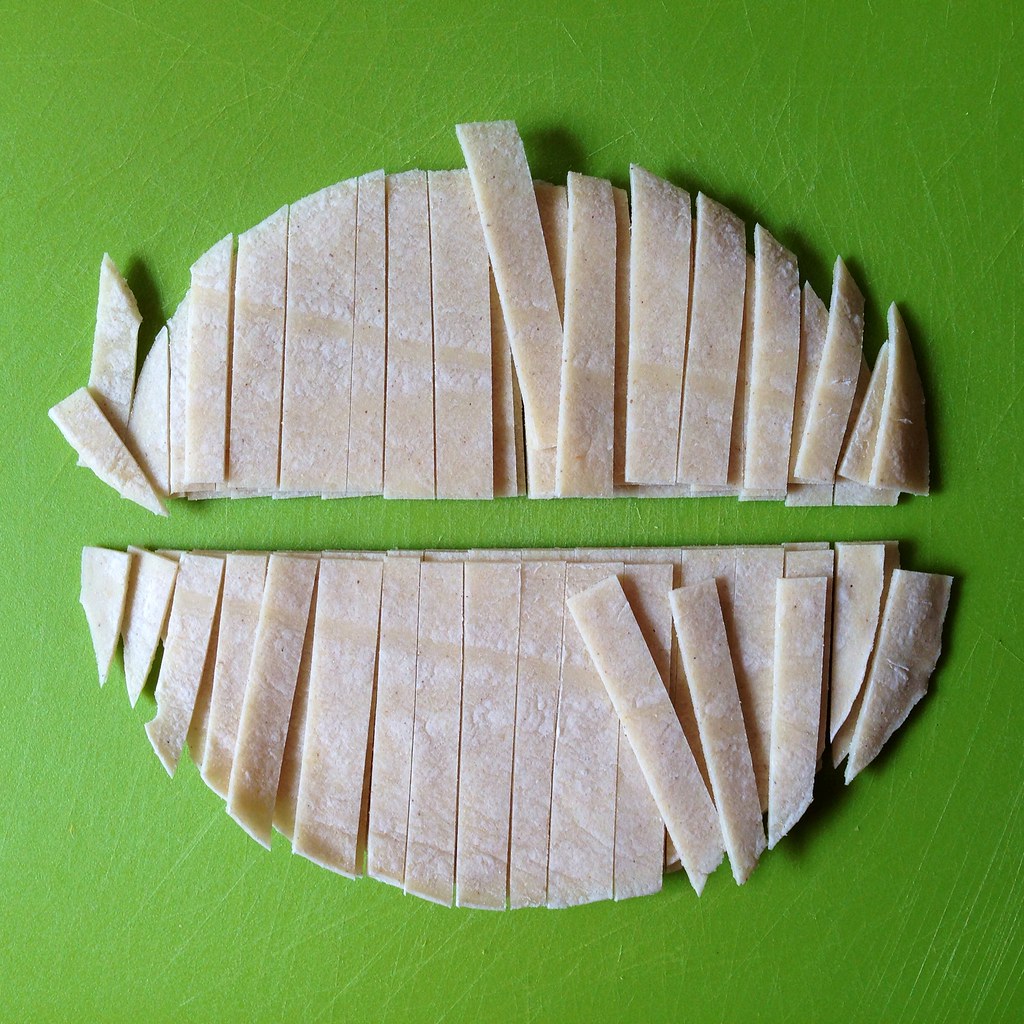
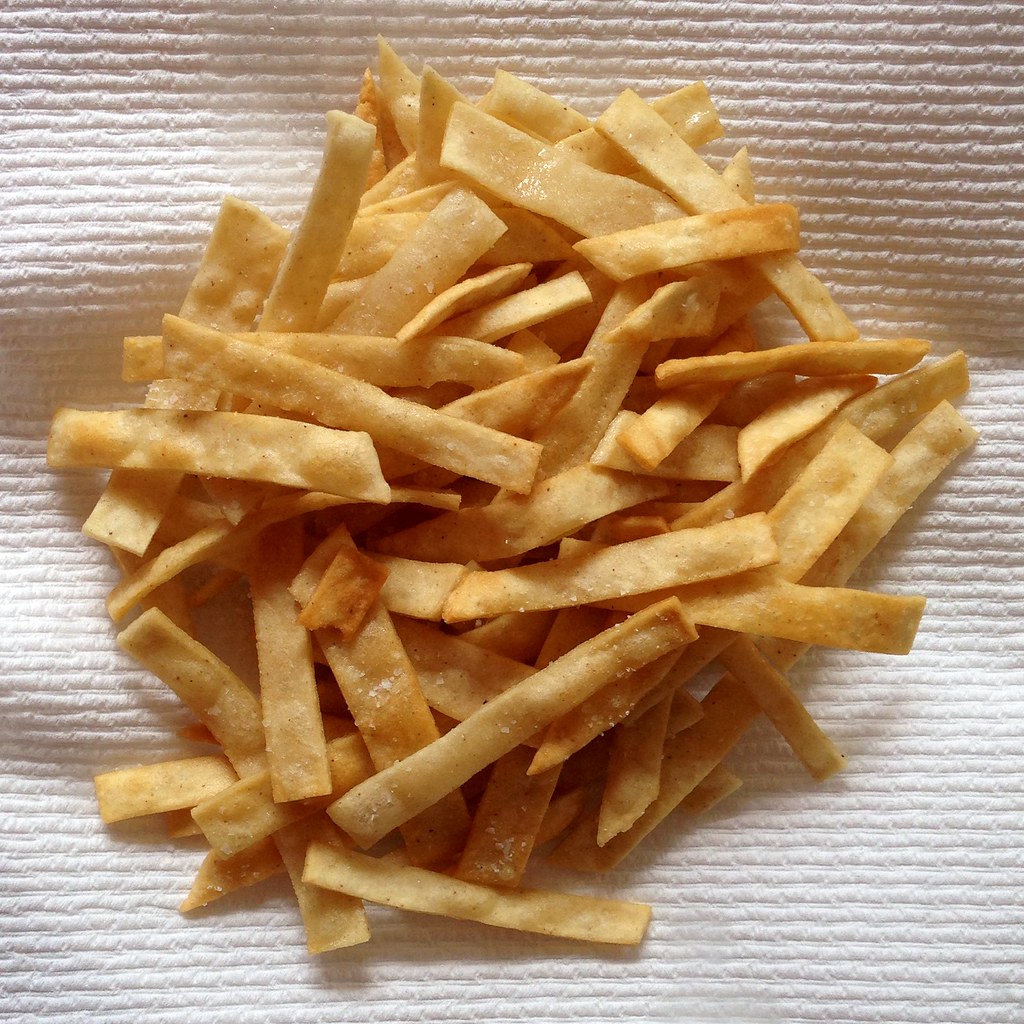
Cut the tortillas in half and then into thin strips.  Heat oil in a large pot and fry the tortilla strips in batches until golden brown.  Transfer to a paper towel-lined plate and lightly salt.

https://www.flickr.com/photos/joyosity/14281503403/

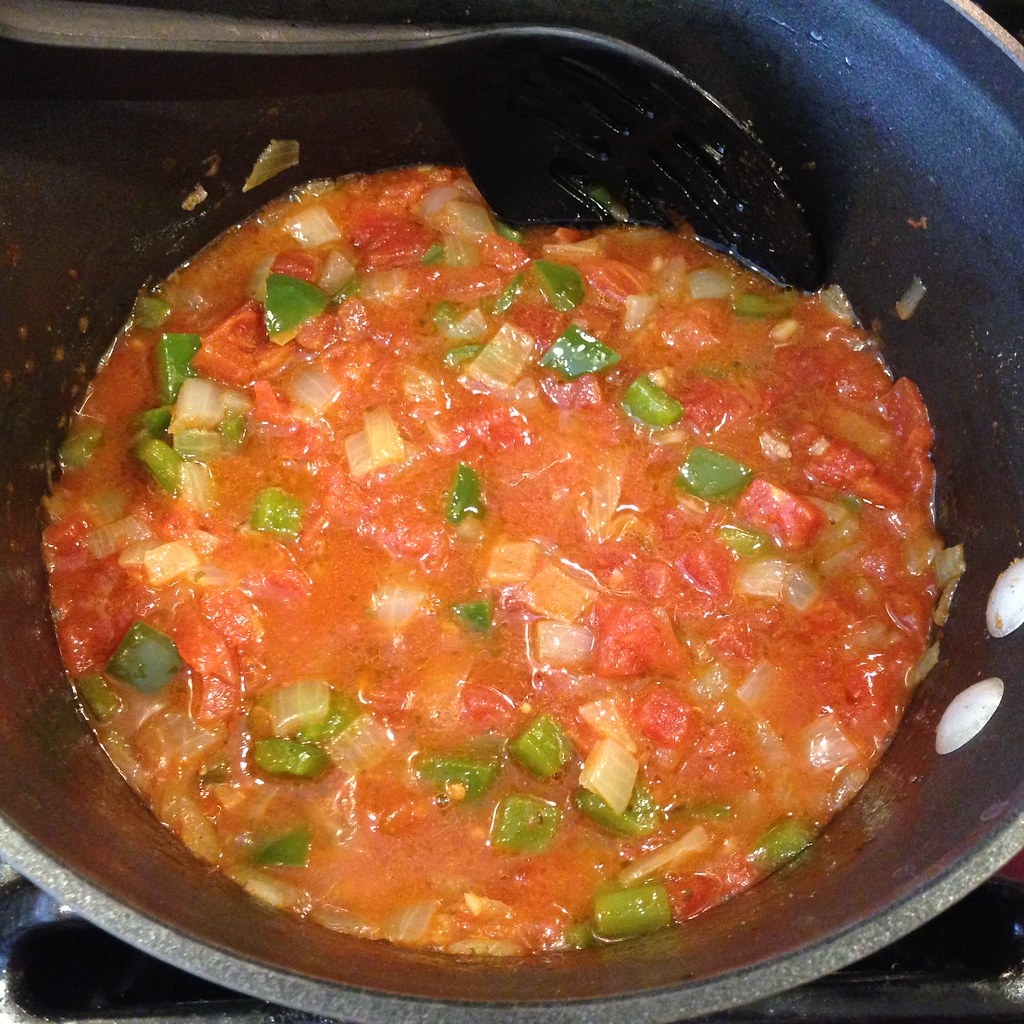
Dice the onion and add to the same pot, on medium-low heat, stirring occasionally.  Dice the green pepper and add to the pot.  Mince the garlic and add to the pot along with the cumin and adobo seasoning.  Mix well and cook for another minute.

https://www.flickr.com/photos/joyosity/14259189732/

Add the tomatoes and broth.  Bring to a boil and then reduce the heat.  Simmer for 15 minutes.  Use an immersion blender to puree the soup, leaving a few chunks if you like.  Taste the soup at this point and season accordingly.

Add the corn and black beans.  Mix the cornmeal with some water and add to the soup.  Stir and simmer for another 15 minutes.

https://www.flickr.com/photos/joyosity/14074695278/

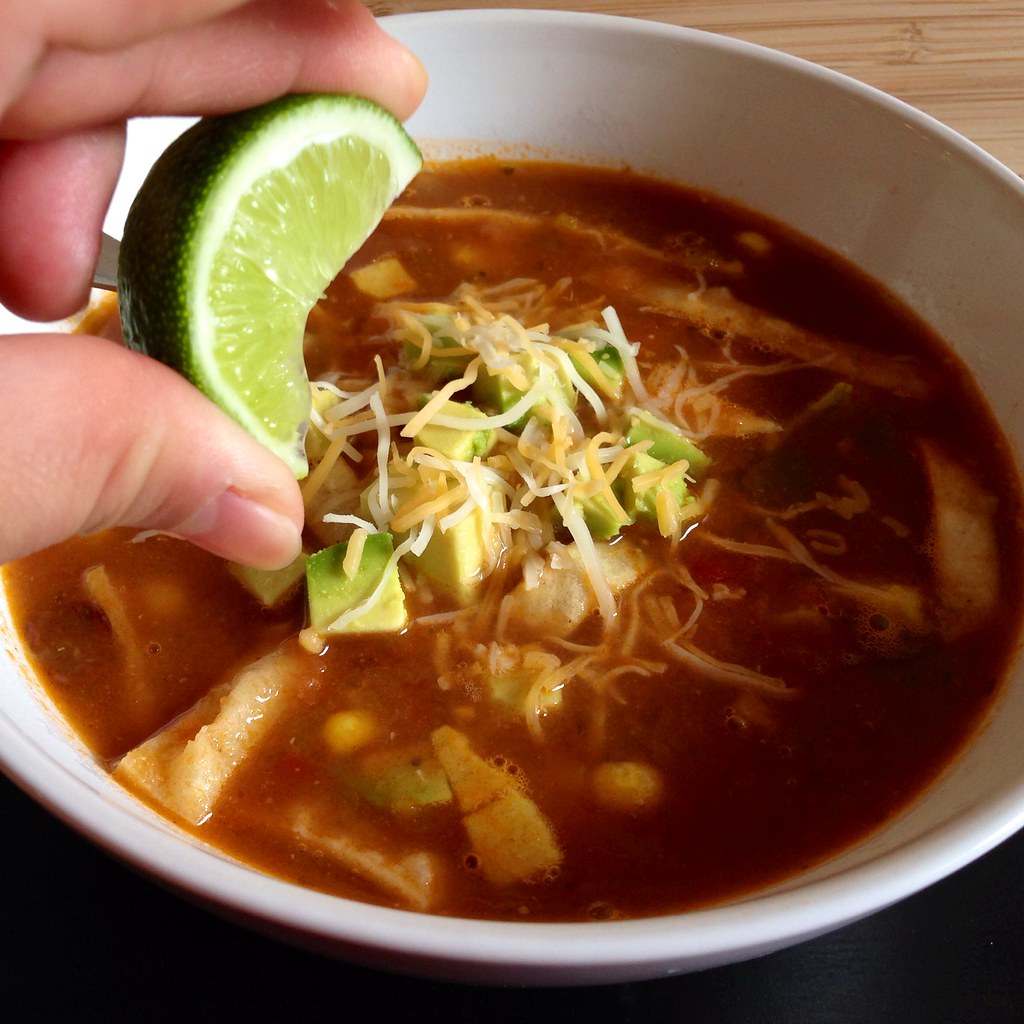
Dice the avocado and distribute half among four soup bowls.  Add half the tortilla strips equally between the bowls.  Ladle in the soup and top with the rest of the avocado, tortilla strips, and shredded cheese.  Serve with a slice of lime.

https://www.flickr.com/photos/joyosity/14074720570/

You can also top the soup with sour cream, queso fresco, and cilantro.

Next:  Blueberry Buttermilk Mini Pies
Previously:  Serendipitous Chocolate Chip Cookies
Five Years Ago:  Kalbi (Korean Barbecue Short Ribs)

Tuesday, September 17, 2013

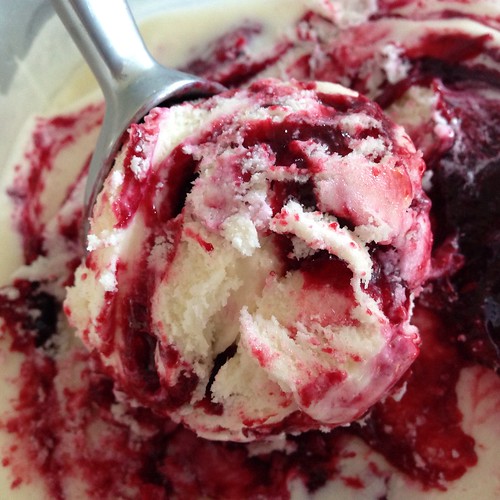
Sweet Corn Ice Cream with Black Raspberry Swirl

I finally got some corn in my Boston Organics delivery and knew immediately that I wanted to make this ice cream.

Growing up in Ohio has its share of pros and cons, but one of the perks is being able to buy sweet corn in the summer from roadside stands.  You can actually see the fields where the corn was harvested, and it's so amazingly fresh and sweet that all other corn just tastes like dust in comparison.

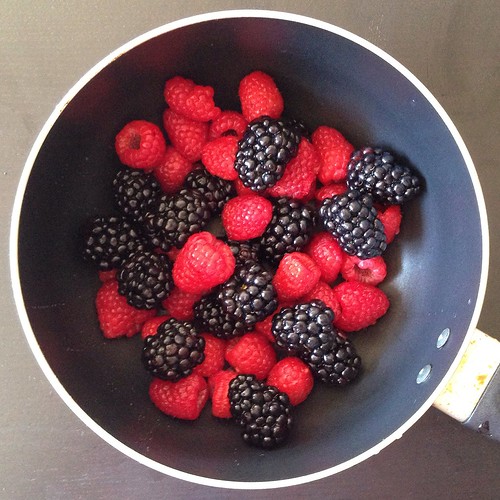
This recipe is another one from Jeni's Splendid Ice Creams at Home, which has basically become my ice cream making bible.  I couldn't find any black raspberries at the farmer's market or the grocery story, so I did as she suggested and made the sauce with half red raspberries and half blackberries.


Sweet Corn Ice Cream with Black Raspberry Swirl (from Jeni's Splendid Ice Creams at Home)
makes about 1 quart

To make the black raspberry swirl: 
2 cup black raspberries or red raspberries and blackberries
1 cup sugar

To make the ice cream base:
1 ear of fresh, sweet corn, husked
2 cups milk
4 teaspoons cornstarch
3 tablespoons cream cheese, softened
1/4 teaspoon kosher salt
1 1/4 cups heavy cream
2/3 cup sugar
2 tablespoons light corn syrup


Combine berries and 1 cup sugar in a 1-quart saucepan over medium-high heat, and cook, stirring, until thickened, about 8 minutes; strain and chill.


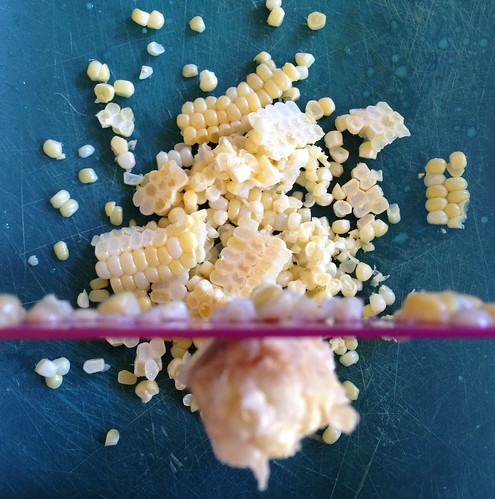
Slice the kernels from the corn cob, then "milk" the cob by scraping it with the back of your knife to extract the liquid; reserve the kernels and liquid.

Mix about 2 tablespoons of the milk with the cornstarch in a small bowl to make a smooth slurry.  Whisk the cream cheese and salt in a medium bowl until smooth.

Combine the remaining milk, cream, sugar, corn syrup, corn kernels and juices in a 4-quart saucepan, bring to a rolling boil over medium-high heat, and boil for 4 minutes.  Remove from the heat and force the mixture through a sieve into a bowl, leaving the corn "cases" behind.

Return the mixture to the saucepan and gradually whisk in the cornstarch slurry.  Bring back to a boil over medium-high heat and cook, stirring, until thickened, about 1 minute.  Remove from the heat.


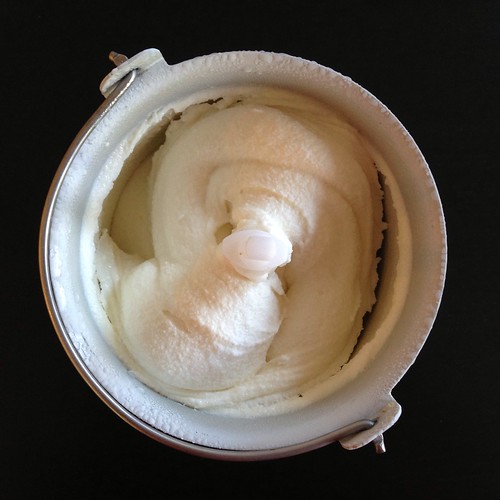
Gradually whisk the hot milk mixture into the cream cheese until smooth. Pour mixture into a 1-gallon Ziploc freezer bag, seal, and submerge in a bowl of ice water until chilled. Pour mixture into an ice cream maker and spin until thick and creamy.


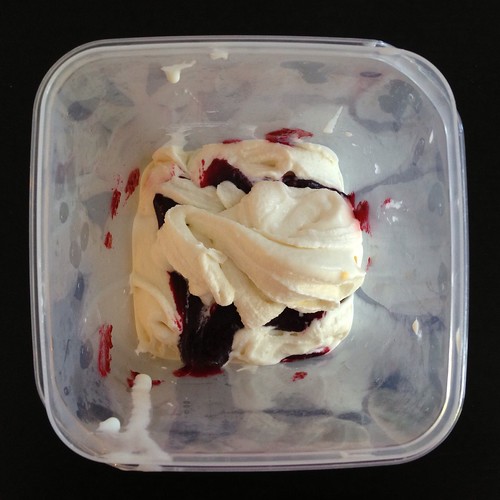
After churning, alternate layers of ice cream and berry sauce in a storage container before freezing.


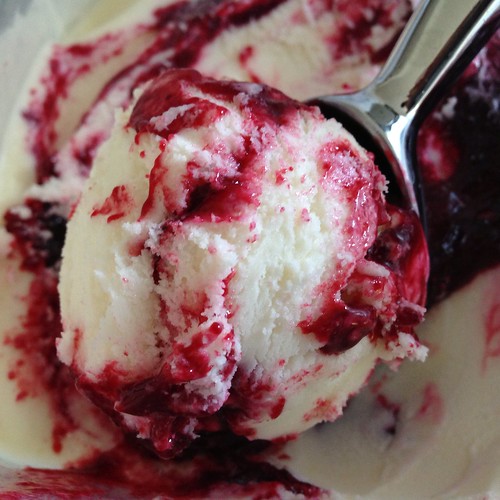
The black raspberry sauce is really yummy but may overpower the delicate flavor of the sweet corn.  When I make this again I'll probably reduce the amount of sauce I layer in and increase the salt in the ice cream base a bit just to bring out the flavor of the sweet corn even more.

Previously:  Lobster Bisque
Next up:  Salted Butter Caramel Apple Pie with Vodka Pie Crust

Monday, November 19, 2012

Corn Souffle

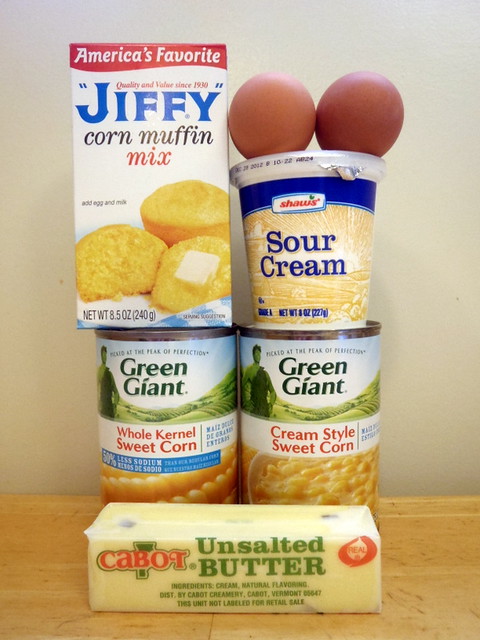
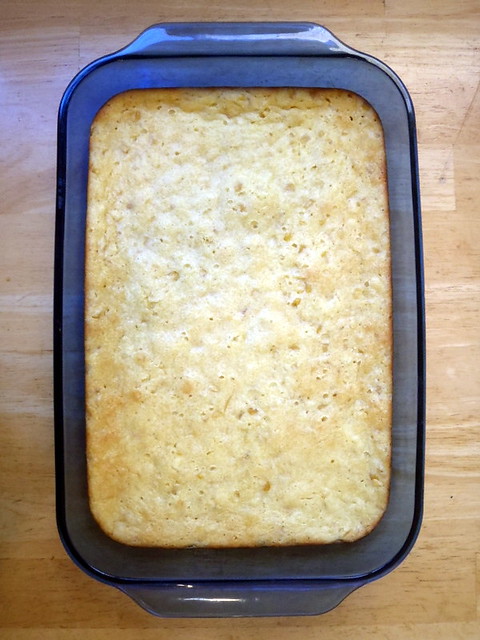
This is one of my favorite dishes to bring to a potluck, especially around this time of year, because it's dead easy to make, but everyone always raves about how delicious it is.  And the weirdest part is, almost all the ingredients come out of a box or a can.

PB173158
 
I wouldn't technically consider it a souffle, but if you bake it in a souffle dish, it will rise and fall like one.  If you don't have a souffle dish (like me), you can also just bake it in a regular 9"x13" baking dish, and it'll be just as delicious.  It's like a super moist corn bread, but to describe it like that is to do it a grave injustice.  It's just that little bit sweet enough where you'll keep taking another bite to try to taste it some more, and it's light enough that you won't regret it.

So make this dish, sit back, and wait for the compliments to roll in.

Corn Souffle
 
Corn Souffle
serves 15-20

2 large eggs
1/2 cup oil or 1 stick of butter, melted
8 oz. sour cream
16 oz. can whole corn kernels, drained
16 oz. can creamed corn
8 1/2 oz. Jiffy corn muffin mix

Preheat oven to 350°F.

PB173160
 
In a large bowl, beat the 2 eggs.  Add oil or melted butter and sour cream and combine (the sour cream will help emulsify the oil and eggs).

PB173162
 
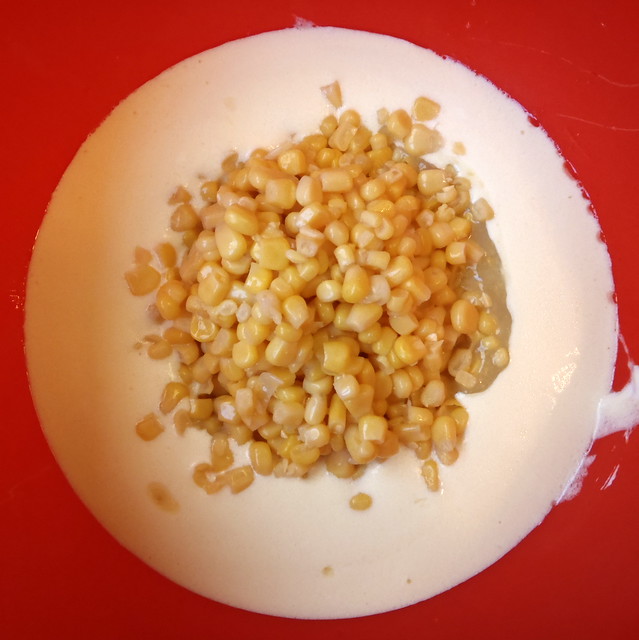
Add the drained corn and creamed corn and mix.  Finally, add the corn muffin mix and stir until combined.

PB173163
 
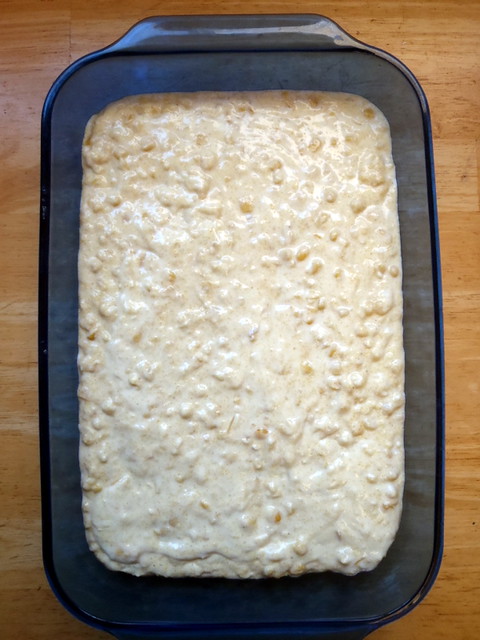
Bake in a 2 quart souffle dish for 55 minutes or a 9"x13" baking dish for 45 minutes until golden brown.  Serve warm, if possible, but it's okay at room temperature, too.

Corn Souffle
 
If you like, you can also sprinkle on some shredded cheddar cheese when there are 10 minutes left to bake.  Other ideas for add-ins would be chopped peppers, scallions, and crumbled, cooked bacon.  Personally, I like it just as it is.  ^_^

Next:  Ramen Cabbage Salad
Previously:  Pretzel Ice Cream Pie with Homemade Magic Shell

Tuesday, June 15, 2010

Elote (Mexican Grilled Corn)

P5312955

I tried elote for the first time a while ago at La Verdad, but I wasn't totally blown away. Then I tried it at Toro a couple of weeks ago, and wow, I couldn't get enough of it! (As an aside, I had always assumed that Toro was a Japanese sushi place because to me, toro = fatty bluefin tuna belly. So I was a little surprised to find out it was actually a tapas restaurant, where toro = Spanish for bull.)

P5312960

A couple days later I was going to a bbq, so I decided to look up how to make it myself. What I came up with is an amalgam of what I found and a few adjustments to make the corn more similar to how I remember they made it at Toro. I chose to pre-cook the corn before grilling it so that I could ensure that the corn was cooked all the way through and also so that I wouldn't be hogging up time and space on the grill. I also added some raw garlic and the spices to the mayonnaise since I remember there was a garlicky taste in their sauce, which was pink. I found the cotija cheese, a mild, aged cheese, at Whole Foods, but if you can't find it, you can substitute either grated Parmesan or crumbled feta cheese.

Elote (Mexican Grilled Corn)
makes 12 servings

12 ears of corn
1 cup mayonnaise
2 garlic cloves
4 limes
Cayenne pepper
Chili powder
Paprika
1 cup crumbled cotija cheese

Preheat oven to 350 °F. Place corn in husks directly on the middle rack of the oven for 30 minutes, or until corn is soft to the touch. After it has cooled, remove the silk and husks. If you like, you can break the ears in half.

P5312947

Run the garlic cloves through a garlic press (or mince well) and add to the mayonnaise. Add the juice from half of a lime and quarter the rest of the limes. Mix in cayenne pepper, chili powder, and paprika to taste.

P5312952

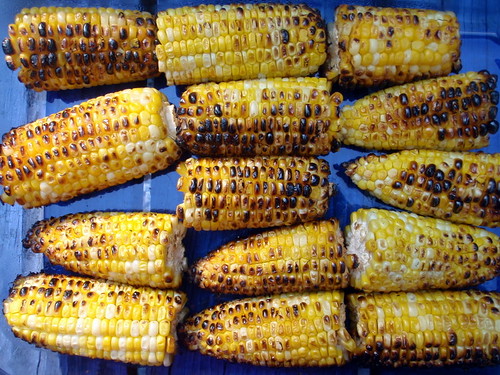
Grill the corn on a hot grill until lightly charred. Top with the mayonnaise sauce and crumbled cotija cheese. Sprinkle on more cayenne pepper and/or chili powder as desired, and serve with lime wedges.

P5312957