Showing posts with label thai. Show all posts

Monday, November 16, 2015

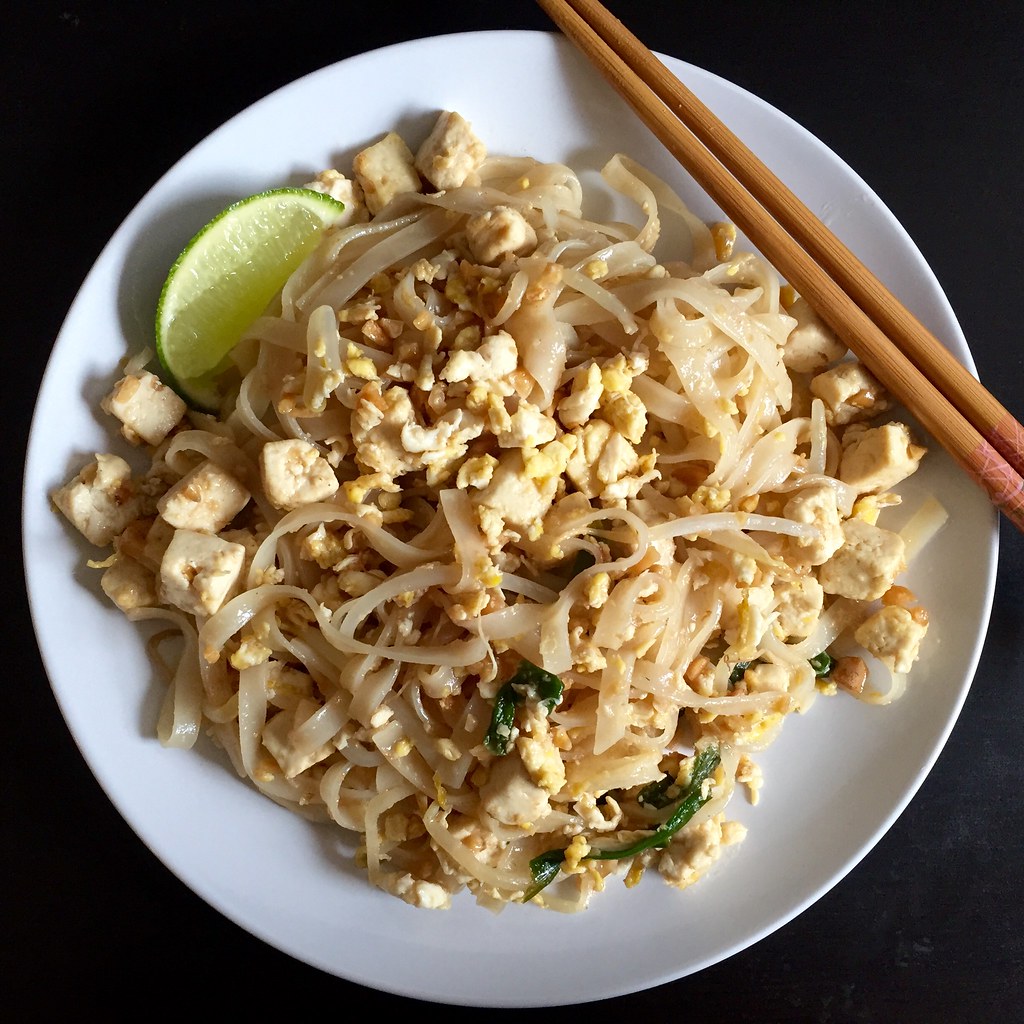
Pad Thai

https://www.flickr.com/photos/joyosity/22596178747/in/dateposted-public/

I got to go to Bangkok for a meeting last week and went a day early so I could explore the city a bit on my own first.  Besides visiting the temples, enjoying the view and drinks at Sky Bar, shopping at Siam Paragon, and getting massages for 270 baht ($7.50!) an hour, I also took a cooking class at the Silom Thai Cooking School.  I chose a Sunday morning class because I liked the proposed menu:  tom yum soup, green papaya salad, pad thai, massaman curry, and mango sticky rice.

The class was very well organized;  first we took a bus to a wet market to pick up the ingredients and then we walked to the classroom which had three different sections:  one for food prep, one for cooking, and one for eating.  Most of the ingredients that we used were already pre-measured for us, so there was only a minimum of chopping and stir frying but enough that we felt like we were actually cooking!  We also got a go at the enormous mortar and pestle to make the papaya salad and the massaman curry paste.
https://www.flickr.com/photos/joyosity/22391843534/in/dateposted-public/

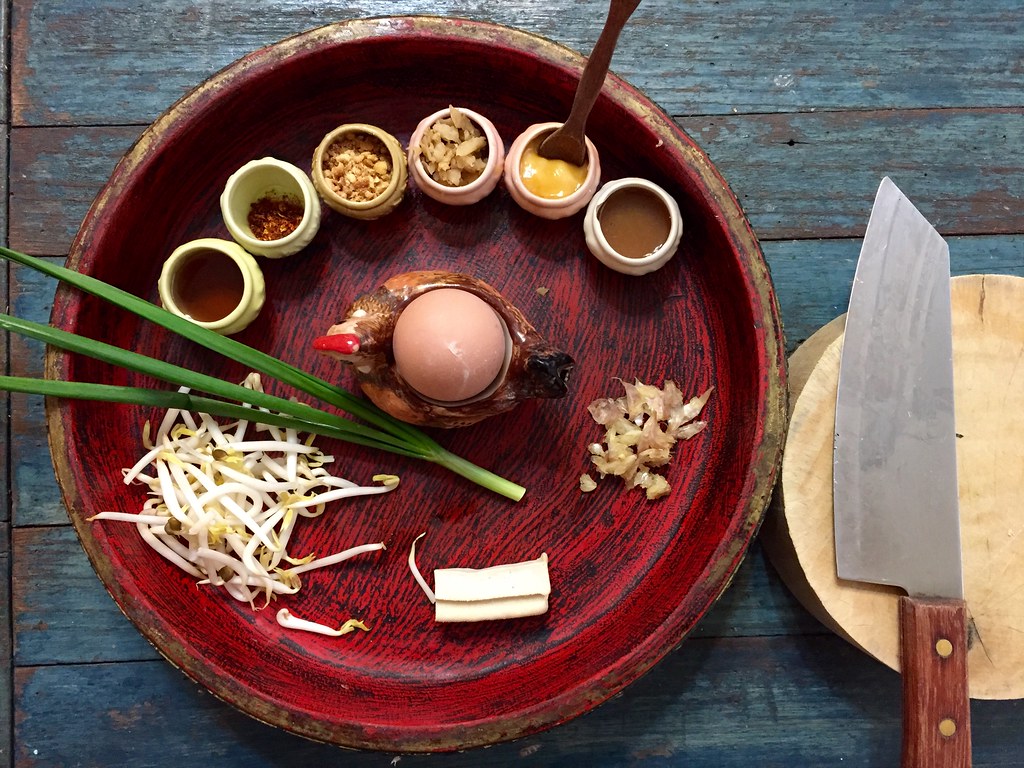
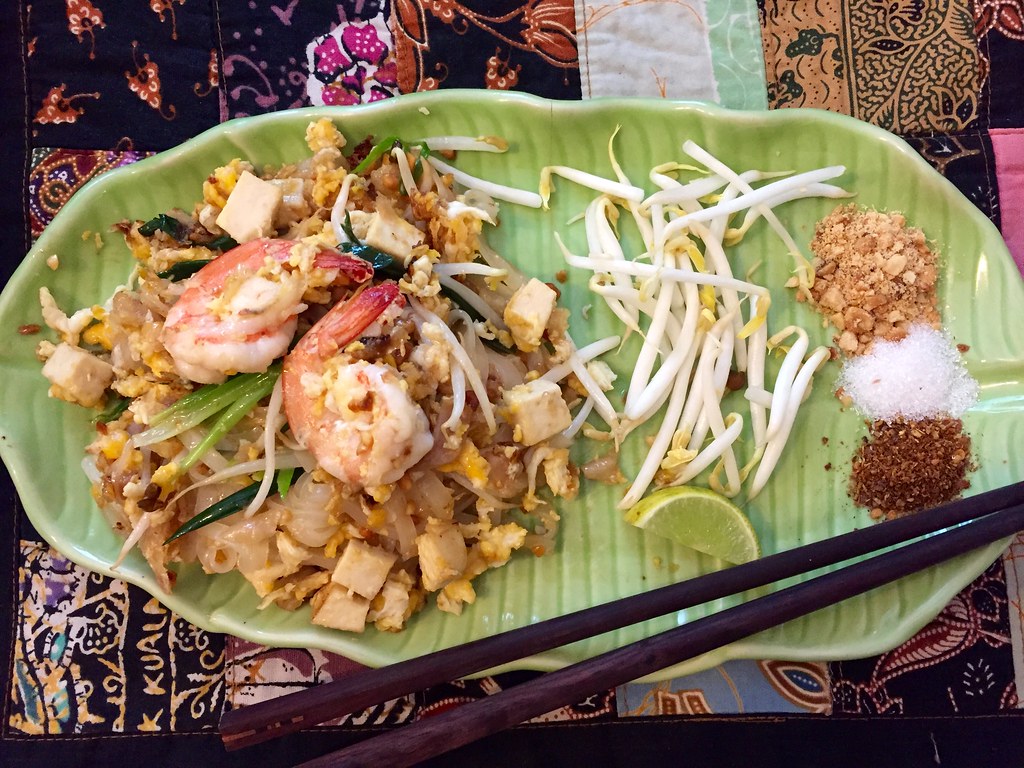
Above are the ingredients we used for pad thai.  Starting at the 10 o'clock position and going clockwise, we have fish sauce, ground chili powder, ground peanuts, pickled daikon, palm sugar, tamarind paste, young garlic cloves, tofu, bean sprouts, scallions, and an egg.  After stir frying everything together with pre-soaked rice noodles, it was plated and served with additional bean sprouts, ground peanuts, sugar, and chili powder to adjust for personal taste.
https://www.flickr.com/photos/joyosity/22391845424/in/dateposted-public/

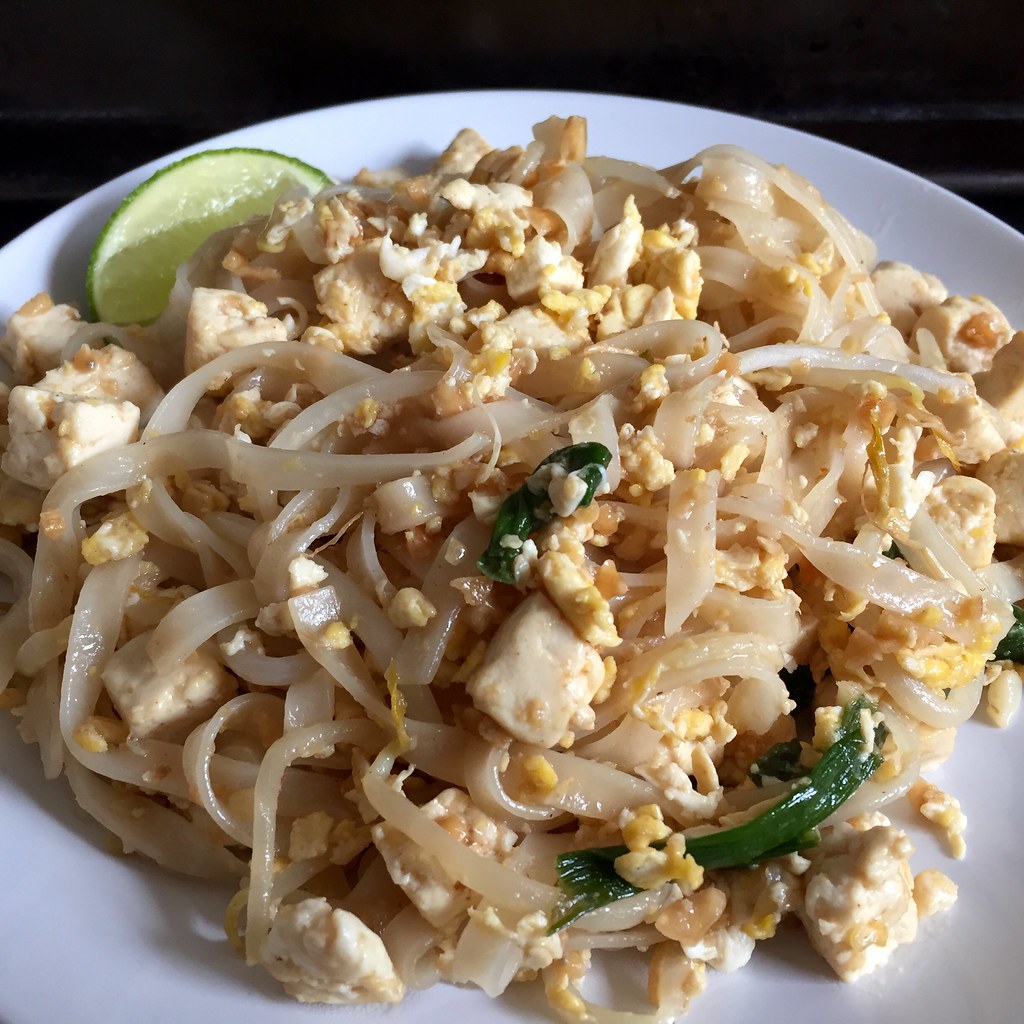
Pad thai was my first introduction to Thai food (back at the now shuttered Thai Cuisine in Ithaca, NY), and I immediately fell in love with the sweet and sour noodle dish.  I've never tried making it before though because the flavors seemed so foreign to me.  Even after becoming more familiar with fish sauce, there was still something else that eluded me, and I think that ingredient was tamarind paste.  It provides that characteristic sour taste essential to pad thai.  If you can't find it at a local Asian grocery store, the cooking school recommends using an equal volume of vinegar, but I would really recommend using tamarind paste if you can find it.  You can also substitute brown sugar for the palm sugar and cashews for the peanuts.  When I made this recipe again at home I omitted the pickled daikon and shrimp but otherwise it tastes pretty close to what I remember!
https://www.flickr.com/photos/joyosity/23025657731/in/dateposted-public/

Pad Thai (adapted from the Silom Thai Cooking School)
serves 2

4 oz. dried rice noodles
2 tablespoons fish sauce
2 tablespoons palm sugar or brown sugar
2 tablespoons tamarind paste or white vinegar 
2 tablespoons vegetable oil
1 tablespoon minced garlic
6 shrimp, peeled and de-veined
1/4 cup firm tofu, cubed
1 handful bean sprouts (reserve half for serving)
2 scallions, cut into 1" pieces
1 or 2 eggs
2 tablespoons ground roasted peanut, divided
1/2 teaspoon ground dried red chili powder (optional)
1 tablespoon pickled daikon, finely chopped (optional)
Lime slices

Soak the rice noodles in room temperature water until soft (20-30 minutes).  Drain and set aside.

Mix together the fish sauce, sugar, and tamarind paste to make the pad thai sauce.

Heat the vegetable oil over medium heat, add garlic and fry until fragrant.

Add the shrimp, tofu, bean sprouts, and scallion pieces and stir until the prawns are cooked.

Crack the egg(s) straight into the wok; stir rapidly until scrambled.

Add the drained noodles and half the pad thai sauce, half the ground roasted peanuts, ground dried red chili powder, and pickled white radish, if using. Mix everything together and keep frying until the noodles become soft and translucent.  If the noodles are not fully cooked yet, add a splash of water and cook until done.  Taste and adjust for seasoning with additional pad thai sauce.

Serve with the lime slices, reserved bean sprouts, roasted ground peanuts, ground dried chili powder, and additional sugar if you like.
https://www.flickr.com/photos/joyosity/22602532278/in/dateposted-public/

Next:  Tropical Pulled Pork on Griddled Banana Bread Sandwiches
Previously:  Mini Homemade Pretzel Dogs
Last Year:  Raindrop Cake
Two Years Ago:  My Mom's Taiwanese Sticky Rice
Three Years Ago:  Duchikey (or Simplified Turducken)
Six Years Ago:  Nanaimo Bars
Seven Years Ago:  Homemade Crystallized Ginger

Wednesday, May 20, 2015

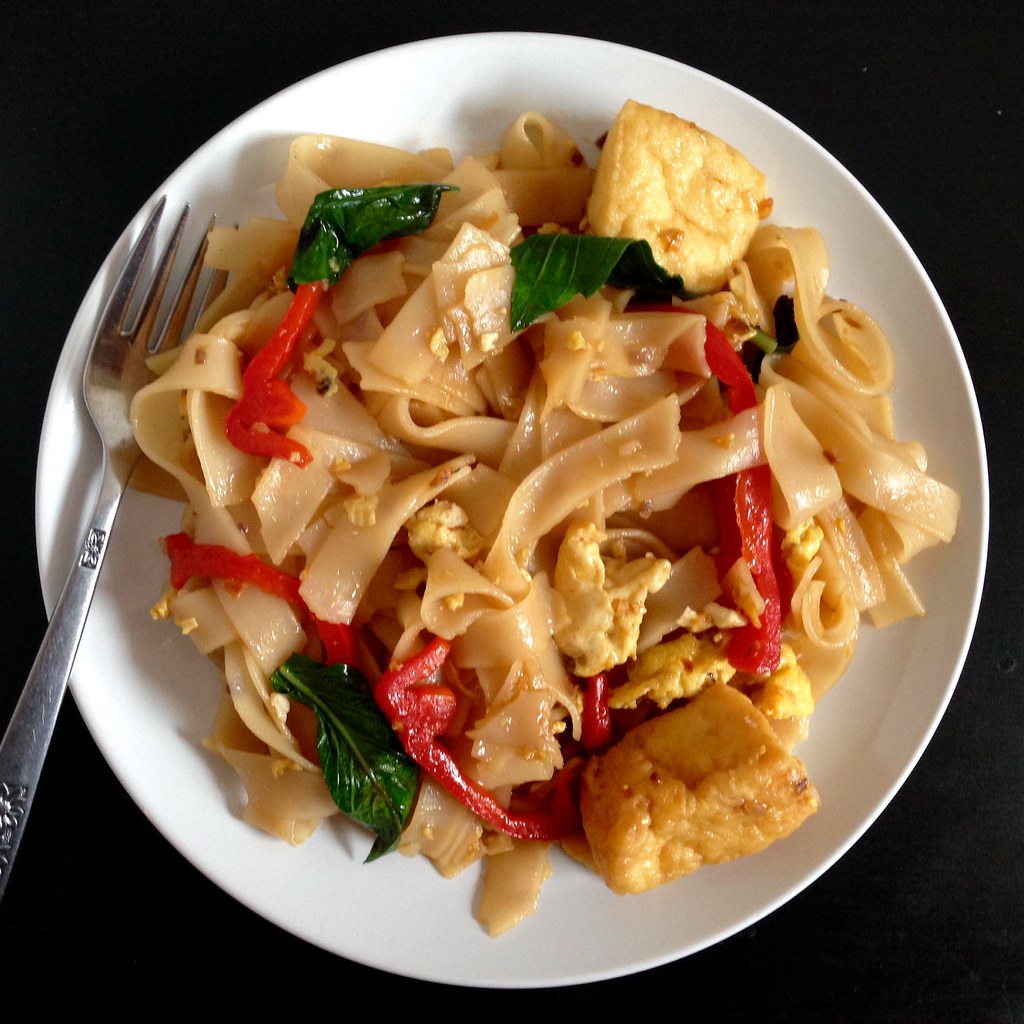
Drunken Noodles (Pad Kee Mao) with Tofu

https://www.flickr.com/photos/joyosity/17877528835/in/dateposted-public/

When I go to a Thai restaurant I usually order pad see ew or pad woon sen, but every once in a while I'm in the mood for something a little spicier, and for that I turn to drunken noodles, or pad kee mao.  According to the menu at my favorite Thai restaurant, Pepper Sky's, drunken noodles were "originally stir-fried by a singing drunkard to starve [sic] off midnight hunger.  Ingredients previously thought to be incompatible were tossed into the wok, and voila[!] Drunken noodle."

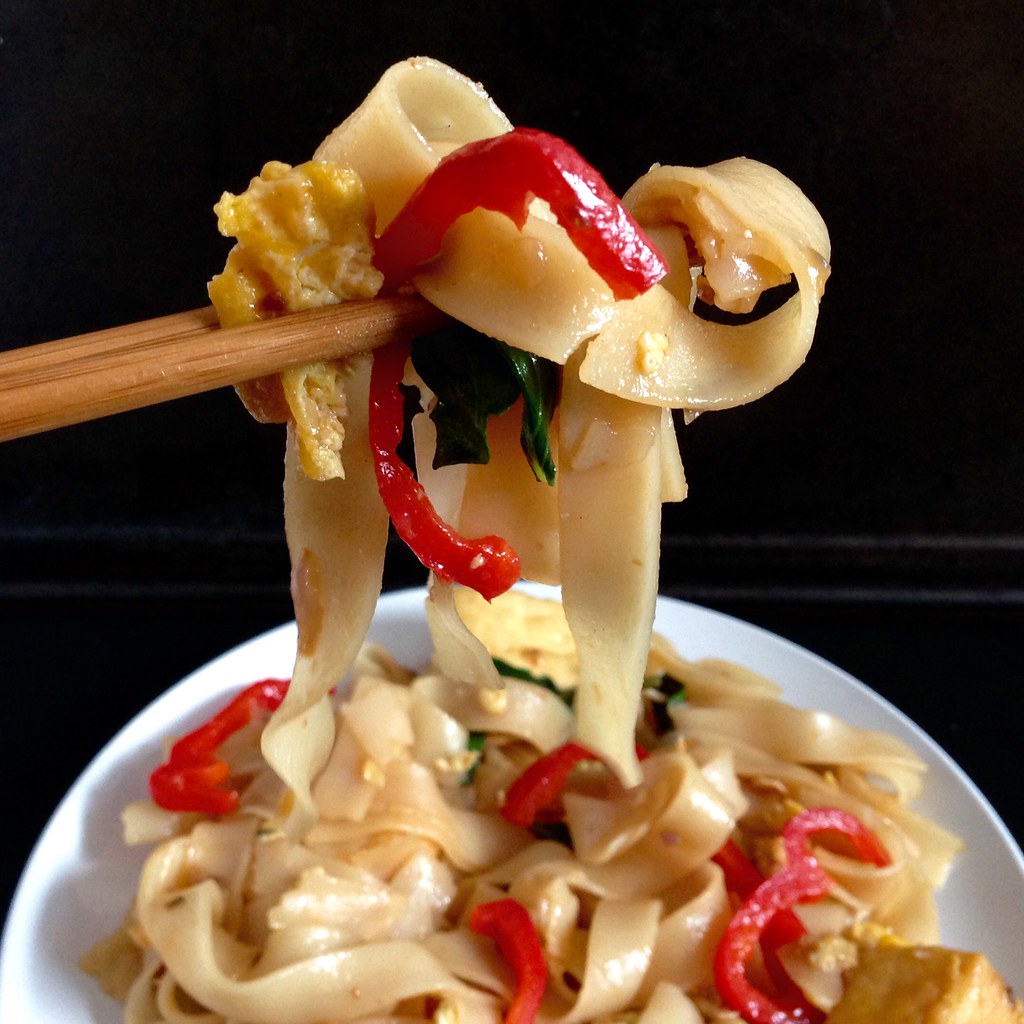
Sadly, Pepper Sky's is currently closed for renovations, so I decided to try making the dish myself.  I pretty much followed this recipe from Food52 except I added some sugar to the sauce since I prefer my drunken noodles slightly sweet.  I also increased the amount of egg since I wasn't adding any shrimp.  I wasn't able to find rice flake noodles, so I used the widest rice noodles I could find.  If you can find fresh wide rice noodles, I would suggest using those and skipping the soaking step. 

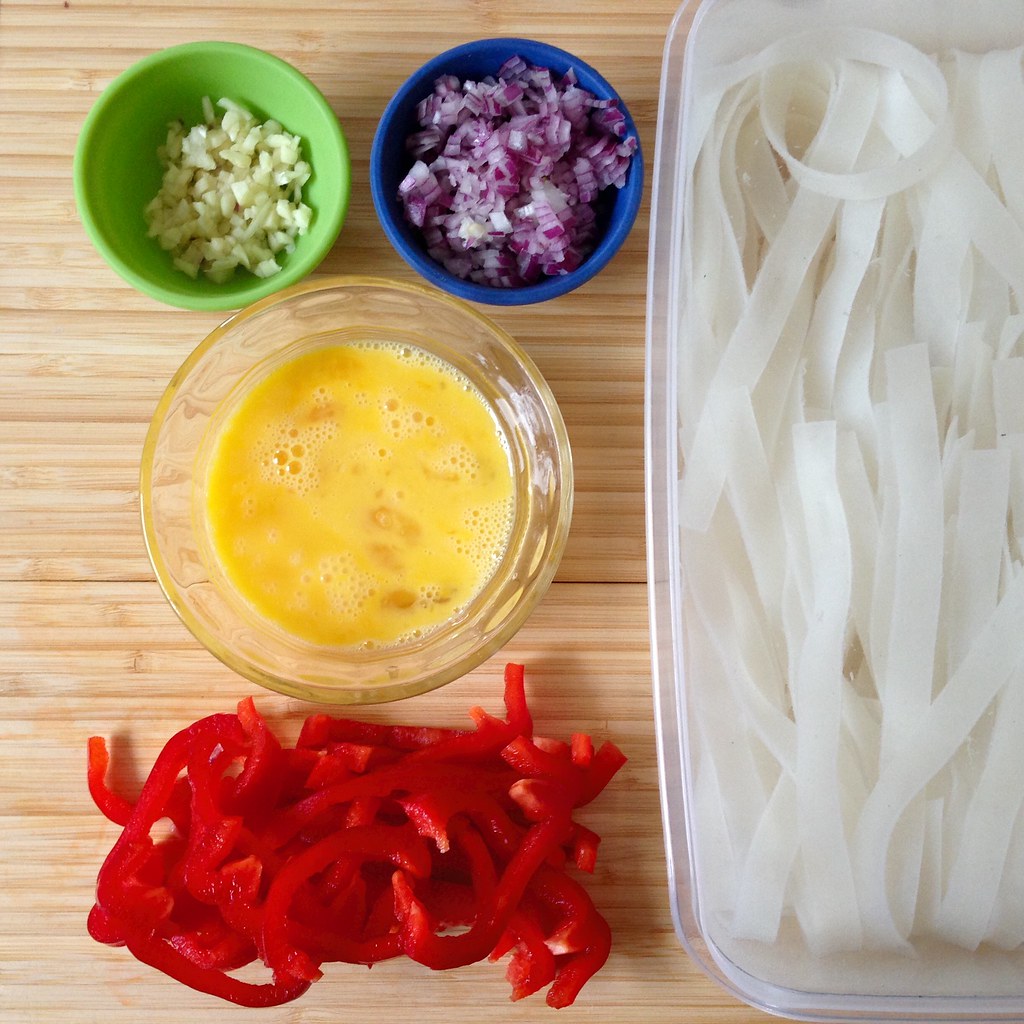
This is one of those recipes where you want to make sure you have all the vegetables minced and chopped before you start cooking since it comes together pretty quickly.  Feel free to add other vegetables; I'm used to seeing tomato slices, baby corn, bamboo shoots, carrots, string beans, and zucchini in the drunken noodles I get at Thai restaurants.


https://www.flickr.com/photos/joyosity/17874567752/in/dateposted-public/

Drunken Noodles (Pad Kee Mao) with Tofu (adapted from Lollipopsicle by way of Food52)
serves 3

7 oz. wide rice stick noodles
2 tablespoons hoisin or soy paste (if using soy paste, add a teaspoon of sugar)
2 tablespoons soy sauce
1 tablespoon oyster sauce
1-3 teaspoons sriracha, depending on how hot you want it
2 tablespoons fish sauce
3 tablespoons vegetable oil
3 garlic cloves, minced
1 shallot or 1/2 red onion, minced
3 eggs, lightly beaten
5 oz. fried tofu
1 red bell pepper, diced
A large handful of Thai basil leaves

Place the rice stick noodles in a wide container and pour enough boiling water over the noodles to cover them by an inch.  Stir the noodles periodically so that they don't stick together.  Check them after 10 minutes to see if they are pliable and continue to soak until they are.  You may have to add additional hot water.  When the rice noodles are pliable but not mushy, drain. Try to time this so that the noodles are ready just in time to be added to the skillet.

Mix together the hoisin (or soy paste and sugar), soy sauce, oyster sauce, sriracha, and fish sauce in a small bowl.  

Heat a large skillet over medium high heat and add the vegetable oil.  Add the minced garlic and shallot and stir fry until golden brown.  Move the garlic and shallots to the sides of the pan and add the eggs to the middle.  Scramble the eggs until just set and add the fried tofu, sliced bell pepper, and any other vegetables you might be using.  Stir fry for a couple of minutes, then add the drained noodles and the sauce.  Stir fry for 5 minutes, then add the basil and cook for another couple of minutes until some of the noodles are starting to get brown and crispy.  Serve hot.

https://www.flickr.com/photos/joyosity/17689976850/in/dateposted-public/

Next:  Tofu Tikka Masala
Previously:  Taiwanese Oyster Omelet (Without the Oysters)
Six Years Ago:  Zuni Cafe Ricotta Gnocchi with Browned Butter and Sage

Monday, December 2, 2013

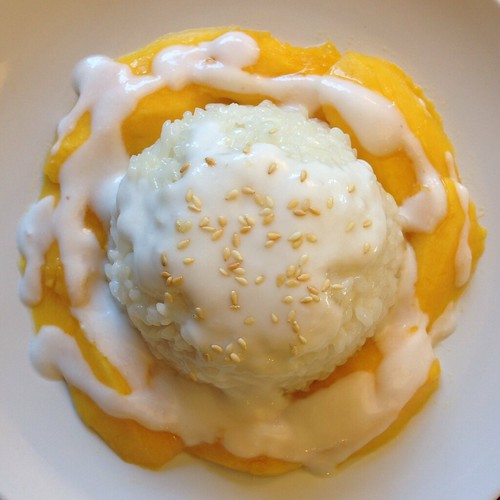
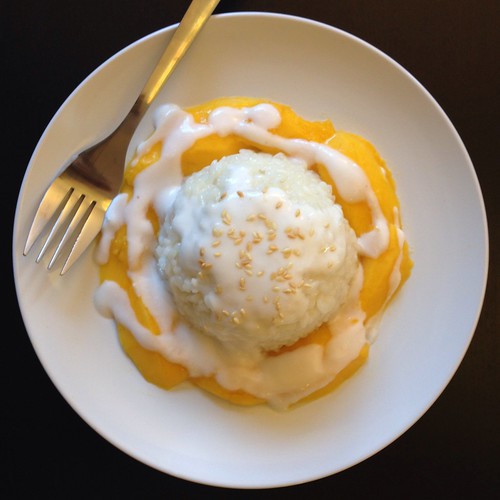
Thai Coconut Sticky Rice with Mango

Trader Joe's used to carry this dessert, and I loved it:  chewy sticky rice infused with coconut milk and topped with mangoes and even more coconut goodness.  It had the sweet and salty flavor profile that makes you keep coming back for bite after bite.  I've been missing this dessert ever since it was discontinued, but when I saw that mangoes were on sale at my local grocery store, I decided to learn how to make it myself.

I followed this recipe from The Kitchn, but since I didn't have a steamer basket, I improvised with some parchment paper and the pasta strainer insert for my stock pot.  You could also maybe try using cheesecloth with a metal colander or strainer in a large enough pot with a lid--anything with holes in which you could steam the rice in.  I also suggest chilling the can of coconut milk in the fridge before opening because I find that it makes it easier to scoop the coconut cream from the top off if it's more solid. 

http://www.flickr.com/photos/joyosity/11139103514/in/photostream/

Thai Coconut Sticky Rice with Mango
serves 2-4

1 cup sweet rice
1 can coconut milk, unshaken and chilled in the refrigerator
3 tablespoons sugar, divided
1 teaspoon salt, divided
1/2 teaspoon cornstarch
2 ripe mangos
Toasted sesame seeds, to garnish

Soak the sweet rice in room temperature water for 1-2 hours.  Cut a piece of parchment paper out about 3 inches wider in diameter than the bottom of the pasta strainer insert for a stockpot.  Tuck the paper into the insert so it fits in the bottom like a bowl.

Drain the rice and rinse thoroughly.  Pour about 1 cup of water into the stockpot and place the rice in the parchment paper "bowl" and place the pasta strainer insert in the pot. Cover tightly and steam over low to medium heat for 20 minutes.

While the rice is steaming, open the can of coconut milk and spoon out the thick cream on top into a small bowl.

Pour the thinner, lighter coconut milk left in the can into a small saucepan.  Stir in 2 tablespoons of sugar and 3/4 teaspoon salt.  Warm over medium heat, stirring frequently, for 5 minutes. Do not let the sauce boil.

When the rice is done, transfer it to a mixing bowl (it will be clumpy).  Slowly pour the warm coconut milk over the rice in the bowl, stirring frequently. You want the milk to coat the rice but not leave puddles. Keep stirring, and stop pouring in coconut milk when it looks like the rice is saturated. You may not use all of the milk.  Set the rice aside to finish absorbing the coconut milk; after 15 minutes or so it should have soaked up any milk that is still liquid.

While the rice is standing, make the coconut topping sauce. Rinse out the coconut milk saucepan and pour in the coconut cream that you took off the top of the can. Stir in 1 tablespoon of sugar and 1/4 teaspoon salt. In a separate bowl, whisk together a few teaspoons of water and the cornstarch.

Whisk this cornstarch slurry into the coconut cream and cook over low heat for about 3 minutes, or until the mixture thickens considerably. Set aside.

Peel the mangoes and then slice the flesh into 1 inch wide strips.

To serve, place about 1/3 cup cooked sticky rice on each plate, and arrange mango slices around it. Drizzle with the coconut topping sauce and sprinkle with a few toasted sesame seeds.

http://www.flickr.com/photos/joyosity/11139105454/in/photostream/

Next:  Miso Pumpkin Soup
Previously:  Cheese Fondue Stuffed Roasted Pumpkin
Last Year:  Mashed Potato Pizza with Roasted Garlic and Bacon
Four Years Ago:  Kettle Corn
Five Years Ago:  Salted Butter Caramel Ice Cream