1 1/4 cups granulated sugar
1 tablespoon grated Key lime zest
2 large eggs
3/4 cups self-rising flour
3/4 cup milk
3/8 cup fresh Key lime juice, divided
1 cup confectioners sugar
1 tablespoon coconut rum (optional)
Preheat oven to 350°F with rack in middle. Line a muffin tin with cupcake liners.
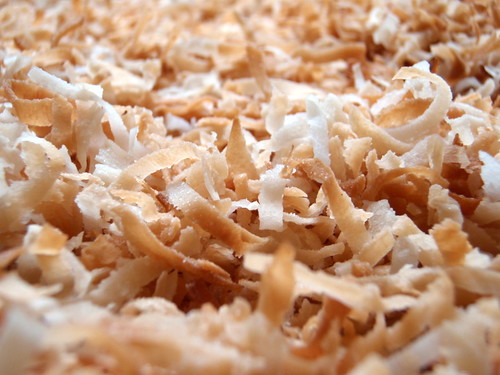
Toast coconut in a small baking pan in oven, stirring once or twice, until golden, 8 to 12 minutes. Cool. Leave oven on.
Beat together butter, granulated sugar, and zest with an electric mixer until fluffy. Beat in eggs 1 at a time. Stir together flour and 1/2 cup coconut (reserve remainder for topping). Stir together milk and 1/4 cup lime juice. At low speed, mix flour and milk mixtures into egg mixture alternately in batches, beginning and ending with flour.
Spoon batter into cupcake liners, filling them a little more than halfway. Bake until golden, 20 to 22 minutes.
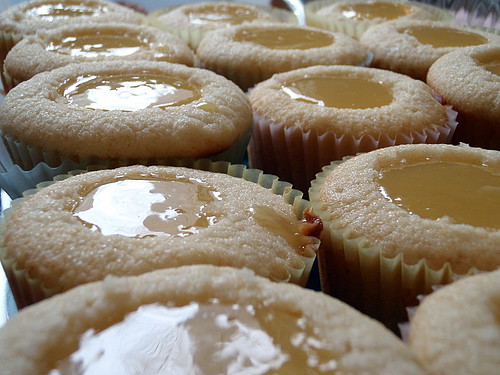
Whisk together confectioners sugar, remaining 2 tablespoons lime juice, and rum (if using) and spoon over cakelets. Sprinkle with remaining coconut.
Showing posts with label cupcakes. Show all posts
Thursday, February 26, 2015
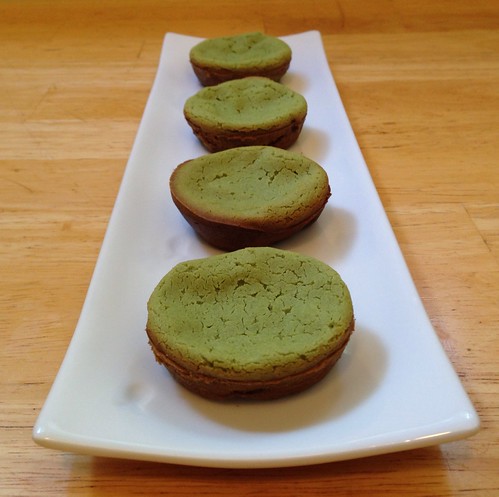
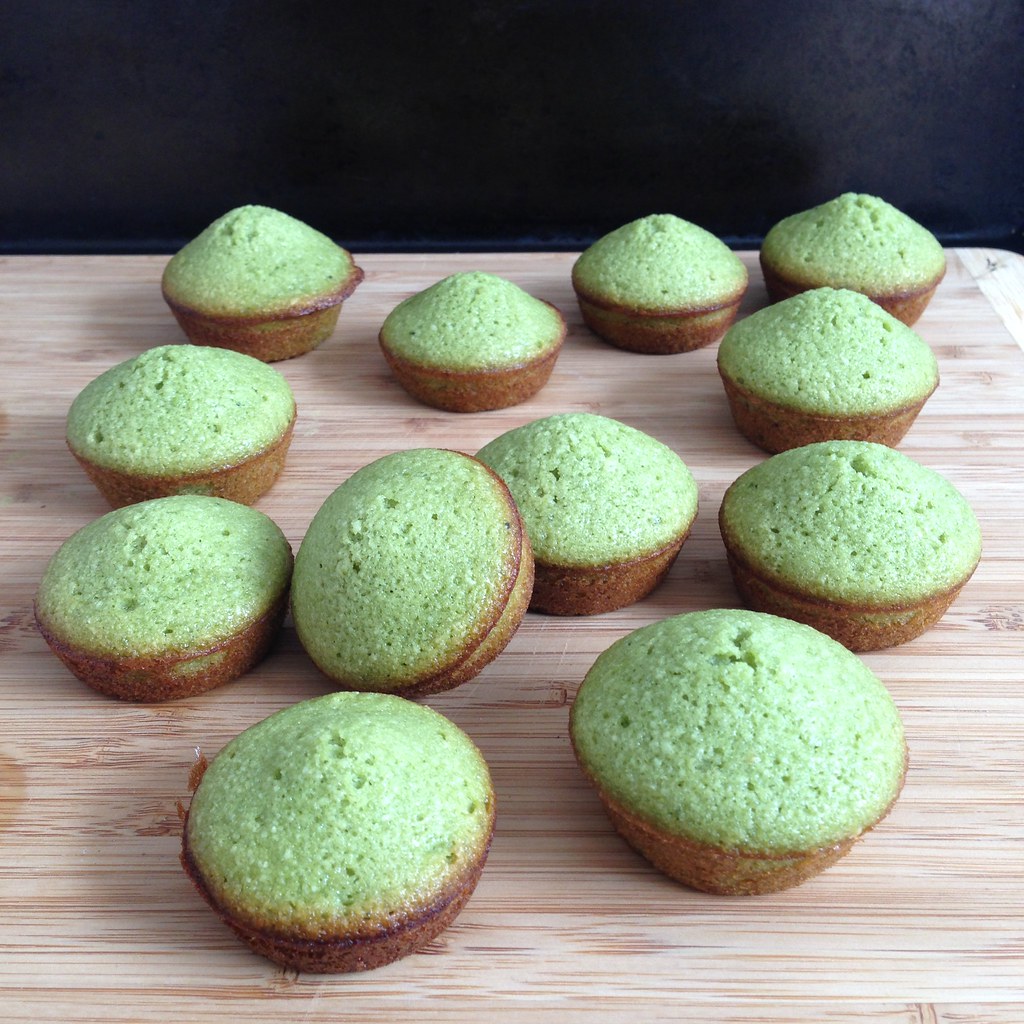
Matcha Financiers with White Chocolate Centers
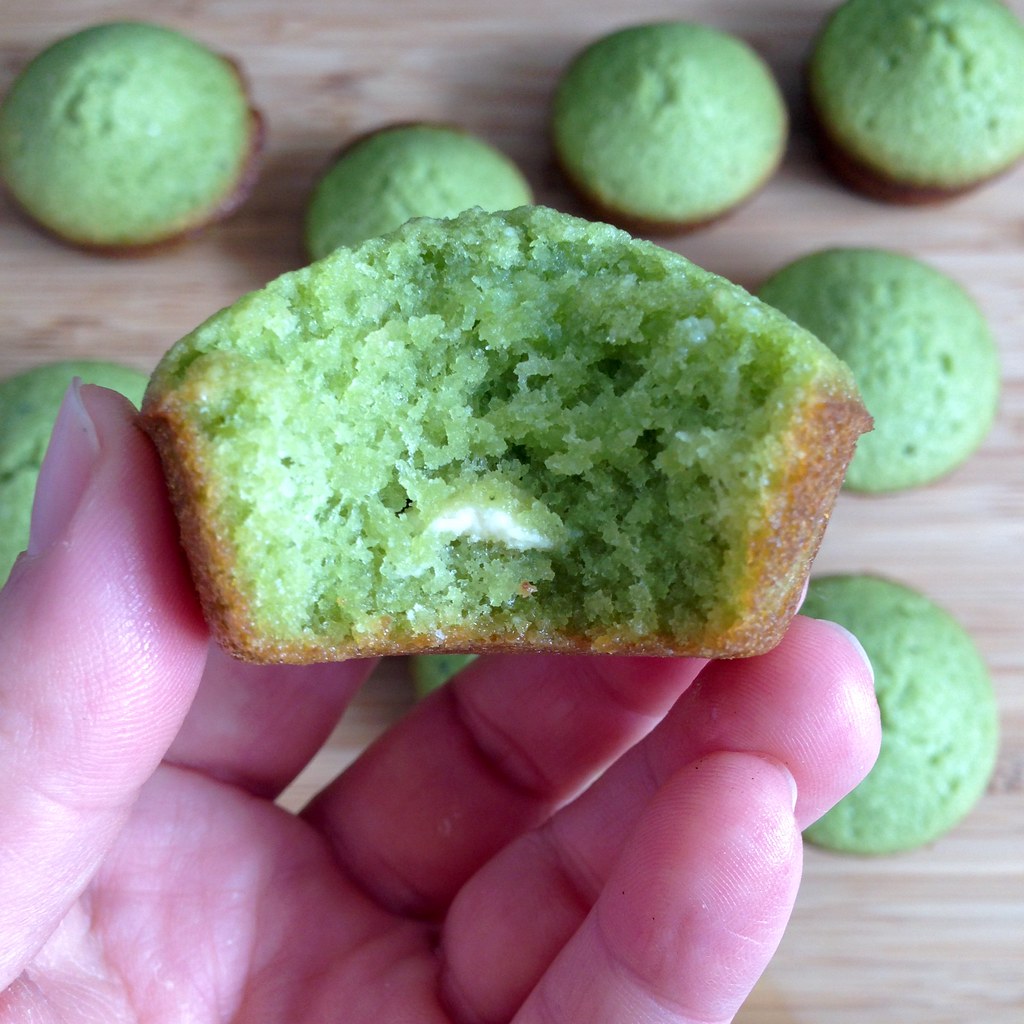
Here is yet another recipe from Dorie Greenspan's Baking Chez Moi (and probably not the last)! I first discovered financiers at Eric Kayser's bakery near my hotel in Paris. They looked like perfect little miniature cakes that were basically unadorned--a distinct change from all the super-frosted and decorated cupcakes that were all the rage in America at the time. They're just one or two bites each and less sweet than a cupcake, more substantial than a muffin. Perfect for packing and eating on the go without having to worry about getting a crazy sugar rush.
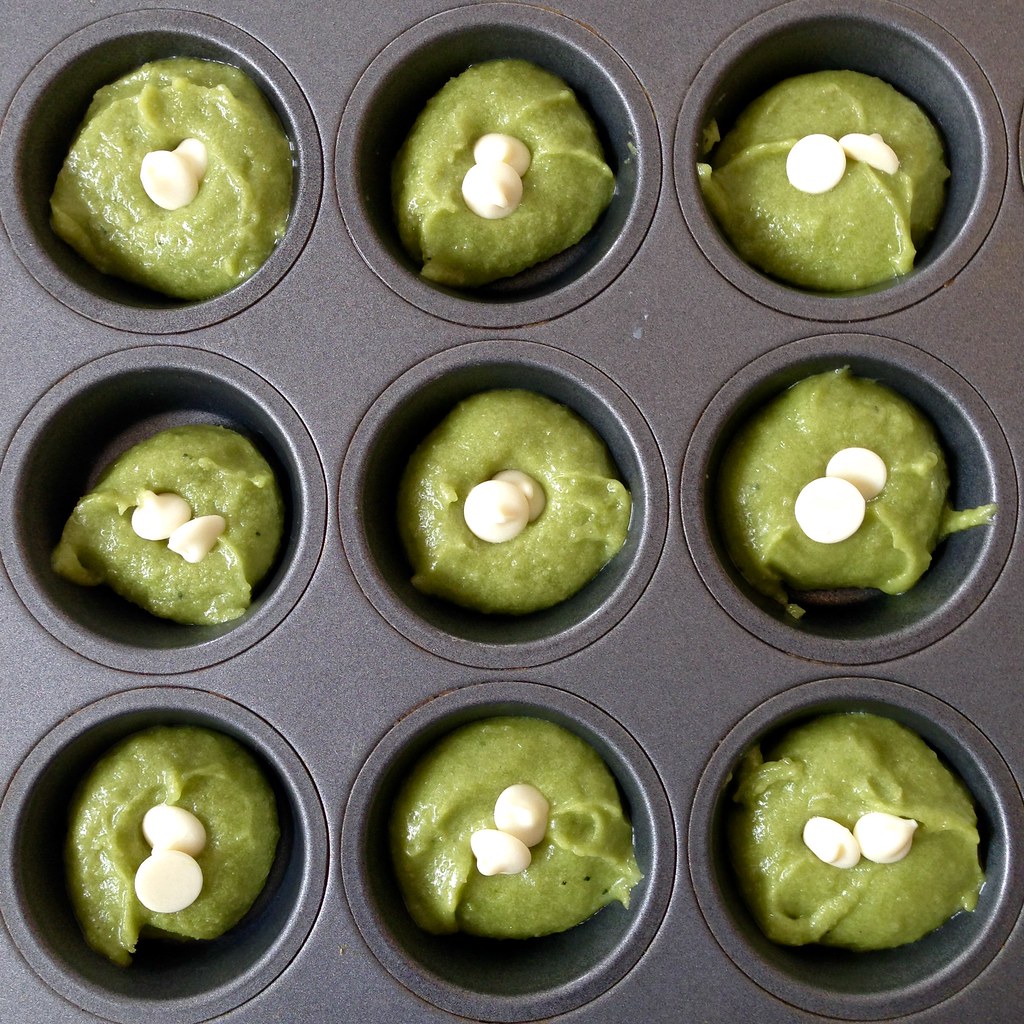
Since I'm currently in love with the matcha/white chocolate flavor combination, I was excited when I saw Dorie's "bonne idée" for her matcha financier recipe: baking chunks of white chocolate in the center of each financier. I used 2 white chocolate chips per financier, but I think I would at least add a third if not more next time since it just wasn't enough (for me, anyway). I also increased the amount of matcha slightly since I could barely taste the matcha in the first batch I made.
Matcha Financiers with White Chocolate Centers (slightly adapted from Dorie Greenspan's Baking Chez Moi)
makes 12 small cakes
6 tablespoons unsalted butter, cut into chunks
1/3 cup all-purpose flour
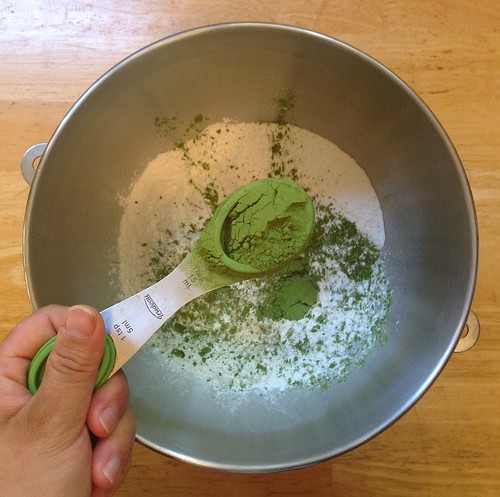
1 teaspoon matcha green tea
Pinch of fine sea salt
1/2 cup sugar
1/2 cup almond flour
3 large egg whites, at room temperature, lightly beaten
White chocolate chips
Heat the butter in a small saucepan over medium heat until it starts to boil, then boil for 1 minute; it may color ever so slightly, but you don’t want it to brown. Remove the pan from the heat and set it aside (you want the butter to be warm when you add it).
Whisk the all-purpose flour, matcha, and salt together in a small bowl.
Using a flexible spatula, stir the sugar and almond flour together in a large bowl. Gradually add the egg whites, stirring to moisten the dry ingredients.
When all the whites are in, give the mix a few vigorous stirs. Stir in the all-purpose flour mixture, mixing only until it’s evenly blended, then start adding the melted butter, a little at a time, folding and stirring the batter until all the butter is in.
Press a piece of plastic film against the surface of the batter and refrigerate for at least 1 hour. (The batter can be refrigerated for up to 3 days.)
Preheat the oven to 400°F. Butter the wells of a mini muffin tin, dust with flour and tap out the excess.
Spoon the batter into the muffin cups, filling them about halfway. Drop 2-4 white chocolate chips into each, then spoon on additional batter, almost to the top of the well.
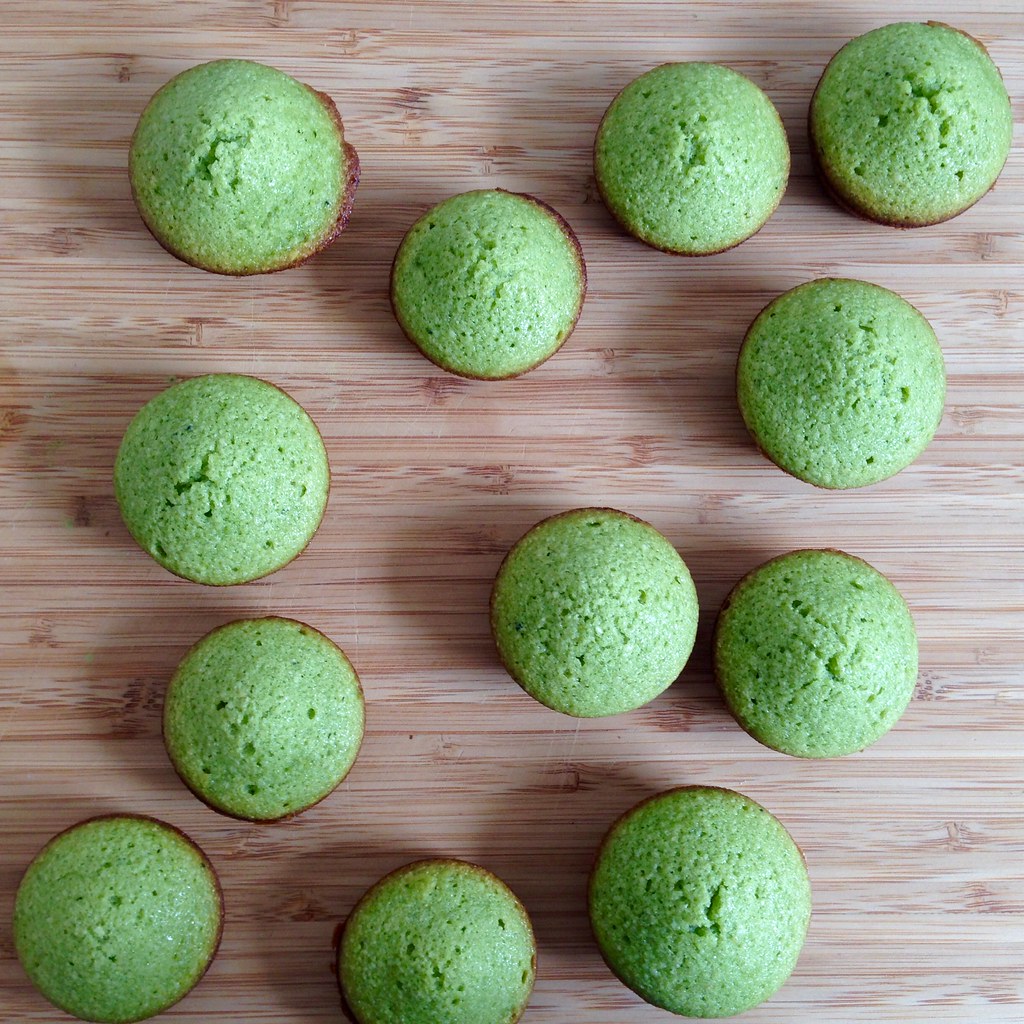
Bake the financiers for 12 to 14 minutes, or until they have crowned and feel springy to the touch. Remove from the oven, wait 1 minute, then tap them against the counter to encourage the financiers to tumble out. Pry any stragglers from their molds with a table knife. Transfer the financiers to a rack and let cool until they are just warm or at room temperature.
By the way, don't throw out the 3 egg yolks after separating them from the 3 egg whites needed for this recipe! You can use them to make really good pasta dough!
Next: A Better Homemade Pasta
Previously: Hugo & Victor's Pink Grapefruit Tart
Last Year: Hotter Crash Potatoes
Five Years Ago: Faux Momofuku Brussels Sprouts
Six Years Ago: Wok-Fried Edamame with Garlic
Labels:
cake,
cupcakes,
desserts,
egg whites,
matcha,
snack,
white chocolate
Thursday, April 10, 2014
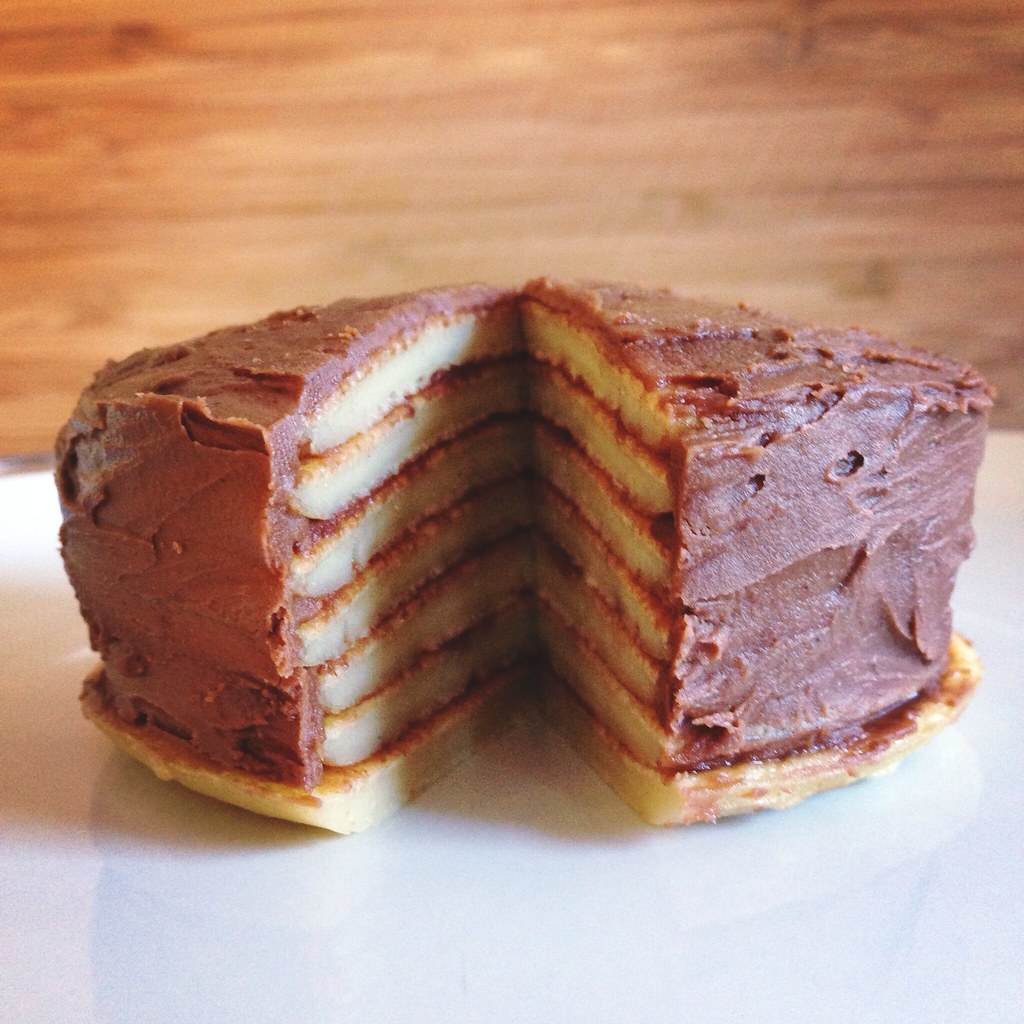
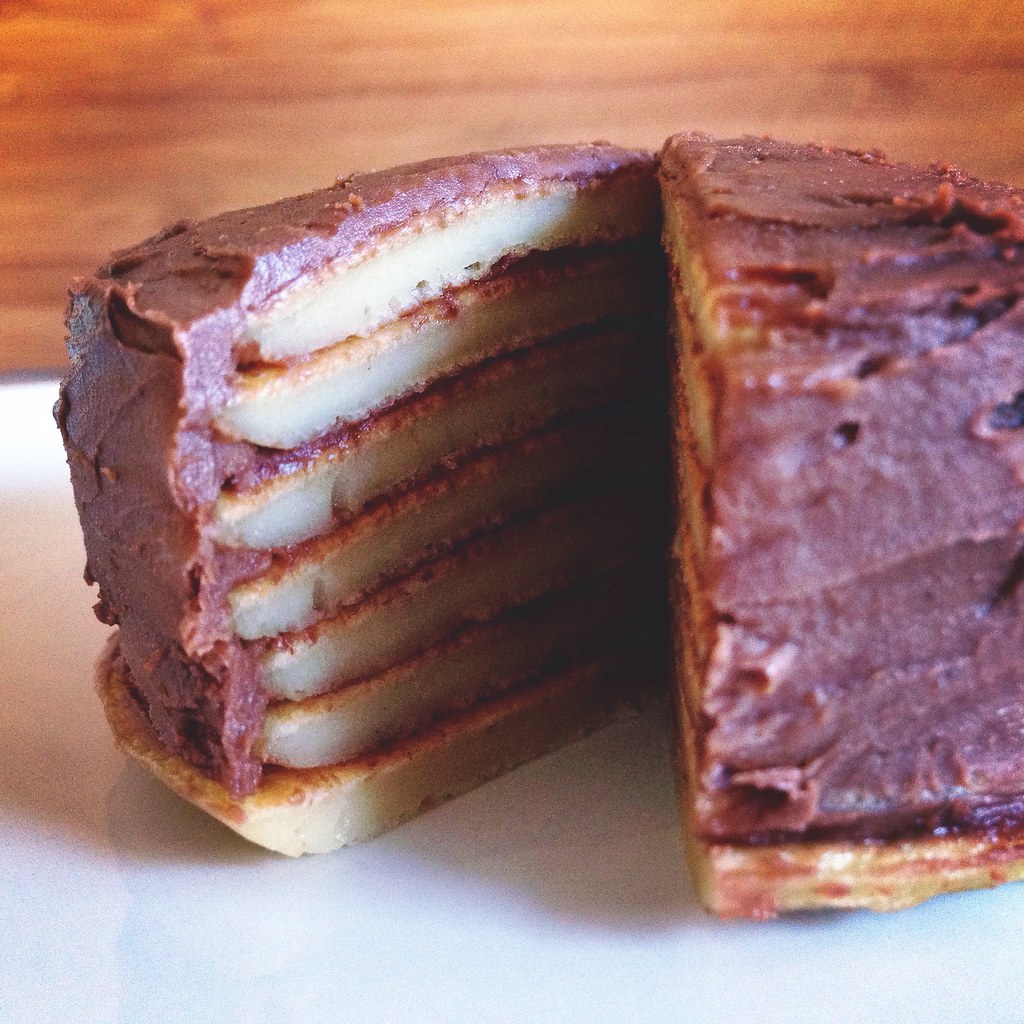
Nutella Mini Crepe Cakes
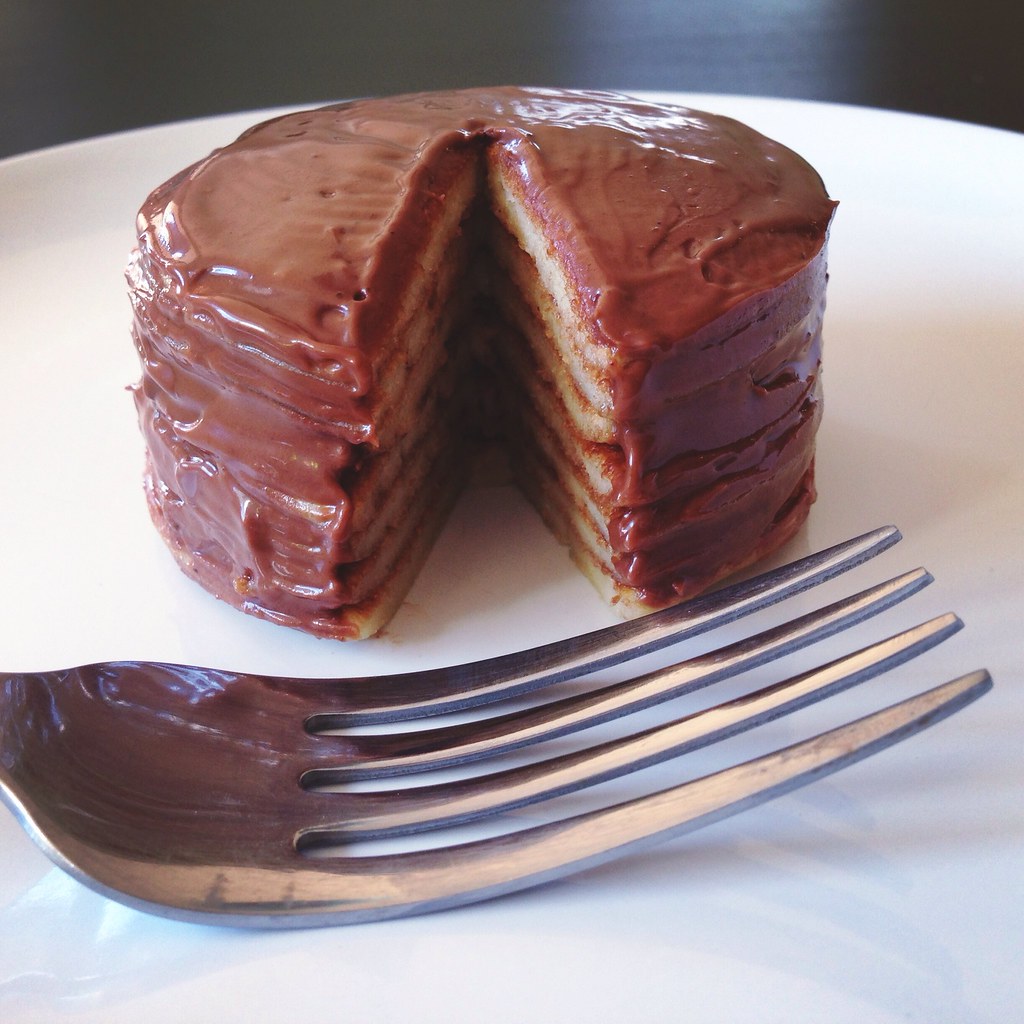
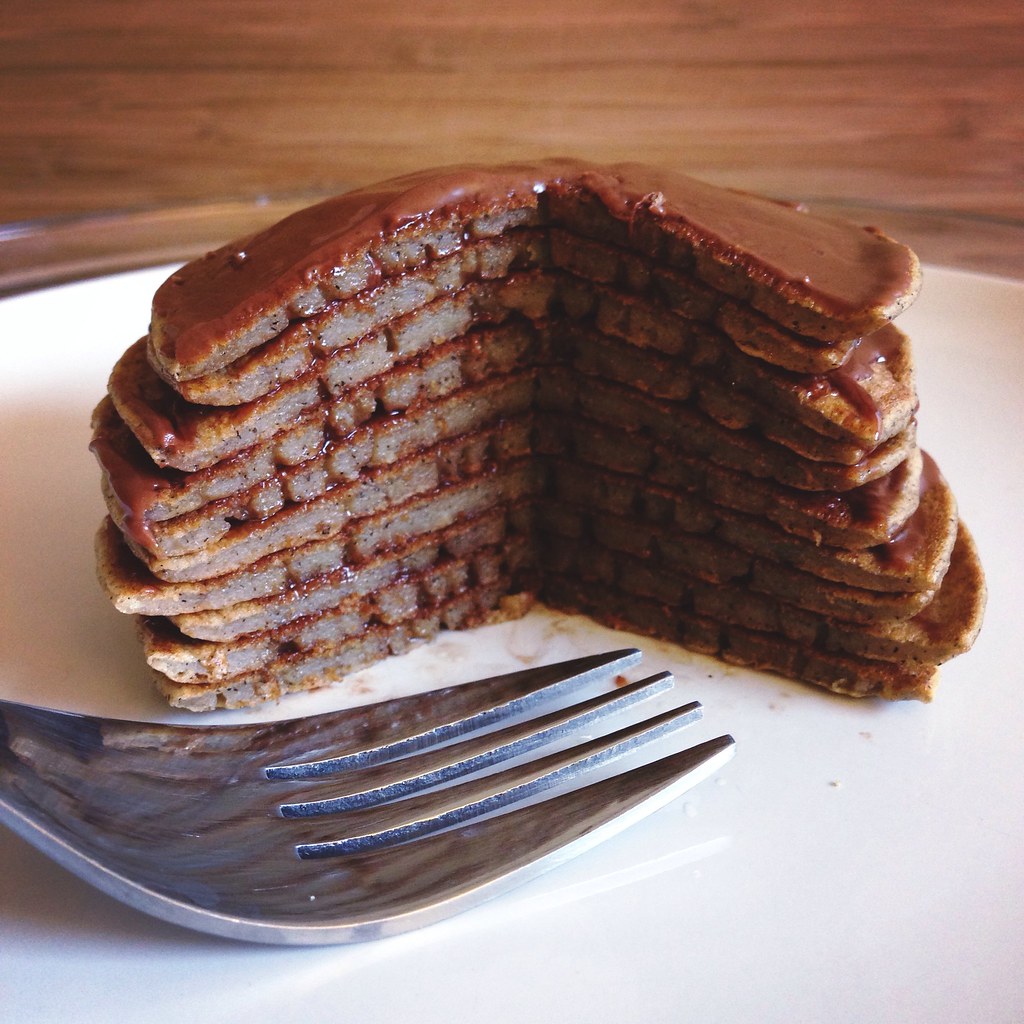
Like my post on flower pavlovas, this post is less of a recipe and more of a tutorial. I had some leftover buckwheat pancake batter last weekend and after seeing these super cute mini crepe cakes, I thought I'd try to make some myself. I was ambitious enough to make ten tiny crepes, but not enough to make my own filling so I just melted some Nutella and used that in between the layers.
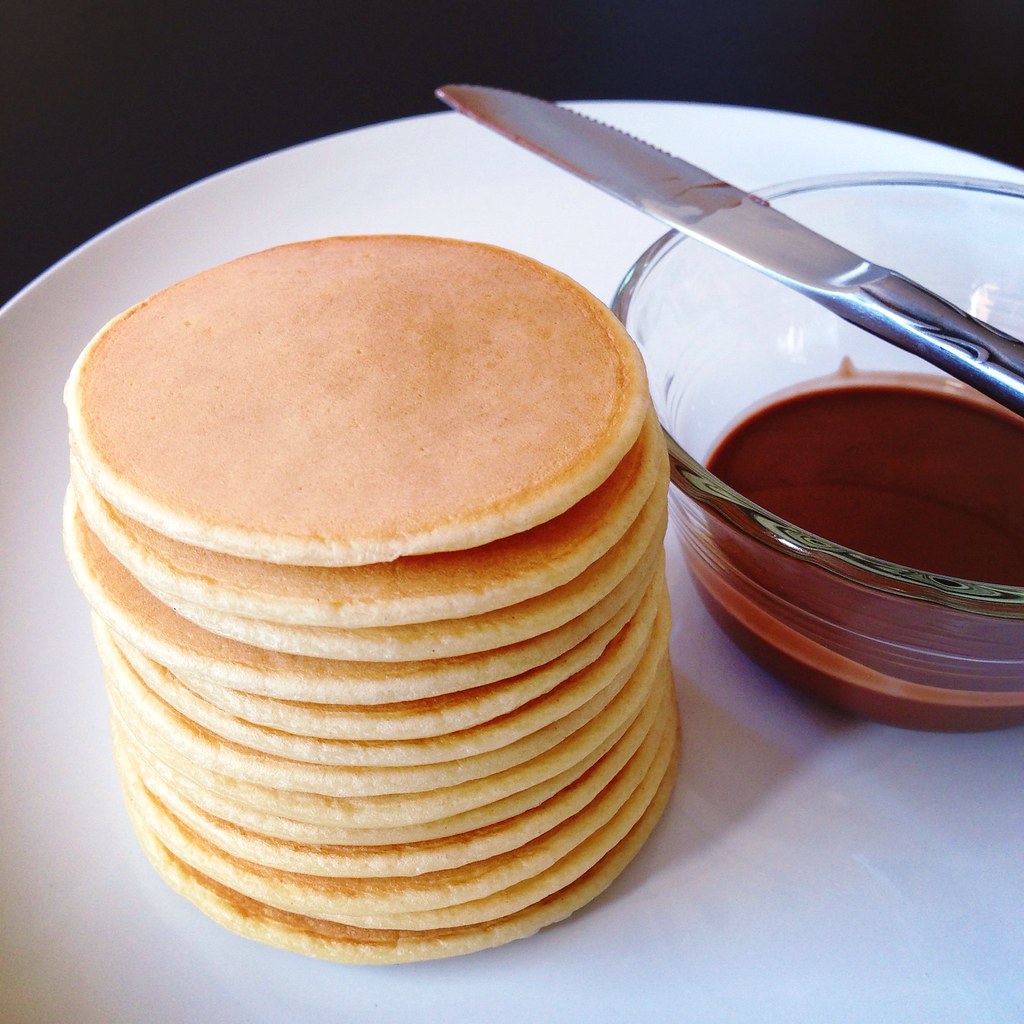
Instead of using a cookie cutter to cut out the mini crepes, I wanted to see if I could make consistently sized crepes by using the same amount of batter each time. I used a Chinese soup spoon that holds about 4 teaspoons of batter, and it worked pretty well.
For the next batch, I wanted to try frosting the outside of the "cakes" to make it look more like a miniature layer cake. I was out of the buckwheat batter, so I used Alton Brown's sweet crepe batter. I found that if I carefully poured the batter into the center of the heated pan, the crepes stayed more or less the same size and shape each time. It did mean I wasn't getting paper thin crepes because I wasn't swirling the batter around, but I was more concerned about reproducibility than the thinness of the crepes.
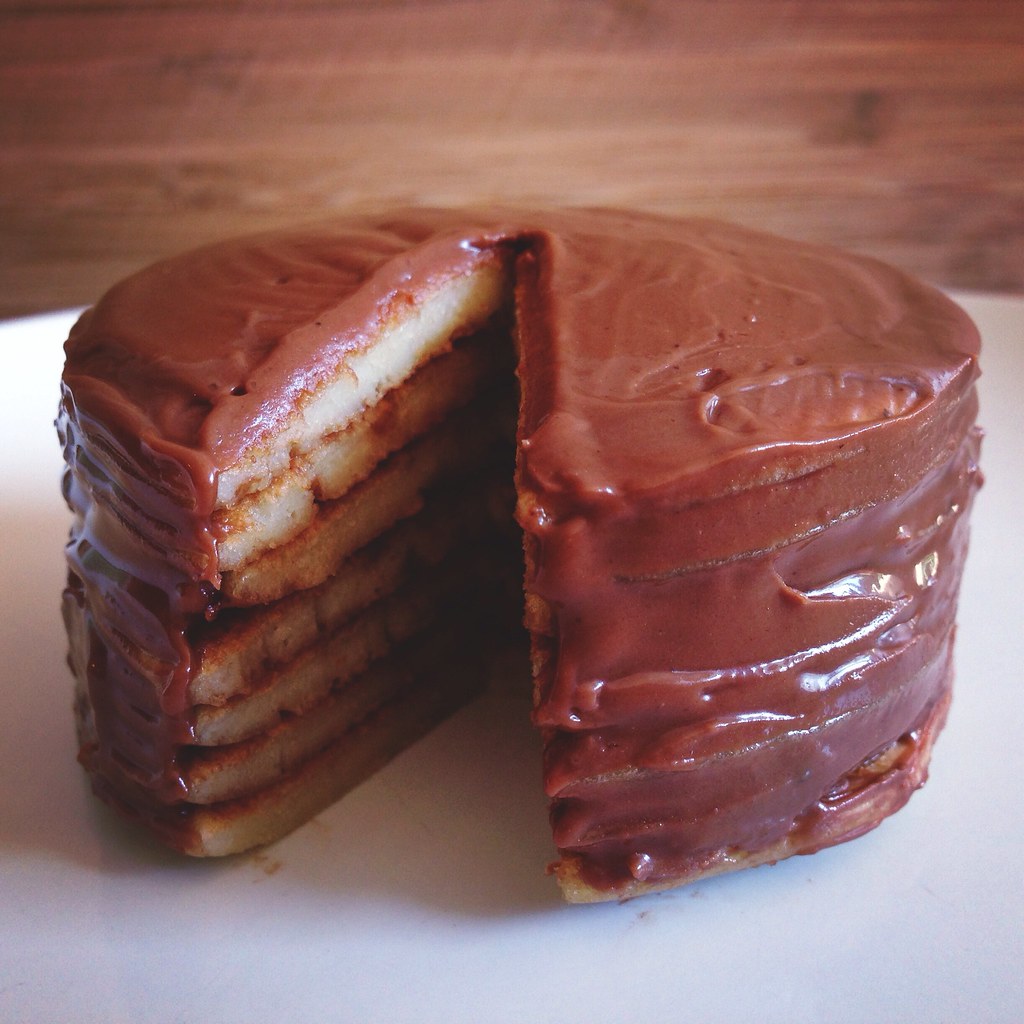
I microwaved the Nutella for about 20 seconds so it was easier to spread. I was able to get a nice glossy coat with the warm Nutella, but it didn't stick to the sides of the crepe cake very well. So for the last batch I frosted the outside with room temperature Nutella after stirring it around a bit.
Doesn't that look a full-sized layer cake? (Ignore the bottom layer which was too big and stuck out; I shouldn't have used it.) I can't get over how cute these are! I dream about making a Happiness Cake version with mini-chocolate crepes, passion fruit curd filling, and coffee frosting.
Next: Easy Chilaquiles with Fried Egg and Avocado
Previously: Dan Bing (Taiwanese Egg Crepe)
Four Years Ago: The Best Scones in the World, Jean-Georges Vongerichten's Fried Rice, Alphabet and Rosemary Cheddar Crackers
Five Years Ago: Cupcake Bites, Samoa Cupcakes, Coconut Lime Cakelets, Matzo Crack
Monday, August 5, 2013
Matcha Mochi Cupcakes
The dessert for Japan Night needed to be easy to make in bulk quantities, preferably okay with being made ahead of time, easy to serve, and Japanese-inspired. Red bean or black sesame ice cream would've been great on such a hot day, but my little ice cream maker wouldn't have been able to handle the load and having to scoop out enough ice cream for almost a hundred people would've been way too time consuming.
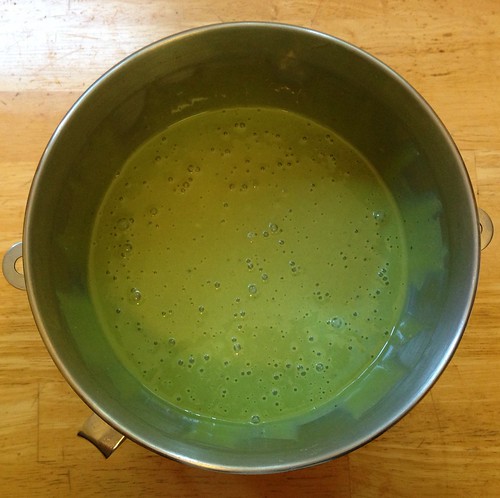
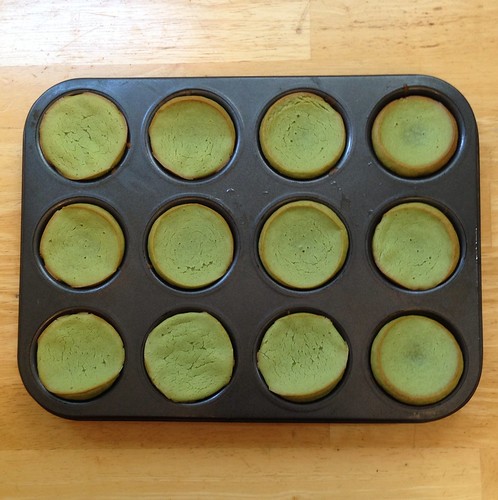
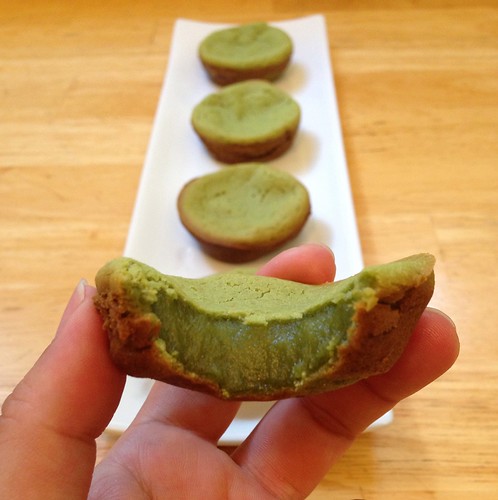
Then I remembered Jen's matcha mochi cupcakes which fit the bill exactly! The ingredients, except for the matcha, are basically the same as my recipe for mochi cake, but the proportions are a little different. There's less liquid, which I think worked better for the cupcake form. Compared to the mochi cake, the cupcakes have a lot more surface area to get all nice and crusty while still retaining a ridiculously moist and chewy interior. I do prefer a little less sugar than called for in this recipe, but everyone at the event loved the cupcakes, so that's just a very personal preference.
Matcha Mochi Cupcakes (from Tiny Urban Kitchen)
makes about 26 cupcakes or 56 mini-cupcakes
1 lb. glutinous rice flour
2 tablespoons matcha powder
1/3 cup vegetable oil
2 cups milk
2 cups sugar
3 eggs, beaten
Combine all ingredients and mix until well combined.
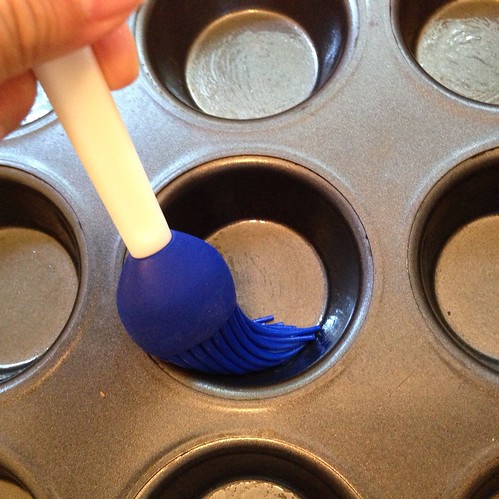
Brush the inside of each muffin "well" generously with vegetable oil.
Fill the muffin tins almost to the top. The cupcakes will rise in the oven but shrink a lot as they cool.
Bake at 350°F for around 30-35 minutes. Please note that ovens may vary and you should start checking before the actual listed time is up. Test by inserting a toothpick or sharp metal object (e.g., a knife) into a muffin. If it comes out cleanly, it is done.
The muffins are easier to remove if you let them cool first. However, if you've oiled the pan well enough, they should just slide out.
Enjoy warm or at room temperature.
Next: Matcha Green Tea Ice Cream with Matcha Mochi Bits
Previously: S'mores Brownie Ice Cream Sandwiches
Next: Matcha Green Tea Ice Cream with Matcha Mochi Bits
Previously: S'mores Brownie Ice Cream Sandwiches
Monday, March 22, 2010
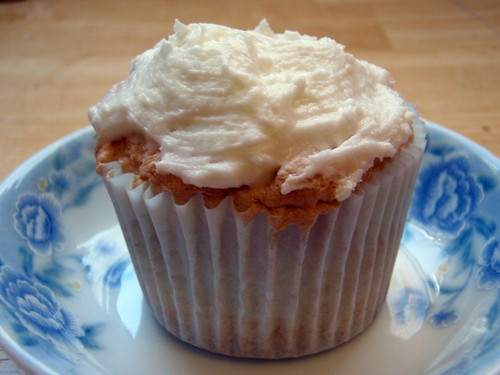
Lemon Angel Food Cupcakes
And now for something a little healthier. After making two Crack Pies and the Guinness Milk Chocolate Ice Cream, I had a lot of egg whites sitting in my fridge. I toyed briefly with the idea of making macarons, but then I remembered that no matter how cute and pretty they look, they are still ridiculously time-consuming to make, and I don't even really like how they taste all that much. So instead, I decided to make angel food cake. And since I had a lemon to use up from my Boston Organics delivery, I decided to make lemon angel food cupcakes.
Just about every recipe for angel food cake lists cake flour as an ingredient. I already have unbleached all-purpose flour and white whole wheat flour in my pantry and really didn't feel like buying yet another type of flour. But luckily, a quick google for "cake flour substitute" brought me to this page, where I learned that I could add a tablespoon of cornstarch to a 1/2 cup measuring cup and then level off with all-purpose flour to make the equivalent of a 1/2 cup of cake flour.
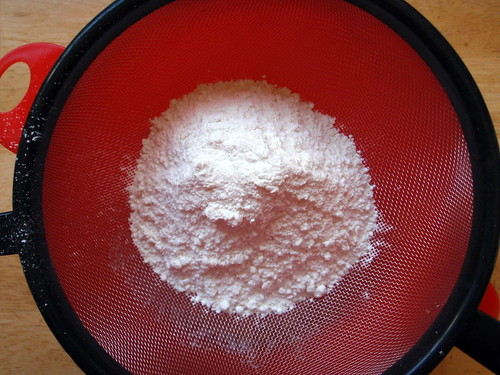
I also don't have a sifter, either, but I just ended up using a fine-mesh metal sieve and two bowls to sift the flour and sugar together. At first I thought I could get away with just whisking the two together, which is what I usually do when I need to sift flour, but I realized pretty quickly that the powdered sugar was not going to unclump from mere whisking.
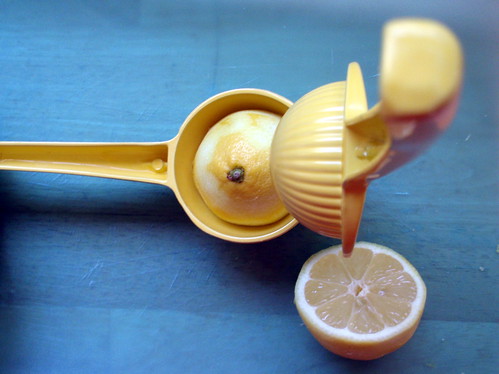
Oh, and I got to use my new lemon juicer for the first time! It's so much faster and cleaner than the reamer I've been using, and it was on sale too! Don't forget to roll the lemon around on a hard surface before cutting so that you can get more juice out of it.
Lemon Angel Food Cupcakes (based on this recipe from Cooking Light)
makes 16 cupcakes
1/2 cup cake flour (or 1 tablespoon corn starch plus 7 tablespoons all-purpose flour)
3/4 cup powdered sugar
3/4 cup egg whites (about 5 large eggs)
1/8 teaspoon salt
3/4 teaspoon cream of tartar
1/2 cup granulated sugar
1/2 teaspoon vanilla extract
Grated rind from 1 medium lemon
1/4 cup butter, softened
2 cups powdered sugar
Freshly squeezed lemon juice from 1 medium lemon
makes 16 cupcakes
1/2 cup cake flour (or 1 tablespoon corn starch plus 7 tablespoons all-purpose flour)
3/4 cup powdered sugar
3/4 cup egg whites (about 5 large eggs)
1/8 teaspoon salt
3/4 teaspoon cream of tartar
1/2 cup granulated sugar
1/2 teaspoon vanilla extract
Grated rind from 1 medium lemon
1/4 cup butter, softened
2 cups powdered sugar
Freshly squeezed lemon juice from 1 medium lemon
Preheat oven to 350°F. Place 16 paper muffin cup liners in muffin cups. Set aside.
Lightly spoon cake flour into dry measuring cups; level with a knife. Sift together flour and 3/4 cup powdered sugar into a medium bowl; repeat the procedure 2 times.
Beat egg whites and salt with a mixer at high speed until frothy (about 1 minute). Add cream of tartar, and beat until soft peaks form. Add 1/2 cup granulated sugar, 1 tablespoon at a time, beating until stiff peaks form. Sprinkle flour mixture over egg white mixture, 1/4 cup at a time; fold in after each addition. Stir in vanilla and rind.
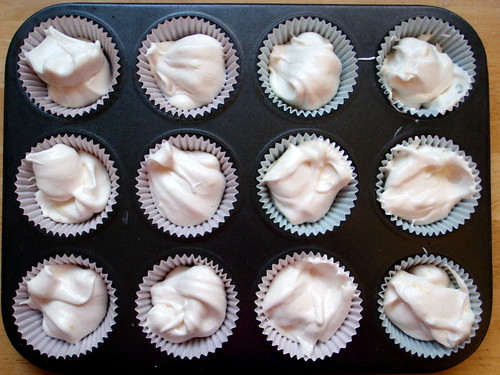
Divide batter evenly among prepared muffin cups. Bake at 350° for 18 minutes or until lightly browned. Remove from pan; let cool completely on a wire rack.
To prepare frosting, beat butter with a mixer at high speed until fluffy. Gradually add 2 cups powdered sugar; beat at low speed just until blended. Add lemon juice; beat until fluffy. Spread lemon frosting over each cupcake.
Since I only have one muffin tin, I had to bake these in two batches, which meant I wasn't entirely sure how far to fill the muffin cups. I erred on the side of caution for the first batch and only filled them 3/4 of the way. They do rise in the oven, but then they shrink quite a bit once they cool, both in height and circumference. Don't be surprised if the cupcakes don't stay entirely round after they've cooled. So for the second batch I filled the cups with batter basically all the way to the top and was much more pleased with how those turned out after they had cooled.
I found that I could eat one of these cupcakes in about two bites; they were so soft and delicious! Actually, the texture really reminds me of the cake layer of lemon pudding cakes. And the frosting--when I first tasted it straight from the bowl, I wasn't that impressed with the taste or texture, but once it's on the cupcakes--is so mouth-watering good! It really reminded me of those lemon Girl Scout cookies or lemon coolers.
Next: Duck Fat French Fries with Rosemary, Maldon Salt, and Truffle Oil
Previously: Mama Huang's Secret Beer Duck Recipe
Labels:
boston organics,
cake,
cupcakes,
desserts,
egg whites,
lemon
Monday, April 6, 2009
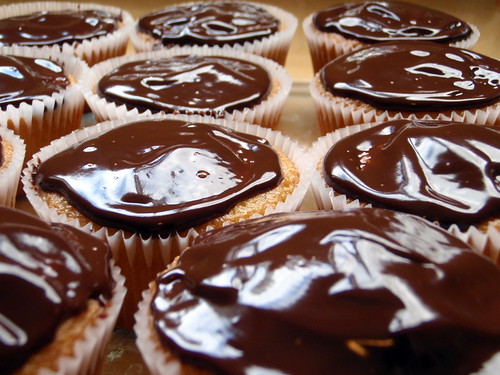
Rainy Day Coconut Lime Cakelets
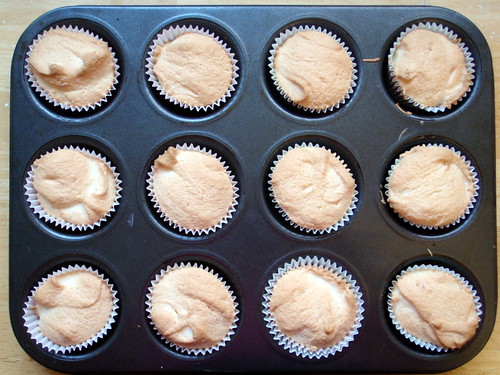
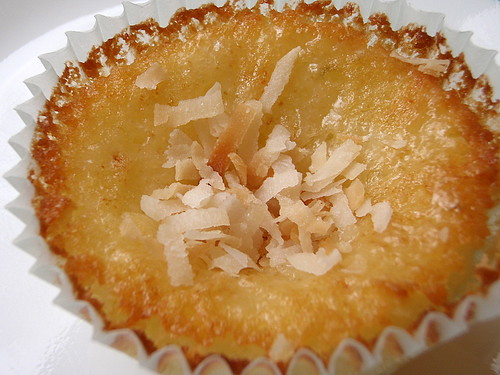
So Opening Day today got rained out. =( I had already taken the day off so when I woke up this morning (before I found out about the rainout), I decided to make the key lime coconut cake recipe from Gourmet but in cupcake form. Only I didn't have any key limes, so I just used regular limes. But I accidentally used all 1/4 cup of lime juice in the batter instead of only half the amount. And I didn't have self-rising flour, so I substituted a mixture of all-purpose flour, baking powder, and salt, only I completely misread the recipe and used 3/4 cups instead of 1 3/4 cups. Um, so what I ended up with wasn't really a cupcake, and for lack of a better term I renamed them cakelets. =)
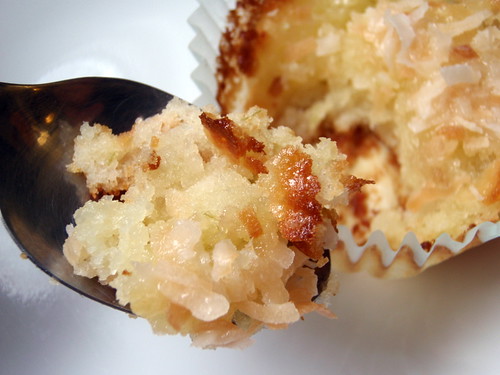
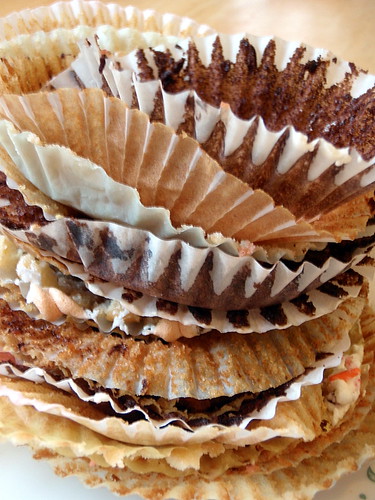
I baked the first batch of cakelets for 20 minutes and noticed that the middle of the cakelets fell in and they were pulling away from the liner as they cooled. Also, they were still quite soft when I removed them from the tin. So I baked the next batch for 22 minutes, and while they came out a little more firm, they were a lot harder to remove from the liners. So I just used a spoon to eat those.
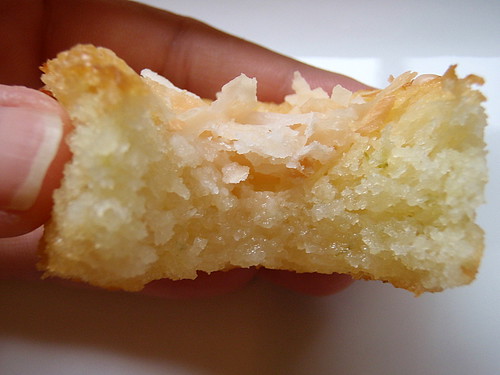
Even though they didn't turn out how I expected them to, much like my plans for today, at least they were still quite yummy (unlike my plans for today). They totally remind me of eating a lemon bar but in cakelet form.
Coconut Lime Cakelets (adapted from Gourmet)
makes 24 cakelets
1 cup sweetened flaked coconut
1 stick unsalted butter, softened
makes 24 cakelets
1 cup sweetened flaked coconut
1 stick unsalted butter, softened
Even though they didn't turn out how I expected them to, much like my plans for today, at least they were still quite yummy (unlike my plans for today). They totally remind me of eating a lemon bar but in cakelet form.
Sunday, April 5, 2009
Samoa Cupcakes and the Cupcake Exchange
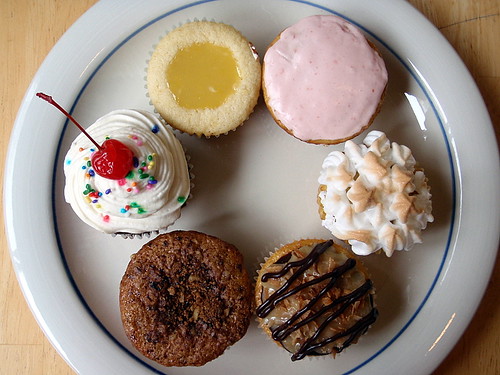
After seeing Sena's maple cupcakes at Leslie's going away party but not tasting any, I devised a clever plan to be able to try some of her cupcakes: a cupcake exchange! I sent out an e-mail to several other baker friends, and we ended up with 6 different batches of cupcakes. Good thing I invited some friends to help eat, too, because there's only so many cupcakes a girl can eat, even if they're as delicious as the ones that were brought.
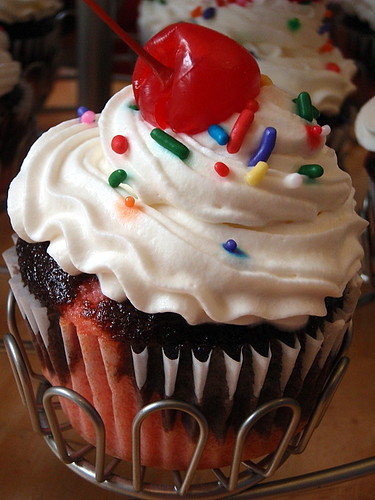
Sena brought a sundae cupcake that was originally going to be Neapolitan with chocolate and strawberry layers, but then her fiancee suggested adding whipped cream, sprinkles, and a cherry on top!
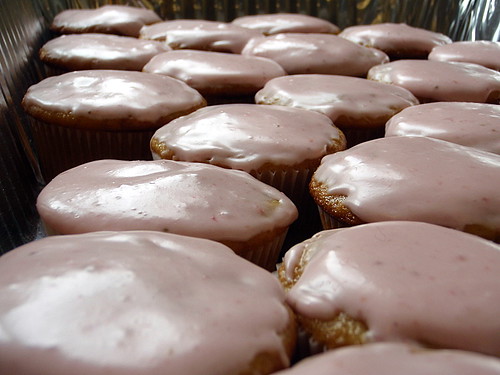
Will brought a root beer banana cupcake with strawberry frosting. He substituted root beer for the water, and it came out super light and fluffy.
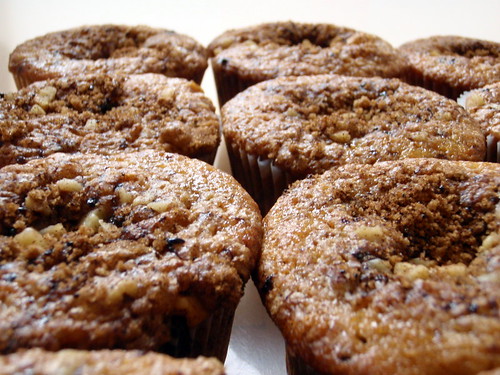
Judy brought coffee and walnut cupcakes with a brown sugar streusel on top.
Daphne brought lemon curd cupcakes, which she carved out by hand.
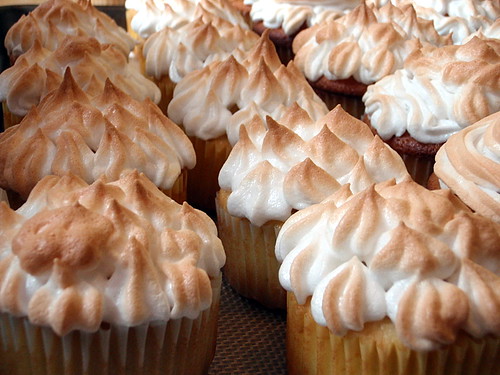
Lastly, Ruth brought meyer lemon meringue cupcakes. Look at the awesome piping!
I decided to make Samoa cupcakes, inspired by my favorite Girl Scout cookies. I found this recipe by chockylit, which looks amazing, but I was a little too lazy to make the cupcakes and caramel sauce from scratch so I improvised by using yellow butter cake mix and bought caramels. The original recipe called for cutting into the cupcakes once they were baked and cooled and filling each one with caramel sauce. I thought I'd try something a little different; I filled each cupcake liner a little more than halfway with the batter, and then topped each one with a caramel. My hope was that the batter would rise up around the caramel to enclose it and that the caramel itself was melt a bit in the oven while baking.
Samoa Cupcakes
makes 24 cupcakes
For the cupcakes:
1 box yellow butter cake mix
1 cup water
3 eggs
1/3 cup butter, softened
24 caramels
For the chocolate ganache:
8 ounces semisweet chocolate chips
1 cup heavy cream
1 teaspoon vanilla
For the toasted coconut topping:
4 cups shredded, sweet coconut
2 eggs
10 ounces evaporated milk
11/3 cup sugar
1/2 cup (1 stick) butter
Prepare the cupcake batter according to the box mix directions. Fill each cupcake liner a little more than halfway with the batter and top with a caramel. Bake according to the directions on the box. Let cupcakes cool completely before frosting.
makes 24 cupcakes
For the cupcakes:
1 box yellow butter cake mix
1 cup water
3 eggs
1/3 cup butter, softened
24 caramels
For the chocolate ganache:
8 ounces semisweet chocolate chips
1 cup heavy cream
1 teaspoon vanilla
For the toasted coconut topping:
4 cups shredded, sweet coconut
2 eggs
10 ounces evaporated milk
11/3 cup sugar
1/2 cup (1 stick) butter
Prepare the cupcake batter according to the box mix directions. Fill each cupcake liner a little more than halfway with the batter and top with a caramel. Bake according to the directions on the box. Let cupcakes cool completely before frosting.
To make chocolate ganache, stir cream and chocolate chips on a double boiler (or use a metal bowl on top of a saucepan of boiling water) until melted. Add vanilla and stir to mix. Let cool to room temperature.
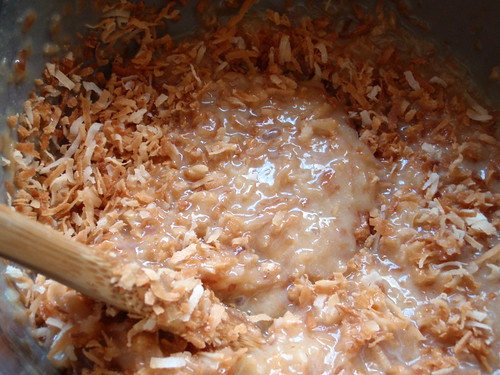
To make the toasted coconut topping, start by spreading the coconut onto a sheet pan. Toast in a 350°F oven, stirring frequently to prevent burning, until the coconut is an even brown color, about 10 minutes. Crack the eggs into a small saucepan and beat lightly to break up. Add milk, sugar, and butter. Cook, stirring constantly, over medium heat until thick, bubbly, and golden, about 15 minutes. Press mixture through a metal sieve and into a bowl to remove any lumps. Add 3 cups of the coconut, reserving the remainder for assembly, stir to combine. Let the mixture cool.
To assemble, smooth on a light coating of chocolate ganache. Refrigerate for about 15 minutes to harden the ganache.
Once hardened, spoon on the coconut topping and spread evenly. Top with some more plain toasted coconut.
Drizzle the top with lines of ganache. You may have to warm the ganache over a water bath to get it to drizzling consistency.
Unfortunately, the caramel sunk to the bottom of the cupcakes and hardened instead of sitting in the middle and softening. I had to warn everyone to bite carefully into the cupcake, especially if they had any fillings or crowns. Otherwise, I was pretty satisfied with the way it turned out. One of the guests commented that it smelled just like a Samoa cookie (this was before we started eating), and I thought the coconut topping tasted exactly like the coconut topping on a Samoa. The original recipe was for 12 cupcakes, so I thought I would need to double the recipe for the chocolate ganache and coconut topping, but it turned out making even the single batch for 12 was more than enough for all 24 cupcakes. I'll probably have to make coconut lime cupcakes and Samoa bars soon to use up the leftovers. Good thing Maundy Thursday and Ruth's baby shower are coming up!
Thursday, April 2, 2009
Cupcake Bites
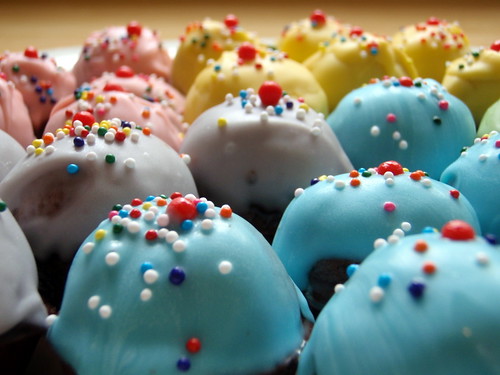
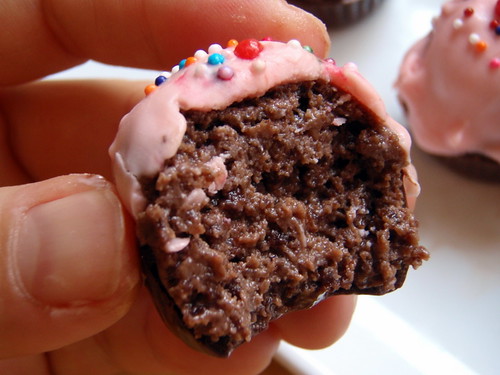
I've been enchanted by the cake pops that Bakerella has been making, especially these Hello Kitty ones, but they just seemed a little too daunting to try so when I saw The Pioneer Woman's post about how Bakerella makes cupcake bites, I knew I didn't have an excuse anymore. Because while they are just as cute, they're also quite simple to make. All you need is cake mix, frosting, some sprinkles, a peanut butter candy mold, and melting chocolate in different colors (I got the latter two at Michaels). I opted to pick up a squeeze bottle as well, but you could just as easily do without.
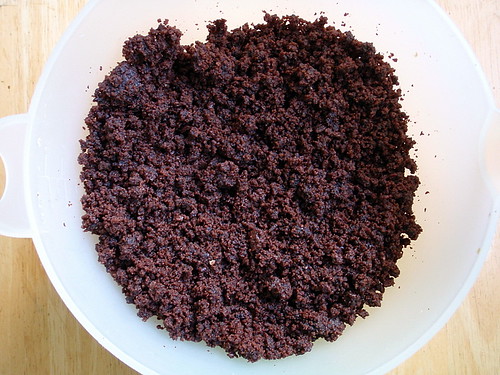
So here's how you go about making them. First bake a cake. I chose to use a Devil's Food cake mix, but just about anything will work. Once it's done, cool it completely and then use your hands to rip it all into crumbs.
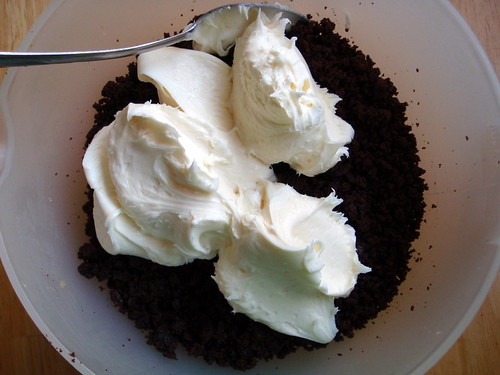
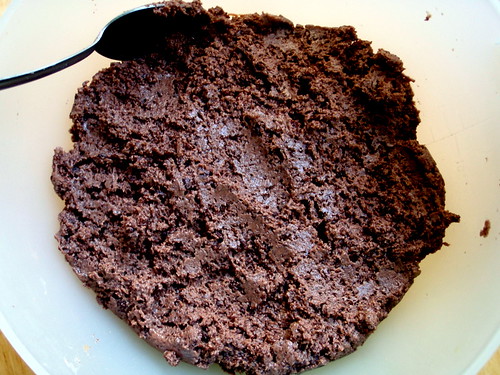
Add frosting to the crumbs. Bakerella uses a whole tub, but I don't like mine as sweet so I added about 4/5. Next time I think I can get away with adding even less. Basically you just want it to gooey enough that you can roll the cake/frosting mixture into balls without it coming apart.
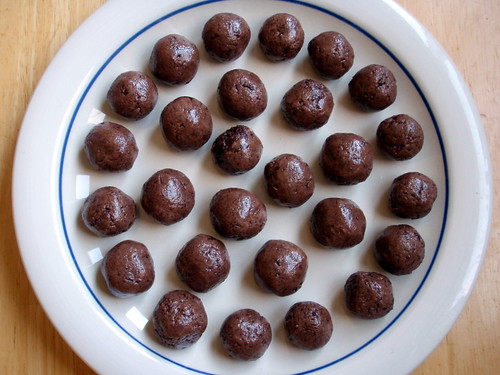
After you've mixed the cake crumbs and frosting thoroughly, let it sit in the fridge to chill. You can skip this step, but I find that rolling chilled cake crumbs is less messy. You definitely want to chill the balls once they are rolled, though. Make sure that the balls are just a little smaller in diameter than the widest part (the top) of the molds.
While the balls are chilling, you can start melting the chocolate. I followed the instructions on the squeeze bottle and filled the bottle halfway and then putting it into some very hot water to melt the chocolate. If you don't have a squeeze bottle, you can just melt the chocolates according to the directions on the bag in the microwave and use a spoon to dispense it.
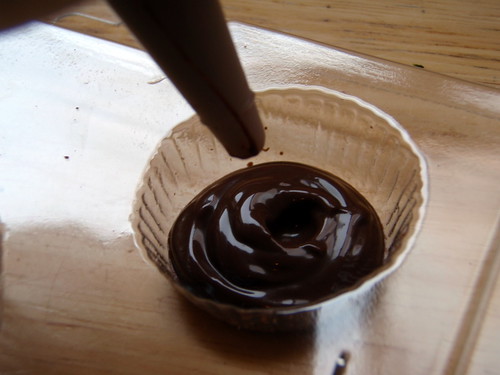
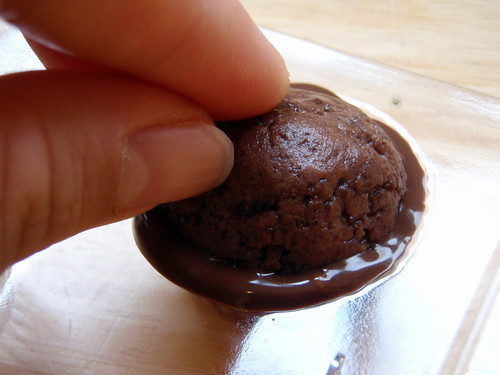
Make sure you have your balls ready for the next step because it's a little time sensitive. You want to fill the mold a little less than halfway with chocolate, and while it is still liquid, insert a cake ball and push it down so that the chocolate comes up and fills the rest of the mold. Once you have finished making a tray, pop it into the freezer to chill for a few minutes.
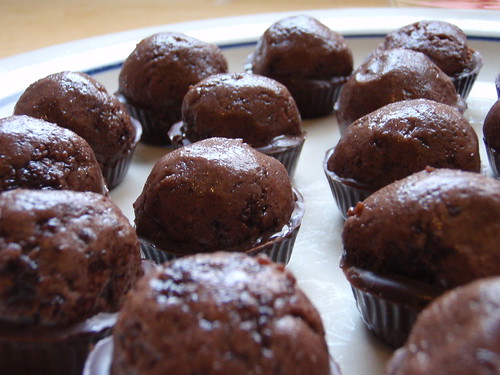
When the chocolate is set, carefully remove them from the tray, and you should have a bunch of unfrosted mini-cupcake looking things. The next step is also time sensitive, so make sure you have everything ready before you proceed.
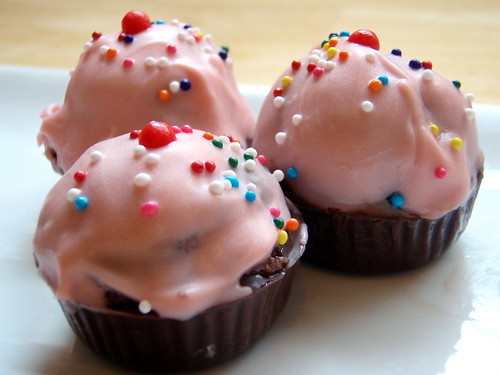
You'll want to melt some more chocolate (use a different color than what you used for the bottom) in a small bowl. Holding the cupcake bite by the bottom, dip it into the melted chocolate until it almost reaches the top of the hardened chocolate. I give it a good whirl in there to make sure that all the sides are evenly covered. Then place it right-side-up on a plate or tray. While the top chocolate is still liquidy, top it with some sprinkles. I didn't get any good shots of this part because, after all, I only have two hands, but you can take a look at the pictures on The Pioneer Woman's post for a better idea.
If you wait too long, the top chocolate will get too hard and the sprinkles won't stick. This happened with some of my yellow cupcake bites, so I had to re-dip the tops to get the sprinkles to stick. Bakerella uses mini-M&M's for the very top, but since I didn't have any, I used these little red cinnamon candies, which in my opinion, are even cuter because they're smaller.

So here's how you go about making them. First bake a cake. I chose to use a Devil's Food cake mix, but just about anything will work. Once it's done, cool it completely and then use your hands to rip it all into crumbs.
Add frosting to the crumbs. Bakerella uses a whole tub, but I don't like mine as sweet so I added about 4/5. Next time I think I can get away with adding even less. Basically you just want it to gooey enough that you can roll the cake/frosting mixture into balls without it coming apart.
After you've mixed the cake crumbs and frosting thoroughly, let it sit in the fridge to chill. You can skip this step, but I find that rolling chilled cake crumbs is less messy. You definitely want to chill the balls once they are rolled, though. Make sure that the balls are just a little smaller in diameter than the widest part (the top) of the molds.
While the balls are chilling, you can start melting the chocolate. I followed the instructions on the squeeze bottle and filled the bottle halfway and then putting it into some very hot water to melt the chocolate. If you don't have a squeeze bottle, you can just melt the chocolates according to the directions on the bag in the microwave and use a spoon to dispense it.
Make sure you have your balls ready for the next step because it's a little time sensitive. You want to fill the mold a little less than halfway with chocolate, and while it is still liquid, insert a cake ball and push it down so that the chocolate comes up and fills the rest of the mold. Once you have finished making a tray, pop it into the freezer to chill for a few minutes.
When the chocolate is set, carefully remove them from the tray, and you should have a bunch of unfrosted mini-cupcake looking things. The next step is also time sensitive, so make sure you have everything ready before you proceed.
You'll want to melt some more chocolate (use a different color than what you used for the bottom) in a small bowl. Holding the cupcake bite by the bottom, dip it into the melted chocolate until it almost reaches the top of the hardened chocolate. I give it a good whirl in there to make sure that all the sides are evenly covered. Then place it right-side-up on a plate or tray. While the top chocolate is still liquidy, top it with some sprinkles. I didn't get any good shots of this part because, after all, I only have two hands, but you can take a look at the pictures on The Pioneer Woman's post for a better idea.
If you wait too long, the top chocolate will get too hard and the sprinkles won't stick. This happened with some of my yellow cupcake bites, so I had to re-dip the tops to get the sprinkles to stick. Bakerella uses mini-M&M's for the very top, but since I didn't have any, I used these little red cinnamon candies, which in my opinion, are even cuter because they're smaller.

I made a batch for ArtSpeak at Highrock last week as practice for the batch I'm making for the dessert tasting fundraiser I'm participating in this Saturday. It's called A Little Peace, and it's being held at the Vietnamese American Community Center (42 Charles Street, Dorchester, MA/MBTA Redline @ Fields Corner) from 7 - 10 pm. Tickets are $27 at the door, and you can find out more here. I'm actually participating in the Ocean Spray Bake-Off Challenge, which means I needed to incorporate Craisins into what I made. After thinking about how to do that a bit, I came up with "Rum Craisin Cupcake Bites". Basically the idea is the same as above, but I added some rum to the cake/frosting mixture and rolled each ball around a couple of Craisins before dipping. I believe voting is done by popular vote among the people who attend, so if you're free on Saturday night, please come to the fundraiser!
And if you're free tonight and happen to have an extra $95 lying around, please come to Share Our Strength's Taste of the Nation, being held at the Hynes Convention Center from 6:30 pm - 9 pm. Basically there will be 74 fine restaurants and 40 wineries from around the area donating their food and drink for an all-you-can-eat-and-drink event plus a live band and silent auction. Because everything is donated and everyone working it is a volunteer, 100% of ticket sales from Taste of the Nation are granted to the most effective anti-hunger organizations working to end childhood hunger in America. If you come before 7:30 pm, James and I will be two of the first people you see because we're the champagne pourers! So even if you don't want to eat some of the best food in Boston and drink to your heart's content, you should come just to see us try to set up a champagne glass pyramid for fun. =)
Subscribe to:
Posts (Atom)