Showing posts with label ginger. Show all posts

Thursday, November 30, 2017

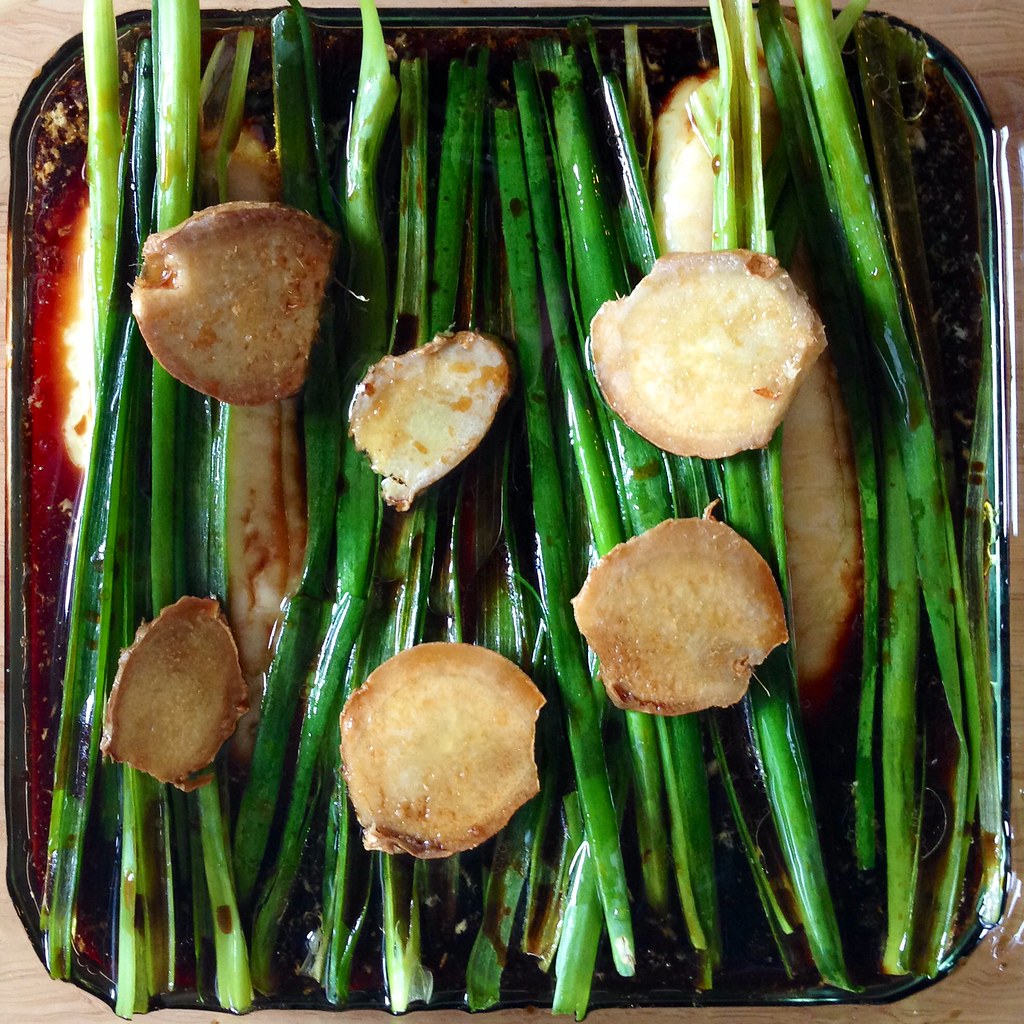
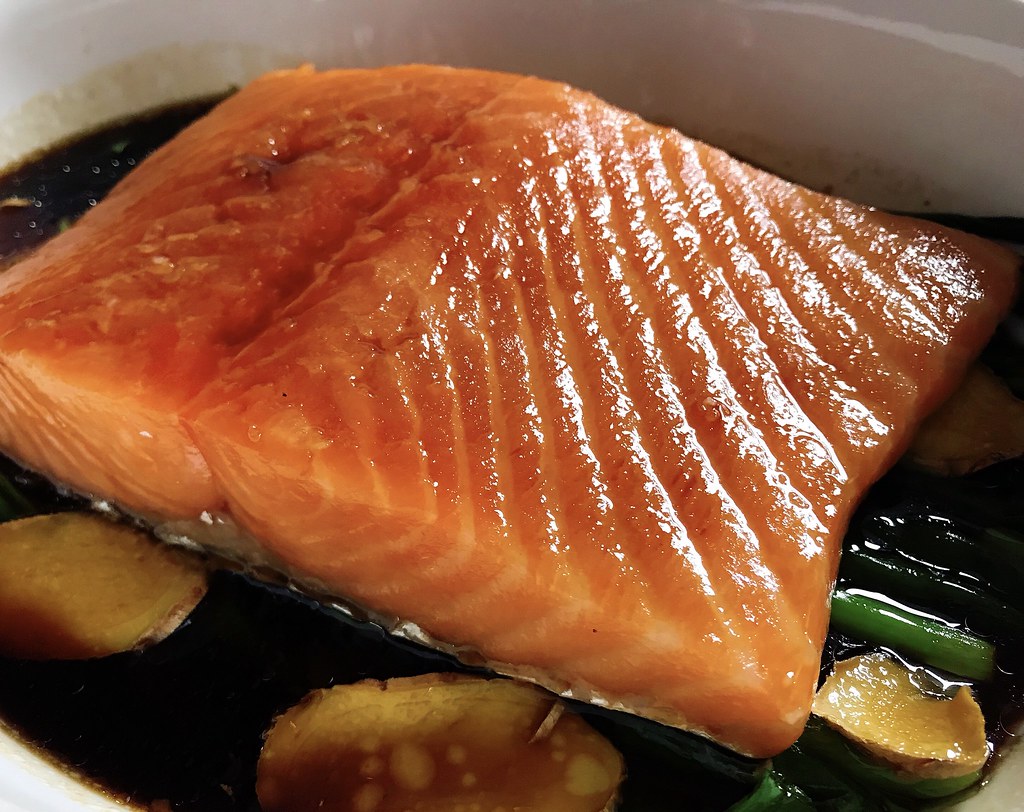
Slow-Roasted Ginger Scallion Salmon


I was first introduced to slow-roasted salmon when the Food52 Cookbook Club was going through Samin Nosrat's Salt Fat Acid Heat back in September.  I tried the citrus version with lemon vinaigrette first and was absolutely smitten.  As incredible as the citrus and vinaigrette were, I think it was the salt and slow-roasting that made the dish truly exceptional.  It made a regular farm-raised salmon filet taste like a wild-caught Copper River King salmon!  The salmon was moist, rich, and buttery without being slimy or fishy.  I also tried her soy-glazed version, and it turned out amazing as well, but having to baste the fillet every 15 minutes was kind of too fussy for me.
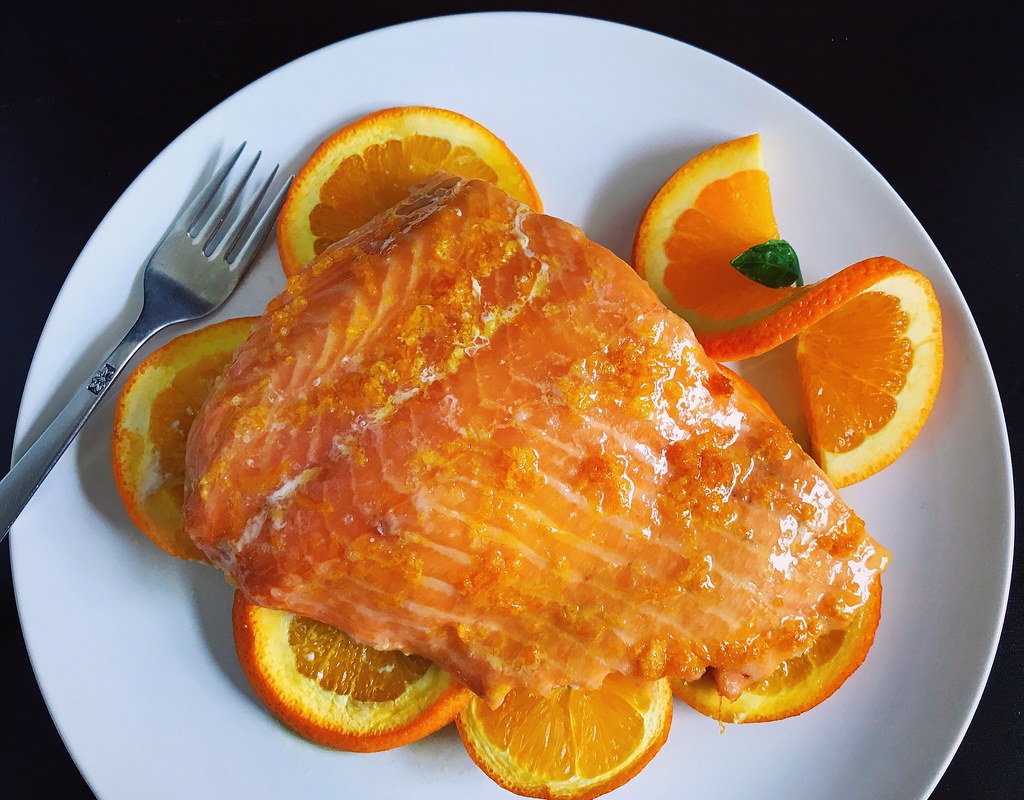

I decided I needed to combine the recipe for Grace's ginger scallion fish with this method of cooking salmon and found some friends who were interested in testing out the recipe.  I also found some friends who had poor reading comprehension and thought I was offering them free food, haha.

We tested roasting the salmon with the skin side up, down, and skinless, and I found that skin side down worked the best.  The skin shielded the fish from too much heat from below, and this version produced the least dry fillet.  The skin never really gets crispy, though, so unless you enjoy rubbery skin, I wouldn't serve that part.
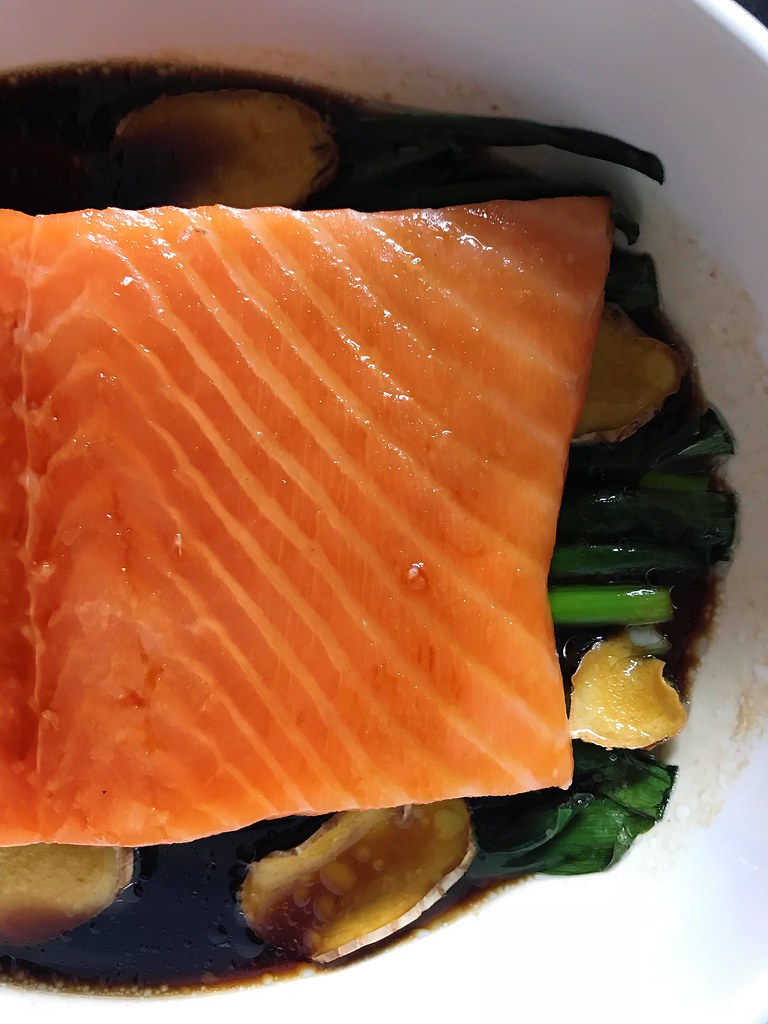

Also, the reason I wrote that the salmon should be straight from the fridge is because some people were using frozen salmon which they let thaw on their counter before using.  Their salmon came out overdone in the time frame I gave so, if you are also making this with warmer-than-refrigerator salmon, reduce the time in the oven accordingly.
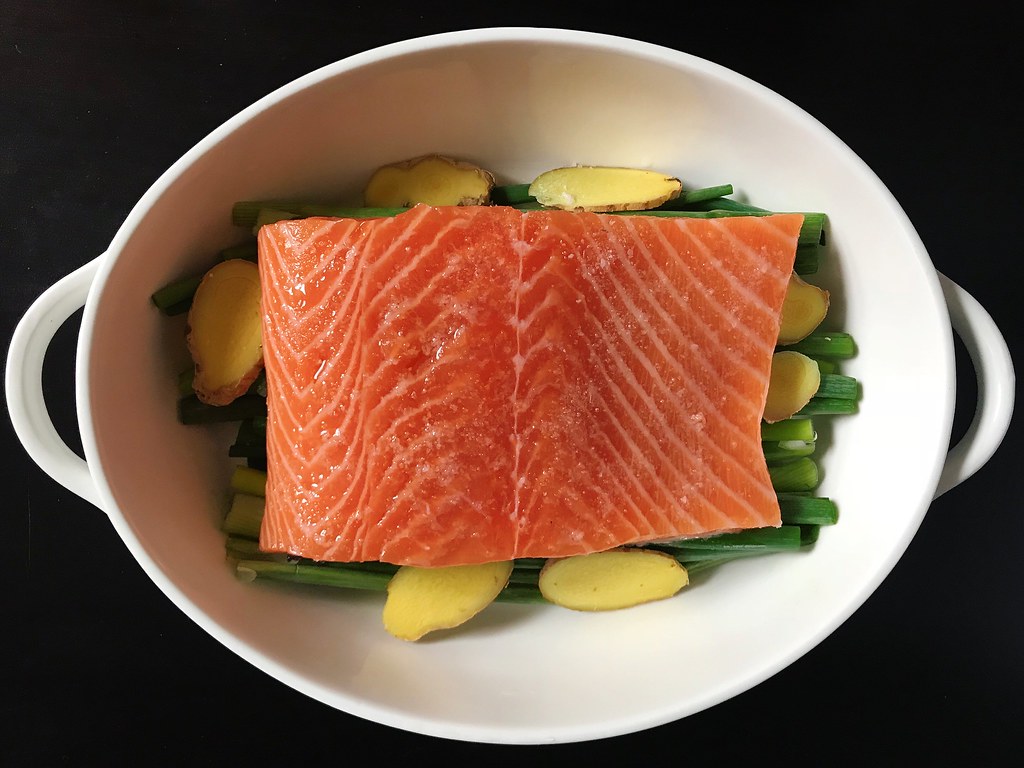

Slow-Roasted Ginger Scallion Salmon

1 lb. salmon fillet, straight from the fridge
2 tablespoons sugar
4 tablespoons soy sauce
2 tablespoons rice wine (if you don't have any, just use more water)
2 tablespoons water
1 bunch scallions (about 6 oz.), green parts only
1-2 inch knob of fresh ginger, thinly sliced
Kosher salt
Vegetable oil

Preheat the oven to 225°F.

Combine the sugar, soy sauce, rice wine, and water and heat for 1 minutes in the microwave.  Stir to dissolve the sugar.

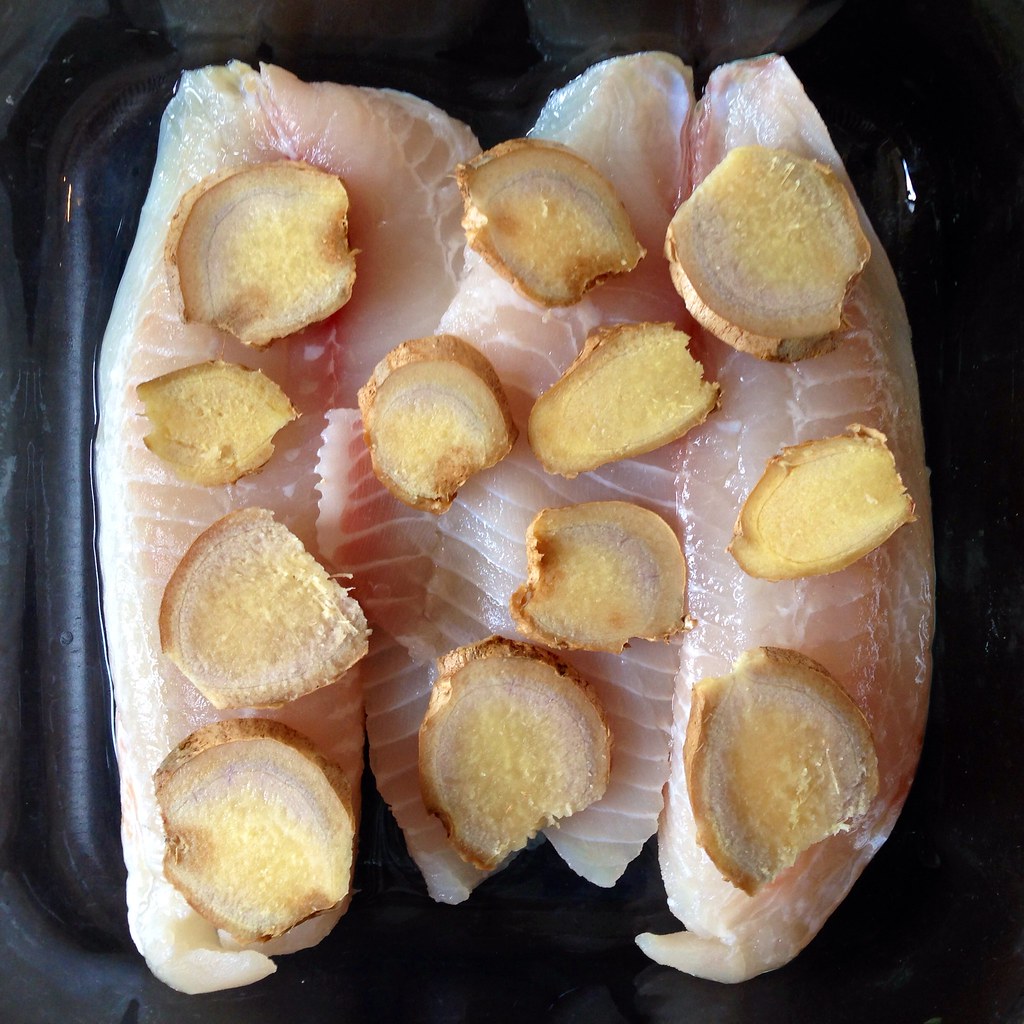
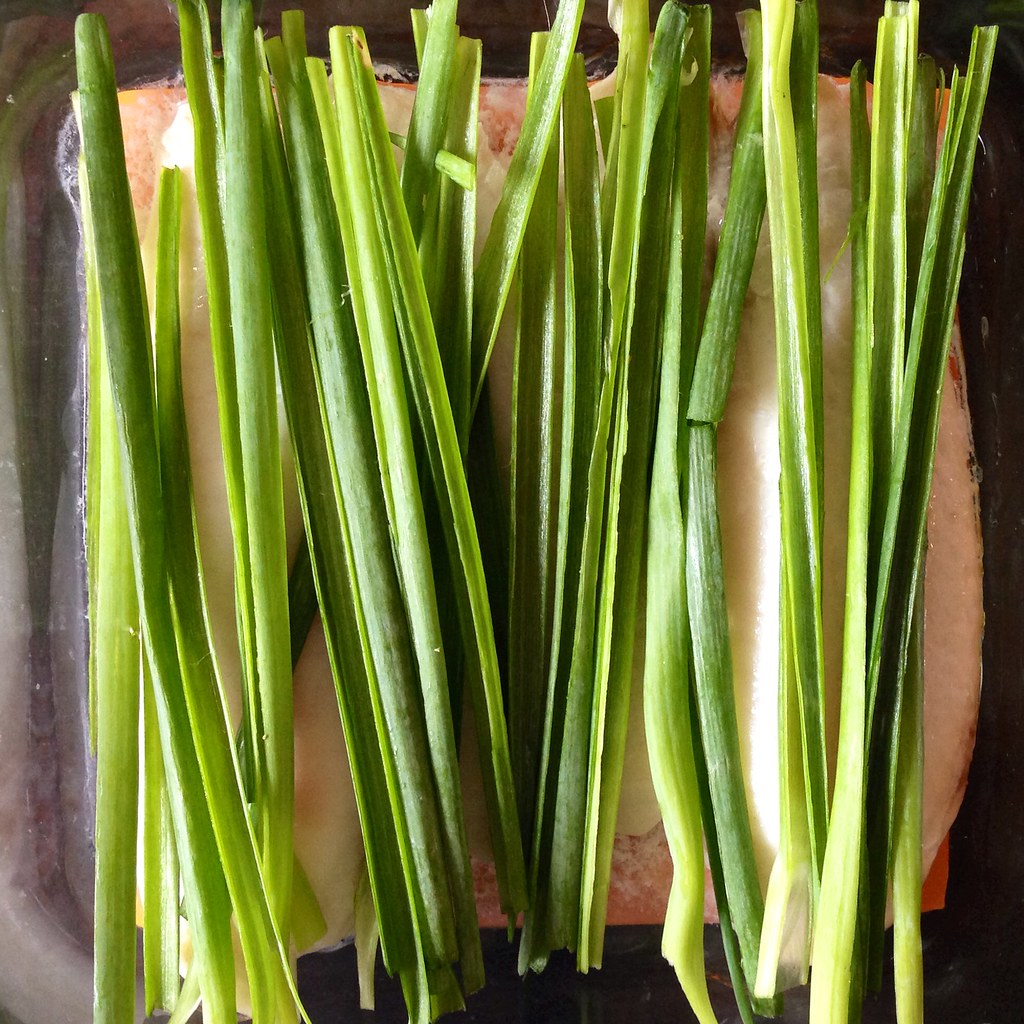
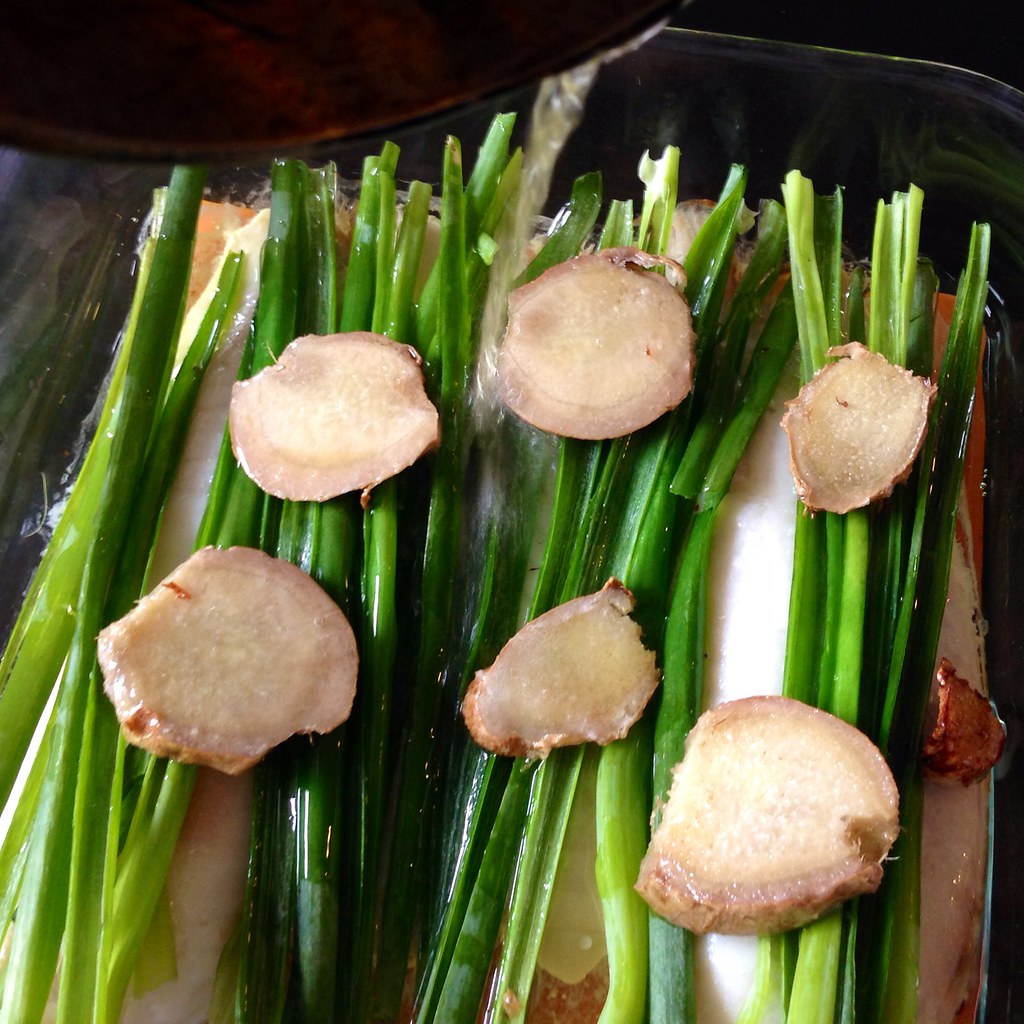
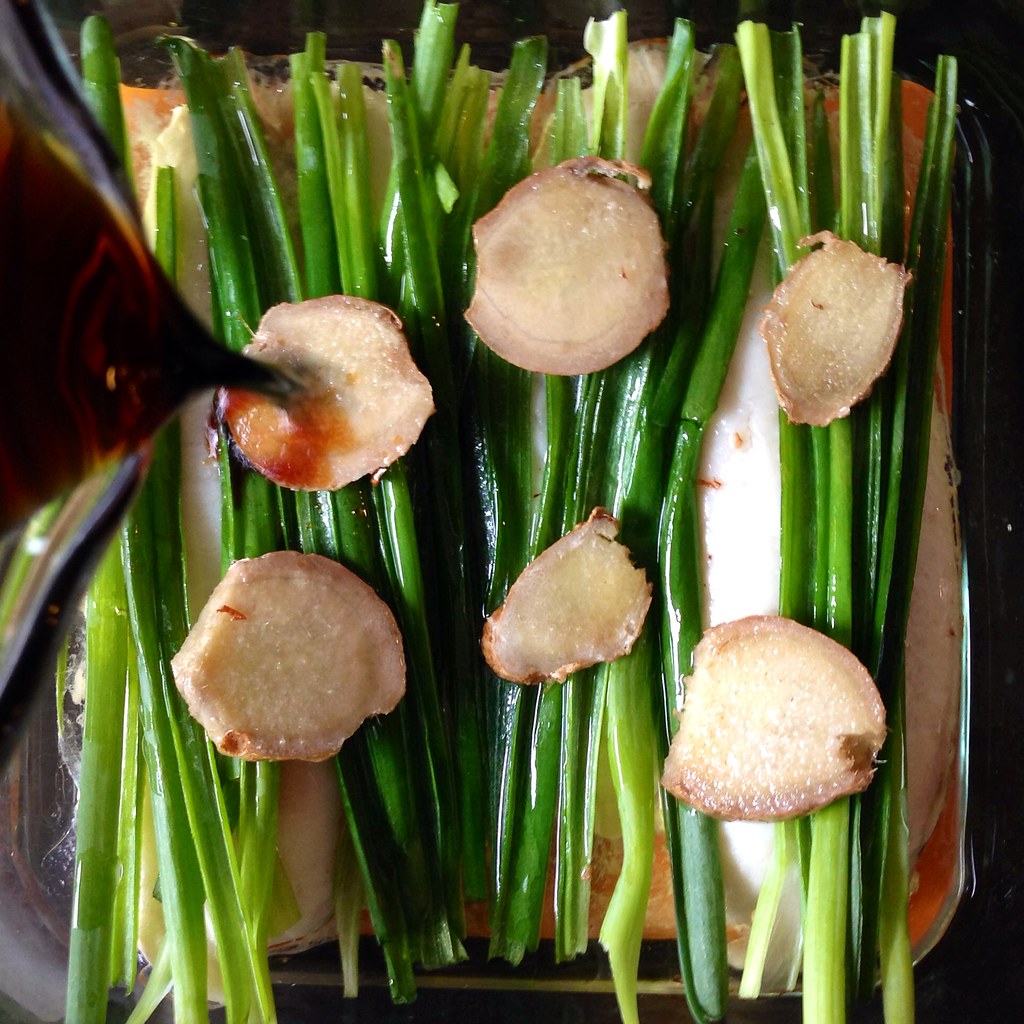
Line a small baking dish with the scallions and ginger and place salmon on top, skin side down.  Season the salmon liberally with kosher salt and coat with oil.  Pour the soy sauce mixture over the fish and roast the salmon for about 40-50 minutes, or until a thermometer stuck into the thickest part reads 110-120°F.

The fish should still look a lot like how it did when it went in (i.e. almost translucent), so if you don't have a thermometer, check for doneness by poking the thickest part; it will start to flake once it is ready.

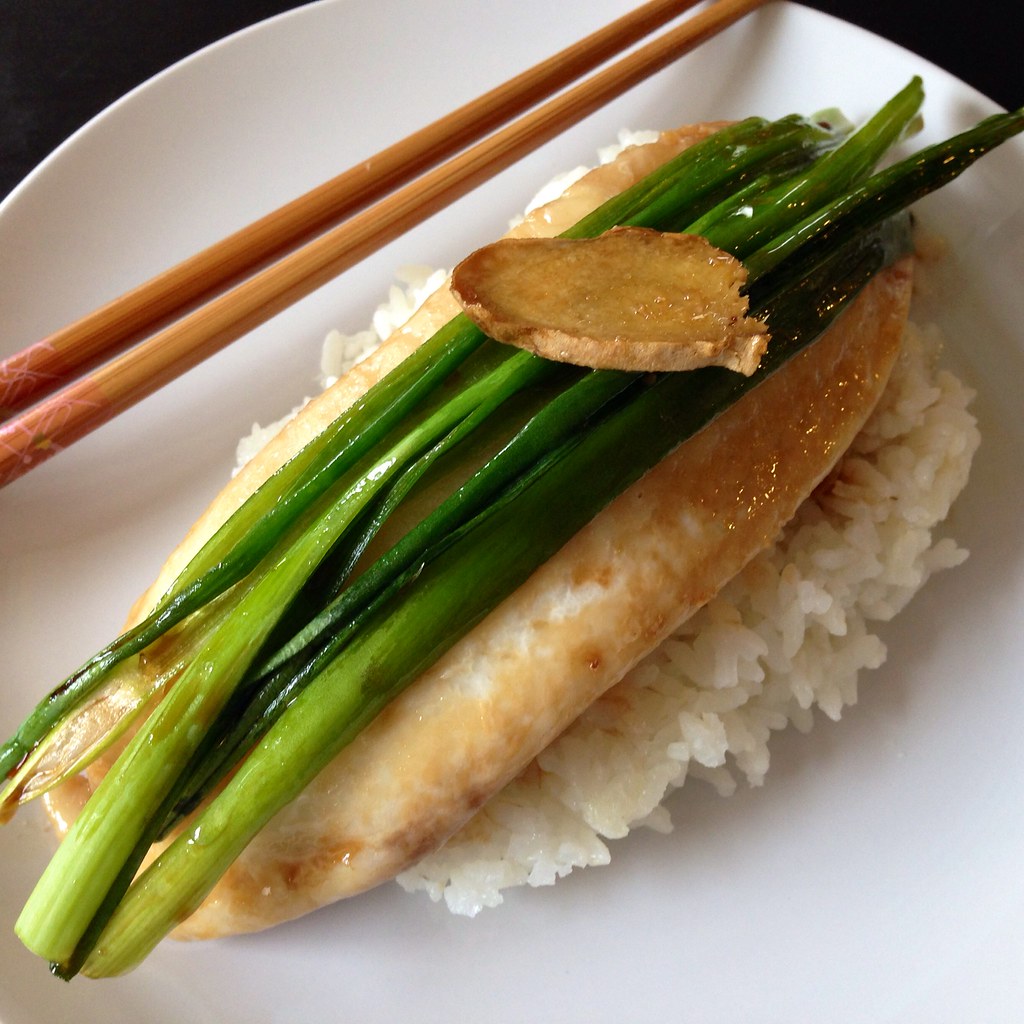
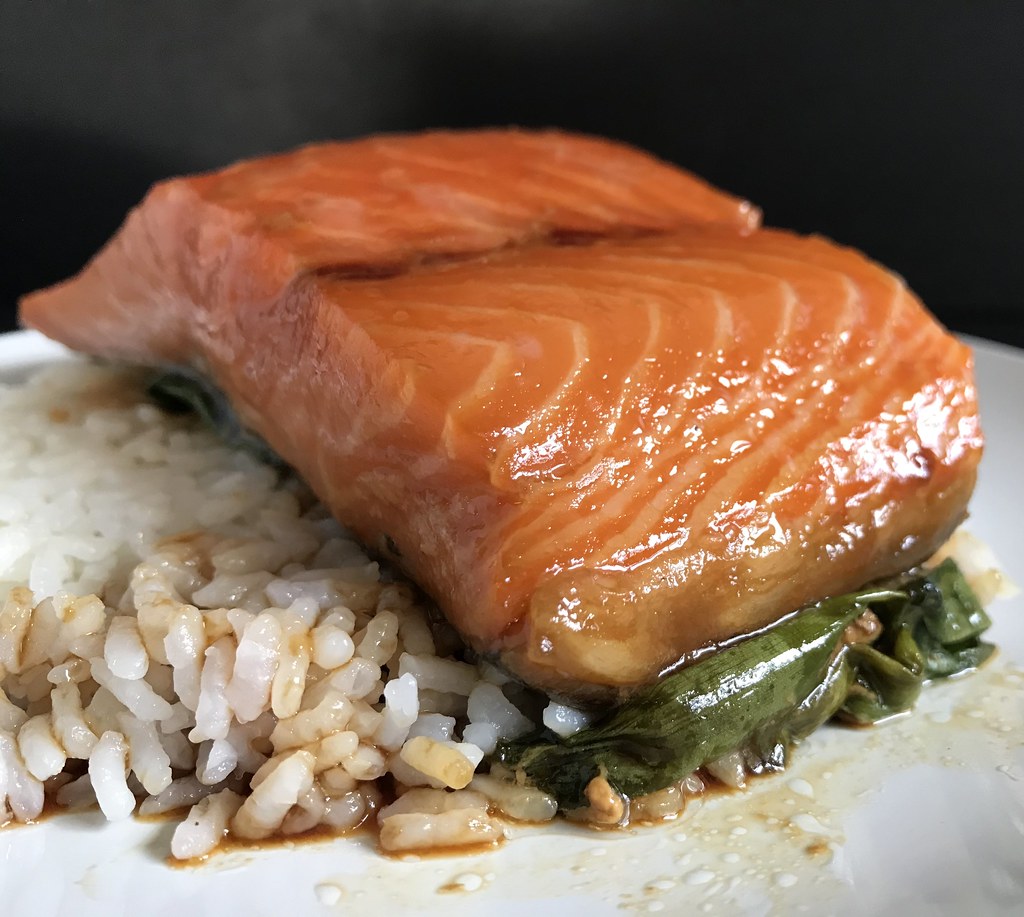
Serve with rice and spoon some of the sauce on top for extra saucy goodness.

Next:  My Mom's Steamed Bao Buns
Previously:  Deep Fried Apple Dumplings with Miso Caramel Dipping Sauce
Last Year:  Pear Apple Cranberry Slab Pie
Two Years Ago:  Pad Thai
Three Years Ago:  Raindrop Cake
Four Years Ago:  My Mom's Taiwanese Sticky Rice
Five Years Ago:  Grapefruit Pie
Eight Years Ago:  Nanaimo Bars
Nine Years Ago:  Homemade Crystallized Ginger

Monday, June 8, 2015

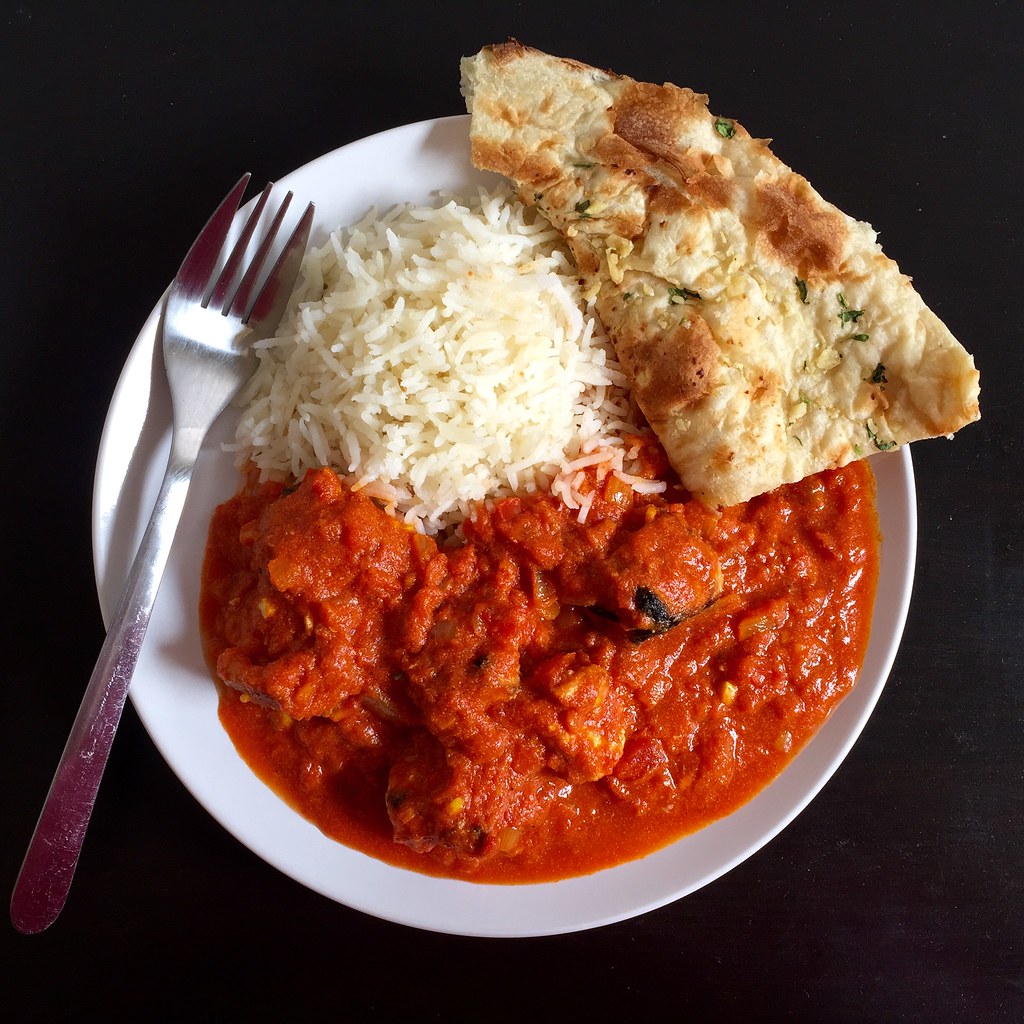
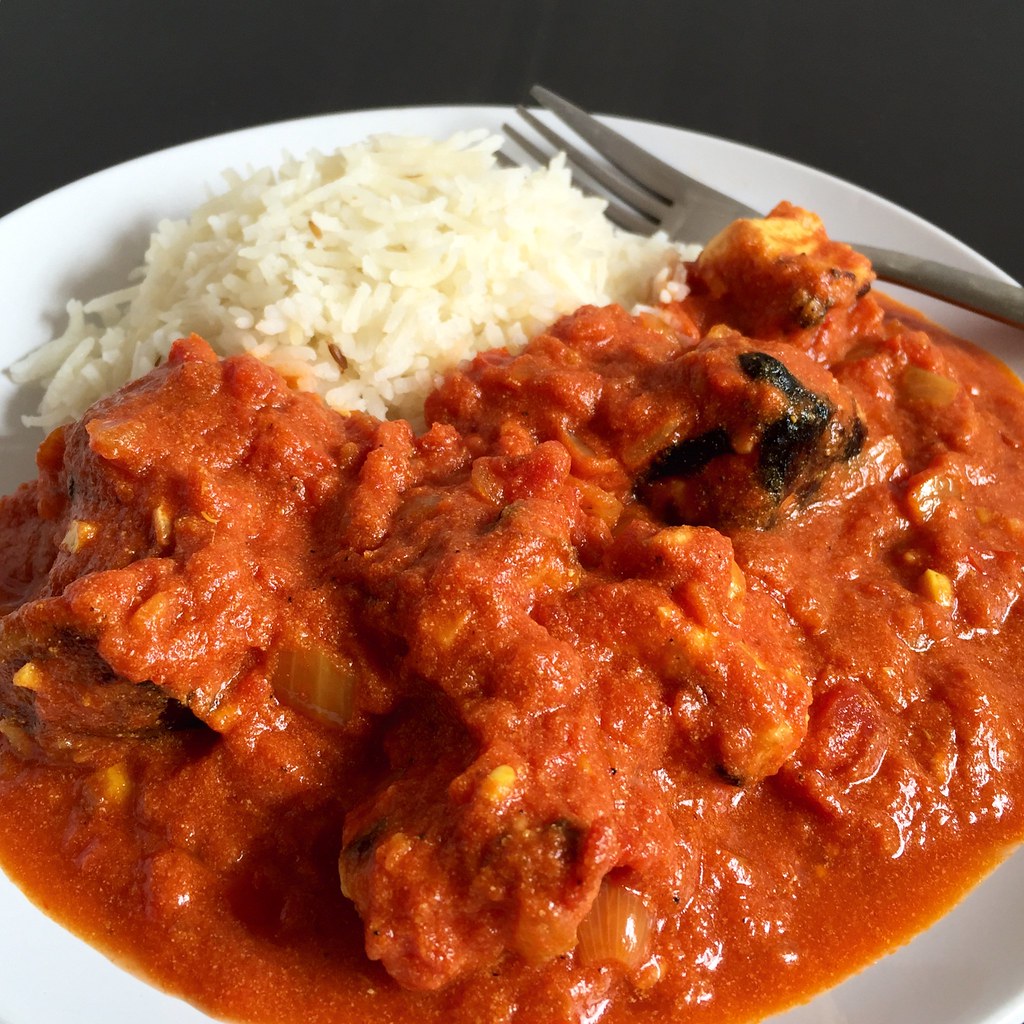
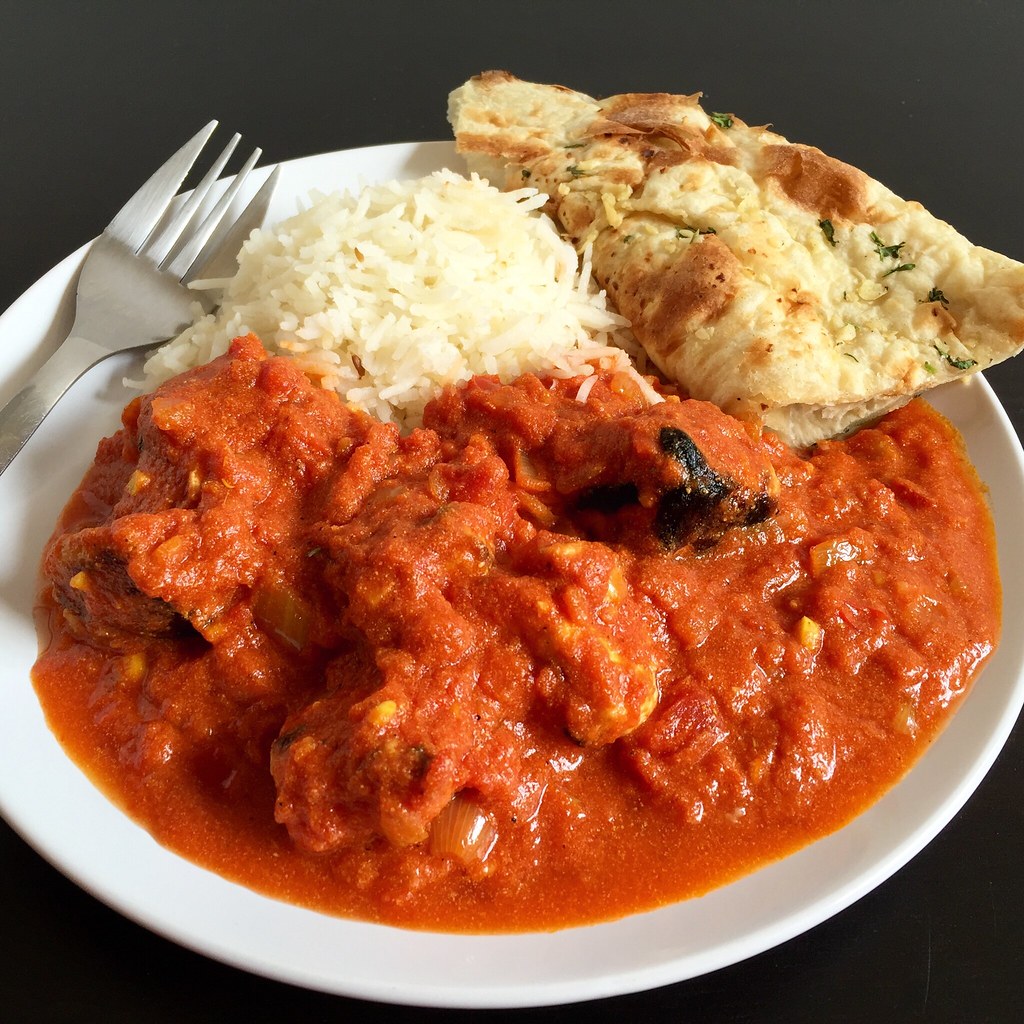
Tofu Tikka Masala

https://www.flickr.com/photos/joyosity/17914429004/in/dateposted-public/

One of the dishes I knew I was going to miss the most when I gave up meat was chicken tikka masala.  I love that tangy, spicy sauce so much that sometimes I've even asked for just the sauce without any chicken to eat with naan.  So when I saw this recipe for a tofu tikka masala on Food52 I was pretty excited to try it out, especially since I've never cooked Indian food before.

The Food52 recipe is itself adapted from the Cook's Illustrated chicken tikka masala recipe.  I love that America's Test Kitchen took this exotic dish and made it accessible to the typical American home.  All the ingredients are easily found at just about any grocery store, and you don't even need a tandoor to cook the tofu, just your broiler and a wire rack set over a rimmed baking sheet.  I'd recommend spraying the wire racks with cooking spray beforehand so that they're easier to clean after.

I think I like the tofu version even more because I used to find the chicken kind of dry.  The tofu stays moist and is packed full of flavor from the spice rub and yogurt dip.  For these pictures, I followed the Food52 version and used half and half, but in the recipe below I changed it back to heavy cream like it says in the Cook's Illustrated version because I like my sauce a little creamier. I also left out the cilantro since I hate the herb, but if it's your thing, definitely add some as a garnish at the end.

https://www.flickr.com/photos/joyosity/18539092721/in/dateposted-public/

Tofu Tikka Masala (lightly adapted from Food52)
serves 4

For the tofu:
14 oz. extra-firm tofu, drained
1/2 tablespoon fresh ginger, minced
3 teaspoons garlic, minced
2 tablespoons vegetable oil
1 cup Greek yogurt
1/2 teaspoon ground coriander
1/2 teaspoon ground cumin
1 teaspoon salt
1/4 teaspoon cayenne pepper

Pat the tofu dry and slice into 3/4" slabs.  In large bowl, whisk together the ginger, garlic, oil, and yogurt; set aside.

Combine the coriander, cumin, salt, and cayenne in small bowl. Coat all sides of the tofu slabs with the spice mixture. Set aside while you start making the masala sauce.

For the masala:
3 tablespoons vegetable oil
1 1/4 cups onion, diced
2 teaspoons fresh ginger, minced
3 teaspoons garlic, minced
1 tablespoon garam masala
1 tablespoon tomato paste
1/2 teaspoon salt, plus more to taste
2 teaspoons sugar
28 oz. can crushed tomatoes
2/3 cup heavy cream

Heat oil in large Dutch oven over medium heat until shimmering. Add the onion and cook, stirring frequently, until light golden, 8 to 10 minutes.
   
Add the ginger, garlic, tomato paste, and garam masala; cook, stirring frequently, until fragrant, about 3 minutes.
   
Add the salt, sugar, and crushed tomatoes and bring to boil. Reduce heat to medium-low, cover, and simmer for 15 minutes, stirring occasionally.  Stir in cream and return to simmer. Remove from heat and cover to keep warm.

While sauce simmers, adjust oven rack to upper-middle position (about 6 inches from heating element) and turn on the broiler. Dip the tofu into the yogurt mixture (tofu should be coated with thick layer of yogurt) and arrange on an oiled wire rack set in a foil-lined rimmed baking sheet or broiler pan. Discard excess yogurt mixture. Broil tofu for 12-15 minutes, flipping halfway through cooking.
   
Cut the tofu into chunks and stir into the warm sauce (do not simmer tofu in sauce). Adjust seasoning with salt, and serve with basmati rice and/or naan.

https://www.flickr.com/photos/joyosity/17914432634/in/dateposted-public/

Next:  Garlic Naan
Previously:  Drunken Noodles (Pad Kee Mao) with Tofu
Last Year:  Homemade Ginger Beer
Two Years Ago:  Rosemary Honey and Lemon Frozen Yogurt
Five Years Ago:  Homemade Dulce de Leche and Dulce de Leche Ice Cream
Six Years Ago:  Butter Mochi Cupcakes

Friday, August 1, 2014

Grace's Ginger Scallion Fish

https://www.flickr.com/photos/joyosity/14748592291/in/photostream/

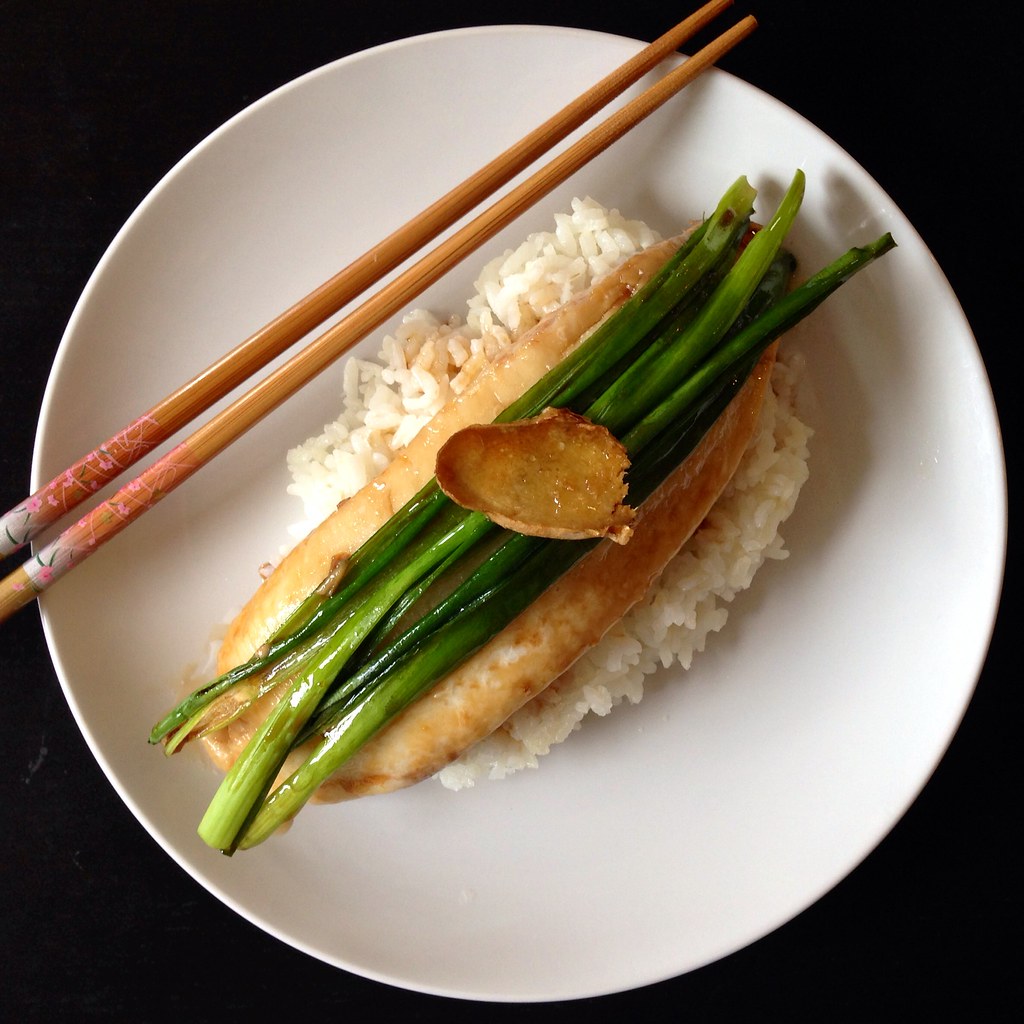
One of my friends posted a picture of some steamed fish she made on Facebook, and it looked so good I had to ask for the recipe.  Turns out the fish isn't so much steamed as baked in the oven, but it's so moist and tender, it might as well have been steamed!

First you bake the fish with some rice wine and ginger slices just until the fish is barely done.  The ginger slices are then added to some oil being heated on the stove, and the fish is topped with scallions.  Then comes my favorite part:  you pour the ginger-infused hot oil over the scallions and fish to seal in moisture and flavor.  Finally a sweet soy based sauce is poured over everything.  This is great served over steamed rice, and in my opinion, is even better the next day when the fish has absorbed some of the sauce!

https://www.flickr.com/photos/joyosity/14565102988/

Grace's Ginger Scallion Fish
serves 2-4

1-2 lbs. white fish filets (I've used cod and tilapia, but I bet sole, flounder, and orange roughy would work well, too)
5 tablespoons rice wine, divided 
2 inch ginger root, thinly sliced
1/4 cup vegetable oil
1 bunch scallions, green parts only
6 tablespoons soy sauce
4 tablespoons sugar
5 tablespoons water

Preheat the oven to 400°F.

https://www.flickr.com/photos/joyosity/14771618693/

Place the fish filets in a small baking pan.  Sprinkle 2 tablespoons of rice wine over the fish and then arrange the ginger slices on top.  Bake for 12 minutes or until the fish is just cooked through (do not overcook).

Meanwhile, heat up the oil in a small saucepan over medium low.  Mix the remaining 3 tablespoons of rice wine with the soy sauce, sugar, and water and heat for 1 minute in the microwave.  Stir to dissolve the sugar.

Slice the scallions in half lengthwise or julienne, if you can be bothered.

https://www.flickr.com/photos/joyosity/14751438622/

When the fish is done, remove the ginger slices and transfer to the hot oil.  Arrange the scallion on top of the fish.

https://www.flickr.com/photos/joyosity/14748590261/

Bring the heat up on the oil to medium high and cook until the ginger just starts to brown.  Immediately pour the hot oil onto the fish.  (It's okay with the ginger falls out.)

https://www.flickr.com/photos/joyosity/14751163114/

Pour the soy sauce mixture over the fish and serve warm with rice.

https://www.flickr.com/photos/joyosity/14771622413/

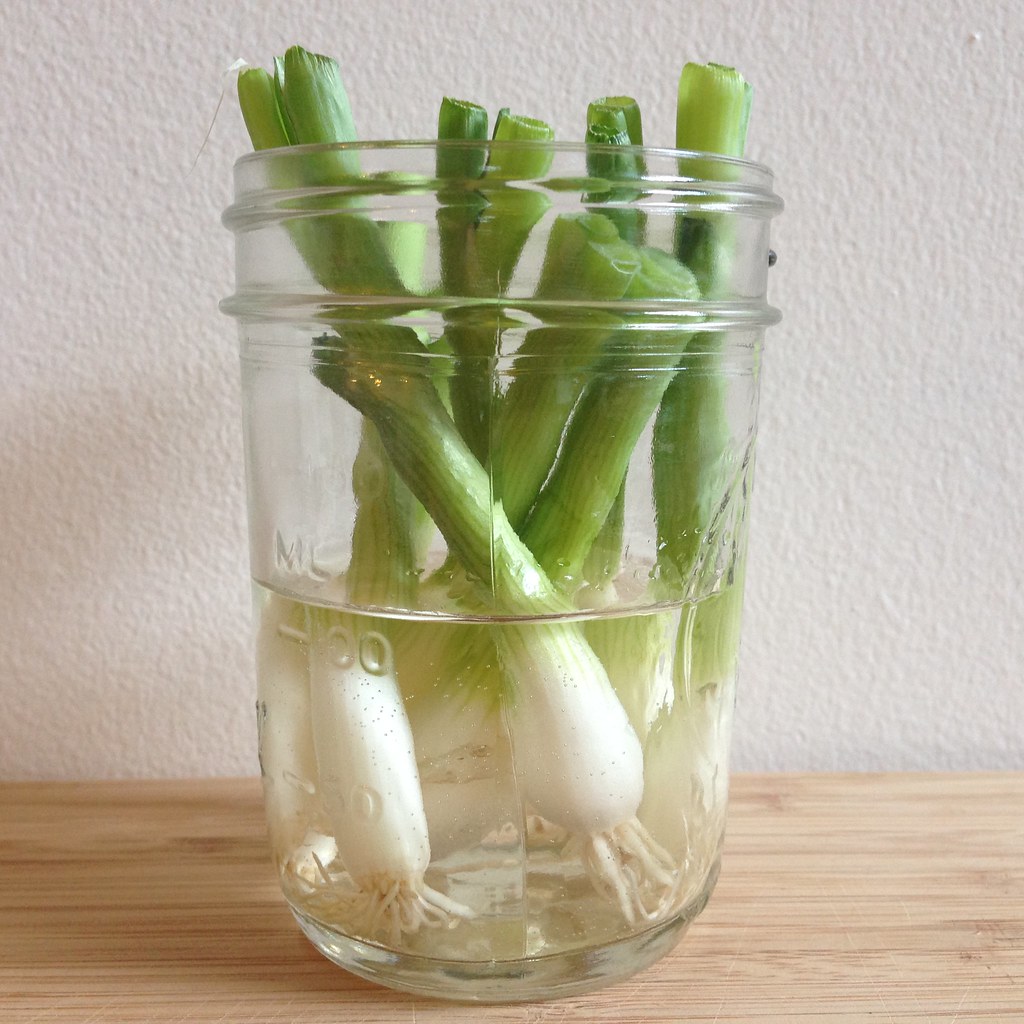
Pro-tip:  Don't throw out the scallion roots after you've chopped off the green part!  Put them in some water and leave them in a sunny place. 

https://www.flickr.com/photos/joyosity/14603396277/

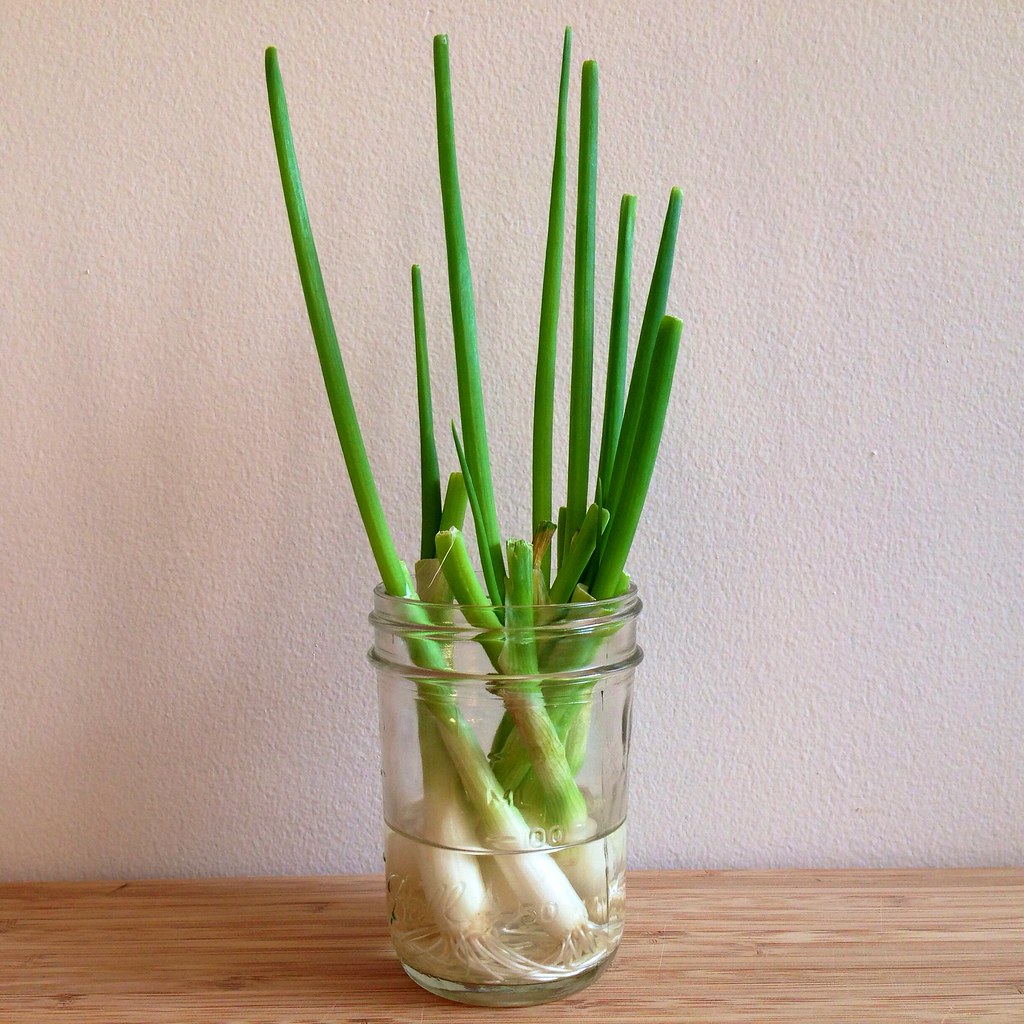
They'll start regrowing, and you can get a lot more mileage out of them.  The picture below shows how much they grew in only 5 days!  That's enough to make some tomato and eggs over rice.  =)

https://www.flickr.com/photos/joyosity/14770672126/

Next:  Jacques Genin's Mango Passion Caramels
Previously:  Strawberry Pop Tart Slab Pie
Last Year:  Cold Soba Noodle Salad with Bake Tofu and Edamame, S'mores Brownie Ice Cream Sandwiches

Monday, July 28, 2014

Ginger Beer Sherbet

How do you pronounce the word "sherbet"?  I think I've always thought it was "sher-bert" but one day I realized there's only one "r" in the word.  Anyways, I think this is the first sherbet I've ever made, and it's not even what I would call a real sherbet.  To me, a sherbet is just a sorbet with milk.

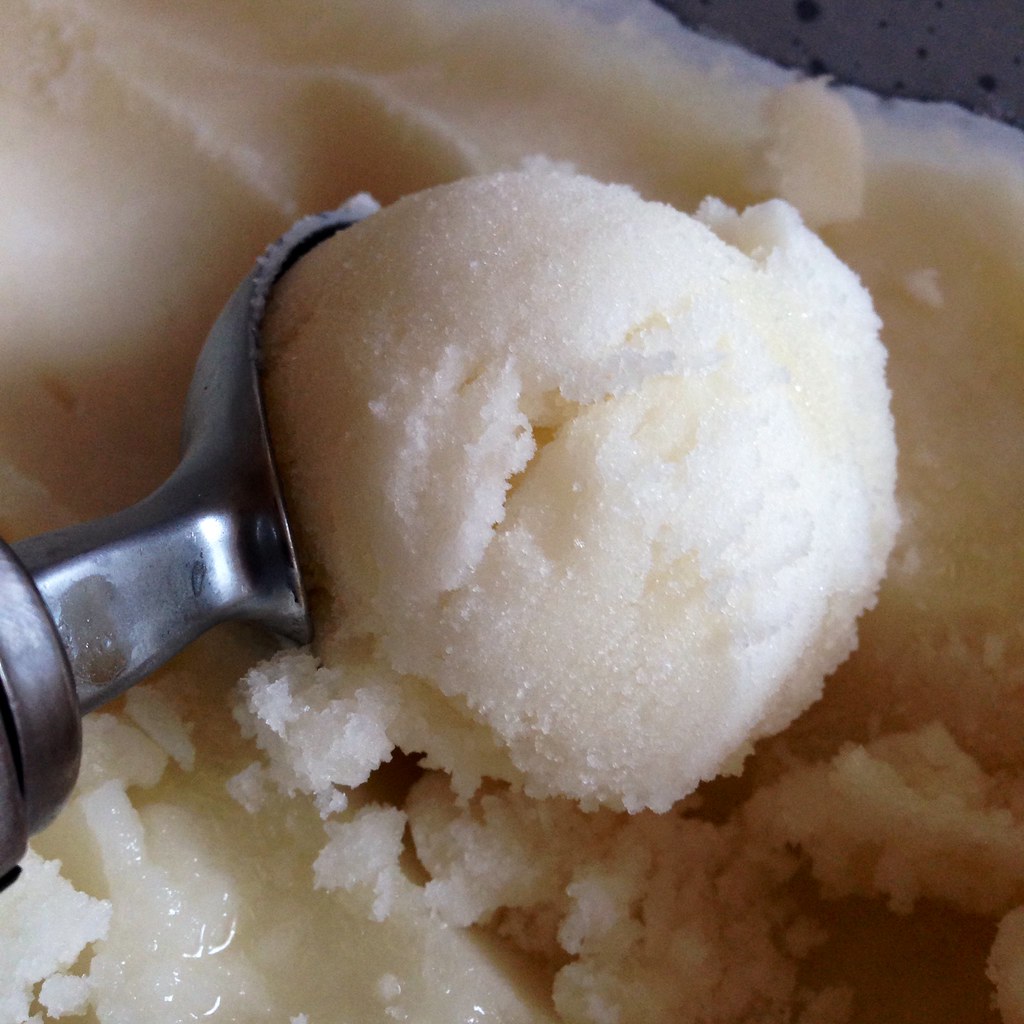
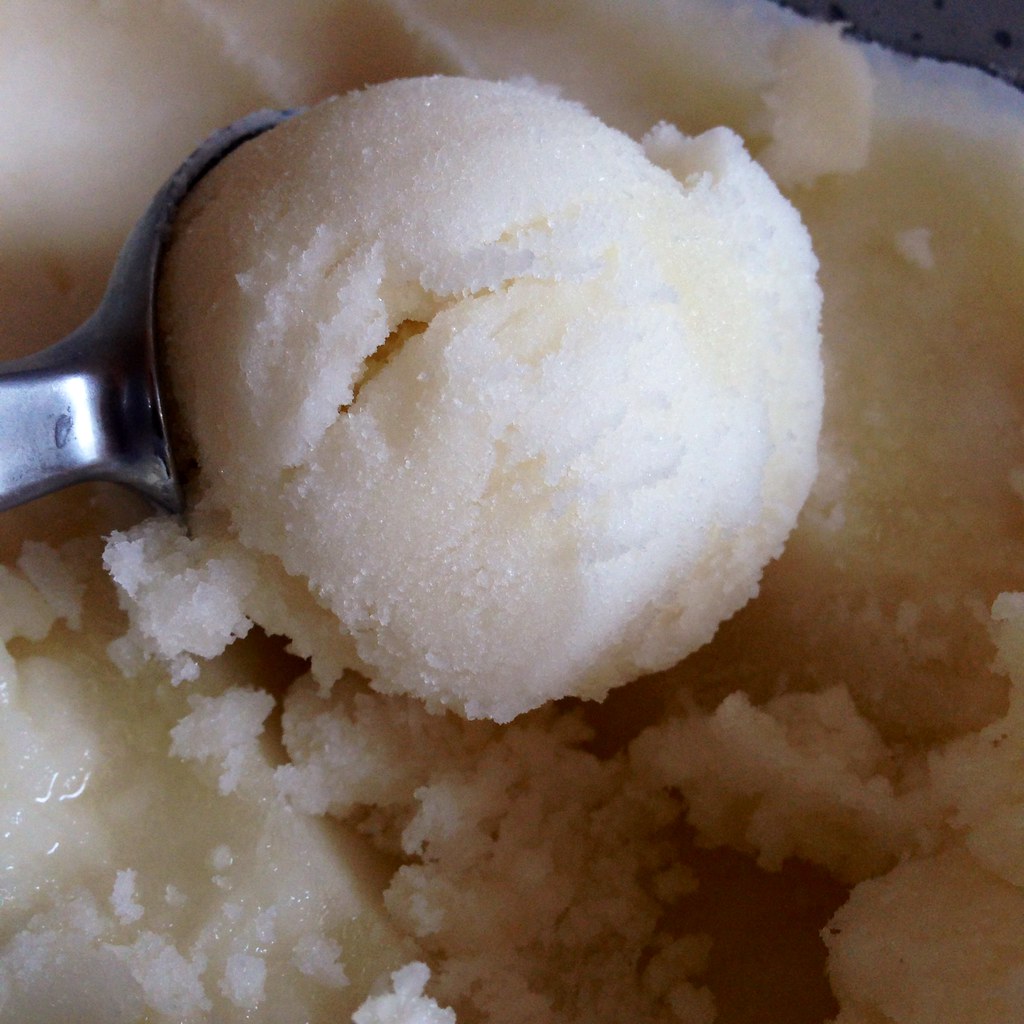
This is a ginger beer sorbet made with some coconut milk added, and guys, it's amazing.  I started off meaning to make a Dark and Stormy sorbet based on this recipe from Serious Eats, but then I forgot about adding the rum at the end.  I also didn't add the freshly grated ginger or the lime zest, and it's still awesome.  The frozen ginger beer is zippy and refreshing, and the coconut milk just rounds it out slightly with a light creaminess and nuttiness.  I served this after the New England clambake, and it was kind of just the best thing ever.  ^_^

https://www.flickr.com/photos/joyosity/14654133444/

Ginger Beer Sherbet (adapted from Serious Eats)
makes a generous quart

24 oz. ginger beer
1/2 cup turbinado or natural sugar
3/4 teaspoon kosher salt
1 cup coconut milk

https://www.flickr.com/photos/joyosity/14469930407/

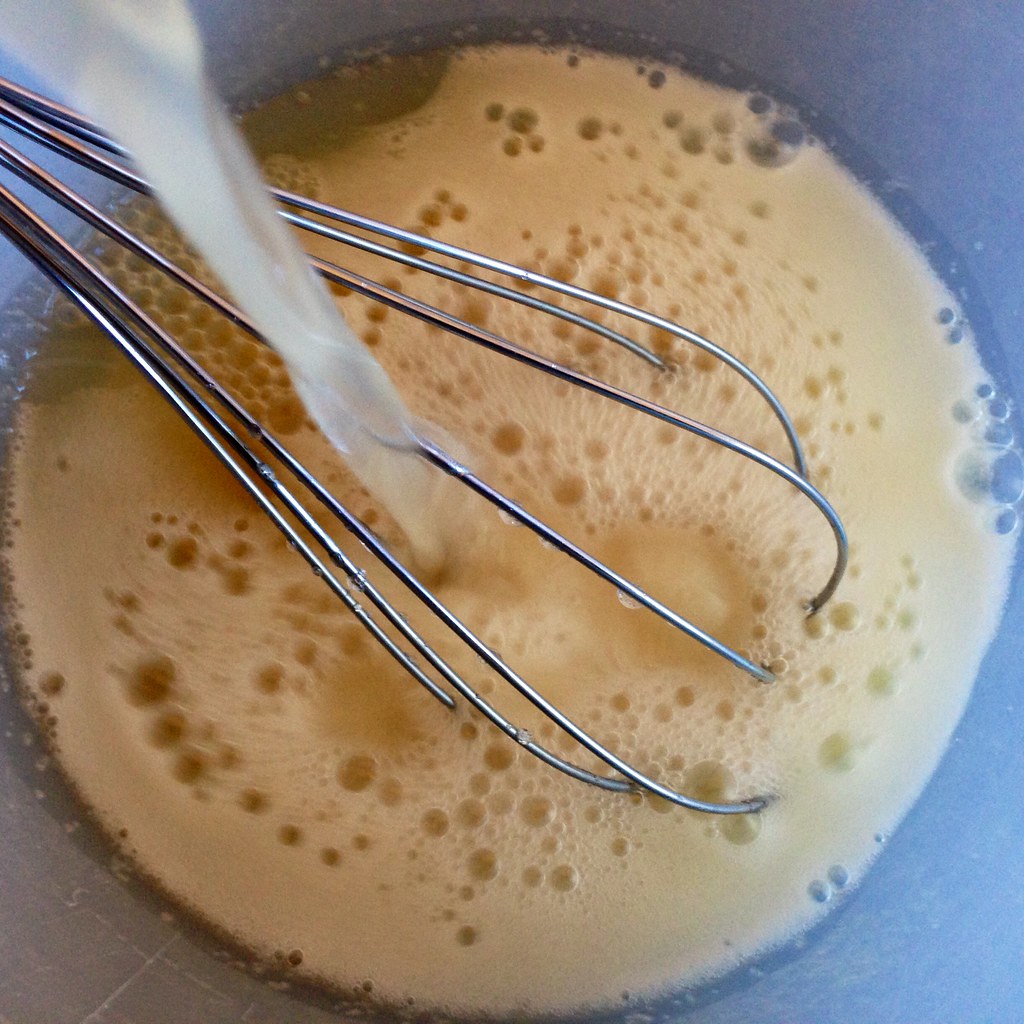
Whisk all the ingredients together until the sugar dissolves.  Transfer to the refrigerator and chill thoroughly for several hours.

https://www.flickr.com/photos/joyosity/14655978992/

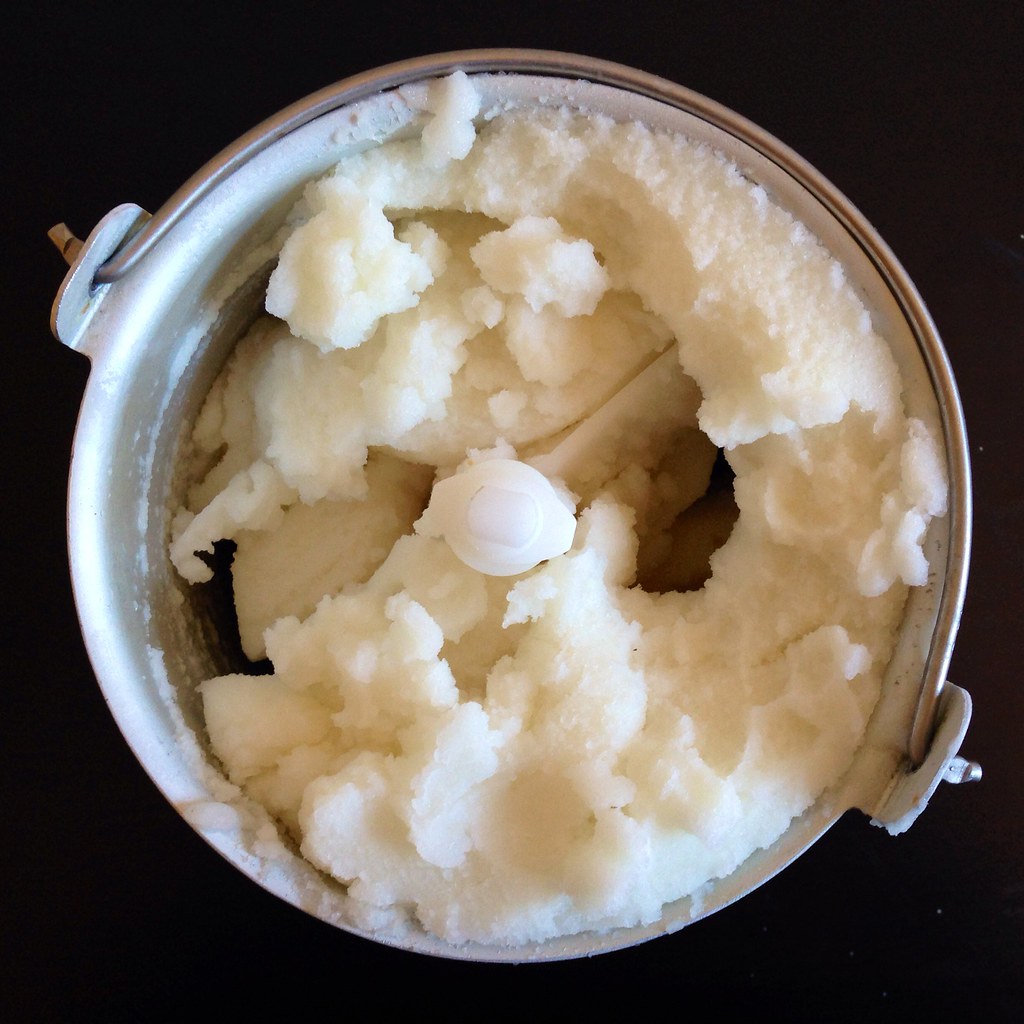
Churn in your ice cream maker according to the manufacturer's instructions.  Transfer to an airtight container and freeze in the freezer until hard.

https://www.flickr.com/photos/joyosity/14469730779/

Next:  Strawberry Pop Tart Slab Pie
Previously:  New England Clambake at Home
Last Year:  Oven-Fried Mac 'n' Cheese, Backyard Mint Ice Cream with Dark Chocolate Freckles, Carrot Ginger Salad Dressing

Tuesday, June 3, 2014

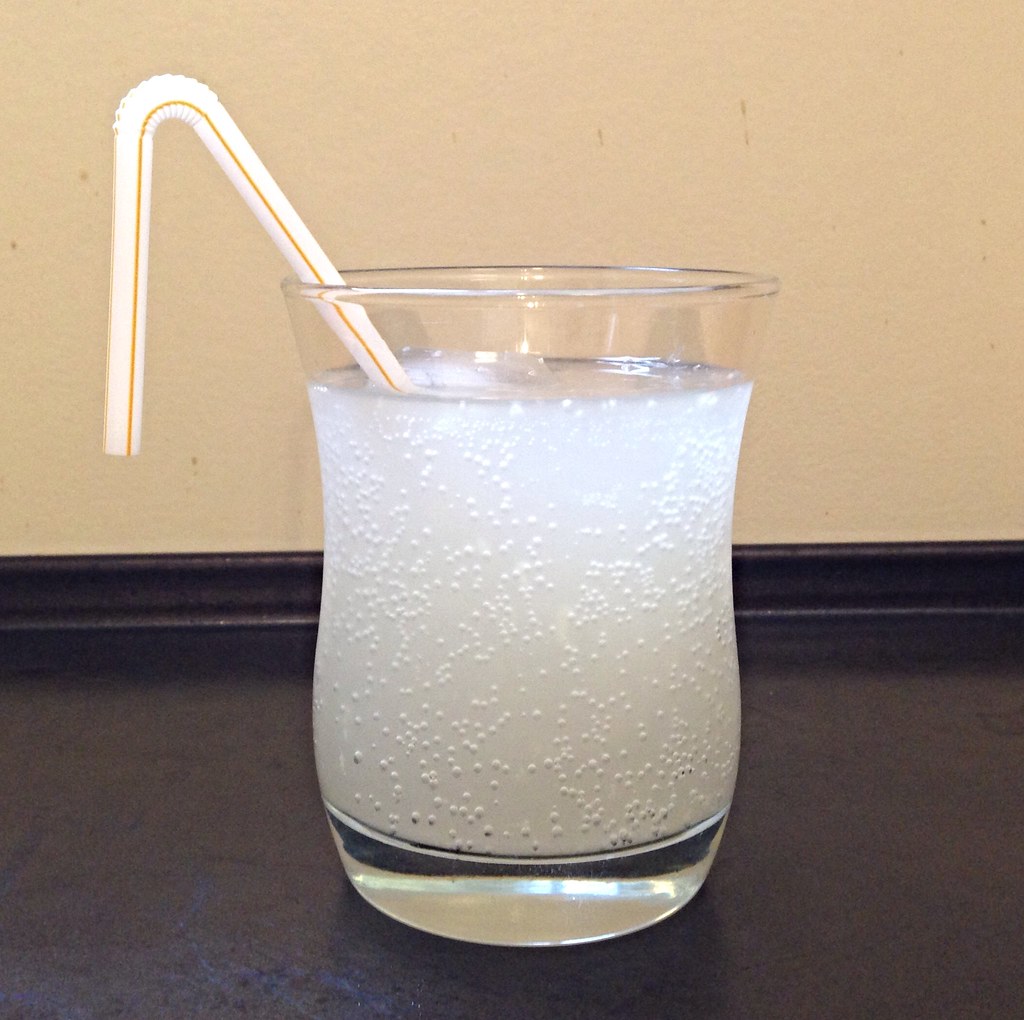
Homemade Ginger Beer

https://www.flickr.com/photos/joyosity/9147428336/in/photolist-eWk86w-eWce3T-eWcdRD-eWjJJ1-eWjJdE-eWjHfE-eW8kMX-eWjHNs-eWjWYj-eW8ymk-eW8kkZ-eWjXKE

In my first post ever, I explained how I used to not really be a big fan of ginger but have since grown to love it, especially when used in sweet concoctions.  I especially love it in ginger beer; the extra bite it has compared to regular ginger ale is so refreshing and delicious.  Since I'm not a big drinker, I always check to see if a bar serves Dark & Stormies so that I can order just the ginger beer.

After trying every brand I can get my hands on, I can say that I'm a fan of Gosling's, AJ Stephan's, and Fever Tree but really, really dislike Blenheim and Reed's.  Most recently I discovered Rachel's Ginger Beer in Seattle and was really tempted to buy a growler to take home until I remembered that I can make my own!

https://www.flickr.com/photos/joyosity/9145203379

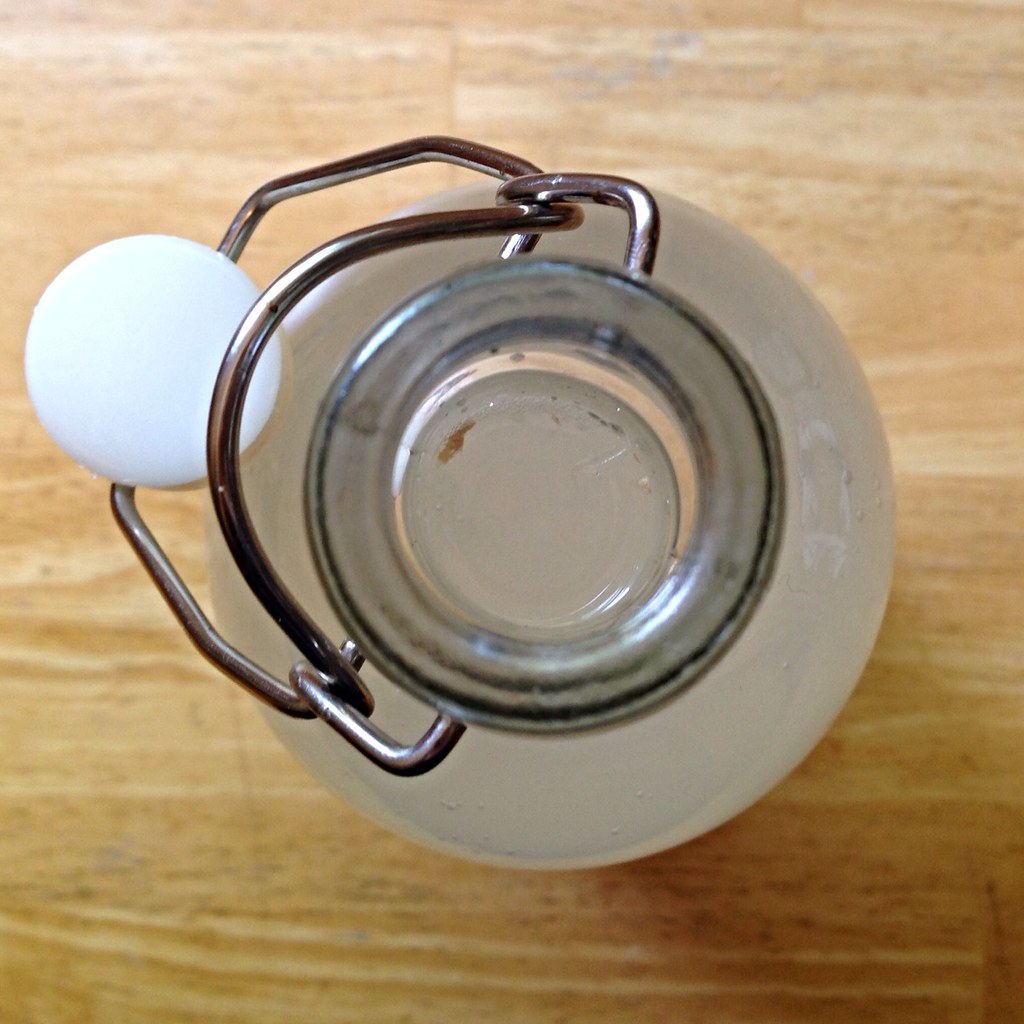
You'll need either one of these glass swing-top bottles or an empty, clean plastic soda bottle.  It's recommended to use the plastic bottle since you can tell when the drink is done fermenting by squeezing the bottle (if it doesn't give, it's done) but since I very rarely have soda bottles at home, I usually just take a chance with the glass bottles.  I'll admit that once or twice I've opened the bottle before it was done, but the non-fizzy beverage is still pretty yummy as long as it's served ice-cold.

https://www.flickr.com/photos/joyosity/9145918247/

The recipe calls for what seems like a lot of sugar, but that's partly because the yeast is going to eat the sugar to make carbon dioxide.  If you want a less sweet drink, you can reduce the amount of sugar, but I wouldn't cut back too much in case you lose out on the fizziness.  I've used "instant" and regular baker's yeast for this, and I don't think it makes much of a difference since it's going into so much water.  And since we're using yeast to produce the carbonation, there's a small amount of alcohol in the finished product.  How much?  Barely enough for me to taste, and I can usually taste alcohol since I dislike the taste so much (see above).

Last note:  you can strain the ginger beer if you really want to get rid of all the sediments, but I never do because the grated ginger doesn't really bother me, and I feel like you'd lose a lot of carbonation during the straining process.  Most of the solids either end up floating on top or settling to the bottom anyways, so it's pretty easy to avoid them if you really want.  If you're not planning on straining the solids out, I'd recommend peeling the ginger before grating it (a spoon works really well for this!).

https://www.flickr.com/photos/joyosity/9147379558

Homemade Ginger Beer (adapted from here)
makes a 1 liter bottle

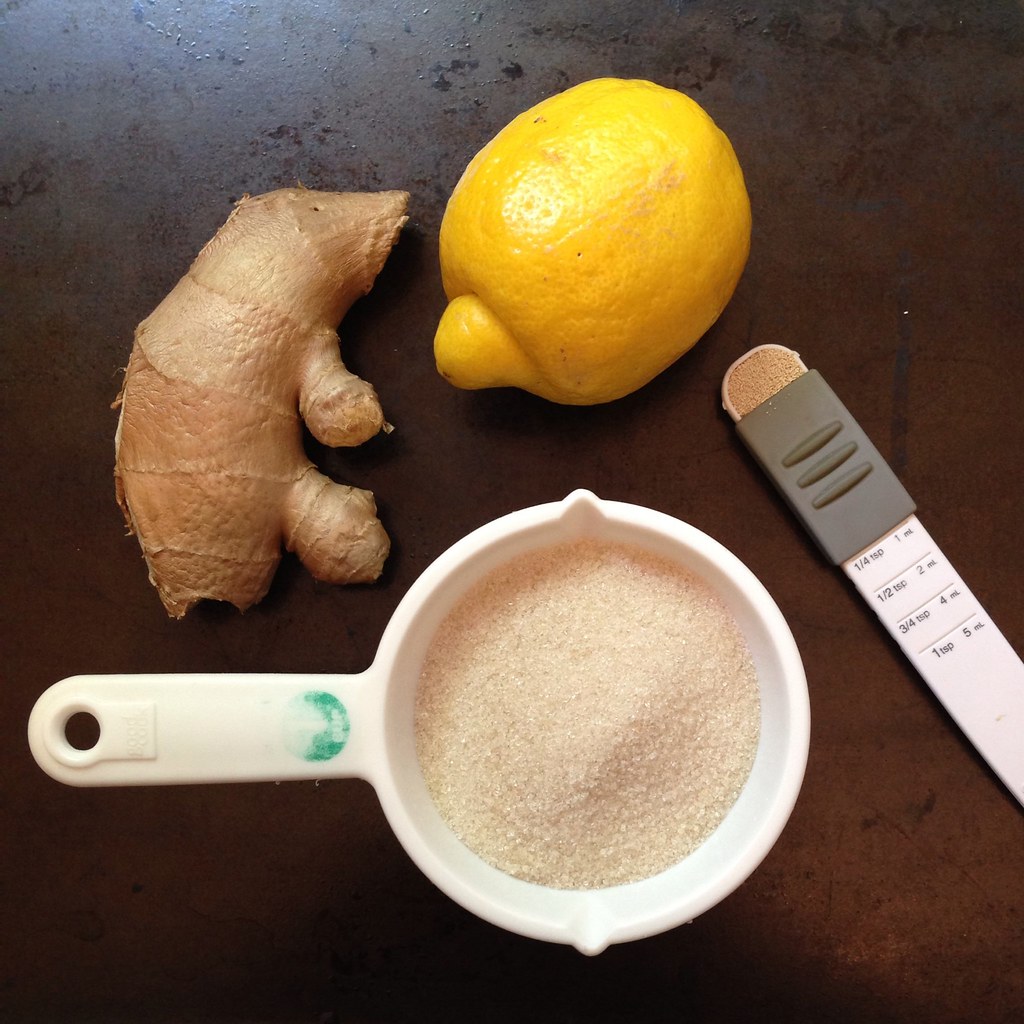
1/2 cup sugar
1/8 teaspoon yeast
1 tablespoon of freshly grated ginger
Juice from half a lemon
Cold spring or filtered water

https://www.flickr.com/photos/joyosity/9147381402

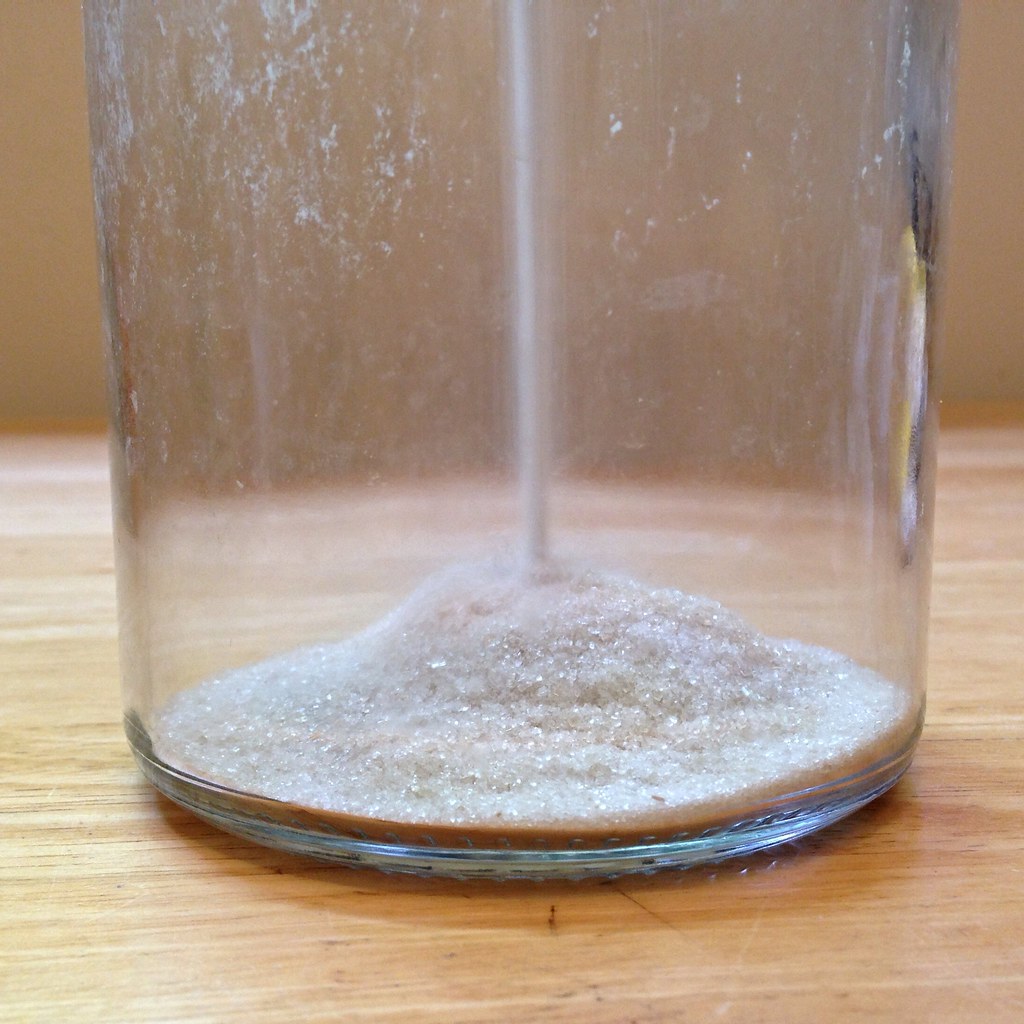
Use a funnel to pour the sugar and yeast into a swing-top 1 liter glass bottle.

Mix the freshly grated ginger with the lemon juice in a measuring cup with a spout.  Transfer the ginger and lemon juice to the bottle.  Rinse out the measuring cup with some of the cold spring or filtered water and pour that into the bottle.  Fill the bottle about half way with more cold water.

https://www.flickr.com/photos/joyosity/9147425706

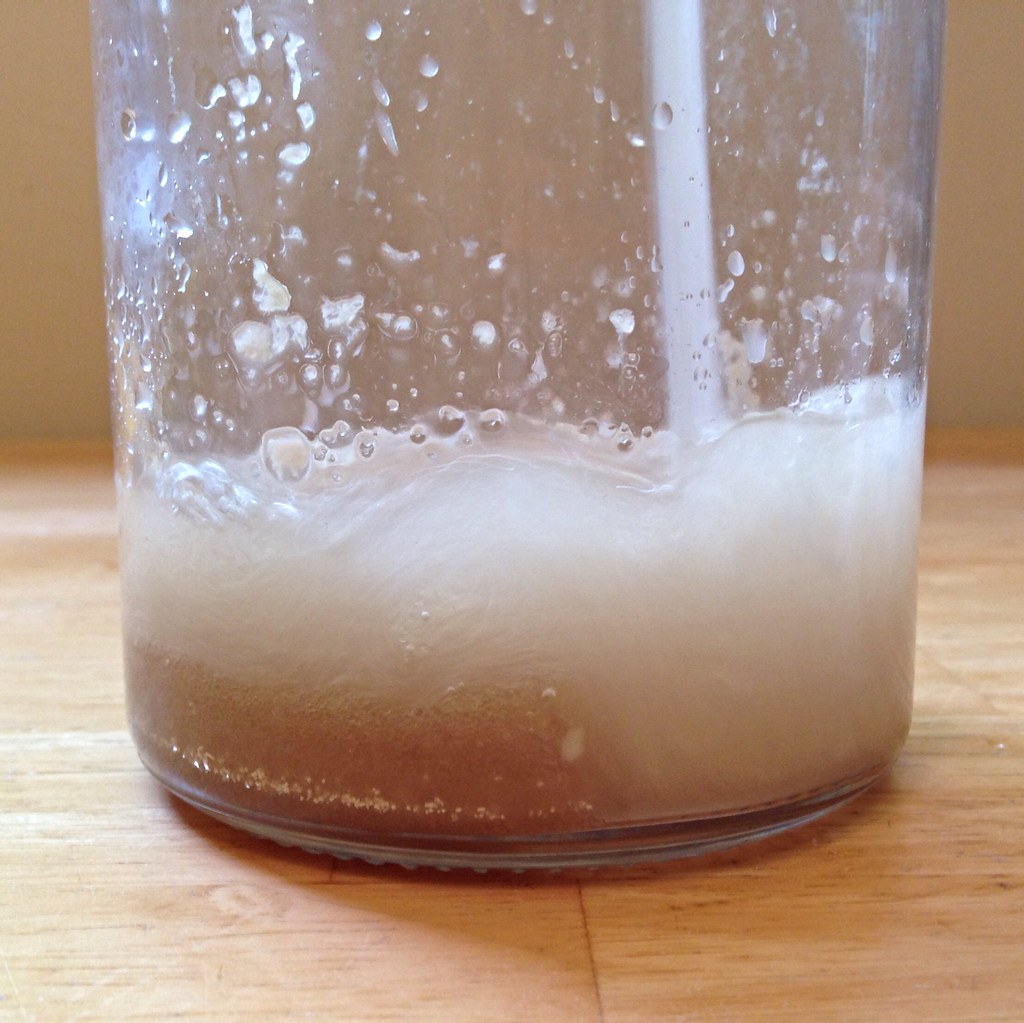
Seal the bottle and shake well to mix all the ingredients together.  You want to make sure that all the sugar at the bottom has been mixed into the solution.  Carefully open the bottle and add more water until there is only an inch of air left at the top.  Seal the bottle and shake again.

https://www.flickr.com/photos/joyosity/9145918899

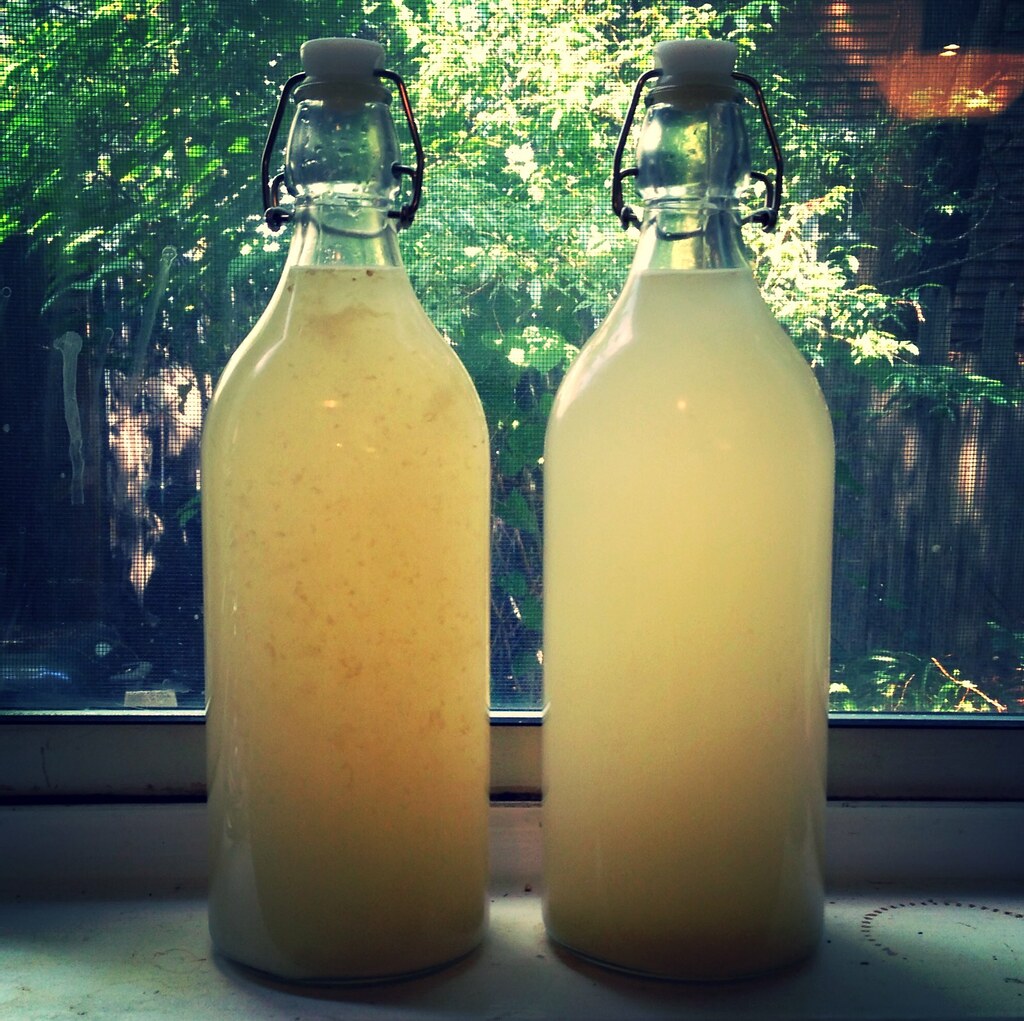
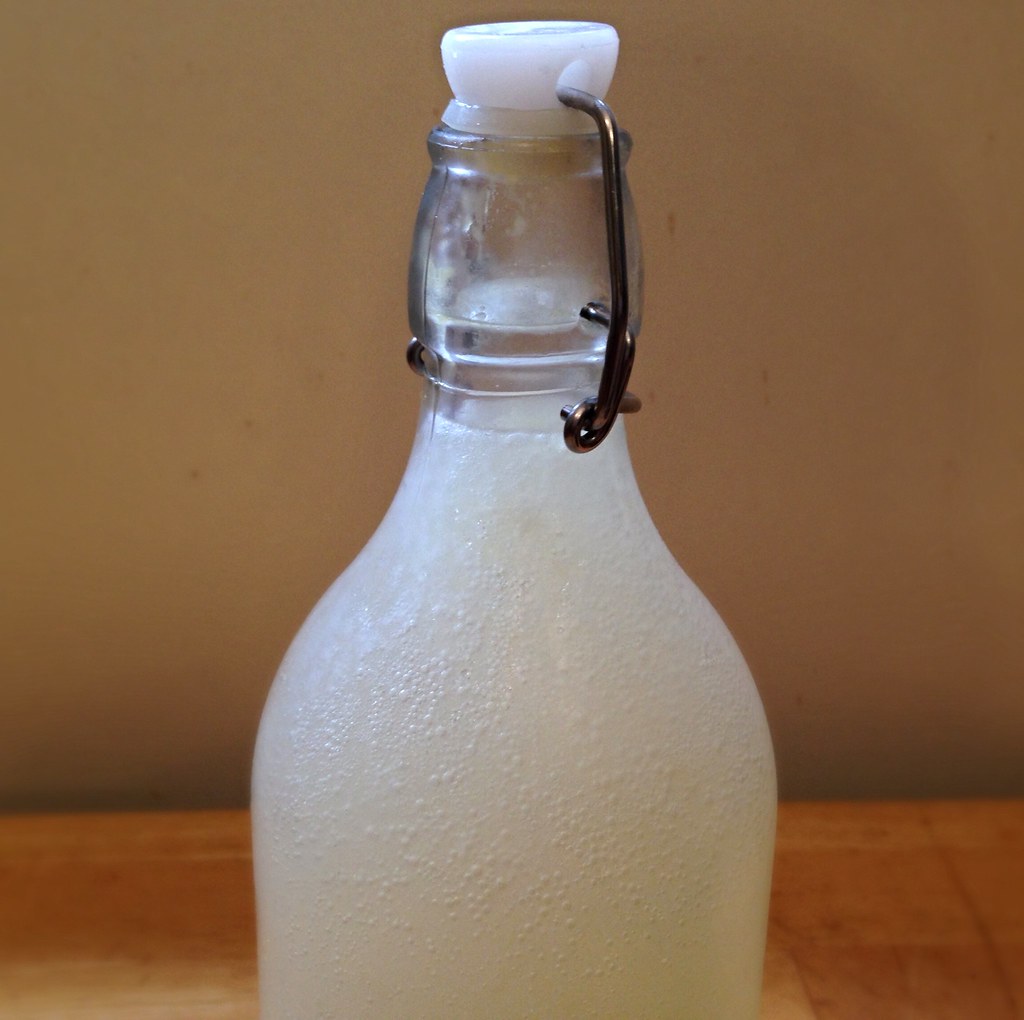
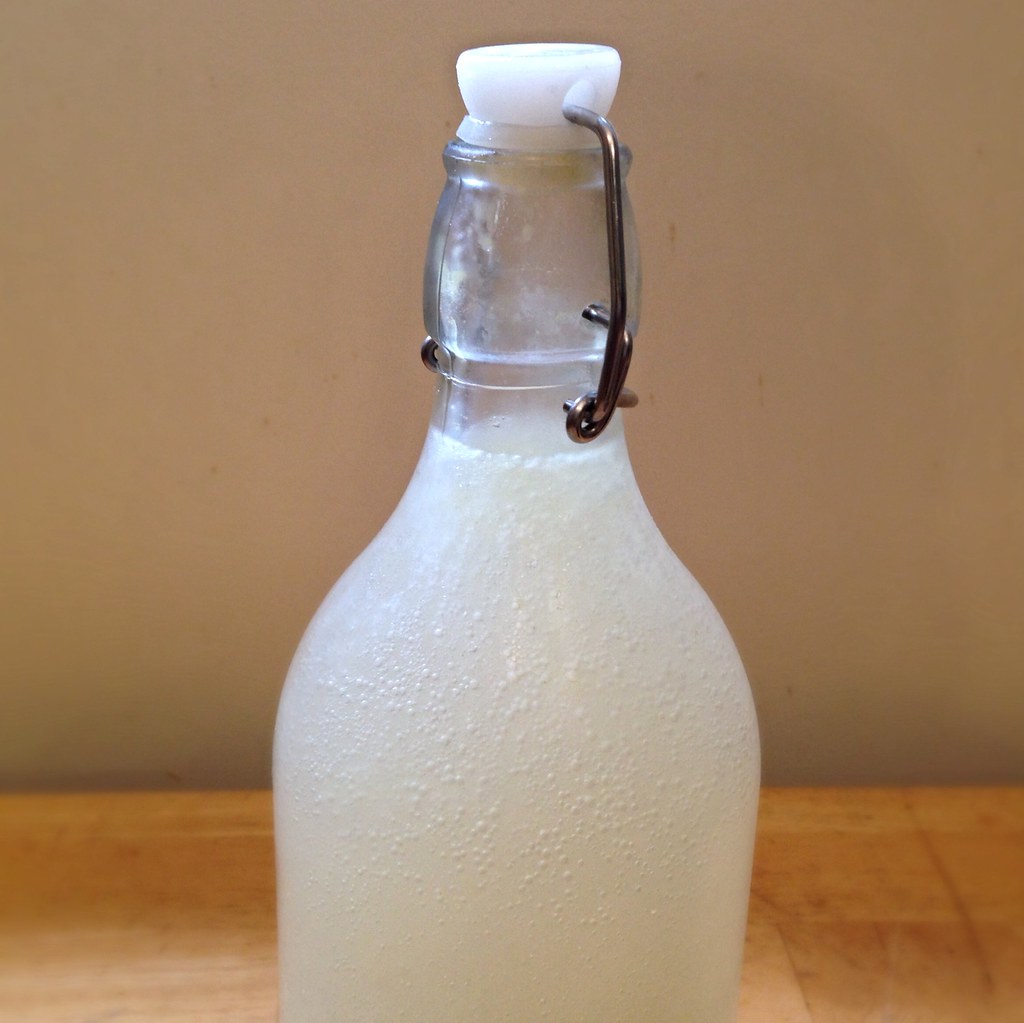
Leave the bottle in a warm place out of direct sunlight (unlike the picture at the very top) for about 2 days and then move to the refrigerator to stop the fermentation.  Sometimes you can tell when it's ready because if you shake the bottle, you'll see bubbles form, but sometimes you don't, and it's still fizzy.  If you really want to make sure the ginger beer is ready, double the recipe and fill up a 2 litter plastic soda bottle.  Test the fermentation by squeezing the bottle; when it doesn't give anymore, it's done.

Pour over ice and enjoy!

https://www.flickr.com/photos/joyosity/9147459764

Next:  Overnight Oats in a Jar
Previously: Blueberry Buttermilk Mini Pies
Five Years Ago:  Black Sesame Ice Cream

Monday, July 29, 2013

Carrot Ginger Salad Dressing

A few weeks ago I was asked to help out with creating a menu for Japan Night, an event at my church where a missionary family was sharing about their vision for Japan.  We definitely wanted something that was Japanese, or at lease Asian-inspired, and would be easy enough for a small team to cook for upwards of 100 guests in a couple of hours.  After testing a few recipes at home, we ended up with the following menu:

Green Salad with Carrot Ginger Dressing
Vegetable Spring Rolls

The spring rolls we bought frozen and just baked them in the oven, but everything else was pretty much made from scratch!


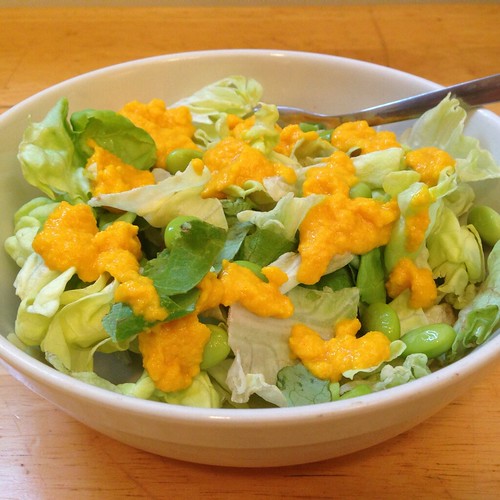
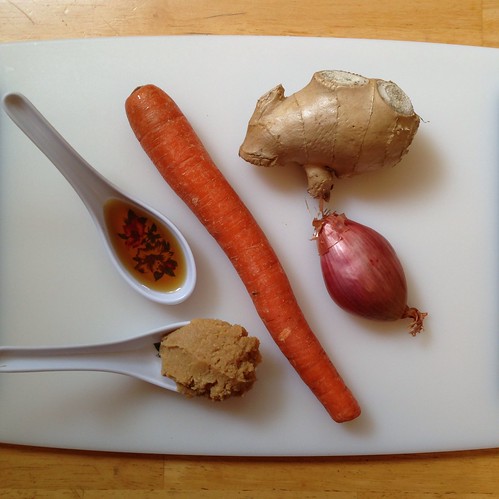
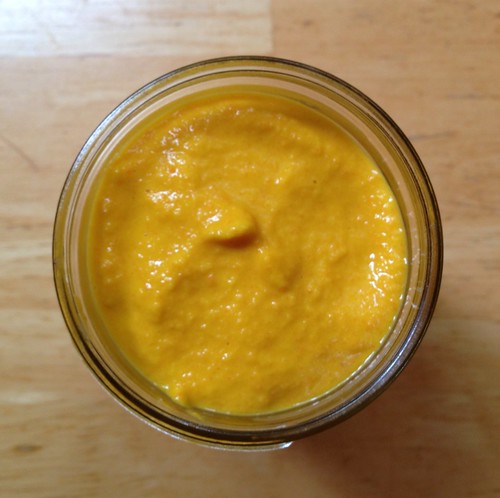
The carrot ginger dressing is the same bright orange dressing you often get at sushi restaurants before the start of a meal.  I never really knew what was in it and had guessed some type of citrus and probably soy, but in fact the main components are carrots, ginger, and miso!  This totally boggles my mind because I normally don't really like carrots or ginger (in a non-sweet dish) but I can't get enough of this dressing.  It must be the miso.  =)


Carrot Ginger Dressing (adapted from goop)
makes a little over a pint

1 large carrot, peeled and roughly chopped
1 large shallot, peeled and roughly chopped
2 tablespoons roughly chopped fresh peeled ginger
1 tablespoon sweet white miso
2 tablespoons rice wine vinegar
1 tablespoon roasted sesame seed oil
1/4 cup canola oil
2 tablespoons water


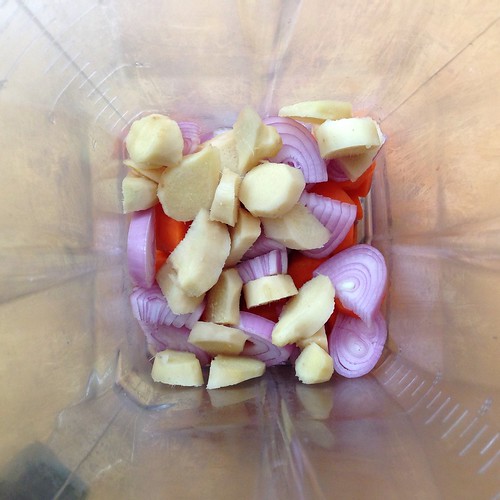
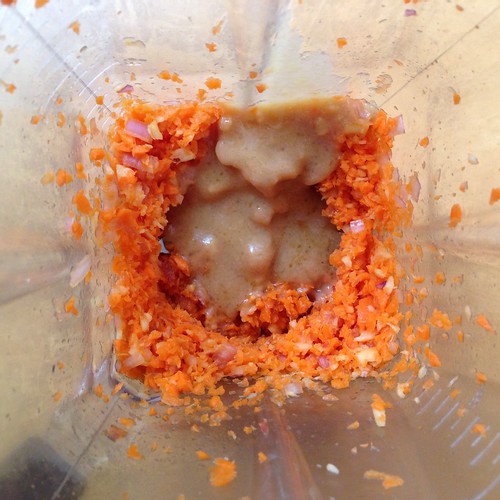
Pulse the carrot, shallot and ginger in a blender until finely chopped.


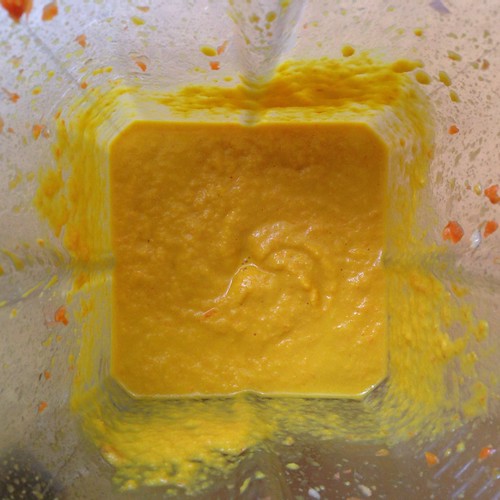
Scrape down the sides, add the miso, vinegar and sesame seed oil and whiz together. While the blender is going, slowly drizzle in the canola oil and the water.


The dressing will keep refrigerated in an air-tight container for about a week.


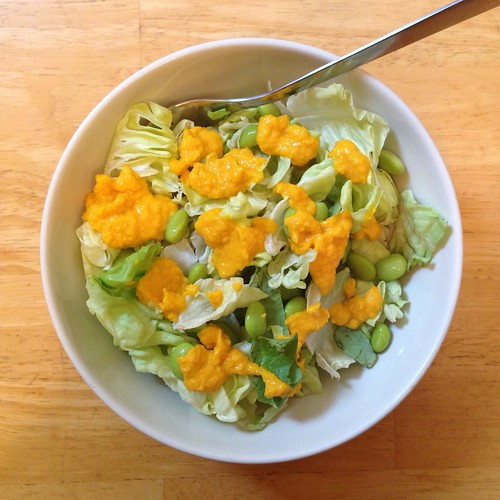
I like to eat this over butter lettuce, but we used a mesclun salad at Japan Night.


Next:  Cold Soba Noodle Salad with Baked Tofu and Edamame
Previously:  Backyard Mint Ice Cream with Dark Chocolate Freckles

Monday, October 15, 2012

Magical Pumpkin Spice Latte

PA113109

Now that I had my morning magical coffee routine down pat, I wanted to see if I could make a pumpkin spice latte with the magical coffee.  There's quite a few recipes on-line which use pumpkin puree, sugar, and store bought pumpkin spice, but I decided to mix it up a little and use pumpkin butter (I got mine from Trader Joe's) instead of the puree and sugar and make my own pumpkin spice since I had all the ingredients already.

PA113117

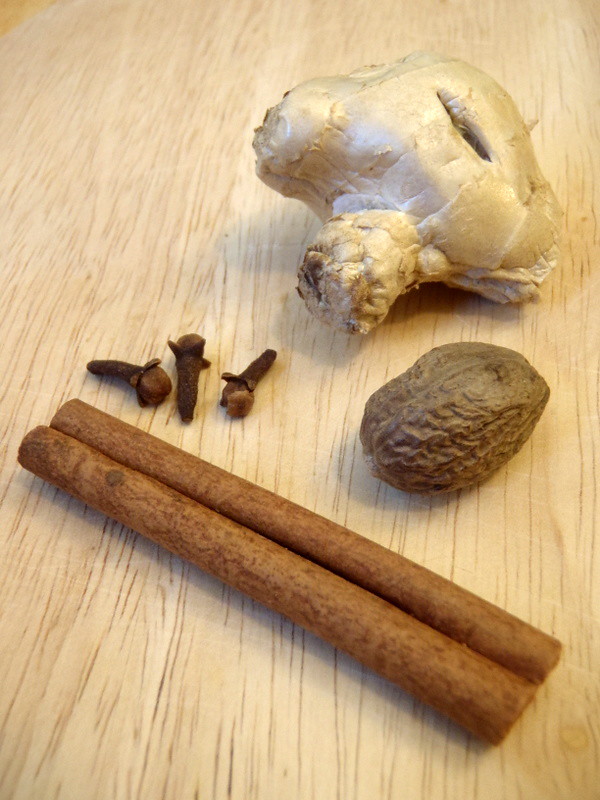
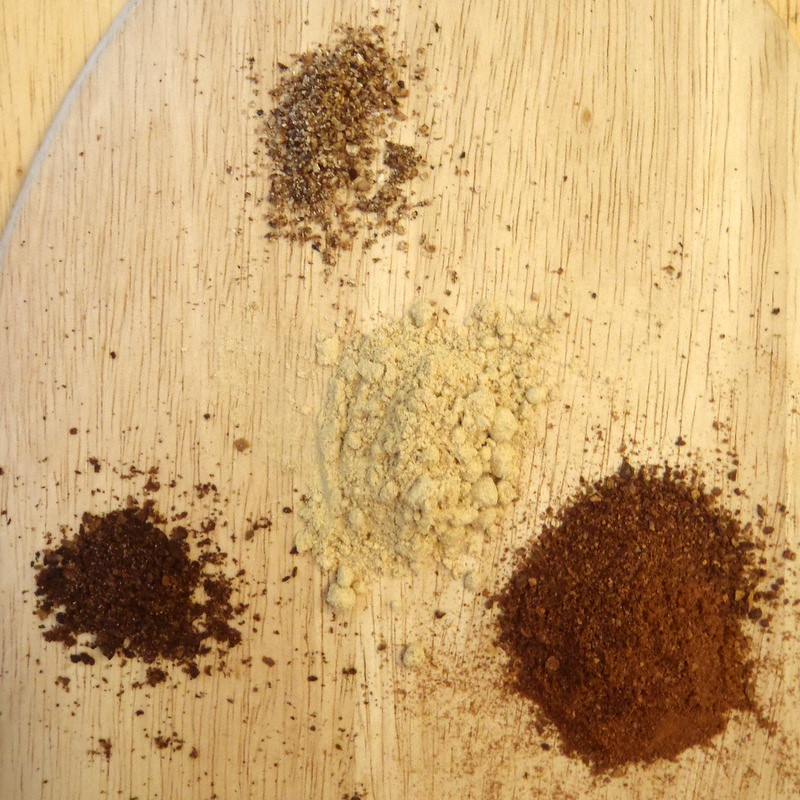
For the pumpkin spice, I ground up a tablespoon of cinnamon, a half teaspoon of nutmeg, and a half teaspoon of cloves and added a teaspoon of ground ginger.

Pumpkin Spice

For an easy, iced magical pumpkin spice latte, I cold brew a half cup of coffee with a teaspoon of pumpkin spice, 2 tablespoons of brown sugar, and 2 cups of water.

Pumpkin Butter

Then I spoon some of the pumpkin butter into a mug, add a dash of the magical coffee and stir so that the pumpkin butter is dissolved.  I add more coffee and vanilla soy milk, and if I'm feeling decadent, some coconut whipped cream and top it off with a little more pumpkin spice.

PA113129

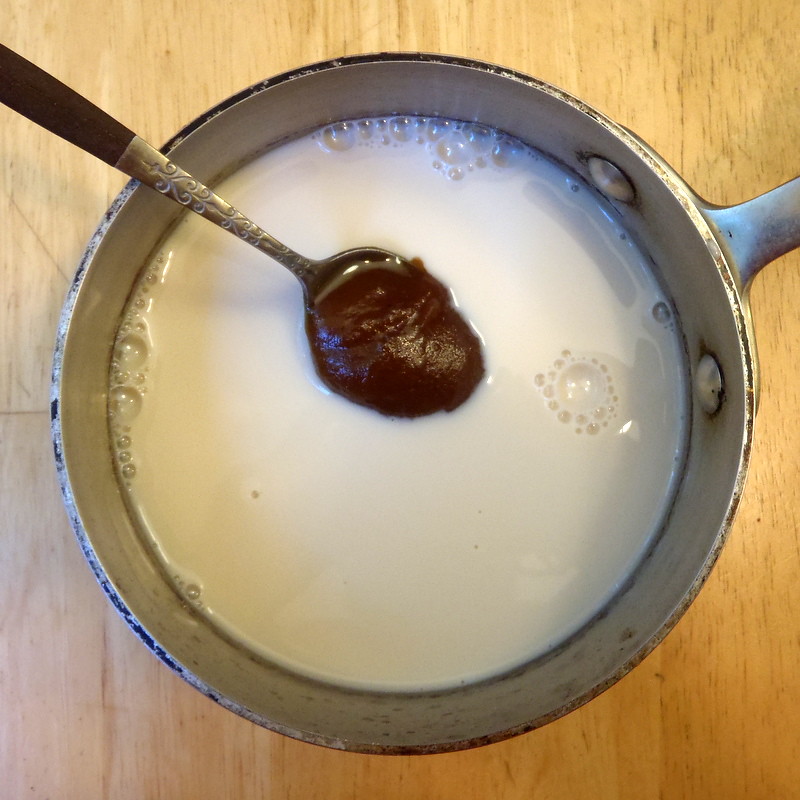
When I want a hot pumpkin spice latte, I make an extra strong cold brew since I'm going to be diluting it with a lot of hot milk.  I heat up vanilla soy milk and pumpkin butter until it just starts to simmer and then whip it up so it's nice and frothy.

PA113130

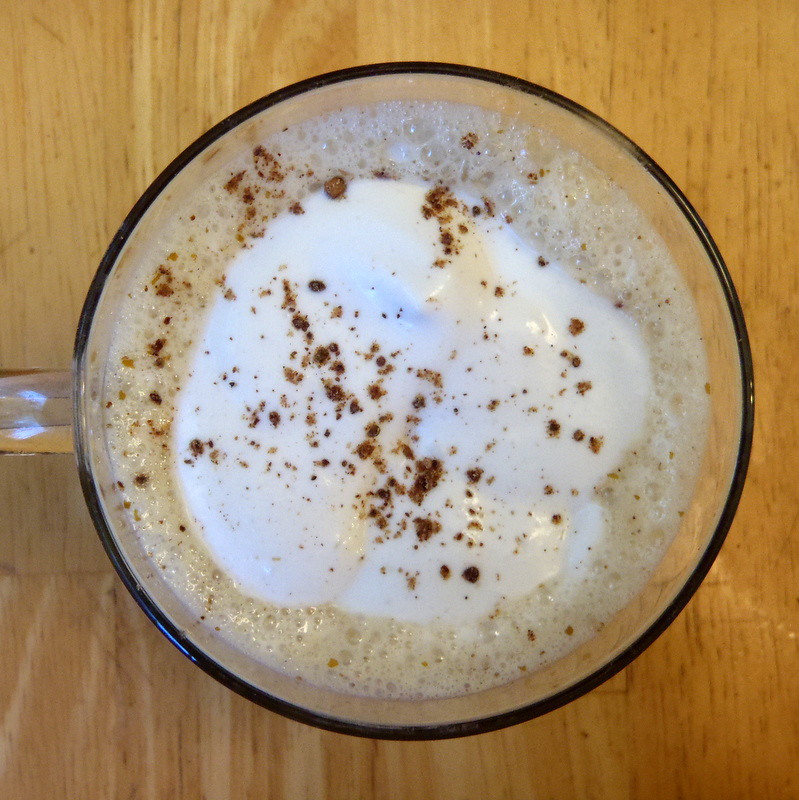
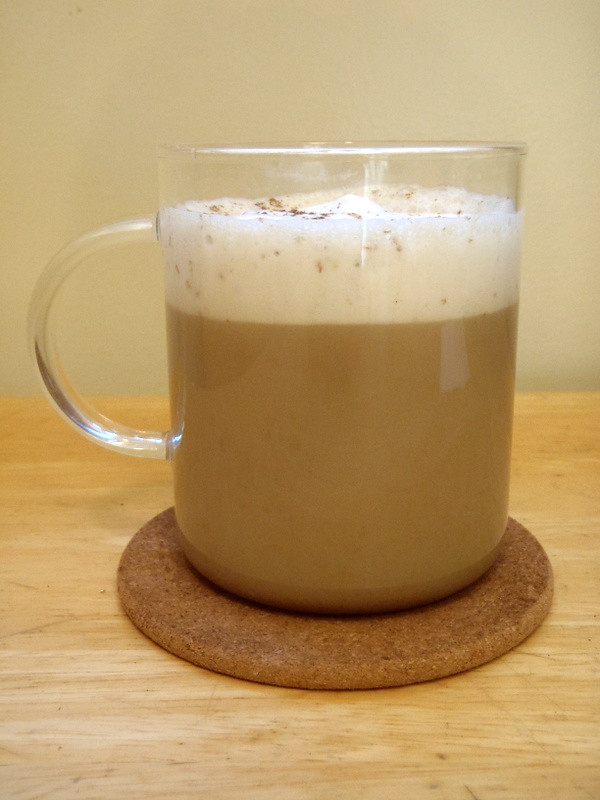
Transfer the pumpkin milk to a mug and add the extra strong magical coffee, topping off with coconut whipped cream and pumpkin spice.

Pumpkin Spice Latte

Since the pumpkin butter, vanilla soy milk, and magical coffee already contain sugar, I find that I don't need to add any more, but feel free to add more sweetener to taste.  I like that this homemade pumpkin spice latte isn't super sickening sweet like the Starbucks' one and doesn't have that weird fluorescent orange color either.

Pumpkin Spice Latte

As another option, you can make a pumpkin spice frappuccino by blending ice with extra strong cold brew, pumpkin butter, and milk.  I've found that the pumpkin butter is also excellent on toasted amnesty bread.  =)

Wednesday, April 7, 2010

Jean-Georges Vongerichten's Fried Rice

Jean-Georges Vongrichten's Fried Rice

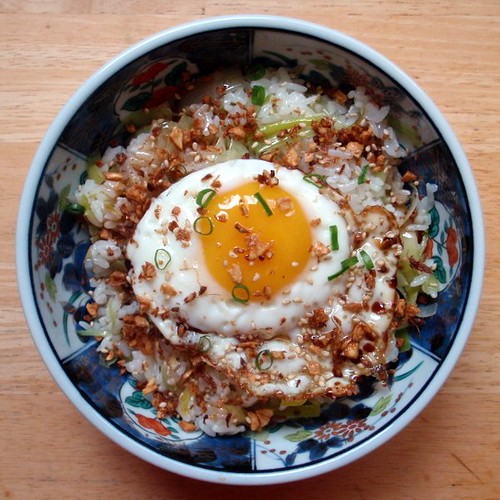
When I first saw this recipe on Bitten, I knew I had to make it the very next time I received leeks in my Boston Organics delivery. Finally, my patience paid off. This fried rice recipe is familiar in some ways--using day old rice and eggs--but quite novel in others. There are no vegetables other than the leeks or any chopped, leftover meat. Instead, minced fresh garlic and ginger are fried until crisp and then sprinkled on top to dress the rice along with a drizzling of sesame oil and soy sauce.

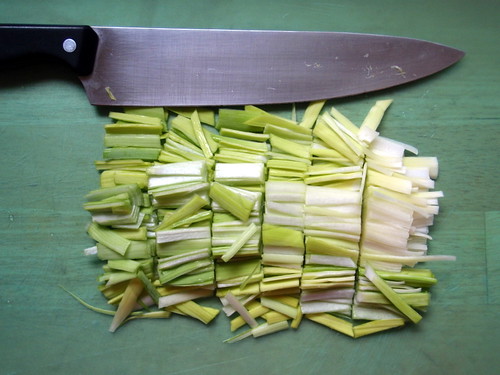
Thinly sliced leeks

In the article, Mark Bittman writes that Jean-Georges uses rendered chicken fat; since I had duck fat leftover from making the duck fat fries, I used that instead. Also, instead of using day-old cooked rice, I used rice that had been cooked a month ago and frozen in the freezer. Whenever I have leftover cooked rice, I always divide it into first-sized portions and wrap them in plastic wrap and stick them in the freezer when they're still warm. That way I can just heat it up in the microwave for a minute to thaw, and none of the moisture is lost. Of course, after sitting in the freezer for a whole month, some of the moisture is lost, which makes it perfect to use for fried rice.

Jean-Georges Vongerichten's Fried Rice (from Bitten)
makes 2 servings
1/4 cup duck fat
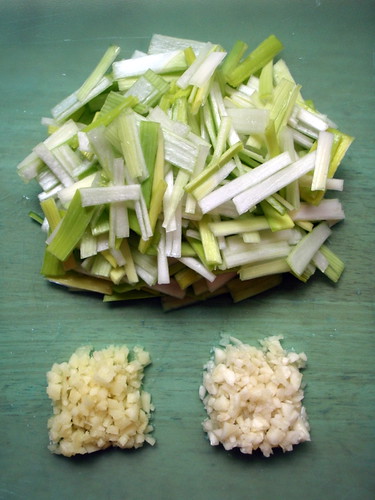
1 tablespoon minced garlic
1 tablespoon minced ginger
Kosher salt
1 cup thinly sliced leeks, white and light green parts only, rinsed and dried
2 cups day-old cooked rice, preferably jasmine, at room temperature
2 large eggs
1 teaspoon sesame oil
2 teaspoons soy sauce

Leeks, ginger, and garlic

In a large skillet, heat 2 tablespoons duck fat over medium heat. Add garlic and ginger and cook, stirring occasionally, until crisp and brown. With a slotted spoon, transfer to paper towels and salt lightly.

Reduce heat under skillet to medium-low and add 1 tablespoon duck fat and leeks. Cook about 10 minutes, stirring occasionally, until very tender but not browned. Season lightly with salt.

Raise heat to medium and add rice. Cook, stirring well, until heated through. Season to taste with salt.

In a nonstick skillet, fry eggs in remaining tablespoon of duck fat, sunny-side-up, until edges are set but yolk is still runny.

Divide rice among two dishes. Top each with an egg and drizzle with 1/2 teaspoon sesame oil and 1 teaspoon soy sauce. Sprinkle crisped garlic and ginger over everything and serve.

Jean-Georges Vongrichten's Fried Rice

I added a sprinkle of toasted sesame seeds and chopped scallions on top as well just for a little more texture and color. I was a little scared that the ginger might be too strong for my liking, but it was a lot more mild after frying, and the crunch it delivers is a real highlight to the dish.

This recipe is truly inspired. There are very few ingredients, but because each is an aromatic, and you keep using the same fat to cook the ginger, garlic, and leeks, you end up building a lot of flavor in the final dish. At the same time, I finally know what they mean on Top Chef when they talk about simple, clean food. Thank you, Jean-Georges and Mark, for sharing this recipe. Now I really want to go to one of Vongerichten's restaurants. Luckily, he's opened one in Boston, and it's also participating in Taste of the Nation Boston tomorrow!

Next:  Alphabet and Rosemary Cheddar Crackers
Previously:  The Best Scones in the World

Monday, February 2, 2009

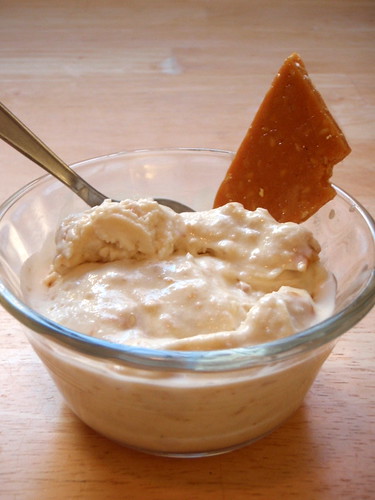
Toasted Coconut Ice Cream with Sesame Brittle and Crystallized Ginger
Toasted Coconut Ice Cream with Sesame Brittle and Crystallized Ginger
I'm a big fan of Häagen-Dazs' Toasted Coconut Sesame Brittle ice cream so when I saw this recipe on Tastespotting, I jumped at the chance to try to make it for myself. After reading the recipe, however, I realized it was missing a vital ingredient that the original had: ginger. Since I wasn't sure how to infuse ginger into the sesame brittle, I chopped some of my homemade crystallized ginger and added it to the ice cream.


Chopped crystallized ginger

First, a short lesson on candy making, as you will be making your own sesame brittle. This recipe calls for the use of a candy thermometer to know when to stop cooking the sugar mixture. If you have a food thermometer, but aren't sure if it's a candy thermometer, check and see what the highest temperature it will read is. If it goes up to about 200 °F (and says do not insert in water), it is a meat thermometer. Do not use this thermometer for this recipe! If it goes up to about 450
°F, it is a candy thermometer, and you are all set.

If you don't happen to have a candy thermometer, you can still make this recipe, but you'll have to be extra-vigilant not to let the sugar syrup get too dark in color. What will happen during the cooking process is first all the water will boil off. The temperature will stay at about 230
°F for quite a while until this happens and the color will remain clear. Once most of the water has evaporated, the bubbles will get thicker and the temperature will gradually climb. At 320 °F the syrup will just start to turn golden. A few minutes later, it should turn a deep, golden brown, and at this point the syrup will have reached 340 °F. This is where you want to turn off the heat and add the butter.

Similar to when adding the cream to molten sugar for the salted butter caramel ice cream, the butter will melt rather violently in the super hot sugar. But that's just the beginning. When you add the baking soda to the syrup, it will start bubbling and foaming up, kind of like when you add baking soda and vinegar together to making your paper-mâché volcano "erupt". Except this is a true eruption of some very hot molten sugar, so make sure you are ready to pour it onto the oiled pan once you've added the baking soda.

Finally, after pouring the syrup out, you may want to lick the spoon or use your finger to scoop up any leftover syrup from the pot. Please don't. Or at least if you really feel the need to play with molten sugar, use a toothpick or something to spin your own sesame brittle lollipop or something. But just don't be stupid, okay?

Sesame brittle

Sesame Brittle
(adapted from here)

makes 15 - 20 servings

Vegetable oil
3/4 cup sesame seeds
1/2 cup water
2 cups sugar
1/4 teaspoon cream of tartar
1 cup light corn syrup
2 tablespoons unsalted butter
1 teaspoon baking soda

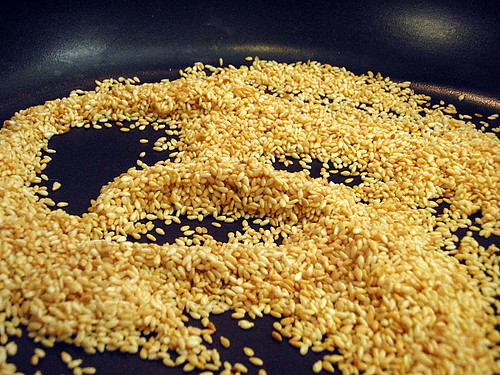
In a large, un-oiled frying pan, toast sesame seeds until golden brown. Set aside.

Toasting the sesame

Generously oil a baking sheet with raised edges with vegetable oil.


In a medium-sized heavy saucepan, combine the water, sugar, cream of tartar, and corn syrup and bring to a boil over medium heat. Using a candy thermometer, boil the mixture until it reaches 340-350 °F, and the color is a deep golden brown.

Remove from heat and whisk in the butter, then mix in the toasted sesame seeds and baking soda. Be careful during these two steps as the butter will react violently with the very hot molten sugar and the baking soda will cause the volume of the sugar to expand rapidly.

Pour the mixture onto the oiled pan and spread it out with the back of a wooden spoon. Let the brittle harden, uncovered, in a cool place for at least 30 minutes.

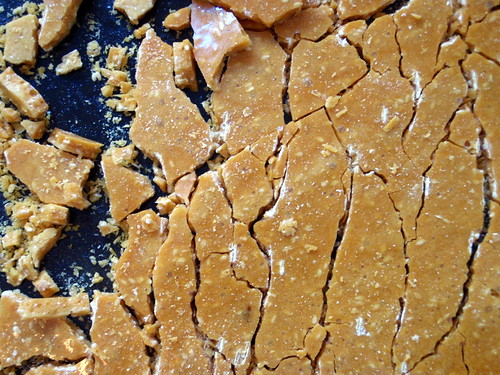
Using a metal spoon, crack the brittle to remove from the pan and store in an airtight container.

Breaking the brittle

You'll only need 1 cup of this sesame brittle, which is about 1/5 of the recipe, but you can eat the brittle on its own, and after you take a bite (after it's cooled, people!) I'm sure you'll be glad you made extra. And now onto the ice cream itself. I didn't have any coconut rum, so I substituted it with half vanilla rum and half coconut extract.


Toasted Coconut Ice Cream with Sesame Brittle and Crystallized Ginger (adapted from here)
makes 1 quart

1/2 cup shredded unsweetened coconut
1 1/2 cups heavy cream
2 cups coconut milk
1/2 cup sugar
1 1/2 tablespoons vanilla rum
1 1/2 tablespoons coconut extract
1 cup sesame brittle, broken into small shards or pieces and place in the freezer
3 tablespoons crystallized ginger, finely chopped

Toast the coconut in a skillet over medium-high heat, shaking and stirring until a golden brown. This will probably take less than a minute so be very careful not to burn the coconut. Store in the freezer.

Toasted coconut

In a medium-sized saucepan, bring the cream, coconut milk, and sugar to a boil. Reduce the heat and simmer for about 10 minutes, stirring occasionally. Remove from heat, add the rum and coconut extract and chill the mixture in the refrigerator overnight.

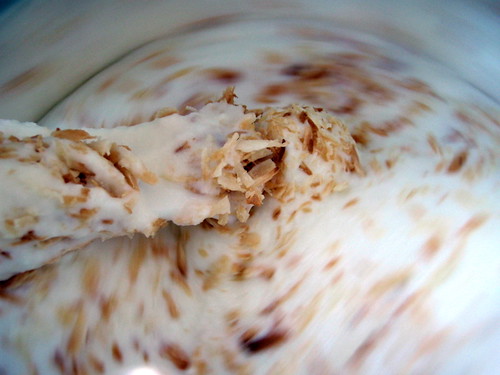
Freeze the mixture in your ice cream maker according to the manufacturer's directions. Once churned, stir in the sesame brittle, toasted coconut, and crystallized ginger and freeze until firm.
Churning the ice cream

I was a little suspicious at the small amount of sugar that was used in this recipe. Only 1/2 cup for a whole quart of ice cream? But the end product tasted fine. The addition of the brittle and crystallized ginger add enough sugar, and if the ice cream itself were more sweet, the effect would be entirely too cloying. As it is, the brittle gives the ice cream a nice crunch while the ginger adds the slightest amount of heat at the end that balances out the creaminess of the coconut ice cream. Now if only I could find a recipe for Häagen-Dazs' Sticky Toffee Pudding ice cream....
Update:  I found one!  Sticky Toffee Pudding Ice Cream