Showing posts with label lemon. Show all posts

Monday, May 11, 2015

Scoglio all'Andiamo (Saffron Fettuccine with Seafood in a Lemon Garlic White Wine Sauce)

https://www.flickr.com/photos/joyosity/17320160279/in/dateposted-public/

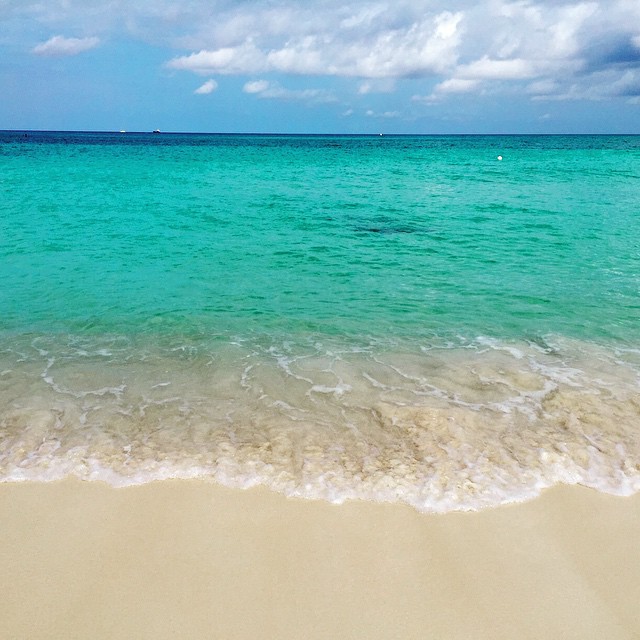
Last year I was lucky enough to win two nights at a Marriott resort of my choosing in the Caribbean through an Instagram contest.  At first I considered going to St. Kitts & Nevis since I had never been before, but the airfare was outrageous, so I ended up choosing to go back to Grand Cayman.  I used my points to stay an extra two nights at the Ritz Carlton and brought along two girlfriends. 

https://www.flickr.com/photos/joyosity/17475397226/in/dateposted-public/

I was sad to find out that the Periwinkle restaurant at the Ritz was gone because I had the best truffle fries of my life there a few years ago, but when I found out that the Italian restaurant that had replaced it, Andiamo, had the truffle parmesan fries on their menu, I insisted that we go there for our last dinner on the island.

https://www.flickr.com/photos/joyosity/17501766415/in/dateposted-public/

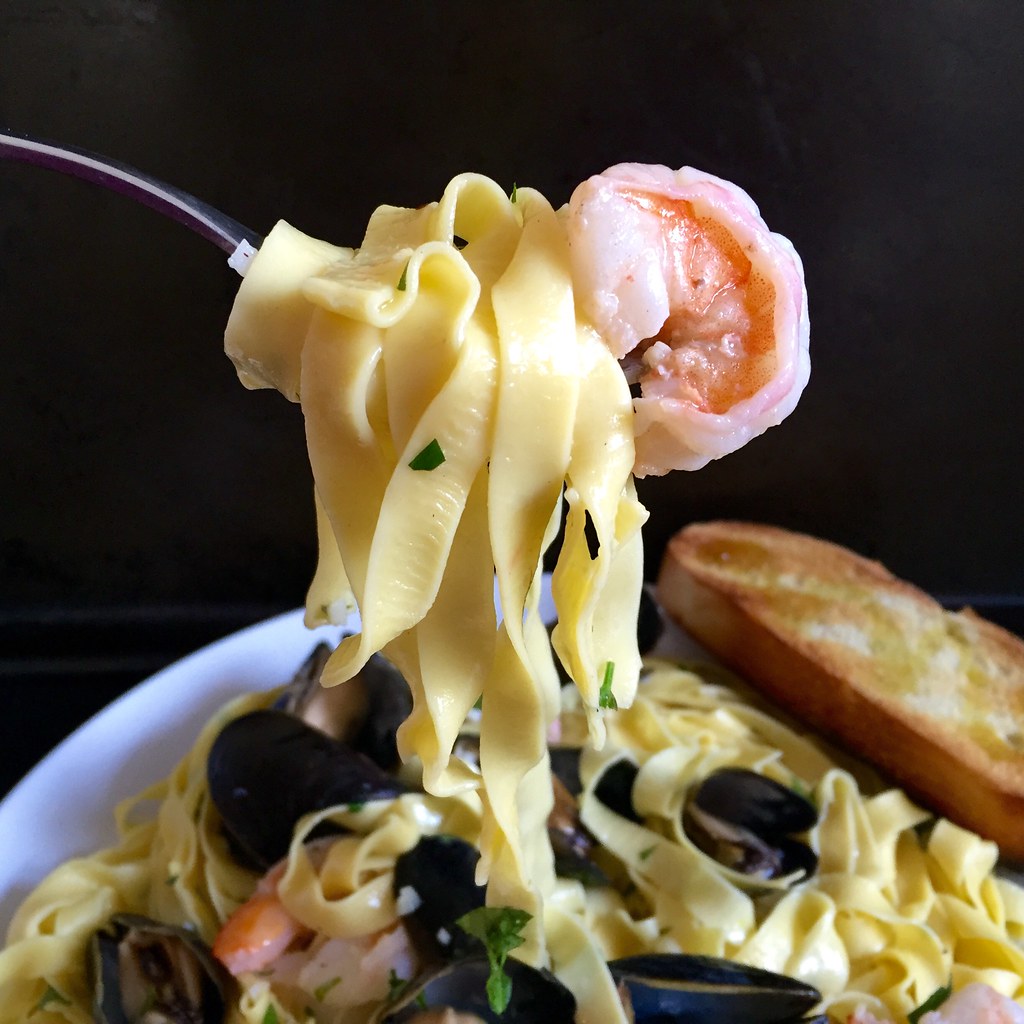
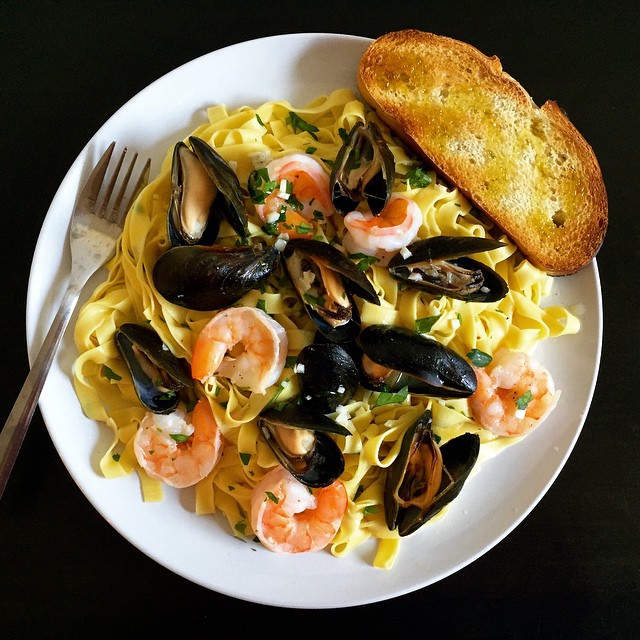
The fries were as good--if not better--than I remember them being, but I was also really impressed with their version of pasta allo scoglio, also known as pasta ai frutti di mare.  Scoglio means "rocky seashore" in Italian, and all types of seafood can be used in this dish.  Shrimp and mussels were on sale, so that's what I used, but clams, scallops, and calamari would also work.

Unlike most recipes for pasta allo scoglio, there were no tomatoes in Andiamo's version; all I tasted was a clean white wine sauce with garlic and lemons spiked with the delicious juices from the clams and mussels.  The sauce was so good we asked for another basket of bread just so we could soak it all up.  The pasta they used was a saffron fettuccine, which I attempted to make from scratch.  Since I didn't have any saffron on hand, I added some saffron salt to the fresh pasta dough and finished the dish with more saffron salt.  If I were to make this again, I'd probably add a pinch of turmeric to the pasta dough to bring out the bright yellow coloring more.

https://www.flickr.com/photos/joyosity/16881598383/in/dateposted-public/

Scoglio all'Andiamo (Saffron Fettuccine with Seafood in a Lemon Garlic White Wine Sauce)
serves 2-3

1/4 cup butter
2 garlic cloves, minced
2/3 cup dry white wine
1 lb. mussels and/or clams
1 lb. peeled raw shrimp and/or scallops
1/2 lb. dried fettuccine or 3/4 lb. fresh fettuccine
Juice from 1/2 a lemon
1 tablespoon chopped parsley (optional)
Saffron salt (if you have it, if not, regular sea salt is fine)
Freshly ground pepper
Lemon slices

Bring a pot of salted water to boil.  Cook the fettuccine to al dente (if using fresh pasta, wait until the after adding the shrimp to the pan to start cooking the pasta).

In the meantime, melt the butter over medium-low heat in a large skillet.  Add the garlic cloves and saute for a minute.  Add the white wine and the mussels and/or clams.  Cover and let steam until the shellfish have opened.  Use a slotted spoon to remove the shellfish from the skillet and set aside in a bowl.

Add the shrimp and/or scallops and cook until just opaque.  Add the cooked pasta, lemon juice, parsley, and shellfish back to the skillet and toss well.  Season with salt and pepper to taste.  Serve immediately with lemon slices and crusty bread to soak up any leftover sauce.

https://www.flickr.com/photos/joyosity/16881596943/in/dateposted-public/

Next:  Taiwanese Oyster Omelet (Without the Oysters)
Previously:  Gordon Ramsay's Sublime Scrambled Eggs - Two Ways
Last Year:  Candied Bacon Chocolate Chip Pancakes
Five Years Ago:  Passion Fruit Ice Cream
Six Years Ago:  Carrot Cake Ice Cream

Tuesday, February 24, 2015

Hugo & Victor's Pink Grapefruit Tart

https://www.flickr.com/photos/joyosity/16345472420/

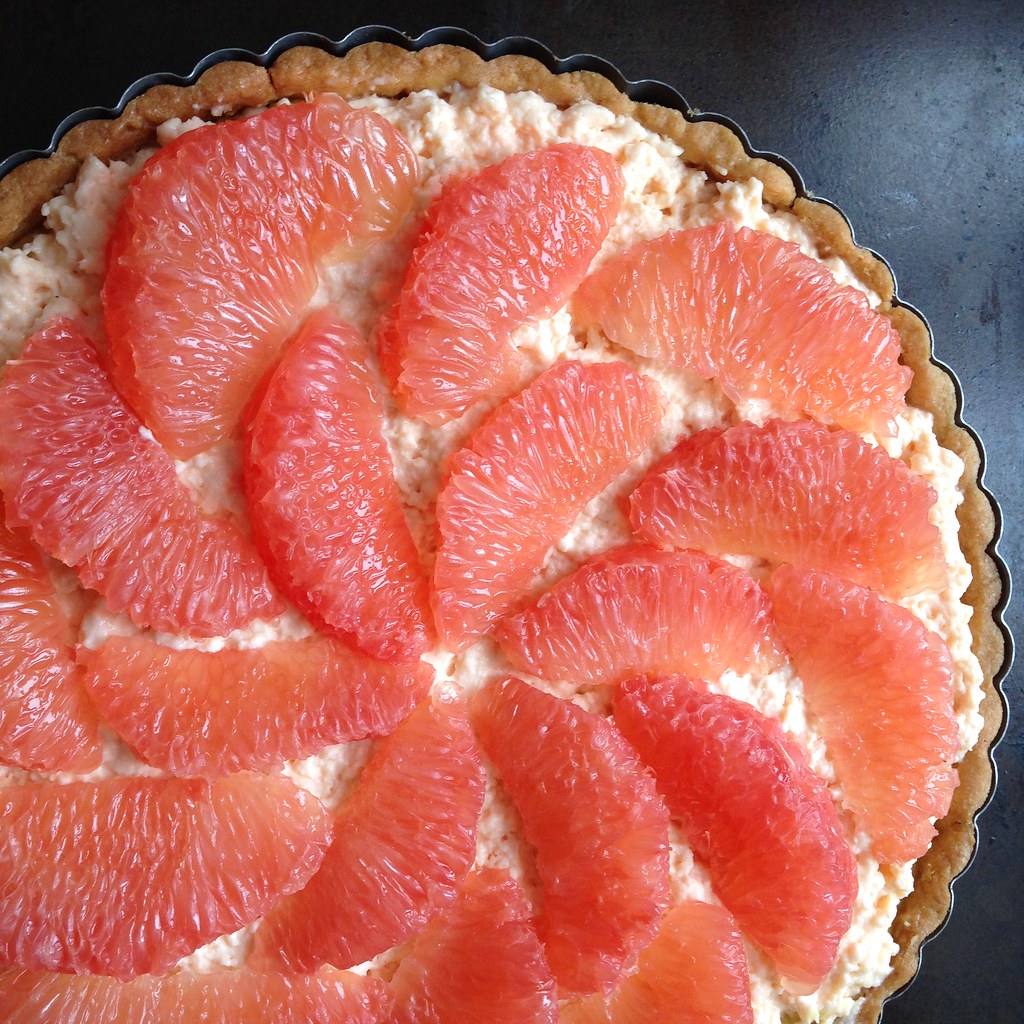
There are two things I tell my friends to get when they go to Paris:  the mango passion caramels from Jacques Genin and this pink grapefruit tart from Hugo & Victor.  So when I saw a recipe for the tart in Dorie Greenspan's Baking Chez Moi, I was ecstatic!  I even bought a $25 bottle of Campari just so I could have the 2 1/2 tablespoons needed to make the grapefruit crémeux because I wanted to follow the recipe as close as possible.

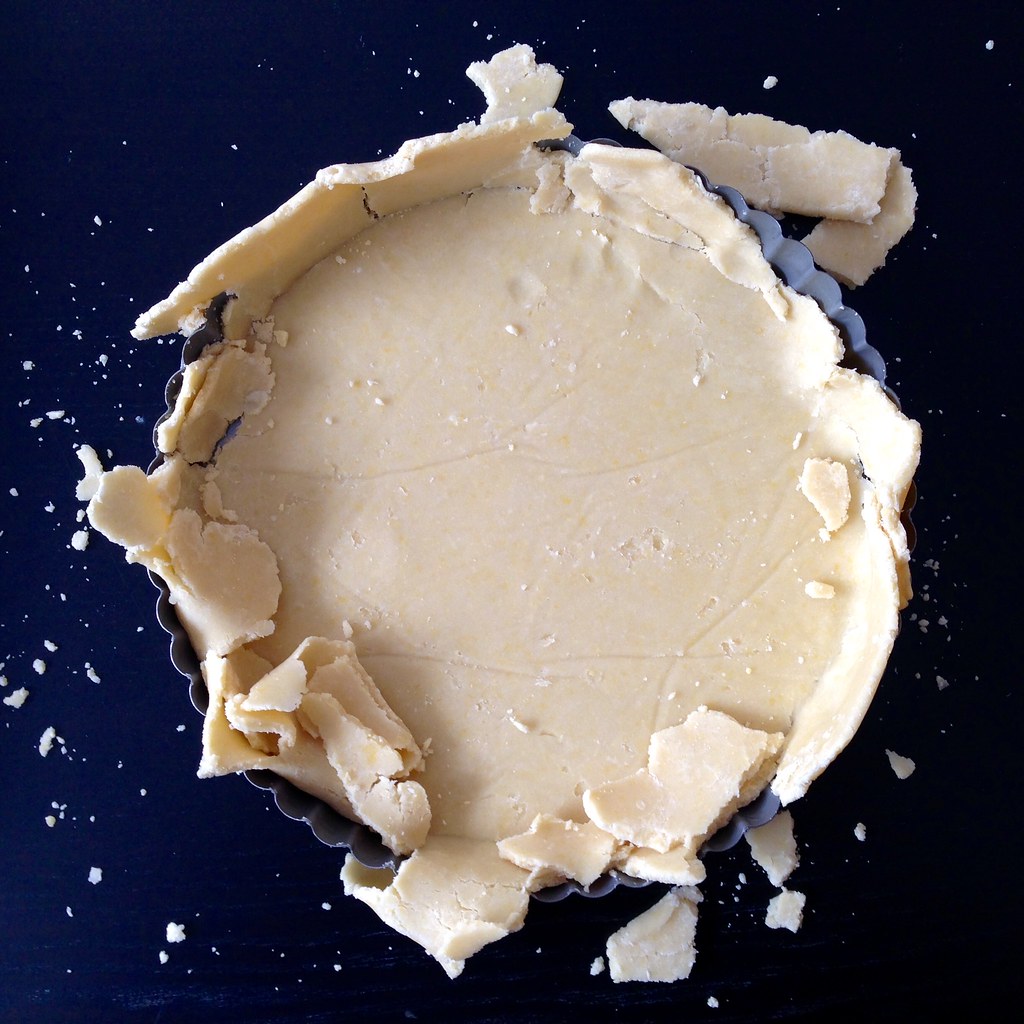
And yet so many things went wrong, mostly because I was impatient.  First the sweet tart dough shattered when I tried to fit it into the tart pan because I hadn't waited long enough for it to warm up a bit after letting it chill in the freezer.  Luckily, this was pretty easy to fix because you could just patch up the cracks but pressing the extra dough in.  (next time I'll just fit the crust into the tart pan after rolling it out and then chill it, which is how I wrote the recipe below.)  

https://www.flickr.com/photos/joyosity/15914120964/

Then, when it was time to add the grapefruit crémeux (which I think is just a fancy French word for gelatinous cream), I didn't whisk it long enough so it was still kind of curdy when I spread it on.  Again, I was kind of fortunate because the grapefruit topping hides most of it, and the texture doesn't affect the taste at all.

That said, please learn from my mistakes and take plenty of time to make this tart.  I'd definitely start the sweet tart dough and maybe the grapefruit crémeux the day before.  There's lot of chilling the dough, then blind baking it, then cooling it, then baking it again (with the lemon-almond cream), and cooling it again before topping it with the crémeux and grapefruit topping and then chilling it one last time to set before serving.  

https://www.flickr.com/photos/joyosity/16531880732/

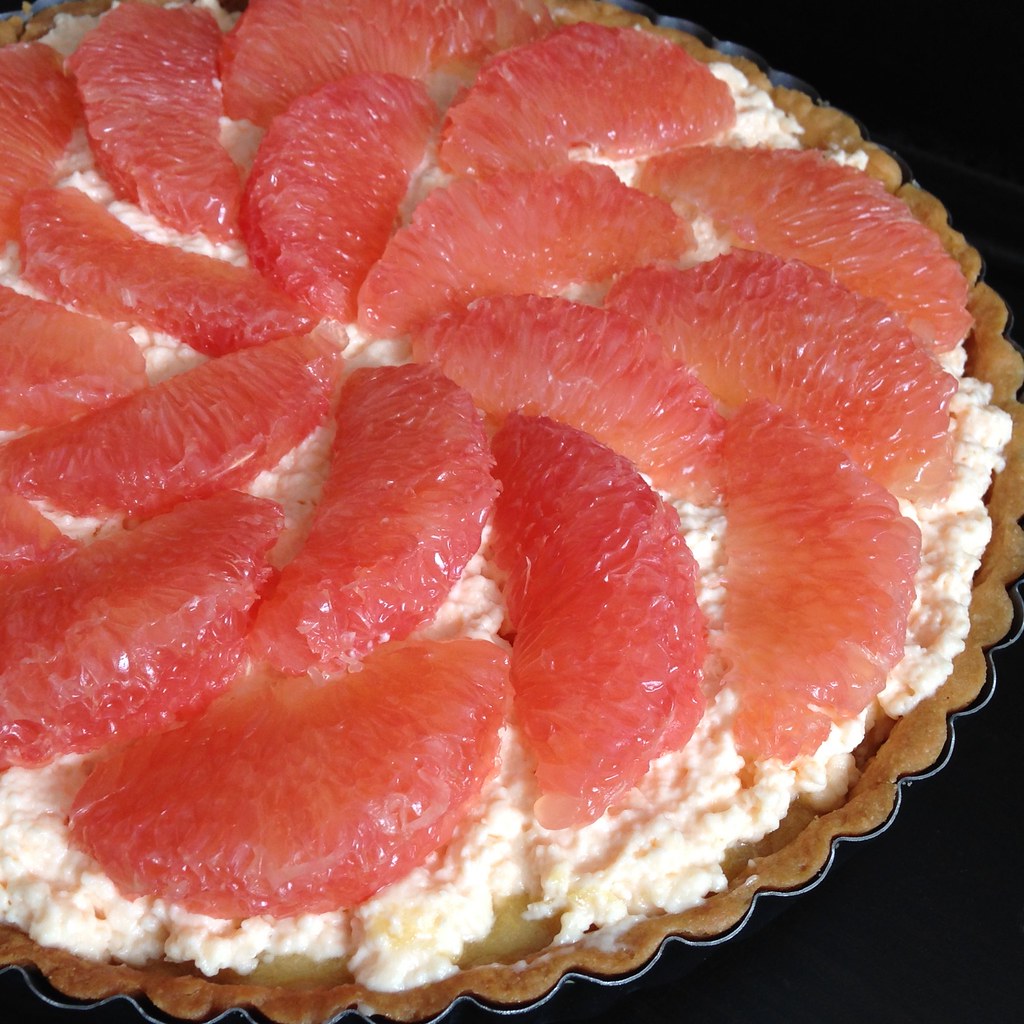
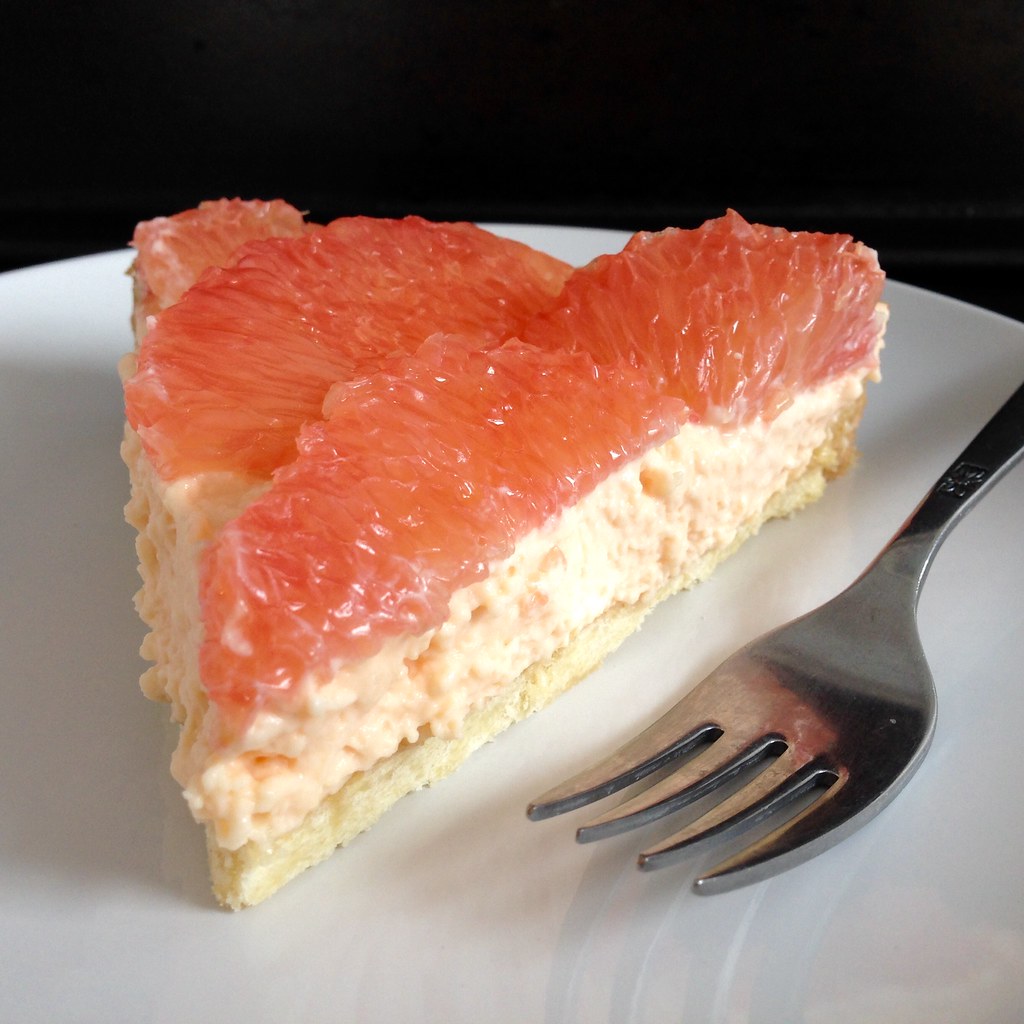
But it's worth it!  Not only is it totally beautiful to look at, it tastes incredible.  Even people who don't like grapefruit love this tart!  I think it helps that you've done some of the hard work by removing all the membrane from the grapefruit segments already so that all you have to do is take a bite, and you get the tartness of the fruit, a hint of bitterness from the Campari, sweetness from the fillings, and lots of buttery richness from the snappy crust.

https://www.flickr.com/photos/joyosity/16345473930/

Hugo & Victor's Pink Grapefruit Tart (adapted from Dorie Greenspan's Baking Chez Moi)
makes 1 tart

For the sweet tart dough:
1 1/2 cups (204 g) all-purpose flour
1/2 cup (60 g) confectioners' sugar
1/4 teaspoon kosher salt
9 tablespoons very cold unsalted butter
1 large egg yolk

Put the flour, confectioners' sugar, and salt in a food processor and pulse a few times to blend.  Cut the butter into small pieces and scatter over the dry ingredients.  Pulse until the butter is cut in coarsely.

Stir the yolk just to break it up and drizzle over the rest of the ingredients.  Pulse until the egg is incorporated, then process in longer pulses, about 10 seconds each, until the dough forms clumps and curds.   Finish blending the dough by turning it out onto a work surface and smearing small amounts across the surface with the heel of your hand.

Shape the dough into a disk and place between two sheets of parchment or wax paper.  Roll the dough out evenly until it is about 12" in diameter.  Carefully fit into a buttered tart pan and trim the excess dough.  Chill in the refrigerator for at least 2 hours, or if you're short on time, for 1 hour in the freezer.

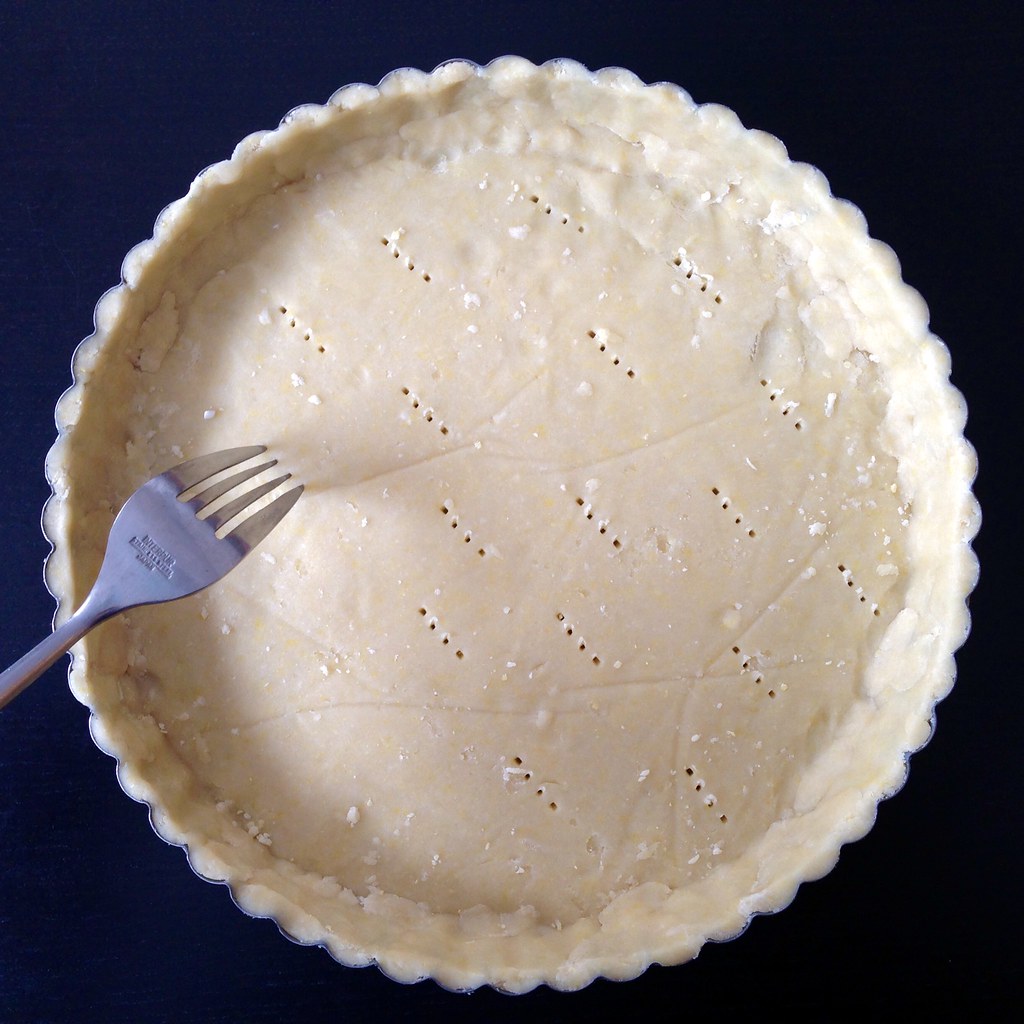
Preheat the oven to 400°F.  Prick the crust all over with a fork.  Butter the shiny side of a piece of aluminum foil and fit snugly on top of the crust.  Fill with pie weights (you can use dried beans, rice, etc.).  Bake the crust for 25 minutes, then carefully remove the foil and weights.  Bake for another 7-10 minutes, until firm and golden brown.  Cool the crust completely.

https://www.flickr.com/photos/joyosity/16349217450/

For the grapefruit crémeux:
2 teaspoons powdered gelatin, bloomed in 1 1/2 tablespoons cold water
3/4 cup (150) g sugar
2 large pink grapefruits
3 large eggs
14 tablespoons unsalted butter, at room temperature
2 1/2 tablespoons Campari

Put the sugar in a 2- to 3-quart heavy-bottomed saucepan and grate the grapefruits over it.  Rub the sugar and zest together with your fingertips until the sugar is moist.  Squeeze the juice from the grapefruits into a measuring up until you have 3/4 cup of juice.  Add the eggs to the sugar and start whisking immediately.  Continue to whisk as you add the juice.

Place the saucepan over medium heat and continue whisking.  Eventually, after 7-9 minutes, the custard will start to thicken.  When it reaches 180°F (or when the first bubble pops at the surface), remove from the heat and strain into a blender.

Allow the custard to sit in the blender for about 5 minutes, pulsing a few times to help the cooling process.  Heat the bloomed gelatin in the microwave for 15 seconds to liquefy, then add to the blender.  Blend on high, and start adding the butter, two tablespoons at a time.  After all the butter has been incorporated, add the Campari and blend until homogenous in color.  Scrape the crémeux into a bowl, press a piece of plastic wrap to the surface, and refrigerate for at least 6 hours.

For the topping:
2 large pink grapefruits

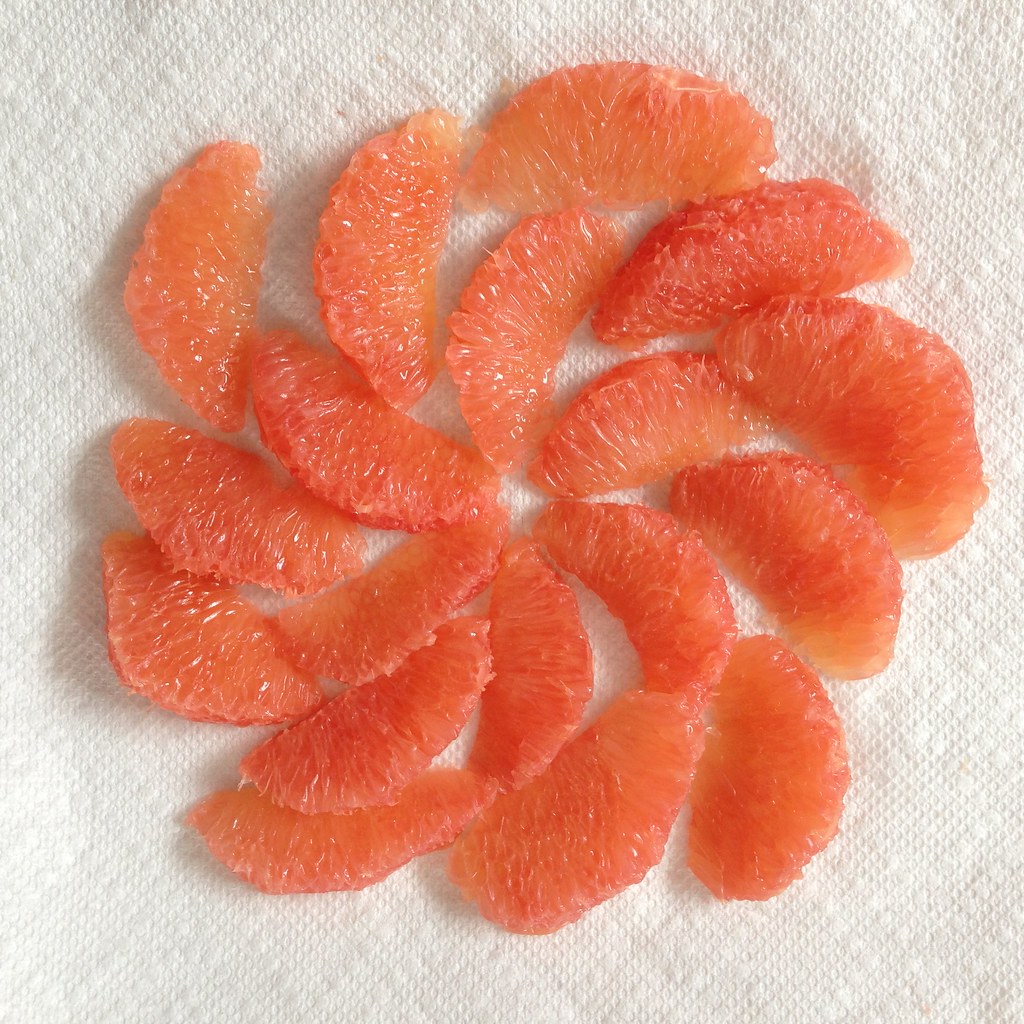
About 3 hours (or up to 8 hours) before you want to serve the tart, cut off all the peel and pith away from the tart.  You want to carefully cut through the outer membrane of the grapefruit, too.  Then, using a small paring knife, cut on either sides of the membranes in between each section to release each section.  There should be no membrane left on the sections.  Place the segments on several layers of paper towels, cover with more paper towels, and allow to dry at room temperature.  At this point, you can try arranging the segments to see if you'll have enough to cover the surface of the tart.

https://www.flickr.com/photos/joyosity/16531880912/

For the lemon-almond cream:
3 1/2 tablespoons unsalted butter, at room temperature
2 tablespoons packed light brown sugar
1/2 cup (50 g) almond flour
Finely grated zest of 1 lemon
1 large egg, at room temperature

Beat butter until smooth and creamy, about 3 minutes.  Beat in the brown sugar for a minute, and then beat in the almond flour and grated zest until smooth again.  Add the egg and beat until fully incorporated.  Refrigerate for at least an hour.

Assembling the tart:
https://www.flickr.com/photos/joyosity/16345473530/

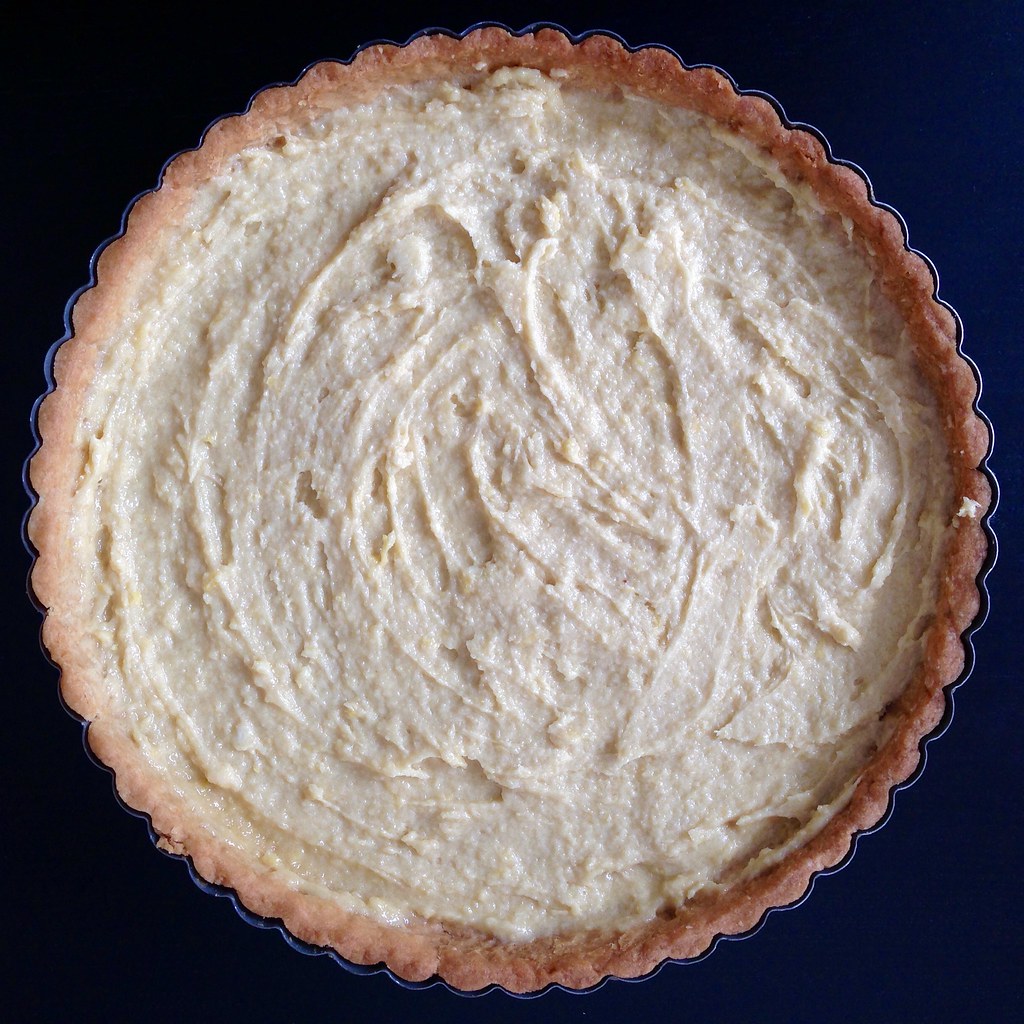
Preheat the oven to 375°F.  Whisk the chilled lemon-almond cream until it is spreadable.  Spread the cream over the bottom of the tart crust and bake for 6-7 minutes, until the cream is set.  Cool the tart completely before the next step.

https://www.flickr.com/photos/joyosity/16579322545/

About 2 hours before you want to serve the tart, whisk the grapefruit crémeux until it's smooth (unlike the picture above).  Spread over the lemon-almond cream.  Arrange the grapefruit segments on top of the crémeux.  Chill the tart for another 2-8 hours before serving.

https://www.flickr.com/photos/joyosity/16506924976/

Next:  Matcha Financiers with White Chocolate Centers
Previously:  First Night in Florence Spaghetti
Two Years Ago:  Cauliflower Steak with Cauliflower Purée
Six Years Ago:  Boston Cream Cupcakes
Tuesday, February 17, 2015

First Night in Florence Spaghetti

https://www.flickr.com/photos/joyosity/16300798869/

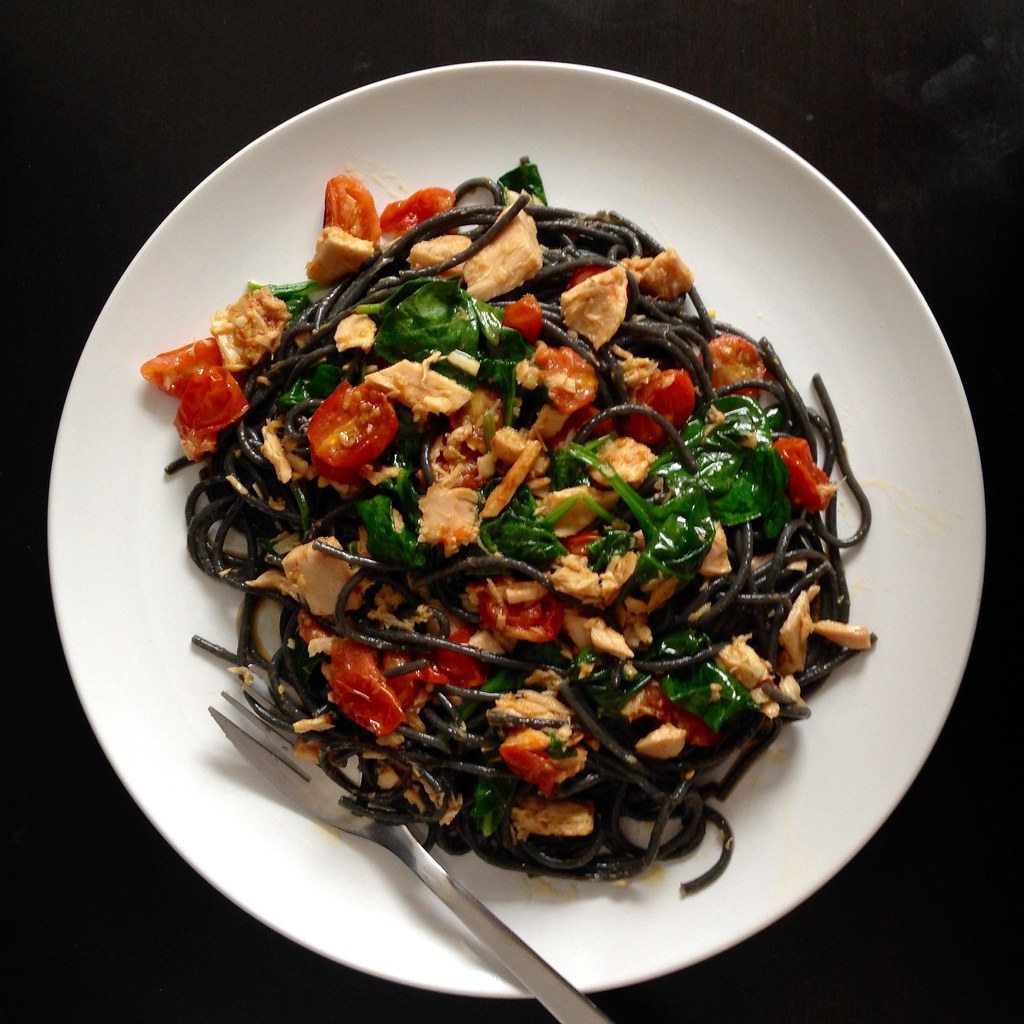
I have made this dish four times in as many days since I first discovered it.  Maybe it's because I'm feeling nostalgic for Italy and wanting to get out of this crazy New England snow.  Maybe it's the way the olive oil, tomatoes, and lemon juice come together like magic to make this unbelievably fresh tasting sauce.  Or maybe it's the way the tuna and garlic linger on the tongue and then in my dreams.  Whatever it is, you need to make this pasta stat.

This dish comes together quickly; while the pasta is cooking, you'll be starting the sauce so that by the time the pasta is almost al dente, you toss it into the pan that the sauce is in to finish cooking it.  So I usually start cutting up the tomatoes and mincing the garlic while I wait for the water to boil.

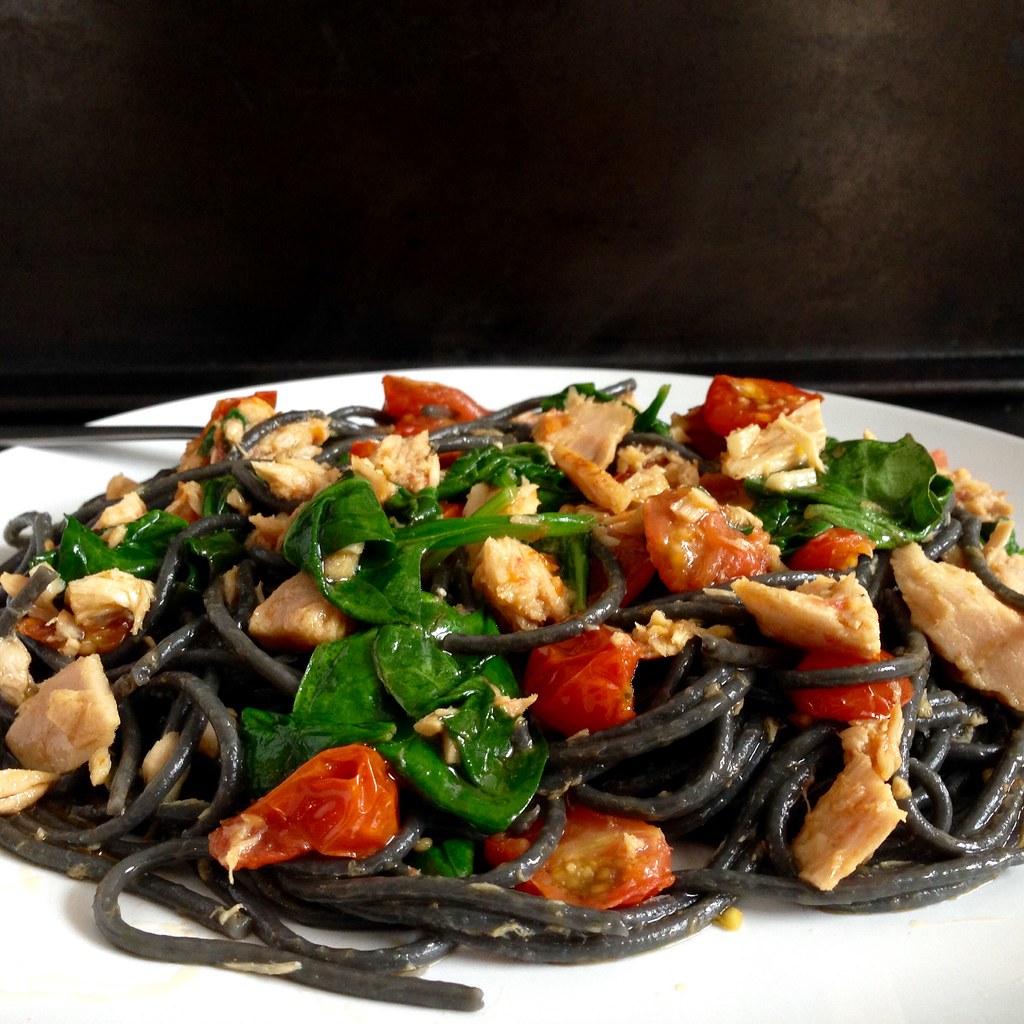
For this recipe, make sure you use the tuna that's packed in olive oil, not water.  And don't pour out the oil; add it to the sauce.  Speaking of olive oil, you'll want to use a good one, and lots of it.  I used the last of the olive oil I got from Tuscany for this, and it was worth it.  I also used the last of the squid ink pasta I got from Venice since I figured the brininess would go well with the tuna (and because it's photogenic).  All this just means I'll have to go back to Italy soon to stock up again!

https://www.flickr.com/photos/joyosity/16301169797/

First Night in Florence Spaghetti (adapted from The Solitary Cook by way of Food52)
serves 2

1/2 package of spaghetti
Kosher salt and freshly ground pepper, to taste
Good olive oil, and lots of it
1 pint grape tomatoes, quartered
3 cloves garlic, minced
1 tin of tuna packed in olive oil
A few handfuls of spinach or Swiss chard leaves
Juice of 1/2 a lemon

Get a large pot of salted water boiling.  Add the pasta and start a timer to cook for 3 minutes less than what the package calls for (i.e. if the package says to cook the spaghetti for 10 minutes, cook it for 7).

In a pan large enough to hold all the pasta, add 5-6 generous glugs of olive oil heat on medium-high (it should be at least twice what you think you'll need).  Once the oil starts to shimmer, add the tomatoes and a generous pinch of salt.  While the tomatoes soften, you may want to (carefully!) smoosh them to help release their juices.  When there are 2 minutes left on the pasta, add the minced garlic.  When there is 1 minute left on the pasta, add the tuna plus the oil it's packed in, breaking up any large chunks of fish.

When the timer is up on the pasta, use tongs or a pasta spoon to add the spaghetti to the pan.  Add some of the pasta cooking water to the pan too (the original recipe calls for a few ladlefuls, but I like a little less than that).  Add the greens and lemon juice and toss everything around, cooking until the leaves is just wilted.  Taste the sauce and season with salt and pepper as needed. 

https://www.flickr.com/photos/joyosity/16301169597/

Next:  Hugo & Victor's Pink Grapefruit Tart
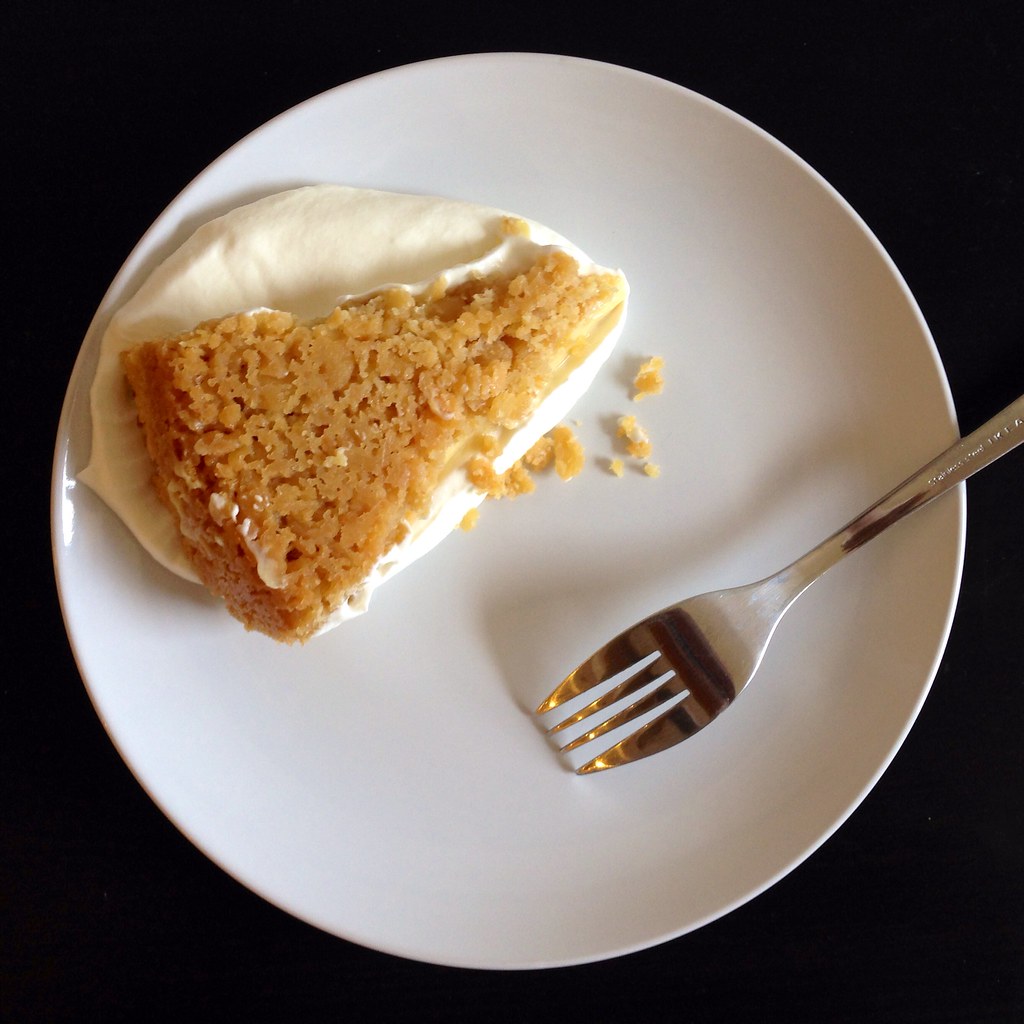
Previously:  Odile's Fresh Orange Cake
Last Year:  Okonomiyaki
Six Years Ago:  New England Clam Chowda with Homemade Oyster Crackers

Wednesday, August 20, 2014

Bill Smith's Atlantic Beach Pie

https://www.flickr.com/photos/joyosity/14919066781/

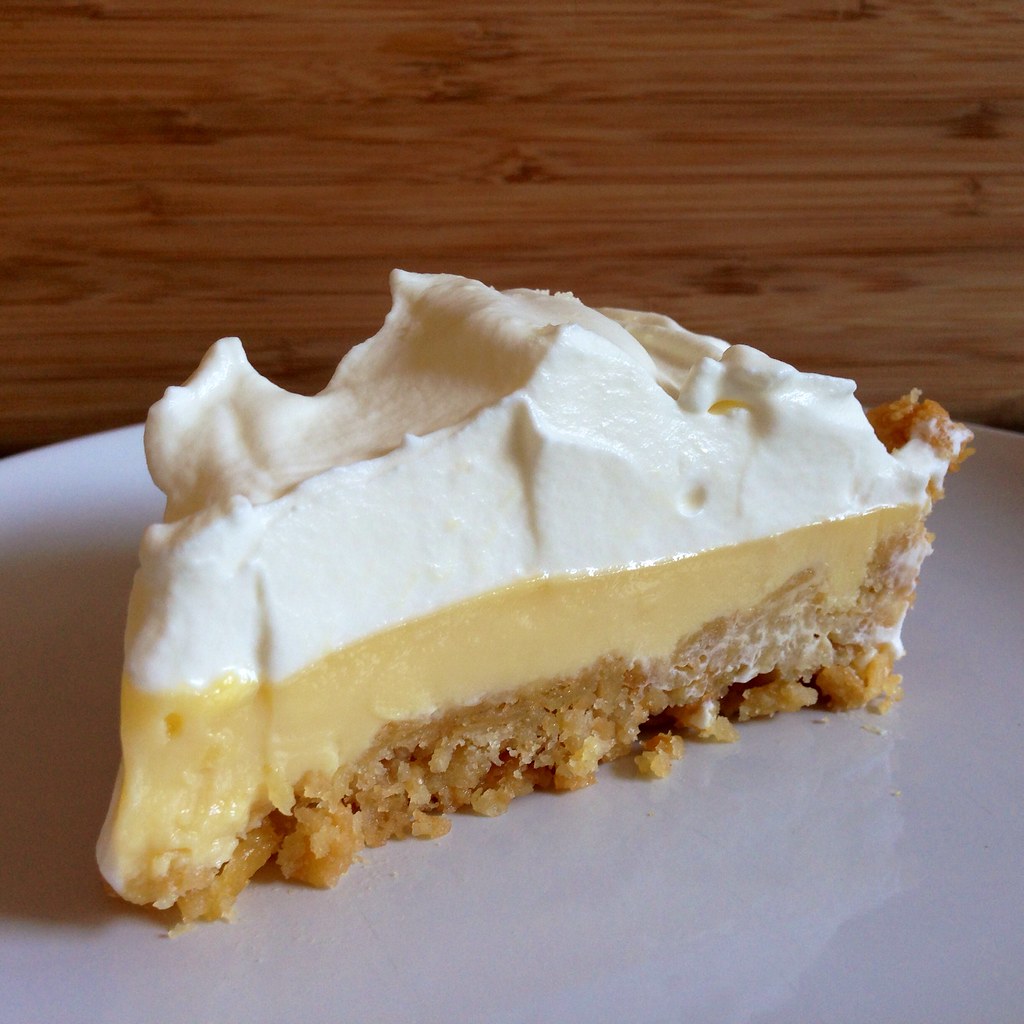
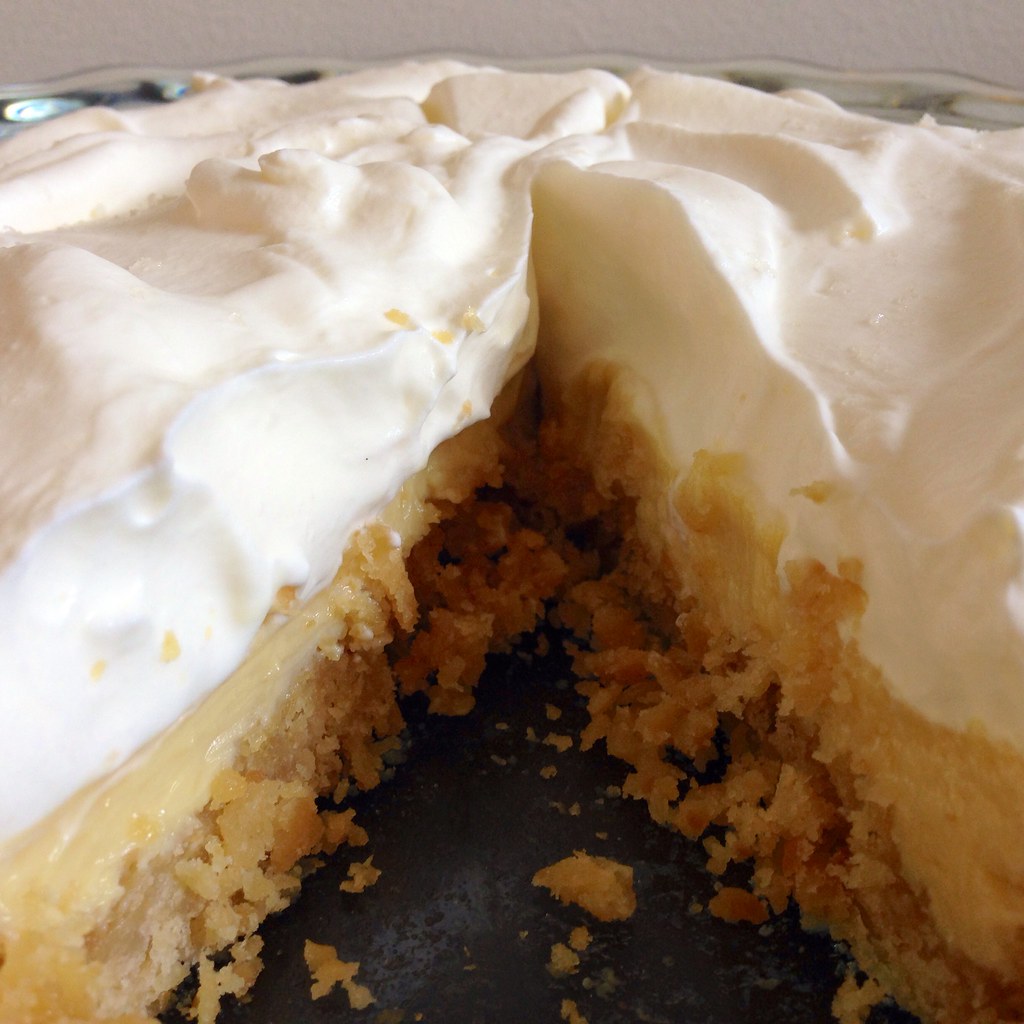
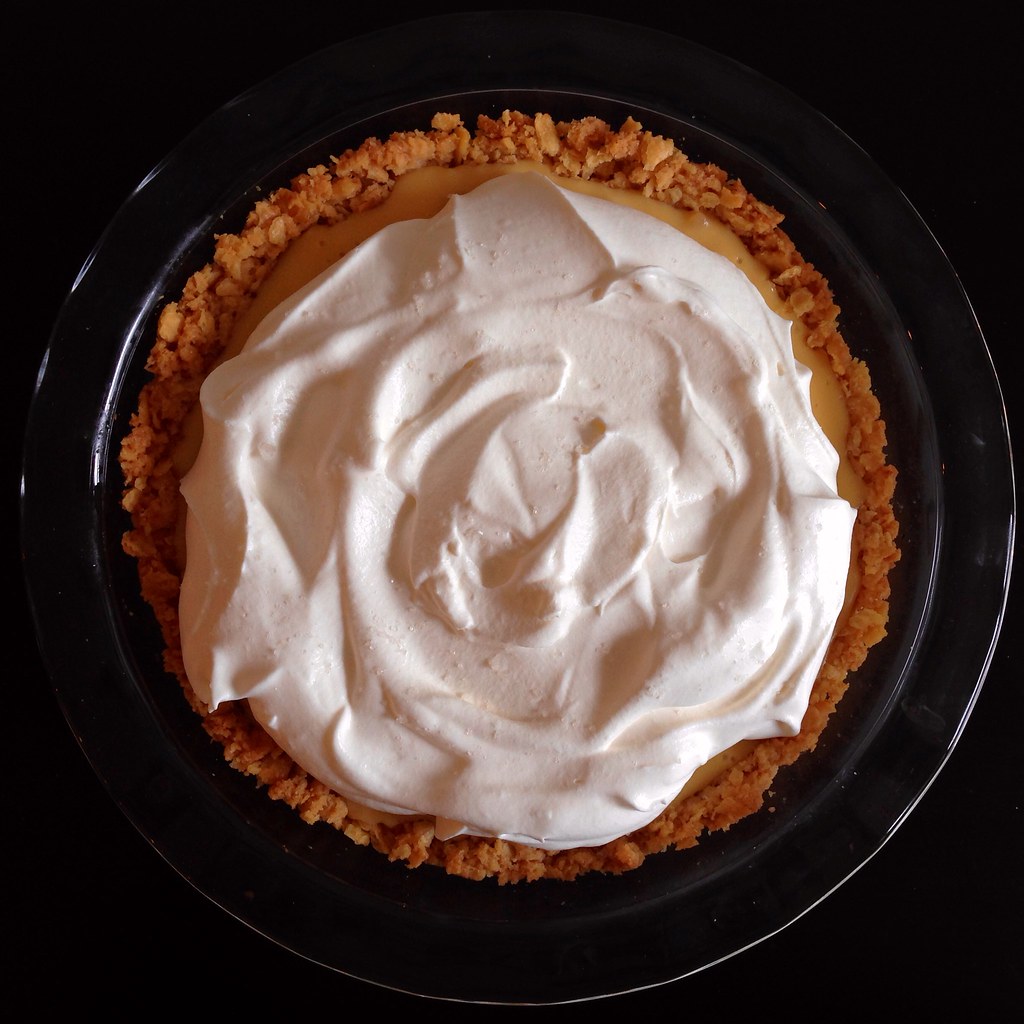
I've never heard of an Atlantic Beach Pie, but once I saw this post on Food52, I knew I had to make it.  It's an amalgam of some of my favorite things:  a salty-sweet buttery crust made out of saltines, a tart citrus filling, and a simple topping of whipped cream garnished a sprinkle of flaky sea salt.  It kind of reminds me of the Momofuku Milk Bar Grapefruit Pie I made once, but a whole lot easier to make.  It's no surprise that I would love a pie with this name since I'm such an East Coast kind of gal.  =)

https://www.flickr.com/photos/joyosity/14735519278/

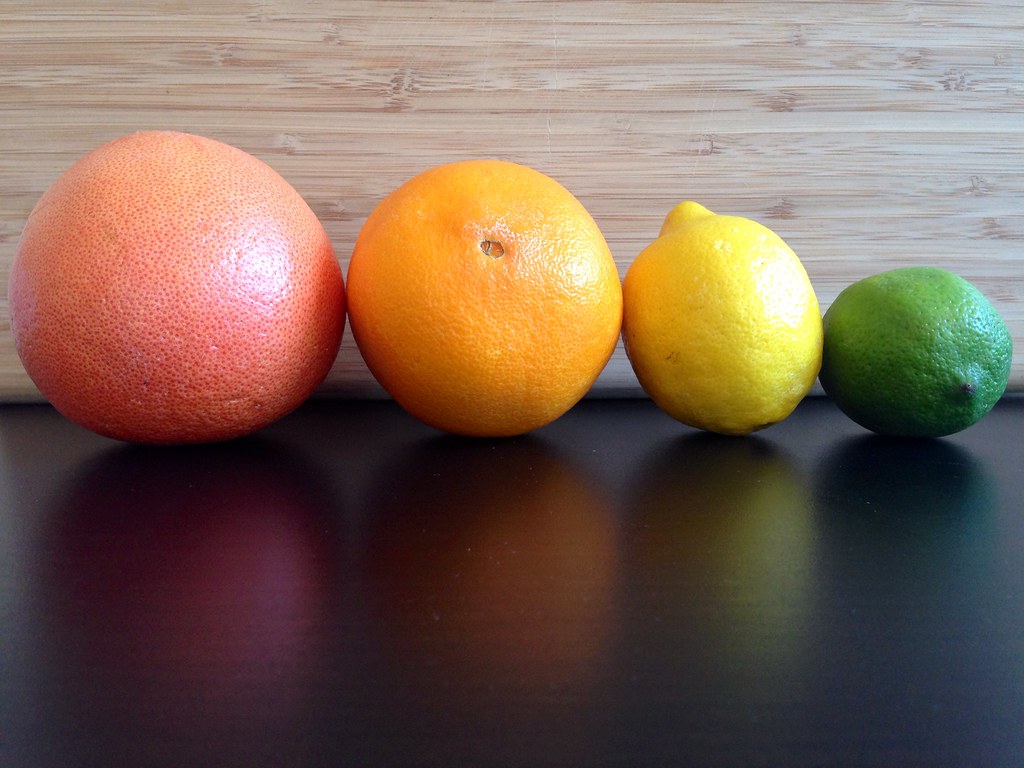
For the citrus juice that goes into the filling, I just used a half cup of the juice I got from juicing the zested lemon, lime, orange, and grapefruit I used for making the citrus cured salmon.  The next time I make this, I will probably use the recommended lemon and/or lime mixture so that the tartness really shines through.

https://www.flickr.com/photos/joyosity/14735561347/

Bill Smith's Atlantic Beach Pie (adapted from Food52)
makes 1 pie
1 1/2 sleeves of saltine crackers (about 6 oz. or 60 crackers)
1/2 cup softened unsalted butter
3 tablespoons sugar
14 oz. can of sweetened condensed milk
4 egg yolks
1/2 cup citrus juice
3/4 cup heavy whipping cream, chilled
Coarse sea salt, for garnish

Preheat oven to 350°F.

https://www.flickr.com/photos/joyosity/14735553467/in/photostream/
   
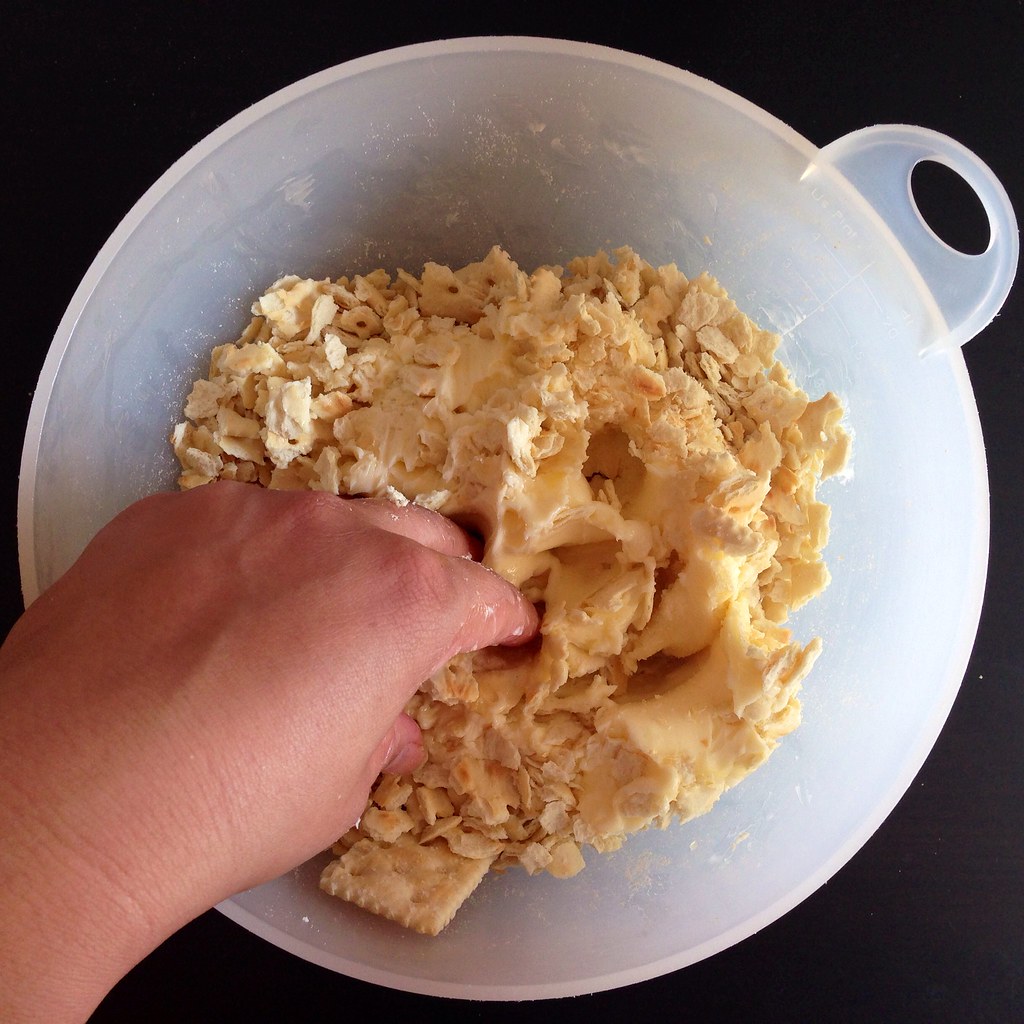
Crush the crackers finely, but not to dust. You can use a food processor or your hands. Add the sugar, then knead in the butter until the crumbs hold together like dough. Press into an 8-inch pie pan. Chill for 15 minutes, then bake for 18 minutes or until the crust is golden brown.

https://www.flickr.com/photos/joyosity/14919056651/

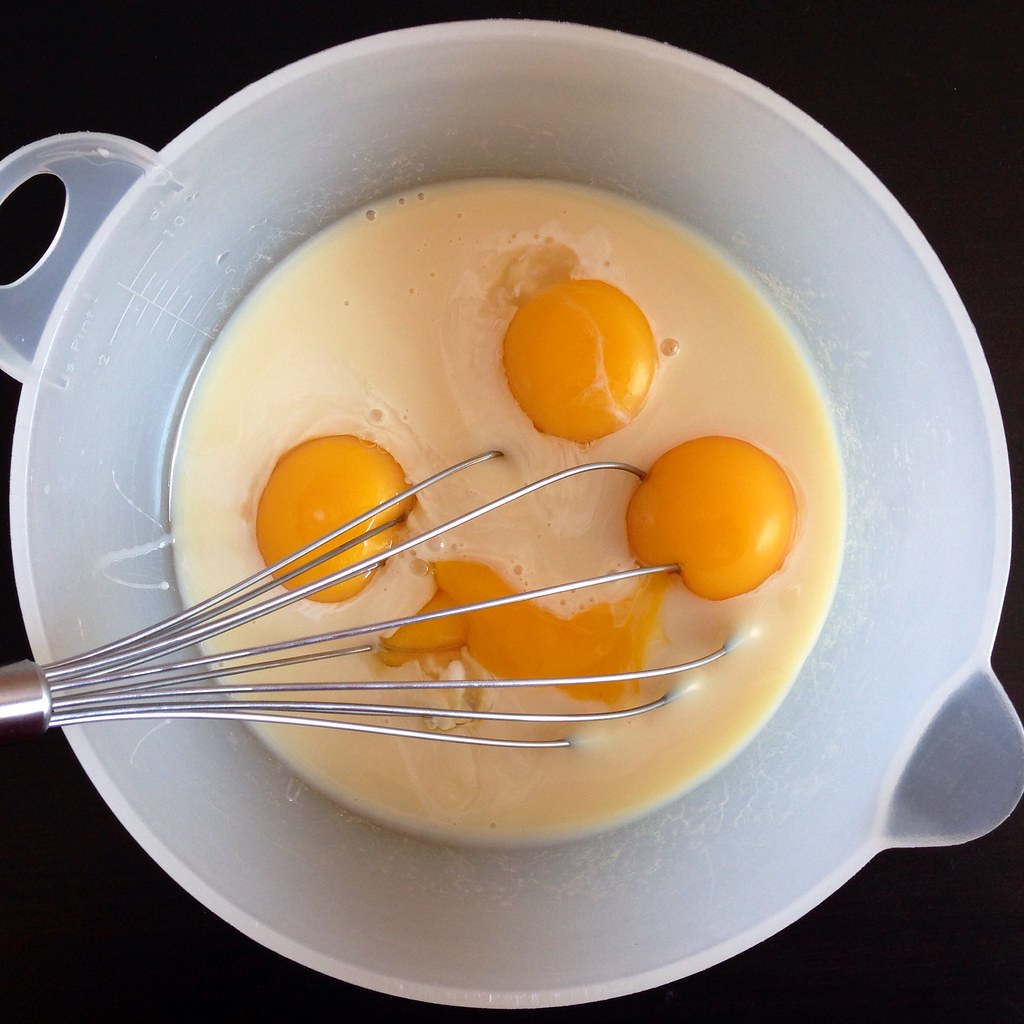
While the crust is cooling (it doesn't need to be cold), whisk the egg yolks into the milk, then whisk in the citrus juice.  Continue whisking until the mixture thickens.

https://www.flickr.com/photos/joyosity/14735469299/

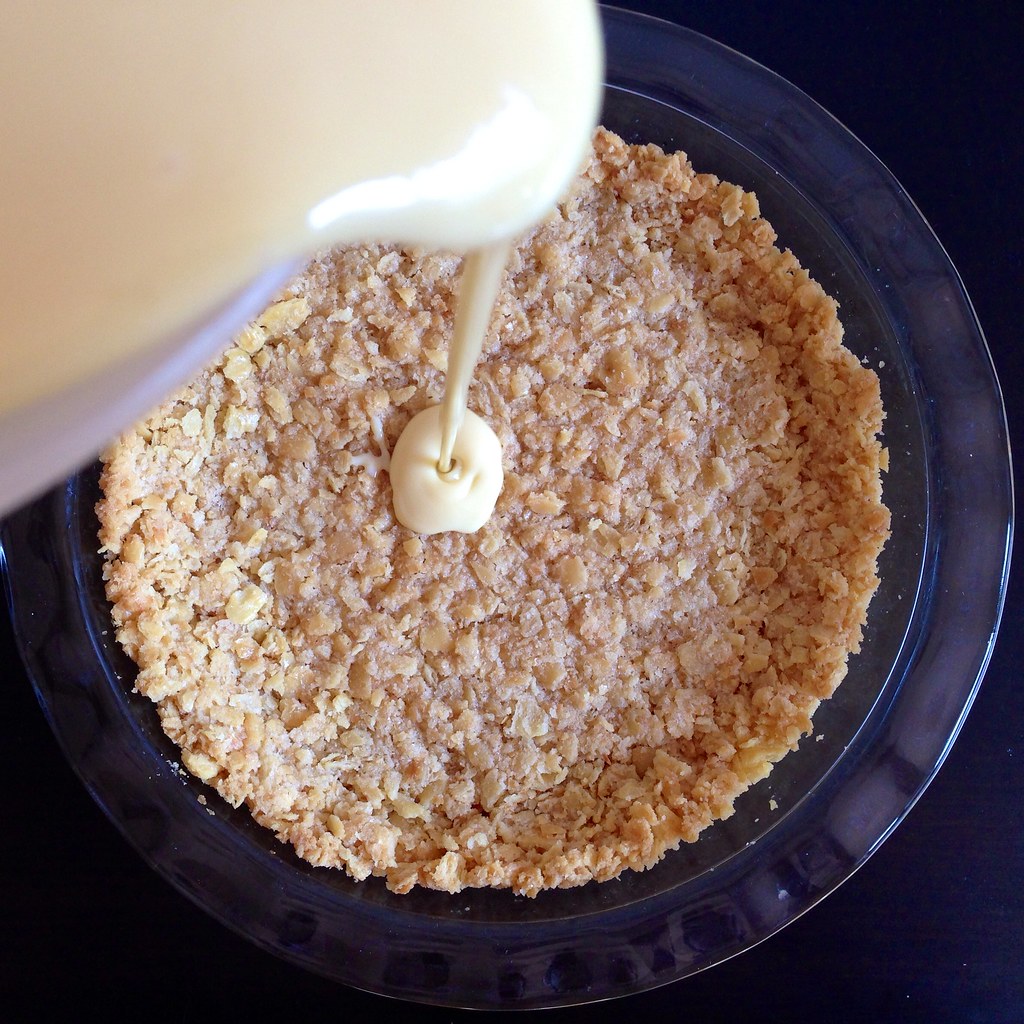
Pour into the shell and bake for 16 minutes until the filling has set.  Cool on a wire rack until the pie has reached room temperature and then transfer to the refrigerator.  The pie needs to be completely cold to be sliced.

https://www.flickr.com/photos/joyosity/14899148256/

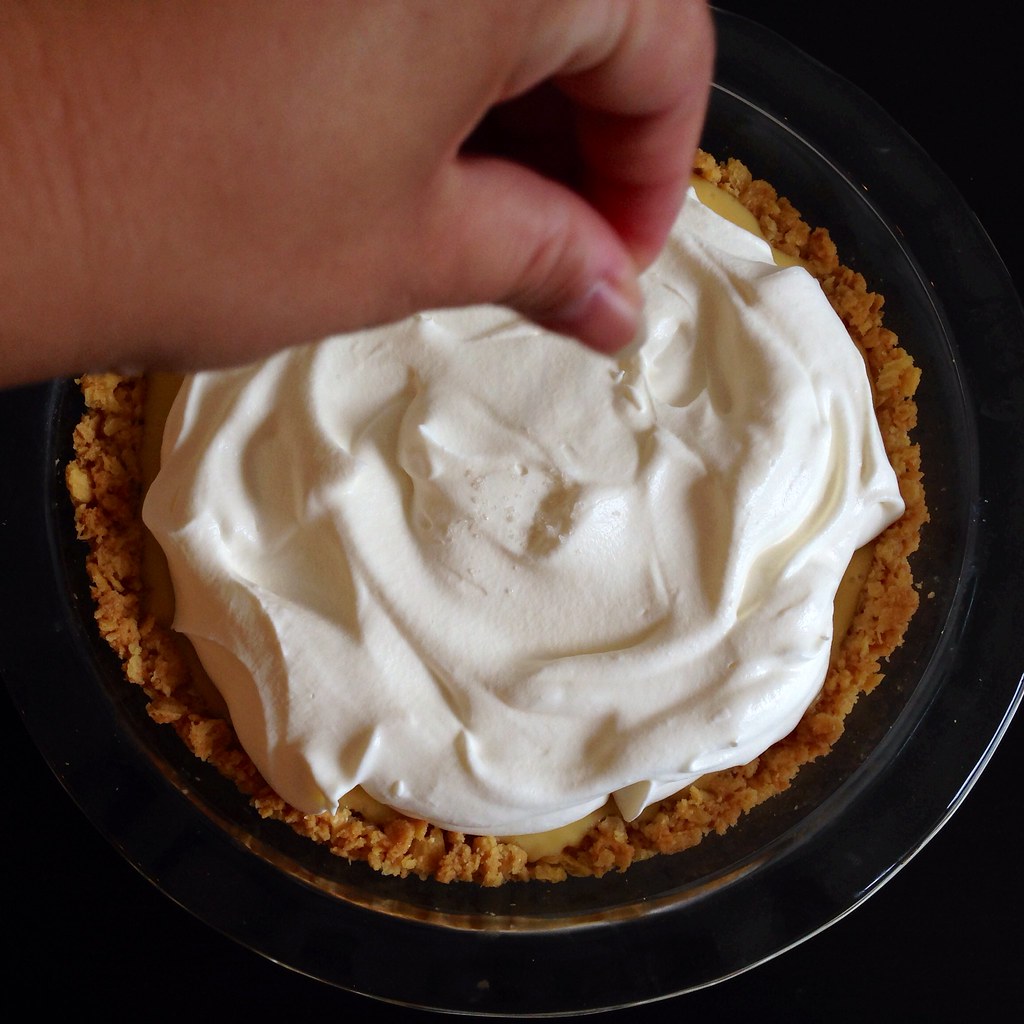
Whip the heavy cream just until stiff peaks appear (if you keep whipping too much you'll make butter).  Top the chilled pie with the whipped cream and garnish with a sprinkling of sea salt.

https://www.flickr.com/photos/joyosity/14735477079/

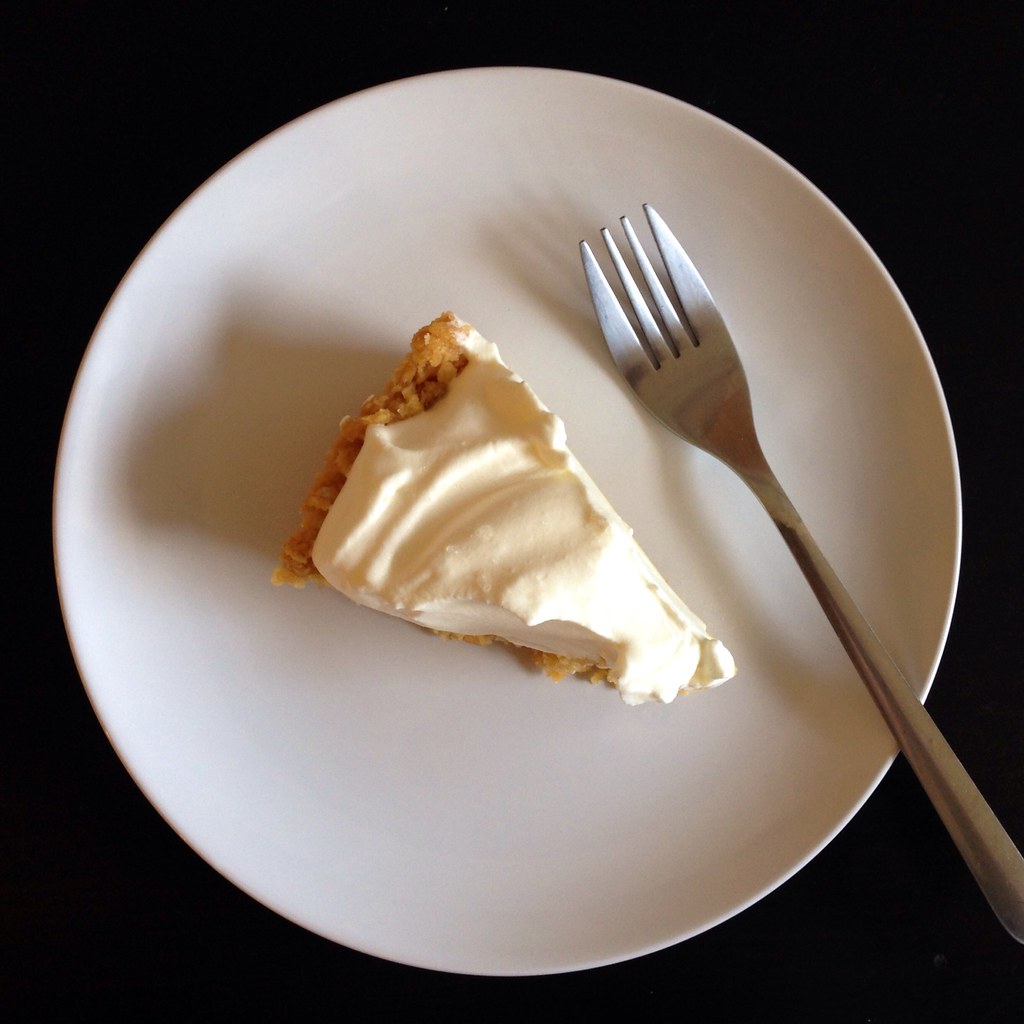
By the way, this is what happens when you try to carefully cut a slice and transfer it to a plate to take a picture.  Fail.  Still yummy, though! 

https://www.flickr.com/photos/joyosity/14735469470/

Next:  Crispy Skinned Salmon Teriyaki
Previously:  Citrus Cured Salmon
Last Year:  Crimini Mushroom Risotto

Thursday, August 14, 2014

Citrus Cured Salmon

https://www.flickr.com/photos/joyosity/14901944553/in/photostream/

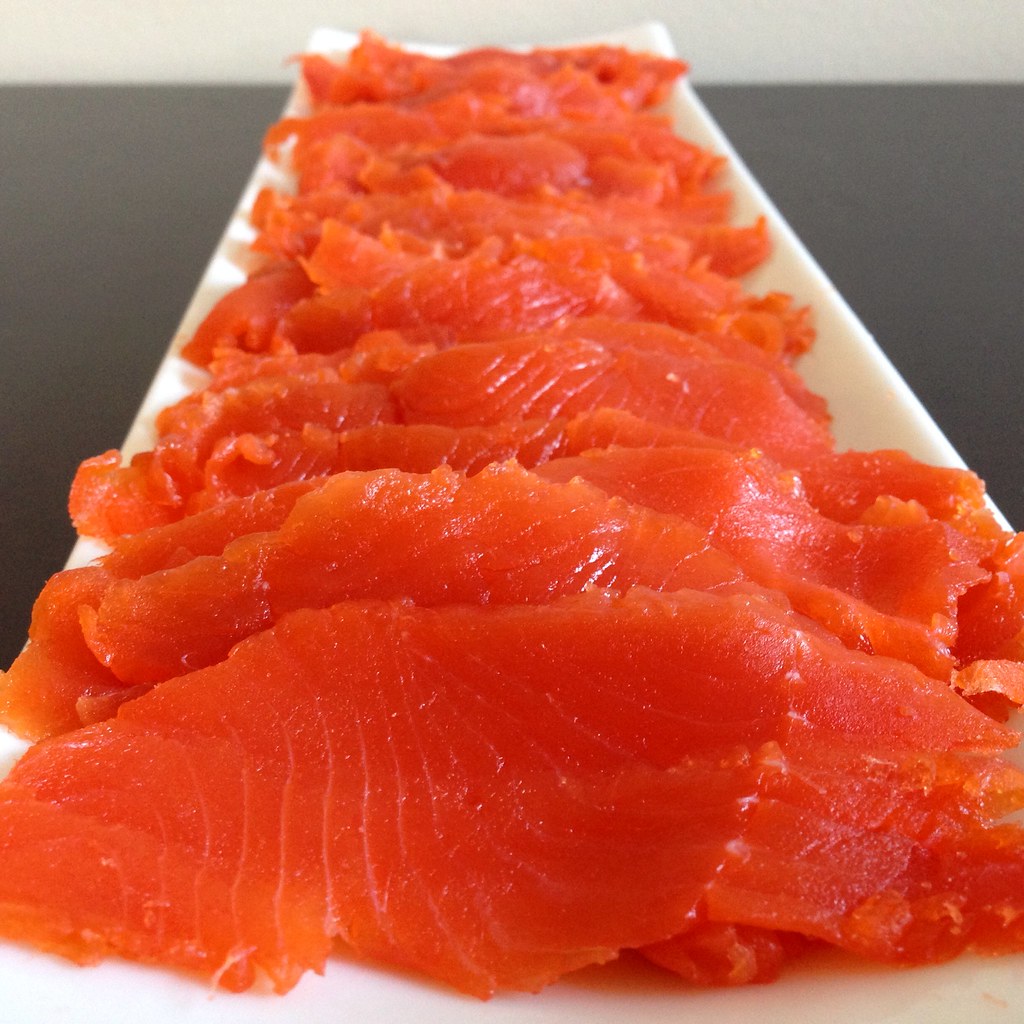
Ever since I saw Jen's post for Thomas Keller's citrus marinated salmon, I've wanted to try it out.  I love cold-smoked salmon, and the thought that I could make something similar at home was really intriguing to me.  I was in Seattle again recently, and went to Pike Place Market specifically to get another Copper River sockeye salmon just for this purpose.  Since the salmon is never actually cooked, you'll want to get the freshest sushi-grade salmon available and treat it as you would if preparing sushi by keeping it chilled as much as possible.

https://www.flickr.com/photos/joyosity/14695379010/

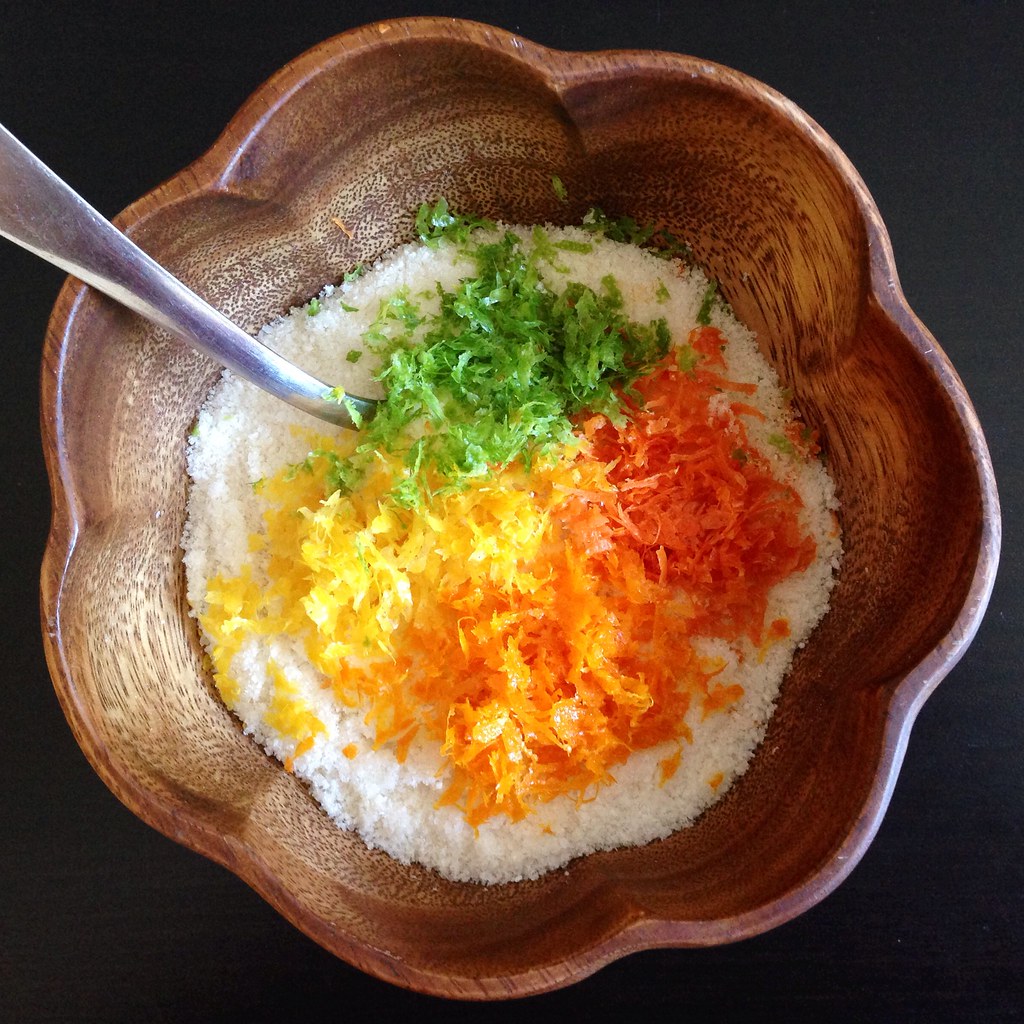
Jen's recipe calls for a teaspoon and a half each of lime zest, lemon zest, orange zest, and grapefruit zest, but it's okay if you don't have all four citrus fruits; you just need about 2 tablespoons total of citrus zest for this recipe.  Since I had the time to cure my salmon for a full 24 hours, I chose not to press the salmon while curing it, trusting that time and salt would perform the necessary osmosis.

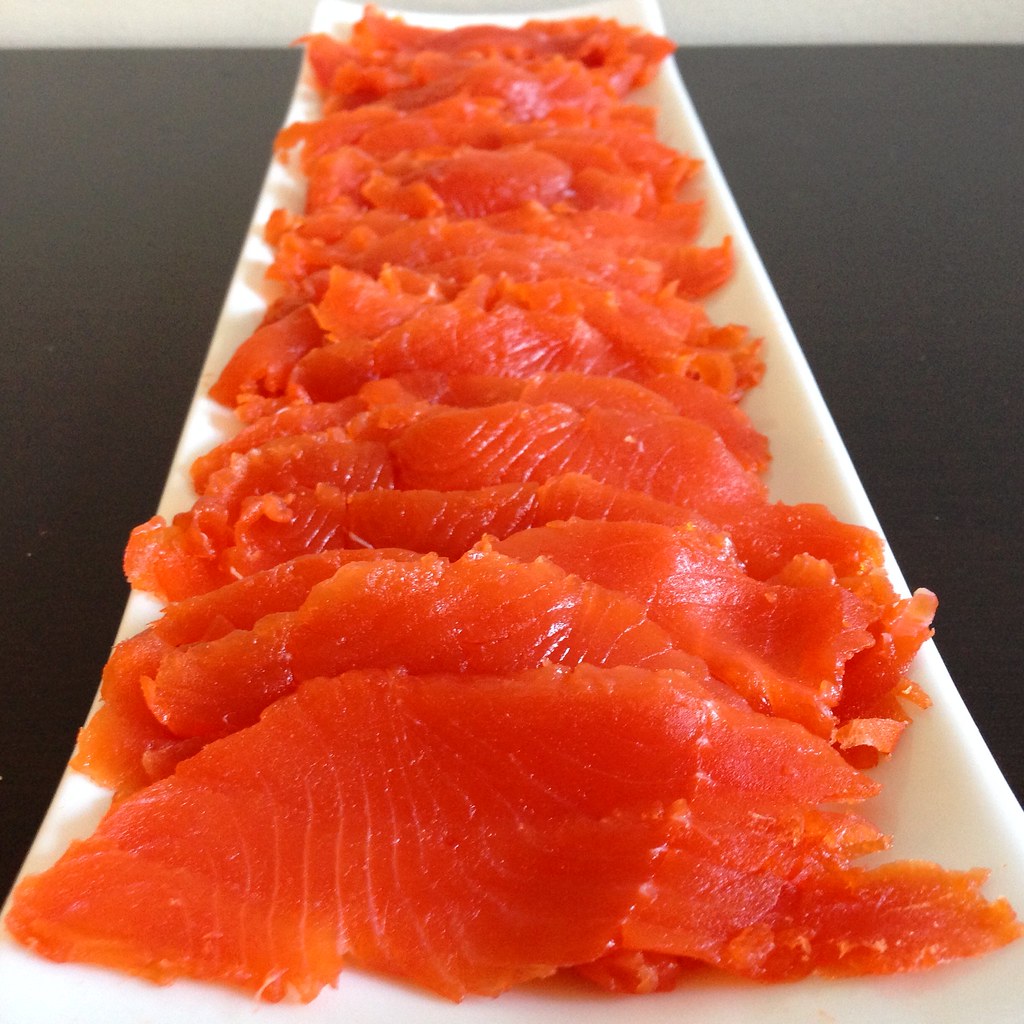
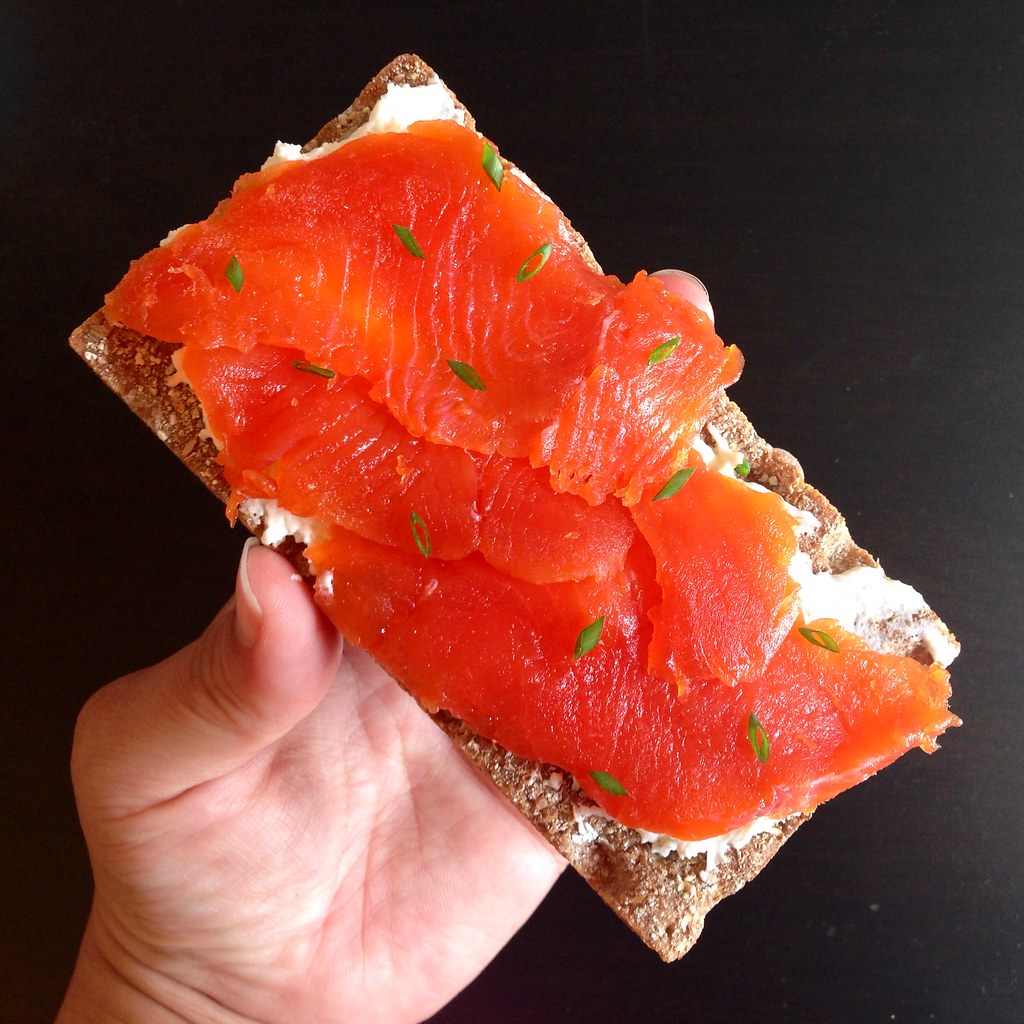
The change in texture of the cured salmon is pretty spectacular.  It's a lot more dense and almost gummy like pâte de fruit.  By itself, the cured salmon can be pretty salty, but served with some crème fraîche or sour cream and crackers, it makes for a wonderfully impressive appetizer!
https://www.flickr.com/photos/joyosity/14901944553/

Citrus Cured Salmon (adapted from Tiny Urban Kitchen)
serves 6-8
Zest from 1 pink grapefruit
Zest from 1 orange
Zest from 1 lemon
Zest from 1 lime
1/2 cup kosher salt
1/2 cup sugar
1 salmon filet, skin removed (about 2 lbs.)

https://www.flickr.com/photos/joyosity/14879604864/

Mix the zests, salt, and sugar together.

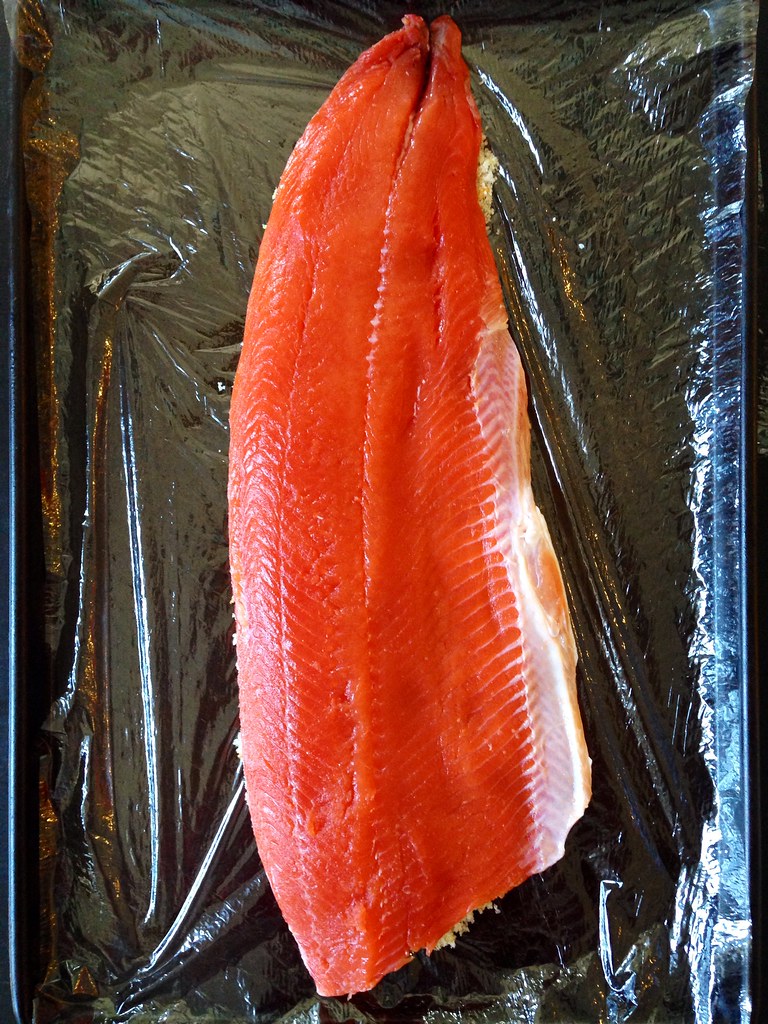
Feel along the salmon and if there are any pin bones, remove them with tweezers or pliers.
https://www.flickr.com/photos/joyosity/14695376000/

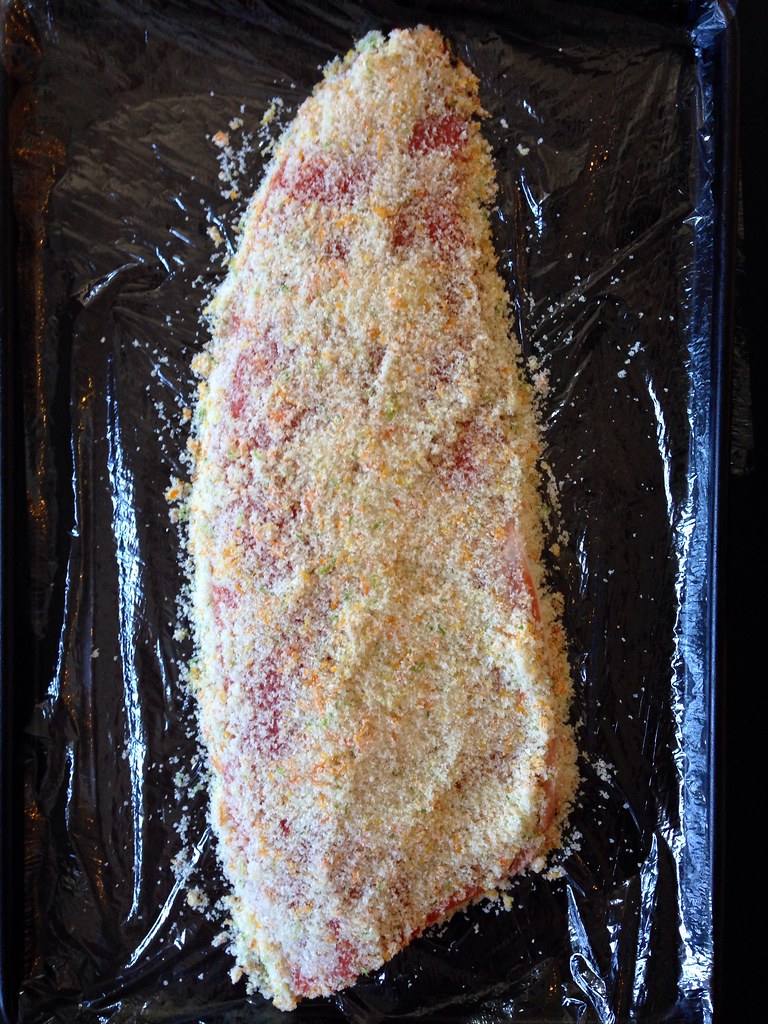
Line a large tray with enough plastic wrap to completely wrap the filet.  Spoon half of the salt mixture onto the tray in the shape of the filet.  Place the filet on top, and spoon the rest of the salt mixture on top of the salmon.  Spread the salt mixture evenly over the fish. 

https://www.flickr.com/photos/joyosity/14695452018/

 Wrap well with the plastic wrap, and transfer the tray to the refrigerator.  Let cure for 24 hours.

https://www.flickr.com/photos/joyosity/14901937893/

Unwrap the salmon and rinse under cold water.  Pat dry and transfer to a cutting board.  With a sharp knife, cut thin slices at an angle against the grain.

https://www.flickr.com/photos/joyosity/14695538077/

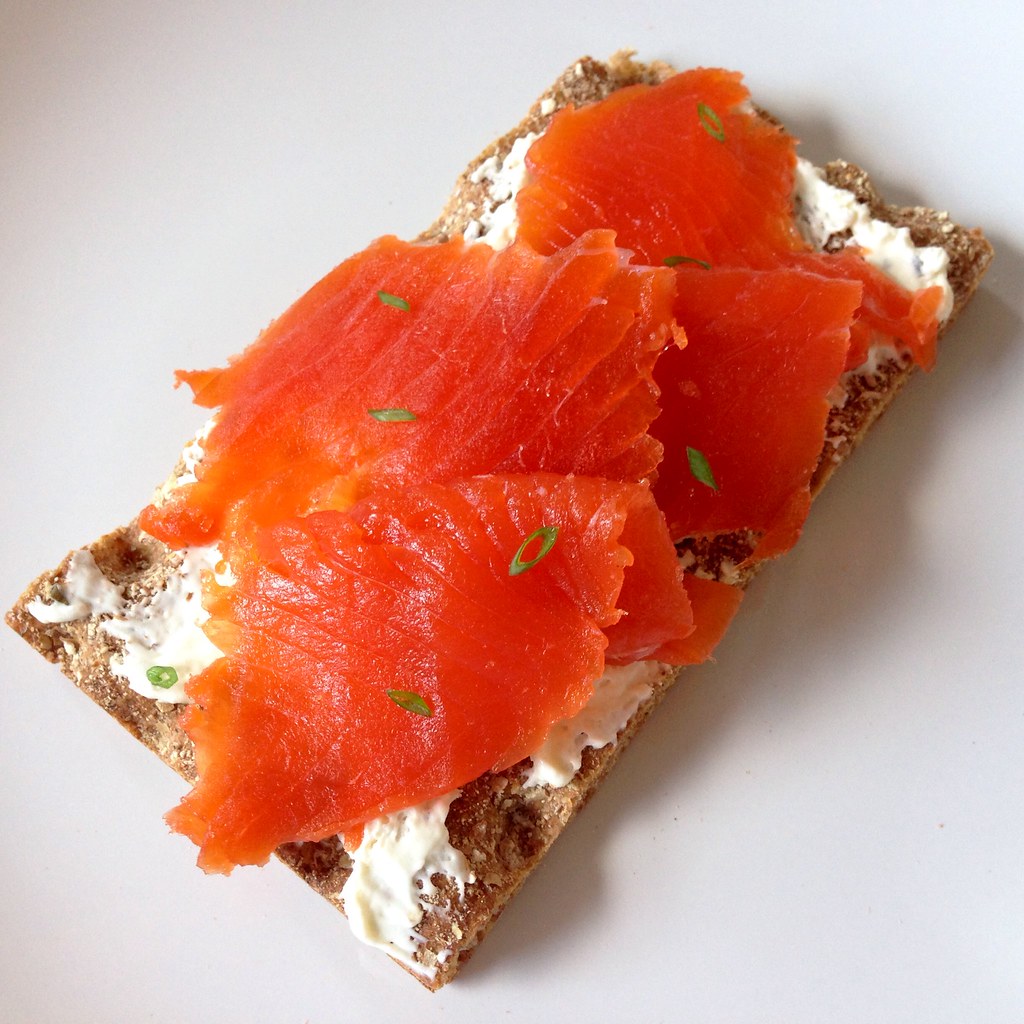
Serve with crème fraîche, sour cream, or cream cheese and crackers or bread.  I served mine with chive cream cheese and hearty crispbread.

https://www.flickr.com/photos/joyosity/14710143737/

After you've zested the fruits, you'll want to use them right away for something else or else they'll dry up really quickly.  I recommend juicing them; I used the juice to make an Atlantic Beach Pie!

Next:  Bill Smith's Atlantic Beach Pie
Previously:  Coconut Ice Cream with Mango Passion Caramel Swirl
Last Year:  Shakshuka Pizza

Tuesday, June 3, 2014

Homemade Ginger Beer

https://www.flickr.com/photos/joyosity/9147428336/in/photolist-eWk86w-eWce3T-eWcdRD-eWjJJ1-eWjJdE-eWjHfE-eW8kMX-eWjHNs-eWjWYj-eW8ymk-eW8kkZ-eWjXKE

In my first post ever, I explained how I used to not really be a big fan of ginger but have since grown to love it, especially when used in sweet concoctions.  I especially love it in ginger beer; the extra bite it has compared to regular ginger ale is so refreshing and delicious.  Since I'm not a big drinker, I always check to see if a bar serves Dark & Stormies so that I can order just the ginger beer.

After trying every brand I can get my hands on, I can say that I'm a fan of Gosling's, AJ Stephan's, and Fever Tree but really, really dislike Blenheim and Reed's.  Most recently I discovered Rachel's Ginger Beer in Seattle and was really tempted to buy a growler to take home until I remembered that I can make my own!

https://www.flickr.com/photos/joyosity/9145203379

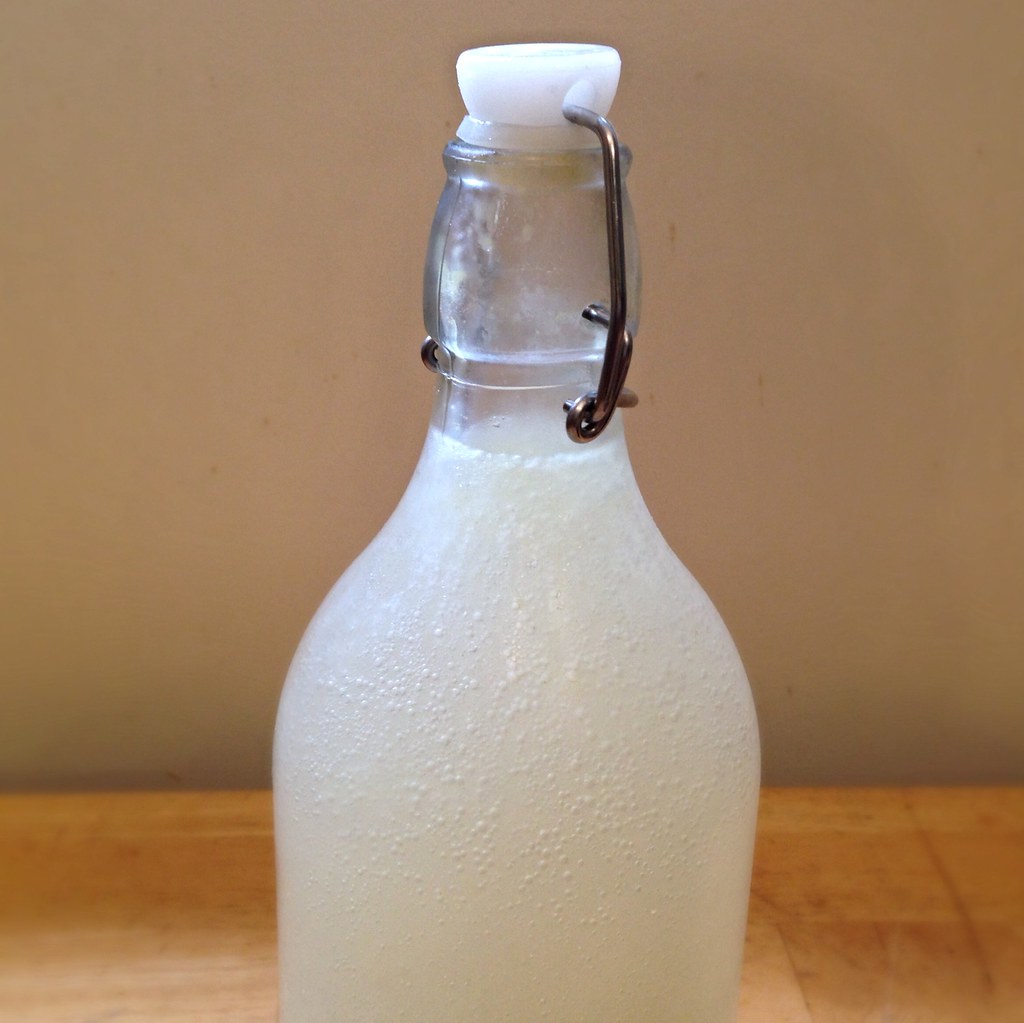
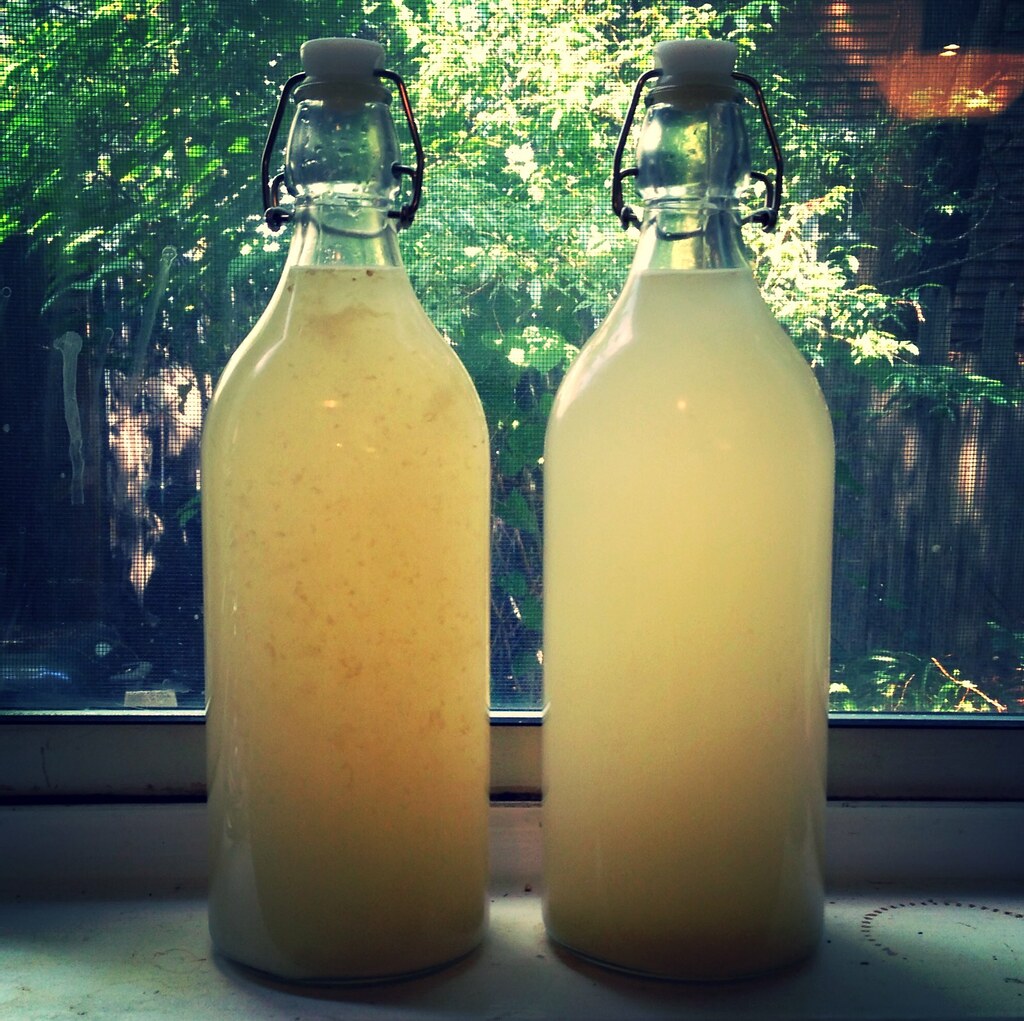
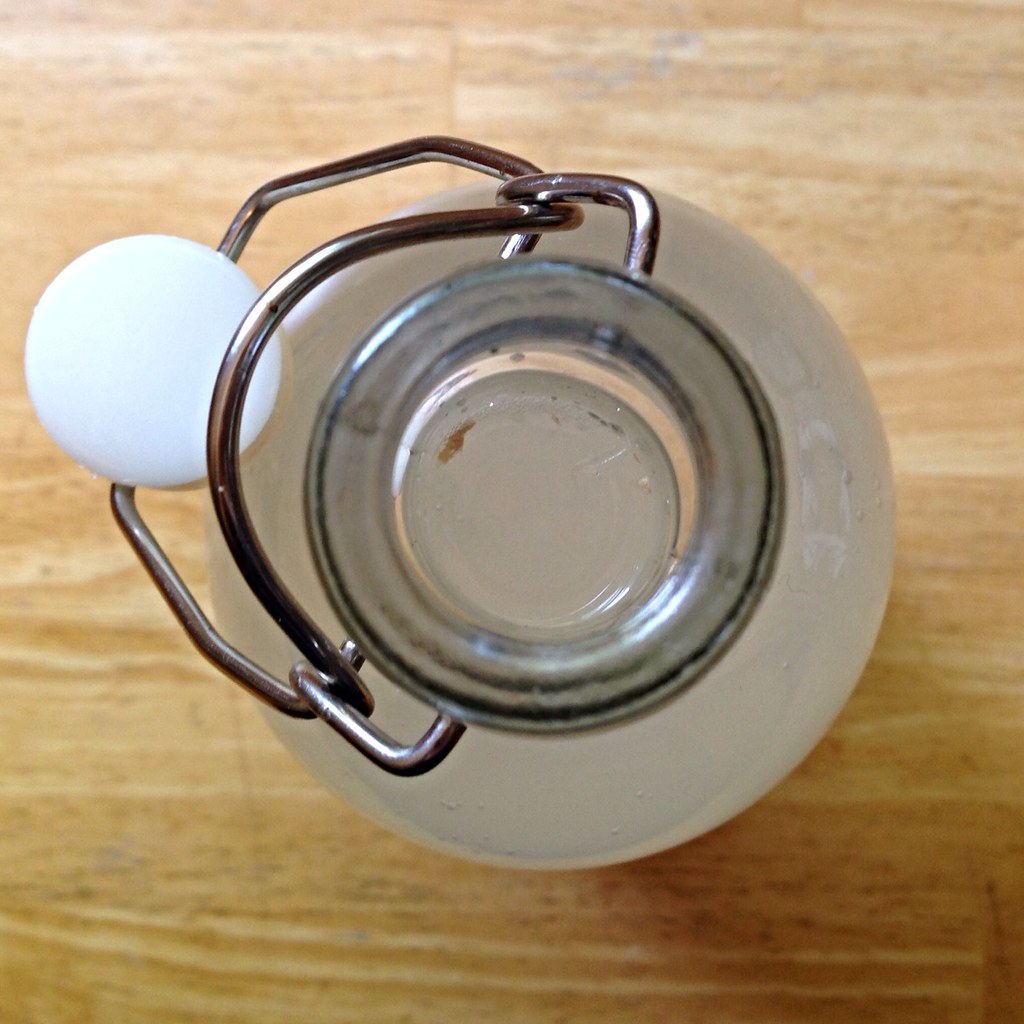
You'll need either one of these glass swing-top bottles or an empty, clean plastic soda bottle.  It's recommended to use the plastic bottle since you can tell when the drink is done fermenting by squeezing the bottle (if it doesn't give, it's done) but since I very rarely have soda bottles at home, I usually just take a chance with the glass bottles.  I'll admit that once or twice I've opened the bottle before it was done, but the non-fizzy beverage is still pretty yummy as long as it's served ice-cold.

https://www.flickr.com/photos/joyosity/9145918247/

The recipe calls for what seems like a lot of sugar, but that's partly because the yeast is going to eat the sugar to make carbon dioxide.  If you want a less sweet drink, you can reduce the amount of sugar, but I wouldn't cut back too much in case you lose out on the fizziness.  I've used "instant" and regular baker's yeast for this, and I don't think it makes much of a difference since it's going into so much water.  And since we're using yeast to produce the carbonation, there's a small amount of alcohol in the finished product.  How much?  Barely enough for me to taste, and I can usually taste alcohol since I dislike the taste so much (see above).

Last note:  you can strain the ginger beer if you really want to get rid of all the sediments, but I never do because the grated ginger doesn't really bother me, and I feel like you'd lose a lot of carbonation during the straining process.  Most of the solids either end up floating on top or settling to the bottom anyways, so it's pretty easy to avoid them if you really want.  If you're not planning on straining the solids out, I'd recommend peeling the ginger before grating it (a spoon works really well for this!).

https://www.flickr.com/photos/joyosity/9147379558

Homemade Ginger Beer (adapted from here)
makes a 1 liter bottle

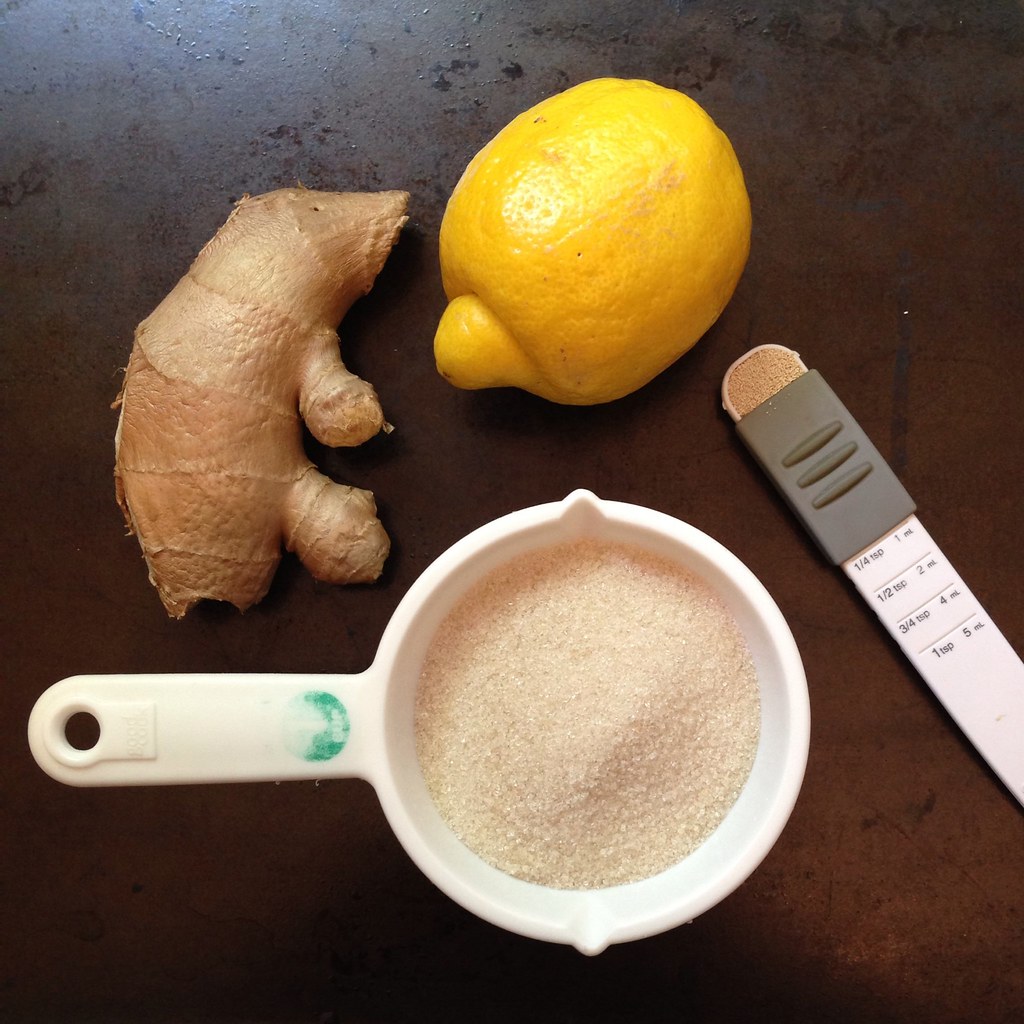
1/2 cup sugar
1/8 teaspoon yeast
1 tablespoon of freshly grated ginger
Juice from half a lemon
Cold spring or filtered water

https://www.flickr.com/photos/joyosity/9147381402

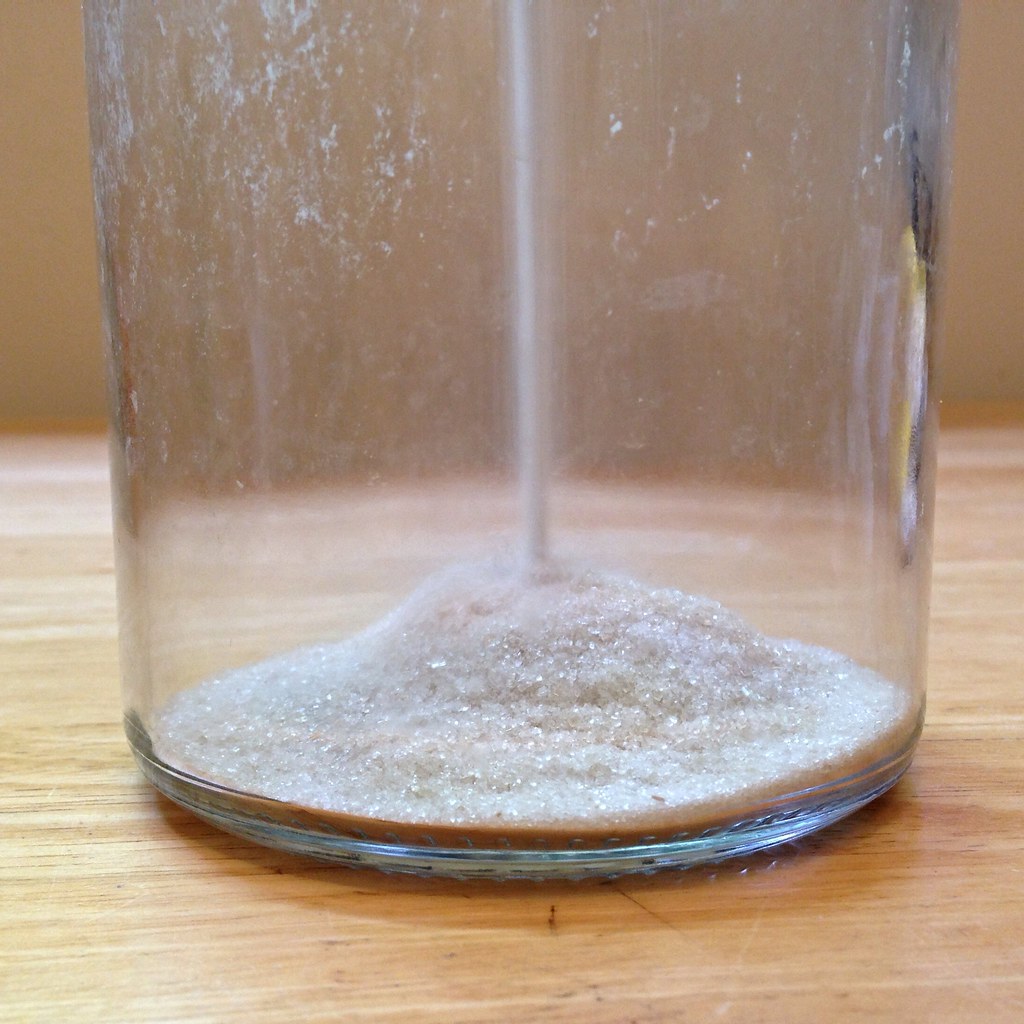
Use a funnel to pour the sugar and yeast into a swing-top 1 liter glass bottle.

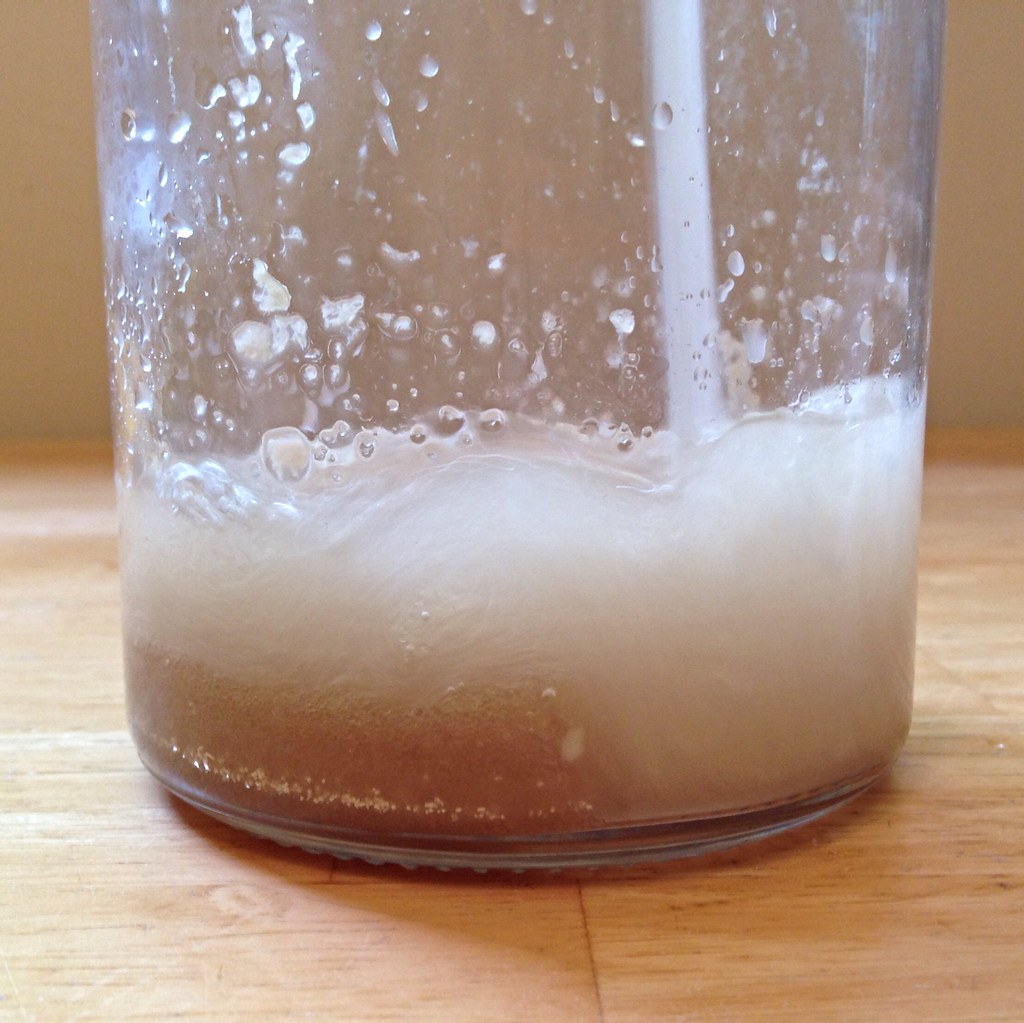
Mix the freshly grated ginger with the lemon juice in a measuring cup with a spout.  Transfer the ginger and lemon juice to the bottle.  Rinse out the measuring cup with some of the cold spring or filtered water and pour that into the bottle.  Fill the bottle about half way with more cold water.

https://www.flickr.com/photos/joyosity/9147425706

Seal the bottle and shake well to mix all the ingredients together.  You want to make sure that all the sugar at the bottom has been mixed into the solution.  Carefully open the bottle and add more water until there is only an inch of air left at the top.  Seal the bottle and shake again.

https://www.flickr.com/photos/joyosity/9145918899

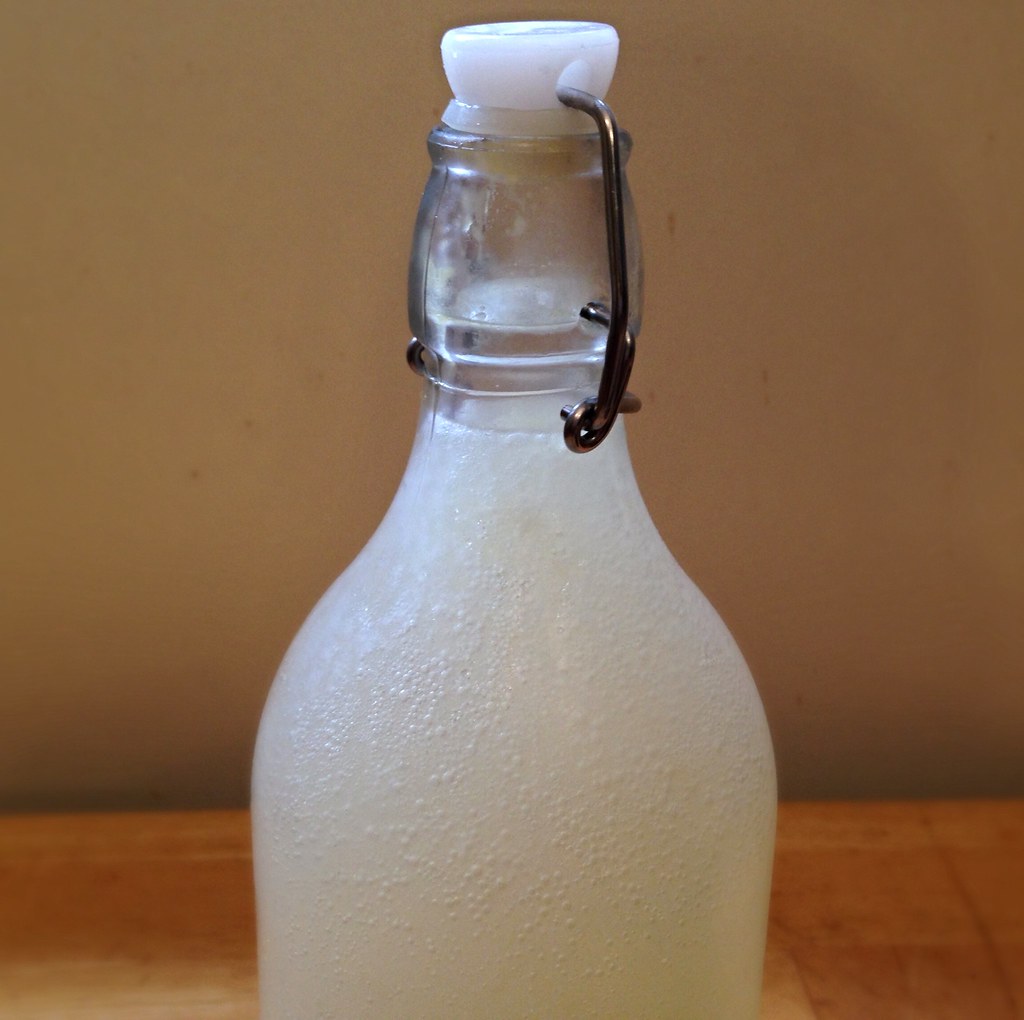
Leave the bottle in a warm place out of direct sunlight (unlike the picture at the very top) for about 2 days and then move to the refrigerator to stop the fermentation.  Sometimes you can tell when it's ready because if you shake the bottle, you'll see bubbles form, but sometimes you don't, and it's still fizzy.  If you really want to make sure the ginger beer is ready, double the recipe and fill up a 2 litter plastic soda bottle.  Test the fermentation by squeezing the bottle; when it doesn't give anymore, it's done.

Pour over ice and enjoy!

https://www.flickr.com/photos/joyosity/9147459764

Next:  Overnight Oats in a Jar
Previously: Blueberry Buttermilk Mini Pies
Five Years Ago:  Black Sesame Ice Cream

Friday, July 19, 2013

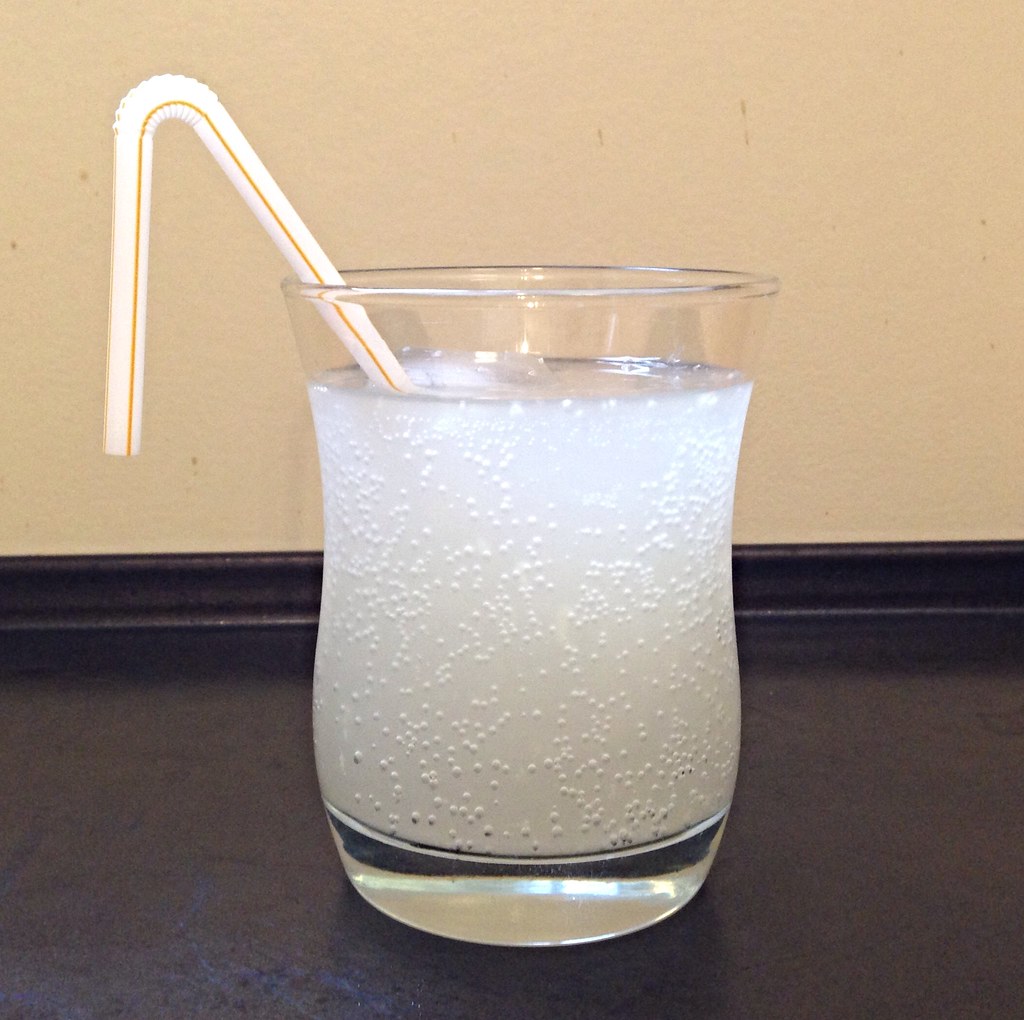
Vanilla Sugar Lemonade and Mint Lemonade Slushies

I had my mac and cheese post all ready to go, but it's just way too hot today to think about turning on the oven or the stove.  So here's another post I've been working on that seems a better match for today's weather.


A couple of weeks ago, Food52 posted a video to show how to make The Best Lemonade You've Ever Had.  Strangely, there was no recipe attached, just a method involving rubbing the lemons in the sugar to scent them before making a simple syrup out of the sugar.  You had to dig into the comments to find that they recommend using equal volumes of lemon juice and simple syrup and that the simple syrup was made with equal volumes of the lemon scented sugar and water.


I tried the method, and on a whim, decided to use vanilla sugar* instead of plain sugar.  Wow.  This was definitely the best lemonade I had ever had.  It's been over a week since I made it, and I've made it several times since then, but I still can't put into words what makes it so great.  The vanilla just elevates the lemonade to another level but in a subtle, understated way.


Vanilla Sugar Lemonade (adapted from Food52)
makes 4 servings

2 large organic lemons, washed and dried
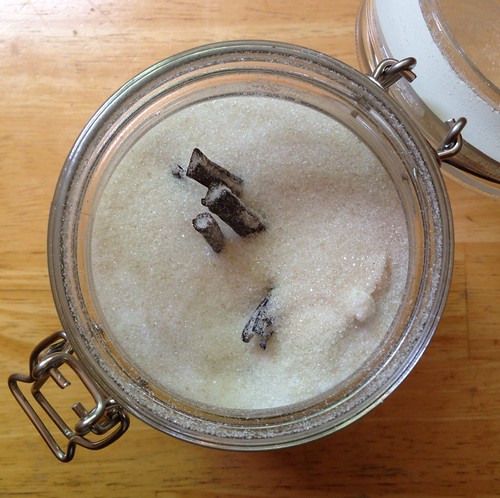
1/2 cup vanilla sugar*
Water


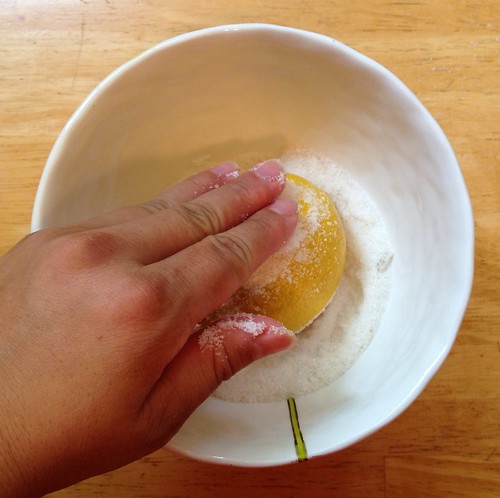
Place the sugar in a wide bowl.  One at a time, rub the outside of the lemons with the vanilla sugar.  Wipe off any sugar that remains on the lemons back into the bowl.


Roll the lemons on a hard surface to make juicing easier.  Slice the lemons in half and juice into a measuring cup.  I was able to get a little more than half a cup of juice.


Add more sugar if you want to match the volume of lemon juice.  Add an equal volume of hot water to the sugar and stir until dissolved to make a simple syrup.


Add the lemon juice and simple syrup to a pitcher or bottle.  Dilute with enough cold water to taste.  I add about 4 parts cold water to 1 part lemon juice/simple syrup solution.  It's still just the tiniest bit too strong for me to drink straight up but perfect once you add a few cubes of ice.  =)


*To make the vanilla sugar, I've been adding the spent vanilla bean pods to an air-tight container of sugar every time I make something that uses fresh vanilla beans.  After letting it sit there for a few days, the sugar absorbs the scent of the vanilla and becomes vanilla sugar!  You can use it in just about anything sweet:  cookies, cakes, ice cream, etc.


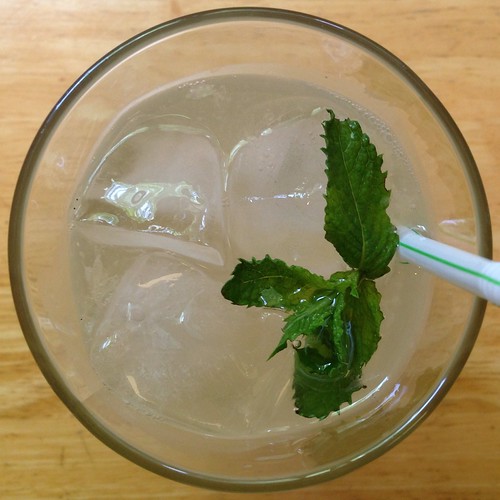
Then a couple of days ago I get a text from my friend Paula asking me if I wanted any of the mint she and her family had just picked from their backyard!  I immediately accepted even though I wasn't sure what I would do with it yet.  Then when I was making my third batch of lemonade in probably as many days, I started wondering if maybe I could rub the mint with the sugar and add some mint flavor to the lemonade that way.


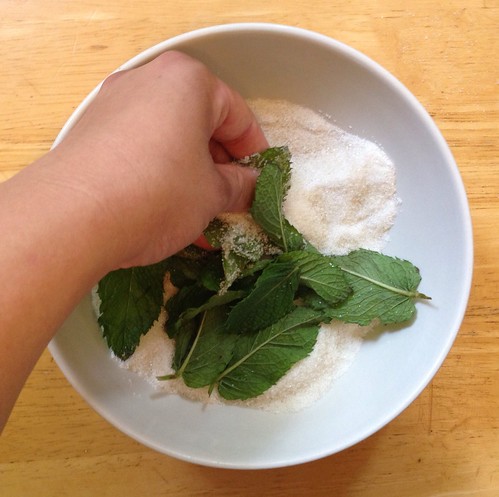
So after rubbing the lemons in the sugar, I dropped in a handful of mint leaves and rubbed those all around.  I left the leaves in the sugar while pouring the hot water in and let it steep for a bit before straining out the leaves.  I found that I was able to extract a lot of the mint flavor this way without having to leave the mint leaves in the actual lemonade.  And if you really like the taste of mint, I'd recommend tearing the mint leaves up before adding them to the sugar to release even more oils.


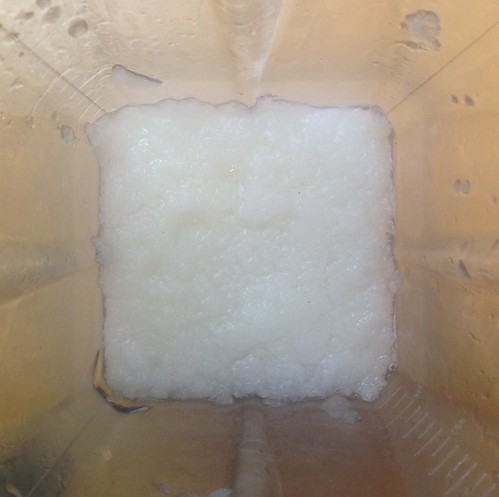
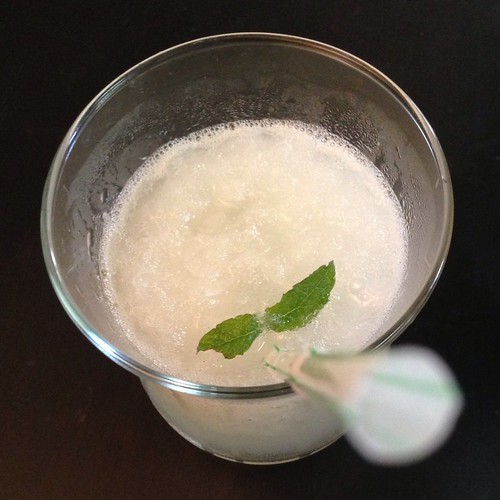
To take it one step further, I decided to blend the mint lemonade with some ice to make a mint lemonade slushie, inspired by Ilene's post.


Yisss....

Next:  Martha Stewart's Perfect Macaroni and Cheese
Previously:  French Toast Face Off