Showing posts with label vanilla. Show all posts

Wednesday, November 26, 2014

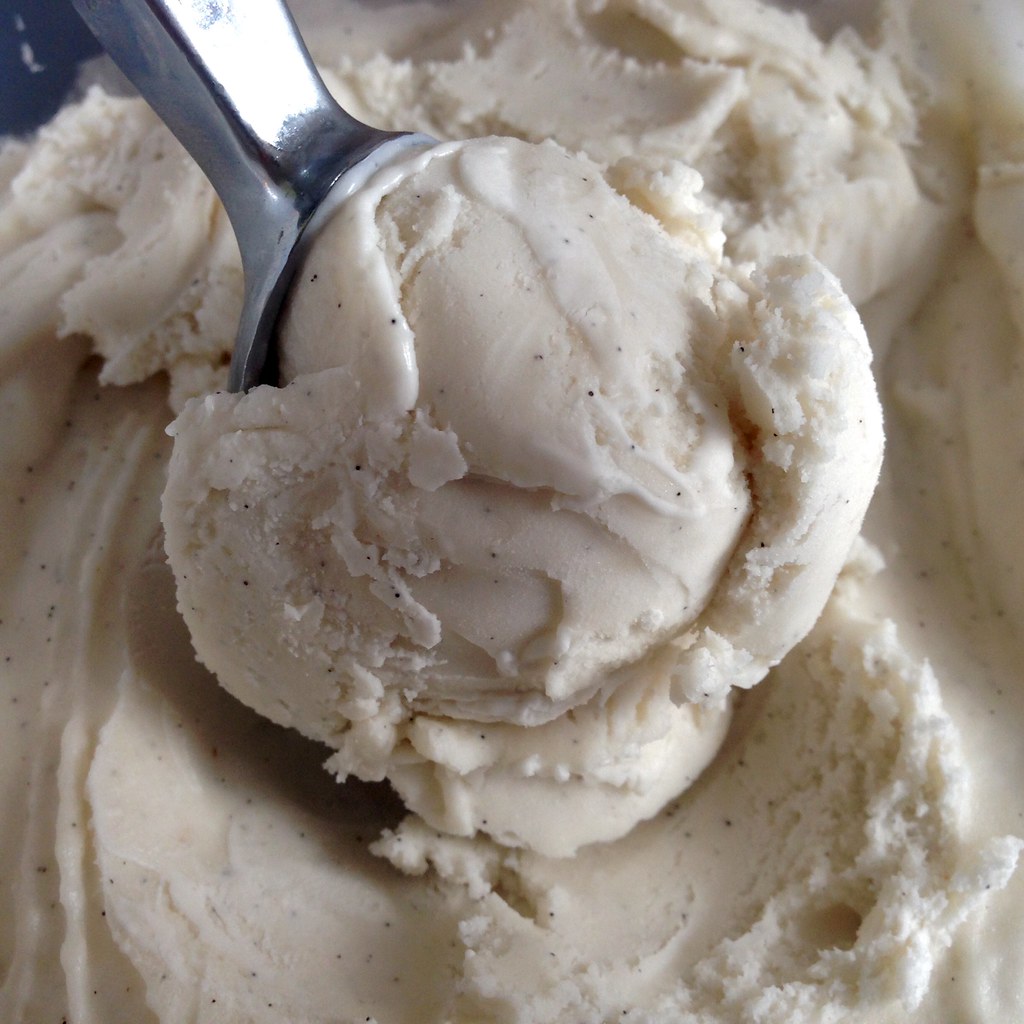
Jeni's Crème Sans Lait (Dairy-Free Ice Cream)

https://www.flickr.com/photos/joyosity/15872847295/

I don't think I will ever stop raving about Jeni's ice cream recipes.  I've made her Backyard Mint Ice Cream with Dark Chocolate Freckles, her Sweet Corn Ice Cream with Black Raspberry Swirl, her Pluot Lambic Sorbet, her Cranberry Royale Sorbet, and her Salty Vanilla Frozen Custard with great success.  The best part, though, is that it's really easy to adapt her ice cream base to make your own creations!  I've made a Tim Tam Slam ice cream (Tim Tams in a coffee ice cream), a Coconut Ice Cream with Mango Passion Caramel Swirl, a Rosemary Honey and Lemon Frozen Yogurt, a Matcha Green Tea Ice Cream with Match Mochi Bits, and a Sticky Toffee Pudding Ice Cream all using her ice cream base recipe.

I've experimented with making a vegan ice cream before, and found it to be pretty good, but I was excited to see that Jeni had included her own version of a vegan ice cream in her new book, Jeni's Splendid Ice Cream Desserts (thanks for the housewarming gift, Ellen!).  She uses a combination of almond milk, tapioca starch, raw cashews, and coconut oil in the Crème Sans Lait (French for cream without milk) to simulate the texture of frozen cream and milk.  I tweaked the recipe so that there were less containers to wash; with these directions you end up only using one saucepan and a blender to make the base!

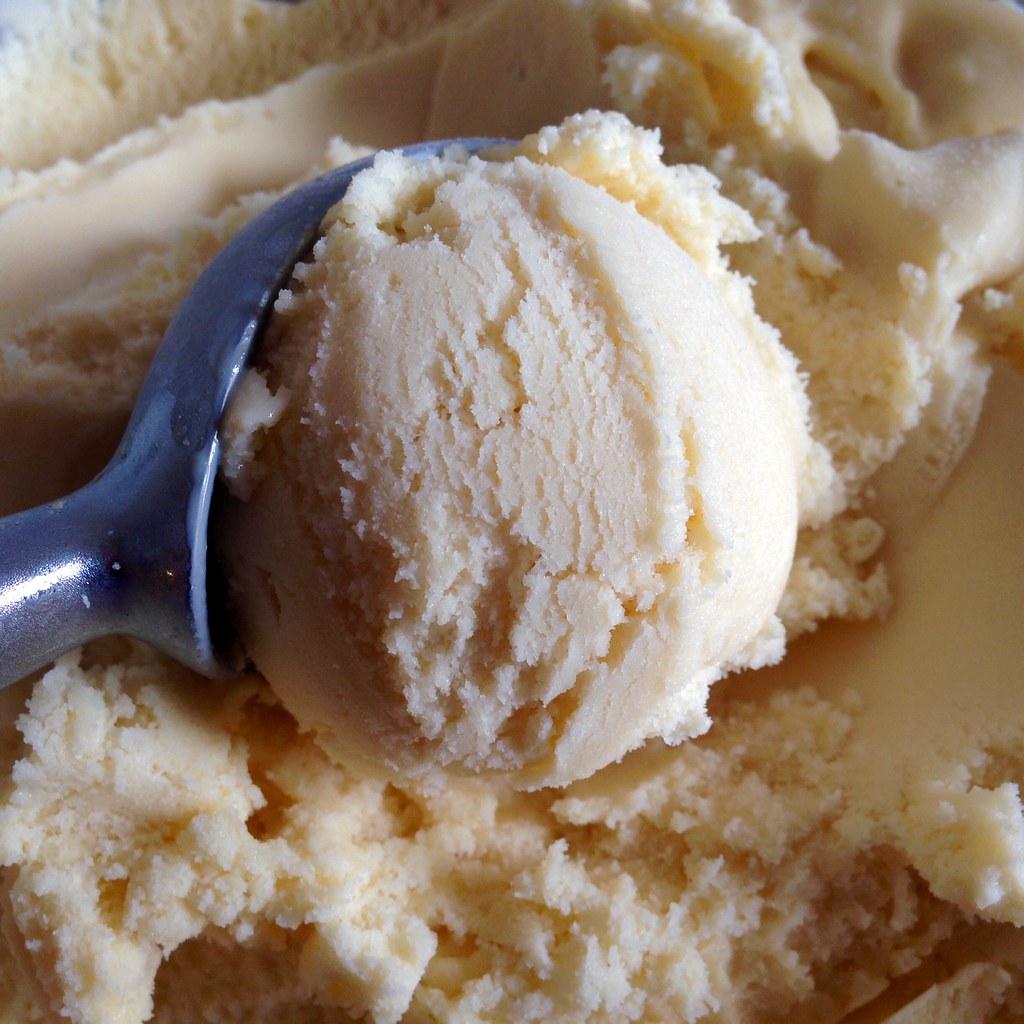
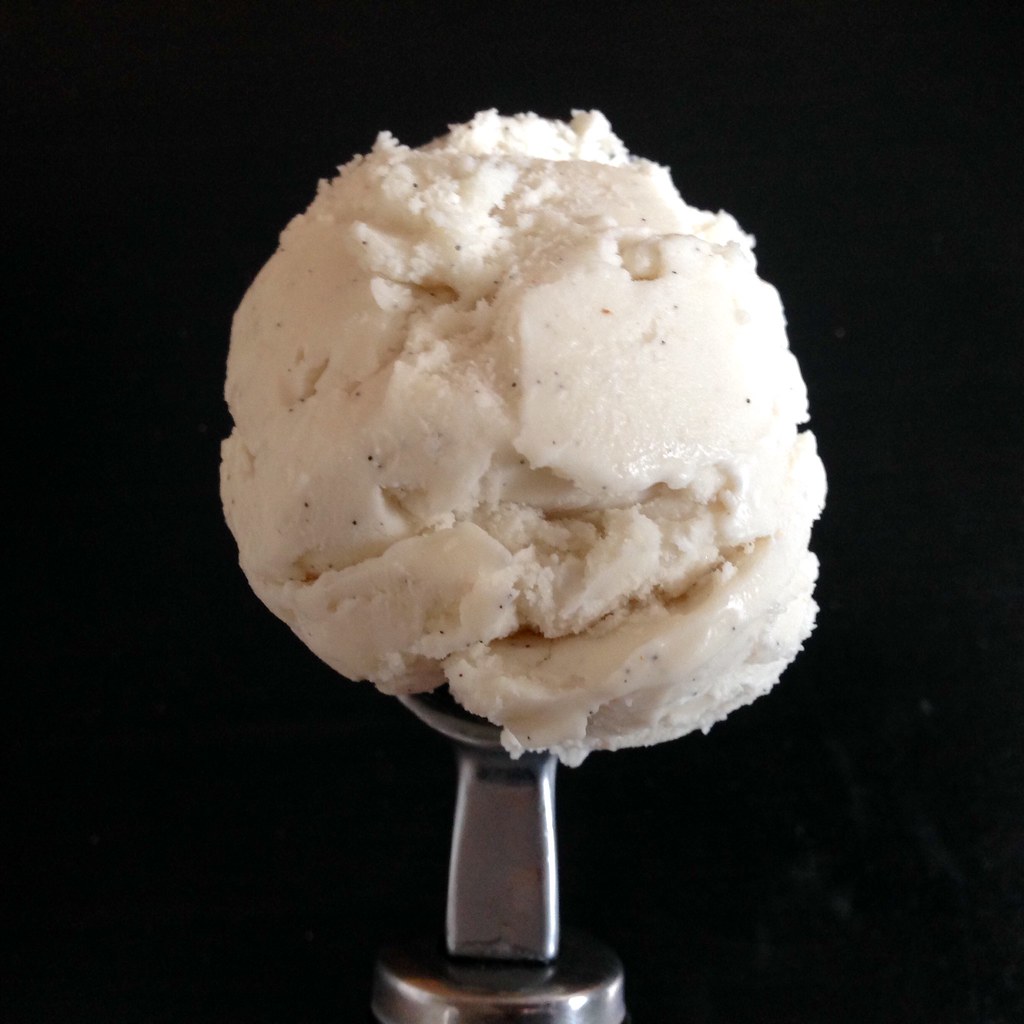
When you taste it, you're going to notice immediately that it's not real ice cream.  But, it is the best vegan ice cream I've ever had.  It's incredibly creamy, which I think comes from the coconut oil, but it doesn't taste like coconuts or cashews or almonds; it just tastes like real vanilla.  I love that it scoops and melts like real ice cream, and it goes great with pies, cakes, and all the other desserts you'll have for Thanksgiving!
https://www.flickr.com/photos/joyosity/15686829119/

Jeni's Crème Sans Lait (Dairy-Free Ice Cream) from Jeni's Splendid Ice Cream Desserts
makes about 1 quart

2 3/4 cups almond milk, divided
2 tablespoons tapioca starch
1/2 cup raw cashews
1 1/4 cups refined coconut oil, at room temperature
2/3 cup sugar
1/3 cup light corn syrup
1 vanilla bean, split, seeds scraped out, seeds and bean reserved

Pulverize the raw cashews into a very fine paste in a good blender.  Add the coconut oil and blend until combined. Fill a large bowl with ice and water.

Combine the 2 1/2 cups of almond milk, the sugar, corn syrup, and vanilla seeds and bean pod in a 4-quart saucepan and heat over medium-high heat until bubbling.  Mix the remaining 1/4 cup of almond milk with the tapioca starch in the measuring cup you used to make a smooth slurry.

Drizzle the tapioca starch slurry into the bubbling almond milk mixture, and stir well. Bring the mixture to a boil over medium-high heat, reduce to a simmer, and let simmer for 30 seconds until the mixture thickens slightly. Remove from the heat.

Remove the vanilla bean and pour the mixture into the blender with the cashews and coconut oil. Blend on high for 3 minutes to homogenize. Then pour the mixture into a 1-gallon Ziploc bag and submerge the sealed bag in the ice bath. Let stand, adding more ice as necessary, until cold, about 30 minutes.

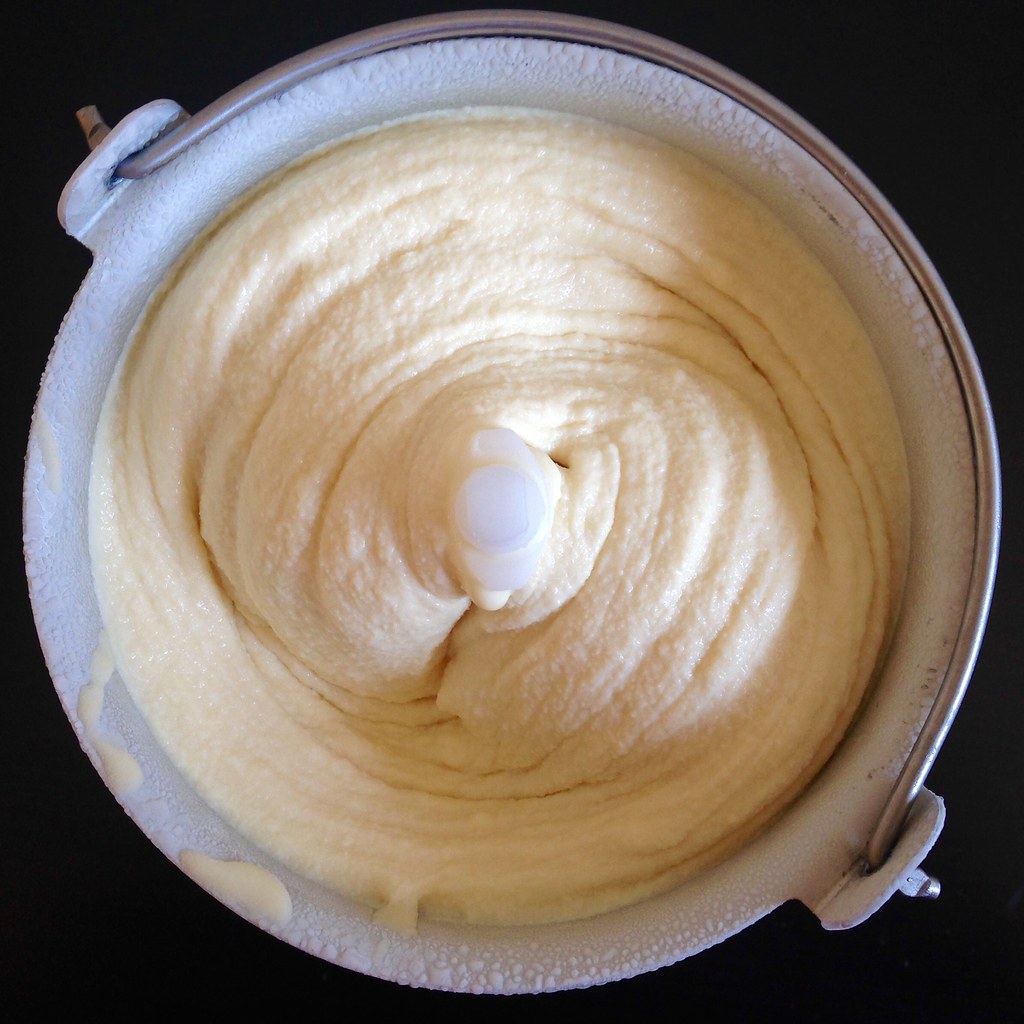
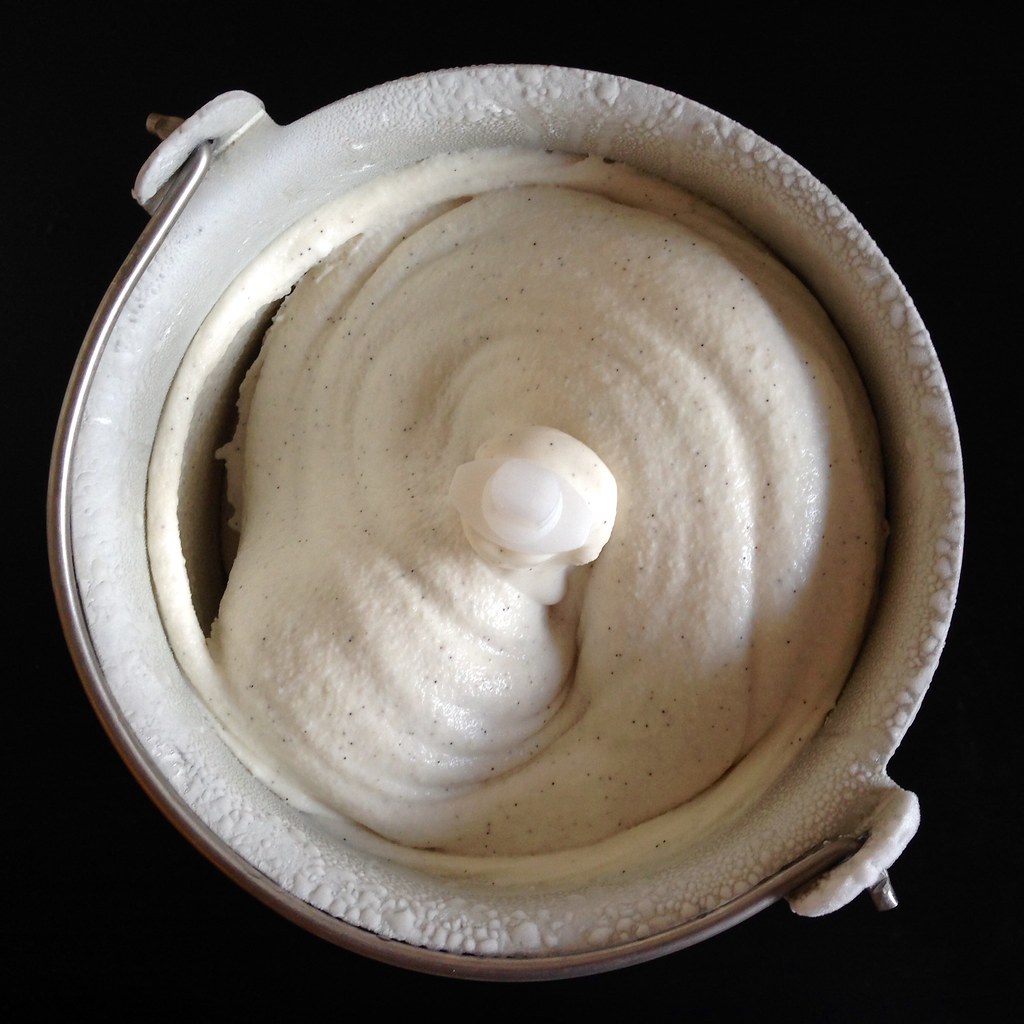
Remove the frozen canister from the freezer, assemble your ice cream machine, and turn it on. Pour the crème base into the canister and spin until thick and creamy. Pack the crème into a storage container. Press a sheet of parchment directly against the surface, and seal with an airtight lid. Freeze in the coldest part of your freezer until firm, at least 4 hours.
https://www.flickr.com/photos/joyosity/15872203882/

Next:  Pull-Apart Thanksgiving Leftover Stuffed Bread
Previously:  Cranberry-Port Gelée
Last Year:  Cheese Fondue Stuffed Roasted Pumpkin
Two Years Ago:  Ramen Cabbage Salad
Five Years Ago:  Apple-Pear-Cranberry Crisp

Thursday, October 16, 2014

Jeni's Salty Vanilla Frozen Custard

https://www.flickr.com/photos/joyosity/15146148990/

Most homemade ice cream recipes call for using egg yolks to reduce the iciness and increase the body of the ice cream since most consumer ice cream machines can't produce the same texture of commercially produced ice creams.  Then Jeni Britton Bauer came along with her genius eggless ice cream base that used cornstarch to thicken and cream cheese to provide the protein.  Since I don't usually like tasting eggs in the ice creams I make, I've been using her ice cream base for years with amazing results.

https://www.flickr.com/photos/joyosity/15332560542/

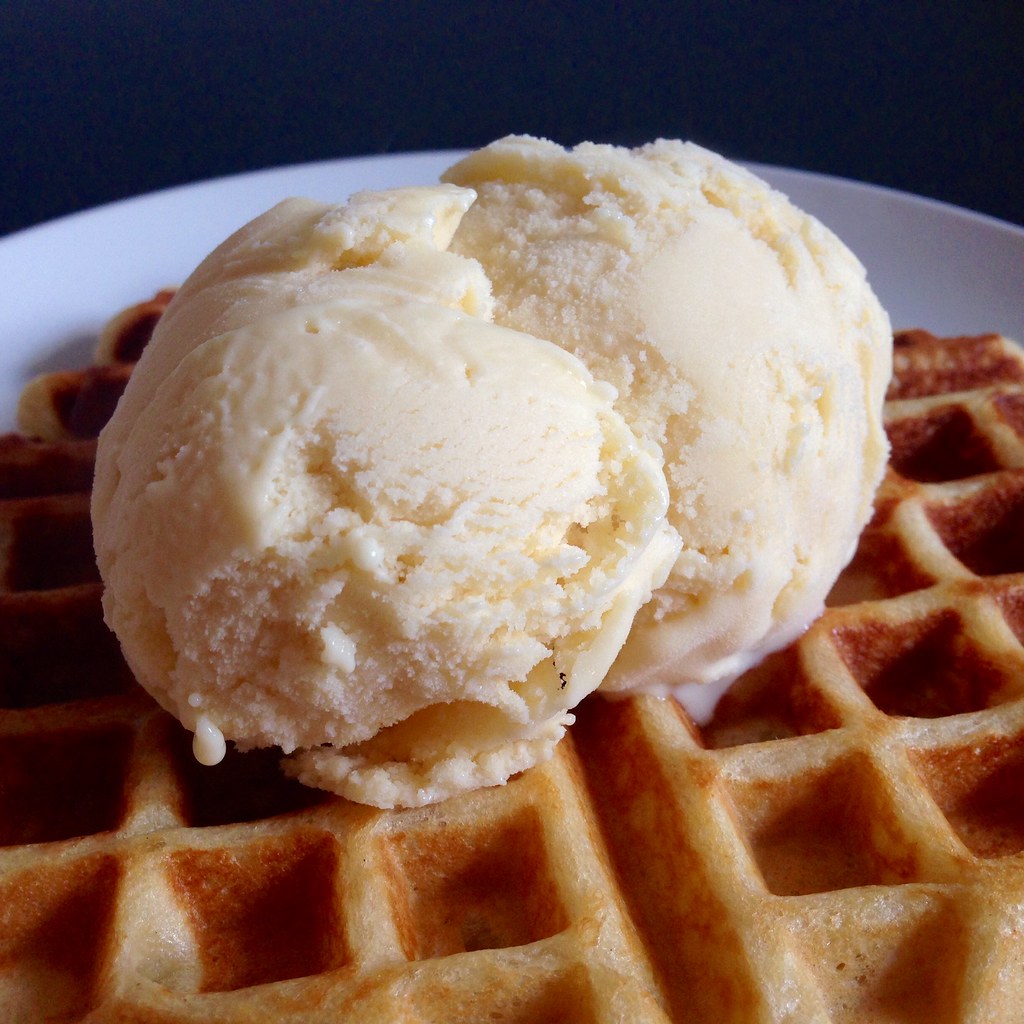
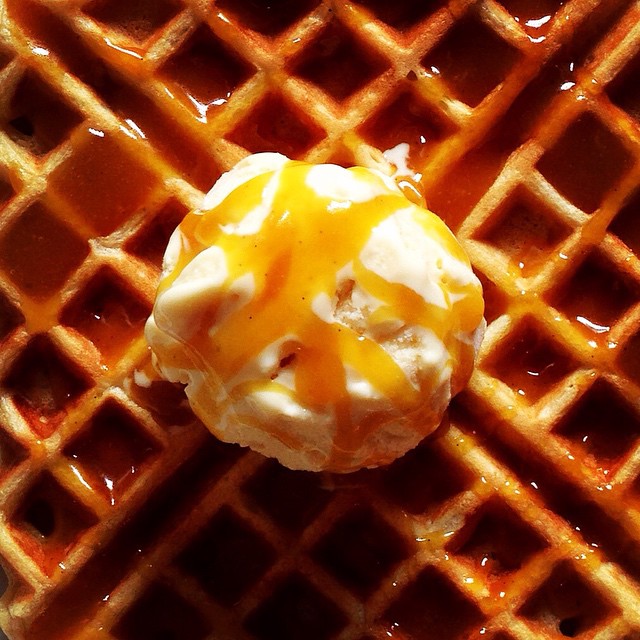
So when Jeni came out with a new book which included a recipe for a frozen custard, I knew I had to try it to see if I would like it as much as her other ice creams.  The answer, my friends, is a wholehearted yes!!!  This is basically the French vanilla ice cream of my dreams.  It's rich with vanilla flavor that's deepened with the addition of salt.  Instead of being an unwanted distraction, the egg yolks truly belong here. I couldn't stop eating this by the spoonful while it sat in the freezer to harden after churning.  While it's great by itself, it goes perfect with pies and waffles and anything else you can think of!  Do yourself a favor and try it on a waffle topped with mango passion caramel sauce.  You can thank me later.  ^_^

https://www.flickr.com/photos/joyosity/14928697694/

Jeni's Salty Vanilla Frozen Custard (from Jeni's Splendid Ice Cream Desserts)
makes about 1 quart

2 3/4 cups whole milk
6 large egg yolks
1 tablespoon plus 2 teaspoons cornstarch
2 tablespoons cream cheese, softened
3/4 teaspoon fine sea salt
3 teaspoons vanilla extract
1 cup heavy cream
3/4 cup sugar
2 tablespoons light corn syrup

Mix about 2 tablespoons of the milk, the egg yolks, and cornstarch in a small bowl and set aside. Whisk the cream cheese, salt, and vanilla in a medium bowl until smooth. Fill a large bowl with ice and water.

Combine the remaining milk, the cream, sugar, and corn syrup in a 4-quart saucepan, bring to a boil over medium-high heat, and boil for 4 minutes. Remove from the heat and gradually add about 2 cups of the hot milk mixture to the egg yolk mixture, one ladleful at a time, stirring well after each addition. Pour the mixture back into the saucepan and heat over medium heat, stirring constantly with a heatproof spatula, just until the mixture comes to a boil. Remove from the heat and strain through a sieve if necessary.

Gradually whisk the hot milk mixture into the cream cheese mixture until smooth. Pour the mixture into a 1-gallon Ziploc freezer bag and submerge the sealed bag in the ice bath. Let stand, adding more ice as necessary, until cold, about 30 minutes.

Remove the frozen canister from the freezer, assemble your ice cream machine, and turn it on. Pour the custard base into the canister and spin until thick and creamy.

Pack the custard into a storage container. Press a sheet of parchment directly against the surface and seal with an airtight lid. Freeze in the coldest part of your freezer until firm, at least 4 hours.

https://www.flickr.com/photos/joyosity/15332556612/

Next:  Elote-Style Cornbread Waffles
Previously:  Indonesian Avocado Milkshake
Last Year:  Pão de Queijo (Brazilian Cheese Bread)
Two Years Ago:  Magical Pumpkin Spice Latte

Friday, July 19, 2013

Vanilla Sugar Lemonade and Mint Lemonade Slushies

I had my mac and cheese post all ready to go, but it's just way too hot today to think about turning on the oven or the stove.  So here's another post I've been working on that seems a better match for today's weather.


A couple of weeks ago, Food52 posted a video to show how to make The Best Lemonade You've Ever Had.  Strangely, there was no recipe attached, just a method involving rubbing the lemons in the sugar to scent them before making a simple syrup out of the sugar.  You had to dig into the comments to find that they recommend using equal volumes of lemon juice and simple syrup and that the simple syrup was made with equal volumes of the lemon scented sugar and water.


I tried the method, and on a whim, decided to use vanilla sugar* instead of plain sugar.  Wow.  This was definitely the best lemonade I had ever had.  It's been over a week since I made it, and I've made it several times since then, but I still can't put into words what makes it so great.  The vanilla just elevates the lemonade to another level but in a subtle, understated way.


Vanilla Sugar Lemonade (adapted from Food52)
makes 4 servings

2 large organic lemons, washed and dried
1/2 cup vanilla sugar*
Water


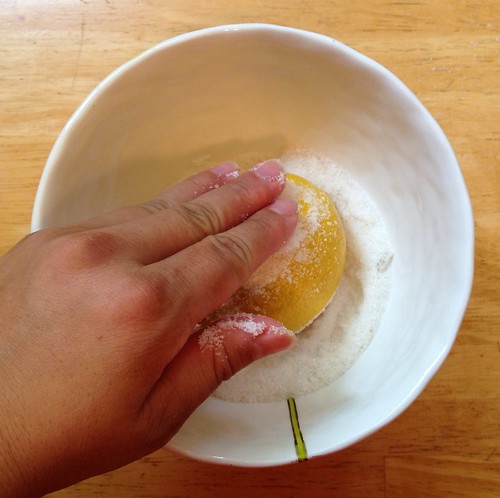
Place the sugar in a wide bowl.  One at a time, rub the outside of the lemons with the vanilla sugar.  Wipe off any sugar that remains on the lemons back into the bowl.


Roll the lemons on a hard surface to make juicing easier.  Slice the lemons in half and juice into a measuring cup.  I was able to get a little more than half a cup of juice.


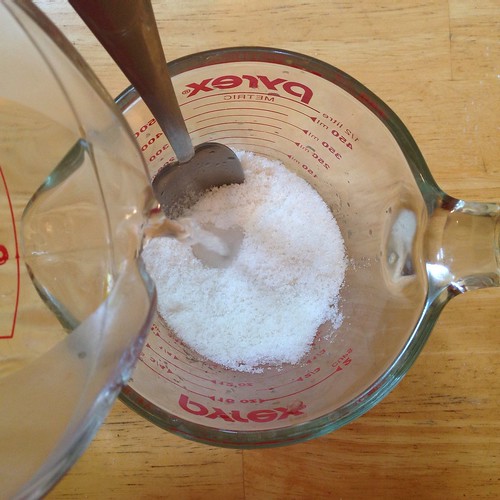
Add more sugar if you want to match the volume of lemon juice.  Add an equal volume of hot water to the sugar and stir until dissolved to make a simple syrup.


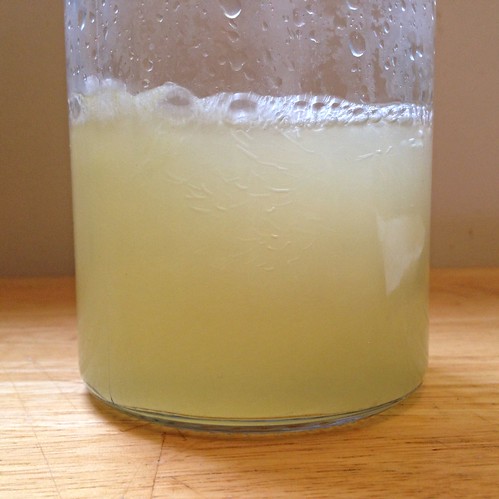
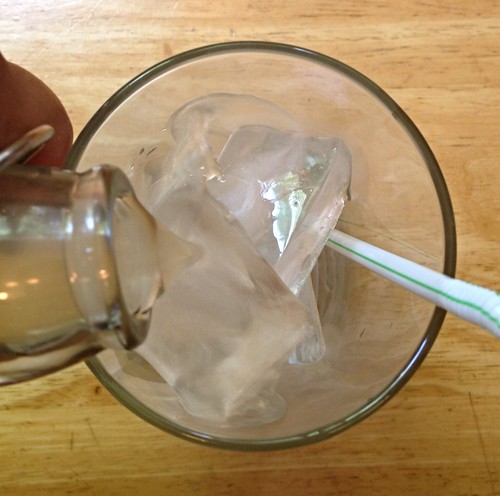
Add the lemon juice and simple syrup to a pitcher or bottle.  Dilute with enough cold water to taste.  I add about 4 parts cold water to 1 part lemon juice/simple syrup solution.  It's still just the tiniest bit too strong for me to drink straight up but perfect once you add a few cubes of ice.  =)


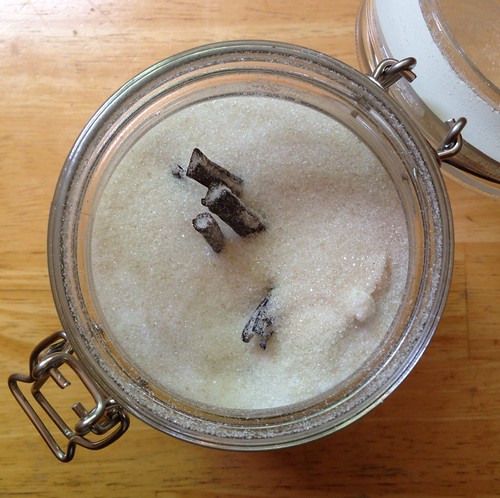
*To make the vanilla sugar, I've been adding the spent vanilla bean pods to an air-tight container of sugar every time I make something that uses fresh vanilla beans.  After letting it sit there for a few days, the sugar absorbs the scent of the vanilla and becomes vanilla sugar!  You can use it in just about anything sweet:  cookies, cakes, ice cream, etc.


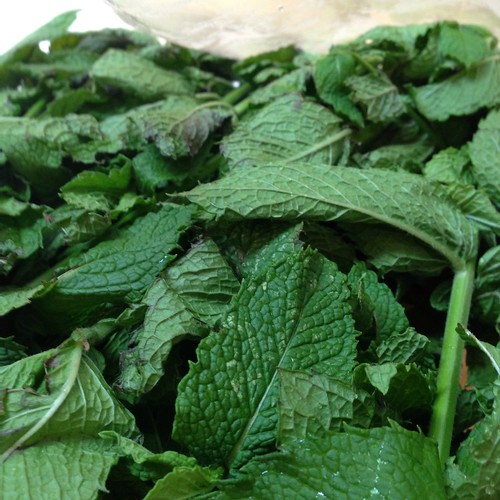
Then a couple of days ago I get a text from my friend Paula asking me if I wanted any of the mint she and her family had just picked from their backyard!  I immediately accepted even though I wasn't sure what I would do with it yet.  Then when I was making my third batch of lemonade in probably as many days, I started wondering if maybe I could rub the mint with the sugar and add some mint flavor to the lemonade that way.


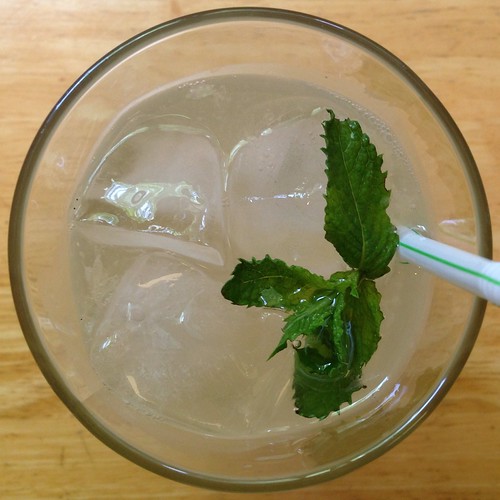
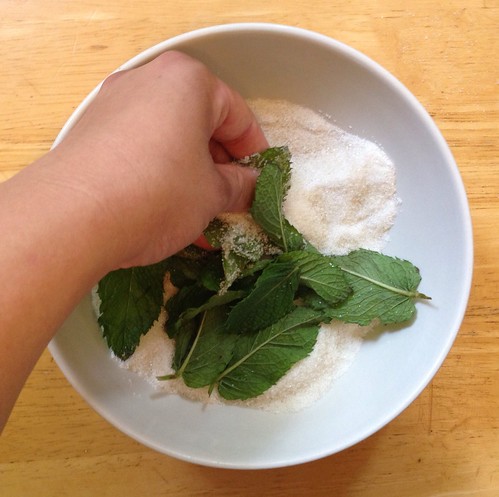
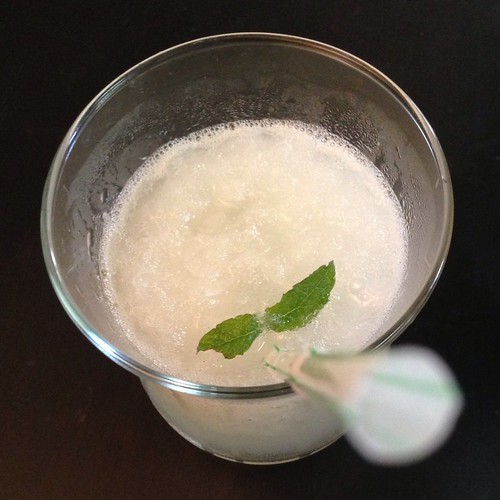
So after rubbing the lemons in the sugar, I dropped in a handful of mint leaves and rubbed those all around.  I left the leaves in the sugar while pouring the hot water in and let it steep for a bit before straining out the leaves.  I found that I was able to extract a lot of the mint flavor this way without having to leave the mint leaves in the actual lemonade.  And if you really like the taste of mint, I'd recommend tearing the mint leaves up before adding them to the sugar to release even more oils.


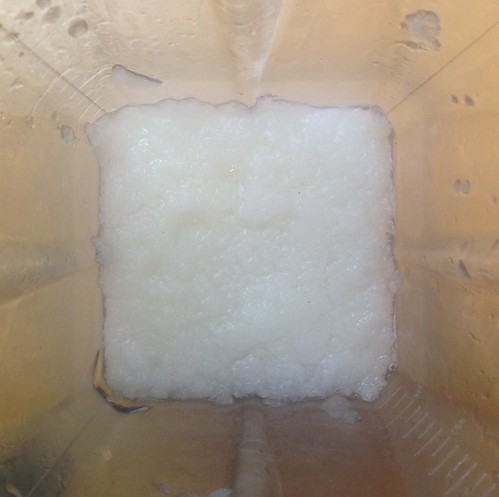
To take it one step further, I decided to blend the mint lemonade with some ice to make a mint lemonade slushie, inspired by Ilene's post.


Yisss....

Next:  Martha Stewart's Perfect Macaroni and Cheese
Previously:  French Toast Face Off

Monday, February 4, 2013

Vanilla & Cinnamon Marshmallows

I begged my friend, Andy, to throw a "Winter Warmer" just so I could have an excuse to make these marshmallows.  They're perfect for dunking in hot chocolate, toasting over a flame, or even just eating by themselves.

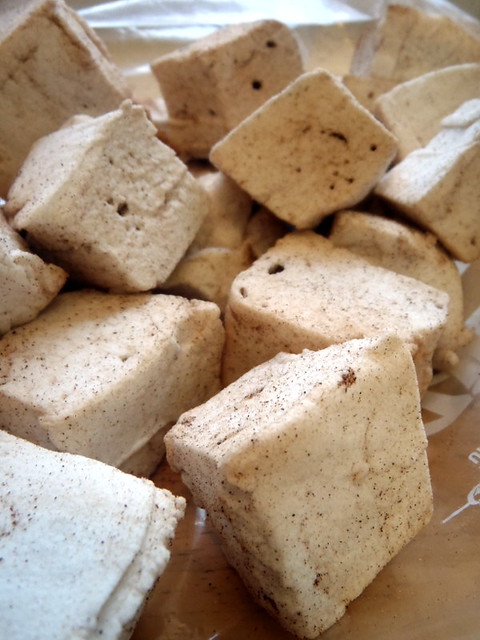
Cinnamon marshmallows
 
Vanilla & Cinnamon Marshmallows (adapted from Smitten Kitchen)
Makes about 96 1-inch cubed marshmallows

About 1 cup confectioners sugar
3 1/2 envelopes (2 tablespoons plus 2 1/2 teaspoons) unflavored gelatin
1 cup cold water, divided
2 cups sugar
1/2 cup light corn syrup
1/4 teaspoon salt
2 large egg whites, at room temperature
1 tablespoon vanilla
Ground cinnamon

Oil bottom and sides of a 13- by 9- by 2-inch rectangular metal baking pan and dust bottom and sides with some confectioners’ sugar.

P1223221
 
In bowl of a standing electric mixer or in a large bowl sprinkle gelatin over 1/2 cup cold cold water, and let stand to soften.  (It's not written in the SK recipe, but see how the top layer of gelatin powder doesn't get wet?  Don't leave it like that; stir it around a little so that it's all combined, which I failed to do with this batch, although if you forget, it's not the end of the world.)

P1223223
 
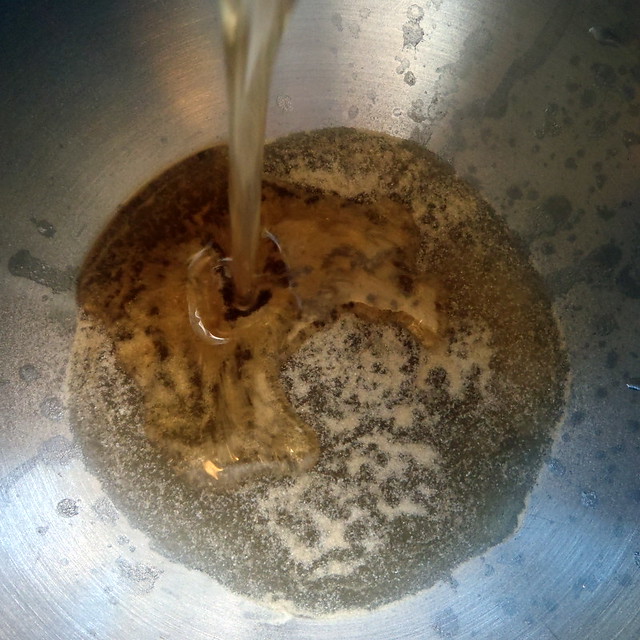
In a 3-quart heavy saucepan cook granulated sugar, corn syrup, second 1/2 cup of cold water, and salt over low heat, stirring with a wooden spoon, until sugar is dissolved. Increase heat to moderate and boil mixture, without stirring, until a candy or digital thermometer registers 240°F, about 12 minutes. Remove pan from heat and pour sugar mixture over gelatin mixture, stirring until gelatin is dissolved.  (At this point it's going to smell really bad, and you're going to wonder if the marshmallows will even be edible.  They will be, trust me.)

P1223228
 
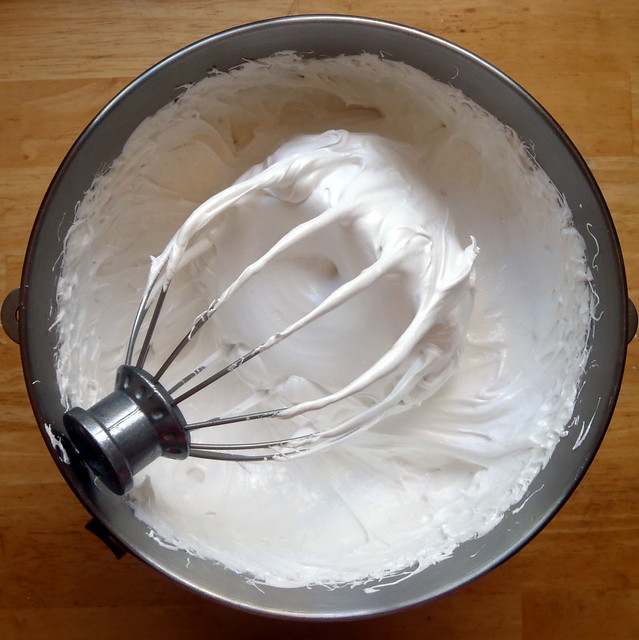
With standing mixer beat mixture on high speed until white, thick, and nearly tripled in volume, about six minutes.

P1223229
 
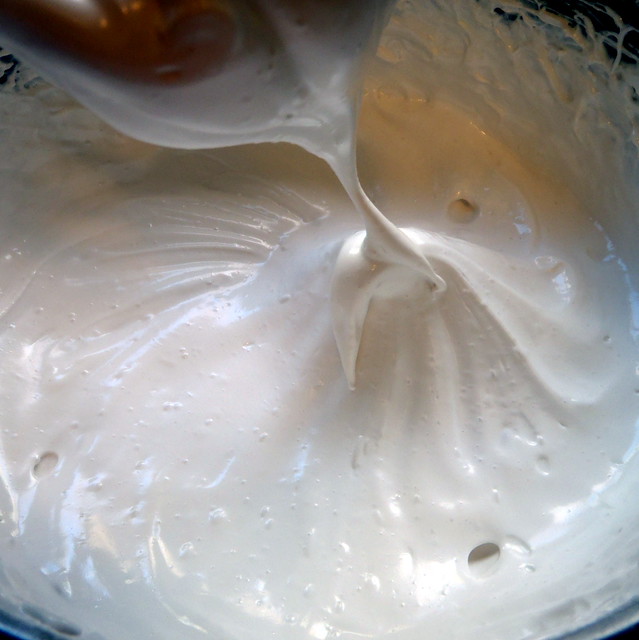
In separate medium bowl with cleaned beaters beat egg whites until they just hold stiff peaks. Beat whites and vanilla into sugar mixture until just combined.

P1223231
 
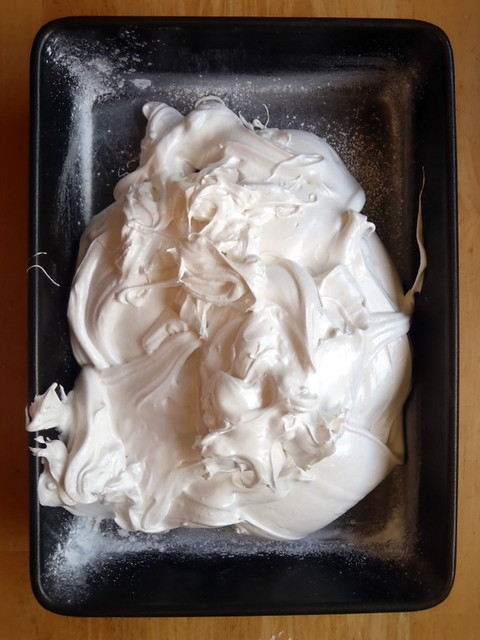
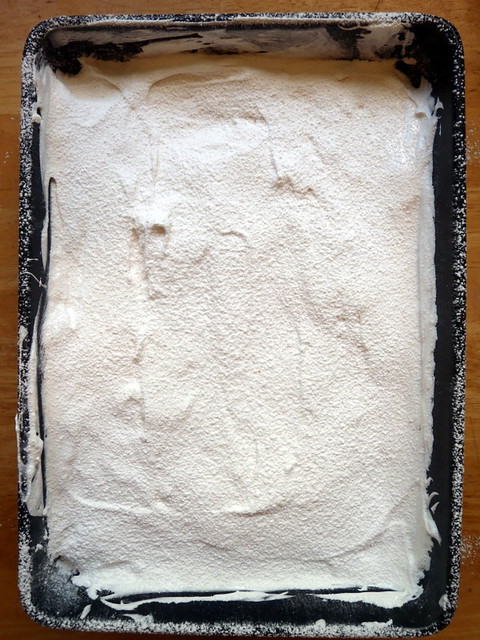
Pour mixture into baking pan. Sift 1/4 cup confectioners sugar evenly over top.

P1223234
 
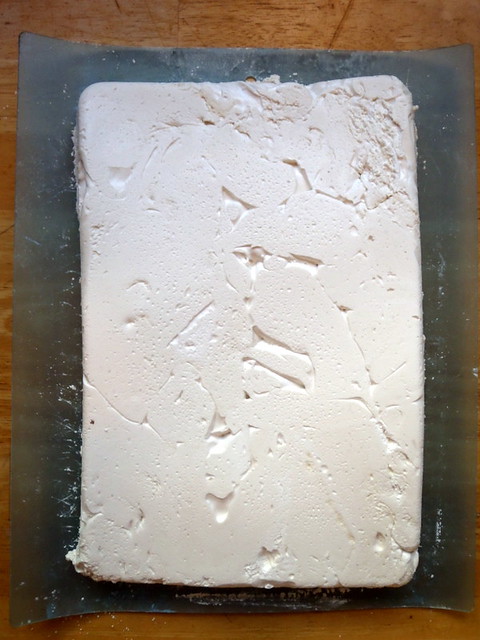
Chill marshmallow, uncovered, until firm, at least three hours, and up to one day.

P1223235
 
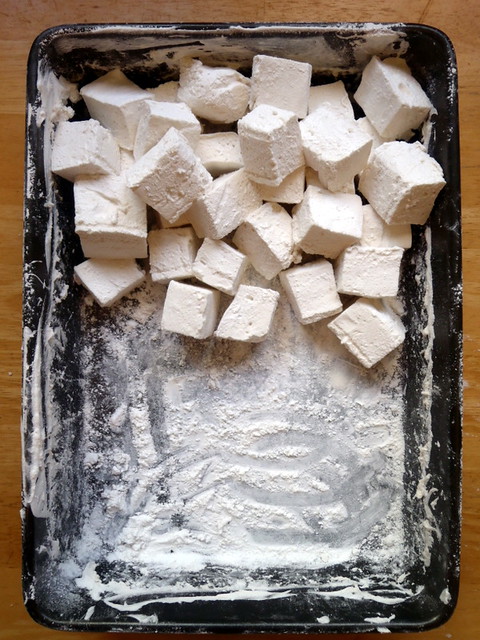
Run a thin knife around edges of pan and invert pan onto a large cutting board. Lifting up one corner of inverted pan, with fingers loosen marshmallow and ease onto cutting board. With a large knife cut marshmallow into roughly one-inch cubes. (An oiled pizza cutter works well here too.)

Coating the marshmallows
 
Sift remaining confectioners’ sugar back into your now-empty baking pan, and roll the marshmallows through it, on all six sides, before shaking off the excess and packing them away.  (I found it was easiest to do this in batches rather than all at once.)

Vanilla marshmallows
 
Marshmallows keep in an airtight container at cool room temperature 1 week.

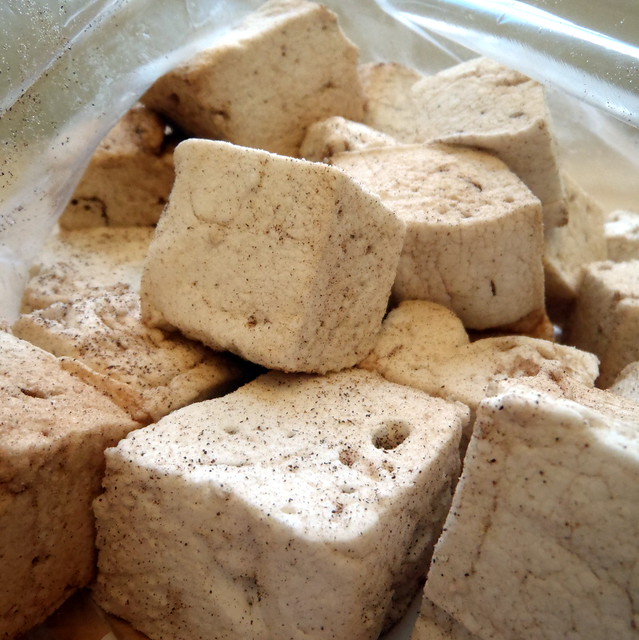
This is where the recipe from Smitten Kitchen stops.  I tasted the marshmallows at this point, and they were perfect in texture--springy and fluffy just like she promised.  The taste was just a little too...one dimensional for me, though.  Vanilla in its other definition.  It was too late to add any wet ingredients like another flavor extract, but then I thought, what if I just toss it with some cinnamon?  Cinnamon and sugar are such a great flavor combination already (think cinnamon toast or snickerdoodles), it couldn't hurt to try.  So I plopped a few marshmallows in a gallon-sized Ziploc bag and sprinkled in a few dashes of ground cinnamon.  A few shakes later, the cinnamon was pretty evenly distributed.

Cinnamon marshmallows
 
It came down to the taste test:  would it be enough?  Too strong?  It turned out perfect!  The cinnamon added just enough spicy heat to give the marshmallows some depth while still remaining light and airy.  Unfortunately I didn't measure out how much cinnamon I tossed in there; it was literally just a couple of shakes.  I'd say start off with a little, shake, and taste.  If you want, you can always add more, but it's pretty hard to remove the cinnamon if you add too much.

Next:  Passion Fruit Marshmallows
Previously:  Homemade Bagels
Four years ago:  Toasted Coconut Ice Cream with Sesame Brittle and Crystallized Ginger