Showing posts with label passion fruit. Show all posts

Tuesday, August 12, 2014

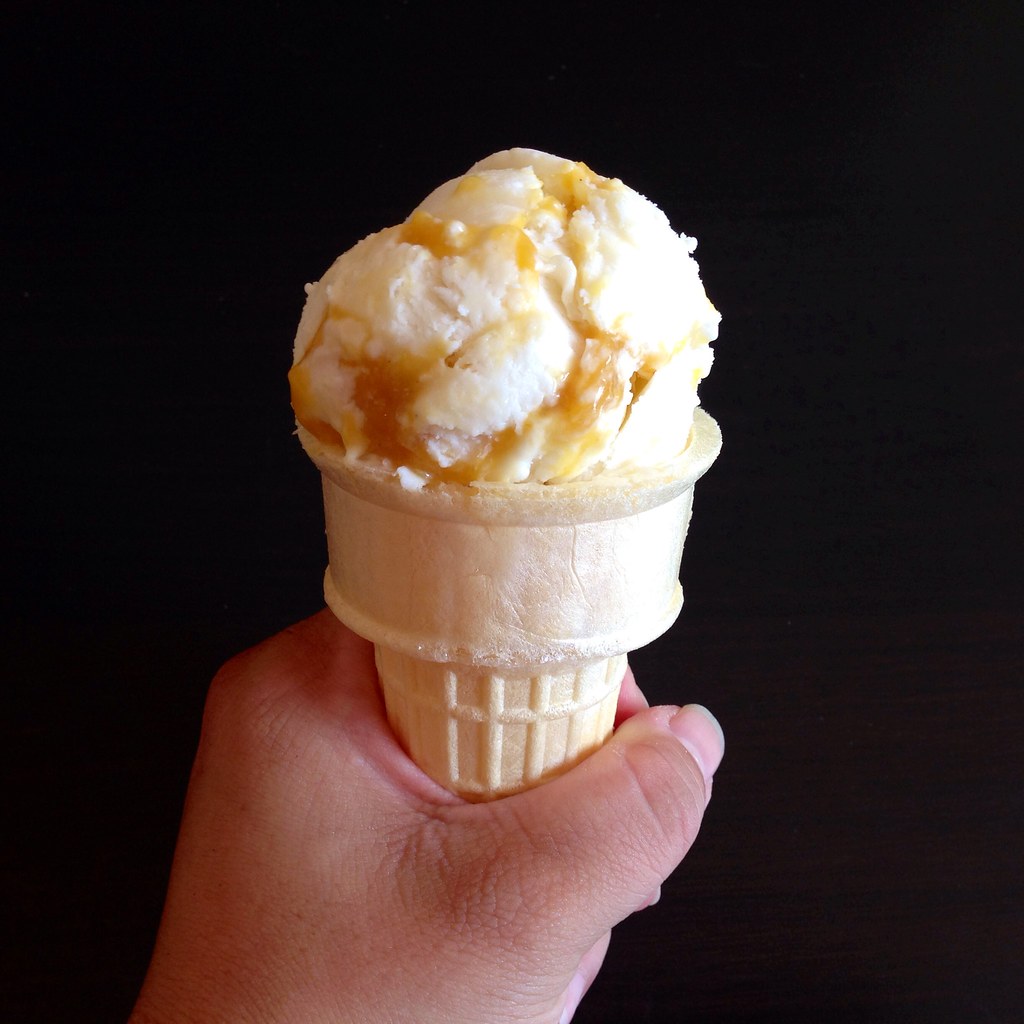
Coconut Ice Cream with Mango Passion Caramel Swirl

https://www.flickr.com/photos/joyosity/14878833631/

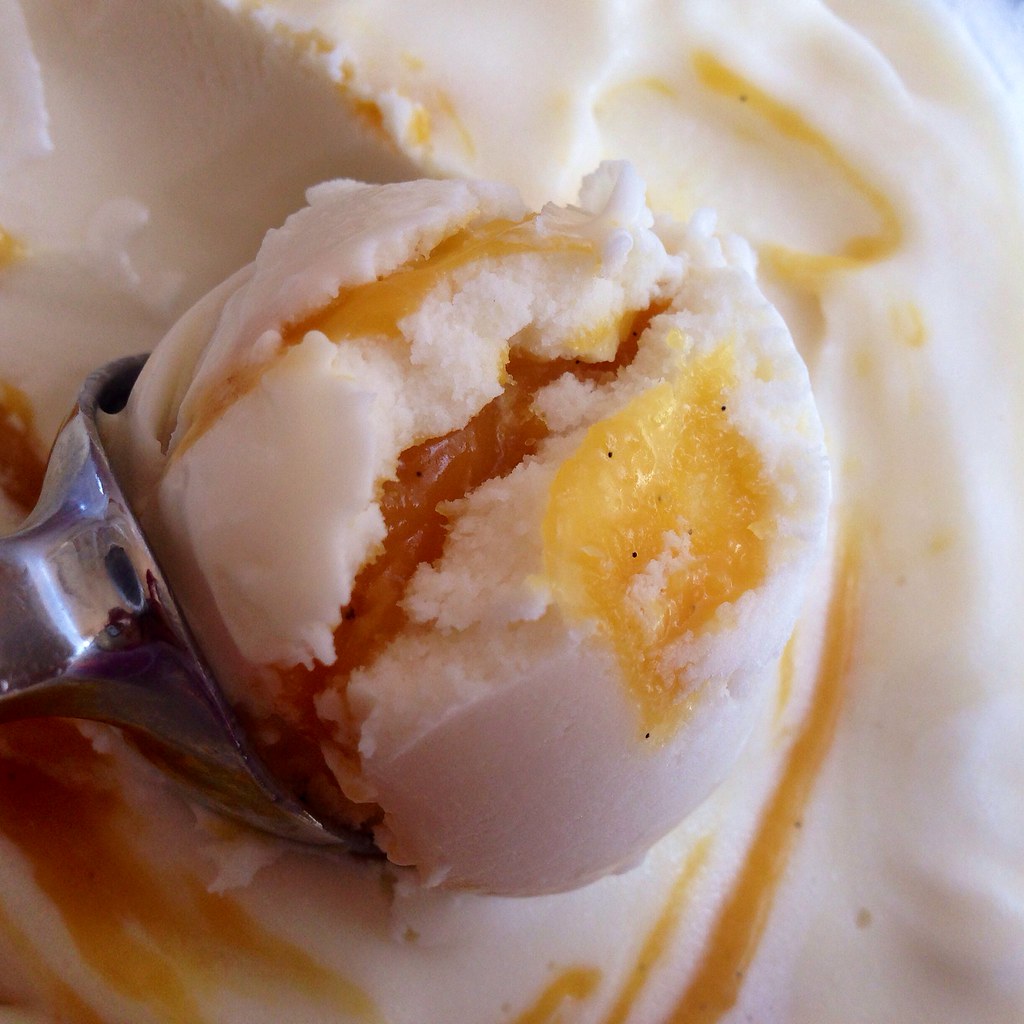
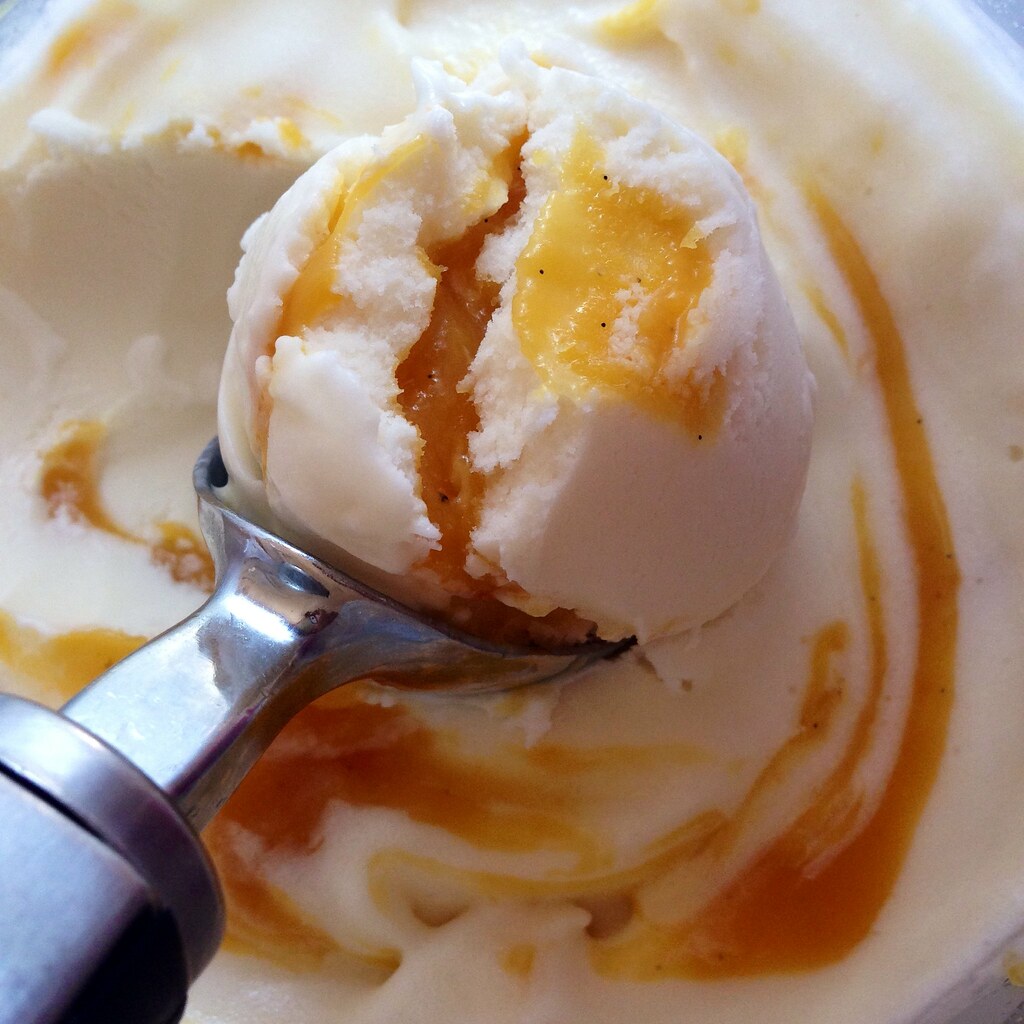
When I messed up my first batch of mango passion caramels by making something more akin to caramel sauce, I knew I didn't want to waste it so I poured it into a jar and left it in my fridge until I could figure out what to do with it.  Since it didn't turn hard when frozen, it seemed ideal to swirl into an ice cream...a white ice cream would be good to showcase the color...what would go well with mango and passion fruit...coconut ice cream!

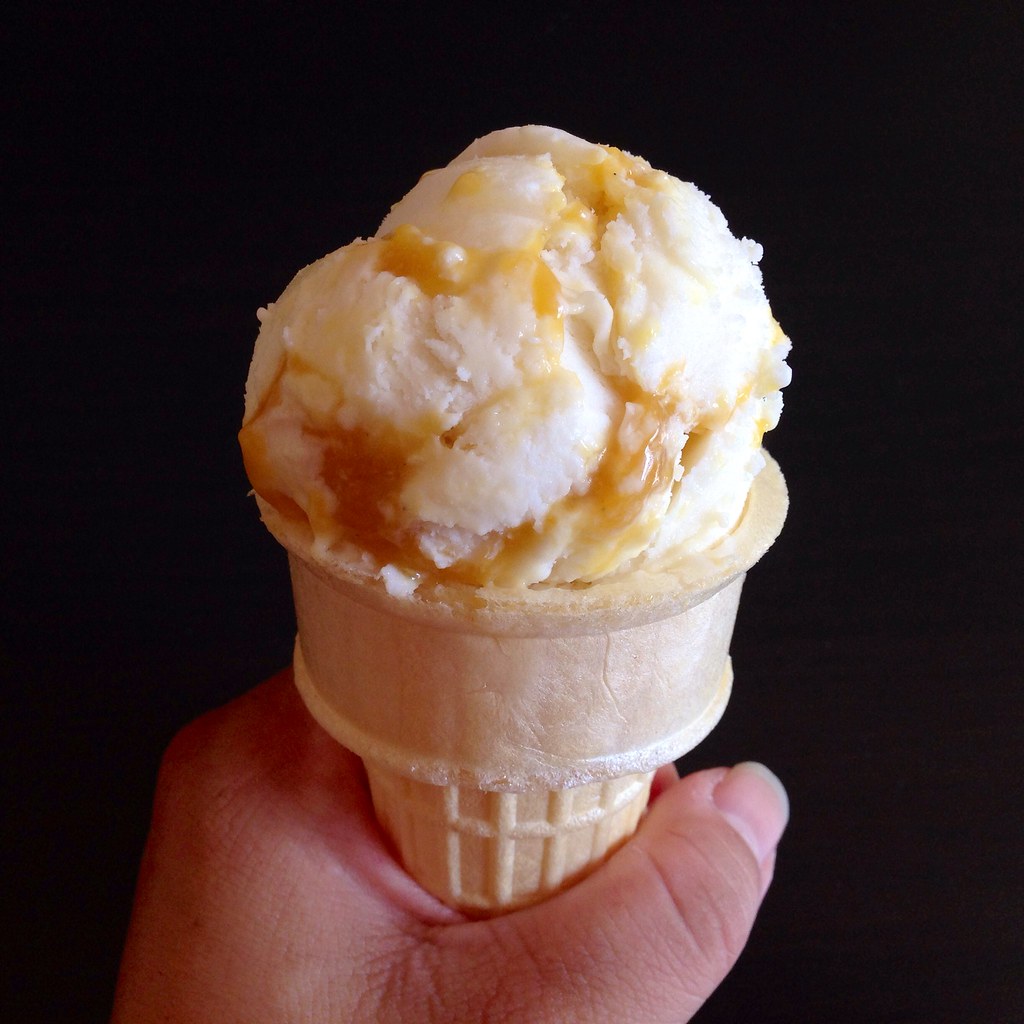
I've made a few coconut ice creams before, but this time I wanted to try making one using Jeni's ice cream base as a template.  Her Bangkok Peanut ice cream used some coconut milk, but I decided to amp up the coconut flavor by using a whole can of coconut milk and cutting back on the whole milk and heavy cream.  The result is unbelievably creamy and a perfect balance for the tart mango passion caramel swirl.  Eating this ice cream is like a free trip to a tropical island!

https://www.flickr.com/photos/joyosity/14879431644/

Coconut Ice Cream with Mango Passion Caramel Swirl
makes about 1 quart

3/4 cup whole milk
1 tablespoon plus 1 teaspoon cornstarch
3 tablespoons cream cheese, softened
1/8 teaspoon kosher salt
13.5 oz. can coconut milk (not light)
1/2 cup heavy cream
2/3 cup sugar
2 tablespoons light corn syrup
Mango Passion Caramel Sauce*

Mix about 2 tablespoons of the milk with the cornstarch in a small bowl to make a smooth slurry.  Whisk the cream cheese and salt in a medium bowl until smooth.

Combine the remaining milk, the coconut milk, cream, sugar, and corn syrup in a 4-quart saucepan.  Bring to a rolling boil over medium-high heat and boil for 4 minutes.  Remove from heat and gradually whisk in the cornstarch slurry.

Return the mixture to a boil over medium-high heat and cook, stirring until the mixture is slightly thickened, about 1 minute.  Remove from heat.

https://www.flickr.com/photos/joyosity/14858890626/

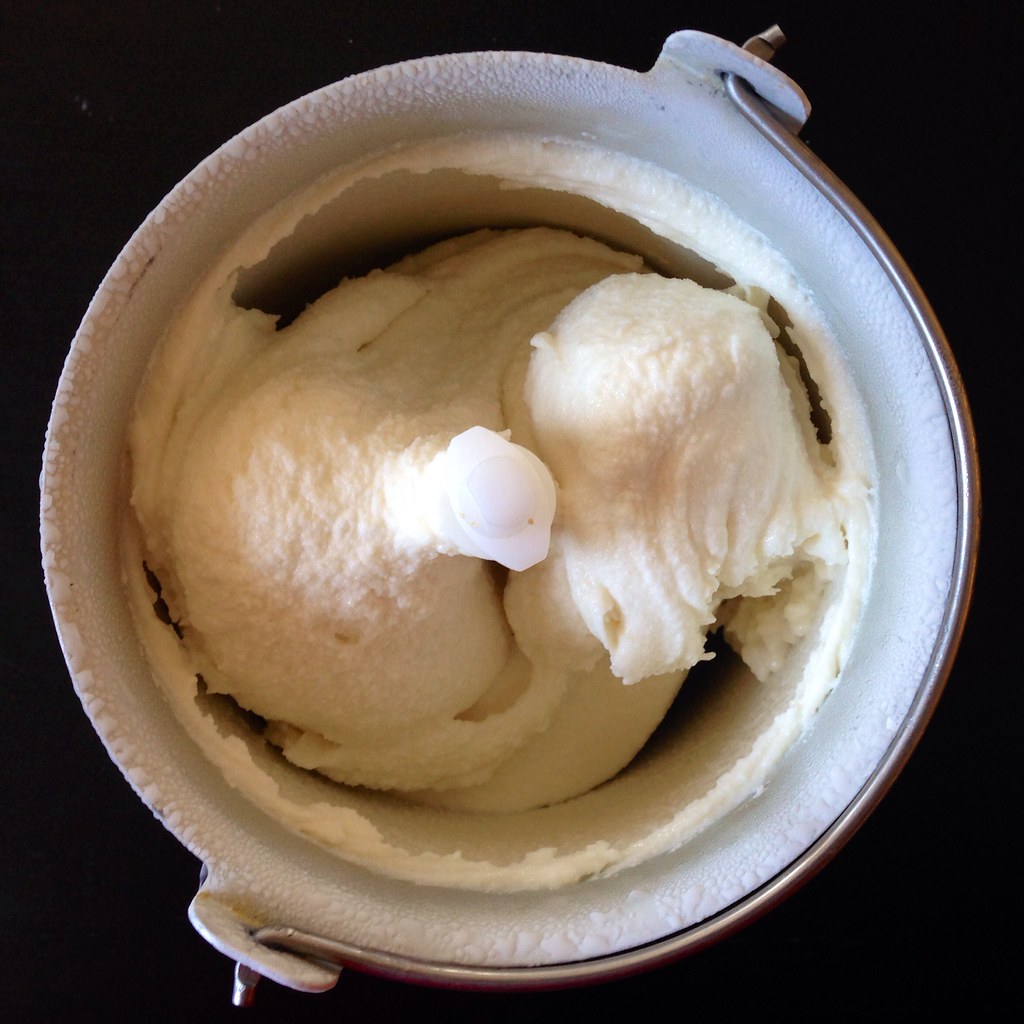
Gradually whisk the hot milk mixture into the cream cheese until smooth.  Chill the mixture thoroughly.  Churn according to your ice cream maker's instructions.

https://www.flickr.com/photos/joyosity/14878830341/

https://www.flickr.com/photos/joyosity/14858889336/

https://www.flickr.com/photos/joyosity/14881533582/

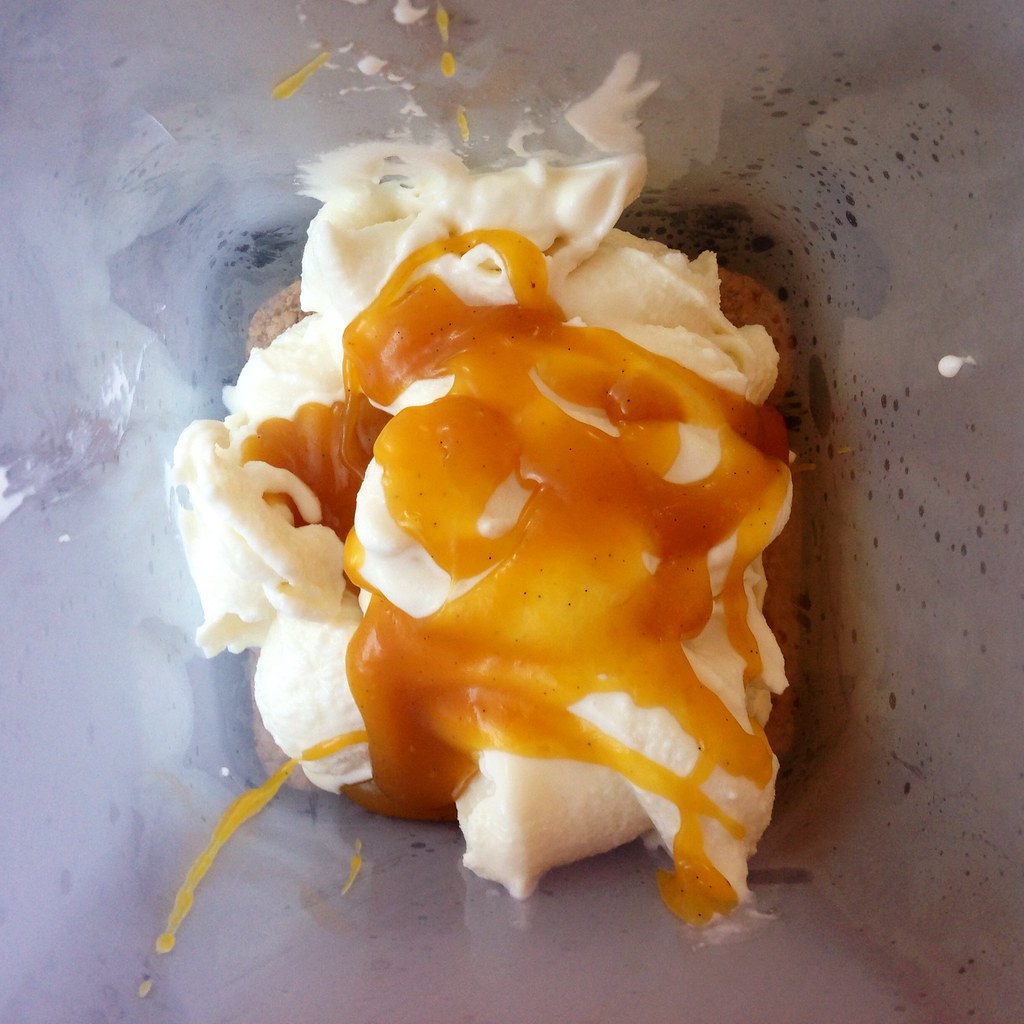
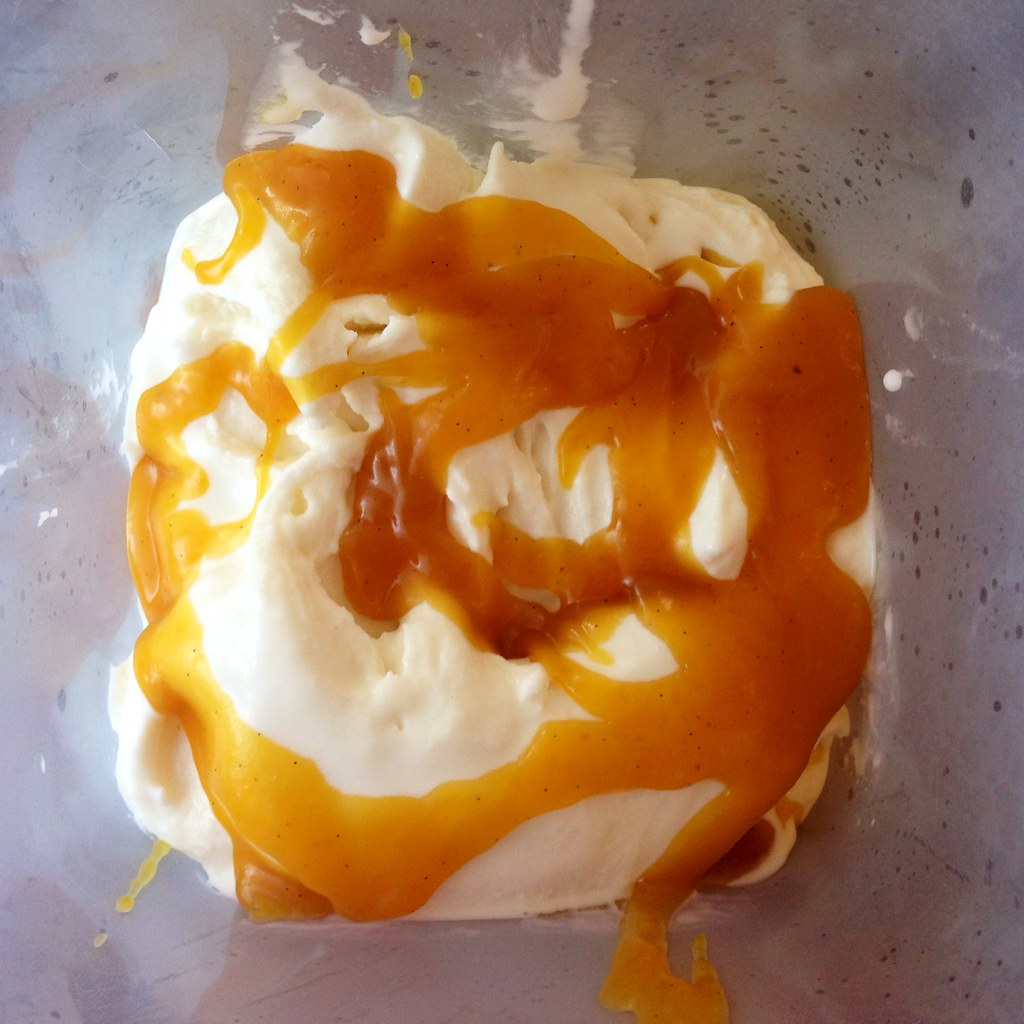
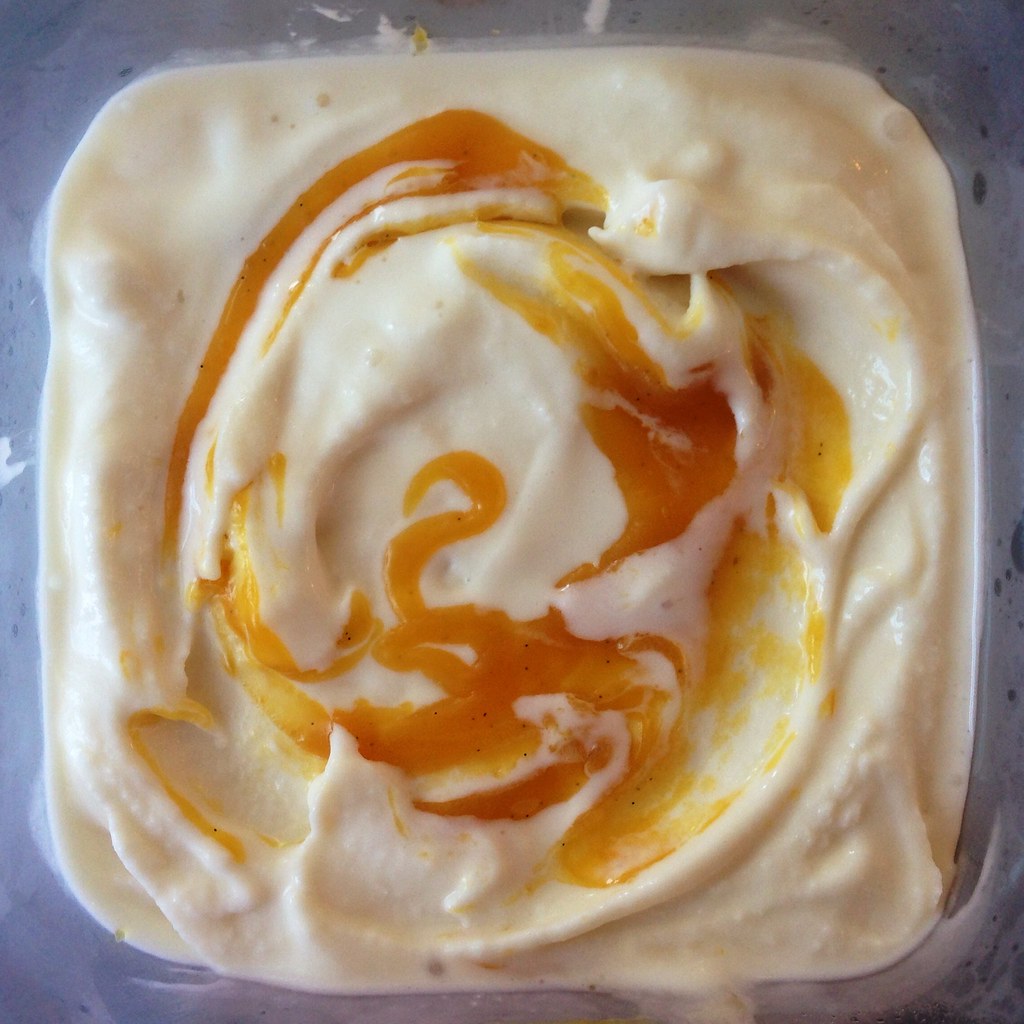
Pack the ice cream into a storage container, alternating it with layers of the mango passion caramel sauce and ending with a spoonful of sauce; do not mix.  Freeze until hard, at least 4 hours.

https://www.flickr.com/photos/joyosity/14695268018/

*Make the mango passion caramel sauce by following the directions for making mango passion caramels, double the amount of corn syrup, and only heat the caramel to 230°F.  Allow the caramel sauce to cool to room temperature before using.  The recipe will make more than you need for this ice cream recipe; you can use the rest for topping pancakes, pouring over other ice creams, etc.

https://www.flickr.com/photos/joyosity/14858894066/

Next:  Citrus Cured Salmon
Previously:  Sea Salt Cold Cream Coffee
Last Year:  Almond Pesto Pizza

Tuesday, August 5, 2014

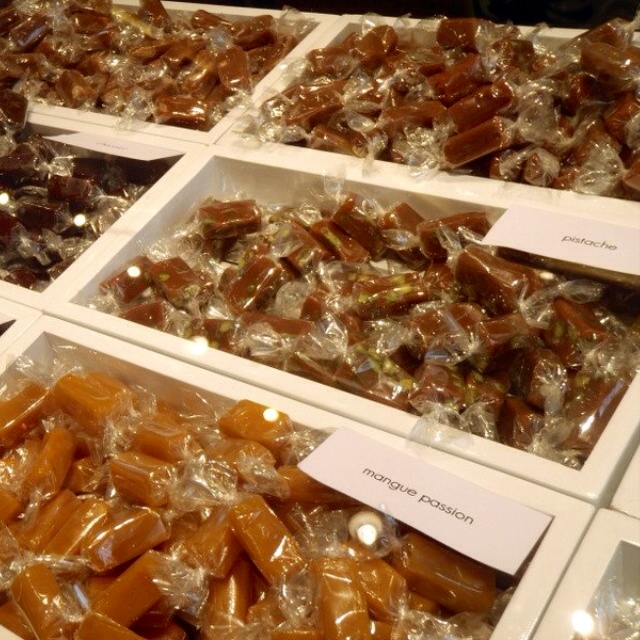
Jacques Genin's Mango Passion Caramels

https://www.flickr.com/photos/joyosity/14790038296/

A year and a half ago, I tried making my own version of Jacques Genin's mango passion caramels by using Smitten Kitchen's apple cider caramels as a template.  In my opinion, the vanilla passion caramels turned out great, and everyone was happy.

Then a couple of months ago, my friend Ellen sent me a link to this recipe which linked to what was apparently the real recipe from Jacques Genin.  o_O

https://www.flickr.com/photos/joyosity/14790157756/

Unfortunately, even after translating the recipe to English, the instructions were a little vague.  There no mention of what temperature to cook the caramel to, just directions to boil for 45 minutes, which is really not enough when it comes to the precise science of candy making.  And there was no helpful suggestion for how to replace the glucose with corn syrup, which is much more available, at least in my kitchen.  Lastly, the recipe says it's for 4 people, but the crazy amount of each ingredient (a kilogram each of mango and passion fruit juice?  1.8 kilograms of sugar?!?) made me think it might be for more like 400 people!  After reading a few comments and looking up some info online, I decided to try cooking the caramel to a "soft ball" stage, about 110°C or 230°F, and to use a 1:1 substitution of corn syrup for glucose.  I also made the executive decision to divide all the quantities by 5.

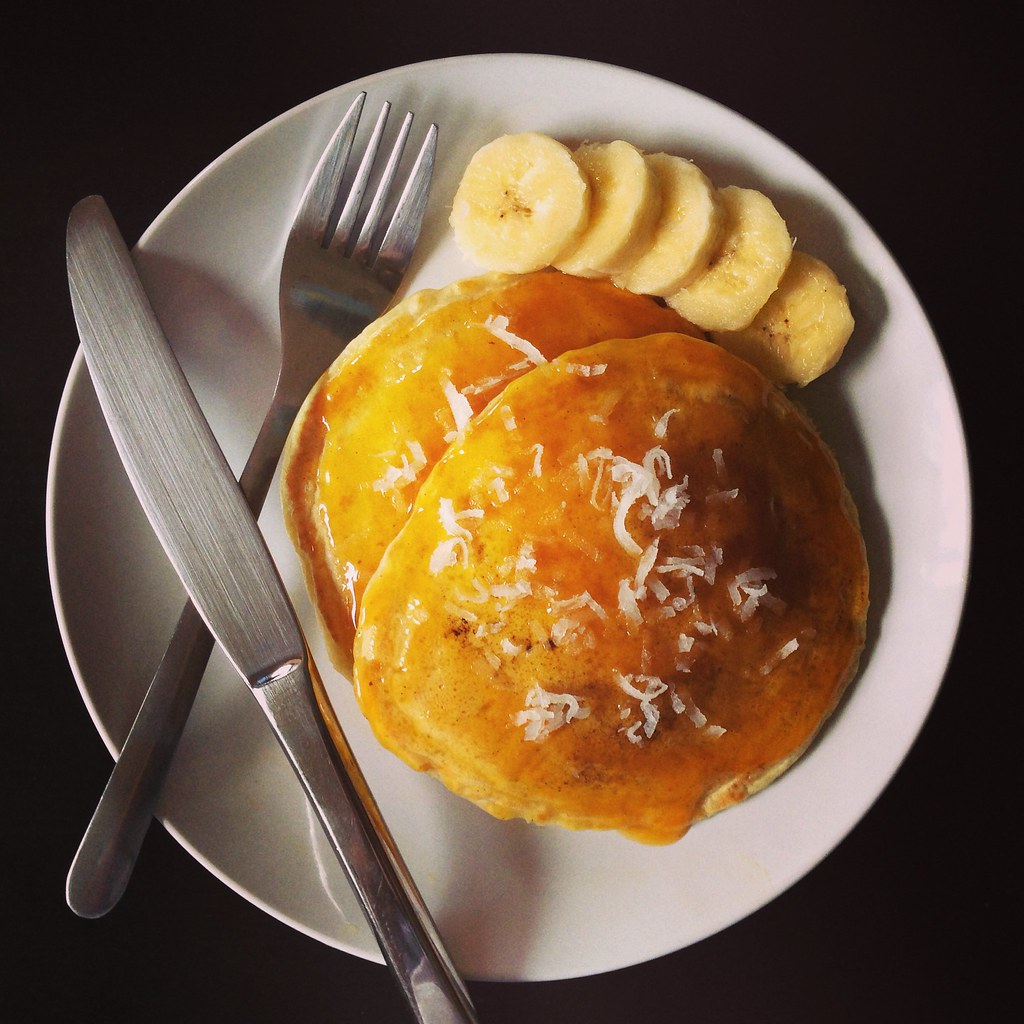
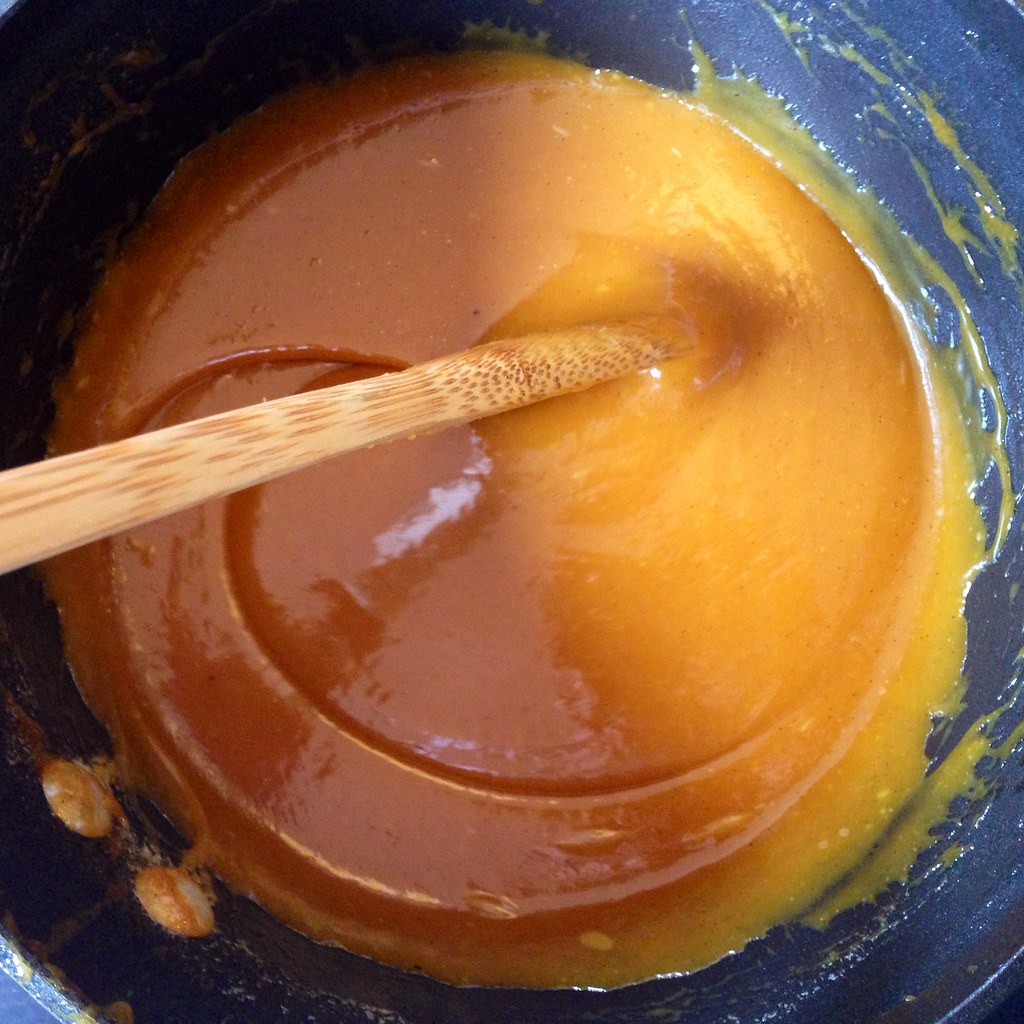
The caramel actually reached 230°F in about 45 minutes on a medium-low heat, so I thought I had gotten it right (and the volume of caramel was just right), but then when it was time to cut the caramels, they were so soft it was almost impossible!  I basically had to scrape the caramel onto a piece of wax paper, and even after chilling the caramels in the freezer, they were still super soft!  In the end, I gave up on trying to wrap this batch and just spooned everything into a jar.  It wasn't a total loss, though.  I made banana pancakes the next morning and topped them with the mango passion caramel sauce, and it was delicious!  I'm thinking of swirling the rest into some coconut ice cream, whenever I get around to making that.

https://www.flickr.com/photos/joyosity/14813037295/

I was determined to get the caramels right though, so for the next batch I decided to use half the amount of corn syrup and to cook the caramels until 252°F, the temperature I used for the vanilla passion caramels.  This time, the caramels set like they should!  The only problem is the butter didn't completely mix into the caramel even though I stirred it for like 15 minutes!  The next time I make these, I'll try reducing the amount of butter I add by maybe 20%.

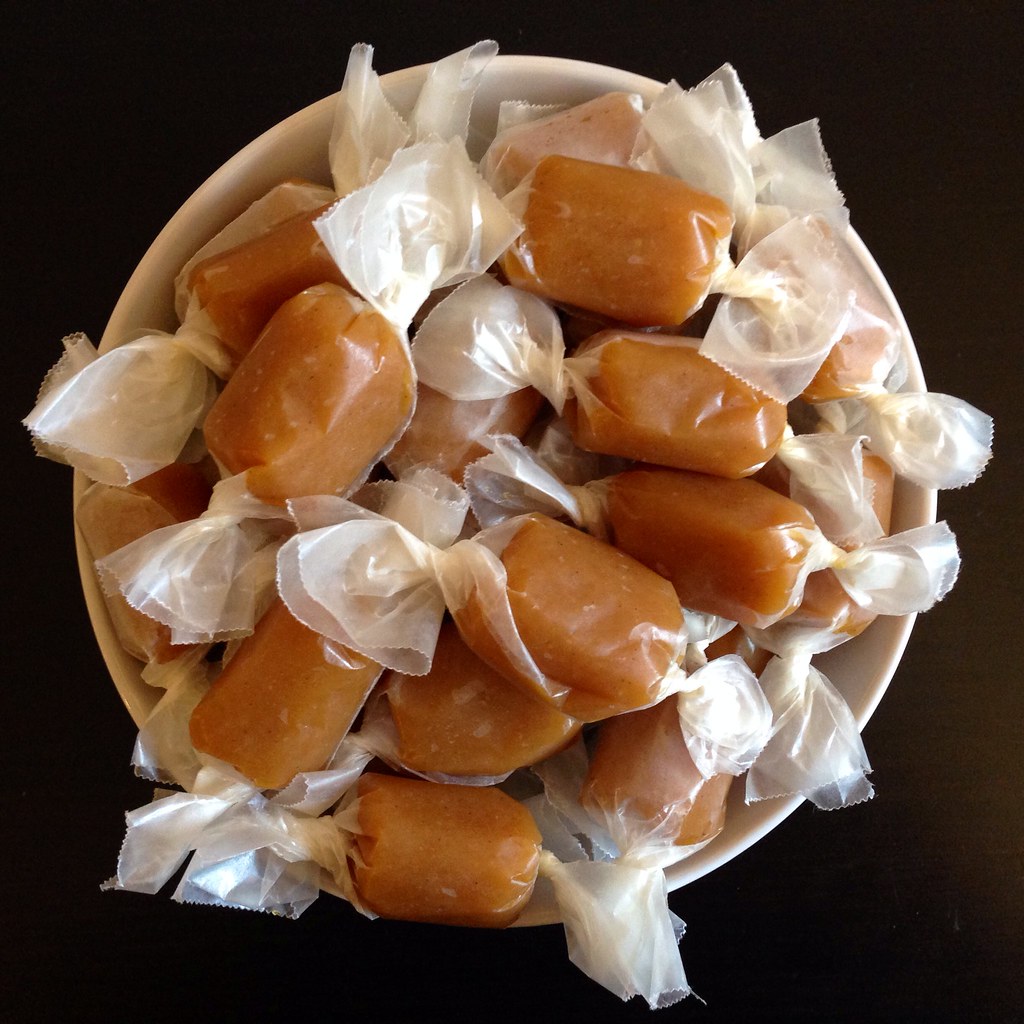
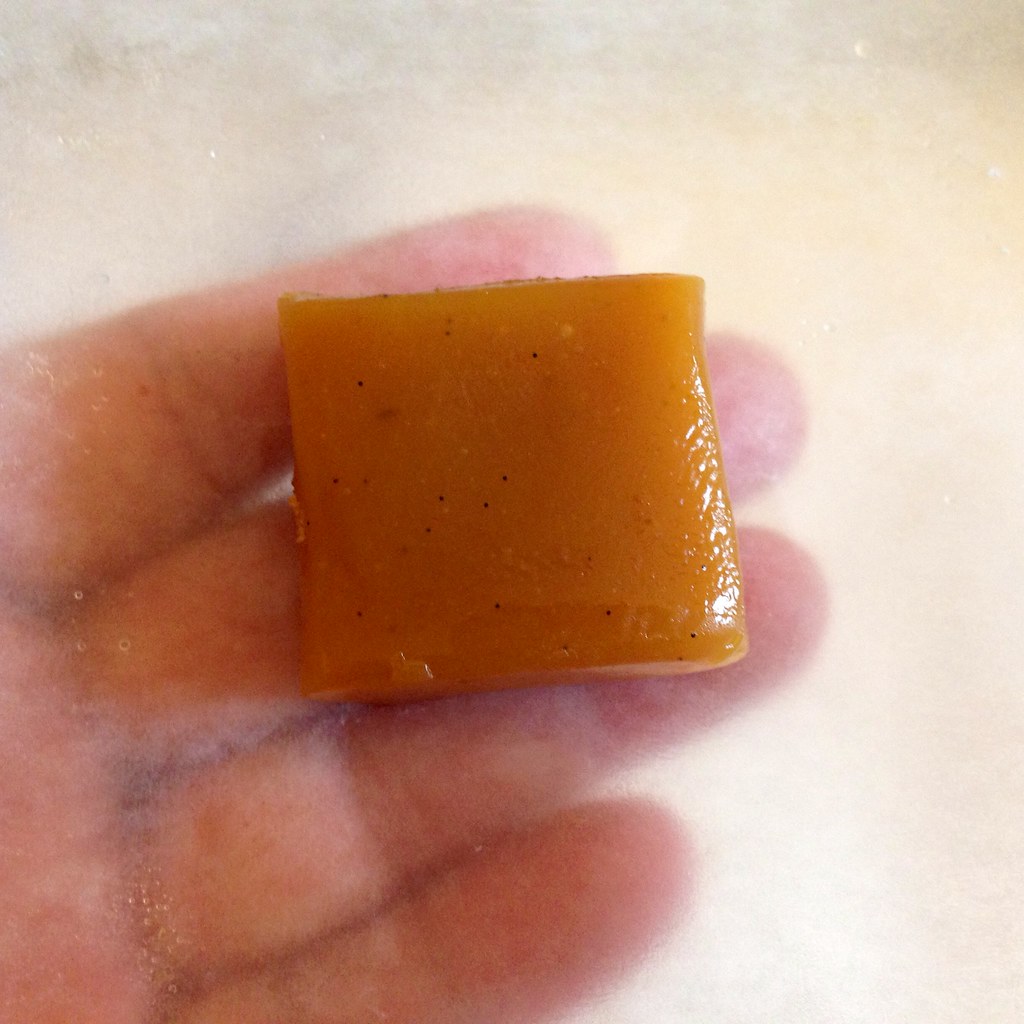
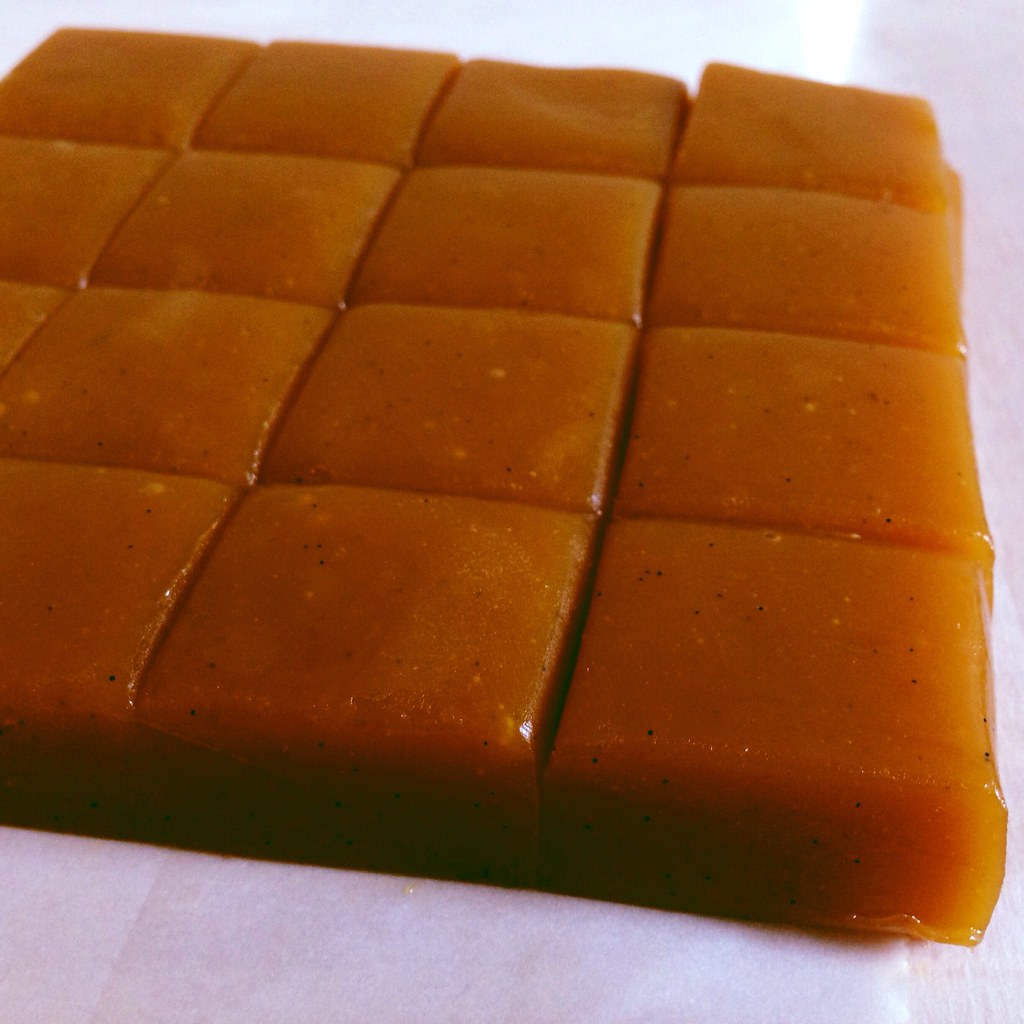
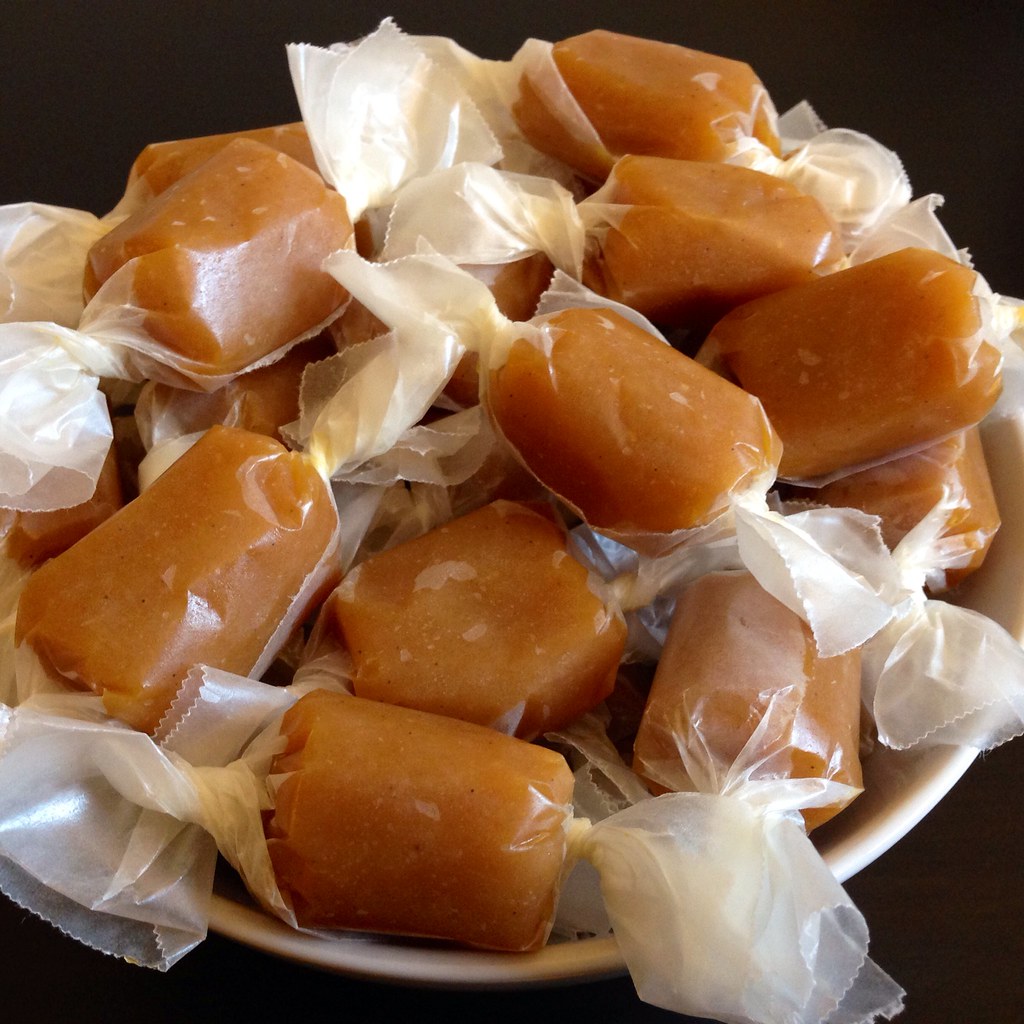
Other than that, these caramels were perfect.  They're soft but not sticky with just the tiniest bit of crackle from the vanilla bean seeds.  The reduction in corn syrup made a difference not only in texture but also in improving the taste.  There's less of a sharp sweetness so you can taste the tartness of the fruit and the buttery goodness even more.  It's been over 2 years since I had last the real thing, but this pretty much tastes exactly like what I remember.  ^_^

https://www.flickr.com/photos/joyosity/14813041795/

Jacques Genin's Mango Passion Caramels (adapted from here)
makes about 64 caramels

300 g heavy cream
200 g passion fruit pulp
200 g mango juice
1 vanilla bean, split lengthwise and cut in half if needed to fit in the pot
25 g corn syrup
360 g sugar
100 g butter, softened (consider using less; however, I haven't tried it myself)

https://www.flickr.com/photos/joyosity/14626398378/

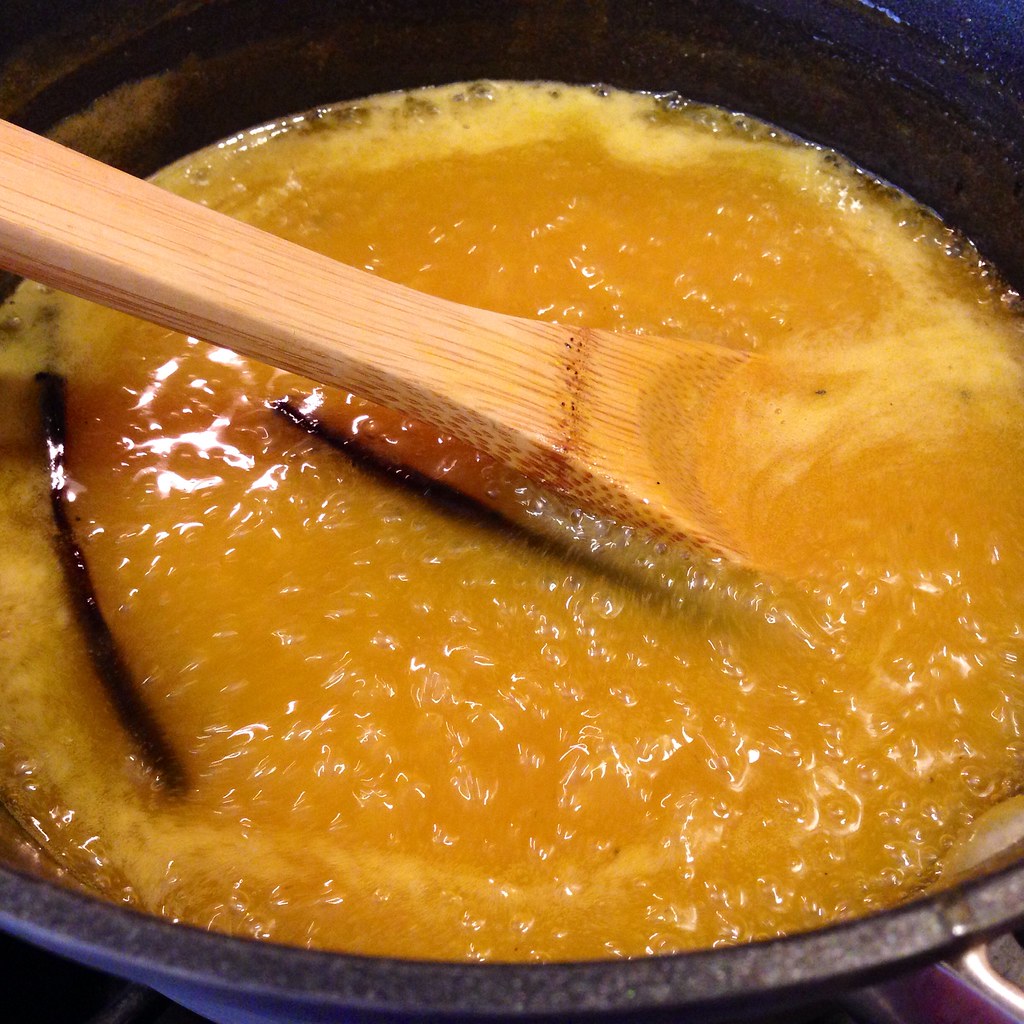
Mix all the ingredients except for the butter in a large saucepan.  Bring to a boil, and then reduce heat to a medium/medium-low and continue to boil for about 45-60 minutes, until the temperature reaches 252°F.  

In the meantime, line a 8" square baking pan with two pieces of crisscrossed parchment paper.  Cut out 3" square pieces of wax paper to use as wrappers.

https://www.flickr.com/photos/joyosity/14626373959/

When the caramel has reached temperature, remove the vanilla bean.  Add the butter and mix well. It may take a while for the butter to mix in, but it eventually will; just keep stirring.

https://www.flickr.com/photos/joyosity/14810664004/

Pour into the prepared baking pan and allow to cool completely.

https://www.flickr.com/photos/joyosity/14810718604/

Cut the caramel into 1" squares.  Wrap in the wax paper squares.  Store in the refrigerator and bring to room temperature before eating.  Die of happiness.

https://www.flickr.com/photos/joyosity/14812678942/

This recipe is actually easier than the vanilla passion caramel one since you only need one pot for everything!  The hardest part was actually finding pure mango juice since most of the "mango juice" I found in stores contained water and sugar.  I think I finally found some on a shelf in a random Latin grocery store in Seattle.  I found the passion fruit pulp in the freezer section of my grocery store with all the other frozen Goya products.

Next:  Sea Salt Cold Brew Coffee
Previously:  Grace's Ginger Scallion Fish
Last Year:  Matcha Mochi Cupcakes

Monday, June 24, 2013

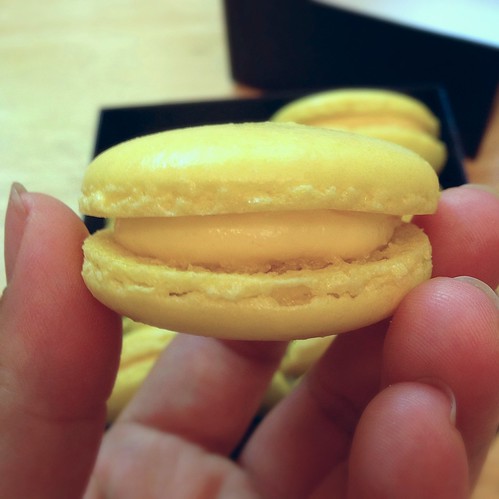
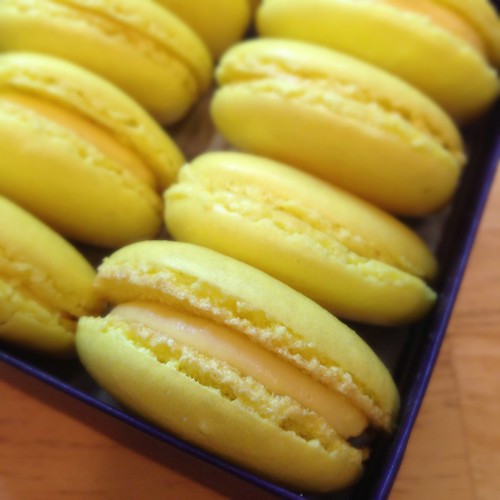
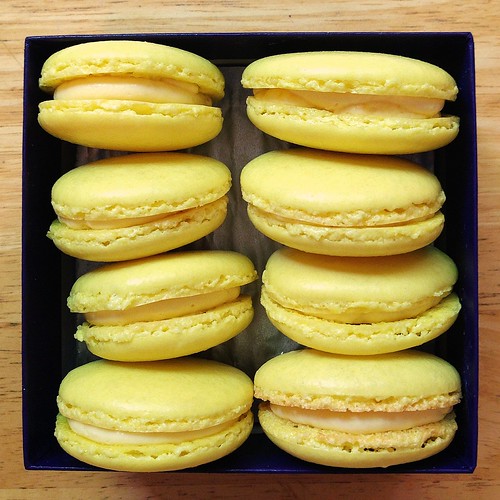
Passion Fruit Macarons: Further Lessons in Humility


It had been over four years since I last made macarons, so when I found myself with four egg whites in the fridge I thought to myself, "Self, maybe it's time to try making them again."  After all, in the intervening years I had acquired a Kitchen-Aid stand up mixer, a Silpat liner, proper pastry bags and tips, and a food scale.  Looking back, I can't believe I attempted to make macarons without any of those!

Since I had previously tried making macarons using the Italian meringue method, I thought I'd try the French meringue method.  The French method may seem easier -- no need to dribble boiling hot sugar syrup into egg whites while beating (seriously, how did I do that without a stand-up mixer?!?) -- but the rate of failure is a lot higher since the meringue isn't quite as stable.

The hardest part is knowing when to stop folding the batter, otherwise the macarons will crack or not develop the frilly "feet".  Believe me, it is heartbreaking to go through all the trouble of making the batter and piping the macarons and letting them rest, only to see them start to crack in the oven.  I was so nervous about over-mixing that I actually under-mixed the batter at first.  I realized my mistake when I tried piping it, and the batter wouldn't spread out into a nice round shape.  I scraped the batter in the bag back into the mixing bowl and gave it a few more folds before trying again, and it worked much better this time.

For the filling, I decided to make a modified version of the Momofuku Milk Bar passion fruit curd by adding a little more gelatin and butter to make it more viscous.  Since I knew the passion fruit curd would be plenty flavorful, I chose to keep the macarons plain and just added some yellow gel coloring so that they would match the curd.  You'll want to make the curd first so that it has time to chill in the fridge before filling the macarons.


Passion Fruit Curd (adapted from Momofuku Milk Bar)
makes about 1 1/4 cups

50 g passion fruit puree
32 g sugar
1 large egg
1/3 teaspoon powdered gelatin
1 tablespoon cold water
8 tablespoons very cold butter
1 g kosher salt


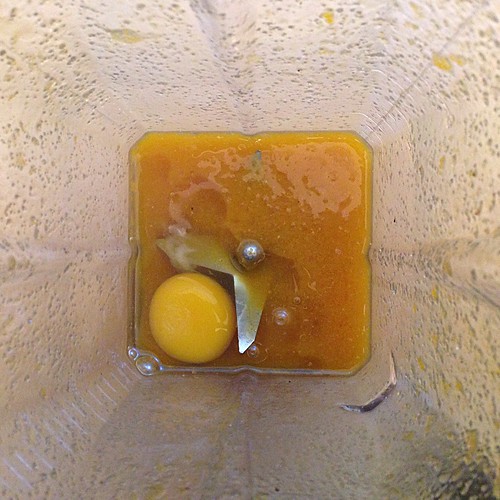
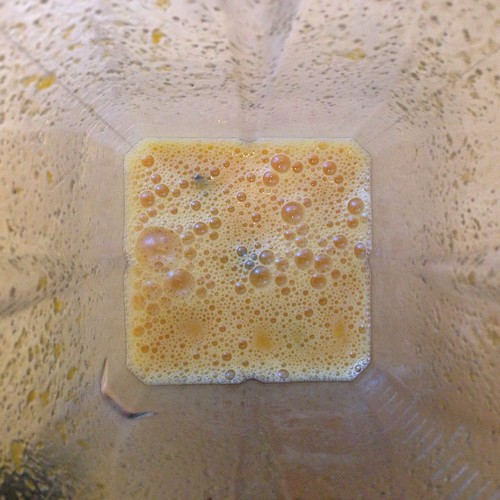
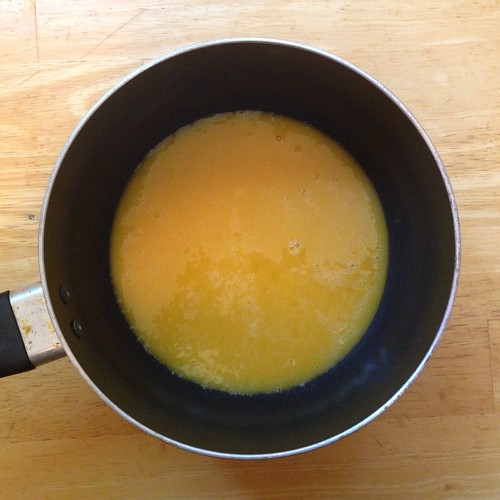
Put the passion fruit puree and sugar in a blender and blend until the sugar granules have dissolved.  Add the egg and blend on low until you have a bright orange-yellow mixture.  Transfer the contents of the blender to a medium saucepan.  Clean the blender canister.


Bloom the powdered gelatin in 1 tablespoon of cold water.


Heat the passion fruit mixture over low heat, whisking regularly.  As it heats up, it will begin to thicken; keep a close eye on it.  Once the mixture boils, remove it from the stove and transfer back to the blender.


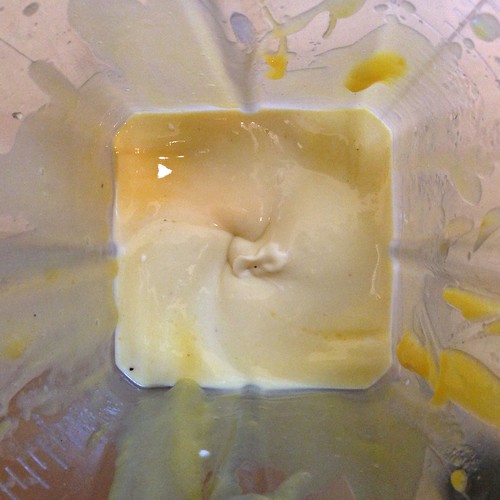
Add the bloomed gelatin, butter, and salt and blend until the mixture is thick, shiny, and super-smooth.


Transfer the mixture to a heatproof container and put it in the refrigerator for at least 30-60 minutes, until the curd has cooled completely.

Passion Fruit Macarons (adapted from Tartelette and Lisa is Bossy)
makes about 24

110 g egg whites (about 4)
200 g confectioner's sugar
110 g almond flour
1/8 teaspoon cream of tartar
25 g granulated sugar
3 drops yellow gel food coloring
Passion fruit curd (recipe above)

Age the egg whites overnight at room temperature in an open container (I cover mine with a sieve to keep out dust but to allow air flow).

Prepare two baking trays with Silpat or parchment paper.


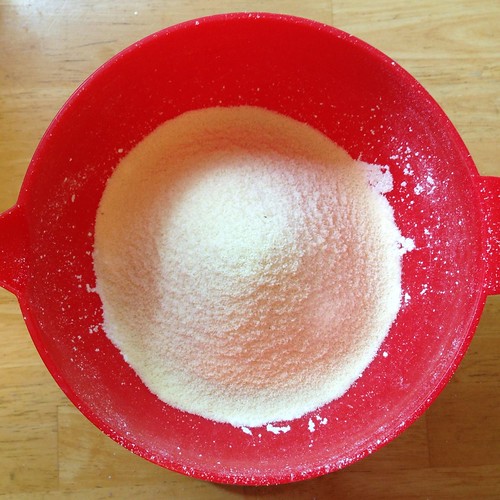
Sift the confectioner's sugar and almond flour together into a medium bowl.


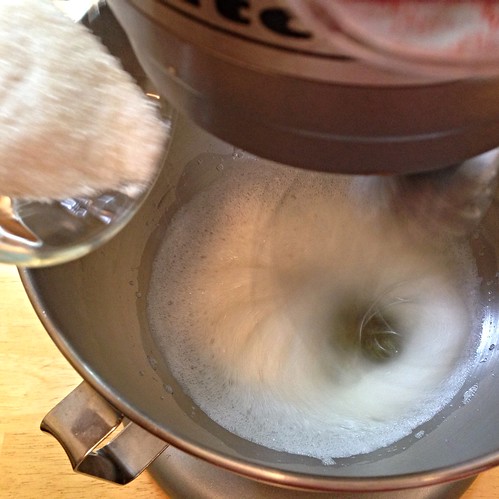
Add the cream of tartar to the egg whites and whip until foamy.  Add the granulated sugar a little at a time while still mixing.


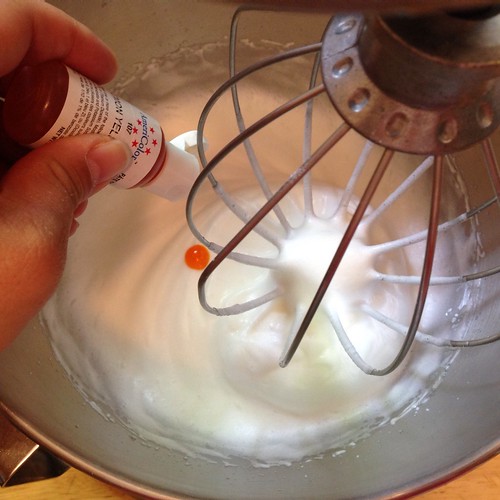
Once the egg whites have reached soft peak stage, add the food coloring and continue to beat until you reach stiff peak stage.


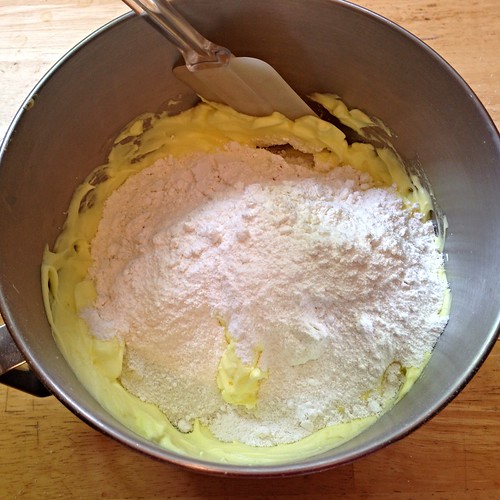
Add the almond sugar mixture to the egg whites and fold until all the dry ingredients have been incorporated.


Continue folding until the batter is smooth but not stiff or runny.  Test a small amount on a plate: if the tops flattens on its own you are good to go. If there is a small peak, give the batter a couple of turns.

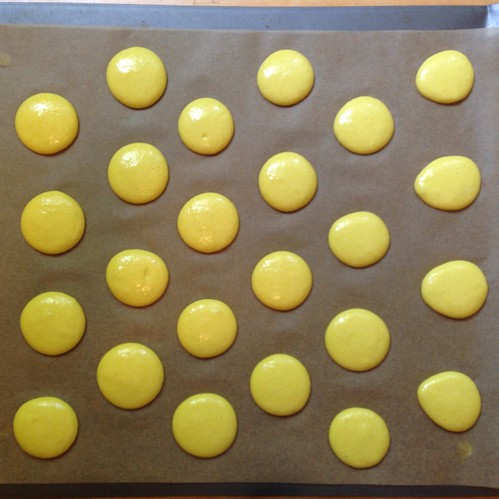
Transfer the batter to a pastry bag fitted with a large plain tip.  If using parchment paper, pipe a dot onto each corner of the baking tray so that the parchment paper sticks to it.  Pipe 1" circles, leaving about an inch in between each.  You should be able to fit six rows of four macarons on each tray by staggering them.


Tap the tray sharply several times so that any air bubbles are released.  Allow the macarons to sit for 30-60 minutes so that a "skin" develops on top.


Preheat the oven to 310°F.  Bake the macarons for 12 minutes*.  Remove from the oven and allow to cool completely.


Once cool, match similarly sized and shaped macarons with each other.


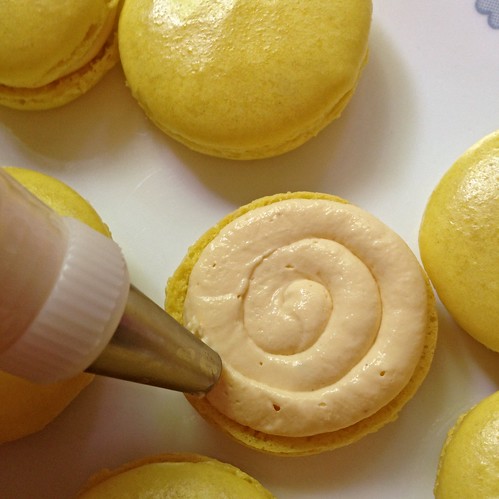
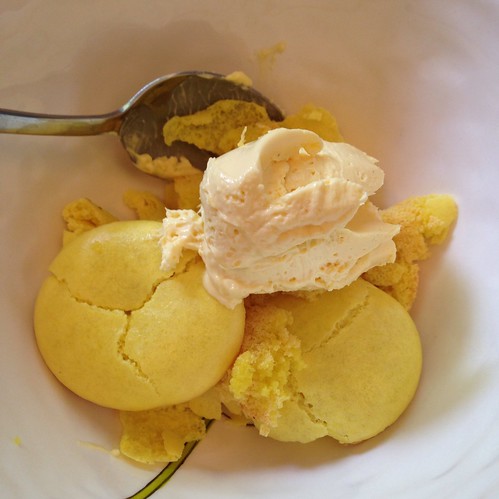
Transfer the passion fruit curd to a pastry bag fitted with a large plain tip.  Pipe a spiral of curd onto the bottom half and top with the matching macaron.  Store in an airtight container in the refrigerator.


*I ended up losing about half my macarons to cracks, and of the leftover macarons, most of them were undercooked and stuck to the parchment paper.  Sadly, I was only able to salvage 8 macarons out of the whole batch.  I increased the baking time in the recipe above by a minute to account for this, but you should learn from my mistake and test a macaron before removing the whole tray from the oven.  Try shifting one along the tray; if it doesn't budge, let it bake a little more.  If it moves, they're done!


Even if you have some aesthetic failures, they still taste great with any leftover passion fruit curd!


Next:  Ken Forkish's Same Day Straight Pizza Dough
Previously:  Mango Coconut Rice Pudding Pops
Three years ago:  Bacon Caramel Maple Ice Cream

Friday, March 8, 2013

Happiness Cake

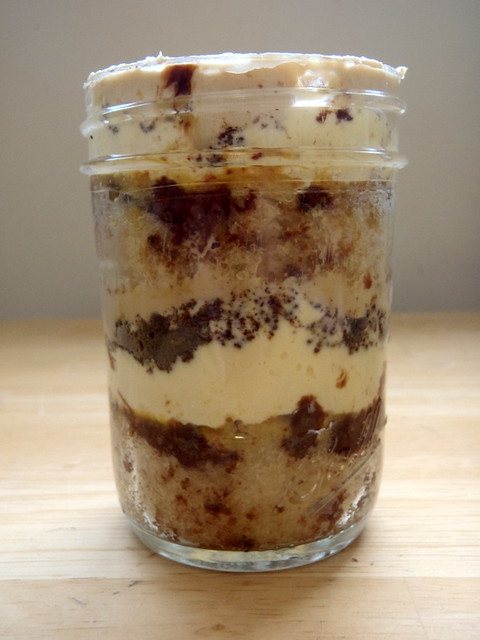
I've been wanting to make this cake ever since I first saw it in the Momofuku Milk Bar cookbook where it's just called a Chocolate Chip Layer Cake.  I think that simple name does not even begin to describe what it is:  mini chocolate chip butter cake layered with passion fruit curd, chocolate cake crumbs, and coffee buttercream frosting.  Hello.  So I decided to rename it Happiness Cake, because this is what happiness is.  =)

The main reason why it took me so long to make this cake is because according to the cookbook, you needed a cake ring and acetate lining to build up the layers.  I wasn't interested in acquiring any more random stuff for my kitchen so I just kept drooling over the recipe but not making it.  At one point I started thinking about making it into a cupcake form, but then I got the bright idea to just put all the layers in small Mason jars, which I already had!  I love that they can be kept in the freezer for a while and are totally portable, so they make really good gifts for friends!

Assembling the jars
 
There are a lot of different parts to this cake, and some parts take more time than others and need to chill before using or need to use immediately, so this is how I would suggest going about it:
  1. Make the cake and put it in the oven to bake.
  2. While the cake is baking, make the passion fruit curd and let it chill in the fridge.
  3. After the cake is done, let it cool and lower the oven temperature to 300°F.  Make the chocolate crumbs, which will also need to cool after baking.
  4. Just before you are ready to assemble everything, start making the coffee frosting.  This will take a while to come together, so you can go ahead and start with the assembly process while you are waiting.
Another note about the coffee frosting, even after mixing in my stand mixer for more than half an hour, I still wasn't getting it to come together, so eventually I just poured out the liquid coffee milk that was left and paddled until everything was homogenous.  Then I found that I needed a lot more of the coffee frosting than the original recipe called for, so in the recipe below, I increased the amount of frosting but decreased the coffee milk to butter ratio a little.

After assembling the 6 jars, you'll end up with a lot of leftover components.  Feel free to make a Happiness Scrap Heap out of them just for yourself or, if you have more jars, you can try making more Happiness Cakes, just without the perfect circles.

Chocolate Chip Layer Cake
 
Happiness Cake (adapted from Momofuku Milk Bar)
makes 6 small (8 oz.) jars with lots of leftover scraps perfect for snacking on

1 recipe Chocolate Chip Cake (below)
1/3 cup passion fruit puree
1 recipe Passion Fruit Curd (below)
1 recipe Chocolate Crumbs (below)
1 recipe Coffee Frosting (below)

Chocolate Chip Cake
makes one 9"x13" cake

1/2 cup butter, at room temperature
1 1/4 cup sugar
1/4 cup light brown sugar, tightly packed
3 eggs
1/2 cup buttermilk
1/2 cup canola oil
1 tablespoon vanilla extract
1 1/2 cups cake flour
1 teaspoon baking powder
1 teaspoon kosher salt
Nonstick cooking spray
3/4 cup mini chocolate chips

Preheat oven to 350°F.

Combine the butter and sugars in the bowl of a stand mixer fitted with the paddle attachment and cream together on medium-high for 2-3 minutes.  Add eggs and mix on medium-high again for 2-3 minutes.

On low speed, stream in the buttermilk, oil, and vanilla.  Increase the mixer speed to medium-high and paddle for 4-6 minutes, until the mixture is practically white, twice the size of your original fluffy butter-and-sugar mixture, and completely homogenous. 

On very low speed, add the cake flour, baking powder, and salt.  Mix for 45-60 seconds, just until your batter comes together and any remnants of dry ingredients have been incorporated.

P2123186
 
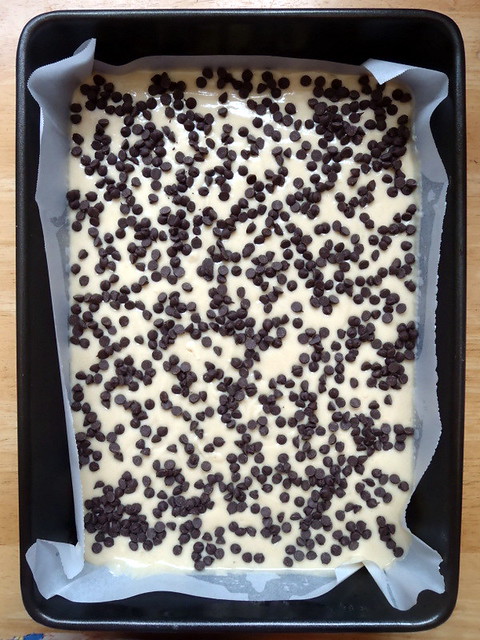
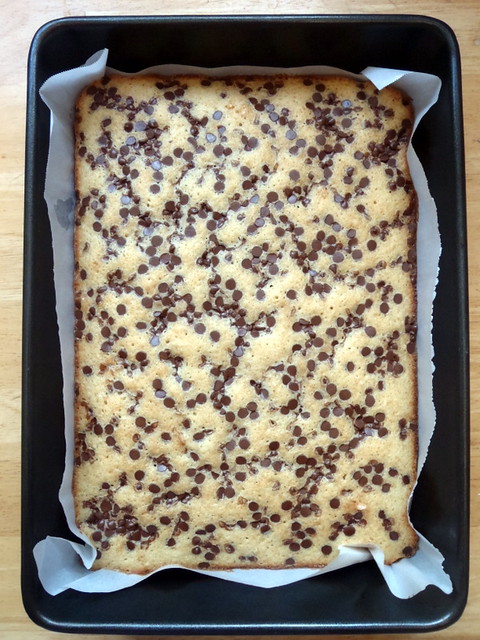
Spray a 9"x13" pan with nonstick cooking spray and line with a piece of parchment paper.  Using a spatula, spread the cake batter in an even layer in the pan.  Give the bottom of the pan a tap on the counter top to even out the layer.  Sprinkle the chocolate chips evenly over the cake batter.

P2123191
 
Bake the cake for 30-35 minutes.  At 30 minutes, gently poke the edge of the cake with your finger; the cake should bounce back slightly and the center should no longer be jiggly.  Leave the cake in the oven for an extra 3-5 minutes if it doesn't pass these tests.

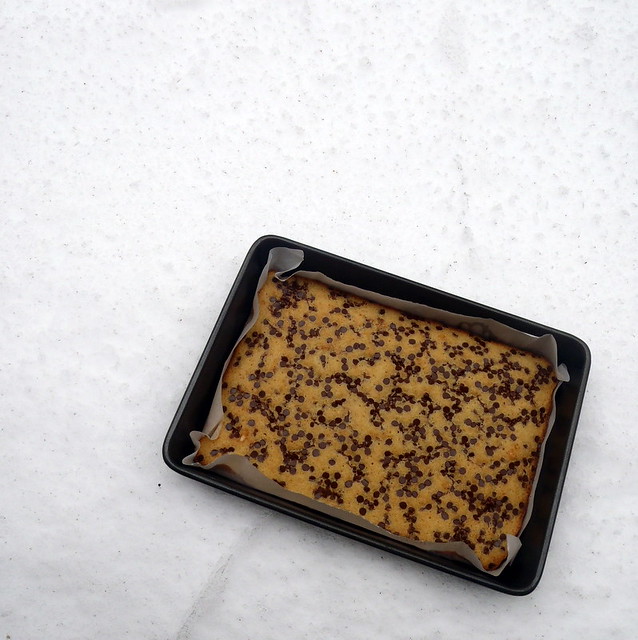
Chilling in the snow
 
Take the cake out of the oven and cool on a wire rack, or in a pinch, in the fridge, freezer, or snow (just make sure, you know, it's stopped snowing).  The cooled cake can be stored in the fridge, wrapped in plastic wrap, for up to 5 days.

Passion Fruit Curd
makes about 1 1/2 cups

1/2 cup passion fruit puree
1/3 cup sugar
2 eggs
1/2 teaspoon powdered gelatin
3/4 cup butter, very cold
1/2 teaspoon kosher salt

Put the passion fruit puree and sugar in a blender and blend until the sugar granules have dissolved.  Add the eggs and blend on low until you have a bright-orange-yellow mixutre.  Transfer the contents of the blender to a medium saucepan.  Clean the blender canister.

Bloom the powdered gelatin in 2 tablespoons of cold water.

P2123189

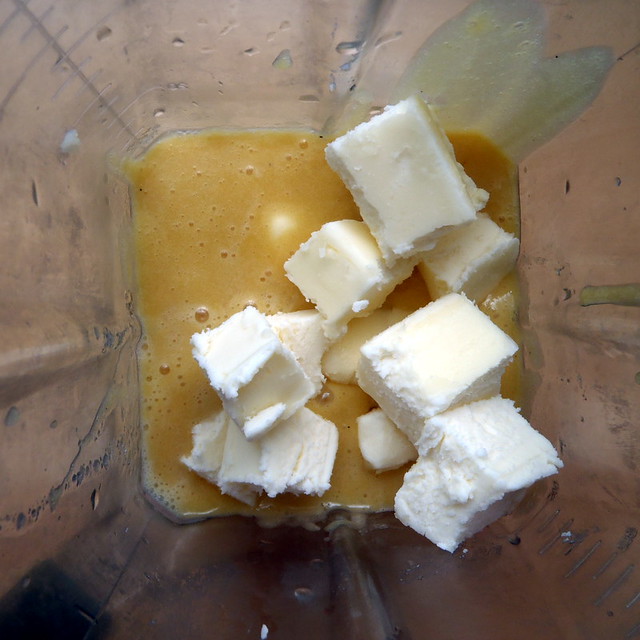
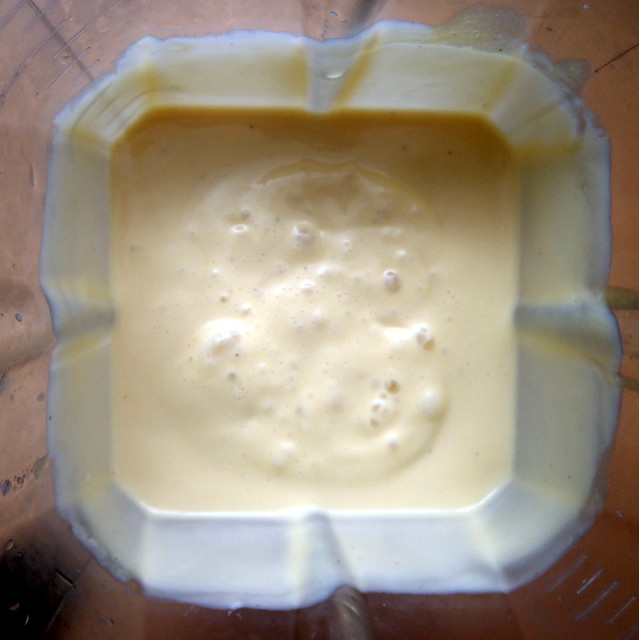
Heat the passion fruit mixture over low heat, whisking regularly.  Once it boils, remove it from the stove and transfer it to the blender.  Add the bloomed gelatin, butter, and salt and blend until the mixture is thick, shiny, and super-smooth.

Passion fruit curd
 
Transfer the mixture to a heatproof container and put in the fridge until the curd has cooled completely, at least 30 minutes.  The curd can be refrigerated for up to 1 week; do not freeze.

Chocolate Crumbs
makes about 1 1/4 cup

1/3 cup flour
1/2 teaspoon cornstarch
1/4 cup sugar
1/3 cup cocoa powder
1/2 teaspoon kosher salt
3 tablespoons butter, melted

Preheat the oven to 300°F.

Combine the flour, cornstarch, sugar, cocoa powder, and salt in the bowl of a stand mixer fitted with the paddle attachment and paddle on low speed until mixed.

Add the butter and paddle on low speed until the mixture starts to come together in small clusters.

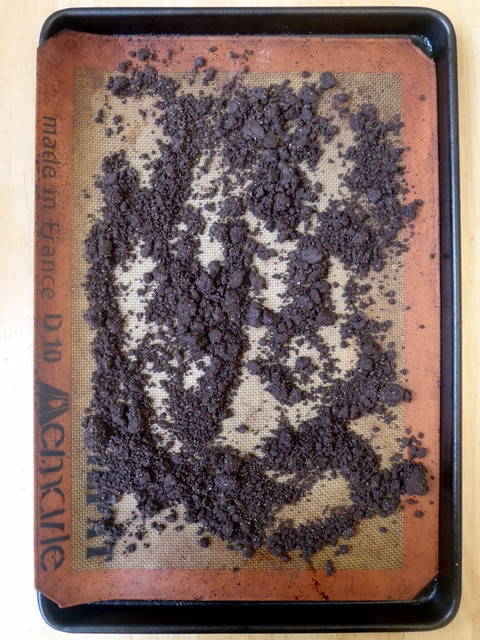
Chocolate crumbs
 
Spread the clusters on a parchment- or Silpat-lined baking sheet.  Bake for 20 minutes, breaking them up occasionally.   The crumbs should still be slightly moist to the touch at that point; they will dry and harden as they cool.

Let the crumbs cool completely before using.  Stored in an airtight container, they will keep fresh for 1 week at room temperature or 1 month in the fridge or freezer.

Coffee Frosting
makes about 2 cups

1 cup butter, at room temperature
1/2 cup confectioners' sugar
1/3 cup milk
1 1/2 teaspoons instant espresso powder
1/2 teaspoon salt

Combine the butter and confectioners' sugar in the bowl of a stand mixer fitted with the paddle attachment and cream together on medium-high for 2-3 minutes, until fluffy and pale yellow.

Meanwhile, make a quick coffee milk:  whisk together the milk, instant espresso powder, and salt in a small bowl.

P2123204
 
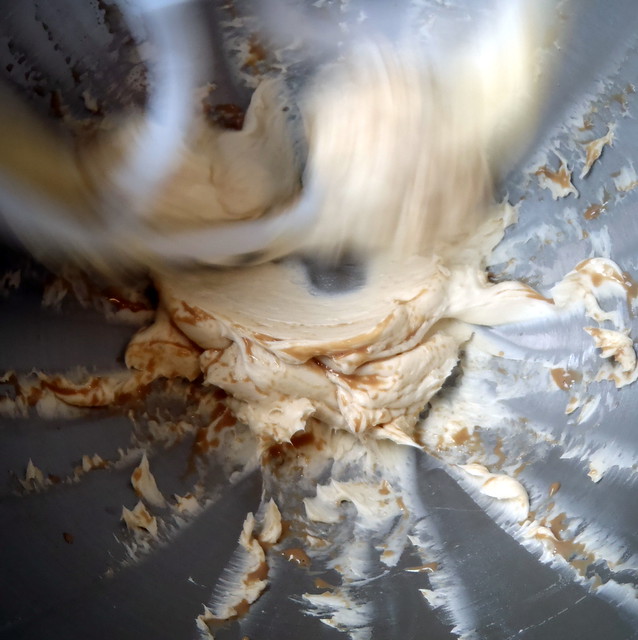
On low speed, gradually stream in the coffee milk.  You are essentially forcing liquid into fat, so be patient.  The butter mixture will clump up and separate upon contact with the coffee milk. 

Coffee buttercream
 
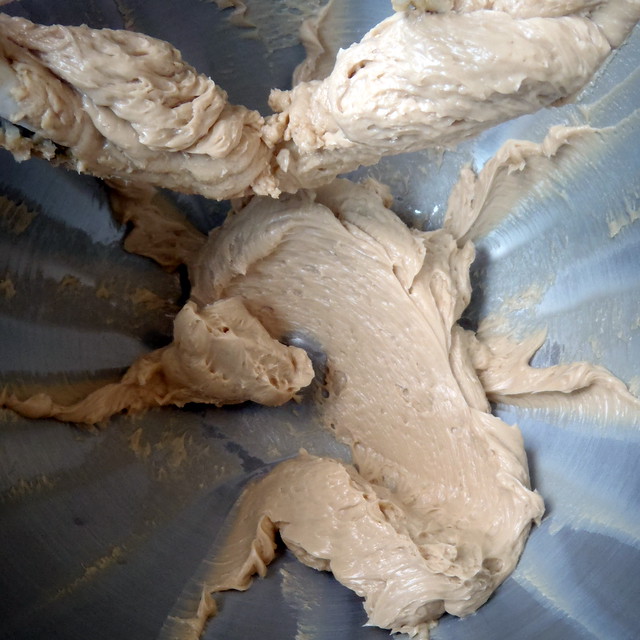
Do not stream more coffee milk into the butter mixture until the previous addition is fully incorporated; keep the mixer on and remain patient.  The result will be a wildly fluffy coffee frosting, pale brown, and super-shiny.  Use immediately.
 
Happiness Cake in a Jar Assembly

P2123201
 
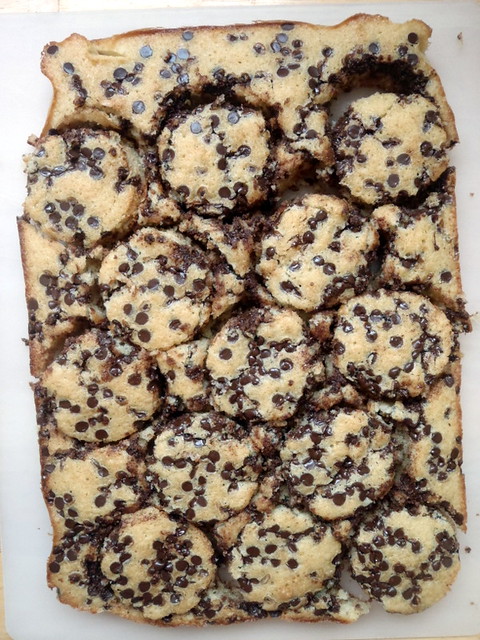
Using an empty jar as a cookie cutter, cut out 12 circles from the chocolate chip cake.  (Yes, there are 13 circles cut out above.  I had to eat one.  For science.)

First layer of chocolate chip cake
 
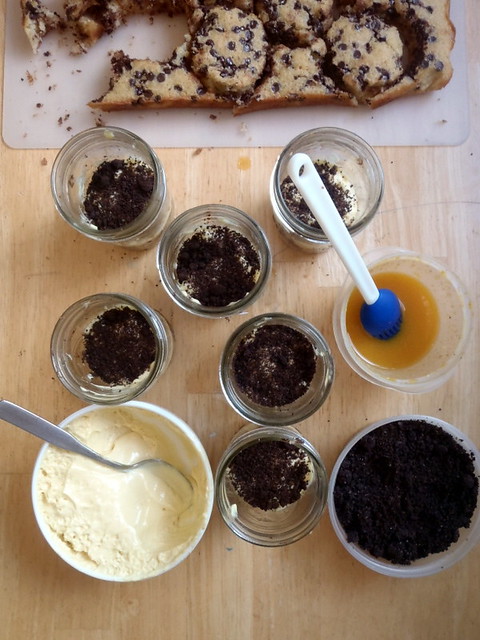
Press one circle into the bottom of a jar.  Brush with a generous amount of passion fruit puree.

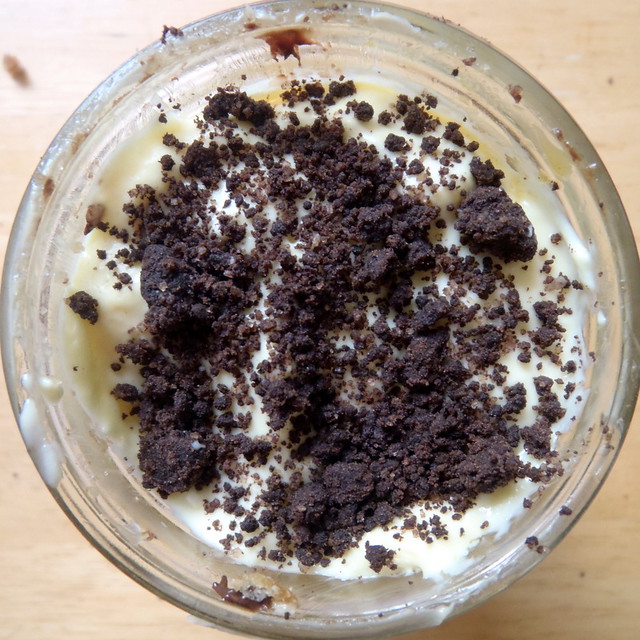
Topped with passion fruit curd and chocolate crumbs
 
Spoon in a layer of the passion fruit curd.  Top with a layer of the chocolate crumbs.

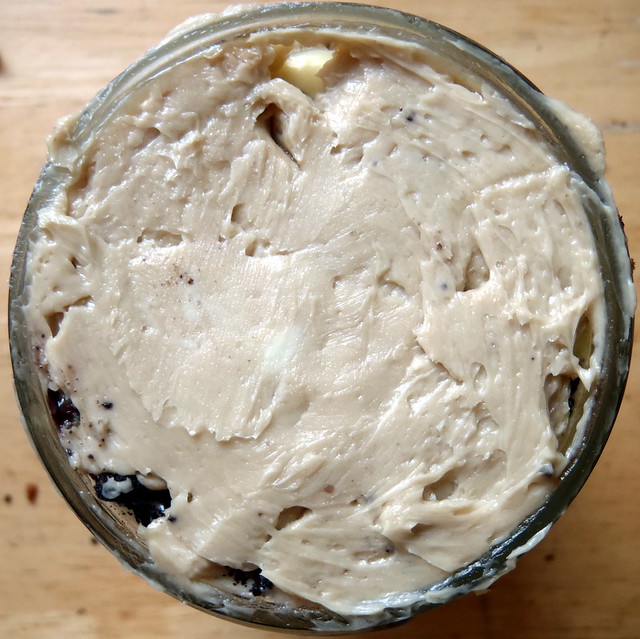
Topped with coffee buttercream
 
Carefully spread a layer of the coffee frosting on top.

Second cake layer soaked in passion fruit pulp
 
Repeat with another layer of cake, passion fruit puree, passion fruit curd, and chocolate crumbs.

More passion fruit curd and chocolate crumbs
 
Finish with a final layer of coffee frosting.

Final coffee buttercream layer
 
Repeat with the remaining 5 jars.  Cover and place in the freezer for at least 12 hours to set the cake and filling.  The cakes will keep in the freezer for up to 2 weeks.  Defrost in the fridge for at least 3 hours before serving.

P2143177
 
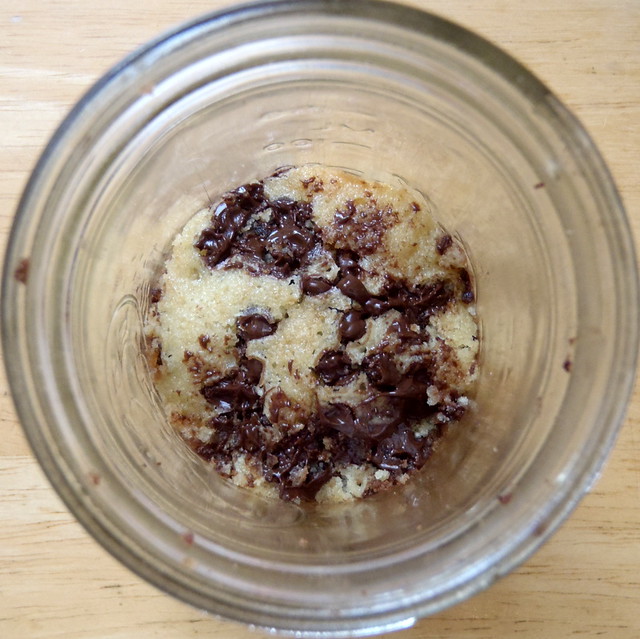
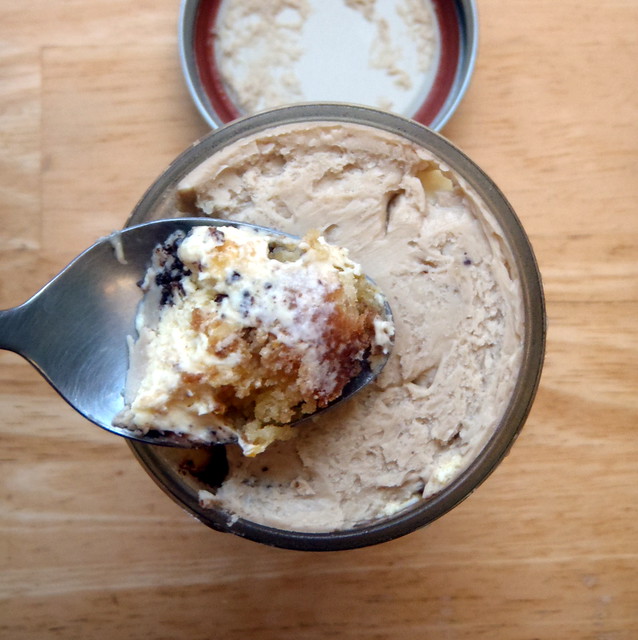
Dig in with a spoon and experience happiness.

Next:  Rosemary Honey & Lemon Frozen Yogurt
Previously:  Peking Duck Pizza
Four years ago:  Panna Cotta, Take 2; The Feng Family Secret Peking Duck Recipe; Korean Pancake Face Off