Monday, September 19, 2016

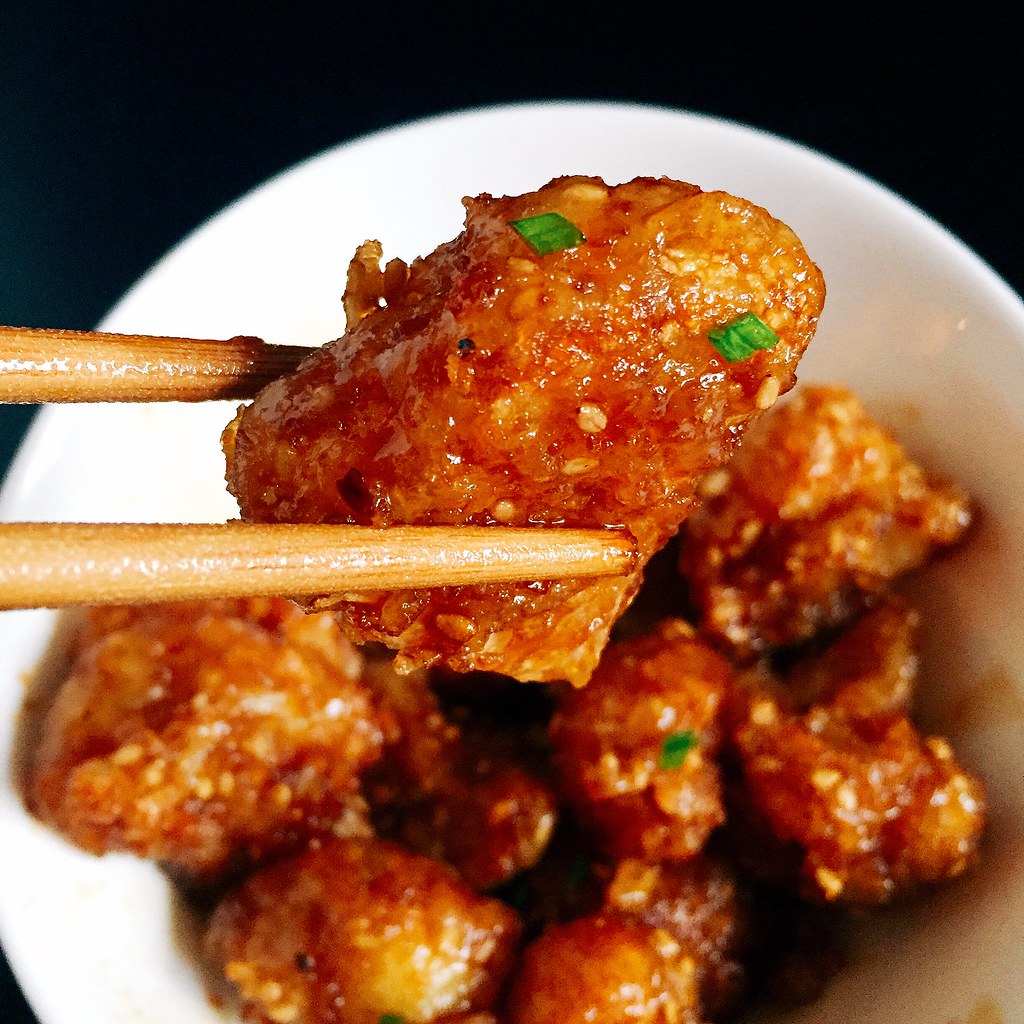
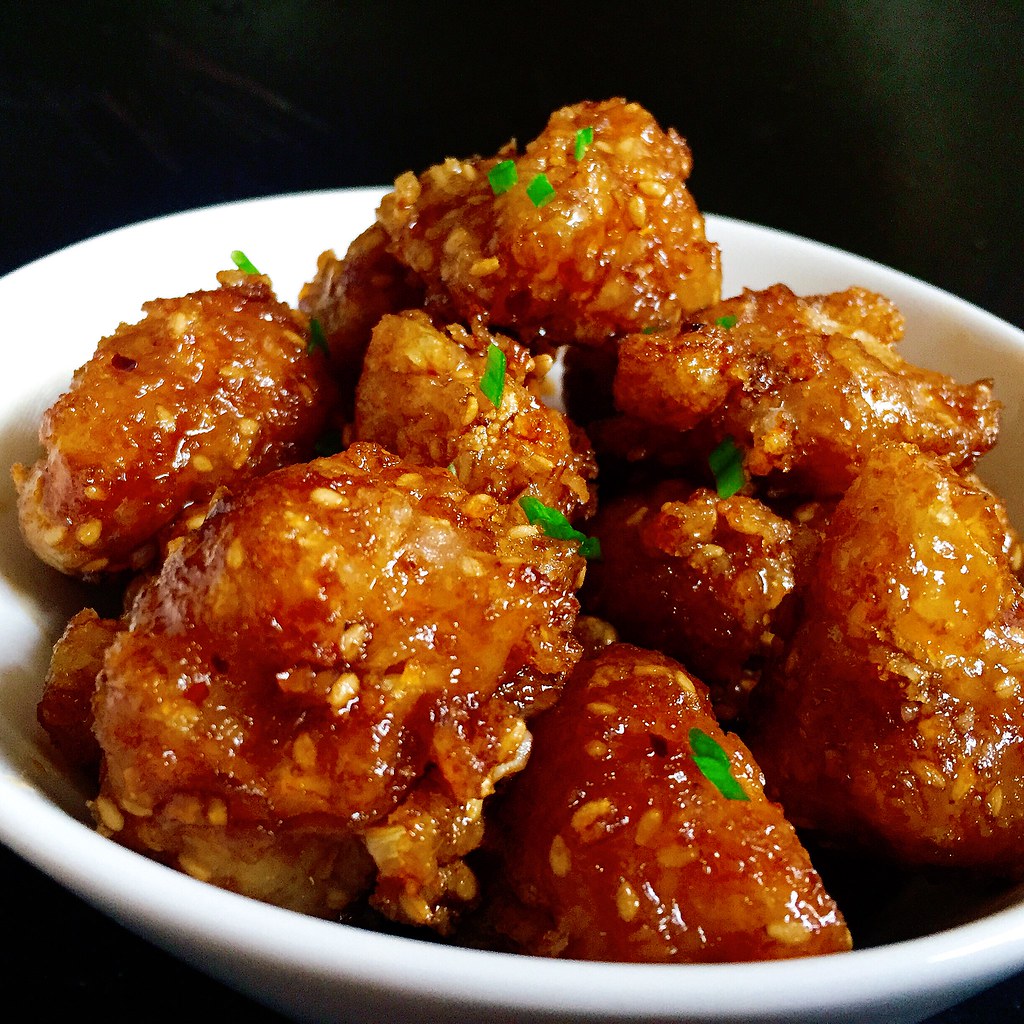
Soy Garlic Glazed Korean Fried Cauliflower


During my stint as a vegan (which became vegetarianism and then pescetarianism until I finally gave up this year and became an omnivore again), I would often crave Bon Chon chicken.  That gloriously crispy, thin-skinned chicken with the amazing soy garlic glaze would haunt me, and I'll admit that I sometimes gave in.  It was just too good to give up.

I wish I had had this recipe for Korean fried cauliflower back then, but to be honest, this substitute is so good, I might even prefer it over the real thing.  I adapted the recipe from Serious Eats' well researched recipe and just reduced the amount of vinegar and upped the garlic in the glaze according to my own taste preferences.  If you don't have the sesame seeds and/or finely shredded coconut to add to the batter, you can omit them, but they add some great texture to the cauliflower.

Even though they're meant to be an appetizer, I ended up eating them with rice like I would with sesame chicken.  And if you want to save any as leftovers, I would refrigerate the cauliflower after they're fried and drained.  The next day, heat them up in the toaster oven and then toss them with the sauce; that way they will still be crispy.


Soy Garlic Glazed Korean Fried Cauliflower (adapted from Serious Eats)
serves 4-6 as an appetizer or 2 as an entrée

For the Soy Garlic Glaze:
1/4 cup soy sauce
1 teaspoon rice wine vinegar
2 tablespoons mirin
6 tablespoons brown sugar
1 1/2 teaspoons mince garlic
1/2 teaspoon freshly grated ginger
Pinch of red pepper flakes
1 teaspoon toasted sesame oil
1 1/2 teaspoons cornstarch

Combine everything except for the cornstarch in a small saucepan and heat over medium heat.  Make a slurry with the cornstarch and 1 1/2 teaspoons water.  Whisk into sauce and bring to a boil.  Cook until the sauce is reduced and slightly thickened, about 3 minutes.

For the Korean Fried Cauliflower:
Vegetable oil, for frying
1/2 cup cornstarch
1/2 cup all-purpose flour
1/2 teaspoon baking powder
1/3 cup toasted sesame seeds
1/3 cup unsweetened finely shredded coconut
2 teaspoons kosher salt
1/2 cup cold water
1/2 cup vodka
1 head cauliflower, cut into 1/2" - 1" florets

Pour enough oil into a Dutch oven or large pot for it to reach at least 2".  Preheat the oil to 350°F.

Combine the cornstarch, flour, baking powder, sesame seeds, coconut, and salt in a large bowl and whisk until homogeneous.  Add the water and vodka, and whisk to form a smooth batter.

Add the cauliflower to the batter.  Fry the cauliflower in batches, letting the excess batter drip off each one before you lower it into the oil.  Remove with a slotted spoon when golden brown and let drain on a paper-towel lined plate.

Toss the fried cauliflower with the soy garlic glaze and serve immediately.


Next:  Pear Apple Cranberry Slab Pie
Previously:  Caramelized Honeycomb Ice Cream
Two Years Ago:  Hokkaido Milk Bread Three Ways (Traditional, Braided, and Taro Swirl)
Three Years Ago:  Salted Butter Caramel Apple Pie with Vodka Pie Crust
Monday, September 12, 2016

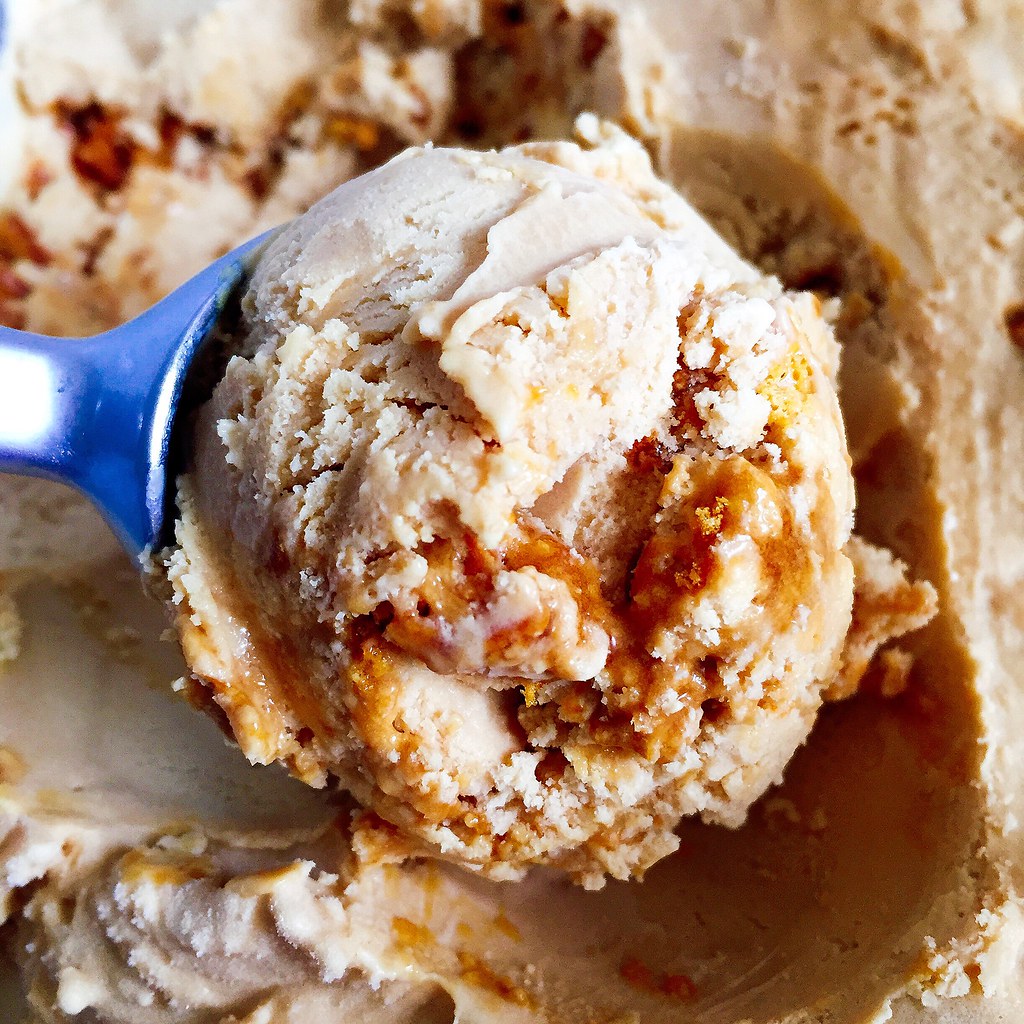
Caramelized Honeycomb Ice Cream


My friend Christine and I took our annual gorgefest stuffing of the faces eat all the things road trip up to Portland, ME on Labor Day and hit all our usual spots.  First was The Holy Donut for their Maine potato donuts.  Here we have the sweet potato ginger glazed, sea salt chocolate, pomegranate, maple bacon, fresh lemon, and triple berry flavors.  I think my favorite was the maple bacon.


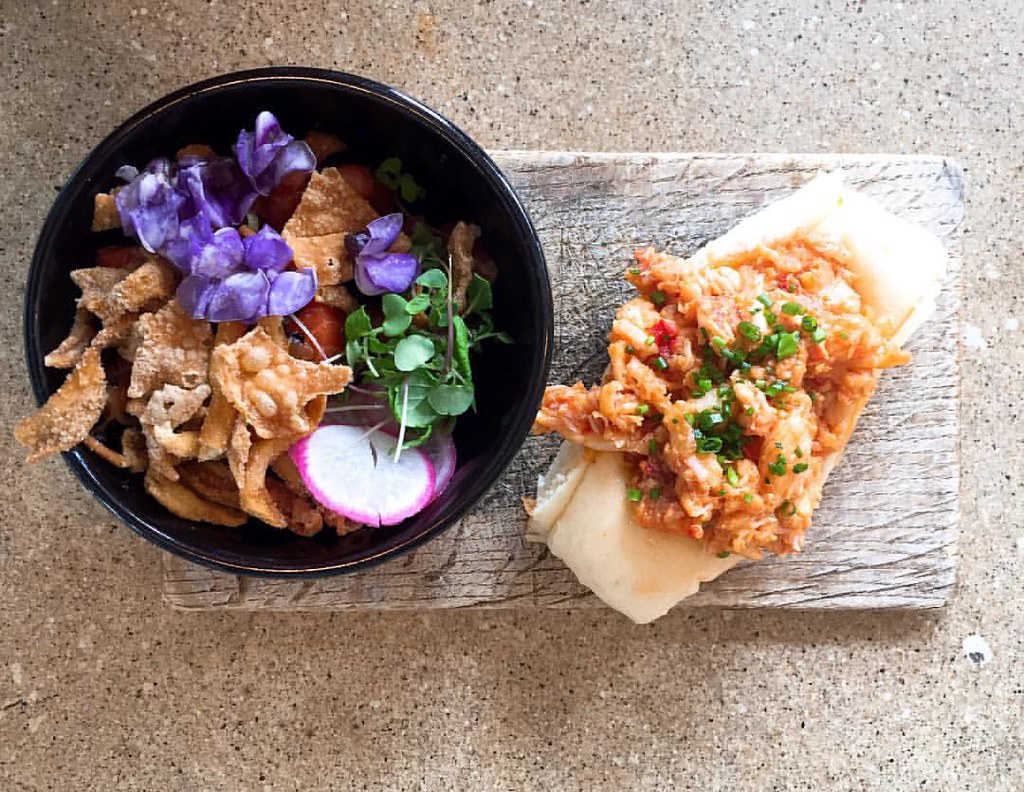
Then on to Eventide Oysters for their brown butter lobster rolls (which I've tried to recreate).  We also tried the salmon poke this time, which I thought was prettier than it tasted.


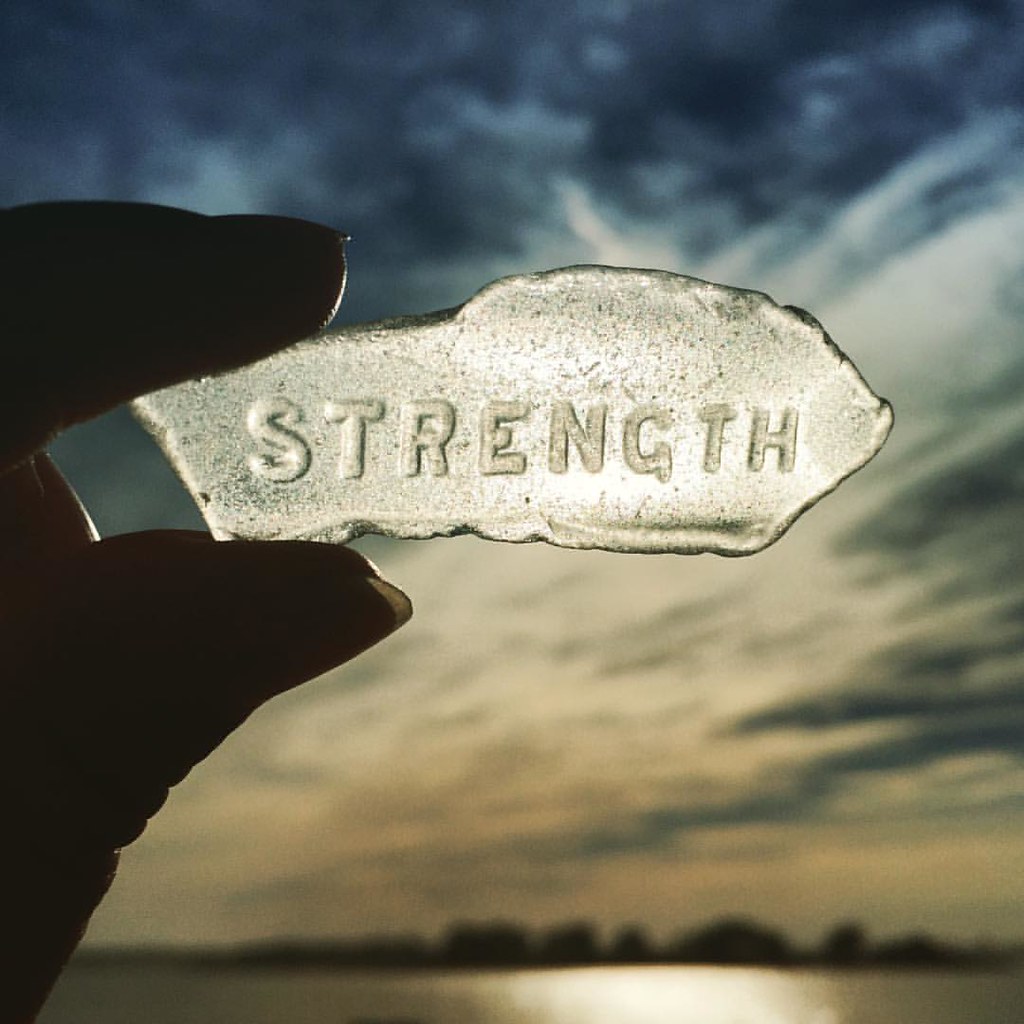
Since it was such a beautiful day, and we had some time before dinner, we took the ferry over to Peaks Island to see if there was anything interesting there.  There wasn't.  But Christine did find this awesome piece of sea glass there!


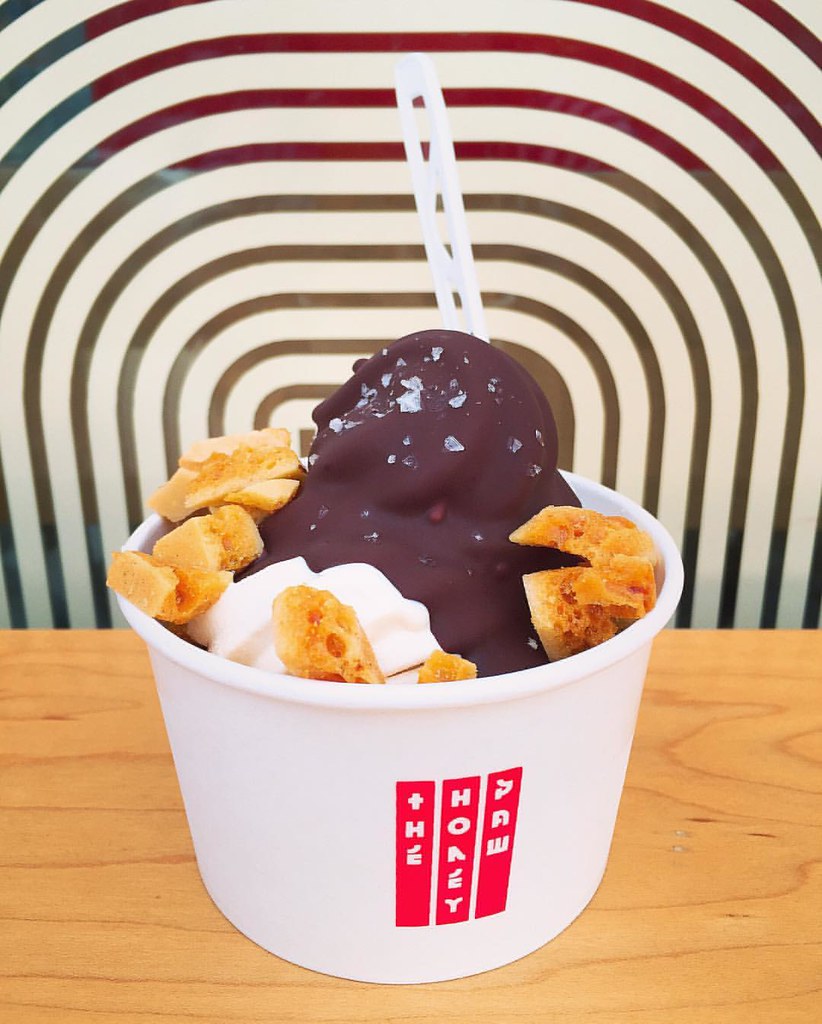
After dinner at Duck Fat, we decided to grab some dessert from The Honey Paw, a new fusion restaurant next door to Eventide.  We tried the caramelized honeycomb soft serve with magic shell and honeycomb candy.


It might have been the best thing we ate that day and is definitely going on our to-eat list for future trips!

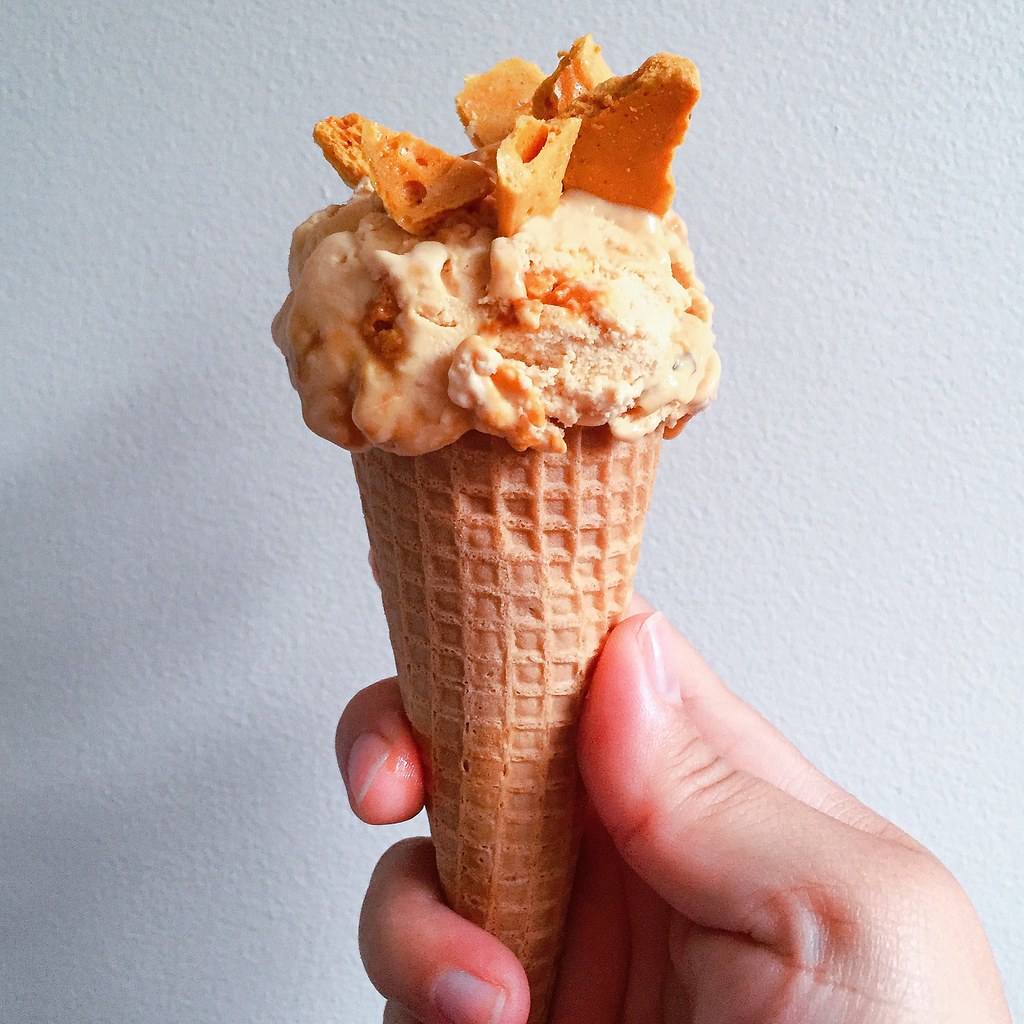
I tried to recreate it at home using one of Jeni's recipes as a guide, but I wasn't able to get that pure honey flavor that was the reason I loved the original version.  But then I realized it reminded me of Toscanini's burnt caramel ice cream, which is a very, very good thing.  I also liked how the honeycomb candy--also made with one of Jeni's recipes--added a unique texture when layered in with the ice cream.


Caramelized Honeycomb Ice Cream (adapted from Jeni's Splendid Ice Creams at Home)
makes about 1 quart

For the honeycomb candy:
1 1/2 cups sugar
1/2 cup water
3 tablespoons honey
1/3 cup corn syrup
1 tablespoon baking soda

Bring the sugar, water, honey, and corn syrup to a boil in a large saucepan over medium-high heat.  When it reaches 300°F, remove from heat and stir in the baking soda.  Pour into a parchment-lined baking sheet and let cool.  Break into small pieces.  You'll only need about half the amount that this recipe makes for the ice cream, but it's great eaten on its own or coated with chocolate.  Store in an airtight container.

For the ice cream:
2 cups whole milk
1 tablespoon plus 2 teaspoons cornstarch
4 tablespoons cream cheese, softened
1/2 teaspoon kosher salt
2/3 cup honey
1 1/2 cups heavy cream

Make a slurry with the cornstarch and 2 tablespoons of the milk and set aside.  Whisk the cream cheese and salt in a medium bowl until smooth.

Caramelize the honey in a large saucepan over medium-high heat.  Stir in about 1/4 of the cream to loosen it up and then stir in the rest of the cream.  Add the remaining milk and bring to a boil over medium-high heat.  Boil for 4 minutes, then whisk in the cornstarch slurry.  Bring the mixture back to a boil and cook until slightly thickened, about 1 minute.

Gradually whisk the hot milk mixture into the cream cheese until smooth.  Chill the mixture in an ice bath or in the refrigerator until cold.

Churn according to your ice cream maker's instructions.  Pack the ice cream into a storage container, mixing in the honeycomb candy as you go.  Freeze in your freezer until firm, at least 4 hours.


Next:  Soy Garlic Glazed Korean Fried Cauliflower
Previously:  Macau-Style Portuguese Chicken Rice
Two Years Ago:  Ginger Scallion Lobster Buns
Three Years Ago:  Ramen Lobster Rolls

Wednesday, September 7, 2016

Macau-Style Portuguese Chicken Rice

https://www.flickr.com/photos/joyosity/29466501016/in/dateposted-public/

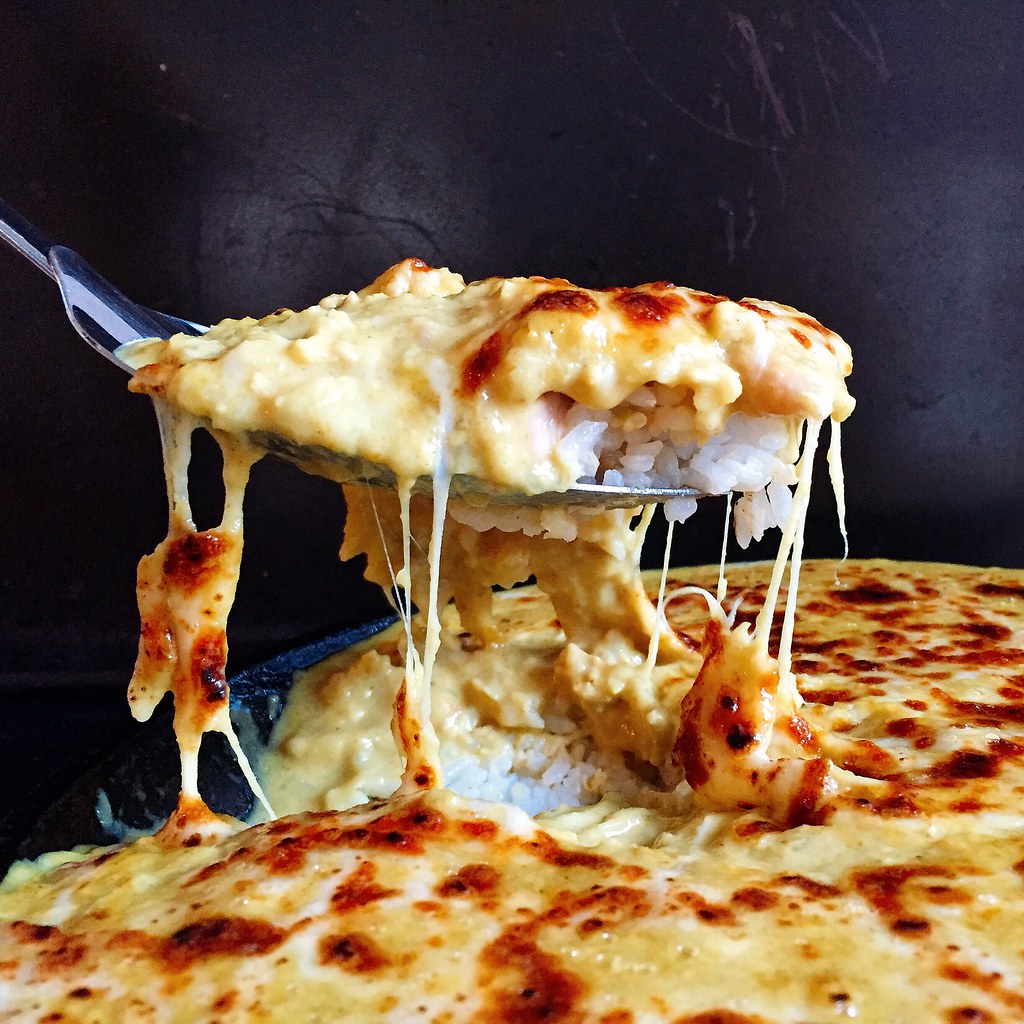
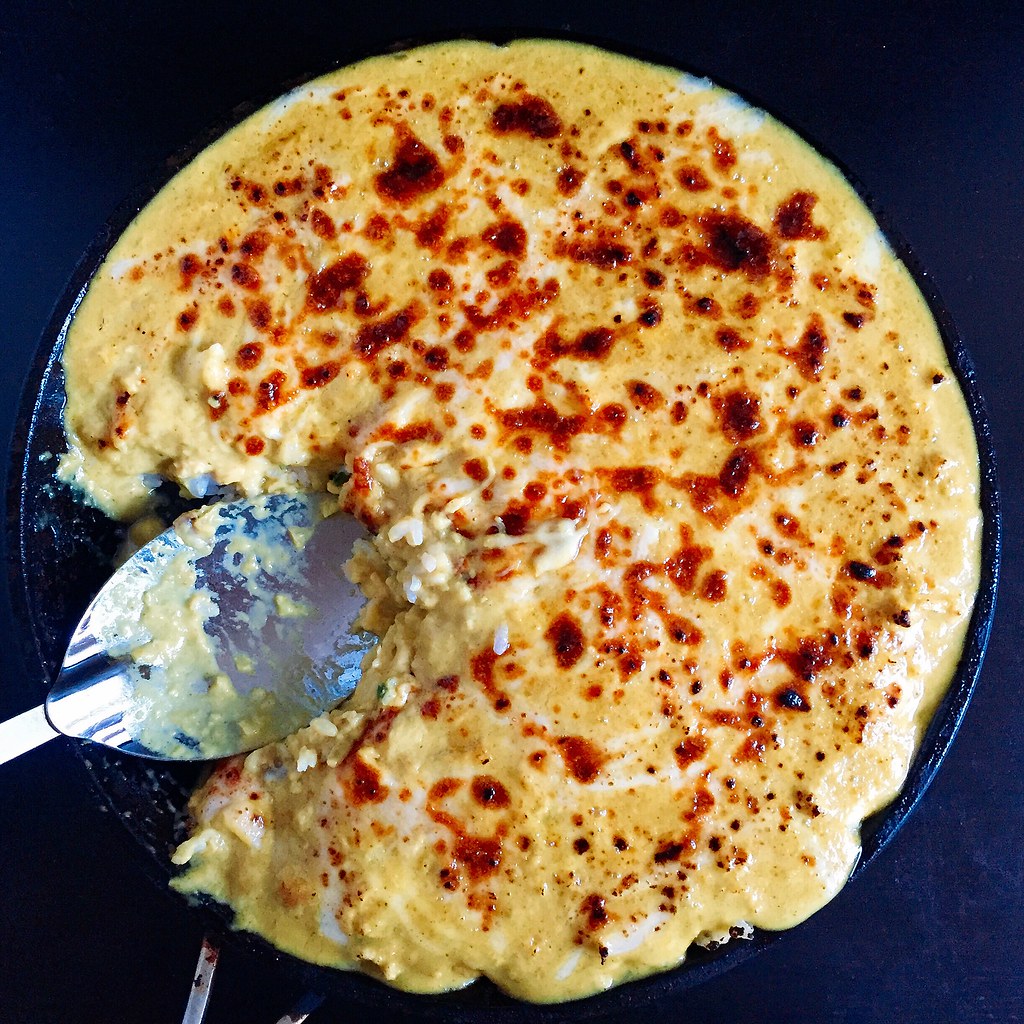
I only needed one bite of the Portuguese Chicken Rice from Double Chin to know that I needed to figure out how to make it at home.  I hadn't even ordered it myself; my friend Alvin was nice enough to let a bunch of us try his, and I'm so grateful he did.  Sadly, it's not a very photogenic dish, but once you try it, you won't care.

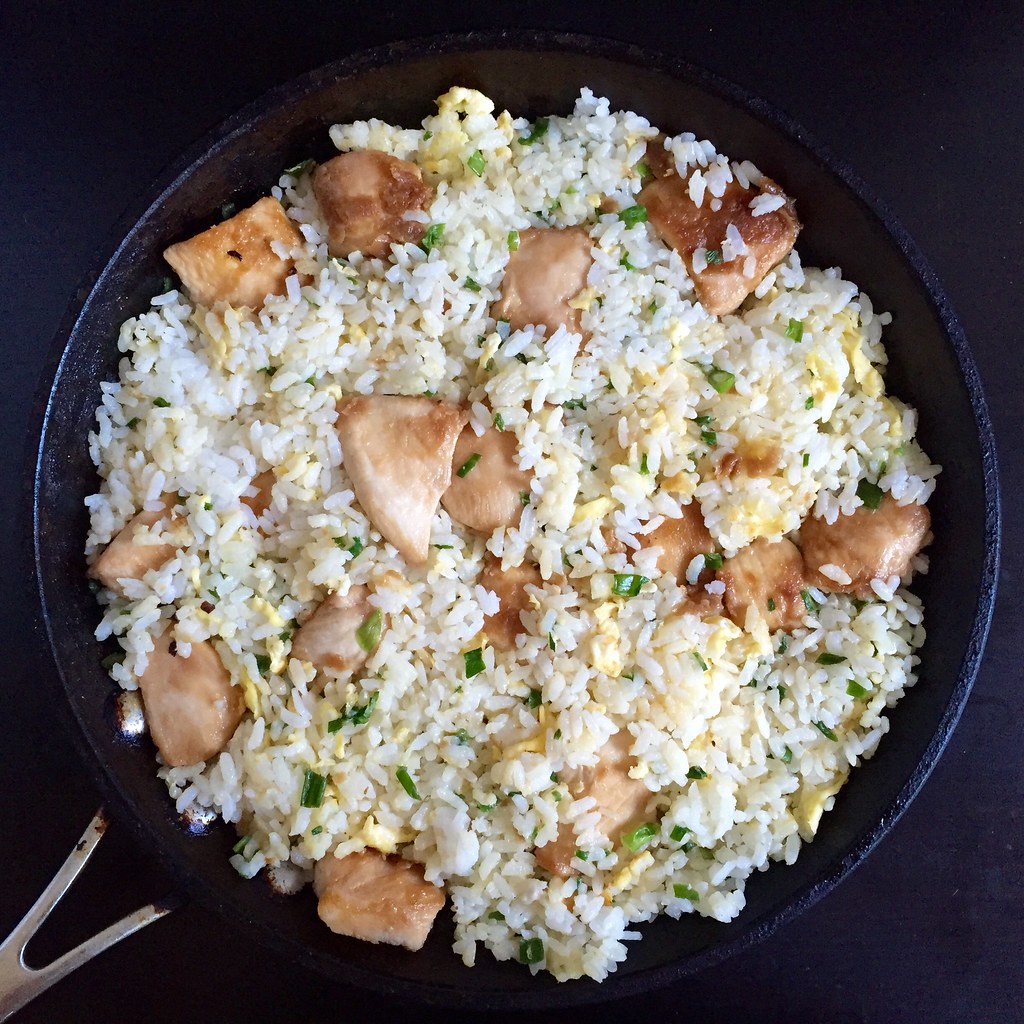
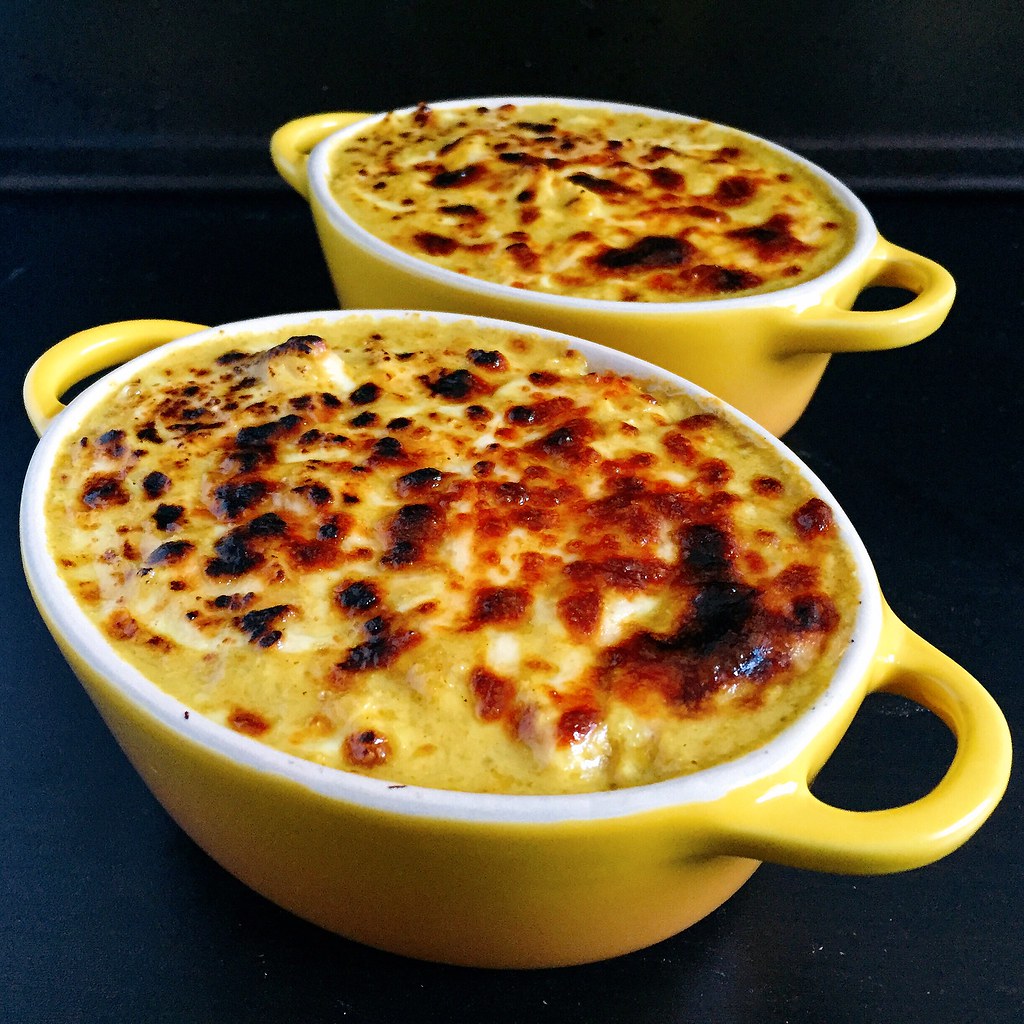
It starts with a layer of chicken fried rice topped with a mild coconut curry sauce and finished with a sprinkling of shredded cheese.  Then everything goes under the broiler until it gets all bubbly and gooey.  I know it's kind of strange to have cheese on an otherwise Asian dish, but it works so well in this case.  I think the key is to use a mild, melty cheese so that it doesn't overpower the rest of the dish.  I ended up using a mix of mozzarella and provolone.  I thought it was interesting that when I was looking for recipes on-line to use, a lot of them just listed "shredded cheese" as the ingredient without any reference to what kind of cheese.  Perhaps in Asia there is just one kind of shredded cheese available!

https://www.flickr.com/photos/joyosity/29420771461/in/dateposted-public/

I ended up referring to Lady and Pups' version because I love everything else she does, and it seemed the most similar to what I had at Double Chin.  The modifications I made were that instead of fish I used chicken and marinated it beforehand.  I used chicken breast because I prefer white meat, but feel free to use chicken thigh meat if you prefer dark meat.  I also made a couple of other modifications to her recipe based on what I had on hand (less scallions and water instead of milk) and taste preferences (half the amount of shallots).

Please note that this makes quite a bit of food.  Mandy's original recipe said that it serves 2, but it would probably be more like 6 Joy-sized servings.  And if you're wondering why it's called Portuguese chicken rice, I think it has to do with the fact that Macau was a Portuguese colony up until the end of the last century.  Apparently this dish is very popular in Hong Kong cafes, and I remember seeing something similar at one of my favorite eateries in Taiwan.

https://www.flickr.com/photos/joyosity/29211783800/in/dateposted-public/

Macau-Style Portuguese Chicken Rice (heavily adapted from Lady and Pups)
serves 4-6

For the chicken:
1 lb. boneless chicken, cut into 1" pieces
1 tablespoon cornstarch
1 tablespoon soy sauce
1 tablespoon rice wine
2 tablespoons vegetable oil

Mix all the ingredients except for the oil and marinate for 20 minutes.

Heat the oil over medium-high heat and cook the chicken until lightly brown.  Save 2/3 of it for the fried rice and finely chop the rest for the sauce.

For the fried rice:
2 tablespoons vegetable oil
2-3 eggs, beaten
3 cups day-old cooked rice, refrigerated
1/2 cup chopped scallions
Kosher salt and white pepper, to taste

Heat the oil over medium-high heat in a large pan and add the eggs.  Immediately add the rice and mix to coat.  Once the rice is heated through, add the scallions, salt, and white pepper to taste.  Add the reserved chicken and mix until even.  Remove from heat and set aside.

For the coconut curry sauce:
2 tablespoons vegetable oil
1 shallot, coarsely chopped
3 garlic cloves, coarsely chopped
1 teaspoon ginger, grated
1 tablespoon unsalted butter
1 tablespoon curry powder
1 tablespoon onion powder
2 tablespoons finely shredded unsweetened coconut
1 tablespoon all-purpose flour
13.5 oz. can coconut milk
1/2 cup water
1 1/2 cups mix of shredded mozzarella and provolone cheese, divided

Use a small blender to puree the oil, shallot, and garlic cloves.  Mix with the grated ginger and butter and cook over medium heat in a saucepan for a few minutes until very fragrant.  Add the curry powder, onion powder, coconut, and flour continue to cook for a few more minutes to toast the spices.  Whisk in the coconut milk and water and bring to a boil.  Simmer for 5-7 minutes until thickened.  Stir in the chopped chicken and 1 cup of the cheese.

Preheat the broiler.  Transfer the fried rice to a buttered casserole dish or oven safe pan.  You can also use multiple smaller dishes.  Pour the curry sauce over the rice and top with the remaining 1/2 cup of shredded cheese.  Broil for a few minutes until browned in spots and bubbly.  Serve immediately.

https://www.flickr.com/photos/joyosity/29420773131/in/dateposted-public/

Next:  Caramelized Honeycomb Ice Cream
Previously:  Extra-Crispy Tortilla Pizza
Two Years Ago:  Taiwanese Taro Swirl Mooncakes
Three Years Ago:  Brown Butter Vinaigrette Lobster Buns
Four Years Ago:  Caramelized Onion and Swiss Chard Quiche