Showing posts with label macarons. Show all posts
Monday, June 24, 2013
Passion Fruit Macarons: Further Lessons in Humility
It had been over four years since I last made macarons, so when I found myself with four egg whites in the fridge I thought to myself, "Self, maybe it's time to try making them again." After all, in the intervening years I had acquired a Kitchen-Aid stand up mixer, a Silpat liner, proper pastry bags and tips, and a food scale. Looking back, I can't believe I attempted to make macarons without any of those!
Since I had previously tried making macarons using the Italian meringue method, I thought I'd try the French meringue method. The French method may seem easier -- no need to dribble boiling hot sugar syrup into egg whites while beating (seriously, how did I do that without a stand-up mixer?!?) -- but the rate of failure is a lot higher since the meringue isn't quite as stable.
The hardest part is knowing when to stop folding the batter, otherwise the macarons will crack or not develop the frilly "feet". Believe me, it is heartbreaking to go through all the trouble of making the batter and piping the macarons and letting them rest, only to see them start to crack in the oven. I was so nervous about over-mixing that I actually under-mixed the batter at first. I realized my mistake when I tried piping it, and the batter wouldn't spread out into a nice round shape. I scraped the batter in the bag back into the mixing bowl and gave it a few more folds before trying again, and it worked much better this time.
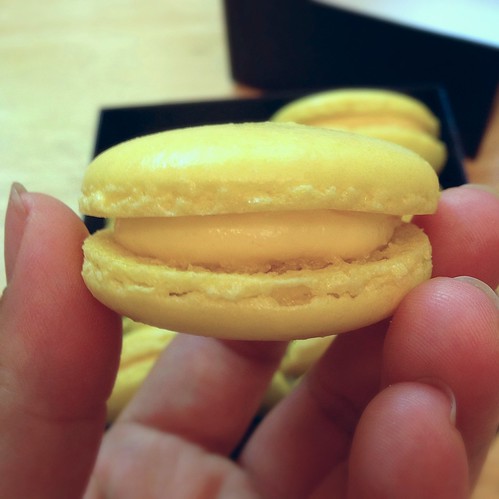
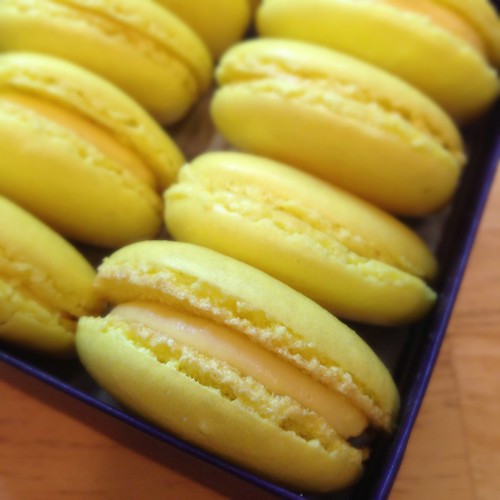
For the filling, I decided to make a modified version of the Momofuku Milk Bar passion fruit curd by adding a little more gelatin and butter to make it more viscous. Since I knew the passion fruit curd would be plenty flavorful, I chose to keep the macarons plain and just added some yellow gel coloring so that they would match the curd. You'll want to make the curd first so that it has time to chill in the fridge before filling the macarons.
Passion Fruit Curd (adapted from Momofuku Milk Bar)
makes about 1 1/4 cups
50 g passion fruit puree
32 g sugar
1 large egg
1/3 teaspoon powdered gelatin
1 tablespoon cold water
8 tablespoons very cold butter
1 g kosher salt
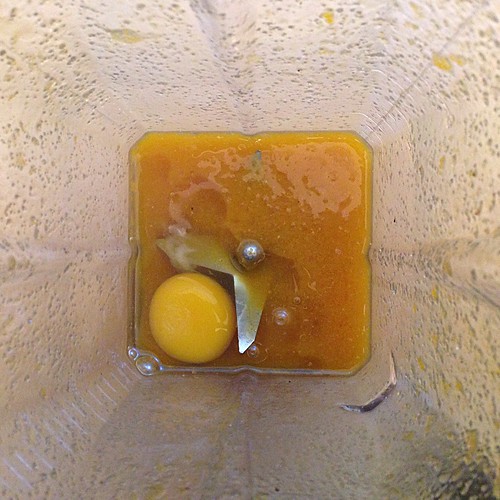
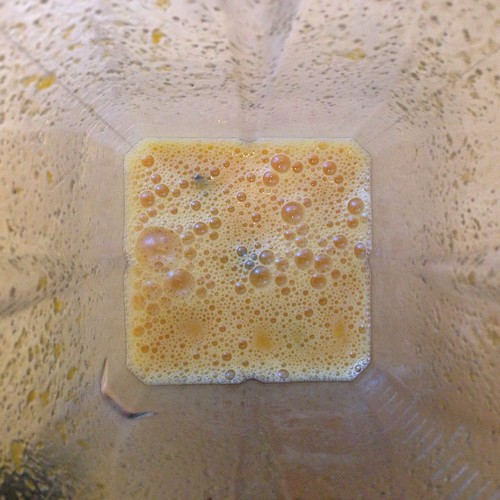
Put the passion fruit puree and sugar in a blender and blend until the sugar granules have dissolved. Add the egg and blend on low until you have a bright orange-yellow mixture. Transfer the contents of the blender to a medium saucepan. Clean the blender canister.
Bloom the powdered gelatin in 1 tablespoon of cold water.
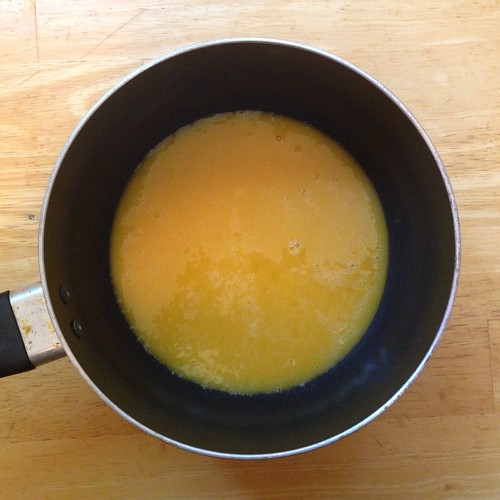
Heat the passion fruit mixture over low heat, whisking regularly. As it heats up, it will begin to thicken; keep a close eye on it. Once the mixture boils, remove it from the stove and transfer back to the blender.
Add the bloomed gelatin, butter, and salt and blend until the mixture is thick, shiny, and super-smooth.
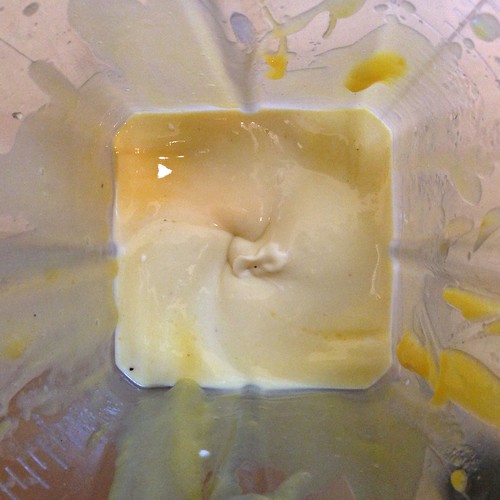
Transfer the mixture to a heatproof container and put it in the refrigerator for at least 30-60 minutes, until the curd has cooled completely.
Passion Fruit Macarons (adapted from Tartelette and Lisa is Bossy)
makes about 24
110 g egg whites (about 4)
200 g confectioner's sugar
110 g almond flour
1/8 teaspoon cream of tartar
25 g granulated sugar
3 drops yellow gel food coloring
Passion fruit curd (recipe above)
Age the egg whites overnight at room temperature in an open container (I cover mine with a sieve to keep out dust but to allow air flow).
Prepare two baking trays with Silpat or parchment paper.
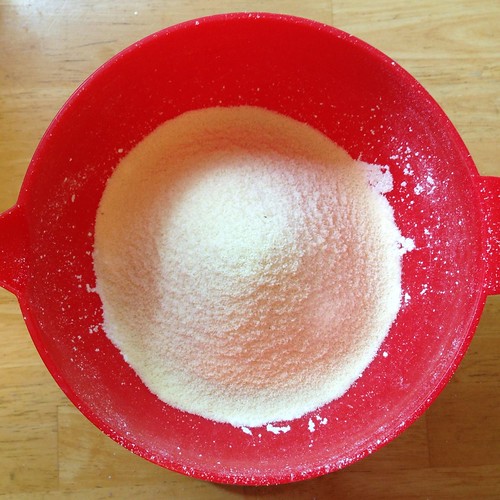
Sift the confectioner's sugar and almond flour together into a medium bowl.
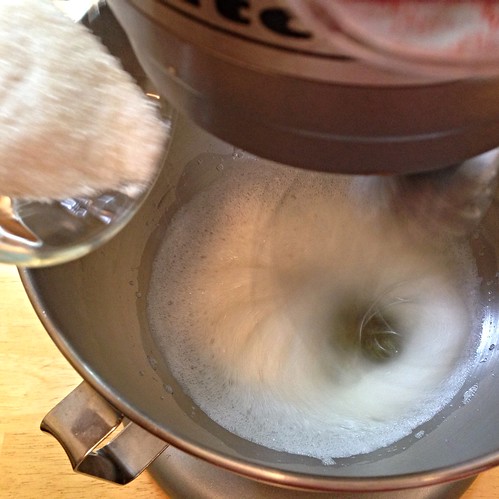
Add the cream of tartar to the egg whites and whip until foamy. Add the granulated sugar a little at a time while still mixing.
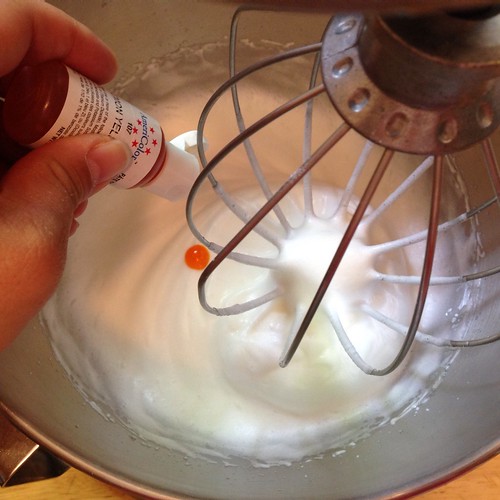
Once the egg whites have reached soft peak stage, add the food coloring and continue to beat until you reach stiff peak stage.
Add the almond sugar mixture to the egg whites and fold until all the dry ingredients have been incorporated.
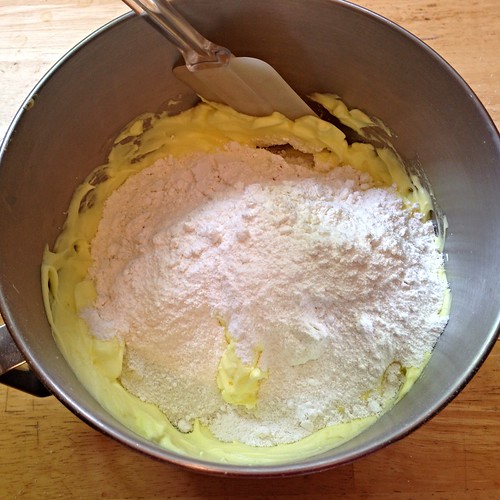
Continue folding until the batter is smooth but not stiff or runny. Test a small amount on a plate: if the tops flattens on its own you are good to go. If there is a small peak, give the batter a couple of turns.
Transfer the batter to a pastry bag fitted with a large plain tip. If using parchment paper, pipe a dot onto each corner of the baking tray so that the parchment paper sticks to it. Pipe 1" circles, leaving about an inch in between each. You should be able to fit six rows of four macarons on each tray by staggering them.
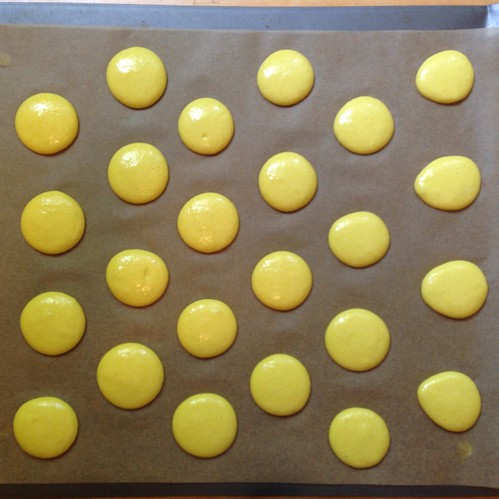
Tap the tray sharply several times so that any air bubbles are released. Allow the macarons to sit for 30-60 minutes so that a "skin" develops on top.
Preheat the oven to 310°F. Bake the macarons for 12 minutes*. Remove from the oven and allow to cool completely.
Once cool, match similarly sized and shaped macarons with each other.
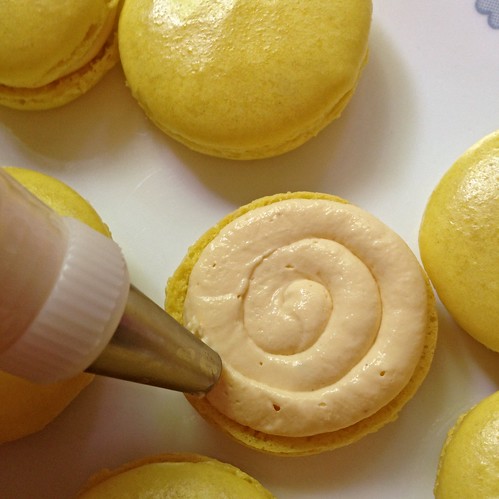
Transfer the passion fruit curd to a pastry bag fitted with a large plain tip. Pipe a spiral of curd onto the bottom half and top with the matching macaron. Store in an airtight container in the refrigerator.
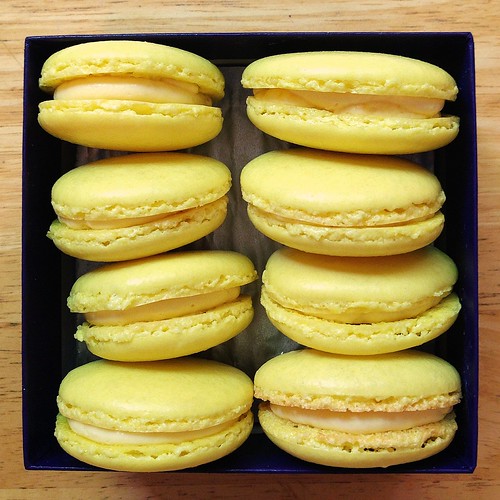
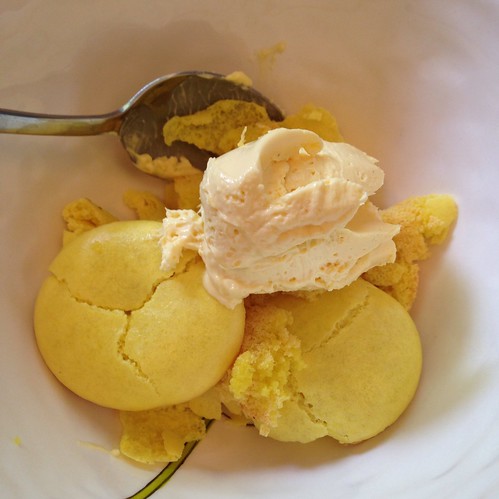
*I ended up losing about half my macarons to cracks, and of the leftover macarons, most of them were undercooked and stuck to the parchment paper. Sadly, I was only able to salvage 8 macarons out of the whole batch. I increased the baking time in the recipe above by a minute to account for this, but you should learn from my mistake and test a macaron before removing the whole tray from the oven. Try shifting one along the tray; if it doesn't budge, let it bake a little more. If it moves, they're done!
Even if you have some aesthetic failures, they still taste great with any leftover passion fruit curd!
Next: Ken Forkish's Same Day Straight Pizza Dough
Previously: Mango Coconut Rice Pudding Pops
Three years ago: Bacon Caramel Maple Ice Cream
Thursday, December 18, 2008
Macarons: A Lesson in Humility
A few months ago Ellen was telling me about her obsession with macarons and how she was going to try to make them. I wasn't that familiar with these confections although I had seen plenty of beautiful pictures of them on other food blogs. Turns out that 1) they are another species entirely from the coconut macaroons (two o's) that I'm used to, and 2) supposed to be incredibly difficult to make. Naturally, that meant I was going to try at some point.
So first of all, macarons are made with almond flour, sugar, and egg whites, whipped to a meringue. They are then sandwiched with the an appropriate filling (ganache, buttercream, jam, curd, etc.) and the resulting sandwich is also (confusingly) called a macaron. An unique feature of the macaron cookie is called the "feet"--the uneven, ruffled skirt around the edge. Amazingly enough, you want feet on your macarons. The hard part about making a macaron mostly involves the meringue and folding in the tant-pour-tant (the one-to-one mixture of almond flour and sugar). One fold too many or too little will result in cracked and/or hollow cookies and no feet.
Another difficult part about making macarons is amassing the ingredients and tools needed to make them. Egg whites aren't hard to come by, but one tip that has been circulating around is that they should be "aged" at room temperature at least overnight and up to 72 hours. Sure it sounds disgusting, but any germs and bacteria that might grow would be killed in the oven and the aged egg whites hold a meringue that much better because more water has evaporated, leaving more of the structural proteins. Next, almond flour. If you can't find any you can always make it yourself with almonds and a food processor (although I'm not sure how you would get almond flour vs. almond butter) but luckily enough, Harvest carries almond meal in their bulk bins. Unfortunately, the almonds aren't skinned beforehand, so there's flecks of almond skin in the meal, but what can you do? (Actually, now that I think about it, maybe I can sieve the meal beforehand to try to get rid of the skin....) Anyways, you'll want to use the food processor to grind the meal even finer. One great tip I read is to use the food processor to mix the almond flour and powdered sugar so that you don't have to individually sift the two (which is great because I don't have a sifter, although I guess a sieve would work).
To make the macarons you need a mixer (a stand mixer is ideal but I'm too cheap so I just used a hand mixer), pastry bag (again, too cheap to buy so I just filled a large Ziploc bag and cut a hole in the corner), high quality baking sheets (I used my Pampered Chef stoneware cookie sheet), parchment paper, Silpat, or non-stick aluminum foil (I used parchment paper), a food processor (thanks, Carsten!), a candy thermometer, and ideally, a food scale.
There are two ways of making meringue for the macarons, the French way or the Italian way. The Italian way is a little more difficult and involves streaming boiling sugar syrup into the egg whites are they are being whipped but results in almost foolproof macarons as the Italian meringue is much more stable than French meringue. So I chose to try the Italian method. Since I didn't have a food scale (yes, I am cheap!) I used Lesley's recipe here which is "translated" from Tartelette's and decided to try my hand at making a hazelnut macaron with Nutella filling.
Bake at 320° F for 12 - 15 minutes. After they are done baking, allow them to cool and carefully transfer them to an airtight container. Macarons can be stored in the fridge or freezer.
I made the filling used in the picture above with this recipe, but in the end, I decided I liked just plain Nutella as a filling. I forgot to mention that I had never actually had a macaron before, so I was quite surprised at how sweet it was with my first bite. But after a while I knew what to expect, and it might have helped that I was eating them chilled from the freezer (the colder something is, the less sweet it will taste; one reason why there is so much sugar in an ice cream recipe).
So ta-da! I made my first batch and didn't have too many issues: my macarons had feet, weren't hollow, and didn't have any cracks. The hardest part was actually piping the cookies as I had never piped anything before in my life, and I wasn't exactly using the best tool. The macaron batter is actually quite drippy so you really have to be careful if you aren't using a pastry tip. I would definitely recommend having your parchment paper already cut and spread out so that you can pipe all the macarons at one time. One site I read recommending drawing 1" circles onto the paper beforehand so you know when to stop piping and also where to place them. Another tip that I read on many, many sites is to let the macarons sit for an hour before putting them in the oven so that the top can dry out. I didn't really adhere to this with my first batch as I figured that by the time I had piped the last macaron, the first one would have already had a chance to sit a bit.

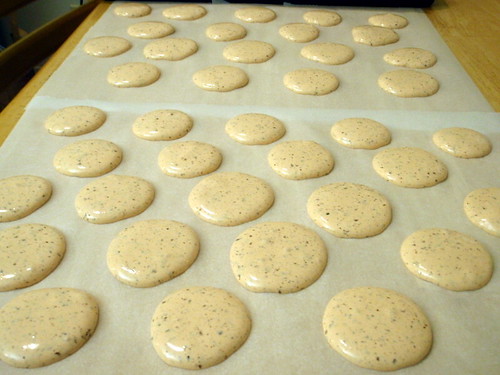
Piped orange macarons (although not very orange in color)
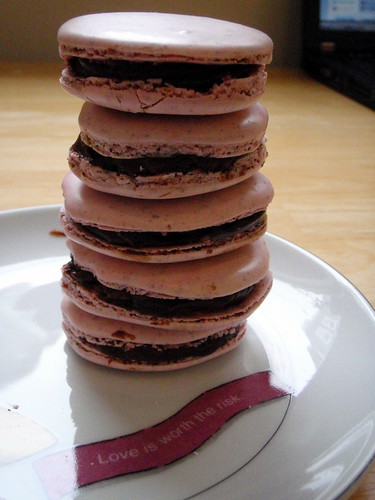
P.S. I tried the peppermint macarons with peppermint chocolate ganache!
So first of all, macarons are made with almond flour, sugar, and egg whites, whipped to a meringue. They are then sandwiched with the an appropriate filling (ganache, buttercream, jam, curd, etc.) and the resulting sandwich is also (confusingly) called a macaron. An unique feature of the macaron cookie is called the "feet"--the uneven, ruffled skirt around the edge. Amazingly enough, you want feet on your macarons. The hard part about making a macaron mostly involves the meringue and folding in the tant-pour-tant (the one-to-one mixture of almond flour and sugar). One fold too many or too little will result in cracked and/or hollow cookies and no feet.
Another difficult part about making macarons is amassing the ingredients and tools needed to make them. Egg whites aren't hard to come by, but one tip that has been circulating around is that they should be "aged" at room temperature at least overnight and up to 72 hours. Sure it sounds disgusting, but any germs and bacteria that might grow would be killed in the oven and the aged egg whites hold a meringue that much better because more water has evaporated, leaving more of the structural proteins. Next, almond flour. If you can't find any you can always make it yourself with almonds and a food processor (although I'm not sure how you would get almond flour vs. almond butter) but luckily enough, Harvest carries almond meal in their bulk bins. Unfortunately, the almonds aren't skinned beforehand, so there's flecks of almond skin in the meal, but what can you do? (Actually, now that I think about it, maybe I can sieve the meal beforehand to try to get rid of the skin....) Anyways, you'll want to use the food processor to grind the meal even finer. One great tip I read is to use the food processor to mix the almond flour and powdered sugar so that you don't have to individually sift the two (which is great because I don't have a sifter, although I guess a sieve would work).
To make the macarons you need a mixer (a stand mixer is ideal but I'm too cheap so I just used a hand mixer), pastry bag (again, too cheap to buy so I just filled a large Ziploc bag and cut a hole in the corner), high quality baking sheets (I used my Pampered Chef stoneware cookie sheet), parchment paper, Silpat, or non-stick aluminum foil (I used parchment paper), a food processor (thanks, Carsten!), a candy thermometer, and ideally, a food scale.
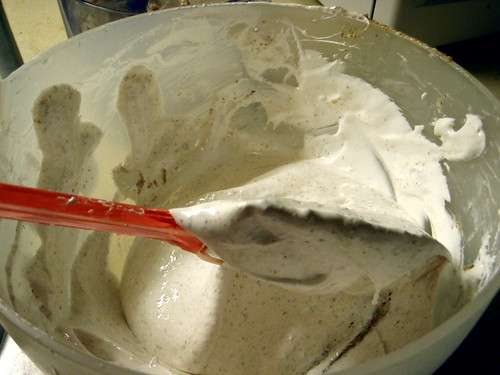
You can tell it's an Italian meringue because it is so glossy.
There are two ways of making meringue for the macarons, the French way or the Italian way. The Italian way is a little more difficult and involves streaming boiling sugar syrup into the egg whites are they are being whipped but results in almost foolproof macarons as the Italian meringue is much more stable than French meringue. So I chose to try the Italian method. Since I didn't have a food scale (yes, I am cheap!) I used Lesley's recipe here which is "translated" from Tartelette's and decided to try my hand at making a hazelnut macaron with Nutella filling.
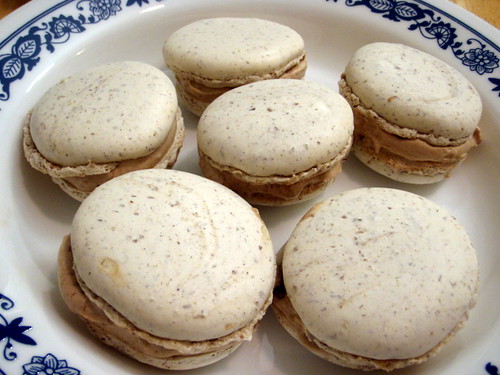
Yes, you can see the specks of almond skin, but look, you can see feet as well!
Ingredients:
1/2 cup aged egg whites (comes out to about 4 egg whites)
3 T sugar
1 1/4 cups powdered sugar
1 cup almond meal
2 tsp. hazelnut extract
For syrup:
3/4 cups sugar
1/4 cups water
Begin by placing the water and sugar for the syrup in a small saucepan and bring to a boil. Once the sugar syrup registers 170° F on a candy thermometer, start whipping two of your egg whites. When the egg whites have started to froth, slowly add the 3 T sugar.
When the sugar syrup gets to 230° F on a candy thermometer, add it in driblets to your egg whites (which should hold soft peaks at this point).
Whip the mixture for 10 - 15 minutes, until cool.
Mix the remaining egg whites with the almond meal and powdered sugar in a food processor. Fold this mixture and the hazelnut extract into the meringue mixture.
Fill a pastry bag with a 1/4 inch tip (or a large Ziploc bag with a corner snipped off) with your mixture. Pipe 1" circles on cookie sheets lined with parchment paper, non-stick aluminum foild, or Silpat.
Bake at 320° F for 12 - 15 minutes. After they are done baking, allow them to cool and carefully transfer them to an airtight container. Macarons can be stored in the fridge or freezer.
So ta-da! I made my first batch and didn't have too many issues: my macarons had feet, weren't hollow, and didn't have any cracks. The hardest part was actually piping the cookies as I had never piped anything before in my life, and I wasn't exactly using the best tool. The macaron batter is actually quite drippy so you really have to be careful if you aren't using a pastry tip. I would definitely recommend having your parchment paper already cut and spread out so that you can pipe all the macarons at one time. One site I read recommending drawing 1" circles onto the paper beforehand so you know when to stop piping and also where to place them. Another tip that I read on many, many sites is to let the macarons sit for an hour before putting them in the oven so that the top can dry out. I didn't really adhere to this with my first batch as I figured that by the time I had piped the last macaron, the first one would have already had a chance to sit a bit.

Piped orange macarons (although not very orange in color)
So now that I had one good batch under my belt, I figured it was time to try a different flavor, and I settled on orange macarons with clementine curd using the recipe here. I added orange extract to the macaron batter and used food coloring to try to get them orange. I'm not used to using food coloring, and even though I read that baked macarons come out much lighter than the batter, I was just too scared to get much color into the cookies. And this time I decided to let them sit after being piped. Well I think that was a mistake. Of the four trays I made, only the first one came out without cracks, and I'm pretty sure that was because that one didn't sit as long as the others. Even so, the macarons from the first tray were almost all hollow. =( I was able to salvage a few to take pictures of, but the rest I'm just eating individually and dipping into the curd like chips and dip. I also need to find a filling that's not as runny. As you can see in the picture below, the curd is starting to drip out the sides and one of the principles of macaron making is that the filling should never go past the circumference of the cookie.

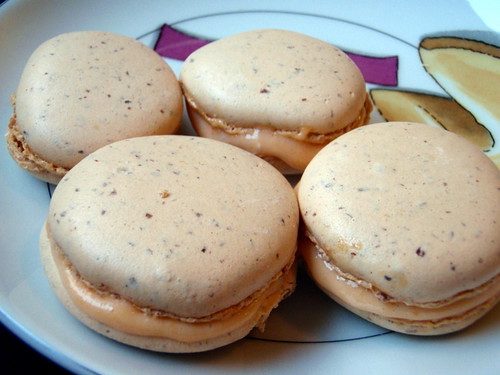
Orange macarons with clementine curd

Orange macarons with clementine curd
Now I understand the angst of making macarons; even the "almost fool-proof" recipes can go horribly wrong. But I'm not entirely defeated; I think I'll try to make more macarons in the next few days. I even have the egg whites sitting out already. It's really too bad Highrock is a nut-free church or else I'd bring some for people to try. Anyone have any ideas for other flavor combinations? I might try a peppermint macaron and chocolate ganache combo or maybe a coconut macaron with orange marshmallow creme filling....
P.S. I tried the peppermint macarons with peppermint chocolate ganache!
Subscribe to:
Posts (Atom)