Showing posts with label momofuku. Show all posts

Friday, March 8, 2013

Happiness Cake

I've been wanting to make this cake ever since I first saw it in the Momofuku Milk Bar cookbook where it's just called a Chocolate Chip Layer Cake.  I think that simple name does not even begin to describe what it is:  mini chocolate chip butter cake layered with passion fruit curd, chocolate cake crumbs, and coffee buttercream frosting.  Hello.  So I decided to rename it Happiness Cake, because this is what happiness is.  =)

The main reason why it took me so long to make this cake is because according to the cookbook, you needed a cake ring and acetate lining to build up the layers.  I wasn't interested in acquiring any more random stuff for my kitchen so I just kept drooling over the recipe but not making it.  At one point I started thinking about making it into a cupcake form, but then I got the bright idea to just put all the layers in small Mason jars, which I already had!  I love that they can be kept in the freezer for a while and are totally portable, so they make really good gifts for friends!
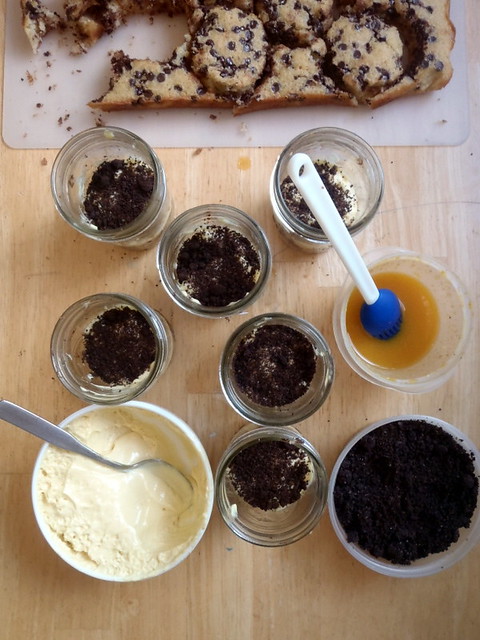
Assembling the jars
 
There are a lot of different parts to this cake, and some parts take more time than others and need to chill before using or need to use immediately, so this is how I would suggest going about it:
  1. Make the cake and put it in the oven to bake.
  2. While the cake is baking, make the passion fruit curd and let it chill in the fridge.
  3. After the cake is done, let it cool and lower the oven temperature to 300°F.  Make the chocolate crumbs, which will also need to cool after baking.
  4. Just before you are ready to assemble everything, start making the coffee frosting.  This will take a while to come together, so you can go ahead and start with the assembly process while you are waiting.
Another note about the coffee frosting, even after mixing in my stand mixer for more than half an hour, I still wasn't getting it to come together, so eventually I just poured out the liquid coffee milk that was left and paddled until everything was homogenous.  Then I found that I needed a lot more of the coffee frosting than the original recipe called for, so in the recipe below, I increased the amount of frosting but decreased the coffee milk to butter ratio a little.

After assembling the 6 jars, you'll end up with a lot of leftover components.  Feel free to make a Happiness Scrap Heap out of them just for yourself or, if you have more jars, you can try making more Happiness Cakes, just without the perfect circles.
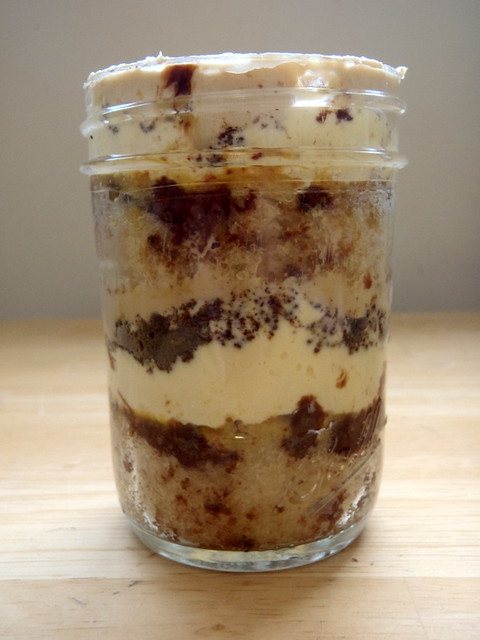
Chocolate Chip Layer Cake
 
Happiness Cake (adapted from Momofuku Milk Bar)
makes 6 small (8 oz.) jars with lots of leftover scraps perfect for snacking on

1 recipe Chocolate Chip Cake (below)
1/3 cup passion fruit puree
1 recipe Passion Fruit Curd (below)
1 recipe Chocolate Crumbs (below)
1 recipe Coffee Frosting (below)

Chocolate Chip Cake
makes one 9"x13" cake

1/2 cup butter, at room temperature
1 1/4 cup sugar
1/4 cup light brown sugar, tightly packed
3 eggs
1/2 cup buttermilk
1/2 cup canola oil
1 tablespoon vanilla extract
1 1/2 cups cake flour
1 teaspoon baking powder
1 teaspoon kosher salt
Nonstick cooking spray
3/4 cup mini chocolate chips

Preheat oven to 350°F.

Combine the butter and sugars in the bowl of a stand mixer fitted with the paddle attachment and cream together on medium-high for 2-3 minutes.  Add eggs and mix on medium-high again for 2-3 minutes.

On low speed, stream in the buttermilk, oil, and vanilla.  Increase the mixer speed to medium-high and paddle for 4-6 minutes, until the mixture is practically white, twice the size of your original fluffy butter-and-sugar mixture, and completely homogenous. 

On very low speed, add the cake flour, baking powder, and salt.  Mix for 45-60 seconds, just until your batter comes together and any remnants of dry ingredients have been incorporated.
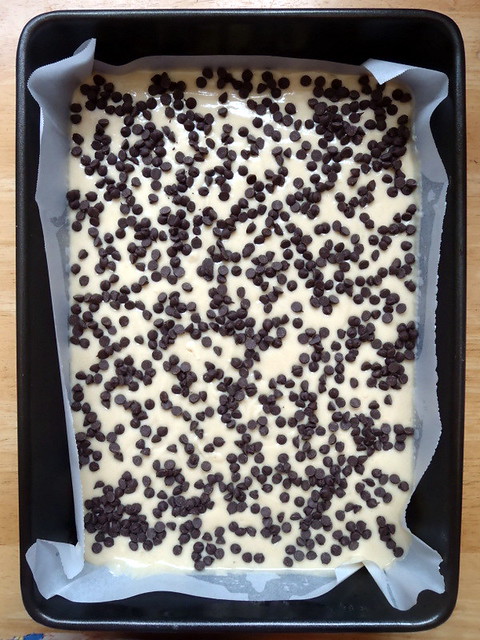
P2123186
 
Spray a 9"x13" pan with nonstick cooking spray and line with a piece of parchment paper.  Using a spatula, spread the cake batter in an even layer in the pan.  Give the bottom of the pan a tap on the counter top to even out the layer.  Sprinkle the chocolate chips evenly over the cake batter.
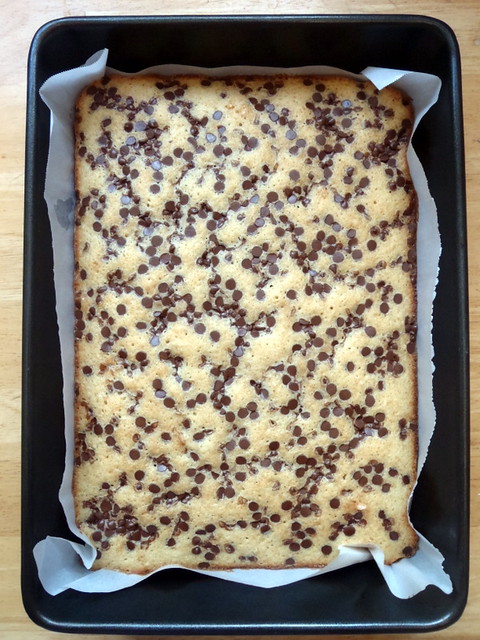
P2123191
 
Bake the cake for 30-35 minutes.  At 30 minutes, gently poke the edge of the cake with your finger; the cake should bounce back slightly and the center should no longer be jiggly.  Leave the cake in the oven for an extra 3-5 minutes if it doesn't pass these tests.
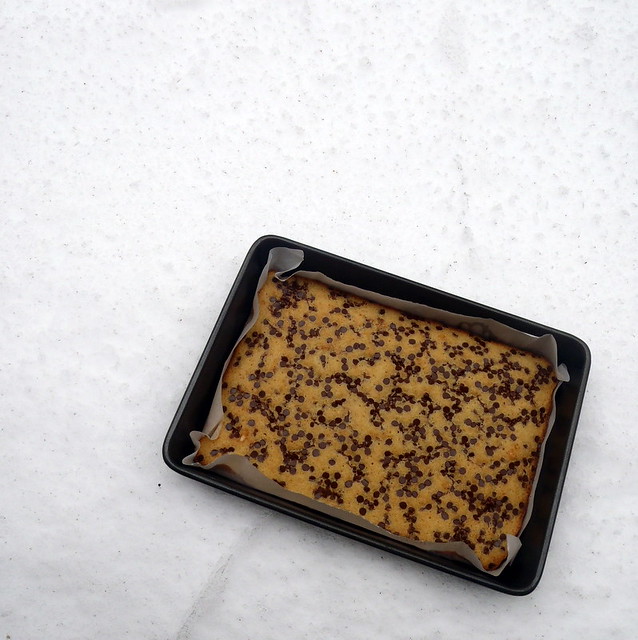
Chilling in the snow
 
Take the cake out of the oven and cool on a wire rack, or in a pinch, in the fridge, freezer, or snow (just make sure, you know, it's stopped snowing).  The cooled cake can be stored in the fridge, wrapped in plastic wrap, for up to 5 days.

Passion Fruit Curd
makes about 1 1/2 cups

1/2 cup passion fruit puree
1/3 cup sugar
2 eggs
1/2 teaspoon powdered gelatin
3/4 cup butter, very cold
1/2 teaspoon kosher salt

Put the passion fruit puree and sugar in a blender and blend until the sugar granules have dissolved.  Add the eggs and blend on low until you have a bright-orange-yellow mixutre.  Transfer the contents of the blender to a medium saucepan.  Clean the blender canister.

Bloom the powdered gelatin in 2 tablespoons of cold water.
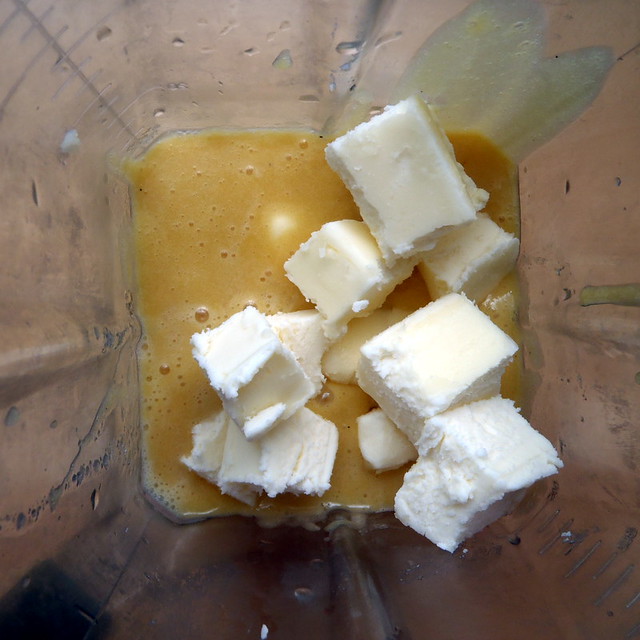
P2123189

Heat the passion fruit mixture over low heat, whisking regularly.  Once it boils, remove it from the stove and transfer it to the blender.  Add the bloomed gelatin, butter, and salt and blend until the mixture is thick, shiny, and super-smooth.
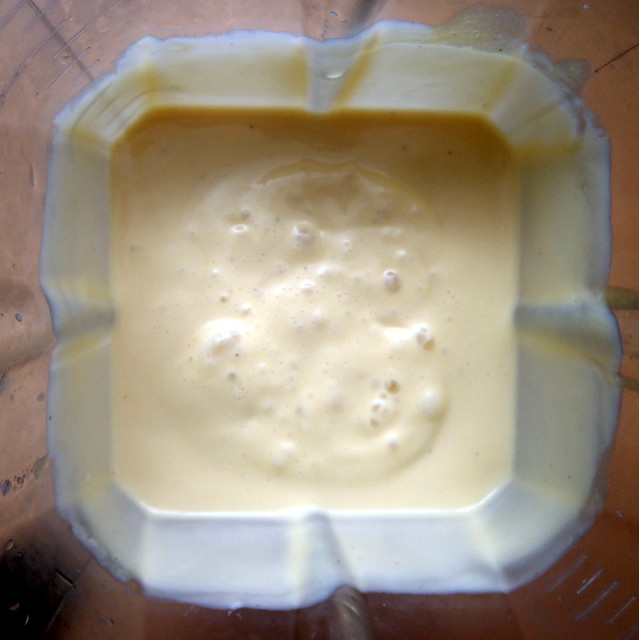
Passion fruit curd
 
Transfer the mixture to a heatproof container and put in the fridge until the curd has cooled completely, at least 30 minutes.  The curd can be refrigerated for up to 1 week; do not freeze.

Chocolate Crumbs
makes about 1 1/4 cup

1/3 cup flour
1/2 teaspoon cornstarch
1/4 cup sugar
1/3 cup cocoa powder
1/2 teaspoon kosher salt
3 tablespoons butter, melted

Preheat the oven to 300°F.

Combine the flour, cornstarch, sugar, cocoa powder, and salt in the bowl of a stand mixer fitted with the paddle attachment and paddle on low speed until mixed.

Add the butter and paddle on low speed until the mixture starts to come together in small clusters.
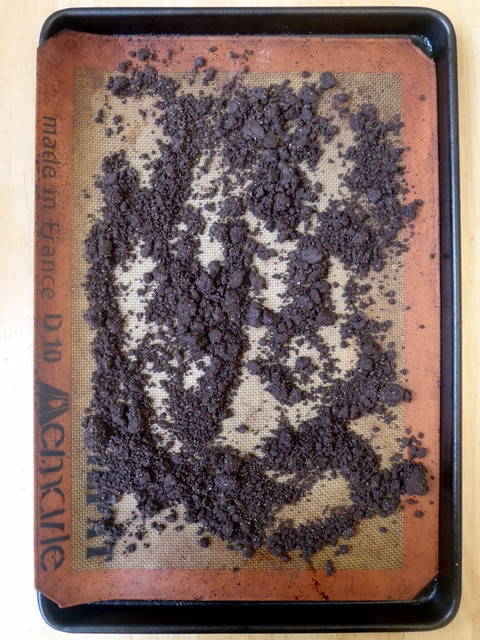
Chocolate crumbs
 
Spread the clusters on a parchment- or Silpat-lined baking sheet.  Bake for 20 minutes, breaking them up occasionally.   The crumbs should still be slightly moist to the touch at that point; they will dry and harden as they cool.

Let the crumbs cool completely before using.  Stored in an airtight container, they will keep fresh for 1 week at room temperature or 1 month in the fridge or freezer.

Coffee Frosting
makes about 2 cups

1 cup butter, at room temperature
1/2 cup confectioners' sugar
1/3 cup milk
1 1/2 teaspoons instant espresso powder
1/2 teaspoon salt

Combine the butter and confectioners' sugar in the bowl of a stand mixer fitted with the paddle attachment and cream together on medium-high for 2-3 minutes, until fluffy and pale yellow.

Meanwhile, make a quick coffee milk:  whisk together the milk, instant espresso powder, and salt in a small bowl.
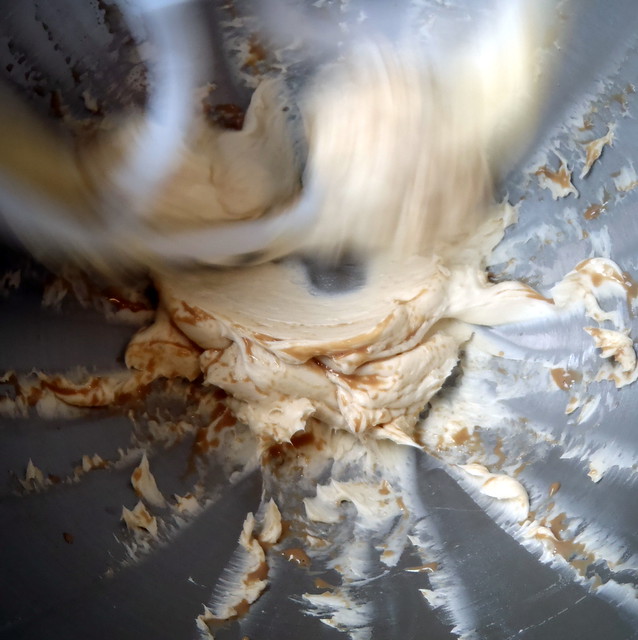
P2123204
 
On low speed, gradually stream in the coffee milk.  You are essentially forcing liquid into fat, so be patient.  The butter mixture will clump up and separate upon contact with the coffee milk. 
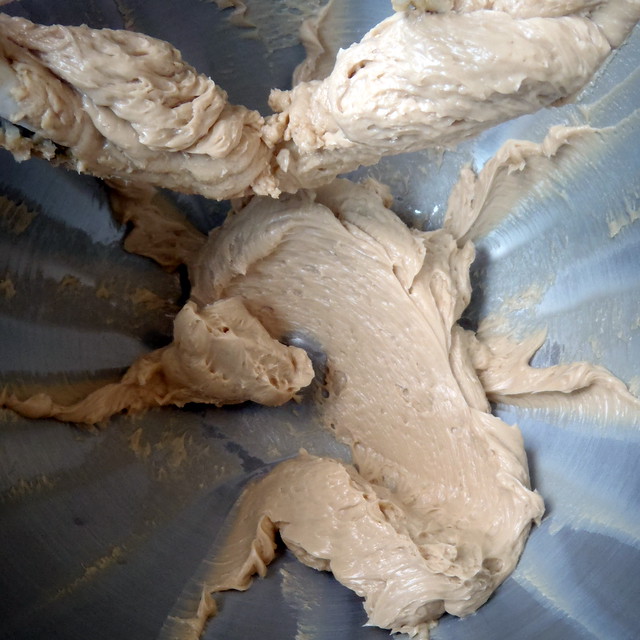
Coffee buttercream
 
Do not stream more coffee milk into the butter mixture until the previous addition is fully incorporated; keep the mixer on and remain patient.  The result will be a wildly fluffy coffee frosting, pale brown, and super-shiny.  Use immediately.
 
Happiness Cake in a Jar Assembly
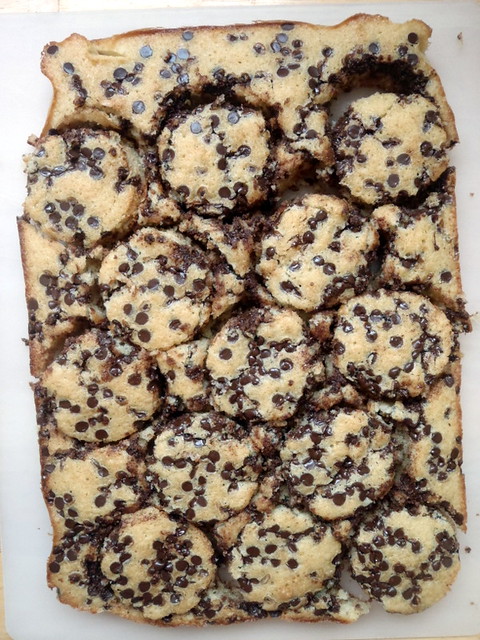
P2123201
 
Using an empty jar as a cookie cutter, cut out 12 circles from the chocolate chip cake.  (Yes, there are 13 circles cut out above.  I had to eat one.  For science.)
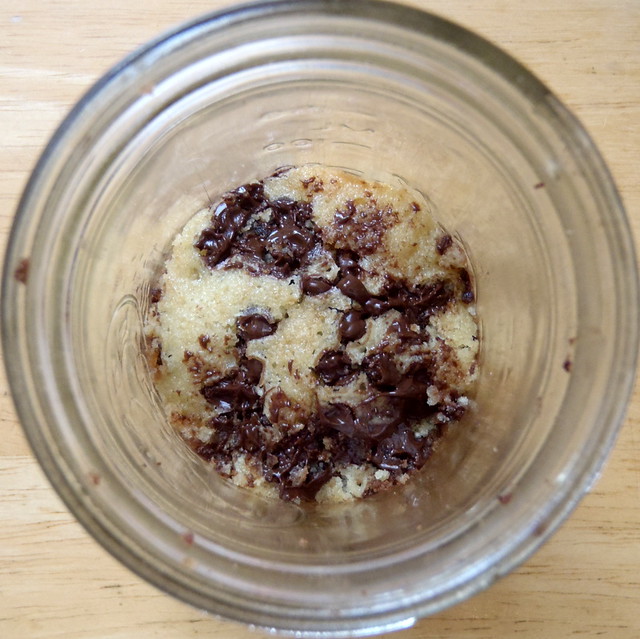
First layer of chocolate chip cake
 
Press one circle into the bottom of a jar.  Brush with a generous amount of passion fruit puree.
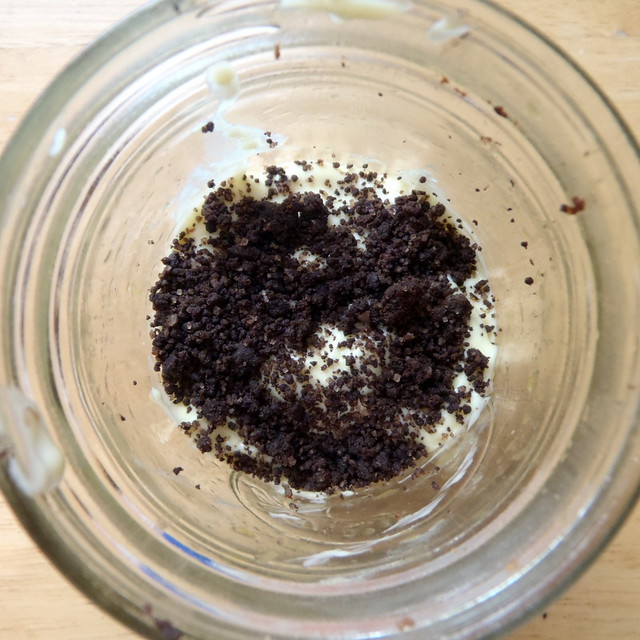
Topped with passion fruit curd and chocolate crumbs
 
Spoon in a layer of the passion fruit curd.  Top with a layer of the chocolate crumbs.
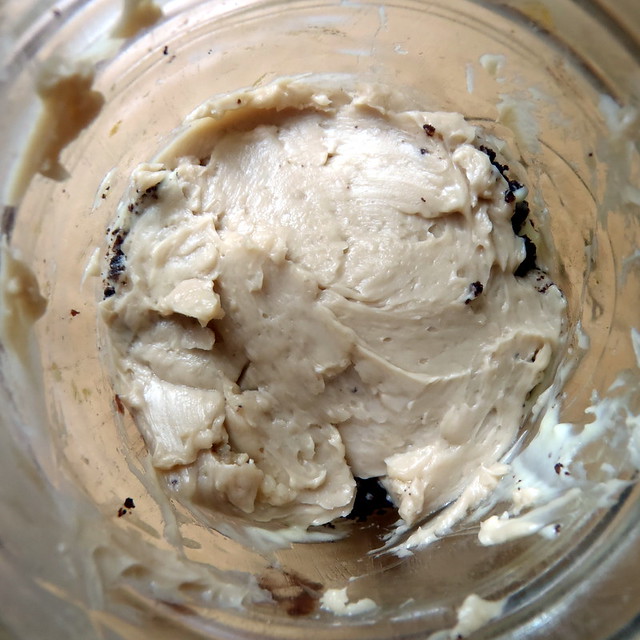
Topped with coffee buttercream
 
Carefully spread a layer of the coffee frosting on top.
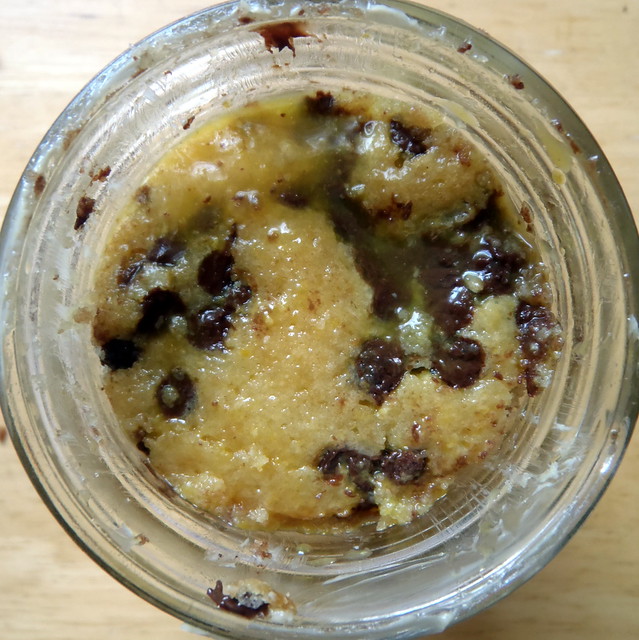
Second cake layer soaked in passion fruit pulp
 
Repeat with another layer of cake, passion fruit puree, passion fruit curd, and chocolate crumbs.
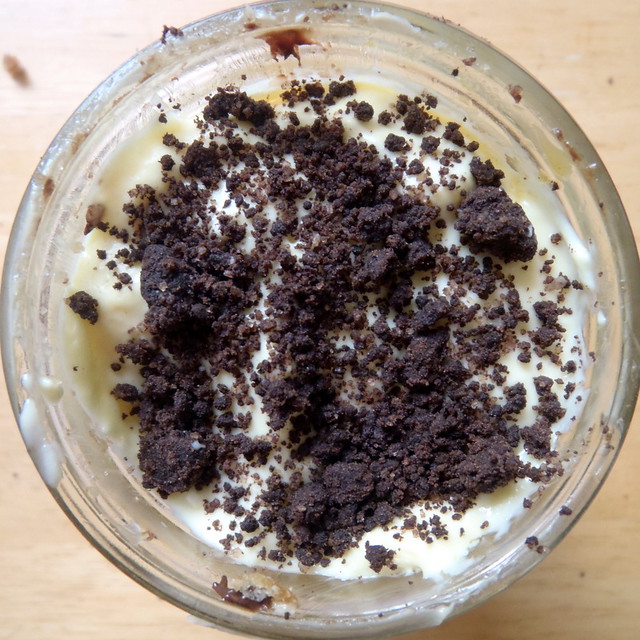
More passion fruit curd and chocolate crumbs
 
Finish with a final layer of coffee frosting.
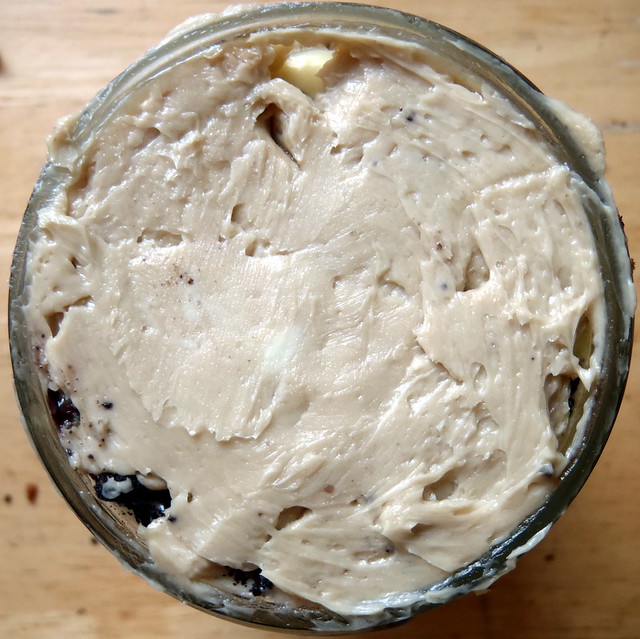
Final coffee buttercream layer
 
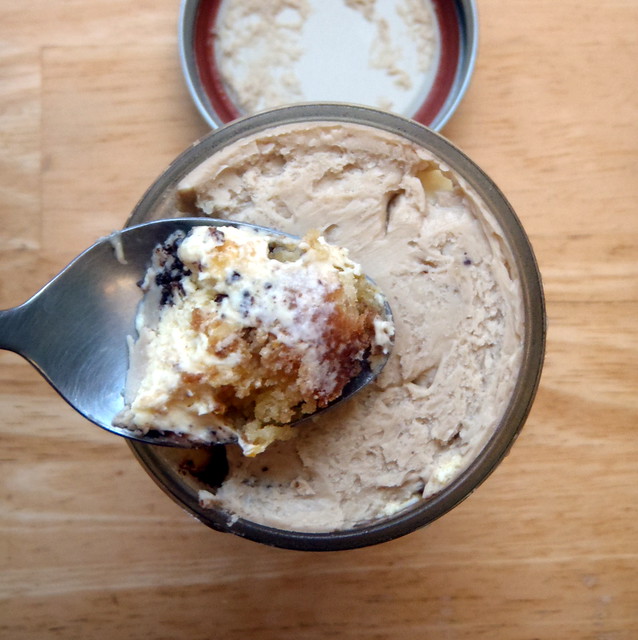
Repeat with the remaining 5 jars.  Cover and place in the freezer for at least 12 hours to set the cake and filling.  The cakes will keep in the freezer for up to 2 weeks.  Defrost in the fridge for at least 3 hours before serving.
P2143177
 
Dig in with a spoon and experience happiness.

Next:  Rosemary Honey & Lemon Frozen Yogurt
Previously:  Peking Duck Pizza
Four years ago:  Panna Cotta, Take 2; The Feng Family Secret Peking Duck Recipe; Korean Pancake Face Off

Tuesday, January 29, 2013

Bagel Bombs

So far I've made the crack pie, compost cookies, cereal milk, cereal milk panna cotta with cornflake crunch, cereal milk ice cream pie, grapefruit pie, and pretzel milk ice cream pie from the Momofuku Milk Bar cookbook.  Can you tell I really like this cookbook?

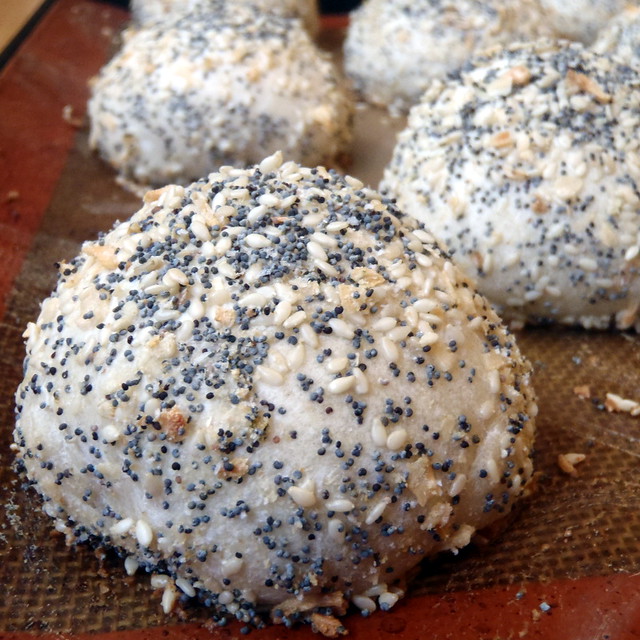
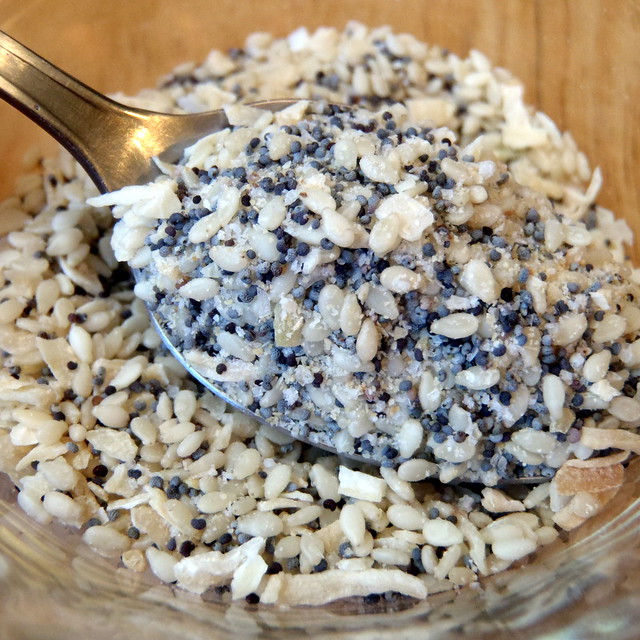
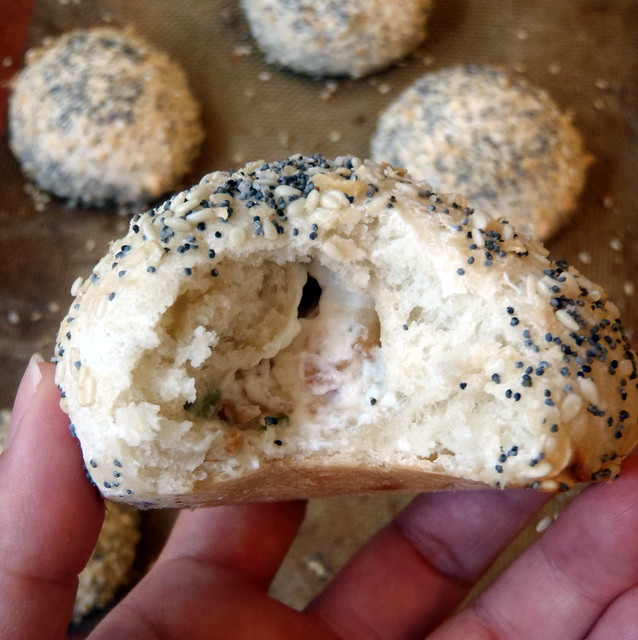
For something a little different, i.e. savory, I tried making the Bagel Bombs.  Think freshly baked bread stuffed with bacon and scallion cream cheese and topped with an "everything bagel" mix of sesame seeds, poppy seeds, onion powder, garlic powder, and flaky salt.  Yum, right?

PB013140
 
Bagel Bombs (adapted from Momofuku Milk Bar)
makes 8 buns

For the cream cheese stuffing
2 strips bacon
8 oz. cream cheese
1/2 bunch scallions, chopped
1 teaspoon sugar
1/2 teaspoon kosher salt

For the buns
1 3/4 cups flour
1/2 tablespoon kosher salt
1/2 teaspoon active dry yeast
7/8 cups water, at room temperature
1 tablespoon vegetable oil

For the everything bagel topping
1 egg
1/2 teaspoon water
1 tablespoon white sesame seeds
2 teaspoons black sesame seeds (I couldn't find any so I just added more white sesame seeds)
2 teaspoons poppy seeds
1 tablespoon dried onions
3/4 teaspoons kosher salt
1/2 teaspoon onion powder
1/4 teaspoon garlic powder

PB013109
 
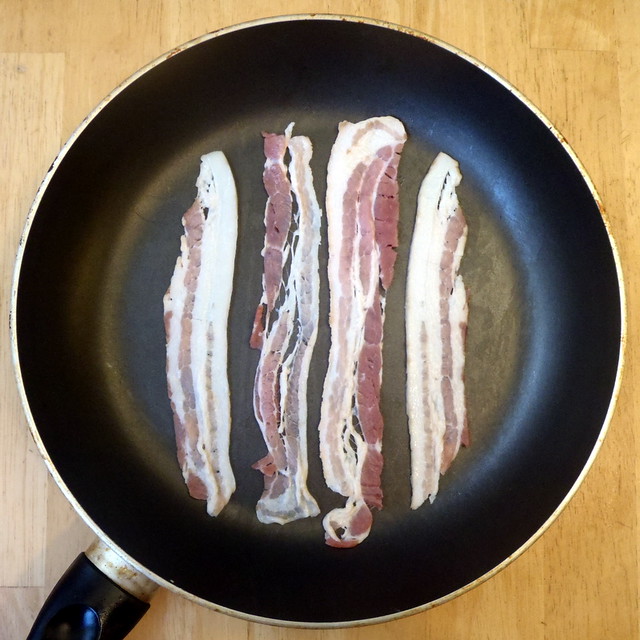
Place the bacon strips on a cold pan and place on low heat.  (Mine were really long so I had to halve them to fit in the pan.)  Cook until nice and crispy, flipping over once the bottom is cooked.

PB013110
 
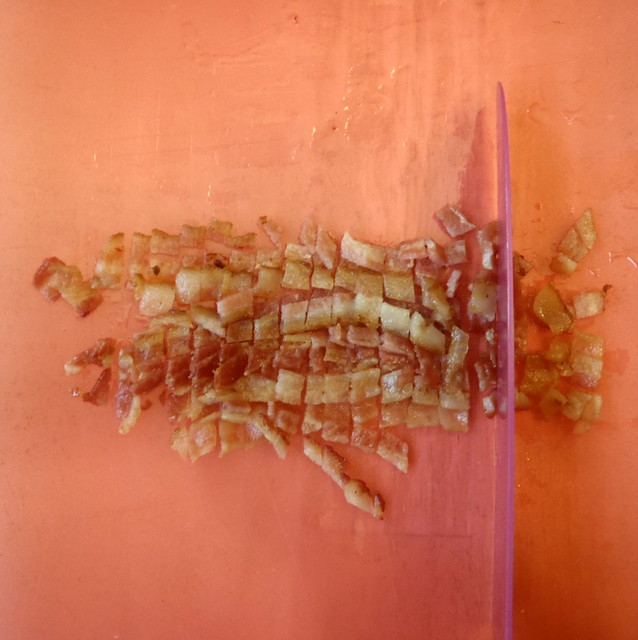
Transfer the bacon to a cutting board and finely chop.  Reserve the bacon fat left in the pan.

PB013111
 
Put the cream cheese in the bowl of a stand up mixer with the paddle attachment and cream on medium speed until fluffy.

PB013114
 
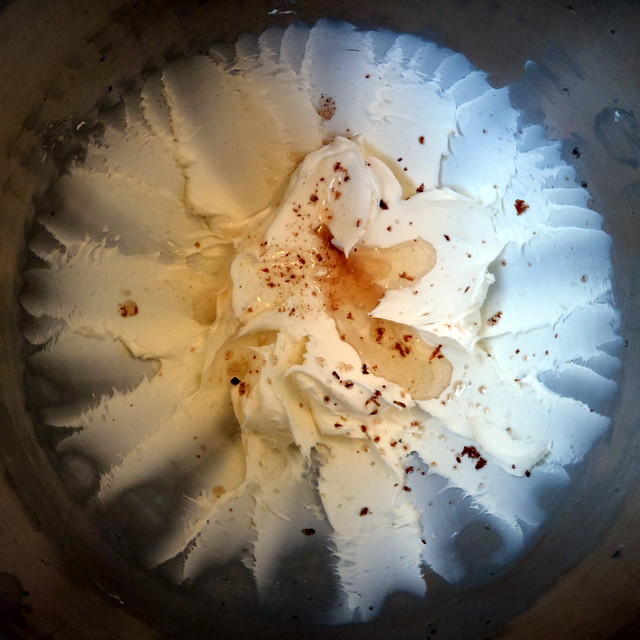
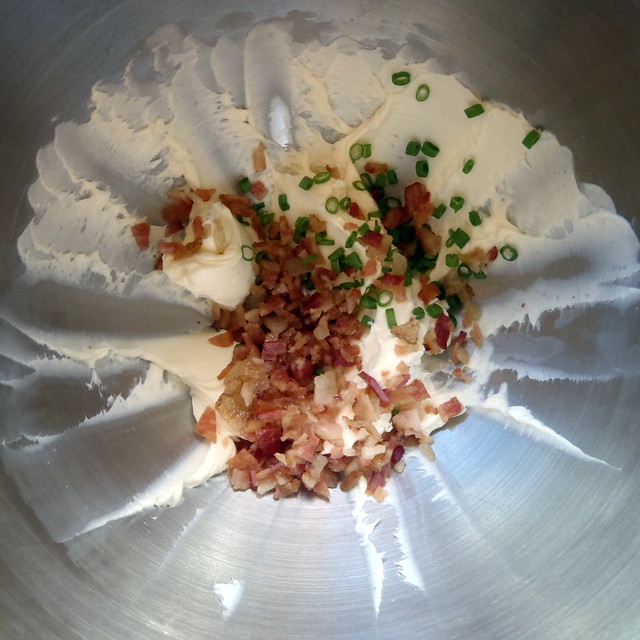
Pour in the reserved bacon fat and continue creaming on a lower speed.  Add the chopped bacon, scallions, sugar, and salt and mix at low speed to combine.

P1033211
 
Scoop the cream cheese mixture onto a parchment-lined sheet pan in 8 even lumps and freeze until rock hard, 1 to 3 hours.

PB013118
 
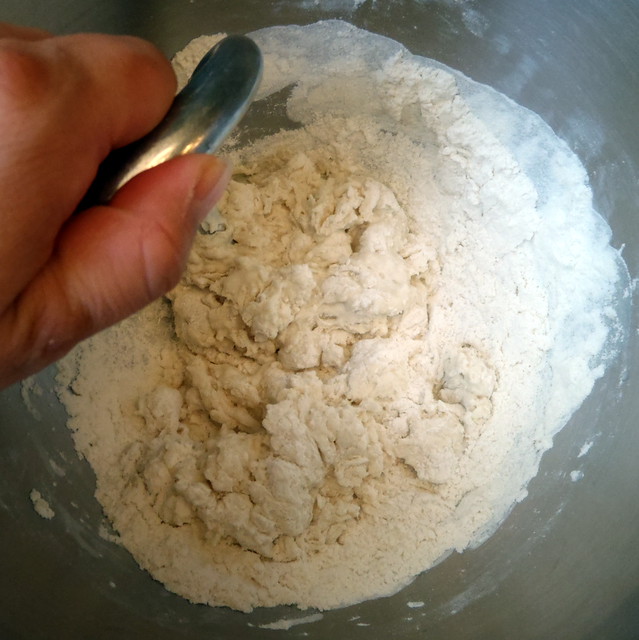
To make the dough, stir together the flour, salt, and yeast in the bowl of your stand mixer using the dough hook like a spoon.  Continue stirring as you add the water, mixing for 1 minute, until the mixture has come together into a shaggy mess.

PB013119
 
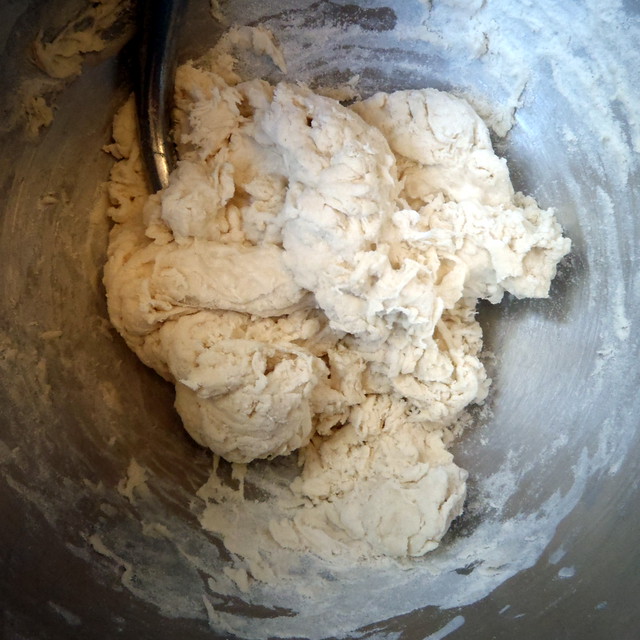
Engage the bowl and hook and have the machine mix the dough on the lowest speed for 3 minutes, or until the ball of dough is smoother and more cohesive. (If it just looks like a big wet mess, add some more flour until it begins to look more like a ball.)  Then knead for 4 more minutes on the lowest speed.  The dough should look like a wet ball and should bounce back softly when prodded.

PB013122
 
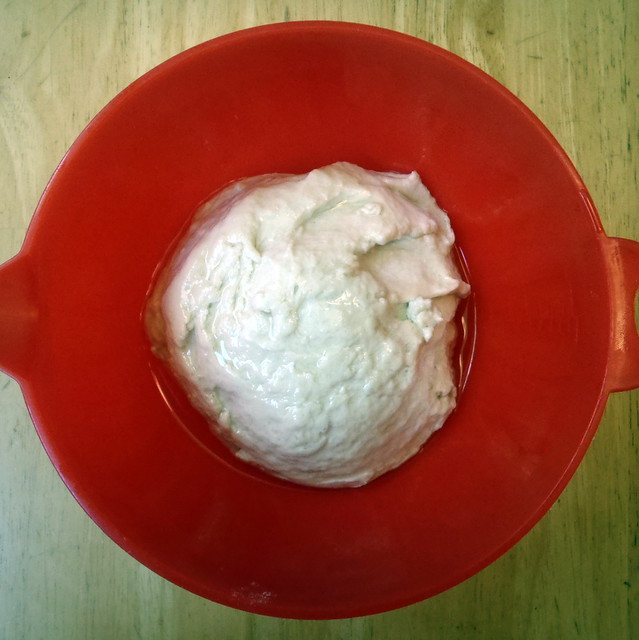
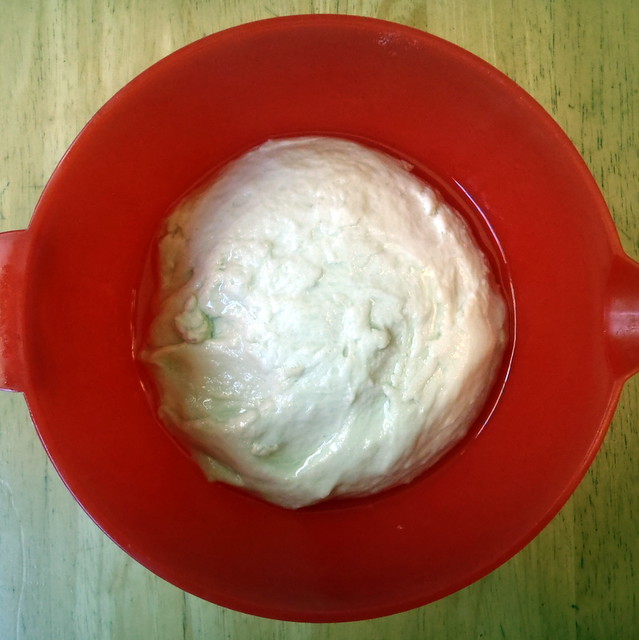
Brush a large bowl with oil and transfer the dough ball into it (um, yeah, I might have accidentally poured a little too much oil into the bowl as evidenced in the pictures). Cover with plastic wrap and let the dough proof at room temperature for 45 minutes.

PB013123
 
Make the everything bagel mix by mixing together the salt, sesame seeds, poppy seeds, dried onions, onion powder, and garlic powder.

PB013128
 
Preheat the oven to 325°F.

Punch down and flatten the dough on a smooth, dry counter top.  Divide the dough into 8 equal pieces.

PB013125
 
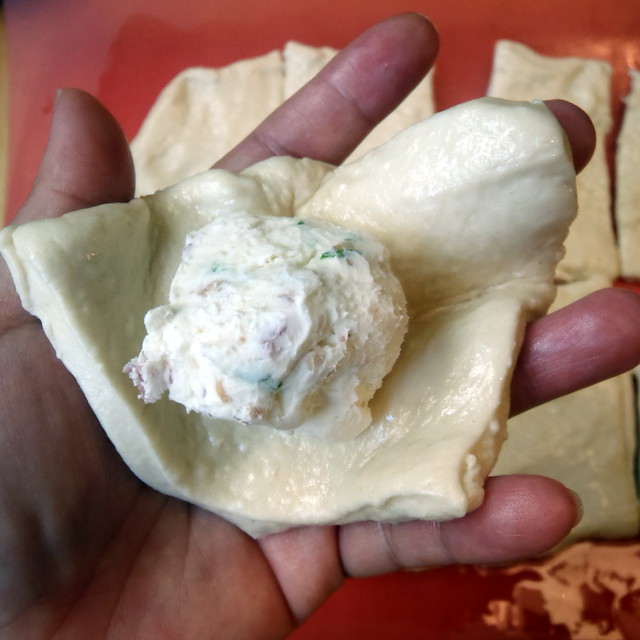
Put a cream cheese plug in the center of each piece of dough. 

PB013126
 
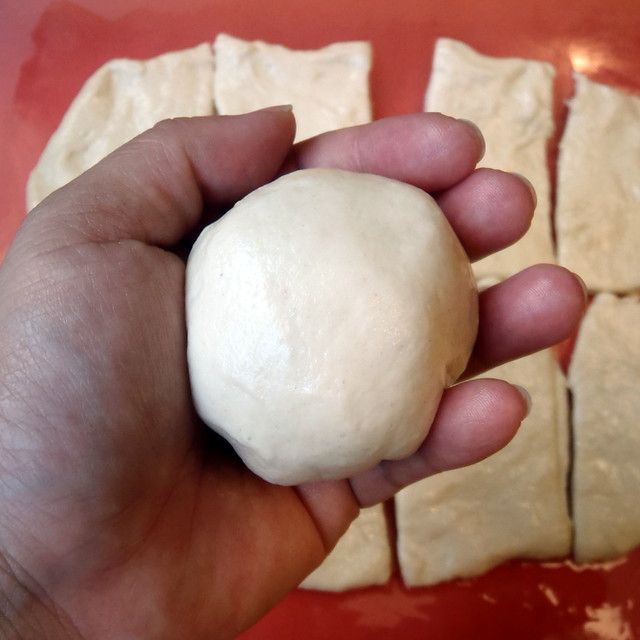
Bring up the edges of each round and pinch to seal so that the cream cheese plug is completely contained, then gently roll the ball between the palms of your hands to ensure the bomb has a nice, round, dinner roll-y shape.

PB013131
 
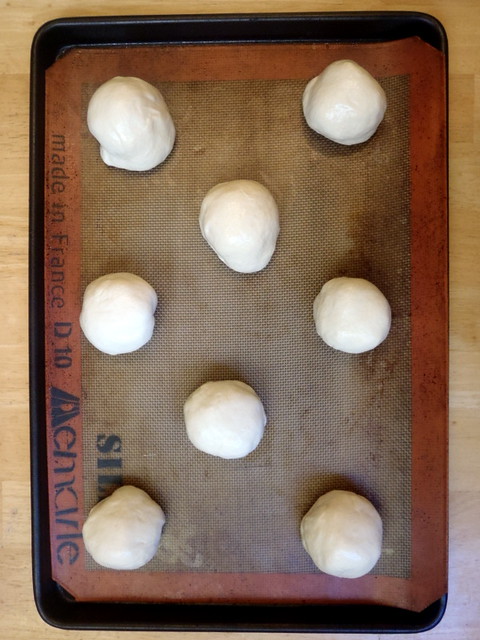
Arrange the bombs 4 inches apart on a parchment- or Silpat-lined cookie sheet.

PB013133
 
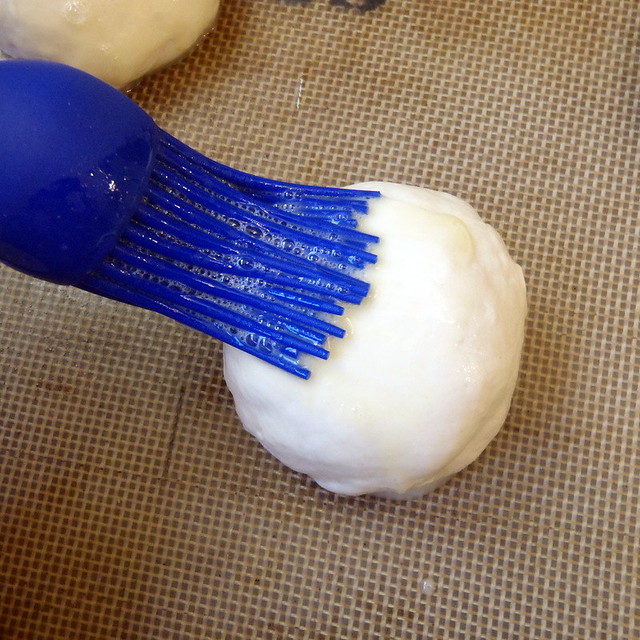
Whisk the egg and 1/2 teaspoon water together and brush a generous coat of egg wash on the buns.

PB013135
 
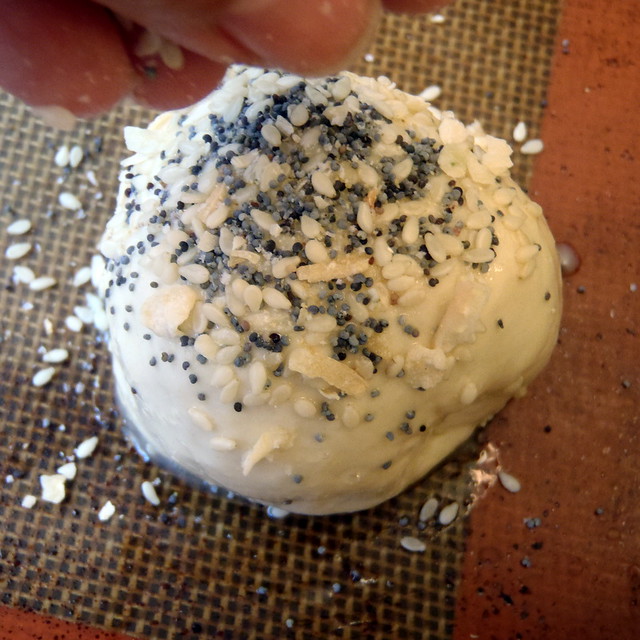
Sprinkle a heavy, even coating of the bagel mix all over the bagel bombs–every possible inch, except for the bottoms, should be coated.

PB013136
 
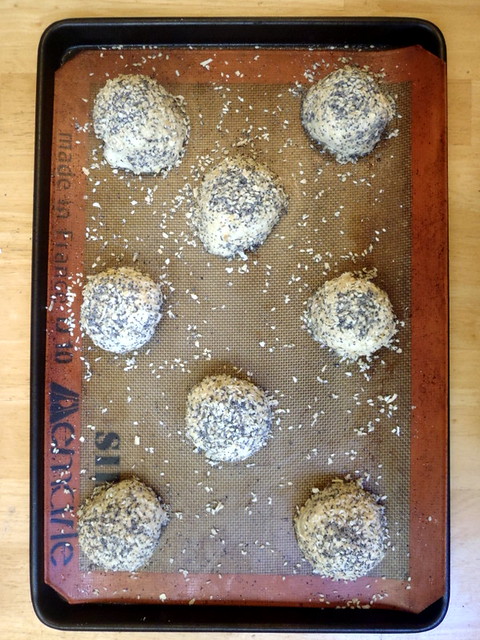
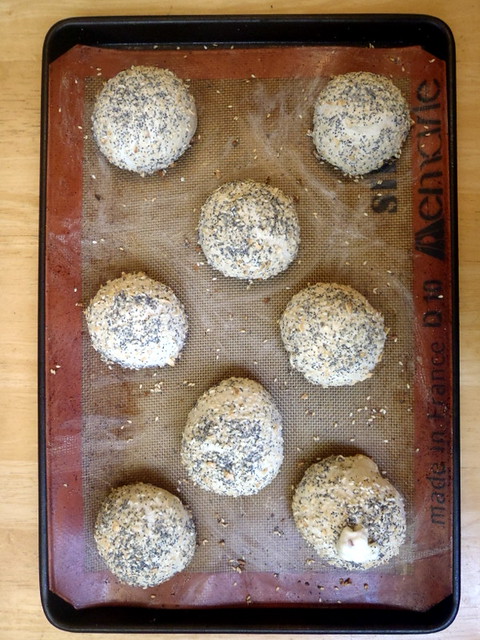
Bake the bagel bombs for 20 to 30 minutes.  While in the oven, the bombs will become a deep golden brown and a few may have cream cheese explosions.  Continue baking until you see this happen.

PB013139
 
As you can see in the picture above, the bottom right bun burst, so I pulled the baking sheet out, but I probably could have left the buns in there a little longer to get a little brown.

I found that while the buns were really delicious, the dough didn't really remind me of a nice, chewy bagel.  If anything, it kind of reminded me of my mom's hua juan buns.  I went back to the Milk Bar recently and tried the Bagel Bomb there to compare it with the ones I made.  The one I had had probably sat in their display counter for a few hours so it wasn't really a fair comparison, but I really think my homemade ones were better!

PB013144
 
Next:  Homemade Bagels
Previously:  Rainbow Sandwich Cookies
Four years ago:  Dutch Babies

Friday, December 14, 2012

Momofuku Ramen Broth

After I made the miso ramen, I decided to try to make a bacon version.  I fried up some bacon, added bacon grease to the broth, and even added some smoked salt, but I just couldn't get the depth of flavor that I was looking for.  So I decided to try making Momofuku's ramen broth.  After all, it used bacon as one of the ingredients so it must be on the right track.

Bacon Ramen
 
What I love about this recipe is that it builds layers and layers of umami using multiple ingredients:  kombu, shiitake mushrooms, chicken bones, roast pork bones, and finally tare, a soy based barbecue sauce made with roast chicken bones.  By the end, you get a super rich and flavorful broth that surprisingly isn't very heavy at all.

The first step is to make the tare.  This recipe will make more than you need, but you can also use it to season just about anything you'd normally use soy sauce for.  I've added it to the filling for dumplings, and it would be excellent as a basting sauce for grilled meats.

Tare (adapted from Momofuku)
makes 1 cup

2 chicken legs
1 cup soy sauce
1/2 cup rice wine
1/2 cup mirin

Butchered
 
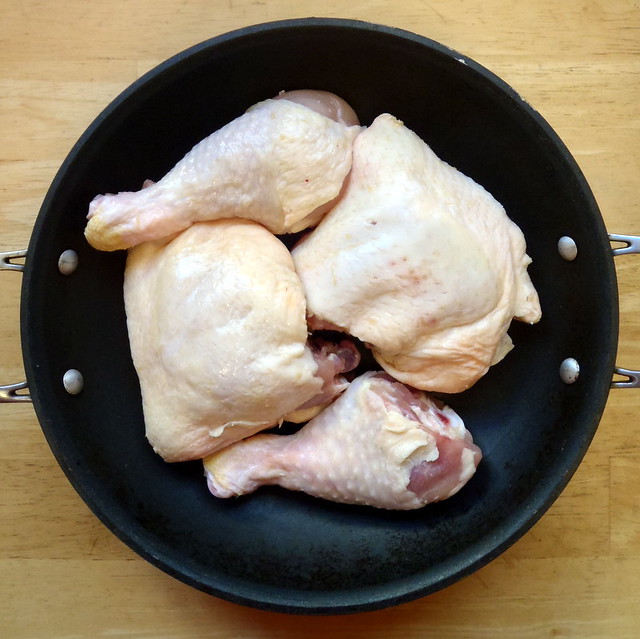
Preheat the oven to 450°F.  Using a butcher knife, butcher the chicken legs into the thigh piece and drumstick.

Roasted

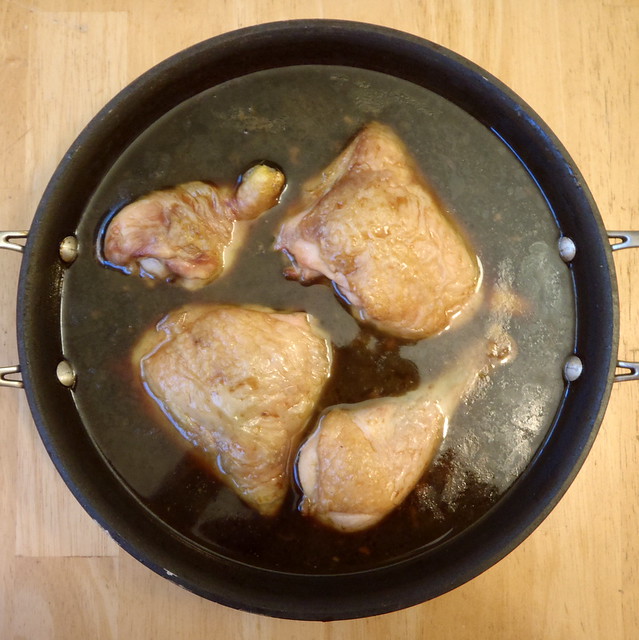
Place the thighs and drumsticks onto an oven-proof pan and roast for about 45 minutes, or until nicely browned, but not burnt.

Poaching
 
Remove the pan from the oven and place on medium high on the stove.  Add a splash of the soy sauce, and once it starts boiling, scrape up all the caramelized fond from the bottom of the pan with a spatula.

Done!
 
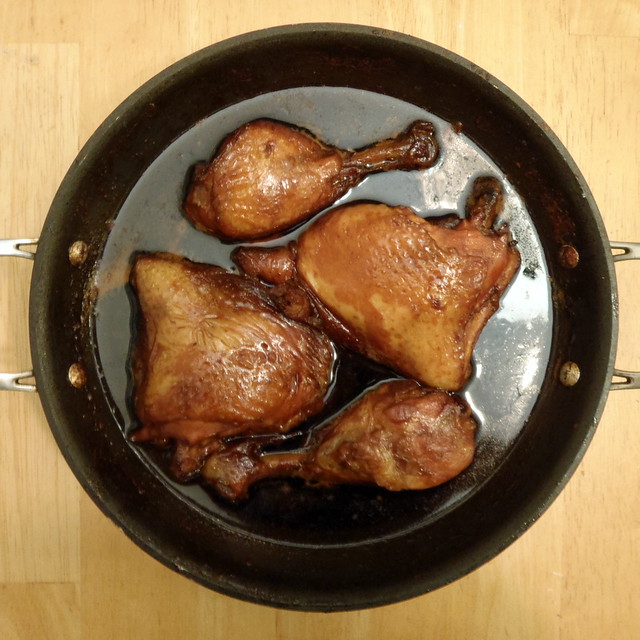
Add the rest of the ingredients and once it starts boiling, reduce the heat, and let it simmer for about an hour.

Tare
 
Strain out the chicken and store the tare in a jar.  It'll keep for a few days in the fridge or longer in the freezer. I like to keep a little of the fat on top to help seal off the top and preserve the sauce better.

Now it's time to make the broth.  I halved the recipe from the book because I was short on some of the ingredients, but I would suggest making the full amount since it's the same amount of work, and the broth freezes well.  I've also found that when refrigerated, the broth will form an aspic, so you can also use it to make xiao long bao.

Momofuku Ramen Broth (from Momofuku)
makes 5 pints, about 5 servings

3 three-inch pieces of kombu
1 cup dried shiitake mushrooms
2.5 lbs. pork neck bones
2 chicken legs
1/2 lb. bacon
6 scallions
1/2 onion
1 large carrot, chopped into large pieces
Tare (see recipe above)

Preheat the oven to 400°F.

Konbu
 
Add the kombu to 3 quarts of water in a large pot.  Turn the heat on high, and just before it boils, turn off the heat and let sit for 10 minutes.

Shiitake
 
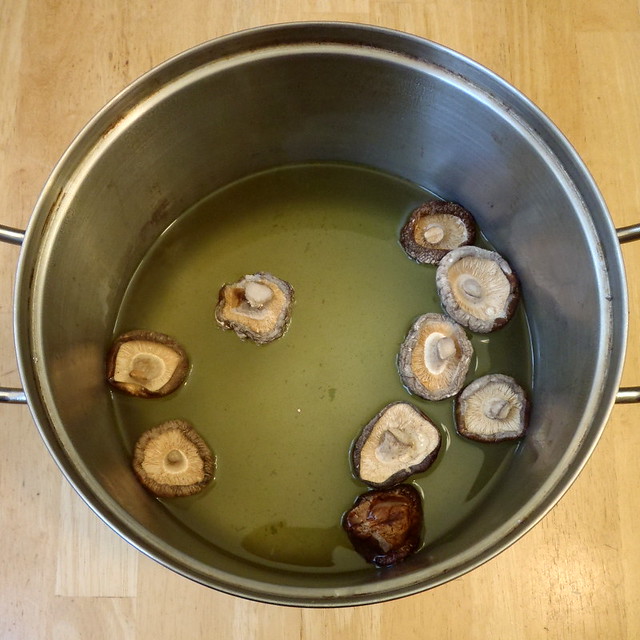
Remove the kombu with a slotted spoon and add the dried shiitake mushrooms.  Bring the water to a boil and then reduce the heat and let simmer for 30 minutes.

Roasted pork neck bones
 
Meanwhile, place the pork neck bones on a baking tray and roast in the oven for 60 minutes, flipping half way through.

Chicken legs
 
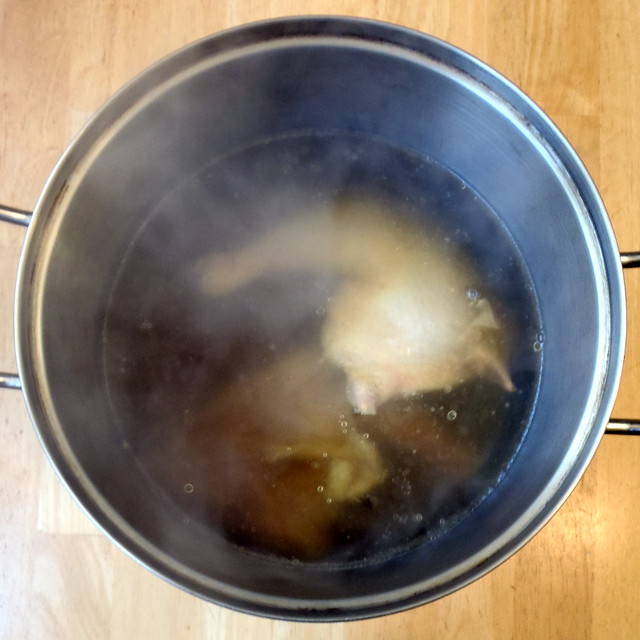
Remove the mushrooms from the broth with a slotted spoon and add the chicken legs.  Continue to simmer for an hour, skimming off any of the crud that floats to the top.

Bacon
 
After an hour, check the chicken to make sure that it is cooked through and the meat is falling off the bones.  At that point, remove from the broth and add the bacon and pork bones.  Continue to simmer, adding more water if necessary.

Making Momofuku ramen broth
 
After 45 minutes, remove the bacon.  Continue to simmer for 5-8 hours.  About 45 minutes before you are done, add the scallions, onion, and carrot pieces.  After simmering for 45 minutes, strain everything out.

If you are using your broth right away, add 1/4 cup of the tare and taste your broth.  David Chang recommends seasoning it until it is almost at but just under "too salty".

PB063211
 
If not using your broth immediately, you can turn the heat on high and reduce the volume in half.  Store in the refrigerator (if using within a few days) or the freezer.  When ready to use, heat it up again and add an equal volume of water.  Season with the tare to taste.

Bacon Ramen
 
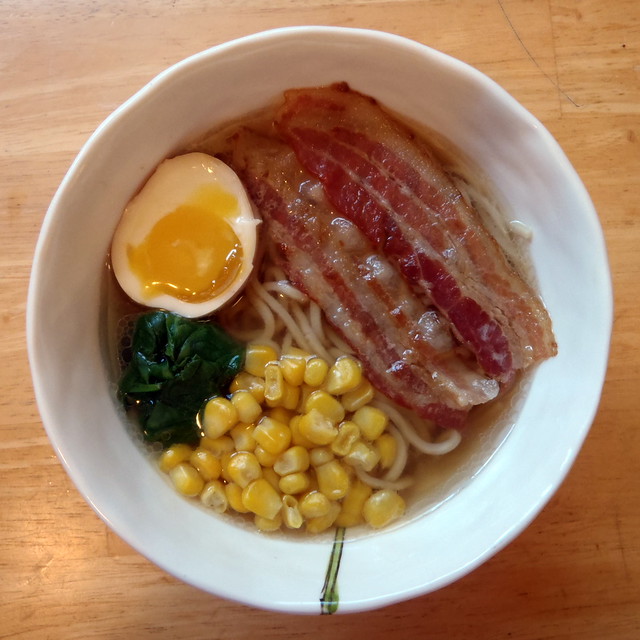
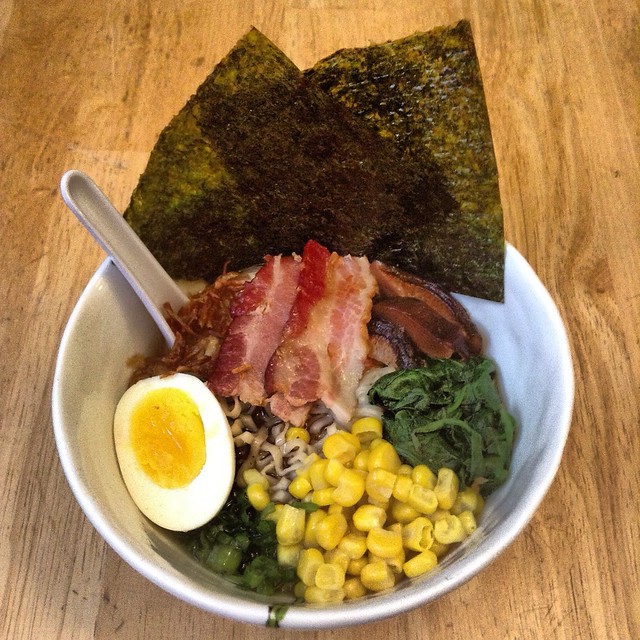
For my bacon ramen, I topped the Momofuku ramen broth and homemade ramen noodles with some fried bacon, blanched spinach, corn kernels, chopped scallion, a soft-boiled egg, and nori.  I still felt like it was missing a little something, so I added some fried shallots, which turned out to be the perfect touch.

Next:  Homemade Udon Noodles
Previously:  Miso Ramen with Marinated Soft-Boiled Egg
Four years ago:  Pork and Cabbage Dumplings