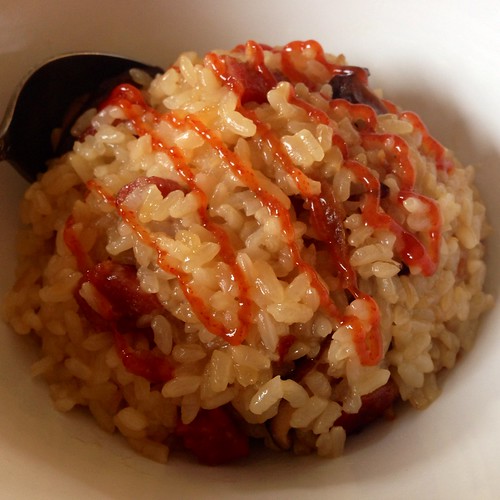
Alas, the ice cream flavor was a limited edition, and even though I stocked up on it every chance I had, there came a long, dry spell during which I had no sticky toffee pudding ice cream. =( I sometimes thought about making it myself but never went through with it until recently when The Kitchn posted a recipe for making sticky toffee pudding sundaes. I just made a half recipe of the cake and sauce and combined it with a simple base ice cream from Jeni's Splendid Ice Creams enriched with a little vanilla extract. There was no point in making a gourmet vanilla ice cream with vanilla beans since all the nuances would have been lost under the stronger flavors from the sticky toffee pudding.
Warning: this is not a quick and easy recipe. It involves reconstituting dried dates, baking a steamed cake, making a caramel sauce, and churning your own ice cream. Read through all the steps and make sure you have the time and equipment. I will say, however, that the results are oh so worth it! This tastes pretty much exactly like what I remember the Häagen-Dazs version tasted like!
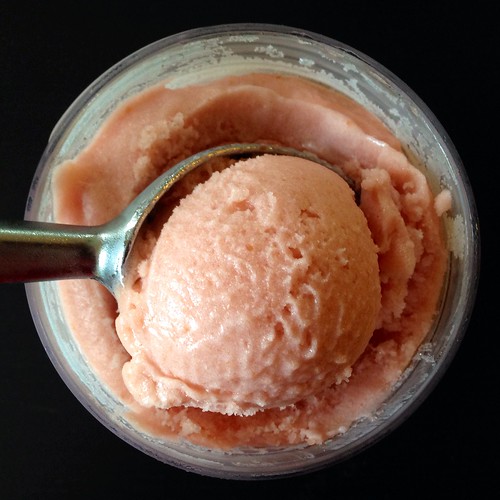
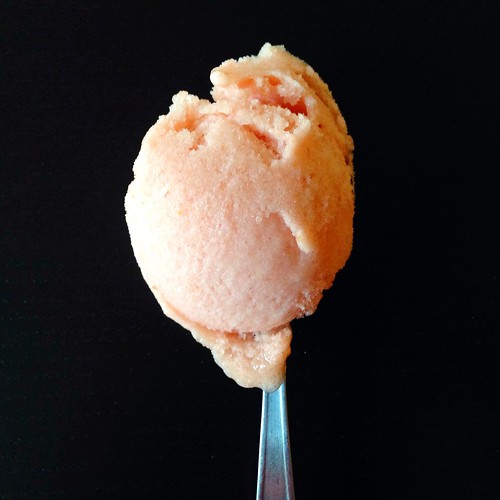
Sticky Toffee Pudding Ice Cream
makes about 1 quart
For the toffee cake:
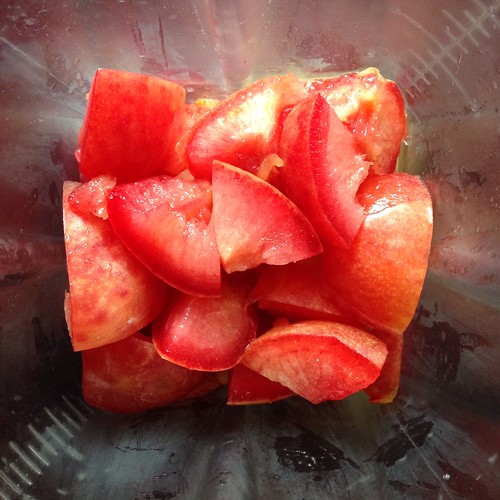
4 ounces pitted dates, coarsely chopped
1/2 cup water
1/2 teaspoon baking soda
4 tablespoons unsalted butter, room temperature
1/2 cup packed dark brown sugar
1 large egg, room temperature
5 ounces all-purpose flour
1/4 teaspoon baking powder
1/8 teaspoon kosher salt
1/4 teaspoon vanilla extract
Combing the chopped dates and water in a small saucepan and bring to a boil. Remove from heat. Stir in the baking soda and let stand for 20 minutes to 2 hours. Transfer to a food processor or blender and process until mostly pureed.
Preheat oven to 375°F. Generously grease the bottom and sides of a loaf pan with butter or baking spray.
In the bowl of a stand mixer fitted with a paddle attachment (or with an electric mixer), cream together the butter and sugar on medium speed until light and fluffy, 3-5 minutes. Reduce speed to low and add the eggs one at a time, fully incorporating after each addition. Stop the mixer and scrape down the sides of the bowl.
Whisk the dry ingredients together in a separate mixing bowl. On low speed, alternate adding the dry ingredients with the date mixture, beginning and ending with the dry ingredients. Stir in the vanilla extract. Pour the batter into the prepared pan.
Place the pan inside a larger casserole dish or roasting pan and transfer to the oven. Pour enough hot water to reach halfway up the side of the loaf pan. Bake until a toothpick pricked into the middle comes out slightly moist, 30-35 minutes.
For the caramel sauce:
4 tablespoons unsalted butter, room temperature
1/2 cup packed dark brown sugar
1/2 cup heavy cream
1/2 tablespoon rum (optional)
1 teaspoon vanilla extract
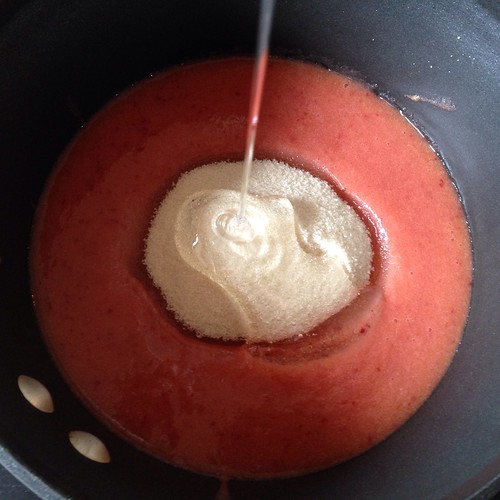
When the cake has about 10 minutes left of cooking time, make the caramel sauce. Combine butter, sugar, and cream in a heavy saucepan. Whisking constantly, bring the mixture to a boil and cook for 3 minutes. Remove from the heat and whisk in rum (if using) and vanilla extract.
Remove the cake from the oven and allow to cool for 5 minutes. Prick the cake all over with a skewer or toothpick. Pour half the sauce over the warm cake and let sit until it reaches room temperature. Cover and transfer to the refrigerator so that it can chill while you make the ice cream.

For the vanilla ice cream:
2 cups whole milk
4 teaspoons cornstarch
3 tablespoons cream cheese, softened
1/8 teaspoon kosher salt
1 1/4 cups heavy cream
2/3 cups sugar
2 tablespoons light corn syrup
2 teaspoons vanilla extract
Mix about 2 tablespoons of the milk with the cornstarch in a small bowl to make a smooth slurry. Whisk the cream cheese and salt in a medium bowl until smooth.
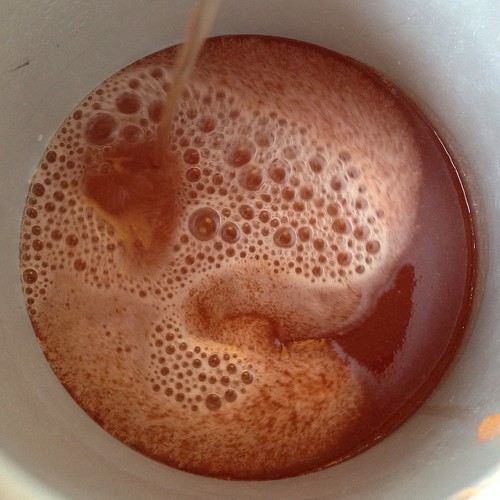
Combine the remaining milk, cream, sugar, and corn syrup in a 4-quart saucepan, bring to a rolling boil over medium-high heat, and boil for 4 minutes. Remove from heat and gradually whisk in the cornstarch slurry.
Return the mixture to a boil over medium-high heat and cook, stirring until the mixture is slightly thickened, about 1 minute. Remove from heat.
Gradually whisk the hot milk mixture into the cream cheese until smooth. Stir in the vanilla extract and chill the mixture in the refrigerator.
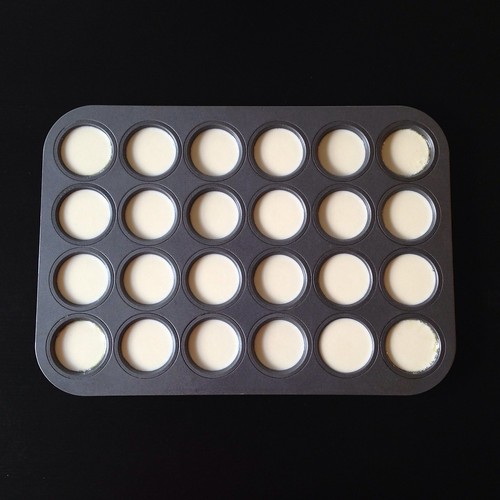
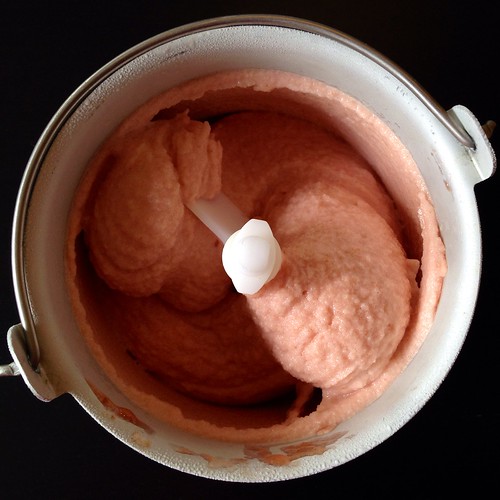
Pour the ice cream base into an ice cream maker and spin until thick and creamy.
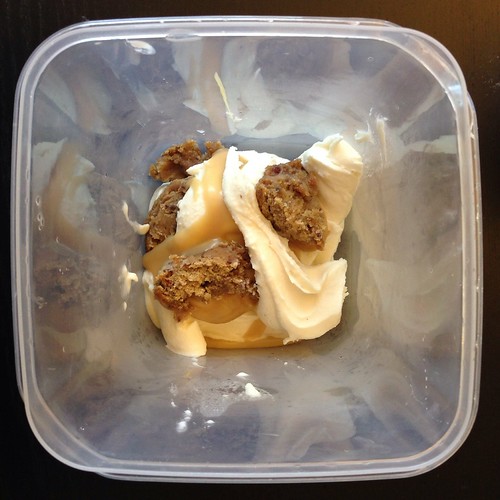
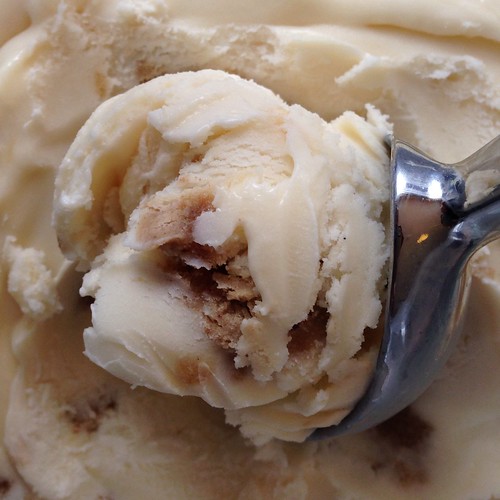
Pack the ice cream into a storage container, alternating it with layers of the cake and caramel sauce; do not mix. Seal with an airtight lid and freeze until firm, at least 4 hours.
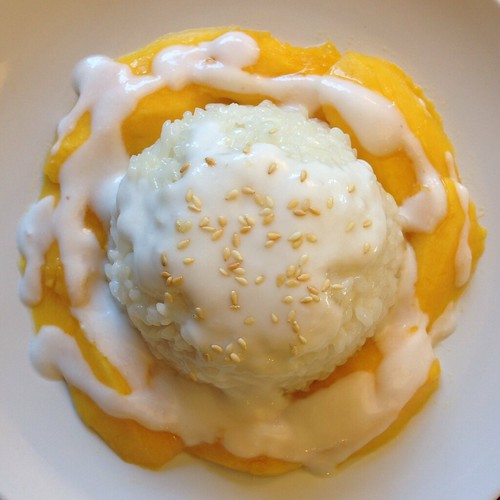
Next: Salade Indochinoise
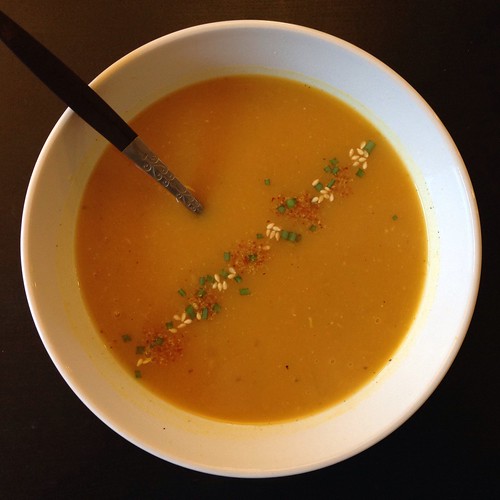
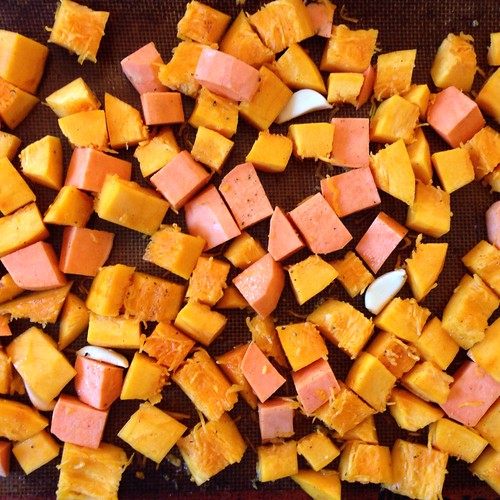
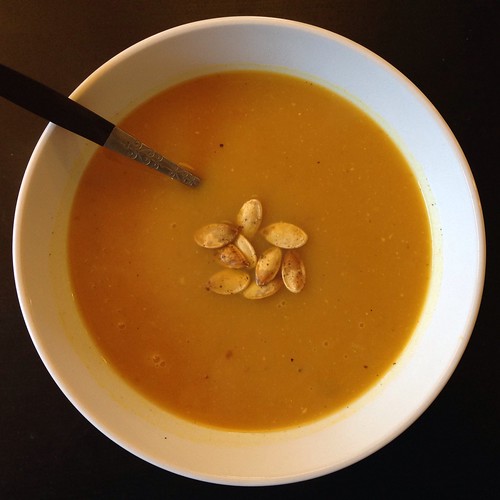
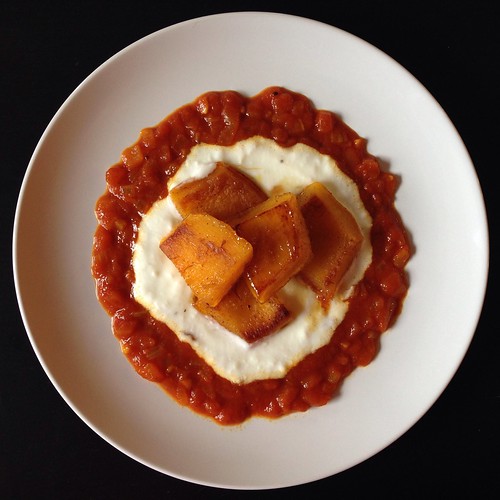
Previously: Miso Pumpkin Soup
Last Year: Thomas Keller's Lemon Tart
Four Years Ago: Homemade Waffle Face Off
Five Years Ago: Curry Turnovers(?)