Showing posts with label Taiwanese. Show all posts

Monday, March 14, 2022

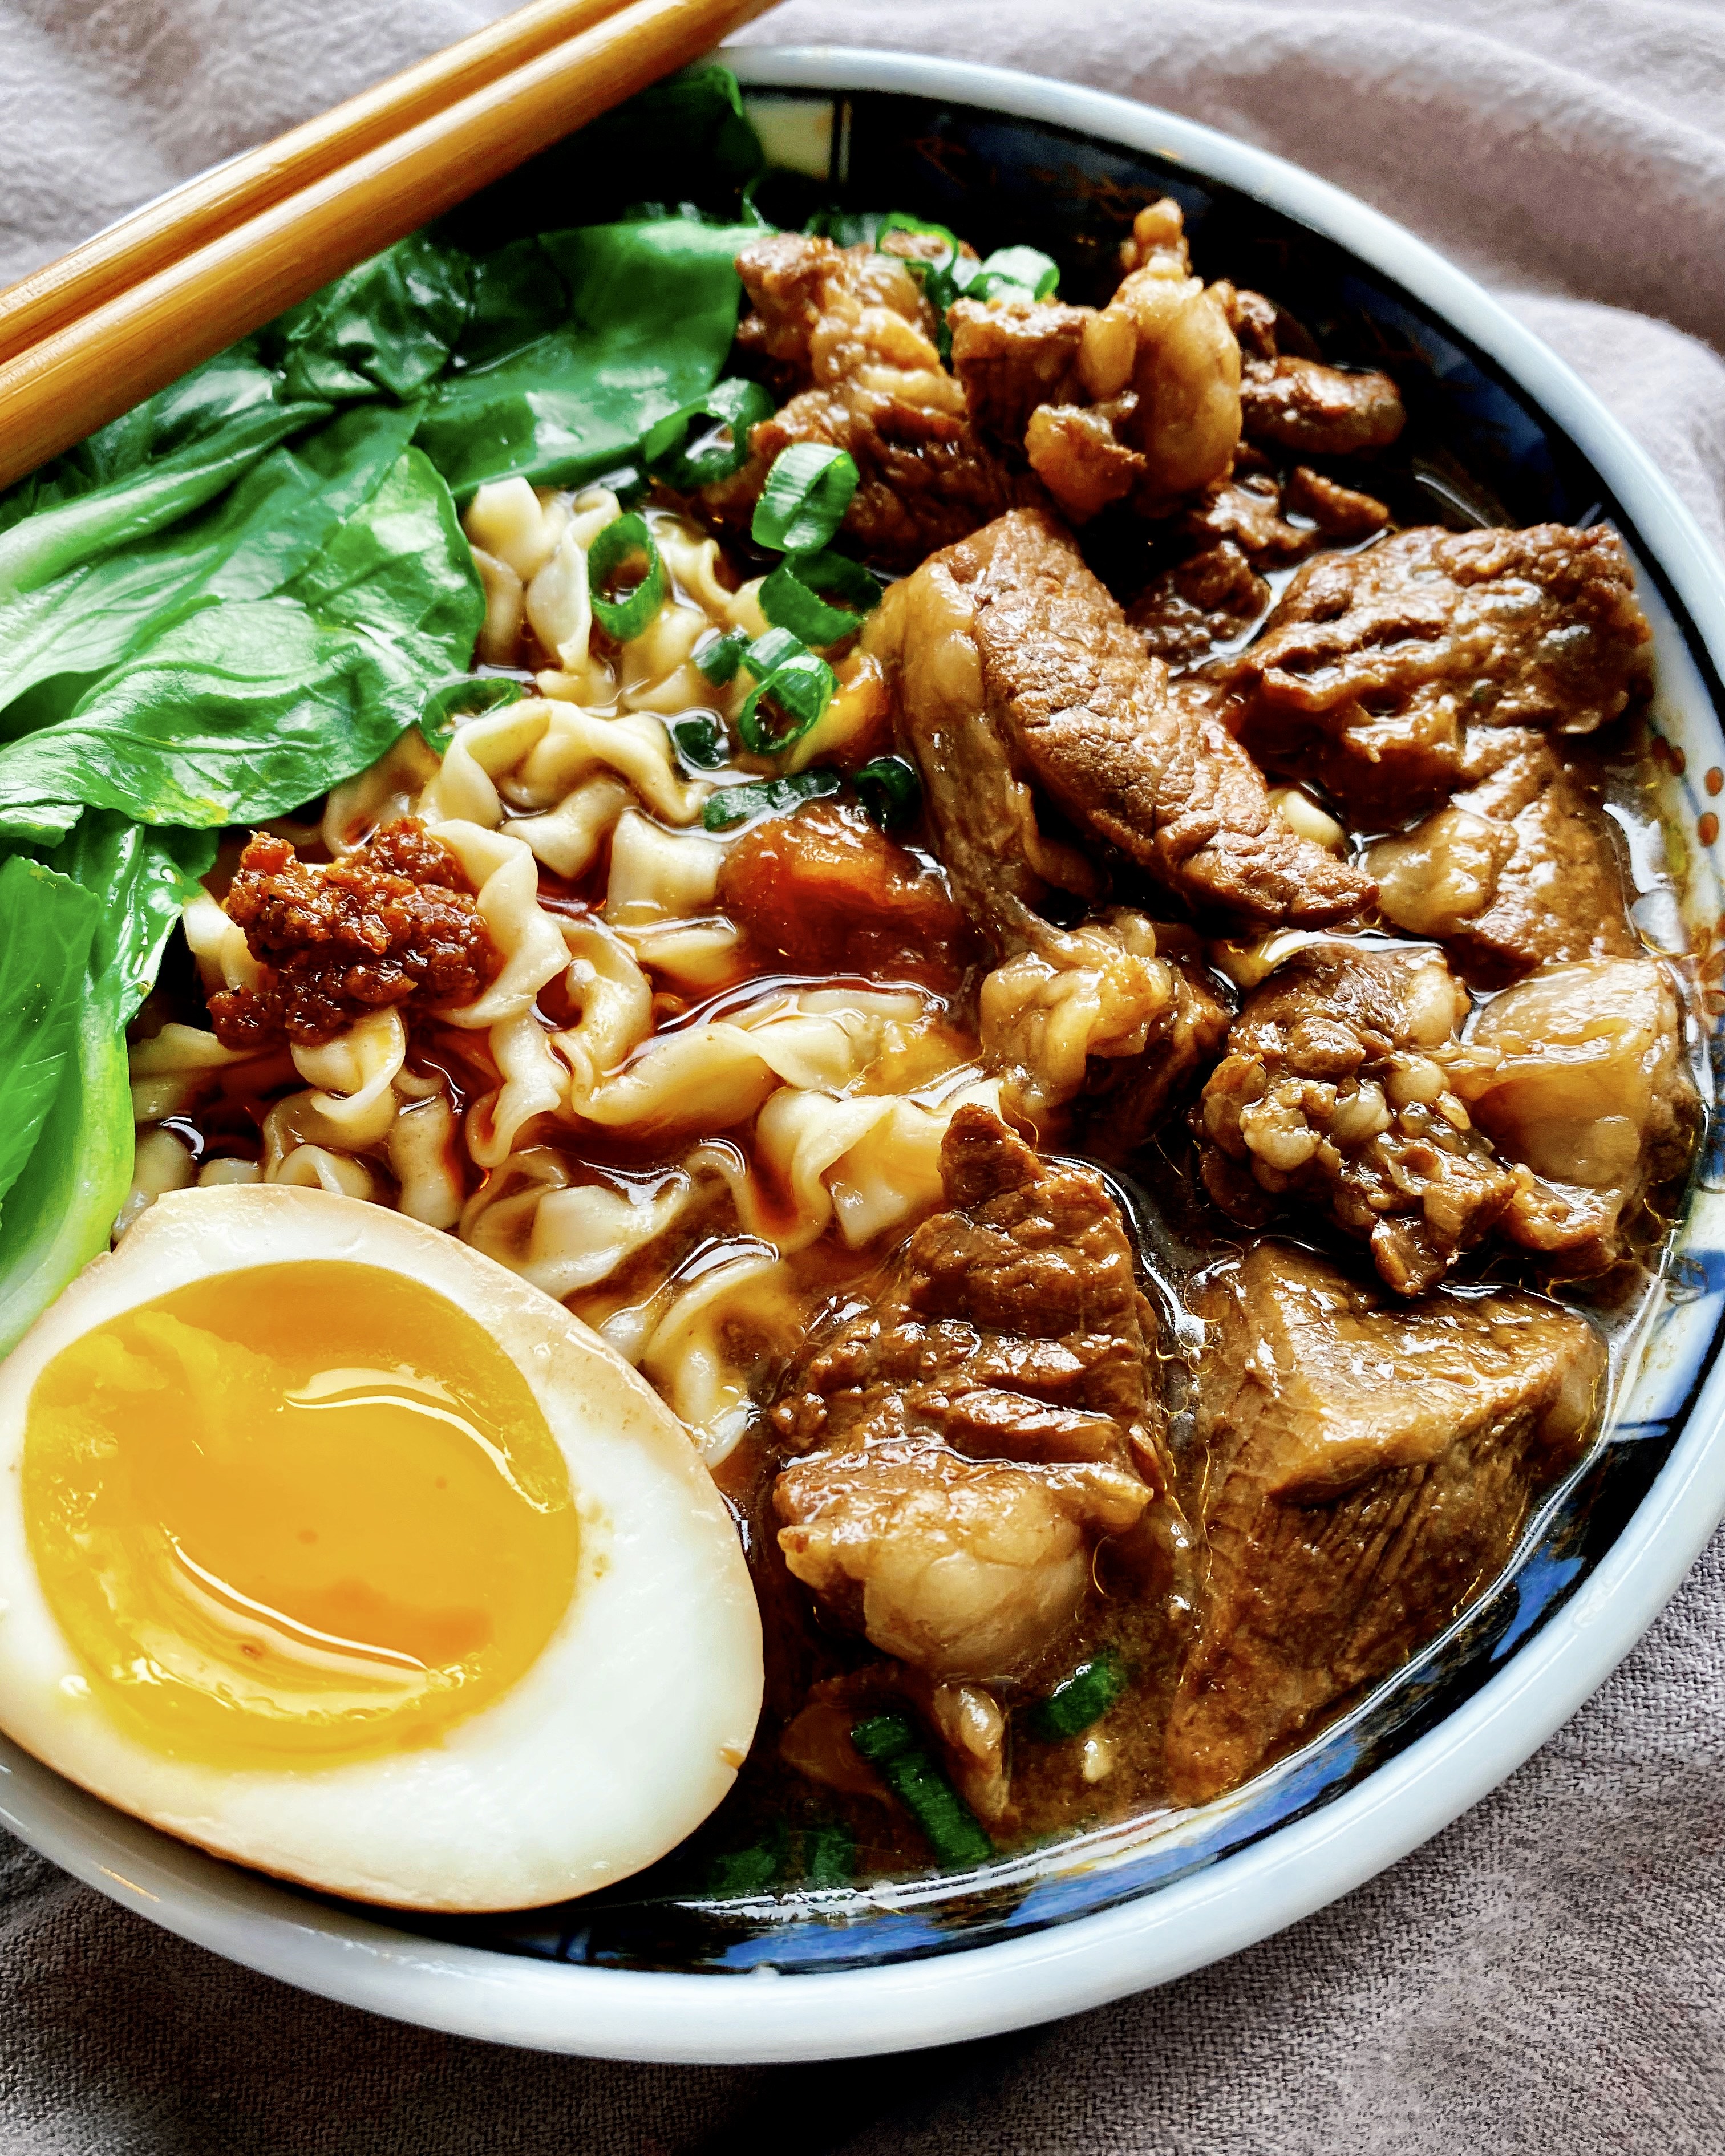
Taiwanese Beef Noodle Soup (Updated)

Quite a few things have changed since I posted my first rendition of beef noodle soup on this blog 14 years ago (it was my 3rd blog post ever!):  I've gotten better at cooking; I went through a vegan, then vegetarian, then pescatarian stint; and I started posting on Instagram

I'd say I'm more of a social carnivore now in that I do eat meat when I'm out with friends but very rarely cook it at home.  In fact, I think I've only made beef noodle soup maybe once or twice since I posted the original recipe.  But after seeing all the delicious BNS posts on the Taiwanese Home Cooking FB group and receiving a chuck eye steak from Vermont Wagyu, I knew it was time to fix that.

Looking back at the original BNS post, I was shocked to see that it called for 1.5 cups of soy sauce!  I chalk it up to one of those mistakes that happens when someone with little cooking experience tries to transcribe a recipe from someone who never measures anything when cooking.  I've since adjusted the quantity to a more reasonable 1/2 cup of low-sodium soy sauce.

The original version calls for napa cabbage and angel hair pasta, and while both are perfectly fine to use, I now opt for the more photogenic baby bok choy and use more authentic Taiwanese dried noodles like A-Sha brand.  And for the lu dan, instead of cooking already hard-boiled eggs in the sauce, I prefer tucking chilled 7-minute boiled eggs in the soup after it's been strained and cooling.  This way the yolks remain nice and jammy while the whites absorb the delicious flavor.

A few other changes:  I've listed white peppercorns, a cinnamon stick, and bay leaf as optional spices in addition to the star anise.  If you don't have them it's fine, but if you have them it will add a nice complexity to the soup.  The star anise is an absolute must, though, to make this a Taiwanese beef noodle soup.  Lastly, I stole this idea from Kenji's recipe--since almost all soups taste better the next day, I remove the beef from the soup, then strain everything else out before letting it chill overnight in the fridge.
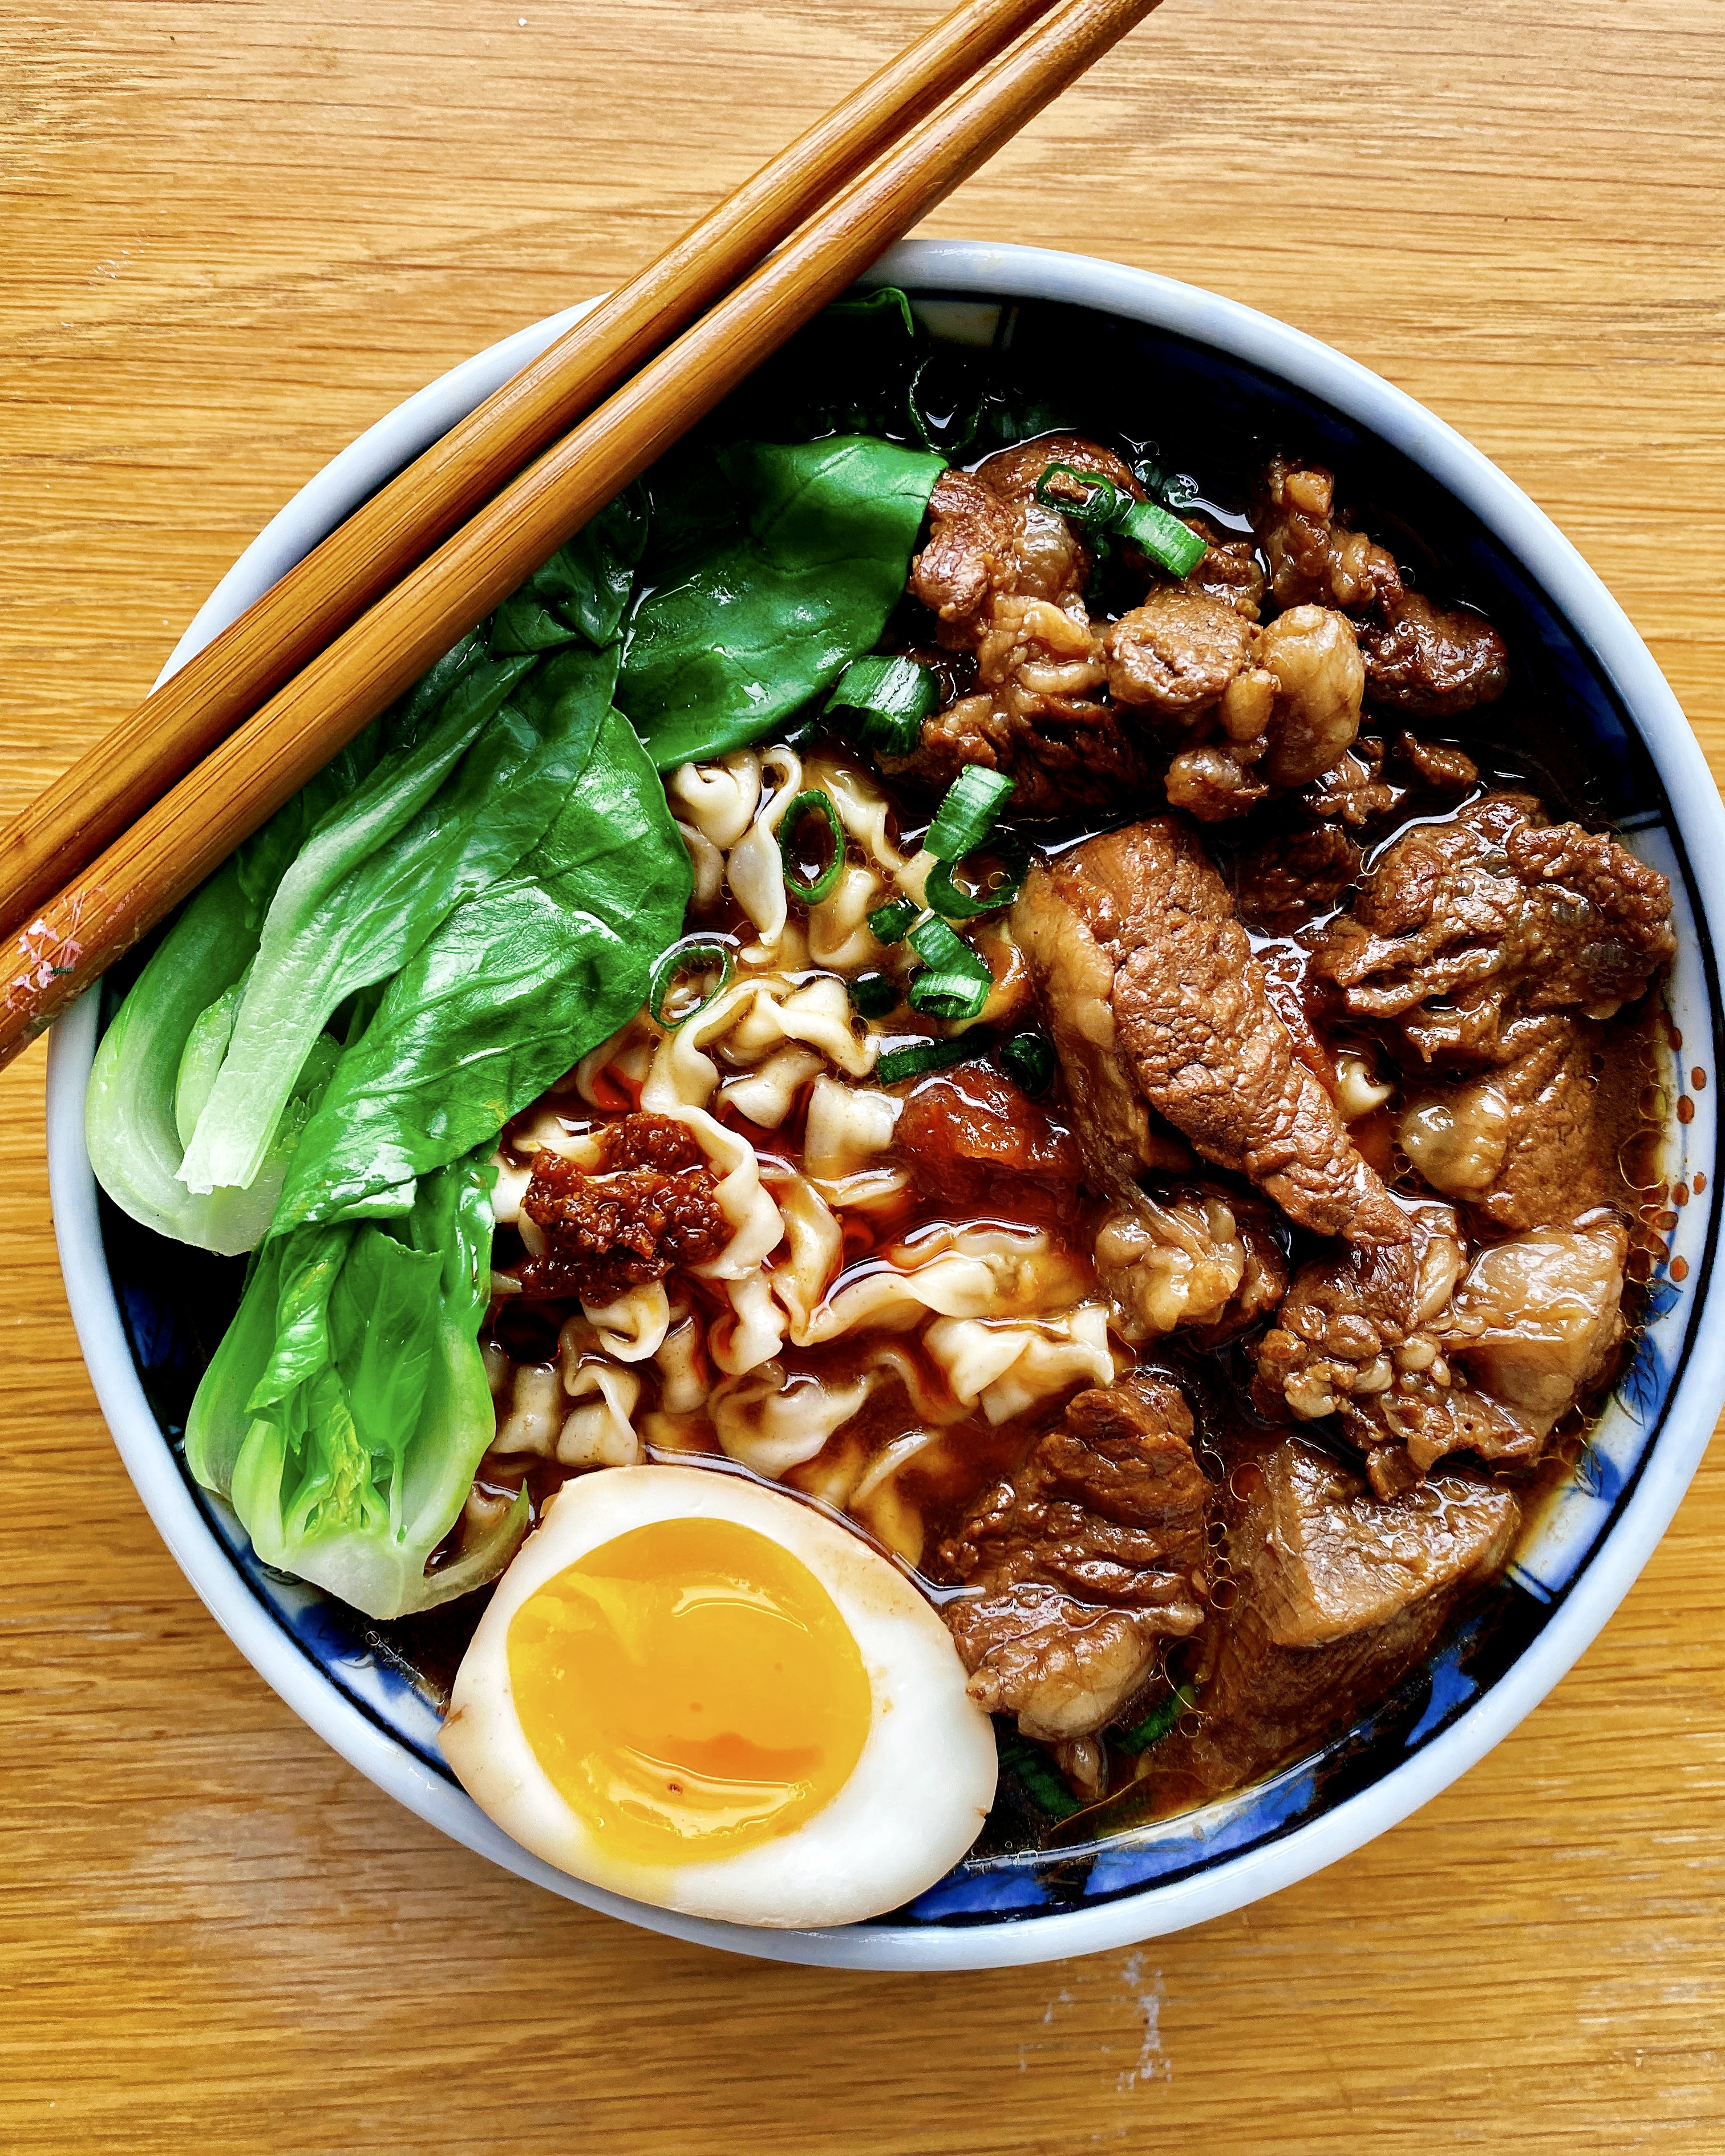
Taiwanese Beef Noodle Soup
makes about 2-3 servings

1 lb. chuck steak, cut into 1" chunks
1 tablespoon oil, if needed
2 scallions, cut into 2" pieces
1 inch ginger, sliced
3 garlic cloves, peeled and smashed
1 tomato, skinned and roughly chopped
1 star anise
1 teaspoon white peppercorns (optional)
1 cinnamon stick (optional)
3 tablespoons rock sugar
1/2 cup low-sodium soy sauce
1/2 cup Shaoxing rice wine
2 cups beef broth
1 bay leaf (optional)
3 large eggs
Baby bok choy or napa cabbage, blanched
Noodles, cooked
Chili oil/sauce (like Sze Daddy), optional

If there is a lot of extraneous fat on the steak, you can cut it off and render it in a large Dutch oven or pot (add it to the pot cold then turn the heat to medium).  Otherwise, heat the oil in the pot and add the beef.  Flip the beef around to brown all the sides, then remove from the pot. 

Add the scallions, ginger, garlic, star anise, tomato, and white peppercorns and cinnamon stick, if using, to the pot and cook for a couple of minutes until very fragrant.  Add the rock sugar and stir around until it has mostly dissolved.  Return the beef to the pot and deglaze the bottom with the soy sauce and wine.  Add the beef broth and bay leaf, if using, and bring to a simmer.  Cover and continue to simmer on low for an hour.

In the meantime, bring another pot of water to boil.  Add the eggs (straight from the fridge) to the pot and set the timer for 7 minutes.  Prepare an ice bath.  After 7 minutes, remove the eggs from the pot and plunge them into the ice bath.  Once they are cool enough to handle, peel the eggs and set aside in the fridge to chill.

After an hour, check the beef for tenderness and the soup for flavor.  Cook longer or adjust seasonings if needed.  When the beef is ready, transfer from the soup into another pot or container large enough to hold the soup.  Strain the rest of the soup into the pot/container with the beef in it.  Add the peeled eggs, cover, let come to room temperature, then place in the fridge overnight.

When ready to serve, reheat the soup (remove the eggs first if you want to keep them jammy).  Blanch the veggies in boiling water until bright green and tender.  Remove and then cook the noodles in the same boiling water.  Drain and portion the noodles into 3 bowls, ladle the soup and beef over the noodles and add the veggies.  Slice the eggs in half and add to the bowl.  Serve with chili sauce (I like Sze Daddy for additional Taiwanese flavors) if you like.

Previously:  No Knead Sourdough Focaccia
Next:  Hurricane Popcorn Marshmallow Treats

Sunday, March 18, 2018

My Mom's Taiwanese Zongzi (粽子)


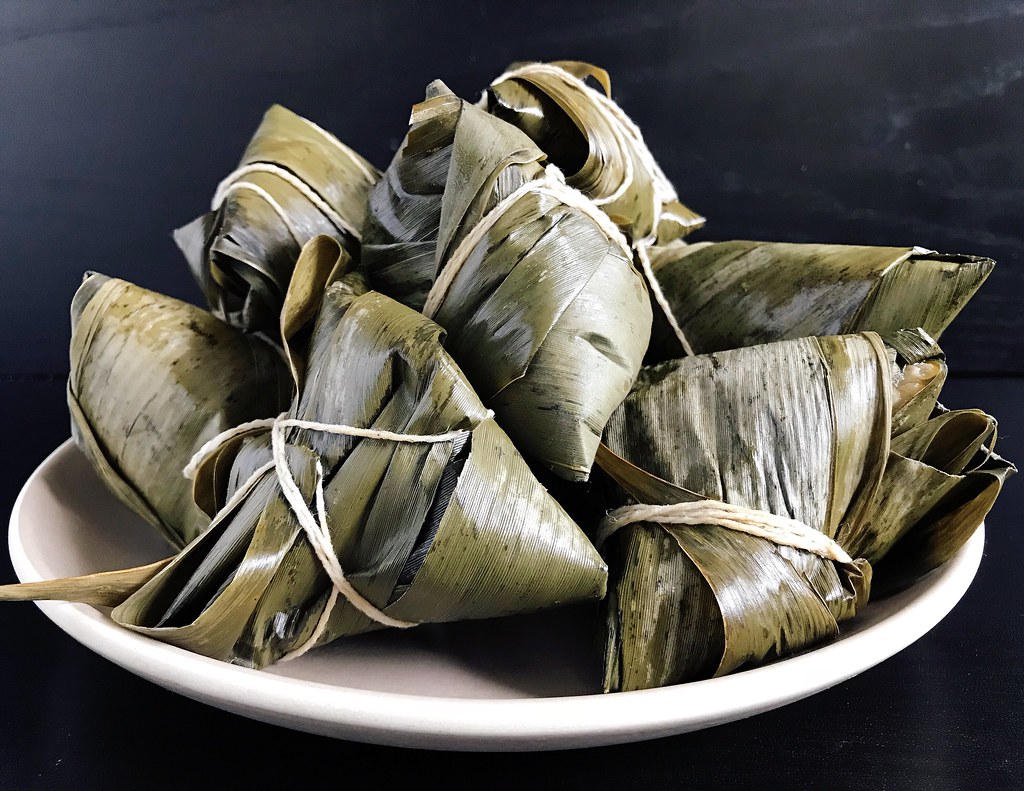
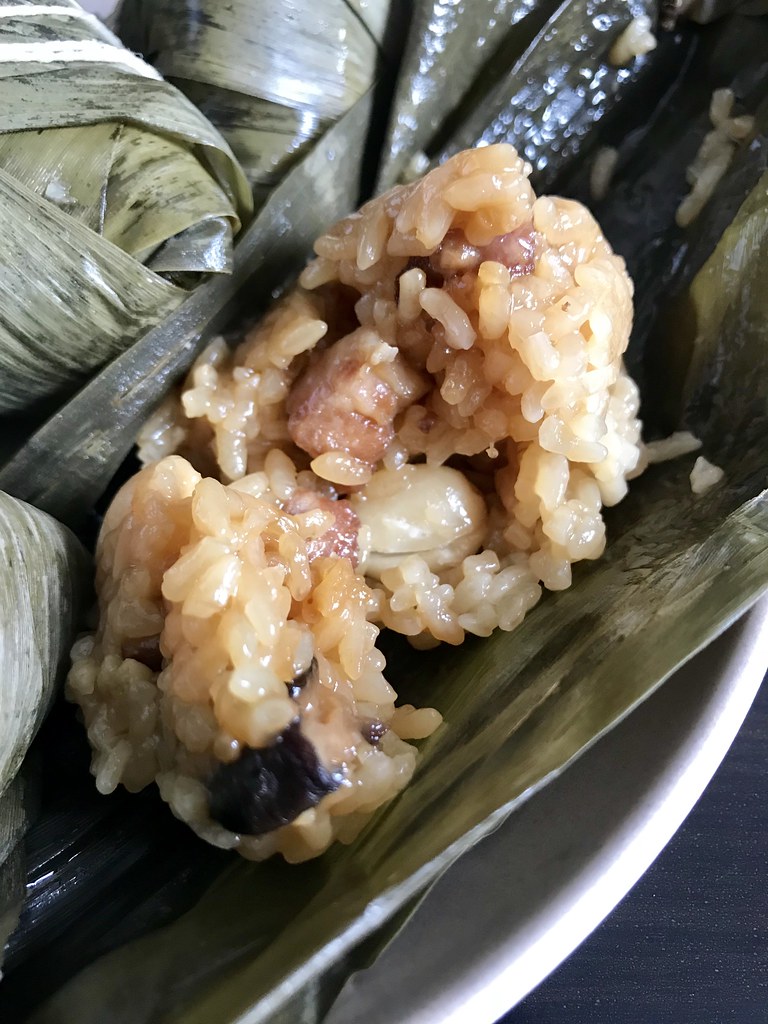
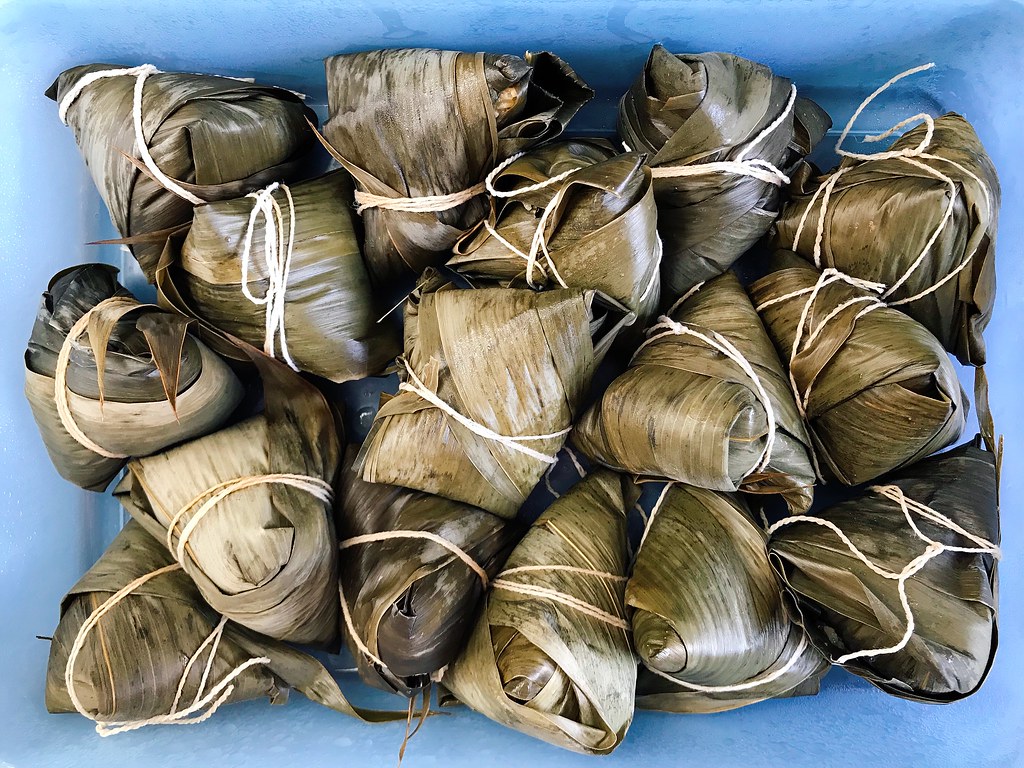
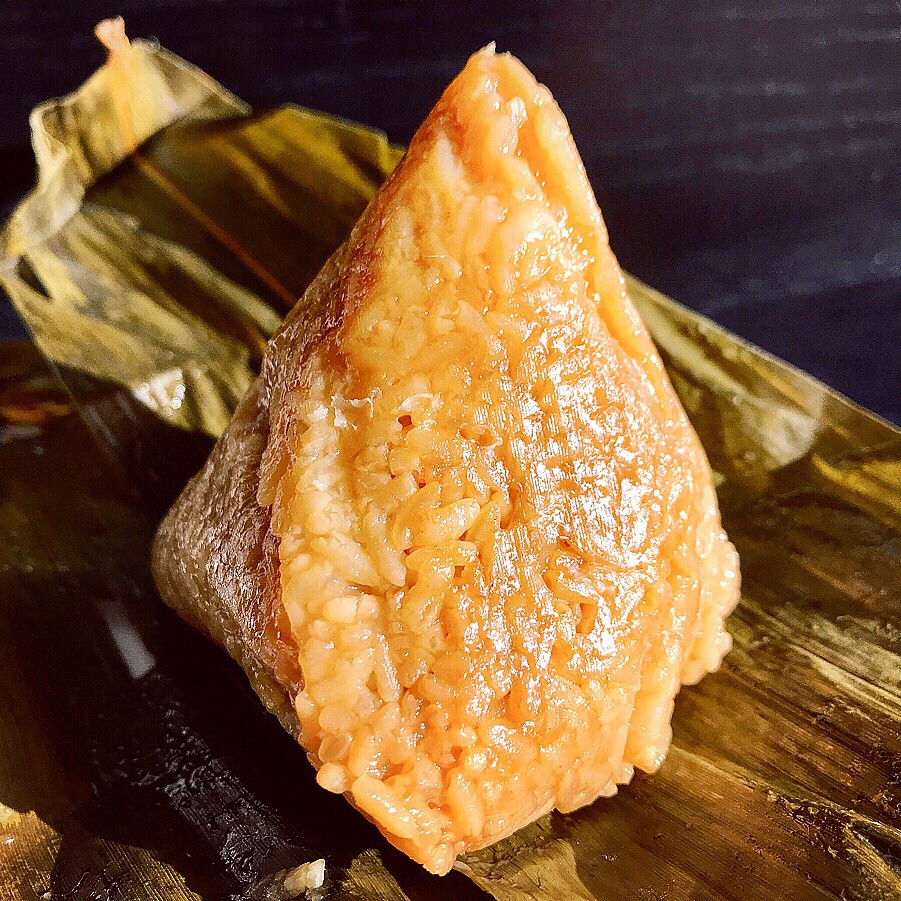
I've been paddling in the annual Boston Dragon Boat Festival for over a decade now, and every year I consider trying to make zongzi, the traditional food eaten for the festival, but by the time the festival rolls around, I always find myself too busy with the races or traveling to attempt them.  This year I decided to get a head start (the festival is celebrated on the 5th day of the 5th month of the lunar calendar, so June 18 this year).  If you don't know what zongzi are, they're packets of sticky rice wrapped in bamboo leaves (or sometimes lotus or banana leaves).  The fillings differ depending on where you are, and sometimes they're even sweet!  The ones I grew up with were filled with marinated pork, shiitake mushrooms, fried shallots, peanuts, and sometimes chestnuts and/or dried baby shrimp.  I've also had versions with salted duck egg yolks and Chinese sausage in them too.

Even beyond the fillings there are different ways to wrap zongzi.  The ones my mom makes are shaped like tetrahedrons, whereas I've also seen them wrapped in a rectangular shape.  Some of the recipes I've found online cook the zongzi in boiling water for up to 8 hours, but because the filling is cooked before being stuff in the sticky rice, you only need to cook these for an hour.  My mom told me that in southern Taiwan they boil it for even shorter by wrapping cooked sticky rice and boiling just long enough to impart the bamboo leaf flavor.


I posted a picture of these zongzi on Instagram and mentioned that when I had asked my mom for the recipe, she told me it would be too hard to make.  I don't think my mom has ever told me something would be too hard for me to do before, so it only made me want to make them even more.  I was really surprised to read in the comments though that a lot of other people had the same reaction from their mothers when they had asked them for their recipe!  I wonder if that's what their moms told them too, and they're just passing the advice along.


Since these are indeed very difficult to make, I wanted to share some of the tips I figured out while trying to figure it out myself:
  • Soak at least 1.5 times as many leaves as you think you'll need.  A good portion of mine would tear while I was trying to wrap them at which point you have to start all over.  Don't throw those leaves away, though!  Fold them in half vertically, and use wrap the outside of any of your more precariously wrapped zongzi to add another layer of protection.
  • Be very careful handling the leaves.  The edges are razor sharp and will give you a wicked paper cut!
  • My mom folds the bottom of the leaves up so that the root ends don't stick out, but a lot of other people just cut that end off.  
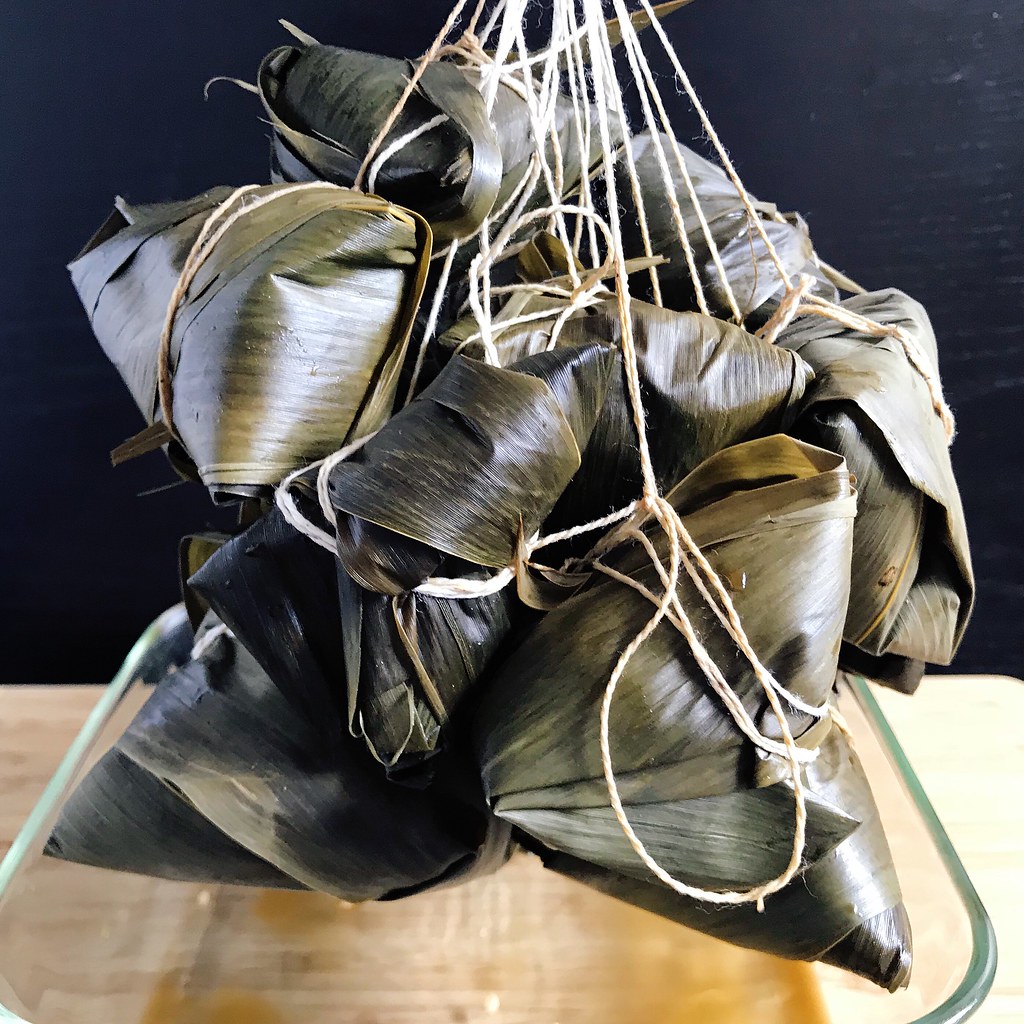
  • My mom ties a bunch of strings to a doorknob so there's tension on the string when you try to tie it around the zongzi with one hand (the other hand is used to hold the zongzi tightly closed).  Some of my friends mentioned that their moms would use a broomstick set across two chairs for the same purpose.  I read somewhere that you can also hold one end of the string between your teeth, and actually that method worked the best for me, although I know my dentist friends would definitely frown on that because there's a chance of chipping your tooth from all the tension.
  • I found that the easiest way to tie the string around the zongzi was to place it close to the anchored end and use your free hand to wrap the other end of the string multiple times around the zongzi.  You want to try to wrap it around the "equator" of the tetrahedron, so that there are two corners on either end.  This will help keep the string in place, otherwise it may fall off when you're cooking it (I know from experience).
I made this video to show you how to wrap the zongzi, but after showing it my mom to confirm it's how she wraps hers, she said she does it differently!

How to make zongzi

Then she sent me a link to this video which she said is more like how she wraps it.  I love listening to it because you hear a mixture of Taiwanese and Mandarin which is kind of like what I heard growing up.  That said, if you wrap it my way, you'll get smaller zongzi and will probably be able to make at least 24 with the amount of ingredients below.  If you wrap it the way my mom does, you'll make fewer but, larger ones.


Taiwanese-Style Zongzi
makes 12-24 depending on how you wrap them

3 1/2 cups glutinous rice
6 oz. bamboo leaves
8 dried shiitake mushrooms
1/2 cup raw peanuts
2/3 cup soy sauce, divided
2 tablespoons rice wine
2 tablespoons sugar, divided
1 lb. pork belly
1 tablespoon oil
2 tablespoons fried shallots
Kitchen twine

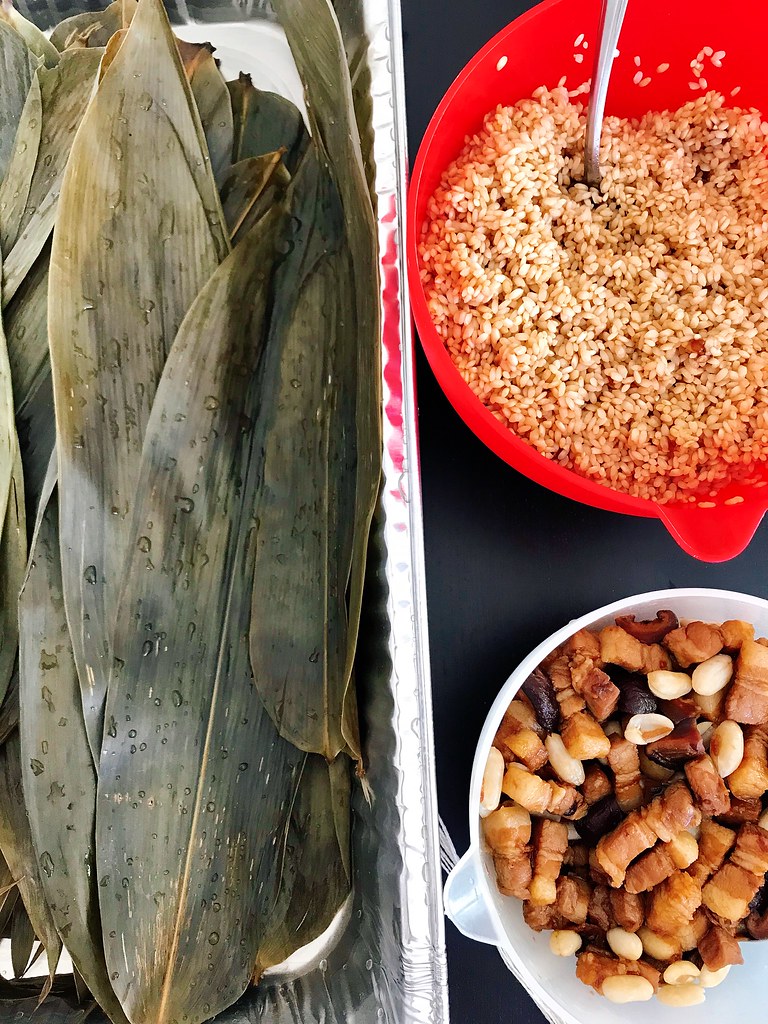
Soak glutinous rice in room temperature water for 2 hours or overnight.

Soak bamboo leaves in room temperature water for an hour or overnight, weighing them down so they're completely submerged.

Soak shiitake mushrooms in room temperature water for an hour or overnight, also weighing them down so they're completely submerged.  Soak the peanuts for an hour or overnight in a separate bowl.

Combine 1/3 cup soy sauce, the rice wine, and 1 tablespoon of sugar in a medium bowl.  Slice the pork into bite-sized pieces and marinate in the soy mixture for an hour.

Cut the kitchen twine into 60" pieces (this is easy for me since that's my wingspan).  Gather them all together and fold in half.  Make a loop knot at that halfway point so that there are now twice as many pieces of 30" long twine connected at the top by a loop knot. 

Wash the bamboo leaves thoroughly after they've softened.  Drain the rice and then add the remaining soy sauce and sugar and mix.  Cut the ends off the mushrooms and slice the caps into quarters.  Drain the peanuts.

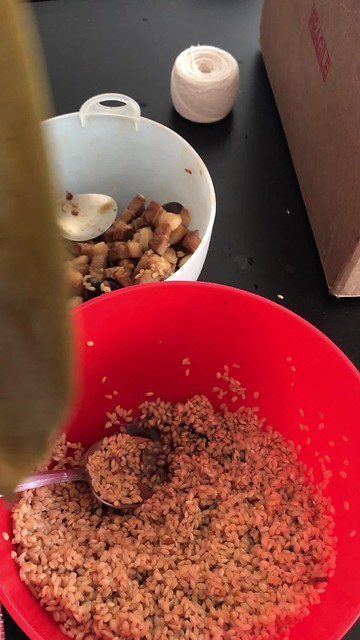
Heat a large wok or pan over medium heat and add the oil.  Add the sliced mushroom, pork, and fried shallots.  Stir fry until the pork is almost completely cooked through.  Transfer to a bowl.  Add any liquids left in the pan to the rice and mix well.

Set up your work station:  hook the twine over a sturdy latch-style doorknob or cabinet handle*.  Have the bamboo leaves, seasoned sticky rice, peanuts, and meat mixture nearby with a large spoon.

Grab two of the leaves and with the smooth sides facing you, position them so that they overlap slightly on the bottom and angle towards each other at the top.  Fold the bottom half inch up and over so that the tough root end doesn't stick out anymore (or cut off the bottom half inch)*.  Now fold the sides of the bottom of the leaves together like a book.  Fold the bottom inch or two up along one side and then open up the leaves so that it forms a short cone.

Continue to grip the bottom of the cone with one hand and use the other hand to place a large spoonful or two of the rice in the cone.  Pack it down well, then add a spoonful of the cooked filling, making sure to get a bit of each of the ingredients.  Cover the filling with another spoonful of the rice and pack it down again.  Fold the top of the leaves over the rice so that now you have a 4-sided pyramid.  Fold the remaining portion of the leaves that are still sticking out together and then continue to wrap around the pyramid.  Holding the pyramid tightly with one hand, use the other hand to wrap the twine around the middle a couple of times and then tie it off tightly.  Leave it hanging from the twine and wrap the rest of the zongzi.

Bring a large pot of water to a boil and submerge the zong zi.  Continue to cook for an hour, until the sticky rice is cooked through.  Drain and let the zong zi cool before unwrapping to eat, discarding the leaf.  Serve with sweet chili sauce and/or soy paste.  These freeze very well, just microwave to reheat!

*See my tips above for variations.


Next: Strawberry Matcha Cream Cheese Tart
Previously:  Candied Carrot Rose Tart
Last Year:  Japanese Chicken Curry Rice
Two Years Ago:  Tropical Pulled Pork on Griddled Banana Bread Sandwiches
Three Years Ago:  A Better Homemade Pasta Recipe
Four Years Ago:  Mushroom Marsala Pizza
Five Years Ago:  Peking Duck Pizza
Eight Years Ago:  Bacon Fat Caramels
Nine Years Ago:  The Feng Family Secret Peking Duck Recipe

Monday, April 18, 2016

Will It Puffle?


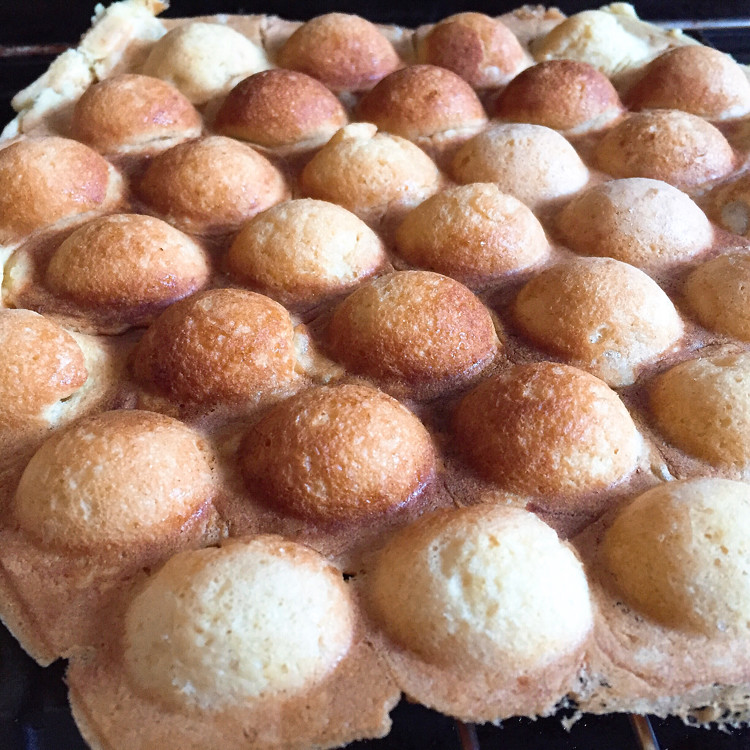
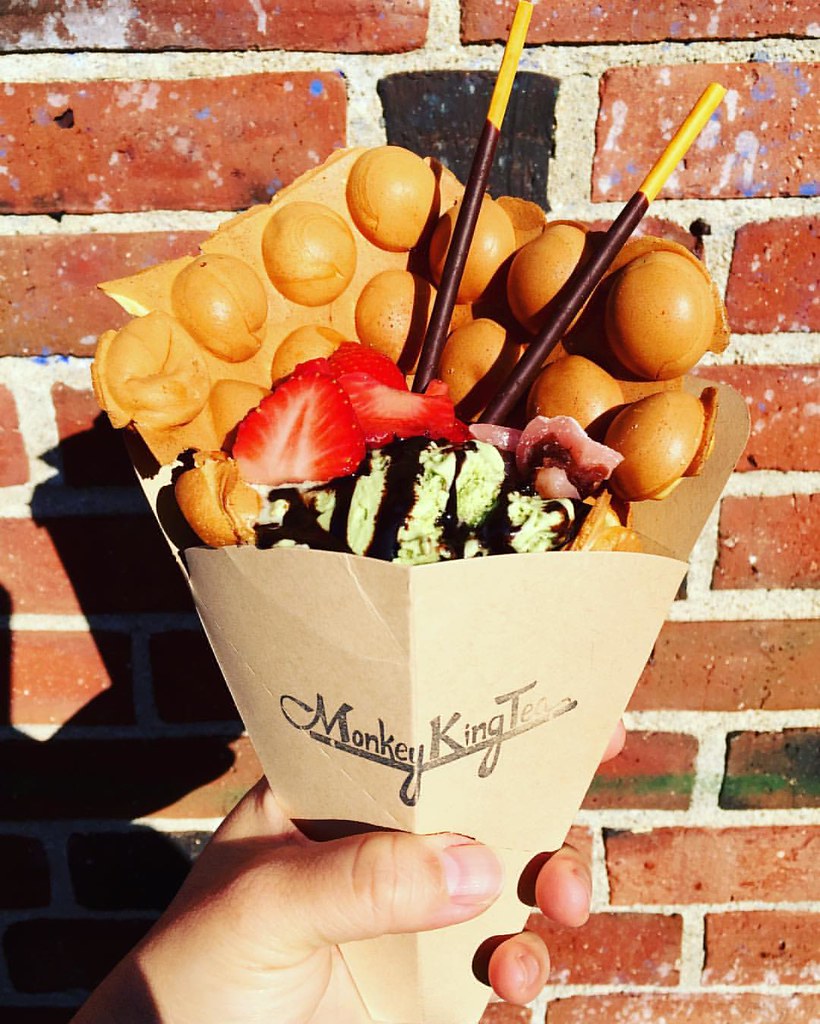
I was so excited when I received an electric bubble waffle maker from my brother and sister-in-law for my birthday last year.  I had visions of making the eggettes I used to get from NYC's Chinatown and SF's Genki and maybe even making a puffle cone a la Cauldron Ice Cream or Monkey King Tea (below).  But after trying the recipes I found on-line for eggettes and puffle cones (basically the same recipe) I'm still not satisfied with the results.  I even played around a little with the ingredients but nothing I made recreated the aroma, texture, or taste I was looking for.


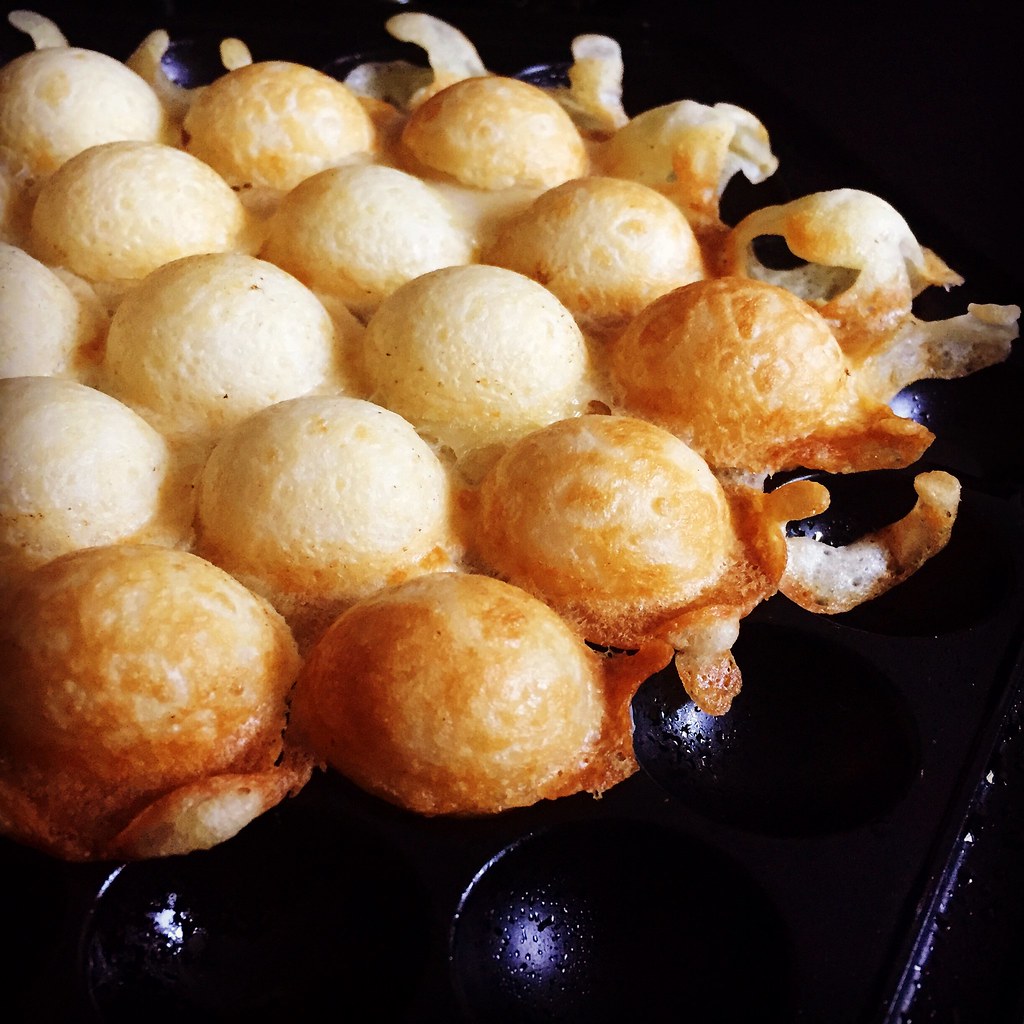
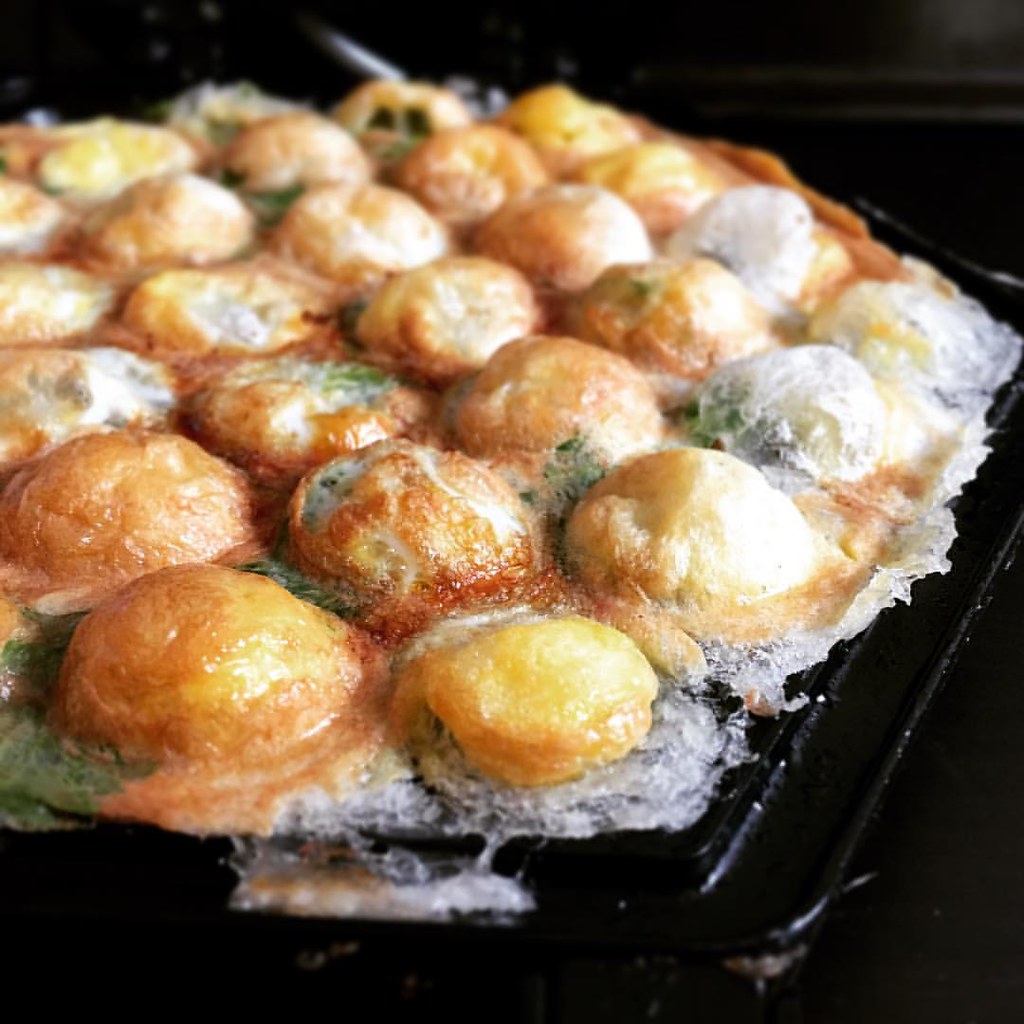
Not to be deterred, I decided to experiment with some other batter-based foods I had made before.  First up was pão de queijo (Brazilian cheese bread).  Since some of the eggette recipes used a little tapioca flour, I figured it would be fun to try an entirely tapioca flour based batter in the bubble waffle maker.  The results were incredible!

https://www.flickr.com/photos/joyosity/24500005166/in/dateposted-public/

The bubble waffle maker was able to encapsulate the chewy, airy bread in a crispy crust in a fraction of the time it takes to bake the pão in the oven.  And it's sooooo cute!

https://www.flickr.com/photos/joyosity/26219396352/in/dateposted-public/

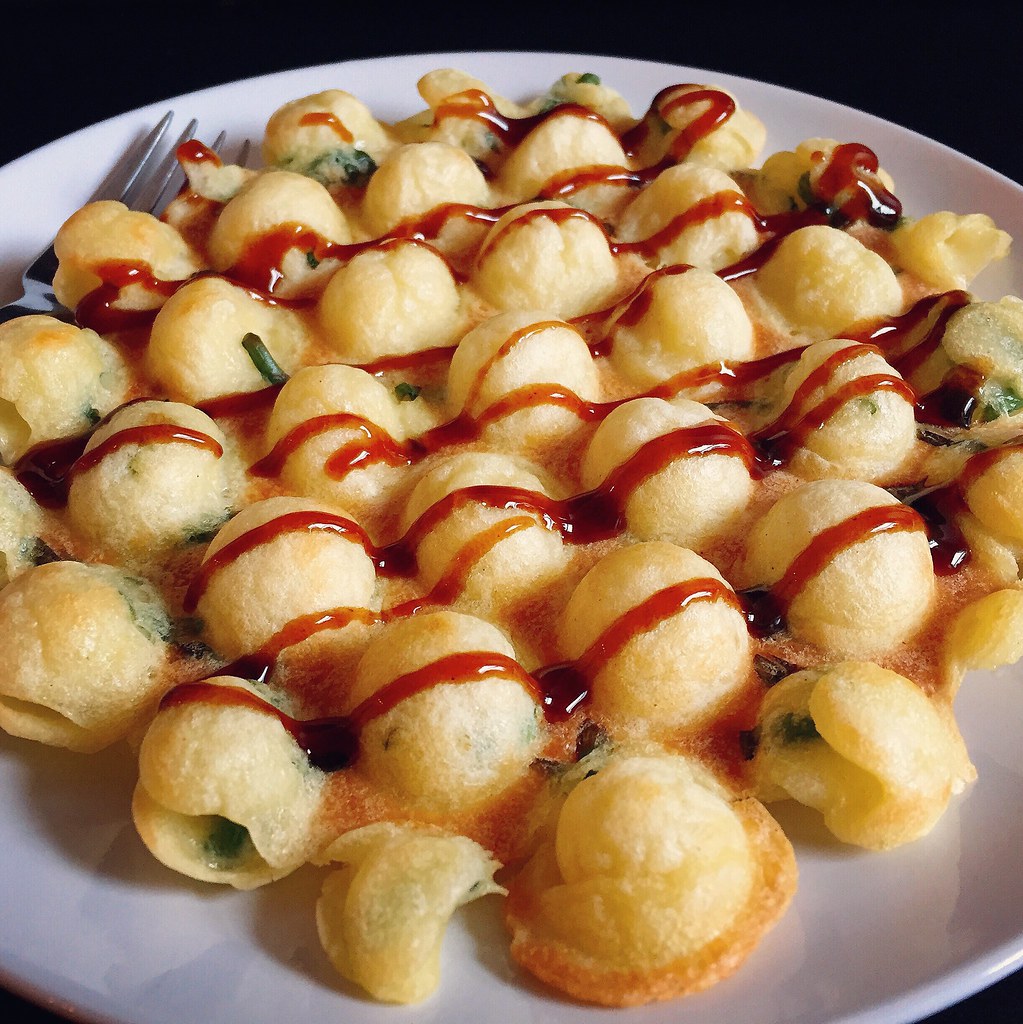
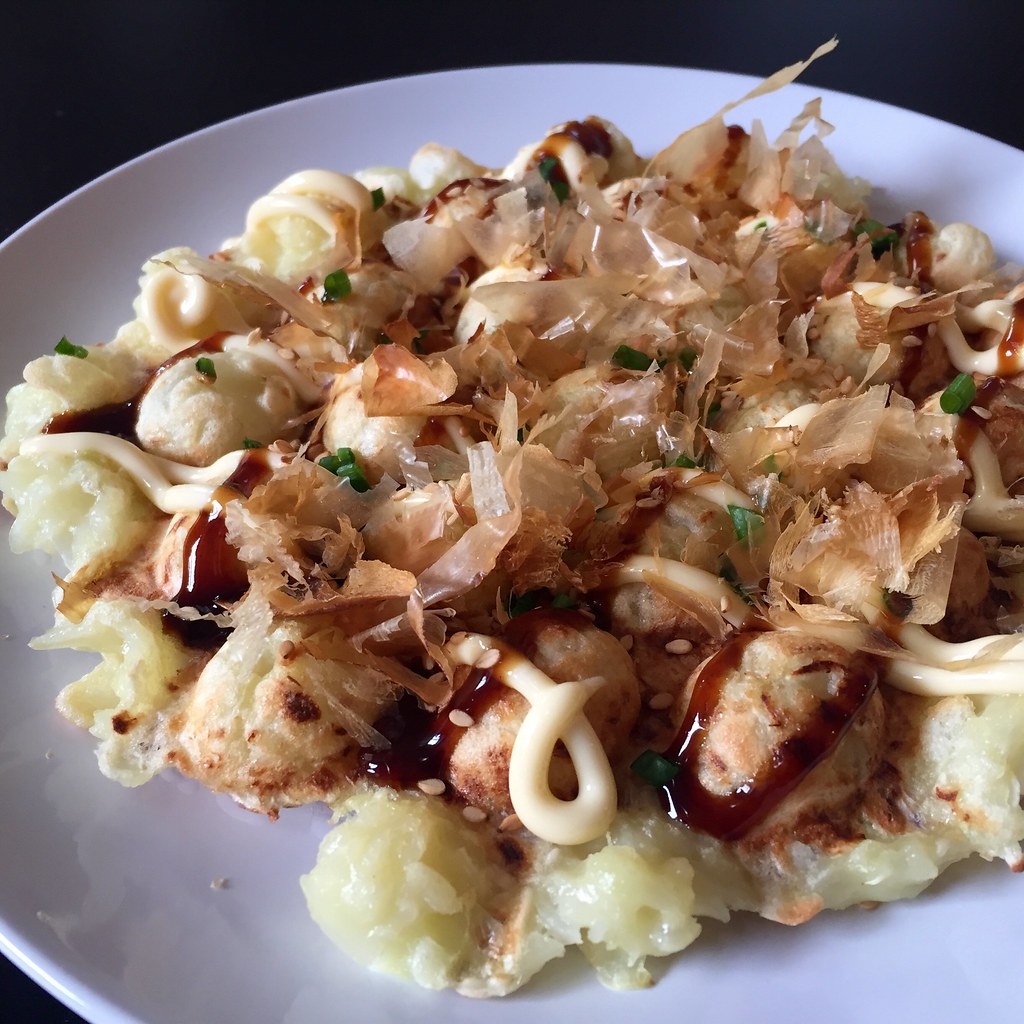
I also tried Korean pajeon (above) and Japanese okonomiyaki (below), and the results were decent, but not really worth writing about.

https://www.flickr.com/photos/joyosity/26307581532/in/dateposted-public/

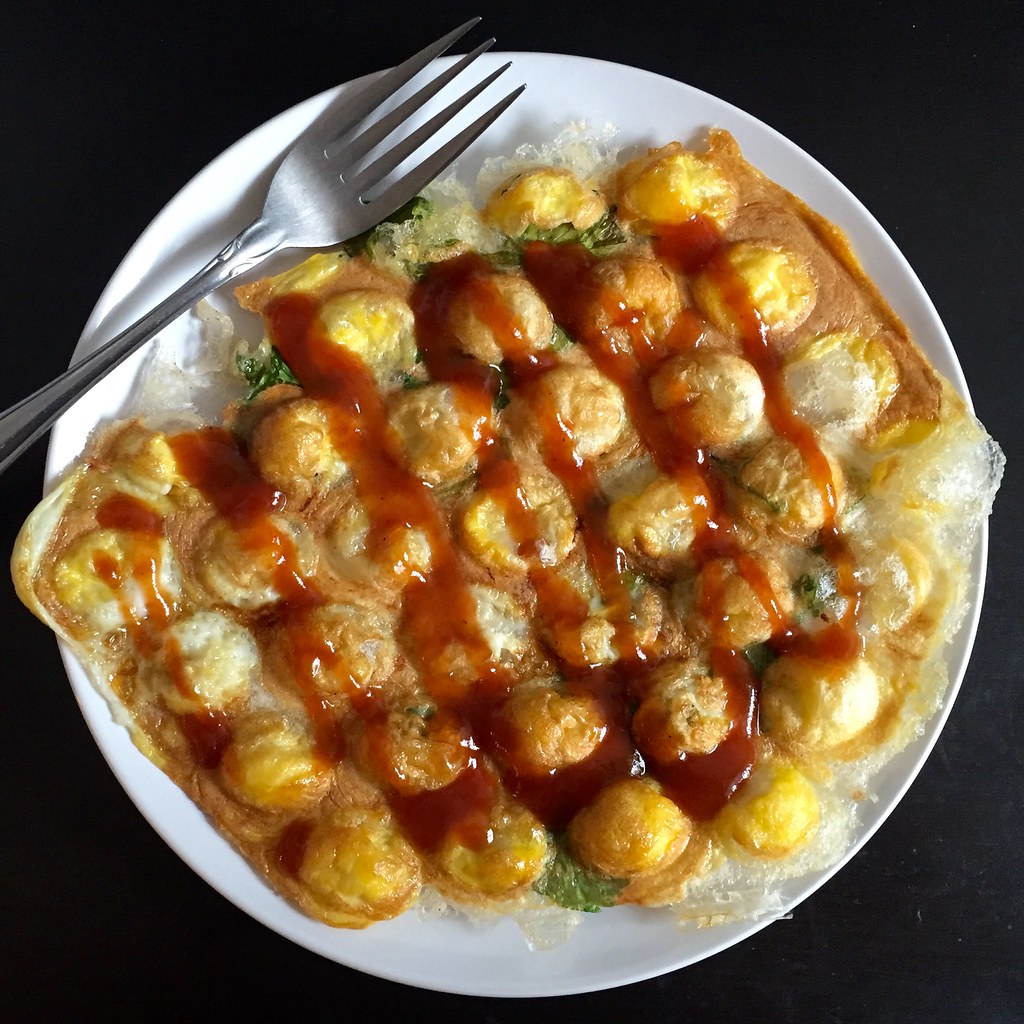
Probably my favorite use of the bubble waffle maker has to be the Taiwanese oyster omelette.  Since I remember the sweet potato starch batter to be super sticky, I added a half tablespoon of oil to the batter itself and made sure to oil the waffle iron well before adding the batter.  And even though I took those precautions, I was still surprised when the omelette came out rather easily from the iron.  

https://www.flickr.com/photos/joyosity/26169045712/in/dateposted-public/

As with the pão de queijo, I loved how the outside of the batter got super crispy but still stayed moist inside.  And the shape of the bubble waffle maker gave it a lot more nooks and crannies for an even higher crispy to chewy ratio!


So does anyone else have a good eggette recipe or recommendation for what to try next in the bubble waffle maker?

Next:  Sesame Soba Noodles with Avocado Rose
Previously:   The 4-Hour Baguette
Last Year:  Gordan Ramsay's Sublime Scrambled Eggs - 2 Ways
Two Years Ago:  Nutella Mini Crepe Cakes
Six Years Ago:  The Best Scones in the World
Seven Years Ago:  Samoa Cupcakes and the Cupcake Exchange

Monday, May 18, 2015

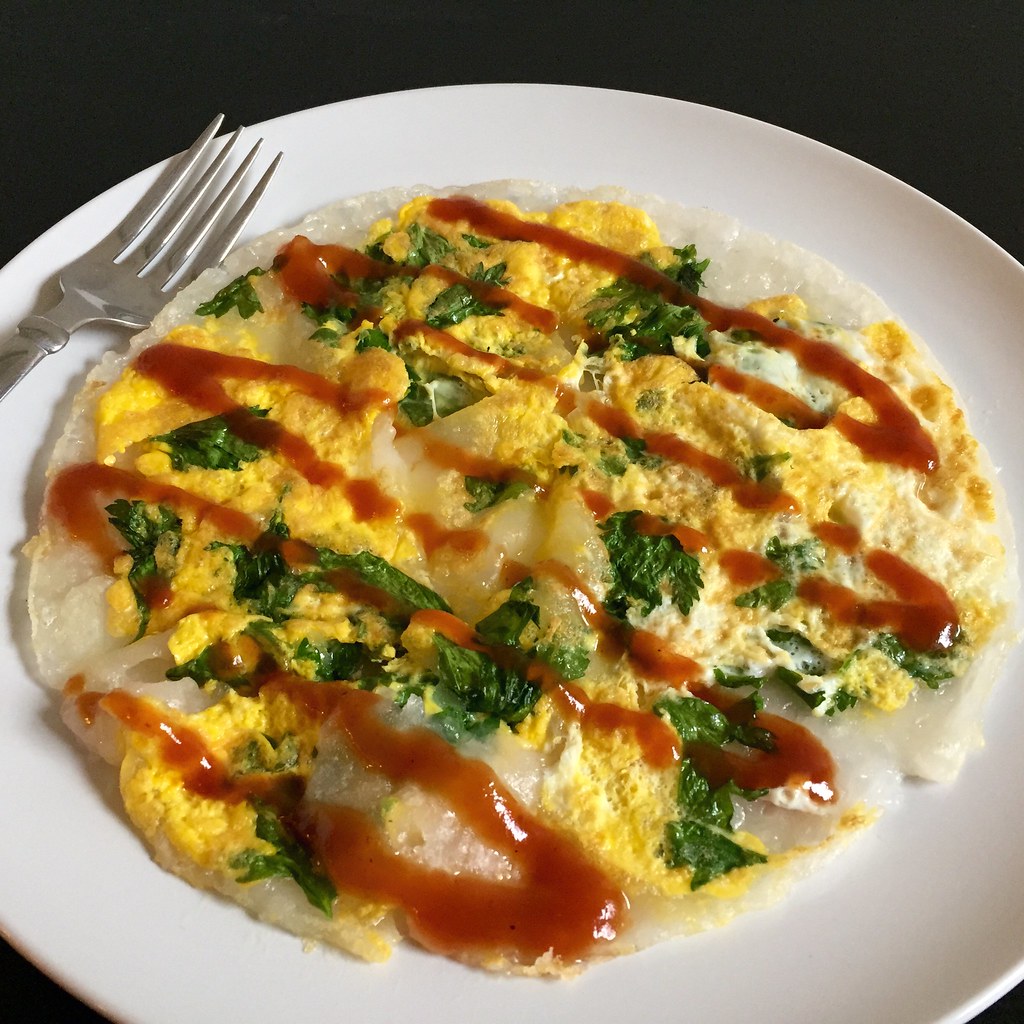
Taiwanese Oyster Omelet (Without the Oysters)

https://www.flickr.com/photos/joyosity/17564179910/in/dateposted-public/

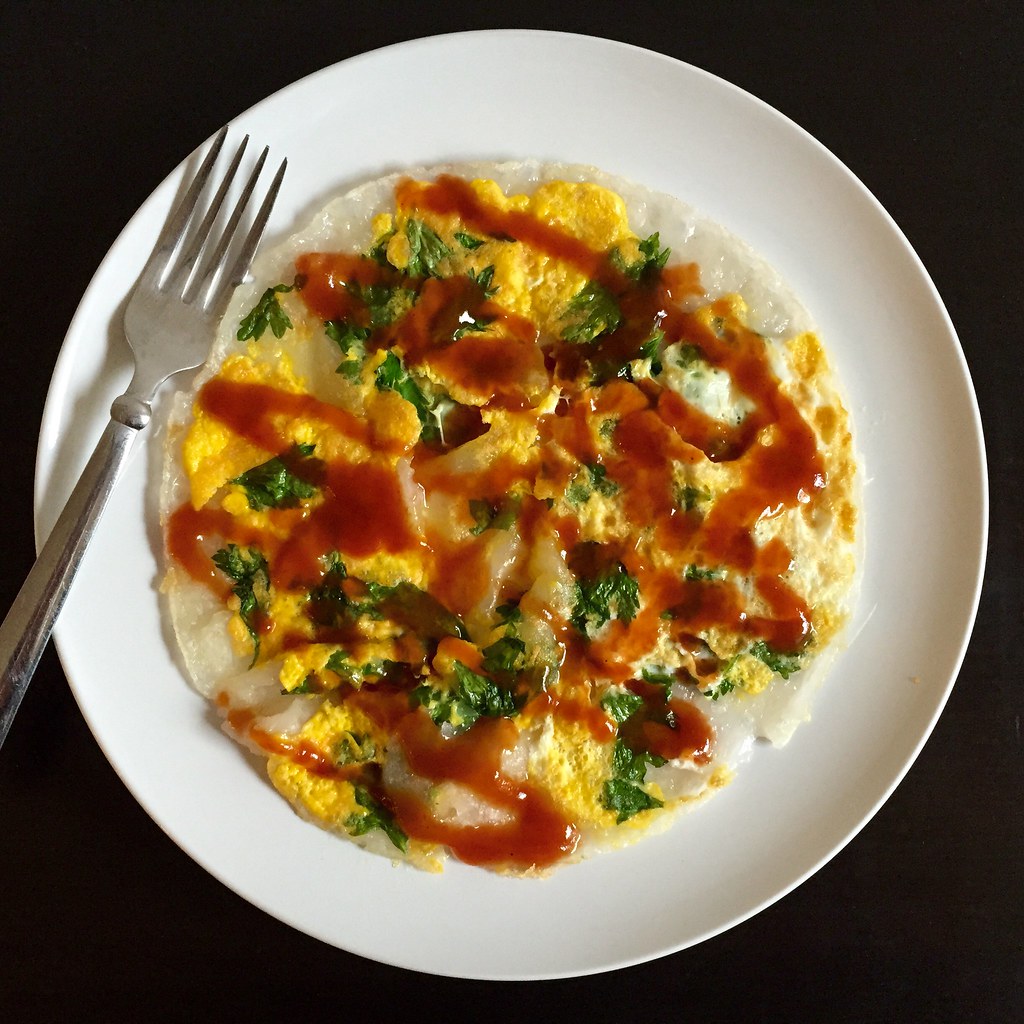
I know, I know, it's almost blasphemy to make 蚵仔煎 (pronounced "uh-ah-jian" in Taiwanese) without the oysters, but honestly, the oysters are my least favorite part of this dish.  I love the blend of crispy and gelatinous textures from the sweet potato flour batter, the fried egg that holds it all together, and the tangy red sauce that smothers it all, but the chewy, cooked oysters just get in my way.

For this recipe I combined the omelet from Tiny Urban Kitchen and the red sauce from Serious Eats.  The sauce was so spot on that when I took my first bite, I totally thought I tasted an oyster in there and was pleasantly confused.  If you want to make this with oysters, use 3-4 small, shucked oysters for each pancake and either add them to the hot pan before the batter for a minute or two or mix them in with the batter before cooking, depending on how cooked you want them.

As a word of caution, the batter made from sweet potato flour (which you should be able to find at an Asian grocery store) will be one of the stickiest things you've ever worked with once it starts cooking.  Make sure you use a non-stick or thoroughly seasoned pan, and even then, I would suggest using a generous amount of oil to make sure it doesn't stick. 

https://www.flickr.com/photos/joyosity/17564186070/in/dateposted-public/

Taiwanese Oyster Omelet (Without the Oysters) (adapted from Tiny Urban Kitchen and Serious Eats)
makes 1 omelet

For the red sauce (makes enough for several omelets):
1/4 cup ketchup
1/4 cup rice vinegar
1 tablespoon sugar
1 tablespoon soy sauce

1/2 teaspoon miso
1 1/2 teaspoons cornstarch
1/2 cup cold water


For the omelet:
1/4 cup sweet potato flour
Pinch of kosher salt
Dash of white pepper
1/2 cup water
Vegetable oil
A small handful of celery leaves (or other leafy greens like baby spinach or bok choy)
1 egg, lightly beaten

To make the sauce, combine the ketchup, vinegar, sugar, soy sauce, and miso in a small saucepan over medium heat.  Simmer for a couple of minutes until the sugar dissolves.  

Mix the cornstarch and water to make a slurry and add to the saucepan.  Stir until thickened, another couple of minutes, and then cool to room temperature. 

To make the omelet, mix the sweet potato flour, salt, white pepper, and water into a smooth batter.  Heat a non-stick or thoroughly seasoned pan over high heat.  Add enough oil to cover the bottom of the pan generously, not enough to deep fry but enough that there is a visible layer of oil all over.

Pour the batter into the pan, and lower the heat to medium.  Once the top of the batter is set, add the leaves, continue to cook for another minute, and then add the egg.  Use a spatula to start testing the edge of the omelet to see if the bottom is cooked and releasing from the pan.  When the bottom has released and the egg is mostly set, flip the omelet over and turn off the heat.  The residual heat from the pan should be enough to finish cooking the egg.  

Invert the omelet onto a plate and drizzle a generous amount of red sauce on top.  Serve hot.

https://www.flickr.com/photos/joyosity/17752077301/in/dateposted-public/

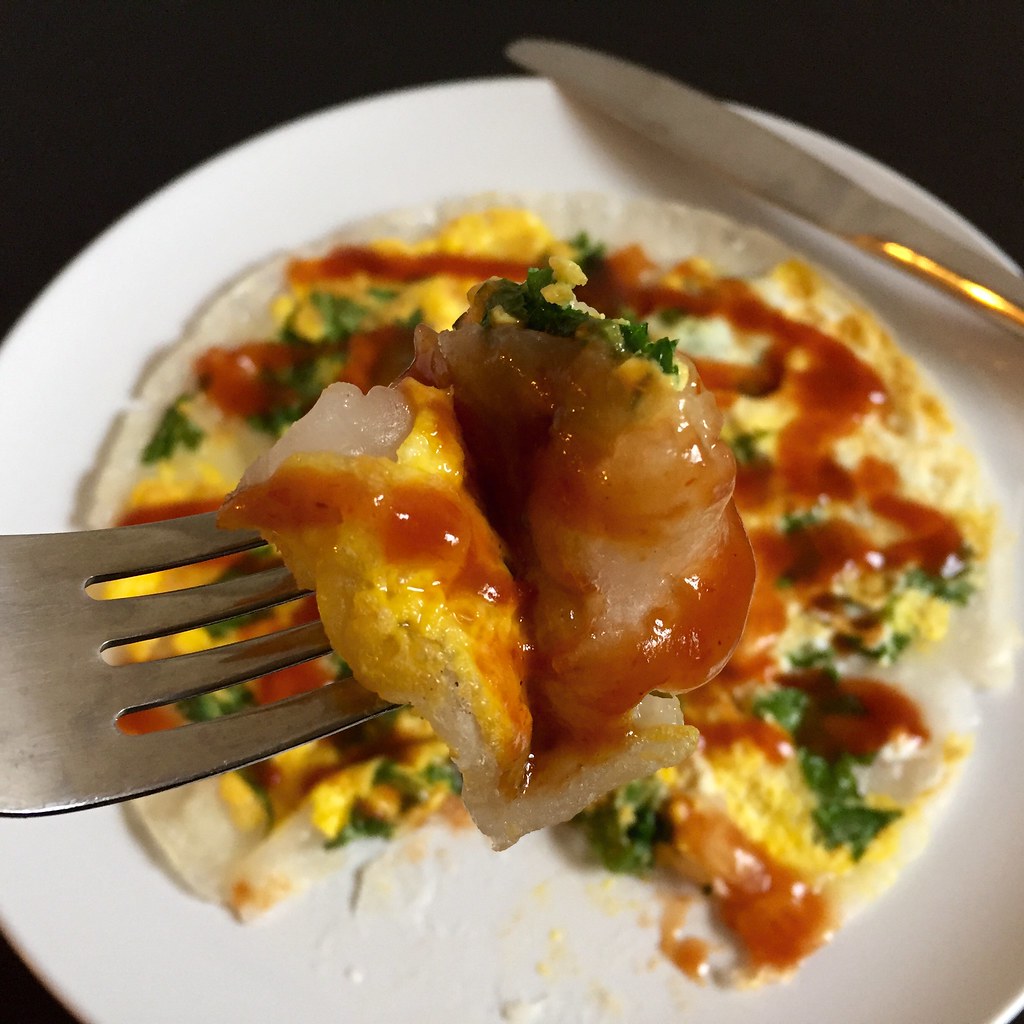
It's kind of freakish how intact my omelets ended up; I'm used to them being pretty mangled blobs of gelatinous messes.  In fact, the picture above was a little too perfect so I ended up drizzling more sauce on top just to make it messier, which is how I ended up with the top picture.  It's also more representative of how much sauce you want on the omelet. 

Next:  Drunken Noodles (Pad Kee Mao) with Tofu
Previously:  Scoglio all'Andiamo (Saffron Fettuccine with Seafood in a Lemon Garlic White Wine Sauce)
Last Year:  Serendipitous Chocolate Chip Cookies
Six Years Ago:  Red Bean and Black Sesame Ice Cream

Wednesday, January 28, 2015

San Bei (Taiwanese Three Cup) Tofu and Ramen

https://www.flickr.com/photos/joyosity/15761361854/in/photostream/

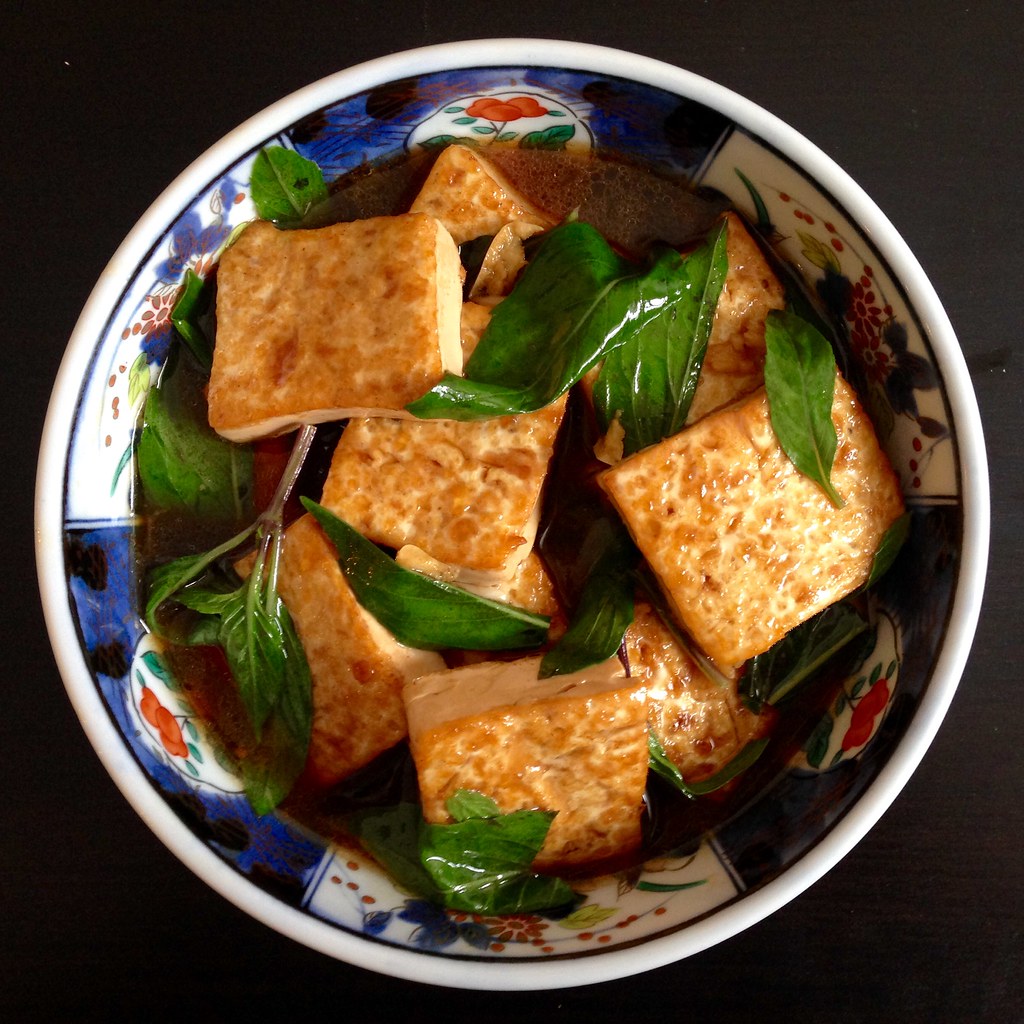
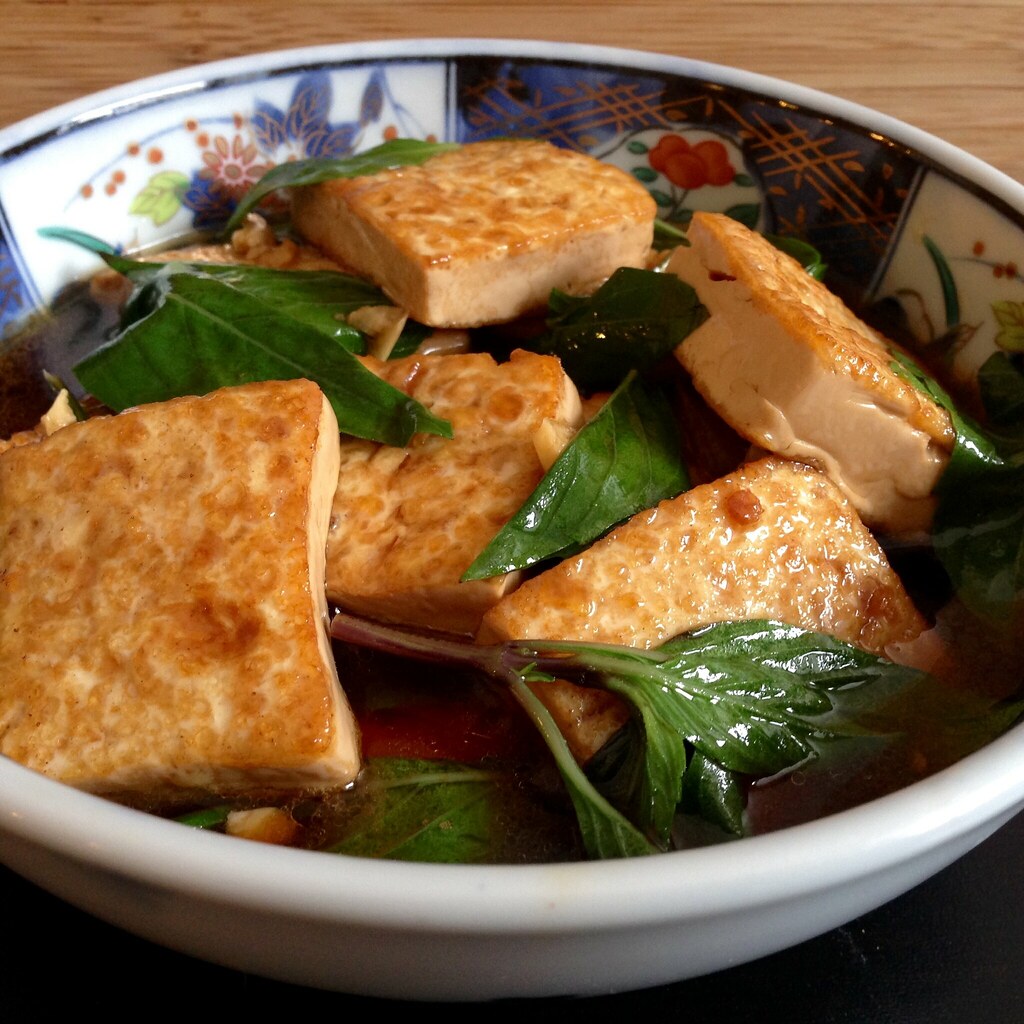
Hope you all survived the blizzard of 2015!  I was lucky enough to work from home for the first time in a long time which meant a homemade, non-leftover hot lunch!  I wanted to try to make a traditional Taiwanese dish called san bei ji but with tofu instead of chicken.  San bei translates to "three cup" (ji means chicken), which describes the three main ingredients in the sauce:  equal amounts of sesame oil, soy sauce, and cooking wine.

I followed this recipe, but since I didn't have a clay pot, I just used a medium shallow pan, which also meant this was a one pot dish.  If you don't have rock sugar, you can probably substitute raw sugar, or in a pinch, plain white sugar.

https://www.flickr.com/photos/joyosity/16357831566/in/photostream/

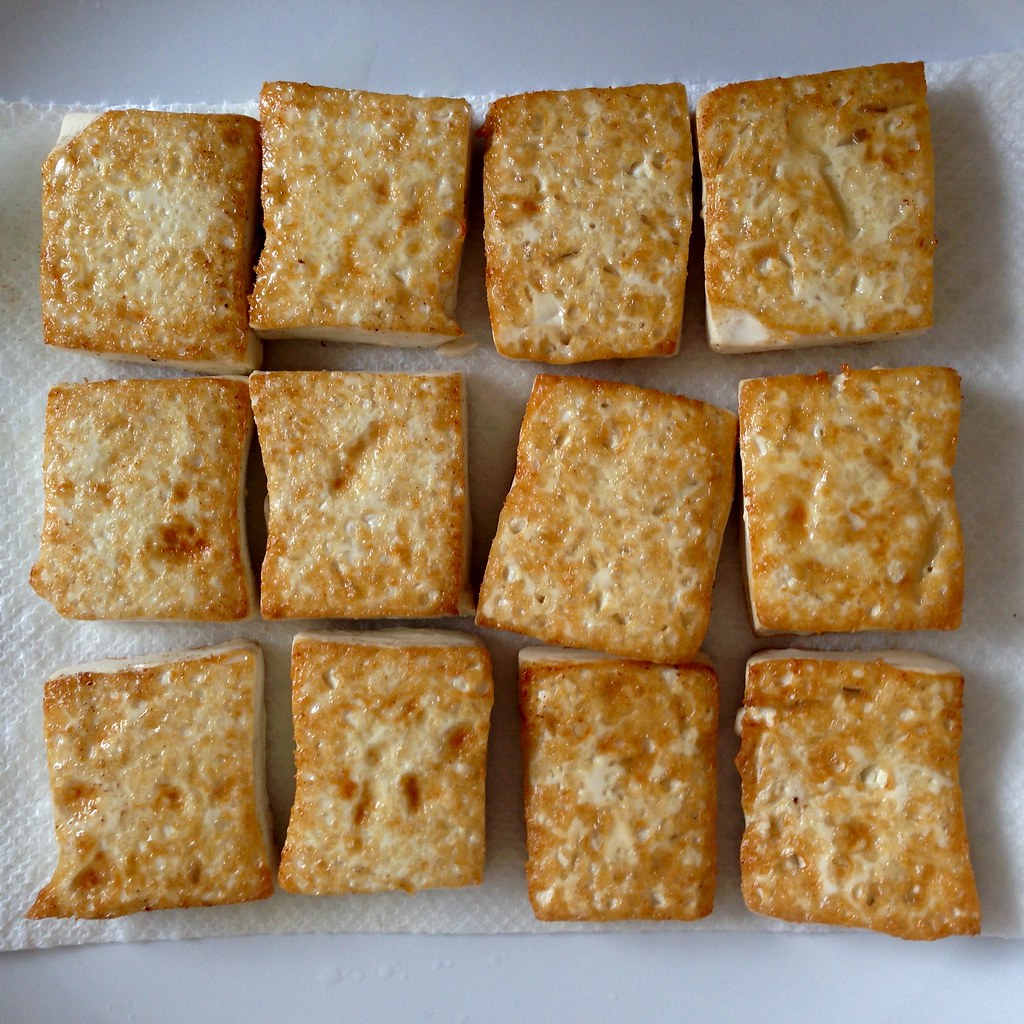
If you can believe it, this is my first time pan-frying tofu without a coating, and I really liked how it turned out!  The inside is still soft and custardy while the outside is just a little firmer.  Best of all, it keeps this texture while braising in the san bei sauce and gains a whole boatload of flavor at the same time.

https://www.flickr.com/photos/joyosity/15761361694/in/photostream/

San Bei (Taiwanese Three Cup) Tofu (adapted from Kitty's Home Cooking)
serves 1-2

12 oz. package extra firm silken tofu
2 tablespoons vegetable oil
5 slices of fresh ginger
5 garlic cloves, smashed
3 tablespoons toasted sesame oil
3 tablespoons soy sauce
3 tablespoons Chinese cooking wine
1 tablespoon rock sugar
1 cup water
1 teaspoon corn starch
A large handful of Thai basil leaves

Drain the tofu and pat dry with paper towels.  Carefully slice into thick slices.

Heat a medium pan on medium high and add the vegetable oil.  Pan fry the tofu slices for several minutes on each side until golden brown.  Remove to a paper towel-lined plate and let drain.

Remove any excess oil in the pan and then add the sesame oil.  Stir fry the ginger and garlic over low heat until fragrant.  Add the soy sauce, cooking wine, rock sugar, water, and the tofu slices.  Bring to a boil and then reduce the heat, simmering for about 7 minutes.

Mix the cornstarch with a tablespoon of water and add to the pan.  Bring the sauce to a boil again and stir until thickened.  Add the Thai basil leaves and cook for another minute until wilted.  Serve with white rice.

https://www.flickr.com/photos/joyosity/16197589269/in/photostream/

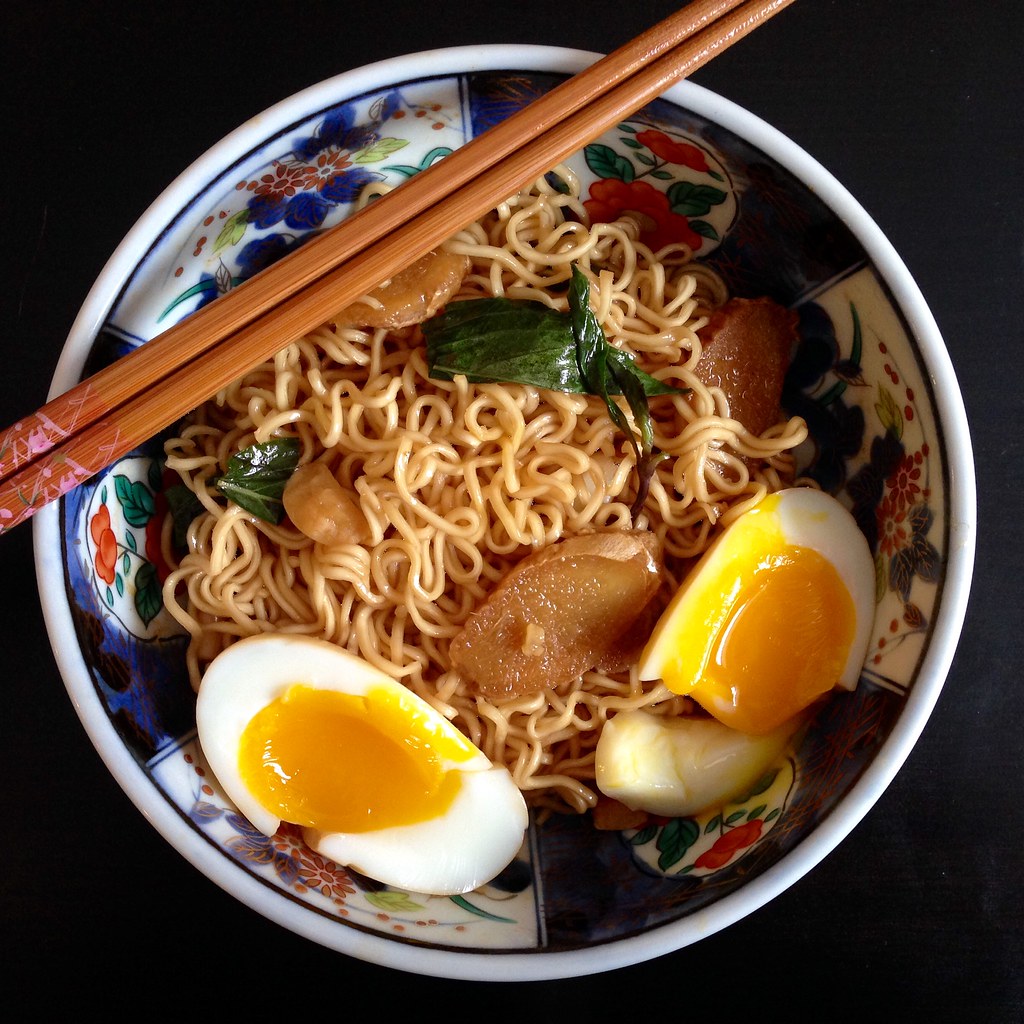
When I make this dish again, I'll probably reduce the amount of water or increase the amount of tofu because it made a lot more sauce than I really needed.  But since the sauce was so yummy, I decided not to waste it and experimented by adding it to some ramen noodles and a soft-cooked egg.  The result was so much better than I could have hoped for, and I will most definitely be experimenting with san bei ramen again!

Next:  Burmese Coconut Noodles with Tofu
Previously:  Peanut Butter Noodles
Last Year:  Grilled Cheese Egg in a Hole
Two Years Ago:  Bagel Bombs, Homemade Bagels
Five Years Ago:  Sweet Potato Gnocchi with Maple Cinnamon Sage Brown Butter
Six Years Ago:  Xiao Long Bao, Dutch Babies

Monday, September 8, 2014

Taiwanese Taro Swirl Mooncakes

https://www.flickr.com/photos/joyosity/14985736599/

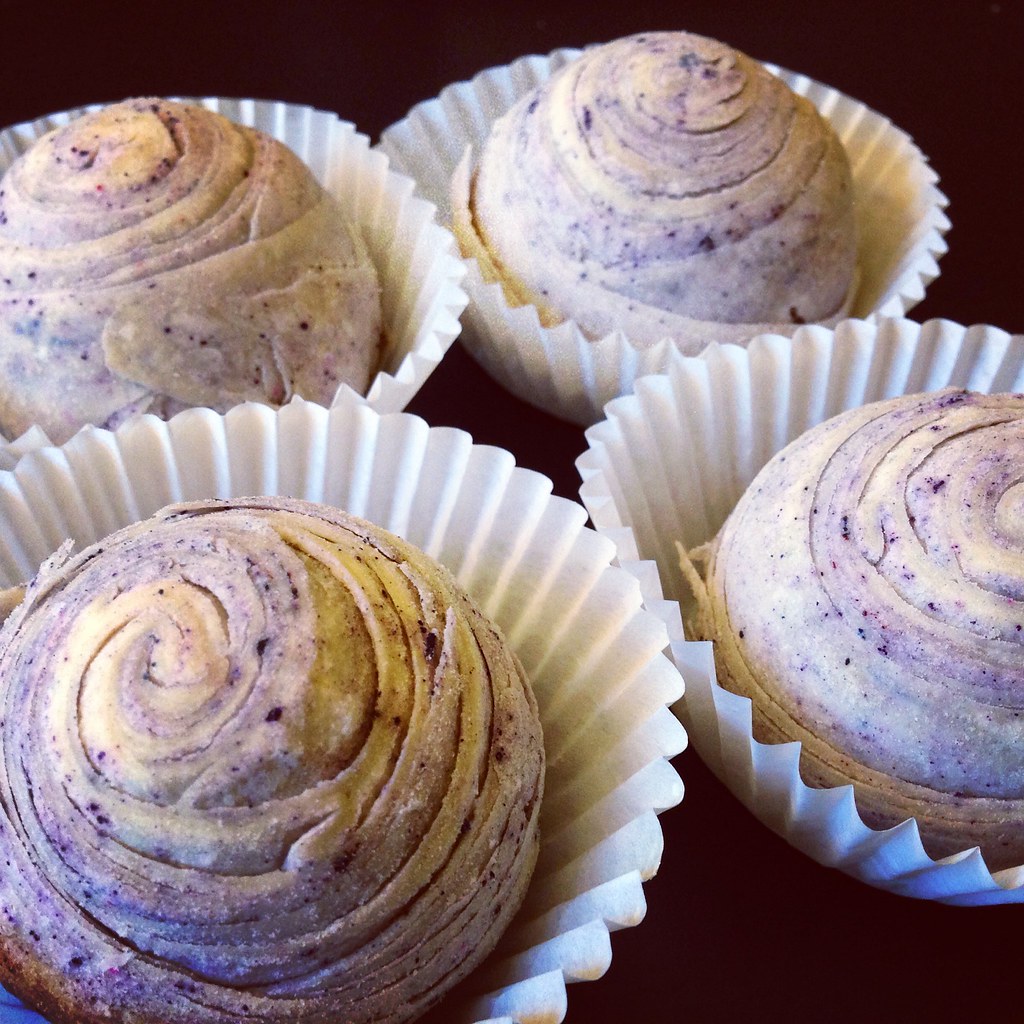
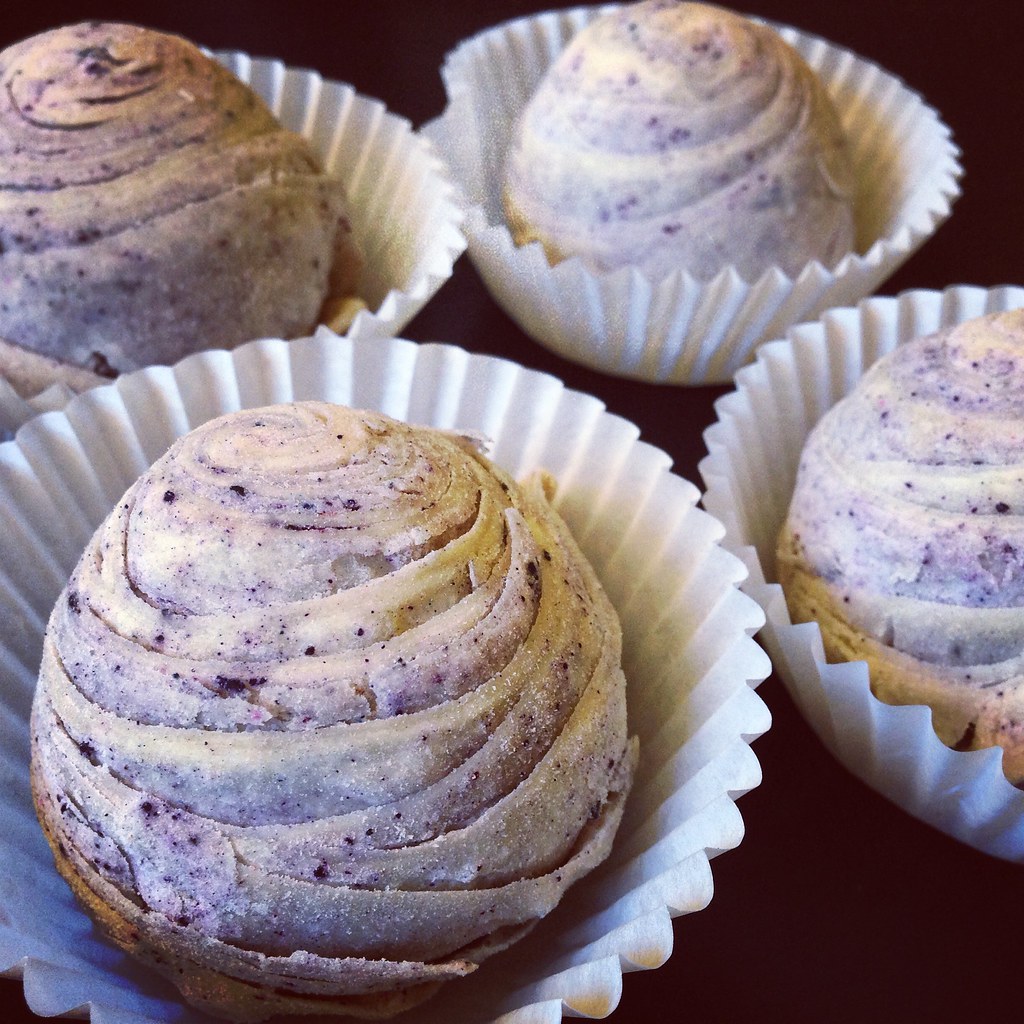
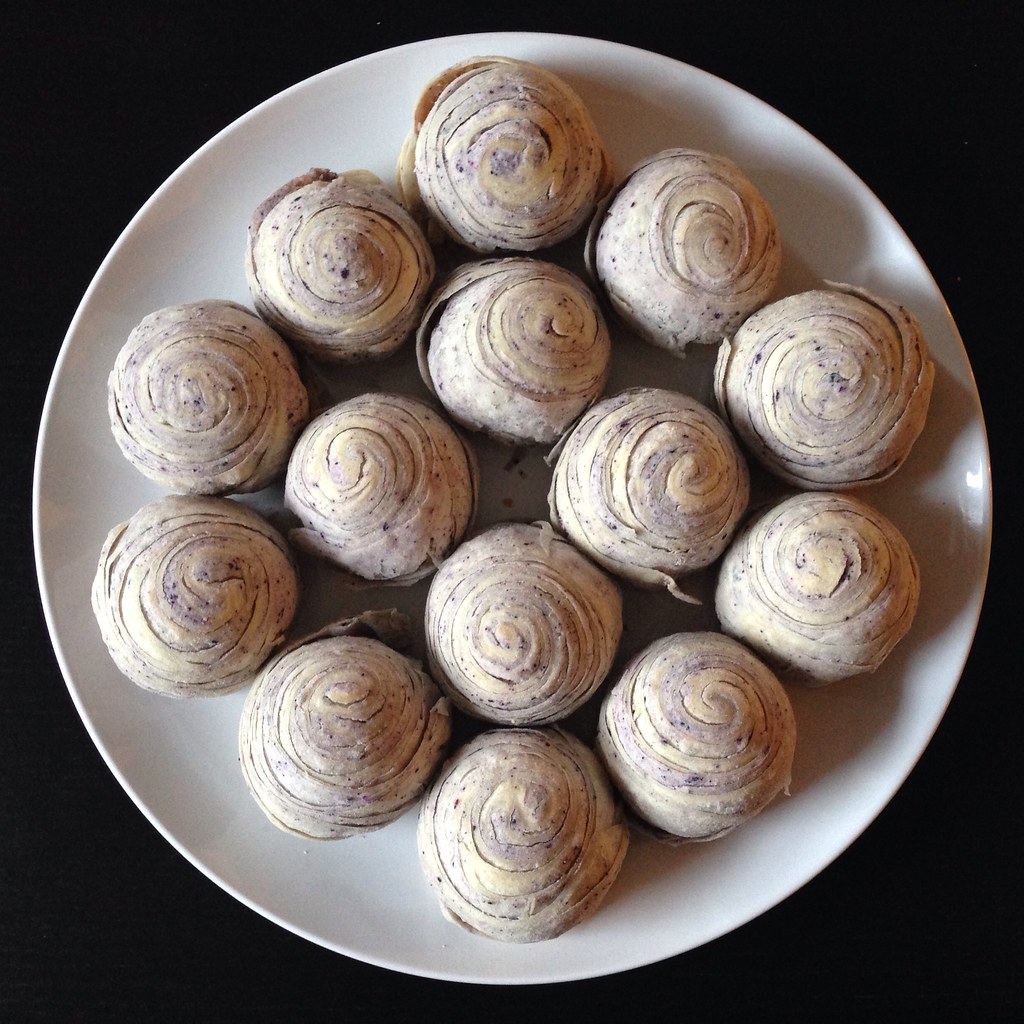
Today is the Mid-Autumn Moon Festival, which to me means mooncakes!  Most of my life, when I thought of a mooncake, I pictured a heavy, rich pastry filled with red bean or lotus seed paste and maybe a salted egg yolk inside.  They're good, but you can only eat a couple of bites before it gets to be too much.  Then I discovered Taiwan's version:  light, flaky layers of pastry wrapped around sweetened taro root paste.  Not only are they delicious, they're really gorgeous!

I never imagined they'd be something I could make at home, but then I came across a few recipes and just had to try.  Some of the recipes use unsalted butter or shortening in the dough and/or taro paste, but I personally like the subtle coconut flavor you get from using coconut oil so I used that instead.  Note:  This took way longer than I thought it would take to make.  I made the taro paste the day before, and it still took me over 3 hours to make the mooncakes the day of.

https://www.flickr.com/photos/joyosity/15149442246/

Taiwanese Taro Swirl Mooncakes (adapted from The 350 Degree Oven)
makes 20 pastries

For the taro paste:
2 lb. taro root
1 teaspoon kosher salt
3/4 cup sugar
1/4 cup coconut oil

For the white dough:
1 3/4 cup flour
1/4 cup powdered sugar
1/2 teaspoon kosher salt
6 tablespoons coconut oil
Water

For the purple dough:
1 1/2 cup flour
1/2 teaspoon kosher salt
7 tablespoons oil
Purple food coloring

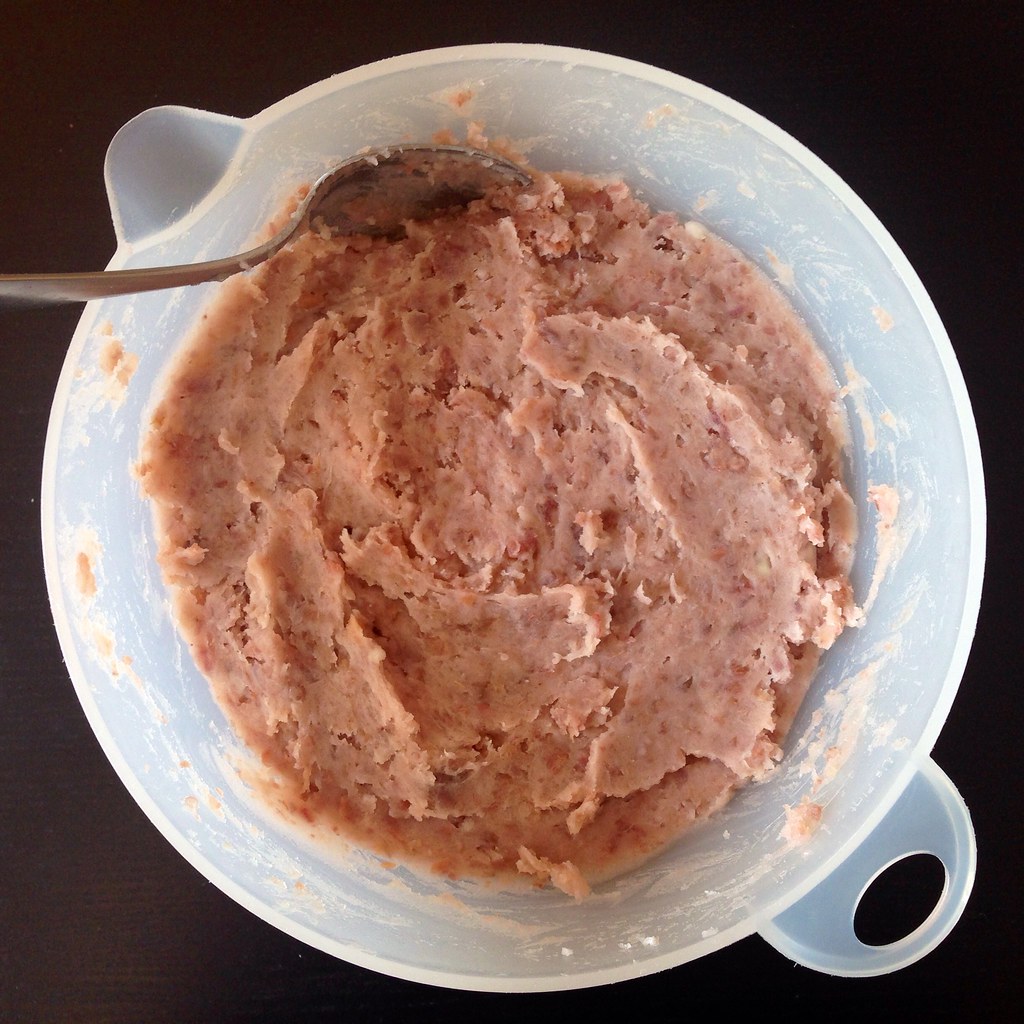
Peel and cube the taro.  Steam for about 30-40 minutes until the taro is fork tender.  Use a ricer or mash the taro into a paste.  Mix with the the salt, sugar, and coconut oil.  Set aside to cool.

https://www.flickr.com/photos/joyosity/14984930580/

Sift together the flour, powdered sugar, and salt for the white dough in a medium bowl.  Add the coconut oil and 1/4 cup of water.  Stir and add more water if necessary, a tablespoon at a time, until the dough comes together.  Knead for a few minutes until smooth.

In a separate bowl, sift together the flour and salt for the purple dough.  Add the oil and a few drops of purple food coloring.  Add more food coloring as necessary to get a pale but noticeably purple dough.  (I used a gel food coloring, and for some reason it never really spread very well throughout the dough and mostly stayed in little specks.)  This dough will look and act more like wet sand than pastry dough.

Divide both doughs into 10 pieces and refrigerate for about 20 minutes to rest and chill slightly.

Preheat the oven to 350°F.

https://www.flickr.com/photos/joyosity/15148565016/

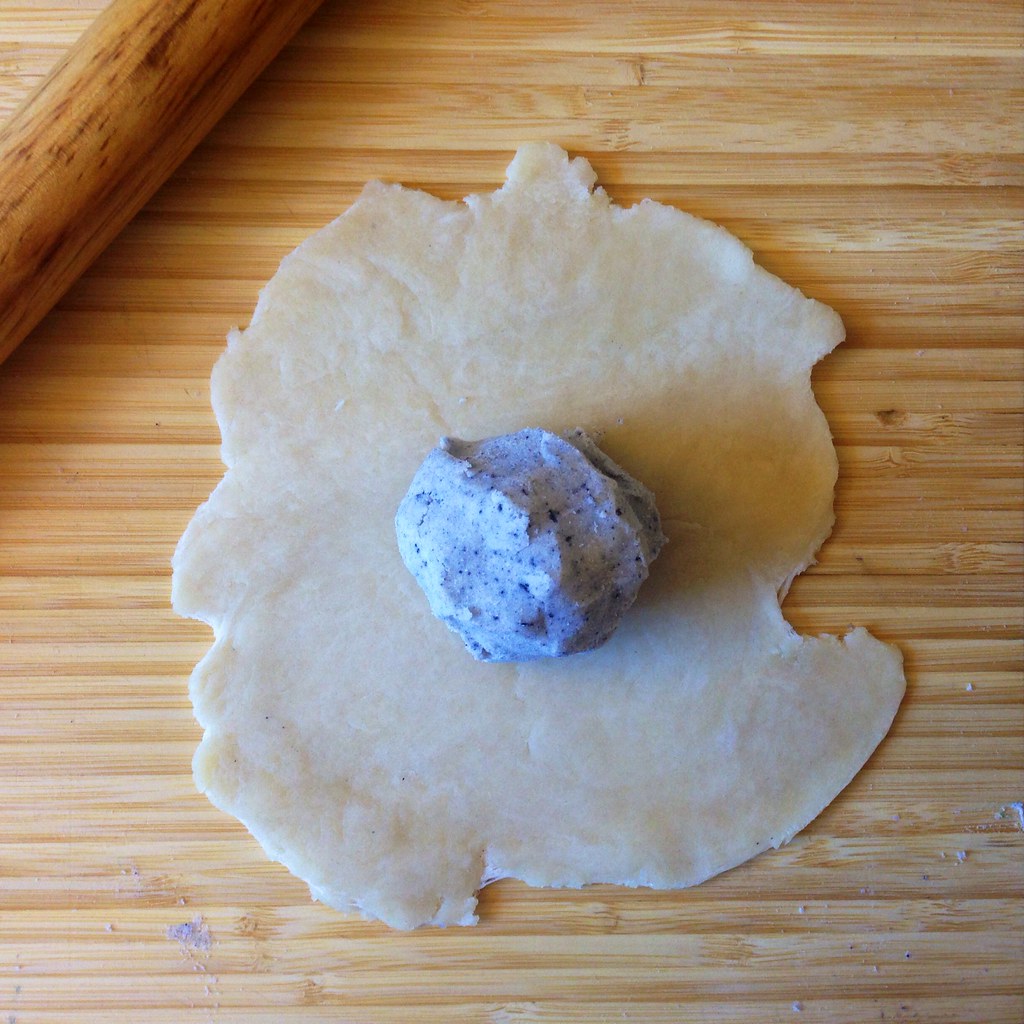
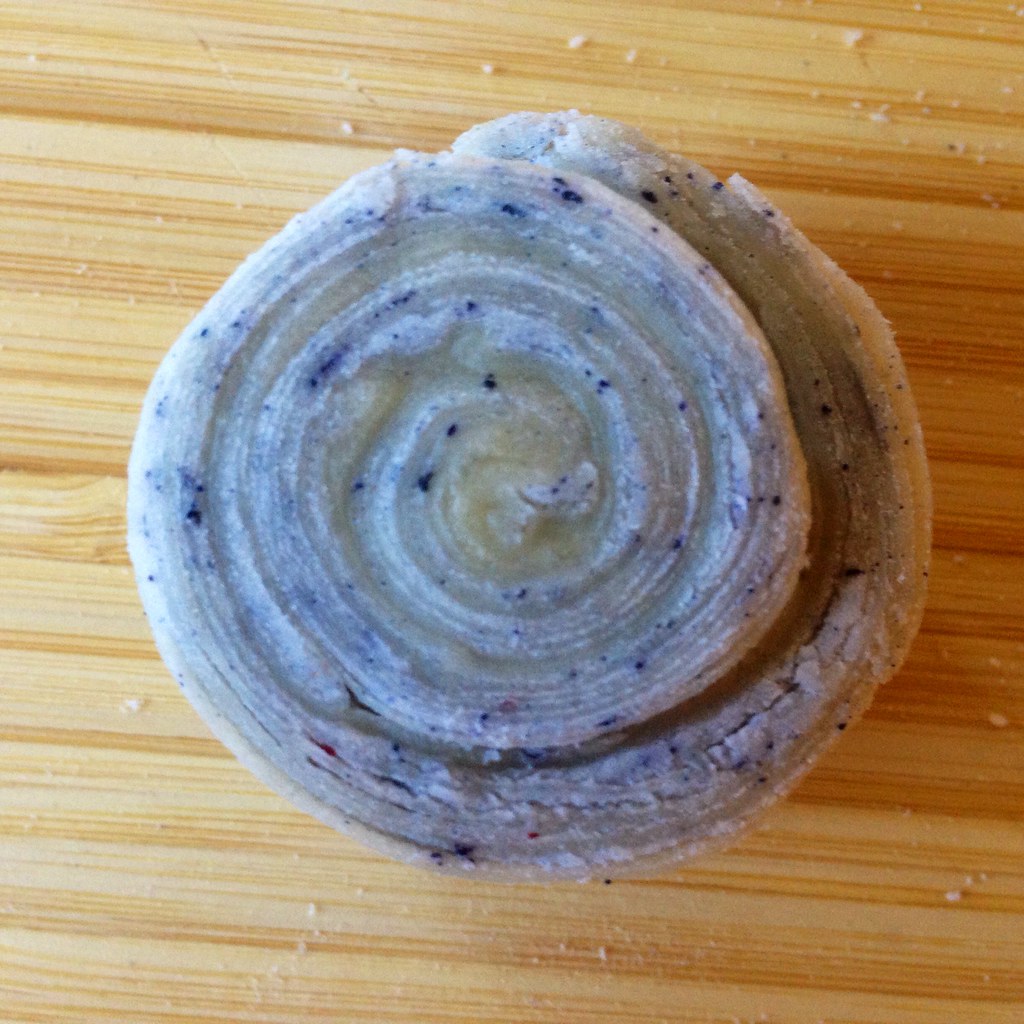
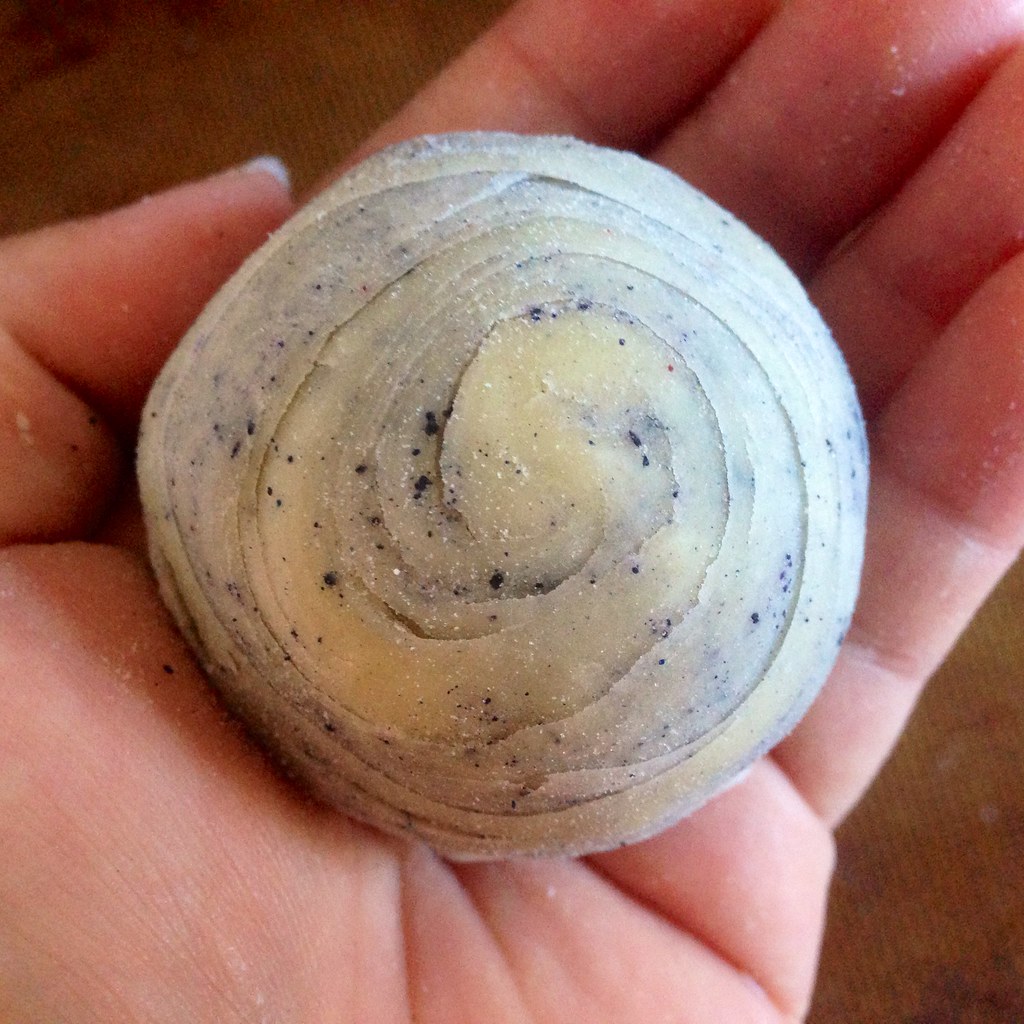
Roll one of the balls of white dough into a rough circle and wrap it around a ball of the purple dough, sealing it completely.  Roll the combined dough into a long oval and then roll it up into a spiral.  With the seam on the bottom, rotate the dough 90 degrees and roll out again into a long rectangle.  Roll the rectangle up into a spiral again and slice in half.  You'll now have two pieces of dough with beautiful spirals showing on the cut sides.

https://www.flickr.com/photos/joyosity/14985028217/

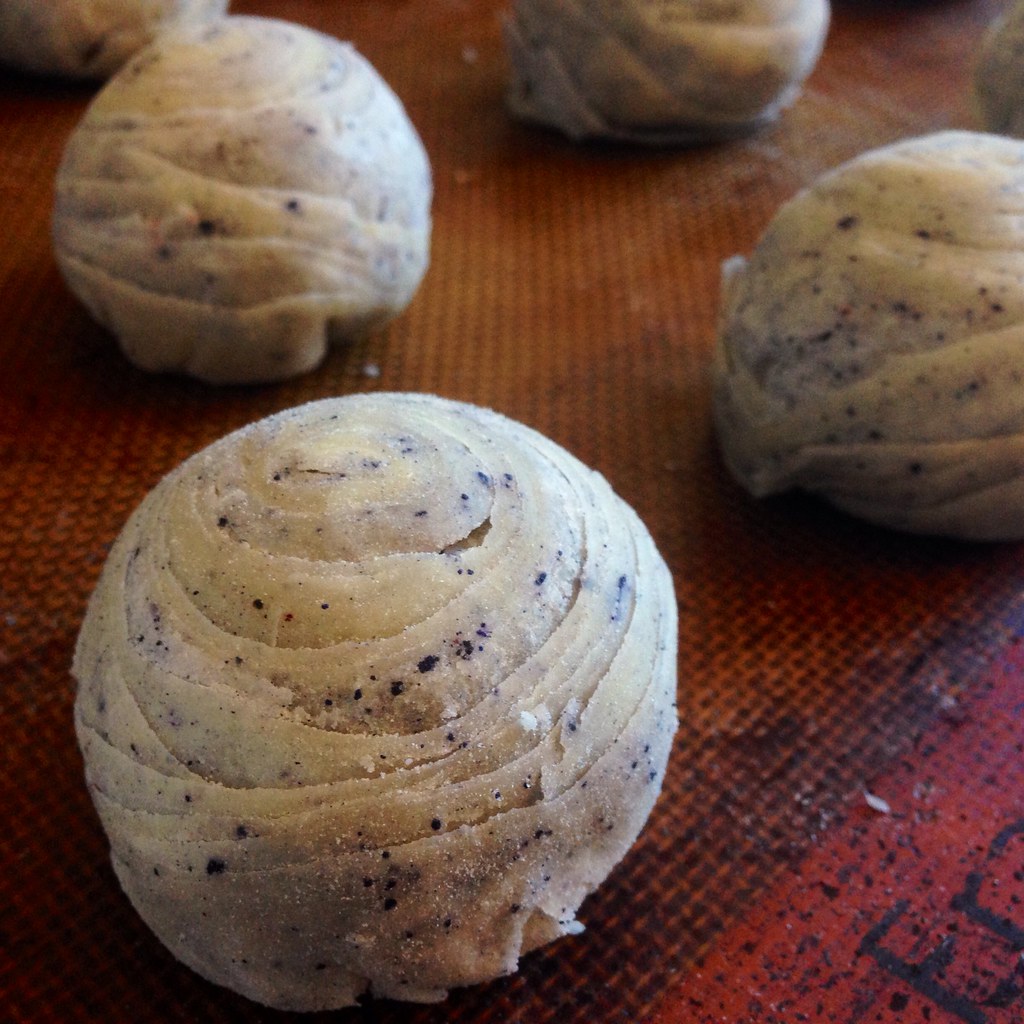
Place the cut side down and flatten the dough with your hands.  Roll out into a rough circle.  It's okay if the layers tear a little through this whole process.  Take a spoonful of the taro paste and place it in the center of the dough.  Gently pull the dough upward and around the paste to seal it inside.  Don't worry if the edges don't seal all the way; the dough doesn't stick to itself very easily.  Flip the ball over and gently reshape so that the spiral is centered on top and the bottom is slightly flattened.

https://www.flickr.com/photos/joyosity/15168601091/

Place on a Silpat- or parchment-lined baking sheet and bake for 30 minutes.  Remove from oven and allow to cool before eating.

https://www.flickr.com/photos/joyosity/15171225352/

I ended up with a lot of leftover taro paste, so I used it to make taro swirled Hokkaido milk bread!

https://www.flickr.com/photos/joyosity/15154417156/

Next:  Ginger Scallion Lobster Buns
Previously:  Thomas Keller's Caramelized Scallops
Last Year:  Ramen Lobster Rolls

Friday, August 8, 2014

Sea Salt Cold Brew Coffee

https://www.flickr.com/photos/joyosity/14631293897/

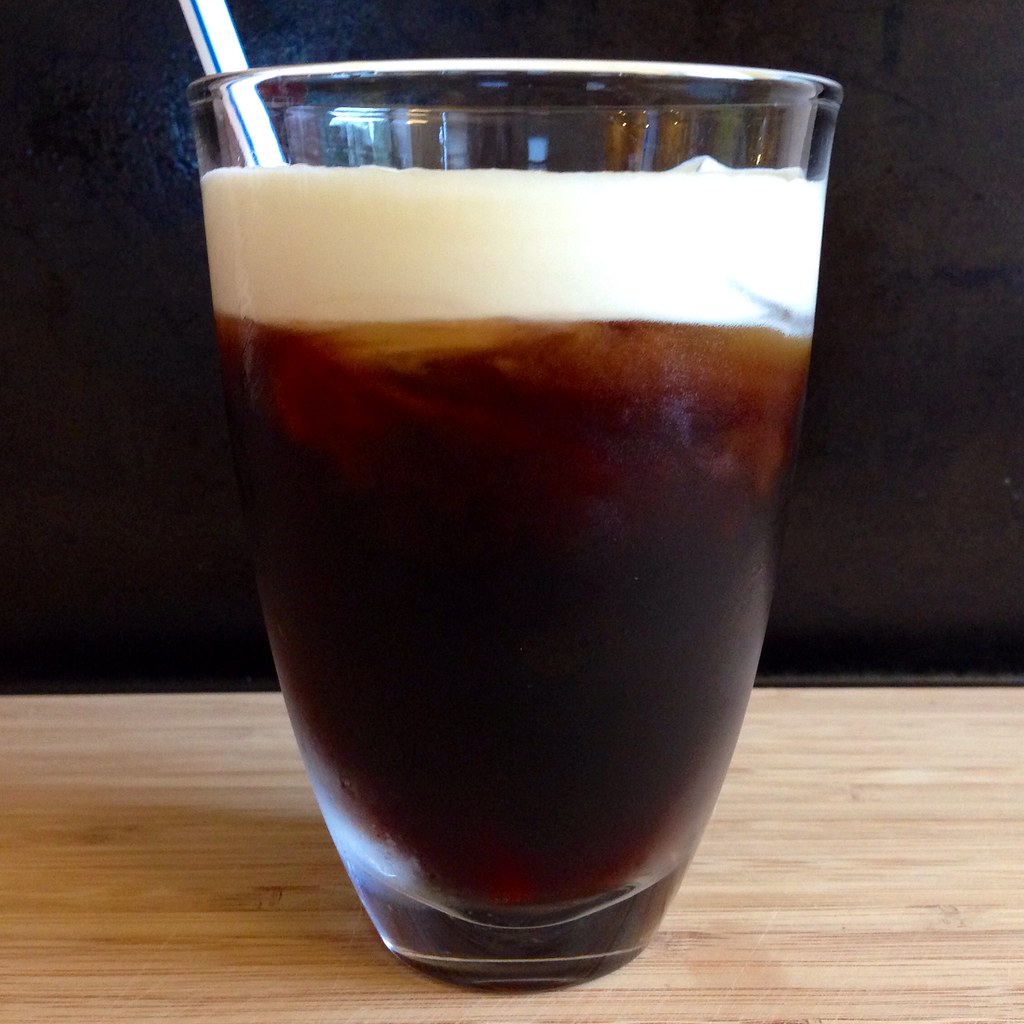
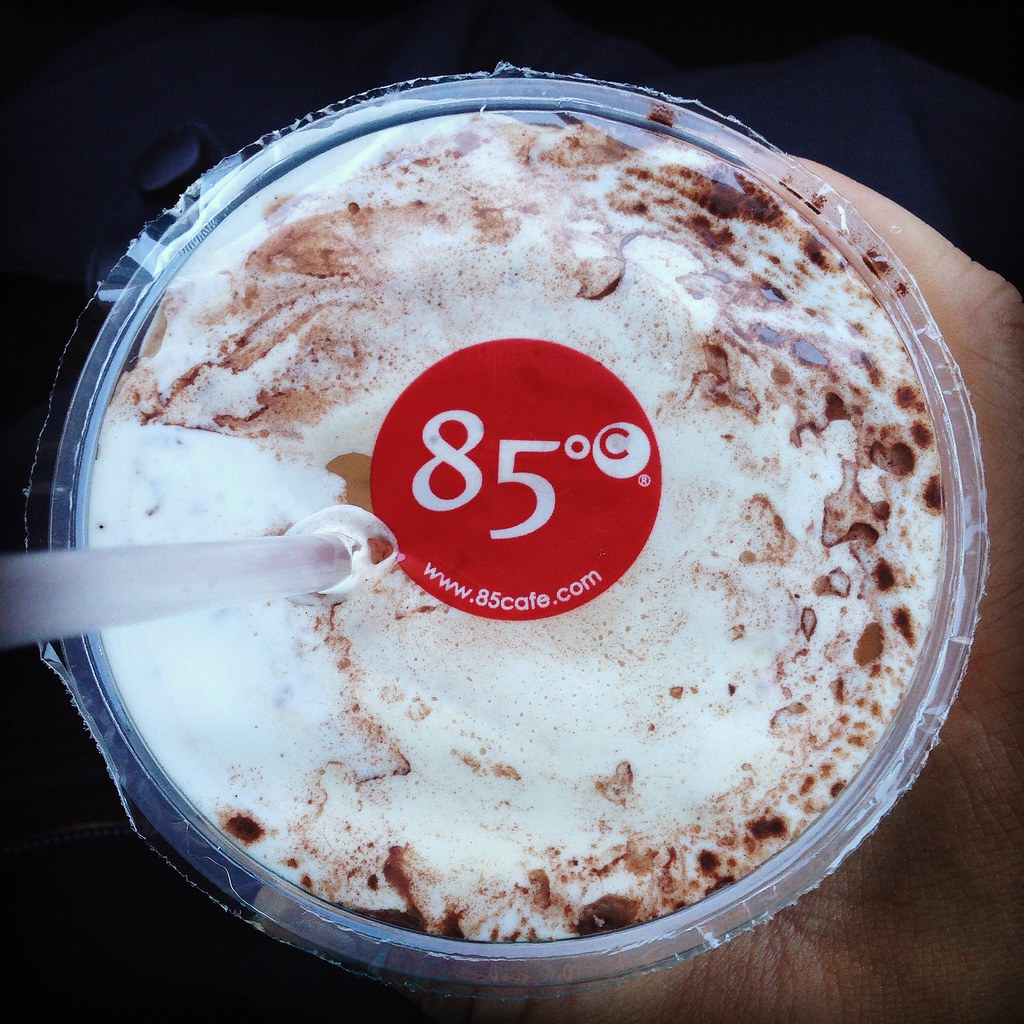
I was in Irvine recently for a family vacation, and one of the places I looked forward to going to the most was 85°C, a cafe and bakery chain from Taiwan.  Their most popular drink is probably the sea salt coffee, an iced coffee drink with cream and a pinch of sea salt for that salty-sweet flavor dimension.

https://www.flickr.com/photos/joyosity/14631174759/

Since I had some extra cream from making the mango passion caramels, I decided to try to recreate the sea salt coffee at home using cold brew coffee.  Instead of making a simple syrup in order to sweeten the iced coffee, I just added brown sugar to the ground coffee like I do for the magical cold brew coffee.  The sugar naturally dissolves all on its own during the overnight cold brew process.

https://www.flickr.com/photos/joyosity/14794845856/

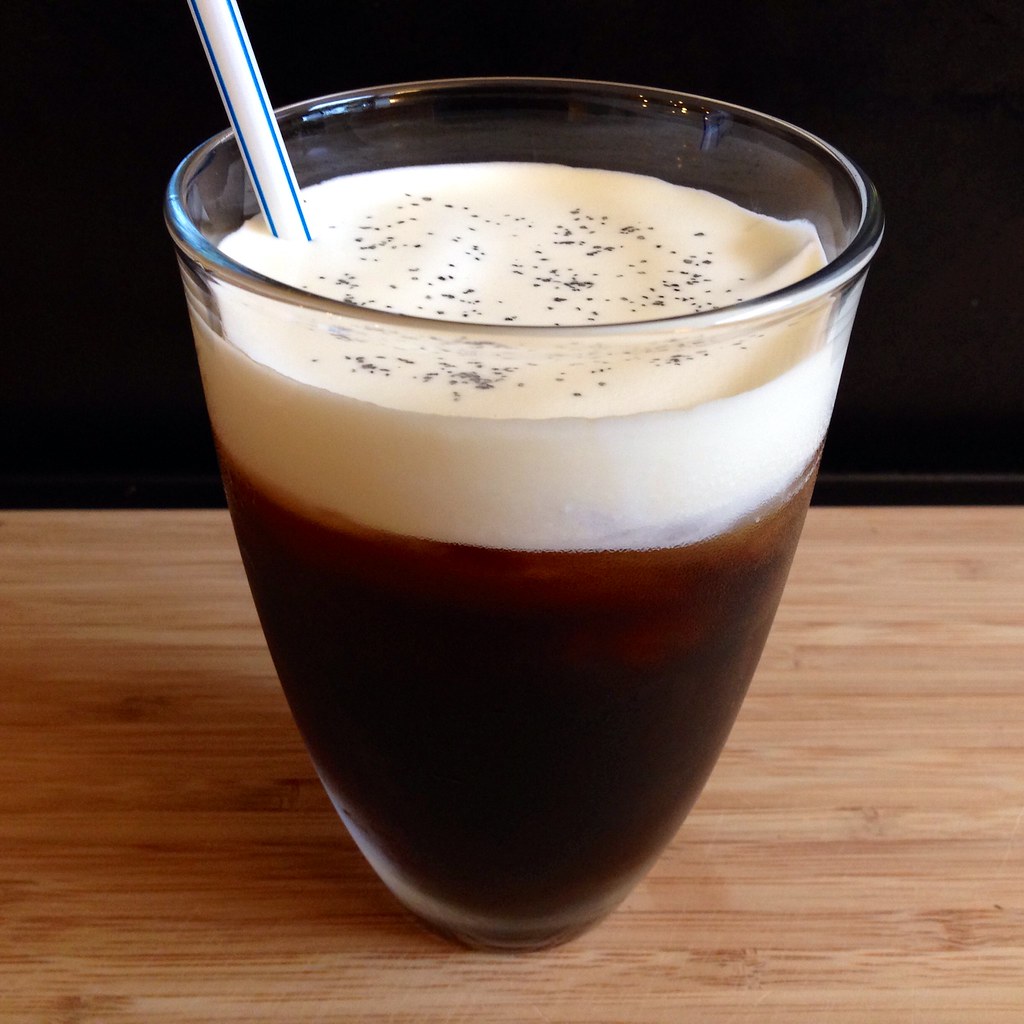
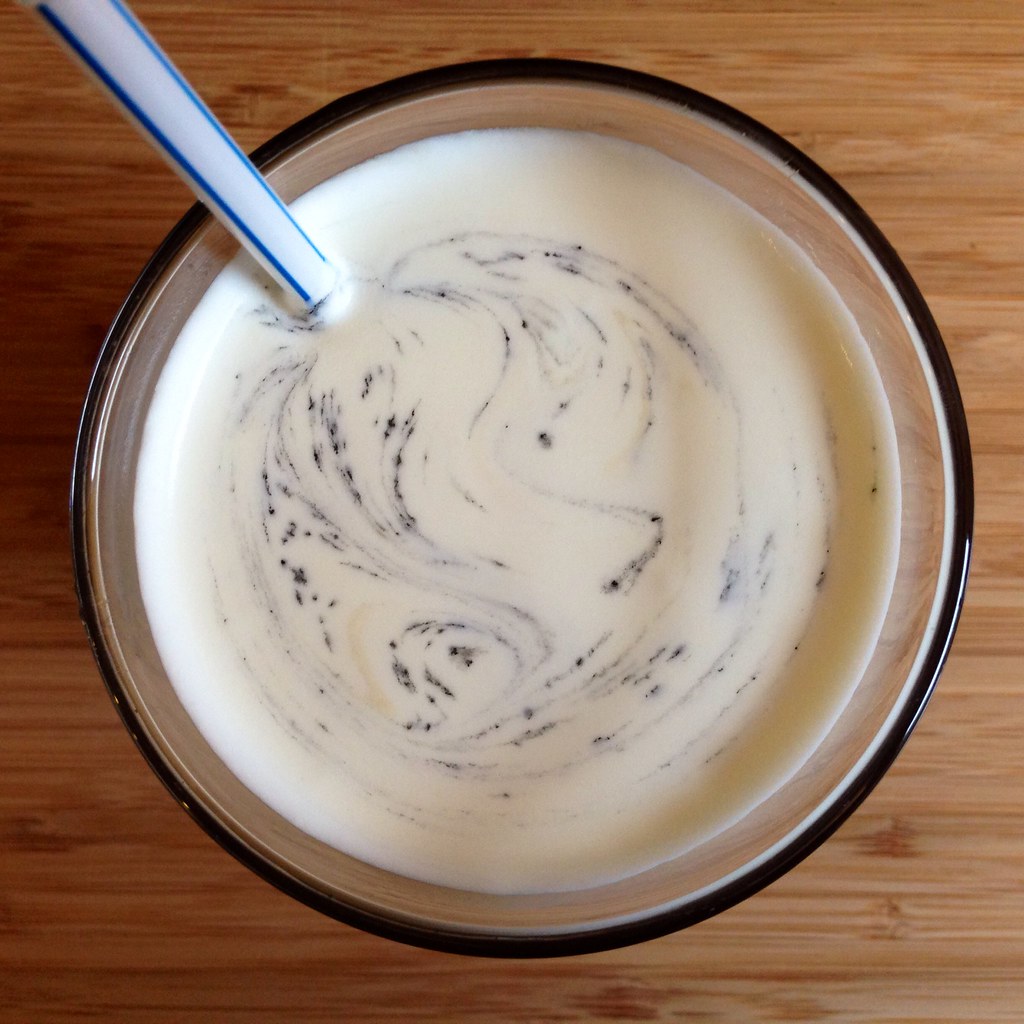
For extra funsies, I topped the drink with some Hawaiian black lava sea salt, but you can use regular sea salt or skip that step if you like.  I particularly liked how it looked once I started swirling it around.

https://www.flickr.com/photos/joyosity/14837670083/

Sea Salt Cold Brew Coffee
makes 3-4 drinks

1/2 cup coffee beans, ground
3 tablespoons brown sugar
1/2 cup heavy cream, chilled
1/4 teaspoon sea salt, plus more for garnishing if desired
Ice cubes

Combine the ground coffee with the brown sugar in a 2-cup French press or measuring cup.  Add enough cold, filtered water to reach the 2 cup line.  Stir to make sure all the coffee grounds get wet.  Let sit a few minutes and then stir one more time to disperse all the coffee grounds that have floated to the top.  Cover and let sit overnight at room temperature.

The next day, press and/or filter the cold brew coffee.  Store in the refrigerator until needed.

Whip together the heavy cream and 1/4 teaspoon sea salt until the cream has thickened but before it reaches soft peaks.

https://www.flickr.com/photos/joyosity/14631200118/

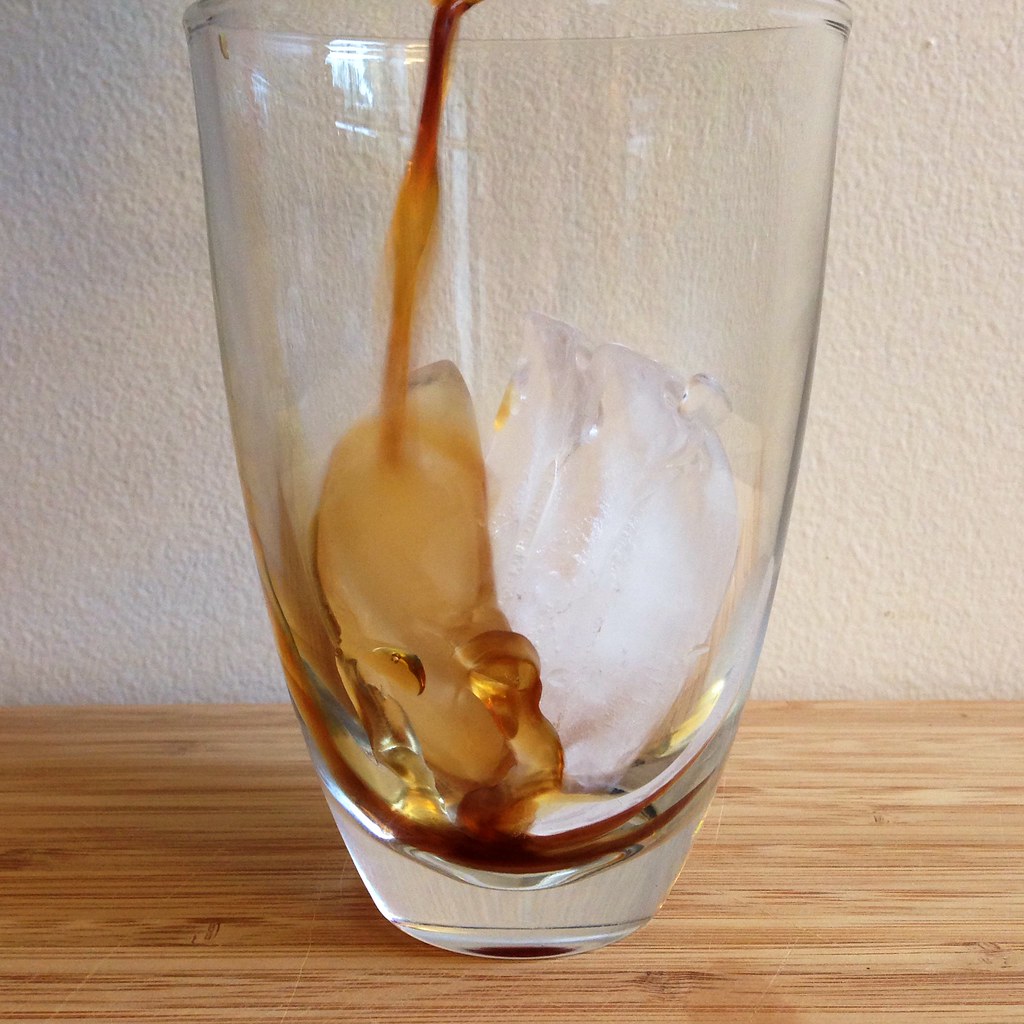
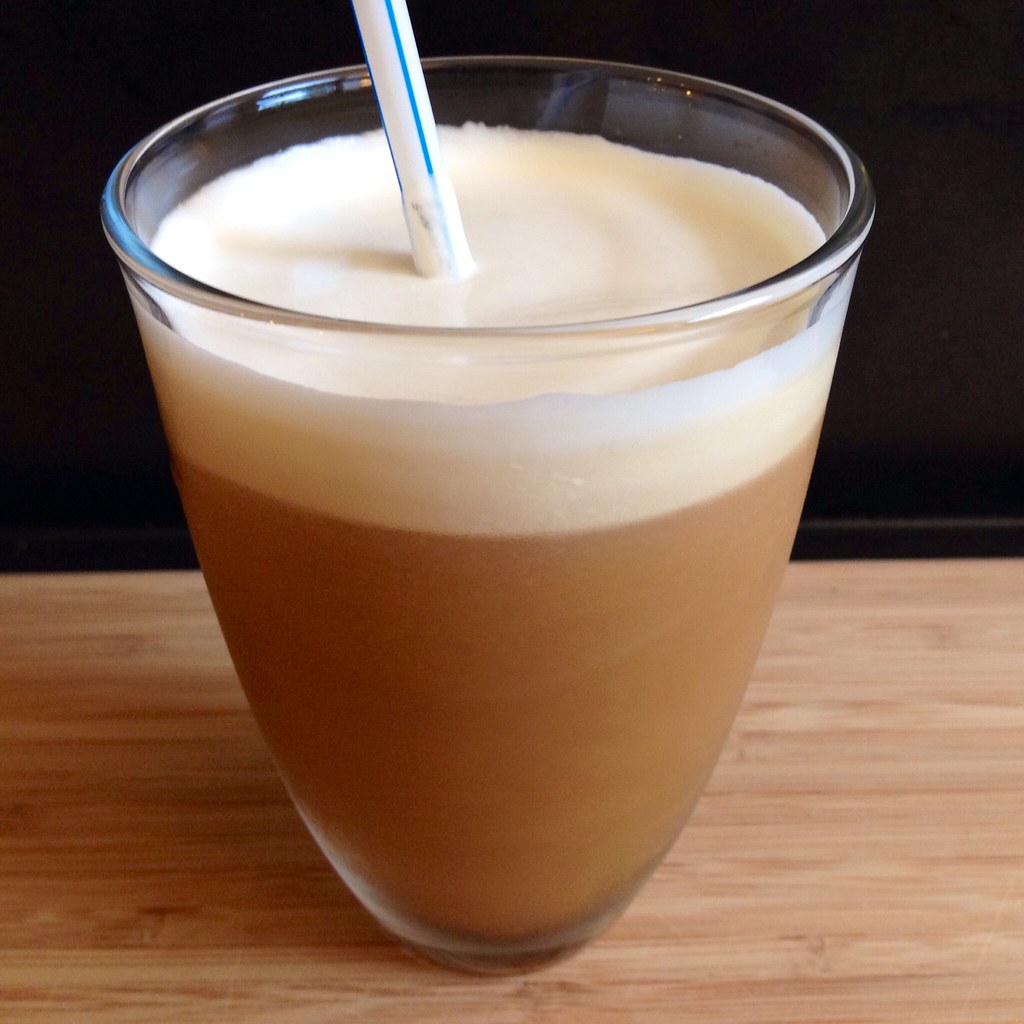
Add 3-4 ice cubes to each glass and fill with coffee, leaving at least a half inch of space on top. Spoon the cream on top and garnish with additional sea salt, if desired.  Serve with a straw and stir to combine the coffee and cream layers.

https://www.flickr.com/photos/joyosity/14815474374/

The next time I make coconut whipped cream, I might try to see if it would work well as a replacement for the heavy cream here.

Next:  Coconut Ice Cream with Mango Passion Caramel Swirl
Previously:  Jacques Genin's Mango Passion Caramels
Last Year:  Matcha Green Tea Ice Cream with Matcha Mochi Bits

I am submitting this post to Asian Food Fest #10 Aug 2014 : Taiwan hosted by travelling-foodies.

Thursday, July 17, 2014

Taiwanese Style Street Corn

https://www.flickr.com/photos/joyosity/14403935820/

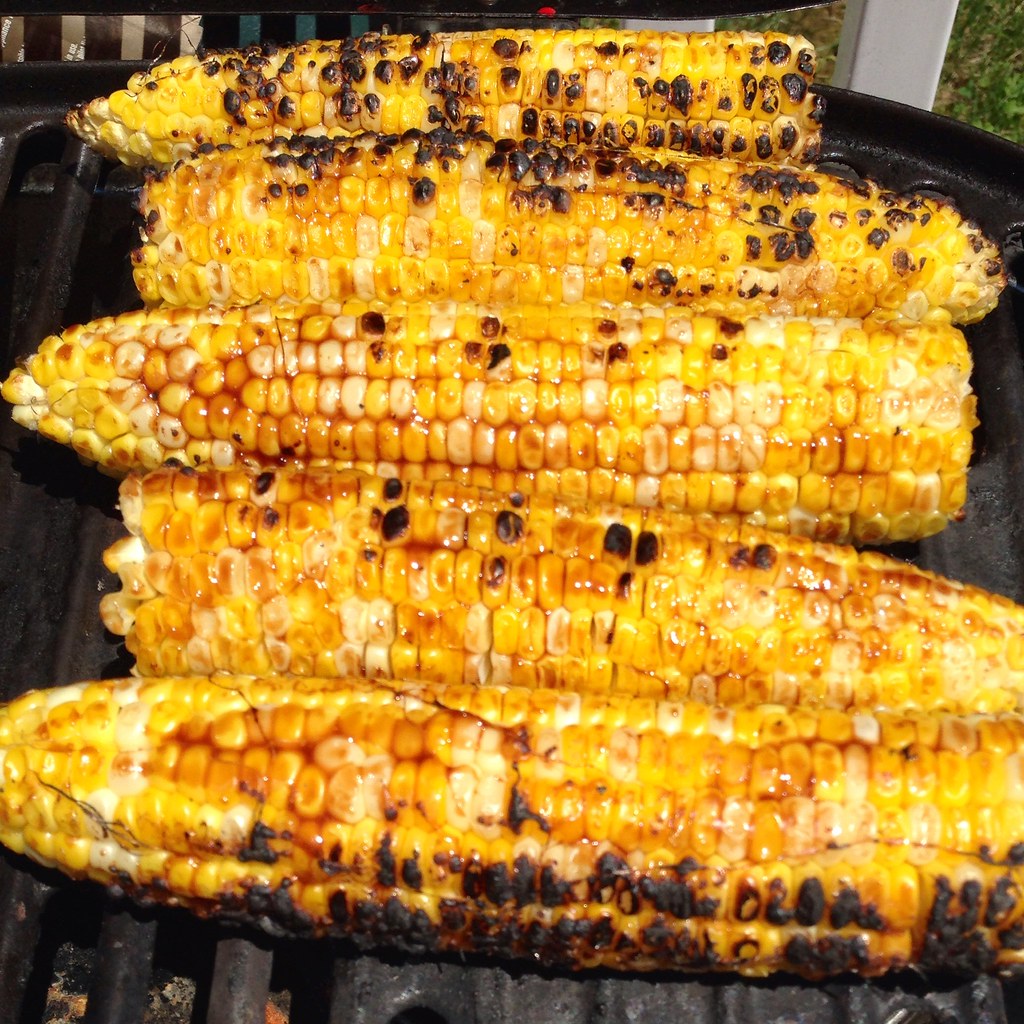
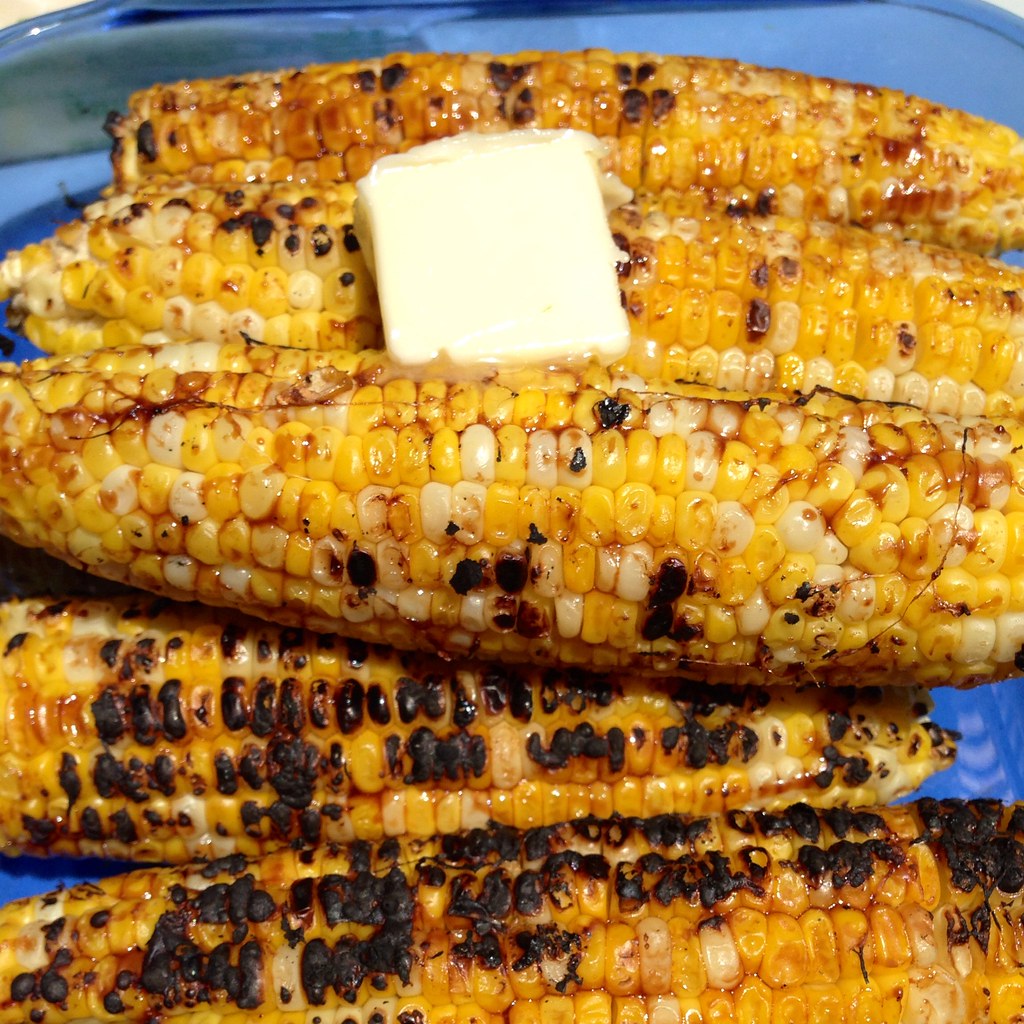
I have to admit that I've never actually had this when I was in Taiwan, but that doesn't really matter.  When I read about Tiny Urban Kitchen's Taiwanese grilled corn, I knew I had to make it.  I already had all the ingredients for the sauce, and corn was on sale for 12 for $1.97 at Stop and Shop!  All I was missing was a grill.  Luckily, my friends Evie and Santi had a cookout at their place over the weekend, so it all worked out.

After my experience with making Mexican grilled corn, I decided to par-cook the corn before grilling it.  I've wanted to try the microwave shucking method ever since I saw this video, so I figured I could use the microwave to kill two birds with one stone.

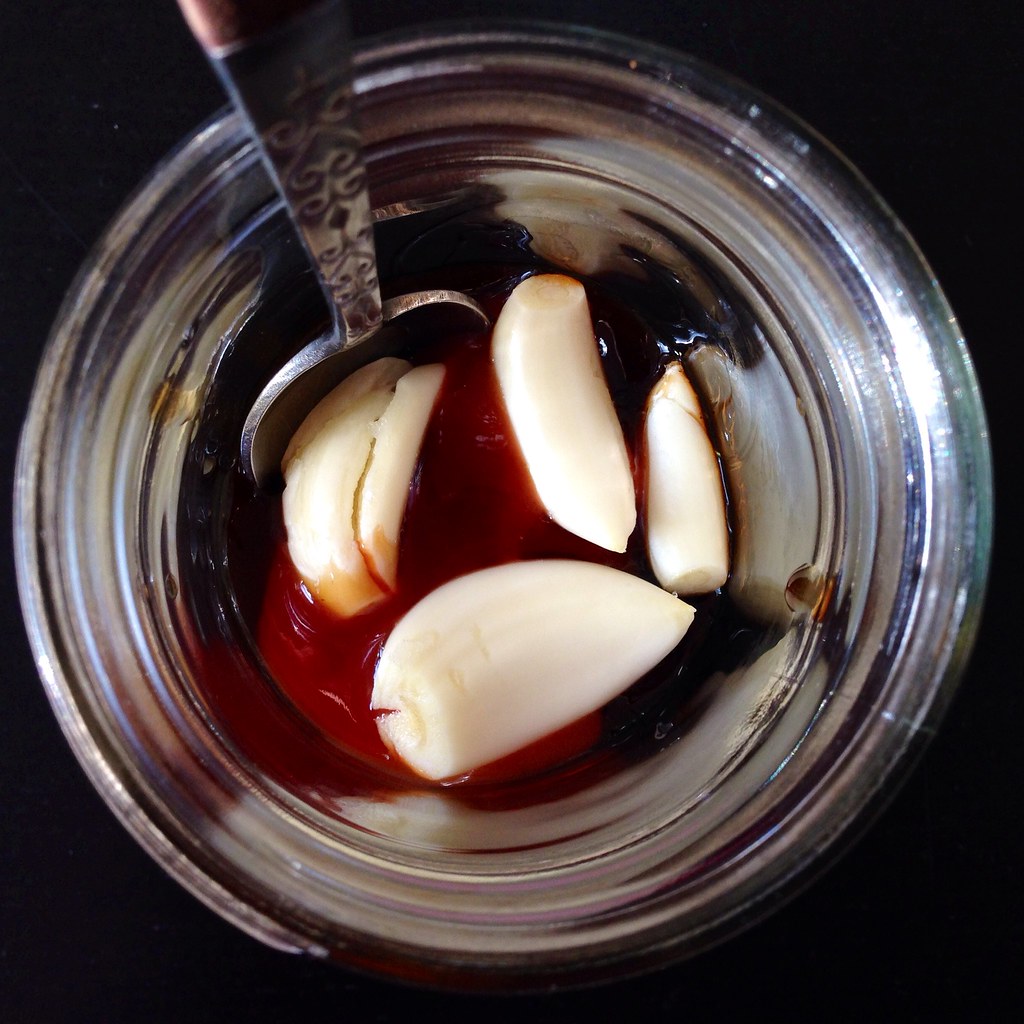
I like to make the basting sauce the night before so that the garlic has time to really release a lot of its juices.  Make sure you use soy paste and sweet chili sauce, not soy sauce or another hot sauce.  (See this picture from Tiny Urban Kitchen for the brands we both used.)  You really want the thickness and sweetness from using those two specific sauces for this recipe.

https://www.flickr.com/photos/joyosity/14403934080/

Taiwanese Style Street Corn (adapted from Tiny Urban Kitchen)
serves 6-8

4 tablespoons soy paste
1 tablespoon sweet chili sauce
4-5 garlic cloves
6-8 ears of corn
Butter (optional)

https://www.flickr.com/photos/joyosity/14589882852/

Mix together the soy paste and sweet chili sauce.  Smash the garlic cloves, remove the skin, and add to the sauces.  I like to mash them a bit more in the sauce to really release their juices.  Let sit in the refrigerator overnight, if possible.

https://www.flickr.com/photos/joyosity/14590569565/

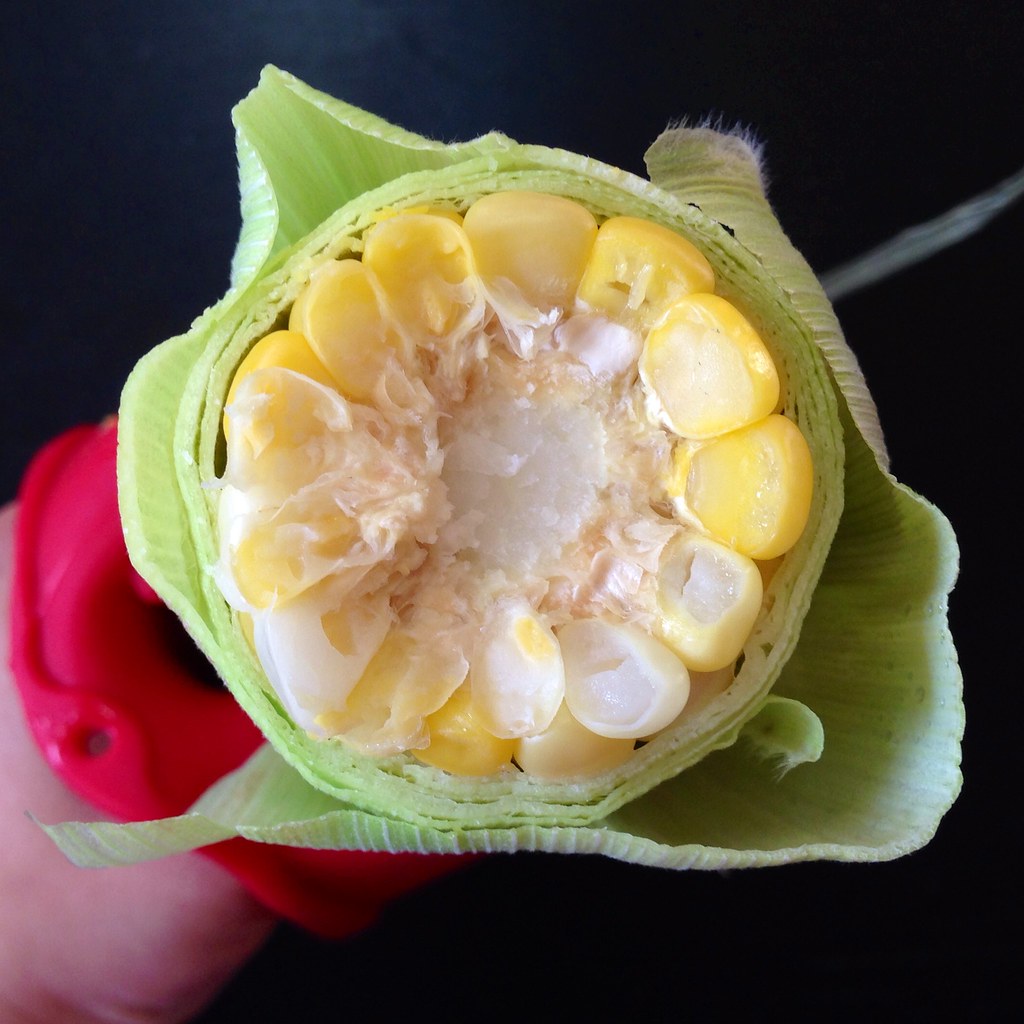
Cut off the stalk end of each ear of corn.  Microwave one or two at a time for 90 seconds to 2 minutes per corn.  The corn will be really, really hot so make sure you use a dependable oven mitt to remove from the microwave.


Holding the stringy end of the corn (and still using oven mitts!) shake and squeeze the corn out of the husk.  It should slide out pretty easily, and you should be able to get it out without any corn silk attached, but if there is any left on the corn, just remove it once the corn has cooled a bit.  This can also be done the night before; just store the par-cooked corn in the refrigerator and bring back to room temperature before grilling the next day.

https://www.flickr.com/photos/joyosity/14403999179/

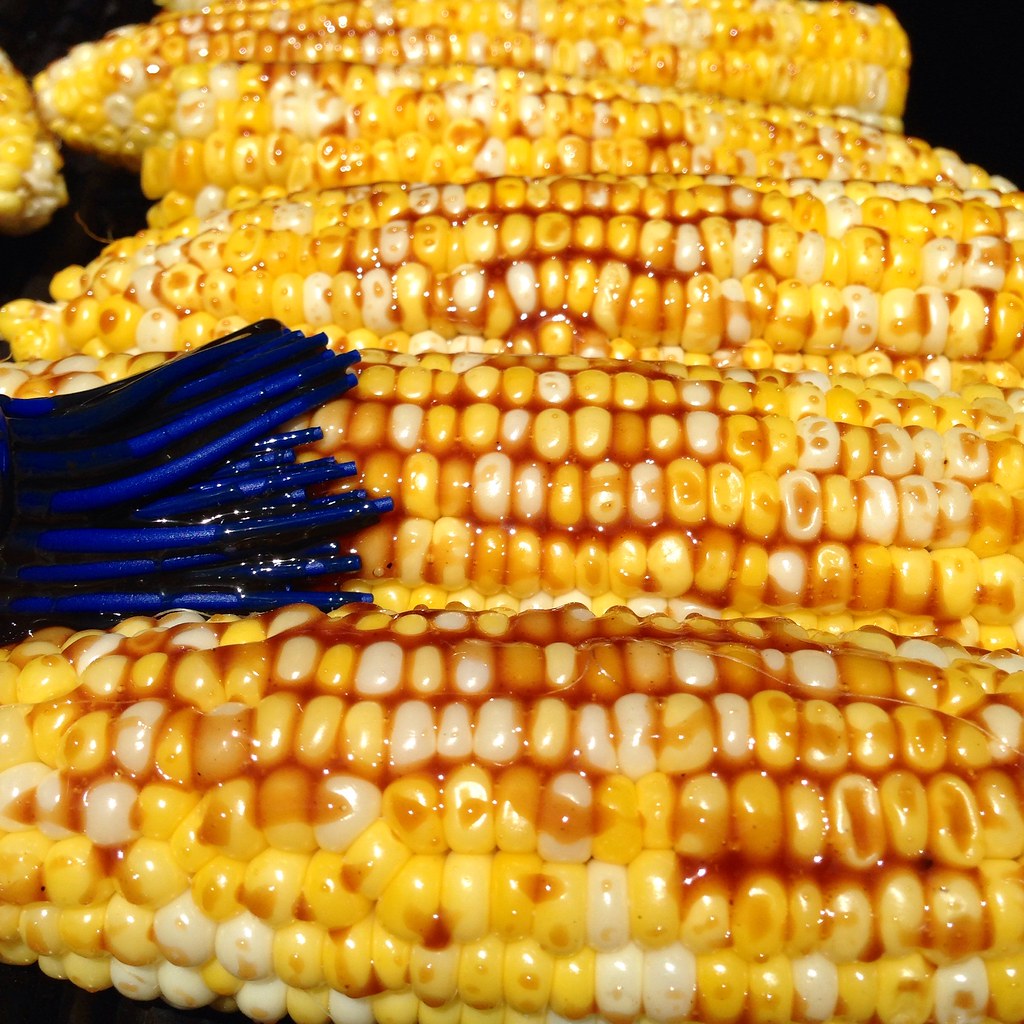
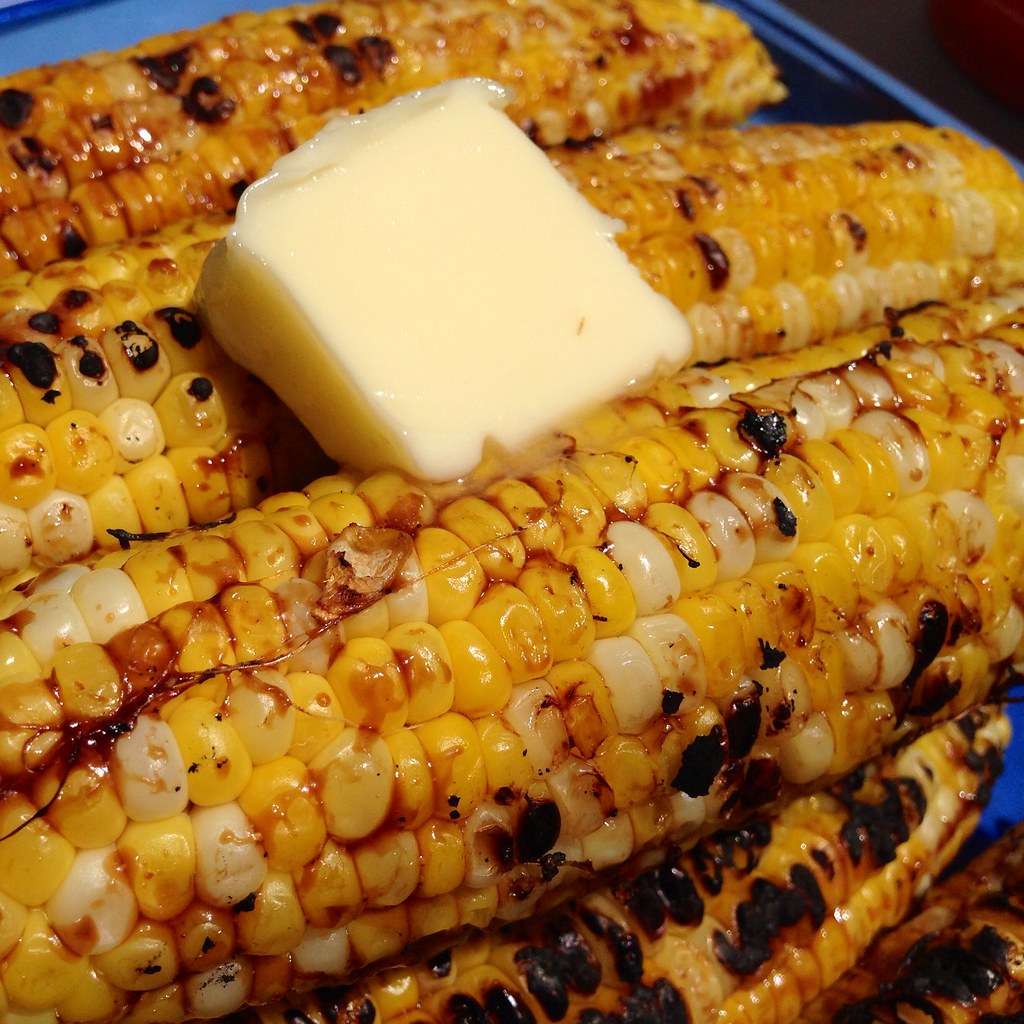
Grill the corn on a hot grill until it starts to char.  Start basting the corn with the sauce and turning them with tongs to get a nice glaze and char all around.  Continue basting until all the sauce is used up.  You can use less, but why would you want to?  Slather with butter before serving, if desired.

https://www.flickr.com/photos/joyosity/14590585465/

I actually started basting the corn as soon as they were on the grill instead of waiting for them to char first.  I'm not sure if it made a difference, especially since the corn was already par-cooked so it didn't take too long for it to start charring.  The end result was exactly what I imagined:  sticky, salty, spicy, smoky, garlicky, crunchy, buttery sweetness.  I totally want to try using this sauce on all the things!

Next:  New England Clambake at Home
Previously:  Homemade Choco Tacos
Last Year:  French Toast Face Off

Tuesday, July 1, 2014

Papaya Milk and Papaya Milk Popsicles

https://www.flickr.com/photos/joyosity/14473091451/

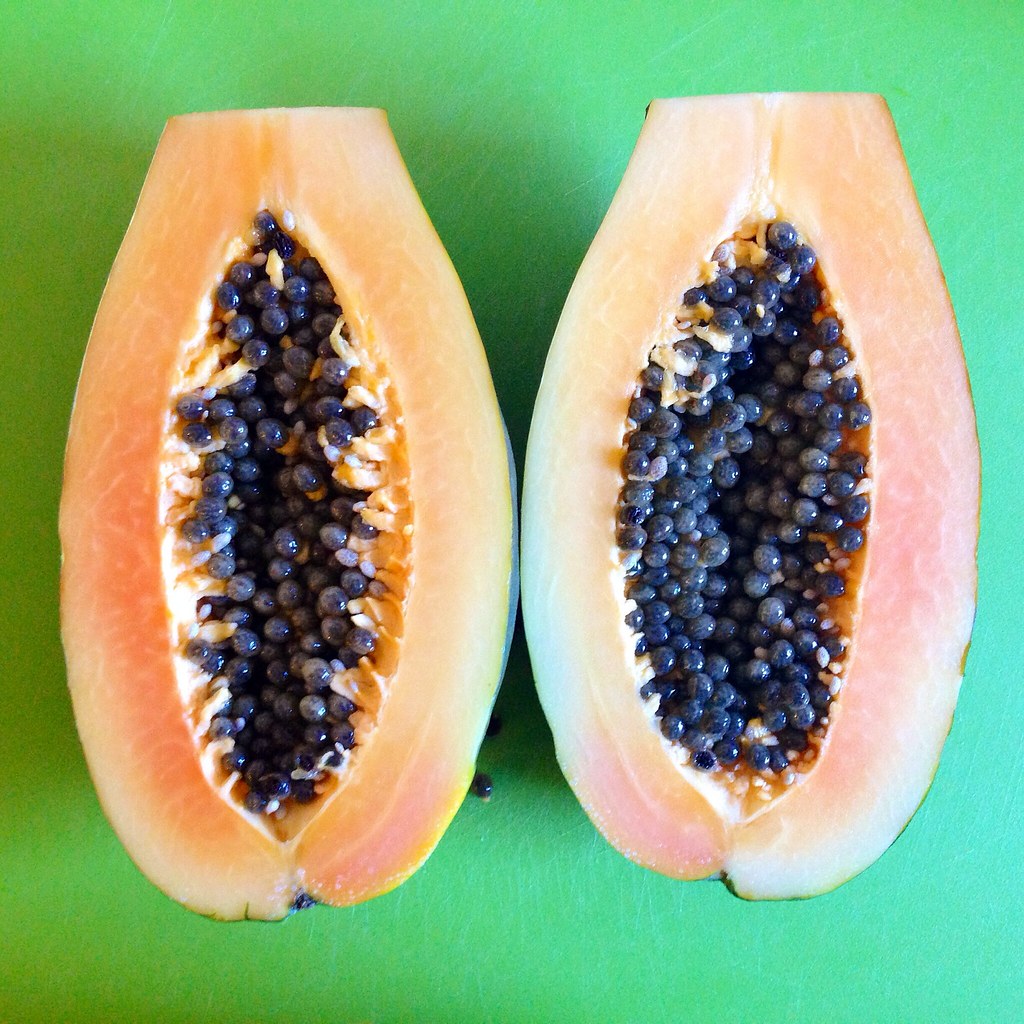
TIL that when you google "papaya milk", the second hit that comes up is, "Does ready made papaya juice made boobs bigger?"  Wut?  Is that a thing?

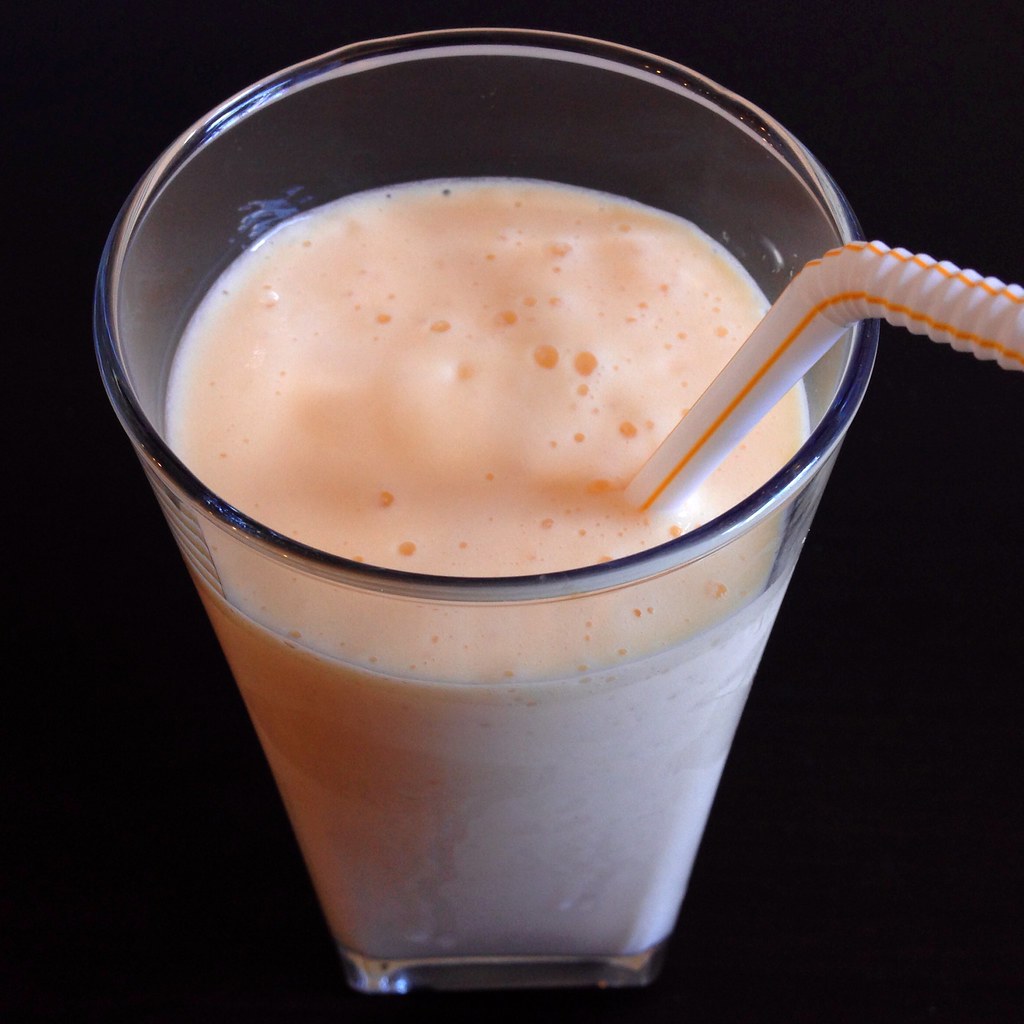
I don't know if it does or not, but papaya milk will definitely make you happier.  It's a popular drink from Taiwan and only consists of papaya, milk, honey (or sugar), and ice.  Somehow, that simple combination makes a super yummy, refreshing tropical drink perfect for a hot summer day.  If you've never had one, you might be surprised at the complexity of the flavors; the slight bitterness of the papaya only accentuates the sweetness of the fruit (kind of like how a little salt can also bring out sweetness in desserts).  I prefer to use honey instead of sugar since sugar doesn't always dissolve as well in the cold drink.  I wish the flesh of the papaya I had gotten was more red than yellow since traditionally papaya milk is a pinkish-peach color, but I was afraid the papaya was going to spoil if I had let it ripen any longer!

https://www.flickr.com/photos/joyosity/14473090481/

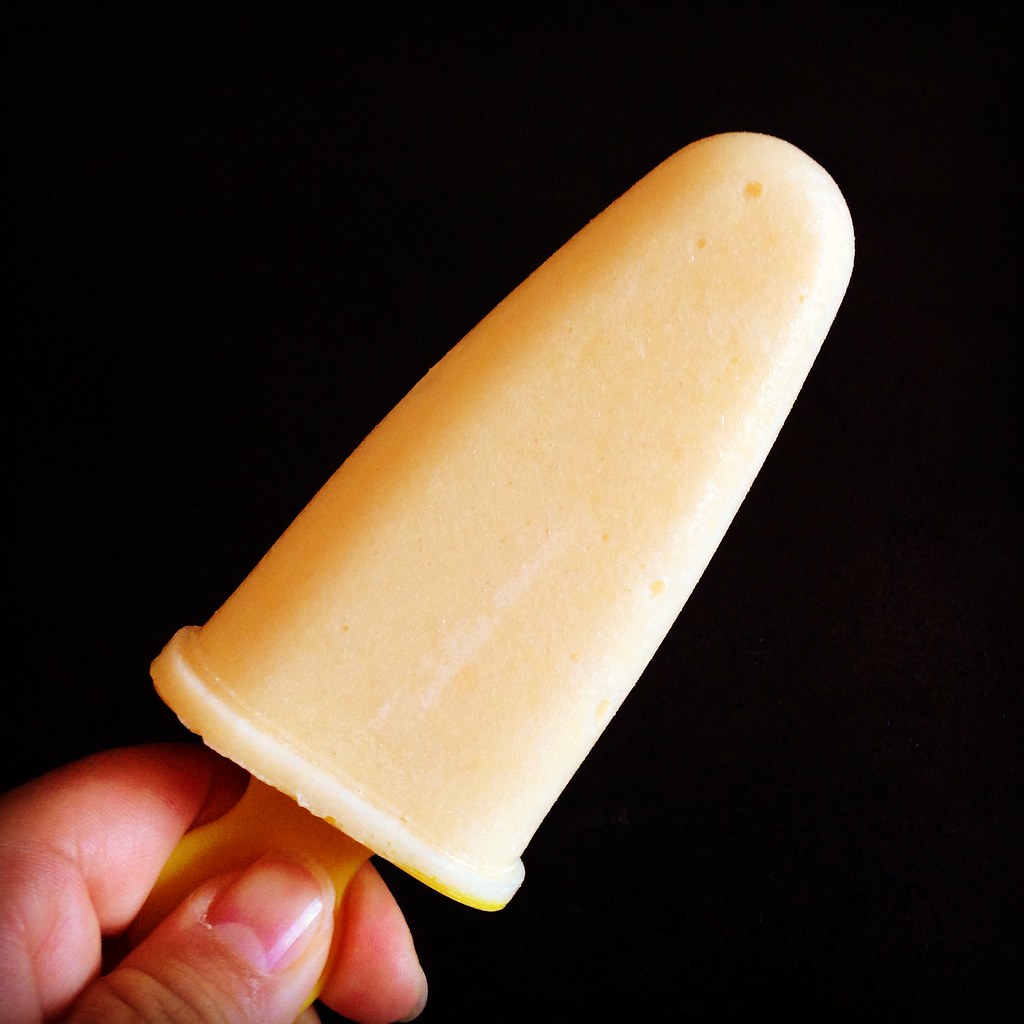
I toyed with the idea of making a popsicle version of the drink, too.  Since the drink separates upon sitting, I decided to churn it first in my ice cream machine before filling the popsicle molds.  The resulting texture was more creamy than icy, probably also helped by not adding any ice to the popsicle base.  You'll want to add a lot more honey or sugar to the popsicle base since sweetness is a lot harder to taste once something is frozen.

Papaya Milk or Papaya Milk Popsicles
makes 4 smoothies or twelve 2 oz. popsicles

2 cups of cubed papaya
2 cups milk
Honey (or sugar), to taste
Ice (for the milkshake)

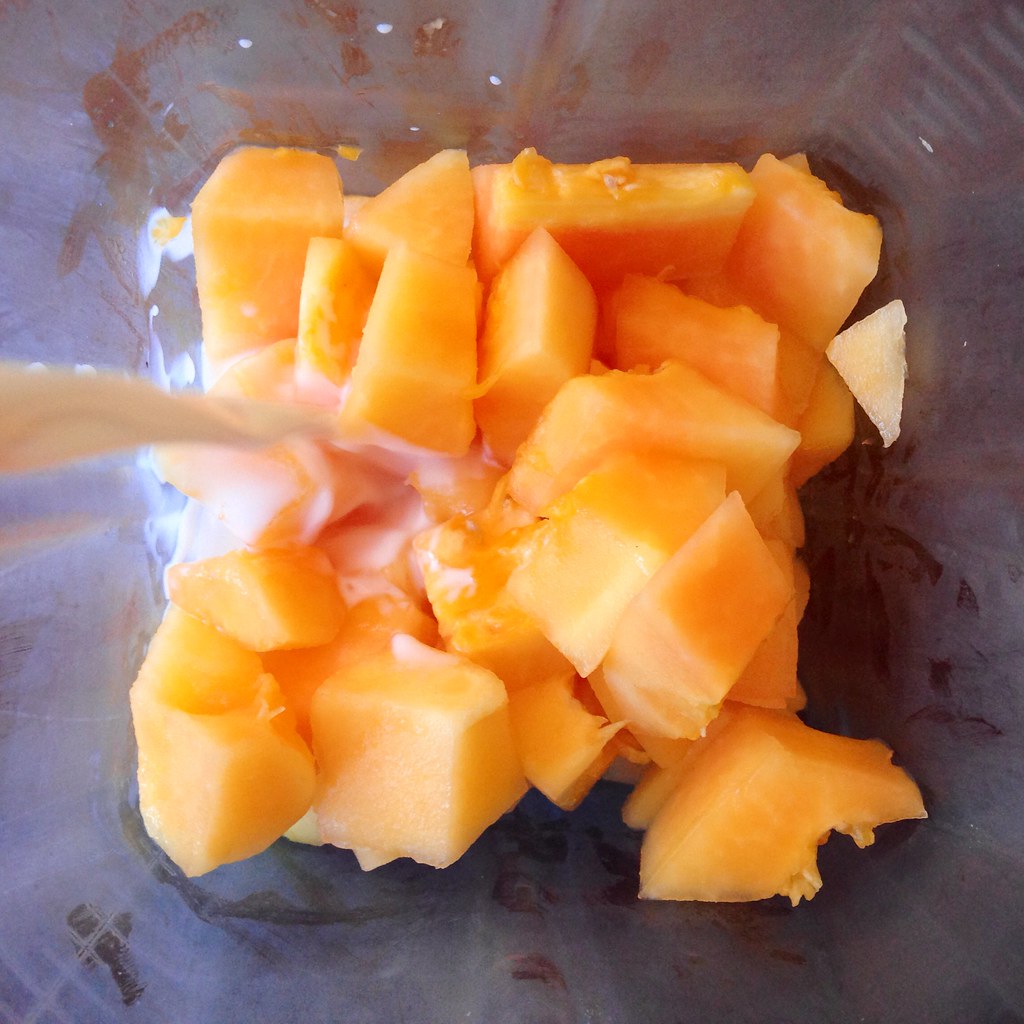
If making the smoothie, blend the papaya, milk, 2 tablespoons of honey, and a cup of ice.  Add more honey and/or ice depending on your own preferences.  Drink immediately.

https://www.flickr.com/photos/joyosity/14290004697/

If making the popsicles, blend the papaya, milk, and start with 4 tablespoons of honey.  Taste, and add more honey if needed, until it is almost too sweet.  Chill and then churn in the ice cream maker until mostly frozen (you can stop before it reaches soft serve consistency).  Fill your popsicle molds and freeze until hard.  Enjoy!

https://www.flickr.com/photos/joyosity/14453360196/

Next:  Low Country Boil
Previously:  Shashuka with Polenta
Last Year:  Bubble Tea Popsicles
Four Years Ago:  Coconut Lime Sorbet

Monday, March 24, 2014

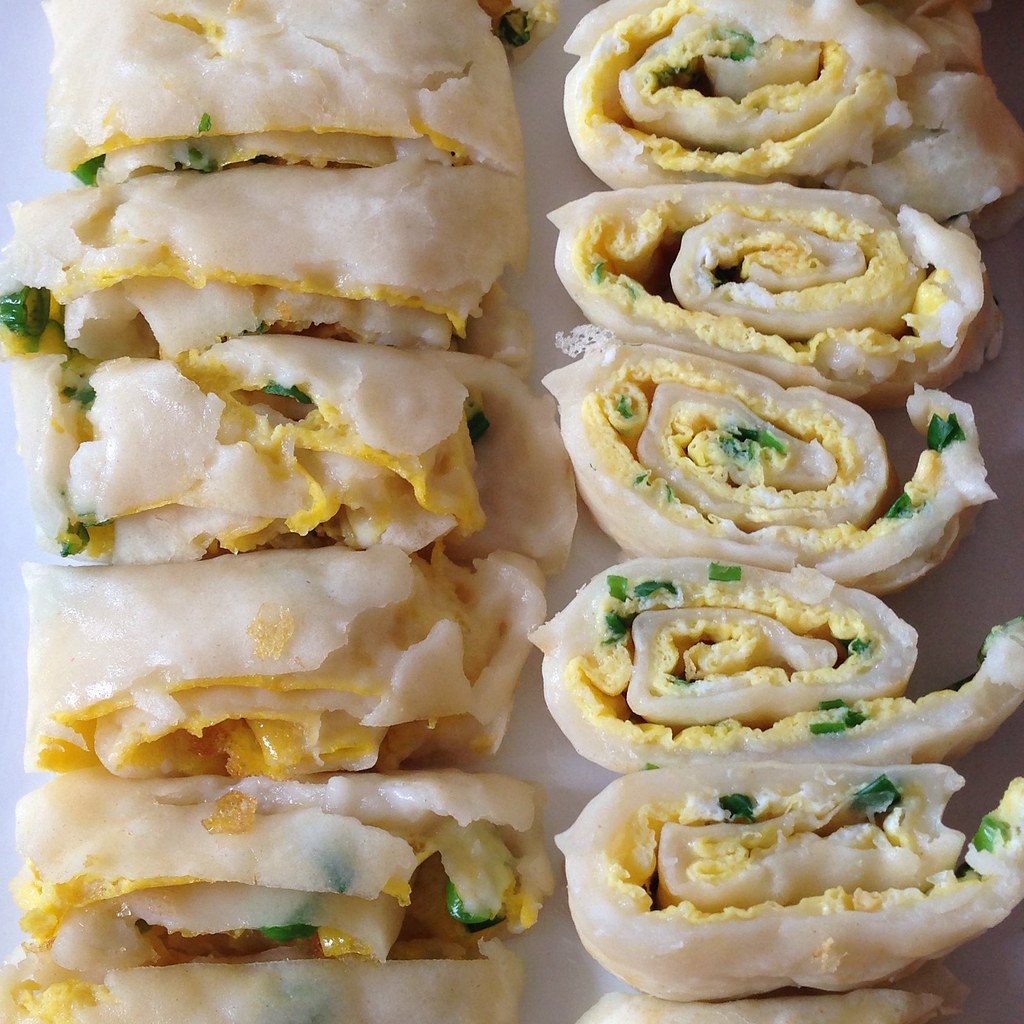
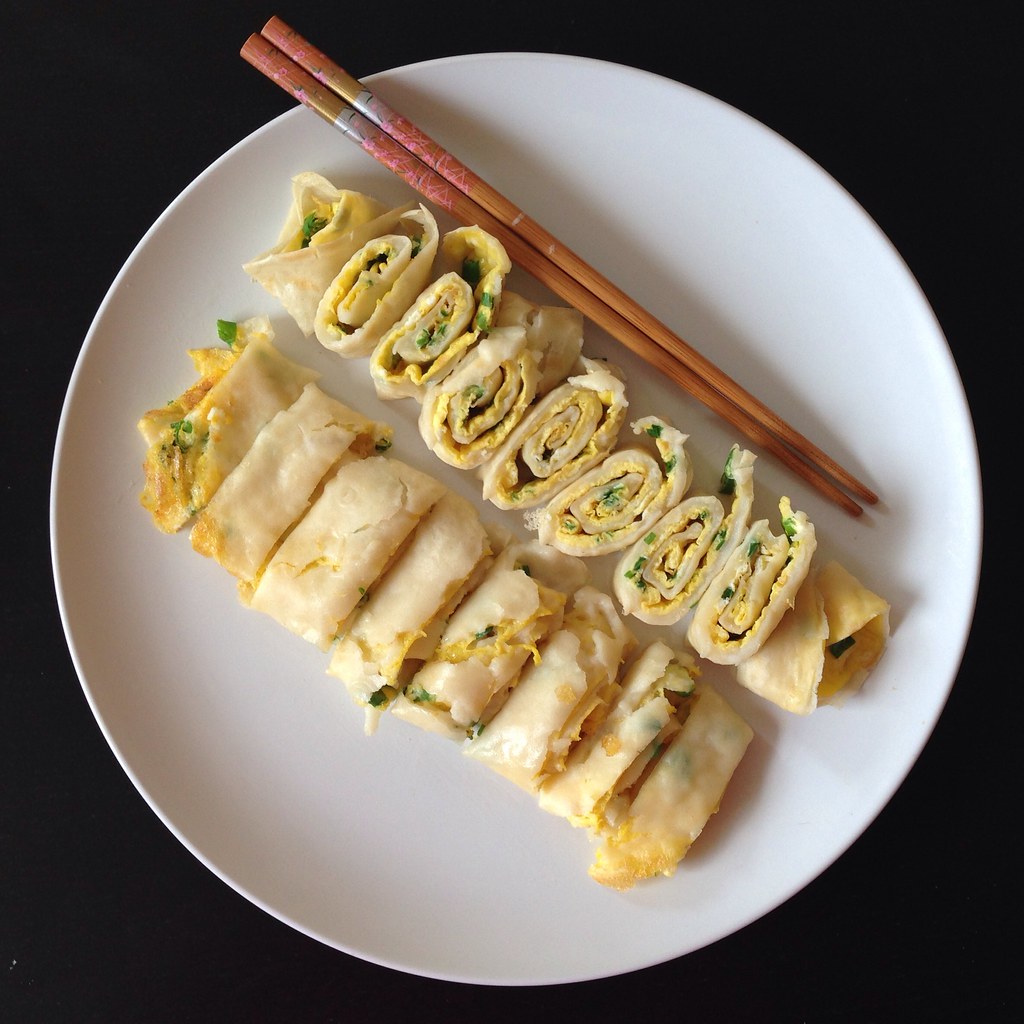
Dan Bing (Taiwanese Egg Crepe)

http://www.flickr.com/photos/joyosity/13334208365/

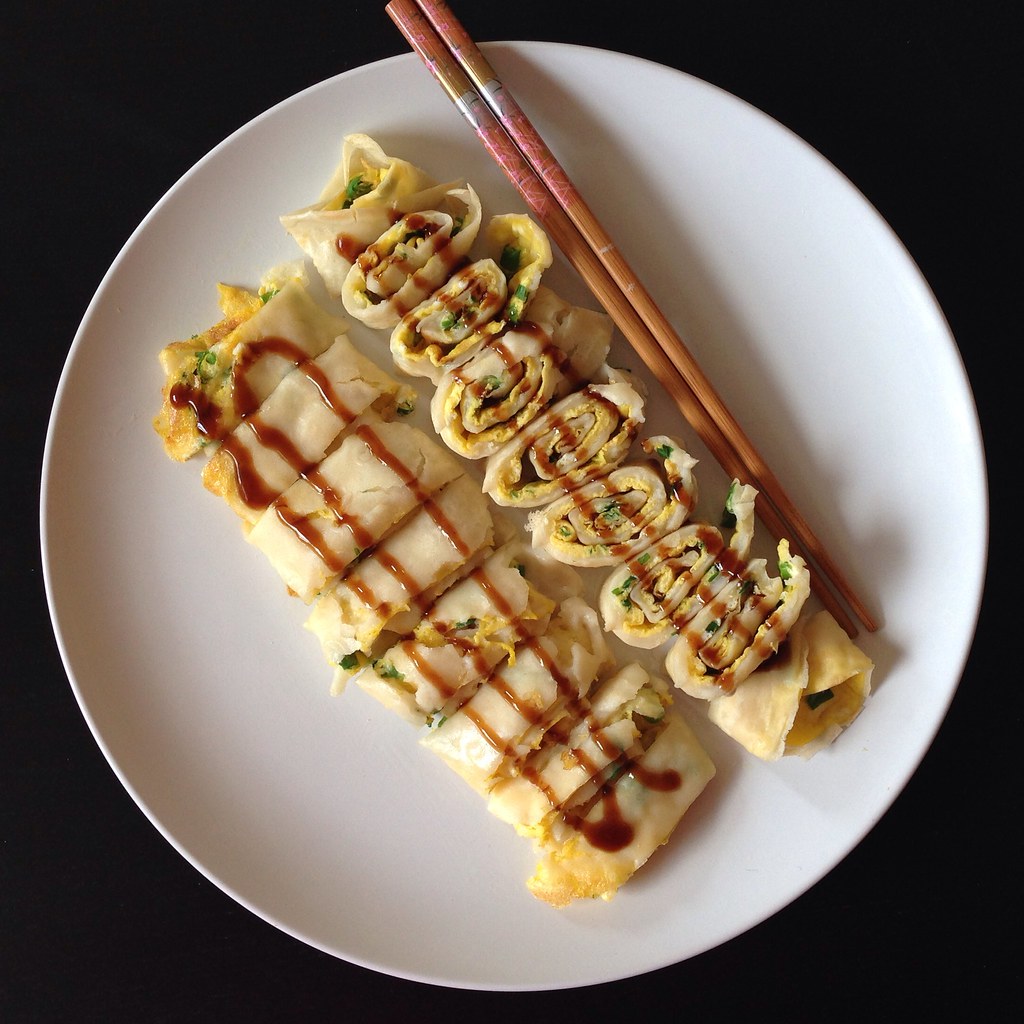
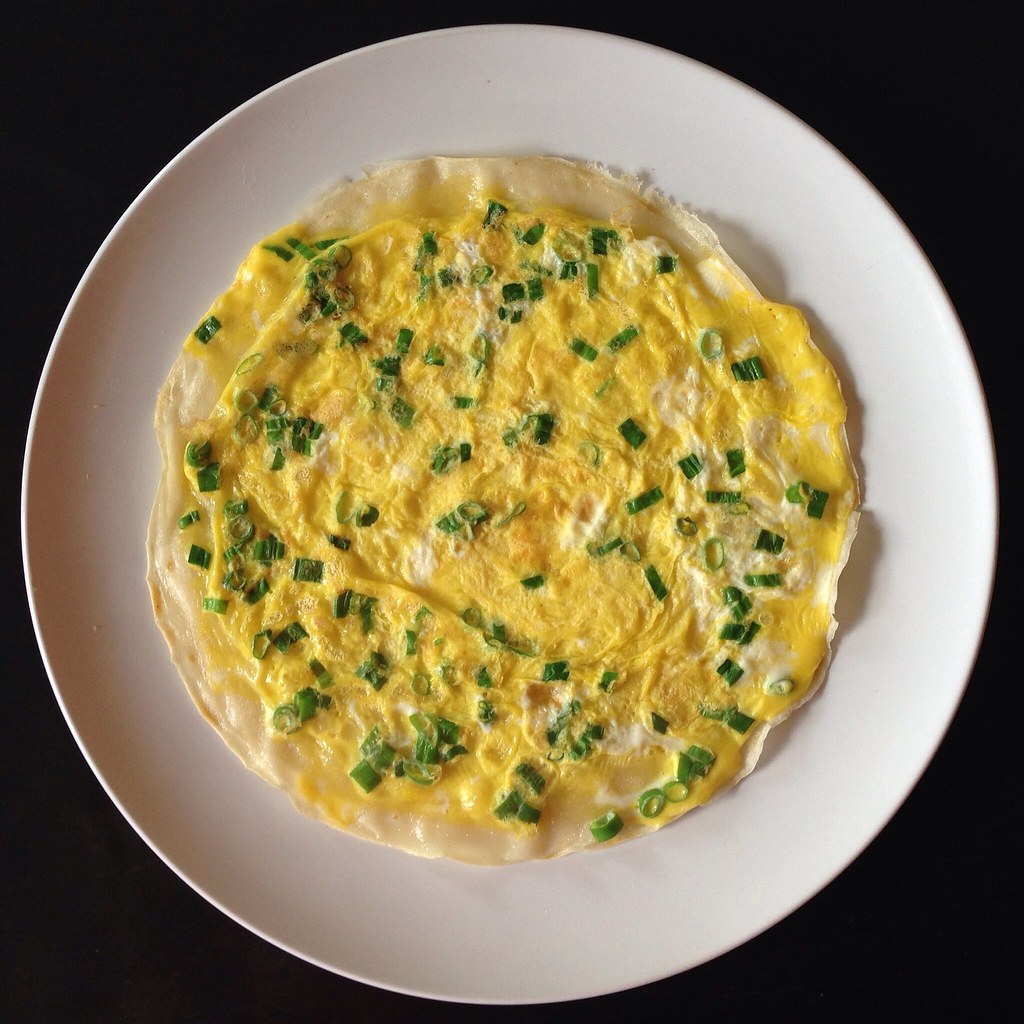
I've been traveling for work a lot recently, and while I definitely can't complain about being able to expense all my meals, sometimes I just want something simple.  Comforting.  That I made myself.  This morning I woke up and had a craving for dan bing, a Taiwanese breakfast dish that's basically a thin crepe with an egg on top.  I used to buy it all the time from street vendors when I lived in Taiwan, but I'd never tried to make it myself. 

A quick Google search brought me to this translation of a Taiwanese recipe.  I took one of the commenter's suggestion and added some sesame oil to the egg mixture.  It's a good thing the recipe was for 3 crepes because I needed 3 tries to get a good one. 

http://www.flickr.com/photos/joyosity/13334204245/

On my first try, when I tried to flip the crepe, it was so soft that it just collapsed into a sticky mess on the pan.  The second time, instead of trying to flip with a spatula, I just dumped the crepe upside-down onto a plate and then slid it back onto the pan.  It worked well enough but then I ended up overcooking the crepe so that it was too hard to roll up without cracking (above left).  Finally, on the third try, I ended up with a pretty decent looking and tasting dan bing!

http://www.flickr.com/photos/joyosity/13334594184/

Dan Bing (Taiwanese Egg Crepe)
makes 3 crepes

1/2 cup bread flour
2 tablespoons corn starch
1 cup water
Salt
3 eggs
3/4 teaspoon sesame oil
3 heaping tablespoons chopped scallions
Soy paste and sweet chili sauce (optional)

Mix the bread flour and corn starch together in a small mixing bowl.  Add the water and a pinch of salt and mix well.  Let the batter rest for about 10 minutes while you assemble the rest of the ingredients.

http://www.flickr.com/photos/joyosity/13334554634/

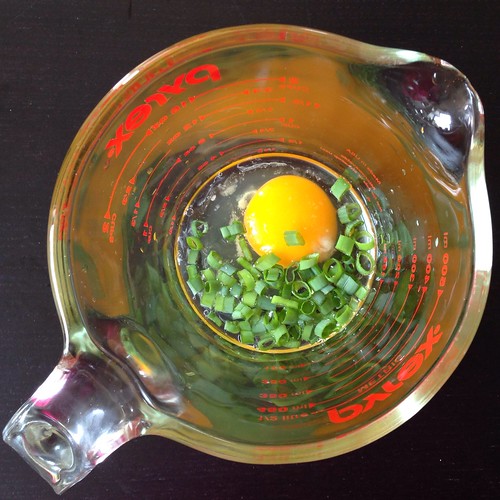
For each crepe, beat 1 egg with 1/4 teaspoon of sesame oil, 1 tablespoon of water, a pinch of salt, and a heaping tablespoon of chopped scallions.

Start heating a non-stick pan on medium heat and lightly oil.  Once the pan is hot, stir the batter again (it may have separated slightly) and add a third of the batter (about 1/2 cup) to the pan.  Swirl the pan around to coat the bottom with a thin layer.  Cook the crepe until the top is set and the edges pull easily away from the pan.  Flip the crepe onto a plate and slide the crepe back onto the pan, cooked side up. 

http://www.flickr.com/photos/joyosity/13334319013/

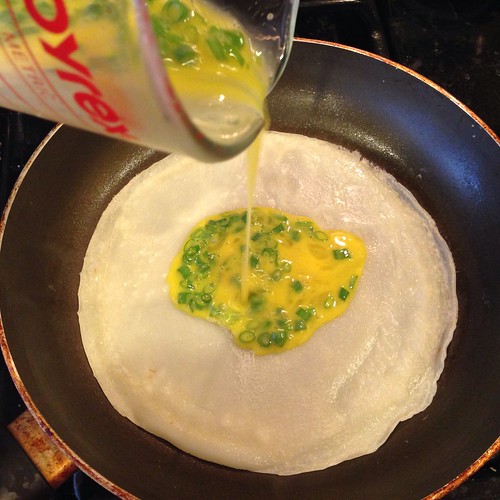
Pour the egg mixture on top of the crepe, and carefully spread it out with a spatula.  Try not to have any of the egg go over the edge of the crepe if possible.

http://www.flickr.com/photos/joyosity/13334174995/

Continue cooking until the egg is mostly set and then flip (the crepe will be sturdy enough to flip with a spatula now).  Cook for 10-20 seconds and then flip the crepe egg side up onto a plate or cutting board.

http://www.flickr.com/photos/joyosity/13334182025/

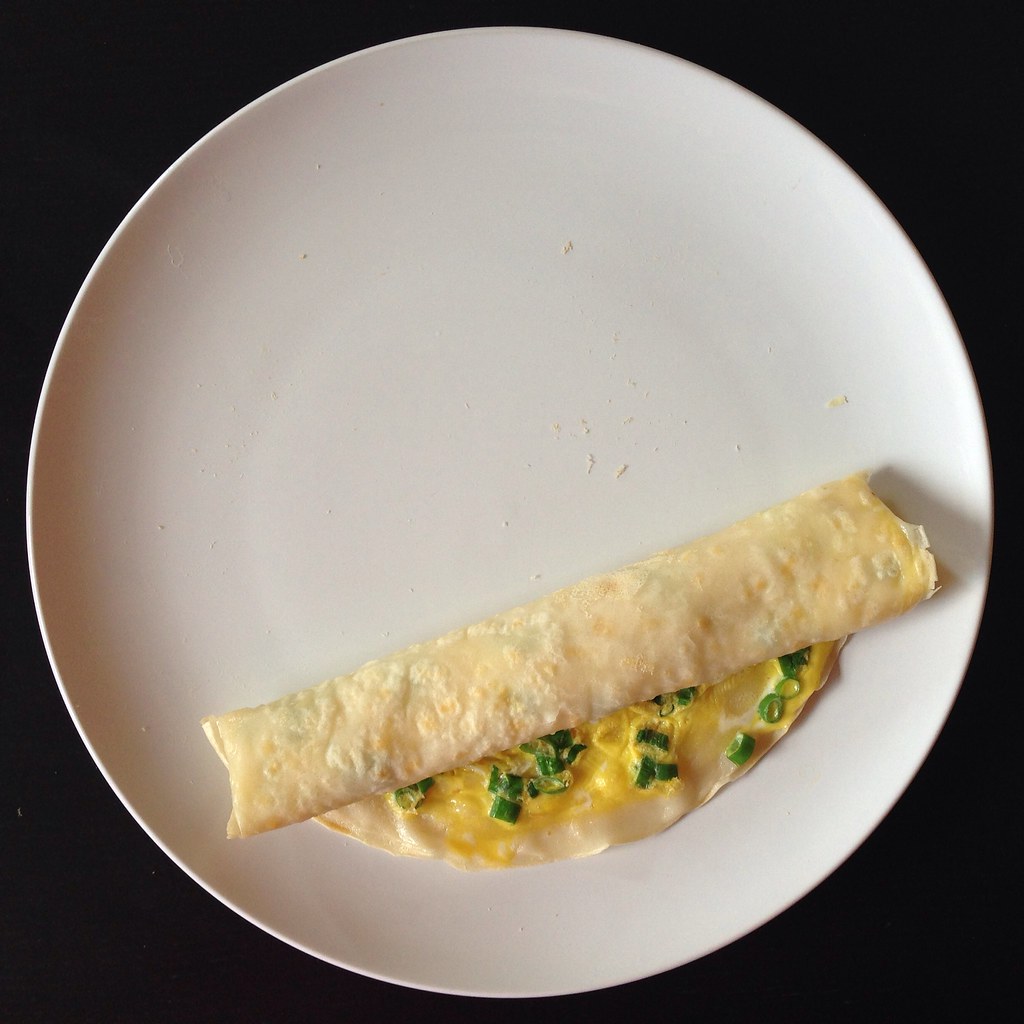
Quickly roll the crepe into a long, rectangular roll.

http://www.flickr.com/photos/joyosity/13334339413/

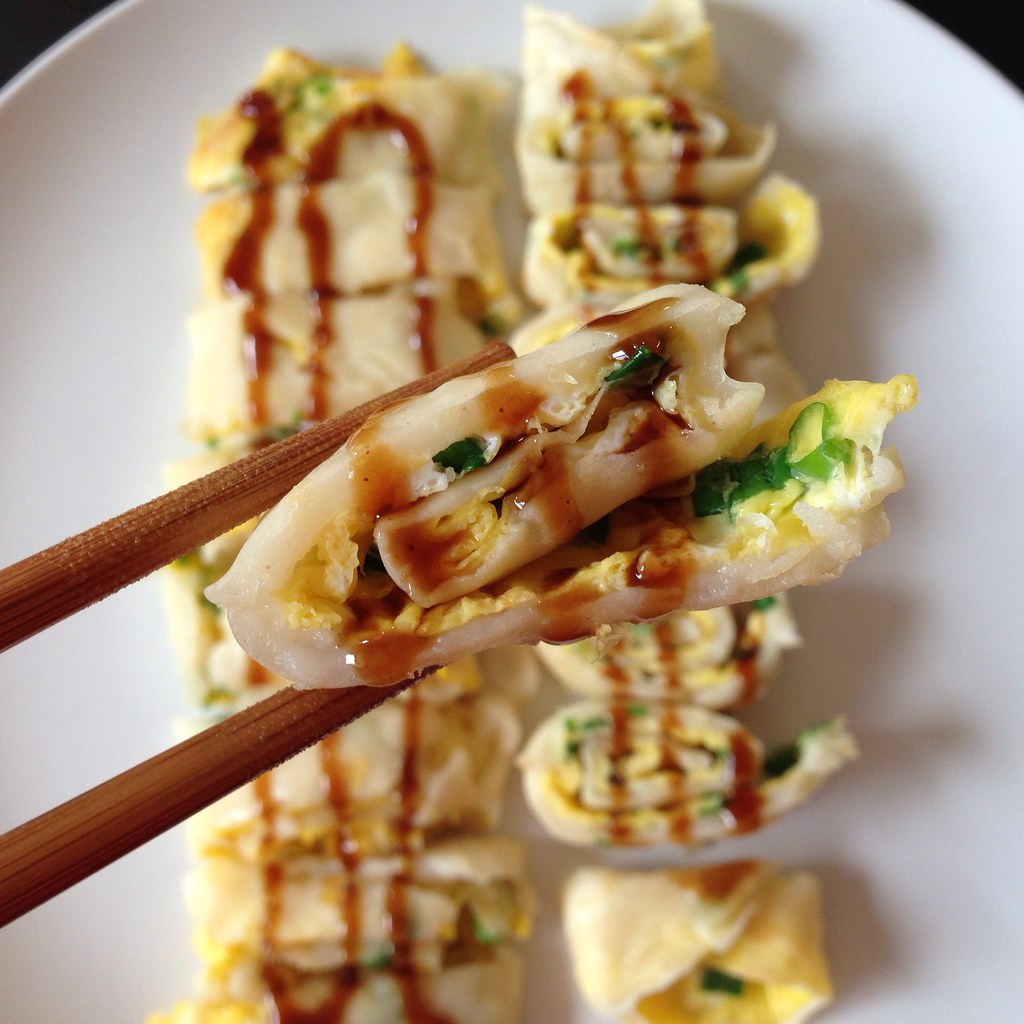
Cut into sections and serve hot with soy paste and/or sweet chili sauce.

http://www.flickr.com/photos/joyosity/13334368333/

Soy paste and sweet chili sauce are the more traditional sauces, but you can also try oyster sauce, hoisin sauce, or even ketchup.  You can also eat this on the go by spreading the sauce on the egg before you roll it up and eating it like a wrap or burrito.  Feel free to try different fillings in the egg mixture (e.g. chopped ham, crumbled bacon, corn) or on top of the cooked egg before rolling it up (e.g. shredded cheese, rou song [pork floss], cilantro), but I wouldn't put too much in because you want to make sure you can still roll it up easily.

Next:  Nutella Mini Crepe Cakes
Previously:  Miso-Glazed Eggplant
Four Years Ago:  Duck Fat French Fries with Rosemary, Maldon Salt, and Truffle Oil
Five Years Ago:  Cincinnati Chili