Showing posts with label bacon. Show all posts

Sunday, December 30, 2018

Bacon Fat Scallion Pancakes


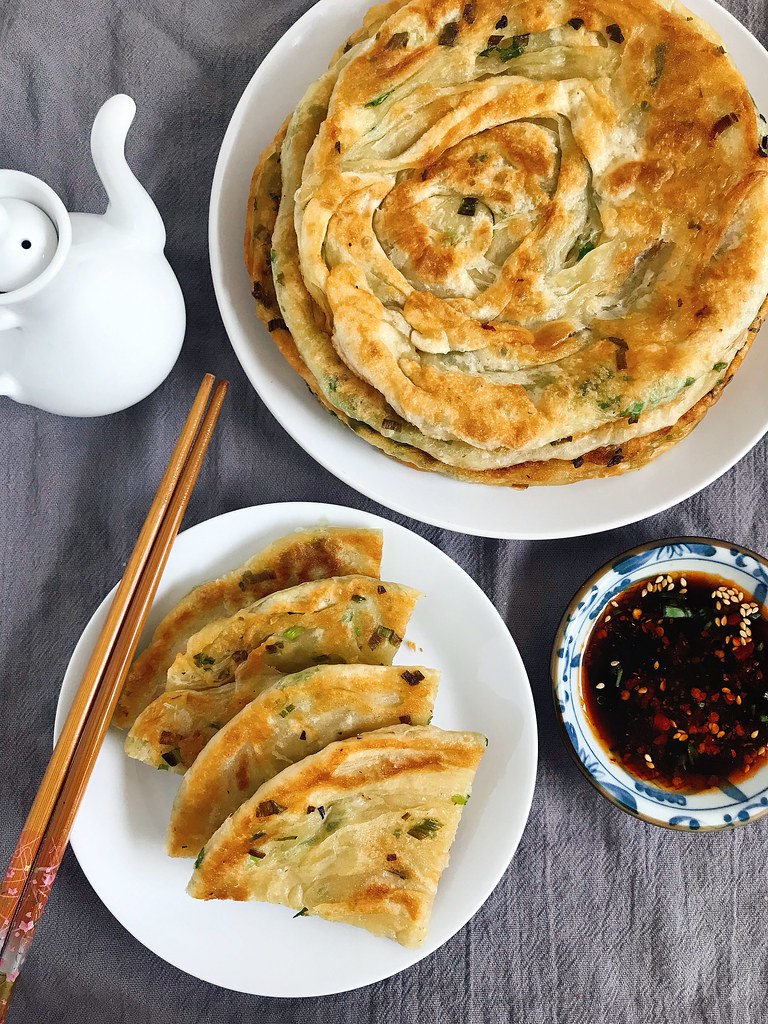
I've been making scallion pancakes the same way for years using a recipe I got from one of my chef friends, but recently I tried a different recipe based on a recommendation from the same friend and discovered this one makes just as good, if not better scallion pancakes in a lot less time!

One of the main ingredients for the recipe she sent me was lard, but since I don't usually have that in stock, I tried substituting with bacon fat.  I'm surprised no one else came up with this combo before because it's basically combining two of the greatest tasting things in the world into one.  I fiddled around with the other ingredients a bit to balance out the extra flavor from the bacon fat and ended up with this recipe.  I think it's flavorful enough to not need a dipping sauce, but if you really want one, you can mix up some soy sauce, rice wine vinegar, sesame oil, and hot sauce to your liking.

Bacon Fat Scallion Pancakes
makes 5 pancakes

300 gram all-purpose flour
6 grams kosher salt, divided
10 grams sugar
175 grams warm water
30 grams chopped scallions (about the amount from 1 bunch of scallions)
50 grams bacon fat, melted
Vegetable oil for frying

Mix the flour, 2 grams of salt, sugar, and warm water together and knead for 5 minutes until it forms a cohesive ball of dough.  Cover and let rest for 30 minutes at room temperature.

In the meantime, chop the scallions, melt the bacon fat, and measure out the remaining 4 grams of salt.

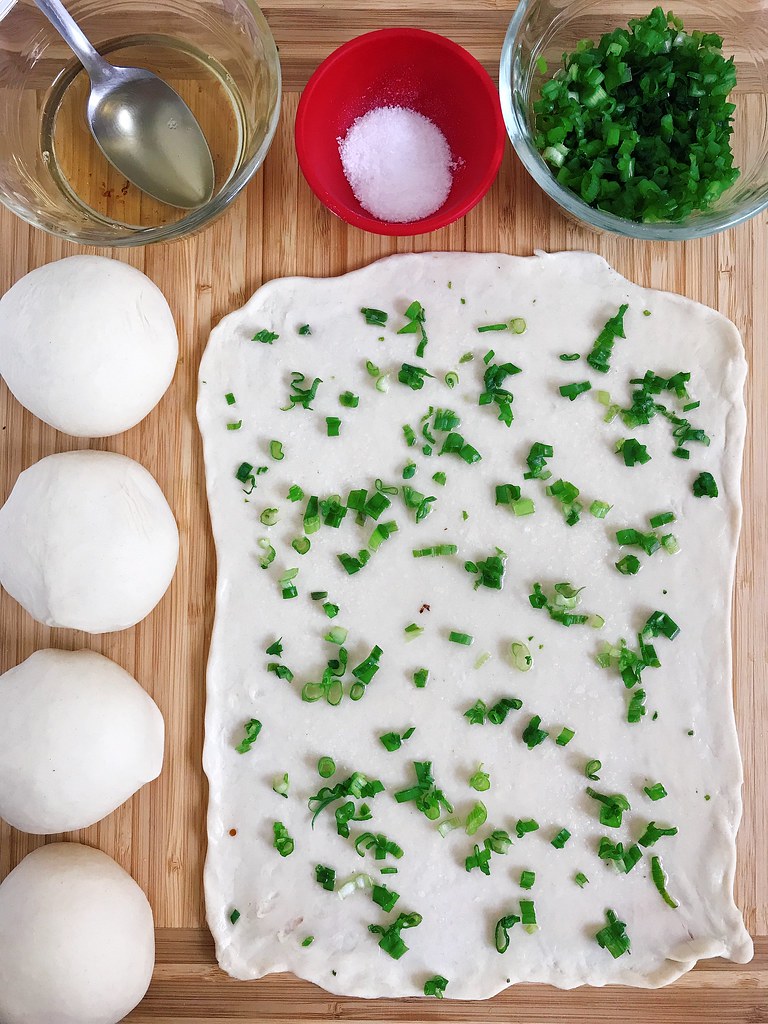
Divide the dough into 5 equal portions (I like to use the scale for this).  Roll out one of the portions into a rectangle.  Flip the dough occasionally to prevent it from sticking to the work surface.  When it won't get any thinner with a rolling pin, gently stretch the dough out with your hands to get it even thinner, but stop if the dough starts to rip.

Spoon a fifth of the melted bacon fat on top of the dough and spread it all around with the back of the spoon.  Sprinkle a large pinch and a half of salt all over and then do the same with a fifth of the chopped scallions.

Starting from the long edge, roll up the dough to form a long rope.  Don't worry about making a tight coil; focus on making the dough as thin as possible by continuing to gently stretch it out as you roll it up.  Once you've formed a long rope, coil it up into a spiral with the seam side down and tuck the end underneath.  Use your palm to squash the coil into a flatter disc.  Set aside and repeat with the other 4 pieces of dough.

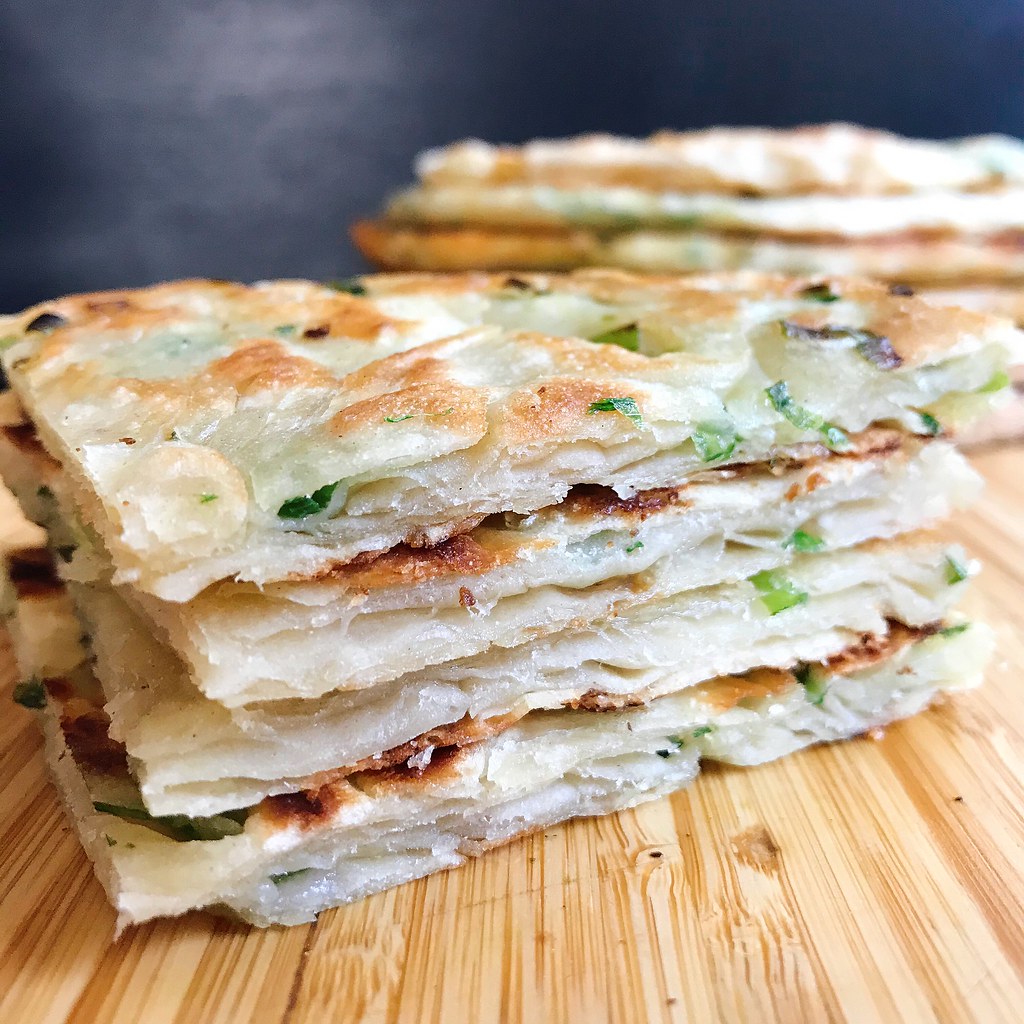
Heat up a frying pan over medium high heat with enough oil to generously coat the bottom.  If you have any leftover bacon fat you can add it to the oil.  While the oil is heating, use your hands or a rolling pin to flatten one of the discs even more.  Aim for the pancake to be a little less than 1/4" thick, but don't flatten it completely or else you'll lose all the layers.

Fry the pancake until golden brown on one side and flip.  It's okay if you need to flip it a few times to get it evenly browned on both sides.  While you're waiting for it to cook, go ahead and flatten the next pancake.  When the pancake is done, transfer it to a wire rack.  Make sure you have enough oil left in the pan and fry the next one.

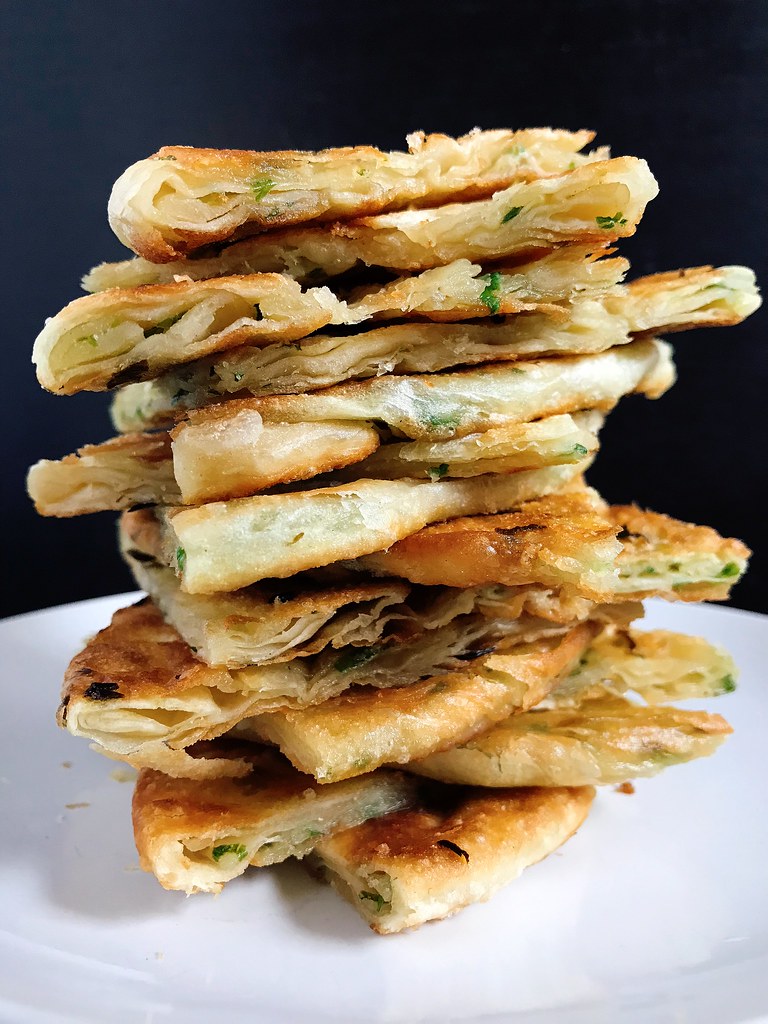
If you have any leftovers, I like to quarter and freeze them so that I can use my compact air fryer to reheat them.

Next:  Mochi Waffles
Previously:  My Communion Bread
Last Year:  Pork, Cabbage, and Tofu Dumplings
Two Years Ago:  Cranberry Curd Tart
Four Years Ago:  Puppy Chow Pie
Five Years Ago:  Miso Pumpkin Soup
Six Years Ago:  Thomas Keller's Lemon Tart
Nine Years Ago:  Tim Tam Slam Ice Cream
Ten Years Ago:  Curry Turnovers

Wednesday, February 22, 2017

Quintessential Apple Pie with Bacon Fat Crust


Food52 started its cookbook club this month, and the inaugural cookbook was Kate McDermott's Art of the Pie!  I thought it was an interesting choice because it's the dead of winter here in New England, and I usually think of the summer and fall as better pie-making seasons.  But I was able to get a copy of the book from the library so I figured I'd take a look and see what might inspire me.

The first pie I tried was the Banana Rum Caramel Coconut Pie because, while there were several components to the pie--a blind baked pie crust, bananas, rum caramel, rum pastry cream, and toasted coconut chips--I actually already had all the ingredients!  Personally, I thought the pie was too sweet, but it didn't stop me from trying a couple more pies from the book.


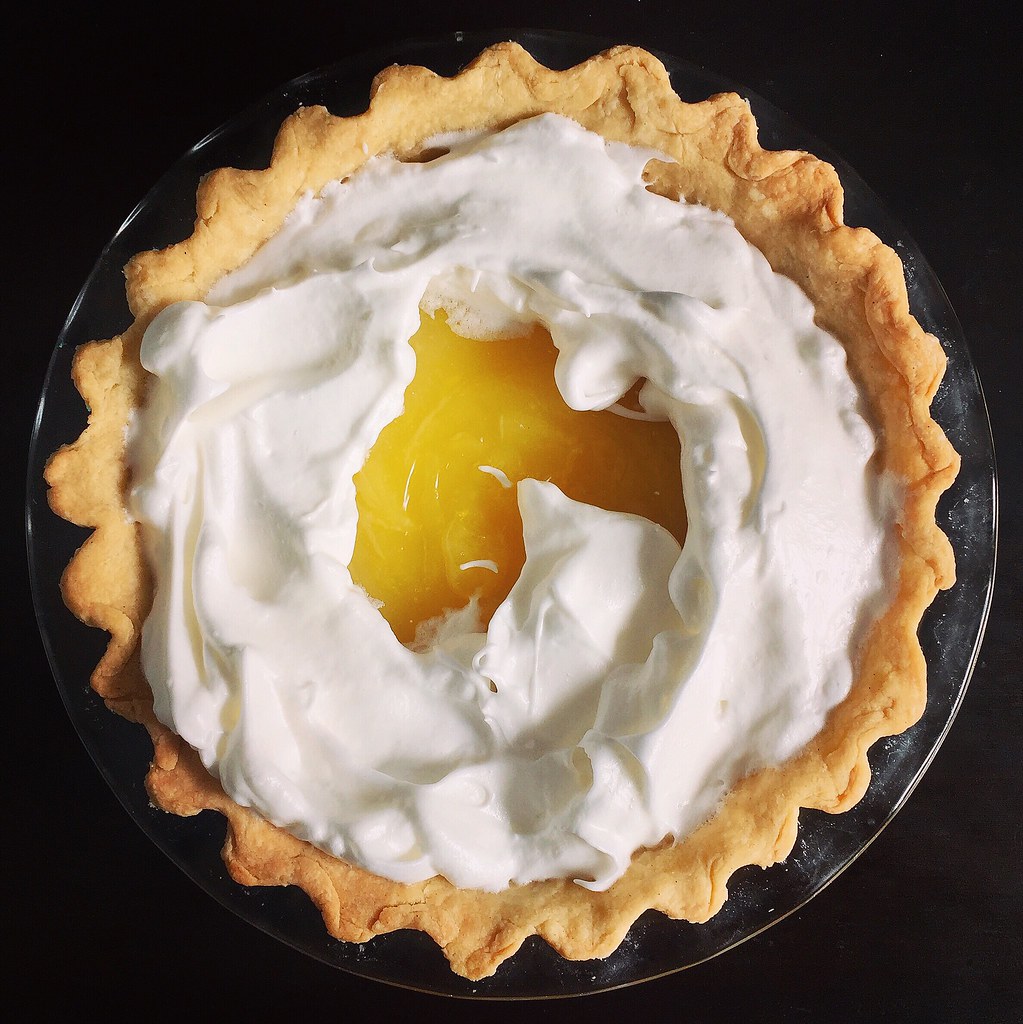
Since I had a bunch of egg whites leftover from rum pastry cream for the previous pie, I decided to try my first lemon meringue pie.  While the pie tasted great, I had issues with the meringue weeping even after following all the directions from the book.  I was also a little confused with the direction to "pull up some soft peaks with the handle of a spoon".  I got little itty-bitty peaks whereas I would've preferred larger waves.  If I ever make a meringue pie again, I'll probably just use a spatula to do that.

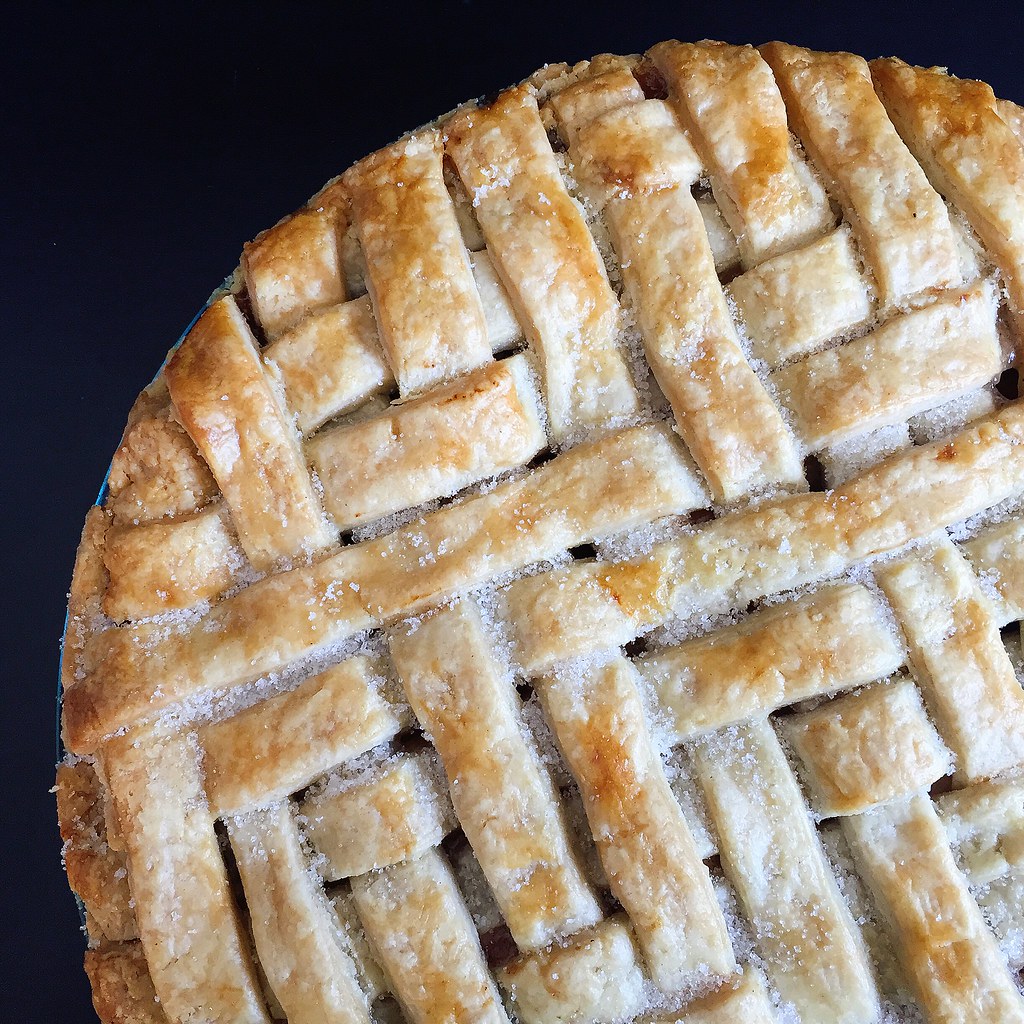
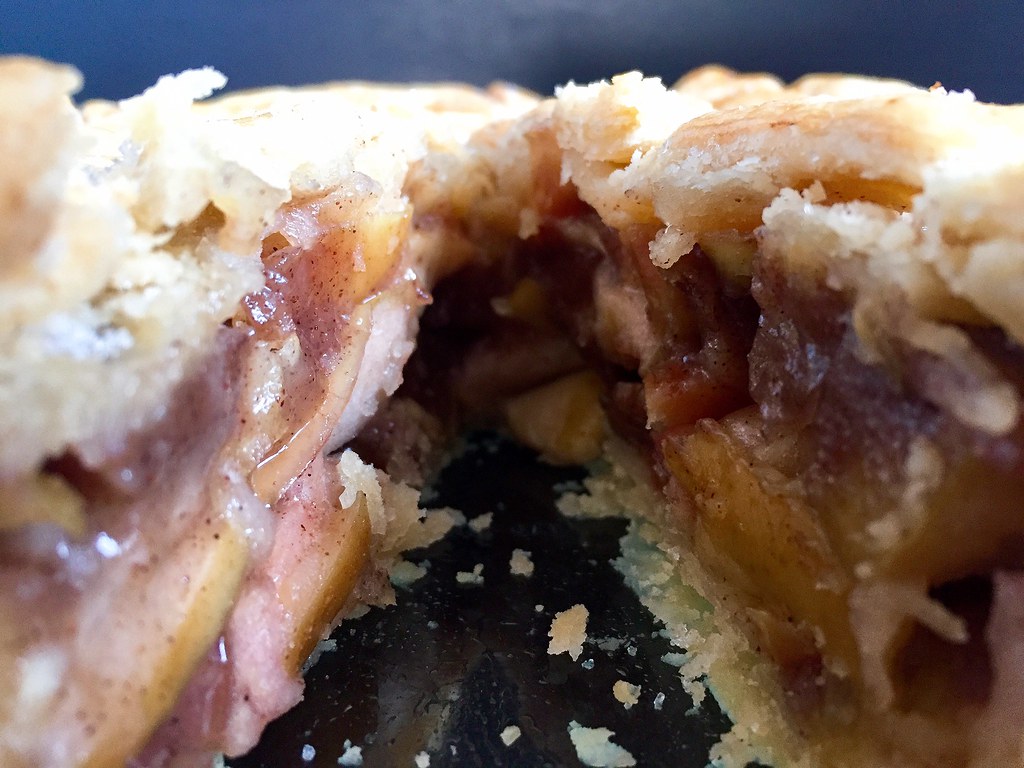
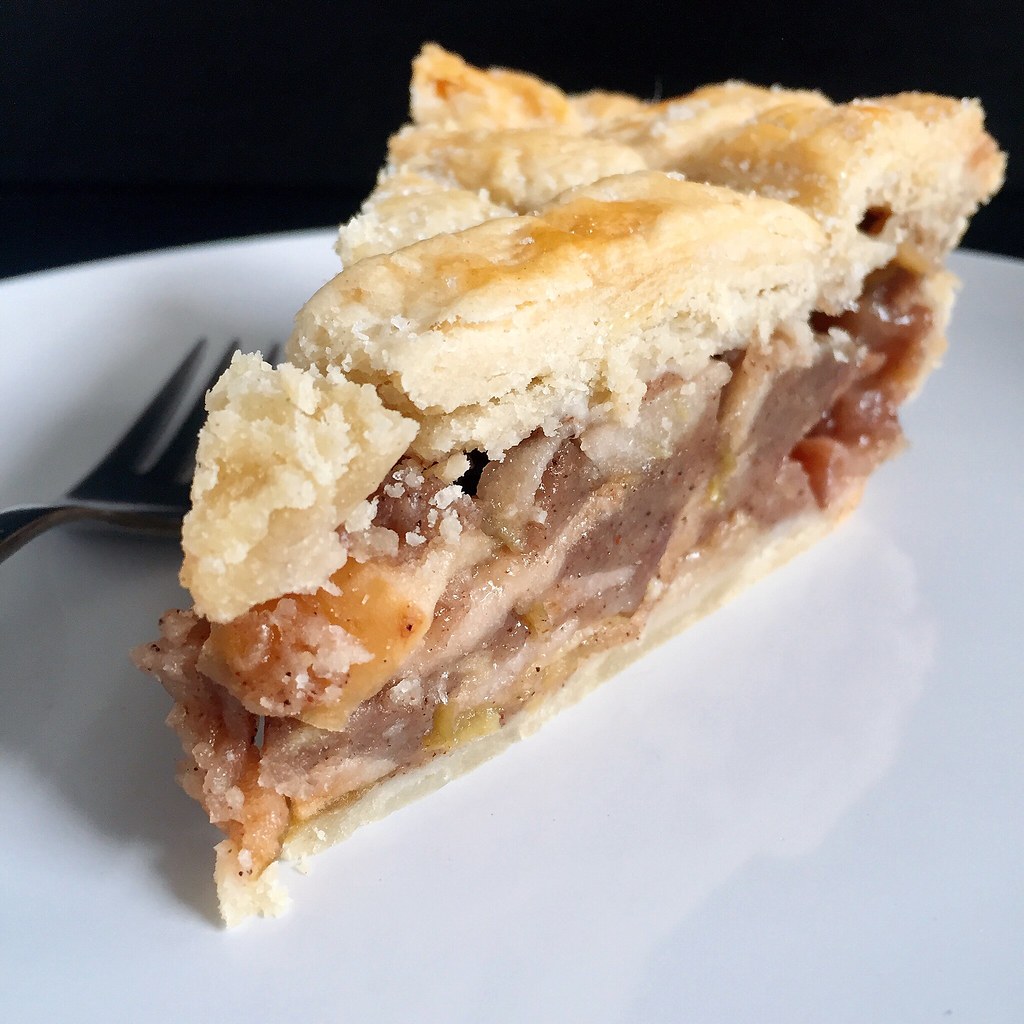
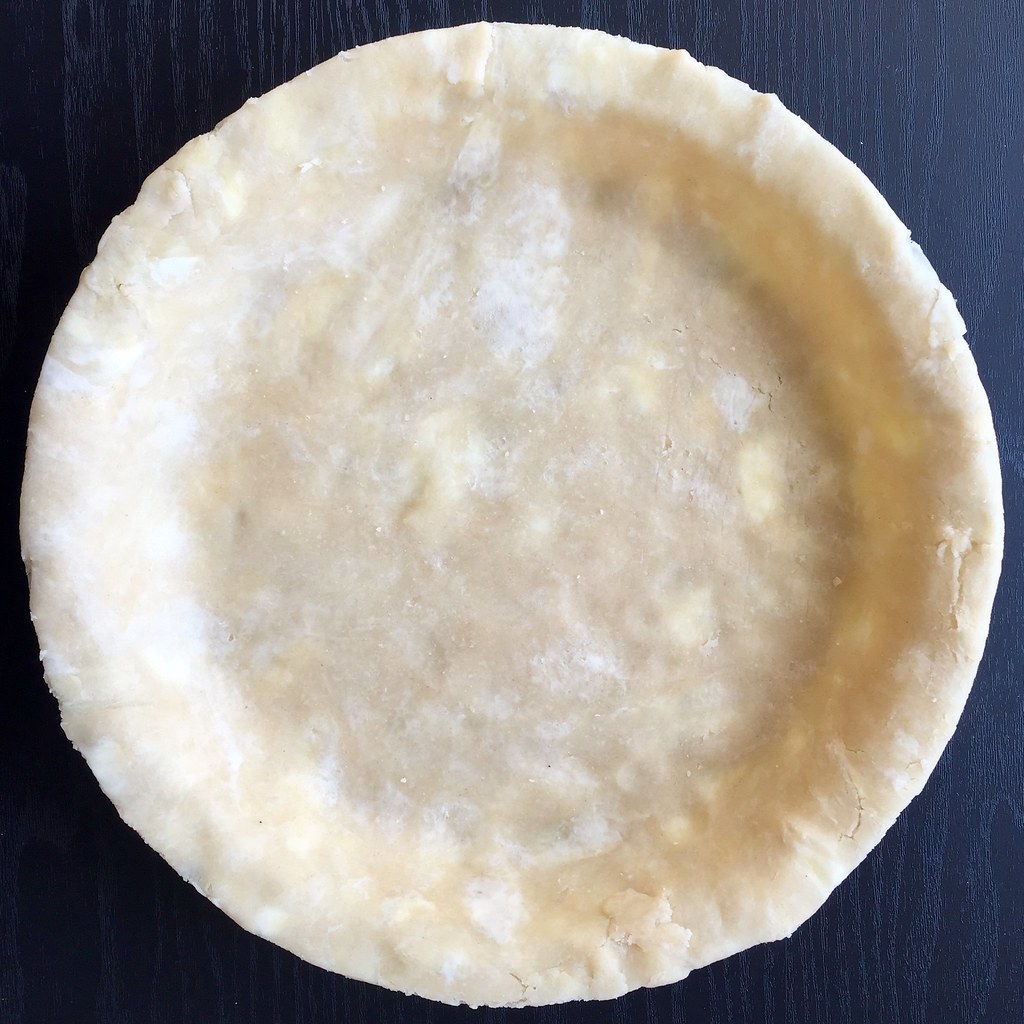
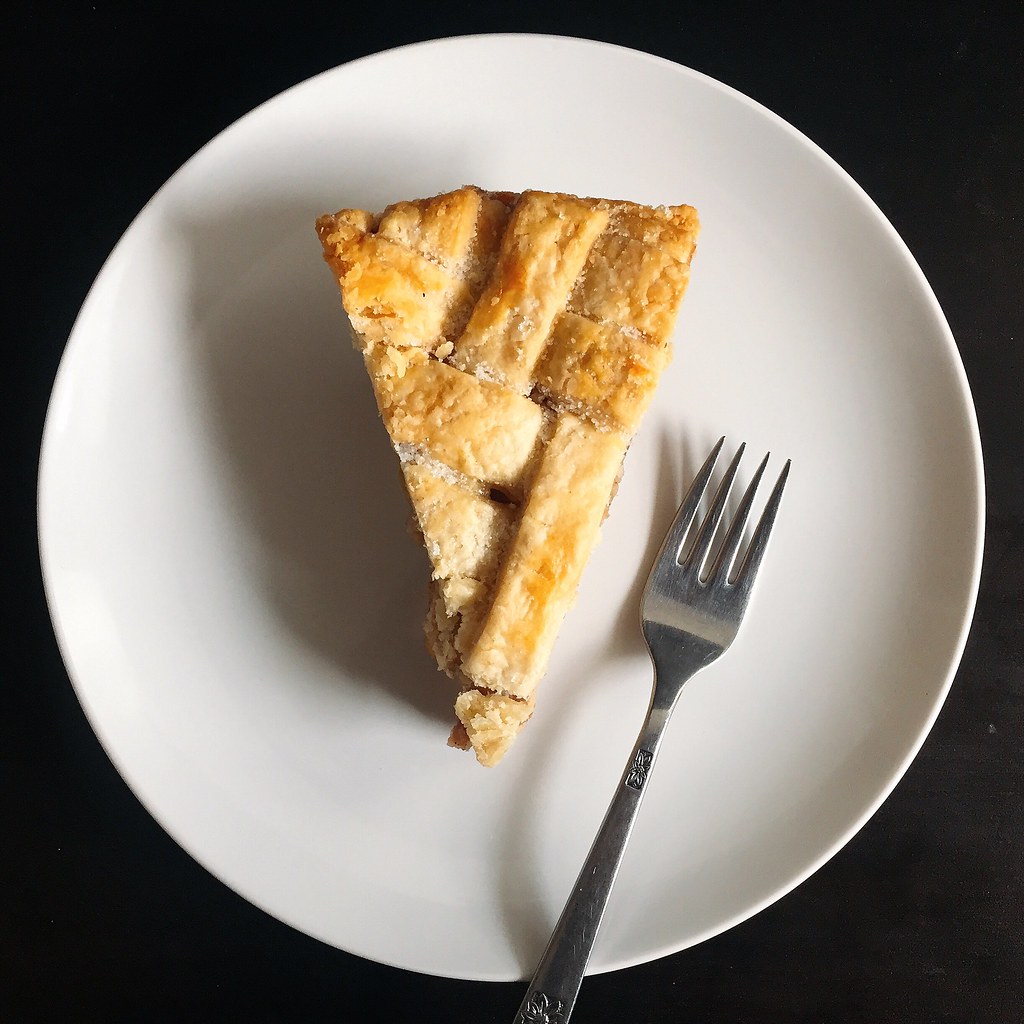
My favorite pie that I made from the book was the Quintessential Apple Pie.  Kate's preferred pie crust is one made with butter and leaf lard, but since I didn't feel like sourcing any leaf lard, I turned to what I already had in my freezer:  bacon fat.  It was definitely more malleable than the butter even when chilled, but I think it made for a wonderfully flaky pie crust with a subtle bacon flavor.


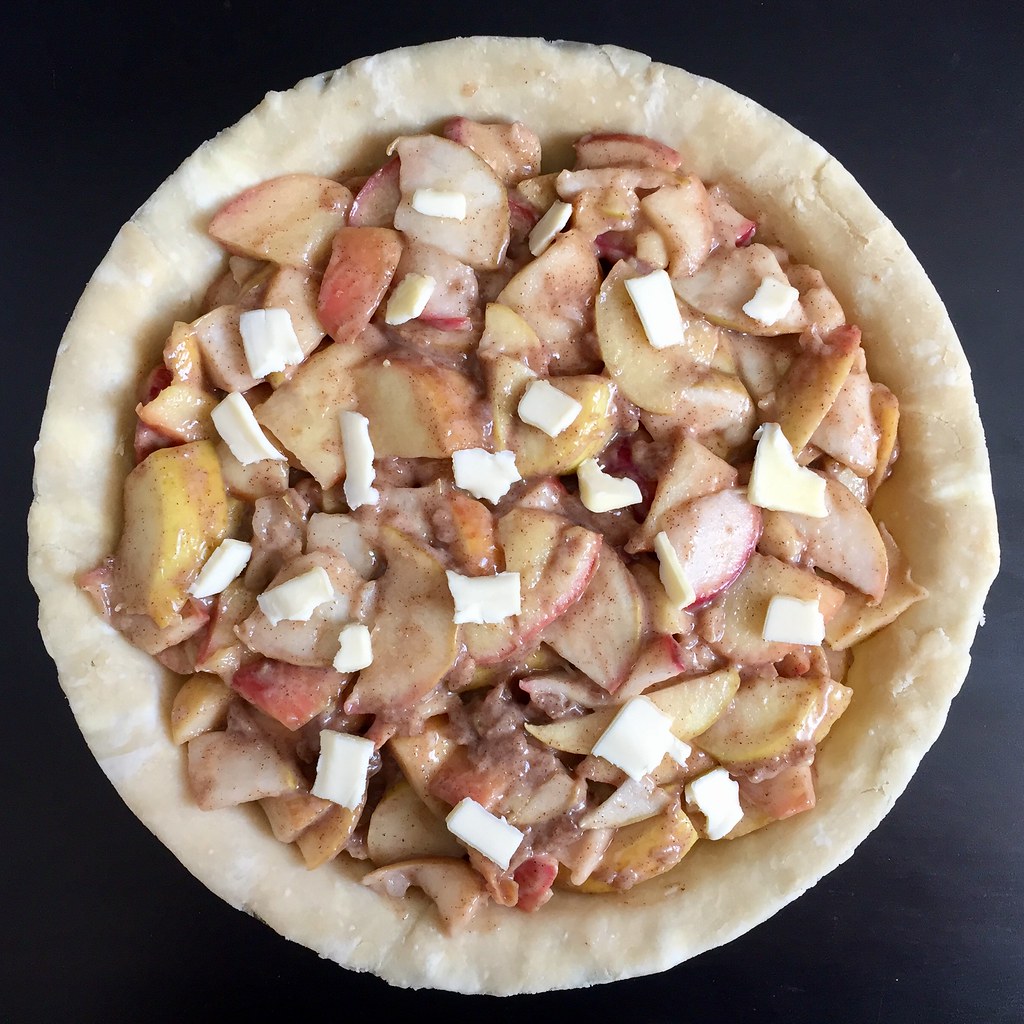
For the filling Kate suggests using a mix of sweet and tart apples, so I used a blend of Gala, Fuji, Golden Delicious, Macintosh, Cortland, and Red Delicious apples.  She also wrote that you don't need to peel the apples if the skins are pretty thin, so I nixed that time-consuming step.  She was right; the inclusion of the apple peels didn't really make a difference in the texture of the cooked filling and may have even improved the taste with their tannins.


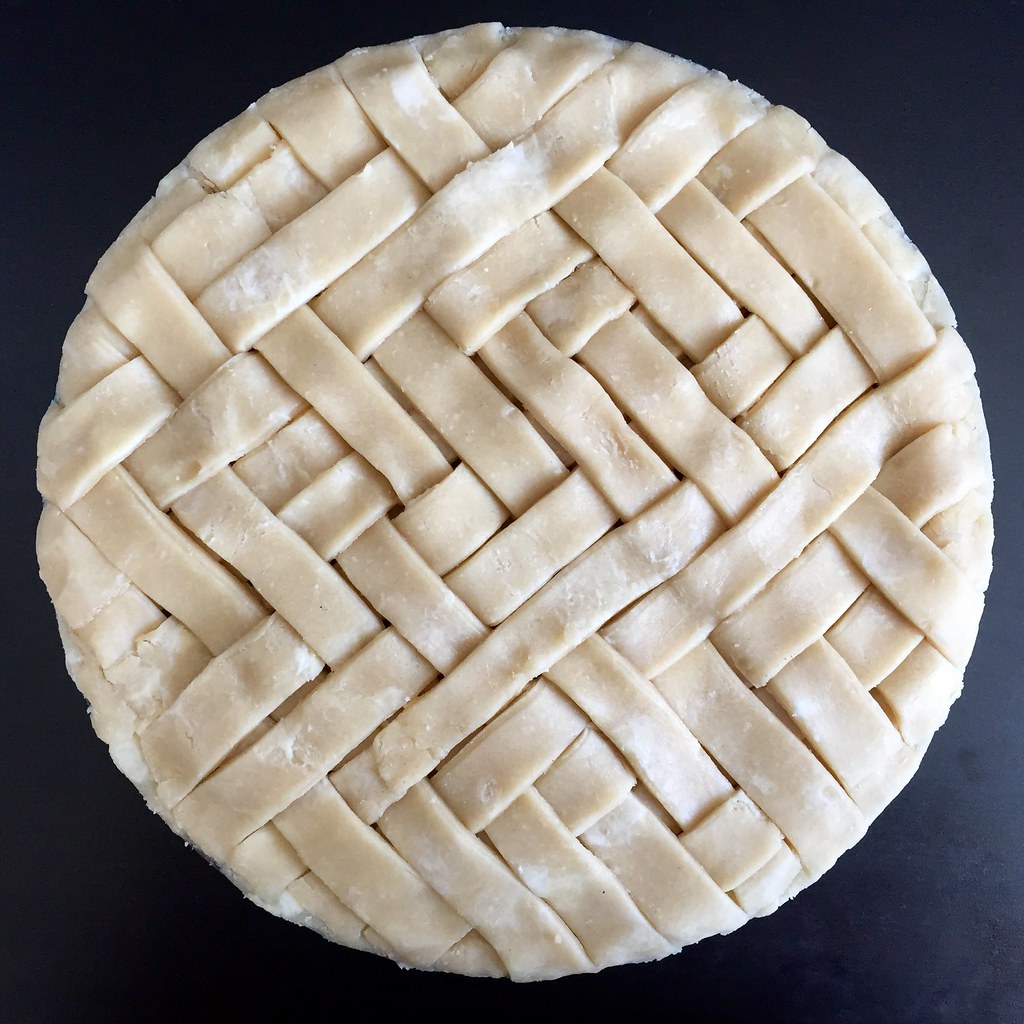
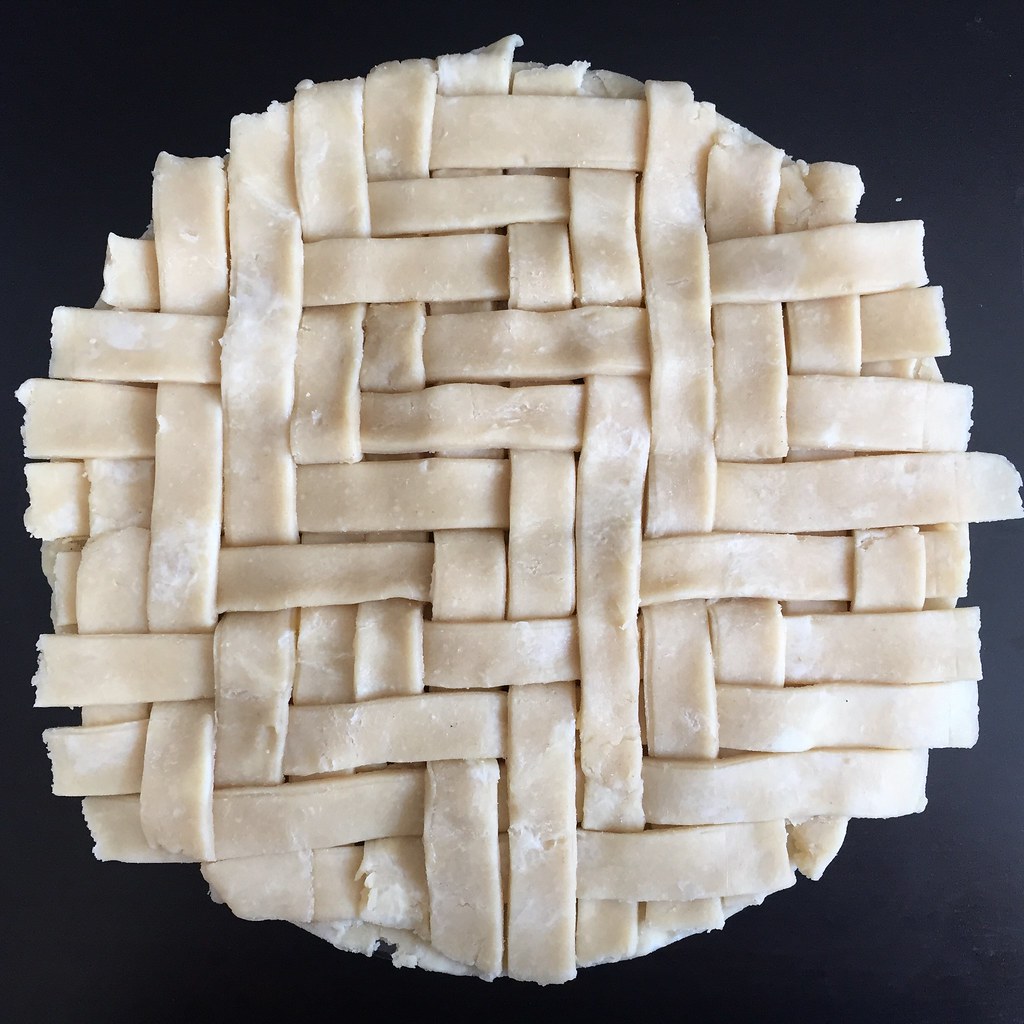
And since I've been eyeing Serious Eats' herringbone lattice crust for a while now, I decided to try it on top of this pie.  It was actually my first time making any sort of lattice pie crust!  I was pretty pleased with the result even though I did mess up the pattern.  Because you want the filling to be quite flat before laying the herringbone lattice on top, I decided to pre-cook the apple pie filling which reduces the volume ahead of time and prevents the dreaded gaping hole between the top crust and filling after baking.


Quintessential Apple Pie with Bacon Fat Crust (adapted from Art of the Pie)
makes 1 pie

For the pie crust:
1/2 cup rendered bacon fat
1/2 cup unsalted butter
2 1/2 cups all-purpose flour
1/2 teaspoon kosher salt
1/2 cup ice water

Cut the bacon fat and butter into tablespoon-size pieces.  Place the bacon fat, butter, flour, and salt in the bowl of a food processor and pulse 15 times.

Add 1/4 cup of the ice water and pulse 10 more times.  Add the remaining 1/4 cup of ice water and pulse 5 more times.  Dump the contents into another bowl and use chilled hands to bring the dough together.  Divide the dough in half and place half in the fridge.


Place the other half on a floured surface and cover with plastic wrap.  Roll the dough out to 1/16" thickness and an inch or two larger than your pie pan.  Carefully transfer to the pie pan, trim the edges, cover, and let chill in the refrigerator.  Add the excess trimmings to the other half of the pie dough that was already chilling in the fridge.

For the filling:
10 cups of apples, preferably a mix of tart and sweet ones with thin skins
1/2 cup sugar
1/2 teaspoon kosher salt
2 gratings of nutmeg
1/2 teaspoon allspice
1 tablespoon artisan apple cider vinegar
1/2 cup flour
2 tablespoons unsalted butter, cut into small pieces
1 egg white (for the egg wash)

Leaving the skins on, slice the apples and mix with the sugar, salt, cinnamon, nutmeg, and allspice.  Cook in a large pan over medium-low for about 15 minutes, just until the juices start to flow.  Toss with the vinegar and flour and let cool completely before filling the pie shell.  Dot the top of the apples with the small pieces of butter.


If you want to do the herringbone lattice, follow the directions from Serious Eats.  Otherwise, roll out the other half of the dough and top the pie, cutting a few vents on top.  Trim the excess dough and crimp the edges.  Cover the pie and let it chill in the fridge while you preheat the oven to 425°F.


Mix the egg white with 1 tablespoon of water and brush on top of the pie.  Bake for 20 minutes, then reduce the heat to 375°F and bake for another 40 minutes.  Cool the pie for at least an hour before serving.


Next:  Japanese Chicken Curry Rice
Previously:  French Onion Tater Totchos
Two Years Ago:  Hugo & Victor's Pink Grapefruit Tart
Three Years Ago:  Okonomiyaki
Four Years Ago:  Cauliflower Steak with Cauliflower Puree
Seven Years Ago:  Bacon Caramel Corn
Eight Years Ago:  Wok-Fried Edamame with Garlic

Wednesday, May 7, 2014

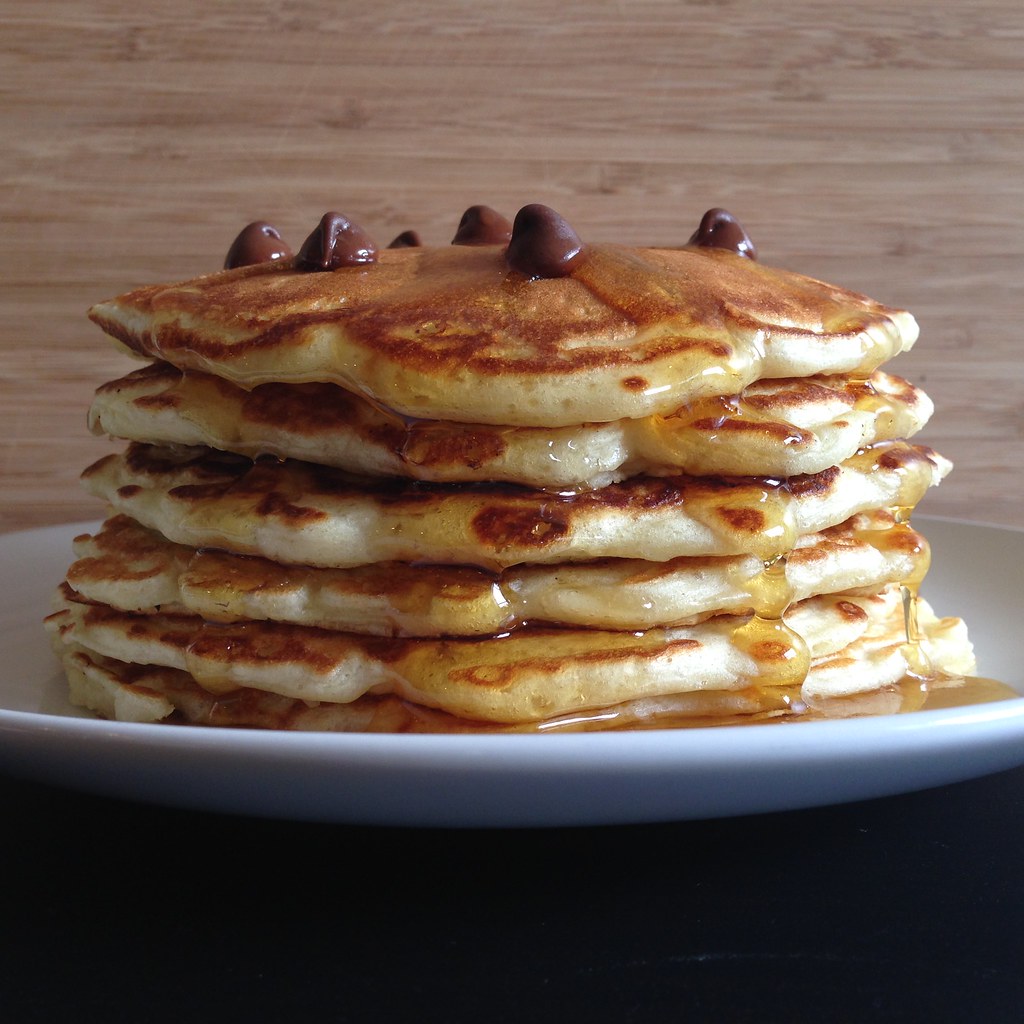
Candied Bacon Chocolate Chip Pancakes


https://www.flickr.com/photos/joyosity/14096160712/

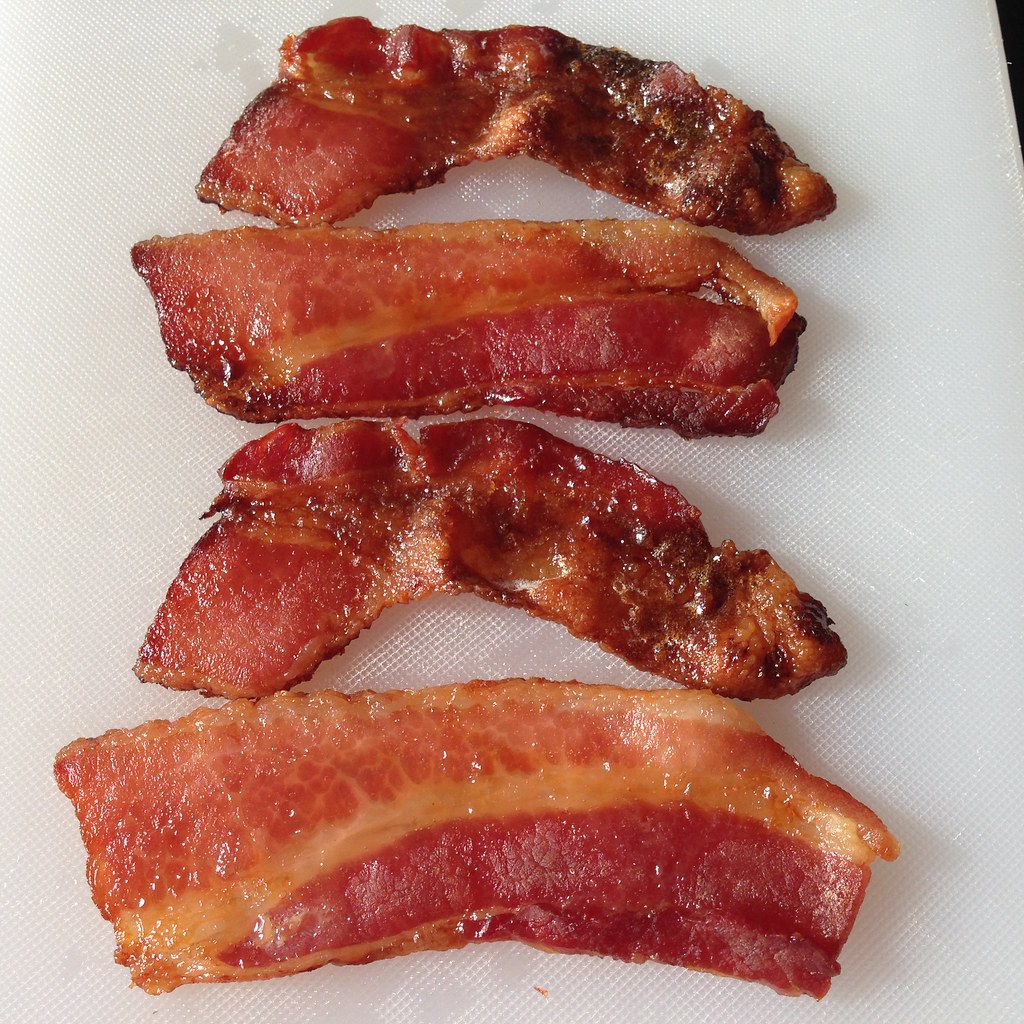
Last month for Easter my church decided to throw its first Pancake Breakfast!  I've always had a secret desire to be a line cook and man a griddle, churning out pancake after pancake.  I guess I wanted to see if I could handle the pressure, a la MasterChef or Top Chef.  Well let's just say that it was fun and I can't wait do it again next year, but only if I had a second person to help me pour out the batter.  I was too busy to get a picture of the pancakes, but here's a shot of just some of the bacon we made to go with the pancakes.

https://www.flickr.com/photos/joyosity/14076149326/

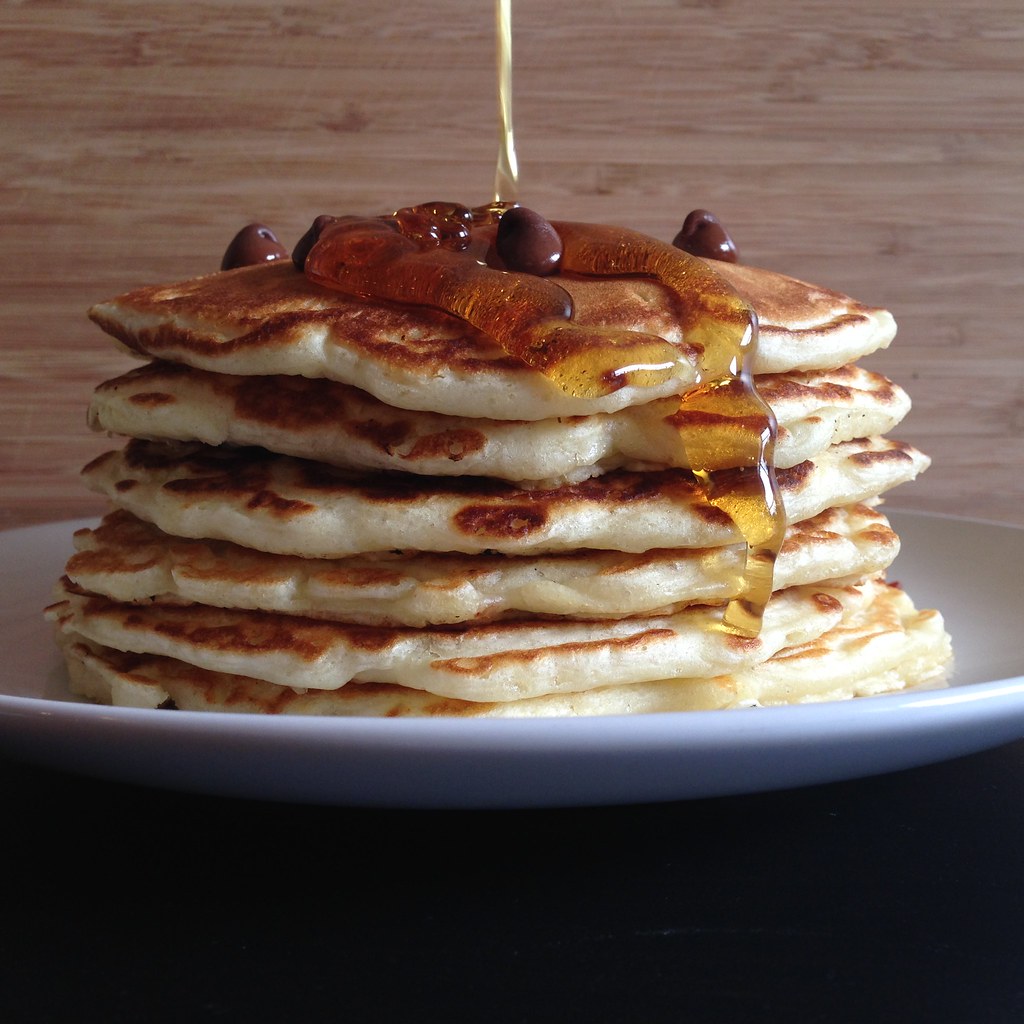
The recipe we used was based on Alton Brown's "Instant" Pancake Mix, and it produced the lightest, fluffiest pancakes I've ever had.  Even after making several hundred of those puppies, I couldn't believe how good they were when I finally got to eat one.

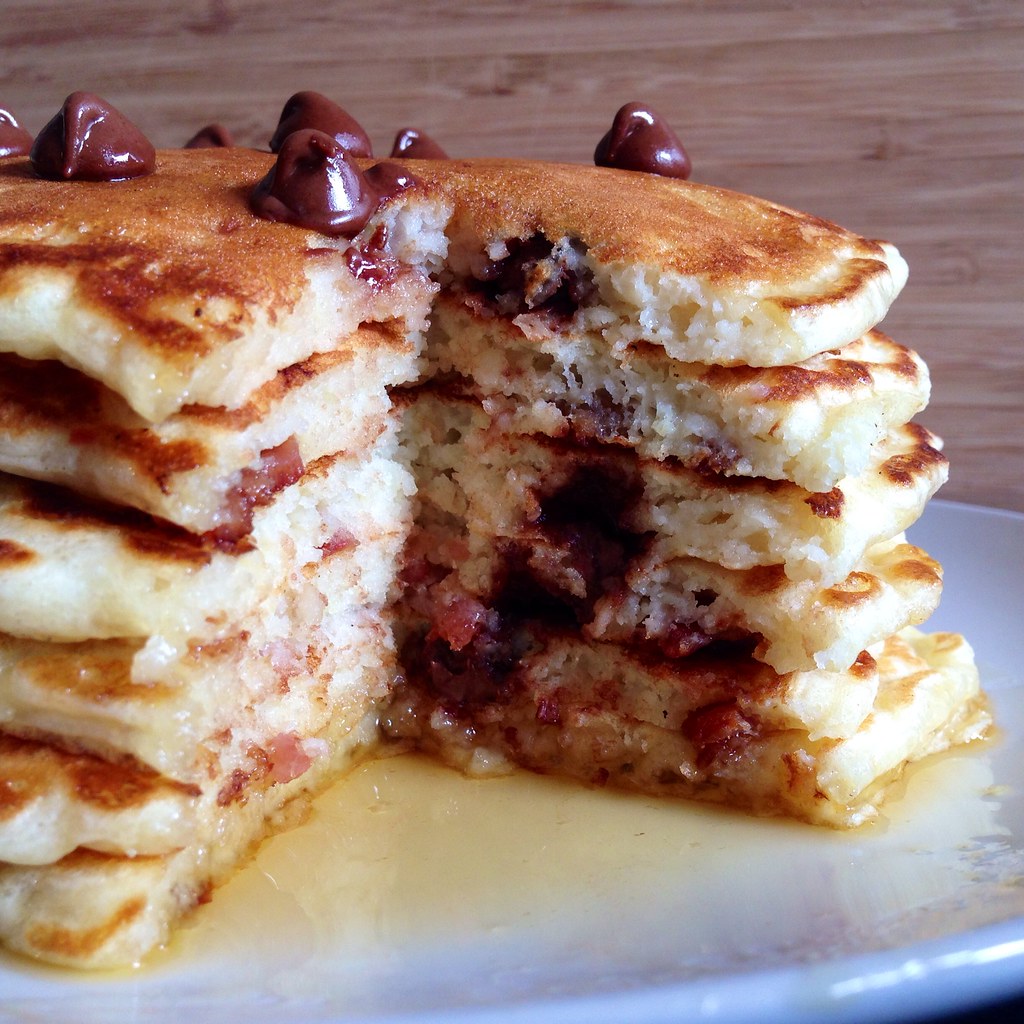
I was going to just post about the recipe we used, but then I started thinking about all the variations I could make:  blueberry pancakes, banana brulee pancakes, and then it hit me.  I needed to make bacon chocolate chip pancakes.  Better yet, candied bacon chocolate chip pancakes.  Boom!  I think I just won at life.

https://www.flickr.com/photos/joyosity/14096055651/

Candied Bacon Chocolate Chip Pancakes
makes six 5" pancakes

2 strips of bacon
1/2 tablespoon brown sugar
1 cup all-purpose flour
1/4 teaspoon baking soda
1/2 teaspoon baking powder
1 teaspoon sugar
1 egg
1 cup buttermilk
2 tablespoons melted butter (or 1 tablespoon melted butter and 1 tablespoon melted bacon fat)
3 tablespoons chocolate chips
Butter or bacon fat for greasing
Real maple syrup

https://www.flickr.com/photos/joyosity/13912642970/

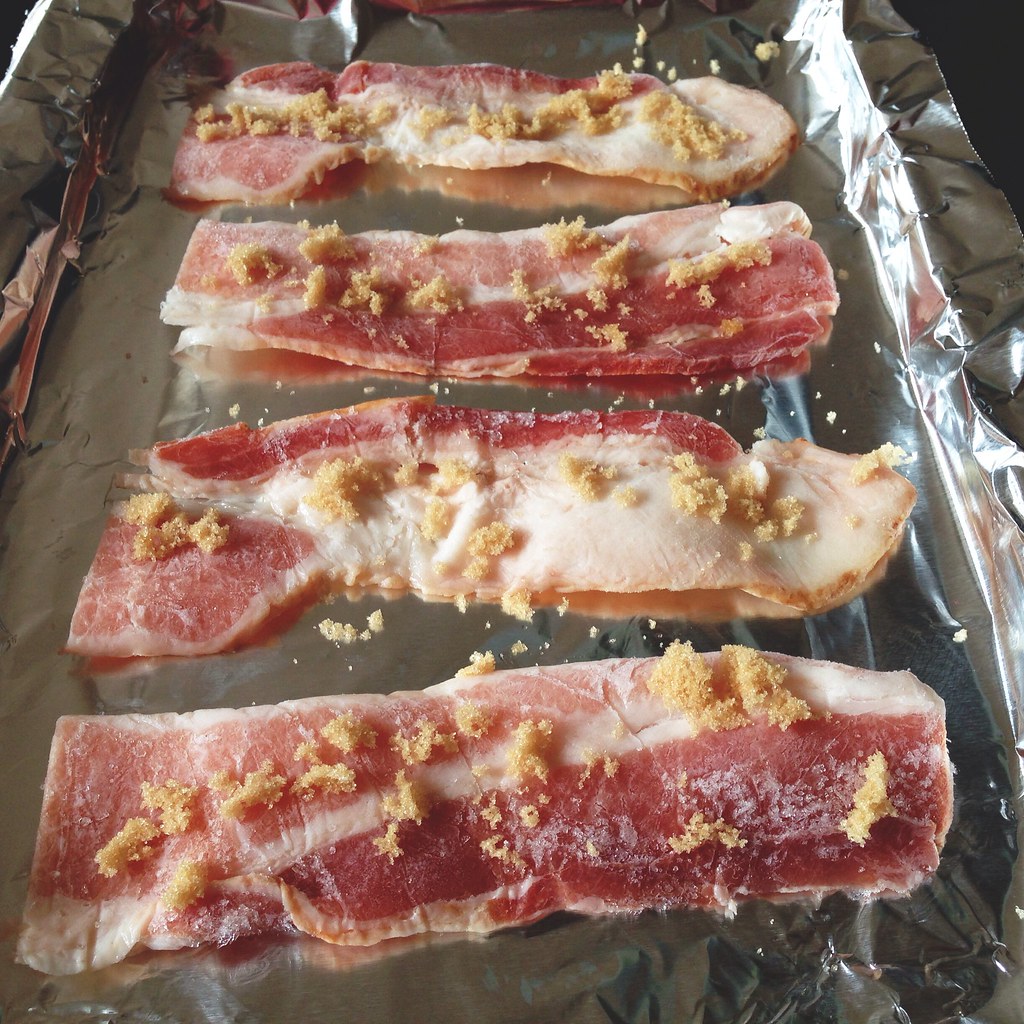
Preheat oven to 325°F.  Evenly sprinkle the brown sugar onto the bacon and bake for 20 minutes or until just crisp.  Allow bacon to cool and then chop.  Save the bacon fat if you like (I was able to pour off about 1 tablespoon of bacon fat which I used in the pancake mix along with the melted butter).

https://www.flickr.com/photos/joyosity/14076145206/

Mix the flour, baking soda, baking powder, and sugar in a medium bowl.  Separate the egg white and egg yolk into two small bowls.  Mix the buttermilk with the egg whites and the melted butter (and bacon fat, if using) with the egg yolks.  Make sure the melted butter/fat isn't too hot or else you'll end up cooking the egg yolks.  Mix the buttermilk and egg yolk mixtures together.  Pour the liquids onto the dry ingredients and mix with a whisk until just combined; there will be some small lumps.  If the batter if too thick, you can thin it out with a few tablespoons of milk if you like.

Heat up your pan or griddle.  Lightly grease with butter or bacon fat and wipe off with a paper towel.  Because of the high content of fat in the batter, you will probably only need to grease the pan this one time.

https://www.flickr.com/photos/joyosity/14099683874/

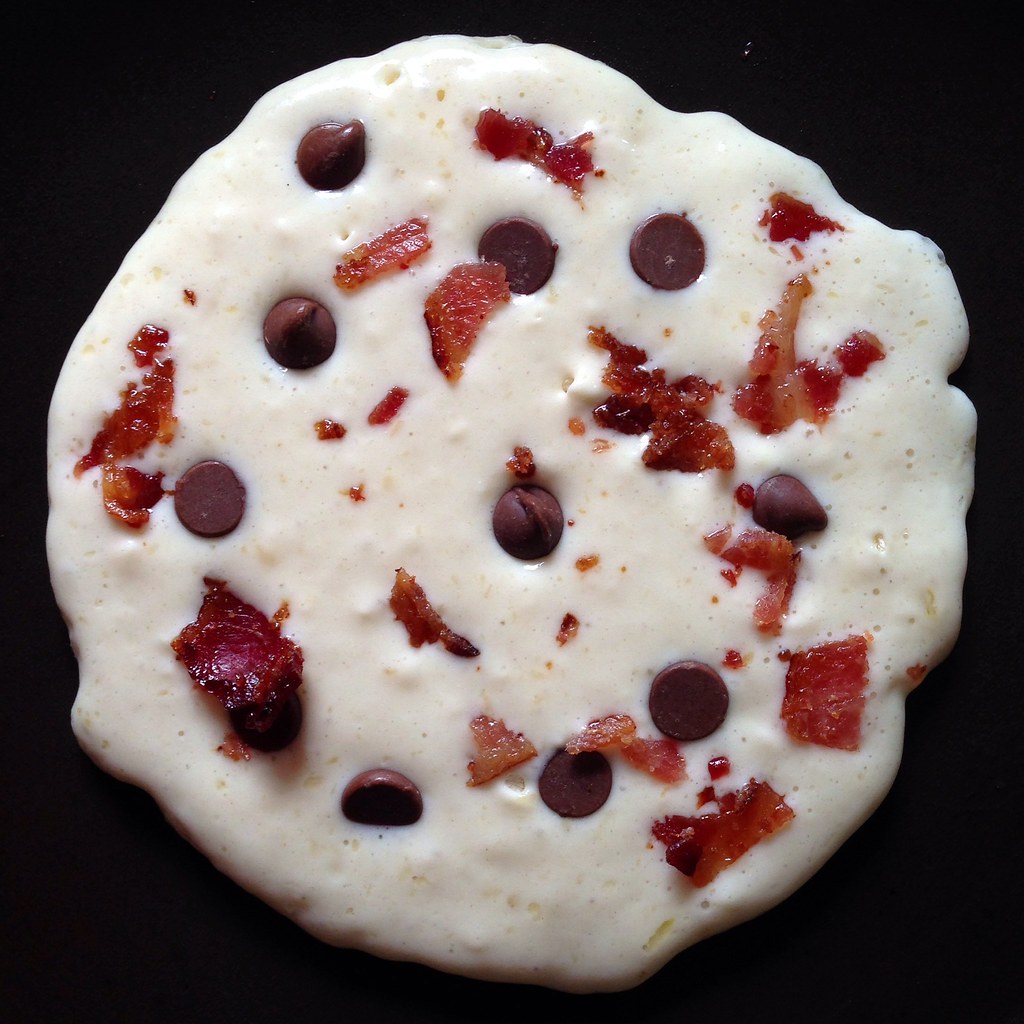
Pour 1/3 cup of batter onto the pan.  Scatter about some chocolate chips and chopped candied bacon on top.  Cook until the edges are dry and the bottom is golden brown.  Flip the pancake and cook the other side until dry.  It's better not to overcook the second side since the chocolate might burn.  In between each pancake, wipe off any melted chocolate with a paper towel.

https://www.flickr.com/photos/joyosity/14099257165/

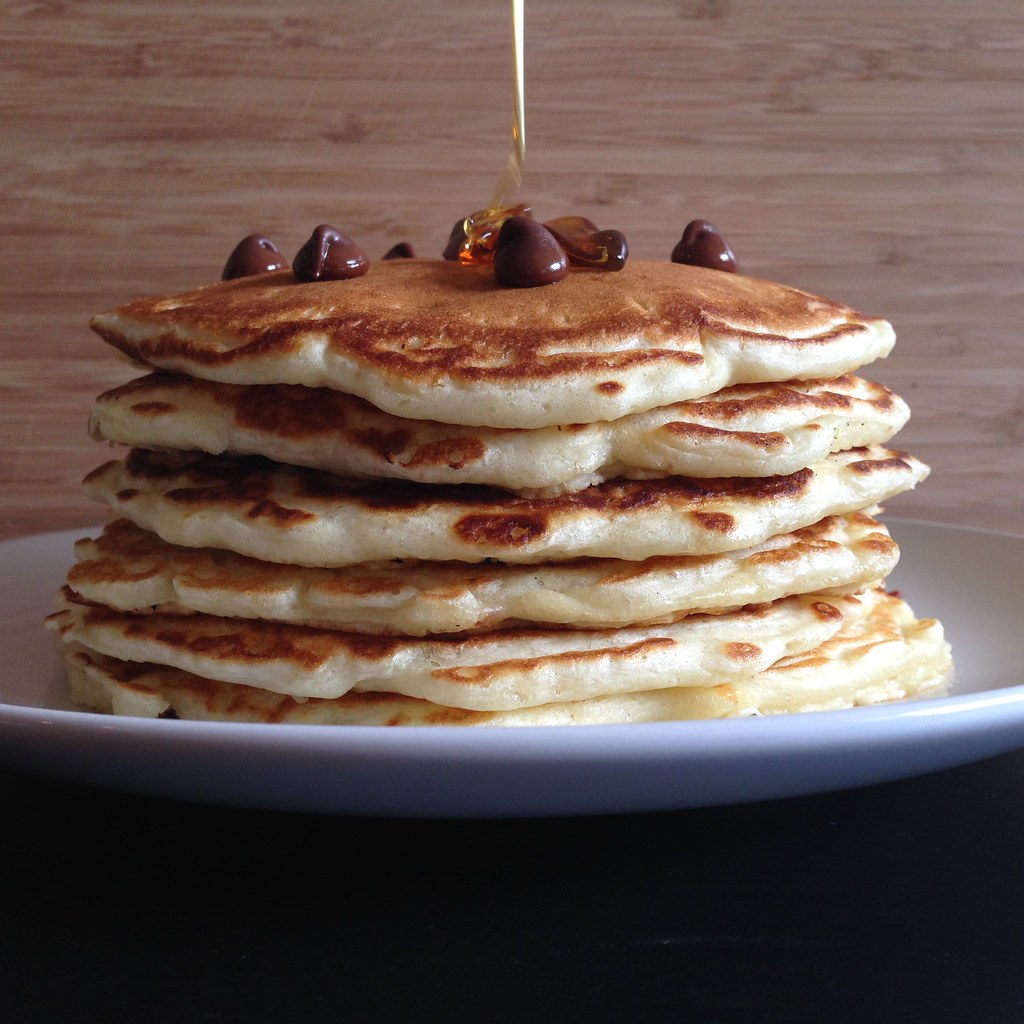
Serve warm with real maple syrup.

https://www.flickr.com/photos/joyosity/14076157116/

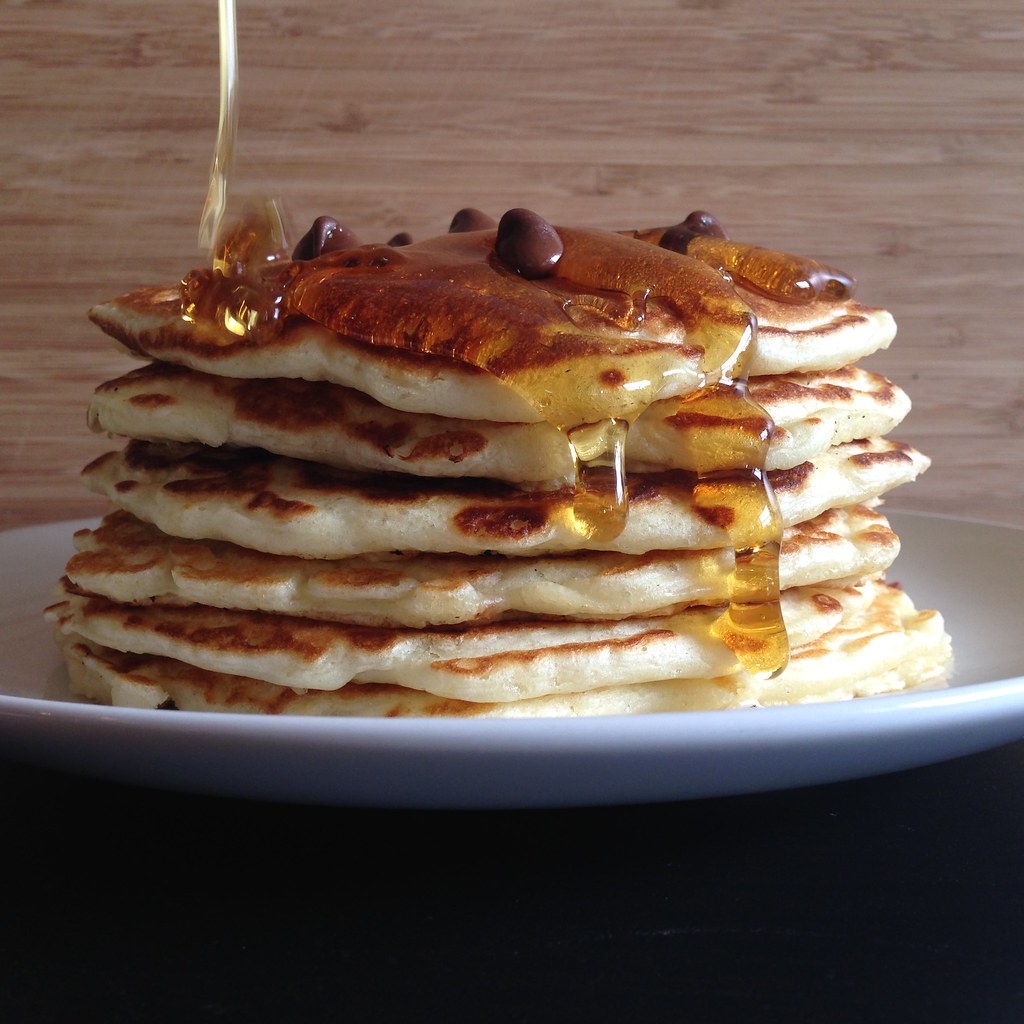
Lots of real maple syrup.

https://www.flickr.com/photos/joyosity/14099693354/

Oh, yeah....

https://www.flickr.com/photos/joyosity/13912631999/

Next:  Serendipitous Chocolate Chip Cookies
Previously:  Easy Chilaquiles with Fried Egg and Avocado
Five years ago:  Coconut Curry Noodles with Collard Greens and Broccoli

Friday, January 10, 2014

Salade Indochinoise

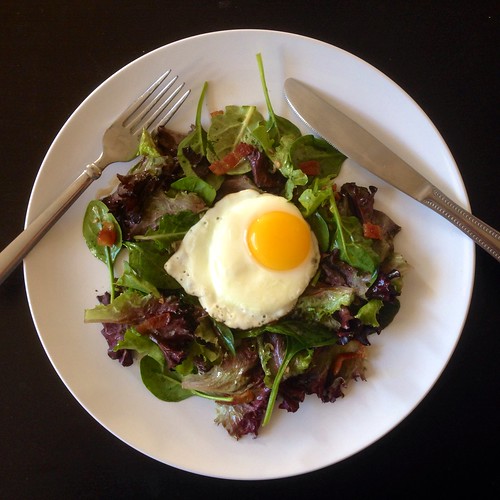
What do you get when you take a perfectly innocent salade Lyonnaise and Thai it up with a fried egg?  A sinfully good salade Indochinoise*!  Okay, I'm done with the puns.  =P

A couple of days ago I saw this Thai fried egg salad on Food 52 and was really intrigued.  I prefer a runny yolk and no raw onions, though, so I looked to the French for inspiration.  A classic salade Lyonnaise consists of a poached egg with crisp bacon over frisée tossed with a warm vinaigrette.  To combine the two, I decided to make the eggs sunny-side up and add fish sauce, lime juice, and garlic to the hot bacon fat to make the dressing.  So yeah, this is a pretty intense salad.  You have been warned.


Salade Indochinoise
serves 2

2 slices thick cut bacon, cut into lardons
1 1/2 teaspoon Thai fish sauce
1 tablespoon fresh lime juice
1/2 teaspoon cane sugar
1 garlic clove, minced
A small squirt of sriracha
2 large eggs
2 large handfuls salad greens

Add the lardons to a pan and place on medium-low heat.

While the bacon is cooking, combine the fish sauce, lime juice, sugar, minced garlic, and sriracha in a small bowl.

Once the bacon is crisp, remove from the pan and add to the fish sauce mixture.

Crack the two eggs onto the hot pan.  Cook until the egg white are just set.  Carefully remove the sunny-side up eggs onto a plate, keeping as much bacon fat as you can in the pan.

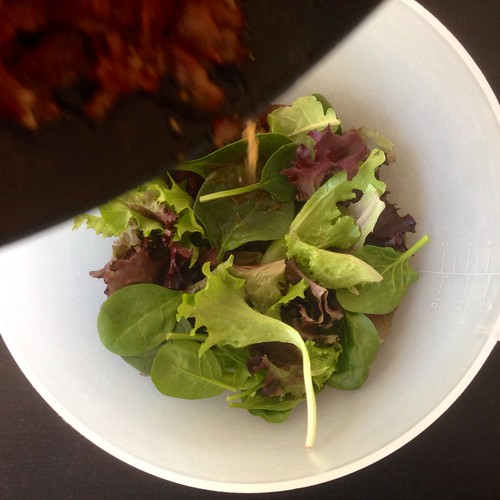
Add the fish sauce mixture back to the hot pan.  Lower the heat and swirl the pan to warm up the dressing.


Toss the dressing and salad greens together and plate.  Slide the eggs on top and serve.

The best part is breaking into the yolk and letting that glorious molten gold spill onto the plate.  Divine!


I used a spring mix that I got in my Boston Organics delivery, but next time I'd probably use a sturdier green like escarole or romaine to hold up against the heat and pungency of the dressing.  And if you like cilantro, tossing a handful in would probably be awesome.

*I guess it would be helpful to know that Indochine is the French word for the peninsula on which Thailand sits.

Next:  Flower Pavlovas
Previously:  Sticky Toffee Pudding Ice Cream
Last Year:  Tartine's Lemon Cream Tart
Four Years Ago:  Gaufres de Leige (Belgian Waffles)
Five Years Ago:  Hua Juan (Steamed Scallion Buns)

Wednesday, July 17, 2013

French Toast Face Off

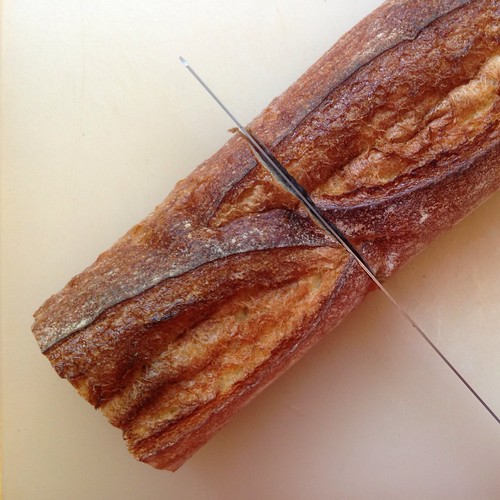
I was now down to a little over a foot-and-a-half left of my once four foot baguette, and the bread was now sufficiently stale to make French toast. But which French toast?

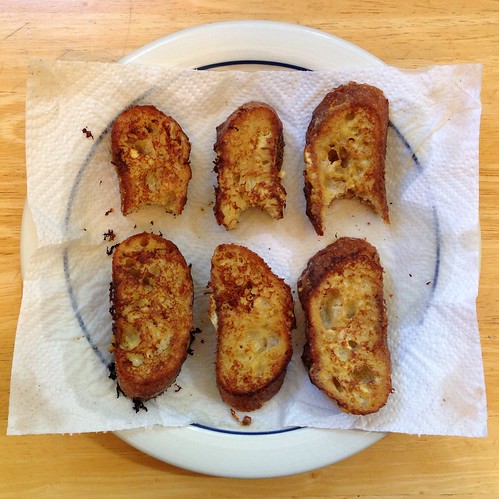
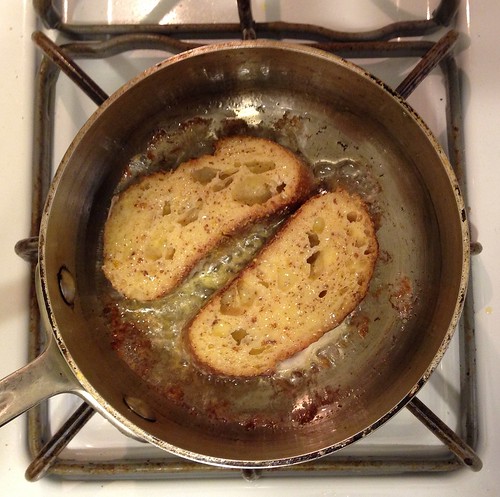
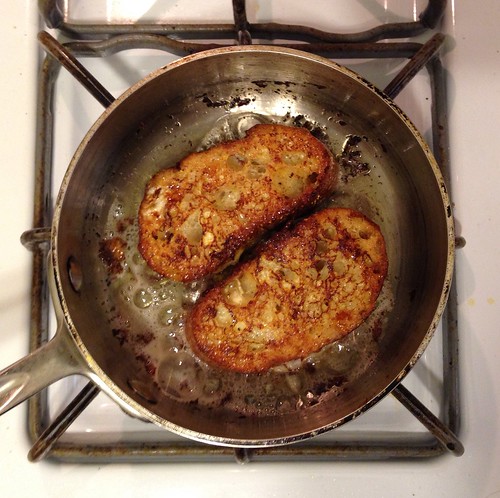
Molly from Orangette swears by frying her French toast in oil whereas the popular consensus is to use butter.  I decided to compare the two for myself, taking the extra step of browning the butter first for some added flavor.  And since I had some leftover bacon fat from making the BLTs, I figured I'd try frying some French toast in that as well.  What we have now, my friends, is a French Toast Face Off.


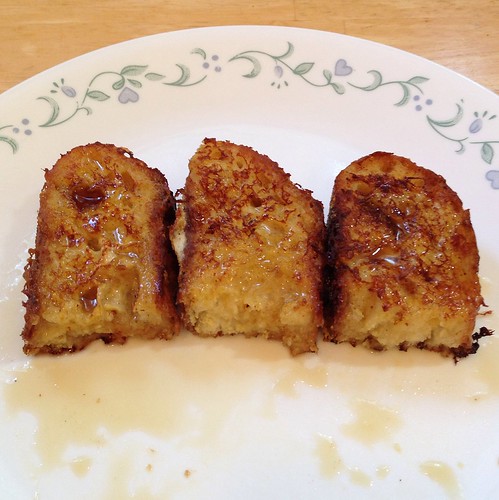
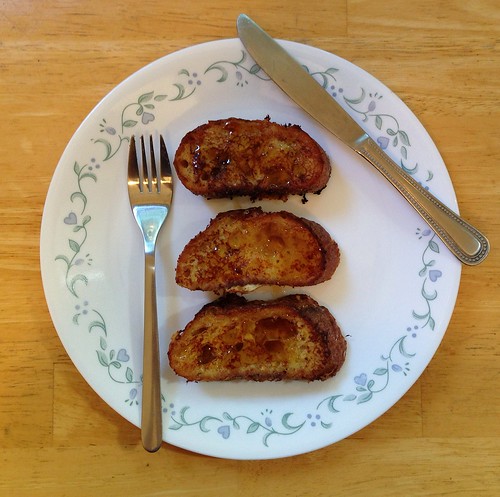
As you can see, isn't a lot of difference in the three visually.  But once I started eating them, there was a world of a difference.  The browned butter-fried French toast was the most unremarkable of the three.  It didn't taste bad, it just didn't shine, and I couldn't even really taste the browned butter (although that might just be me because I can almost never taste browned butter).


The winner of the three in terms of flavor was definitely the bacon fat-fried French toast.  This may come as no surprise since I love bacon, and you could definitely taste the smoky, salty flavor come through in full force here.


But the overall winner for me was the oil-fried French toast.  This was the only French toast that developed a really nice crispy crust while retaining a soft, custardy interior.  For me, texture trumped flavor.  And if I really wanted bacon flavor with my French toast, I could just, you know, eat it with bacon.  =)


French Toast (adapted from Orangette)
Serves 1-2

1 egg plus 1 egg yolk
1/2 cup milk
1/2 tablespoon sugar
1/2 teaspoon vanilla extract
1/8 teaspoon salt
Pinch of freshly ground nutmeg
6 to 8 day-old baguette slices, cut on the diagonal, about 3/4 inch thick
Canola or other flavorless oil
Pure maple syrup, for serving


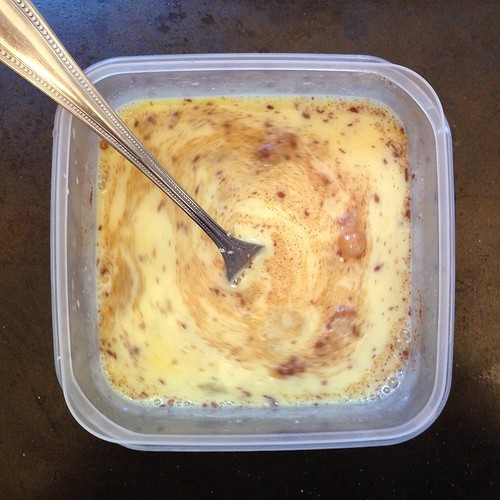
Whisk together the first five ingredients in a wide, shallow bowl.

Place a large skillet, preferably cast-iron, over low to medium heat, and add enough oil to completely cover the bottom of the skillet.


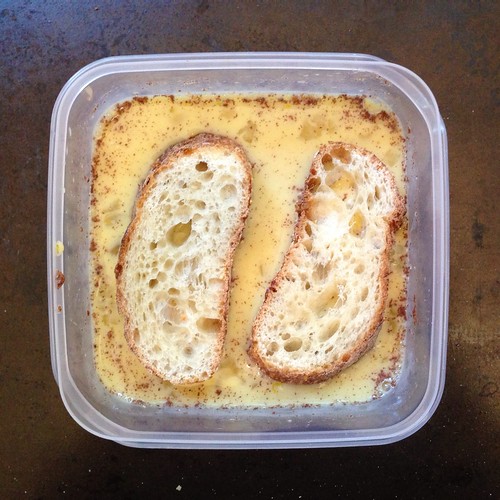
Two or three at a time, add the bread slices to the egg mixture in the bowl, allowing them to rest for a minute or two on each side. They should feel heavy and thoroughly saturated, but they should not be falling apart.


When the oil is hot, place the slices in the skillet. They should sizzle a bit, and the oil should bubble lightly around the edges of the bread; take care, however, that the oil is not too hot, lest the egg mixture burn.


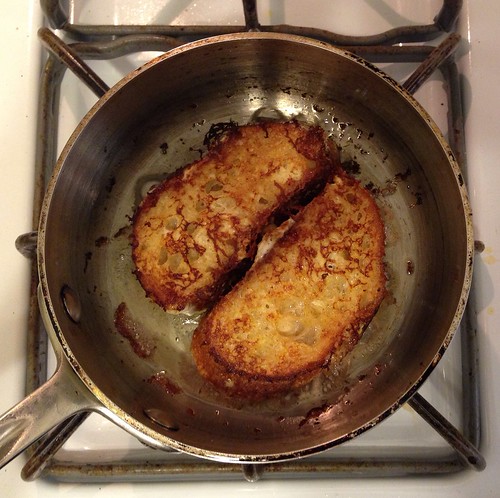
Cook until the underside of each slice is golden brown, about 2 minutes. Turn the bread, and cook until the second side is golden, another 2 minutes or so.


Remove the bread from the skillet to a plate lined with a paper towel, allow to rest for 30 seconds or so, and serve immediately—with maple syrup, of course.

Next:  Vanilla Sugar Lemonade and Mint Lemonade Slushies
Previously:  Panzanella

Thursday, July 11, 2013

BLT with Avocado and Basil Mayonnaise


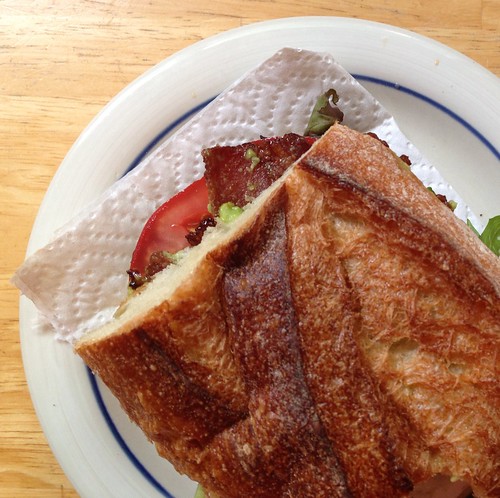
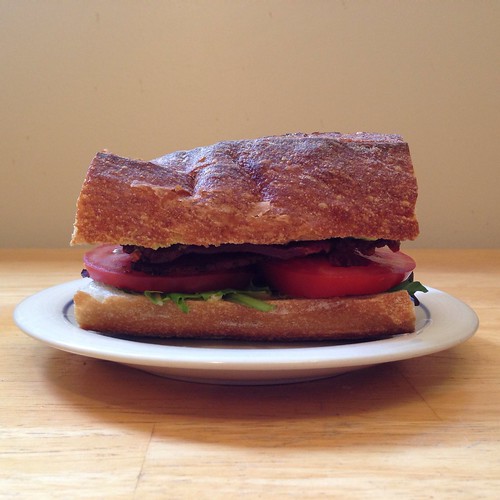
Half a foot down, three and a half feet of bread to go!  The next thing I made with the baguette was a BLT with avocado and basil mayonnaise, inspired by this recipe from The Kitchn.  Coincidentally, that same day there was a post on The Kitchn about how to cook perfect bacon on the stovetop by adding enough water to cover the bottom of the pan.

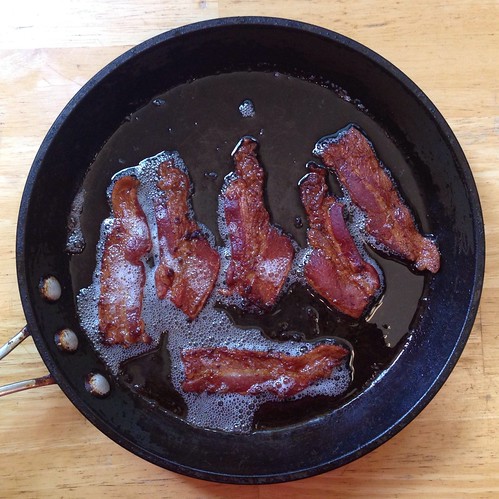
I tried the method, and it worked really well!  The water keeps the temperature of the bacon at a relatively low 212°F until it boils away so that the fat can render out without splattering.  Then once the water has evaporated the temperature in the pan climbs so that the bacon can brown and crisp up.  You can (and should!) save the bacon fat after the bacon is done to use in other recipes (stay tuned for French toast cooked in bacon fat).

The original recipe for the "California" BLT called for using plain slices of avocado in the sandwich, but I decided to mash half an avocado along with some salt and lemon juice to make a really simple guacamole and used that as a spread on the bread instead.  Heehee, that rhymed.


BLT with Avocado and Basil Mayonnaise (adapted from The Kitchn)
makes 2 sandwiches

For the Basil Mayonnaise:
2 tablespoons packed basil leaves
1 tablespoon olive oil
1/4 teaspoon lemon juice
1 small garlic clove, chopped
Zest of half a lemon
1/4 cup mayonnaise


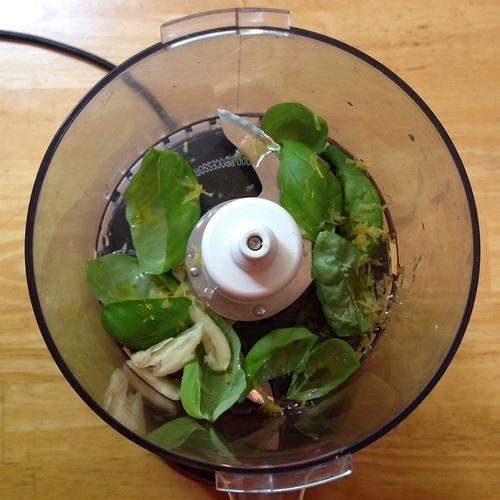
In a small food processor, combine the basil, olive oil, lemon juice, garlic and lemon zest. Process until finely chopped and relatively smooth, scraping down the sides of the bowl occasionally. (Large, tough basil leaves will probably stay fairly chunky, which is fine.)


Place the mayonnaise in a small bowl and whisk in the basil mixture until thoroughly combined.

For the BLT:
1/2 avocado
1 teaspoon lemon juice
A pinch of salt
6 slices bacon
12 inch baguette, cut in half and split horizontally
1 tomato, the best you can find
2 handfuls chopped lettuce
1/4 cup Basil Mayonnaise


Scoop out the avocado into a small bowl.  Add the lemon juice and salt and mash together.  Set aside.


In a large, unheated skillet, add the bacon and enough water to completely cover the bottom of the pan.  Turn the heat to medium and allow the water to come to a boil.  Once the water has evaporated, continue to cook the bacon until the bottom has browned.  Flip the bacon using tongs and cook until crisp.  Drain on a plate lined with paper towels. 


Slice the tomatoes.


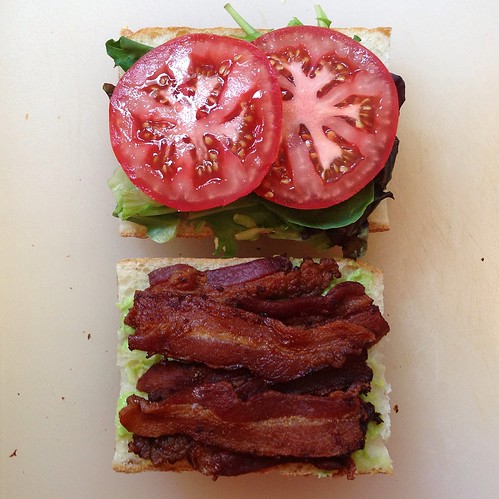
Spread the basil mayonnaise on the bottom half of bread.  Top with the lettuce, tomato, and bacon. 


Spread the mashed avocado on the other half of bread and place on top.  Enjoy!


I really liked how the chewy texture of the baguette went well with the crispiness of the bacon and lettuce and the creaminess of the avocado.  You can make this with plain white sandwich bread, too, but then I'd suggest toasting the bread so that it can stand up to all the fillings.

Tuesday, June 11, 2013

Spaghetti Carbonara for One


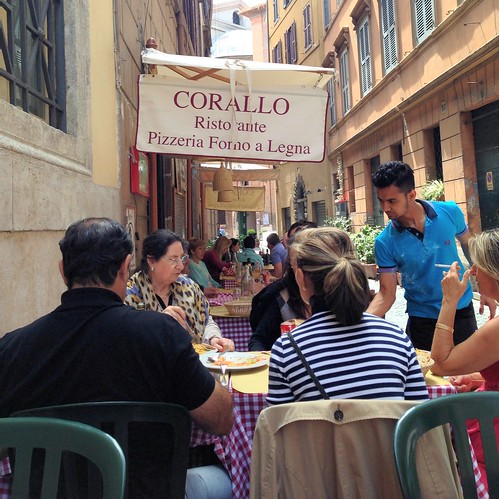
Our first stop in Rome was the Piazza Navona, known for its beautiful Bernini fountains, artists plying their wares, and the overpriced cafes lining the square.  Even though we were hungry, I didn't want to just settle for a potential tourist trap, so I asked one of the artists for his recommendation for lunch.


Him and his friends pointed us towards Ristorante Corallo, just a couple of blocks away from the piazza.  He mentioned that it was better than "baffeto" which at the time I thought meant "buffet" but later on realized was a reference to Pizzeria Baffeto, often listed as one of the best places for pizza in Rome and right around the corner from Corallo.


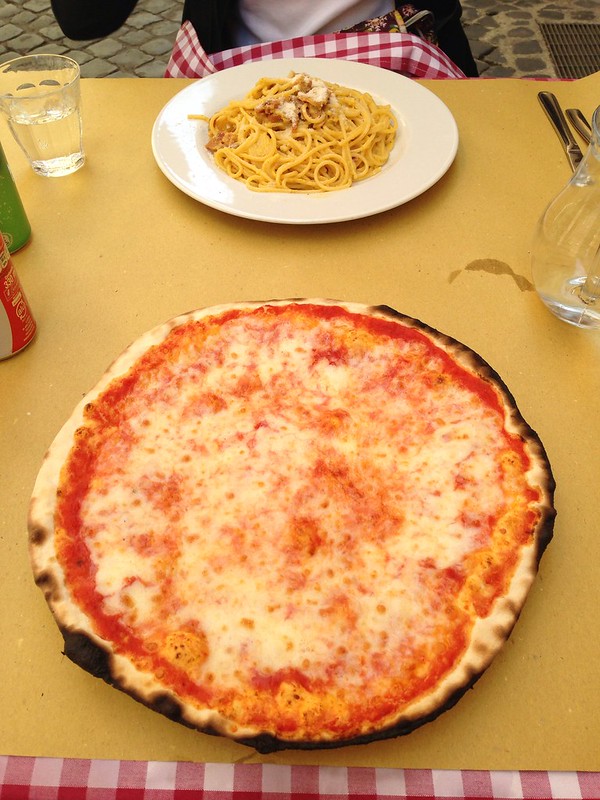
I really wanted to try a pizza in Rome, which is known for having an ultra-thin crust, so I ordered a pizza margherita to share.  Seeing another Roman specialty on the menu, I suggested that Ces order the spaghetti carbonara for us to share as well.  The pizza was good, although I noticed a distinct lack of basil.  It came without basil when I ordered it from a different restaurant the next day, too, so I guess that's just how pizza margherita is served in Rome.


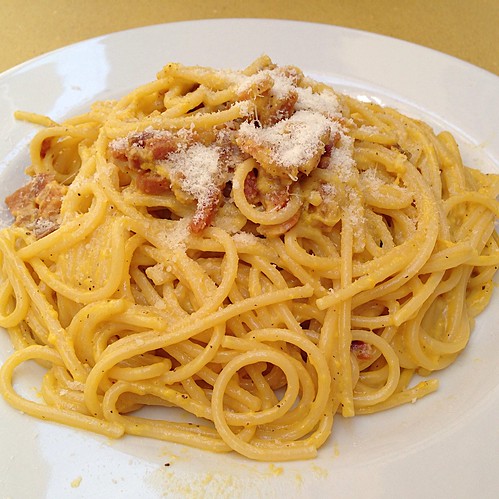
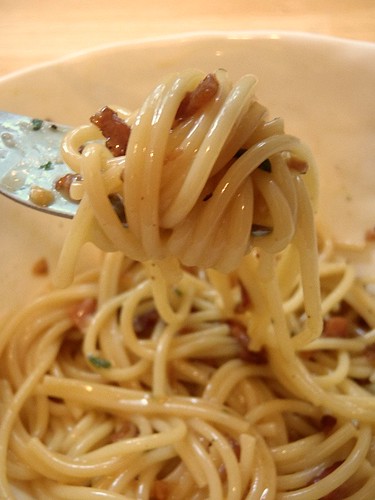
I knew carbonara meant a bacon and egg sauce, but I was unprepared for how it would actually taste.  It was oh so silky and creamy without actually containing any cream, but the highlight was definitely the bacon.  It tasted different from the bacon I was used to having back in the States.  I knew I had to try to recreate the dish at home, but lamented to myself that I probably wouldn't be able to find the same type of bacon there.


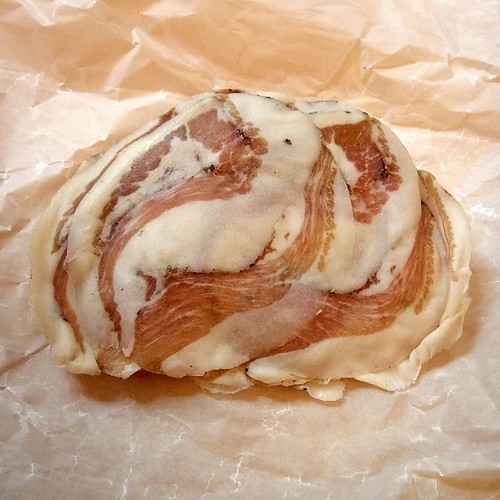
After a little more research, I found out that the type of meat used was actually guanciale, made from cured pig jowl vs. traditional bacon, which is made from pork belly.  Luckily in Boston, there are quite a few places that carry guanciale including Formaggio Kitchen and Savenor's.  If you can't find it, you can try substituting pancetta, and if you can't find that, bacon.

On a recent night, I was really craving some spaghetti carbonara for myself so I googled "single serving carbonara" and this was the first link returned.  It looked simple enough and made a pretty tasty dish, but I modified it just a little the second time I made it so it was more like what I remembered tasting in Rome.

There's a lot I like about this recipe:  it falls under the category of comfort food and comes together rather quickly with a minimum of ingredients, most of which you probably already have on hand.  You do need to serve and eat this immediately, but since you're just making it for yourself, that's not a problem!


Spaghetti Carbonara for One (adapted from Greg's Food)
makes 1 serving, duh

2 slices guanciale, chopped
1 clove garlic, minced
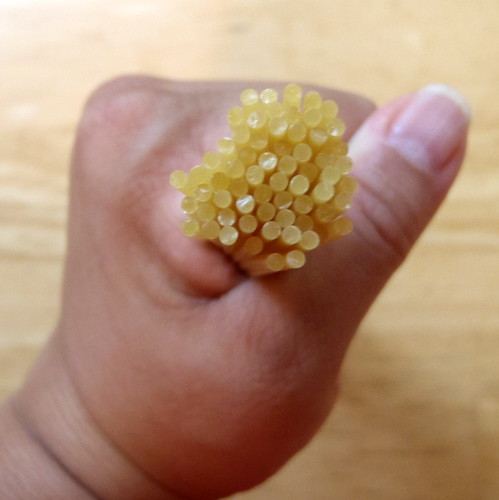
1 serving uncooked spaghetti (for me that's a between a dime and a nickel's circumference of pasta)
1 teaspoon olive oil 
1 egg
1 tablespoon fresh grated parmesan, plus more to taste
Salt and pepper to taste
Chopped parsley (optional)

Bring a pot of salted water to boil.  In the meantime, chop the guanciale and mince the garlic.


Once the water has reached a rolling boil, add the spaghetti and cook for 9 minutes, stirring occasionally so the pasta doesn't stick to itself.


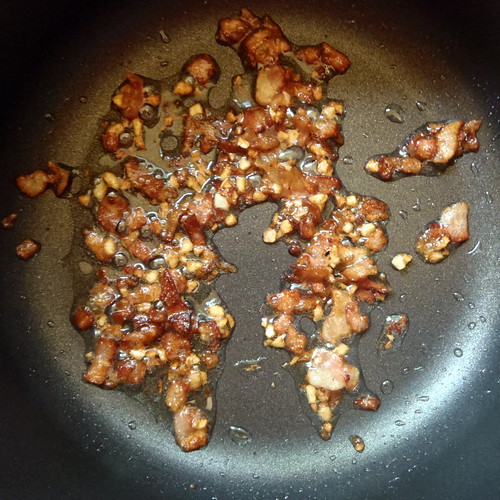
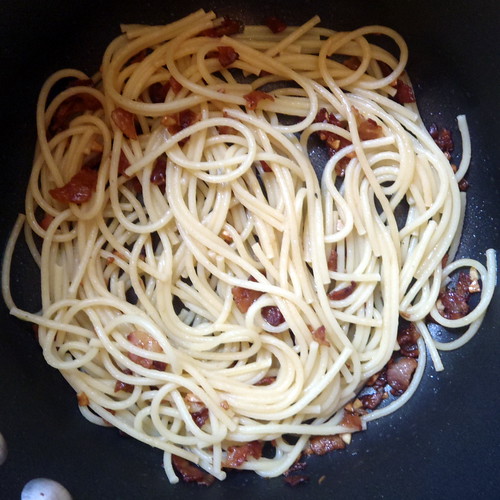
Add the guanciale to an unheated saucepan and place on medium heat.  Once some fat has rendered out and the guanciale is starting to look translucent, add the olive oil and minced garlic.  Continue to cook until browned but not burnt, lowering the heat if you have to.


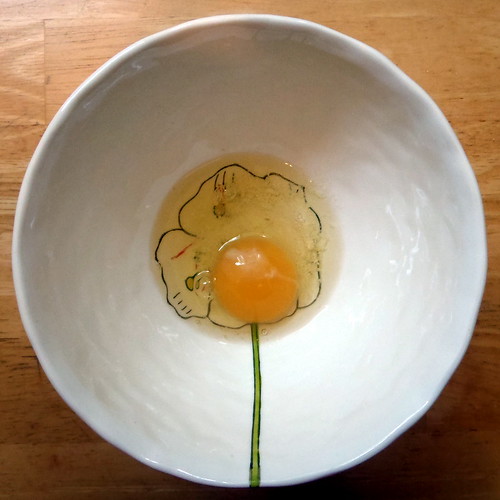
In the meantime, break an egg into a large soup bowl.  Add the tablespoon of parmesan cheese and whisk until well mixed.


Once the spaghetti is done, use a pasta scoop to transfer the pasta to the saucepan with the bacon and garlic in it, letting most of the water drain off while you do so.  Lower the heat under the saucepan and toss the pasta around to cover it with the hot grease.


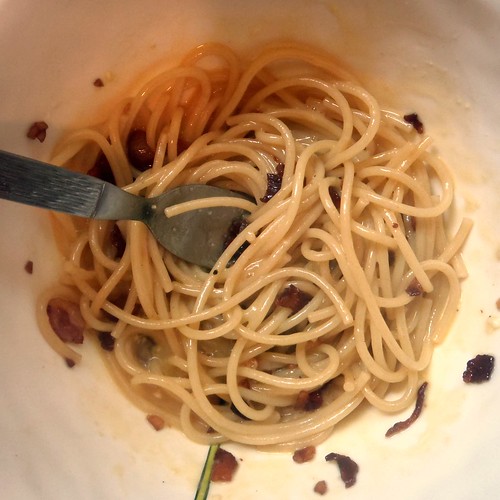
Whisk the egg and cheese again real quick and then carefully add the contents of the saucepan into the bowl.  Start tossing the spaghetti with the egg mixture to cook it without curdling.


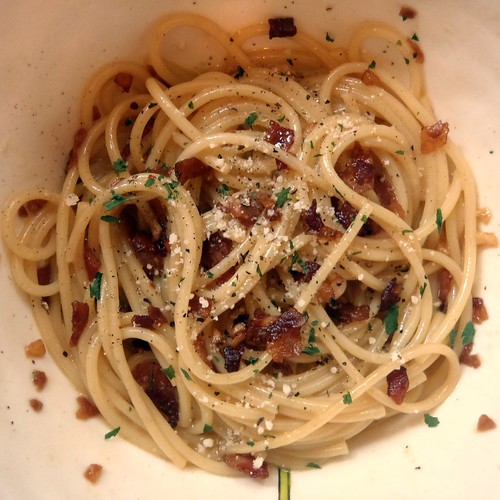
Once the sauce comes together, add salt and pepper to taste and top with any guanciale left in the saucepan and additional parmesan and/or parsley if you like.  If the sauce is too thick for your liking, add a little of the pasta water to thin it out.  Serve immediately.

Next:  Bucatini all'Amatriciana
Previously:  Rosemary Honey & Lemon Frozen Yogurt
Four years ago:  Kale Chips