Showing posts with label vegan. Show all posts

Wednesday, November 26, 2014

Jeni's Crème Sans Lait (Dairy-Free Ice Cream)

https://www.flickr.com/photos/joyosity/15872847295/

I don't think I will ever stop raving about Jeni's ice cream recipes.  I've made her Backyard Mint Ice Cream with Dark Chocolate Freckles, her Sweet Corn Ice Cream with Black Raspberry Swirl, her Pluot Lambic Sorbet, her Cranberry Royale Sorbet, and her Salty Vanilla Frozen Custard with great success.  The best part, though, is that it's really easy to adapt her ice cream base to make your own creations!  I've made a Tim Tam Slam ice cream (Tim Tams in a coffee ice cream), a Coconut Ice Cream with Mango Passion Caramel Swirl, a Rosemary Honey and Lemon Frozen Yogurt, a Matcha Green Tea Ice Cream with Match Mochi Bits, and a Sticky Toffee Pudding Ice Cream all using her ice cream base recipe.

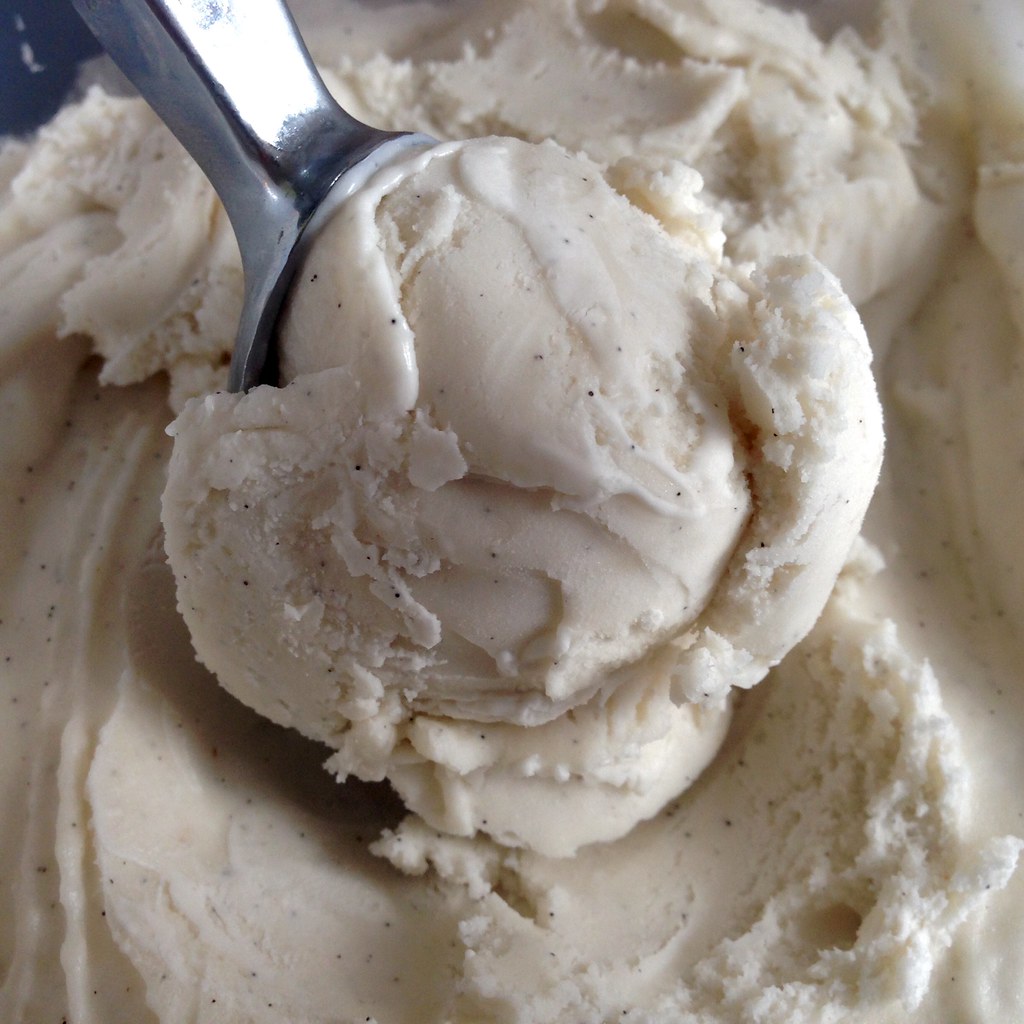
I've experimented with making a vegan ice cream before, and found it to be pretty good, but I was excited to see that Jeni had included her own version of a vegan ice cream in her new book, Jeni's Splendid Ice Cream Desserts (thanks for the housewarming gift, Ellen!).  She uses a combination of almond milk, tapioca starch, raw cashews, and coconut oil in the Crème Sans Lait (French for cream without milk) to simulate the texture of frozen cream and milk.  I tweaked the recipe so that there were less containers to wash; with these directions you end up only using one saucepan and a blender to make the base!

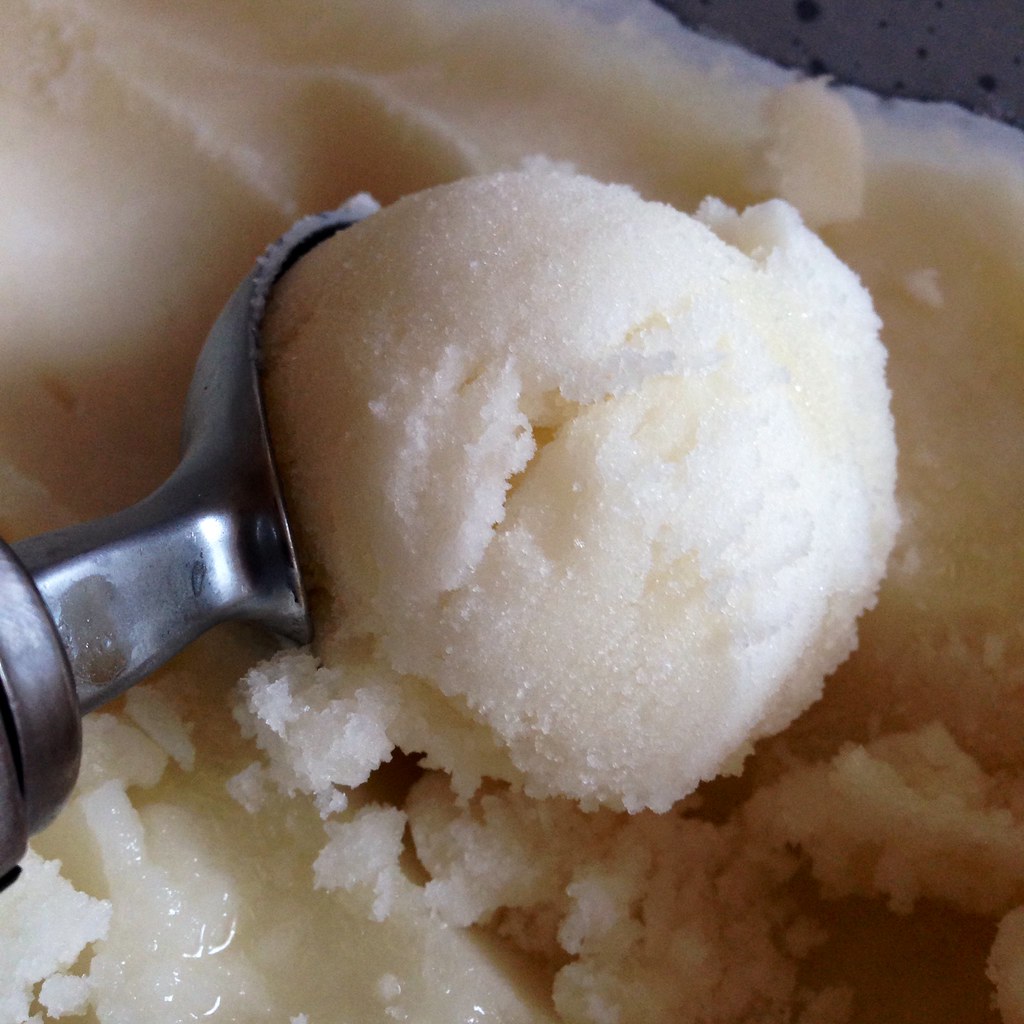
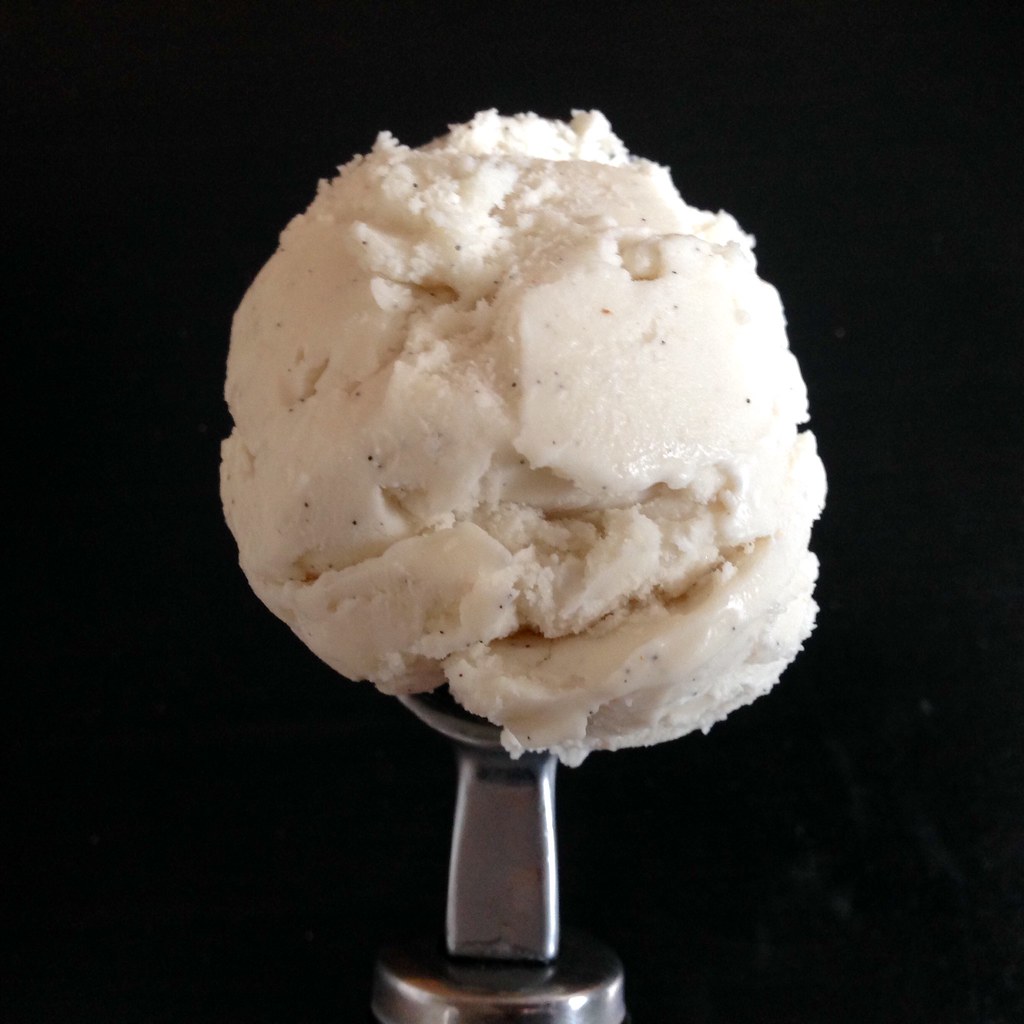
When you taste it, you're going to notice immediately that it's not real ice cream.  But, it is the best vegan ice cream I've ever had.  It's incredibly creamy, which I think comes from the coconut oil, but it doesn't taste like coconuts or cashews or almonds; it just tastes like real vanilla.  I love that it scoops and melts like real ice cream, and it goes great with pies, cakes, and all the other desserts you'll have for Thanksgiving!
https://www.flickr.com/photos/joyosity/15686829119/

Jeni's Crème Sans Lait (Dairy-Free Ice Cream) from Jeni's Splendid Ice Cream Desserts
makes about 1 quart

2 3/4 cups almond milk, divided
2 tablespoons tapioca starch
1/2 cup raw cashews
1 1/4 cups refined coconut oil, at room temperature
2/3 cup sugar
1/3 cup light corn syrup
1 vanilla bean, split, seeds scraped out, seeds and bean reserved

Pulverize the raw cashews into a very fine paste in a good blender.  Add the coconut oil and blend until combined. Fill a large bowl with ice and water.

Combine the 2 1/2 cups of almond milk, the sugar, corn syrup, and vanilla seeds and bean pod in a 4-quart saucepan and heat over medium-high heat until bubbling.  Mix the remaining 1/4 cup of almond milk with the tapioca starch in the measuring cup you used to make a smooth slurry.

Drizzle the tapioca starch slurry into the bubbling almond milk mixture, and stir well. Bring the mixture to a boil over medium-high heat, reduce to a simmer, and let simmer for 30 seconds until the mixture thickens slightly. Remove from the heat.

Remove the vanilla bean and pour the mixture into the blender with the cashews and coconut oil. Blend on high for 3 minutes to homogenize. Then pour the mixture into a 1-gallon Ziploc bag and submerge the sealed bag in the ice bath. Let stand, adding more ice as necessary, until cold, about 30 minutes.

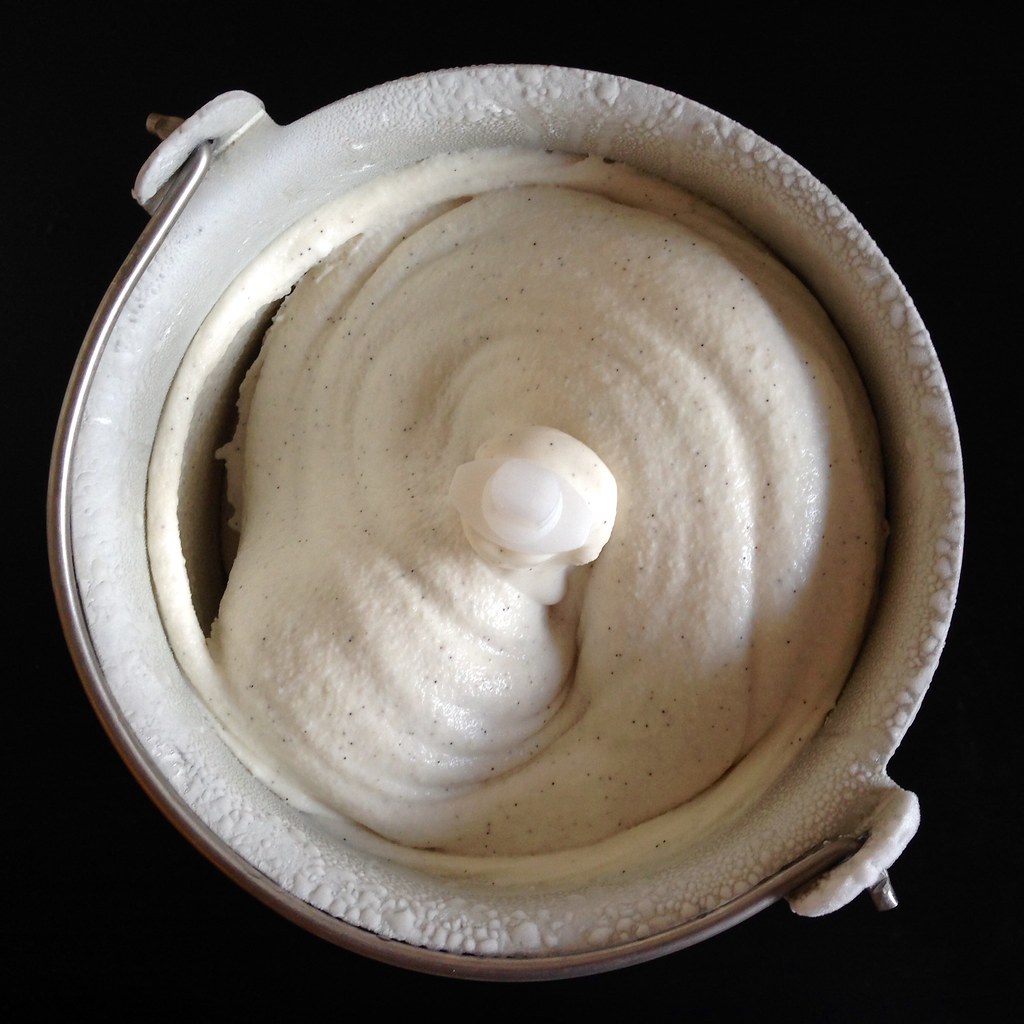
Remove the frozen canister from the freezer, assemble your ice cream machine, and turn it on. Pour the crème base into the canister and spin until thick and creamy. Pack the crème into a storage container. Press a sheet of parchment directly against the surface, and seal with an airtight lid. Freeze in the coldest part of your freezer until firm, at least 4 hours.
https://www.flickr.com/photos/joyosity/15872203882/

Next:  Pull-Apart Thanksgiving Leftover Stuffed Bread
Previously:  Cranberry-Port Gelée
Last Year:  Cheese Fondue Stuffed Roasted Pumpkin
Two Years Ago:  Ramen Cabbage Salad
Five Years Ago:  Apple-Pear-Cranberry Crisp

Monday, July 28, 2014

Ginger Beer Sherbet

How do you pronounce the word "sherbet"?  I think I've always thought it was "sher-bert" but one day I realized there's only one "r" in the word.  Anyways, I think this is the first sherbet I've ever made, and it's not even what I would call a real sherbet.  To me, a sherbet is just a sorbet with milk.

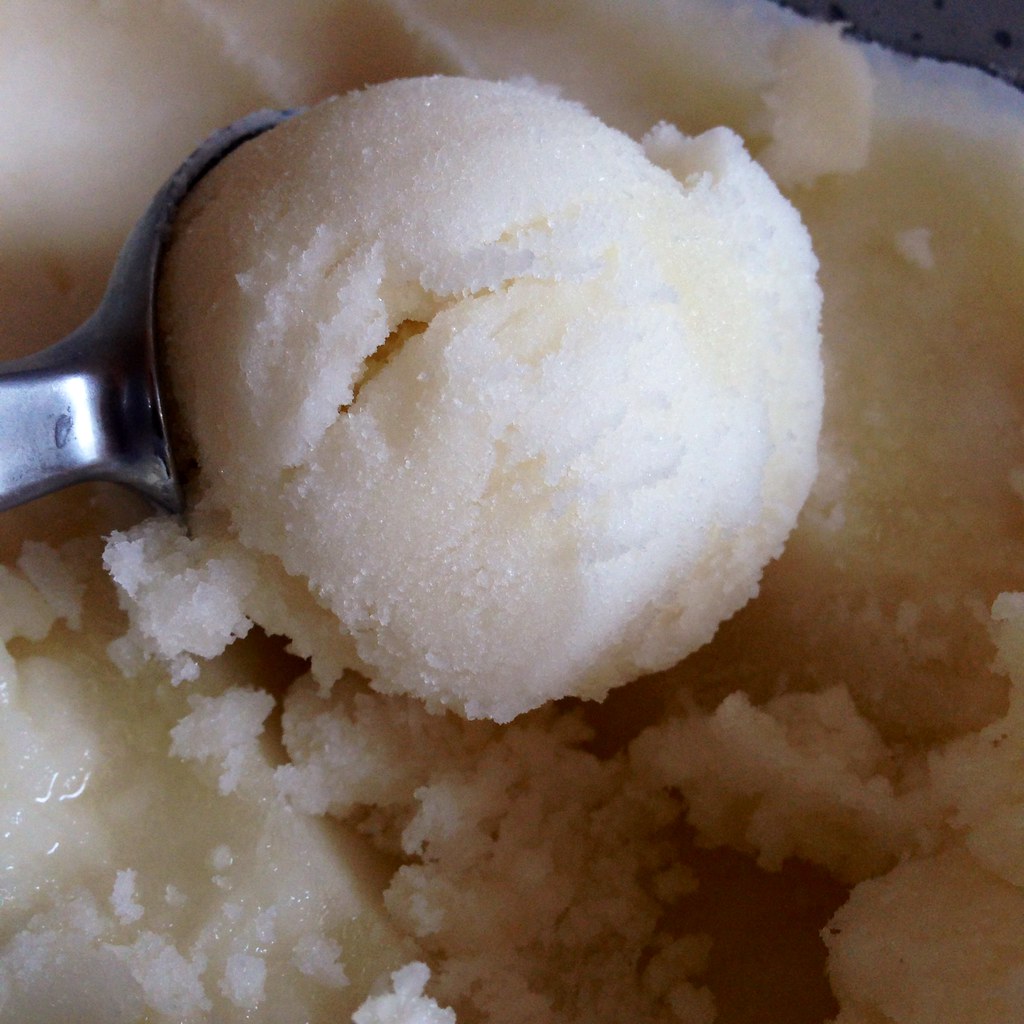
This is a ginger beer sorbet made with some coconut milk added, and guys, it's amazing.  I started off meaning to make a Dark and Stormy sorbet based on this recipe from Serious Eats, but then I forgot about adding the rum at the end.  I also didn't add the freshly grated ginger or the lime zest, and it's still awesome.  The frozen ginger beer is zippy and refreshing, and the coconut milk just rounds it out slightly with a light creaminess and nuttiness.  I served this after the New England clambake, and it was kind of just the best thing ever.  ^_^

https://www.flickr.com/photos/joyosity/14654133444/

Ginger Beer Sherbet (adapted from Serious Eats)
makes a generous quart

24 oz. ginger beer
1/2 cup turbinado or natural sugar
3/4 teaspoon kosher salt
1 cup coconut milk

https://www.flickr.com/photos/joyosity/14469930407/

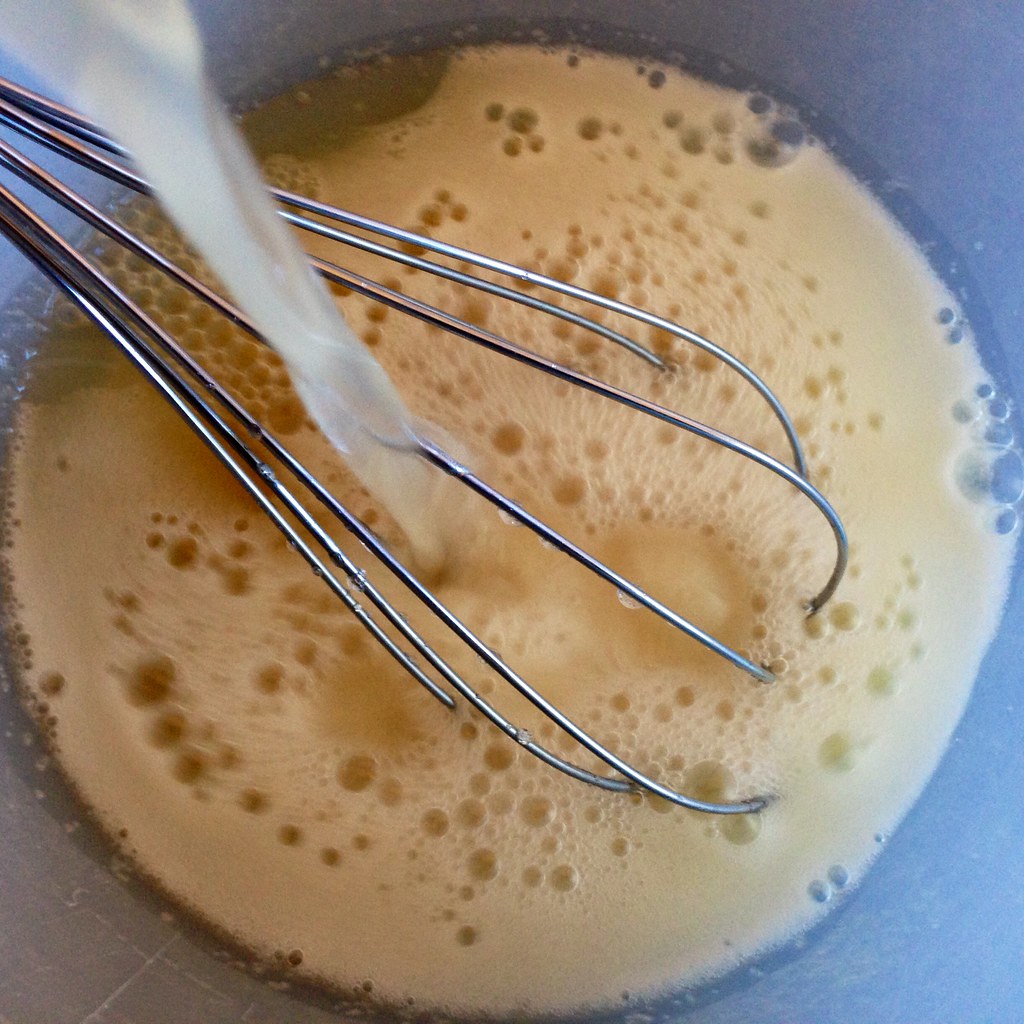
Whisk all the ingredients together until the sugar dissolves.  Transfer to the refrigerator and chill thoroughly for several hours.

https://www.flickr.com/photos/joyosity/14655978992/

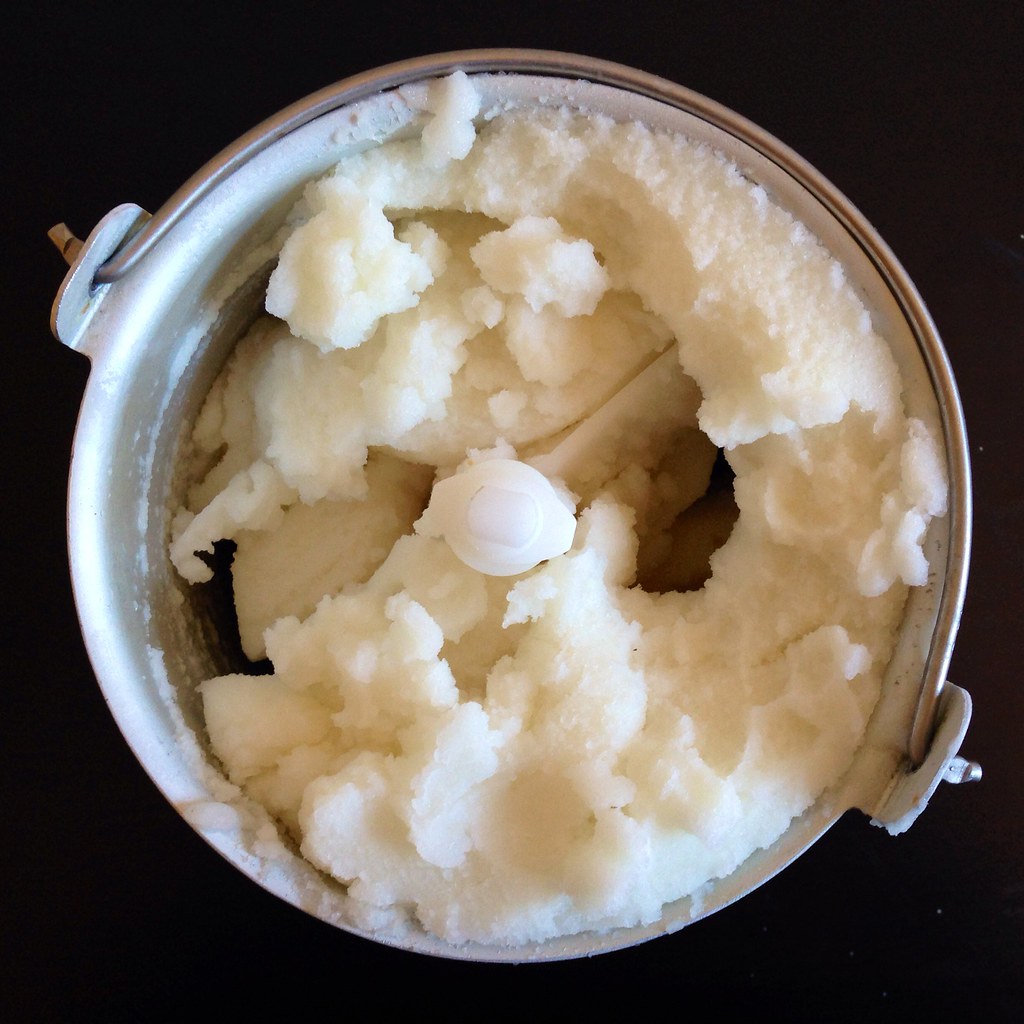
Churn in your ice cream maker according to the manufacturer's instructions.  Transfer to an airtight container and freeze in the freezer until hard.

https://www.flickr.com/photos/joyosity/14469730779/

Next:  Strawberry Pop Tart Slab Pie
Previously:  New England Clambake at Home
Last Year:  Oven-Fried Mac 'n' Cheese, Backyard Mint Ice Cream with Dark Chocolate Freckles, Carrot Ginger Salad Dressing

Friday, June 13, 2014

Sesame-Crusted Tofu

https://www.flickr.com/photos/joyosity/14405233634/

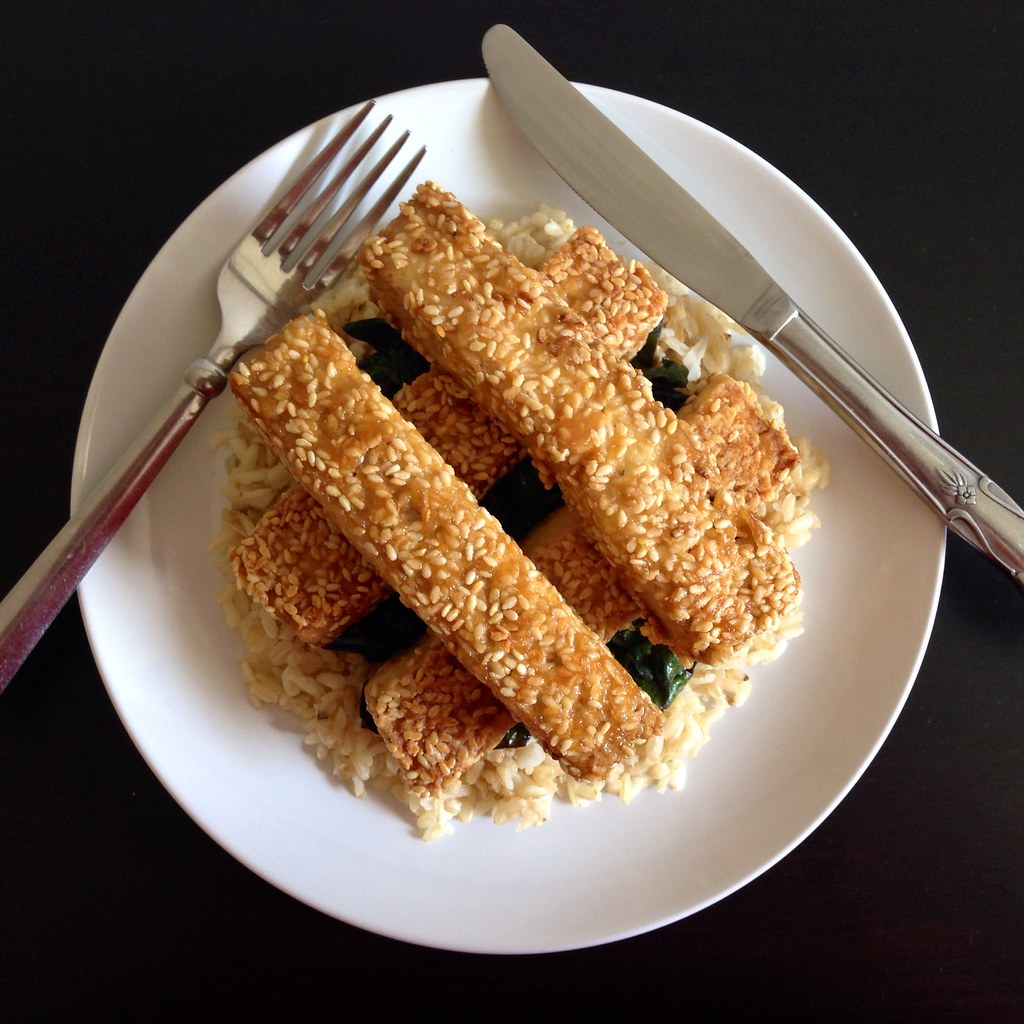
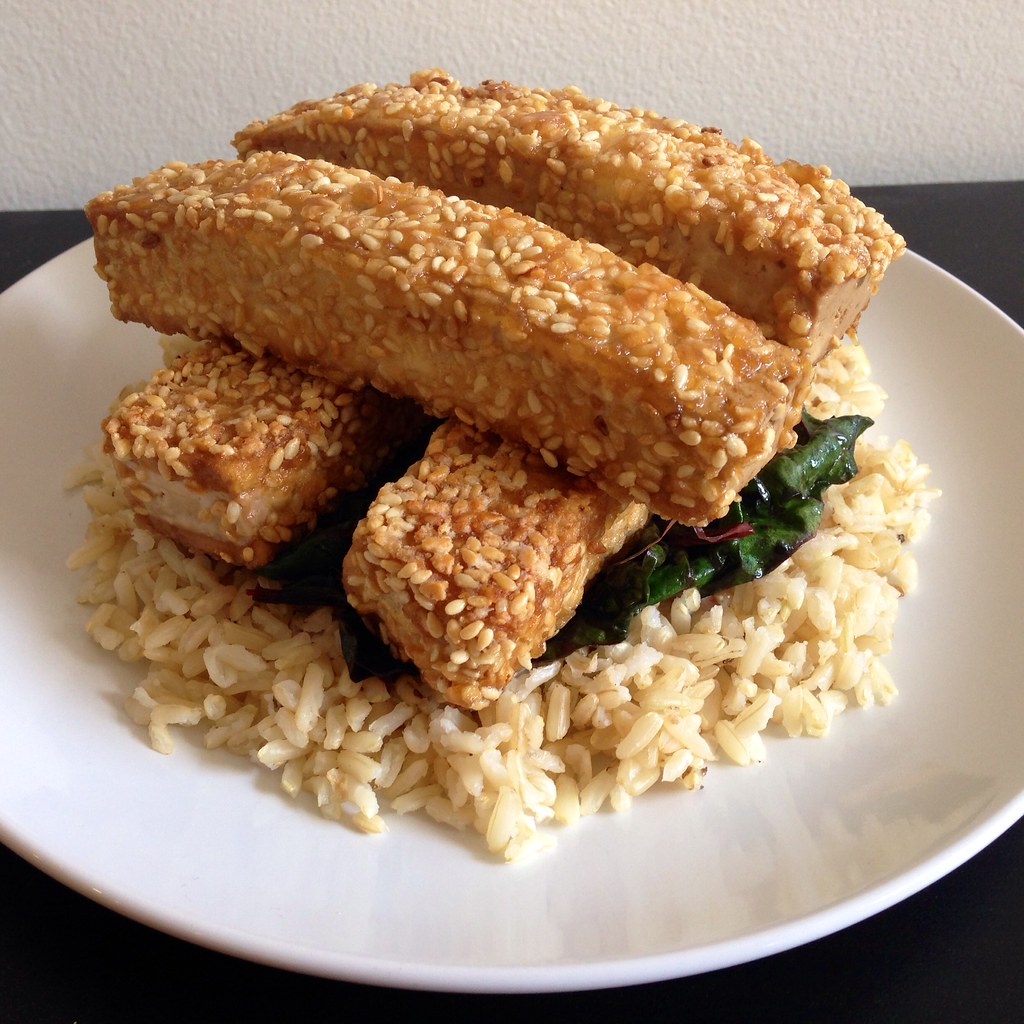
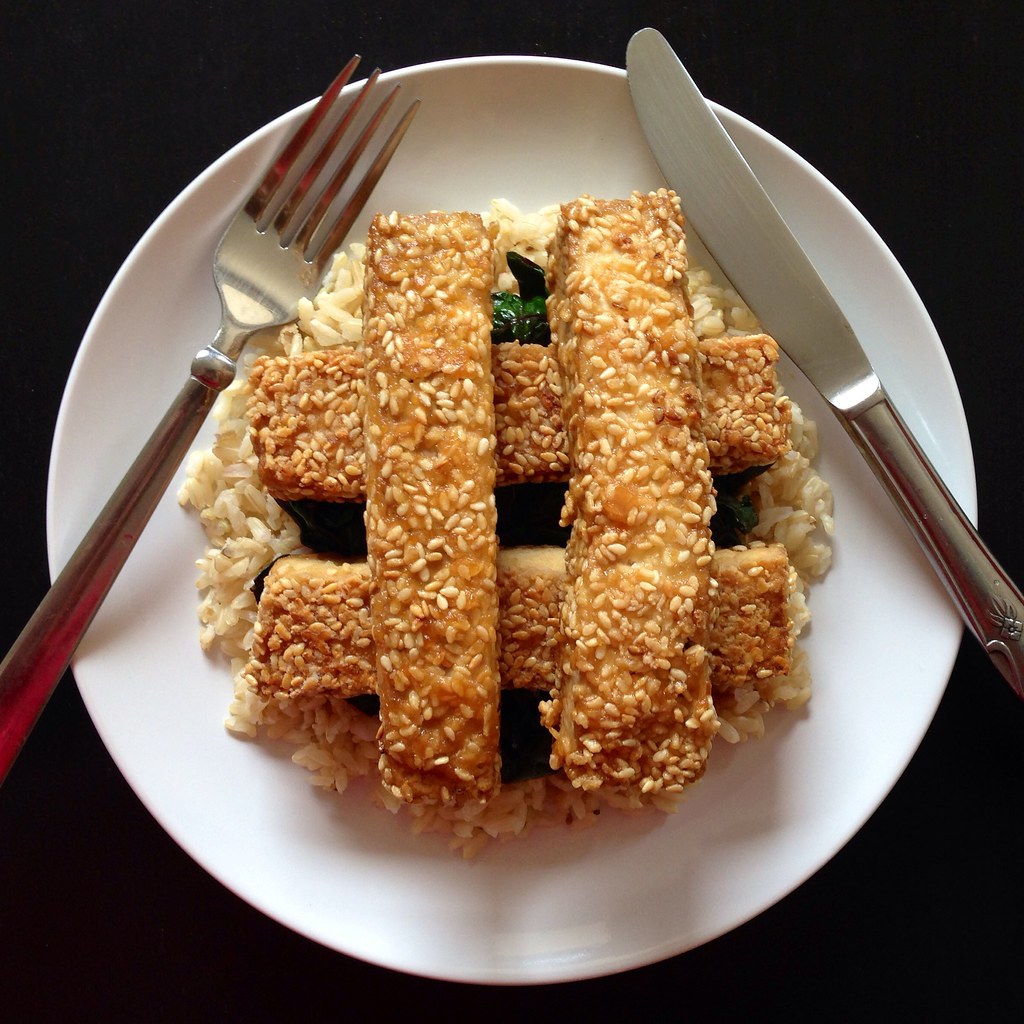
Back in grad school, I had a friend who was a vegan, and I was so fascinated (and honestly, a little horrified) by the concept.  But then she taught me how to make this dish, and the first time I tasted it I realized it's possible to be vegan and still eat really yummy things.

The marinated tofu is so moist and full of flavor you really don't need an extra sauce to go with it, and the sesame and cornstarch crust adds a nice crispy texture.  I like to serve this over brown rice with some sauteed greens.

The only things I changed to her simple recipe was to press the tofu first so that it's a little sturdier and can absorb more of the soy sauce and orange juice marinade.  I also like to add a little sesame oil to the marinade to bring out the sesame flavor a little more.  If I had had black sesame seeds, I would have used a 1:2 mix of black to white sesame seeds in the crust for more visual contrast.

https://www.flickr.com/photos/joyosity/14405229834/

Sesame-Crusted Tofu
serves 2-4

1 block firm tofu
1/4 cup soy sauce
1/4 cup orange juice
1/2 teaspoon sesame oil (optional)
5 tablespoons sesame seeds
5 tablespoons cornstarch
Vegetable oil, for frying

Drain the tofu and set on a plate lined with a couple of layers of paper towels.  Place another couple layers of paper towels on top and another plate on top of that.  Add some weights (I usually use some canned goods) to the top plate and press the tofu for 30 minutes. replacing the paper towels after 15 minutes.

Discard the wet paper towels, and slice the tofu half and then into 1" wide sticks.  

Combine the soy sauce, orange juice, and sesame oil in a large Ziploc bag and add the tofu sticks.  Remove as much air as possible from the bag and seal.  Marinate in the refrigerator for at least an hour or overnight.

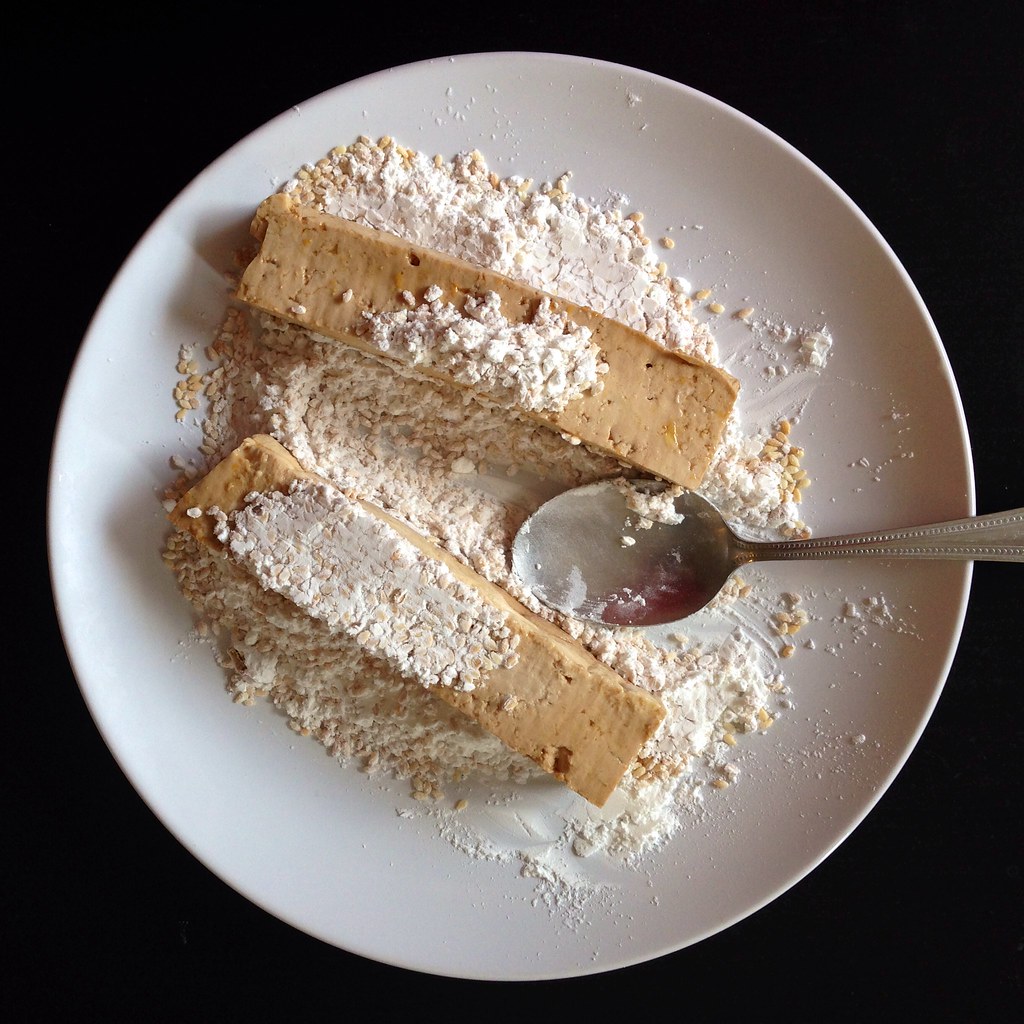
Mix 2 tablespoons each of sesame seeds and cornstarch in a small plate.  Add enough oil in a small saucepan to reach 1/4" height and start heating over medium heat.

https://www.flickr.com/photos/joyosity/14402986251/

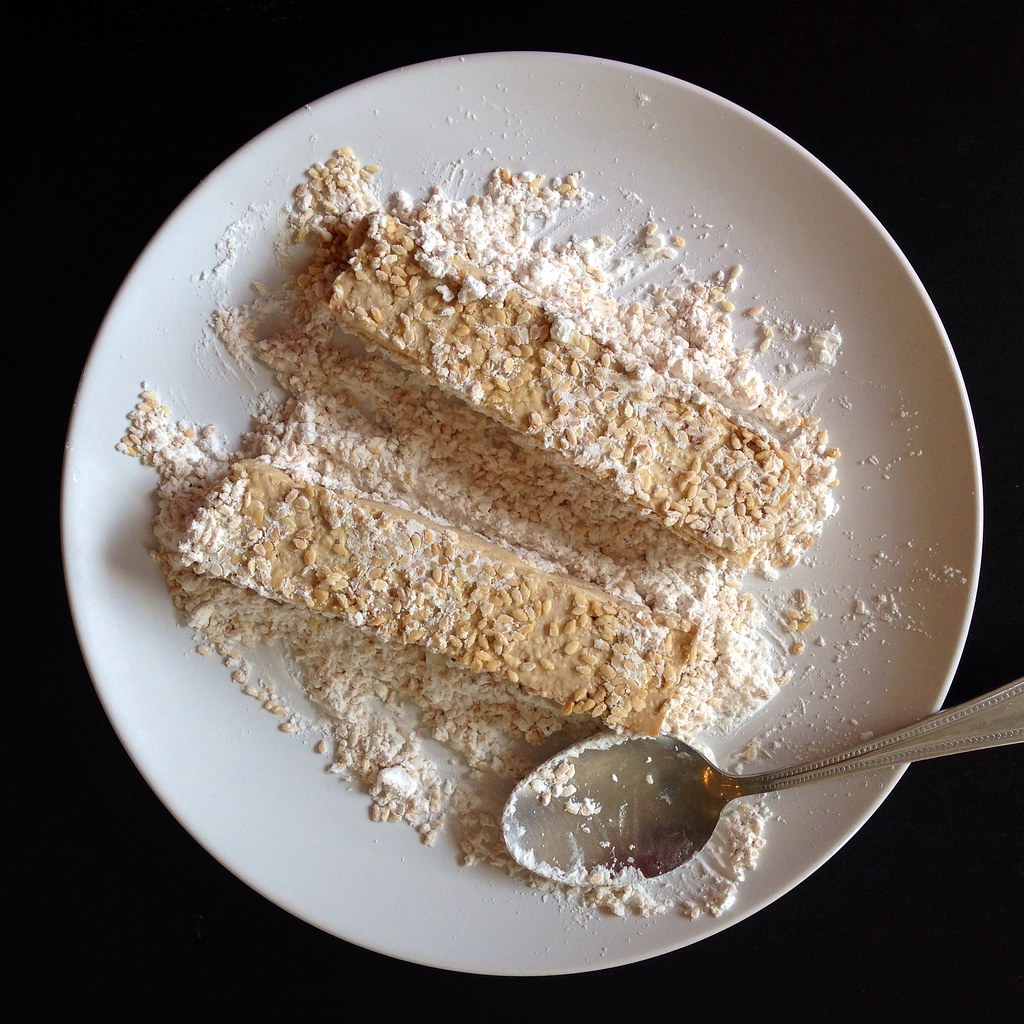
Remove a few tofu sticks from the bag and coat all over with the sesame seed mixture.

https://www.flickr.com/photos/joyosity/14405225964/

Fry in batches until golden brown on all sides.  Add more sesame seeds and cornstarch to the plate as needed to continue coating the tofu.  When done, remove from the pan and let drain on a paper towel-lined plate.

https://www.flickr.com/photos/joyosity/14219900447/

Next:  Orange and Fennel Salt-Baked Salmon
Previously:  Vegan Almond Joy Ice Cream and Bon Bons
Last Year:  Bucatini all'Amatriciana
Five Years Ago:  Bulgogi Dumplings

Monday, June 9, 2014

Vegan Almond Joy Ice Cream and Bon Bons

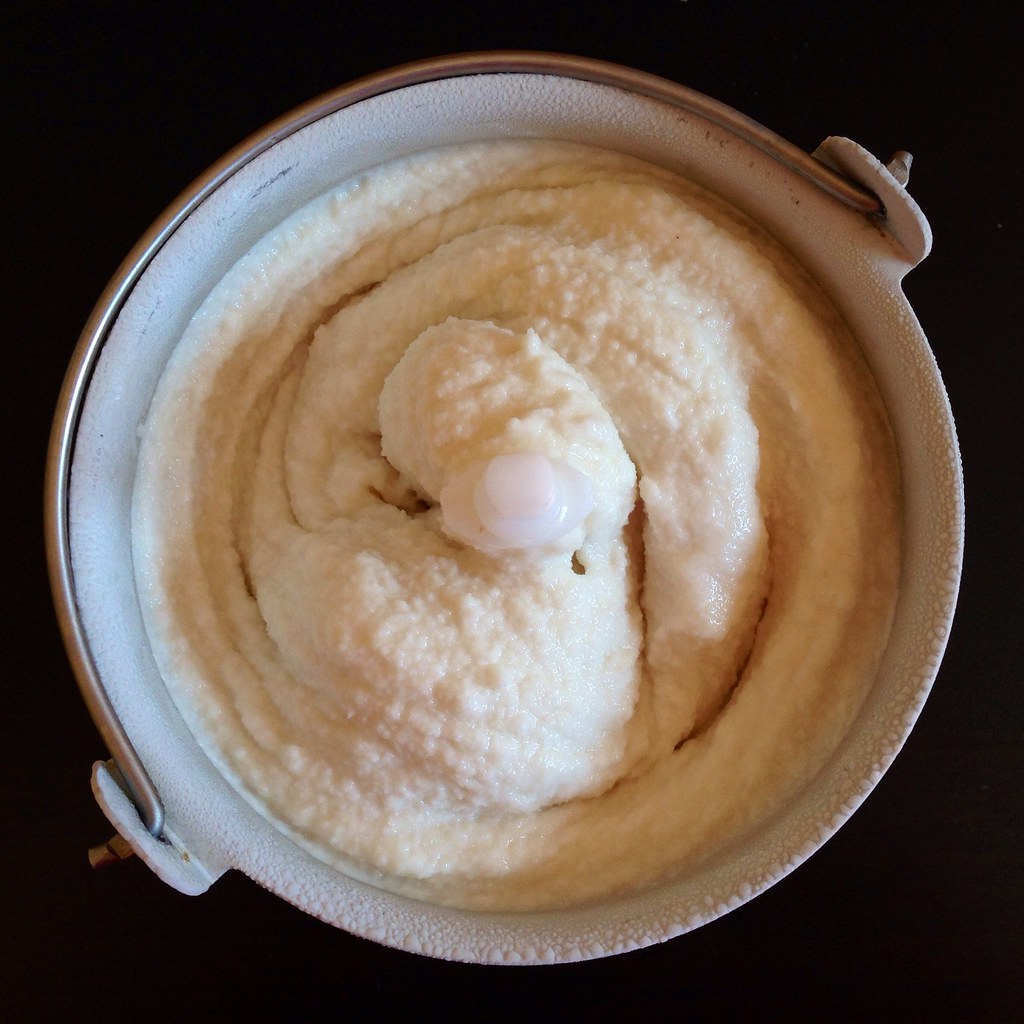
https://www.flickr.com/photos/joyosity/14371578192/

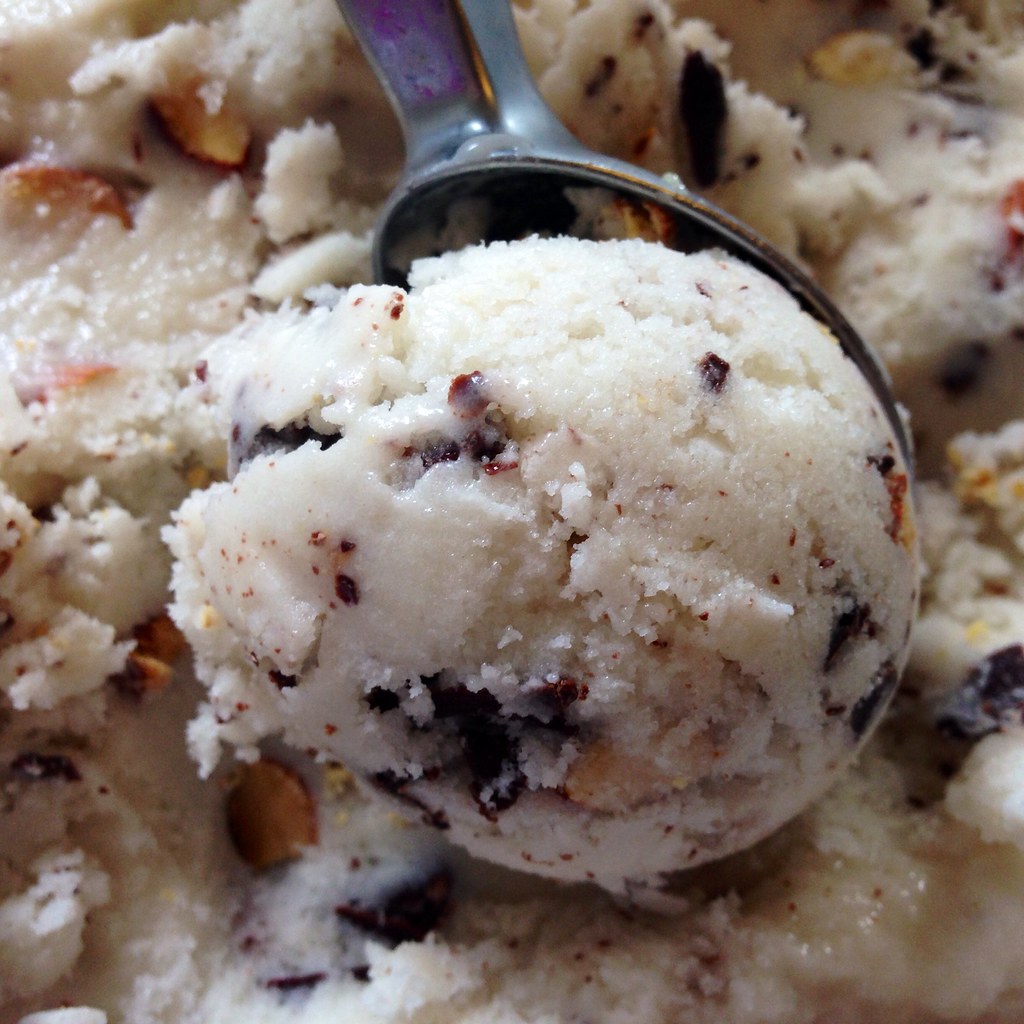
I've made coconut ice creams and coconut sorbets before, but when I saw this recipe on The Kitchn for a vegan coconut milk-based ice cream, I was pretty excited.  As someone who loves making ice cream but has a lot of lactose intolerant friends, it would be awesome to have a dairy-free homemade ice cream base to work with.

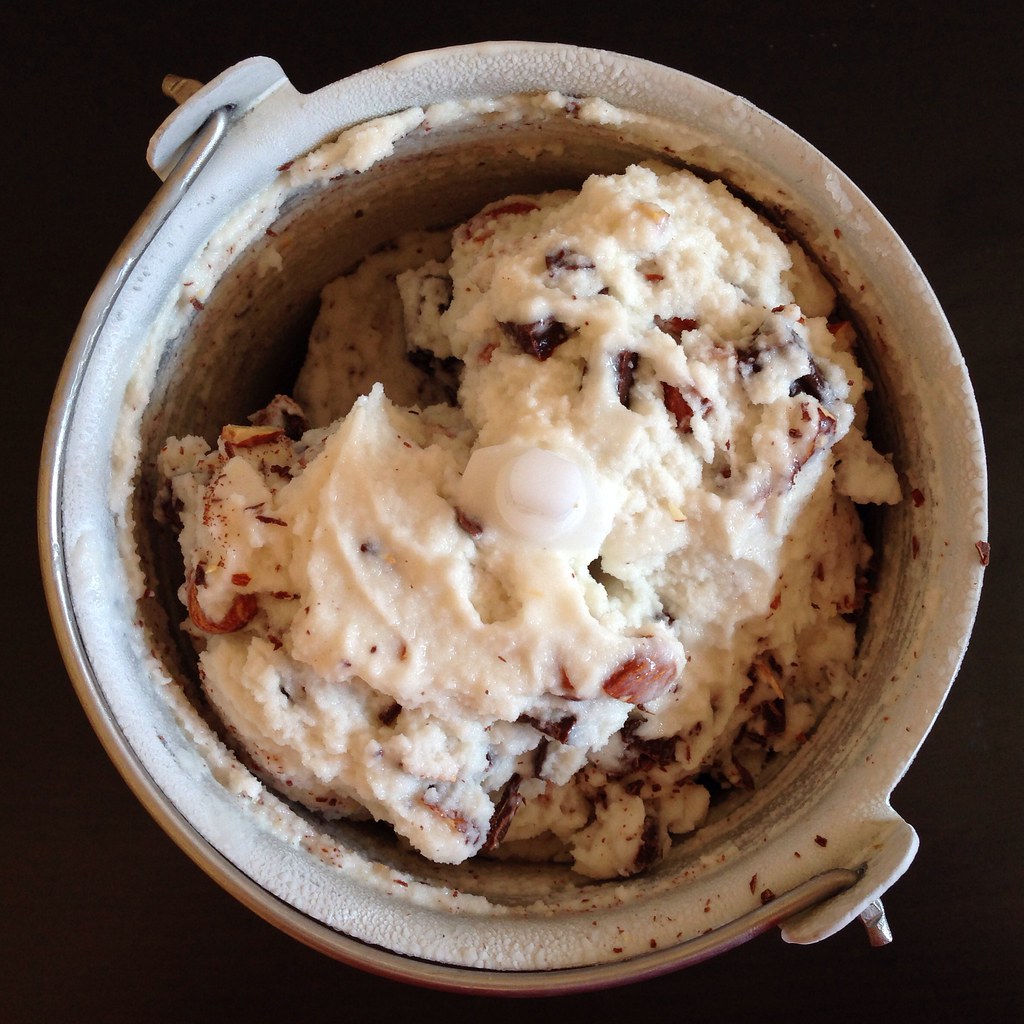
Since the recipe included chocolate and almonds, I decided to go full Almond Joy and amplify the coconut and almond flavors by adding in some coconut and almond extract and toasting the almonds.  I found the end product to be quite delicious and refreshing.  It's lighter and not as creamy as regular ice cream, but it's not icy, either.  Toasting the almonds really makes a huge difference, too!

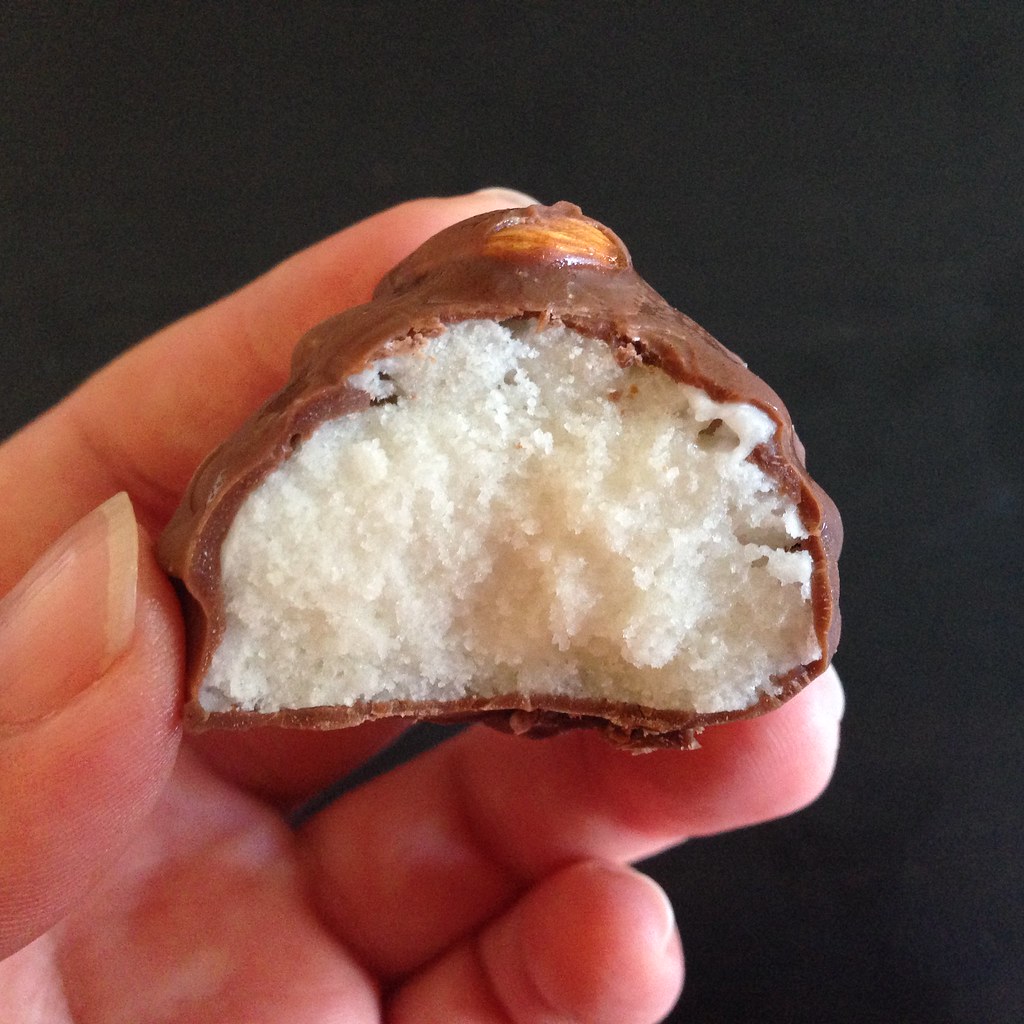
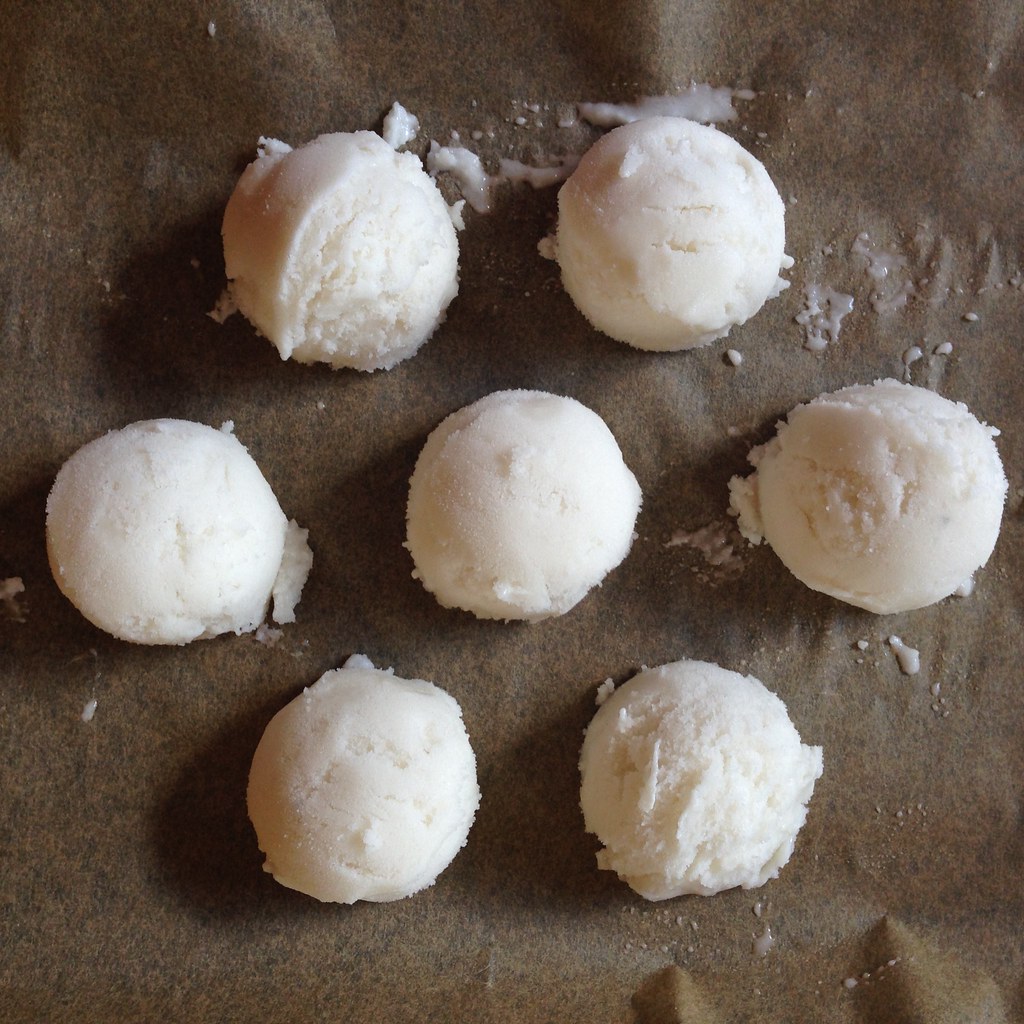
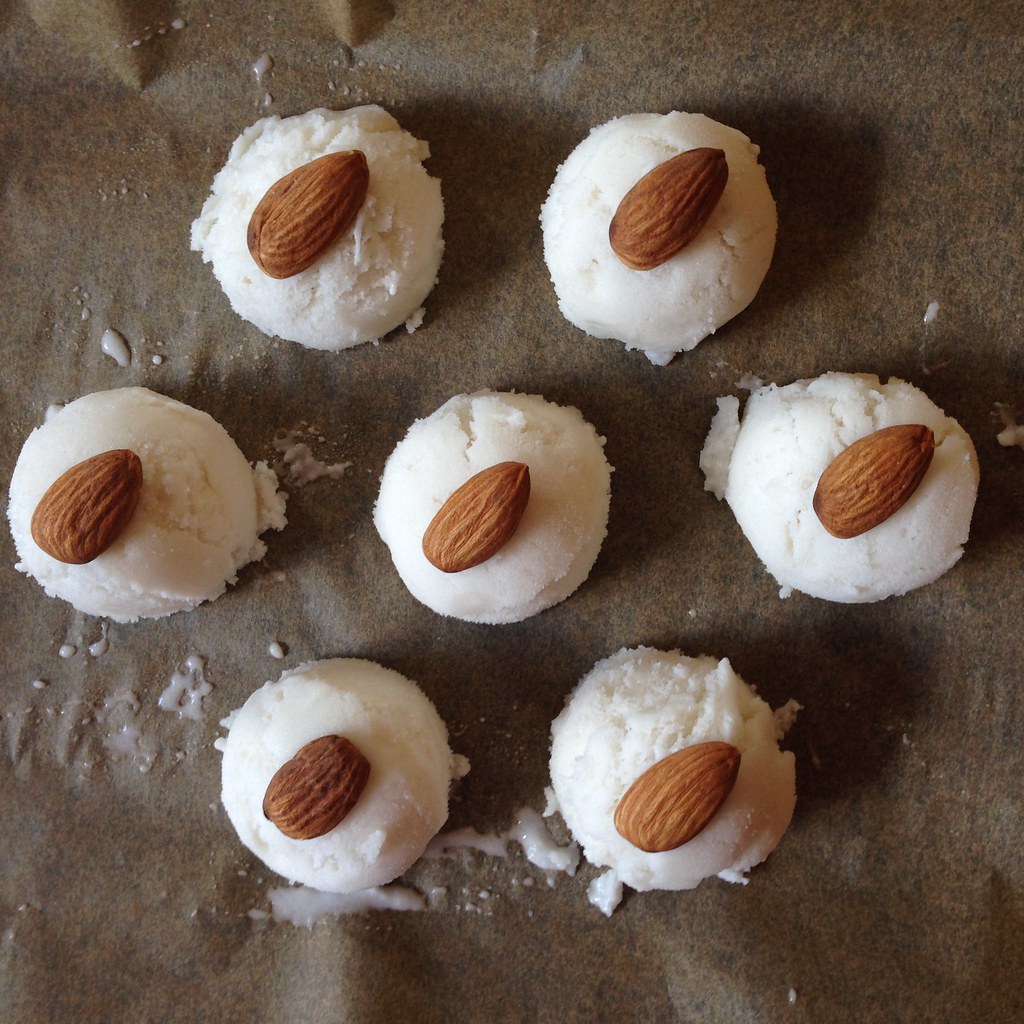
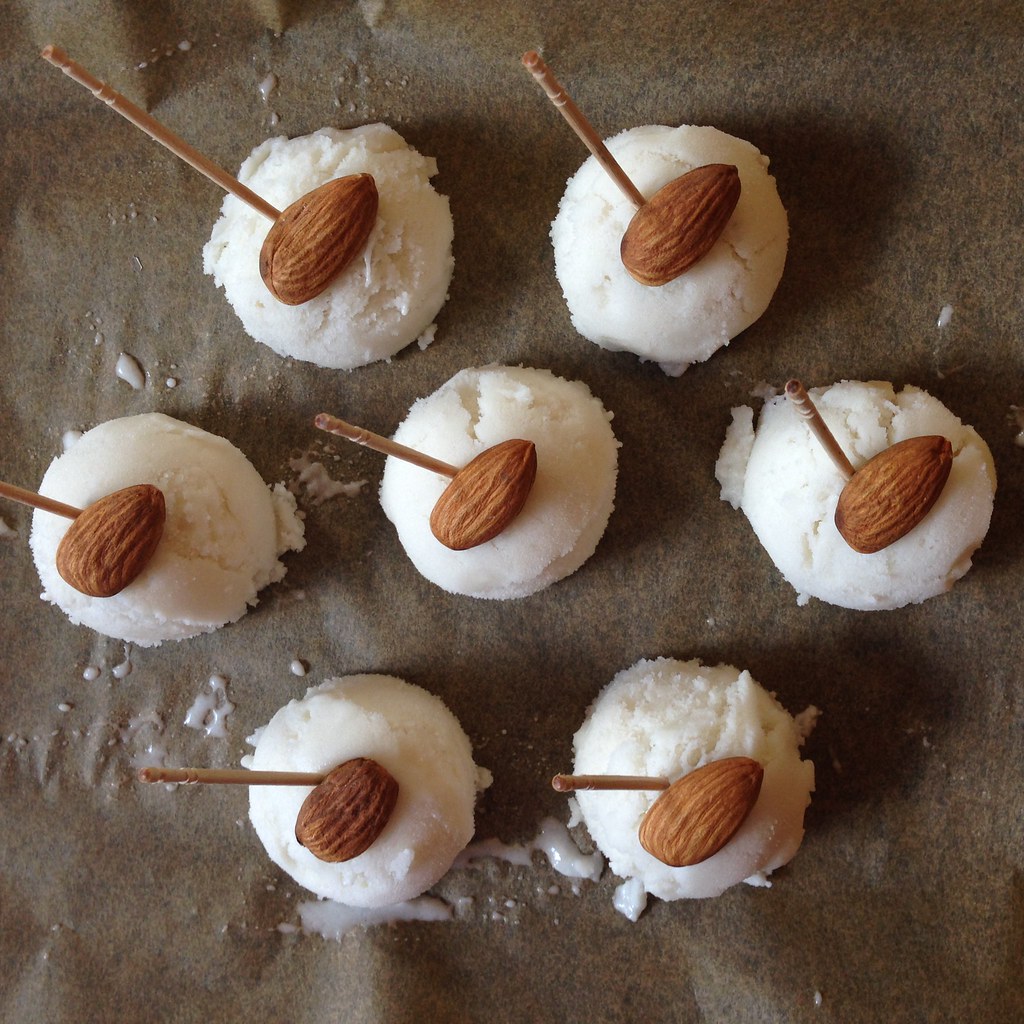
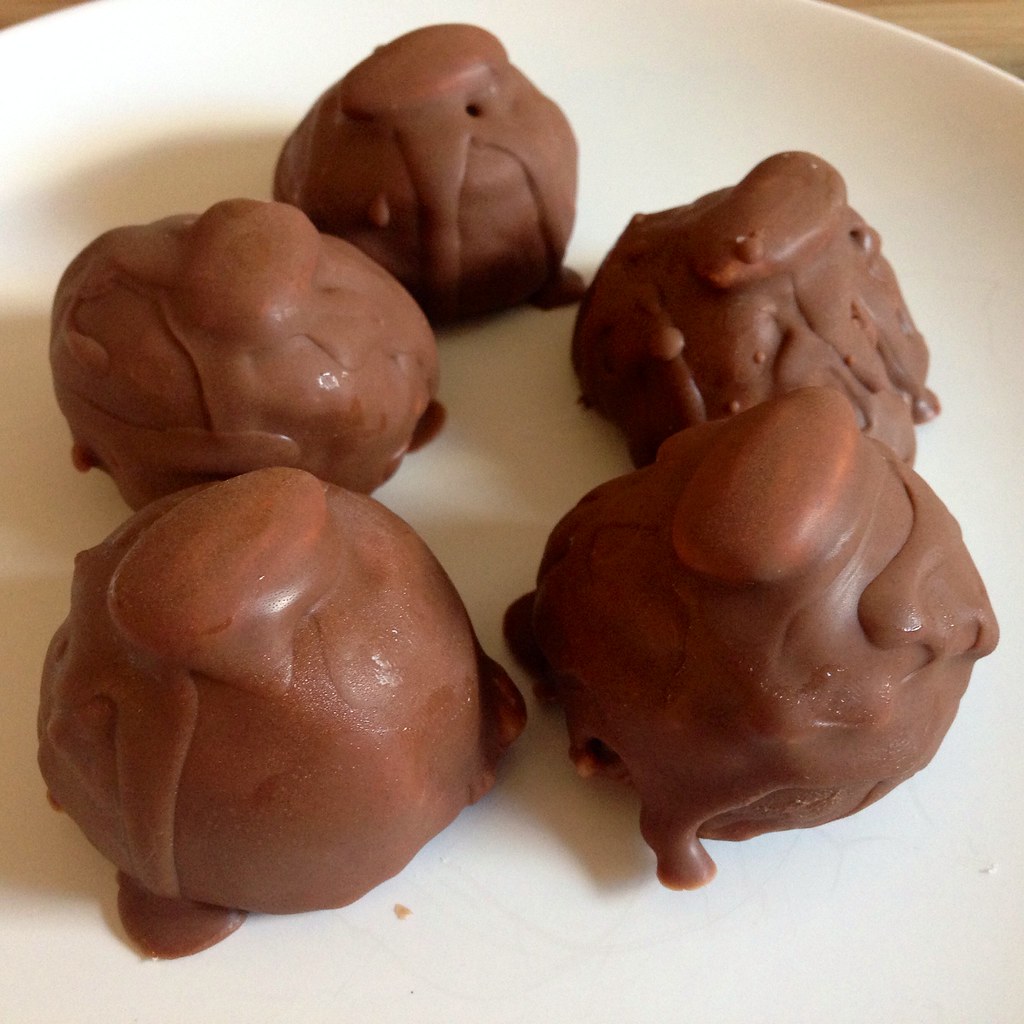
I also decided to try making bon bons out of some of the coconut ice cream I saved before mixing in the chocolate and almonds.  Topped with an almond and enrobed in homemade magic shell, it kind of looks like a fun-size Almond Joy!  I especially like how the texture of the ice cream almost looks like the coconut filling in an actual Almond Joy.

https://www.flickr.com/photos/joyosity/14373040345/

Vegan Almond Joy Ice Cream (adapted from The Kitchn)
makes about 1 quart

2 (15-ounce) cans full-fat coconut milk
1/2 cup honey or agave nectar
1/4 teaspoon kosher salt
2 tablespoons cornstarch
1 1/2 teaspoons coconut extract
1/2 teaspoon almond extract
3 ounces (85 grams) raw almonds (about 1/2 cup)
4 ounces vegan chocolate chunks or chips

Shake the cans of coconut milk thoroughly before opening.  Pour the coconut milk into a medium saucepan, leaving about 1/2 cup in one of the cans.  Add the agave or honey and salt to the saucepan. Bring to a simmer over medium-low heat until the sweetener thins and is easily mixed into the coconut milk, about 2 minutes.

Whisk the cornstarch in the remaining 1/2 cup of coconut milk until well combined. Stir into the warm coconut milk base and cook over medium heat until the mixture begins to thicken — enough so that it coats the back of a spoon, 6 to 8 minutes. Do not to allow the mixture to boil.

Remove from the heat and pour the coconut base into a separate bowl. Allow to cool on the counter for 30 minutes, then stir in the coconut and almond extract.  Cover with plastic wrap and chill in the refrigerator for 4 to 5 hours; you need the base to be very cold before you process it in the ice cream machine.

https://www.flickr.com/photos/joyosity/14186422858/

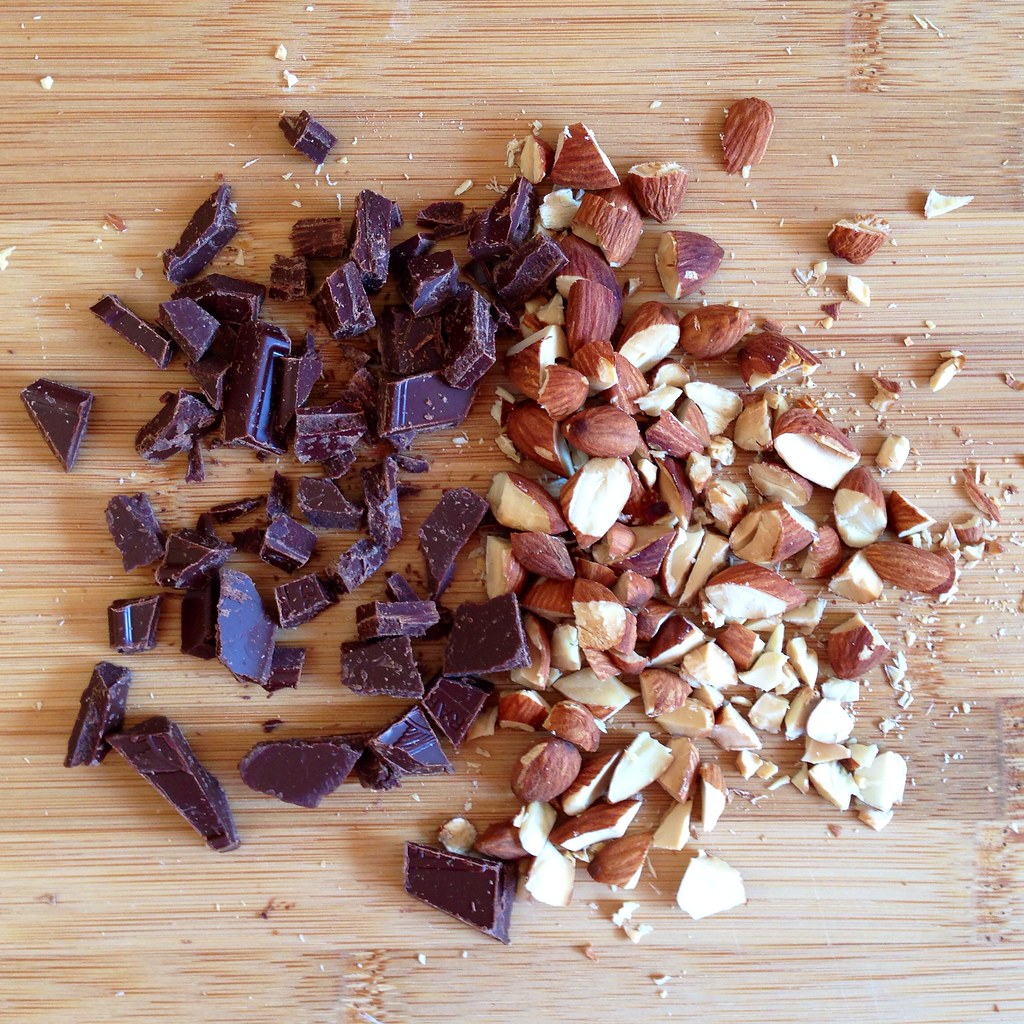
While the ice cream base is chilling, toast the almonds for about 10 minutes in a preheated 350°F oven.  Coarsely chop and store in the freezer until it is time to mix it in to the ice cream.  Put the chocolate in the freezer, too.

https://www.flickr.com/photos/joyosity/14372111824/

Churn the mixture in your ice cream machine following the manufacturer’s instructions.  (If you want to make the bon bons, skip the next step.)  Add the chopped almonds and chocolate chunks at the very end. When thickened to an soft-serve ice cream consistency, pack the ice cream into a storage container.  Seal with an airtight lid and freeze until firm, at least 4 hours.

https://www.flickr.com/photos/joyosity/14373035455/

Almond Joy Ice Cream Bon Bons

Coconut ice cream
Whole almonds
Homemade magic shell

Line a tray with parchment paper and chill in the freezer.

https://www.flickr.com/photos/joyosity/14393215583/

After the ice cream has hardened, scoop out small balls of the ice cream onto the parchment-lined tray, making sure to pack in the ice cream tightly so there won't be any holes in the bon bons.

https://www.flickr.com/photos/joyosity/14186476860/

Place an almond on top of each scoop.  Inset a toothpick at an angle right next to the almond.  Return the tray to the freezer and allow the ice cream balls to harden for at least 30 minutes.

https://www.flickr.com/photos/joyosity/14186402189/

Working quickly, carefully lift the ice cream balls off the parchment paper using the toothpicks and coat with the magic shell.  I used a spoon to pour the magic shell over the ice cream, but you may have better luck dipping it.  Return the bon bon to the tray, remove the toothpick, and drizzle a little more magic shell over the hole where the toothpick was.  After you are done coating all the bon bons, return the tray to the freezer and allow to harden for at least an hour.

https://www.flickr.com/photos/joyosity/14186426048/

I wish I had let the ice cream balls harden longer in the freezer before I tried to dip them because of the 7 I scooped out, only these 5 made it intact.  And looking back, I think it would have looked nicer if I had taken the time to re-dip the bon bons again to smooth out the inconsistencies and produce a thicker coat of chocolate.  C'est la vie, they were still freaking delicious.  =)

Next:  Sesame-Crusted Tofu
Previously:  Overnight Oats in a Jar
Last Year:  Spaghetti Carbonara for One
Five Years Ago:  Kale Chips

Friday, March 7, 2014

Miso-Glazed Eggplant

It seems like a running theme in the last couple of posts has been how I've used up vegetables from my Boston Organics deliveries, so here's another one.

http://www.flickr.com/photos/joyosity/12865358143/

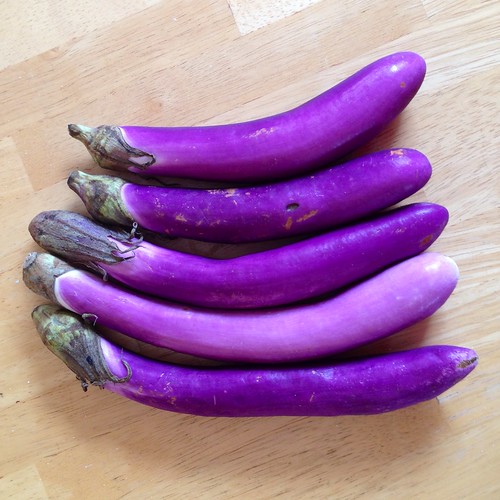
I made this back in August, when eggplants were still in season, and I got these lovelies in my delivery.  I was inspired by Nobu's eggplant with miso, but instead of frying the eggplants first, I roasted them in the oven.  The ingredients for the glaze are the same as for the marinade used for Nobu's miso-marinated black cod, just different proportions since you want more of a paste for this recipe.

http://www.flickr.com/photos/joyosity/12865717234/

Miso-Glazed Eggplant
serves 2

5 small Japanese eggplants
Canola oil
1/4 cup white miso
2 tablespoons sugar
2 tablespoons mirin
2 tablespoon rice wine
Toasted sesame seeds

Preheat the oven to 350°F.

http://www.flickr.com/photos/joyosity/12865284385/

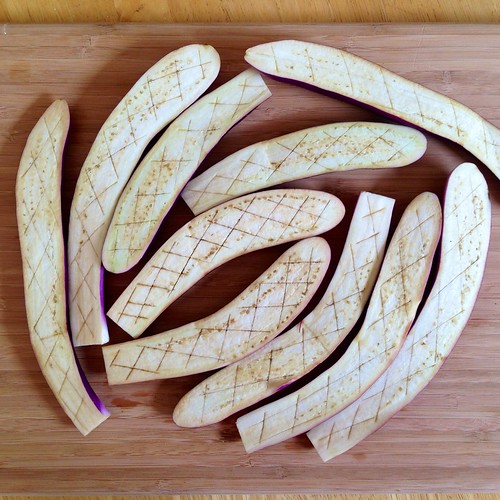
Cut off the top of each eggplant and slice in half, lengthwise.  Carefully cut crosshatches into the flesh of the eggplants, but do not cut all the way through.  Place the eggplants skin side down on a baking sheet and brush the tops with some oil.  Bake for about 8 minutes, until the flesh starts to become tender.  Remove the eggplant from the oven and set your oven to broil.

In a small saucepan, over low heat, combine the miso, sugar, mirin, and rice wine.  Whisk until the sugar dissolves and the sauce begins to thicken.  Remove from heat and allow to cool slightly.

http://www.flickr.com/photos/joyosity/12865288795/

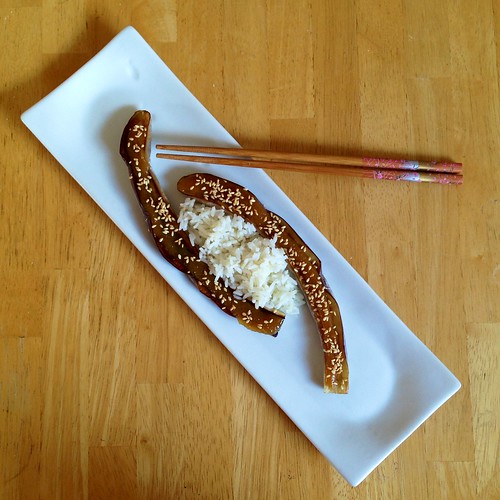
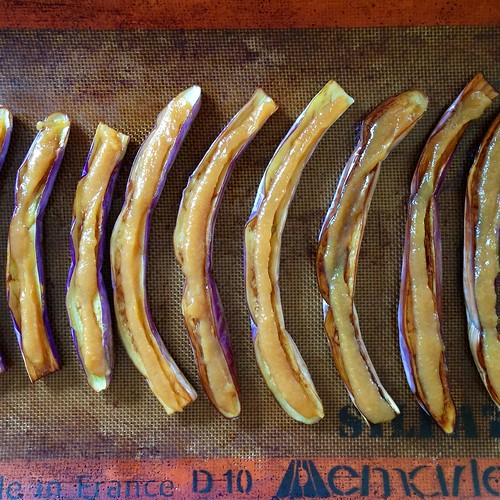
Top each eggplant liberally with the miso glaze.  Place under the broiler until browned and bubbly, just a few minutes. 

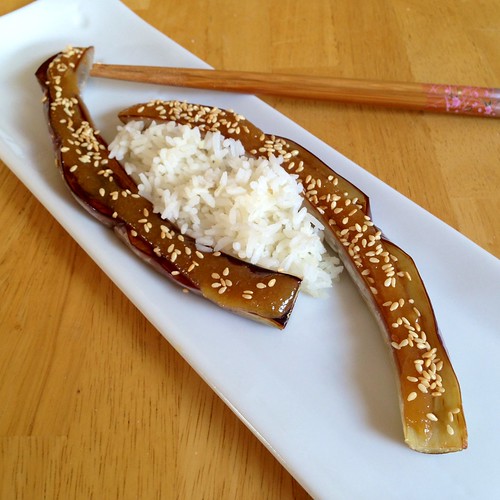
Sprinkle with toasted sesame seeds and serve with rice.

http://www.flickr.com/photos/joyosity/12865374653/

Next:  Dan Bing (Taiwanese Egg Crepe)
Previously:  Mushroom Marsala Pizza
Last Year:  Happiness Cake
Four Years Ago:  Momofuku Milk Bar's Crack Pie
Five Years Ago:  French Red Onion Soup

Wednesday, July 31, 2013

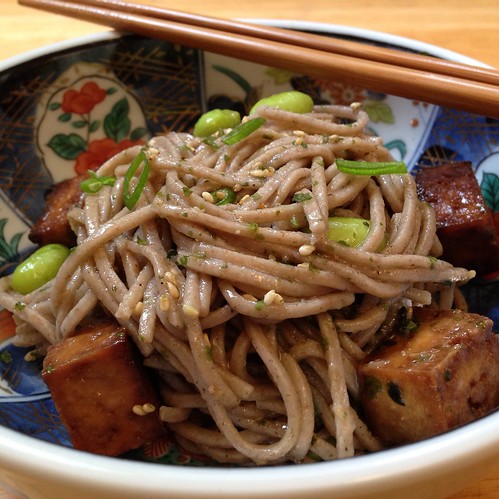
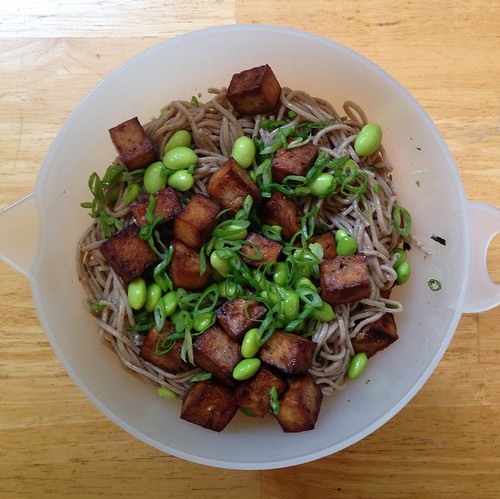
Cold Soba Noodle Salad with Baked Tofu and Edamame


Since the Japan Night dinner was in the middle of a heat wave, we decided to make a cold soba noodle salad with baked tofu and edamame for the main entree.  For the actual event, we bought pressed tofu and marinated and baked that, but when I tested the recipe at home, I first pressed my own tofu.

To do this I first drained a package of firm tofu (you can also use extra-firm).  Then I lined the bottom of a bowl wide enough to fit the tofu in with paper towel, placed the tofu on top of the paper towel, and topped the tofu with another layer of paper towel.  On top of that I placed another bowl and put some heavy cans in it.  After 15 minutes you should see a significant amount of water at the bottom of the bowl.  I usually drain this off and replace the (completely wet at this point) paper towels and keep pressing for another 15 minutes of so.

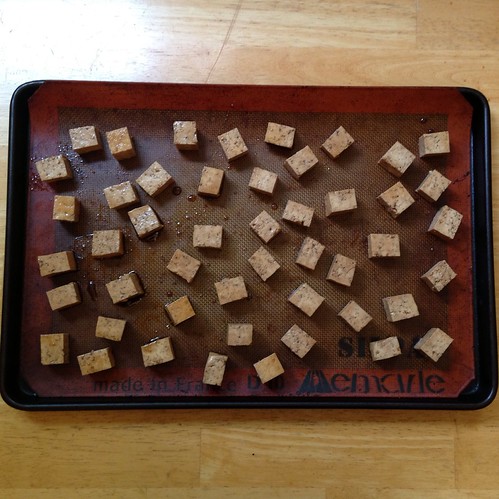
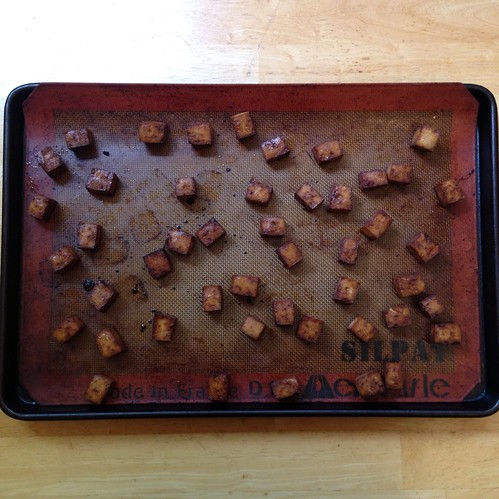
The process of pressing the tofu removes a lot of the water in it so when you marinate it, it will soak up a lot more flavor.  I marinated the tofu in a mixture of soy sauce, sesame oil, mirin, honey, and crushed garlic.  After a 30 minute soak in the marinade, the tofu gets baked for about 40 minutes and develops a nice crispy crust while maintaining a soft, almost custard-y center.  For this recipe I cut the tofu into half-inch cubes before marinating them so they were almost like croutons, but when I make baked tofu to snack on, I'll usually keep them in bigger slabs.


Cold Soba Noodle Salad with Baked Tofu and Edamame
makes 4 servings

For the baked tofu:
16 oz. firm or extra-firm tofu
1/4 cup soy sauce
2 tablespoons mirin
1 tablespoon honey
1 tablespoon sesame oil
1 clove garlic, crushed

Press the tofu for 30 minutes (directions above).  Cut into half-inch cubes and place in a large Ziploc bag.

Mix together the soy sauce, mirin, honey, and sesame oil.  Add the crushed garlic clove and pour into the Ziploc bag, making sure that the marinade covers all sides of the tofu.  Marinate for 30 minutes, turning the bag over at least once.

Preheat the oven to 350ºF.  Cover a baking sheet with aluminum foil and spray with cooking spray or use a Silpat.


Remove the tofu from the bag, discard the garlic, and reserve the marinade for the dressing.  Spread the tofu evenly on the prepared baking sheet.  Bake for 10 minutes, then flip them over.  Continue baking and flipping every 10 minutes until the total baking time reaches 40 minutes.  Remove from oven and let cool.


For the soba noodle salad:
8 oz. soba noodles
2 tablespoons of the reserved marinade from above
1 tablespoon rice wine vinegar
1 tablespoon sesame oil
1/4 cup canola oil
Baked tofu (recipe above)
2/3 cup shelled edamame
4 Scallions, finely sliced
1 tablespoon toasted sesame seeds

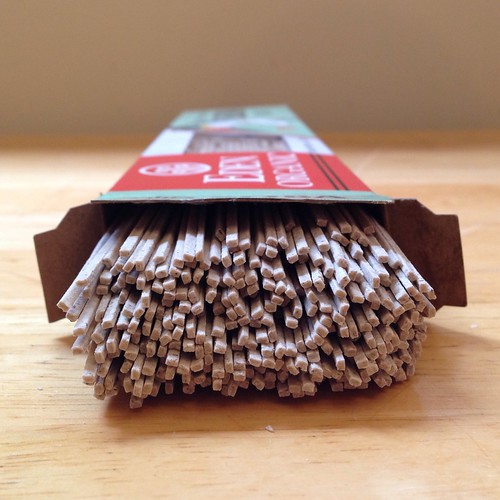
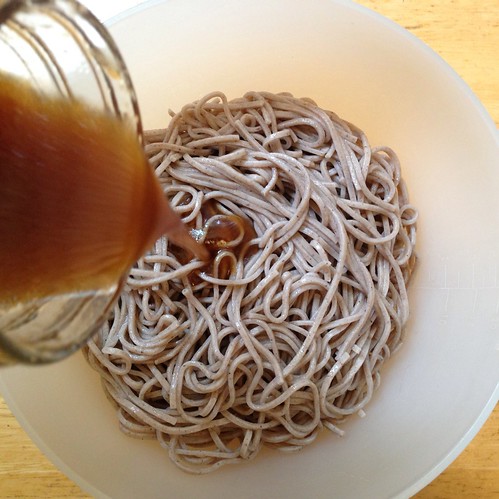
Cook the soba noodles according to the directions on the package.  When done, drain and rinse with plenty of cold water so that it cools down and doesn't stick.  Transfer noodles to a large bowl.


Mix together the reserved marinade, rice wine vinegar, sesame oil, and canola oil.  Pour over the noodles and toss with the baked tofu, edamame, sliced scallions, and sesame seeds.


For the actual event, we also added julienned carrots, red bell peppers, and cucumbers to the salad.


Next:  S'mores Brownie Ice Cream Sandwiches
Previously:  Carrot Ginger Salad Dressing

Wednesday, November 28, 2012

Three Bean Chili


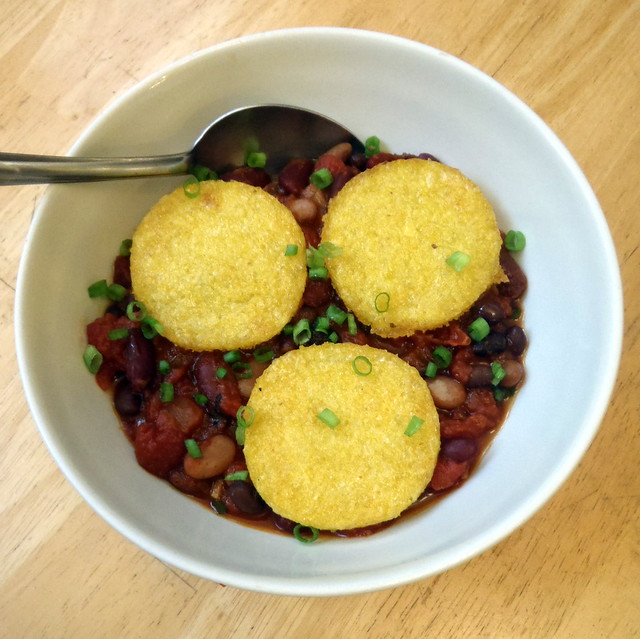
Here's another healthy recipe full of fiber that will make you feel better after eating it.  It's even vegan (if you don't add cheese or sour cream), but I always feel full after eating it.  I used to make this at church along with polenta for hundreds of people, and no one ever complained for the lack of meat (although more than a few didn't eat the polenta because they didn't know what it was).

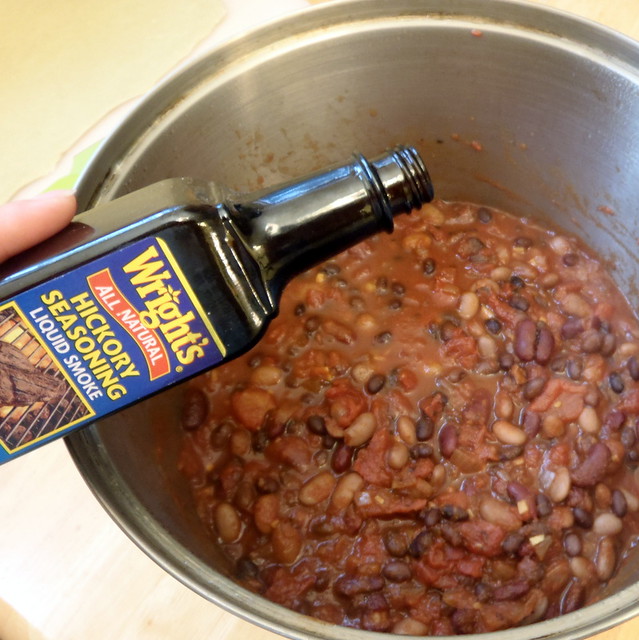
I've taken the recipe from PETA and added three secret ingredients, adobo seasoning, liquid smoke, and chipotle peppers in adobo, to give it some real depth of flavor.  Well, I guess the ingredients aren't that secret anymore.  =)  Start with just a little bit of peppers, taste, and then add more because a little goes a long way.

PA283121
 
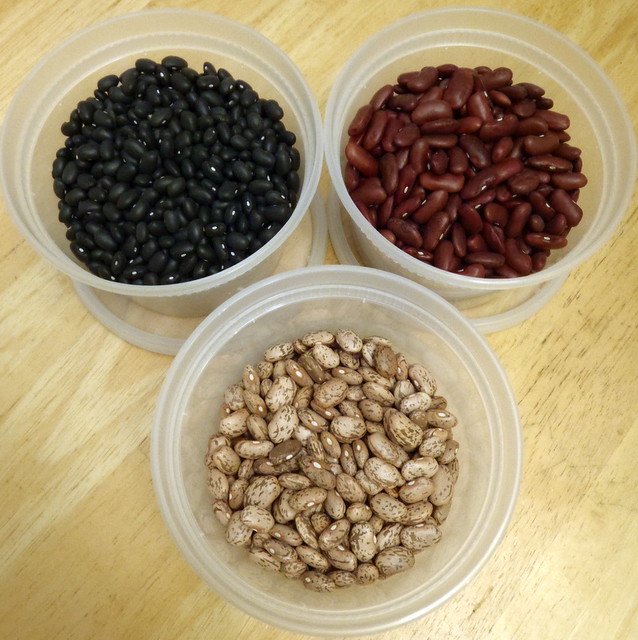
The recipe is pretty forgiving.  I've had to substitute crushed tomatoes and whole tomatoes for the diced tomatoes before.  Once I even used salsa instead of some of the tomatoes, and it still turned out okay.  I've made this with dried beans before, but it's a lot easier to make it with canned beans.  The original recipe calls for 2 parts kidney beans to 1 part pinto beans, but I substitute a can of black beans in for half the kidney beans to give it more color.


Three Bean Chili (adapted from PETA)
serves 6

2 tablespoons canola oil
6 garlic cloves, minced
1 cup chopped white onion
Red pepper flakes, to taste
1 tablespoon chili powder
2 1/2 teaspoon ground cumin
1 tablespoon adobo seasoning
1 teaspoon oregano
1 bay leaf
28-oz. can diced fire-roasted tomatoes
1 tablespoon soy sauce
1 1/2 cups vegetable stock
6 oz. tomato paste
1 tablespoon red wine vinegar
16 oz. can pinto beans, drained
16 oz. can kidney beans, drained
16 oz. can black beans, drained
1 teaspoon liquid smoke
Chipotle peppers in adobo, chopped, to taste

PA293128
 
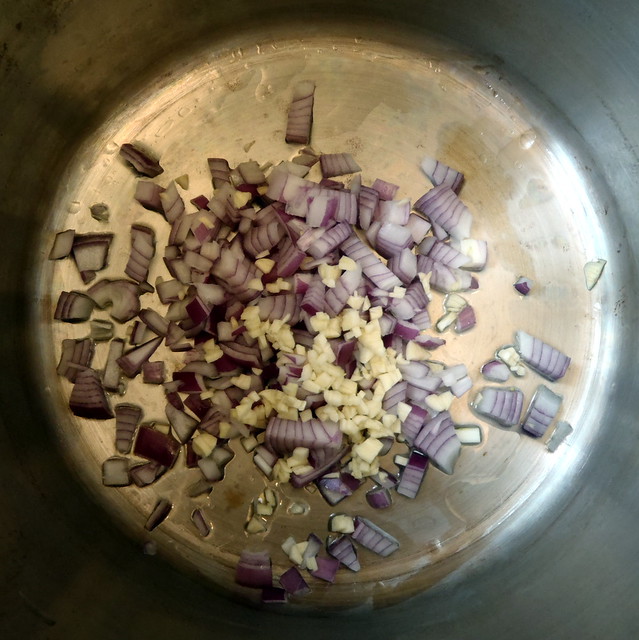
Heat the oil in a large pot over medium heat.  Add the garlic and onion and sauté until softened, about 5 minutes.

PA293131
 
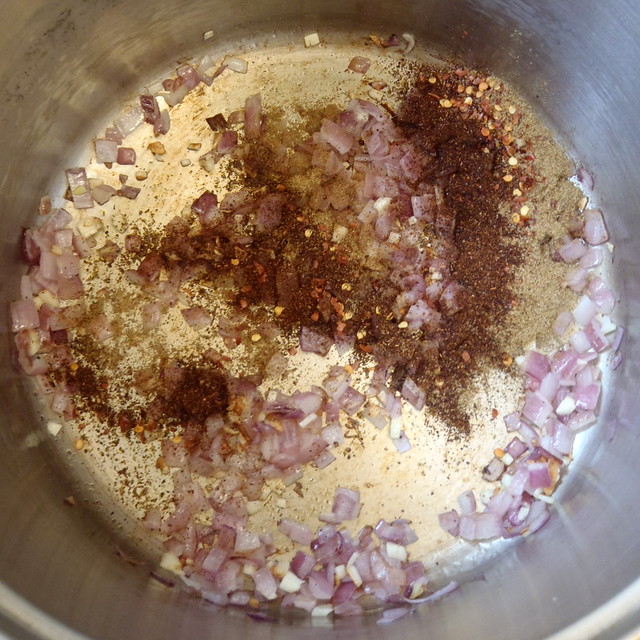
Add the red pepper flakes, chili powder, and cumin and cook for an additional 2 minutes, or until fragrant.

PA293132
 
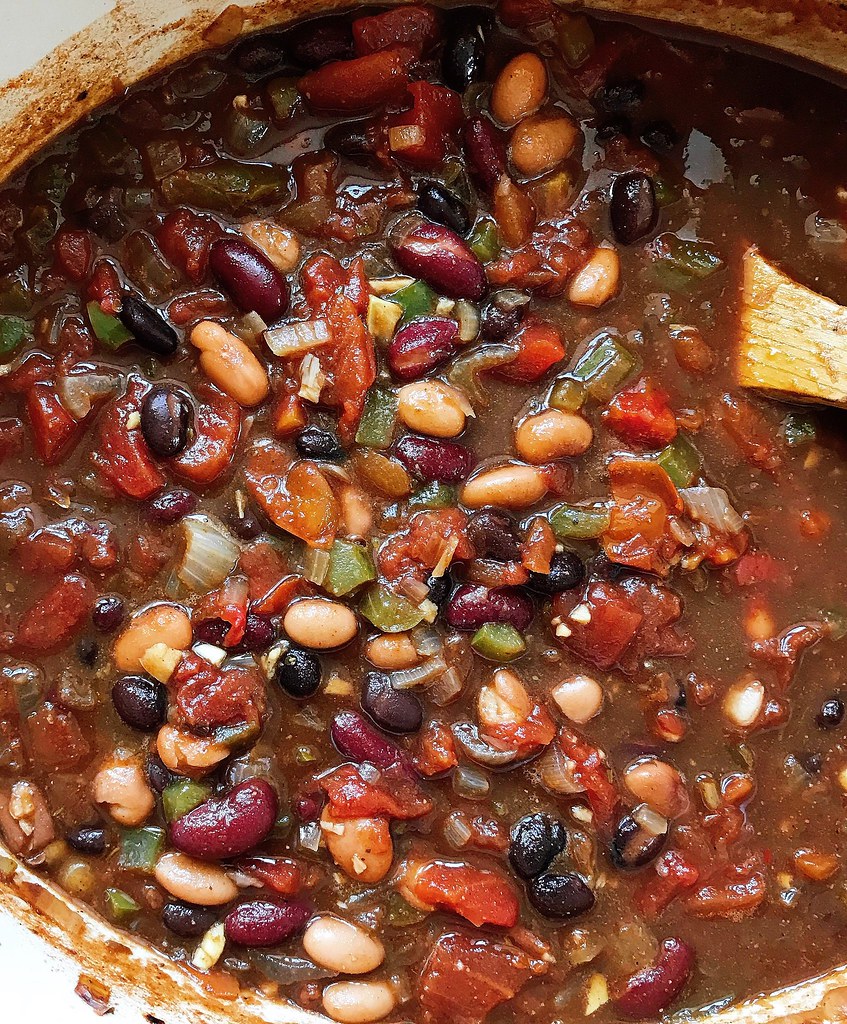
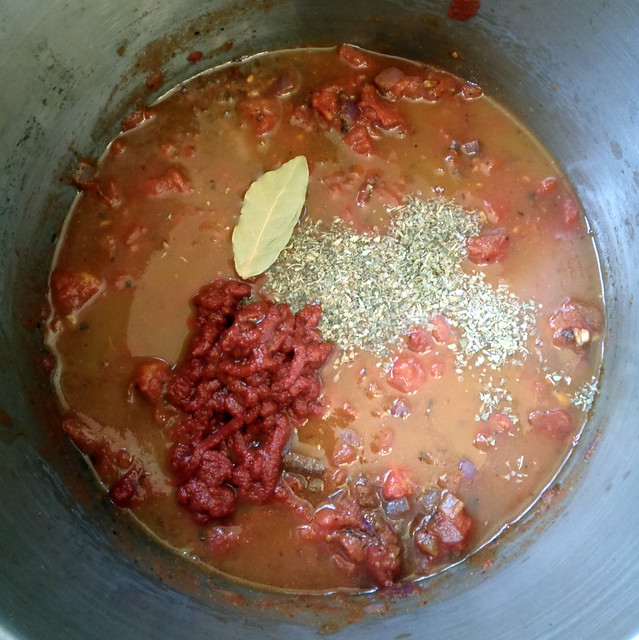
Add the adobo seasoning, oregano, bay leaf, tomatoes, soy sauce, stock, tomato paste, and vinegar, then bring to a boil, lower the heat, and simmer 30 minutes, stirring occasionally.

PA293142
 
Add the beans and simmer 15 minutes longer to heat through and blend flavors.  Add more water, if necessary, or cook longer to reach desired consistency.  Add the liquid smoke and chopped chipotle peppers and stir to combine.

PA293141
 
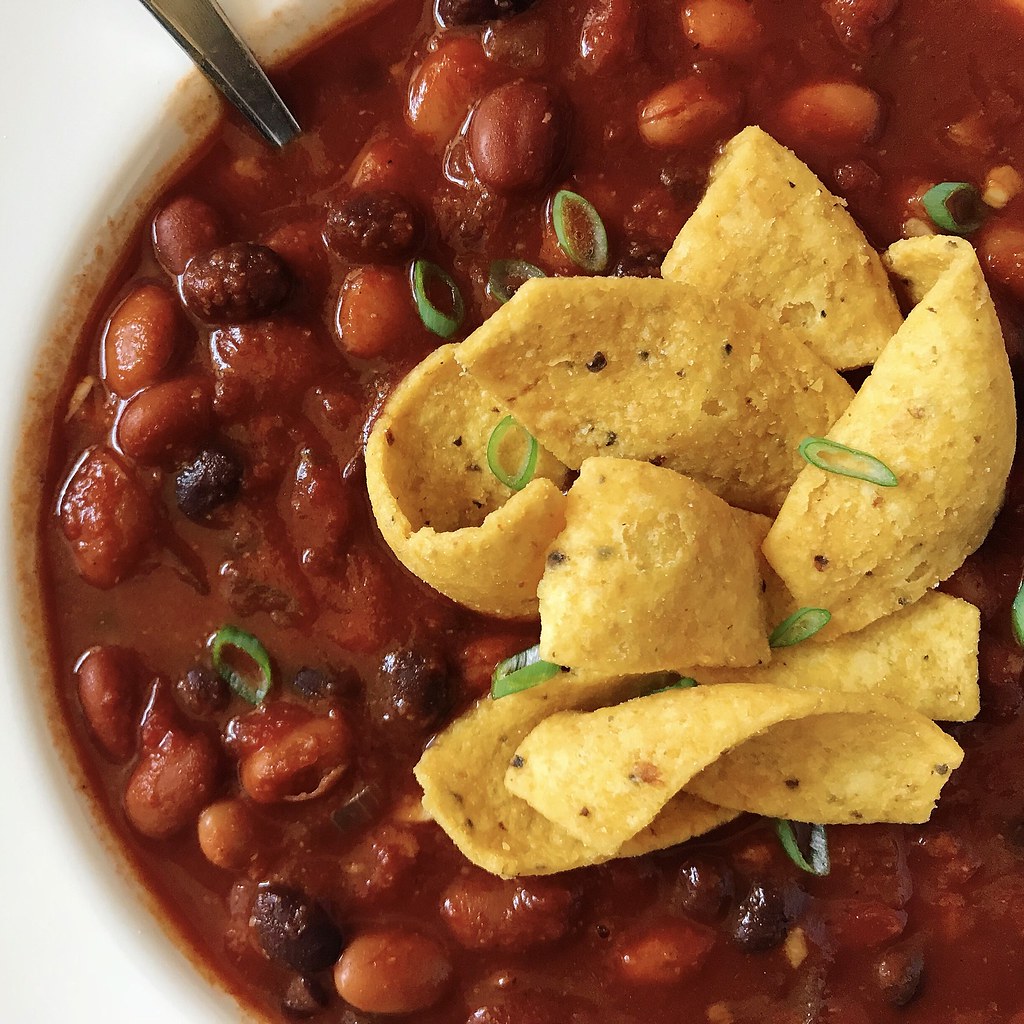
You can serve this with shredded cheese, sour cream, avocado slices, and chopped green onions.  I like to eat this with Fritos, brown rice and lime-flavored tortilla chips, or fried polenta. You can find tubes of pre-cooked polenta at Trader Joe's and just slice and pan fry it.  The chili freezes well, so go ahead and make a big pot!

Three years ago:  Kettle Corn