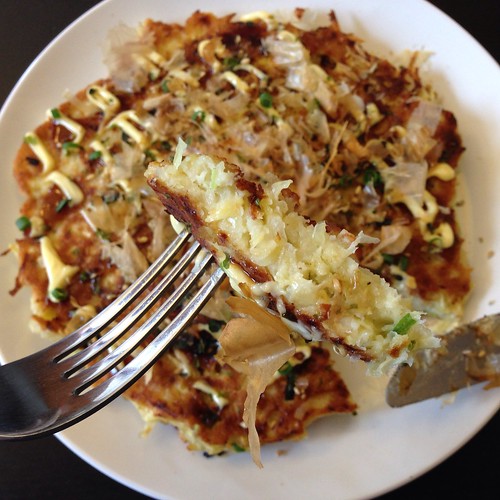
Last week I received a head of cabbage in my
Boston Organics delivery and didn't really know what to do with it until I remembered that it's a main ingredient in okonomiyaki. I'd never had it before, so I'm not sure if what I made is particularly authentic or not, but it's a perfectly delicious way to use up a head of cabbage!
Okonomiyaki is a savory Japanese pancake that you can pretty much put anything in. The name itself means "what you like" and "grilled". I loosely followed
this recipe except I used bacon for the meat and substituted panko crumbs for the tempura flakes since I didn't have any of the latter. I also subbed in 2 tablespoons of tapioca flour for the all-purpose flour to make the pancake more tender.
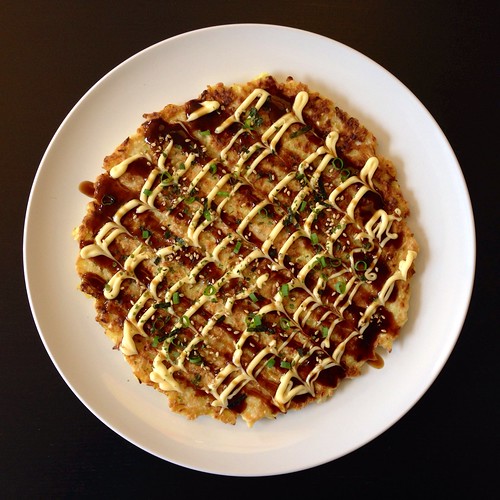
There is a traditional okonomiyaki sauce that is very similar to tonkatsu sauce--think tangy, slightly sweetened soy sauce. I didn't have any on hand, so I just used soy paste mixed with some ketchup and Worcestershire sauce as suggested by my findings on-line. If you have Japanese-style kewpie mayonnaise, I suggest using that, but otherwise regular mayonnaise would work. The other toppings I added were chopped scallions, nori komi fuikake (Japanese rice seasoning with seaweed flakes and sesame seeds), and bonito flakes. Feel free to use whatever you want and get creative!
Okonomiyaki
makes 2 large pancakes
For the batter:
1 cup all-purpose flour (substitute in 2 tablespoons of tapioca flour if you want)
1 teaspoon kosher salt
1/2 cup plus 2 tablespoons
dashi stock or water
1/2 lb. cabbage, shredded
2 tablespoons scallions, chopped
1/4 cup panko crumbs or tempura flakes (optional)
2 eggs
4 strips bacon, cut in half (optional)
Vegetable oil
For the toppings:
Okonomiyaki sauce, tonkatsu sauce, or soy paste mixed with ketchup and Worcestershire sauce
Kewpie mayonnaise or regular mayonnaise
Chopped scallions
Nori komi furikake
Bonito flakes
Mix the flour, salt, and dashi stock or water together to make the batter. Let rest in the refrigerator for an hour and up to 24 hours.
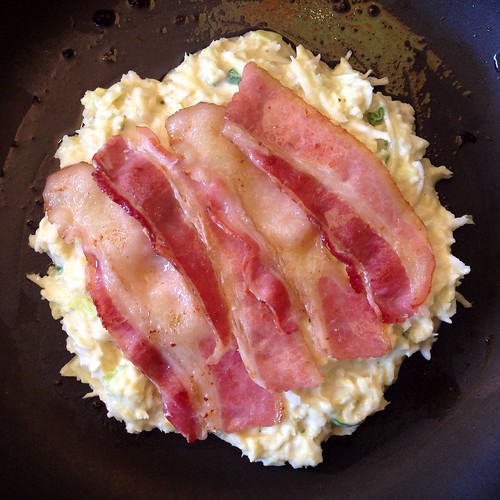
If using the bacon, cook over medium-low heat until the fat starts to render out but before it starts to brown too much. Remove the bacon and set aside. You can save the bacon fat to cook the okonomiyaki in.
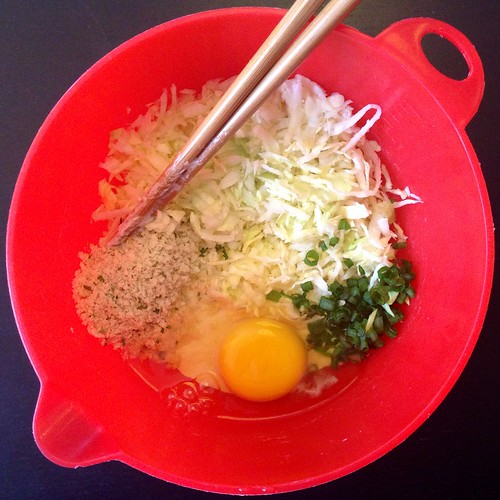
To make one pancake, take half the batter (about 1/2 cup), 1/4 lb. shredded cabbage (about 1 cup), 1 tablespoon scallions, 2 tablespoons panko or tempura flakes, and 1 egg and mix together.
Start heating a tablespoon of vegetable oil in a frying pan over medium heat or use the bacon fat left over from cooking the bacon. Once the pan is hot, add the okonomiyaki batter and form into a circle. If using the bacon, arrange half the bacon slices on top of the (uncooked side of the) okonomiyaki. Cook for 5-6 minutes on each side.
Plate the okonomiyaki and drizzle the okonomiyaki sauce (or equivalent) and mayonnaise on top. Sprinkle with some chopped scallions, nori komi furikake, and bonito flakes, or whatever you like. Serve warm.
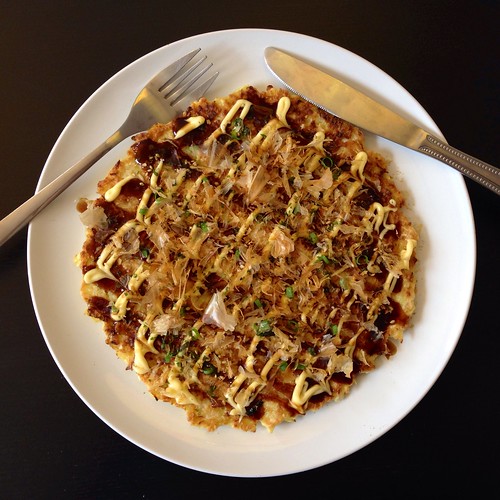
The bonito flakes are so thinly shaved that the steam rising up from the
okonomiyaki will make it look like it's dancing. It's kind of creepy
if you've never seen it before because it looks like it's alive, but
once you get over that, it's pretty cool. This pancake kind of reminds me of
Korean pa jeon except there's less of a moist batter and more of crunchiness from the shredded cabbage.
Next:
Hotter Crash Potatoes
Previously:
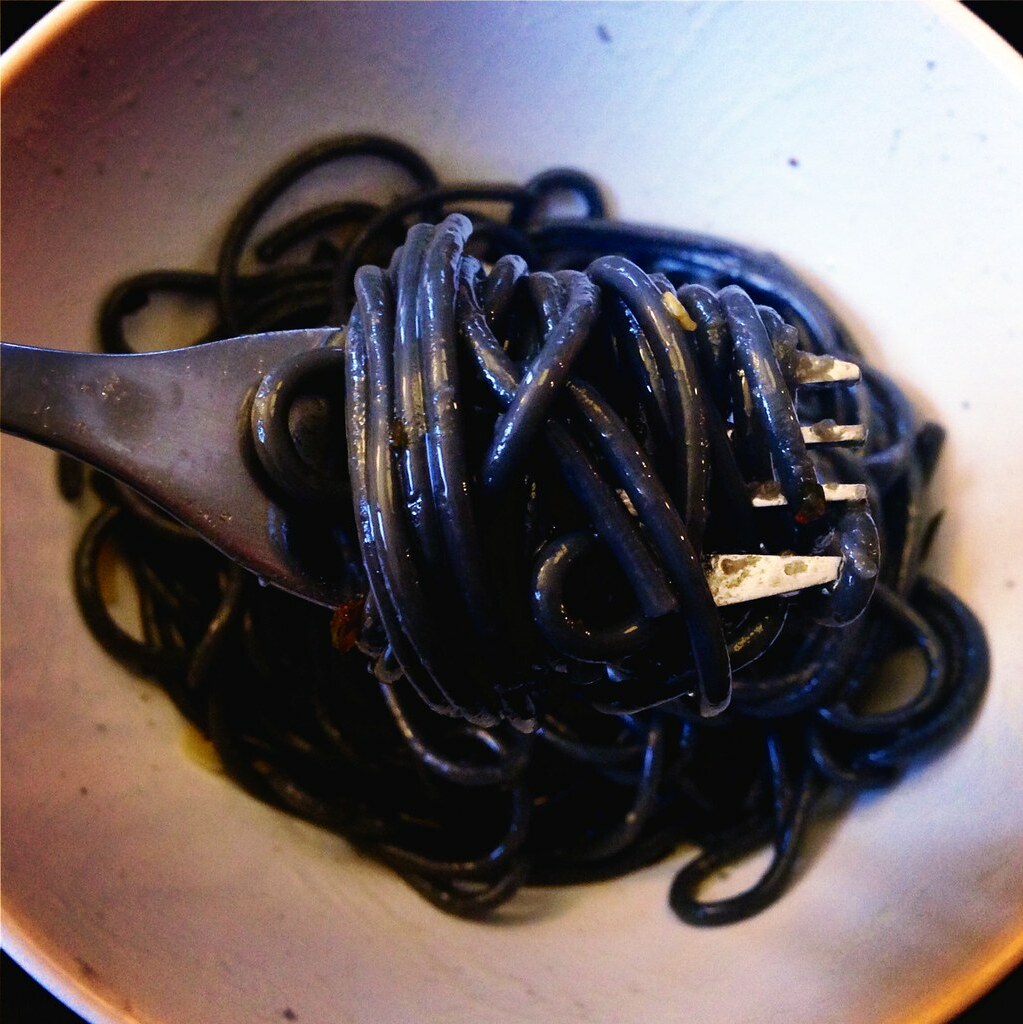
Squid Ink Spaghetti Aglio e Olio
Last Year:
Cauliflower Steak with Cauliflower Purée
Five Years Ago:
New England Clam Chowda and Homemade Oyster Crackers