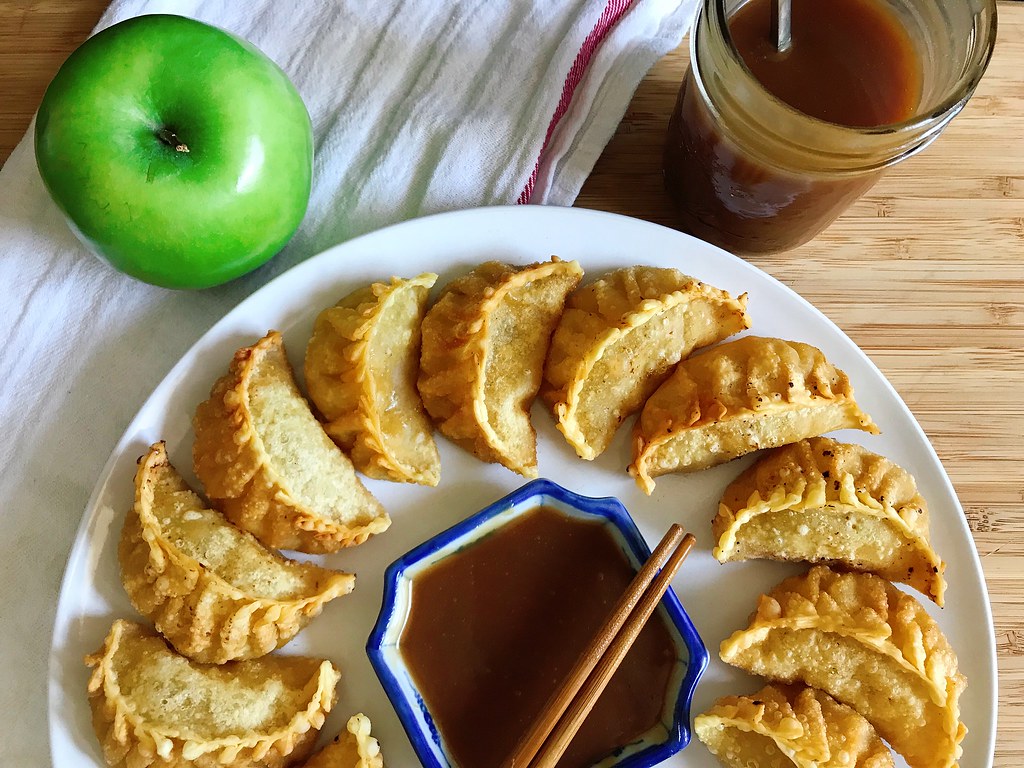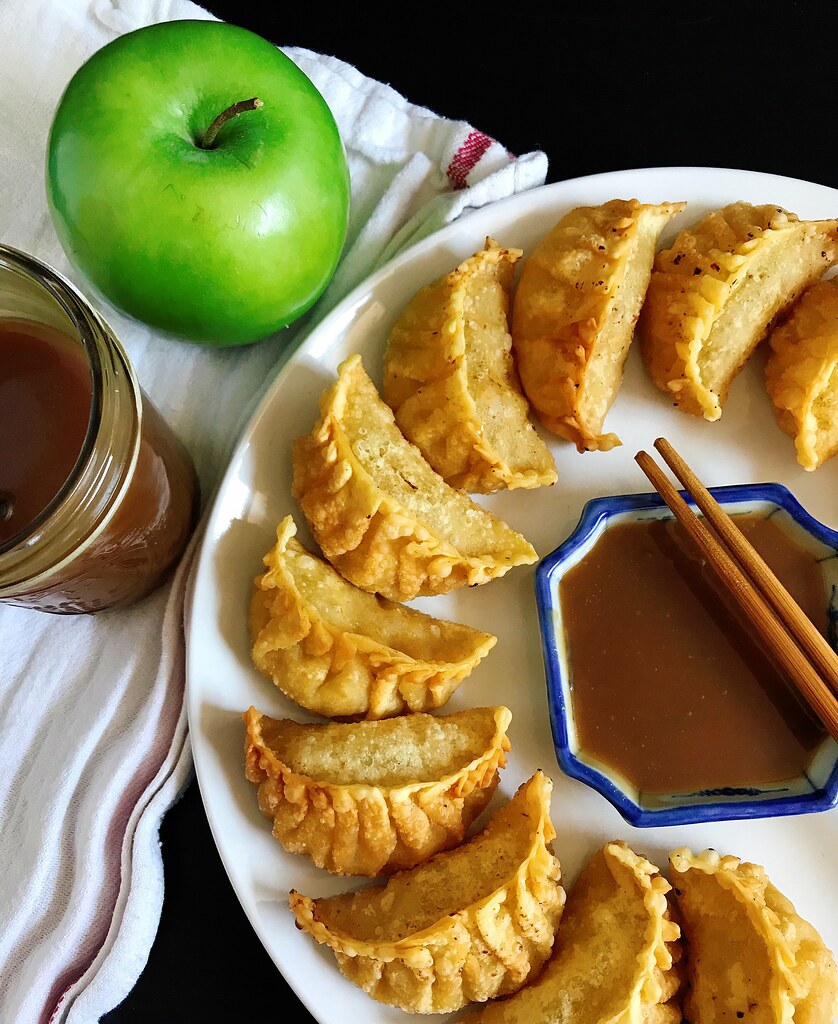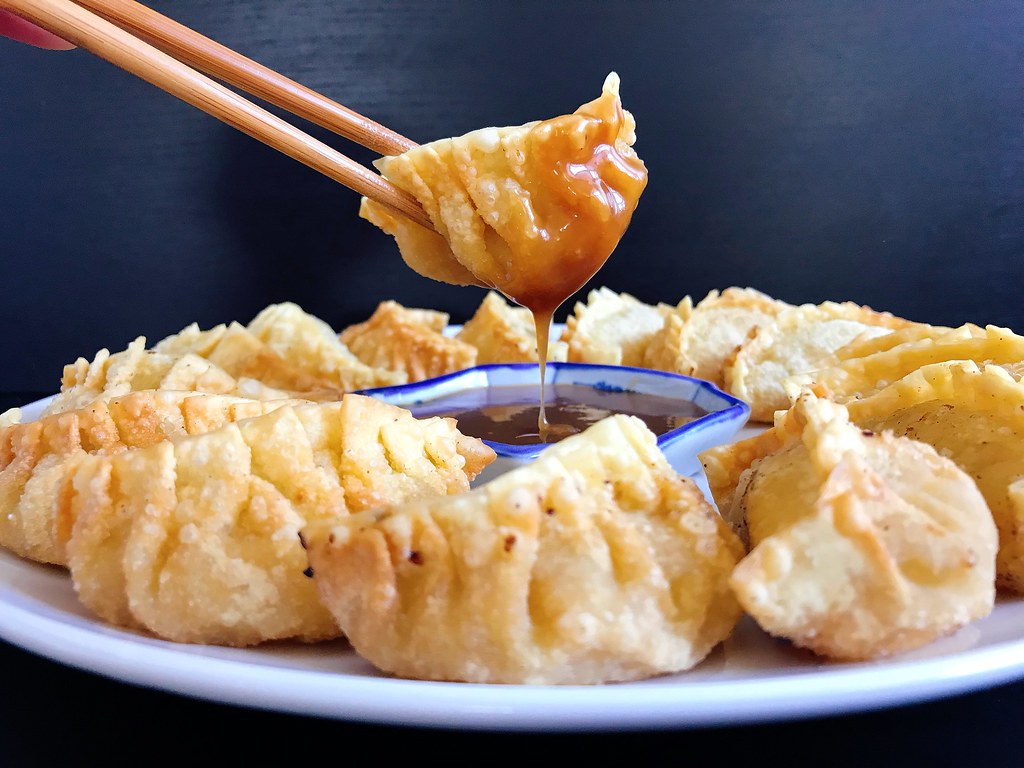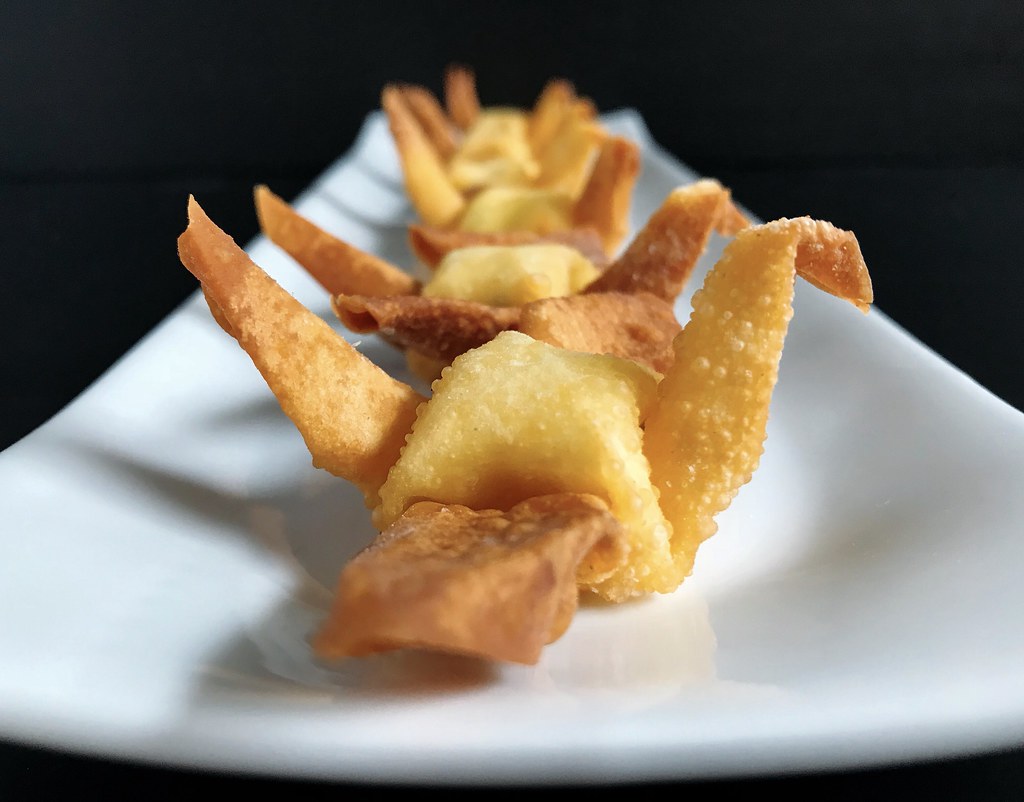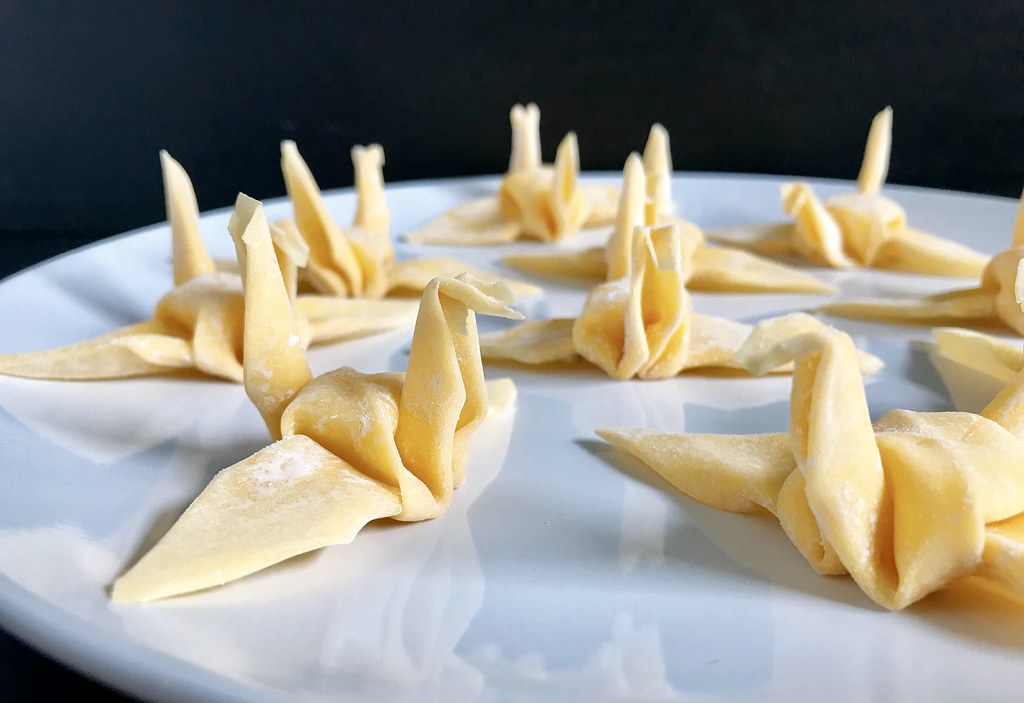
Next up in my updated posts is my mom's pork and cabbage dumplings! I made these slightly healthier by substituting some of the pork for tofu and reducing the soy sauce, sesame oil, and sugar a bit. See my original post from 9(!) years ago for a lot of tips and tricks to making and cooking the dumplings (as well as to see how my photography skills have improved over the years, haha).
Pork, Cabbage, and Tofu Dumplings
makes about 80
1-1.5 lbs. ground pork
1 medium head of napa cabbage, roughly chopped
1/2 teaspoon salt
19 oz. firm tofu
2 bundles of bean thread vermicelli
4 scallions, chopped
1/2 cup soy sauce
4 tablespoons sesame oil
1 tablespoon sugar
80 dumpling skins (about 2 packs)
Press the tofu between a couple layers of paper towels for 15 minutes. Soak the bean thread vermicelli in lukewarm water for 15 minutes.
Use a food processor to finely chop the napa cabbage and transfer to a large bowl. Mix the salt in and let rest for 15 minutes. Squeeze handfuls of the cabbage over a sink to discard the water that's been released. Add the squeezed cabbage back to the large bowl after drying it out. Chop the softened noodles and add to the cabbage. Crumble the tofu into the bowl and add the pork. Add the scallions, soy sauce, sesame oil, and sugar and mix well.
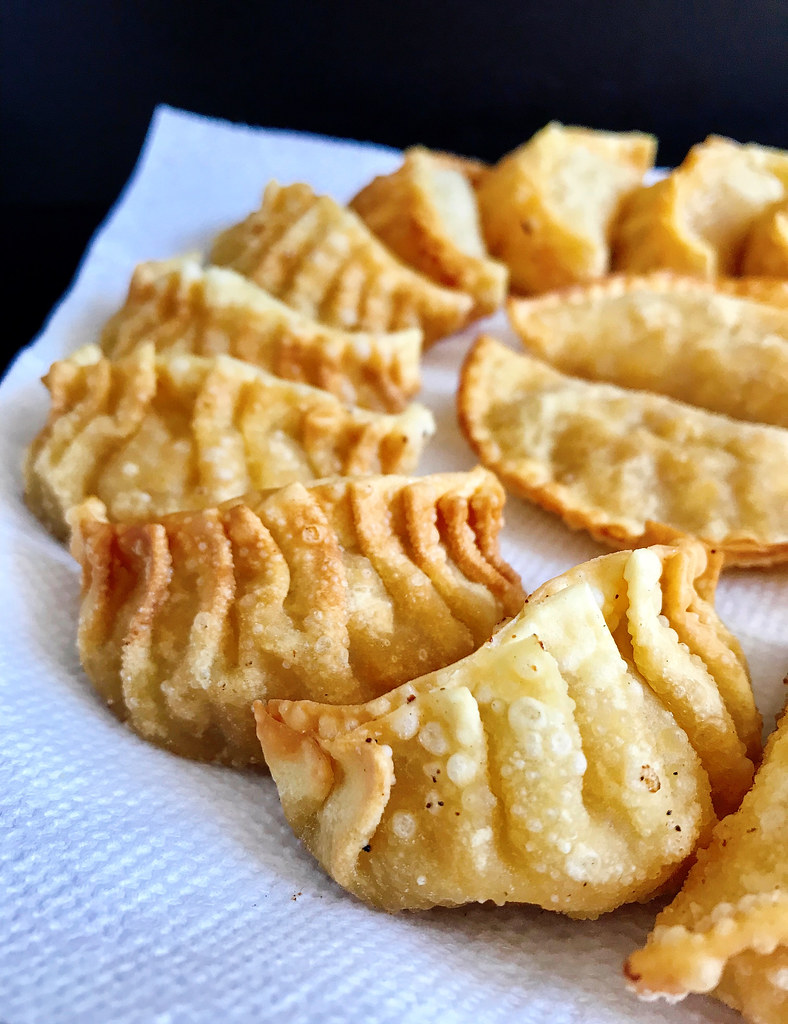
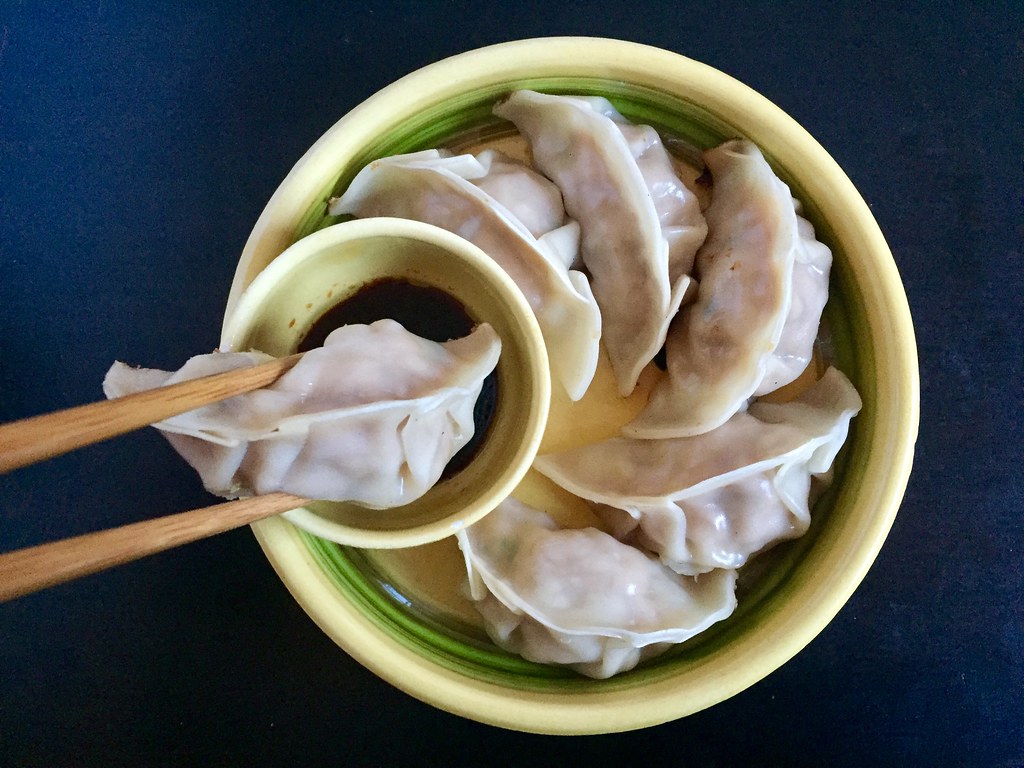
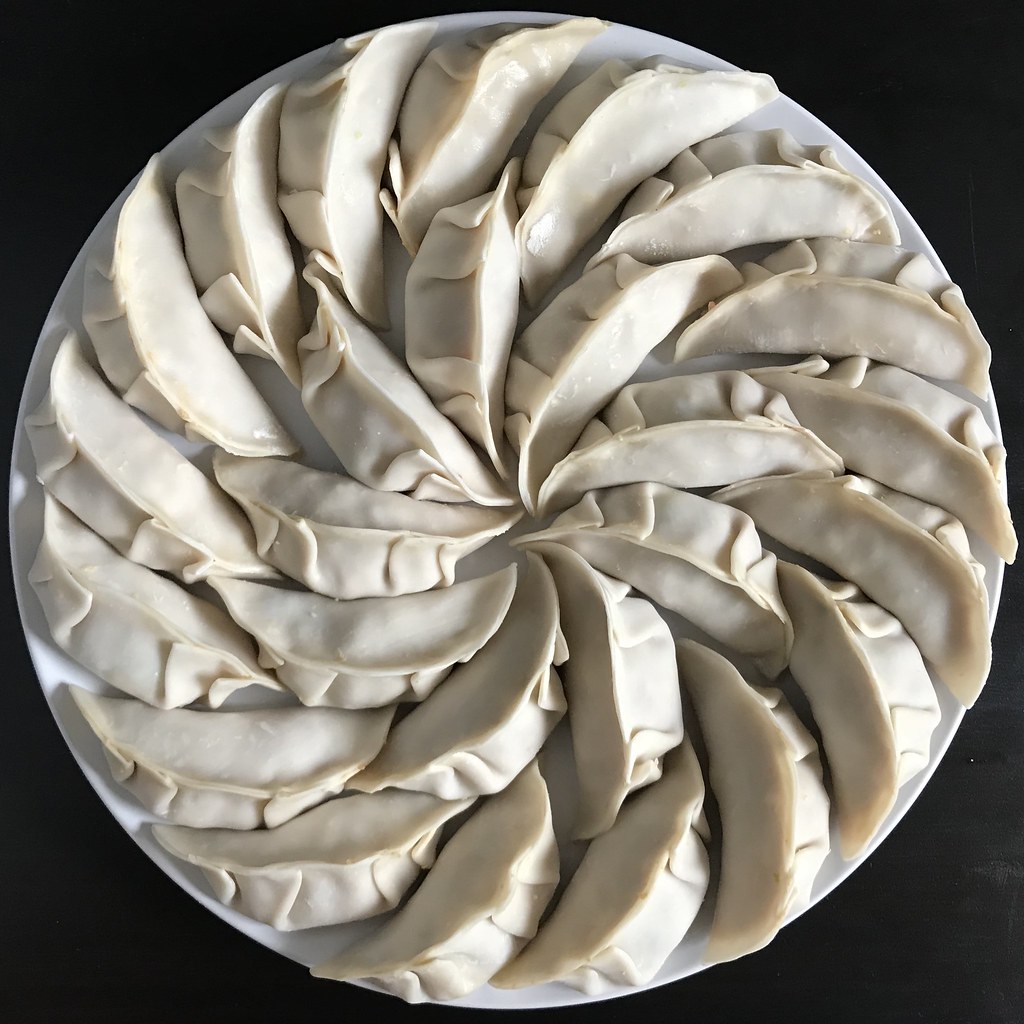
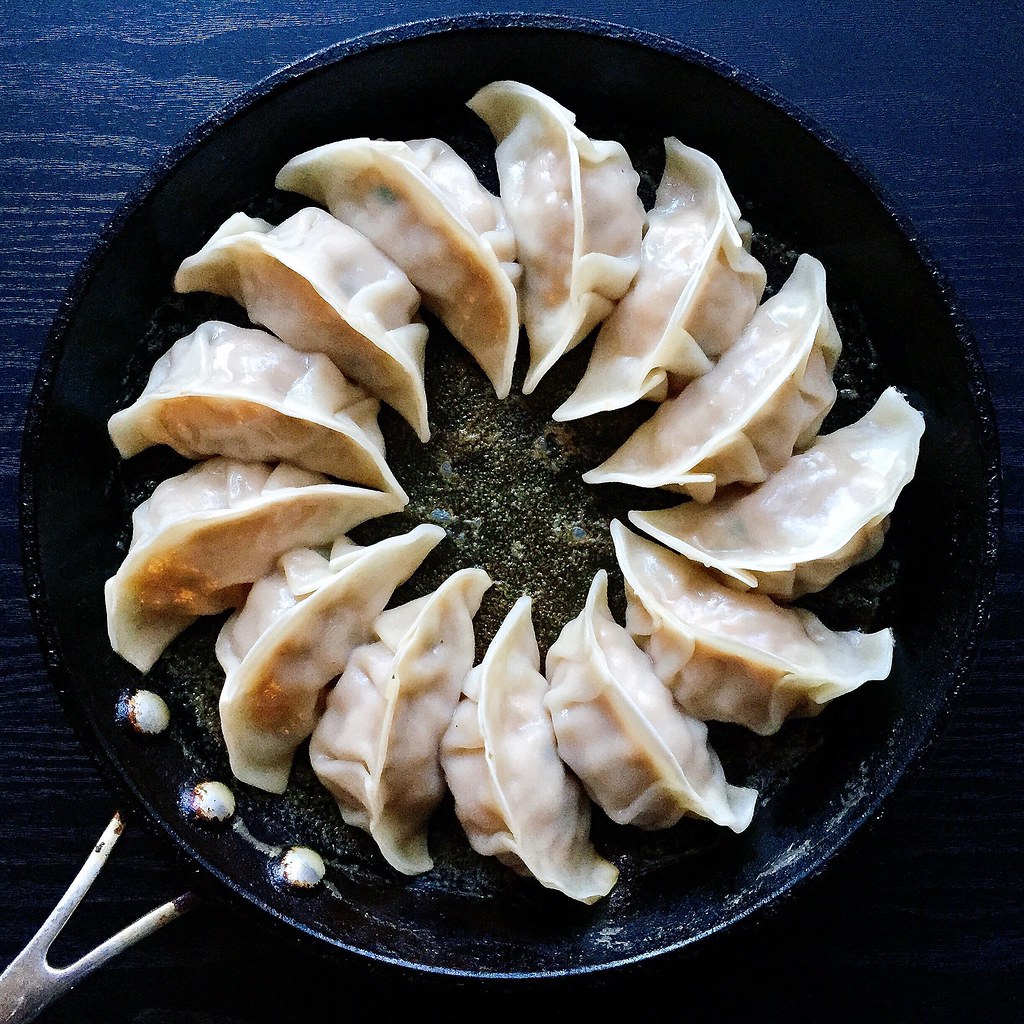
Fill the dumpling skins and seal the wrappers with a little water on the edges. Boil or steam-fry the dumplings and serve. If not eating immediately, place the plates of filled dumplings in the freezer until firm, then transfer to freezer bags.
Next: Candied Carrot Rose Tart
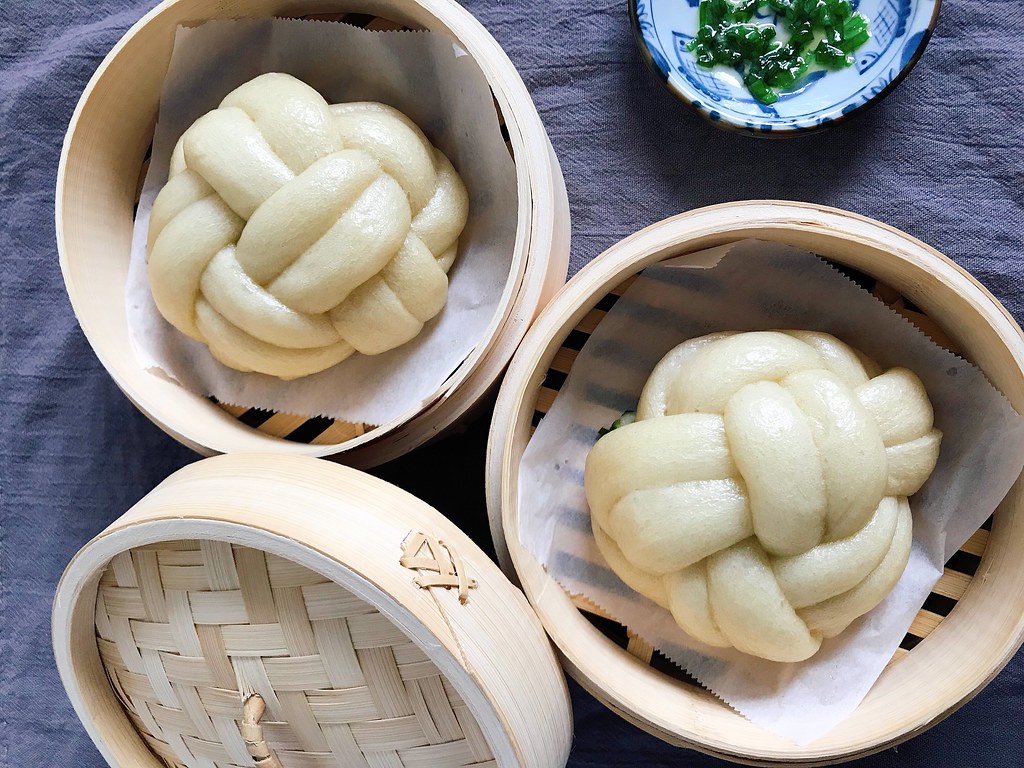
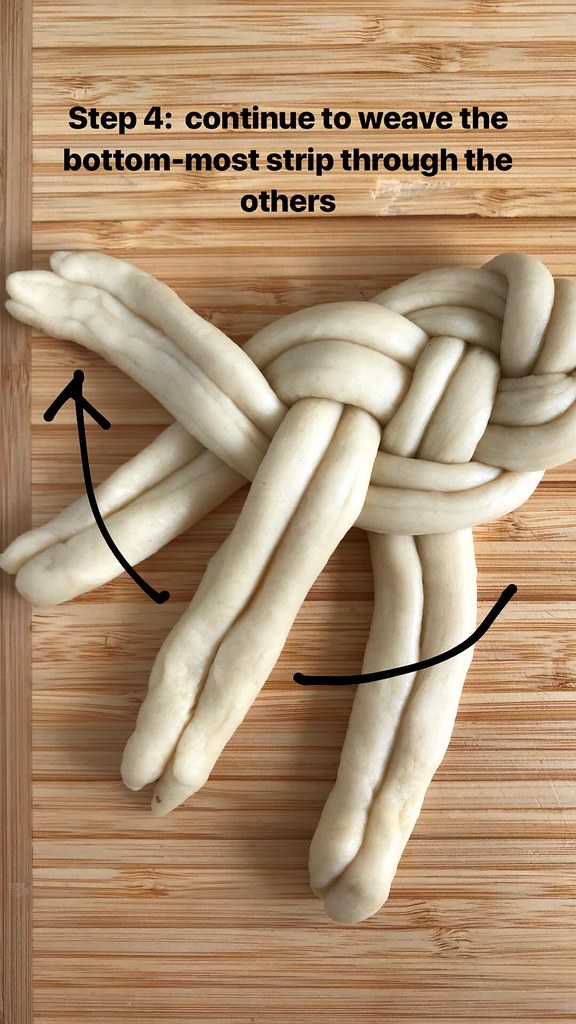
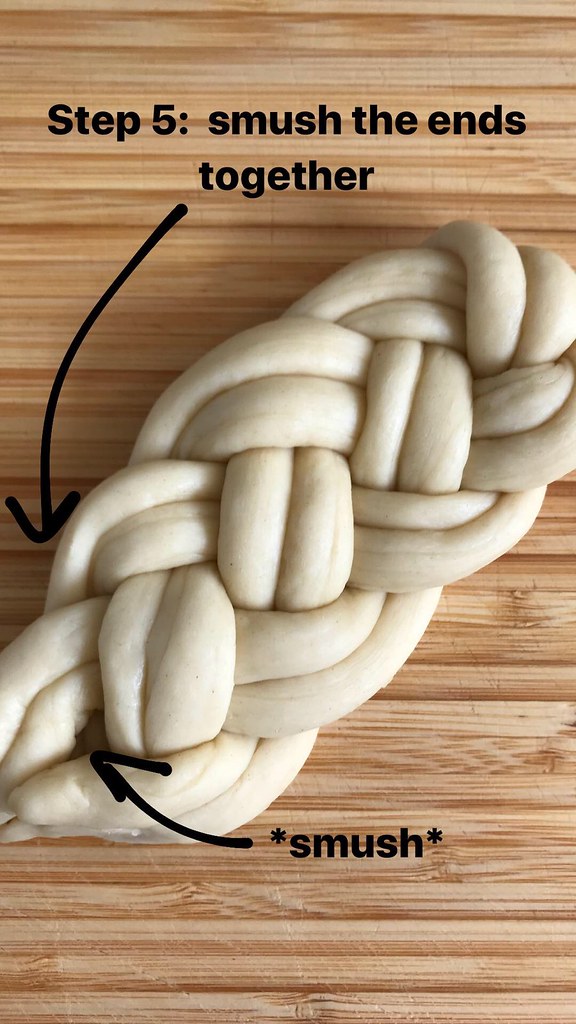
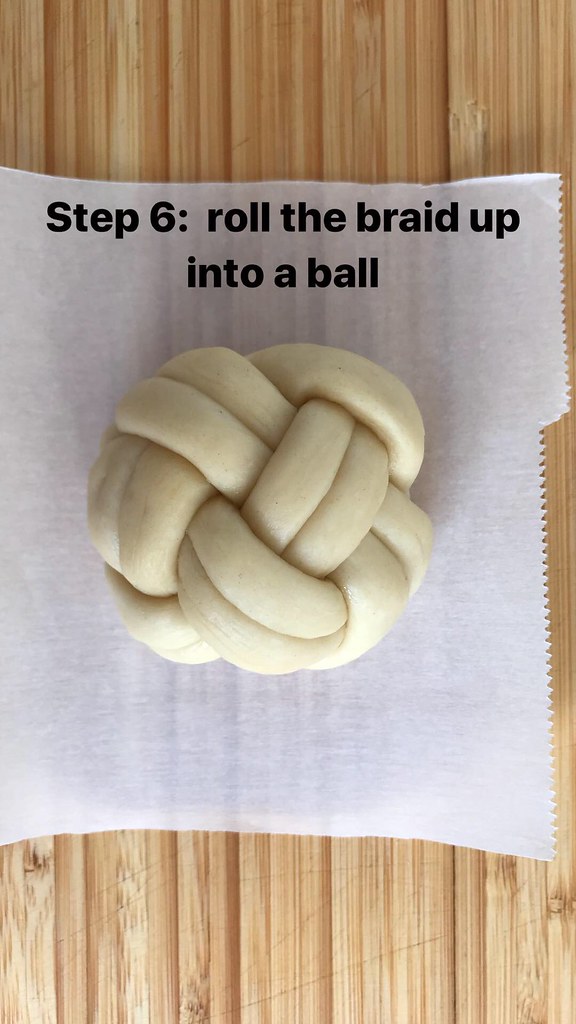
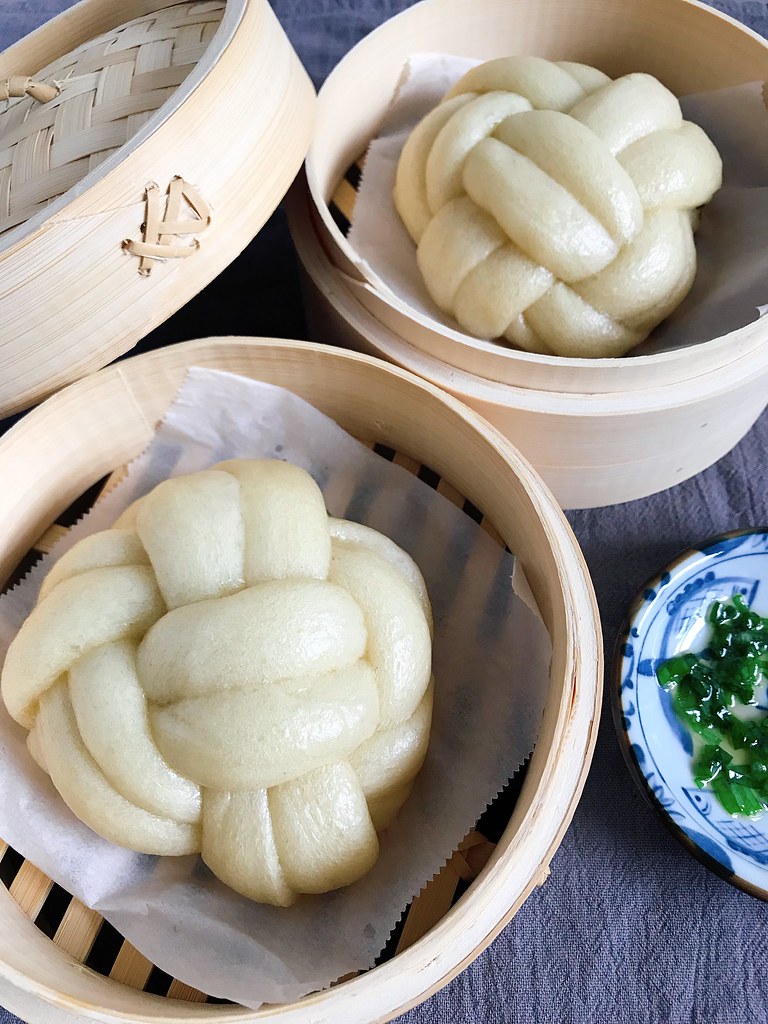
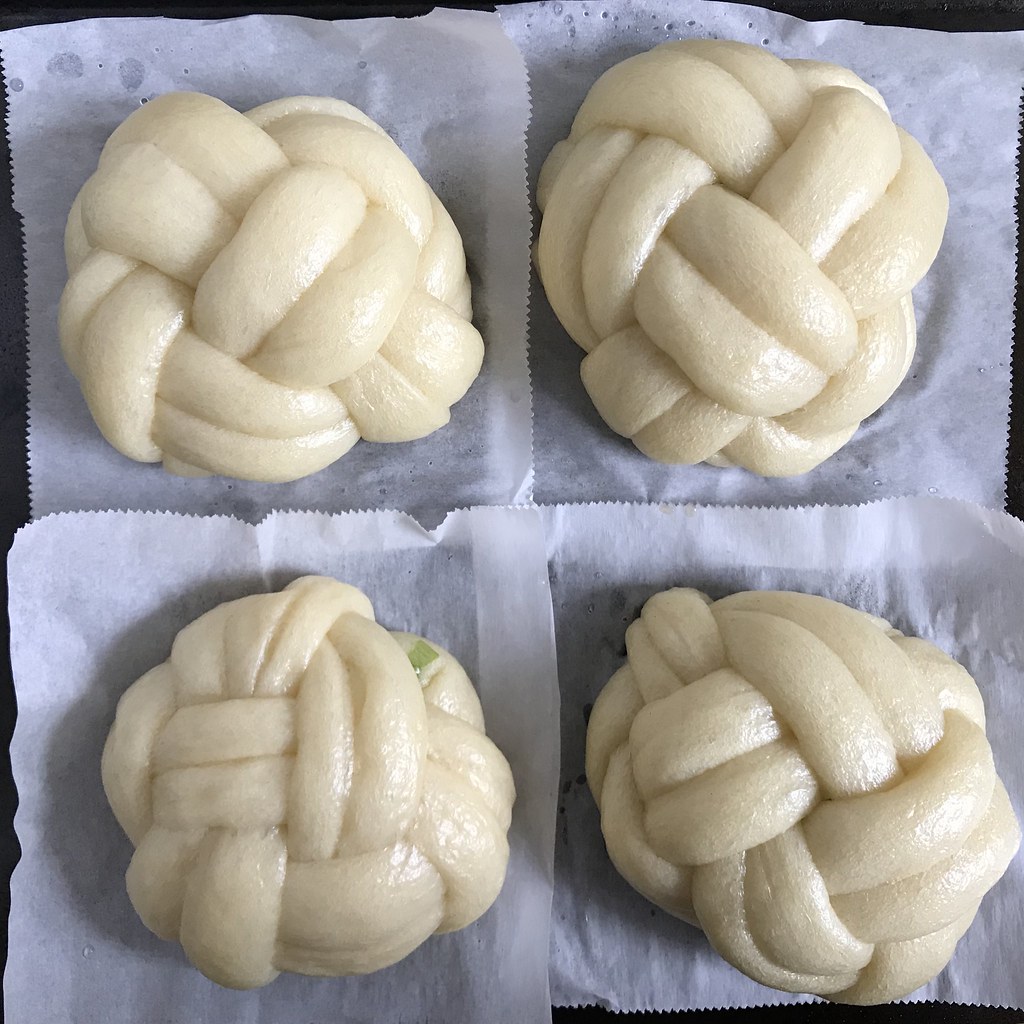
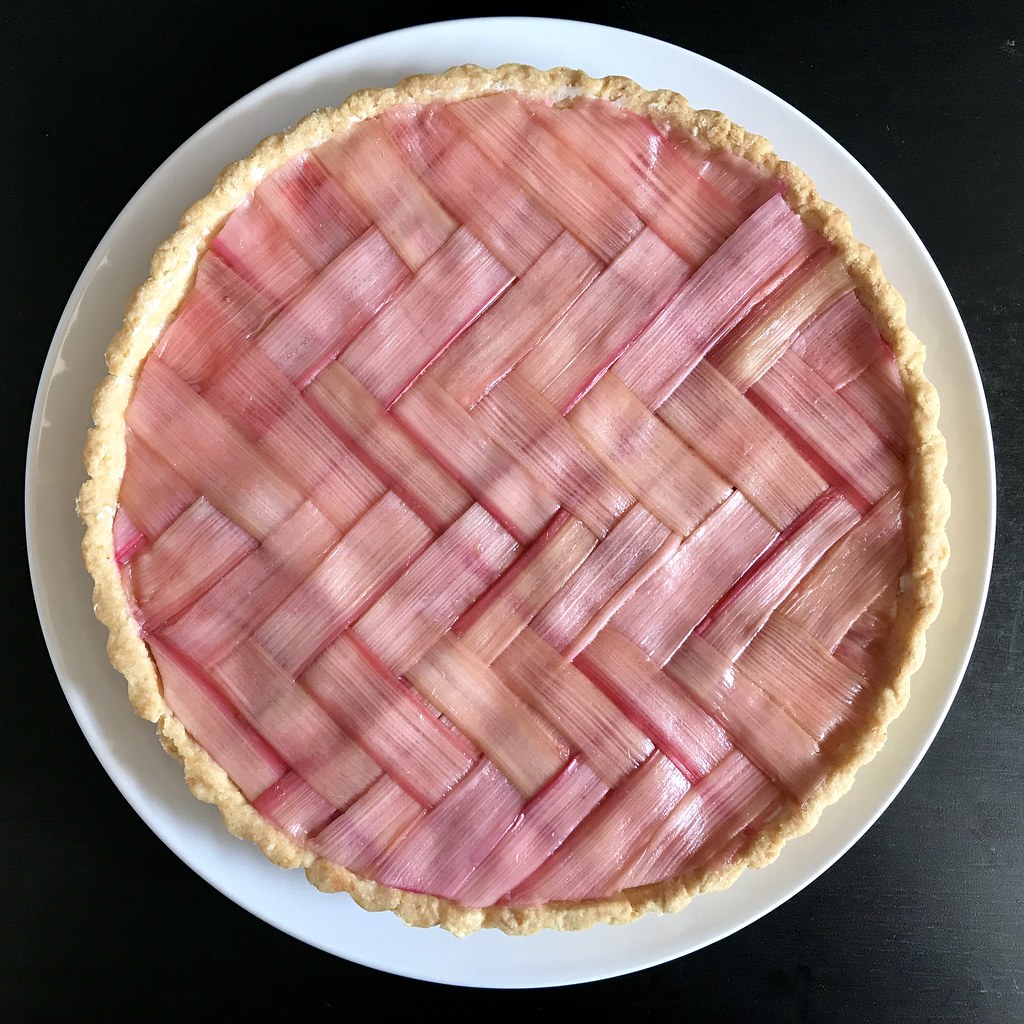
Previously: My Mom's Steamed Bao Buns
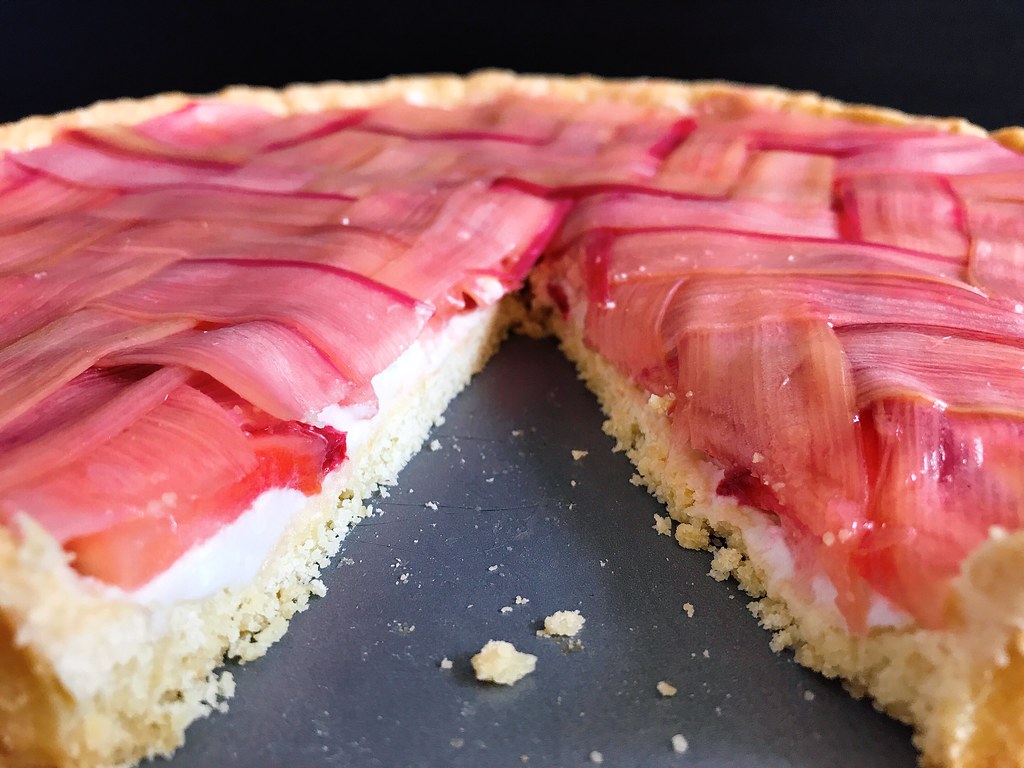
Last Year: Pull-Apart Scallion Swirly Bread
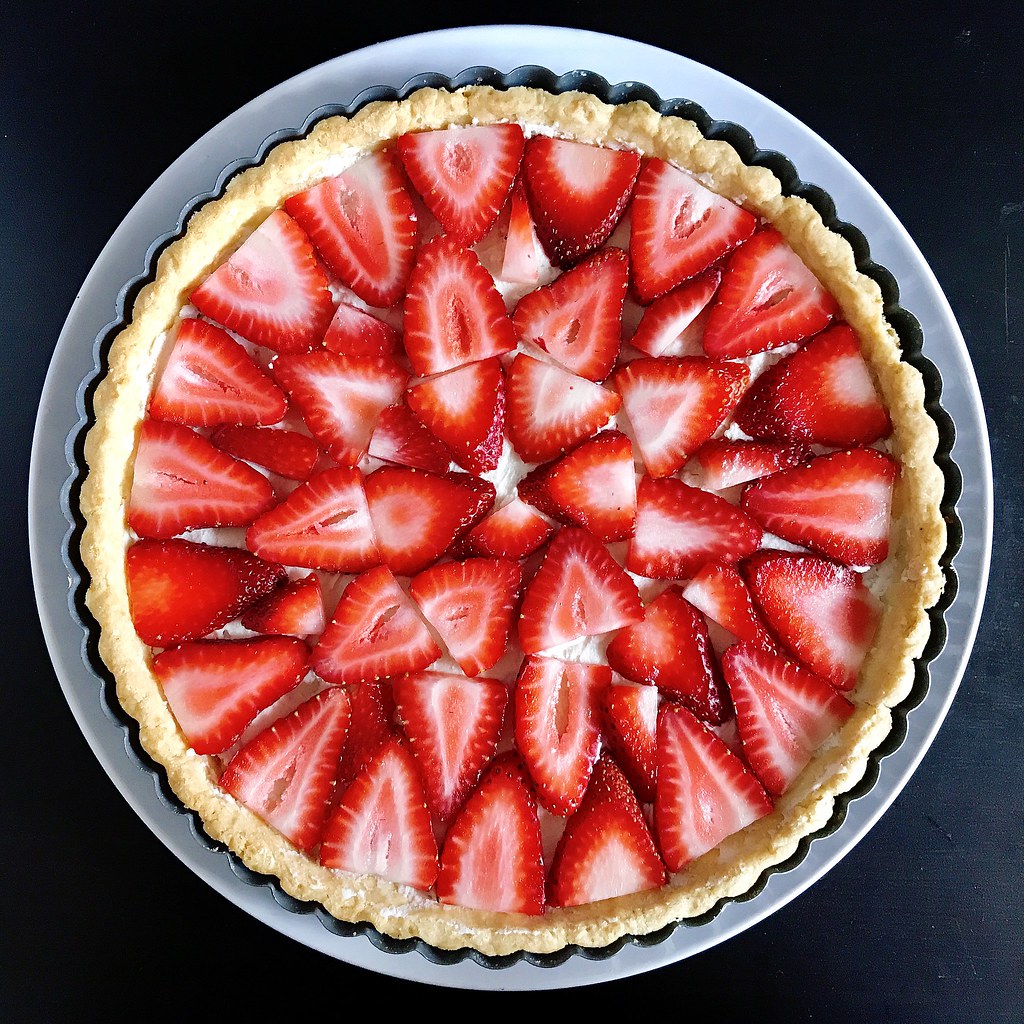
Three Years Ago: Puppy Chow Pie
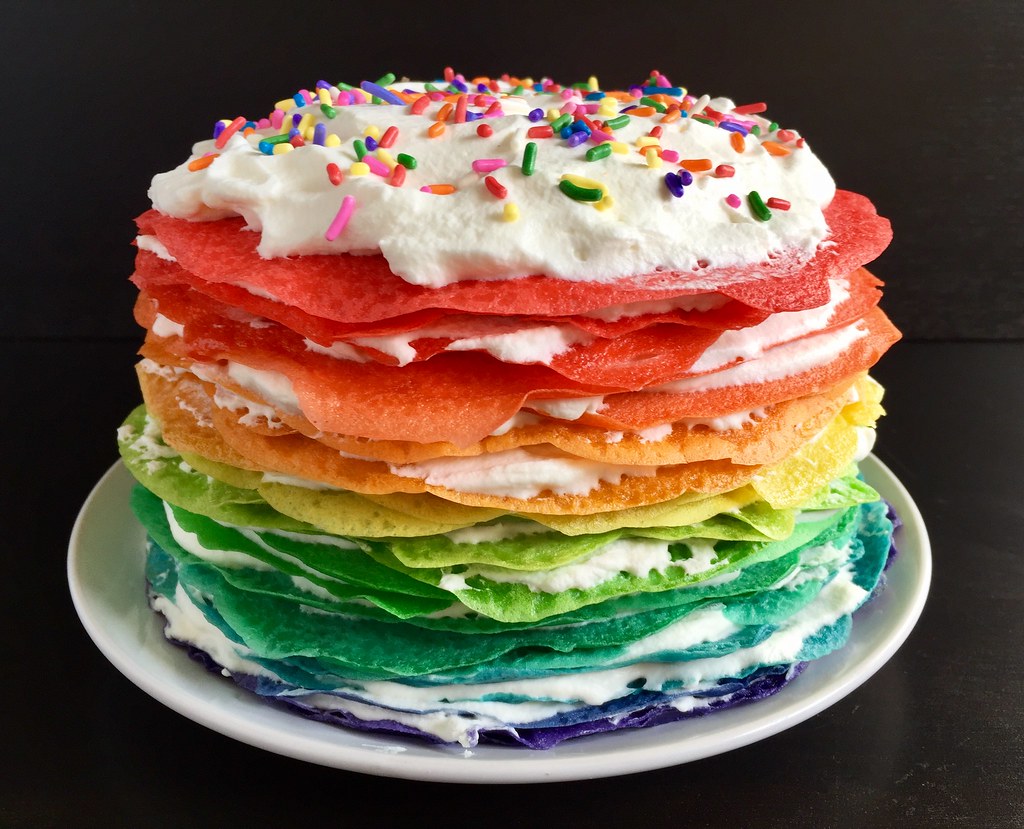
Four Years Ago: Miso Pumpkin Soup
Five Years Ago: Homemade Ramen Noodles
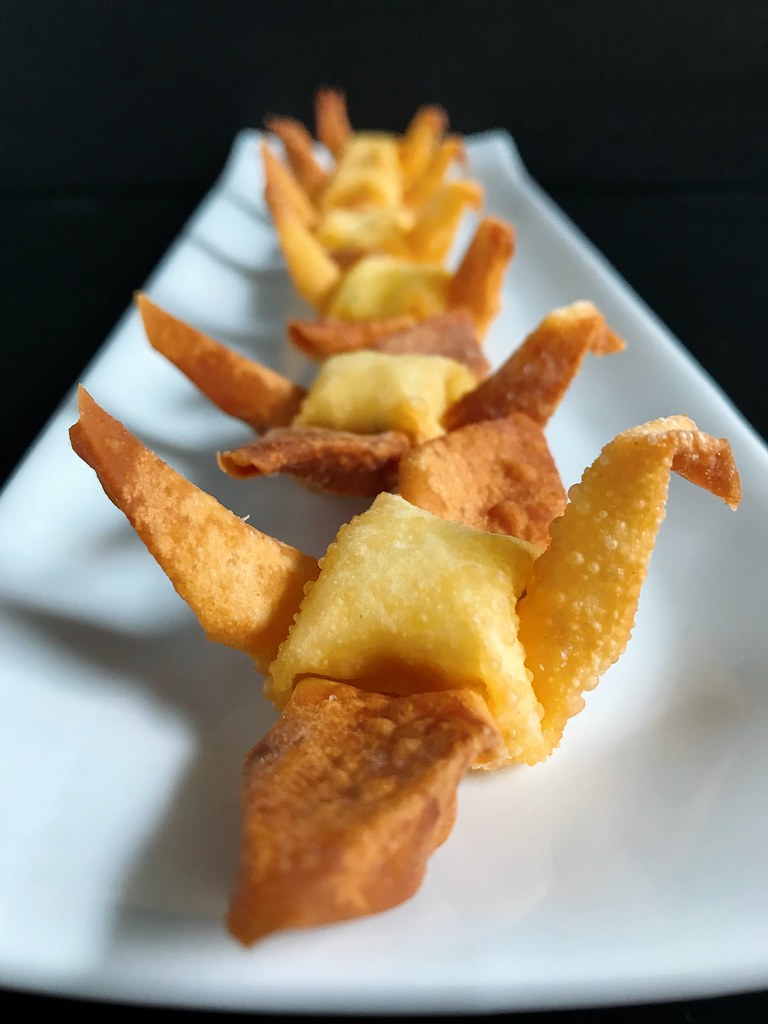
Eight Years Ago: Tim Tam Slam Ice Cream
Nine Years Ago: Pork and Cabbage Dumplings
19 oz. firm tofu
2 bundles of bean thread vermicelli
4 scallions, chopped
1/2 cup soy sauce
4 tablespoons sesame oil
1 tablespoon sugar
80 dumpling skins (about 2 packs)
Press the tofu between a couple layers of paper towels for 15 minutes. Soak the bean thread vermicelli in lukewarm water for 15 minutes.
Use a food processor to finely chop the napa cabbage and transfer to a large bowl. Mix the salt in and let rest for 15 minutes. Squeeze handfuls of the cabbage over a sink to discard the water that's been released. Add the squeezed cabbage back to the large bowl after drying it out. Chop the softened noodles and add to the cabbage. Crumble the tofu into the bowl and add the pork. Add the scallions, soy sauce, sesame oil, and sugar and mix well.
Fill the dumpling skins and seal the wrappers with a little water on the edges. Boil or steam-fry the dumplings and serve. If not eating immediately, place the plates of filled dumplings in the freezer until firm, then transfer to freezer bags.
Next: Candied Carrot Rose Tart
Previously: My Mom's Steamed Bao Buns
Last Year: Pull-Apart Scallion Swirly Bread
Three Years Ago: Puppy Chow Pie
Four Years Ago: Miso Pumpkin Soup
Five Years Ago: Homemade Ramen Noodles
Eight Years Ago: Tim Tam Slam Ice Cream
Nine Years Ago: Pork and Cabbage Dumplings