Showing posts with label brown butter. Show all posts

Wednesday, July 25, 2018

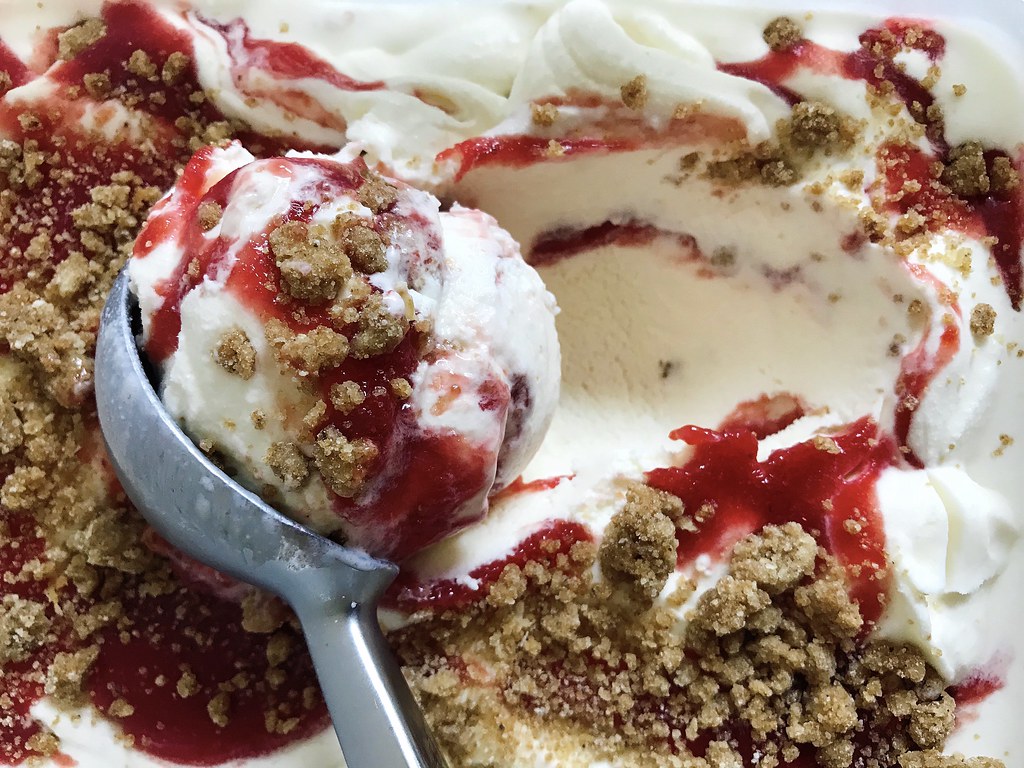
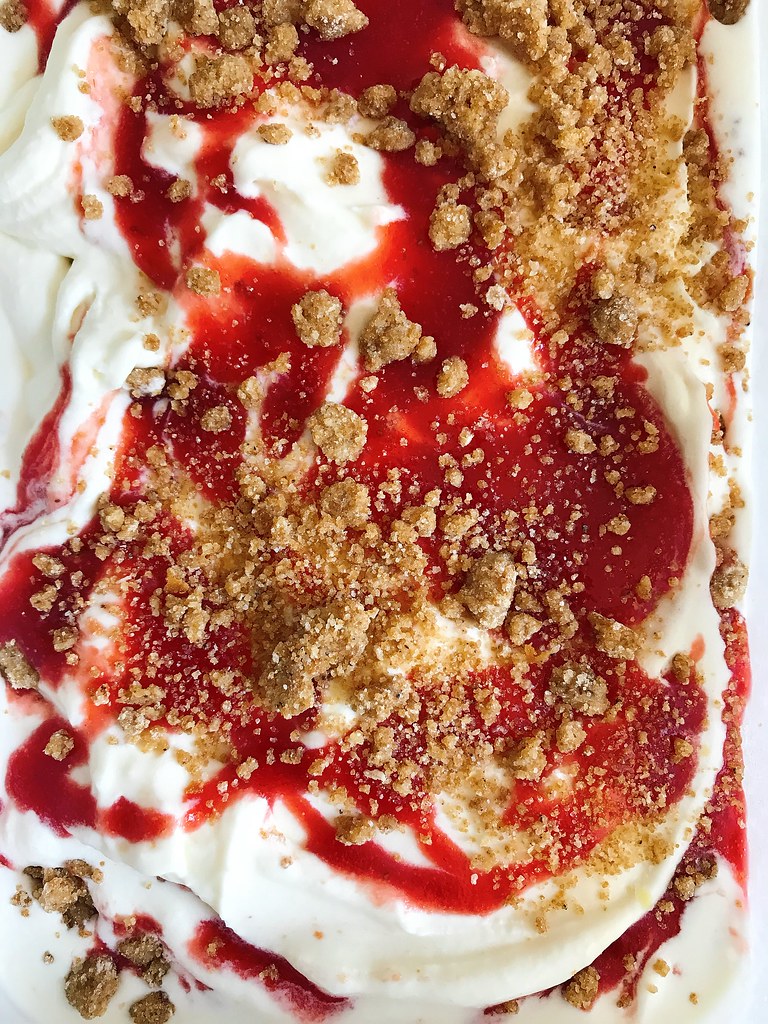
Cherry Pit Ice Cream with Cherry Ripple and Brown Butter Streusel


Have you ever heard of cherry pit ice cream?  Apparently within the pits of all stone fruits (cherries, peaches, nectarines, etc.) is a white kernel that smells like an almond.  If you steep the kernels in alcohol, you can make a bitter almond extract, and if you steep them in an ice cream base, you can make a delicious ice cream with a subtle almond taste.

Getting to the kernel requires smashing the pits open, which can get kind of messy.  Additionally, a toxic chemical, amygdalin, may be released when doing so, but apparently it can be neutralized by cooking.  So it's up to you if you want to break the pits open to get to the kernel or not, but I did so because 1. it's fun to smash things, and 2. I wanted to extract as much of the bitter almond flavor as possible.

I used the blank slate Philadelphia-style ice cream recipe from Hello, My Name Is Ice Cream, as the base for the ice cream and added a cherry ripple for fruitiness and brown butter streusel for crunch.  Both the ripple and streusel are also adapted from recipes in Hello, My Name is Ice Cream.  I really love the combination of all 3 parts, especially the streusel, because I really enjoy the extra texture it provides.
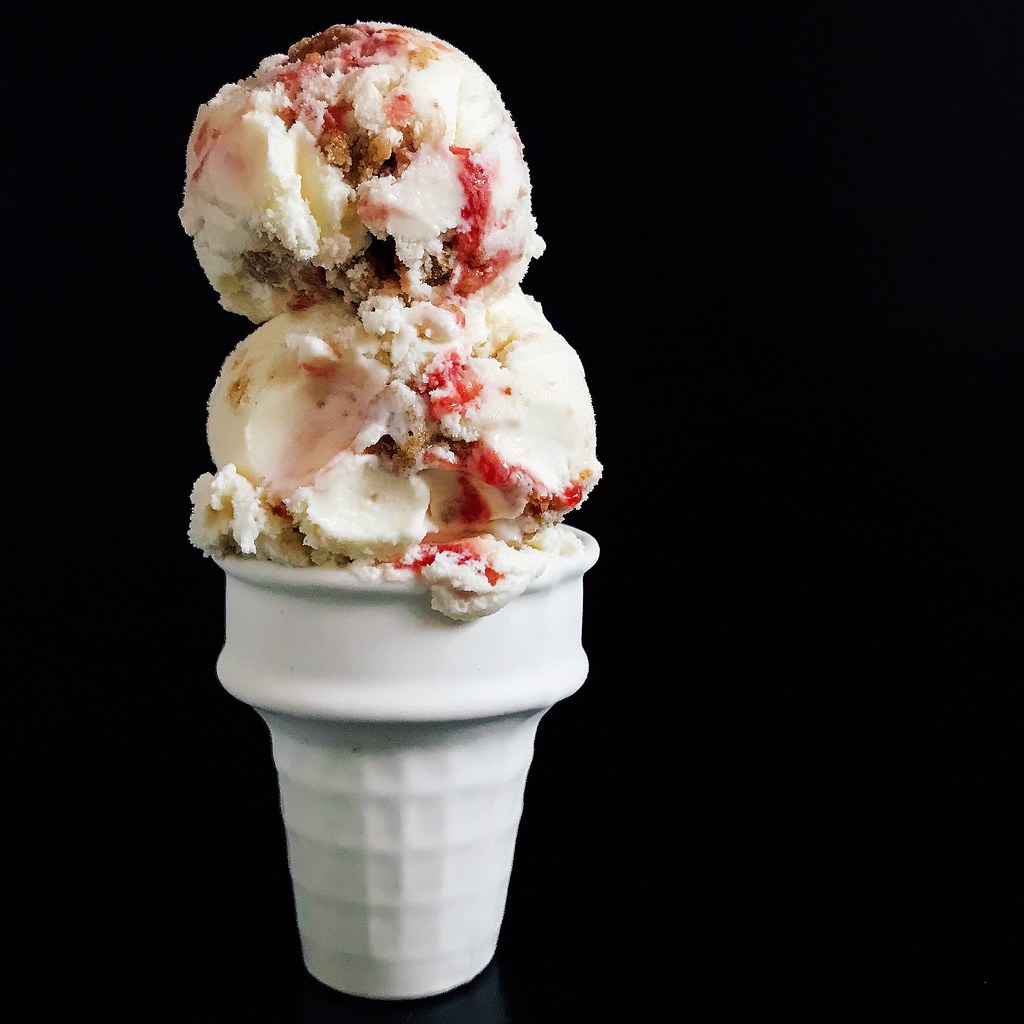

Cherry Pit Ice Cream with Cherry Ripple and Brown Butter Streusel
makes about 1 quart

For the cherry ripple:

1 lb. sour cherries*
50 g sugar
50 g corn syrup

Remove the stems and pit the cherries, reserving the pits.  Combine the cherries, sugar, and corn syrup in a saucepan and cook over medium heat until the sugar has dissolved.

Transfer to a blender and blend until smooth.  Return the contents to the saucepan and continue to cook until thick and jammy.  Remove from the heat and strain through a fine-mesh sieve.  Store in the refrigerator until ready to use.

*Note, I made this with sour cherries, but if you want to use sweet cherries, you'll probably want to reduce the amount of sugar and corn syrup.

For the brown butter streusel:

37 g unsalted butter
50 g flour
Scant 1/8 teaspoon baking powder
1/4 teaspoon kosher salt
25 g brown sugar
25 g sugar

Preheat the oven to 350°F and line a sheet pan with parchment paper or a Silpat.

Melt the butter in a small saucepan over medium heat until the milk solids have separated and started to brown.  Immediately remove from the heat and set aside to cool down.

Whisk together the flour, baking powder, salt, and sugars.  Add the browned butter and mix until there are no dry bits.  Transfer the streusel to the sheet pan and break up any large lumps.

Bake for 10 minutes, then stir the streusel to redistribute on the pan.  Bake for another 10-15 minutes until the streusel is golden brown and cooked through.  Cool the streusel on a wire rack and then store in the freezer until ready to use.

For the cherry pit ice cream:

Pits from the pound of sour cherries
380 g cream
400 g milk (plus 2 tablespoons of milk if using cornstarch)
50 g corn syrup
20 g milk powder
150 g sugar
10 g cornstarch or 3 g commercial stabilizer

Place the cherry pits in a sturdy freezer bag and cover with a dish towel.  Use a heavy saucepan or mallet to crack the pits open to expose the white kernels within.  I would suggest doing this on the ground with a cutting board underneath because there's a good chance you'll make some holes in the bag.

Place the cracked pits and kernels in a medium heavy-bottomed saucepan and add the cream, milk, and corn syrup.  Cook over medium heat until the mixture reaches a boil, stirring occasionally to prevent scorching.  In the meantime, prepare a large ice water bath.  When the mixture is boiling, transfer to a metal bowl and place in the ice water bath.  Stirring occasionally, bring the mixture down to room temperature and then chill in the fridge for 4-6 hours.

Mix the milk powder, sugar, and commercial stabilizer, if using, in a small bowl.  If using the cornstarch, mix with 2 tablespoons of cold milk.  Prepare another ice water bath.

After the ice cream base has finished steeping, strain through a fine-mesh sieve into the saucepan and whisk in the milk powder mixture.  Bring to a boil again, stirring to prevent scorching.  Continue to cook for 2 minutes, then add the cornstarch slurry, if using, and continue to cook for another minute until slightly thickened.

Pour the ice cream base into a metal bowl and place in the ice water bath.  Stirring occasionally, bring the mixture down to room temperature and then chill in the fridge for 4 hour or overnight.  Place a storage container in the freezer.

Churn the ice cream base in your ice cream machine until thick and creamy.

Spoon a layer of the cherry ripple on the bottom of the storage container.  Scatter some of the streusel over the ripple, then spread a third of the ice cream into the container.  Drizzle a third of the ripple over the ice cream and sprinkle a third of the streusel over that.  Repeat the layers two more times (you may have cherry ripple than you need; if so, save in the fridge for up to 2 weeks).  Press a piece of plastic wrap directly on the surface of the ice cream, cover with the lid, and freeze for at least 4 hours, until completely firm.

Next:  Tomato and Eggs over Rice (Updated)
Previously:  Sourdough Discard Pizza Dough
Last Year:  Greyscale Cream Puffs
Two Years Ago:  My Mom's Beef and Broccoli Stir Fry
Three Years Ago:  Pasta con le Sarde
Four Years Ago:  Strawberry Pop Tart Slab Pie
Five Years Ago:  Zuni Cafe's Fried Eggs in Bread Crumbs
Eight Years Ago:  Slow Cooker Bolognese Sauce

Friday, September 6, 2013

Brown Butter Vinaigrette Lobster Buns

This past week the Stop & Shop circular advertised lobsters for only $3.99/lb!  I was already planning on having friends over for a dinner party so I decided to pick up 6 lobsters and have a lobster crackin' party outside on my patio.  Sadly, when I got to the seafood section, I found out that the sale had ended on Labor Day, and the lobsters were now $5.99/lb.  Boo.....

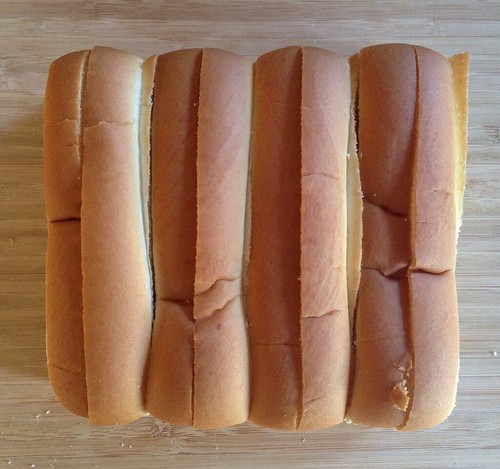
So I ended up just picking up 4 lobsters and decided to make lobster rolls instead.  Traditionally, lobster rolls consist of lobster meat dressed with mayonnaise in a buttered top-split bun.  If you don't live in New England, you've probably never seen a top-split hot dog bun.  When I first moved to Boston, I thought they were kind of weird and reminded me of a slice of Wonder Bread folded in half.  But that was before I realized that they provide a better meat to bread ratio than regular hot dog buns and also toast up nicer.


Last year I went to Portland, Maine for the first time and had the best lobster rolls in my life at the Eventide Oyster Co.  Theirs is rather nontraditional in that they swap out the mayonnaise for a brown butter vinaigrette, and they serve it in a homemade steamed bun.  It was soooooooo good, I had to try to recreate it!

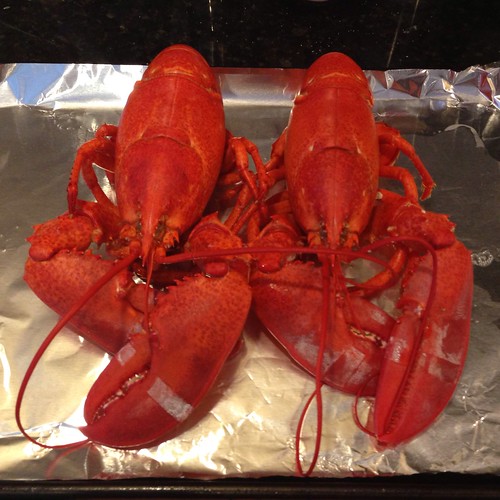
First of all, the lobster meat.  This was my first time cooking lobsters by myself, and it was not my finest moment.  Lobsters already creep me out a bit because 1) they look like bugs and 2) they're still alive and moving around when you cook them.  I know you can kill them by putting a knife through their head before cooking them, but I wasn't about to do that because see 1) and 2) above.  And even after you kill them that way they still move around!  Nope!


Instead I put them in the freezer for about 20 minutes before cooking them so that they were nice and relaxed.  Even then I couldn't handle touching them so I used tongs to transfer them to the pot or just slid them in from the bag.  I chose to steam them rather than boil them because it takes a lot less time to bring an inch of water to boil vs. a whole pot.

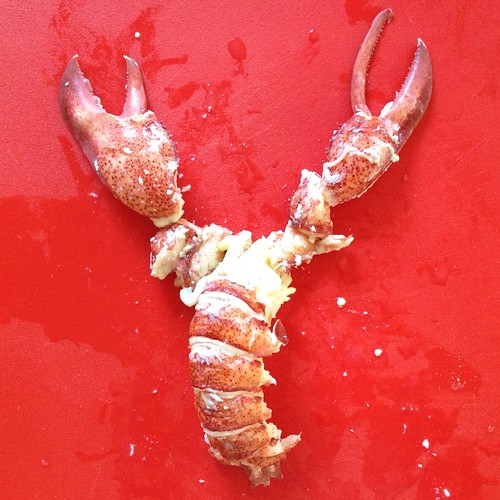
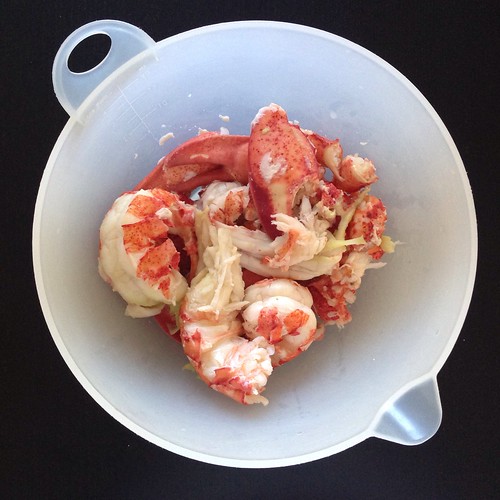
I followed this video to crack the lobster and extract the meat, making sure to crack the lobsters over the pot with the steaming water in order to catch all the juices.  (I saved this liquid to make lobster bisque the next day.)  You'll find the majority of the meat in the claws, knuckles, and tail.  There's pockets of meat in the body, and you can squeeze out little tubes of meat from the legs, but that was a lot more work than I was interested in doing, so I just left the bodies for my friends to pick at if they wanted to (they wanted to).


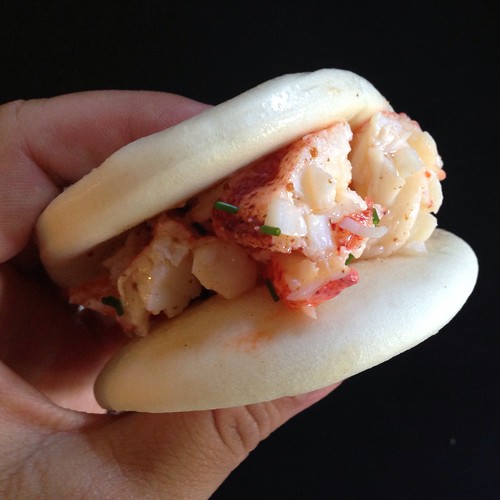
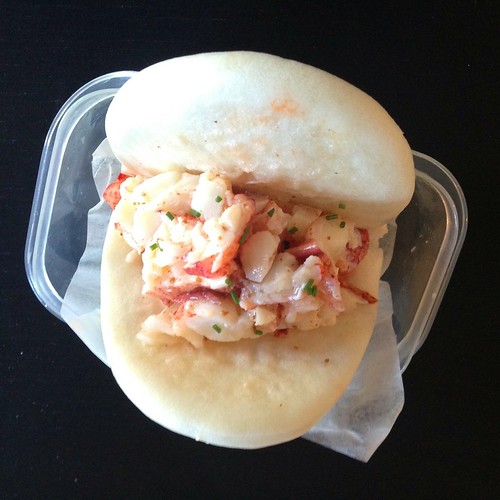
Now let's talk about the buns.  I'd recommend making them from the dough in my hua juan recipe, but if you're lucky enough to live near an Asian grocery story that sells steamed buns you can use those too.  I was kind of lazy and just bought some from Super 88.  I think they worked out okay, but using homemade bao buns would've been infinitely better.

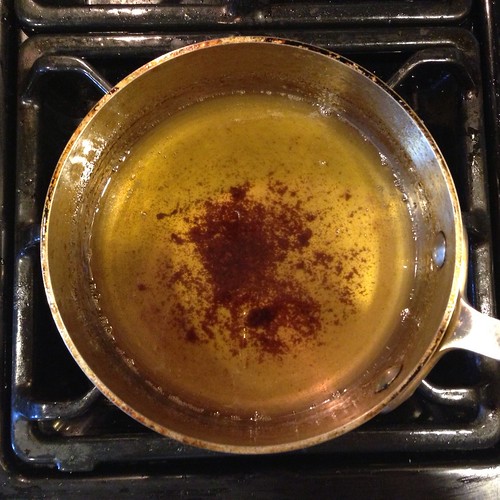
For the brown butter vinaigrette I just browned a stick of butter and added the juice from one lemon and salt to taste.  Quickly sauté with the lobster meat just to heat through, top with some chopped chives, and it's ready for the steamed buns.


Brown Butter Vinaigrette Lobster Buns (inspired by Eventide Oyster Co.)
makes 6 small buns

3 one-pound lobsters
1/2 cup unsalted butter
Juice from one lemon (about 1/4 cup)
Salt to taste
Chives, chopped
6 steamed buns

Fill a large pot with 1" of water and throw in enough salt to make it as salty as the sea.  Bring to a boil.  Add the lobsters (one at a time if your pot isn't big enough), cover, and steam for 10 minutes.  Remove the lobsters to a rimmed baking sheet and allow to cool.


Once they are cool enough to touch, twist off the claws and tail and remove the meat.  Coarsely chop and set aside.


Heat a medium pot on medium heat and melt the butter.  Swirl the pot around occasionally and continue to heat until the milk solids at the bottom turn brown and the butter smells starts to smell nutty.  Immediately remove from heat and continue to swirl the pot around so that the milk solids don't burn.  Add the lemon juice and salt to taste.  Toss in the chopped lobster meat and return the pot to heat just until the lobster meat is heated through.


If needed, reheat the steamed buns in the microwave.  Fill the buns with the lobster salad and top with the chopped chives.  Serve warm.

Previously:  Jim Lahey's No-Knead Bread
Next up:  Ramen Lobster Rolls

Wednesday, July 17, 2013

French Toast Face Off

I was now down to a little over a foot-and-a-half left of my once four foot baguette, and the bread was now sufficiently stale to make French toast. But which French toast?

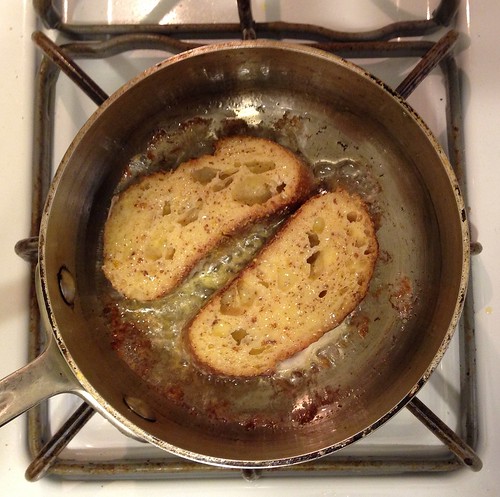
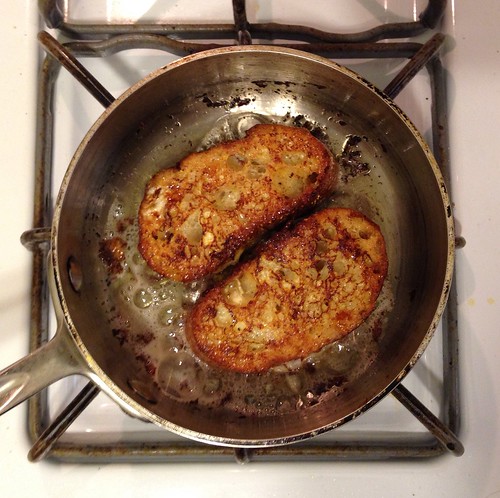
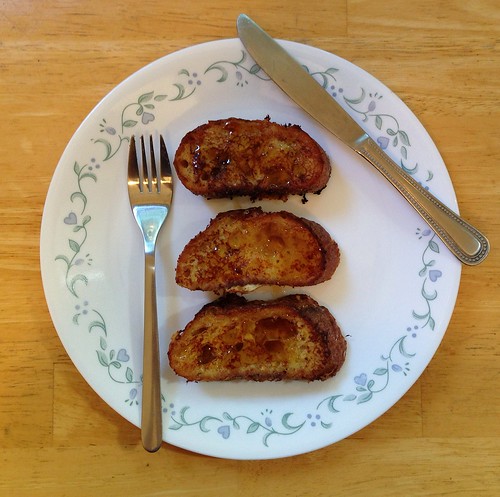
Molly from Orangette swears by frying her French toast in oil whereas the popular consensus is to use butter.  I decided to compare the two for myself, taking the extra step of browning the butter first for some added flavor.  And since I had some leftover bacon fat from making the BLTs, I figured I'd try frying some French toast in that as well.  What we have now, my friends, is a French Toast Face Off.


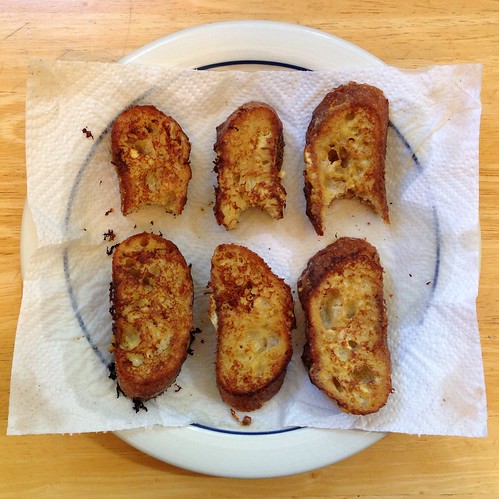
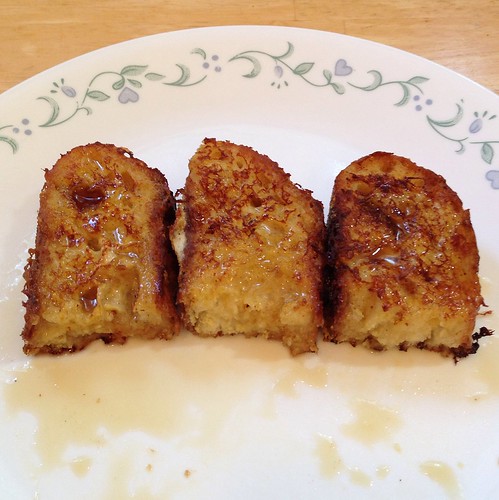
As you can see, isn't a lot of difference in the three visually.  But once I started eating them, there was a world of a difference.  The browned butter-fried French toast was the most unremarkable of the three.  It didn't taste bad, it just didn't shine, and I couldn't even really taste the browned butter (although that might just be me because I can almost never taste browned butter).


The winner of the three in terms of flavor was definitely the bacon fat-fried French toast.  This may come as no surprise since I love bacon, and you could definitely taste the smoky, salty flavor come through in full force here.


But the overall winner for me was the oil-fried French toast.  This was the only French toast that developed a really nice crispy crust while retaining a soft, custardy interior.  For me, texture trumped flavor.  And if I really wanted bacon flavor with my French toast, I could just, you know, eat it with bacon.  =)


French Toast (adapted from Orangette)
Serves 1-2

1 egg plus 1 egg yolk
1/2 cup milk
1/2 tablespoon sugar
1/2 teaspoon vanilla extract
1/8 teaspoon salt
Pinch of freshly ground nutmeg
6 to 8 day-old baguette slices, cut on the diagonal, about 3/4 inch thick
Canola or other flavorless oil
Pure maple syrup, for serving


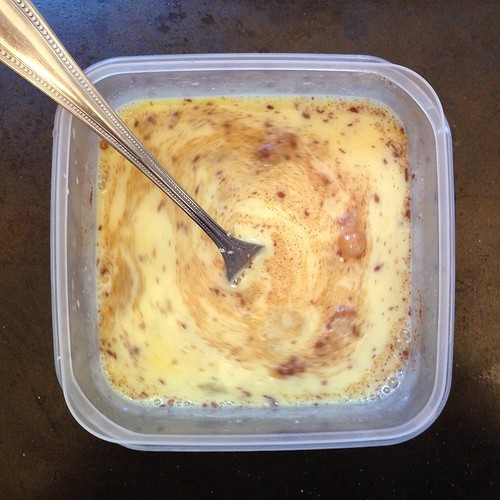
Whisk together the first five ingredients in a wide, shallow bowl.

Place a large skillet, preferably cast-iron, over low to medium heat, and add enough oil to completely cover the bottom of the skillet.


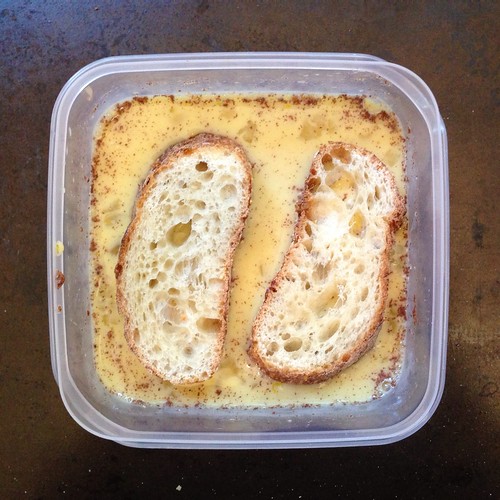
Two or three at a time, add the bread slices to the egg mixture in the bowl, allowing them to rest for a minute or two on each side. They should feel heavy and thoroughly saturated, but they should not be falling apart.


When the oil is hot, place the slices in the skillet. They should sizzle a bit, and the oil should bubble lightly around the edges of the bread; take care, however, that the oil is not too hot, lest the egg mixture burn.


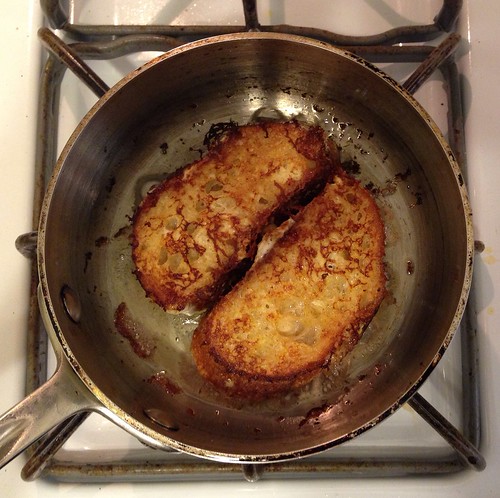
Cook until the underside of each slice is golden brown, about 2 minutes. Turn the bread, and cook until the second side is golden, another 2 minutes or so.


Remove the bread from the skillet to a plate lined with a paper towel, allow to rest for 30 seconds or so, and serve immediately—with maple syrup, of course.

Next:  Vanilla Sugar Lemonade and Mint Lemonade Slushies
Previously:  Panzanella

Wednesday, October 10, 2012

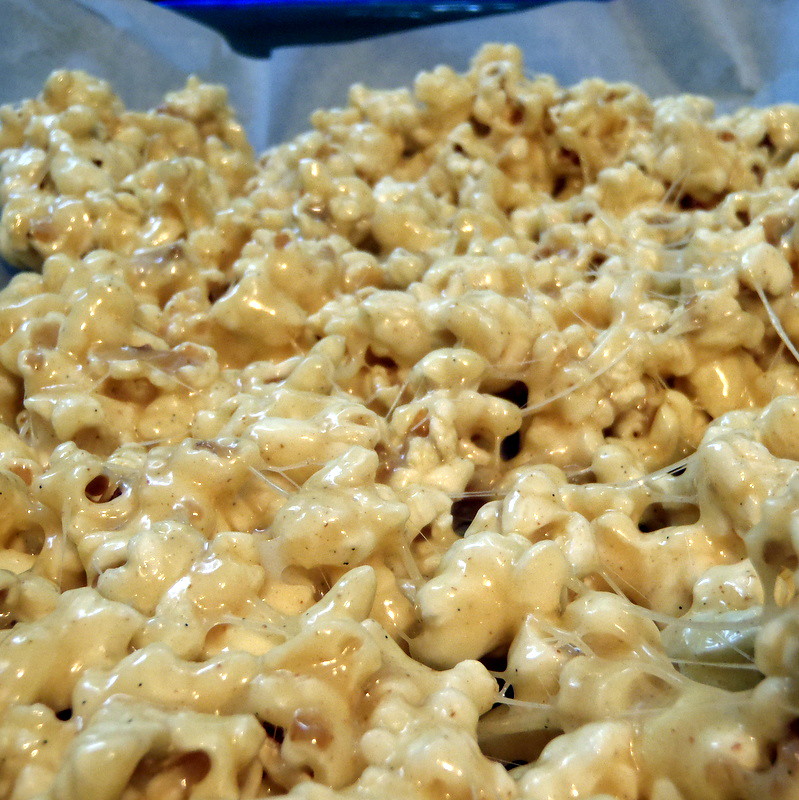
Brown Butter Marshmallow Popcorn

PA083125

When I saw this recipe for Caramel Marshmallow Popcorn, I just knew I had to make it.  Rice Krispies Treats are one of my favorite snacks, and well, you all know how much I love popcorn.  The only thing is, I noticed in a couple of the comments that the popcorn would get really, really hard after it cooled down, and I wanted something more like the softer texture of Rice Krispies treats rather than caramel corn.

I figured the reason it was getting hard was the addition of brown sugar, so I decided to stick with a more traditional Rice Krispies treat recipe with just marshmallows and butter.  But I couldn't help tweaking it a bit based on my friend Ilene's Brown Butter Rice Krispies Treats post by first browning the butter and adding some vanilla bean and salt.

Brown Butter Marshmallow Popcorn

1 stick (1/2 cup) butter
1/2 vanilla bean
1 10 oz. bag mini marshmallows
1/2 teaspoon kosher salt
9 cups popped popcorn (unpopped kernels removed)

PA083110
 
In a large pot, melt the butter on low heat.

PA083112
 
Split the vanilla bean in half lengthwise, and scrape out the seeds.  Add to the melted butter.

PA083113

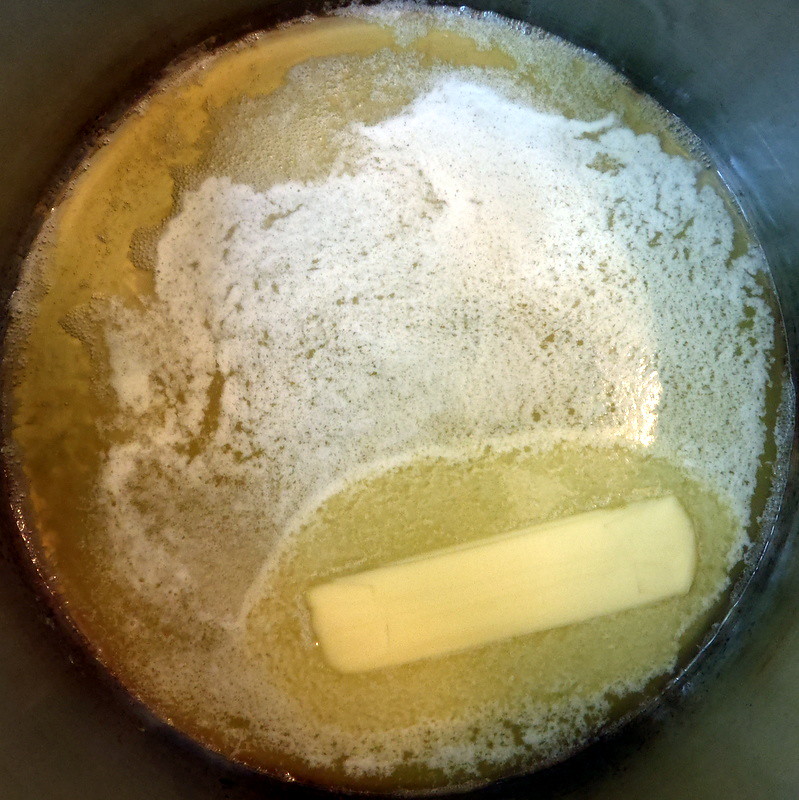
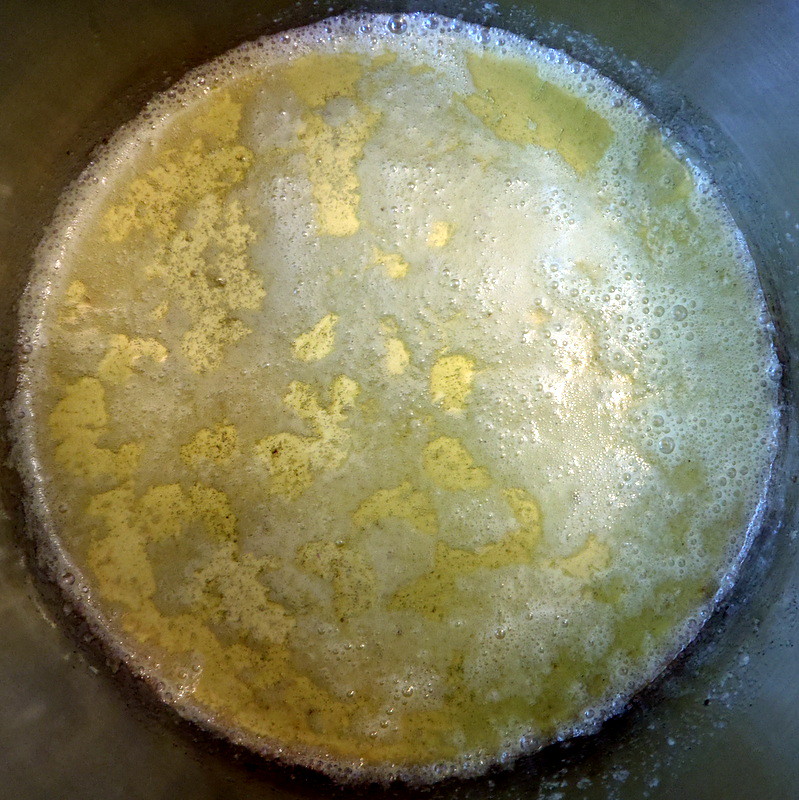
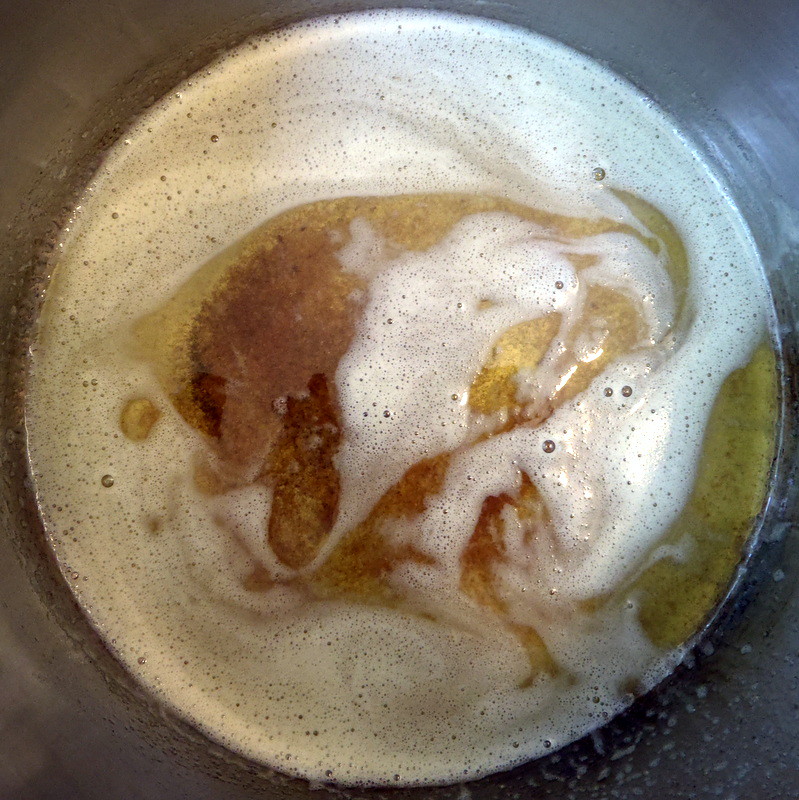
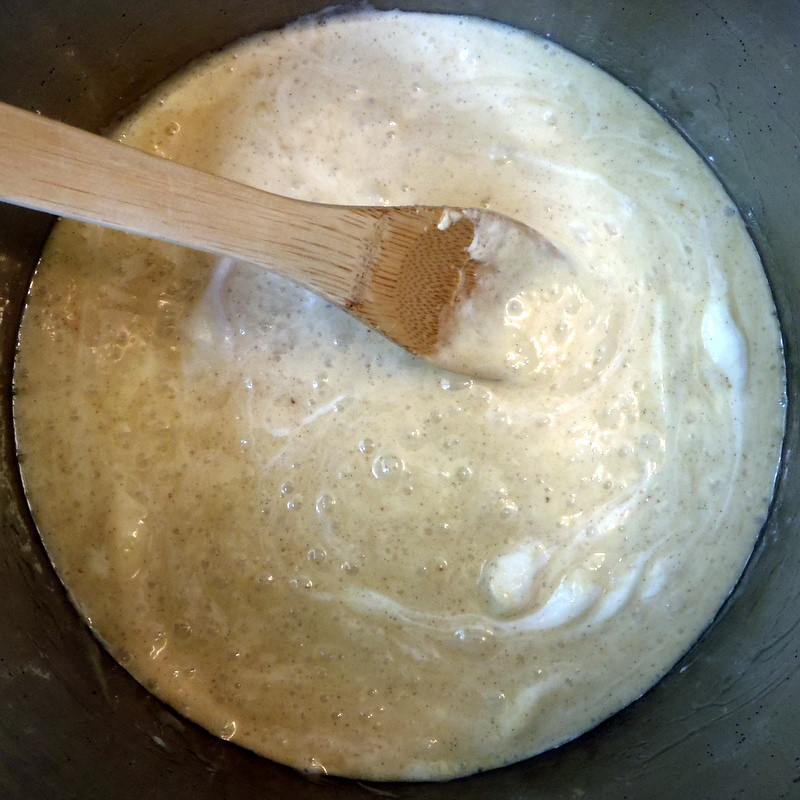
Continue to cook the butter on low until the milk solids start to brown.

PA083114

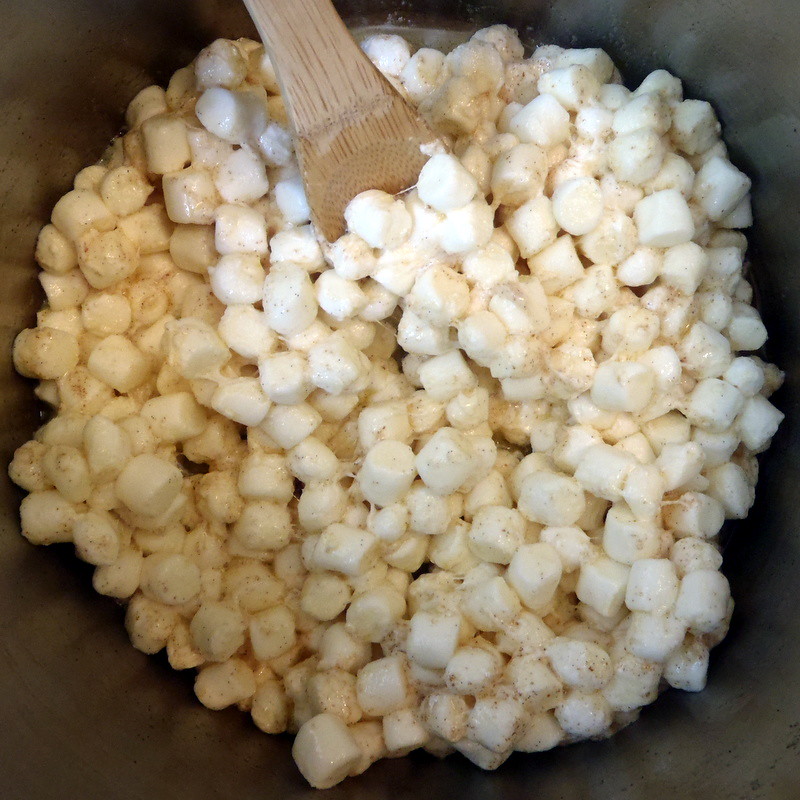
Remove from heat, add the salt and mini marshmallows and stir to combine.

PA083115
 
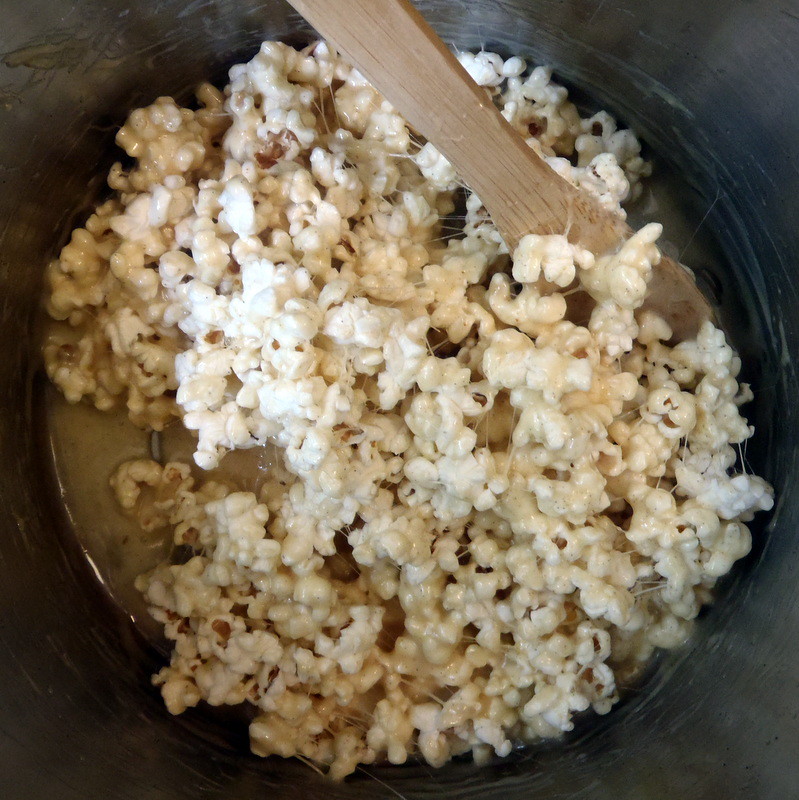
Return the pot to low heat and stir to completely melt the marshmallows.

PA083116
 
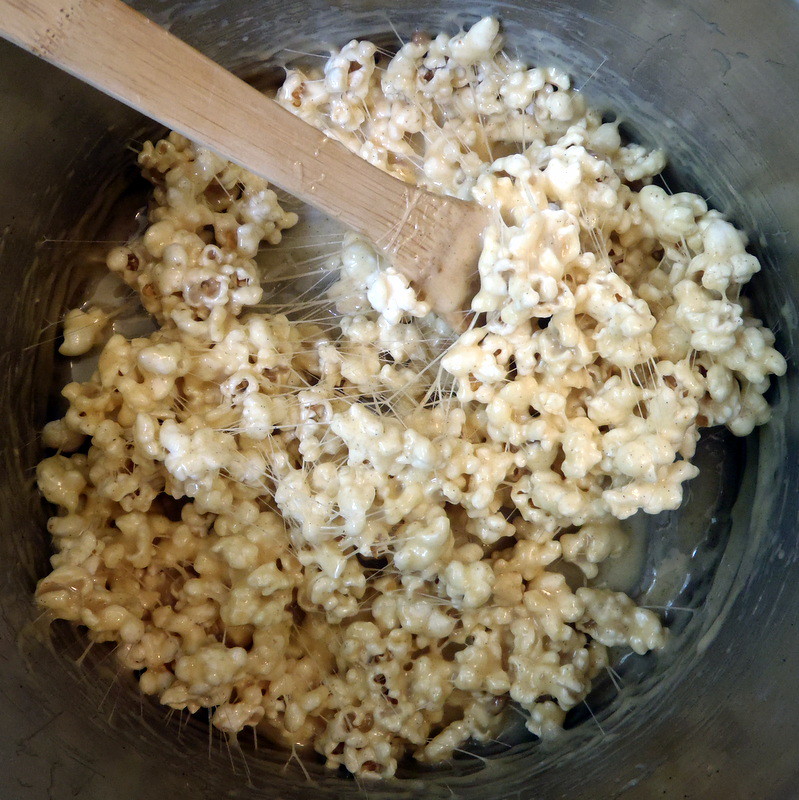
Once the marshmallows have completely melted, add the popcorn and stir to combine.

PA083119
 
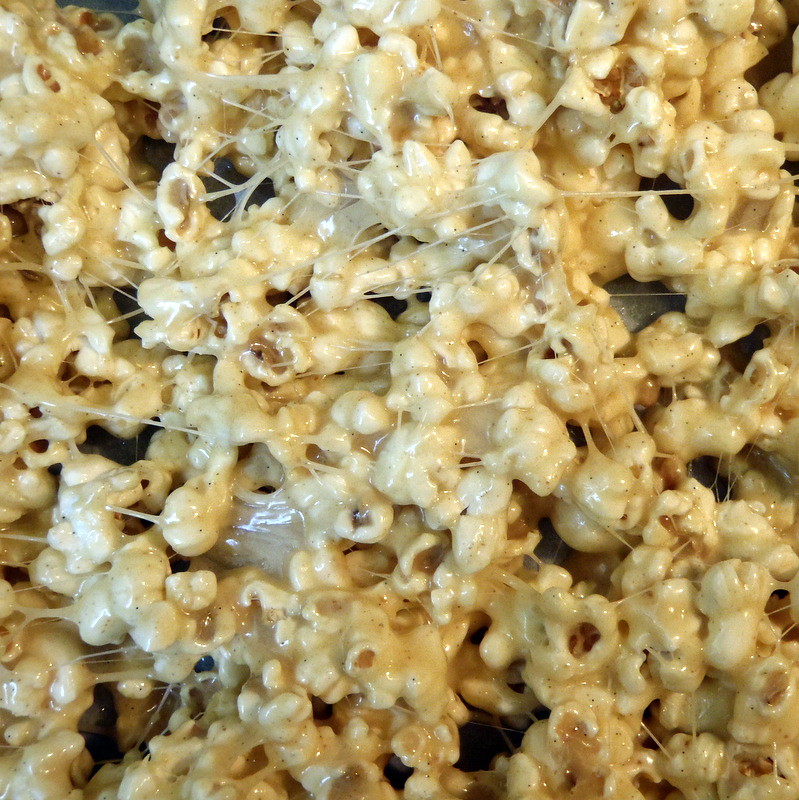
Line a baking dish with parchment paper and spray with baking spray.  Pour the popcorn into the dish and allow to cool.

PA083124

The cooled popcorn never got as crunchy as Rice Krispies Treat do, but that might be because I didn't use a full 9 cups of popcorn and the popcorn to marshmallow ratio was off.  I really loved how the vanilla bean and browned butter brought the marshmallows and popcorn to a-whole-nother level.  When I make this again, I'd probably add more salt and maybe some butter flavoring to reinforce the popcorn flavor (as well as make sure I have enough popcorn to start off with). Or just use a bag of butter flavored microwave popcorn!  =)

Friday, January 22, 2010

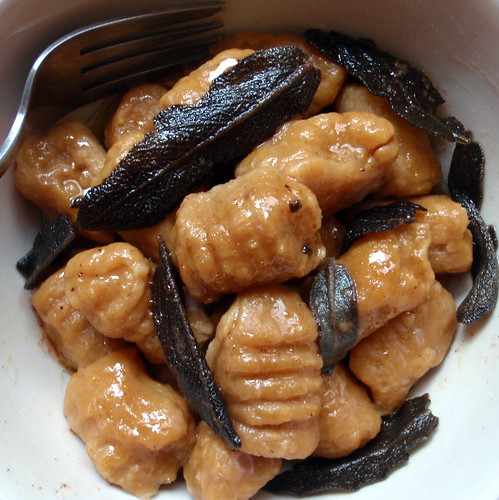
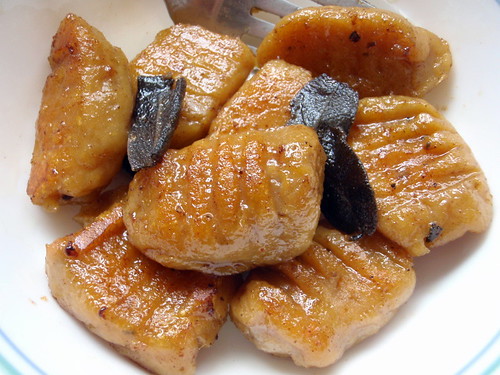
Sweet Potato Gnocchi with Maple Cinnamon Sage Brown Butter

I had two sweet potatoes left from my Boston Organics delivery, so I decided to try to make sweet potato gnocchi. The only other time I had ever made gnocchi was when I made the ricotta gnocchi for the Daring Cooks challenge back in May. That was definitely a pretty complicated recipe, but the sweet potato gnocchi recipe in Mark Bittman's How to Cook Everything was a lot simpler.

That recipe didn't mention what sauce to pair with the gnocchi, though, so I turned to Google for some inspiration. The first hit for a search for "sweet potato gnocchi" was Giada's "Sweet Potato Gnocchi with Maple Cinnamon Sage Brown Butter". Can you say yum?

Sweet Potato Gnocchi with Maple Sage Brown Butter

Sweet Potato Gnocchi with Maple Cinnamon Sage Brown Butter (based on Mark Bittman's recipe in How to Cook Everything and Giada De Laurentiis' recipe here)
makes 3-4 servings

1 lb. sweet potatoes (about 2)
Salt and pepper
1 cup all-purpose flour
1/4 cup butter
15 fresh sage leaves
2 teaspoons maple syrup
1/2 teaspoon cinnamon
1 dash nutmeg

Start boiling a pot of water.

Peel the sweet potatoes and cut into small 1" chunks. Place in a microwaveable bowl with a little water and cover. Microwave for five minutes or until the sweet potatoes are done. Drain, season with salt and pepper, and mash with a fork.

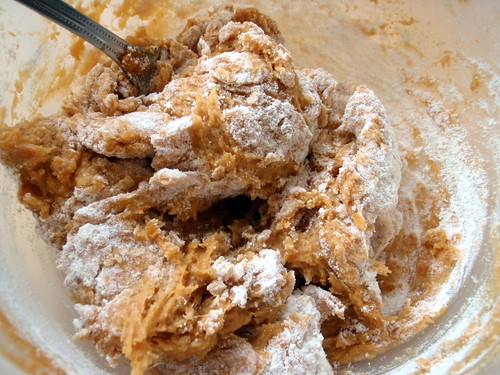
Sweet Potato Gnocchi Dough

Add about a half cup of the flour and stir. Continue adding the flour in small increments until you get a dough that you can handle. You want to add as little flour as possible to keep the gnocchi from being too dense. Pinch off a small piece and drop into boiling water to make sure it will keep its shape.

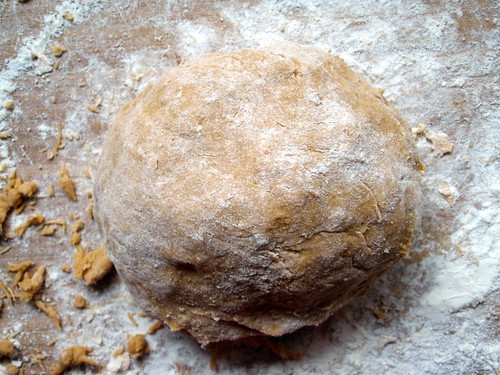
Sweet Potato Gnocchi Dough

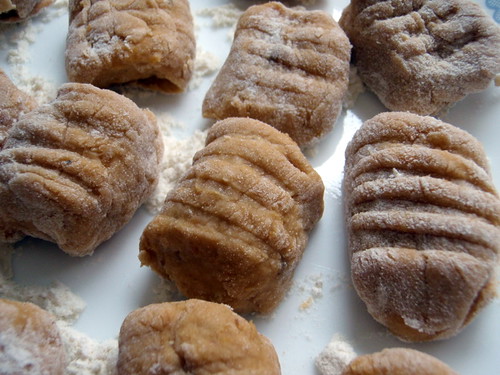
Place the dough onto a floured counter top (or cutting board). Divide in half and roll each piece into a 1/2 inch wide snake. Cut the dough into 1 inch long pieces and roll over the tines of a fork. Place shaped pieces onto a floured plate without them touching one another.

Sweet Potato Gnocchi

Cook the gnocchi in the boiling water in batches. You don't want there to be more gnocchi in the pot than can cover the surface of the water. The gnocchi is done about a minute after it starts floating.

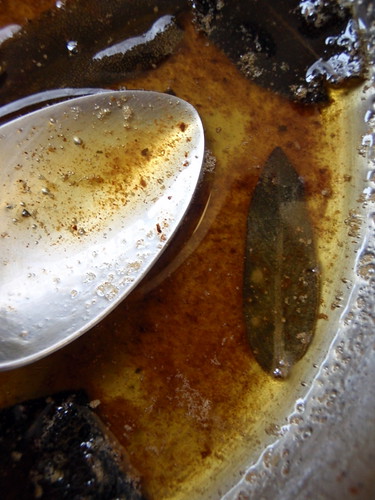
While the gnocchi is cooking, melt the butter in a separate small saucepan. Once it is melted, add the sage leaves and continue to cook until the milk solids in the butter have browned. Remove from heat and add the maple syrup, cinnamon, nutmeg, and salt to taste.

Maple Brown Butter with Sage

Toss the cooked gnocchi with the browned butter sauce and serve hot.

Leftovers can be refrigerated and pan-fried the next day for a slightly different texture.

Pan-fried Sweet Potato Gnocchi

I found dough could be quite sticky and gluey before I finally added enough flour for it to be workable. In hindsight, I probably should have drained the potatoes better before adding the dough. While this gnocchi was considerably heavier than the ricotta gnocchi I had made before, it was still a lot lighter than say, the big, thick Shanghainese and Korean rice cakes. The gnocchi itself didn't have much flavor, but the brown butter sauce more than made up for that. I really liked how the sage and maple syrup brought out the flavor of the sweet potatoes. What kind of surprised me was that I actually wanted to add a little more black pepper to this dish even though I normally don't really like black pepper.

I had some leftovers, which I pan-fried in the butter sauce (no additional oil needs to be added), although I removed most of the sage first and added it back in when the gnocchi was almost done so that it didn't burn. While I did like the light crispiness the pan-frying added to the gnocchi, I think it was better overall when it was fresh.

One year ago:  Scallion Pancakes