Showing posts with label mango. Show all posts

Tuesday, August 12, 2014

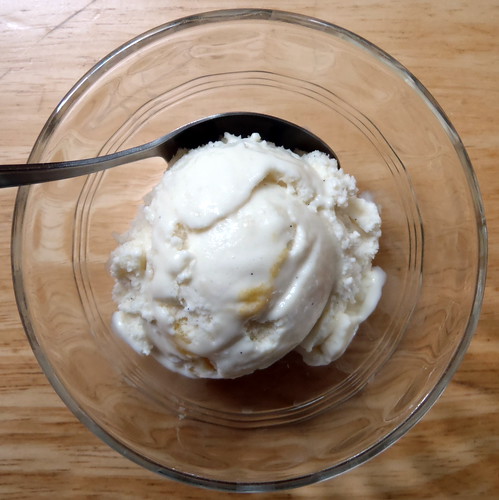
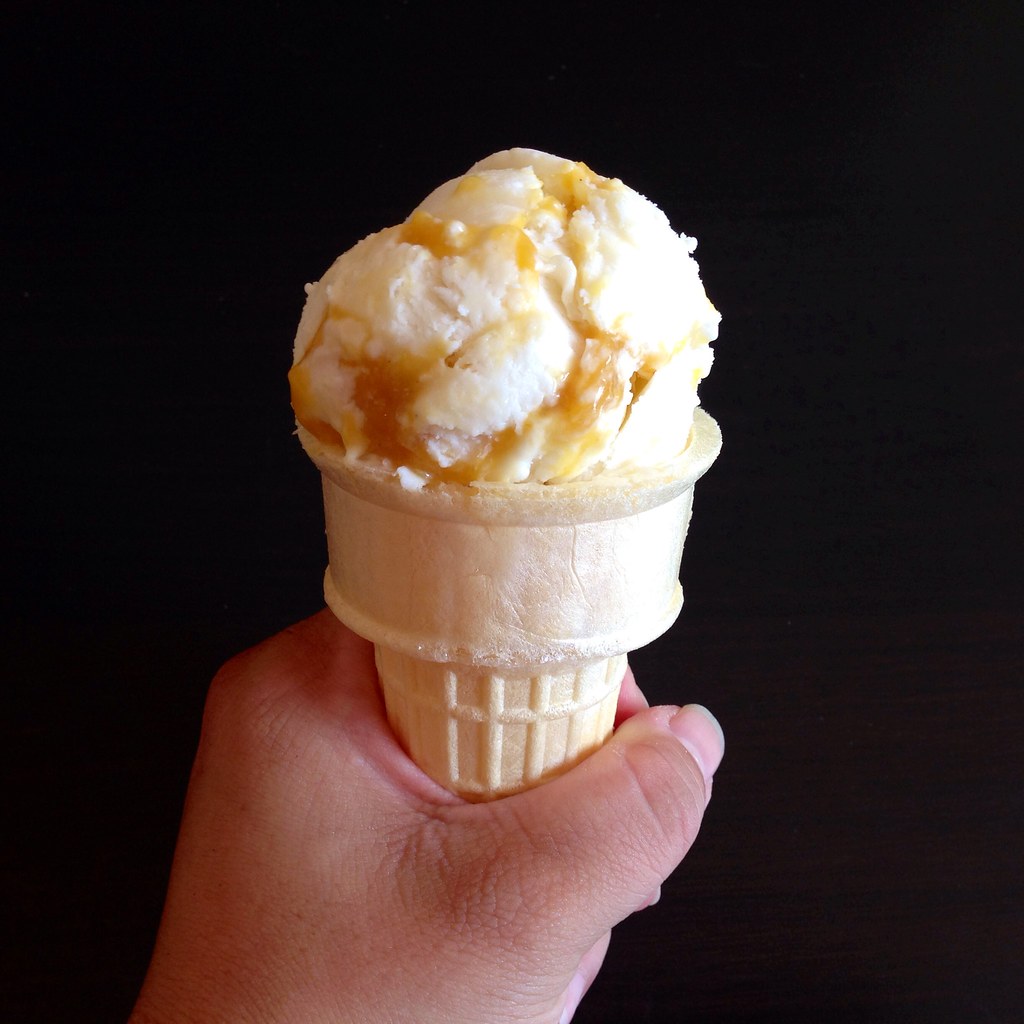
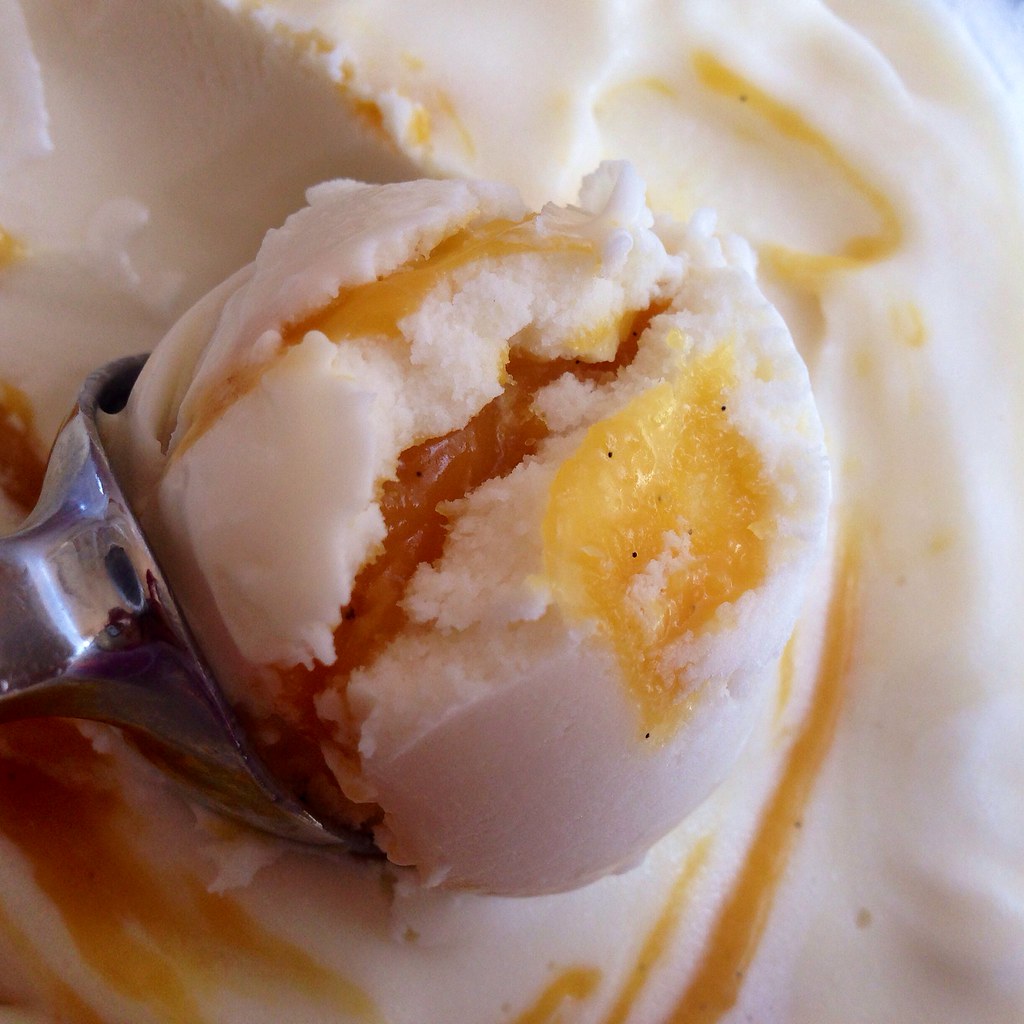
Coconut Ice Cream with Mango Passion Caramel Swirl

https://www.flickr.com/photos/joyosity/14878833631/

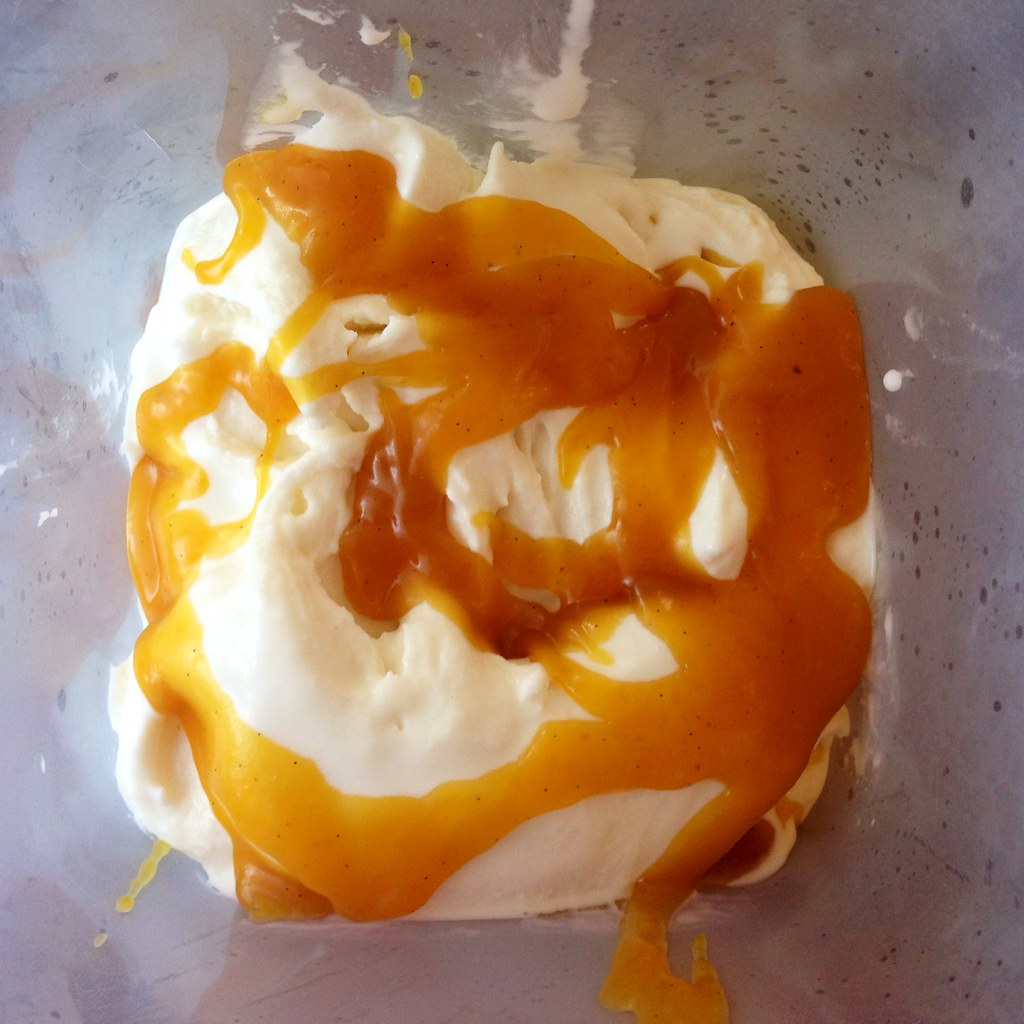
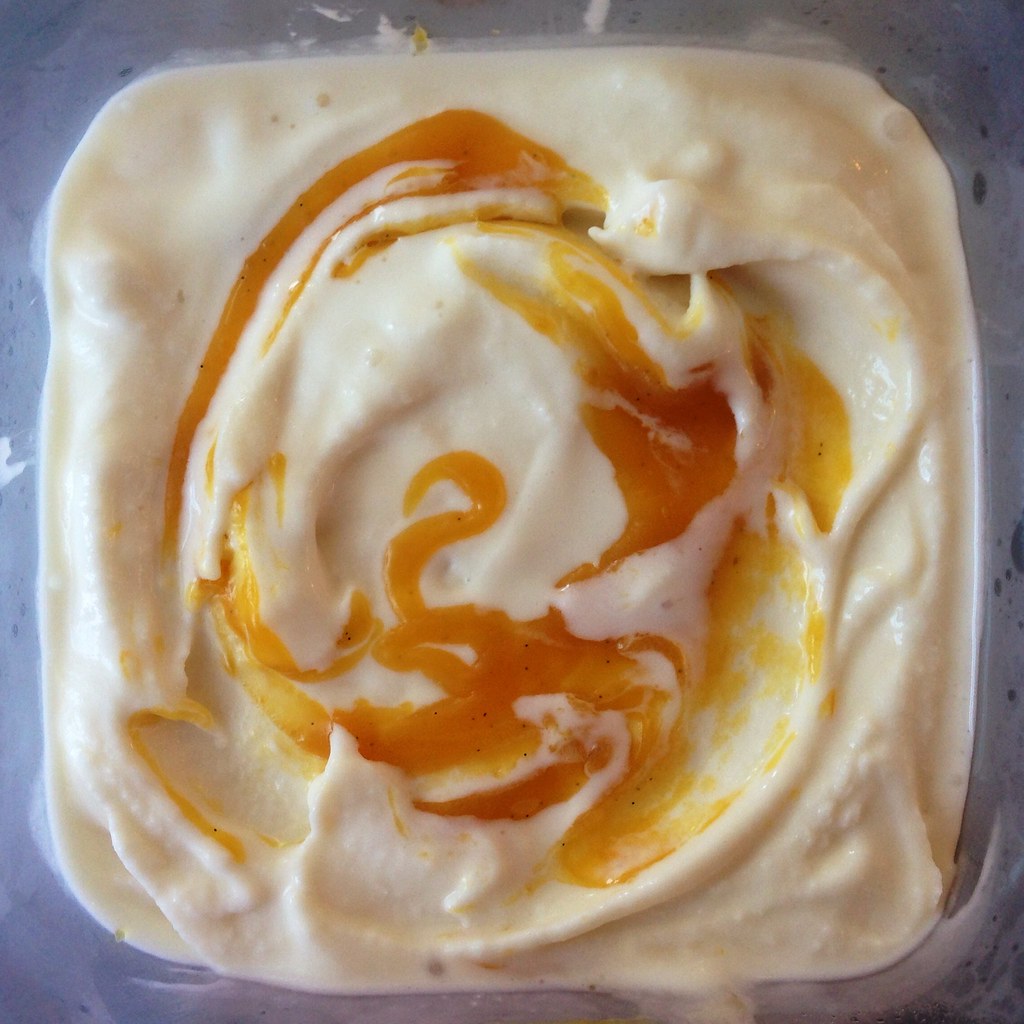
When I messed up my first batch of mango passion caramels by making something more akin to caramel sauce, I knew I didn't want to waste it so I poured it into a jar and left it in my fridge until I could figure out what to do with it.  Since it didn't turn hard when frozen, it seemed ideal to swirl into an ice cream...a white ice cream would be good to showcase the color...what would go well with mango and passion fruit...coconut ice cream!

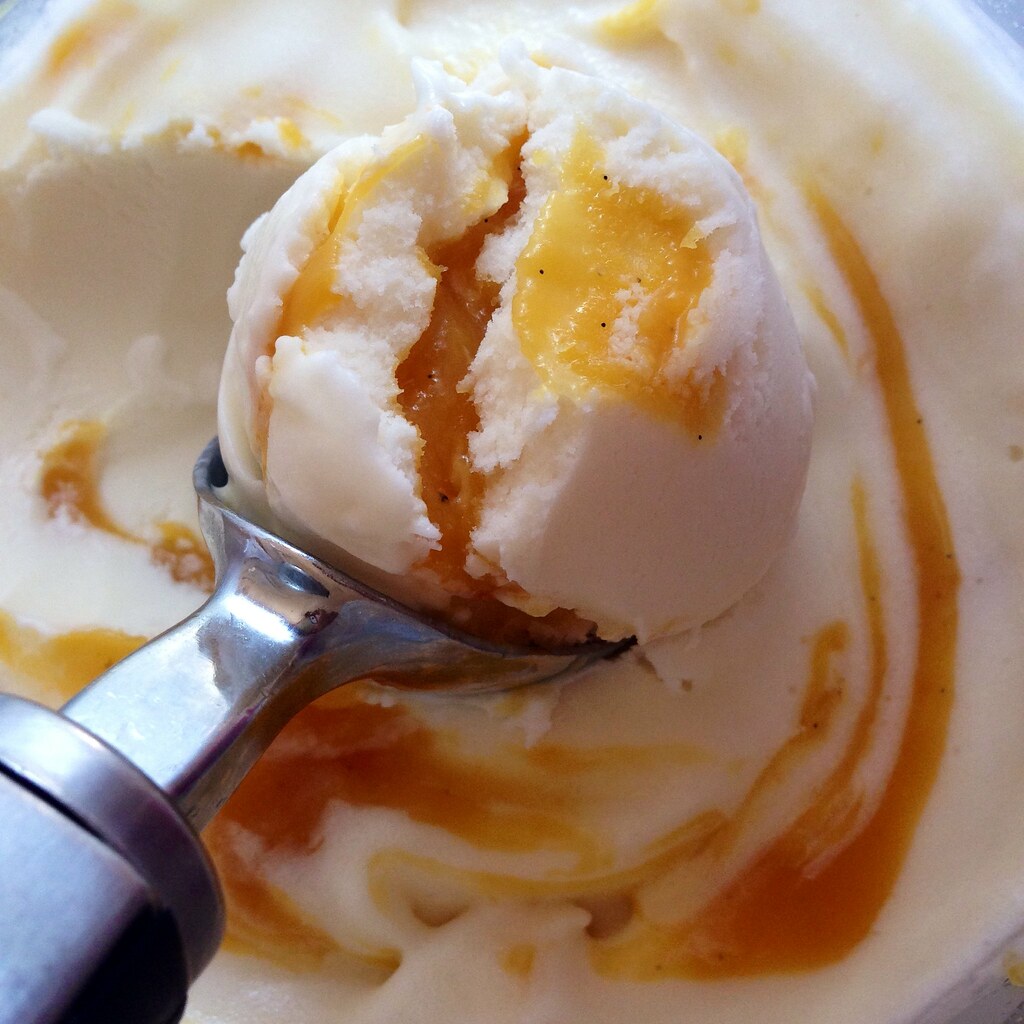
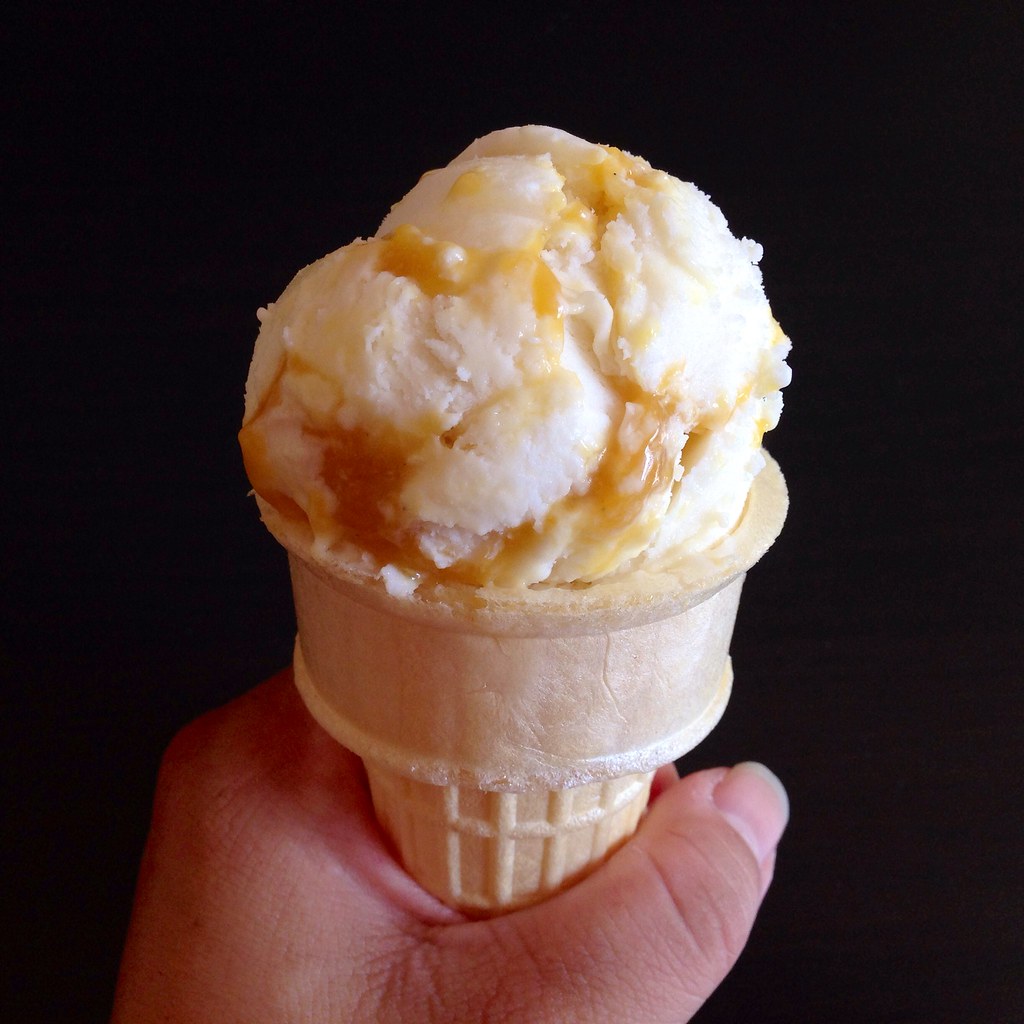
I've made a few coconut ice creams before, but this time I wanted to try making one using Jeni's ice cream base as a template.  Her Bangkok Peanut ice cream used some coconut milk, but I decided to amp up the coconut flavor by using a whole can of coconut milk and cutting back on the whole milk and heavy cream.  The result is unbelievably creamy and a perfect balance for the tart mango passion caramel swirl.  Eating this ice cream is like a free trip to a tropical island!
https://www.flickr.com/photos/joyosity/14879431644/

Coconut Ice Cream with Mango Passion Caramel Swirl
makes about 1 quart

3/4 cup whole milk
1 tablespoon plus 1 teaspoon cornstarch
3 tablespoons cream cheese, softened
1/8 teaspoon kosher salt
13.5 oz. can coconut milk (not light)
1/2 cup heavy cream
2/3 cup sugar
2 tablespoons light corn syrup
Mango Passion Caramel Sauce*

Mix about 2 tablespoons of the milk with the cornstarch in a small bowl to make a smooth slurry.  Whisk the cream cheese and salt in a medium bowl until smooth.

Combine the remaining milk, the coconut milk, cream, sugar, and corn syrup in a 4-quart saucepan.  Bring to a rolling boil over medium-high heat and boil for 4 minutes.  Remove from heat and gradually whisk in the cornstarch slurry.

Return the mixture to a boil over medium-high heat and cook, stirring until the mixture is slightly thickened, about 1 minute.  Remove from heat.
https://www.flickr.com/photos/joyosity/14858890626/

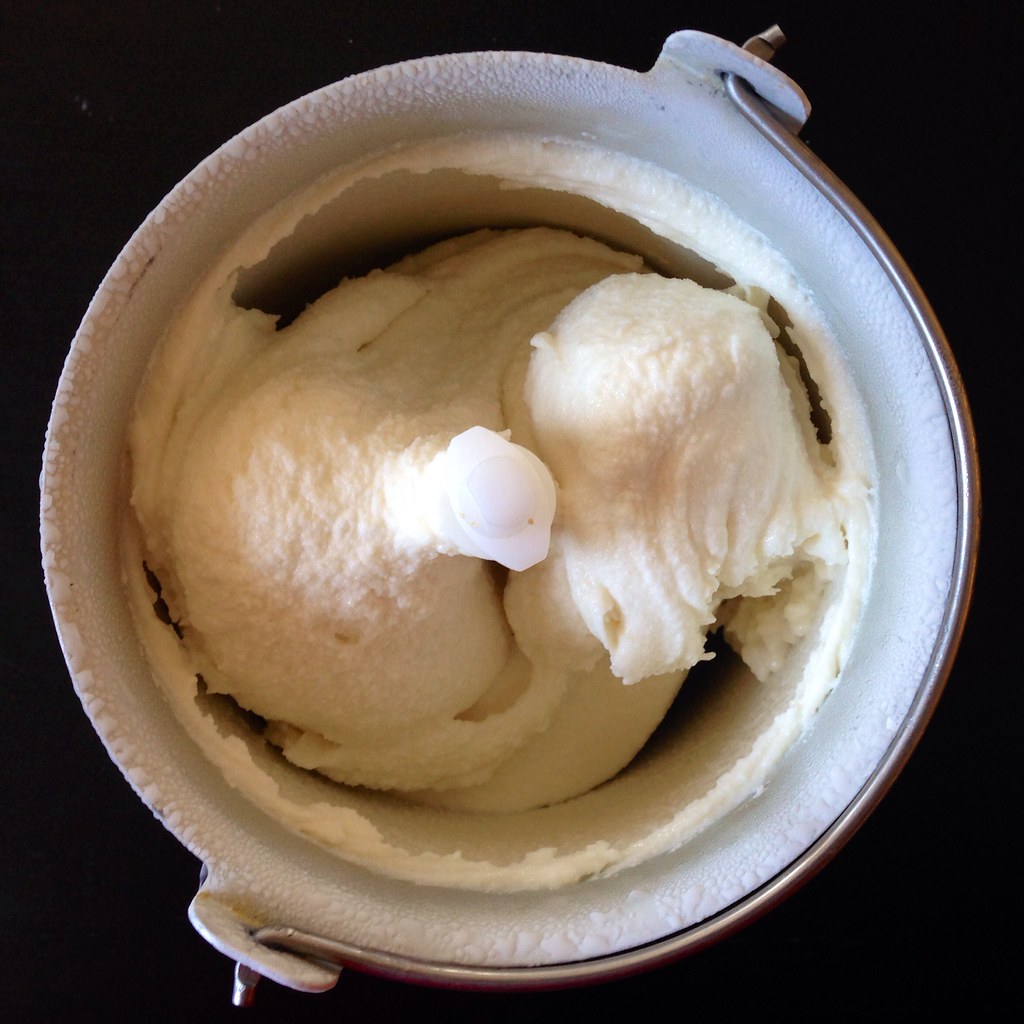
Gradually whisk the hot milk mixture into the cream cheese until smooth.  Chill the mixture thoroughly.  Churn according to your ice cream maker's instructions.
https://www.flickr.com/photos/joyosity/14878830341/

https://www.flickr.com/photos/joyosity/14858889336/

https://www.flickr.com/photos/joyosity/14881533582/

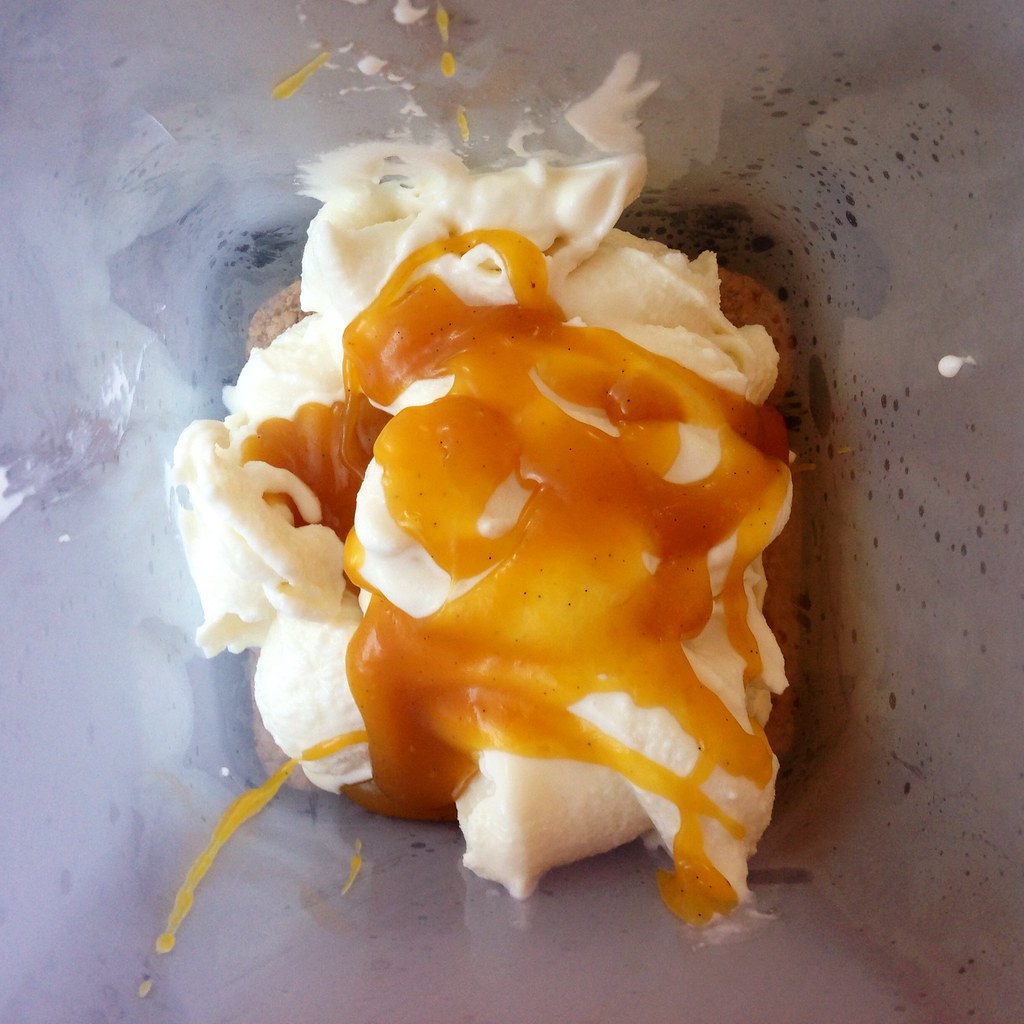
Pack the ice cream into a storage container, alternating it with layers of the mango passion caramel sauce and ending with a spoonful of sauce; do not mix.  Freeze until hard, at least 4 hours.
https://www.flickr.com/photos/joyosity/14695268018/

*Make the mango passion caramel sauce by following the directions for making mango passion caramels, double the amount of corn syrup, and only heat the caramel to 230°F.  Allow the caramel sauce to cool to room temperature before using.  The recipe will make more than you need for this ice cream recipe; you can use the rest for topping pancakes, pouring over other ice creams, etc.
https://www.flickr.com/photos/joyosity/14858894066/

Next:  Citrus Cured Salmon
Previously:  Sea Salt Cold Cream Coffee
Last Year:  Almond Pesto Pizza

Tuesday, August 5, 2014

Jacques Genin's Mango Passion Caramels

https://www.flickr.com/photos/joyosity/14790038296/

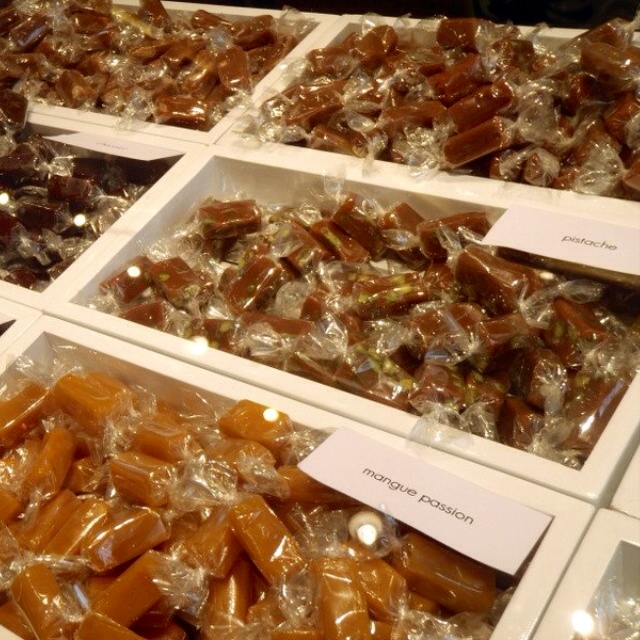
A year and a half ago, I tried making my own version of Jacques Genin's mango passion caramels by using Smitten Kitchen's apple cider caramels as a template.  In my opinion, the vanilla passion caramels turned out great, and everyone was happy.

Then a couple of months ago, my friend Ellen sent me a link to this recipe which linked to what was apparently the real recipe from Jacques Genin.  o_O

https://www.flickr.com/photos/joyosity/14790157756/

Unfortunately, even after translating the recipe to English, the instructions were a little vague.  There no mention of what temperature to cook the caramel to, just directions to boil for 45 minutes, which is really not enough when it comes to the precise science of candy making.  And there was no helpful suggestion for how to replace the glucose with corn syrup, which is much more available, at least in my kitchen.  Lastly, the recipe says it's for 4 people, but the crazy amount of each ingredient (a kilogram each of mango and passion fruit juice?  1.8 kilograms of sugar?!?) made me think it might be for more like 400 people!  After reading a few comments and looking up some info online, I decided to try cooking the caramel to a "soft ball" stage, about 110°C or 230°F, and to use a 1:1 substitution of corn syrup for glucose.  I also made the executive decision to divide all the quantities by 5.

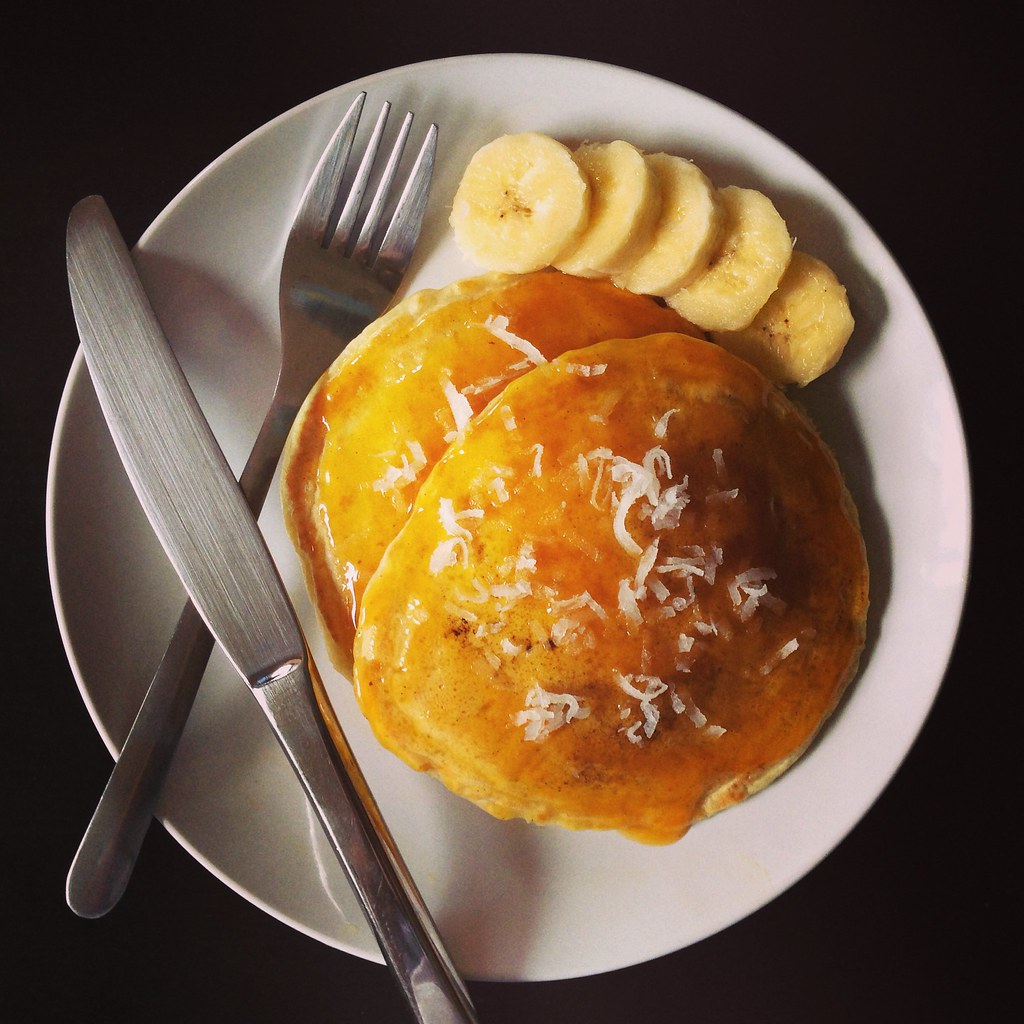
The caramel actually reached 230°F in about 45 minutes on a medium-low heat, so I thought I had gotten it right (and the volume of caramel was just right), but then when it was time to cut the caramels, they were so soft it was almost impossible!  I basically had to scrape the caramel onto a piece of wax paper, and even after chilling the caramels in the freezer, they were still super soft!  In the end, I gave up on trying to wrap this batch and just spooned everything into a jar.  It wasn't a total loss, though.  I made banana pancakes the next morning and topped them with the mango passion caramel sauce, and it was delicious!  I'm thinking of swirling the rest into some coconut ice cream, whenever I get around to making that.

https://www.flickr.com/photos/joyosity/14813037295/

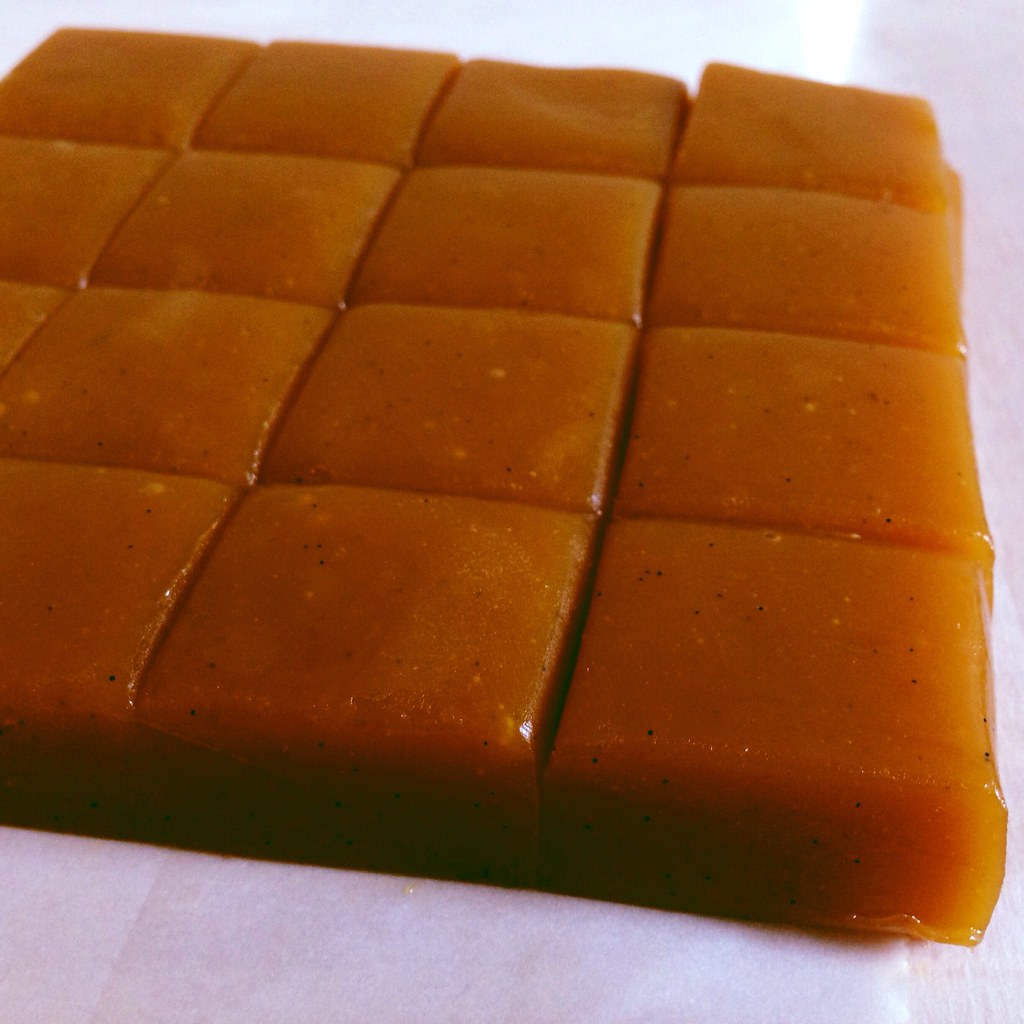
I was determined to get the caramels right though, so for the next batch I decided to use half the amount of corn syrup and to cook the caramels until 252°F, the temperature I used for the vanilla passion caramels.  This time, the caramels set like they should!  The only problem is the butter didn't completely mix into the caramel even though I stirred it for like 15 minutes!  The next time I make these, I'll try reducing the amount of butter I add by maybe 20%.

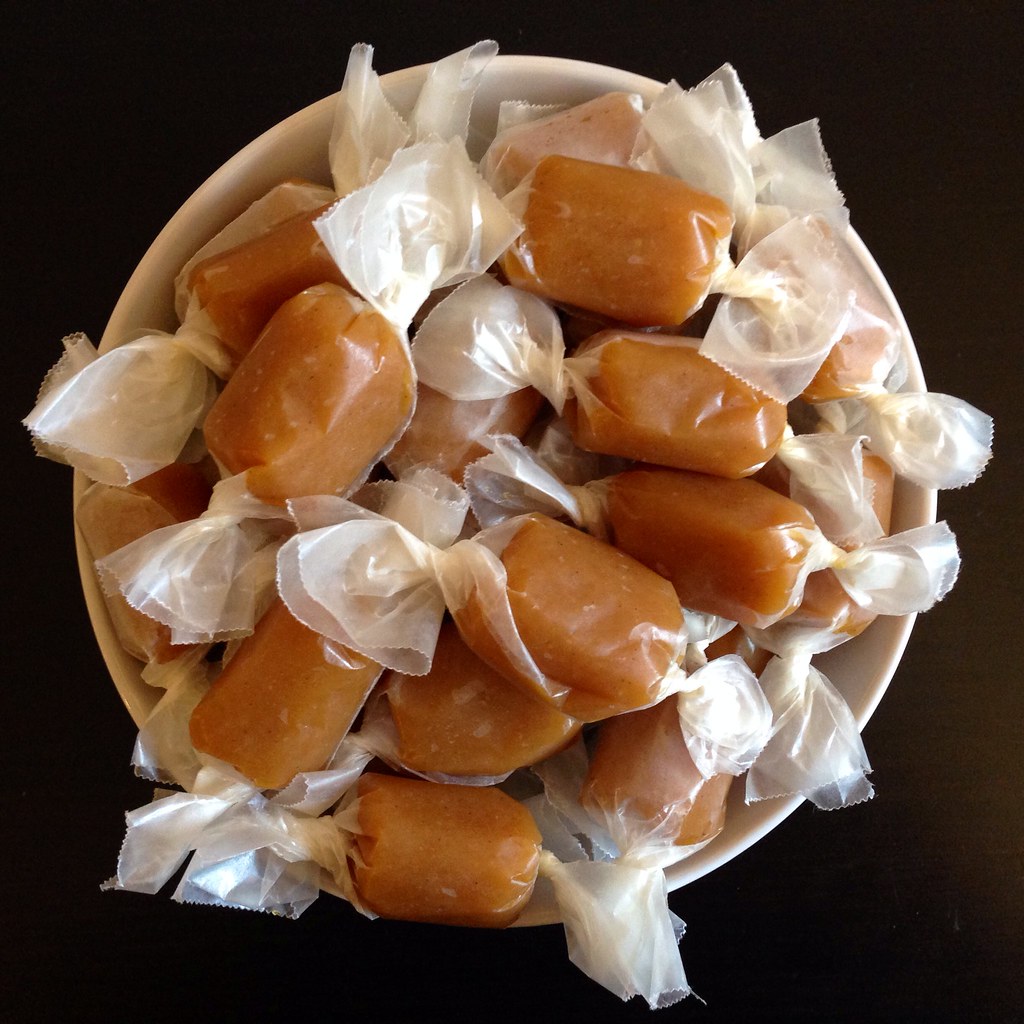
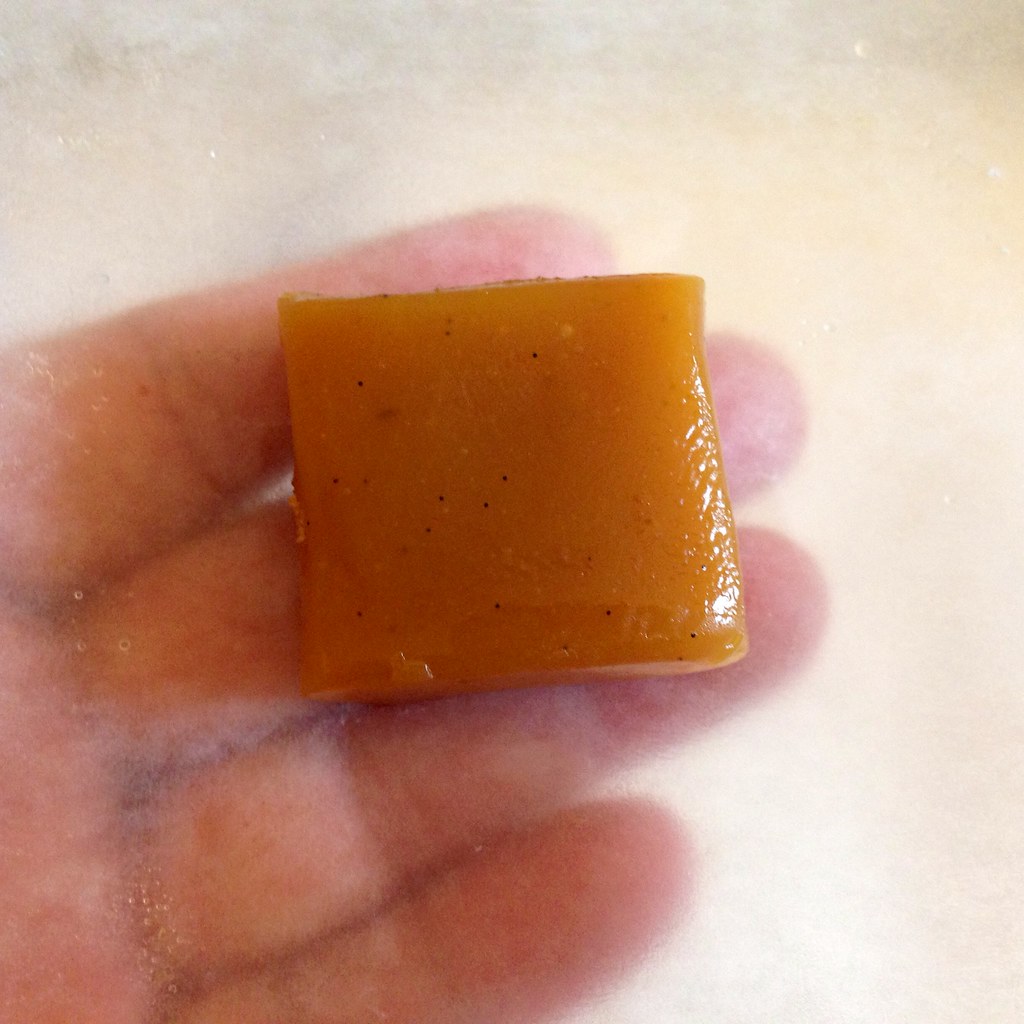
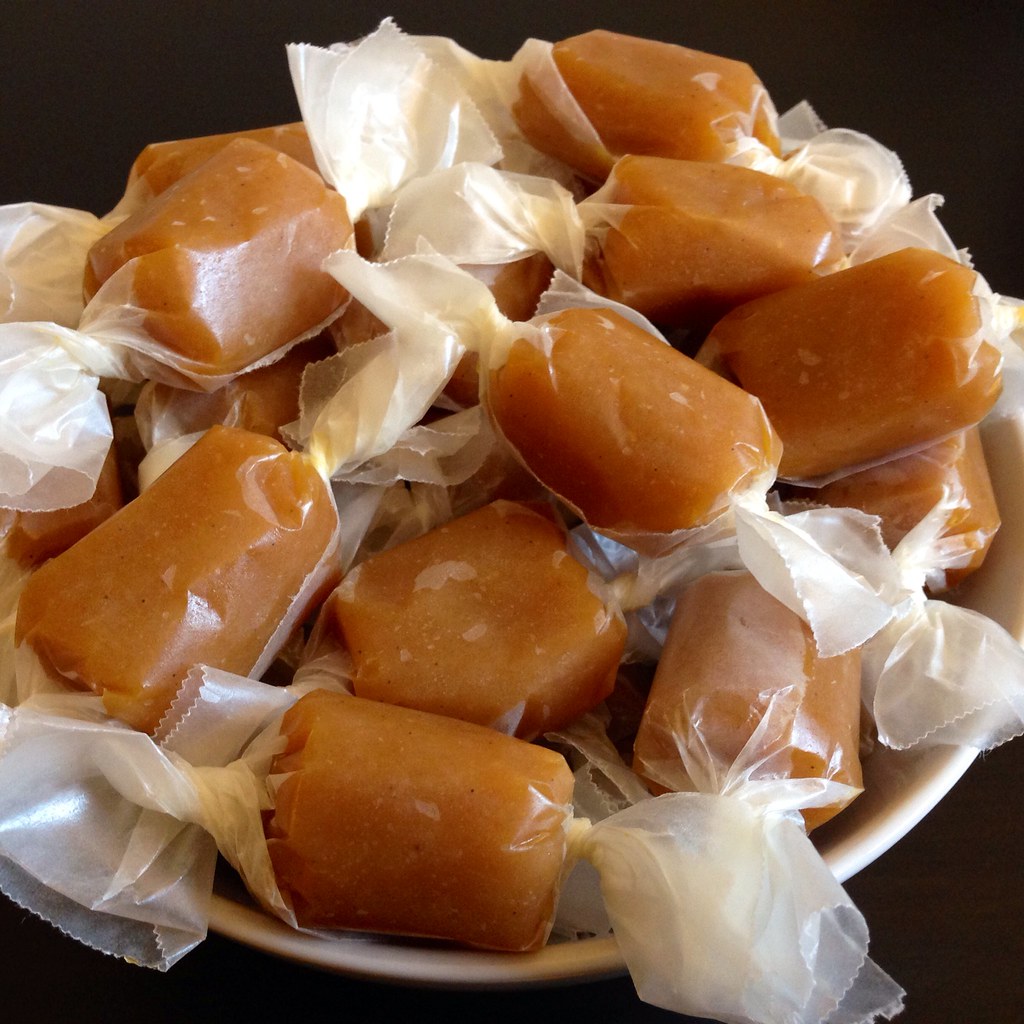
Other than that, these caramels were perfect.  They're soft but not sticky with just the tiniest bit of crackle from the vanilla bean seeds.  The reduction in corn syrup made a difference not only in texture but also in improving the taste.  There's less of a sharp sweetness so you can taste the tartness of the fruit and the buttery goodness even more.  It's been over 2 years since I had last the real thing, but this pretty much tastes exactly like what I remember.  ^_^

https://www.flickr.com/photos/joyosity/14813041795/

Jacques Genin's Mango Passion Caramels (adapted from here)
makes about 64 caramels

300 g heavy cream
200 g passion fruit pulp
200 g mango juice
1 vanilla bean, split lengthwise and cut in half if needed to fit in the pot
25 g corn syrup
360 g sugar
100 g butter, softened (consider using less; however, I haven't tried it myself)

https://www.flickr.com/photos/joyosity/14626398378/

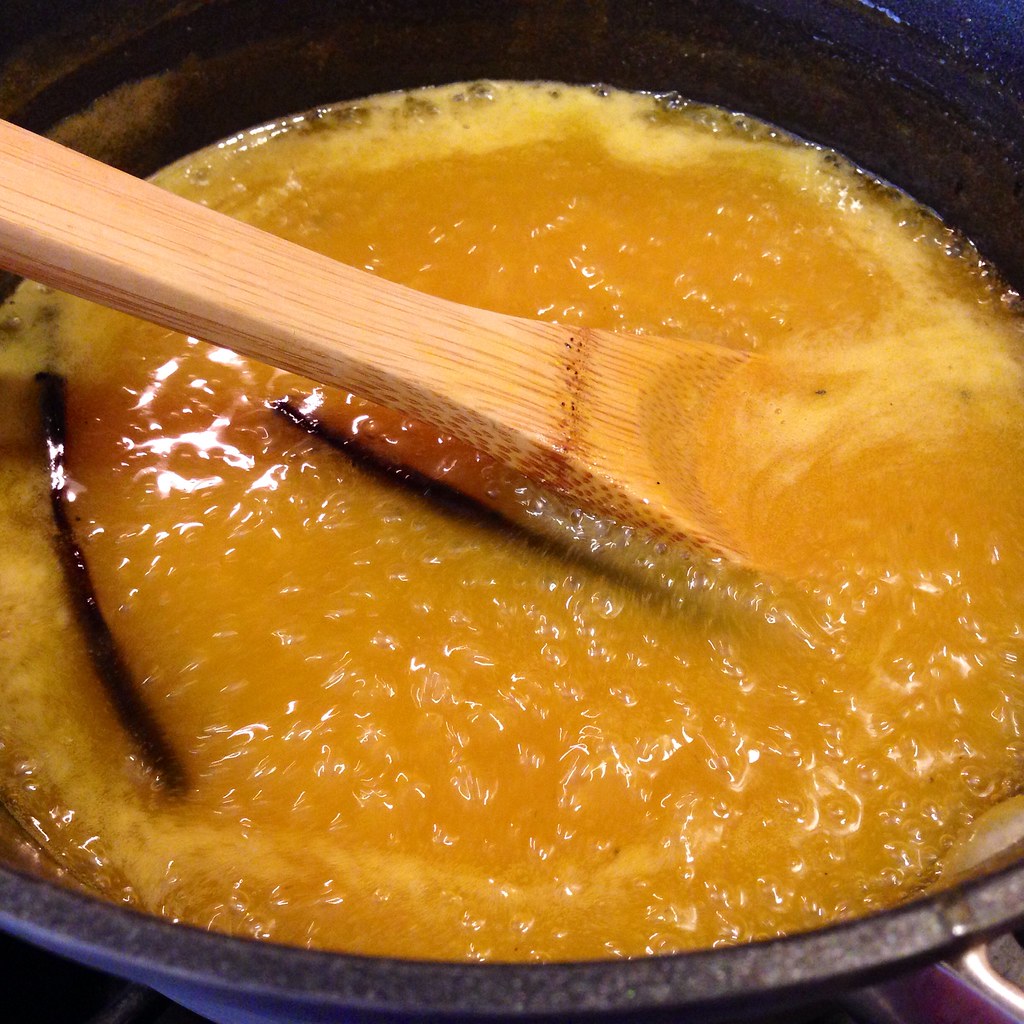
Mix all the ingredients except for the butter in a large saucepan.  Bring to a boil, and then reduce heat to a medium/medium-low and continue to boil for about 45-60 minutes, until the temperature reaches 252°F.  

In the meantime, line a 8" square baking pan with two pieces of crisscrossed parchment paper.  Cut out 3" square pieces of wax paper to use as wrappers.

https://www.flickr.com/photos/joyosity/14626373959/

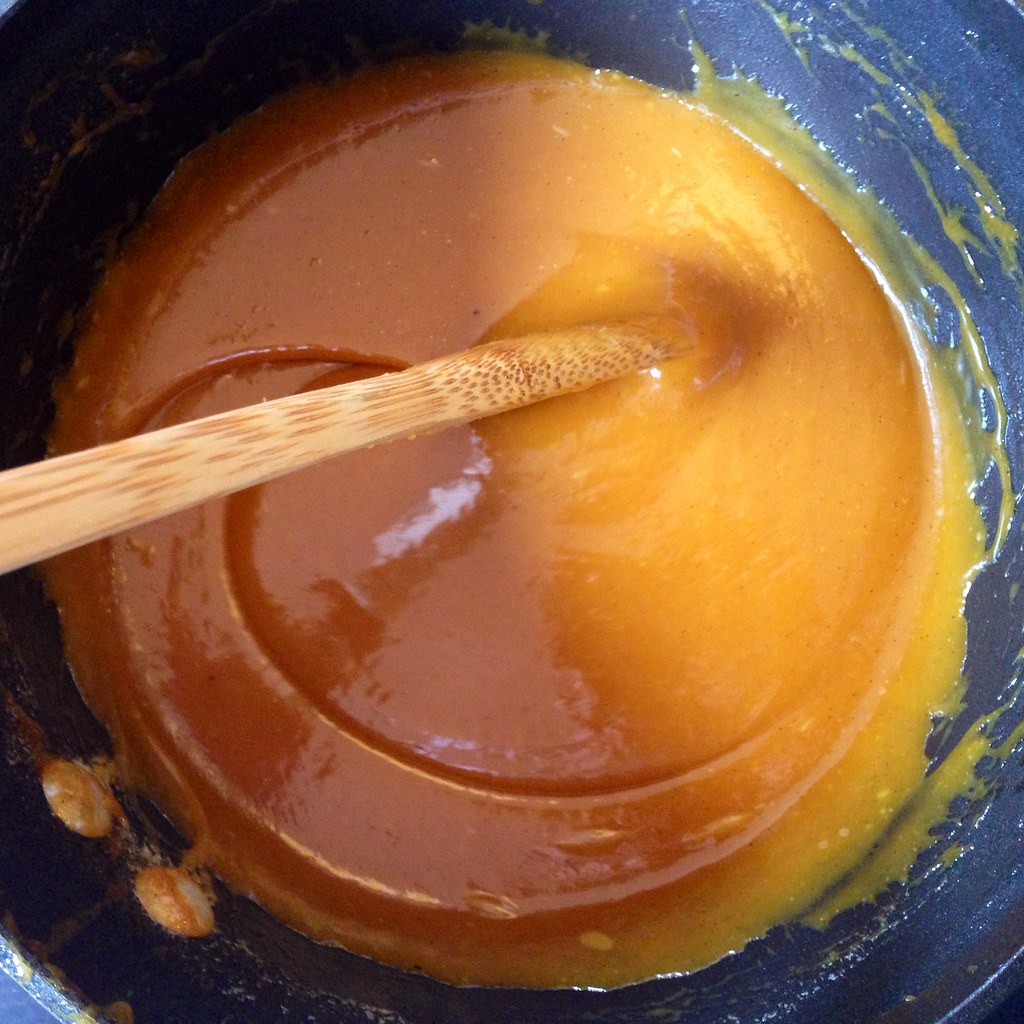
When the caramel has reached temperature, remove the vanilla bean.  Add the butter and mix well. It may take a while for the butter to mix in, but it eventually will; just keep stirring.

https://www.flickr.com/photos/joyosity/14810664004/

Pour into the prepared baking pan and allow to cool completely.

https://www.flickr.com/photos/joyosity/14810718604/

Cut the caramel into 1" squares.  Wrap in the wax paper squares.  Store in the refrigerator and bring to room temperature before eating.  Die of happiness.

https://www.flickr.com/photos/joyosity/14812678942/

This recipe is actually easier than the vanilla passion caramel one since you only need one pot for everything!  The hardest part was actually finding pure mango juice since most of the "mango juice" I found in stores contained water and sugar.  I think I finally found some on a shelf in a random Latin grocery store in Seattle.  I found the passion fruit pulp in the freezer section of my grocery store with all the other frozen Goya products.

Next:  Sea Salt Cold Brew Coffee
Previously:  Grace's Ginger Scallion Fish
Last Year:  Matcha Mochi Cupcakes

Monday, December 2, 2013

Thai Coconut Sticky Rice with Mango

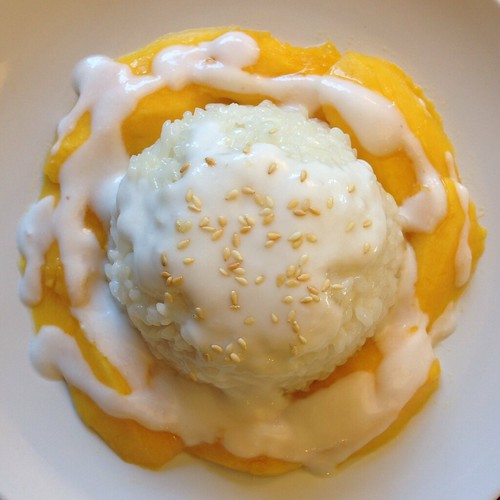
Trader Joe's used to carry this dessert, and I loved it:  chewy sticky rice infused with coconut milk and topped with mangoes and even more coconut goodness.  It had the sweet and salty flavor profile that makes you keep coming back for bite after bite.  I've been missing this dessert ever since it was discontinued, but when I saw that mangoes were on sale at my local grocery store, I decided to learn how to make it myself.

I followed this recipe from The Kitchn, but since I didn't have a steamer basket, I improvised with some parchment paper and the pasta strainer insert for my stock pot.  You could also maybe try using cheesecloth with a metal colander or strainer in a large enough pot with a lid--anything with holes in which you could steam the rice in.  I also suggest chilling the can of coconut milk in the fridge before opening because I find that it makes it easier to scoop the coconut cream from the top off if it's more solid. 

http://www.flickr.com/photos/joyosity/11139103514/in/photostream/

Thai Coconut Sticky Rice with Mango
serves 2-4

1 cup sweet rice
1 can coconut milk, unshaken and chilled in the refrigerator
3 tablespoons sugar, divided
1 teaspoon salt, divided
1/2 teaspoon cornstarch
2 ripe mangos
Toasted sesame seeds, to garnish

Soak the sweet rice in room temperature water for 1-2 hours.  Cut a piece of parchment paper out about 3 inches wider in diameter than the bottom of the pasta strainer insert for a stockpot.  Tuck the paper into the insert so it fits in the bottom like a bowl.

Drain the rice and rinse thoroughly.  Pour about 1 cup of water into the stockpot and place the rice in the parchment paper "bowl" and place the pasta strainer insert in the pot. Cover tightly and steam over low to medium heat for 20 minutes.

While the rice is steaming, open the can of coconut milk and spoon out the thick cream on top into a small bowl.

Pour the thinner, lighter coconut milk left in the can into a small saucepan.  Stir in 2 tablespoons of sugar and 3/4 teaspoon salt.  Warm over medium heat, stirring frequently, for 5 minutes. Do not let the sauce boil.

When the rice is done, transfer it to a mixing bowl (it will be clumpy).  Slowly pour the warm coconut milk over the rice in the bowl, stirring frequently. You want the milk to coat the rice but not leave puddles. Keep stirring, and stop pouring in coconut milk when it looks like the rice is saturated. You may not use all of the milk.  Set the rice aside to finish absorbing the coconut milk; after 15 minutes or so it should have soaked up any milk that is still liquid.

While the rice is standing, make the coconut topping sauce. Rinse out the coconut milk saucepan and pour in the coconut cream that you took off the top of the can. Stir in 1 tablespoon of sugar and 1/4 teaspoon salt. In a separate bowl, whisk together a few teaspoons of water and the cornstarch.

Whisk this cornstarch slurry into the coconut cream and cook over low heat for about 3 minutes, or until the mixture thickens considerably. Set aside.

Peel the mangoes and then slice the flesh into 1 inch wide strips.

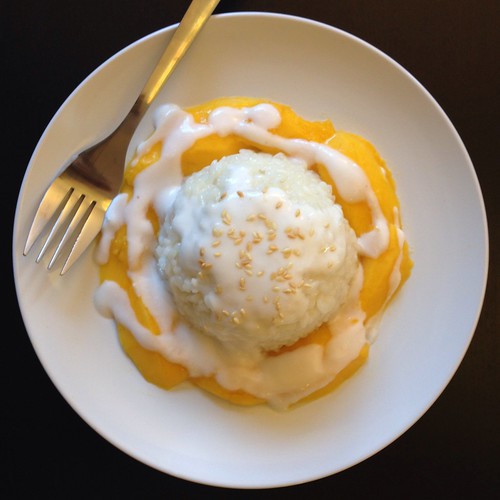
To serve, place about 1/3 cup cooked sticky rice on each plate, and arrange mango slices around it. Drizzle with the coconut topping sauce and sprinkle with a few toasted sesame seeds.

http://www.flickr.com/photos/joyosity/11139105454/in/photostream/

Next:  Miso Pumpkin Soup
Previously:  Cheese Fondue Stuffed Roasted Pumpkin
Last Year:  Mashed Potato Pizza with Roasted Garlic and Bacon
Four Years Ago:  Kettle Corn
Five Years Ago:  Salted Butter Caramel Ice Cream

Thursday, June 20, 2013

Mango Coconut Rice Pudding Pops and Ice Cream

I've had this recipe bookmarked for a while now, but it wasn't until I found some cute, cheap popsicle molds at Ikea that I was able to make them.   The original recipe made 12 large popsicles, so I adapted the recipe for 6, but even that was way too much for my tiny popsicle molds.  So I decided to add some cream and throw it into my ice cream maker to see how that would turn out.

Considering how much water there is in the mixture, the ice cream came out surprisingly well.  It freezes a little harder than I'm used to, but I was more than satisfied with the taste.  If I were to make this as an ice cream again, I'd try switching out the water for whole milk or half and half.  And I'd probably add a little sugar to the coconut milk so that the rice absorbs some sweetness, and it'd probably also help the rice stay a little softer once frozen, too.

As a popsicle, it's perfect. The creamy coconut milk and bright mango bits complement each other, and the rice gives it a nice chewiness.  My favorite part, though, is the sweetened condensed milk that kind of floats to the top of the mold (and therefore ends up at the bottom of the popsicle) giving it the perfect ending. 


Mango Coconut Rice Pudding Pops and Ice Cream (adapted from The Kitchn)
makes six 2 oz. popsicles and about a quart of ice cream

One 15-ounce can coconut milk, shaken
1/2 vanilla bean, halved lengthwise
1/2 cup short-grain or arborio rice
1 cup sweetened condensed milk
1 cup water
1/2 teaspoon vanilla extract
1/4 teaspoon coconut extract (optional)
1/4 teaspoon kosher salt
1 cup fresh or frozen mango, diced
1/4 cup heavy cream (for the ice cream)


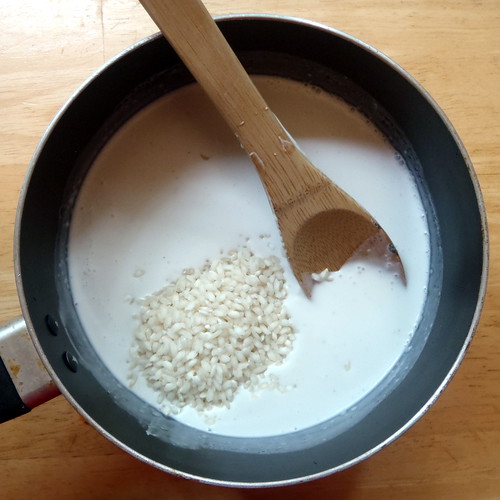
Add the contents of the can of coconut milk into a large saucepan. Scrape the seeds out of the vanilla bean and stir in. Stir in the rice, and bring the whole mixture to a simmer over medium heat.


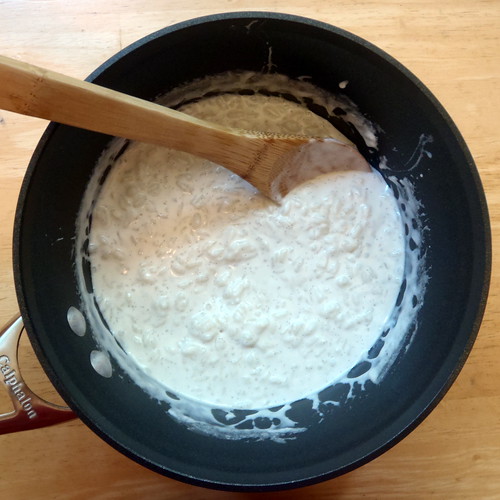
Turn the heat down to low and cook for about 25 minutes, or until the rice is tender.  Whisk in the sweetened condensed milk, water, vanilla extract, coconut extract (if using), and salt. 


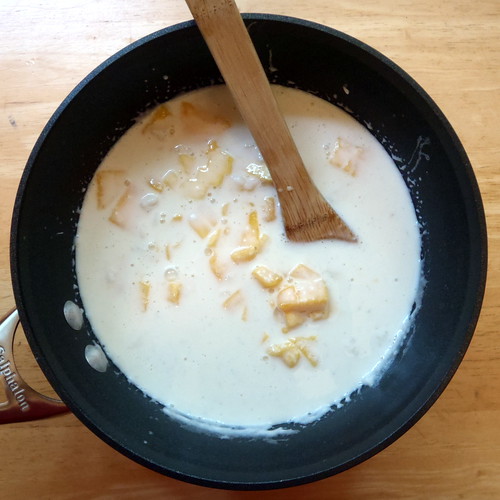
Fold the mango into the rice mixture.


Transfer the rice and mango mixture to six 2-ounce popsicle molds. Insert sticks and freeze until solid — 3 to 4 hours.  To release the pops from the molds, run the molds briefly under warm water.


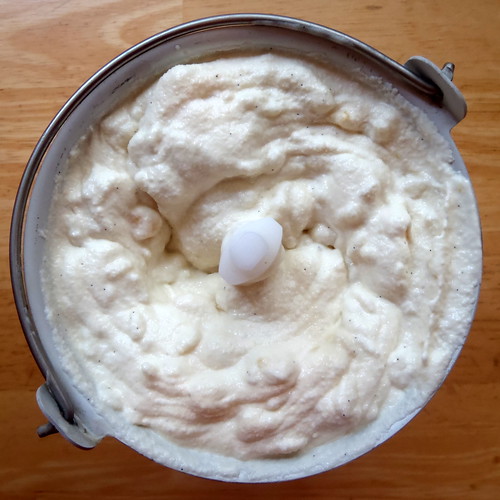
Add the rest of the mixture to an ice cream machine and churn according to the manufacturer's directions.  Transfer the ice cream to an air-tight container and freeze for at least 4 hours to harden.


Next:  Passion Fruit Macarons
Previously:   Homemade Cronuts
Three years ago:  World Peace Cookies

Tuesday, April 28, 2009

Mango Lime Sorbet

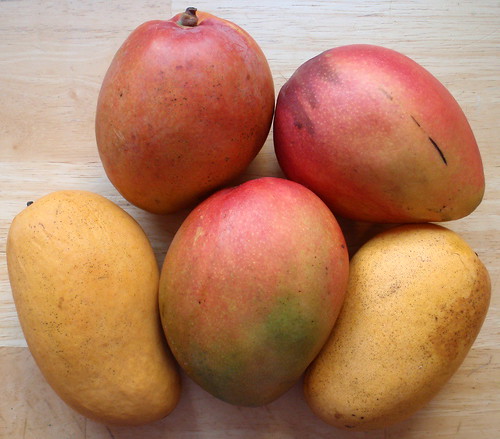
Mangoes!

When I got back from SF, I found a package in my room and couldn't remember what I had ordered. Then I realized it was the box of mangoes I won from Our Best Bites. I had no idea how long they'd been sitting in my warm, stuffy room, so unfortunately a couple of them were in the mushy stage by the time I opened up the box. But the rest were perfectly soft-ripe. Since I was leaving on another weekly long trip, I decided I better try to use most of them up and looked online for a recipe for mango sorbet. I came across Elise's recipe for lime mango sorbet and decided to try that, only I used coconut rum instead of tequila, and I prefer to call it mango lime sorbet because it rolls off the tongue easier.

Lime Mango Sorbet

Mango Lime Sorbet (based on Elise's recipe here)
makes almost 1 quart

1 cup sugar
1 cup water
Zest from one lime
3 ripe mangoes (about 2 1/2 pounds)
1/2 cup lime juice
A pinch of salt
3 tablespoons coconut rum

Heat the sugar, water, and lime zest in a medium saucepan until the sugar has completely dissolved. Set aside to cool.

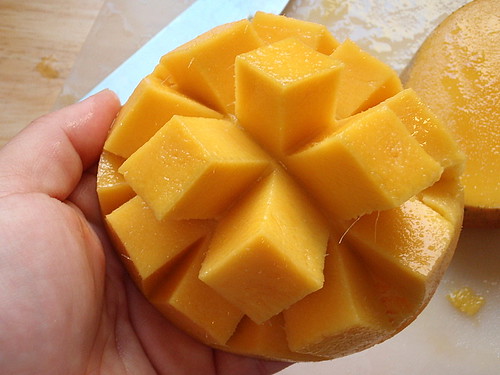
Cut mango

Cut the flesh from the mangoes.

Cut mango

Put the mango pieces, sugar water, lime juice, and salt into a blender. Blend until completely smooth. Pour into a medium bowl, cover with plastic wrap, and refrigerate until completely chilled.

When ready to put the chilled lime mango purée into your ice cream maker, mix in the rum. Process the mixture in your ice cream maker according to the ice cream maker directions. Transfer mixture to a plastic storage container and freeze in your freezer until firm, at least 6 hours.

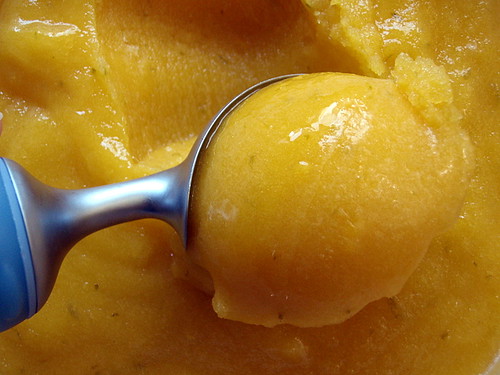
Mango Lime Sorbet

The rum is added to keep the sorbet from getting too icy, but I think it may have done it's job a little too well because even after freezing overnight, the sorbet was a little too soft for my preference. Next time I'll probably reduce the amount of rum to 2 tablespoons. Next time, I'd probably also strain the lime zest out of the simple syrup before blending with the mango flesh. I didn't like how some of the zest accumulated one the ice cream maker blades, ending up with a bolus of lime zest which was rather bitter to the taste. Otherwise, I really liked how this sorbet wasn't too sweet and was just perfect for a really hot day, like I hear Boston is today.

Next:  Stuffed Artichokes
Previously:  Apple Pie Apple