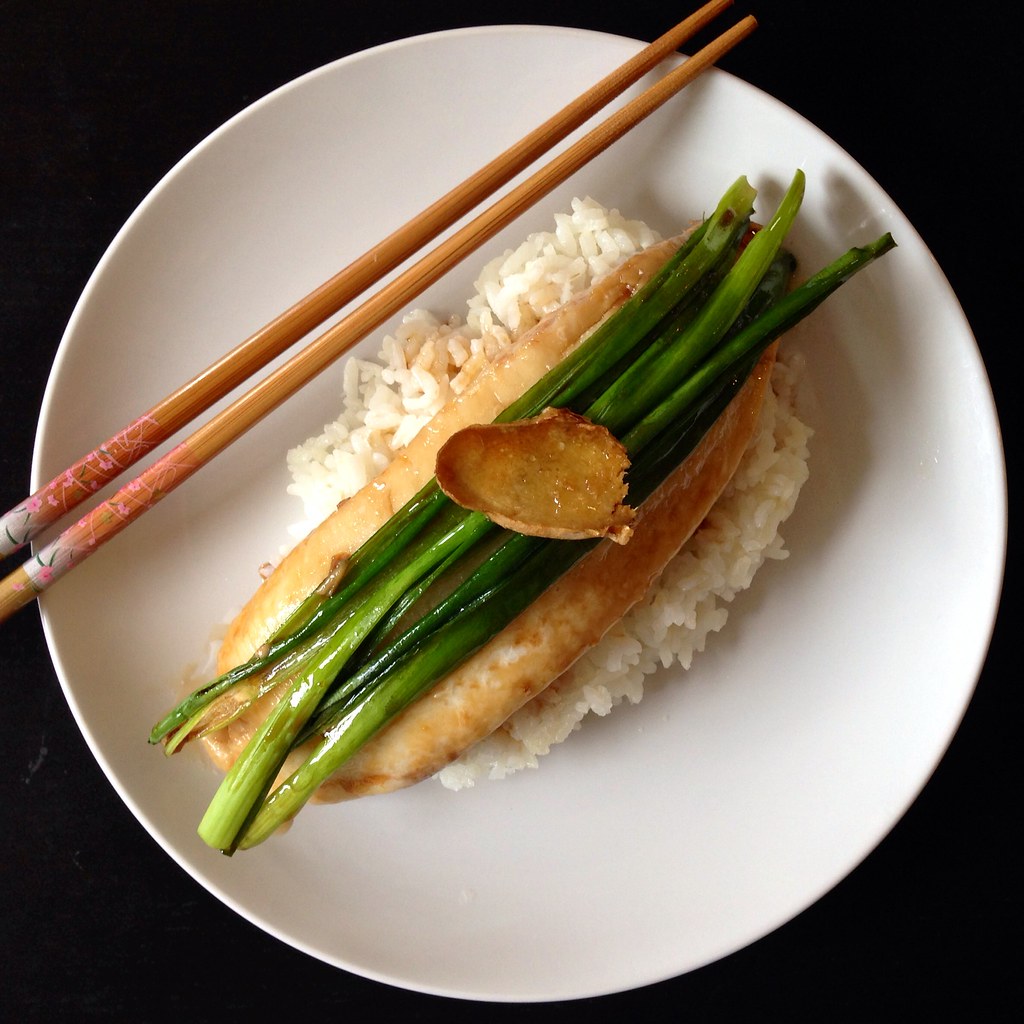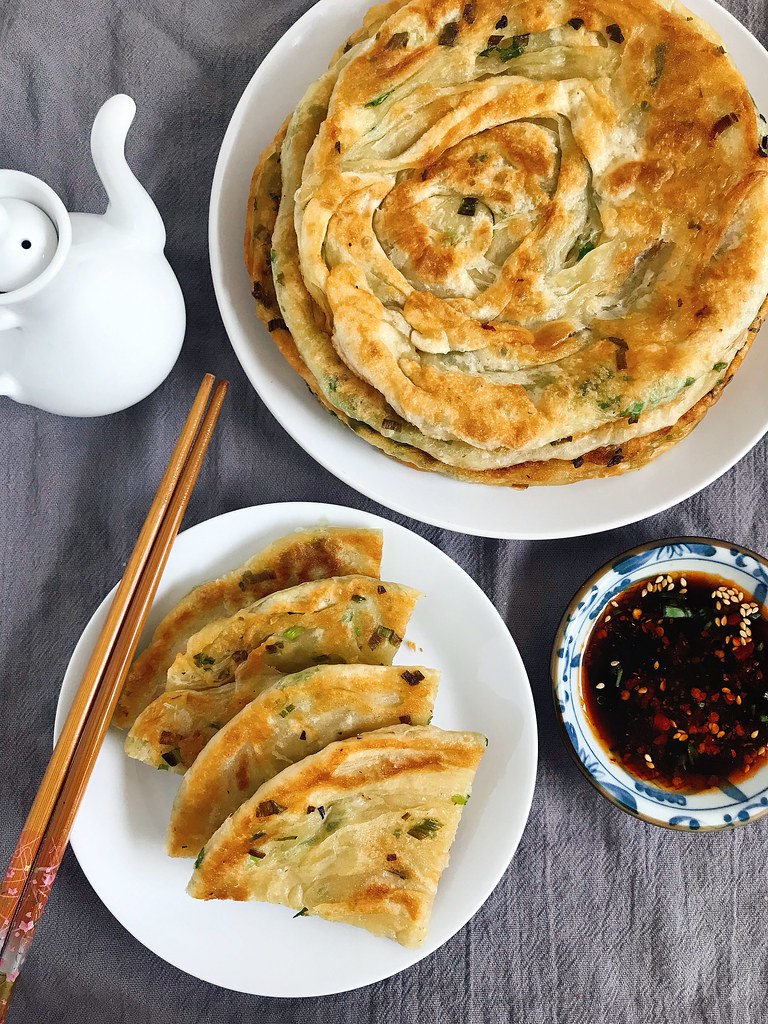
I've been making scallion pancakes the same way for years using a recipe I got from one of my chef friends, but recently I tried a different recipe based on a recommendation from the same friend and discovered this one makes just as good, if not better scallion pancakes in a lot less time!
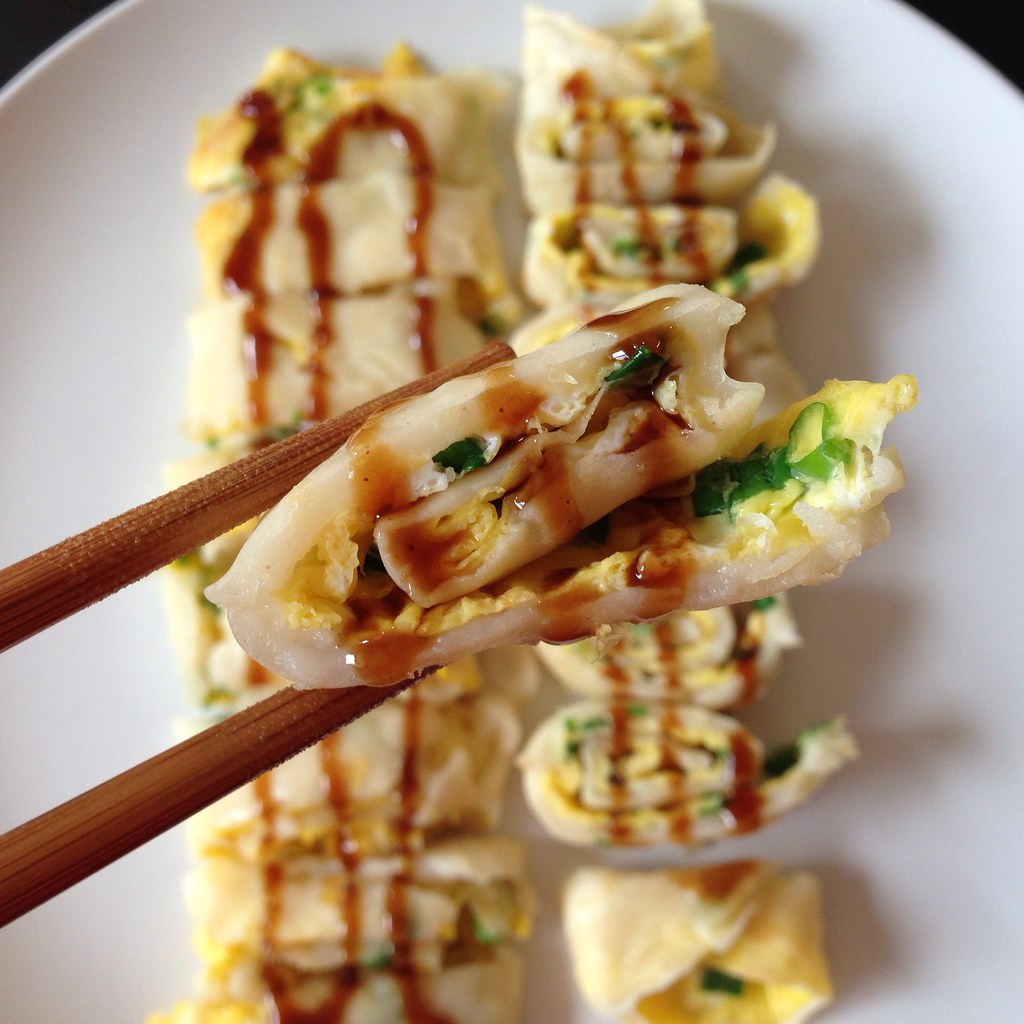
One of the main ingredients for the recipe she sent me was lard, but since I don't usually have that in stock, I tried substituting with bacon fat. I'm surprised no one else came up with this combo before because it's basically combining two of the greatest tasting things in the world into one. I fiddled around with the other ingredients a bit to balance out the extra flavor from the bacon fat and ended up with this recipe. I think it's flavorful enough to not need a dipping sauce, but if you really want one, you can mix up some soy sauce, rice wine vinegar, sesame oil, and hot sauce to your liking.
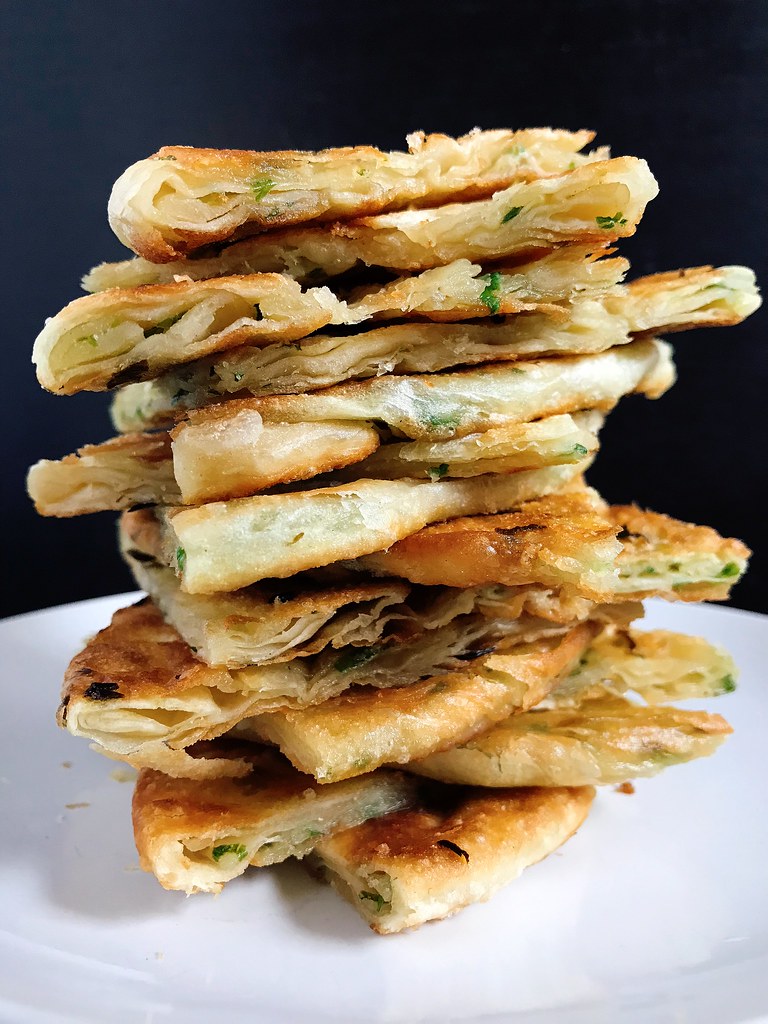
Bacon Fat Scallion Pancakes
makes 5 pancakes
300 gram all-purpose flour
6 grams kosher salt, divided
10 grams sugar
175 grams warm water
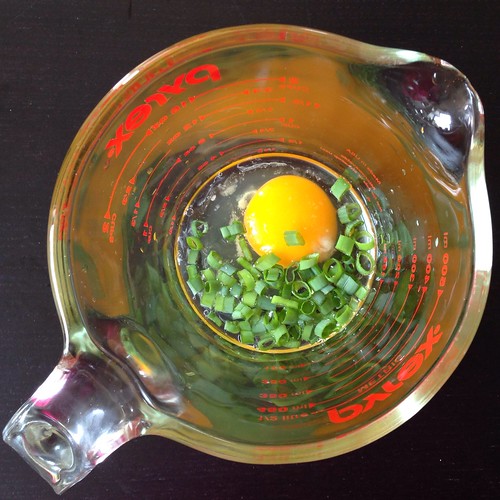
30 grams chopped scallions (about the amount from 1 bunch of scallions)
50 grams bacon fat, melted
Vegetable oil for frying
Mix the flour, 2 grams of salt, sugar, and warm water together and knead for 5 minutes until it forms a cohesive ball of dough. Cover and let rest for 30 minutes at room temperature.
In the meantime, chop the scallions, melt the bacon fat, and measure out the remaining 4 grams of salt.
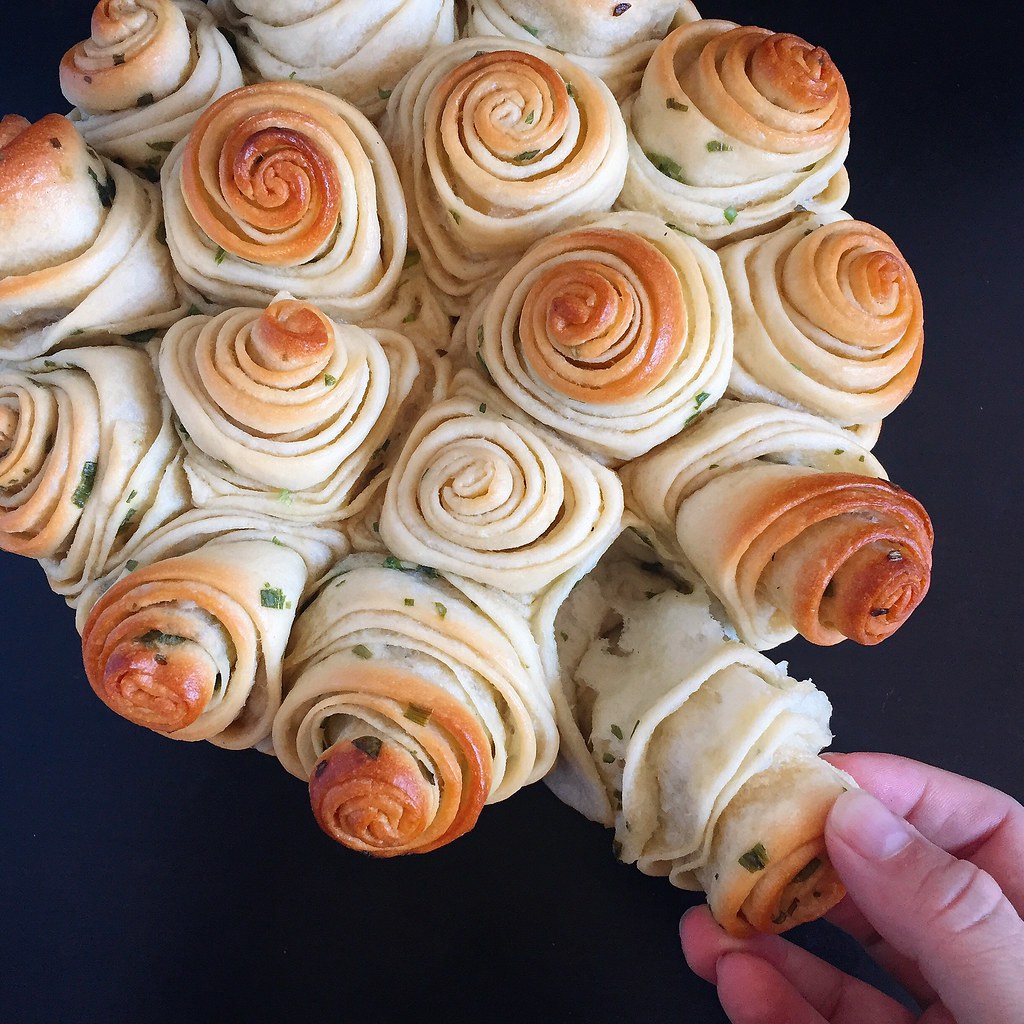
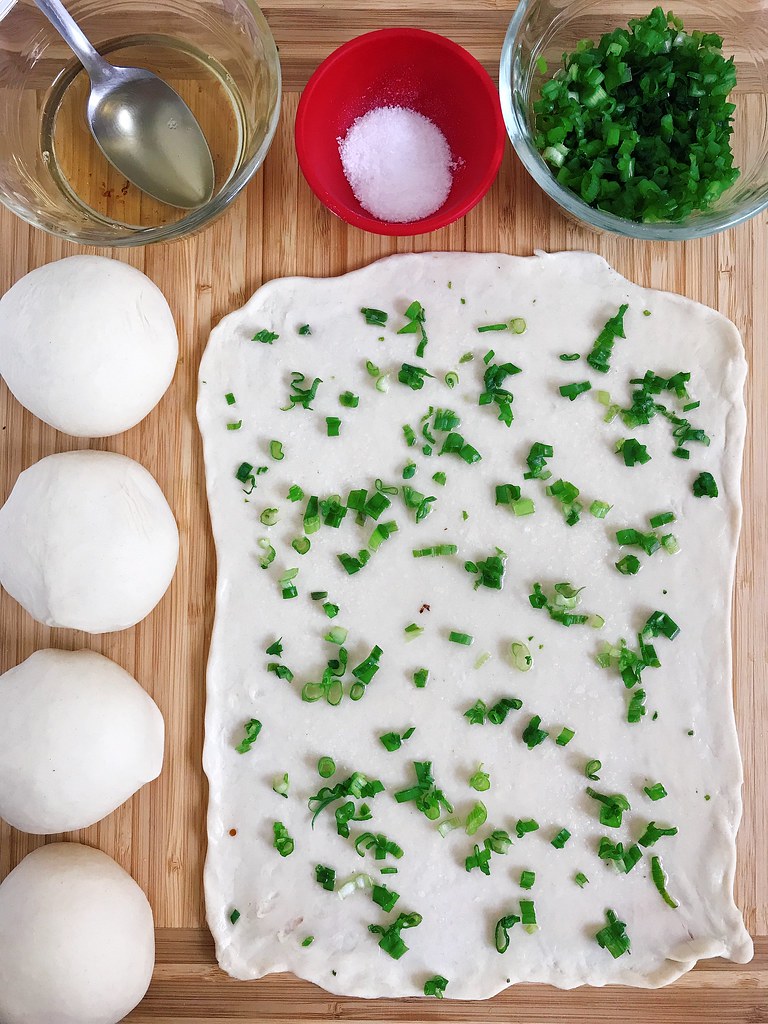
Divide the dough into 5 equal portions (I like to use the scale for this). Roll out one of the portions into a rectangle. Flip the dough occasionally to prevent it from sticking to the work surface. When it won't get any thinner with a rolling pin, gently stretch the dough out with your hands to get it even thinner, but stop if the dough starts to rip.
Spoon a fifth of the melted bacon fat on top of the dough and spread it all around with the back of the spoon. Sprinkle a large pinch and a half of salt all over and then do the same with a fifth of the chopped scallions.
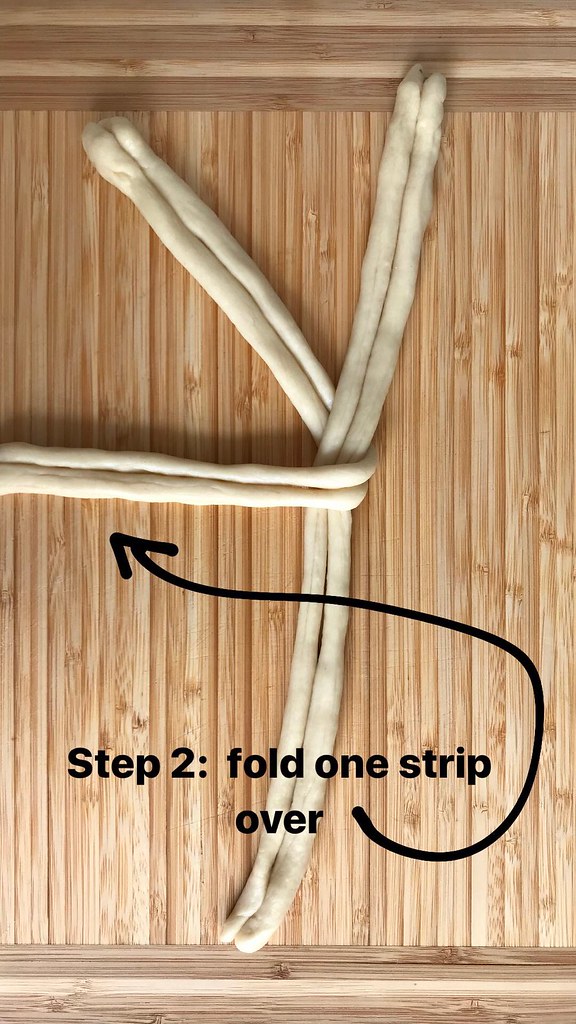
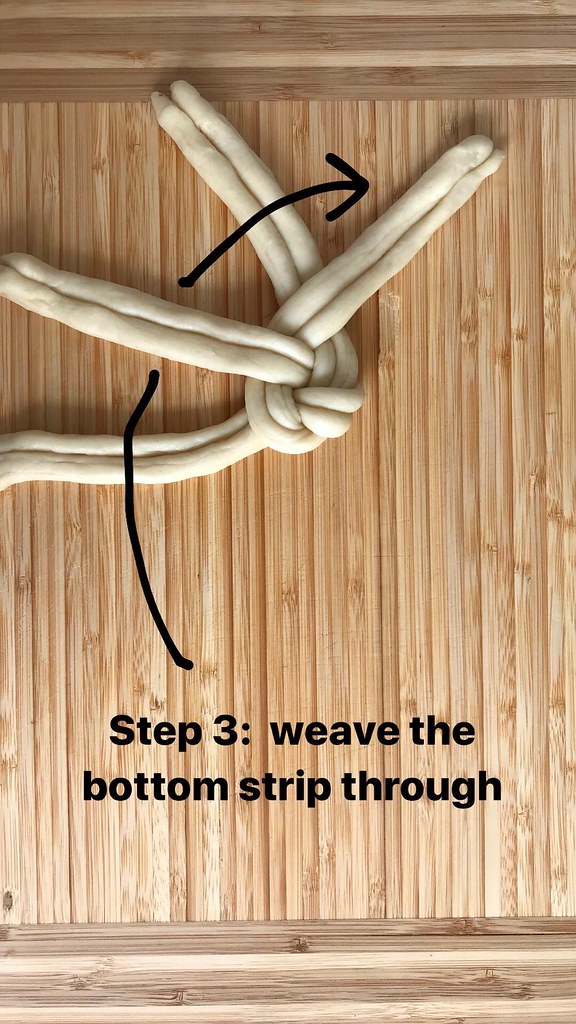
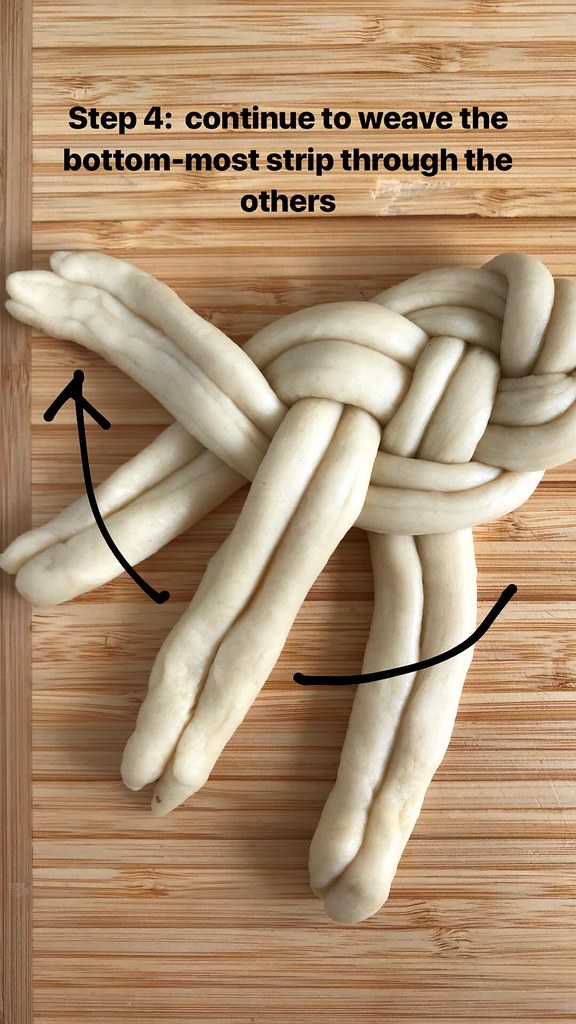
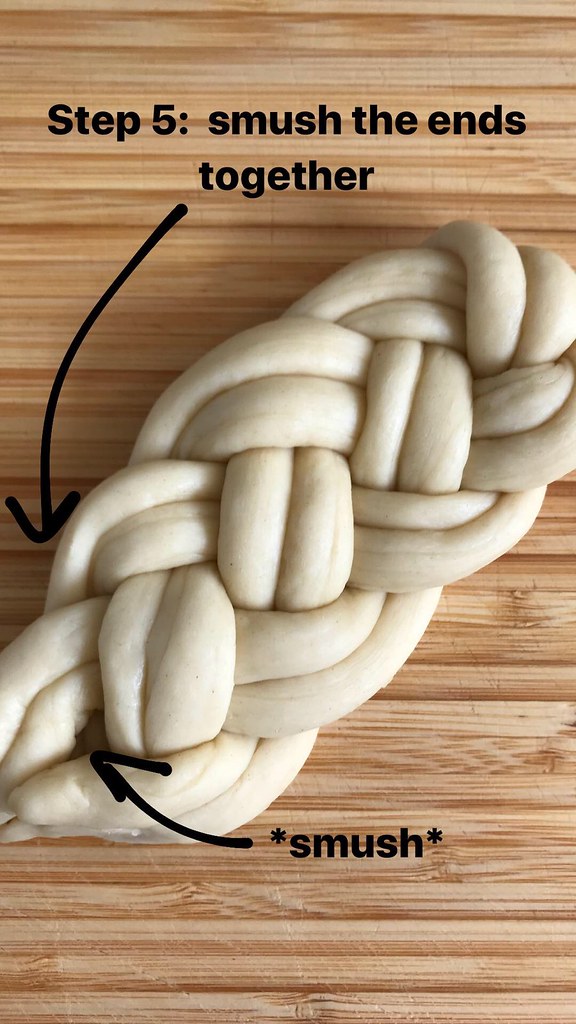
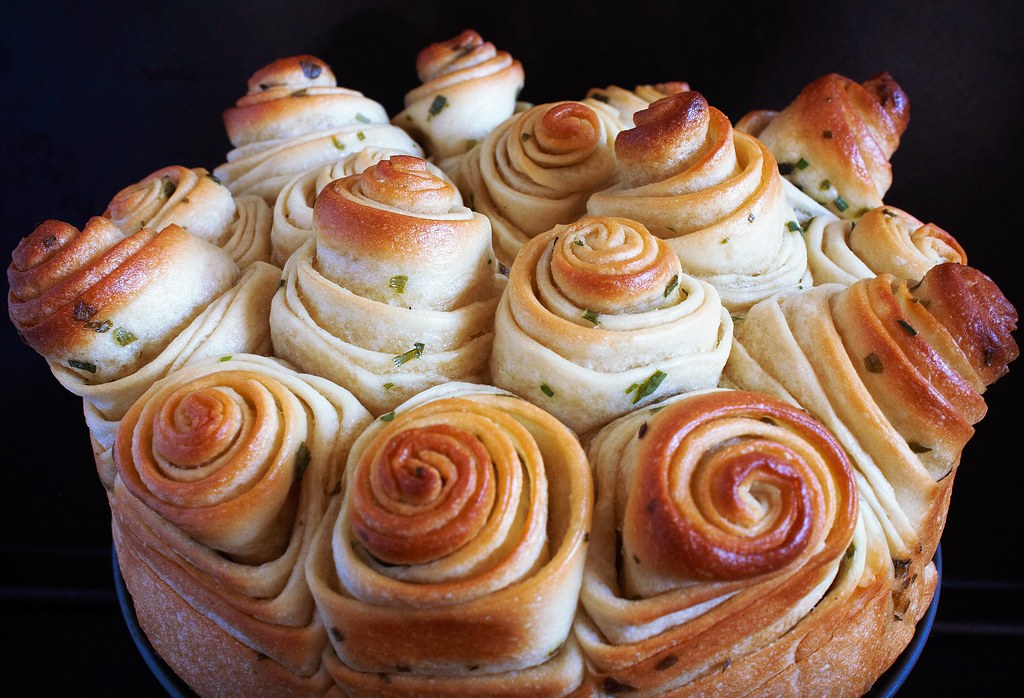
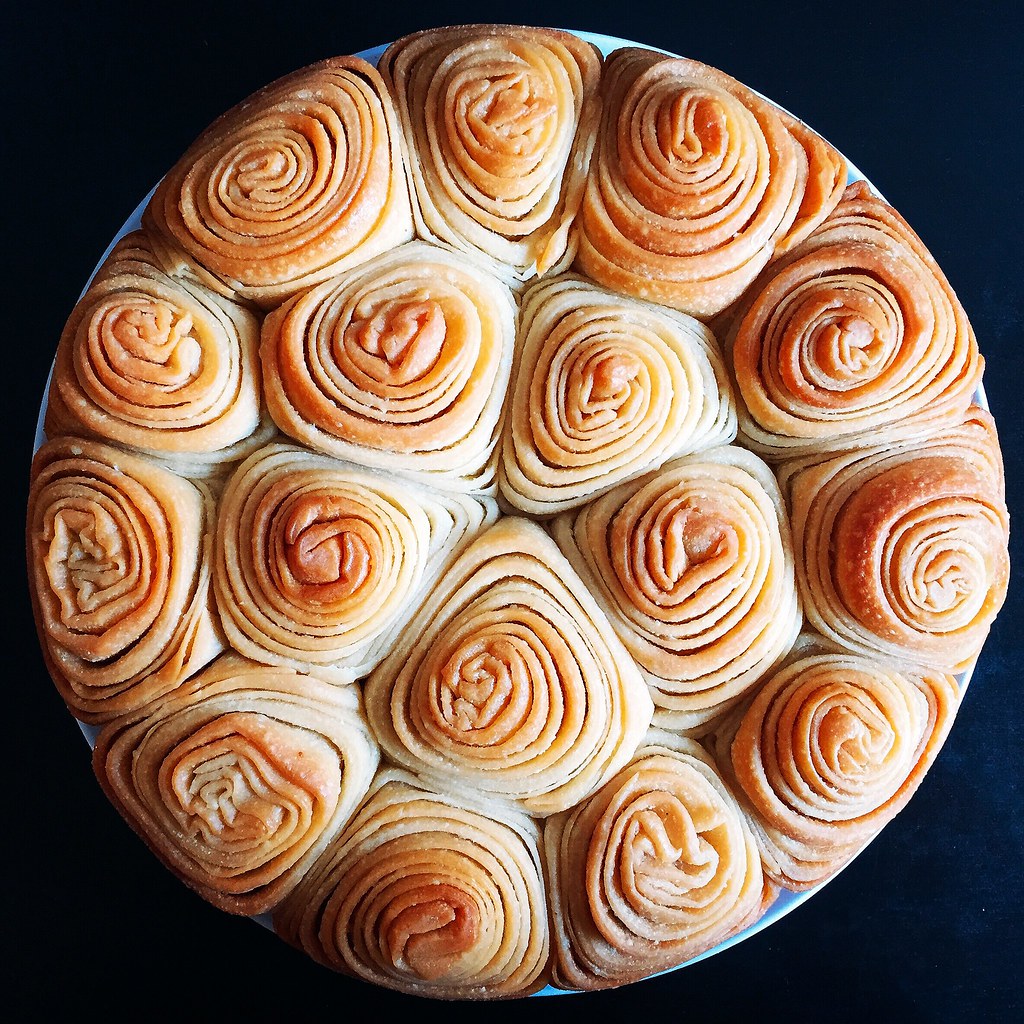
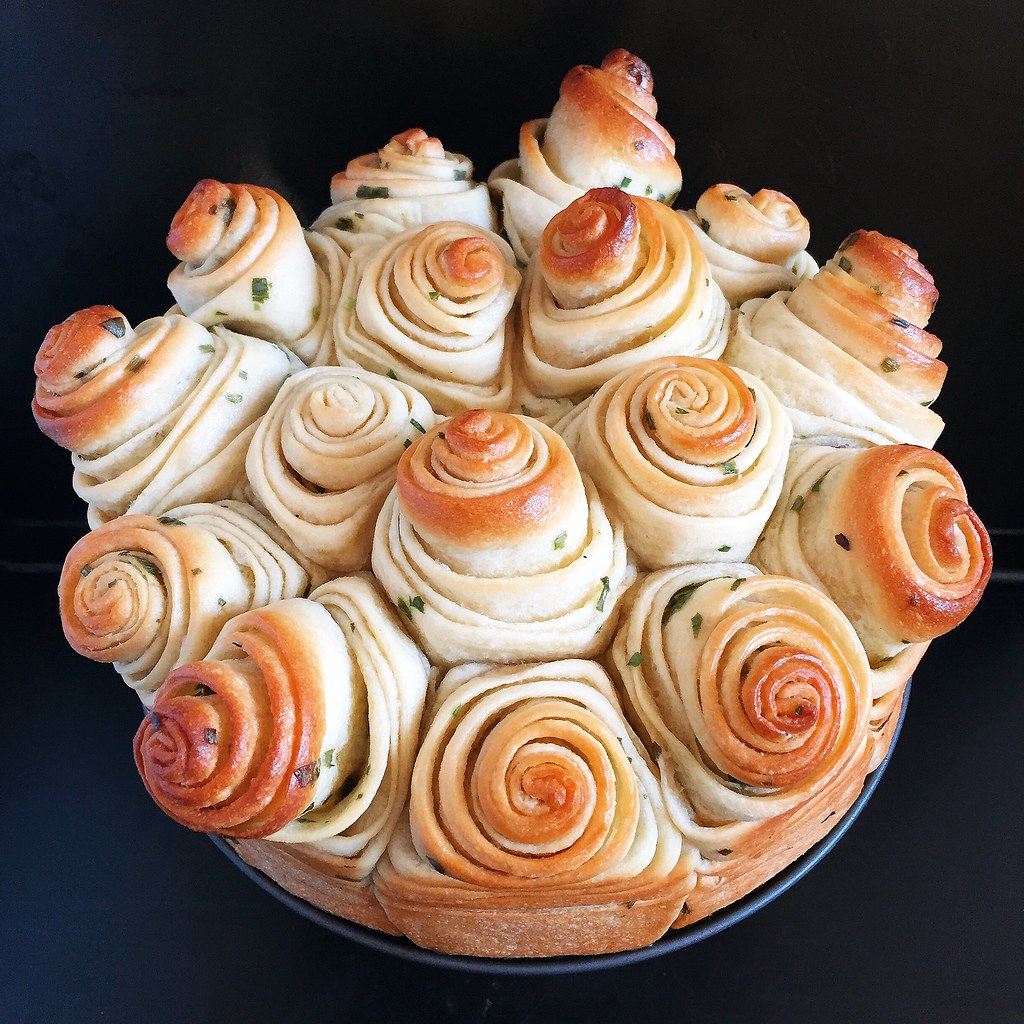
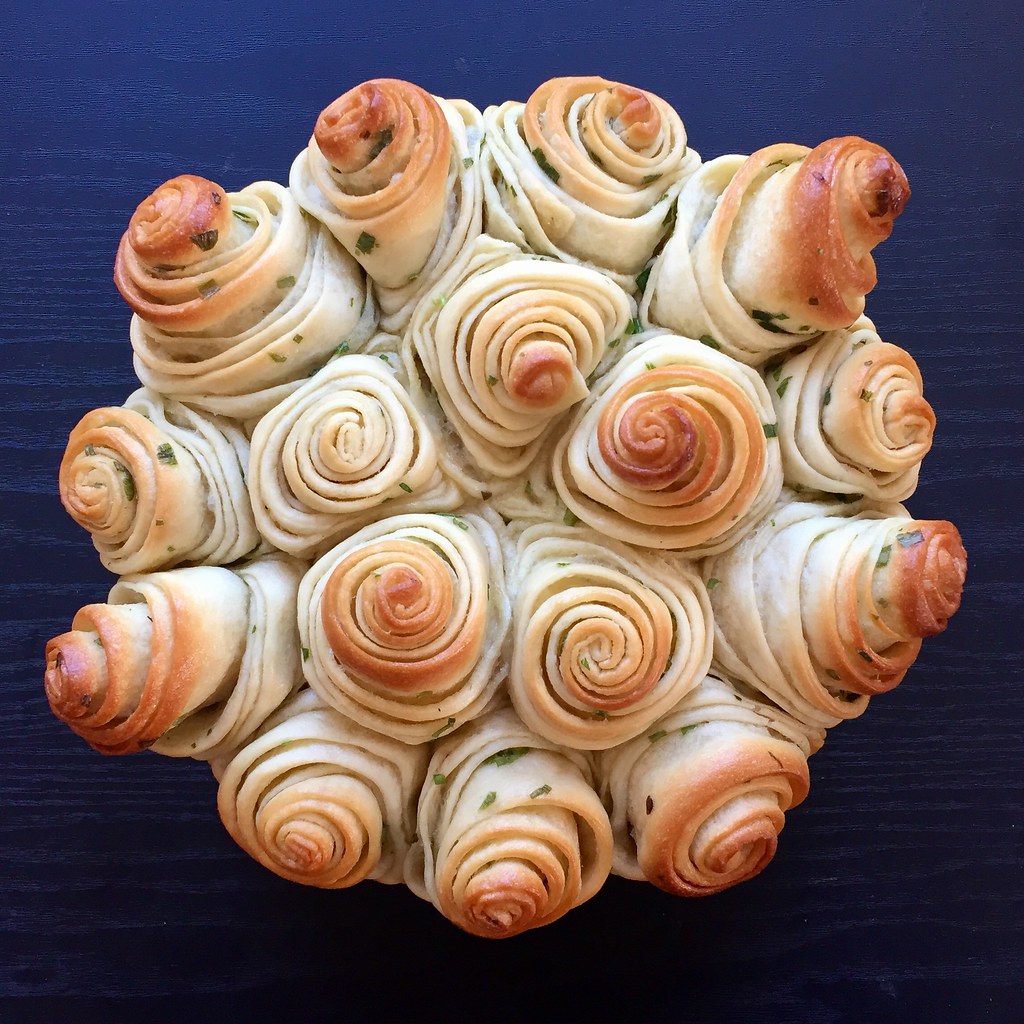
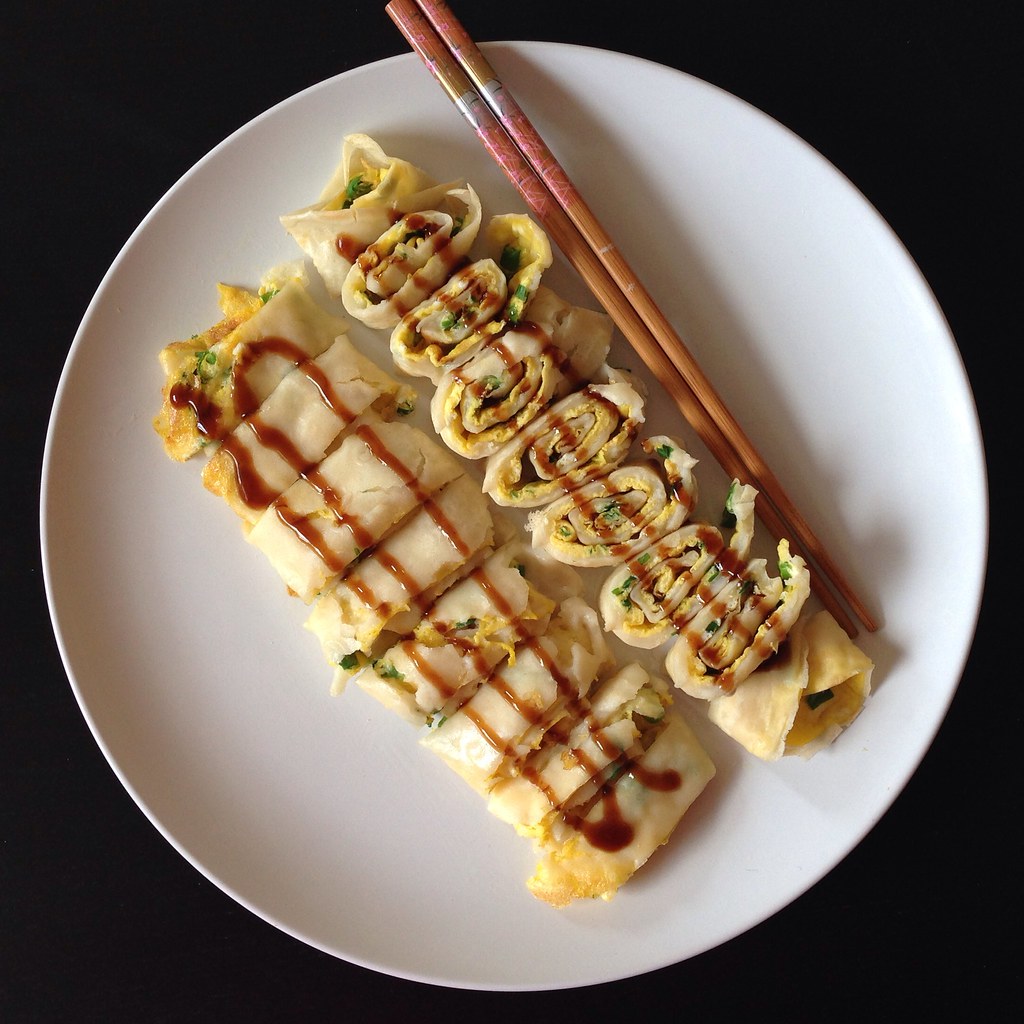
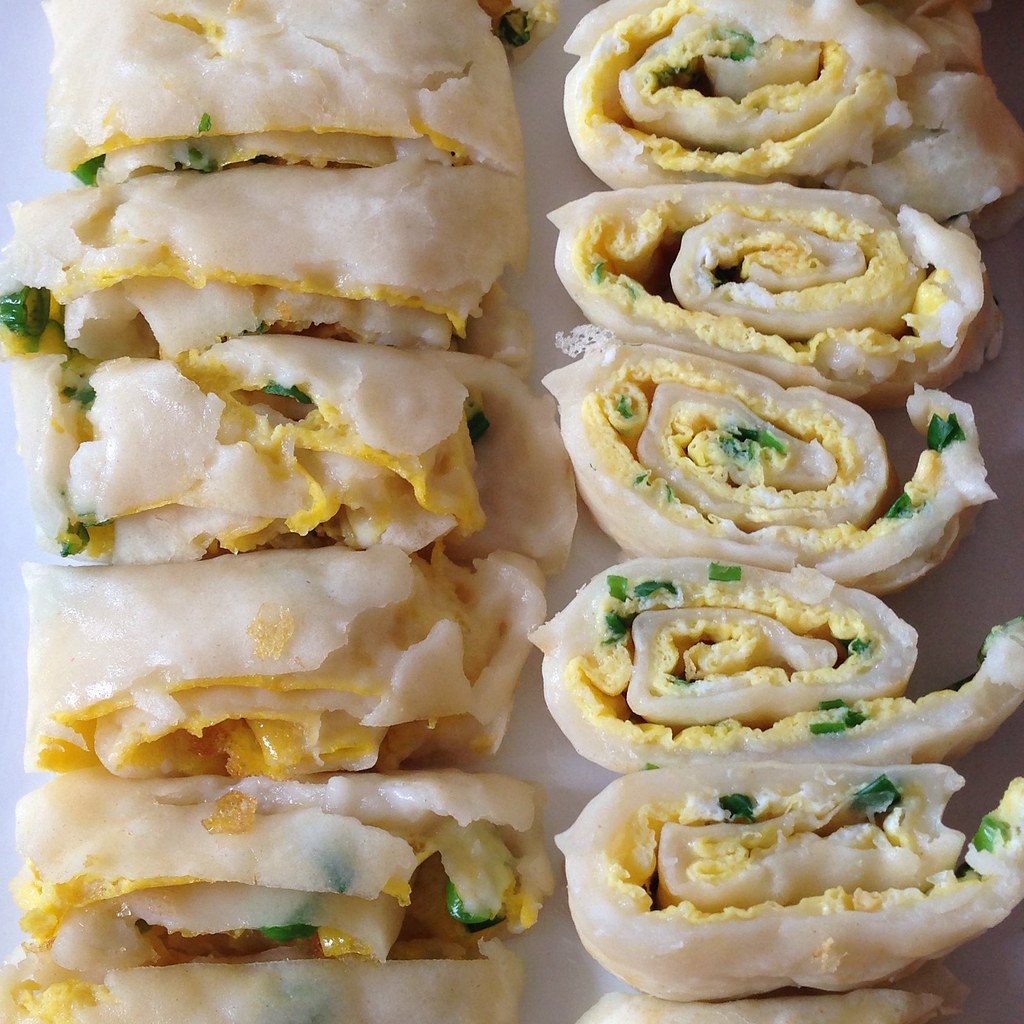
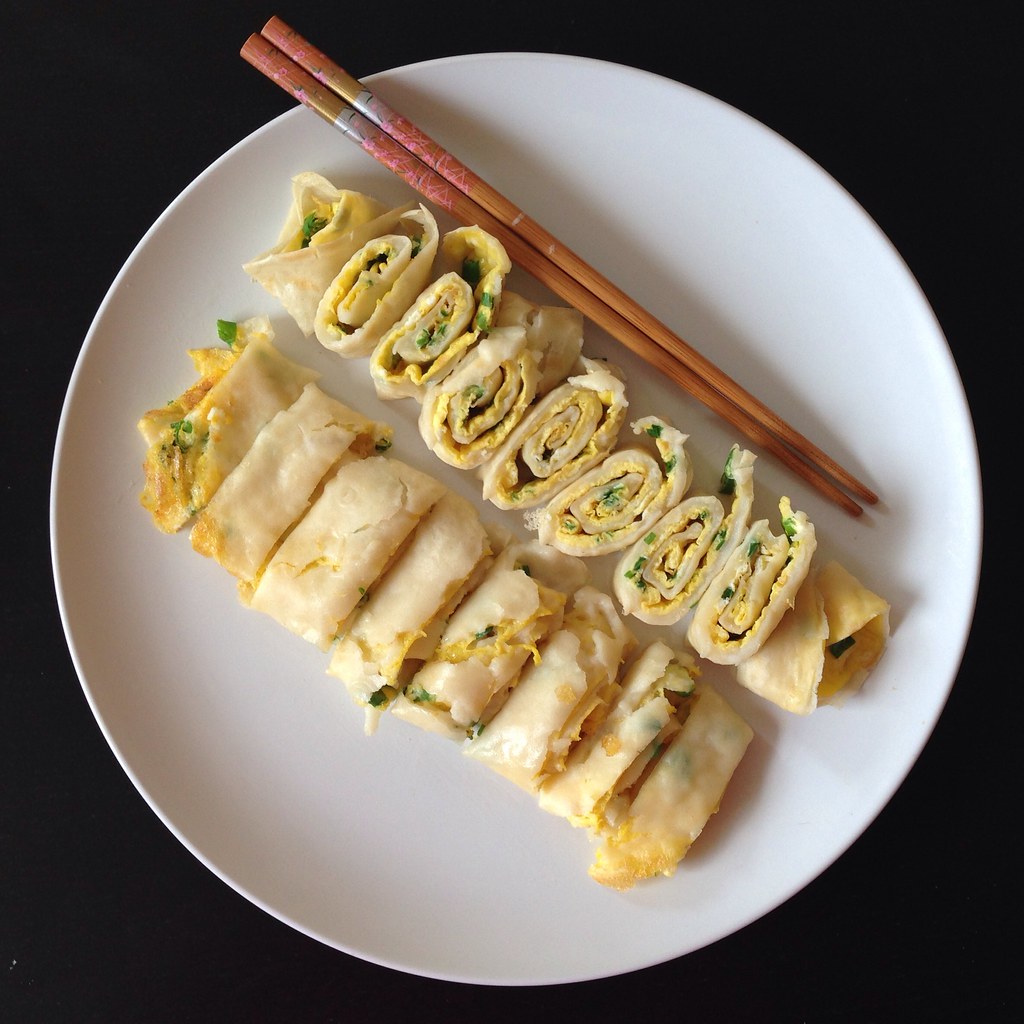
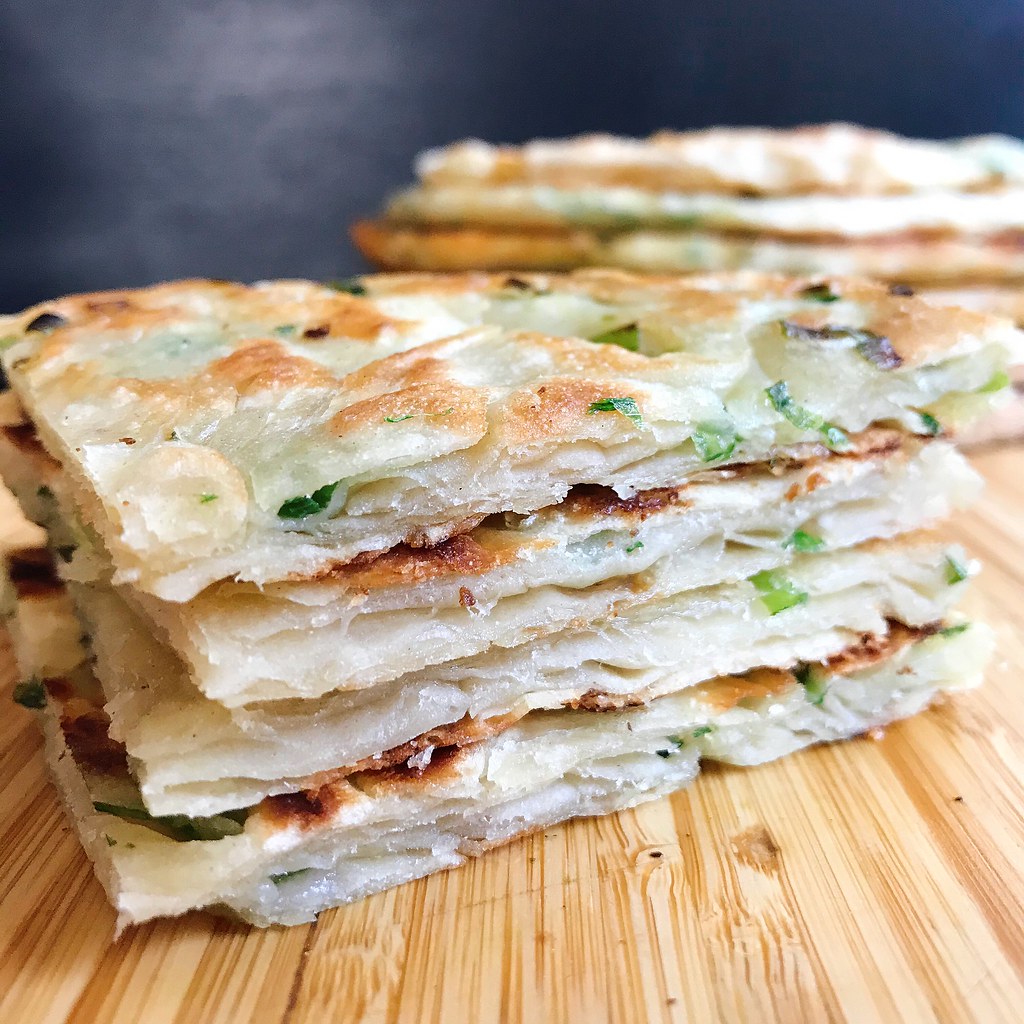
Starting from the long edge, roll up the dough to form a long rope. Don't worry about making a tight coil; focus on making the dough as thin as possible by continuing to gently stretch it out as you roll it up. Once you've formed a long rope, coil it up into a spiral with the seam side down and tuck the end underneath. Use your palm to squash the coil into a flatter disc. Set aside and repeat with the other 4 pieces of dough.
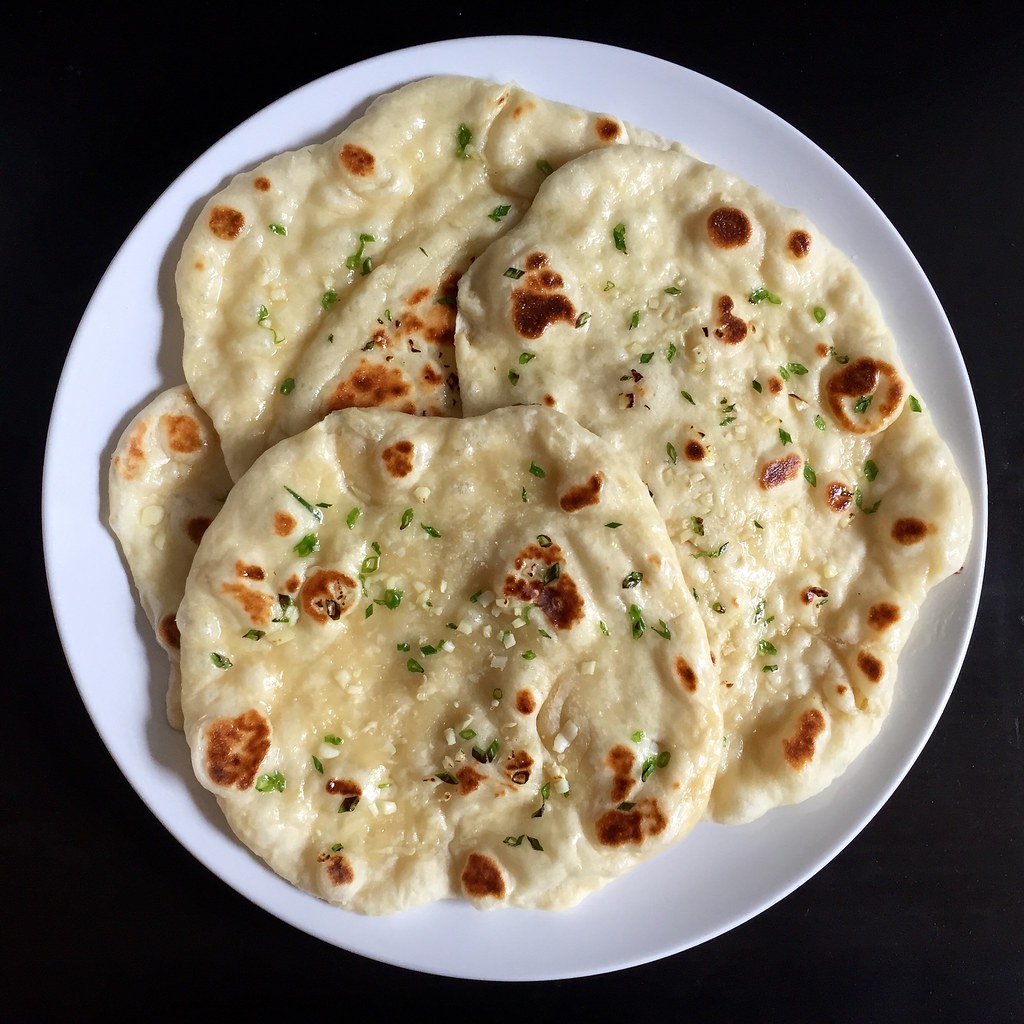
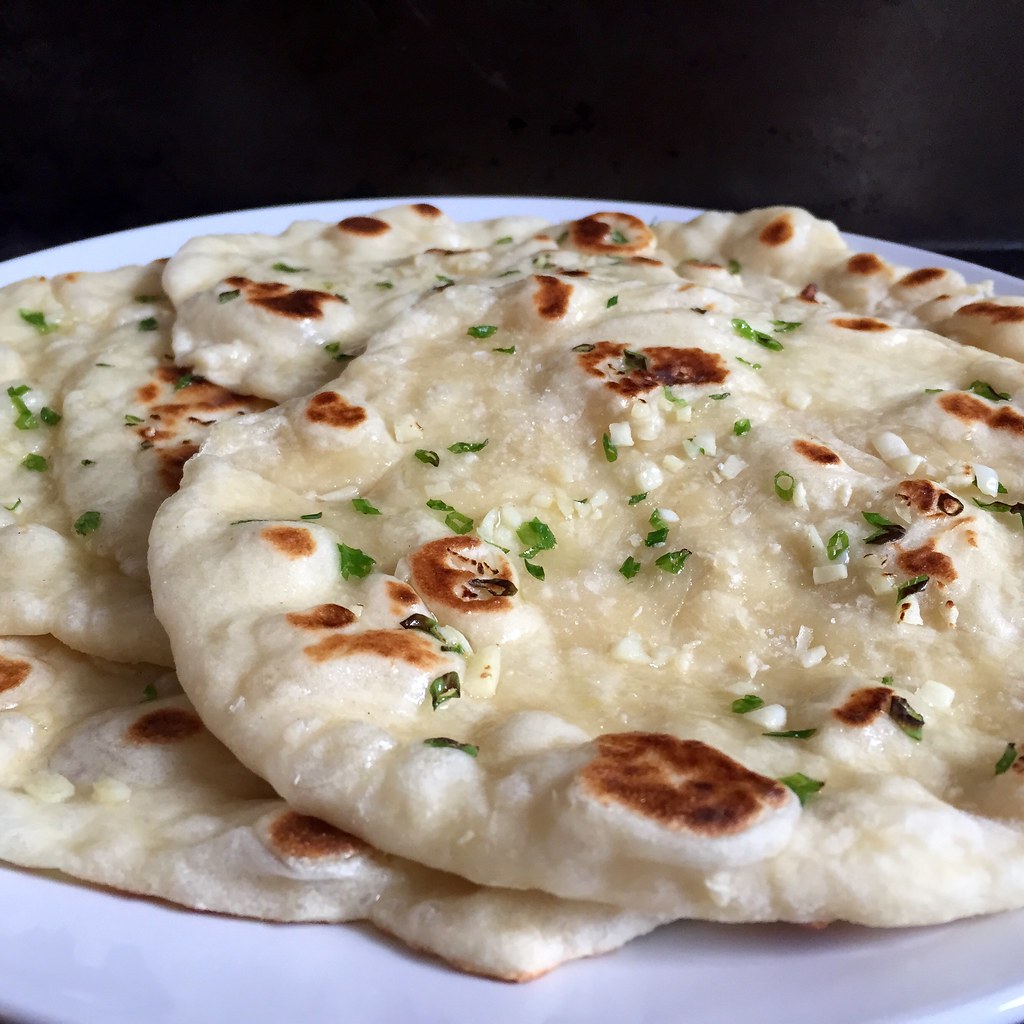
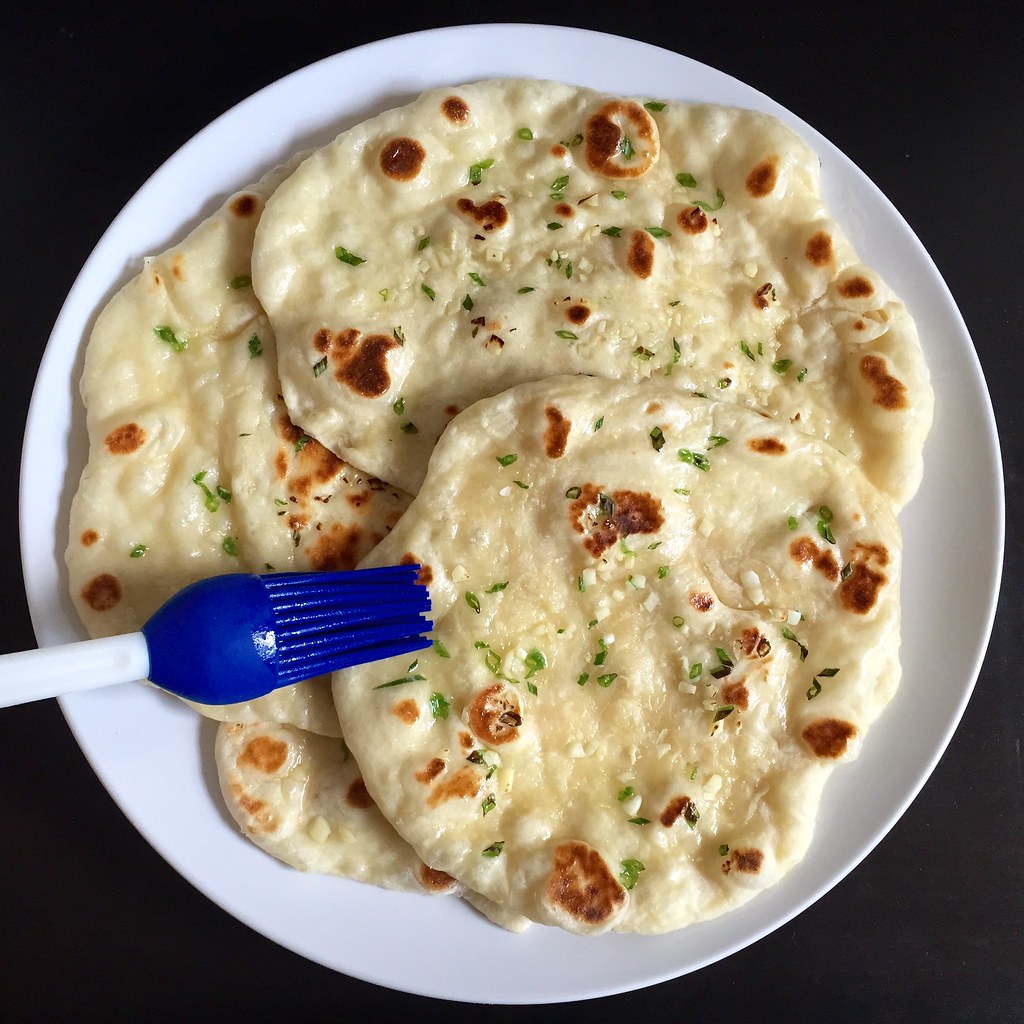
Heat up a frying pan over medium high heat with enough oil to generously coat the bottom. If you have any leftover bacon fat you can add it to the oil. While the oil is heating, use your hands or a rolling pin to flatten one of the discs even more. Aim for the pancake to be a little less than 1/4" thick, but don't flatten it completely or else you'll lose all the layers.
Fry the pancake until golden brown on one side and flip. It's okay if you need to flip it a few times to get it evenly browned on both sides. While you're waiting for it to cook, go ahead and flatten the next pancake. When the pancake is done, transfer it to a wire rack. Make sure you have enough oil left in the pan and fry the next one.
If you have any leftovers, I like to quarter and freeze them so that I can use my compact air fryer to reheat them.
Next: Mochi Waffles
Previously: My Communion Bread
Last Year: Pork, Cabbage, and Tofu Dumplings
Two Years Ago: Cranberry Curd Tart
Four Years Ago: Puppy Chow Pie
Five Years Ago: Miso Pumpkin Soup
Six Years Ago: Thomas Keller's Lemon Tart
Nine Years Ago: Tim Tam Slam Ice Cream
Ten Years Ago: Curry Turnovers