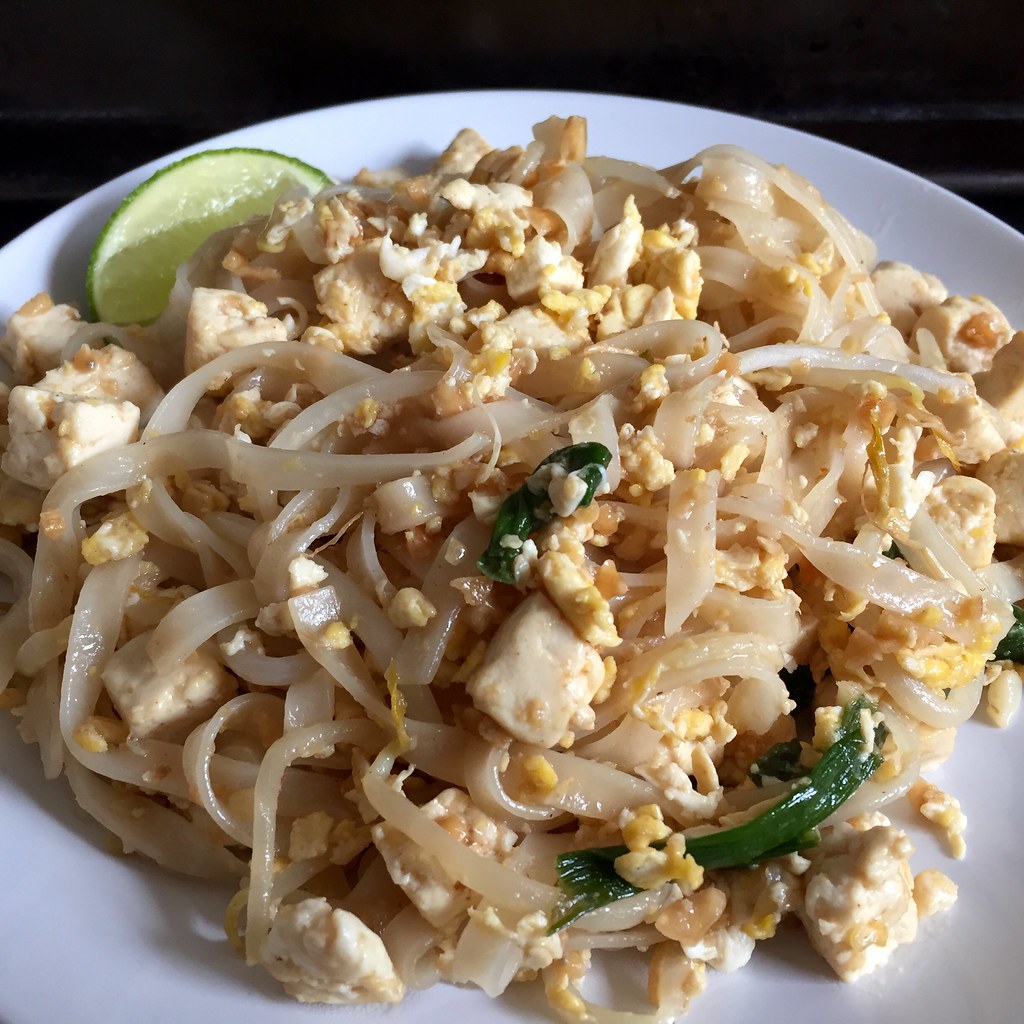
Showing posts with label eggs. Show all posts

Monday, March 14, 2022

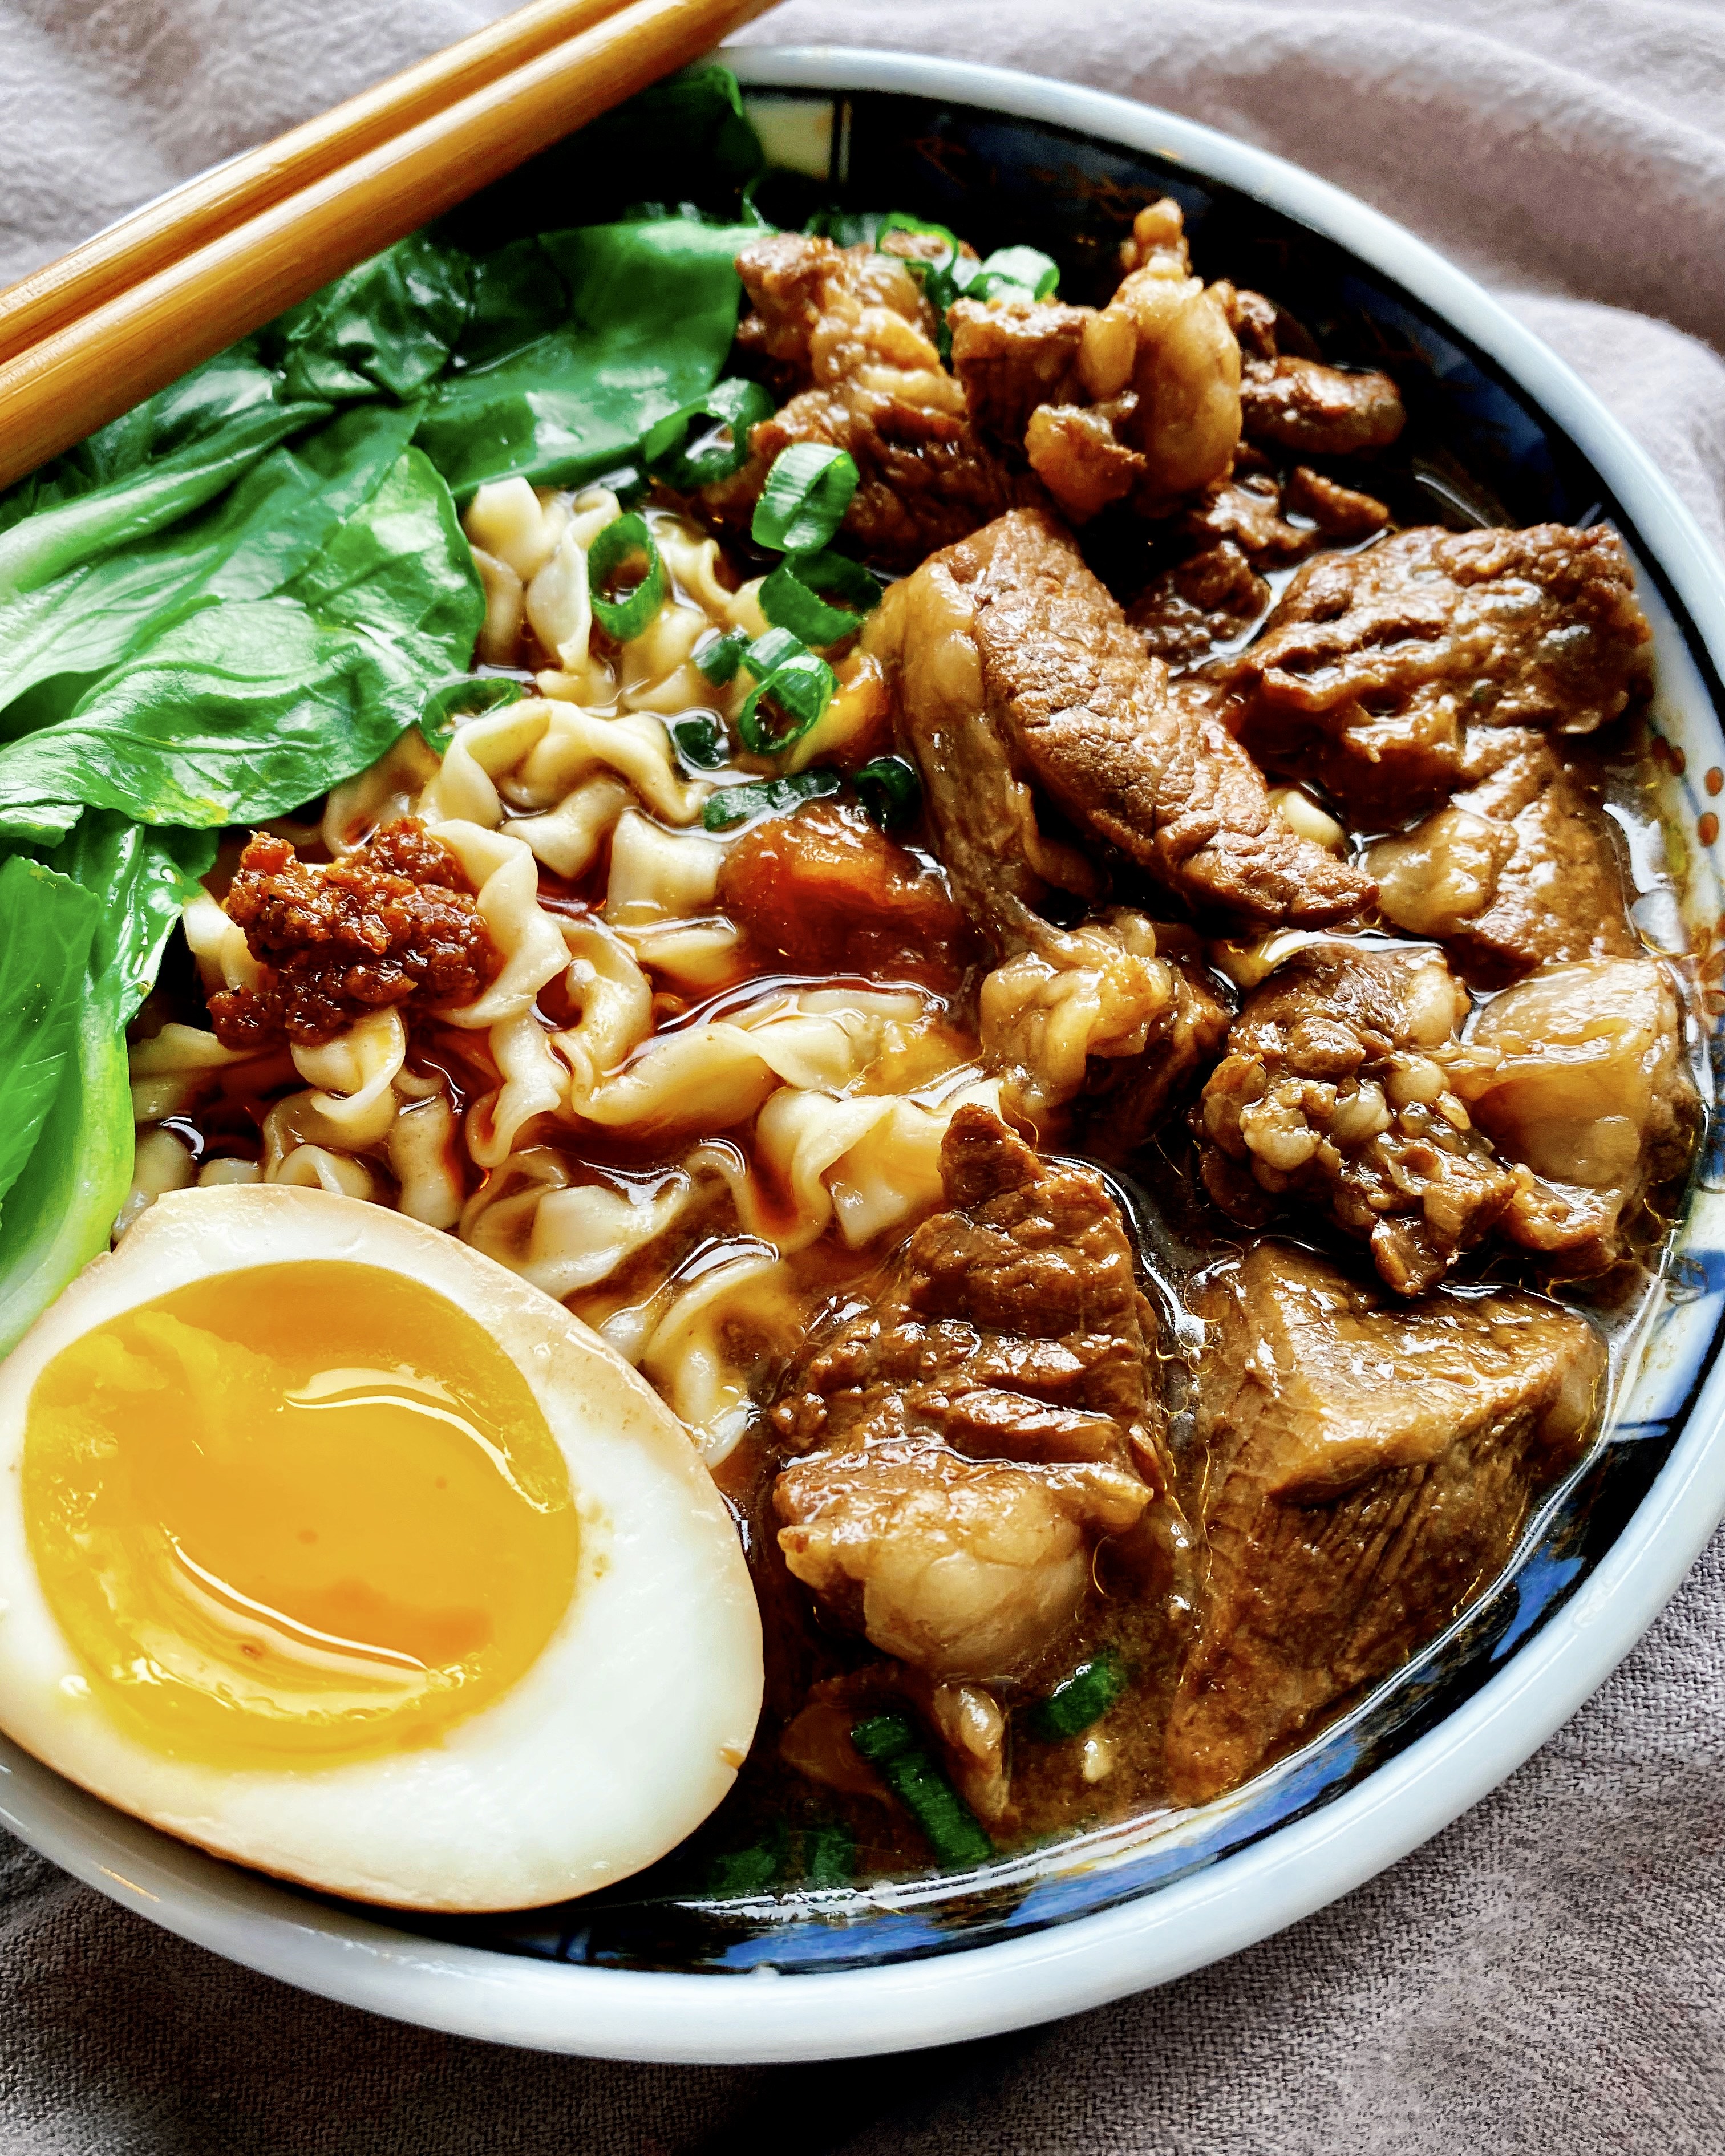
Taiwanese Beef Noodle Soup (Updated)

Quite a few things have changed since I posted my first rendition of beef noodle soup on this blog 14 years ago (it was my 3rd blog post ever!):  I've gotten better at cooking; I went through a vegan, then vegetarian, then pescatarian stint; and I started posting on Instagram

I'd say I'm more of a social carnivore now in that I do eat meat when I'm out with friends but very rarely cook it at home.  In fact, I think I've only made beef noodle soup maybe once or twice since I posted the original recipe.  But after seeing all the delicious BNS posts on the Taiwanese Home Cooking FB group and receiving a chuck eye steak from Vermont Wagyu, I knew it was time to fix that.

Looking back at the original BNS post, I was shocked to see that it called for 1.5 cups of soy sauce!  I chalk it up to one of those mistakes that happens when someone with little cooking experience tries to transcribe a recipe from someone who never measures anything when cooking.  I've since adjusted the quantity to a more reasonable 1/2 cup of low-sodium soy sauce.

The original version calls for napa cabbage and angel hair pasta, and while both are perfectly fine to use, I now opt for the more photogenic baby bok choy and use more authentic Taiwanese dried noodles like A-Sha brand.  And for the lu dan, instead of cooking already hard-boiled eggs in the sauce, I prefer tucking chilled 7-minute boiled eggs in the soup after it's been strained and cooling.  This way the yolks remain nice and jammy while the whites absorb the delicious flavor.

A few other changes:  I've listed white peppercorns, a cinnamon stick, and bay leaf as optional spices in addition to the star anise.  If you don't have them it's fine, but if you have them it will add a nice complexity to the soup.  The star anise is an absolute must, though, to make this a Taiwanese beef noodle soup.  Lastly, I stole this idea from Kenji's recipe--since almost all soups taste better the next day, I remove the beef from the soup, then strain everything else out before letting it chill overnight in the fridge.
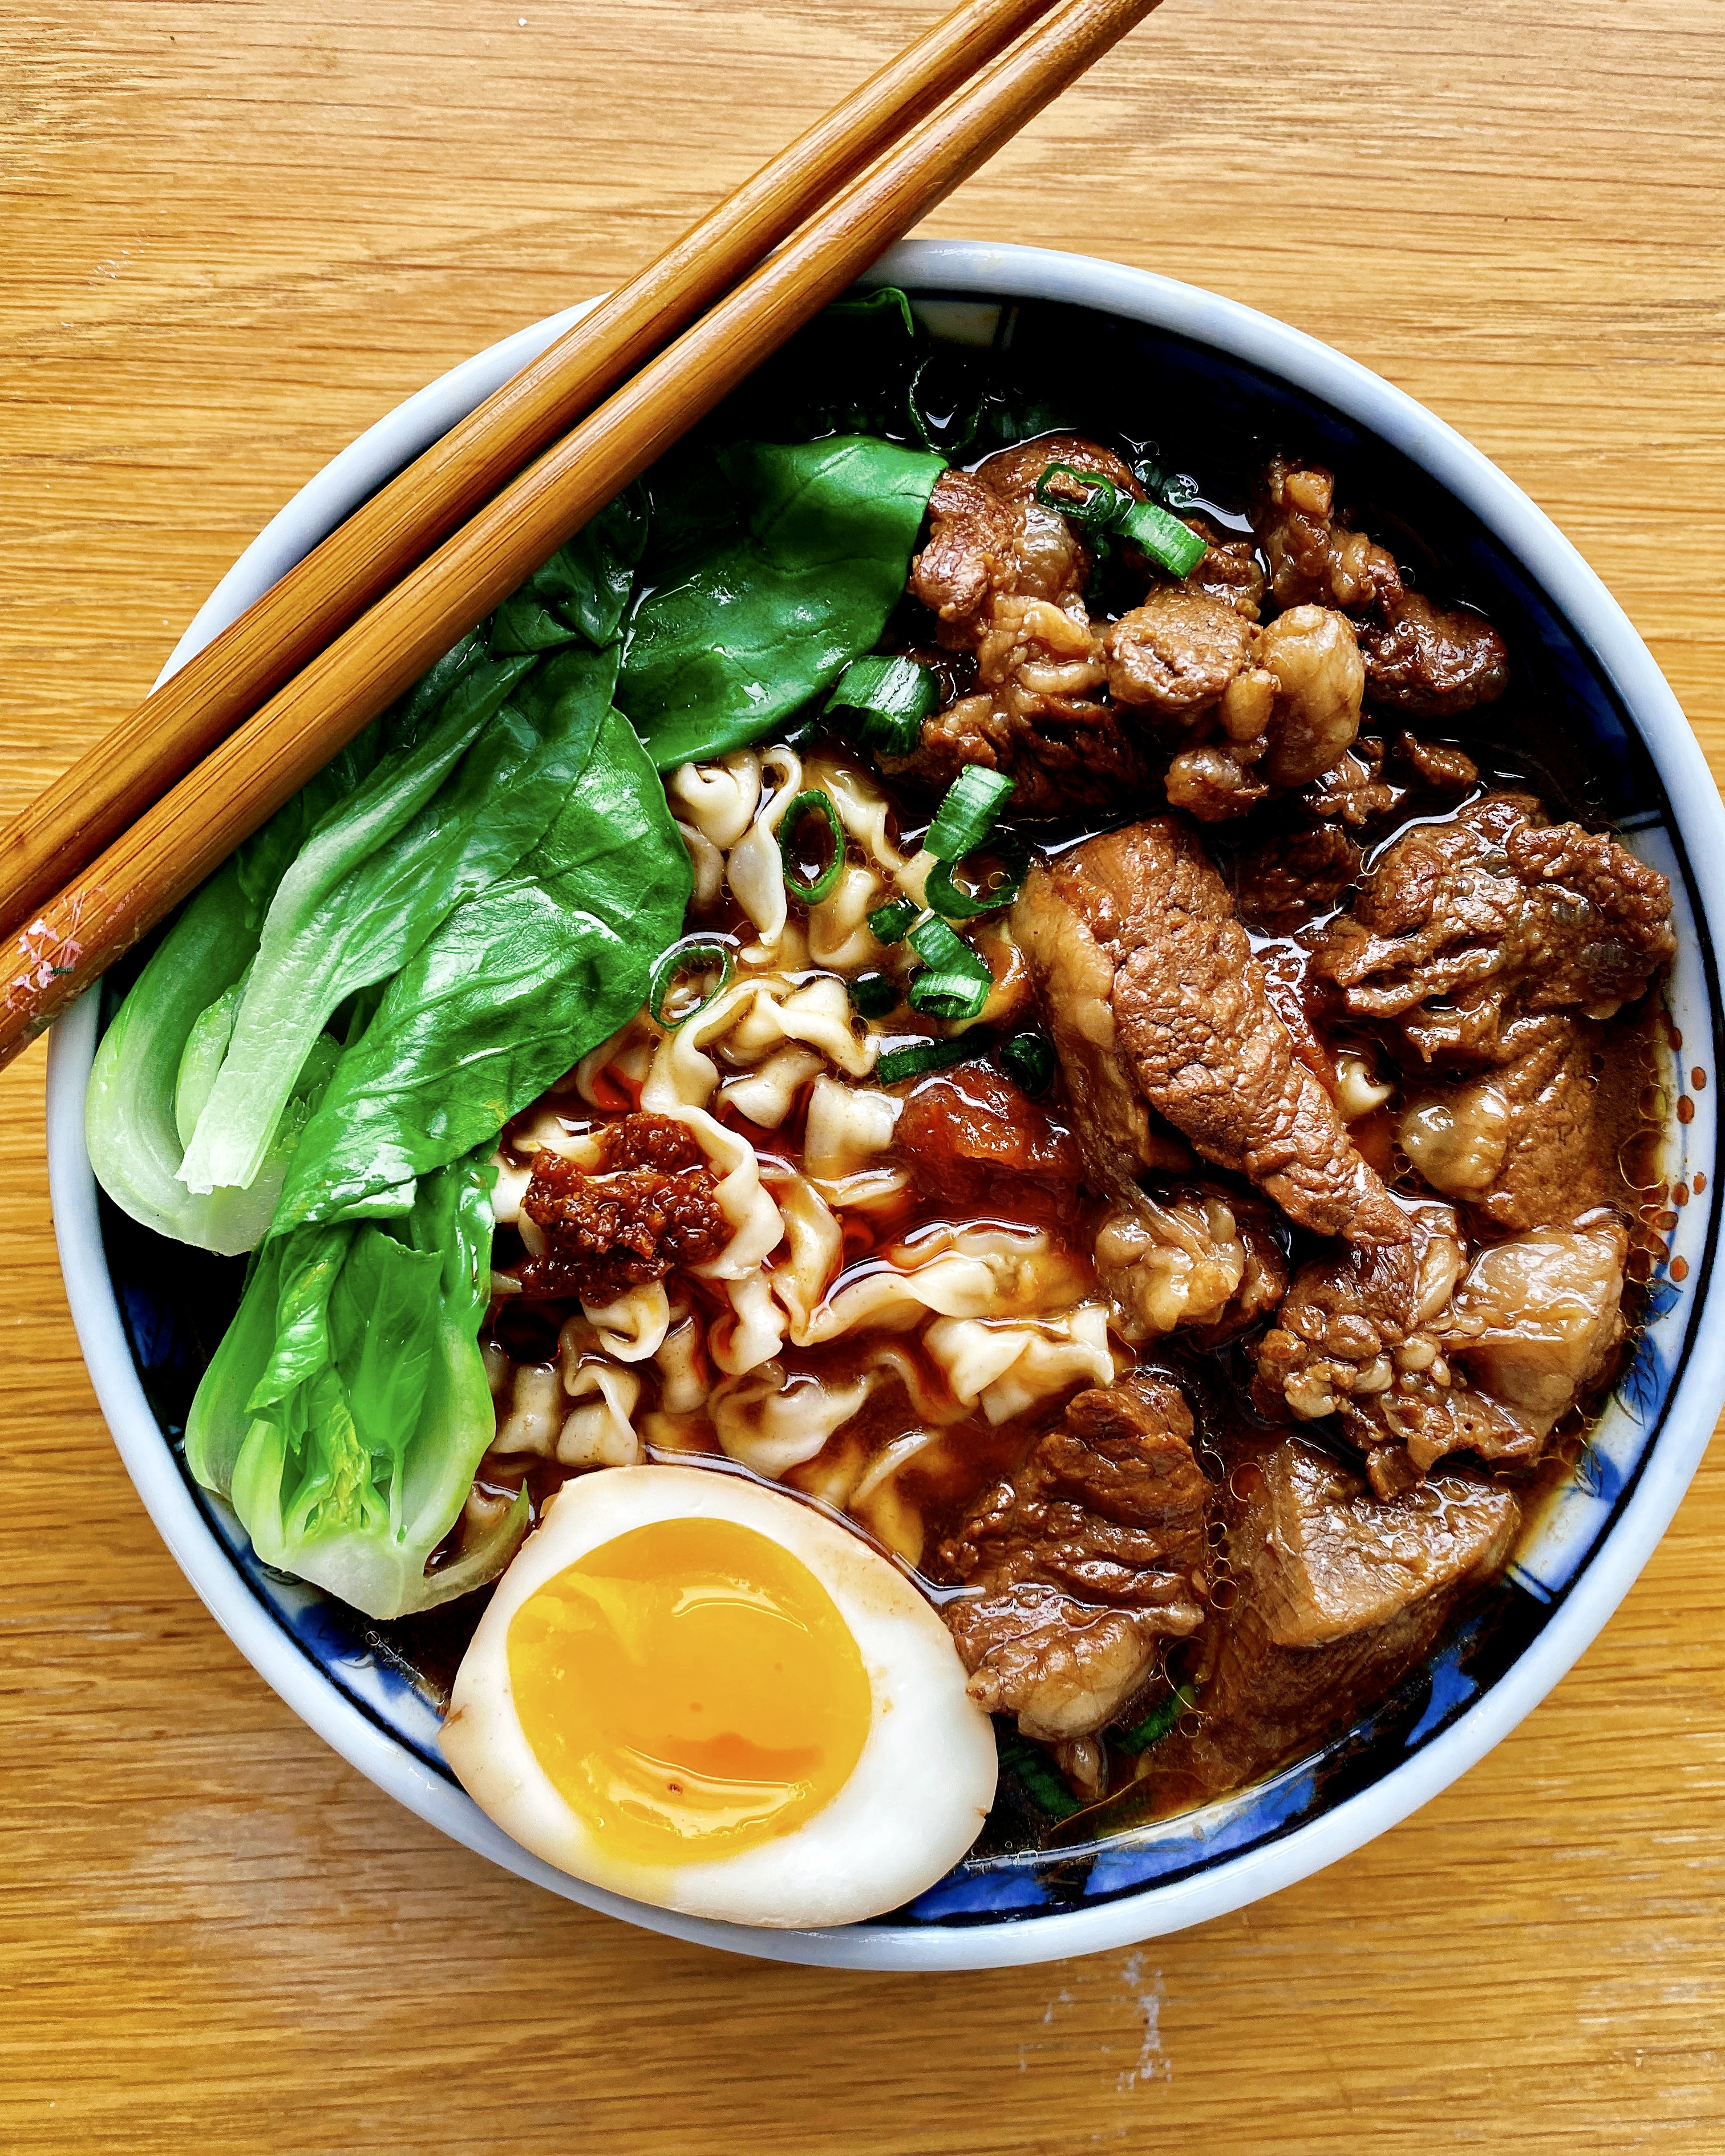
Taiwanese Beef Noodle Soup
makes about 2-3 servings

1 lb. chuck steak, cut into 1" chunks
1 tablespoon oil, if needed
2 scallions, cut into 2" pieces
1 inch ginger, sliced
3 garlic cloves, peeled and smashed
1 tomato, skinned and roughly chopped
1 star anise
1 teaspoon white peppercorns (optional)
1 cinnamon stick (optional)
3 tablespoons rock sugar
1/2 cup low-sodium soy sauce
1/2 cup Shaoxing rice wine
2 cups beef broth
1 bay leaf (optional)
3 large eggs
Baby bok choy or napa cabbage, blanched
Noodles, cooked
Chili oil/sauce (like Sze Daddy), optional

If there is a lot of extraneous fat on the steak, you can cut it off and render it in a large Dutch oven or pot (add it to the pot cold then turn the heat to medium).  Otherwise, heat the oil in the pot and add the beef.  Flip the beef around to brown all the sides, then remove from the pot. 

Add the scallions, ginger, garlic, star anise, tomato, and white peppercorns and cinnamon stick, if using, to the pot and cook for a couple of minutes until very fragrant.  Add the rock sugar and stir around until it has mostly dissolved.  Return the beef to the pot and deglaze the bottom with the soy sauce and wine.  Add the beef broth and bay leaf, if using, and bring to a simmer.  Cover and continue to simmer on low for an hour.

In the meantime, bring another pot of water to boil.  Add the eggs (straight from the fridge) to the pot and set the timer for 7 minutes.  Prepare an ice bath.  After 7 minutes, remove the eggs from the pot and plunge them into the ice bath.  Once they are cool enough to handle, peel the eggs and set aside in the fridge to chill.

After an hour, check the beef for tenderness and the soup for flavor.  Cook longer or adjust seasonings if needed.  When the beef is ready, transfer from the soup into another pot or container large enough to hold the soup.  Strain the rest of the soup into the pot/container with the beef in it.  Add the peeled eggs, cover, let come to room temperature, then place in the fridge overnight.

When ready to serve, reheat the soup (remove the eggs first if you want to keep them jammy).  Blanch the veggies in boiling water until bright green and tender.  Remove and then cook the noodles in the same boiling water.  Drain and portion the noodles into 3 bowls, ladle the soup and beef over the noodles and add the veggies.  Slice the eggs in half and add to the bowl.  Serve with chili sauce (I like Sze Daddy for additional Taiwanese flavors) if you like.

Previously:  No Knead Sourdough Focaccia
Next:  Hurricane Popcorn Marshmallow Treats

Monday, August 13, 2018

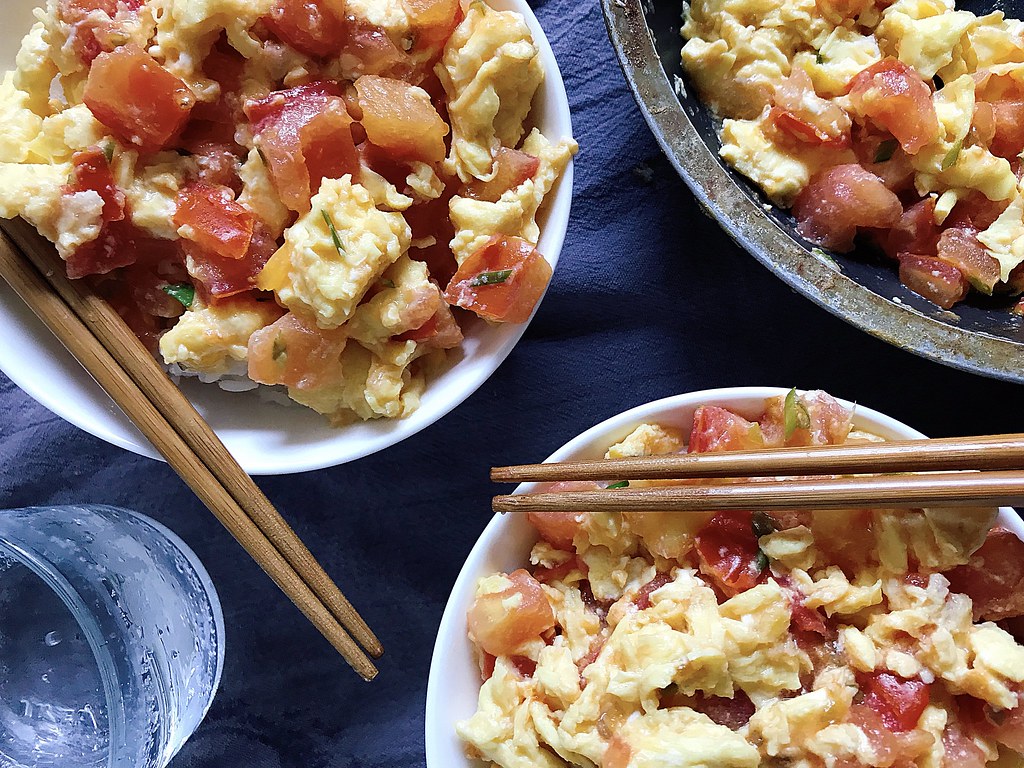
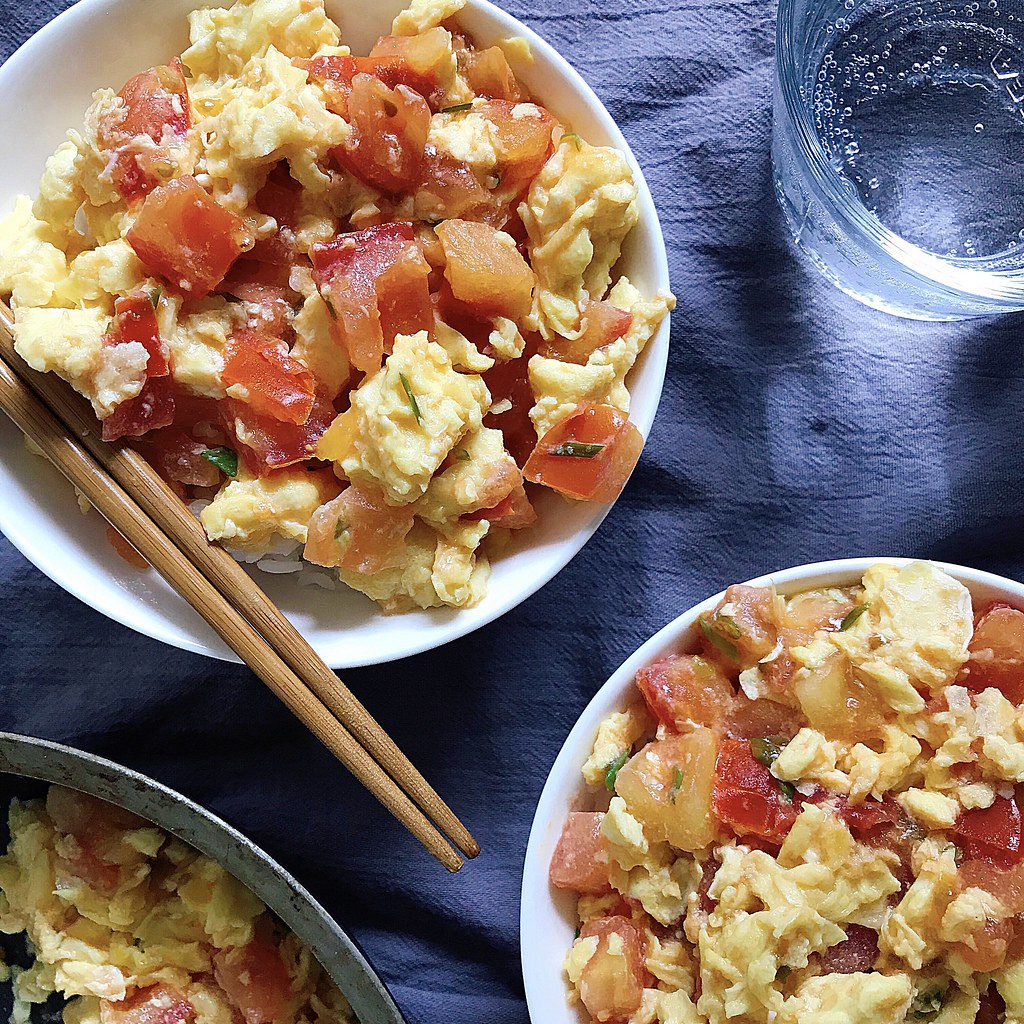
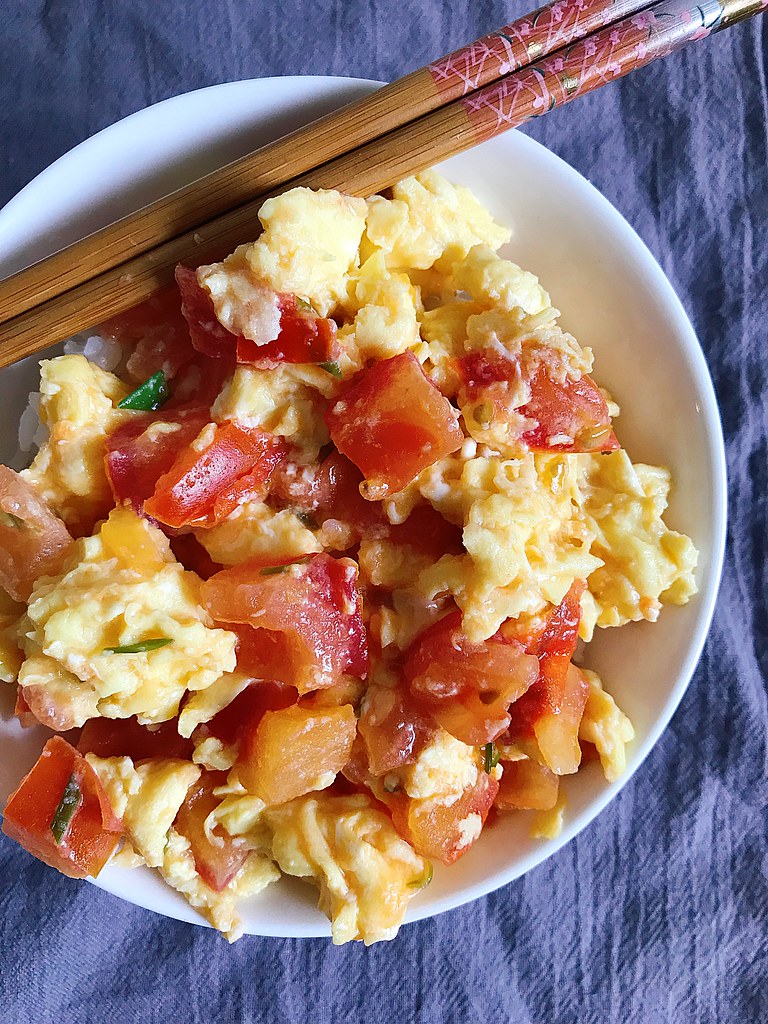
Tomato and Eggs over Rice (Updated)


When I first found out that the summer collaboration star ingredient was going to be tomatoes, I envisioned a really photogenic heirloom tomato pizza or shakshuka, but the more I thought about it, the more my mind kept going back to this homely, homey dish.  It will never win awards for its looks, but it's so incredibly easy to make and delicious that I thought it was worth dusting off from my archives and writing up again.
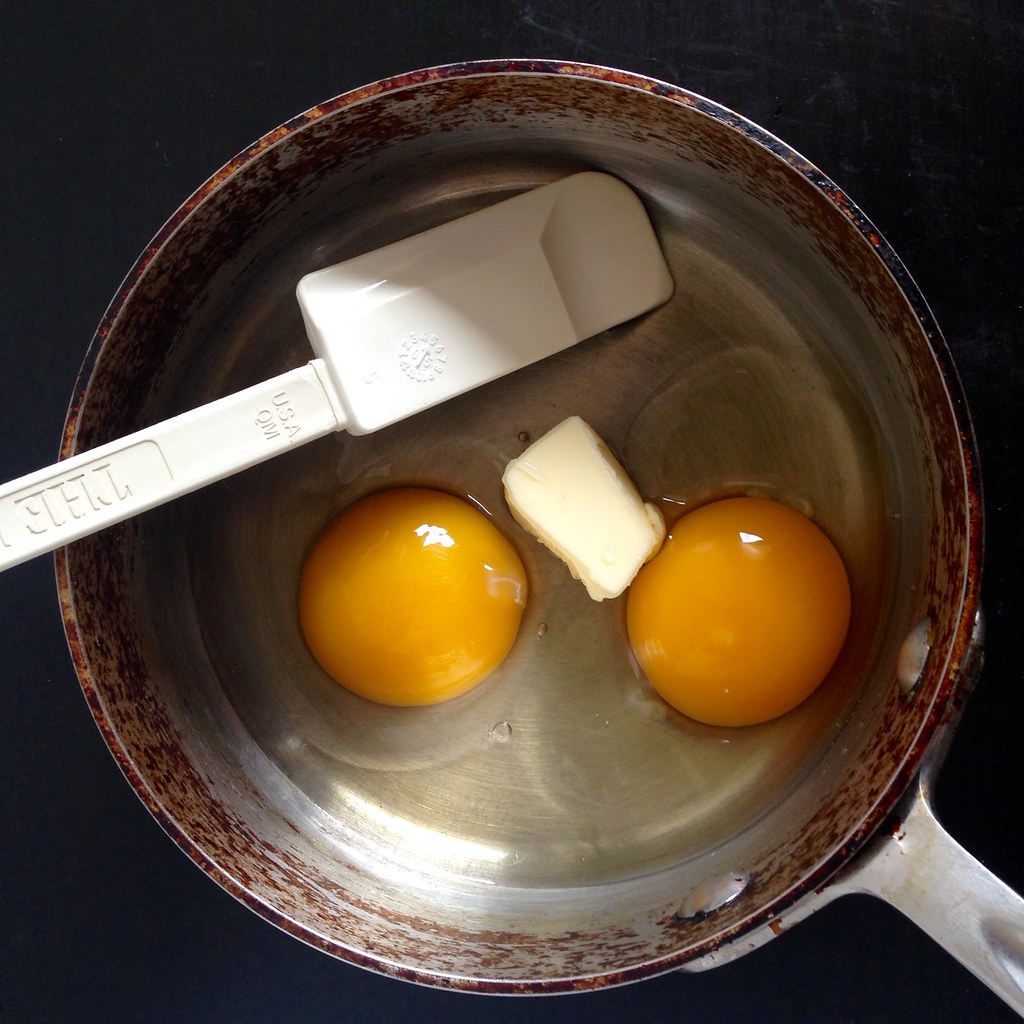
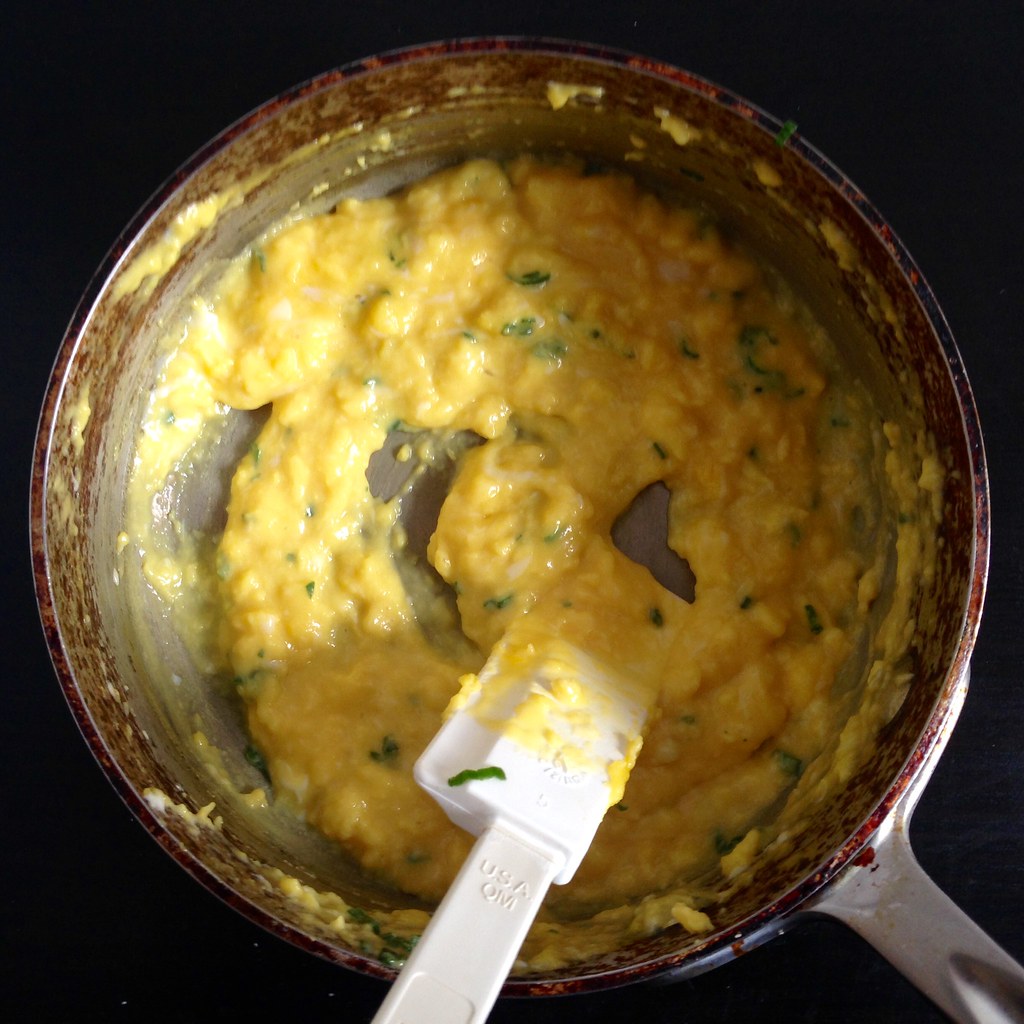
The thing is, after making this over the many years, it's become one of the few dishes I can make without consulting a recipe.  So I figured I'd write it the way I make it.  If you really need to follow one (at least the first few times), check out my old post about it.  But I bet you'll be making this so many times that eventually you'll be able to make it like I do!


Tomato and Eggs over Rice
serves 1 hungry girl or 2 as a side dish

1 large tomato or 2 smaller tomatoes, total volume about the size of your first
3 eggs (add a 4th egg if your tomatoes are really big; you want about an equal volume of tomato:egg)
Kosher salt, to taste
About a tablespoon chopped scallions (I usually just harvest a few stalks from the ones I have growing on my windowsill)
A splash of rice wine
Sesame oil
Cooking oil
A splash of rice wine vinegar
A pinch of sugar
About 1/2 teaspoon of cornstarch
Cooked rice

Crack the eggs into a bowl and add a few pinches of salt.  Whisk with a fork until nicely beaten.  Let sit while you prepare the tomatoes and scallions.

Chop the tomatoes into a small dice.  Chop the scallions.  Add a splash of rice wine and sesame oil to the eggs and whisk again.

Heat a non-stick pan over medium heat and add some oil.  When the oil is hot, add the beaten eggs and scramble into large curds.  When the eggs are 90% cooked, transfer back to the small bowl.

Add a bit more oil to the pan and heat again.  Add the chopped tomatoes, a splash of rice wine vinegar, a pinch of sugar, and a larger pinch of salt.  Cook for a minute, then add the chopped scallions.

Add a tablespoon of water to the cornstarch to make a slurry and then add to the tomatoes.  Stir until the liquid thickens, then add the eggs back into the pan.  Cook until well combined and serve immediately over rice.


Check out the #wesaytomatoes hashtag on Instagram to see the rest of the collaborations!

Next:  My Communion Bread
Previously:  Cherry Pit Ice Cream with Cherry Ripple and Brown Butter Streusel
Two Years Ago:  Zucchini Pizza
Four Years:  Grace's Ginger Scallion Fish
Five Years Ago:  S'mores Brownie Ice Cream Sandwiches

Friday, June 3, 2016

Tortilla Española (Spanish Potato Omelet)


I already had a trip to France and Italy planned when I found out I would need to be in Madrid the following week for work.  So after some quick thinking and planning, I managed to extend my time in Europe for another week and head out to Madrid a few days early before the meeting!


It was my first time in Spain, and I wanted to make the most of it.  My friend Sarah Ruth (the one who taught me my favorite brownie recipe) joined me from Sweden, and we managed to hit a lot of the capital and even took a day trip to the nearby town of Segovia.  Some highlights of the trip:


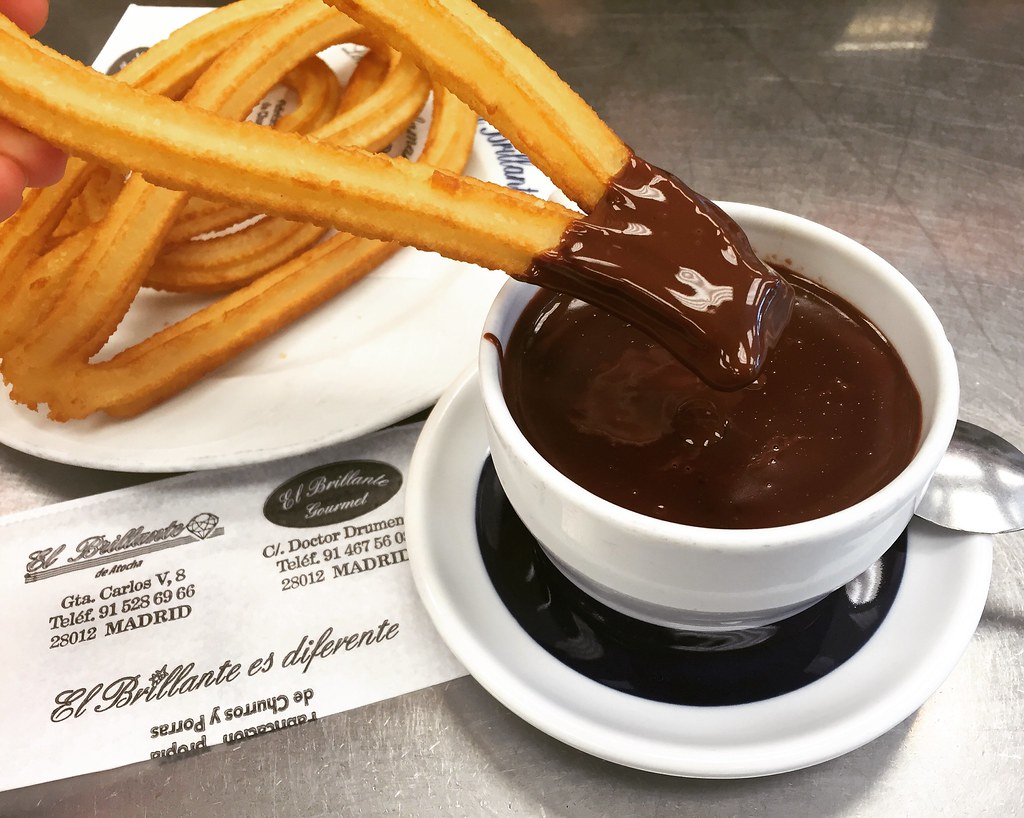
Eating chocolate con churros every day for breakfast!  We liked going to El Brillante for the authentic Madrileño experience and learned about purros there, which are basically, bigger, fatter churros that really remind me of Taiwanese you tiao.  We also tried them at Chocolatería San Ginés since everyone says they have the best ones, and I did like them more because they were less greasy and the hot chocolate wasn't as sweet.


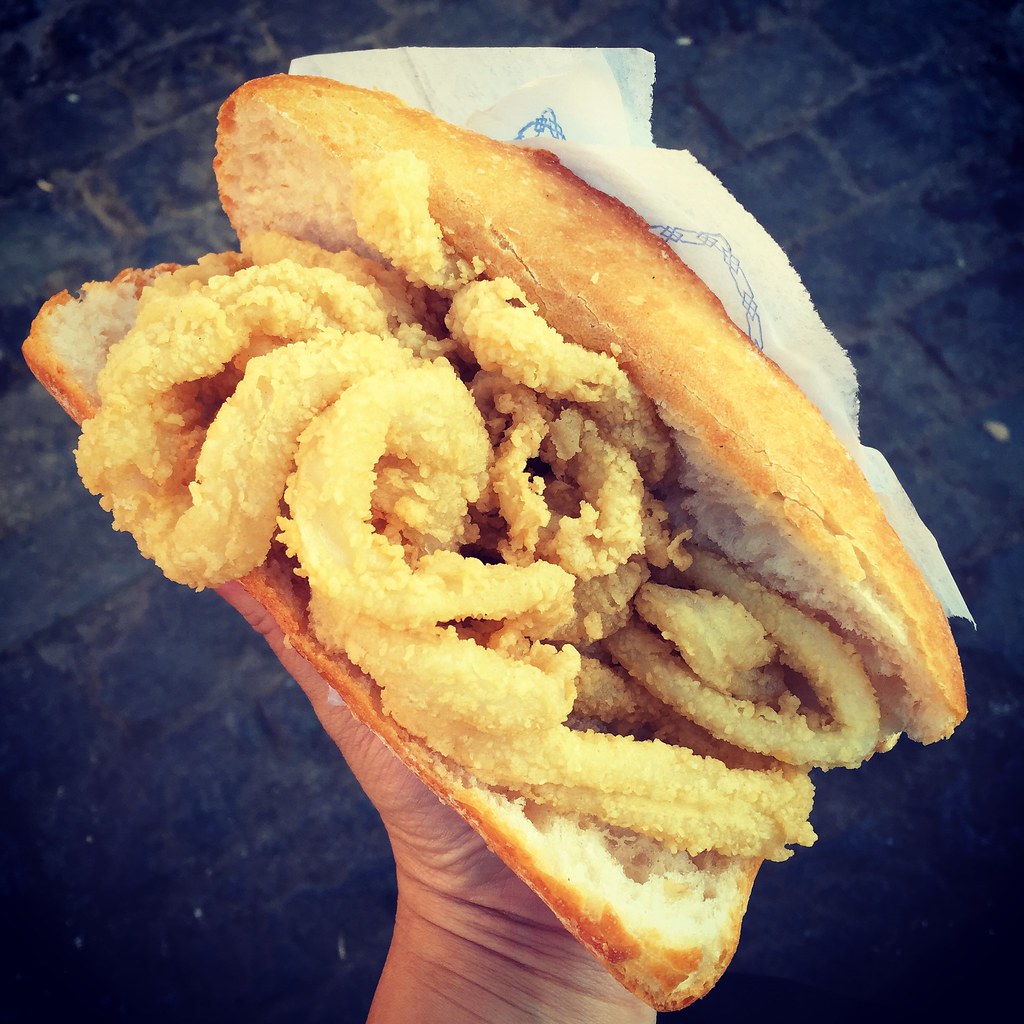
One of Sarah Ruth's friend's boyfriend was a local, and he was kind enough to take us around 2 of the 3 nights we were free.  I really wanted to try Madrid's specialty--bocadillo de calamares--which is basically like a fried calamari po'boy.  He took us to La Campana just off of Plaza Mayor, and the sandwich was a lot bigger than I expected!  It was pretty good, but I would've appreciated some type of sauce on there like a spicy remoulade or an aioli or something.  I bet it would be really good at 3 am after a night of partying!

Another one of his suggestions was a Chinese restaurant that was located...in an underground parking garage.  I totally thought it wouldn't be worth even seeking, but then we looked on-line for it, and it seemed like the real deal.  So after more than 10 days without Asian food, I was desperate enough to try it out.  You guys, it was awesome!  It honestly tasted like something my mom would make!  To find it, go to the southeast corner of Plaza de Espana and look for the stairs that go down.  Can't miss it.


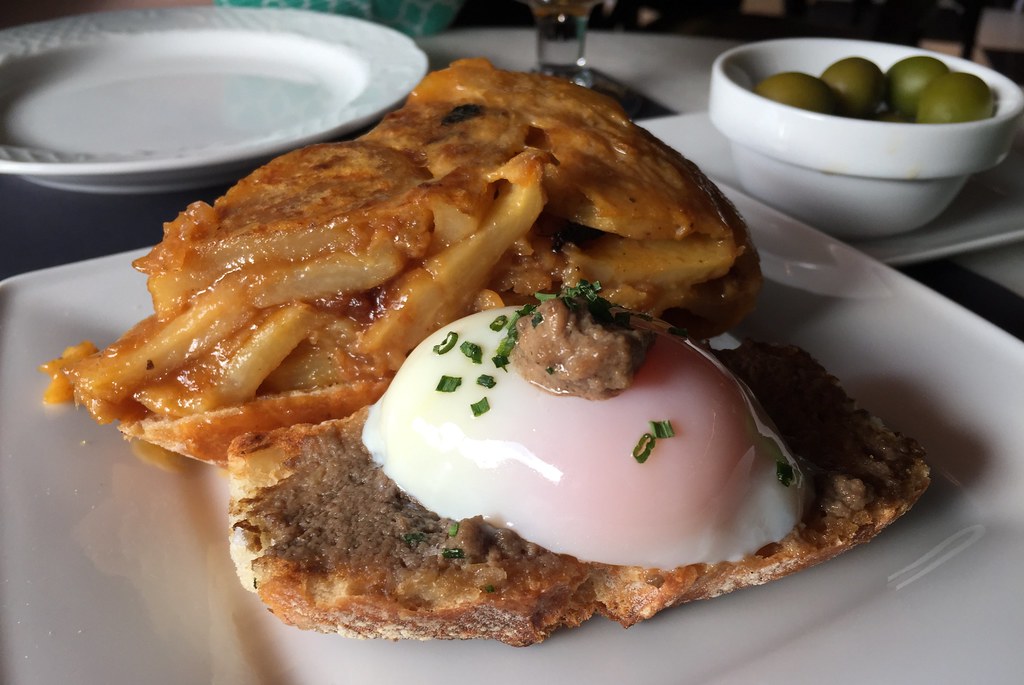
We went to La Latina for tapas one night, but I was so tired we only made it to two bars . My favorite was Juana La Loca.  They had the best tortilla I had in Madrid, probably because they caramelized their onions for extra flavor.  They also had El Increible, a soft-cooked egg with truffle paste on bread.  It was amazing.  I loved that they also had some dessert options for tapas, although we didn't try any.


Mercado de San Miguel is like the Fanueil Hall/Quincy Market of Madrid (super touristy food court) but it's so beautiful I can't help loving it.  They have a paella stall with four kinds of paella, and you can get a ración (single serving) instead of having to order enough for at least 2 people like every other restaurant.  I tried the paella negra which was colored with black squid ink.  The guy scraped up some of the crusty bits from the bottom of the pan so it had a nice combination of textures.


There were a lot of great places to watch the sunset.  Two of mine were next to the Royal Palace and the Temple of Debod, which was moved from Egypt when the building of a dam threatened to flood it (similar to how the Met in NYC got the Temple of Dendur).


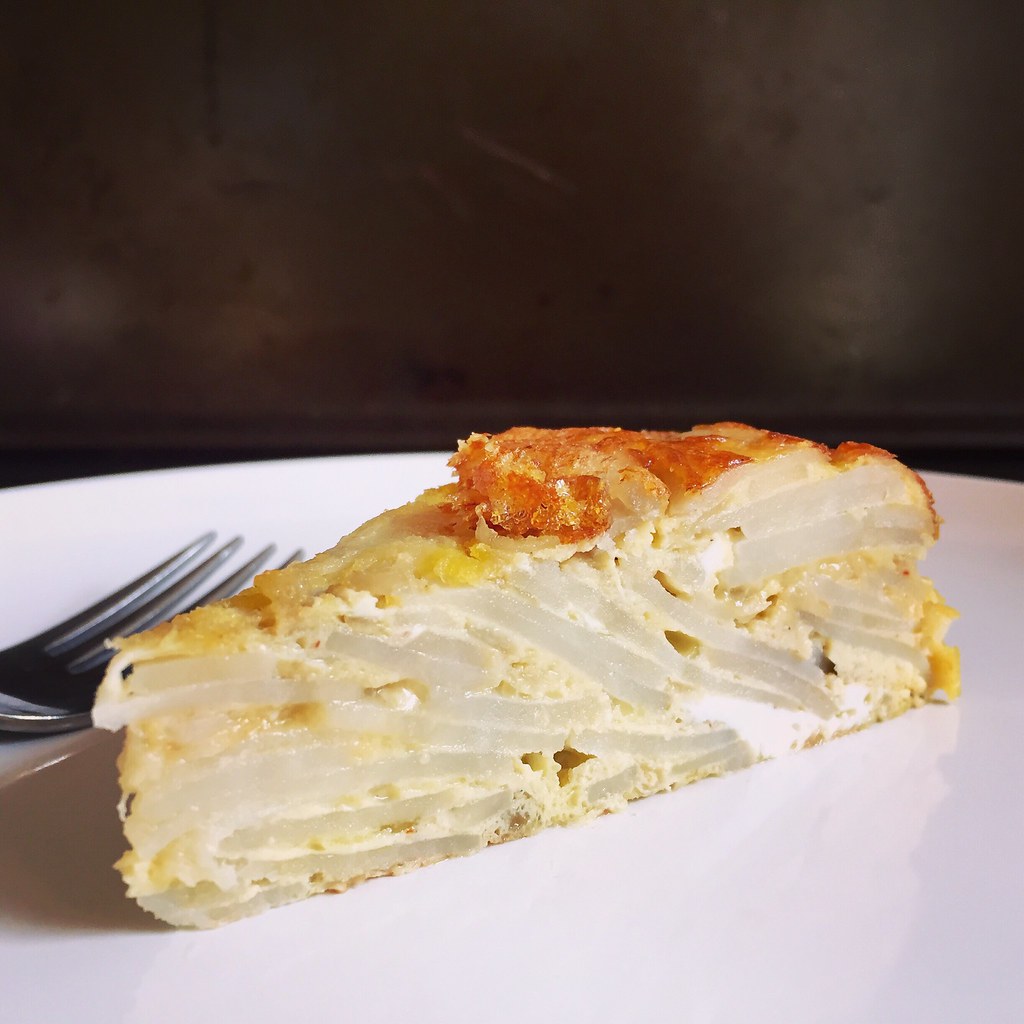
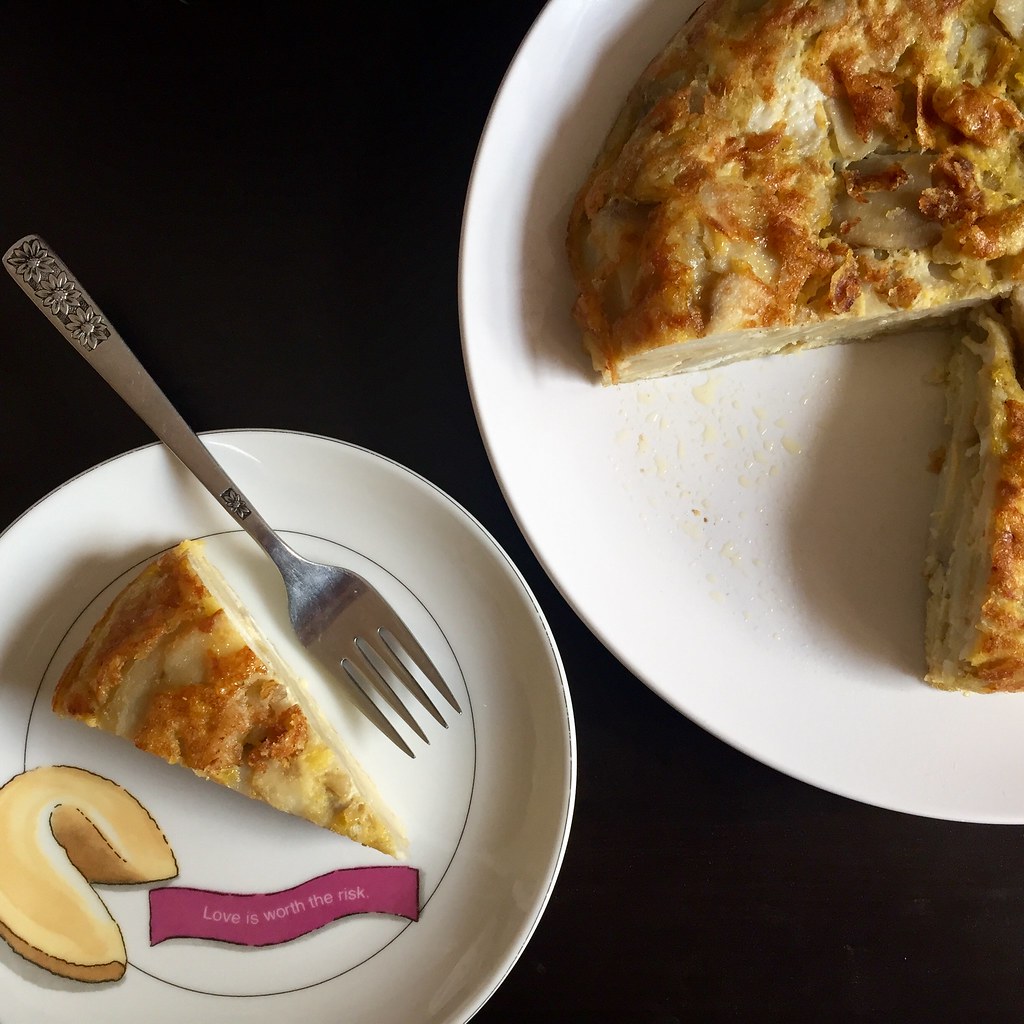
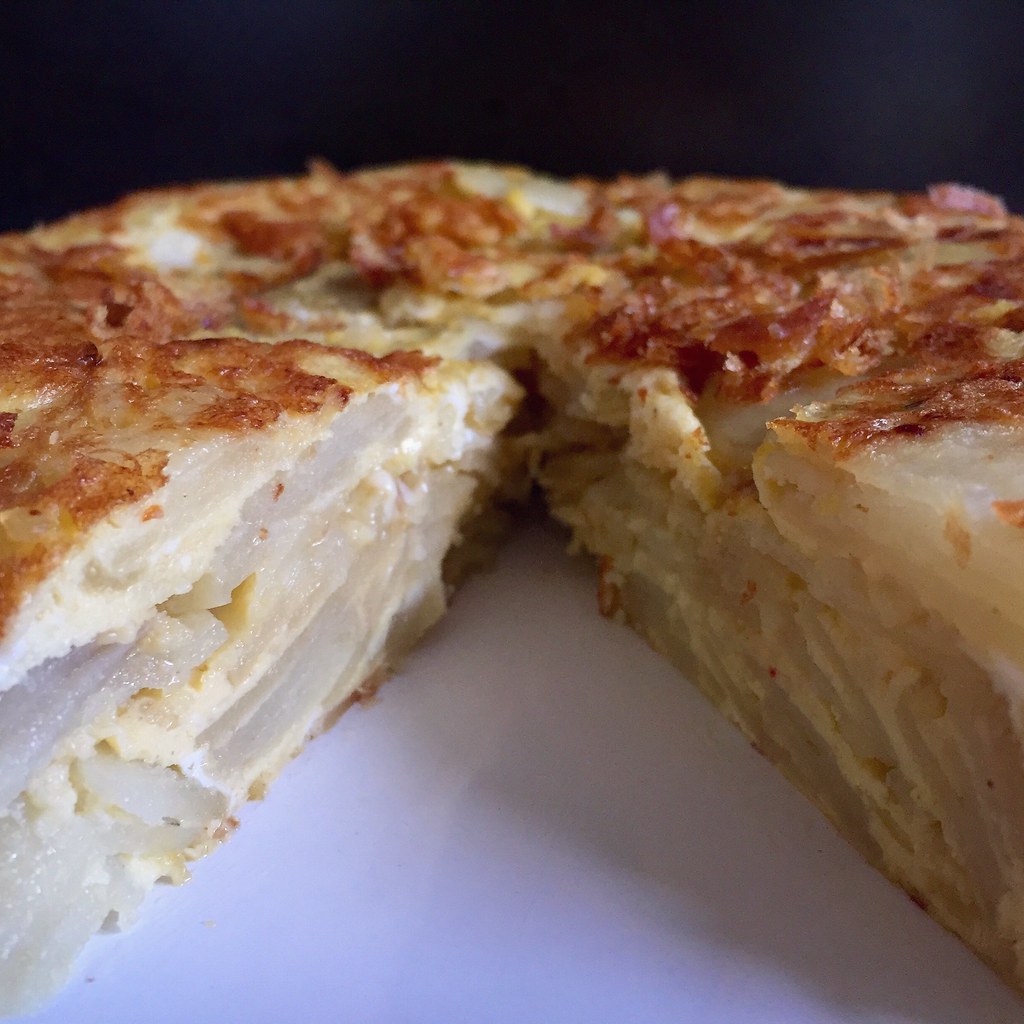
After returning from Madrid, I knew I wanted to try making the iconic tortilla española at home.  I settled on Mark Bittman's recipe with a few tweaks.  Instead of a whole cup of olive oil, I used half olive oil, half vegetable oil, mostly for budgetary reasons.  It's still a lot of oil, though, but you can strain it and save it in the refrigerator for the next time you make tortilla española.  I also started cooking the onions before the potatoes to try get some caramelized flavor into the tortilla, à la Juana La Loca.  They were just starting to brown on the edges when I added the potatoes, but I think next time I'll wait even longer since they didn't really end up caramelized by the time the potatoes were done.


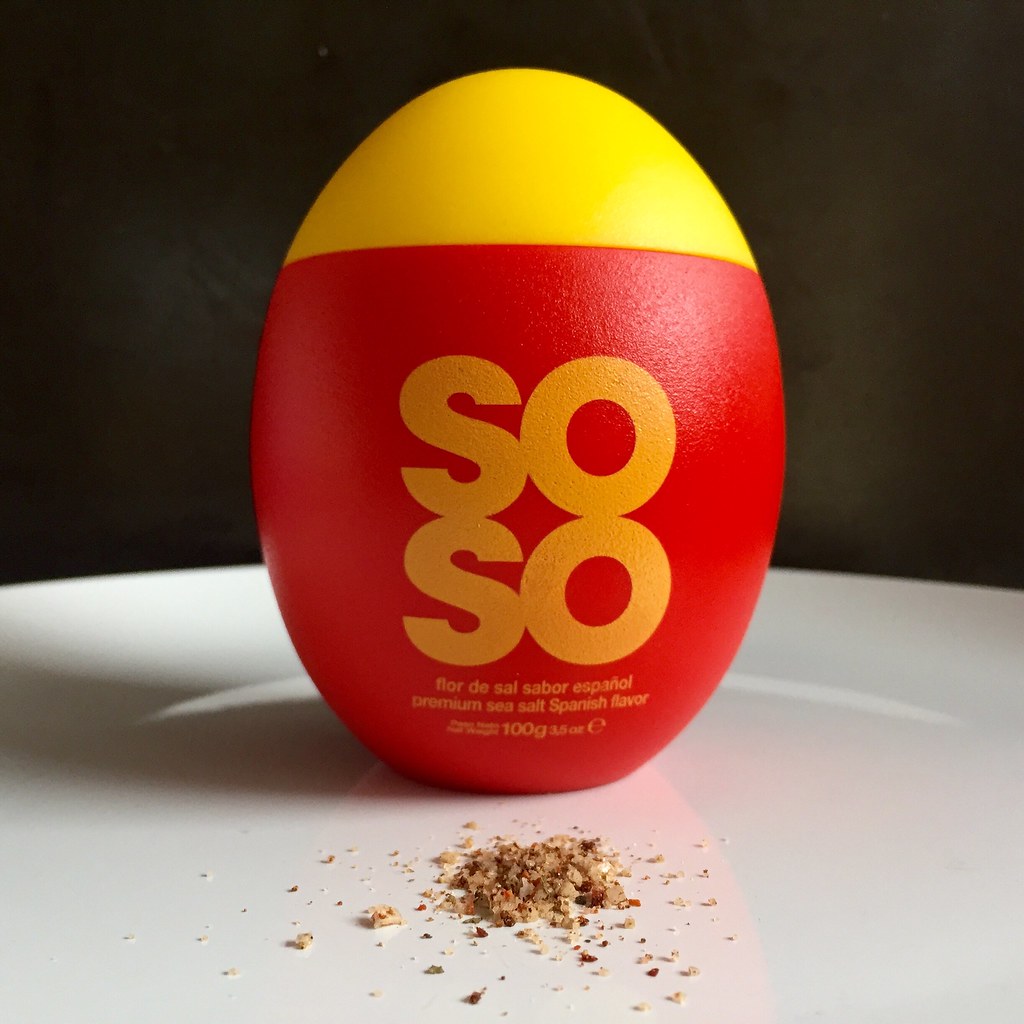
Lastly, instead of just salt and pepper, I used this awesome Spanish flavored sea salt I picked up from El Corte Inglés that was seasoned with hot pepper, rosemary, black pepper, garlic, onion, parsley, and tomato.


Tortilla Española (adapted from Mark Bittman)
serves 3 as a main course and 6 as an appetizer

1 1/4 lbs. potatoes (I used Russet, but Yukon Golds would work too)
1 medium onion
1 cup olive oil (or use 1/2 olive oil 1/2 vegetable oil)
Salt and freshly ground pepper
6 large eggs

Heat the oil in an 8- or 10-inch non-stick skillet over medium heat.  Chop the onions and add to the oil with some salt and pepper.  Stir occasionally while you prepare the potatoes.

Slice the potatoes thinly, using a mandoline if you have one.  Add to the oil along with some more salt and pepper and adjust the heat so that it bubbles lazily.  Cook until the potatoes are tender, but not brown.  While the potatoes are cooking, beat the eggs with some salt and pepper.

Drain the potatoes and onions in a colander, reserving the oil.  Wipe the skillet clean and add two tablespoons of oil back to it.  Heat over medium heat.  Add the potatoes to the egg mixture and mix gently.  Transfer to the skillet.  After the edges firm up, about a minute or so, reduce the heat to medium-low and cook for 5 more minutes.

Use a heat-proof rubber spatula to loosen the edges of the tortilla.  Place a large plate on top of the skillet and flip the tortilla onto it.  Add another tablespoon of oil into the skillet and slide the tortilla, cooked side up, back in.  Cook for another 5 minutes, using the spatula to coax the sides of the tortilla into a domed shape.  Slide onto a plate and serve warm or at room temperature.


Next:  Maine Blueberry Gateau
Previously:  Sesame Soba Noodles with Avocado Rose
Last Year:  Taiwanese Oyster Omelet (Without the Oysters)
Two Years Ago:  Candied Bacon Chocolate Chip Pancakes
Three Years Ago:  Rosemary Honey and Lemon Frozen Yogurt
Six Years Ago:  Passion Fruit Ice Cream
Seven Years Ago:  Kalbi (Korean Barbecue Short Ribs)

Monday, April 18, 2016

Will It Puffle?


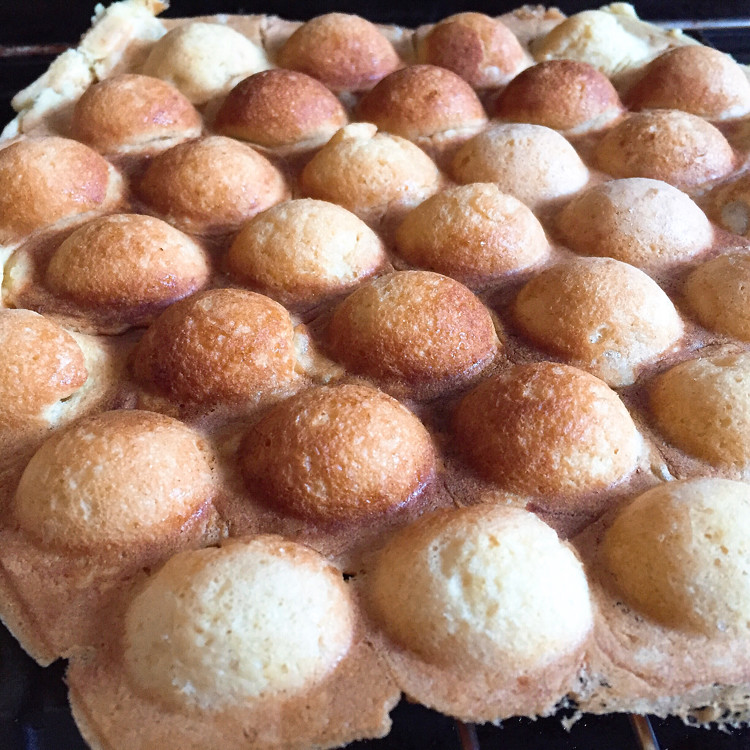
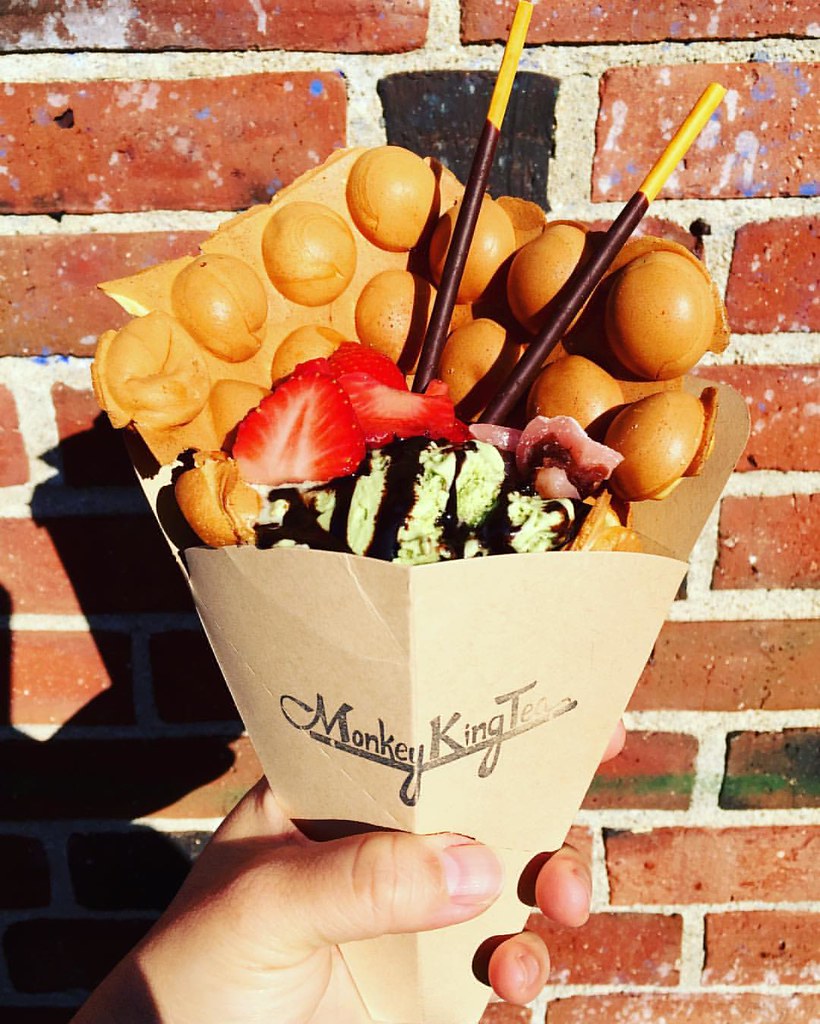
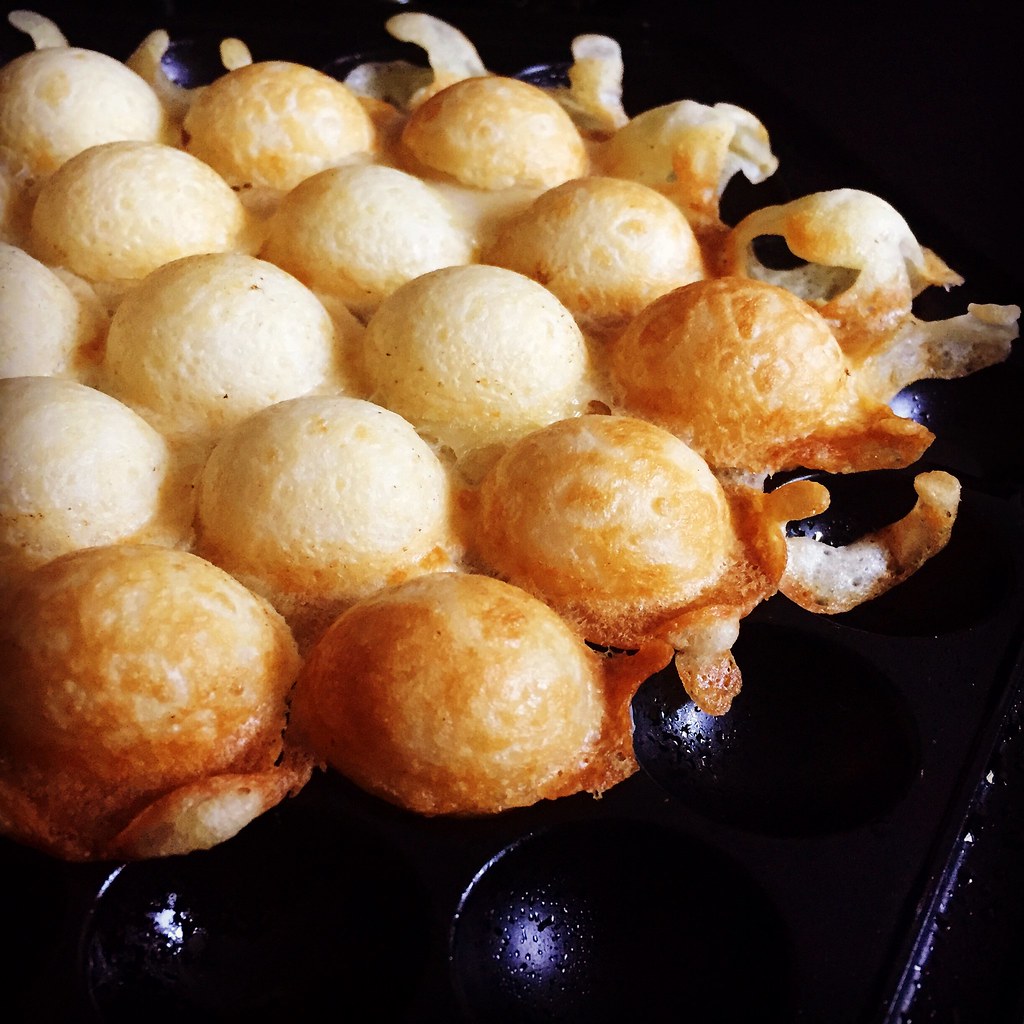
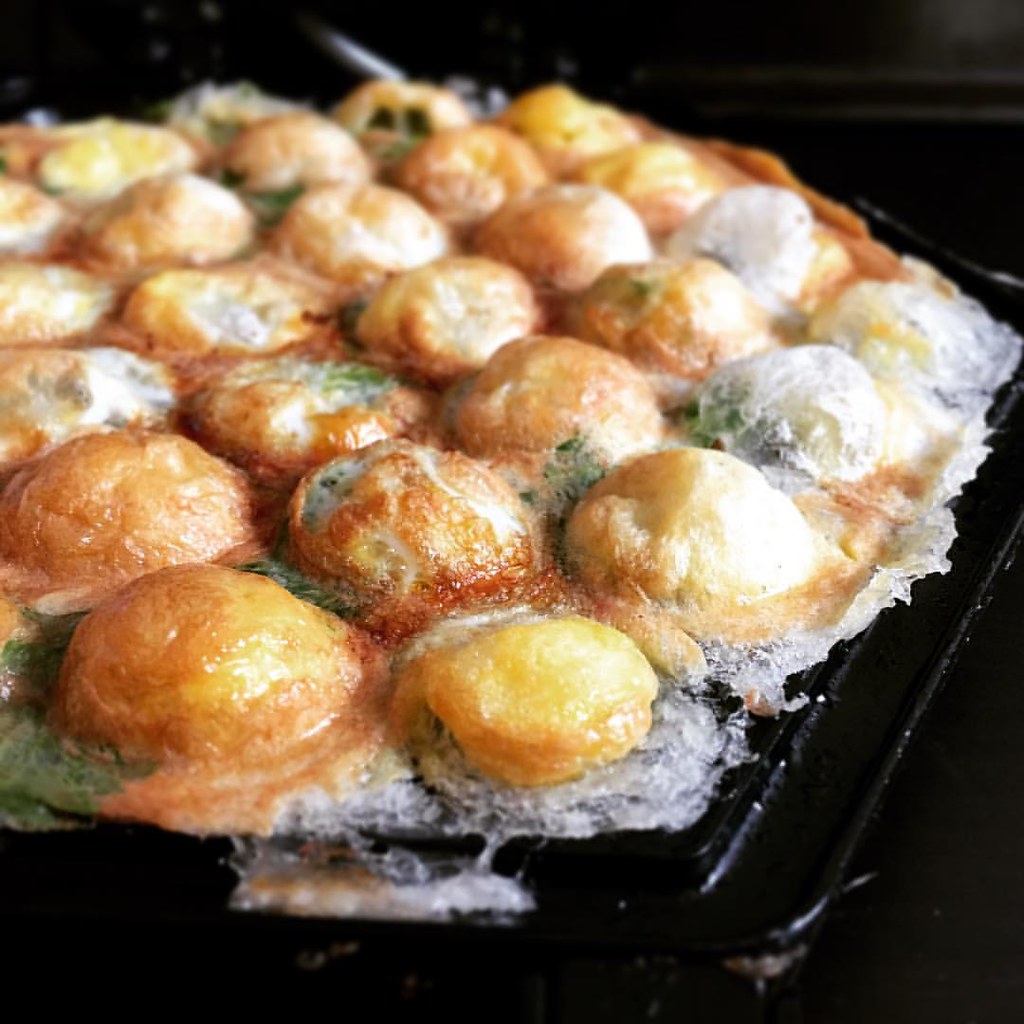
I was so excited when I received an electric bubble waffle maker from my brother and sister-in-law for my birthday last year.  I had visions of making the eggettes I used to get from NYC's Chinatown and SF's Genki and maybe even making a puffle cone a la Cauldron Ice Cream or Monkey King Tea (below).  But after trying the recipes I found on-line for eggettes and puffle cones (basically the same recipe) I'm still not satisfied with the results.  I even played around a little with the ingredients but nothing I made recreated the aroma, texture, or taste I was looking for.


Not to be deterred, I decided to experiment with some other batter-based foods I had made before.  First up was pão de queijo (Brazilian cheese bread).  Since some of the eggette recipes used a little tapioca flour, I figured it would be fun to try an entirely tapioca flour based batter in the bubble waffle maker.  The results were incredible!

https://www.flickr.com/photos/joyosity/24500005166/in/dateposted-public/

The bubble waffle maker was able to encapsulate the chewy, airy bread in a crispy crust in a fraction of the time it takes to bake the pão in the oven.  And it's sooooo cute!

https://www.flickr.com/photos/joyosity/26219396352/in/dateposted-public/

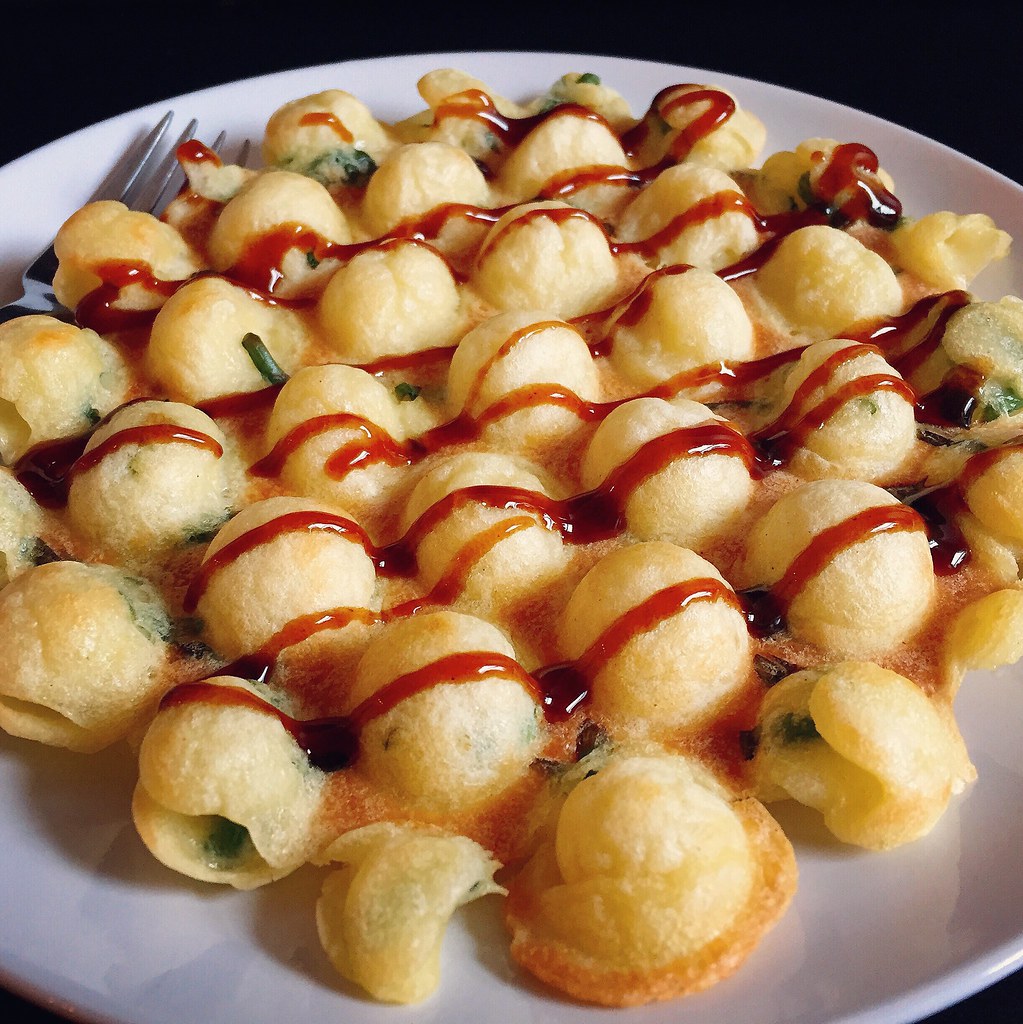
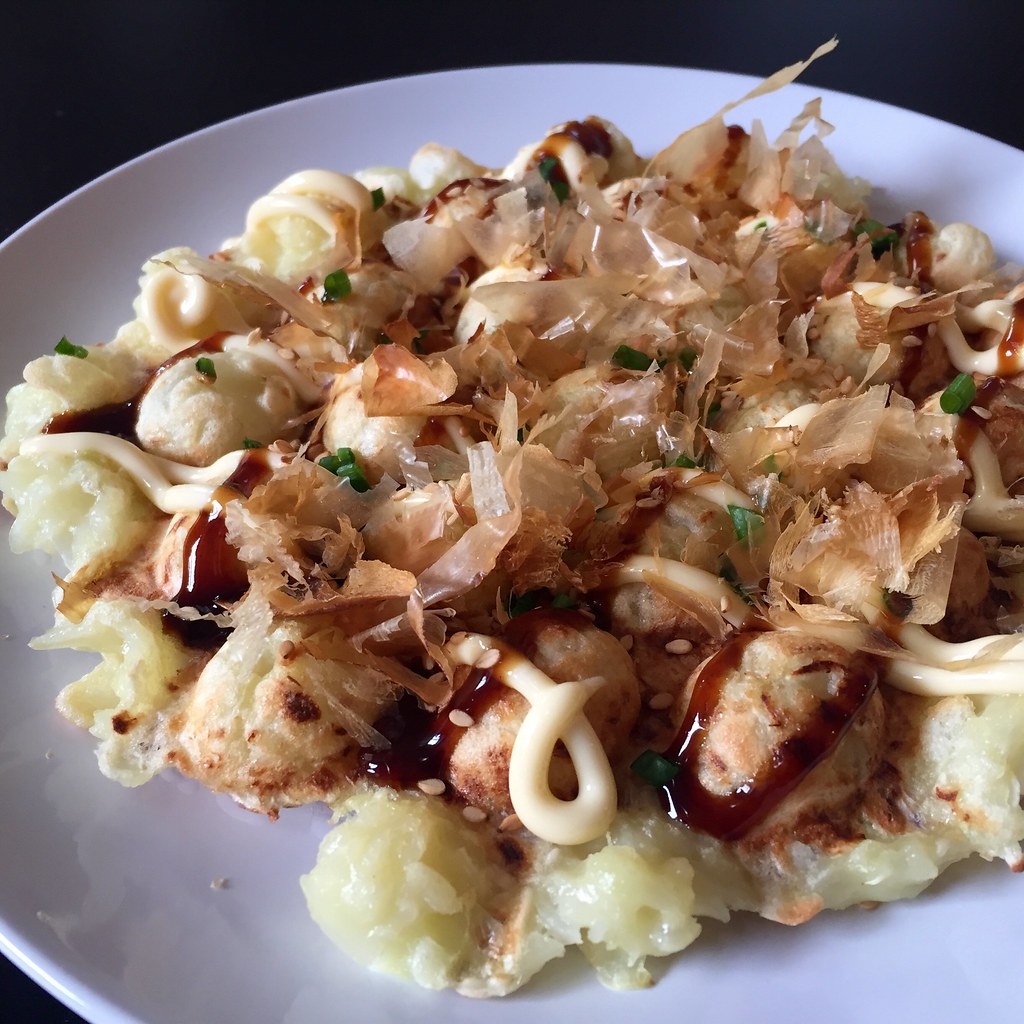
I also tried Korean pajeon (above) and Japanese okonomiyaki (below), and the results were decent, but not really worth writing about.

https://www.flickr.com/photos/joyosity/26307581532/in/dateposted-public/

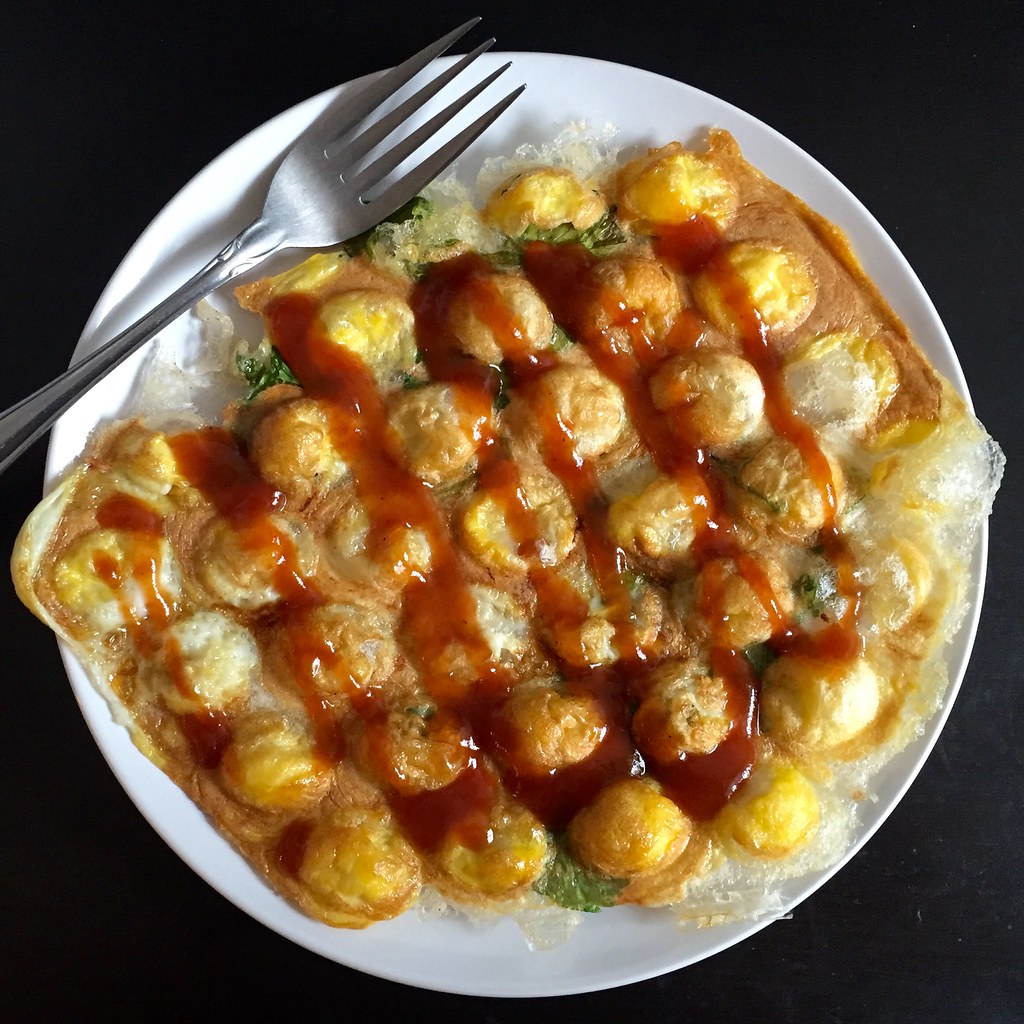
Probably my favorite use of the bubble waffle maker has to be the Taiwanese oyster omelette.  Since I remember the sweet potato starch batter to be super sticky, I added a half tablespoon of oil to the batter itself and made sure to oil the waffle iron well before adding the batter.  And even though I took those precautions, I was still surprised when the omelette came out rather easily from the iron.  

https://www.flickr.com/photos/joyosity/26169045712/in/dateposted-public/

As with the pão de queijo, I loved how the outside of the batter got super crispy but still stayed moist inside.  And the shape of the bubble waffle maker gave it a lot more nooks and crannies for an even higher crispy to chewy ratio!


So does anyone else have a good eggette recipe or recommendation for what to try next in the bubble waffle maker?

Next:  Sesame Soba Noodles with Avocado Rose
Previously:   The 4-Hour Baguette
Last Year:  Gordan Ramsay's Sublime Scrambled Eggs - 2 Ways
Two Years Ago:  Nutella Mini Crepe Cakes
Six Years Ago:  The Best Scones in the World
Seven Years Ago:  Samoa Cupcakes and the Cupcake Exchange

Monday, November 16, 2015

Pad Thai

https://www.flickr.com/photos/joyosity/22596178747/in/dateposted-public/

I got to go to Bangkok for a meeting last week and went a day early so I could explore the city a bit on my own first.  Besides visiting the temples, enjoying the view and drinks at Sky Bar, shopping at Siam Paragon, and getting massages for 270 baht ($7.50!) an hour, I also took a cooking class at the Silom Thai Cooking School.  I chose a Sunday morning class because I liked the proposed menu:  tom yum soup, green papaya salad, pad thai, massaman curry, and mango sticky rice.

The class was very well organized;  first we took a bus to a wet market to pick up the ingredients and then we walked to the classroom which had three different sections:  one for food prep, one for cooking, and one for eating.  Most of the ingredients that we used were already pre-measured for us, so there was only a minimum of chopping and stir frying but enough that we felt like we were actually cooking!  We also got a go at the enormous mortar and pestle to make the papaya salad and the massaman curry paste.

https://www.flickr.com/photos/joyosity/22391843534/in/dateposted-public/

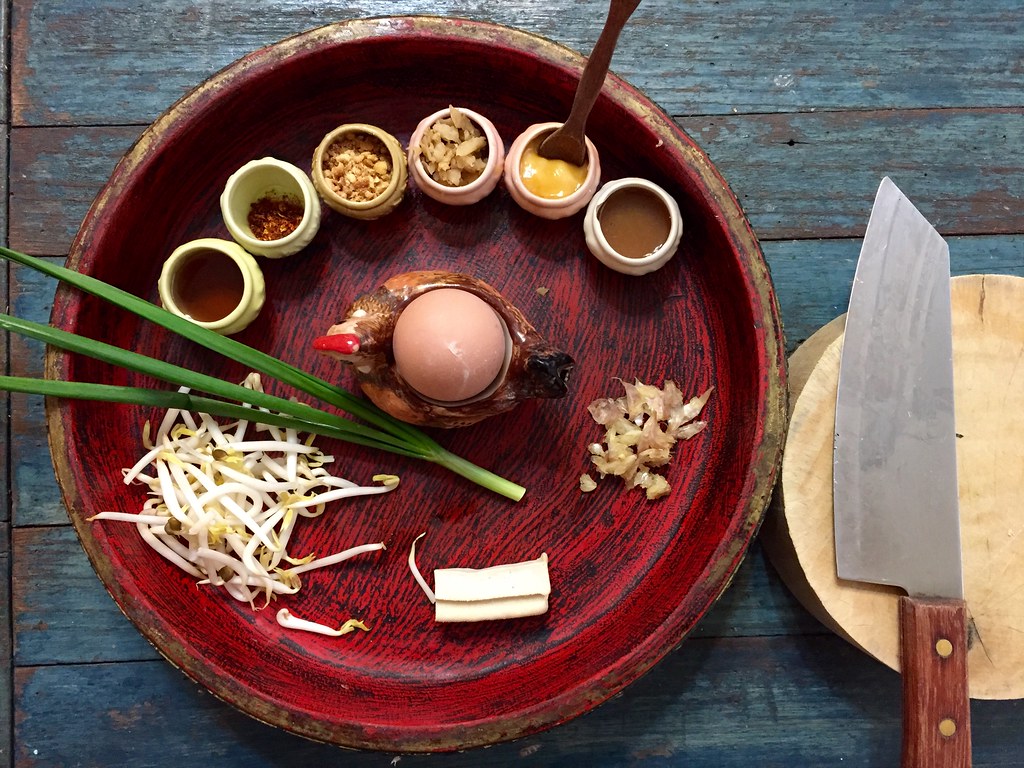
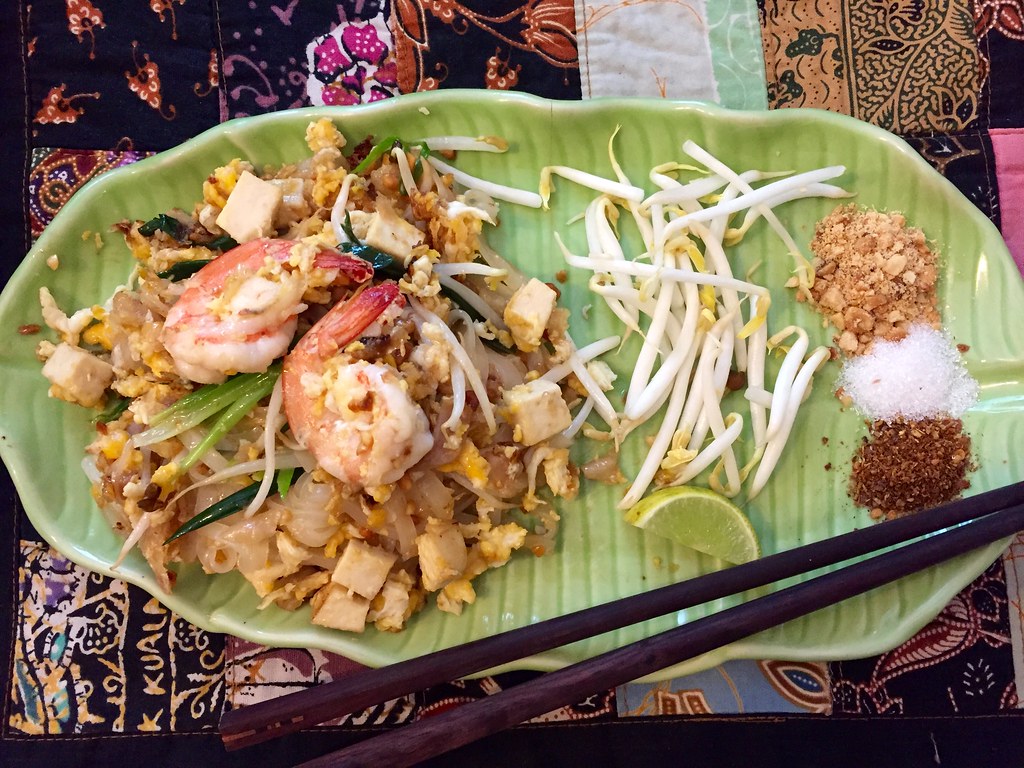
Above are the ingredients we used for pad thai.  Starting at the 10 o'clock position and going clockwise, we have fish sauce, ground chili powder, ground peanuts, pickled daikon, palm sugar, tamarind paste, young garlic cloves, tofu, bean sprouts, scallions, and an egg.  After stir frying everything together with pre-soaked rice noodles, it was plated and served with additional bean sprouts, ground peanuts, sugar, and chili powder to adjust for personal taste.

https://www.flickr.com/photos/joyosity/22391845424/in/dateposted-public/

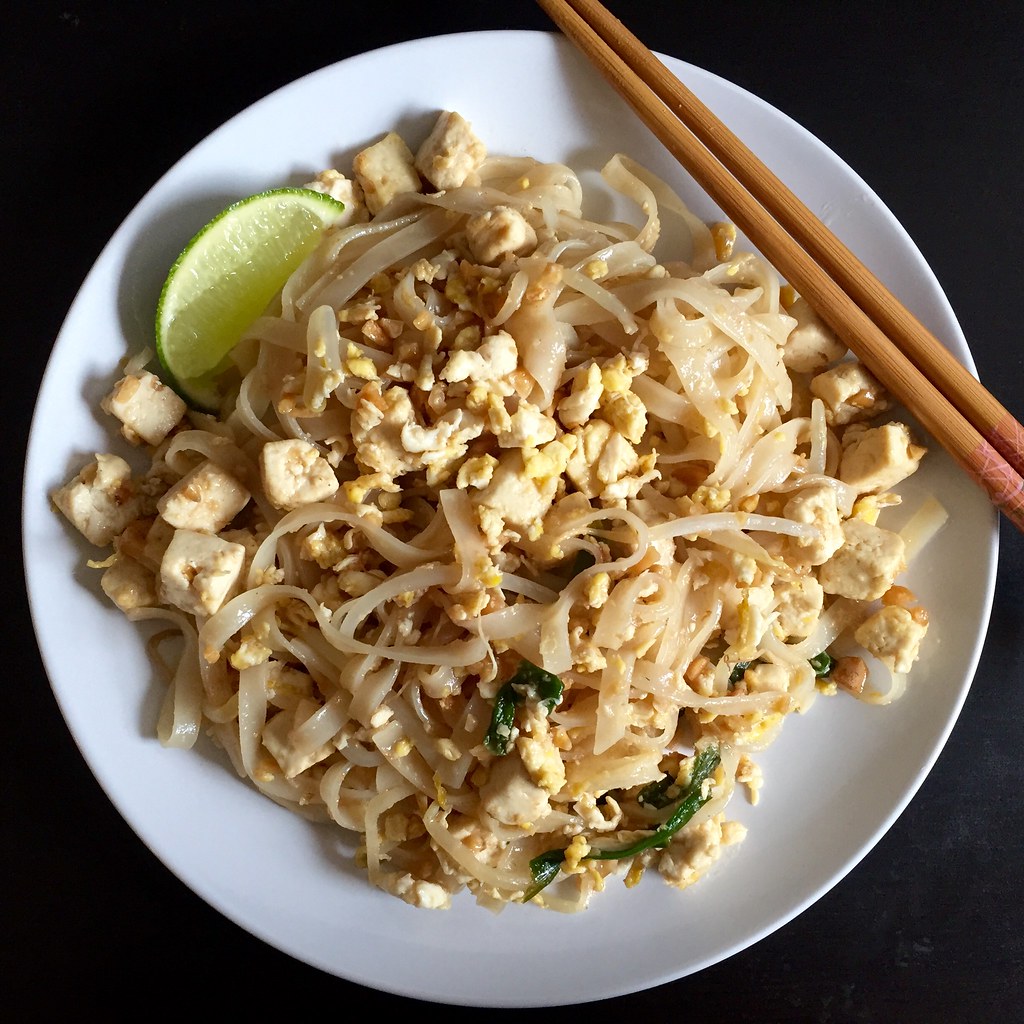
Pad thai was my first introduction to Thai food (back at the now shuttered Thai Cuisine in Ithaca, NY), and I immediately fell in love with the sweet and sour noodle dish.  I've never tried making it before though because the flavors seemed so foreign to me.  Even after becoming more familiar with fish sauce, there was still something else that eluded me, and I think that ingredient was tamarind paste.  It provides that characteristic sour taste essential to pad thai.  If you can't find it at a local Asian grocery store, the cooking school recommends using an equal volume of vinegar, but I would really recommend using tamarind paste if you can find it.  You can also substitute brown sugar for the palm sugar and cashews for the peanuts.  When I made this recipe again at home I omitted the pickled daikon and shrimp but otherwise it tastes pretty close to what I remember!

https://www.flickr.com/photos/joyosity/23025657731/in/dateposted-public/

Pad Thai (adapted from the Silom Thai Cooking School)
serves 2

4 oz. dried rice noodles
2 tablespoons fish sauce
2 tablespoons palm sugar or brown sugar
2 tablespoons tamarind paste or white vinegar 
2 tablespoons vegetable oil
1 tablespoon minced garlic
6 shrimp, peeled and de-veined
1/4 cup firm tofu, cubed
1 handful bean sprouts (reserve half for serving)
2 scallions, cut into 1" pieces
1 or 2 eggs
2 tablespoons ground roasted peanut, divided
1/2 teaspoon ground dried red chili powder (optional)
1 tablespoon pickled daikon, finely chopped (optional)
Lime slices

Soak the rice noodles in room temperature water until soft (20-30 minutes).  Drain and set aside.

Mix together the fish sauce, sugar, and tamarind paste to make the pad thai sauce.

Heat the vegetable oil over medium heat, add garlic and fry until fragrant.

Add the shrimp, tofu, bean sprouts, and scallion pieces and stir until the prawns are cooked.

Crack the egg(s) straight into the wok; stir rapidly until scrambled.

Add the drained noodles and half the pad thai sauce, half the ground roasted peanuts, ground dried red chili powder, and pickled white radish, if using. Mix everything together and keep frying until the noodles become soft and translucent.  If the noodles are not fully cooked yet, add a splash of water and cook until done.  Taste and adjust for seasoning with additional pad thai sauce.

Serve with the lime slices, reserved bean sprouts, roasted ground peanuts, ground dried chili powder, and additional sugar if you like.

https://www.flickr.com/photos/joyosity/22602532278/in/dateposted-public/

Next:  Tropical Pulled Pork on Griddled Banana Bread Sandwiches
Previously:  Mini Homemade Pretzel Dogs
Last Year:  Raindrop Cake
Two Years Ago:  My Mom's Taiwanese Sticky Rice
Three Years Ago:  Duchikey (or Simplified Turducken)
Six Years Ago:  Nanaimo Bars
Seven Years Ago:  Homemade Crystallized Ginger

Wednesday, May 20, 2015

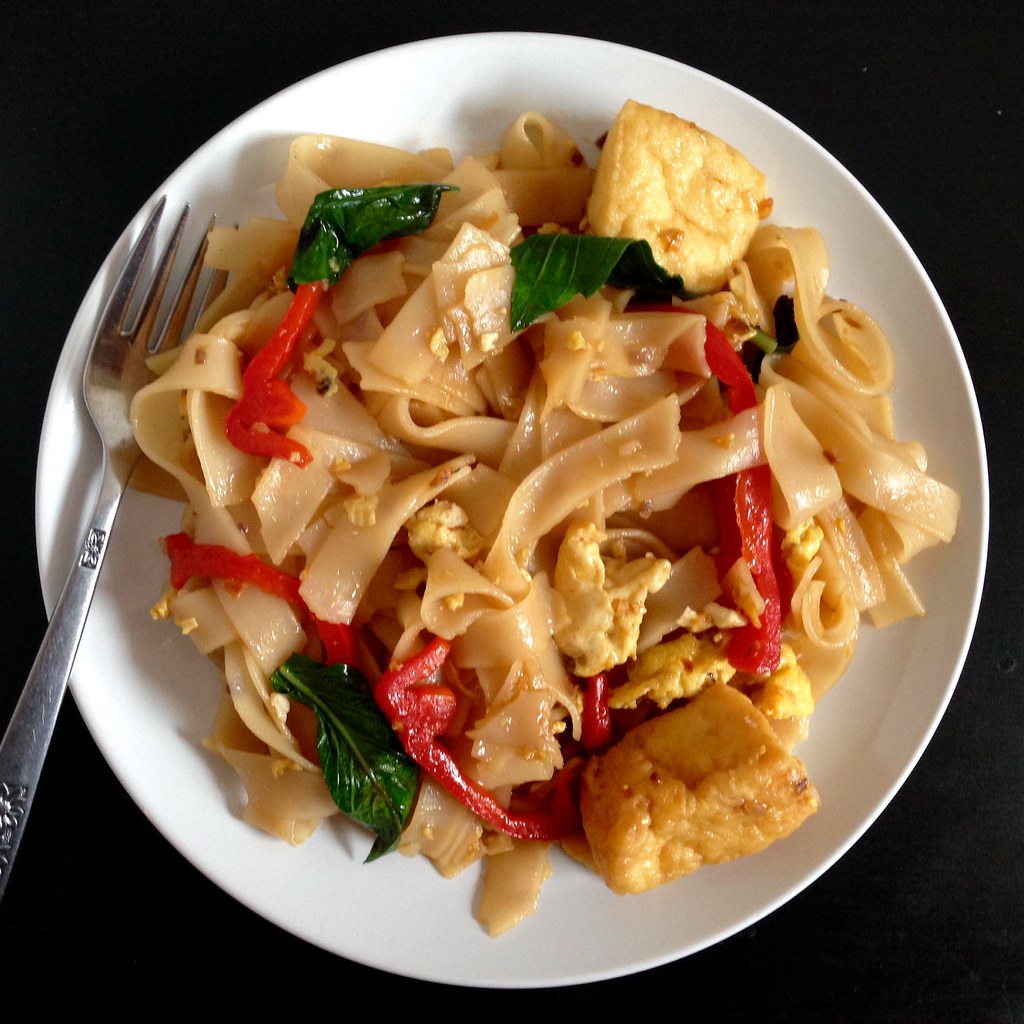
Drunken Noodles (Pad Kee Mao) with Tofu

https://www.flickr.com/photos/joyosity/17877528835/in/dateposted-public/

When I go to a Thai restaurant I usually order pad see ew or pad woon sen, but every once in a while I'm in the mood for something a little spicier, and for that I turn to drunken noodles, or pad kee mao.  According to the menu at my favorite Thai restaurant, Pepper Sky's, drunken noodles were "originally stir-fried by a singing drunkard to starve [sic] off midnight hunger.  Ingredients previously thought to be incompatible were tossed into the wok, and voila[!] Drunken noodle."

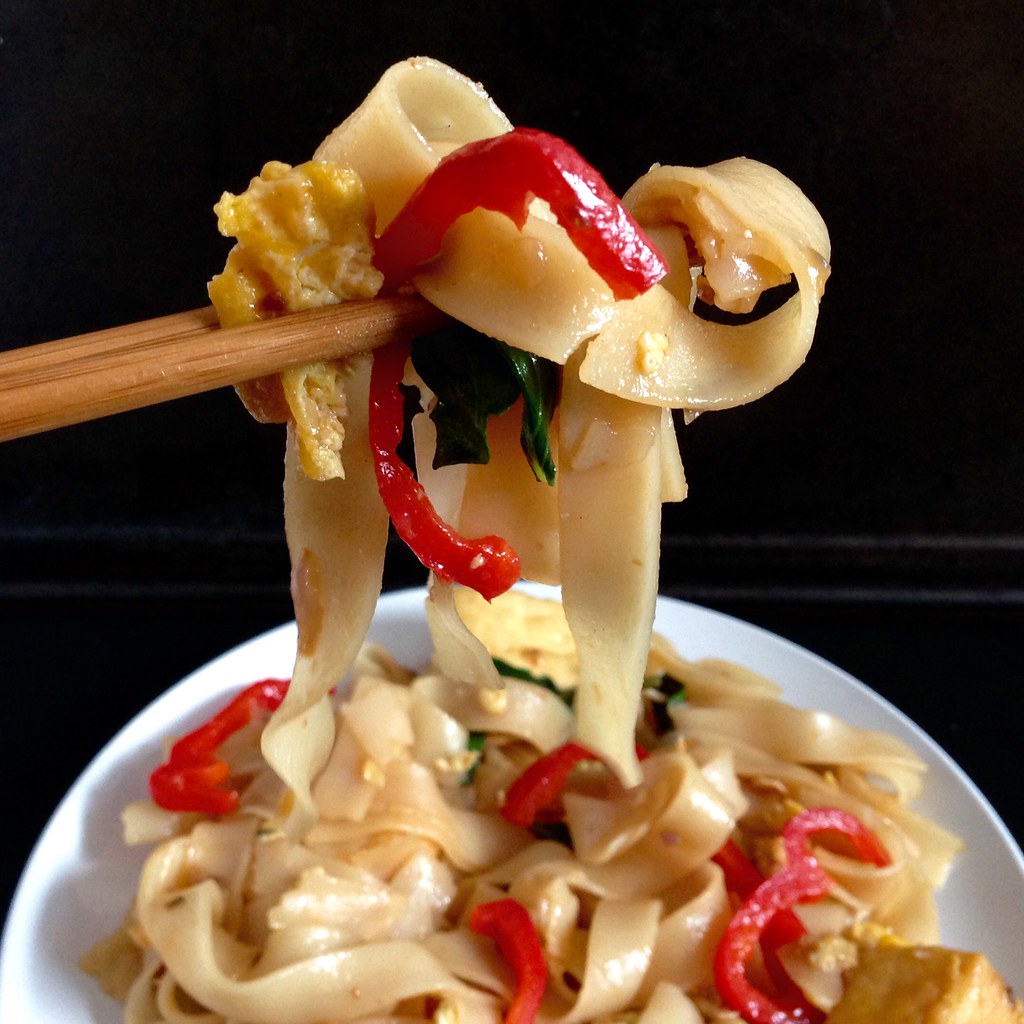
Sadly, Pepper Sky's is currently closed for renovations, so I decided to try making the dish myself.  I pretty much followed this recipe from Food52 except I added some sugar to the sauce since I prefer my drunken noodles slightly sweet.  I also increased the amount of egg since I wasn't adding any shrimp.  I wasn't able to find rice flake noodles, so I used the widest rice noodles I could find.  If you can find fresh wide rice noodles, I would suggest using those and skipping the soaking step. 

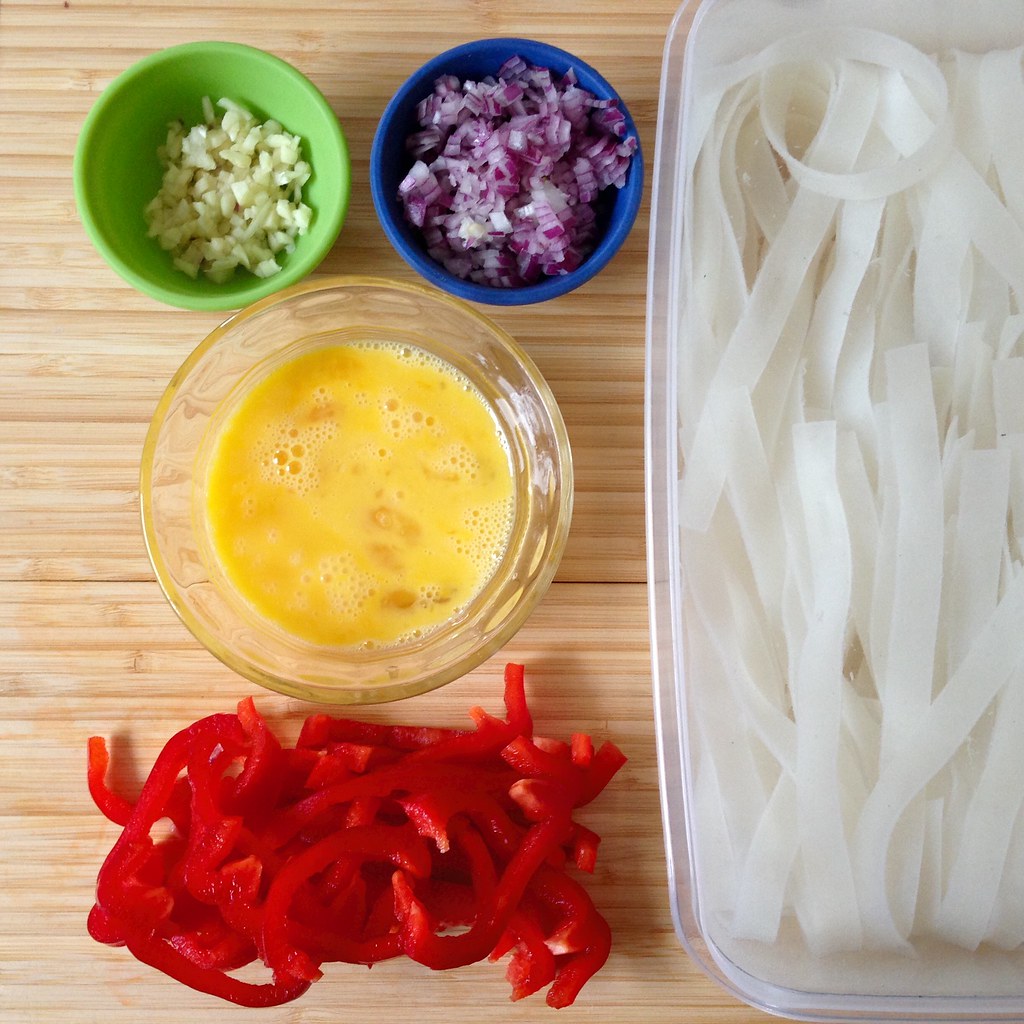
This is one of those recipes where you want to make sure you have all the vegetables minced and chopped before you start cooking since it comes together pretty quickly.  Feel free to add other vegetables; I'm used to seeing tomato slices, baby corn, bamboo shoots, carrots, string beans, and zucchini in the drunken noodles I get at Thai restaurants.


https://www.flickr.com/photos/joyosity/17874567752/in/dateposted-public/

Drunken Noodles (Pad Kee Mao) with Tofu (adapted from Lollipopsicle by way of Food52)
serves 3

7 oz. wide rice stick noodles
2 tablespoons hoisin or soy paste (if using soy paste, add a teaspoon of sugar)
2 tablespoons soy sauce
1 tablespoon oyster sauce
1-3 teaspoons sriracha, depending on how hot you want it
2 tablespoons fish sauce
3 tablespoons vegetable oil
3 garlic cloves, minced
1 shallot or 1/2 red onion, minced
3 eggs, lightly beaten
5 oz. fried tofu
1 red bell pepper, diced
A large handful of Thai basil leaves

Place the rice stick noodles in a wide container and pour enough boiling water over the noodles to cover them by an inch.  Stir the noodles periodically so that they don't stick together.  Check them after 10 minutes to see if they are pliable and continue to soak until they are.  You may have to add additional hot water.  When the rice noodles are pliable but not mushy, drain. Try to time this so that the noodles are ready just in time to be added to the skillet.

Mix together the hoisin (or soy paste and sugar), soy sauce, oyster sauce, sriracha, and fish sauce in a small bowl.  

Heat a large skillet over medium high heat and add the vegetable oil.  Add the minced garlic and shallot and stir fry until golden brown.  Move the garlic and shallots to the sides of the pan and add the eggs to the middle.  Scramble the eggs until just set and add the fried tofu, sliced bell pepper, and any other vegetables you might be using.  Stir fry for a couple of minutes, then add the drained noodles and the sauce.  Stir fry for 5 minutes, then add the basil and cook for another couple of minutes until some of the noodles are starting to get brown and crispy.  Serve hot.

https://www.flickr.com/photos/joyosity/17689976850/in/dateposted-public/

Next:  Tofu Tikka Masala
Previously:  Taiwanese Oyster Omelet (Without the Oysters)
Six Years Ago:  Zuni Cafe Ricotta Gnocchi with Browned Butter and Sage

Monday, May 18, 2015

Taiwanese Oyster Omelet (Without the Oysters)

https://www.flickr.com/photos/joyosity/17564179910/in/dateposted-public/

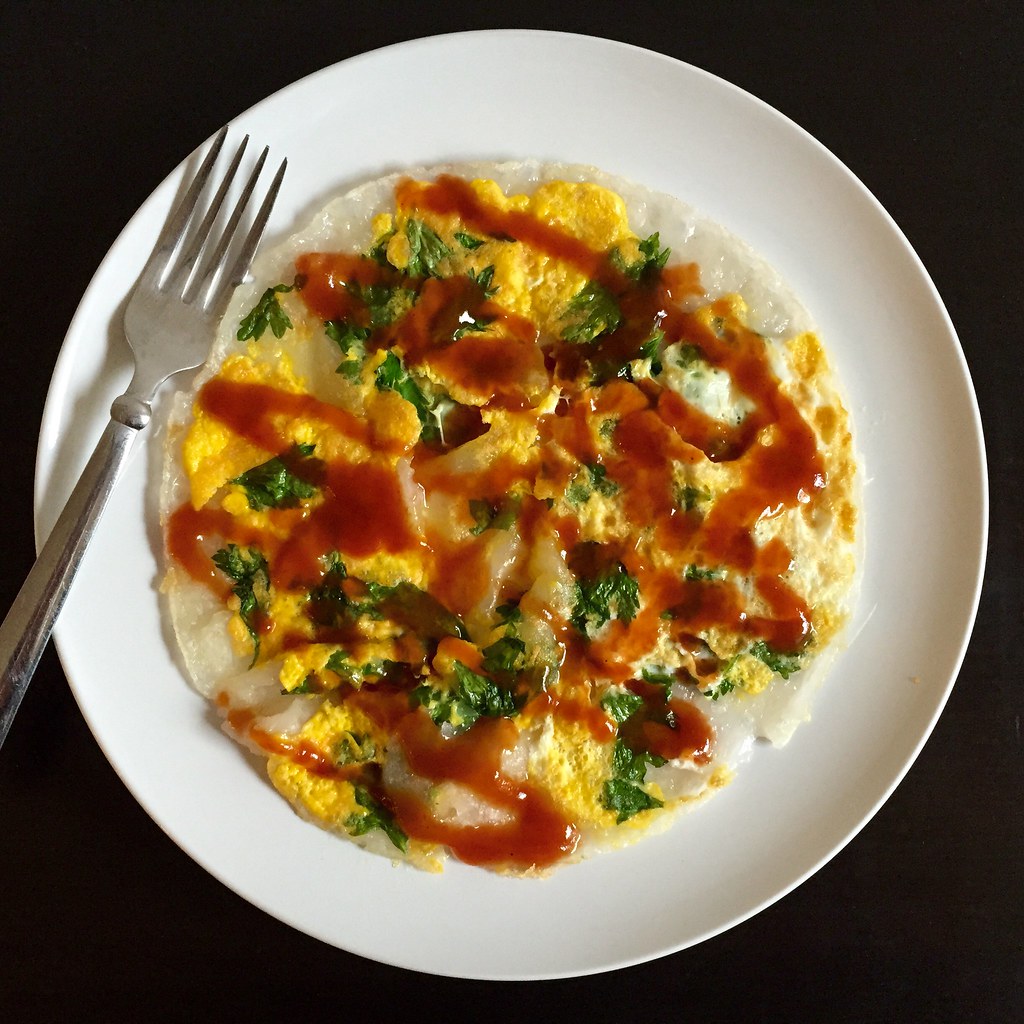
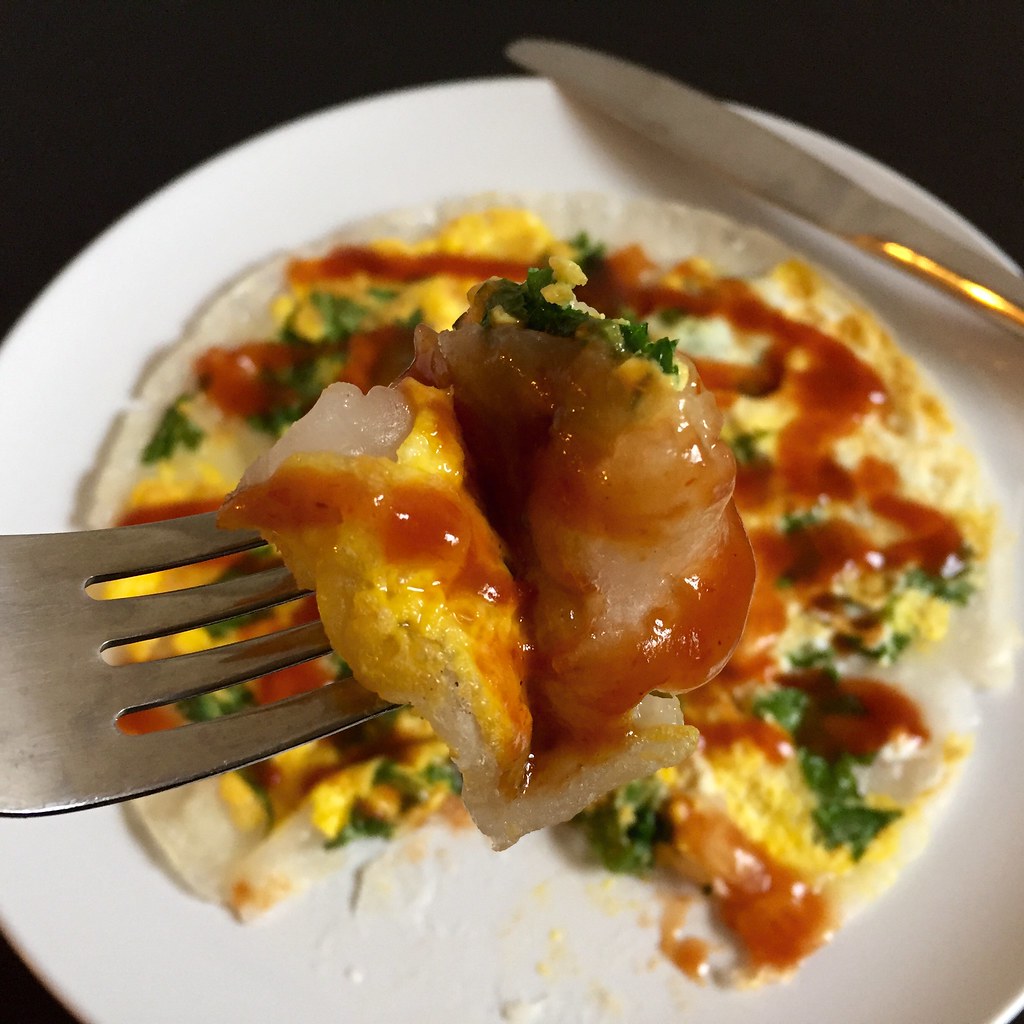
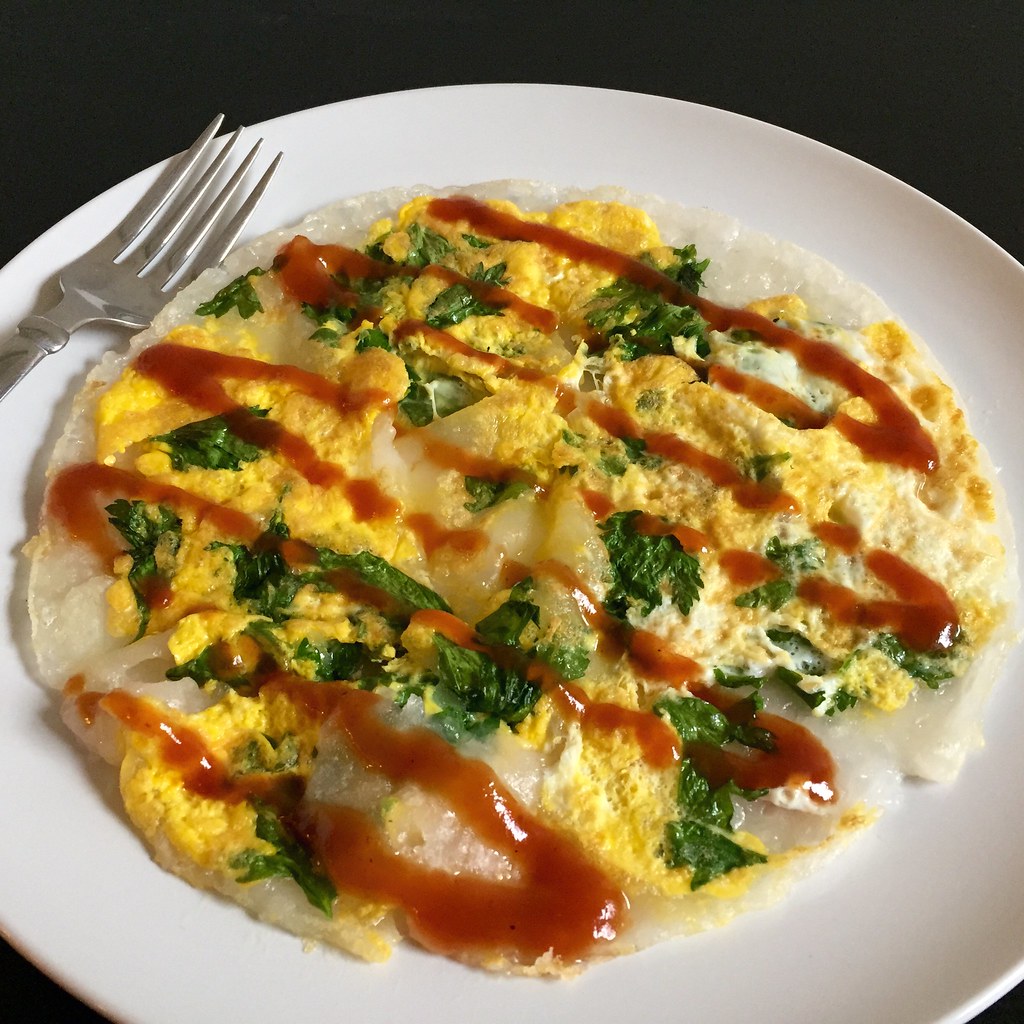
I know, I know, it's almost blasphemy to make 蚵仔煎 (pronounced "uh-ah-jian" in Taiwanese) without the oysters, but honestly, the oysters are my least favorite part of this dish.  I love the blend of crispy and gelatinous textures from the sweet potato flour batter, the fried egg that holds it all together, and the tangy red sauce that smothers it all, but the chewy, cooked oysters just get in my way.

For this recipe I combined the omelet from Tiny Urban Kitchen and the red sauce from Serious Eats.  The sauce was so spot on that when I took my first bite, I totally thought I tasted an oyster in there and was pleasantly confused.  If you want to make this with oysters, use 3-4 small, shucked oysters for each pancake and either add them to the hot pan before the batter for a minute or two or mix them in with the batter before cooking, depending on how cooked you want them.

As a word of caution, the batter made from sweet potato flour (which you should be able to find at an Asian grocery store) will be one of the stickiest things you've ever worked with once it starts cooking.  Make sure you use a non-stick or thoroughly seasoned pan, and even then, I would suggest using a generous amount of oil to make sure it doesn't stick. 

https://www.flickr.com/photos/joyosity/17564186070/in/dateposted-public/

Taiwanese Oyster Omelet (Without the Oysters) (adapted from Tiny Urban Kitchen and Serious Eats)
makes 1 omelet

For the red sauce (makes enough for several omelets):
1/4 cup ketchup
1/4 cup rice vinegar
1 tablespoon sugar
1 tablespoon soy sauce

1/2 teaspoon miso
1 1/2 teaspoons cornstarch
1/2 cup cold water


For the omelet:
1/4 cup sweet potato flour
Pinch of kosher salt
Dash of white pepper
1/2 cup water
Vegetable oil
A small handful of celery leaves (or other leafy greens like baby spinach or bok choy)
1 egg, lightly beaten

To make the sauce, combine the ketchup, vinegar, sugar, soy sauce, and miso in a small saucepan over medium heat.  Simmer for a couple of minutes until the sugar dissolves.  

Mix the cornstarch and water to make a slurry and add to the saucepan.  Stir until thickened, another couple of minutes, and then cool to room temperature. 

To make the omelet, mix the sweet potato flour, salt, white pepper, and water into a smooth batter.  Heat a non-stick or thoroughly seasoned pan over high heat.  Add enough oil to cover the bottom of the pan generously, not enough to deep fry but enough that there is a visible layer of oil all over.

Pour the batter into the pan, and lower the heat to medium.  Once the top of the batter is set, add the leaves, continue to cook for another minute, and then add the egg.  Use a spatula to start testing the edge of the omelet to see if the bottom is cooked and releasing from the pan.  When the bottom has released and the egg is mostly set, flip the omelet over and turn off the heat.  The residual heat from the pan should be enough to finish cooking the egg.  

Invert the omelet onto a plate and drizzle a generous amount of red sauce on top.  Serve hot.

https://www.flickr.com/photos/joyosity/17752077301/in/dateposted-public/

It's kind of freakish how intact my omelets ended up; I'm used to them being pretty mangled blobs of gelatinous messes.  In fact, the picture above was a little too perfect so I ended up drizzling more sauce on top just to make it messier, which is how I ended up with the top picture.  It's also more representative of how much sauce you want on the omelet. 

Next:  Drunken Noodles (Pad Kee Mao) with Tofu
Previously:  Scoglio all'Andiamo (Saffron Fettuccine with Seafood in a Lemon Garlic White Wine Sauce)
Last Year:  Serendipitous Chocolate Chip Cookies
Six Years Ago:  Red Bean and Black Sesame Ice Cream

Wednesday, April 29, 2015

Gordon Ramsay's Sublime Scrambled Eggs - Two Ways

https://www.flickr.com/photos/joyosity/17281515655/

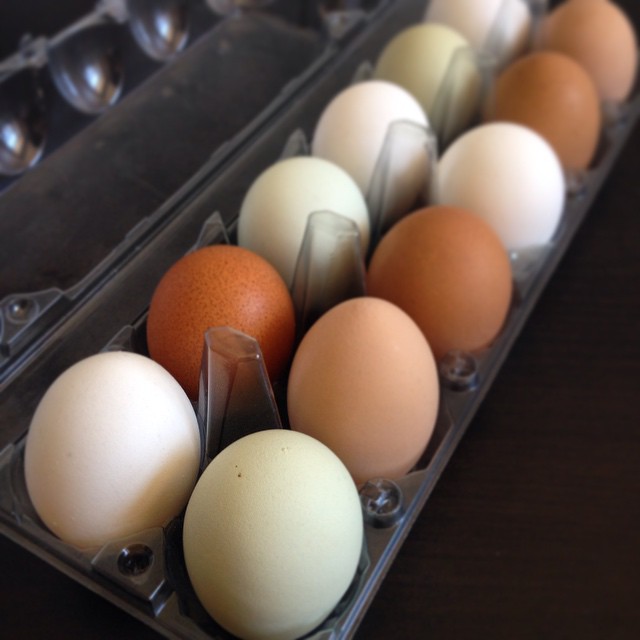
A few weeks ago I got this delightful e-mail from my friend Lyh-Rhen asking if I wanted to buy any eggs hatched by the chickens from his farm.  Boy, did I ever!  I love looking at all the pictures of the flowers that Fivefork Farms grows, but I travel way too much to justify joining their flower CSA.  So I was super happy to be able to support them in a way that I can really utilize.

https://www.flickr.com/photos/joyosity/17297897432/

Aren't they so pretty?  I love the light green ones the most.  So far I've used them to make homemade pasta, baked goods, shakshuka, and my all-time favorite way to eat eggs, but I wanted to try something new, something special to highlight the farm fresh eggs.

https://www.flickr.com/photos/joyosity/16679479273/

Then I remembered a recent conversation I had with some friends about this video of Gordon Ramsay making scrambled eggs.  I don't even remember how it came up, but as soon as someone mentioned it (it might even have been me), everyone else who had ever seen it ecstatically chimed in.  This video has over 10 million views, and quite a few of those are mine.  There's just something really fascinating about watching someone so confident in the kitchen taking something so simple and describing it in a way that elevates it to a whole other level.  If you haven't watched it yet yourself, you should definitely do it when you have a chance.  You'll never make scrambled eggs the same way again.

https://www.flickr.com/photos/joyosity/17270146271/

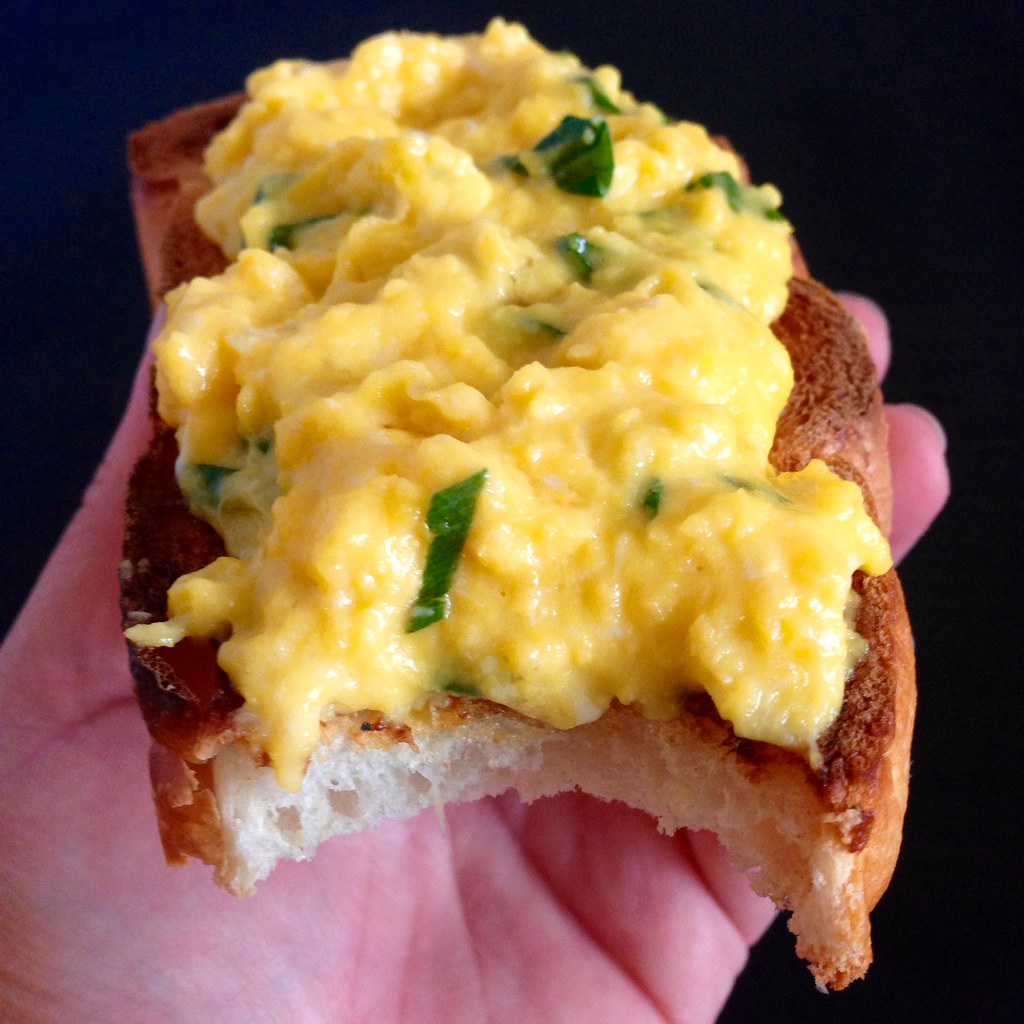
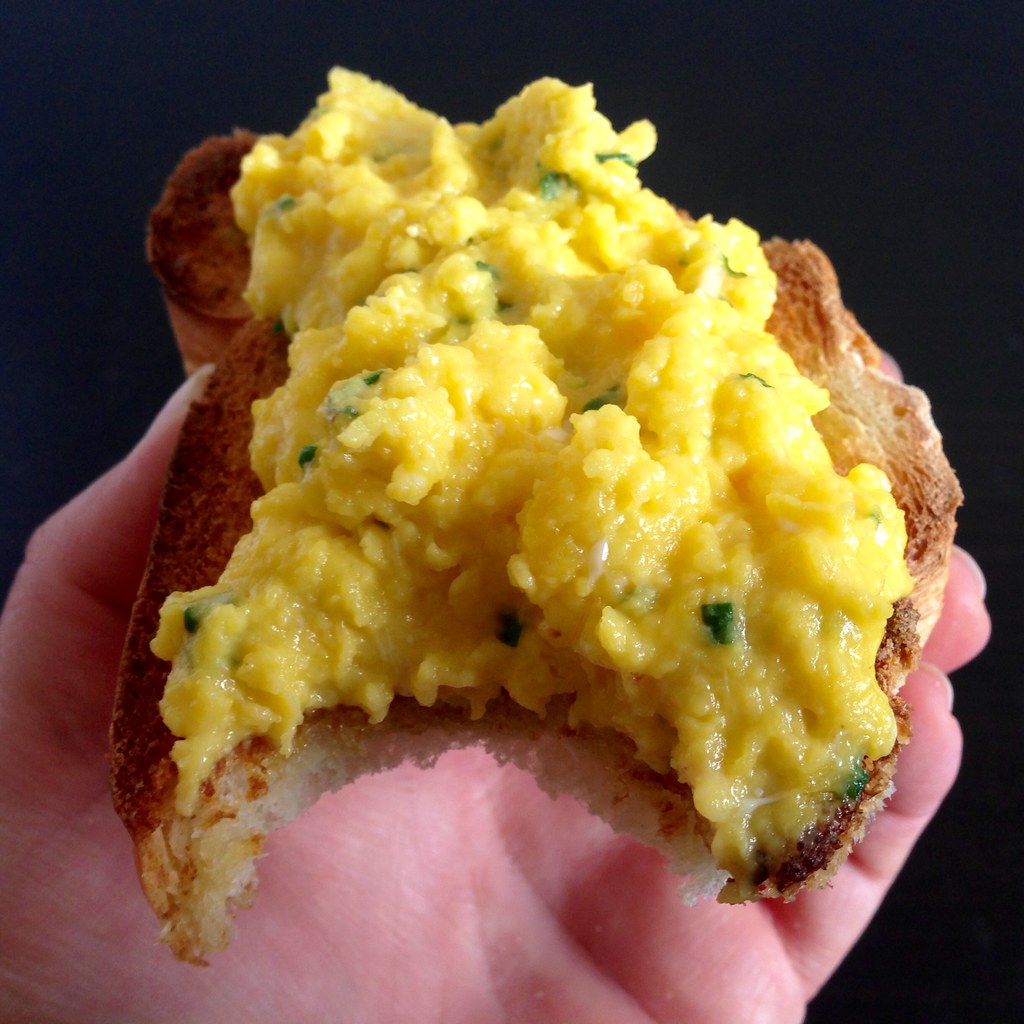
If you don't have time to watch it right now, what you need to know is that adding salt too early in the process breaks down the eggs too much so it becomes a watery mess.  In the same vein, Gordon doesn't beat the eggs before cooking them; he cracks the eggs into a cold pan and starts stirring it in there with some cold butter over heat.  By constantly stirring the eggs and taking it off the heat when the pan gets too hot, you get perfectly creamy eggs which are on the complete opposite end of the spectrum from the rubbery, dry version you may be used to.  He also adds crème fraîche to prevent the eggs from overcooking at the end, but since I didn't have any, I just skipped the step.

https://www.flickr.com/photos/joyosity/17083121980/

Gordon serves the scrambled eggs over toast that's been drizzled with olive oil.  I decided to try an Asian twist by adding chopped scallions to the eggs and drizzling the toast with sesame oil.  Both versions are truly sublime.

https://www.flickr.com/photos/joyosity/17244690656/

Gordon Ramsay's Sublime Scrambled Eggs (adapted from Gordon Ramsay Makes It Easy)
makes 1 serving

2 thick slices of crusty bread
3 large free-range eggs
1 1/2 tablespoons ice-cold butter diced
1 tablespoon crème fraîche or sour cream (optional)
Kosher salt and freshly ground pepper

Classic Version:
Few chives, snipped
Good quality olive oil

Joy's Version:
Scallions, chopped
Toasted sesame oil

Break the eggs into a cold, heavy-based pan, add half the butter, and place onto the stove over generous heat. Using a spatula, stir the eggs frequently to combine the yolks with the whites.

As the mixture begins to set, add the remaining butter. The eggs will take about 4-5 minutes to scramble – they should still be soft and quite lumpy. Don’t let them get too hot – keep moving the pan off and back on the heat.

In the meantime, toast the bread.

Add the crème fraîche (if using) and season the eggs at the last minute with the salt and pepper, then add the snipped chives or chopped scallions, depending on which version you're making.

Drizzle the toast with the olive oil or sesame oil and pile the softly scrambled eggs on top.  Serve immediately.

https://www.flickr.com/photos/joyosity/17084457709/

Next:  Scoglio all'Andiamo (Saffron Fettuccine with Seafood in a Lemon Garlic White Wine Sauce)
Previously:  Chocolate Mochi Cake
Last Year:  Nutella Mini Crepe Cakes
Five Years Ago:  Lilikoi Malasadas (Portuguese Donuts Filled with Passion Fruit Curd)
Six Years Ago:  Stuffed Artichokes

Monday, March 23, 2015

Homemade Squid Ink Pasta

https://www.flickr.com/photos/joyosity/16898807432/

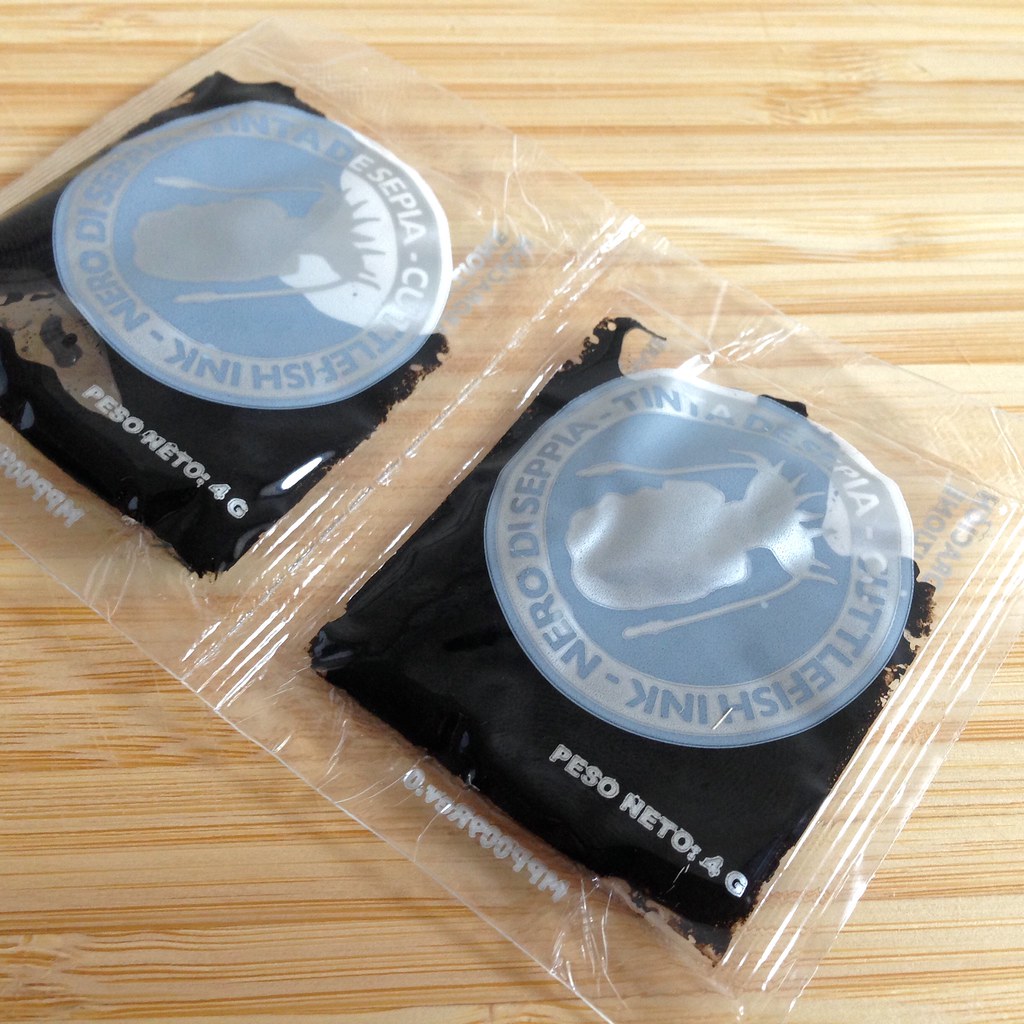
I've been wanting to make my own squid ink pasta ever since I first had it in Venice, so I was pretty excited when I finally found some squid ink at DiLaurenti on my last trip to Seattle.  It came in these little pricey packets, but a little goes a long way.

https://www.flickr.com/photos/joyosity/16887462805/

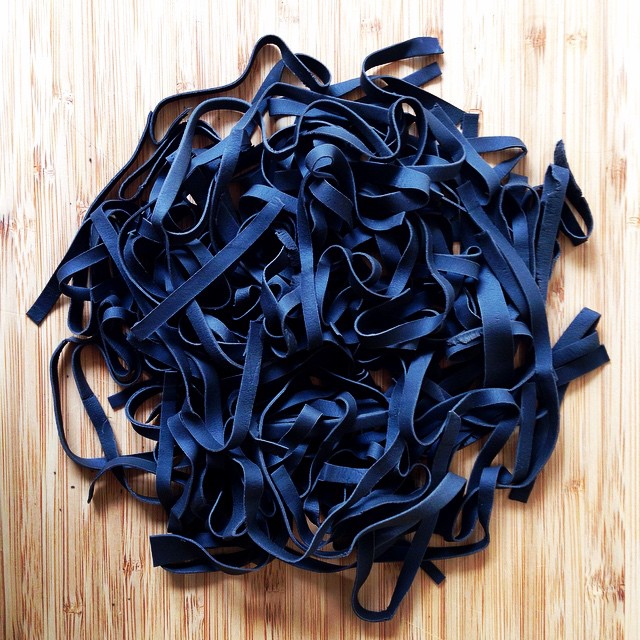
I pretty much followed my recipe for a better homemade pasta, but I substituted squid ink for one of the egg yolks.  Because this recipe produces a drier dough, you don't have to dust the pasta with any additional flour to keep it from sticking, and it also lets the color of the squid ink pasta shine through.

https://www.flickr.com/photos/joyosity/16700059530/

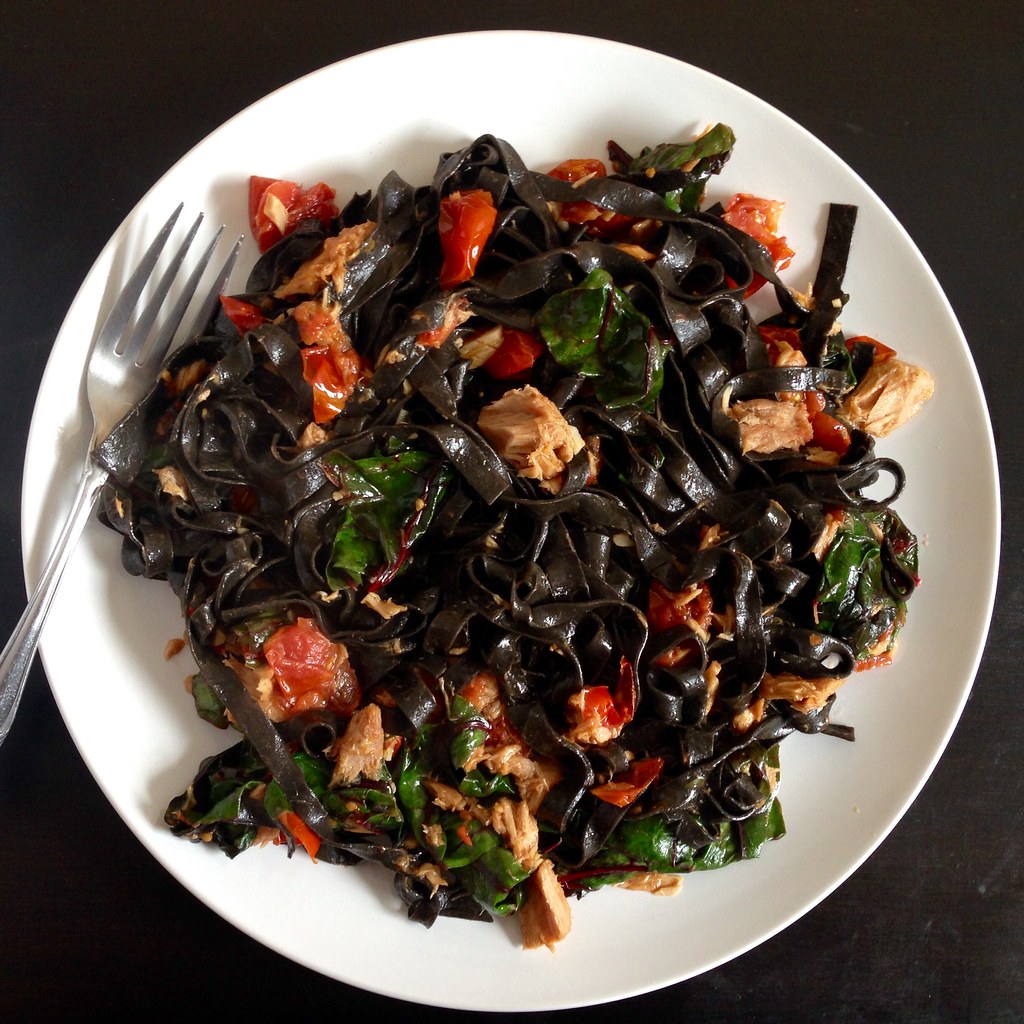
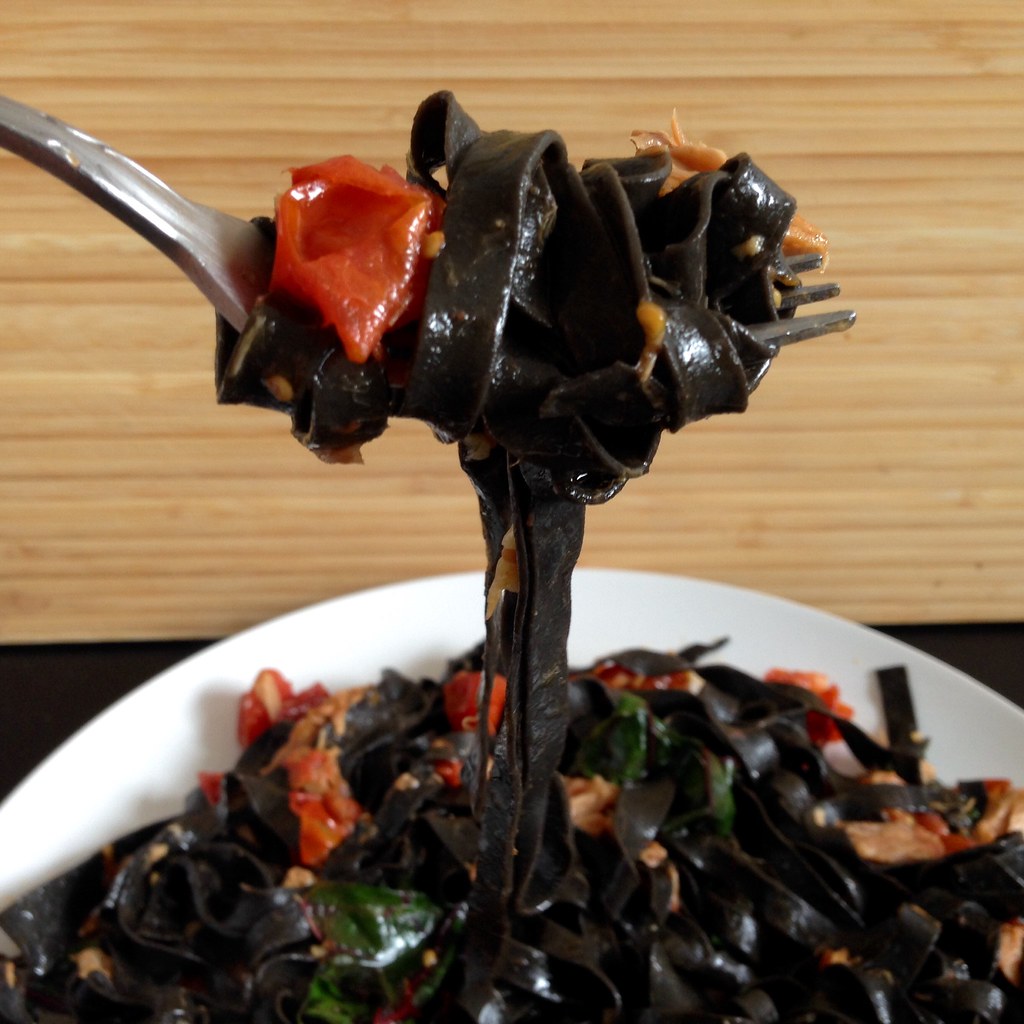
I found that I could really smell and taste the brininess of the squid ink compared to the dried squid ink pasta I had bought from Venice.  I ended up using this pasta to make the First Night in Florence Spaghetti, and it just made that already fantastic dish even better.

https://www.flickr.com/photos/joyosity/16699830358/

Homemade Squid Ink Pasta
makes 2 servings

1 cup all-purpose flour
1 large egg
2 large egg yolks
8 grams (about 1 1/2 teaspoons) squid ink

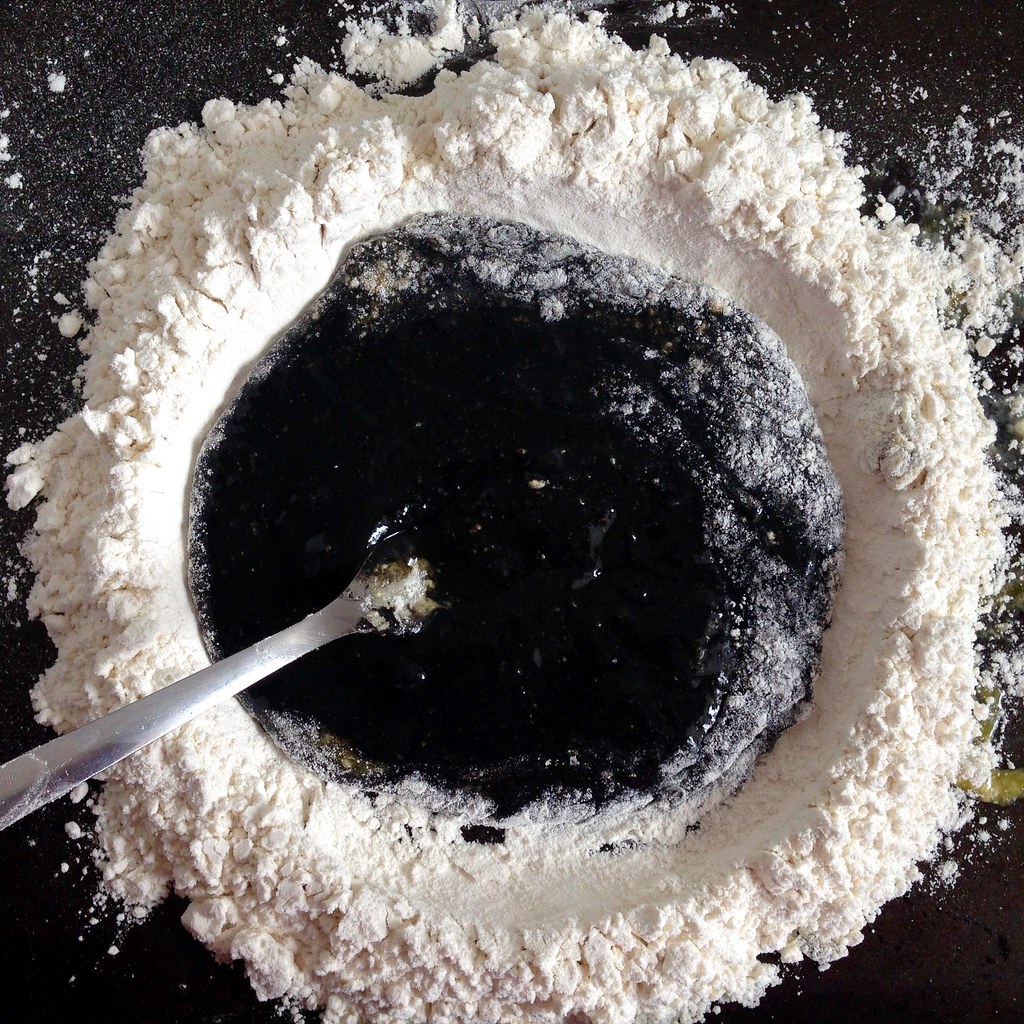
On a large, rimmed baking sheet, make a pile with the flour and dig a well in the middle.  Crack the egg into the well and add the egg yolks and squid ink.

Using a fork, start stirring the liquids and slowly incorporating more and more of the flour into the well until you have a nice, thick paste.  Combine with the rest of the flour and start kneading with your hands.  If the dough is too dry, wet your hands as many times as you need just for it to all come together.

Continue kneading by hand or in a stand mixer (with the dough hook attachment) until you have a smooth, uniform dough.  Cover tightly with plastic wrap and let rest for at least 20 minutes.  At this point you can refrigerate the dough, well wrapped, overnight and bring it back to room temperature the next day before continuing.

Cut the dough in half.  Run one half through the pasta machine set at its widest setting.  Fold the dough in thirds and run through the machine again, repeating 3 times.  Then, run the dough halfway through and pinch the ends together so it forms a loop.  Adjust the setting to one notch thinner and roll through, continuing to adjust the setting one notch thinner each time the loop has gone all the way around.  When the dough looks almost transparent, stop and cut the dough out of the machine and then in half.  Repeat the whole process with the other half of the dough.

If your dough is feeling tacky at this point, let it dry a bit on some tea towels.  Otherwise, you can go ahead and fold the dough in half three times so you have a manageable width to cut.  Using a sharp knife, cut the noodles into the width you desire.  Shake out the noodles and let them dry some more on the tea towel.

Bring a pot of salted water to a rolling boil.  Add the pasta and stir occasionally so that the noodles don't stick to each other.  The pasta is done when they float to the surface.  Remove from the water immediately to preserve its perfect al dente texture.  Toss with the sauce of your choice.

https://www.flickr.com/photos/joyosity/16680119357/

Next:  Chocolate Mochi Snack Cake
Previously:  Cacio e Pepe for One
Last Year:  Dan Bing (Taiwanese Egg Crepe)
Five Years Ago:  Mama Huang's Secret Beer Duck Recipe
Six Years Ago:  Carrot Cake Cupcakes with Cream Cheese Frosting

Tuesday, March 3, 2015

A Better Homemade Pasta Recipe

https://www.flickr.com/photos/joyosity/16670047286/

I had three egg yolks left over from making the matcha financiers, so it was perfect timing that I came across this recipe which needed 3 egg yolks (plus 1 whole egg) for making homemade pasta.  I've posted about making pasta before, but even then I commented on how it didn't look like the homemade pasta I had eaten in Italy.  I had hopes that using more egg yolks would make a difference, giving me something closer in looks and taste.

https://www.flickr.com/photos/joyosity/16509852739/

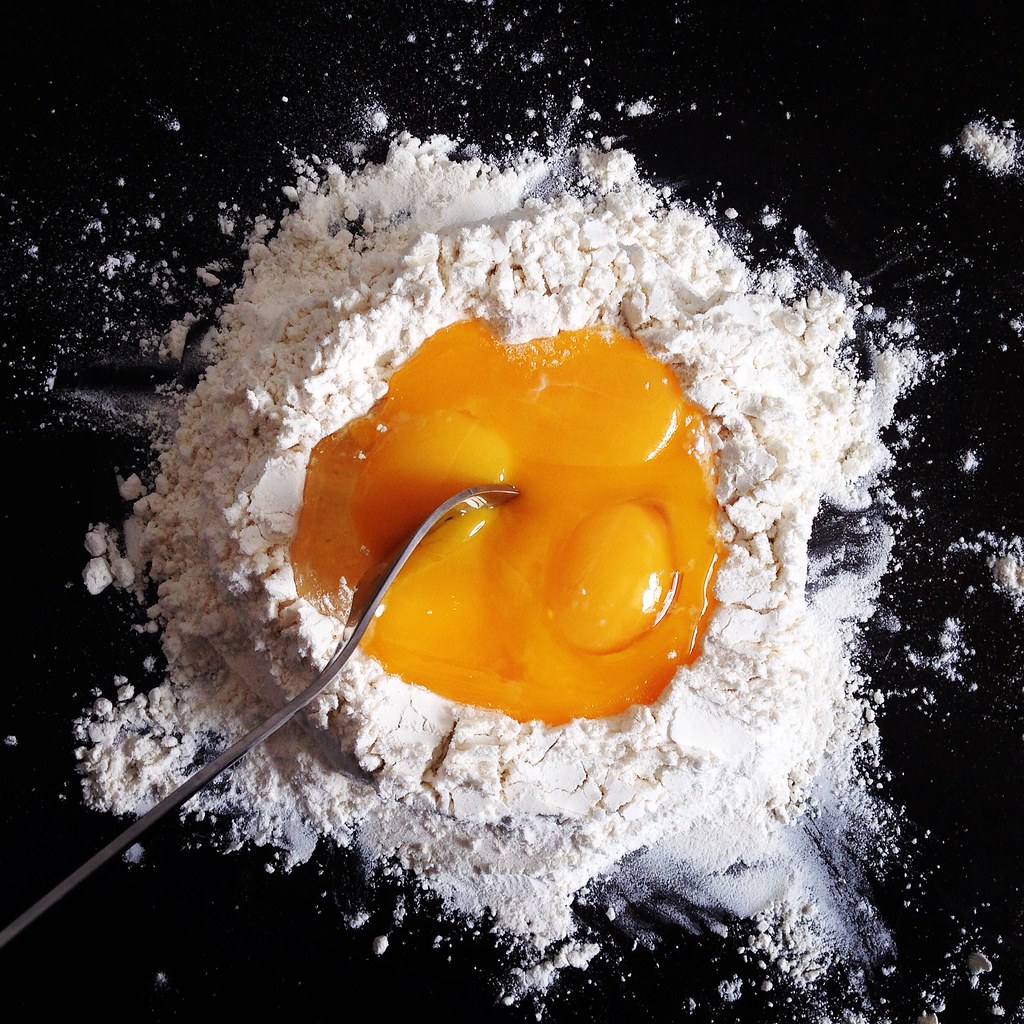
I'm going to share two tips I use when making pasta:  one I came up with on my own, and one I learned from Lady and Pups.  First, instead of making the dough straight on your counter- or tabletop, make it in a rimmed baking sheet.  That way if the eggs accidentally spill over your flour well (like mine did), it won't run all over the place.

https://www.flickr.com/photos/joyosity/16508591810/

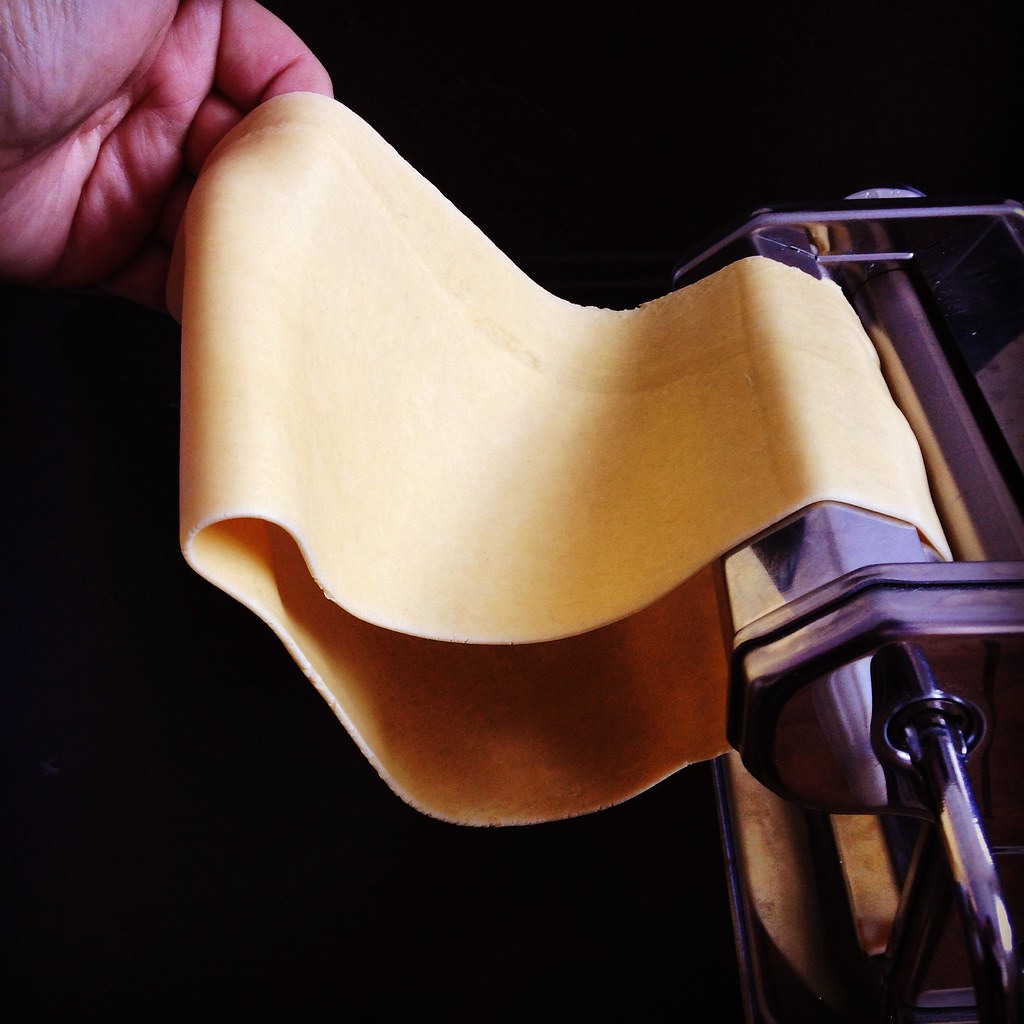
Second, I love this genius tip from Lady and Pups:  seal the ends of your dough together once you're ready to roll your pasta thinner in a pasta machine so that you don't have to refeed the dough in every time you change the setting.  It makes the dough so much easier to work with, especially once the dough gets super thin and long!

https://www.flickr.com/photos/joyosity/16695980185/

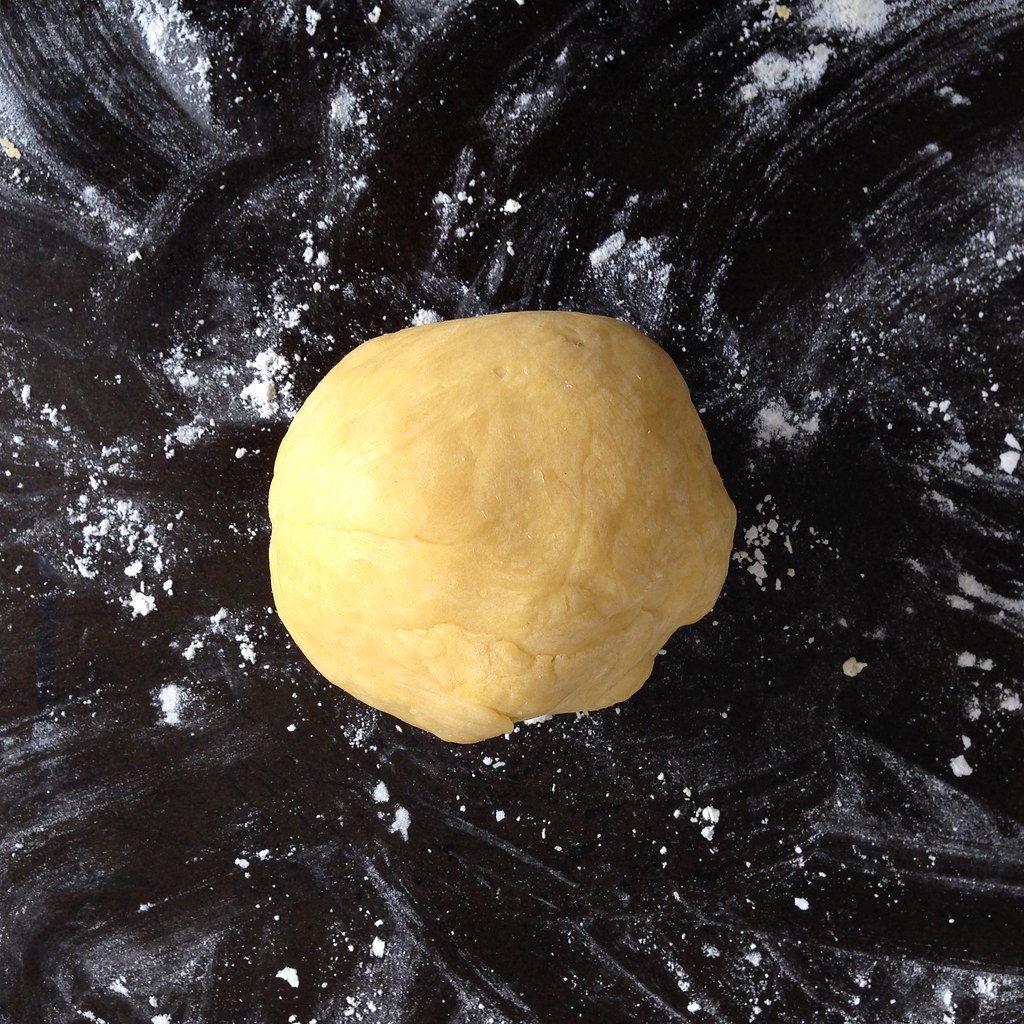
This dough is pretty dry, so you might want to wet your hands while kneading it just until everything comes together.  Then you can take the easy way out and throw it into your stand mixer (with the dough hook attachment) to continue kneading, if you have one.  If not, keep kneading until it's nice and glossy; it will take a while, but you'll get there eventually.

https://www.flickr.com/photos/joyosity/16694677671/

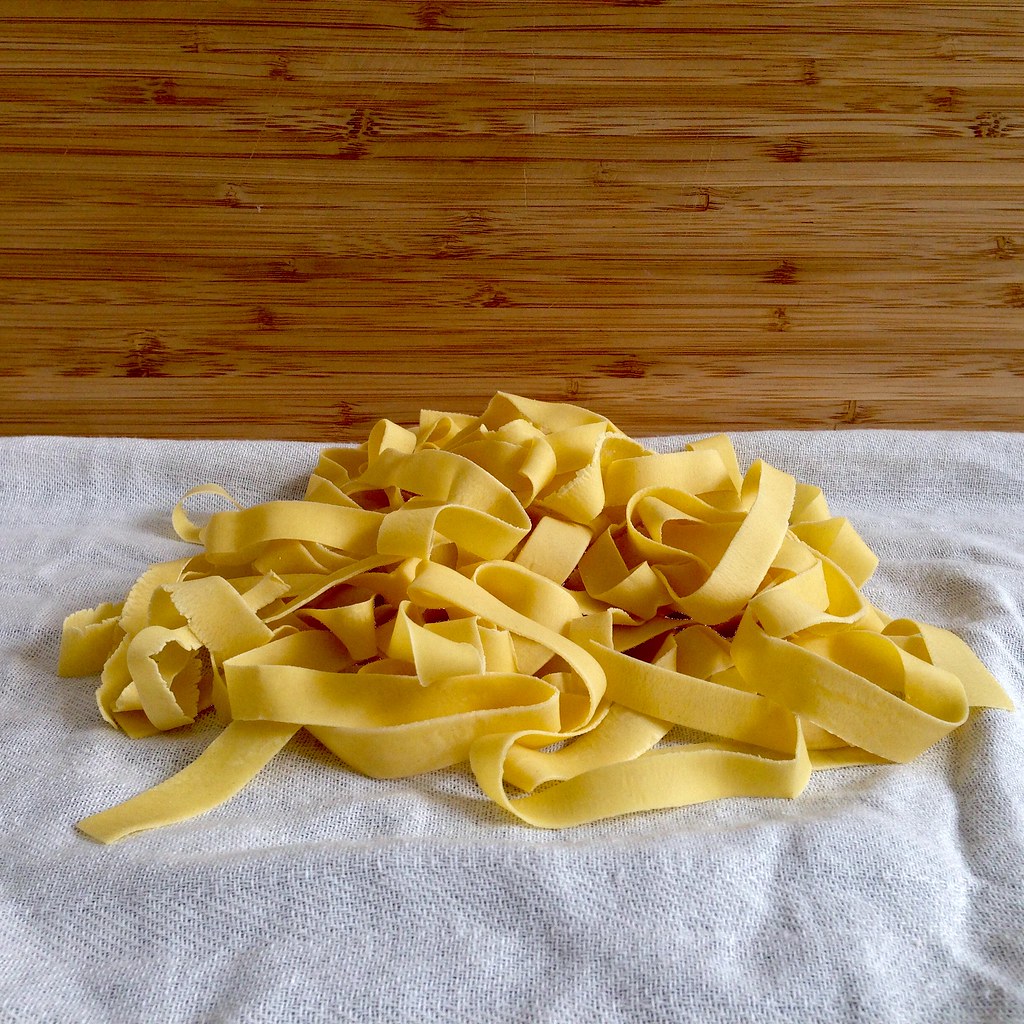
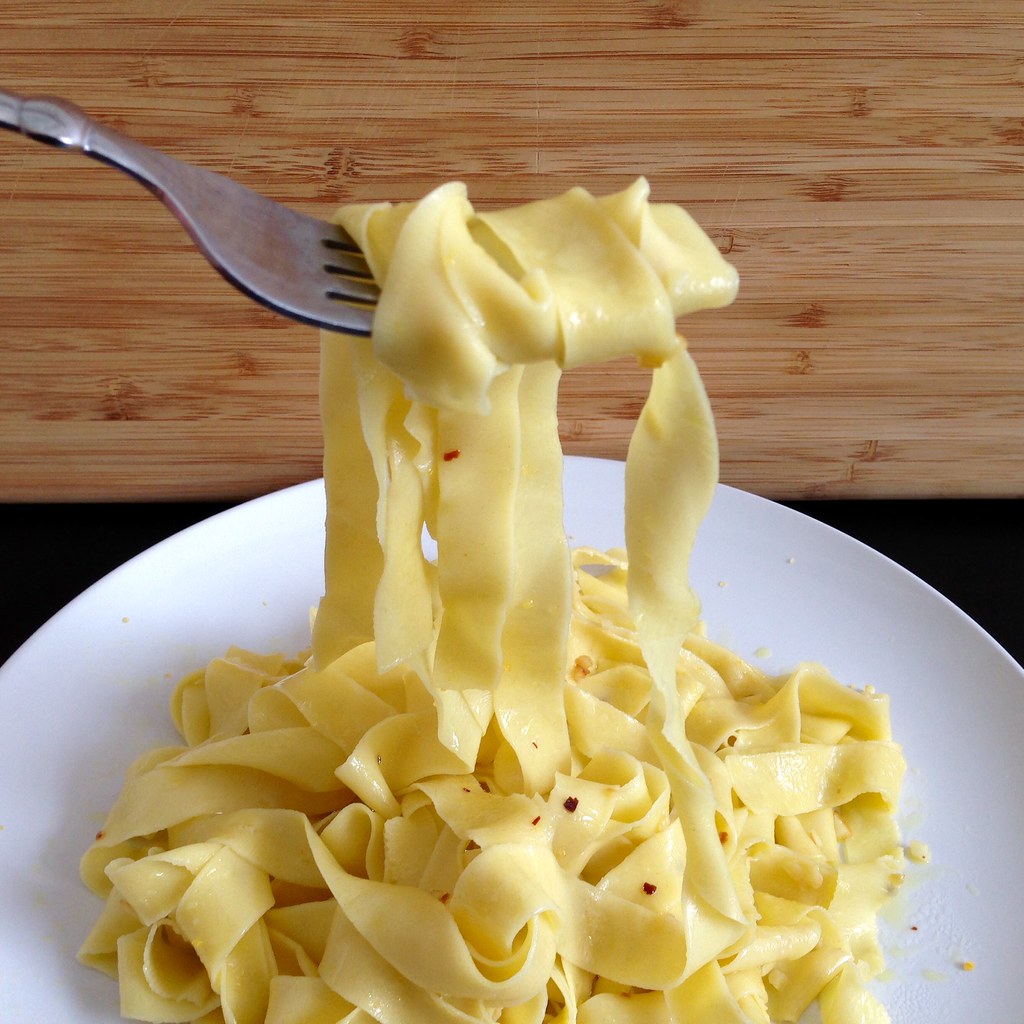
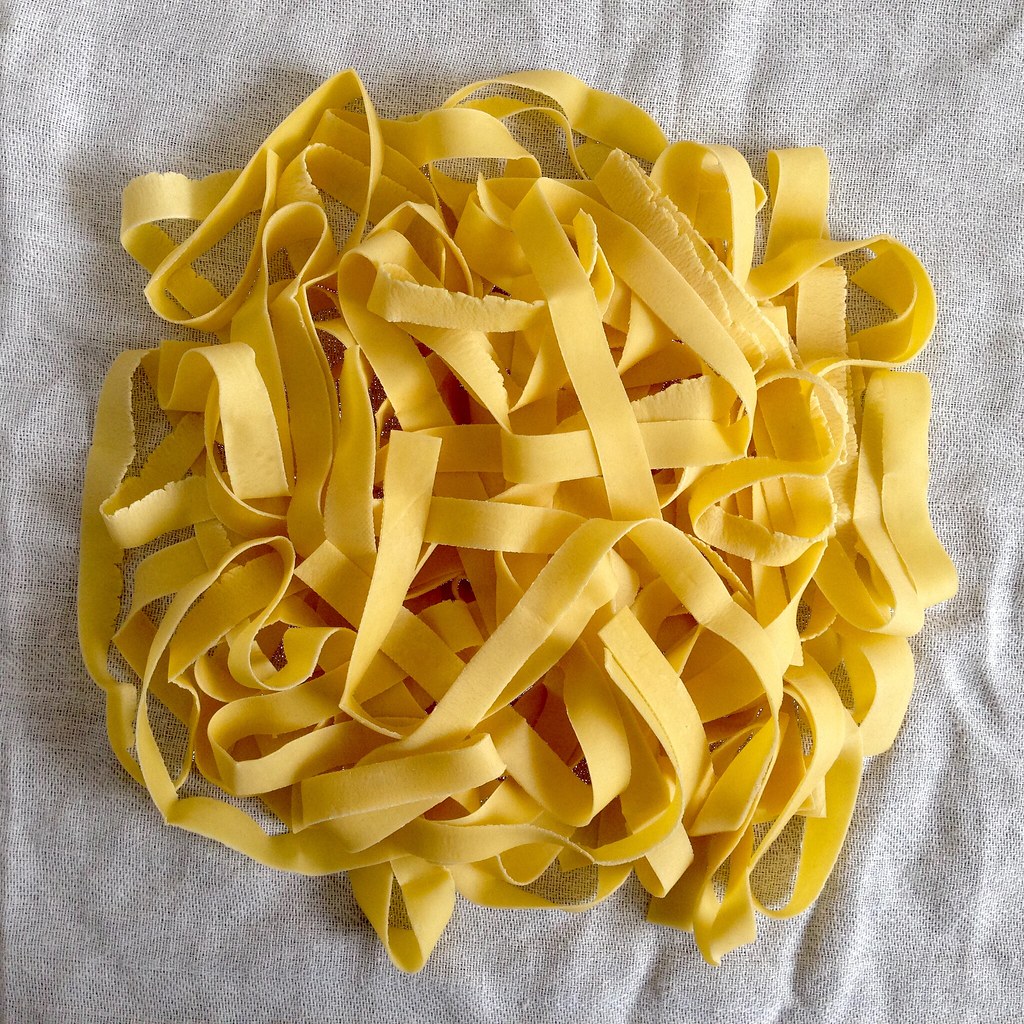
After you've rolled out the dough so that it's so thin it's almost transparent, you can cut it into any width you want:  super wide for pappardelle, wide for fettuccine, thin for tagliatelle, or super thin for bavettine.  This pasta is so good you'll just want to toss it with a really simple sauce so you can really appreciate the noodles.  Here I've made it aglio e olio, with just some garlic and olive oil, and a pinch of salt and red pepper flakes.  Buon appetito!

https://www.flickr.com/photos/joyosity/16508595100/

A Better Homemade Pasta Recipe (adapted from Food52)
makes 2 servings

1 cup all-purpose flour
1 large egg
3 large egg yolks
A pinch of salt

On a large, rimmed baking sheet, make a pile with the flour and dig a well in the middle.  Crack the egg into the well and add the egg yolks and salt.

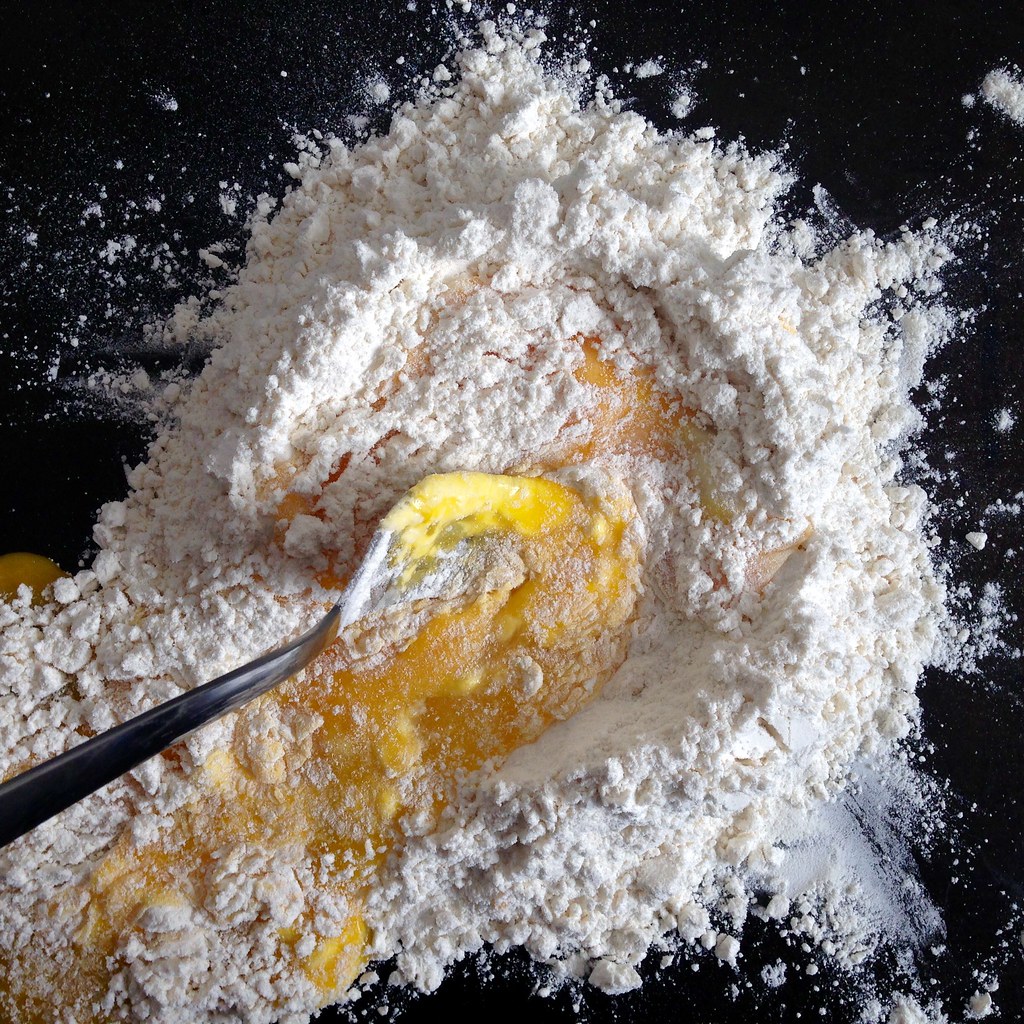
Using a fork, start stirring the eggs and slowly incorporating more and more of the flour into the well until you have a nice, thick paste.  Combine with the rest of the flour and start kneading with your hands.  If the dough is too dry, wet your hands as many times as you need just for it to all come together.

Continue kneading by hand or in a stand mixer (with the dough hook attachment) until you have a smooth, uniform dough.  Cover tightly with plastic wrap and let rest for at least 20 minutes.  At this point you can refrigerate the dough, well wrapped, overnight and bring it back to room temperature the next day before continuing.

Cut the dough in half.  Run one half through the pasta machine set at its widest setting.  Fold the dough in thirds and run through the machine again, repeating 3 times.  Then, run the dough halfway through and pinch the ends together so it forms a loop.  Adjust the setting to one notch thinner and roll through, continuing to adjust the setting one notch thinner each time the loop has gone all the way around.  When the dough looks almost transparent, stop and cut the dough out of the machine and then in half.  Repeat the whole process with the other half of the dough.  You will end up with 4 sheets of pasta dough.

If your dough is feeling tacky at this point, let it dry a bit on some tea towels.  Otherwise, you can go ahead and fold the dough in half three times so you have a manageable width to cut.  Using a sharp knife, cut the noodles into the width you desire.  Shake out the noodles and let them dry some more on the tea towel.

Bring a pot of salted water to a rolling boil.  Add the pasta and stir occasionally so that the noodles don't stick to each other.  The pasta is done when they float to the surface.  Remove from the water immediately to preserve its perfect al dente texture.  Toss with the sauce of your choice.

https://www.flickr.com/photos/joyosity/16076036413/

A few suggestions for sauces:
Next:  Cacio e Pepe for One
Previously:  Matcha Financiers with White Chocolate Centers
Last Year:  Mushroom Marsala Pizza
Two Years Ago:  Peking Duck Pizza
Five Years Ago:  Bacon Fat Caramels
Six Years Ago:  Potato Leek Soup with Bacon