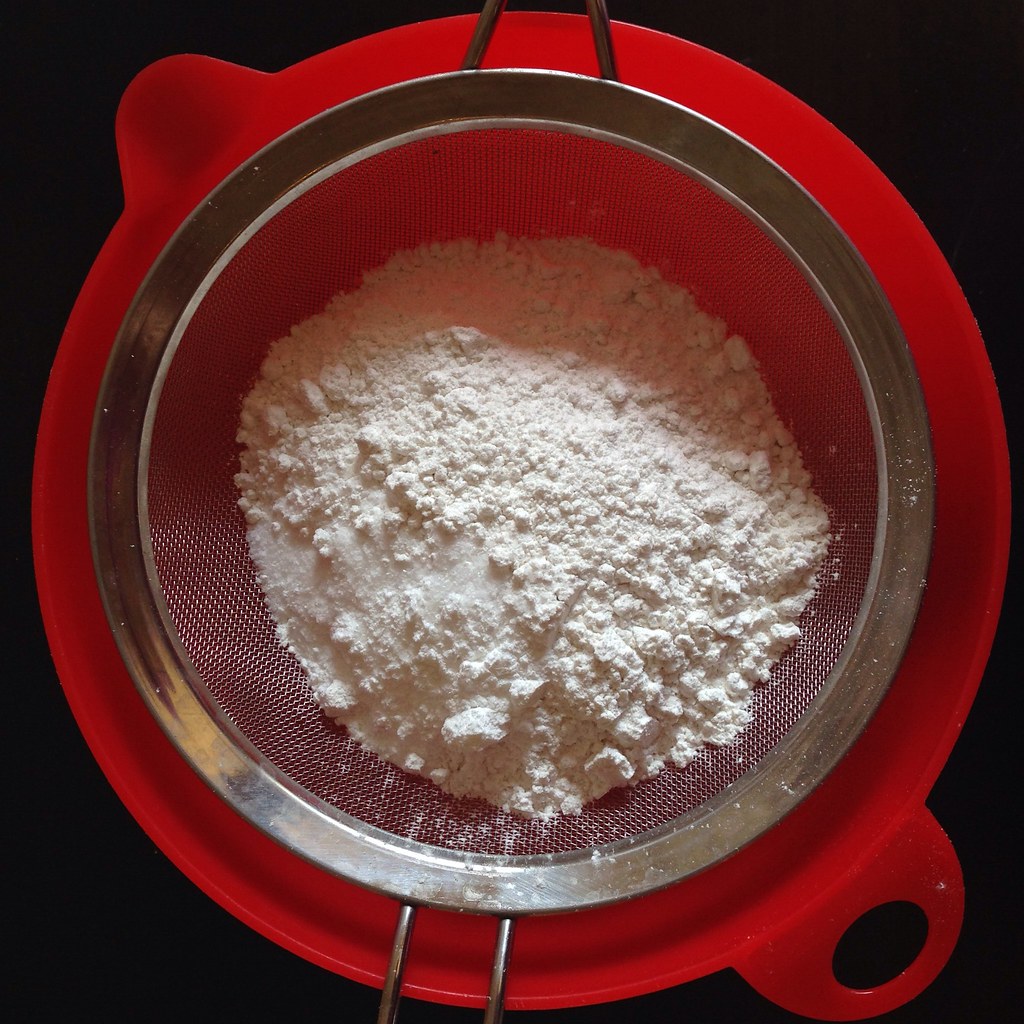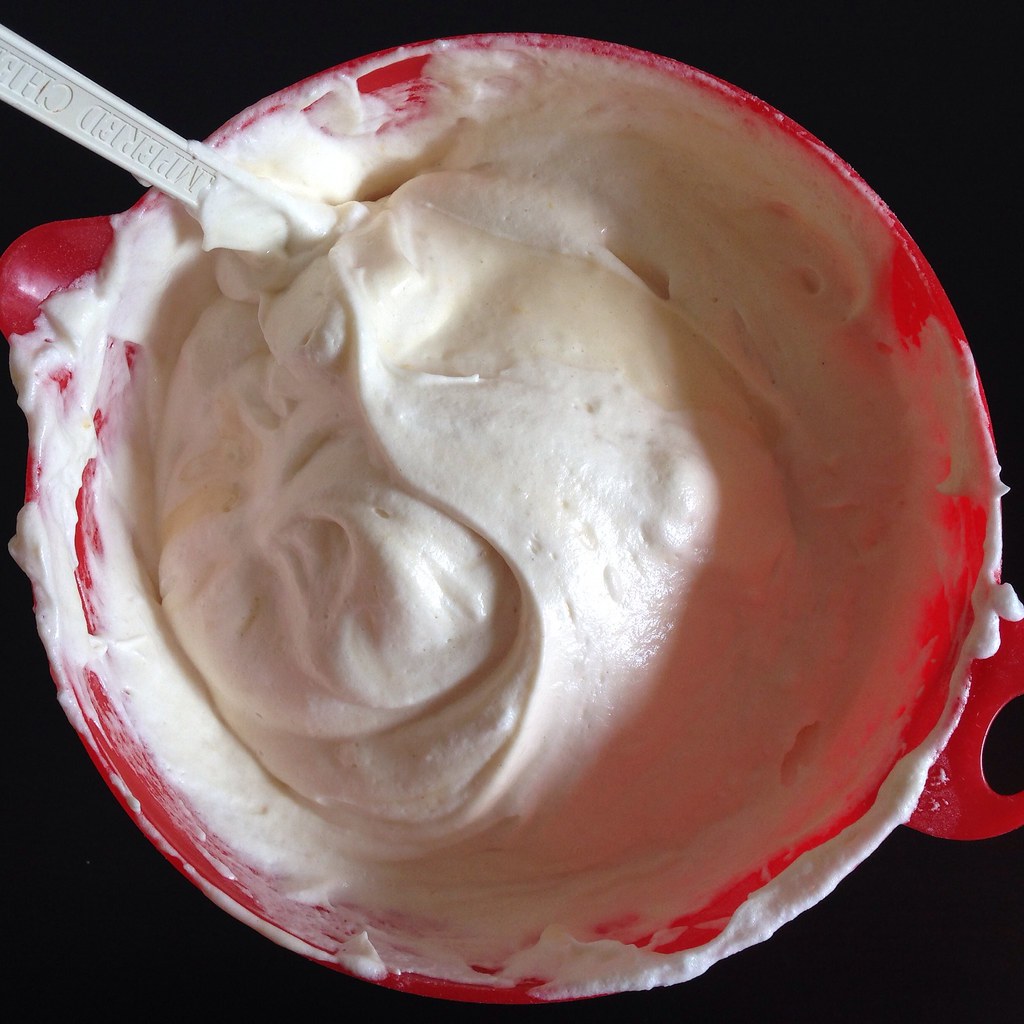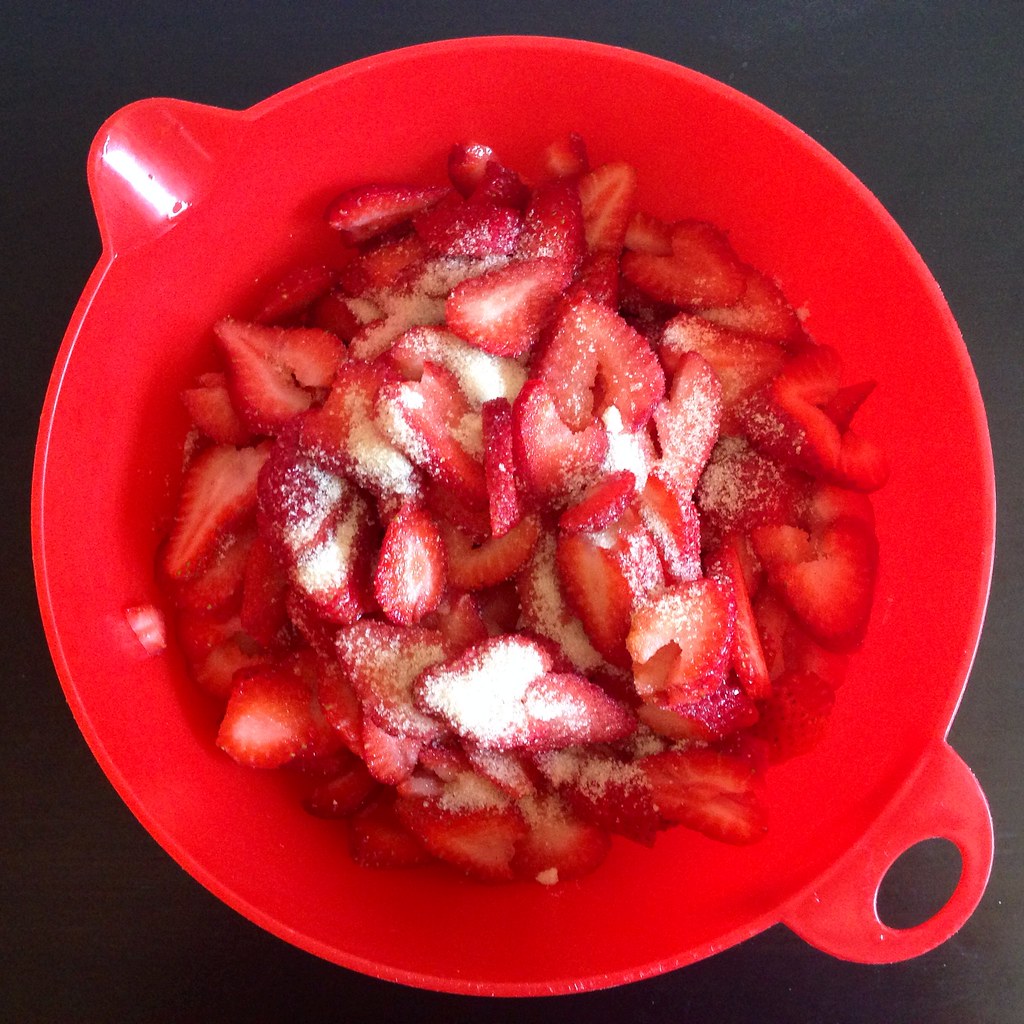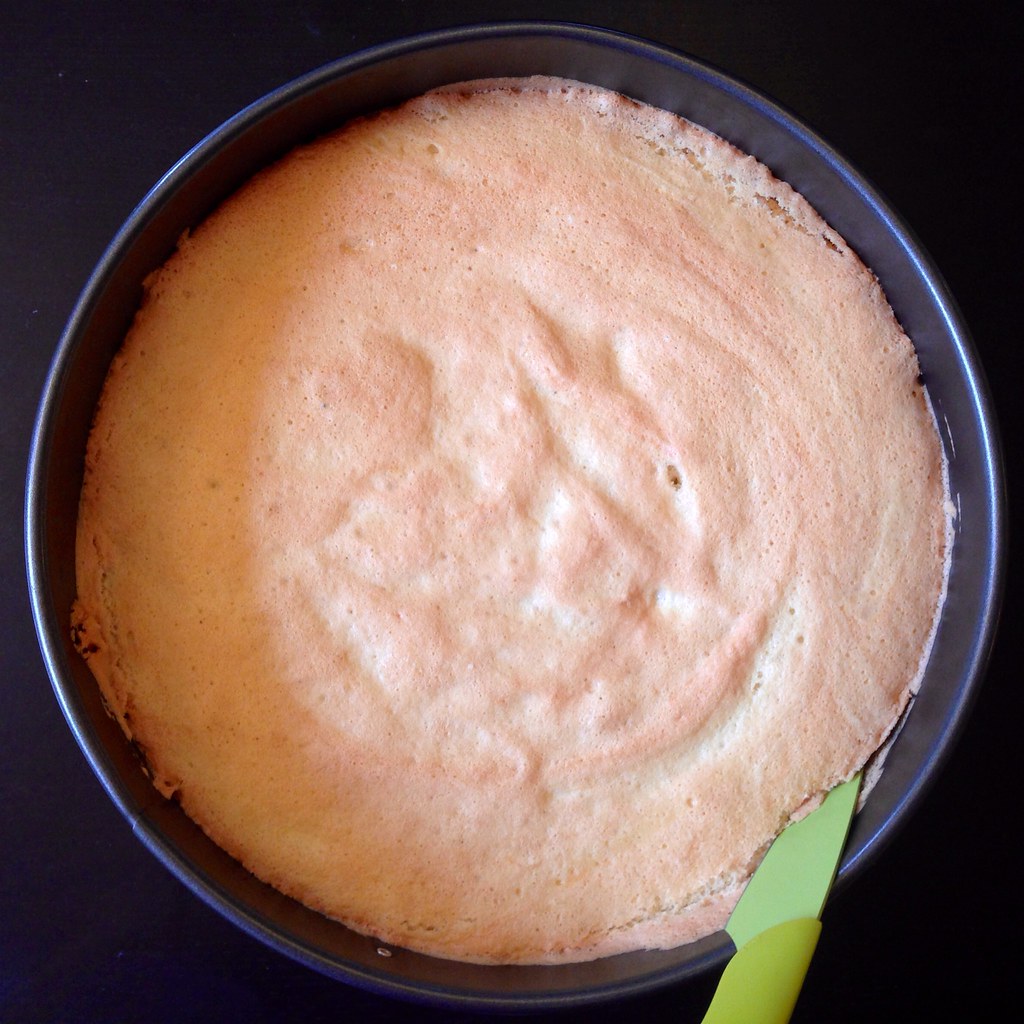
Showing posts with label whipped cream. Show all posts

Friday, March 10, 2017

Rainbow Crepe Cake


I've been wanting to try making a full-size crepe cake ever since I made those Nutelle mini crepe cakes 3 years ago, and seeing a recent picture of my friend Serene's matcha crepe cake re-inspired me.  But when I couldn't decide which flavor crepe cake to make, my other friend Christine reminded me of a rainbow crepe cake she had shown me on Instagram before.  I knew what I must do.
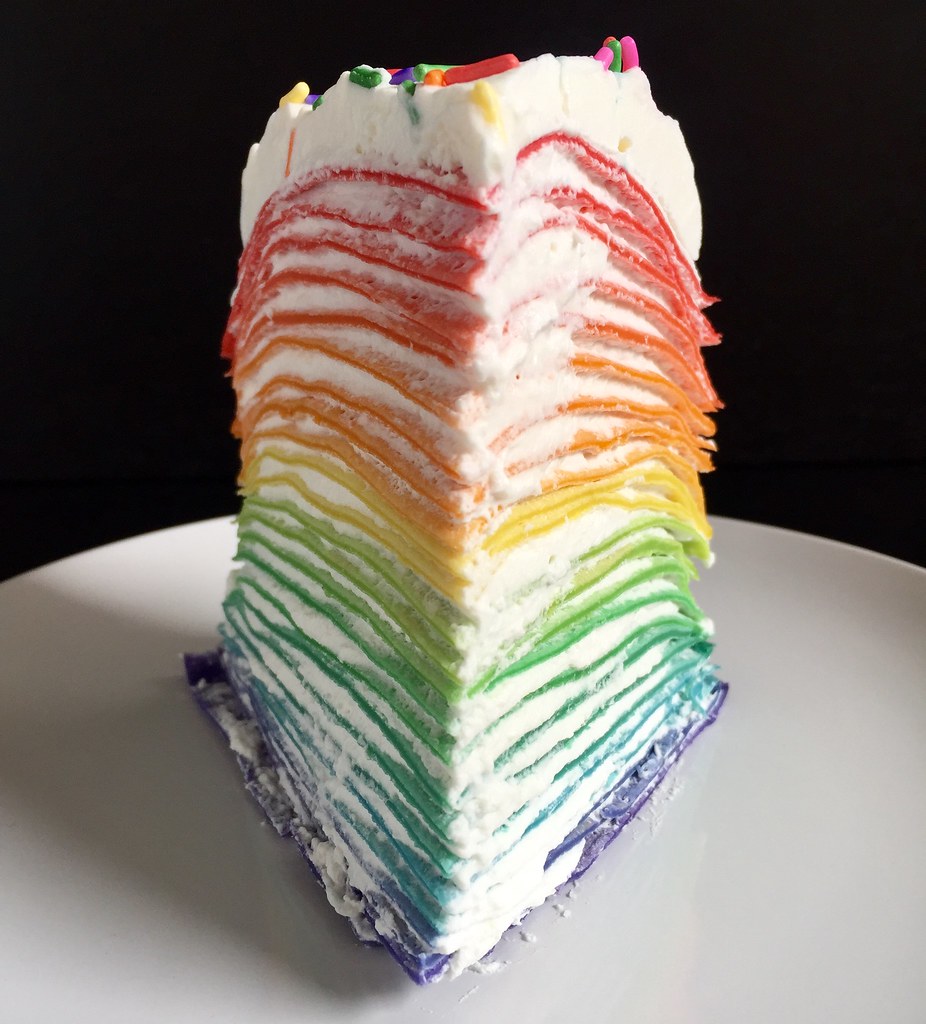

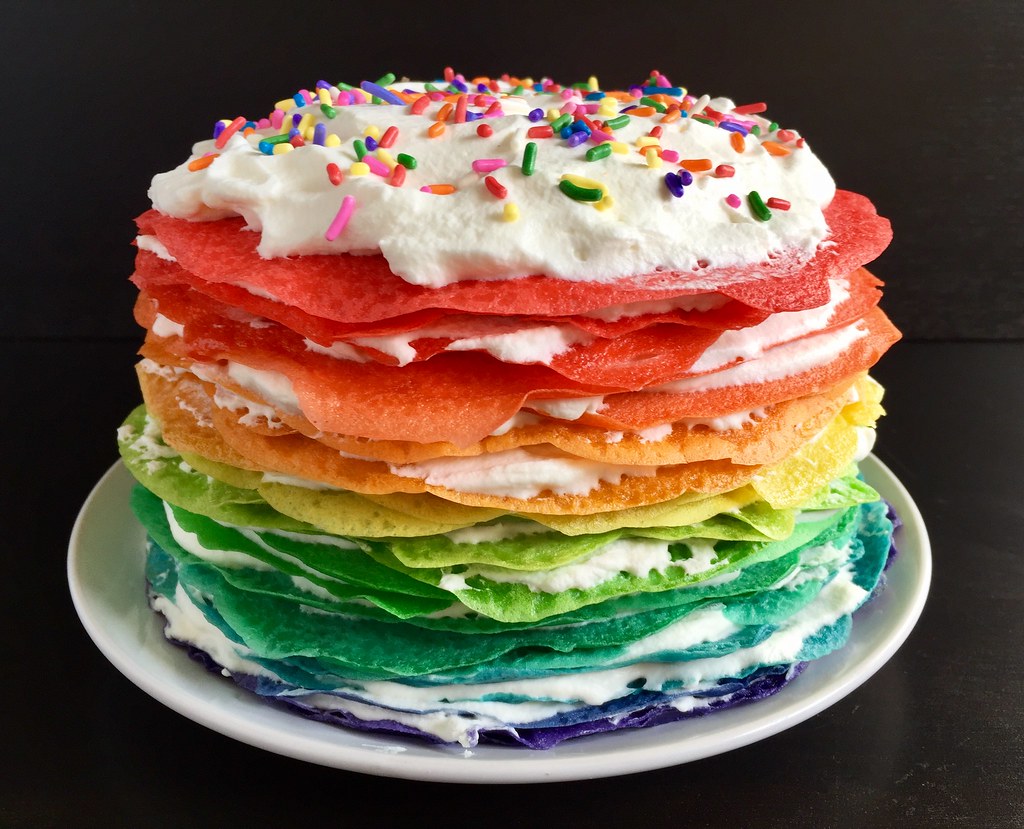
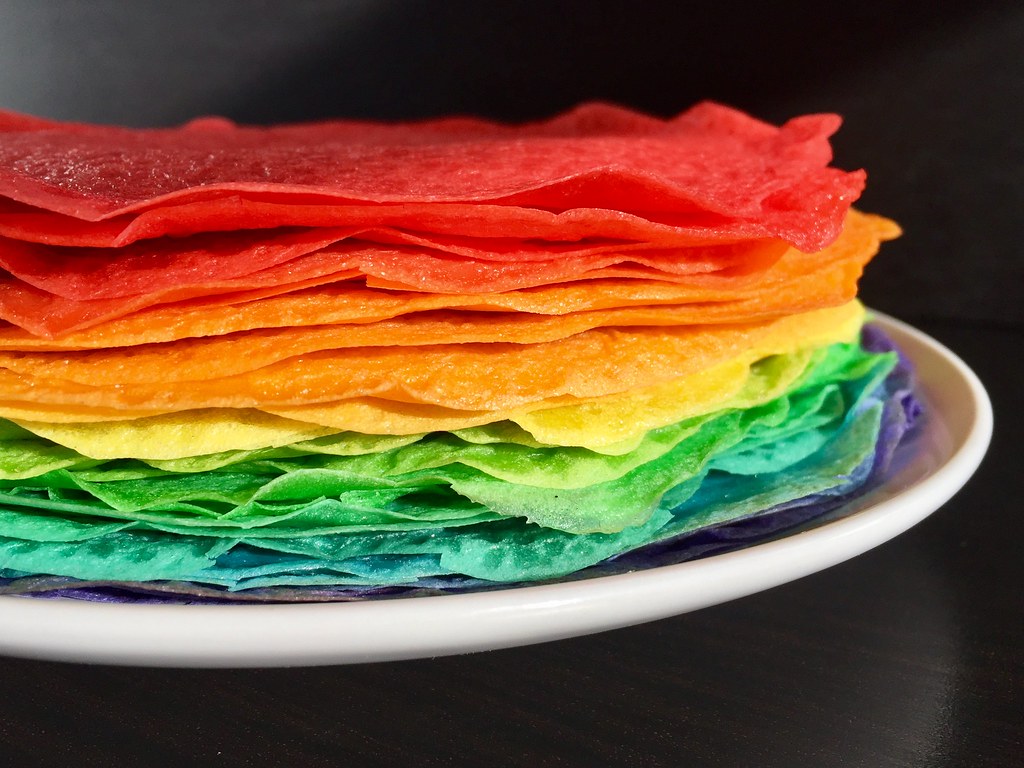
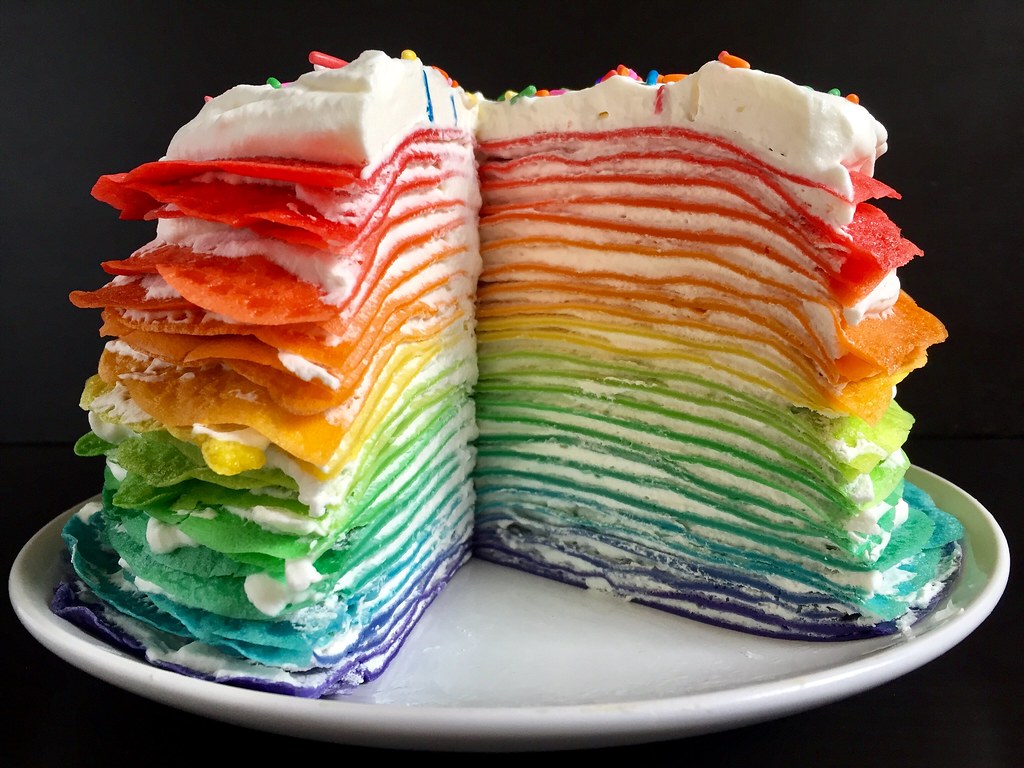
After some research on-line, it seemed that most rainbow crepe cakes used 6 discrete colors of crepes, but I wanted to try to blend them together so that the color of the crepes was more progressive.  I figured I'd make 2 crepes of each color, then start mixing the leftover batter together a little at a time.  This just made an already complicated process even more complicated, but I'm rather pleased with the result.  If you'd rather just leave it as 6 discrete colors, just divide the batter evenly between 6 bowls before coloring.  But if you'd like to try the ombré approach, you can put 1/3 less batter in the bowls for the red and purple since you're only blending those one way instead of two (a scale makes it a lot easier to figure out).

I decided to just use sweetened whipped cream for the filling (a recommendation from Serene) instead of pastry cream plus whipped cream like a lot of other recipes use because it was easier, and I liked the pure white color of the filling against the rainbow of colors.  Serene also suggested freezing the cake if not serving right away to help stabilize it and prevent weeping.

Rainbow Crepe Cake (crepe recipe from Alton Brown)
makes a 24-layer crepe cake

4 large eggs
1 1/2 cup milk
1 cup water
2 cups all-purpose flour
5 tablespoons sugar
6 tablespoons melted butter
1 tablespooon vanilla extract, divided
Oil, for greasing
2 cups heavy cream
1/3 cup powdered sugar
Rainbow sprinkles (optional)

Combine the eggs, milk, water, flour, sugar, butter, and 2 teaspoons of vanilla extract in a blender and pulse for 10 seconds.  Let rest in the fridge for at least an hour or overnight.

Divide the batter into 6 bowls, with about 1/3 less in two of the bowls.  Color the bowls with less batter in them red and purple.  Color the other bowls orange, yellow, green, and blue.

Lightly grease a non-stick pan with oil and heat over medium-low.  Pour a scant 1/4 cup of the purple batter into the middle of the pan and swirl to spread into an even circle.  Cook for 30 seconds and flip carefully.  Cook for another 10 seconds, then transfer to a cutting board or baking sheet lined with parchment paper.  Repeat, making 2 crepes each of all 6 colors.  Once the crepes have cooled on the parchment paper you can start stacking them on a plate.

Gradually mix the rainbow-adjacent colors together to make the rest of the crepes.  You should end up with about 24 crepes, more if you don't mess any up.  I messed up 2 or 3 (the first one is always a fail) and ended up with 24.

Beat the heavy cream to soft peaks, then add the powdered sugar and remaining teaspoon of vanilla extract.  Beat again to barely stiff peaks.

Place a purple crepe on a plate and spread a thin layer of the whipped cream on top, leaving a little bit of a border.  Top with another crepe and continue with alternating layers of crepes and whipped cream.

If you have any whipped cream leftover, frost the top and garnish with sprinkles, if you like.  Chill until ready to serve.
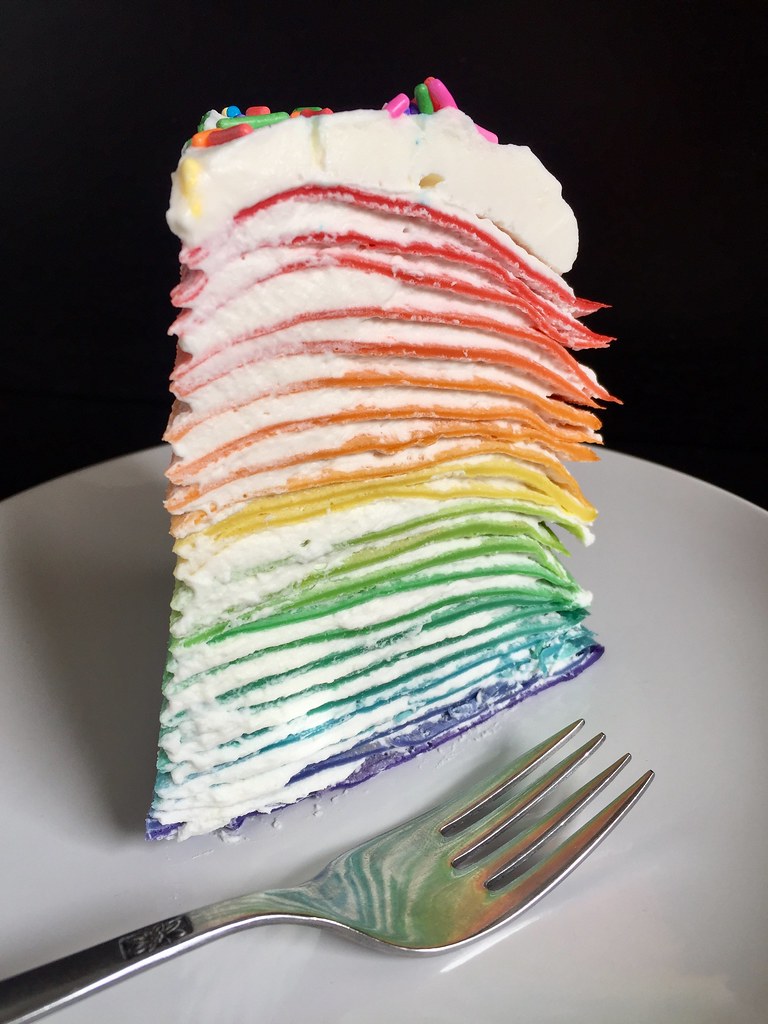

To be honest, I thought the cake looked a lot prettier than it tasted.  This happened the last time I made a rainbow confection too.  I think I was so focused on the looks I forgot that I never really flavored the crepes or whipped cream, and Alton Brown's crepes are made to be filled with something tasty not just eaten alone.  Luckily, Serene sent me her crepe recipe so I'll probably use that one next time.  =)

Next:  Rhubarb Strawberry Coconut Cream Tart
Previously:  Japanese Chicken Curry Rice
Last Year:  The 4-Hour Baguette
Two Years Ago:  Homemade Squid Ink Pasta
Three Years Ago:  Miso-Glazed Eggplant
Four Years Ago:  Happiness Cake
Seven Years Ago:  Momofuku's Crack Pie
Eight Years Ago:  Korean Pancake Face-Off

Wednesday, August 20, 2014

Bill Smith's Atlantic Beach Pie

https://www.flickr.com/photos/joyosity/14919066781/

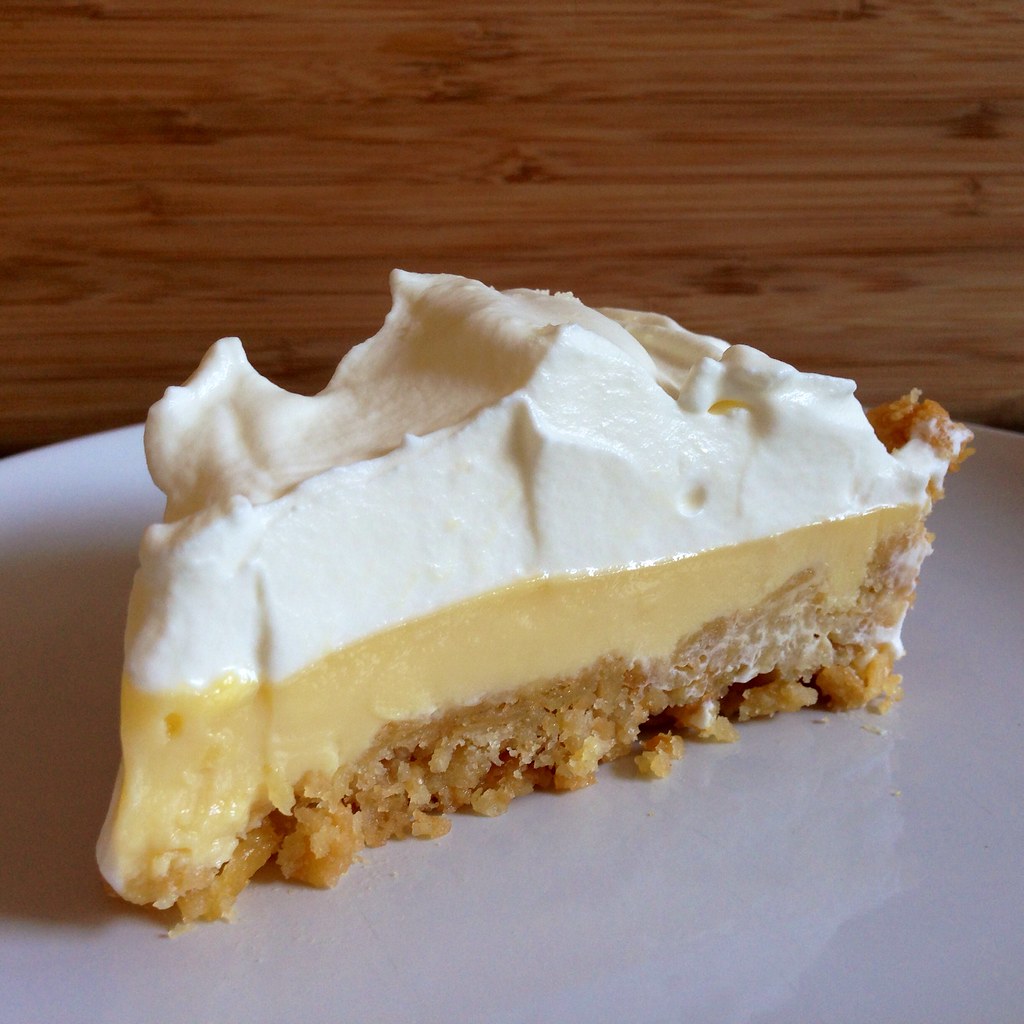
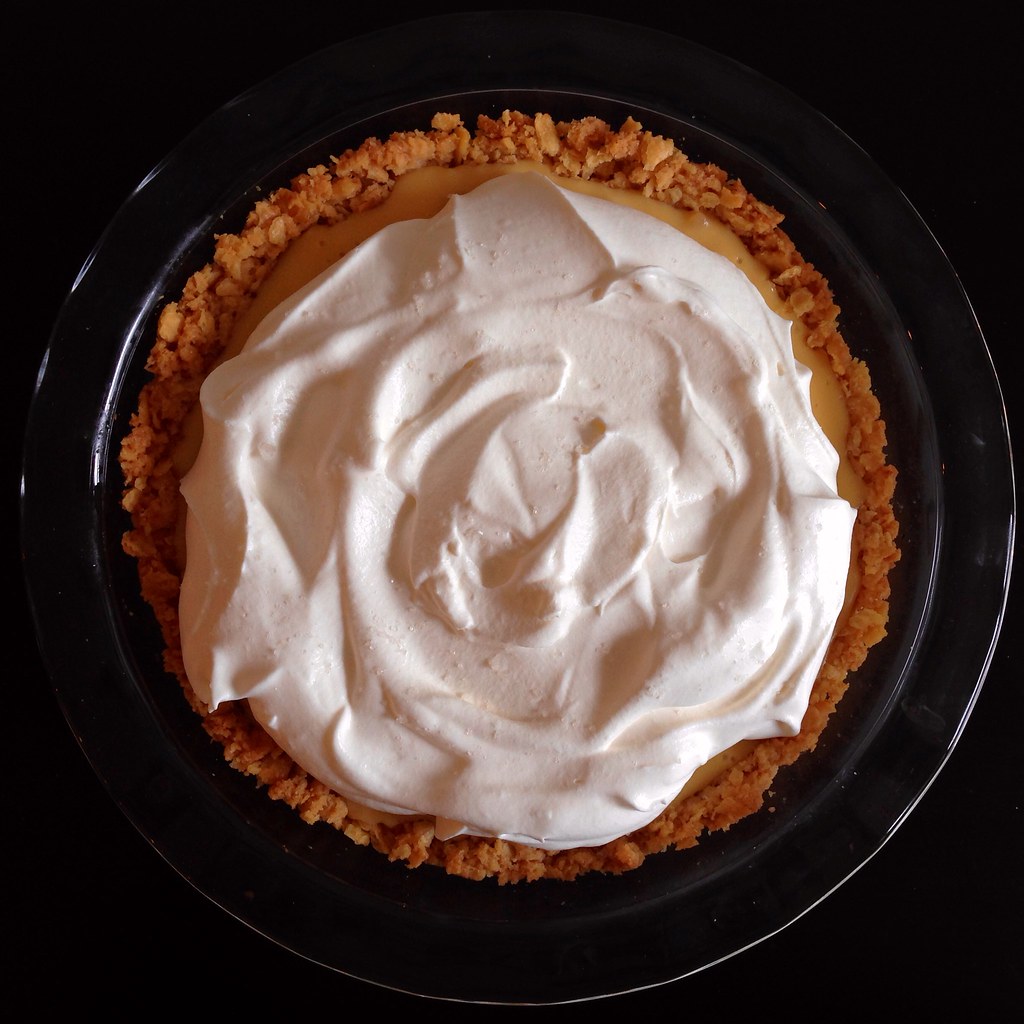
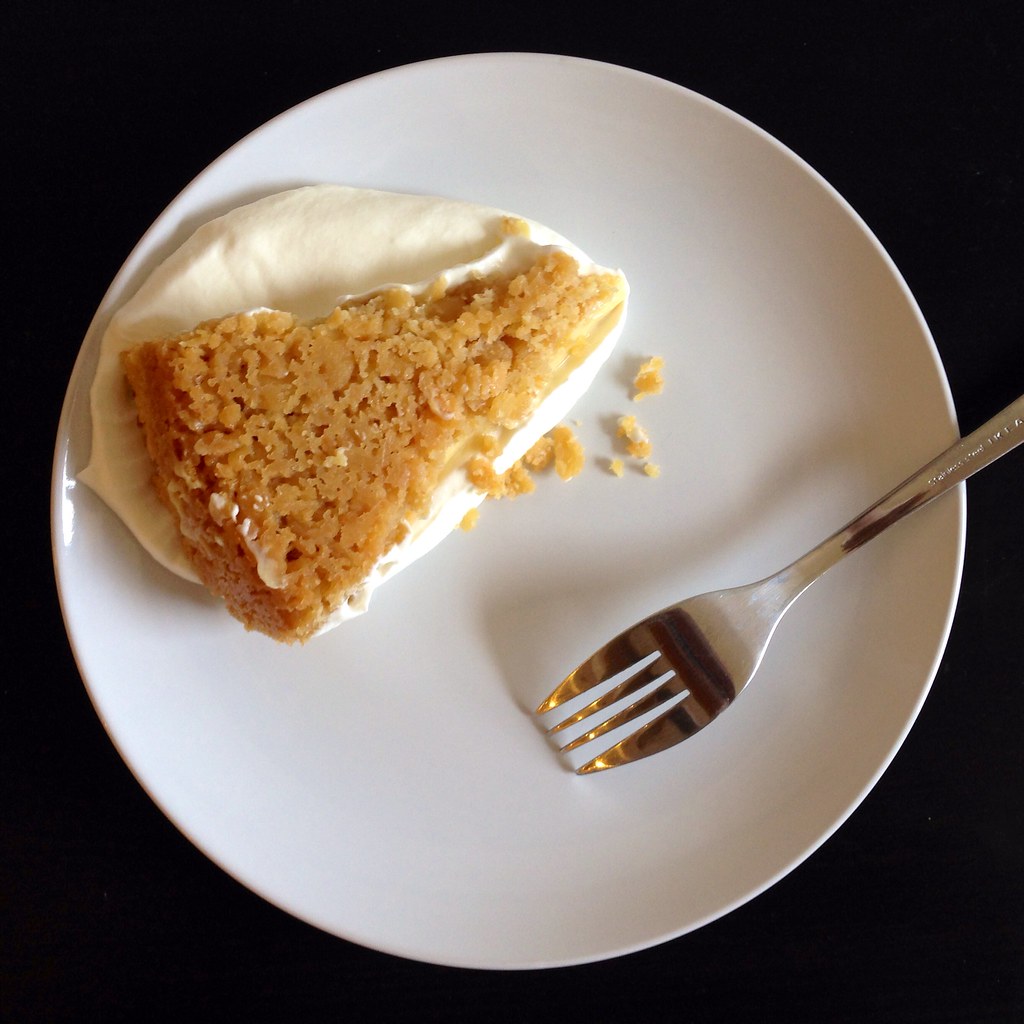
I've never heard of an Atlantic Beach Pie, but once I saw this post on Food52, I knew I had to make it.  It's an amalgam of some of my favorite things:  a salty-sweet buttery crust made out of saltines, a tart citrus filling, and a simple topping of whipped cream garnished a sprinkle of flaky sea salt.  It kind of reminds me of the Momofuku Milk Bar Grapefruit Pie I made once, but a whole lot easier to make.  It's no surprise that I would love a pie with this name since I'm such an East Coast kind of gal.  =)

https://www.flickr.com/photos/joyosity/14735519278/

For the citrus juice that goes into the filling, I just used a half cup of the juice I got from juicing the zested lemon, lime, orange, and grapefruit I used for making the citrus cured salmon.  The next time I make this, I will probably use the recommended lemon and/or lime mixture so that the tartness really shines through.

https://www.flickr.com/photos/joyosity/14735561347/

Bill Smith's Atlantic Beach Pie (adapted from Food52)
makes 1 pie

1 1/2 sleeves of saltine crackers (about 6 oz. or 60 crackers)
1/2 cup softened unsalted butter
3 tablespoons sugar
14 oz. can of sweetened condensed milk
4 egg yolks
1/2 cup citrus juice
3/4 cup heavy whipping cream, chilled
Coarse sea salt, for garnish

Preheat oven to 350°F.

https://www.flickr.com/photos/joyosity/14735553467/in/photostream/
   
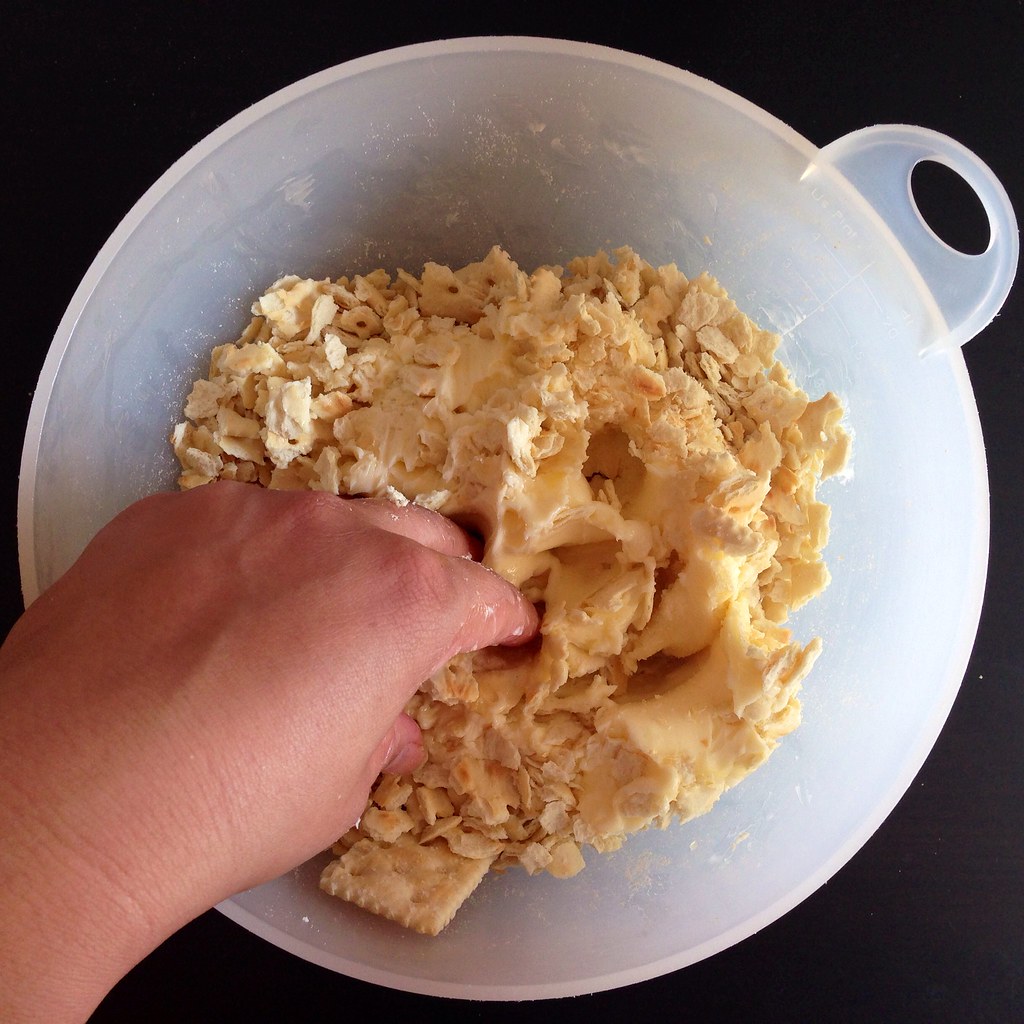
Crush the crackers finely, but not to dust. You can use a food processor or your hands. Add the sugar, then knead in the butter until the crumbs hold together like dough. Press into an 8-inch pie pan. Chill for 15 minutes, then bake for 18 minutes or until the crust is golden brown.

https://www.flickr.com/photos/joyosity/14919056651/

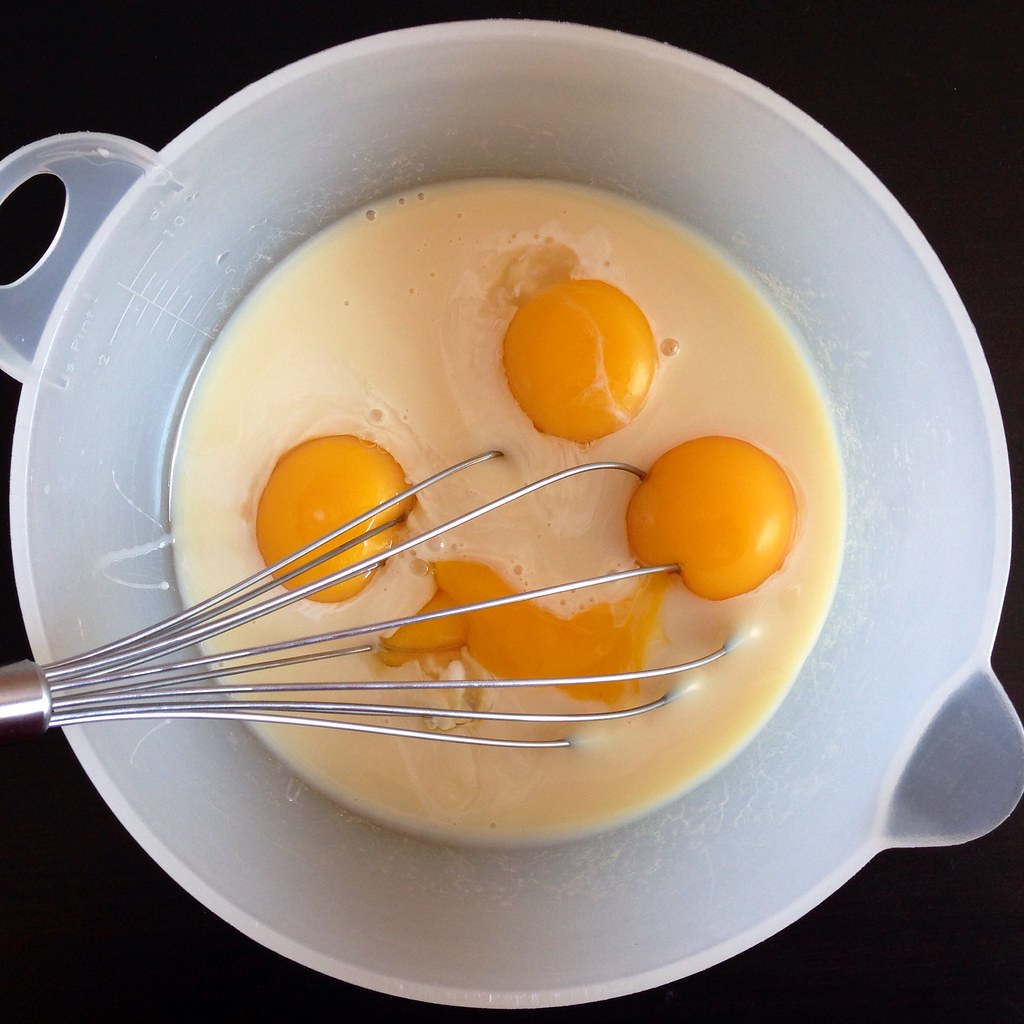
While the crust is cooling (it doesn't need to be cold), whisk the egg yolks into the milk, then whisk in the citrus juice.  Continue whisking until the mixture thickens.

https://www.flickr.com/photos/joyosity/14735469299/

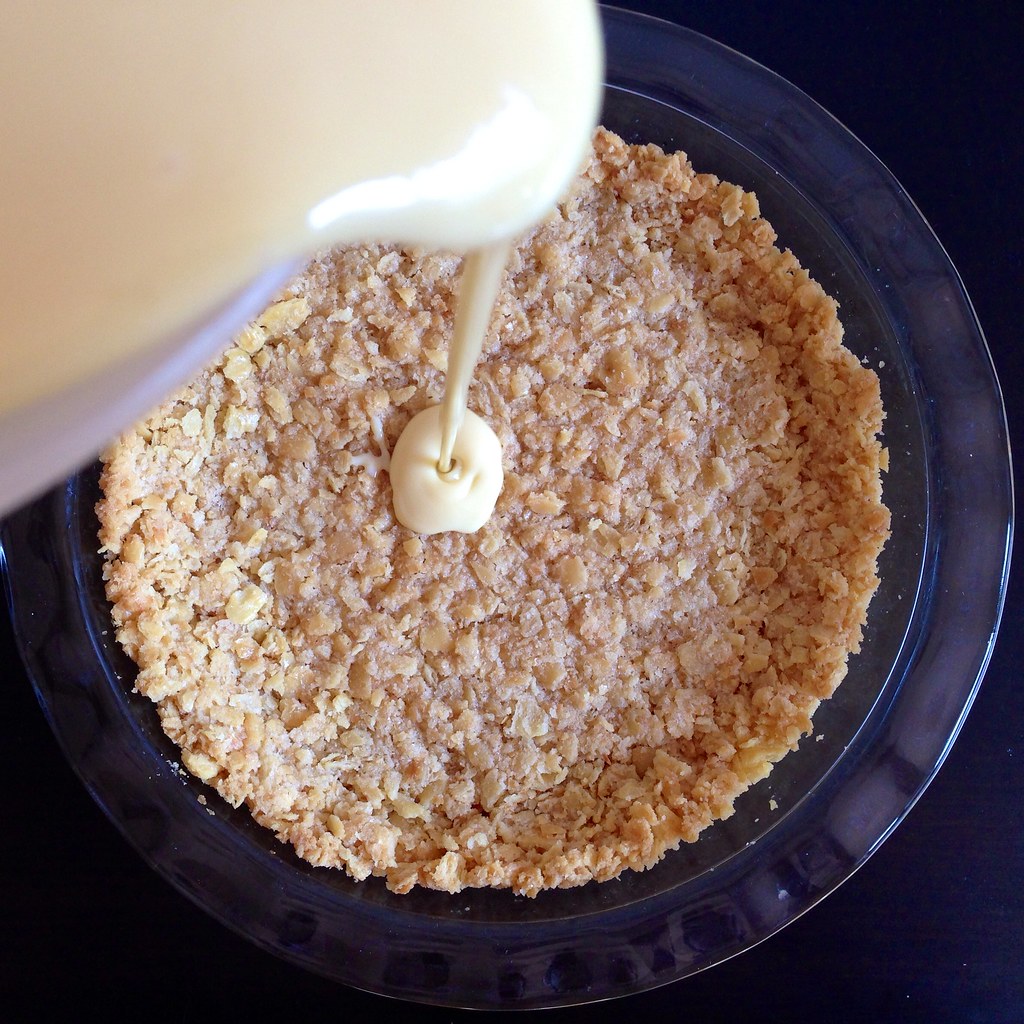
Pour into the shell and bake for 16 minutes until the filling has set.  Cool on a wire rack until the pie has reached room temperature and then transfer to the refrigerator.  The pie needs to be completely cold to be sliced.

https://www.flickr.com/photos/joyosity/14899148256/

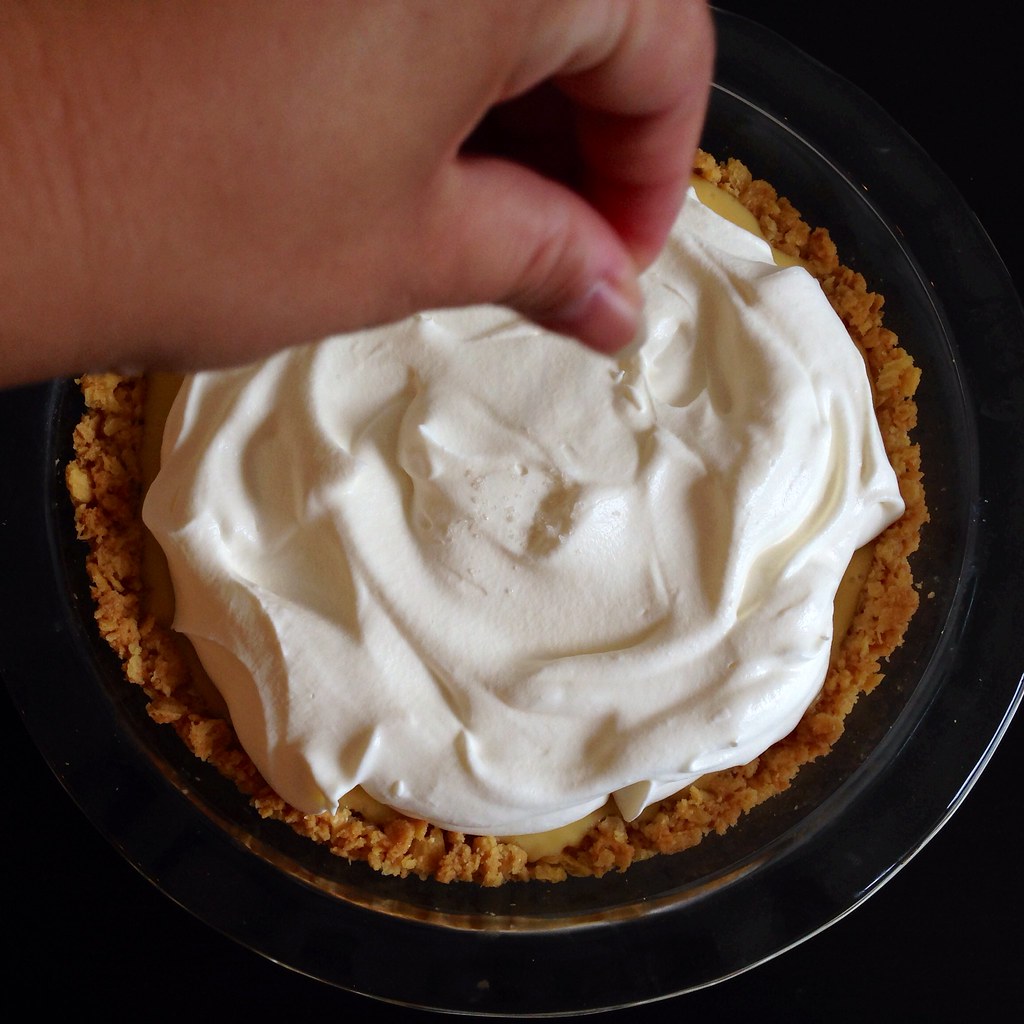
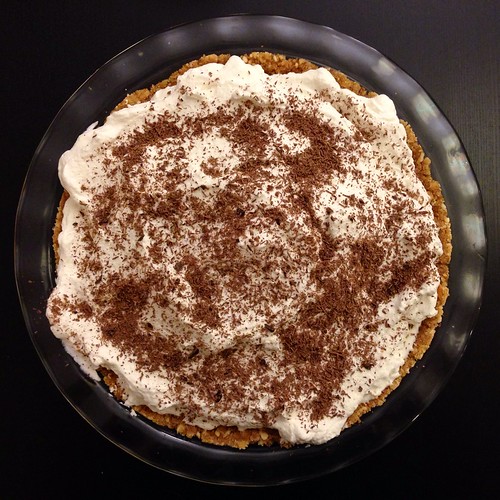
Whip the heavy cream just until stiff peaks appear (if you keep whipping too much you'll make butter).  Top the chilled pie with the whipped cream and garnish with a sprinkling of sea salt.
https://www.flickr.com/photos/joyosity/14735477079/

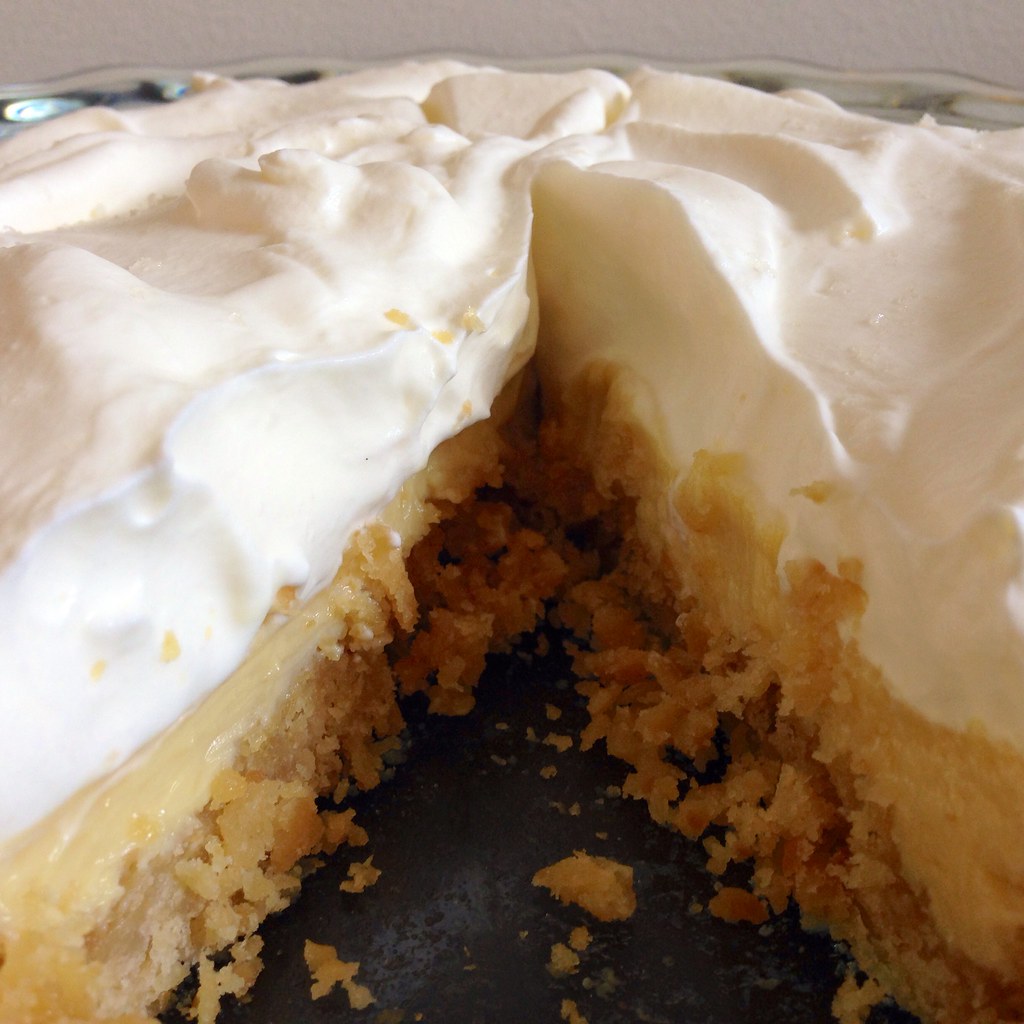
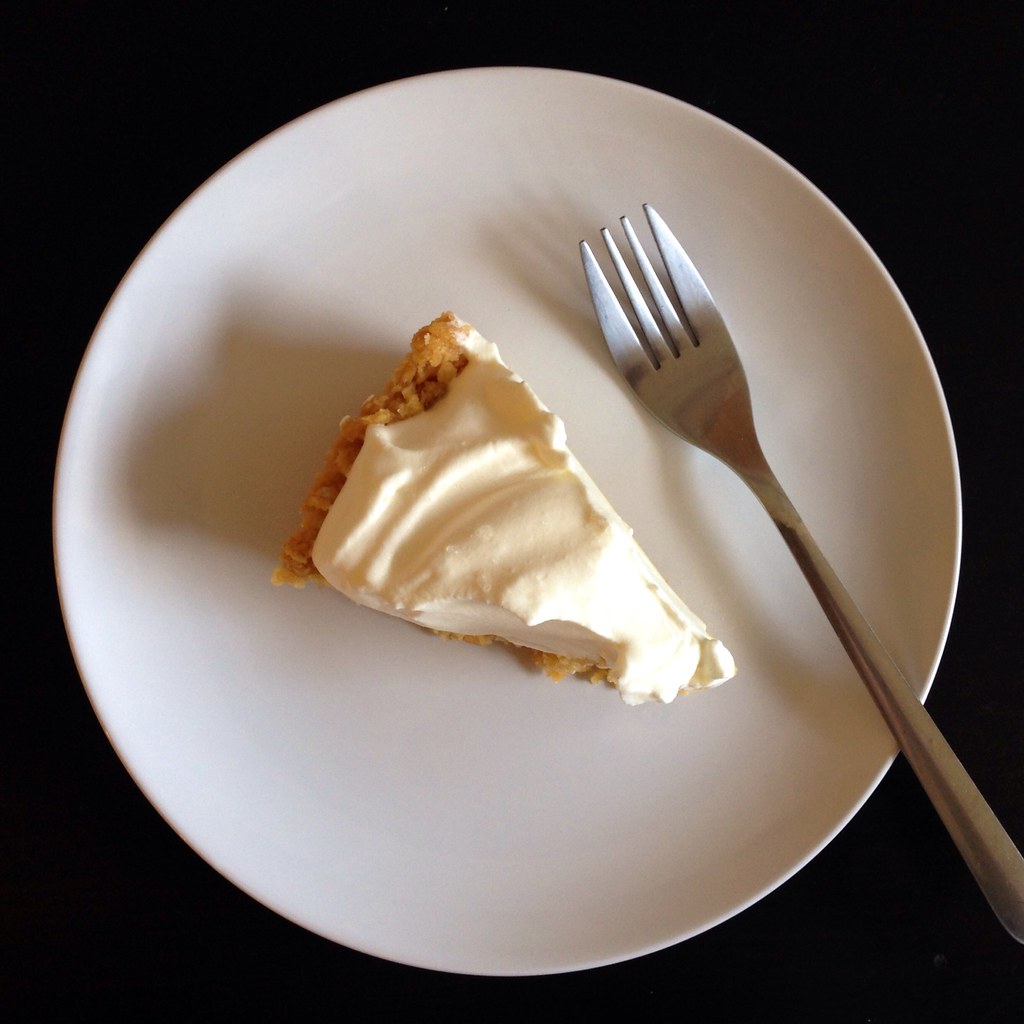
By the way, this is what happens when you try to carefully cut a slice and transfer it to a plate to take a picture.  Fail.  Still yummy, though! 

https://www.flickr.com/photos/joyosity/14735469470/

Next:  Crispy Skinned Salmon Teriyaki
Previously:  Citrus Cured Salmon
Last Year:  Crimini Mushroom Risotto

Friday, August 8, 2014

Sea Salt Cold Brew Coffee

https://www.flickr.com/photos/joyosity/14631293897/

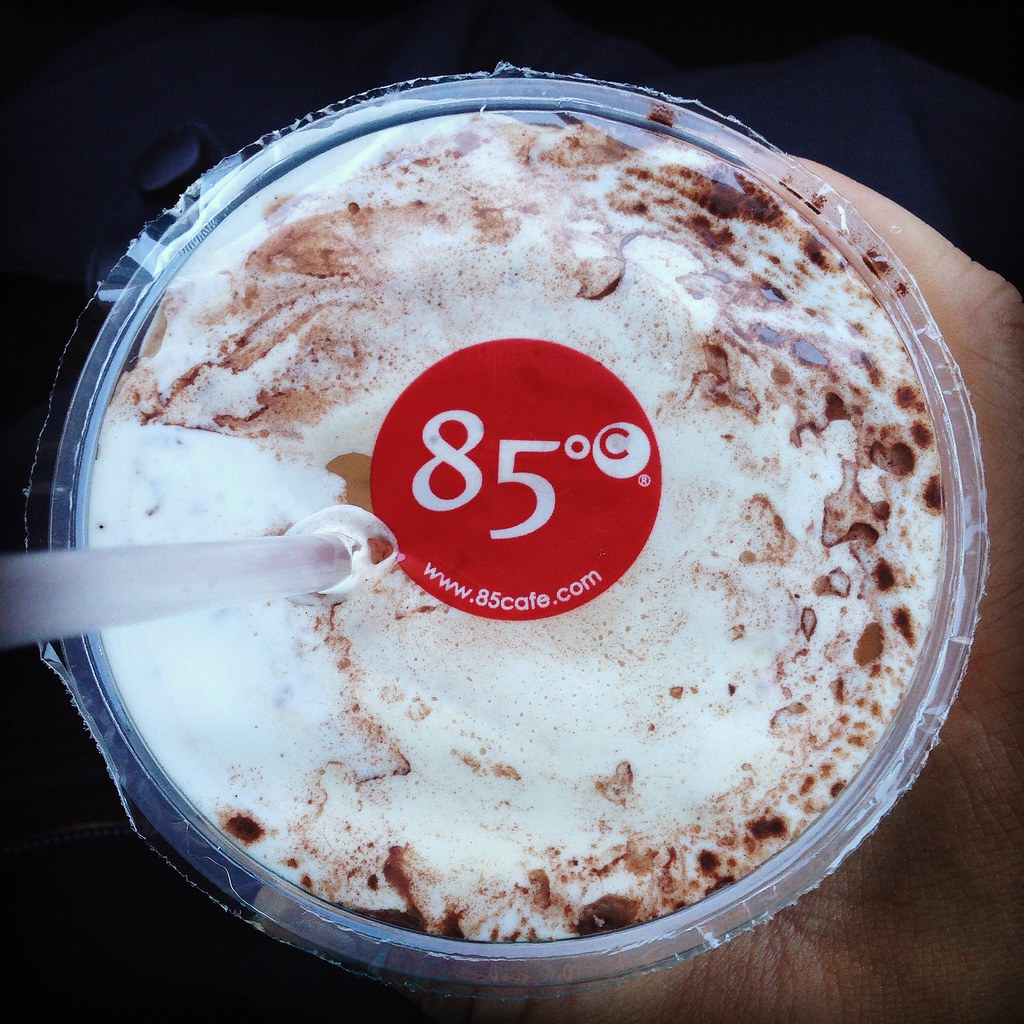
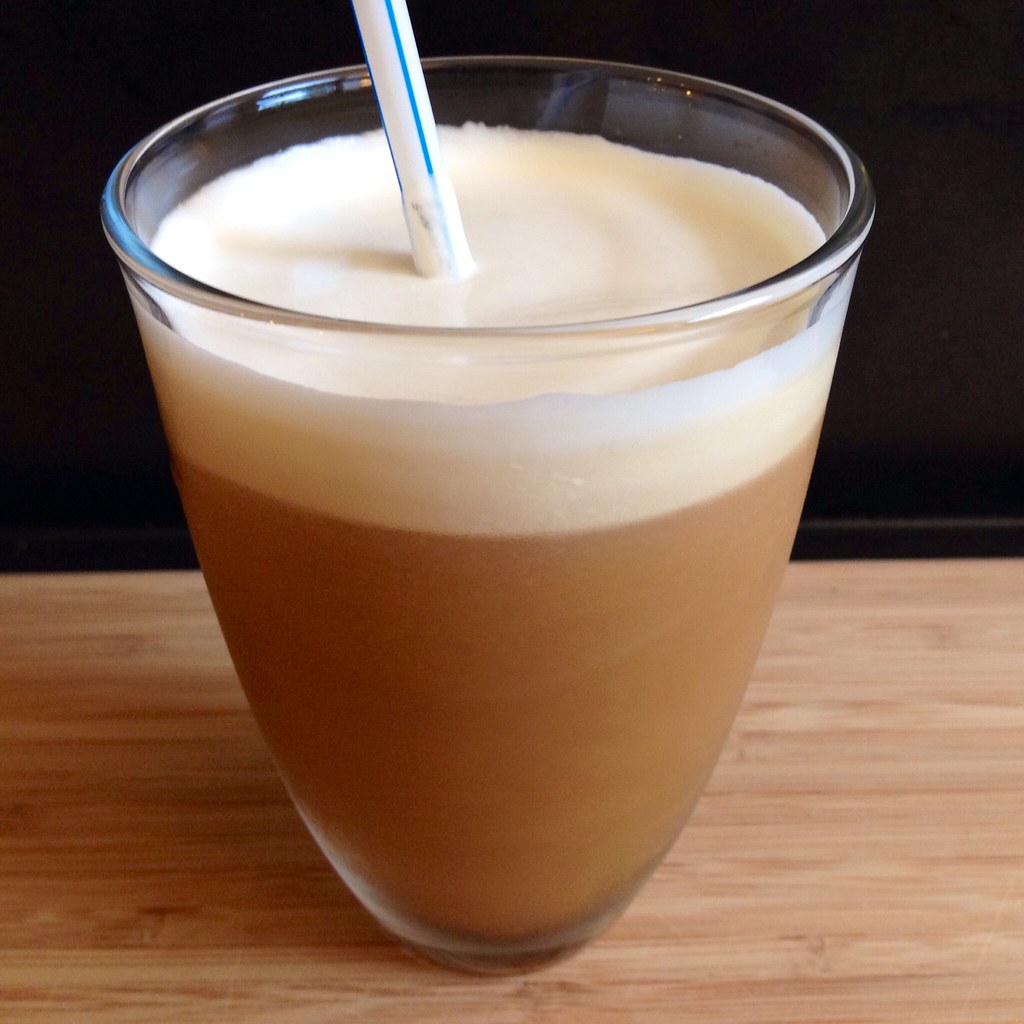
I was in Irvine recently for a family vacation, and one of the places I looked forward to going to the most was 85°C, a cafe and bakery chain from Taiwan.  Their most popular drink is probably the sea salt coffee, an iced coffee drink with cream and a pinch of sea salt for that salty-sweet flavor dimension.

https://www.flickr.com/photos/joyosity/14631174759/

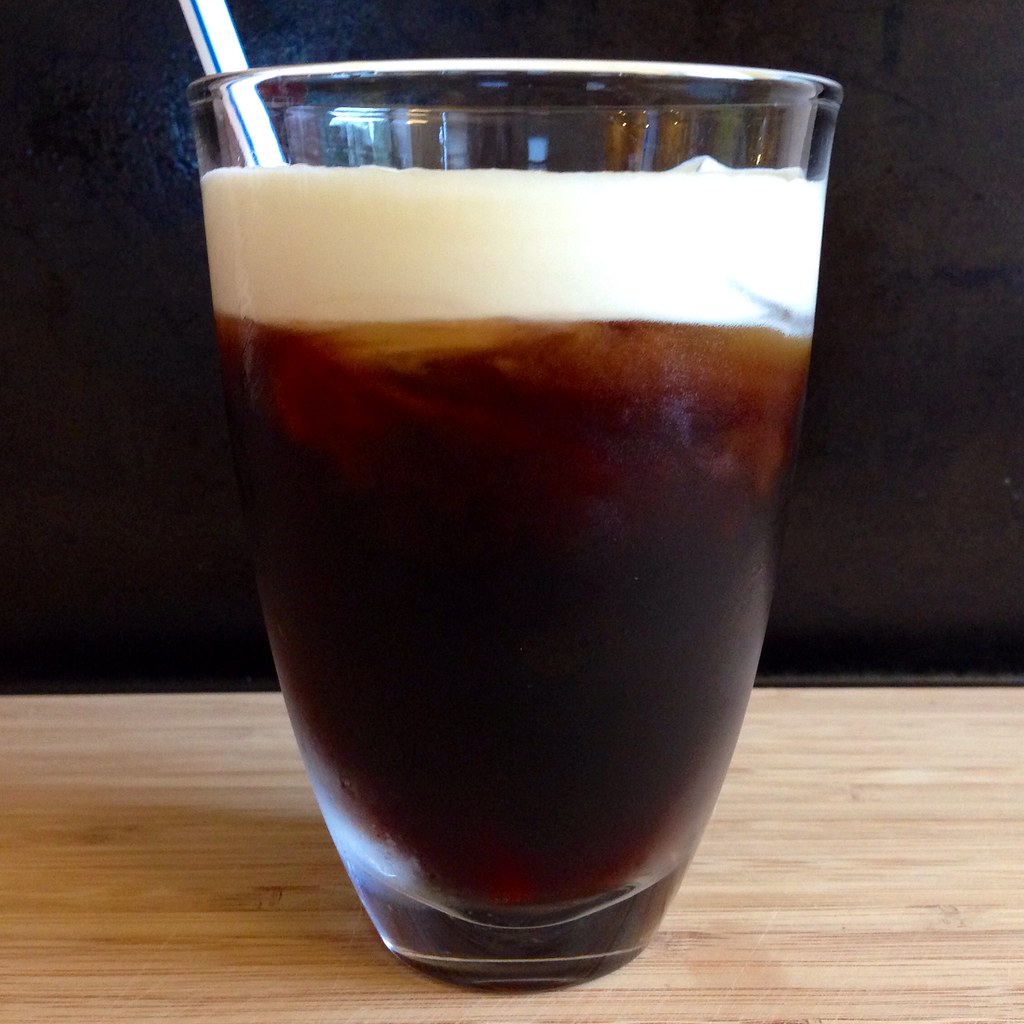
Since I had some extra cream from making the mango passion caramels, I decided to try to recreate the sea salt coffee at home using cold brew coffee.  Instead of making a simple syrup in order to sweeten the iced coffee, I just added brown sugar to the ground coffee like I do for the magical cold brew coffee.  The sugar naturally dissolves all on its own during the overnight cold brew process.

https://www.flickr.com/photos/joyosity/14794845856/

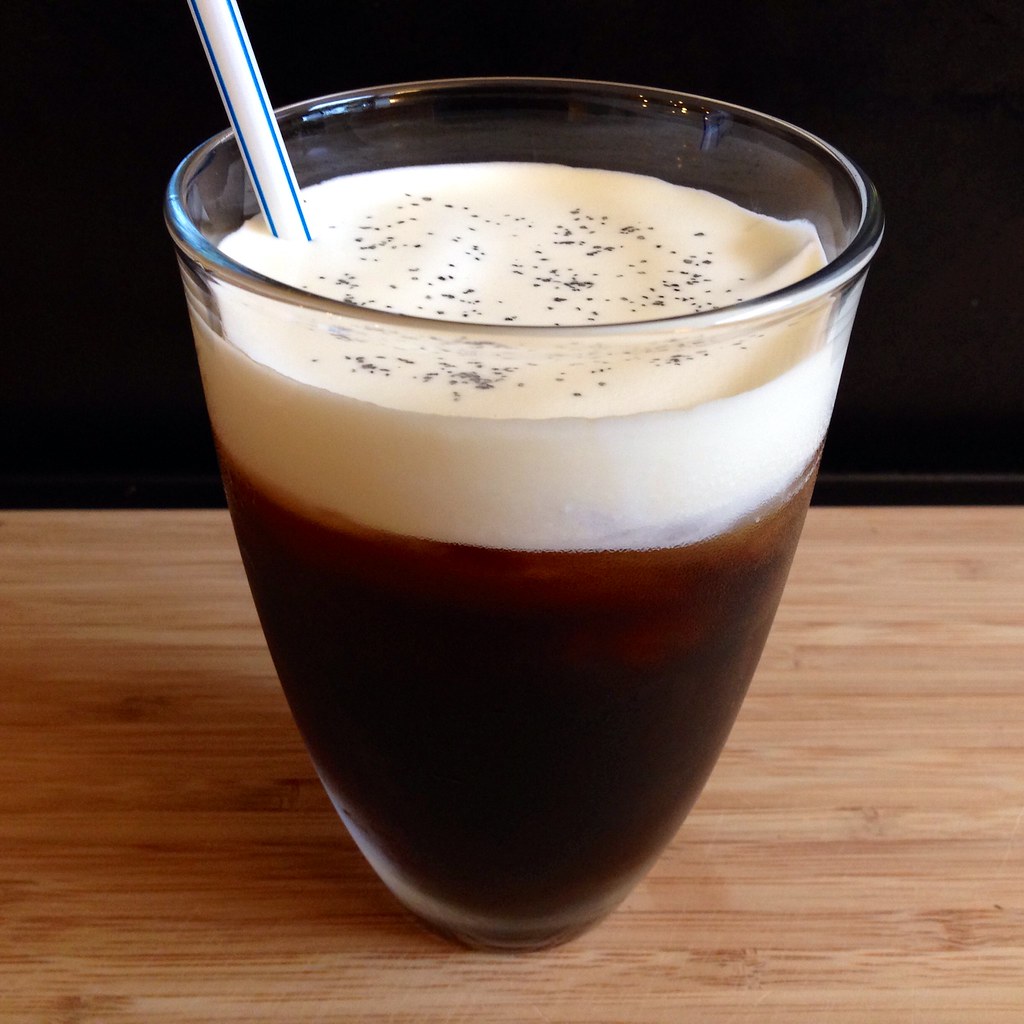
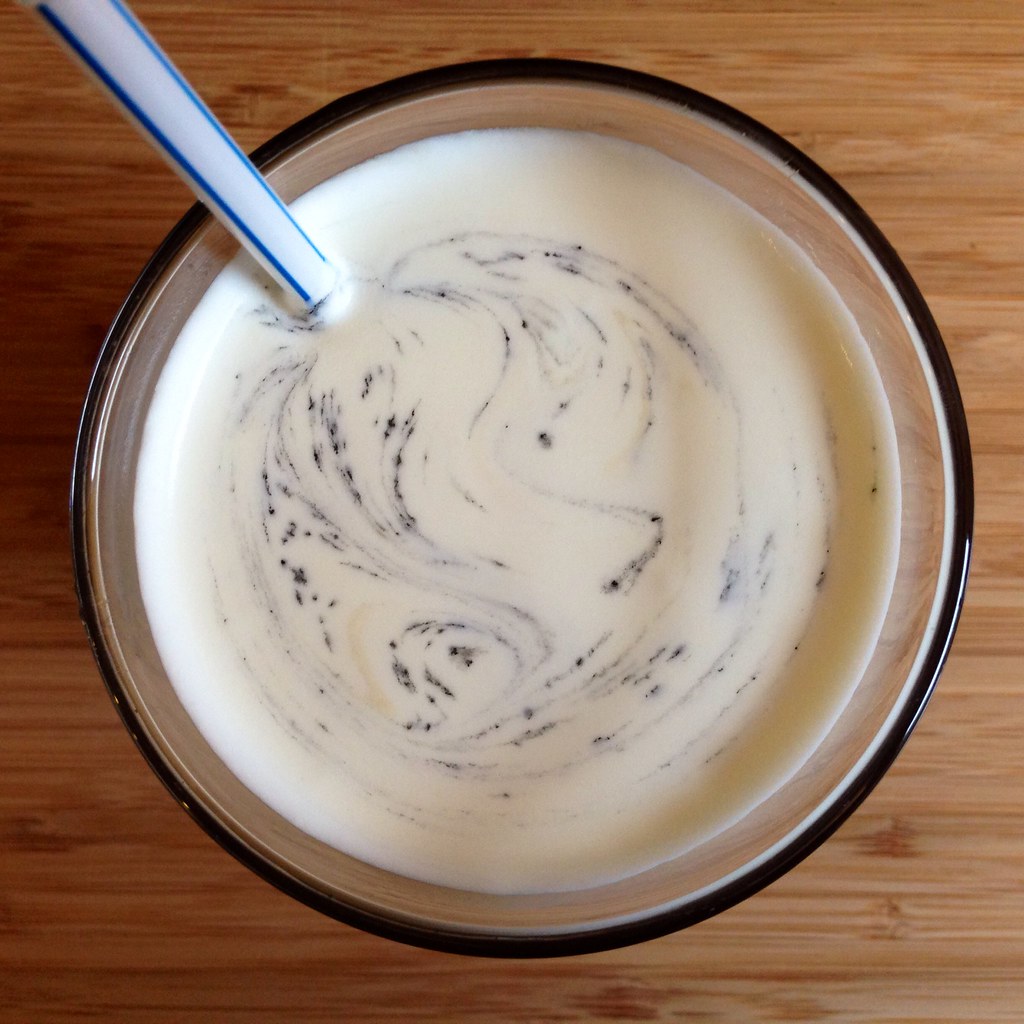
For extra funsies, I topped the drink with some Hawaiian black lava sea salt, but you can use regular sea salt or skip that step if you like.  I particularly liked how it looked once I started swirling it around.

https://www.flickr.com/photos/joyosity/14837670083/

Sea Salt Cold Brew Coffee
makes 3-4 drinks

1/2 cup coffee beans, ground
3 tablespoons brown sugar
1/2 cup heavy cream, chilled
1/4 teaspoon sea salt, plus more for garnishing if desired
Ice cubes

Combine the ground coffee with the brown sugar in a 2-cup French press or measuring cup.  Add enough cold, filtered water to reach the 2 cup line.  Stir to make sure all the coffee grounds get wet.  Let sit a few minutes and then stir one more time to disperse all the coffee grounds that have floated to the top.  Cover and let sit overnight at room temperature.

The next day, press and/or filter the cold brew coffee.  Store in the refrigerator until needed.

Whip together the heavy cream and 1/4 teaspoon sea salt until the cream has thickened but before it reaches soft peaks.

https://www.flickr.com/photos/joyosity/14631200118/

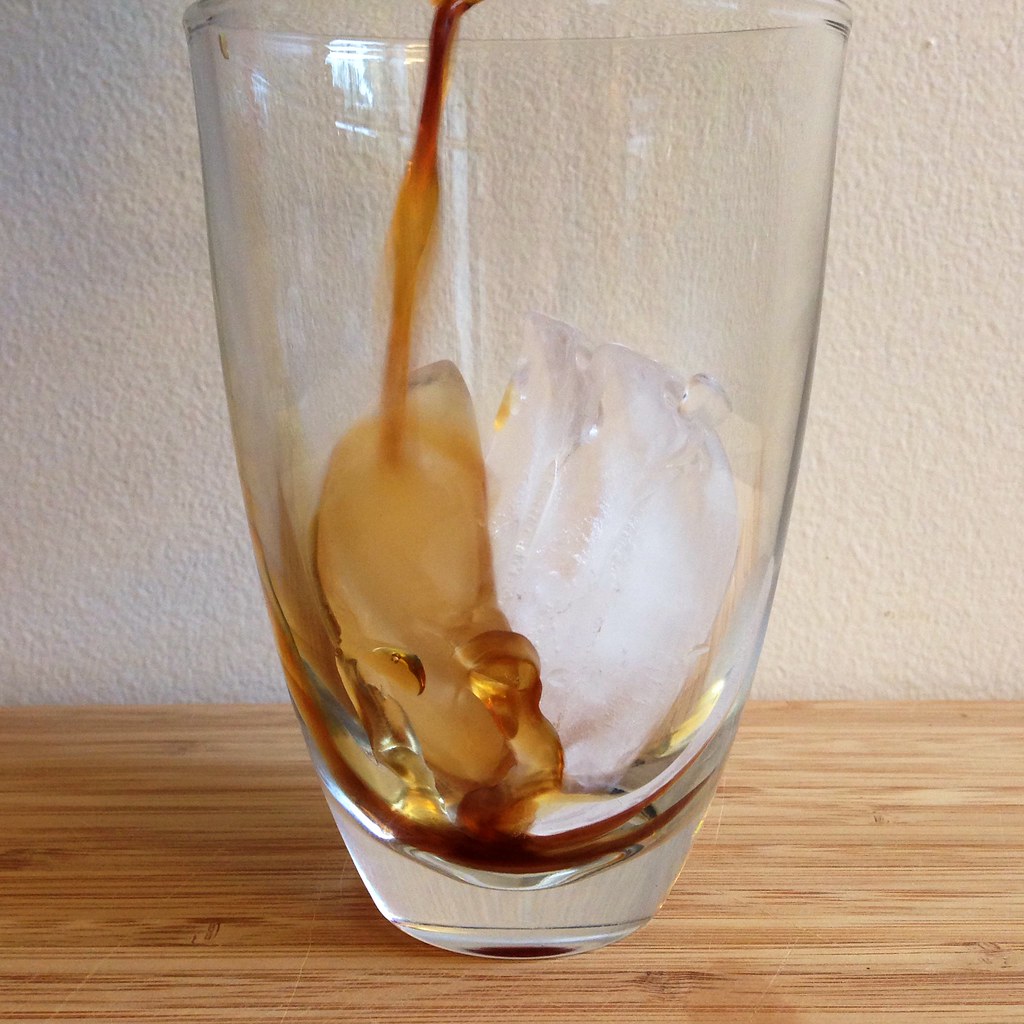
Add 3-4 ice cubes to each glass and fill with coffee, leaving at least a half inch of space on top. Spoon the cream on top and garnish with additional sea salt, if desired.  Serve with a straw and stir to combine the coffee and cream layers.

https://www.flickr.com/photos/joyosity/14815474374/

The next time I make coconut whipped cream, I might try to see if it would work well as a replacement for the heavy cream here.

Next:  Coconut Ice Cream with Mango Passion Caramel Swirl
Previously:  Jacques Genin's Mango Passion Caramels
Last Year:  Matcha Green Tea Ice Cream with Matcha Mochi Bits

I am submitting this post to Asian Food Fest #10 Aug 2014 : Taiwan hosted by travelling-foodies.

Thursday, July 10, 2014

Cleveland Cassata Cake (Bonus: In a Jar!)

https://www.flickr.com/photos/joyosity/14579865401/

Growing up in Cleveland, I knew this as "the really yummy cake with the fresh strawberries."  I was aware it had a name, but because I had only heard people say it and never saw it in writing, I always thought it was a "cascada" cake.  It was only after leaving Cleveland that I realized you can't get this cake everywhere, which is so, so sad for everyone else in the world.

https://www.flickr.com/photos/joyosity/14560138156/

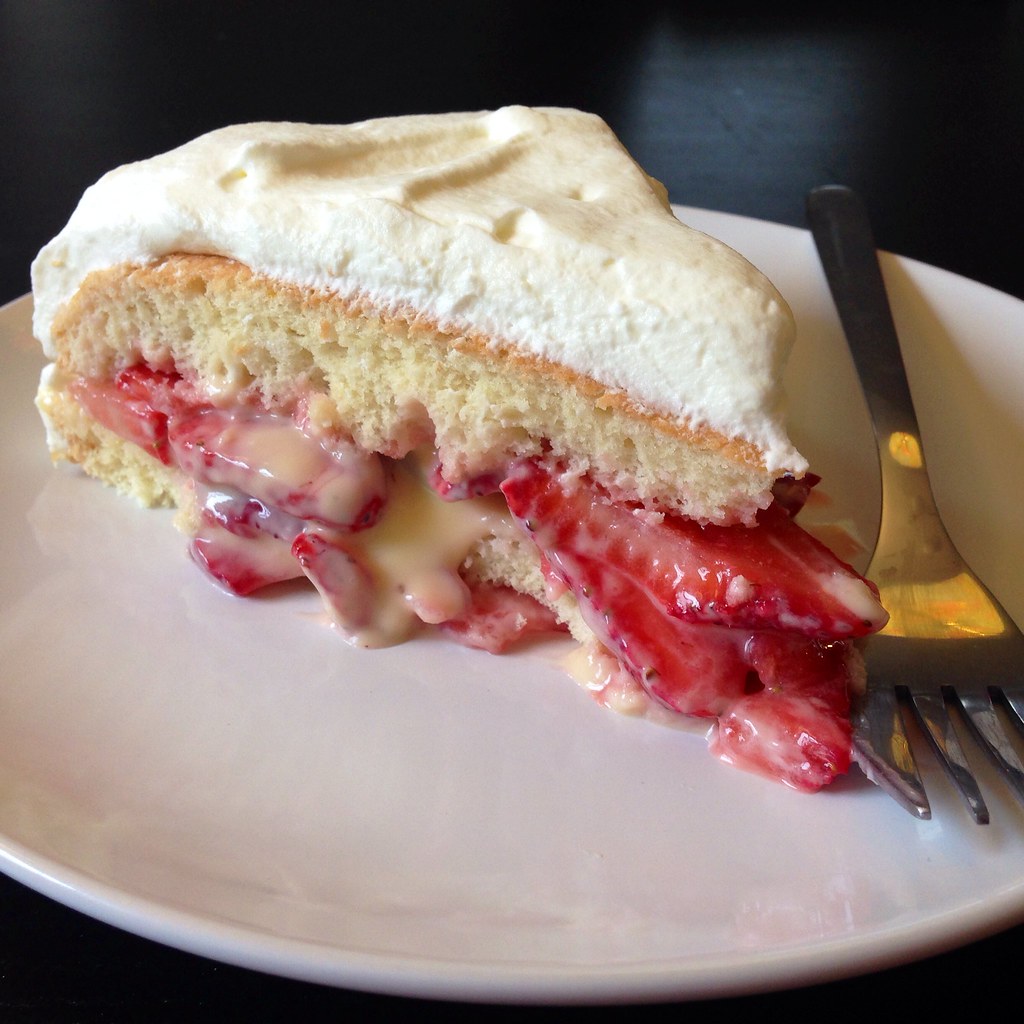
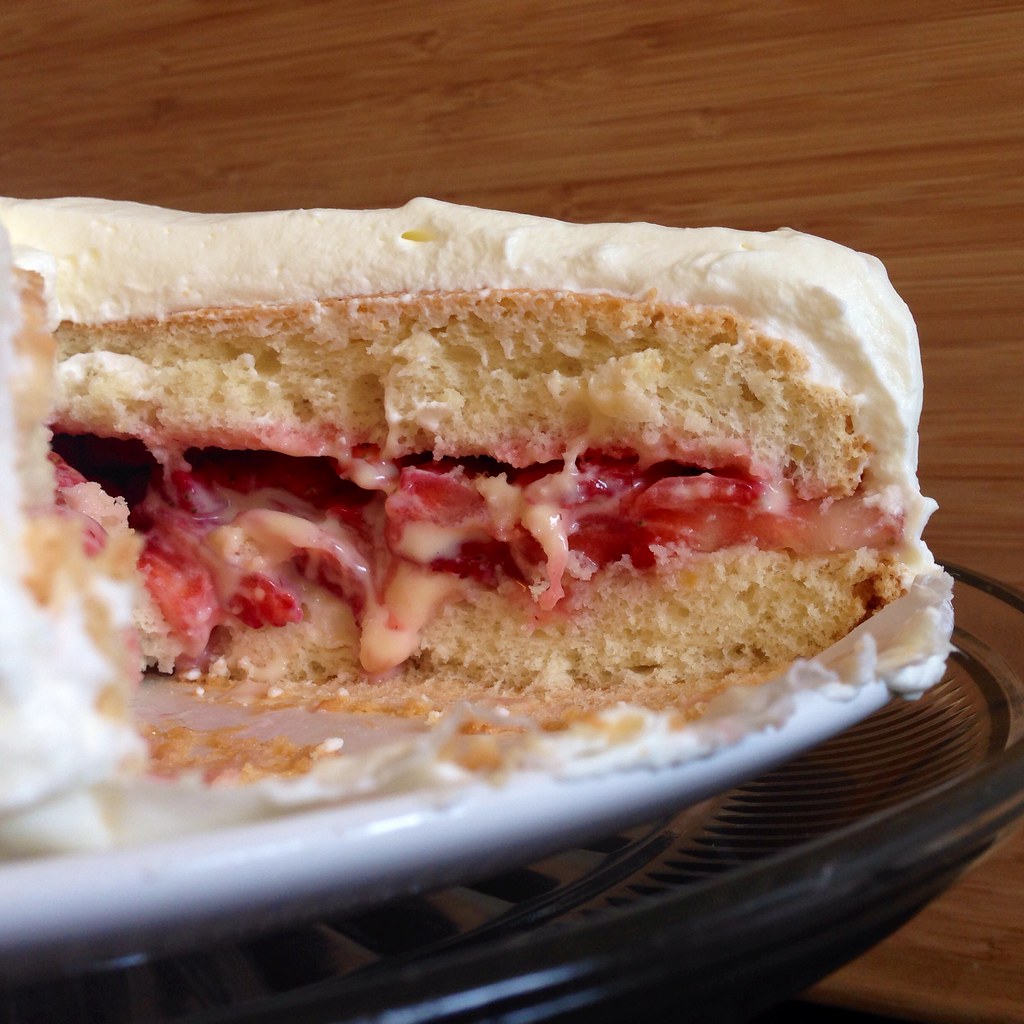
Think of it as the strawberry shortcake of your dreams:  layers of light, moist chiffon filled with fresh strawberries and custard and frosted with whipped cream.  For me, it's the fresh strawberries that really make this cake; they're tossed with just a couple spoonfuls of sugar to release their juices but still stay firm and almost have a little crackle because of the seeds.

https://www.flickr.com/photos/joyosity/14579875291/

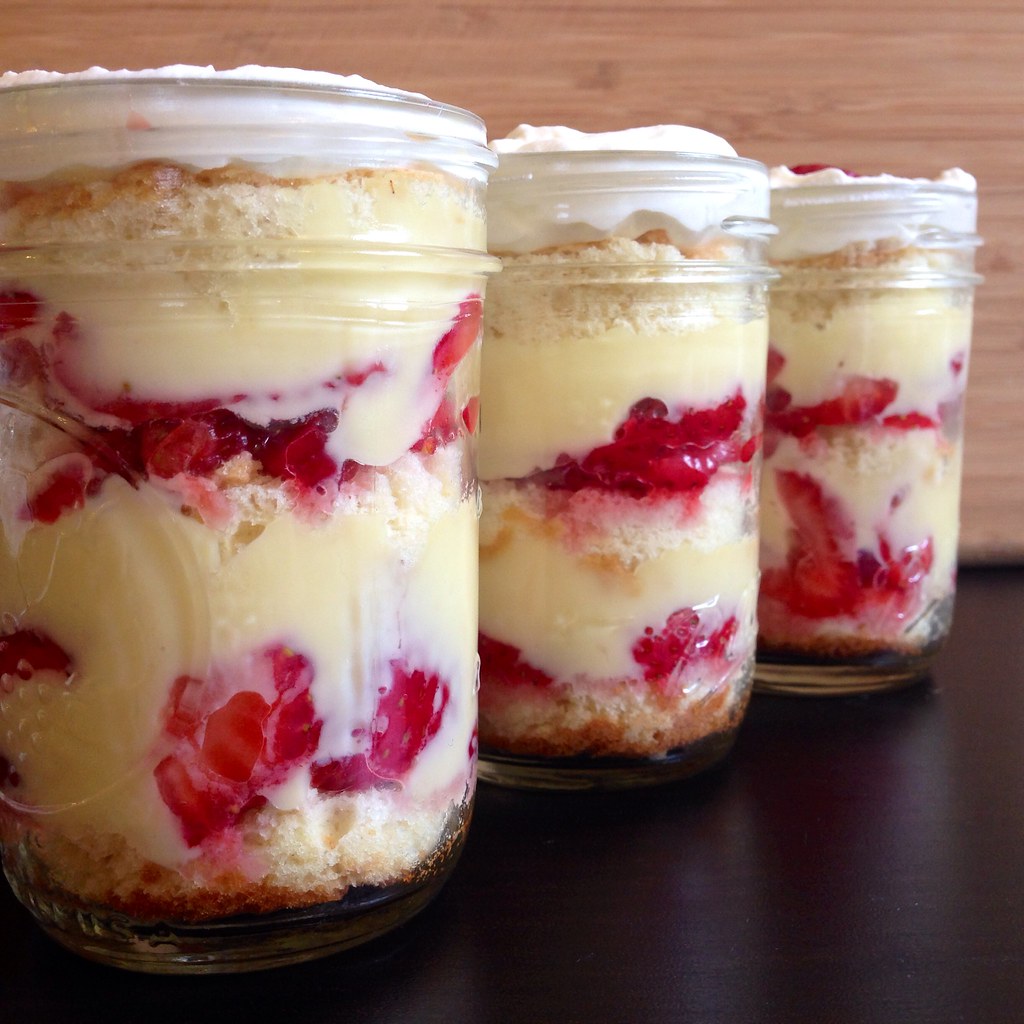
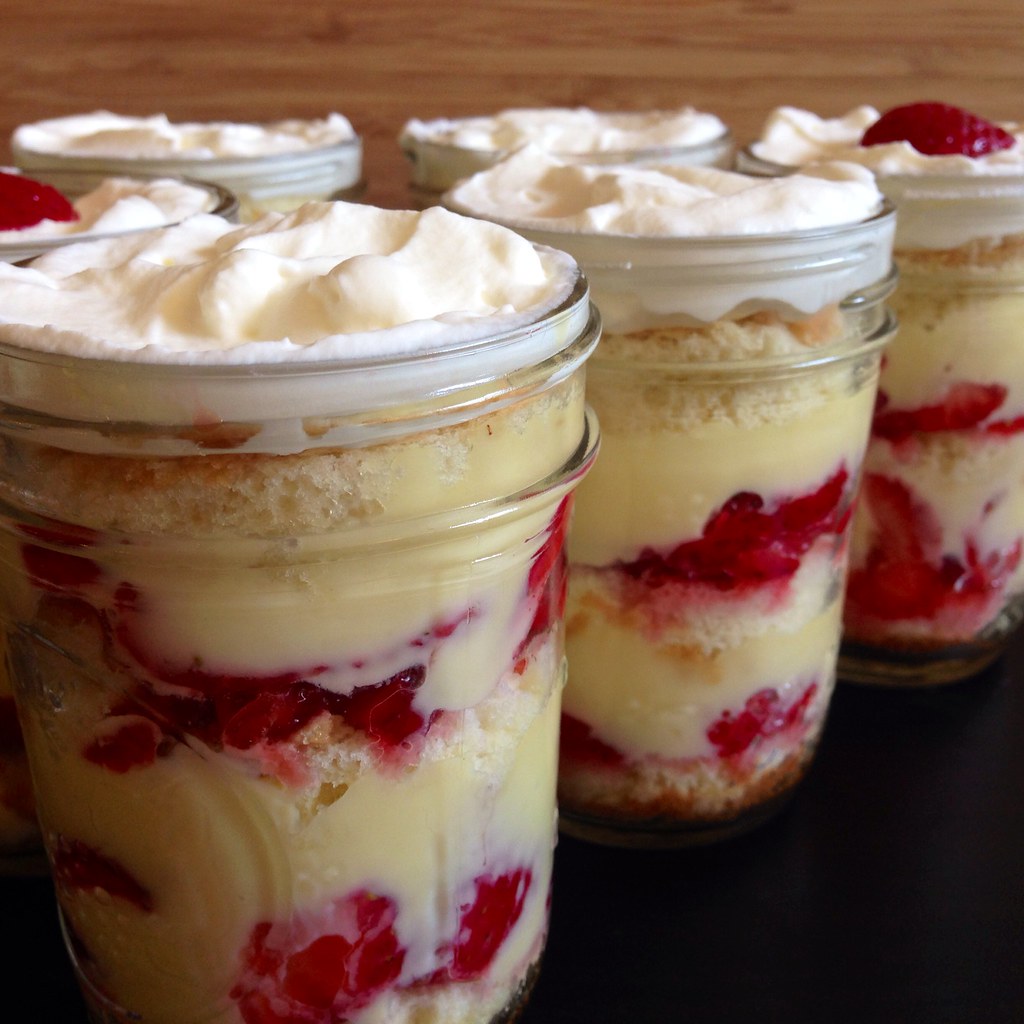
I pretty much followed this recipe from Sweet Amandine, except I decided to only make a two-layer cake with half the recipe and try to make three-layer cakes-in-a-jar with the other half (similar to my Happiness Cake in a Jar).  For the two-layer cake, I chose to put the strawberries on top of the custard only because I figured it would be easier spreading the strawberries over the custard than the other way around.  Since you're not really spreading around the fillings for the cakes-in-a-jar, and it actually looks nicer for the custard to be seeping into the strawberry layer, I flip flopped it for the jar version.  I also decided to use vanilla sugar in the custard since I like the subtle additional flavoring and confectioner's sugar in the whipped cream.

https://www.flickr.com/photos/joyosity/14396545080/

Cleveland Cassata Cake (adapted from Sweet Amandine)
makes one 4-layer cake or one 2-layer cake and ten small (8 oz.) jars or twenty small (8 oz.) jars

For the custard:
6 large egg yolks
1/2 cup vanilla sugar (or regular sugar if you don't have vanilla sugar)
2 cups half and half
3 tablespoons cornstarch

For the cake:
2 1/4 cups cake flour
1 1/4 and 1/4 cups sugar, divided
1 tablespoon baking powder
1 teaspoon salt
3/4 cup cold water
1/2 cup vegetable oil
1 teaspoon lemon zest
1 teaspoon vanilla extract
5 large egg yolks at room temperature
8 large egg whites at room temperature
1/2 teaspoon cream of tartar

For the strawberries:
3 pounds strawberries
2 tablespoons sugar

For the whipped cream:
2 cups chilled heavy cream
1 tablespoon confectioner's sugar

https://www.flickr.com/photos/joyosity/14560131796/

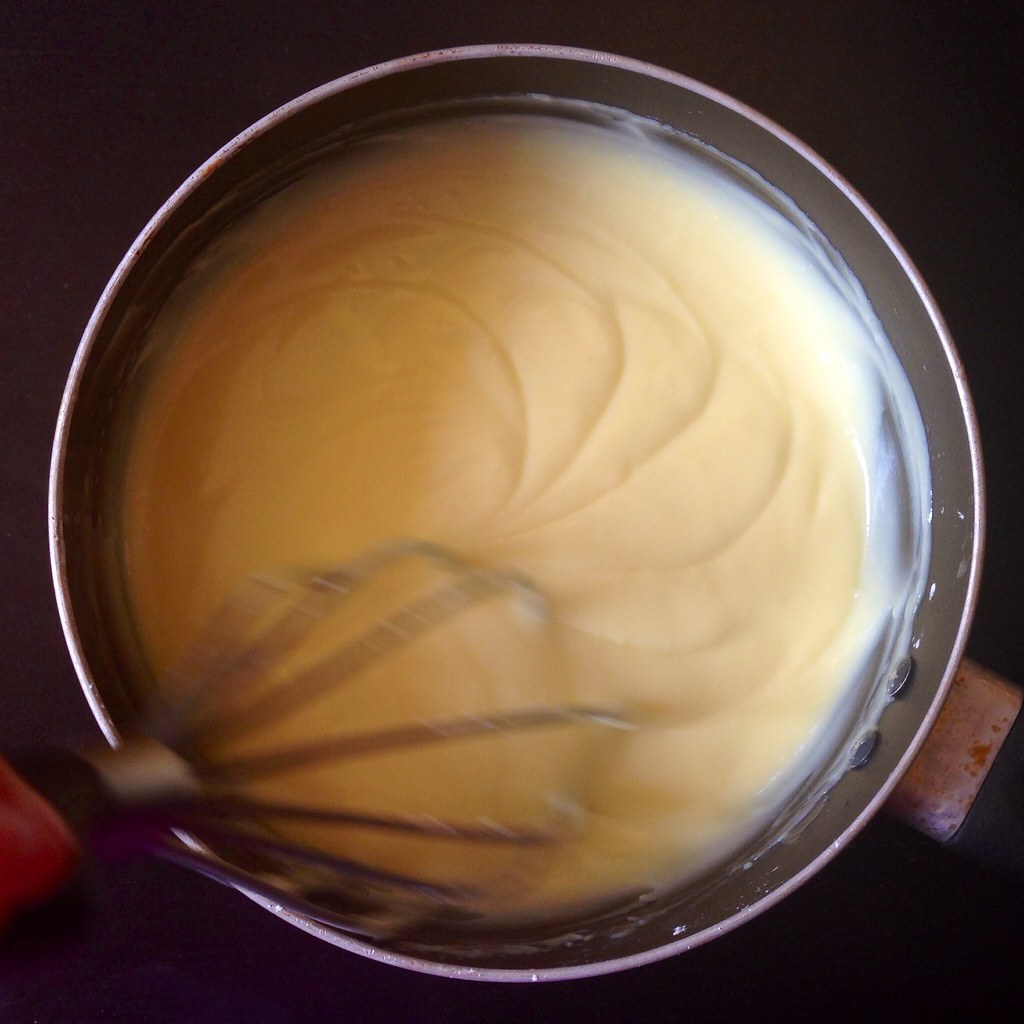
Whisk together all of the custard ingredients in a saucepan.  Heat over medium-low heat, whisking constantly until thickened.  Turn down the heat if it starts to simmer.  Transfer the custard to a bowl, cover with plastic wrap, and cool to room temperature.  Transfer to the refrigerator and chill for at least 3 hours, or up to 2 days.

Preheat the oven to 325°F. Line the bottoms of two 9" round cake pans with lightly oiled parchment paper.  Sift or whisk together the flour, 1 1/4 cup sugar, baking powder, and salt in a large mixing bowl.

https://www.flickr.com/photos/joyosity/14603289003/

In a separate bowl, beat together the yolks, water, oil, lemon zest, and vanilla until smooth. Stir into the flour mixture. In another large bowl beat the egg whites with the cream of tartar until soft peaks form. Add the remaining 1/4 cup sugar and beat on high until the peaks are stiff but not dry.

https://www.flickr.com/photos/joyosity/14603287933/

Using a rubber spatula, fold about a quarter of the fluffy egg whites into the egg yolk mixture. Then very gently fold in the remaining whites. As soon as the egg whites are no longer visible, stop folding. Scrape the batter into the prepared cake pans and spread evenly. Bake for approximately 35 minutes or until the top springs back when lightly pressed and a toothpick inserted into the center comes out clean.

https://www.flickr.com/photos/joyosity/14582437592/

In the meantime, hull and slice the strawberries thinly, reserving a few to garnish the top of the cake with.  Sprinkle with the sugar and stir. Allow the strawberries to macerate for 1 hour, giving them a stir every so often. Strain the berries, reserving the released juices.

https://www.flickr.com/photos/joyosity/14582440632/

Allow the cakes to cool in their pans on a cooling rack for at least an hour. When completely cool, run a knife around the sides to release the cakes, cover each pan with a wax paper-lined plate, and flip. Gently lift the pans off of the cakes.

Carefully slice the cakes in half with a bread knife so you have four layers (or two, depending on how many cakes you made). Place each layer on a wax paper-lined baking sheet or plate.

Whip the cream and sugar together until stiff, making sure not to overwhip (or else you'll be making butter!).

https://www.flickr.com/photos/joyosity/14581373324/

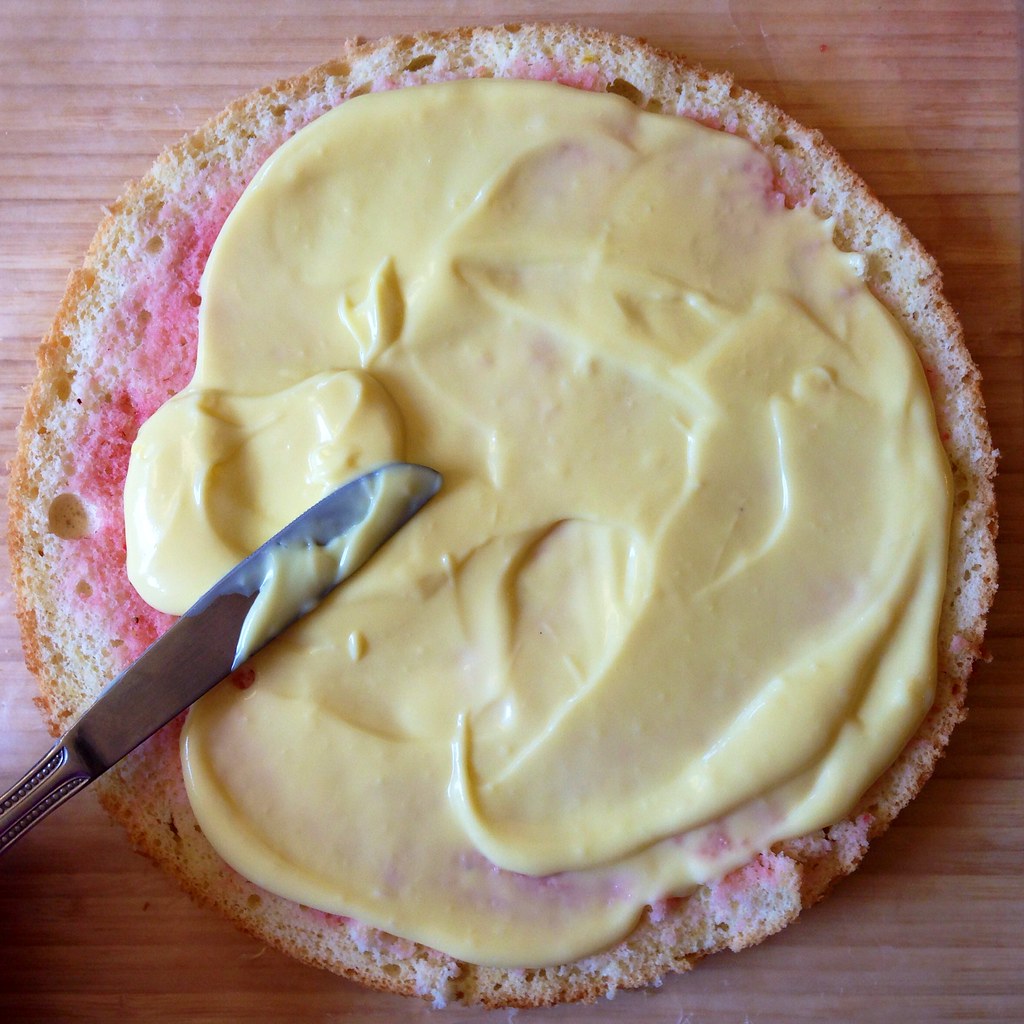
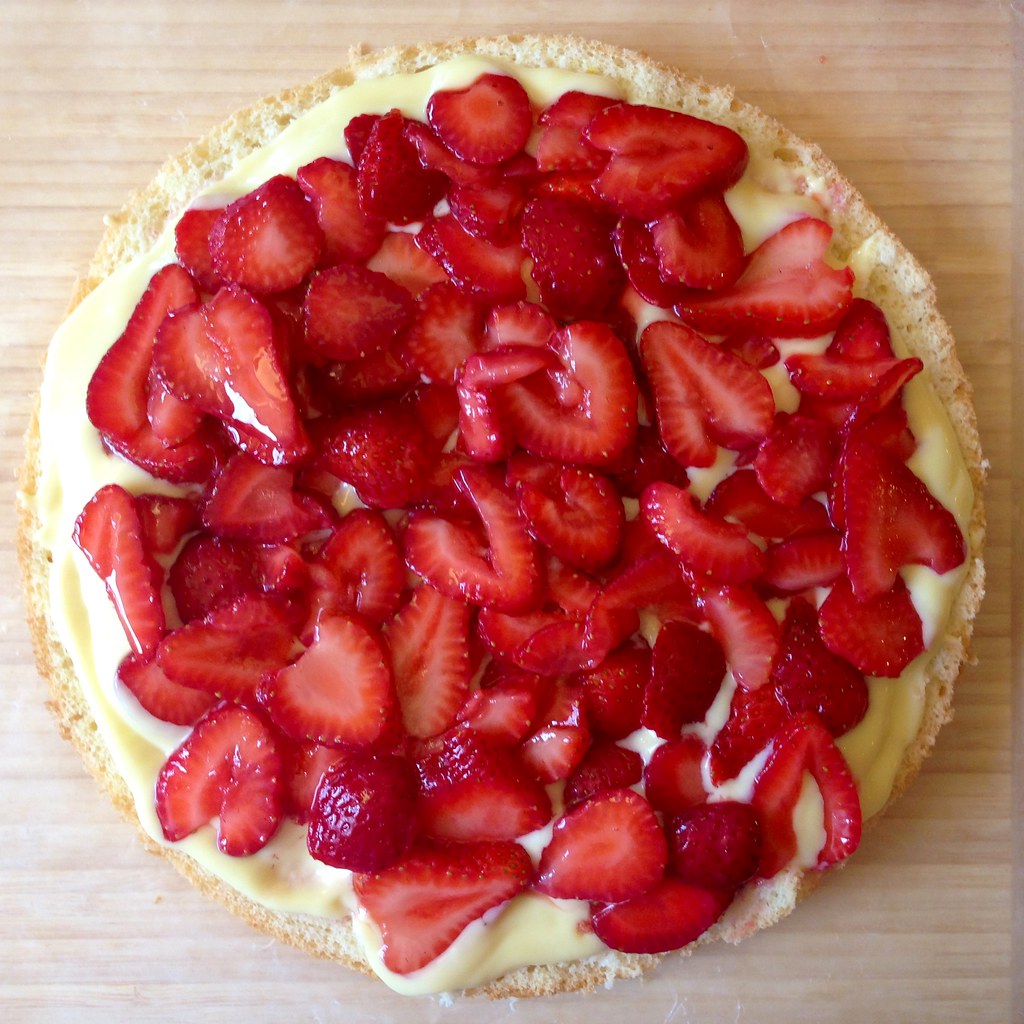
Place one cake layer on a wax paper-lined baking sheet. Brush with the reserved strawberry juice. Cover with a layer of custard, and then a layer of strawberries.

https://www.flickr.com/photos/joyosity/14396570728/

Repeat for the following layers if you are making more than a two-layer cake.

https://www.flickr.com/photos/joyosity/14583177325/

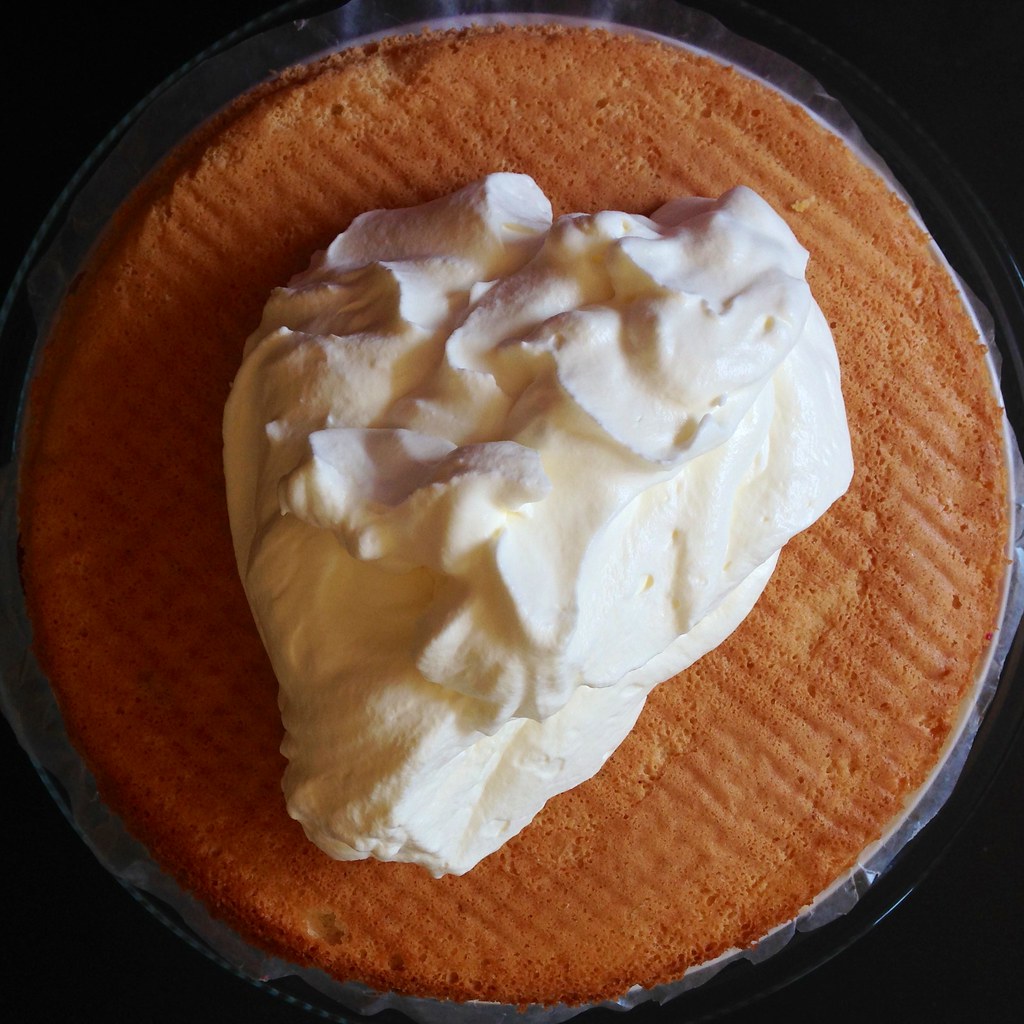
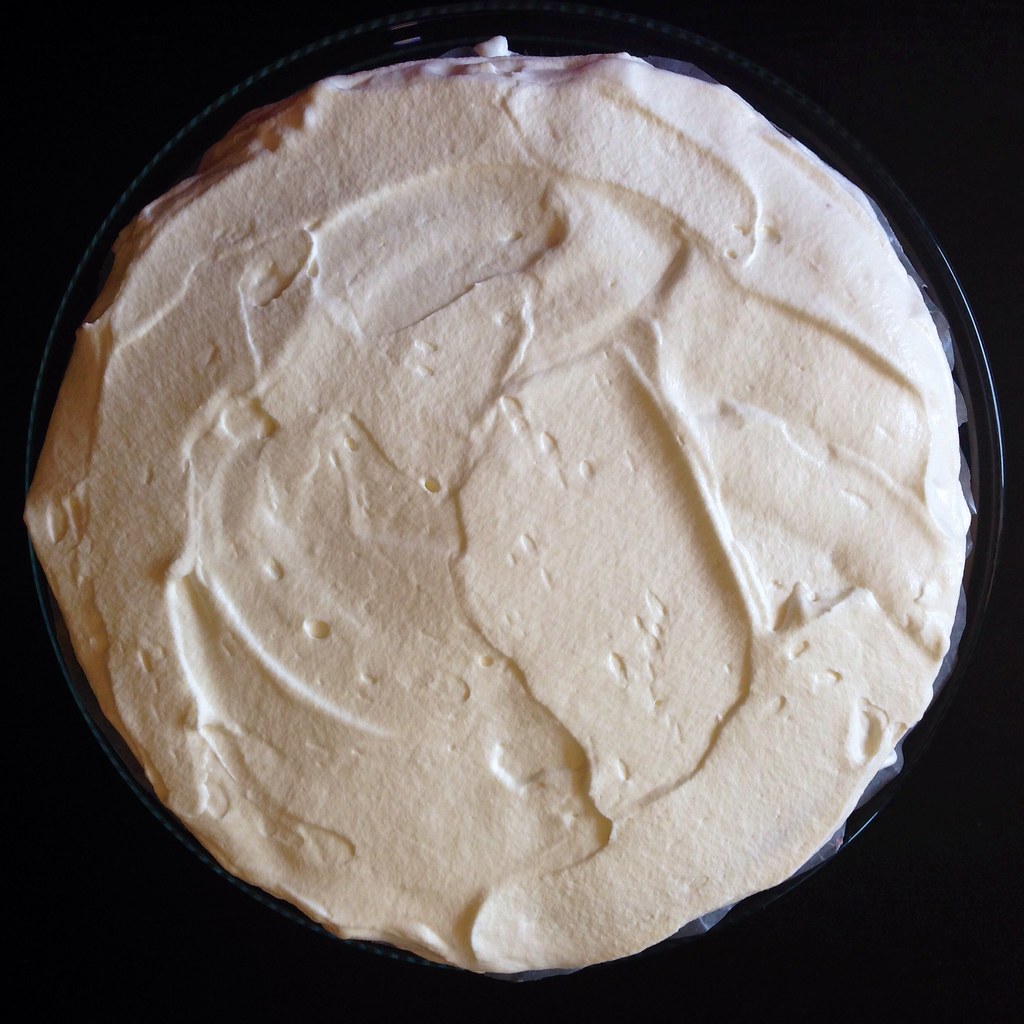
Plop the whipped cream on top of the cake.  Use a spatula to spread the whipped cream across the top and then over the sides of the cake.  Top with the reserved strawberries, if you remembered to save any (which I didn't).

https://www.flickr.com/photos/joyosity/14583179315/

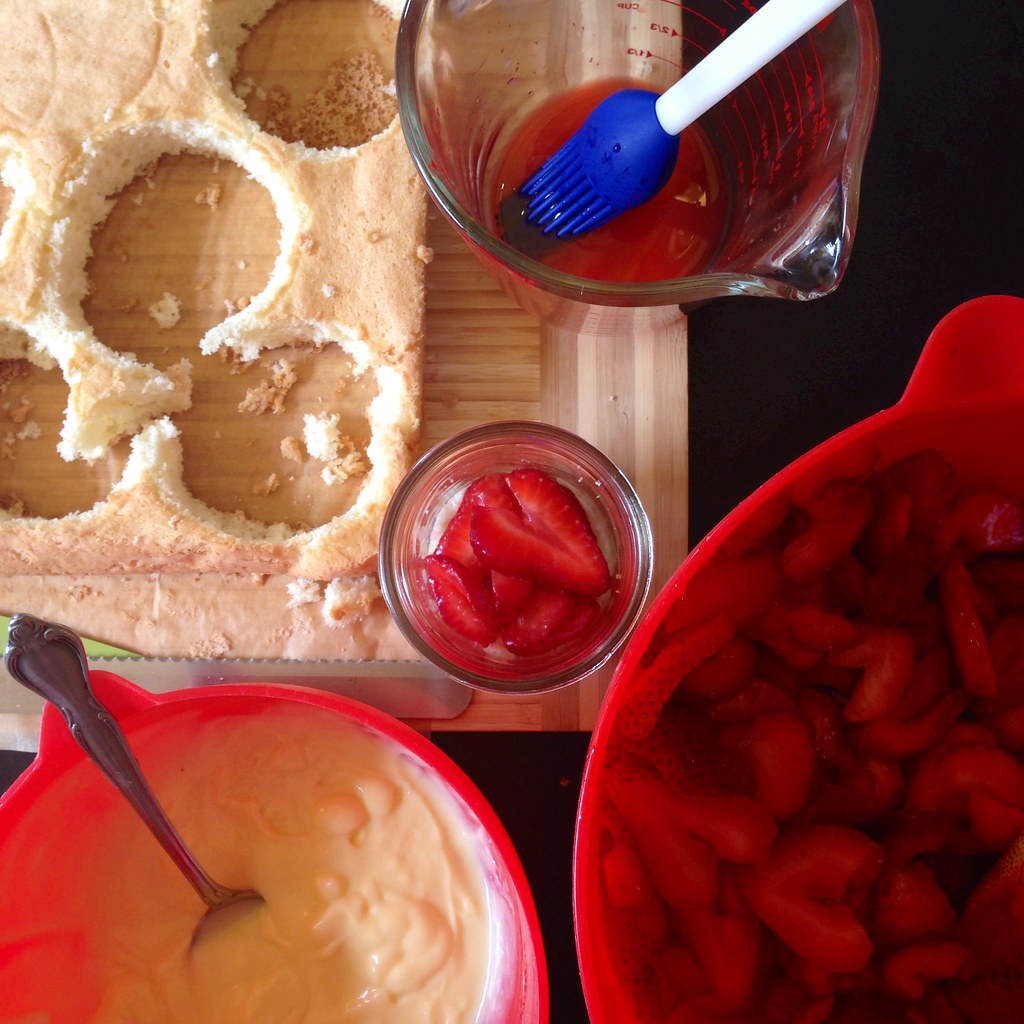
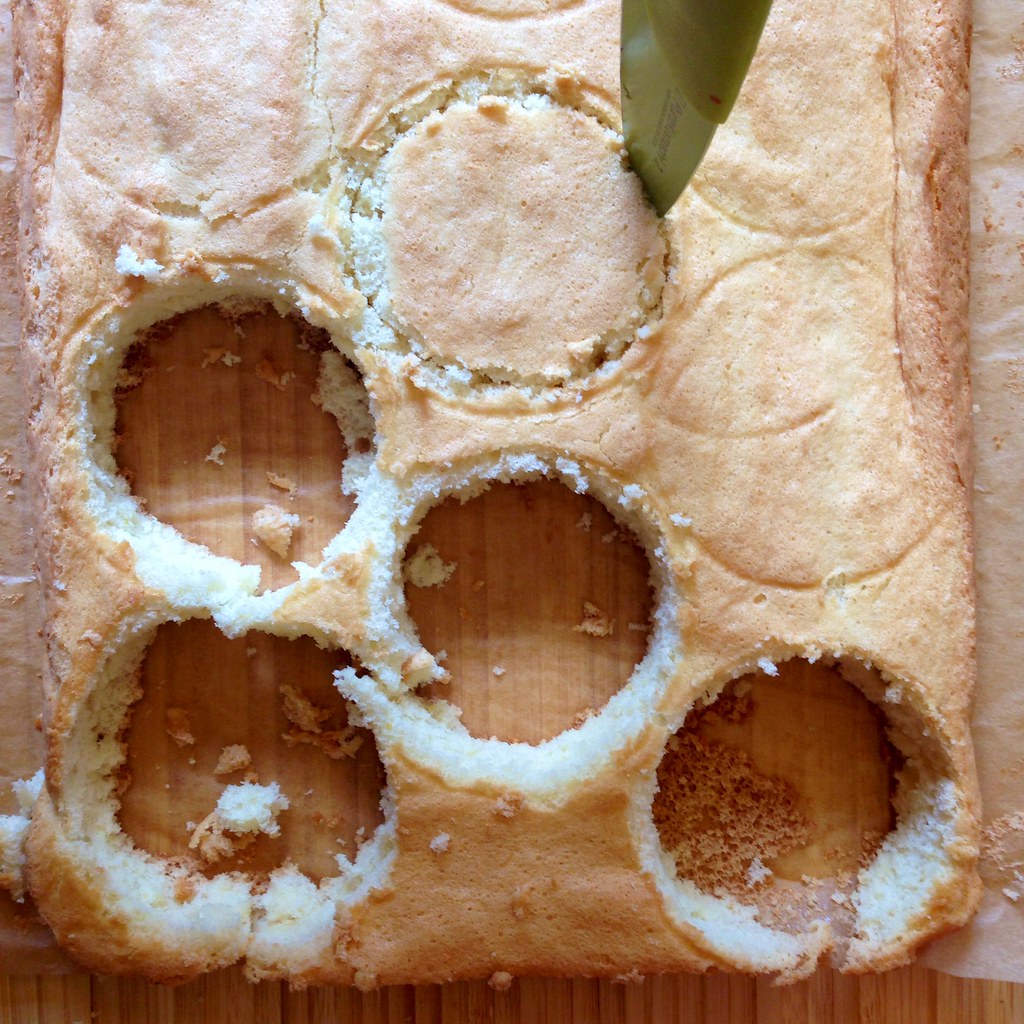
To make the cakes in a jar, bake the batter in two lightly oiled parchment paper-lined 9"x13" cake pans.  Once the cakes are cooled, use the lid of the jar as a template to cut out 10 (I was able to get 11, but 10 is a nicer, round number) circles, making sure to cut slightly inside the outline so that the cake will fit inside the jar.

https://www.flickr.com/photos/joyosity/14579872041/

Tear the remaining cake scraps into large crumbs (you will use this for the middle layer of each jar). 

https://www.flickr.com/photos/joyosity/14583187435/

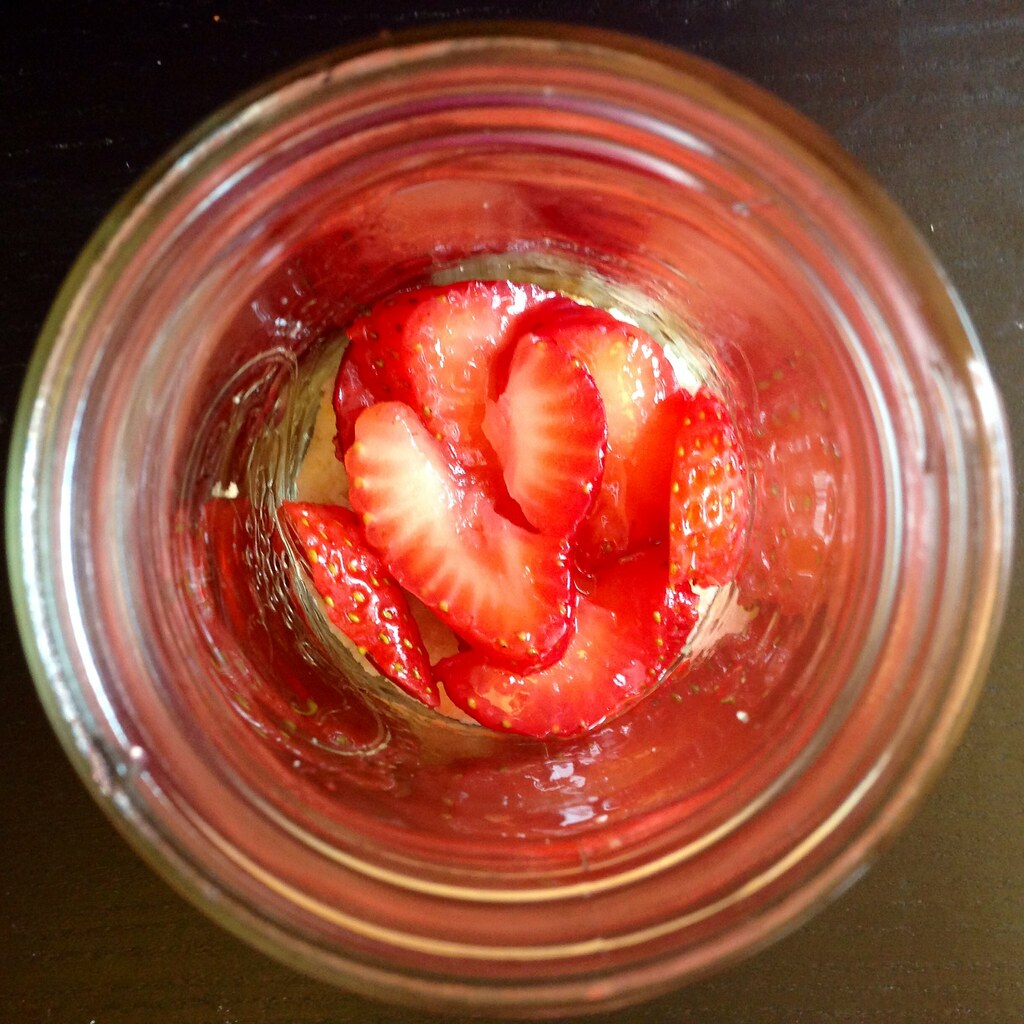
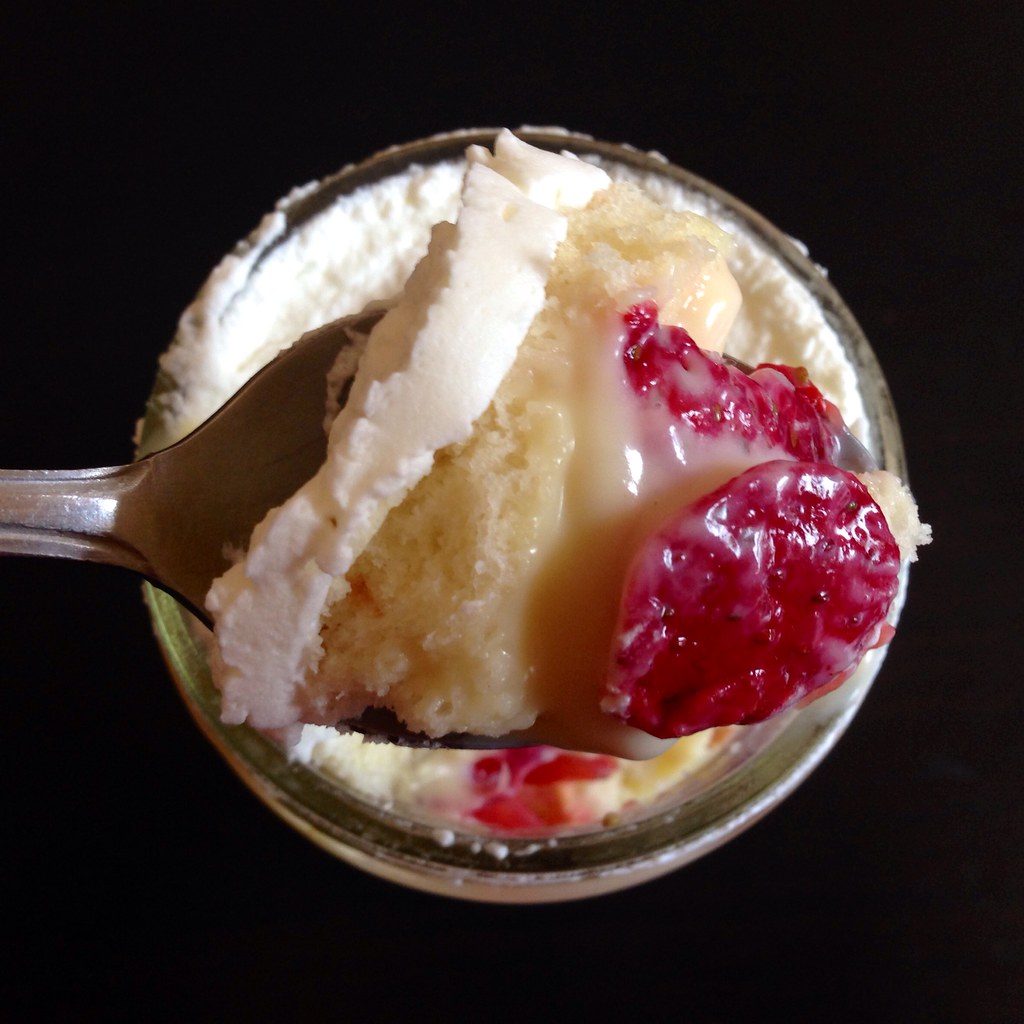
Slice each cake circle in half.  Place the bottom half in the bottom of a jar.  Top with a spoonful of the sliced strawberries (including some juices) and then a spoonful of custard.  Tap the jar a few times to make sure everything is settled.  Top with a layer of the cake crumbs and then another layer of the strawberries and custard.  Place the top half of the cake circle on top of the second layer of custard and top it all off with a dollop of whipped cream.

https://www.flickr.com/photos/joyosity/14396784537/

I'm not going to lie, making this cake is definitely a labor of love, but well worth it.  When I was finally done and took my first bite, I tasted exactly like childhood. ^_^

https://www.flickr.com/photos/joyosity/14396600119/

Next:  Homemade Choco Tacos
Previously:  Watermelon Agua Fresca and Popsicles
Last Year:  BLT with Avocado and Basil Mayonnaise

Friday, January 17, 2014

Banoffee Pie


Sherlock is back!*  I discovered BBC's Sherlock last winter and have been impatiently waiting for series 3 for what feels like forever!  What's so great about the show?  The acting, the writing, the mysteries, the chemistry, and of course, Mr. Benedict Cumberbatch himself.  ^_^

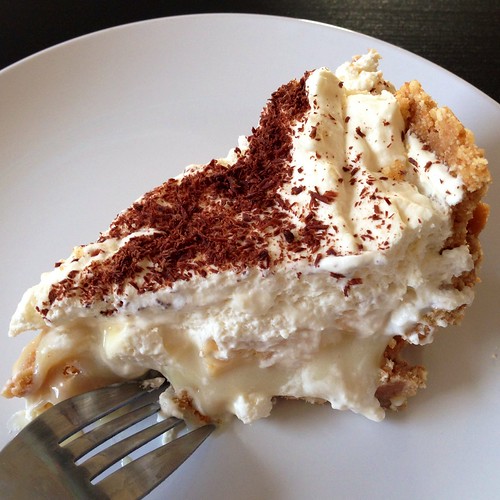
I read in an interview that his favorite dessert is banoffee pie, so I decided to try to make one to celebrate the return of Sherlock.  I've been intrigued with this dessert ever since I first saw Juliet offer it to Mark as a sort of peace offering in Love Actually.  With a crust made from crushed digestive biscuits, the pie is filled with layers of creamy toffee, sliced bananas, and lots of whipped cream.  The dessert is British in origin, like the sticky toffee pudding I made previously, and the name comes from an amalgam of "banana" and "toffee".

I couldn't find any digestive biscuits in my local grocery store, so I used good ol' American Nilla wafers.  In a pinch, you could probably use a prepared graham cracker crust.  Some of the recipes I looked up used sweetened condensed milk boiled for hours in the can (essentially homemade dulche de leche) for the toffee layer, but if you don't have hours, you can just make a quick filling using butter, brown sugar, and sweetened condensed milk.

This dessert kind of reminds me of Benny in that it's certainly not the prettiest dessert to look at, but once you've had some, it's irresistible.  ;)


Banoffee Pie (adapted from Saveur)
makes 1 pie

2 sticks unsalted butter
11 oz. box of Nilla wafers
½ cup packed brown sugar
14 oz. can sweetened condensed milk
3 or 4 bananas
1 pint heavy cream
Powdered sugar, to taste
A pinch or two of espresso powder (optional)
Grated chocolate

Melt one of the sticks of butter in a small saucepan.

Crush the wafers in a food processor until you get a fine crumb texture. Transfer to a bowl and stir in the melted butter. Press into a pie pan. Chill the crust in refrigerator for at least one hour.

Melt the other stick of butter in a small saucepan. Stir in the brown sugar and melt over low heat. Add the condensed milk and bring the mixture to a boil for a few minutes, stirring continuously.

Pour the filling into the crust. Cool and chill again for at least one hour until the caramel is firm.

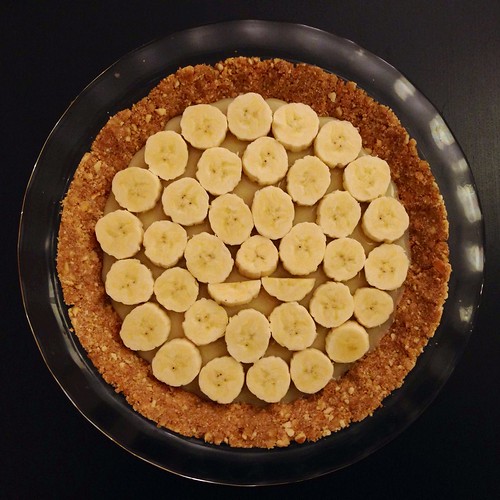
Slice the bananas and place them in a single layer on top of the caramel.

Start whipping the cream.  Sprinkle in some powdered sugar until the whipped cream is barely sweet (the rest of the pie is already insanely sweet).  Whip in the espresso powder if using.


Top the bananas with the whipped cream, sealing the filling in. Sprinkle the top of the pie with grated chocolate.


*Okay, I may or may not have already watched series 3 at the same time it aired in the UK since I just couldn't wait any longer, but for the majority of Americans, it'll be starting this Sunday on PBS after Downton Abbey!

Next:  Sarah Ruth's Saucepan Brownies
Previously:  Flower Pavlovas
Last Year:  Traditional Croissants
Four Years Ago:  Kalua Pork
Five Years Ago:  Mayonnaise Shrimp with Candied Walnuts

Wednesday, October 24, 2012

Coconut Whipped Cream and Coconut Dulce de Leche

I've mentioned coconut whipped cream a couple of times before so I thought I'd share a quick post on how to make it.  I first heard about it on Oh She Glows, and I love the idea because it uses a non-perishable can of full-fat coconut milk instead of whipping cream, which I rarely keep on hand, which means I can have whipped cream just about any time I want.  Well, except for the fact that you do need to put the can of coconut milk in the fridge for at least a couple of hours.

PA193112
 
Angela flips the can before opening it so that the solid coconut cream is on the bottom, and you can easily pour out the translucent liquid.  Since not all cans are easy to open from the bottom, I've just put the cans upside down in the fridge and then opened them right side up.  Even if you forget to do this, you can still pretty easily scoop the solid stuff out of the top of the can, leaving the liquid at the bottom.  I usually save the liquid to make smoothies out of.

PA193114
 
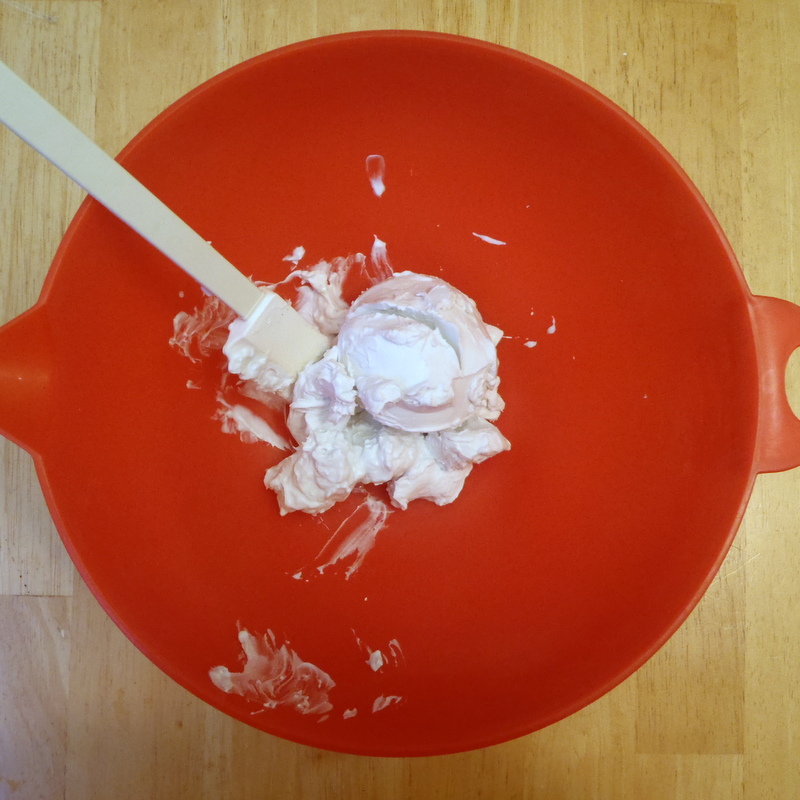
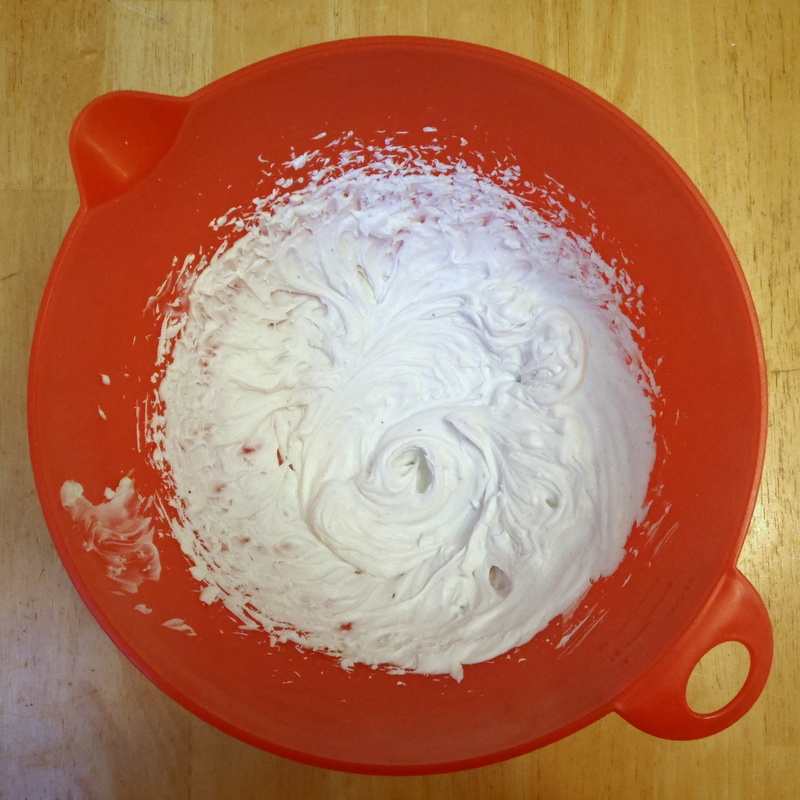
Now put all that nice, solid coconut cream into a large bowl and beat it with a hand mixer.  It helps if you've chilled the bowl and the beaters in the fridge or freezer beforehand, but I've done it without chilling them first and it still worked out okay.  I like to start off with the regular beater attachments and then if it's not getting fluffy enough, I'll switch to the whisk attachment.

PA193117
 
After it's nice and fluffy, go ahead and add some sweetener (I used a tablespoon of sugar ground fine with some cardamon seeds) and vanilla extract if you like.

PA193120
 
And that's it!  I use this on my magical pumpkin spice lattes, on ice cream sundaes, and anywhere else you'd normally use whipped cream.  You can store it in the fridge for up to 10 days in a sealed container, and if it gets too hard, you can always whip it again.

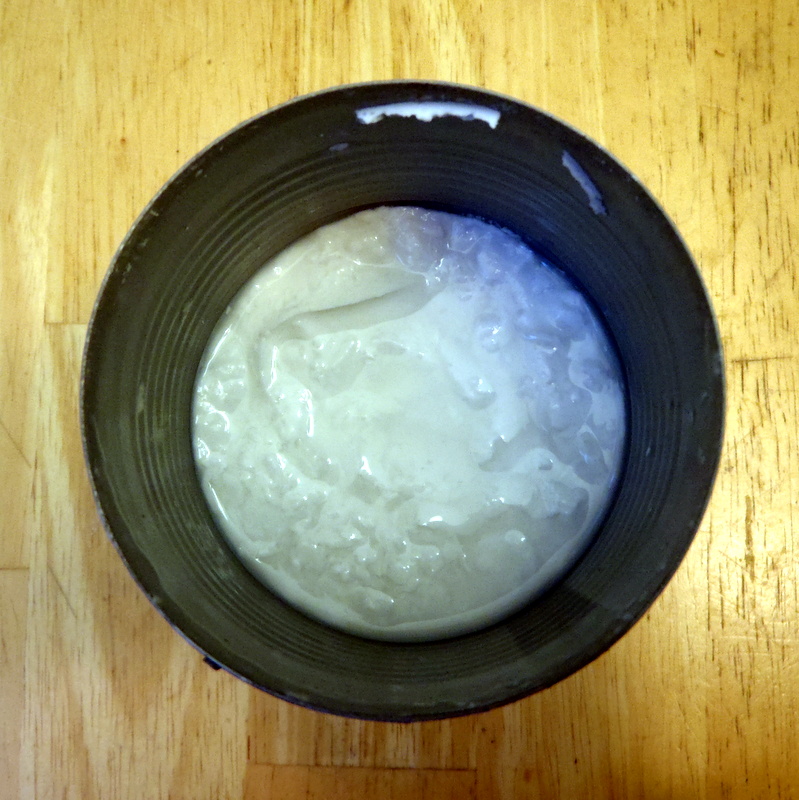
Now sometimes I open a can of coconut milk and find that the cream didn't rise to the top and harden.  Instead, I get a homogenous, opaque white liquid.  You can try pouring it into a sealed container and chilling it some more to see if it'll separate, or you can make coconut dulce de leche!

PA193133
 
Coconut Dulce de Leche (adapted from Bon Appétit)
makes 1 1/4 cups

1 14-oz. can full-fat coconut milk
3/4 cup turbinado sugar
1/4 teaspoon kosher salt

PA183153

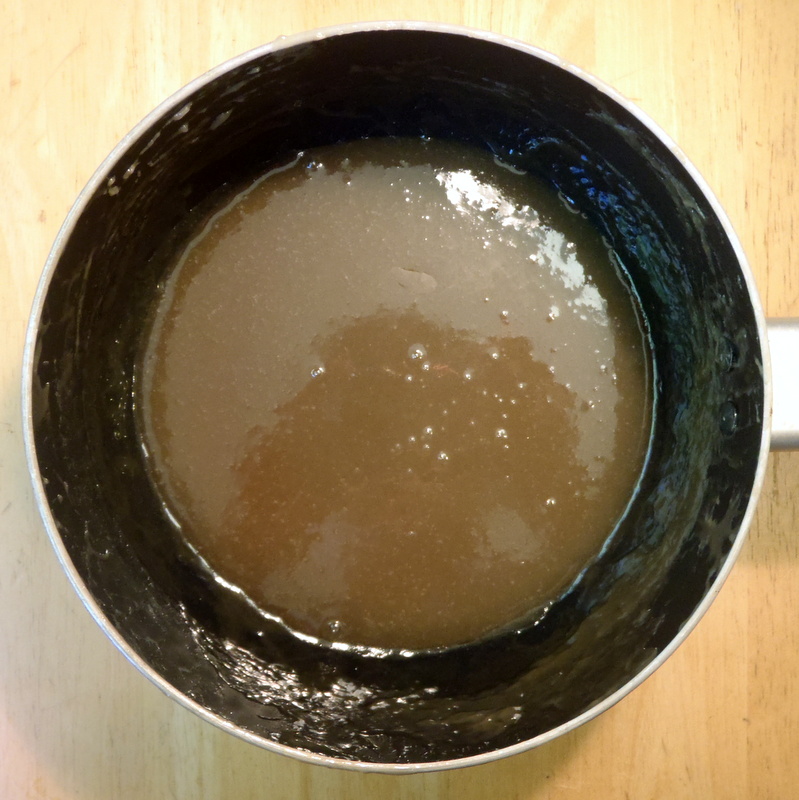
Whisk coconut milk, sugar, and coarse salt in heavy medium saucepan over medium heat until sugar dissolves.

PA183156

Increase heat to medium-high and boil until mixture is reduced to 1 1/4 cups, stirring occasionally, about 30 minutes.

Coconut Dulce de Leche
 
Transfer sauce to small jars. Cool completely, then cover sauce and chill.

PA193129

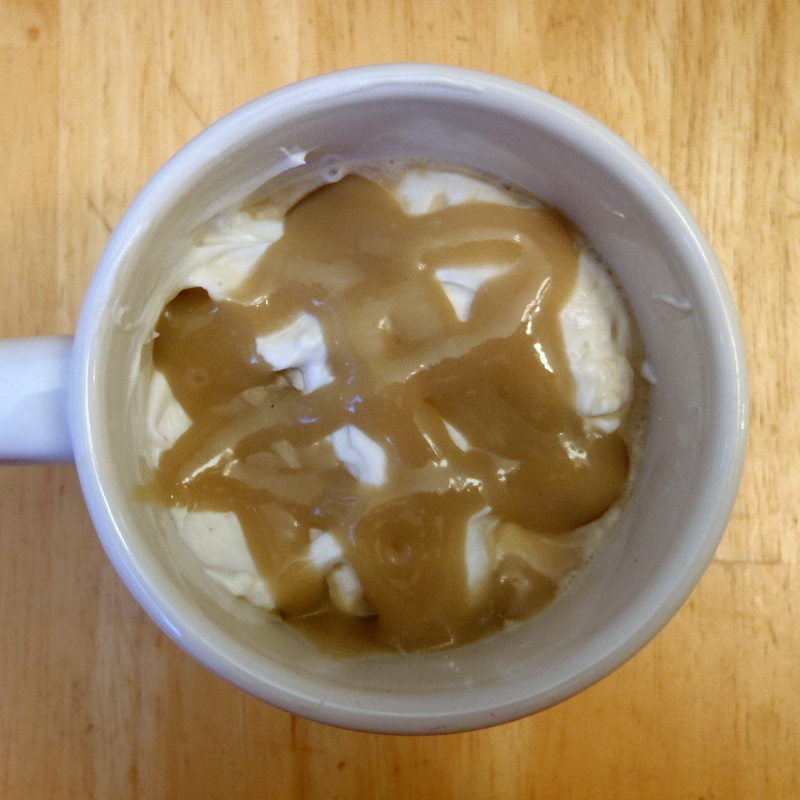
The coconut dulce de leche kind of reminds me of kaya (coconut jam) from Southeast Asia.  I've been stirring it into my (unsweetened) magical coffee in the morning and topping it off with coconut whipped cream.

The Coffee Shop