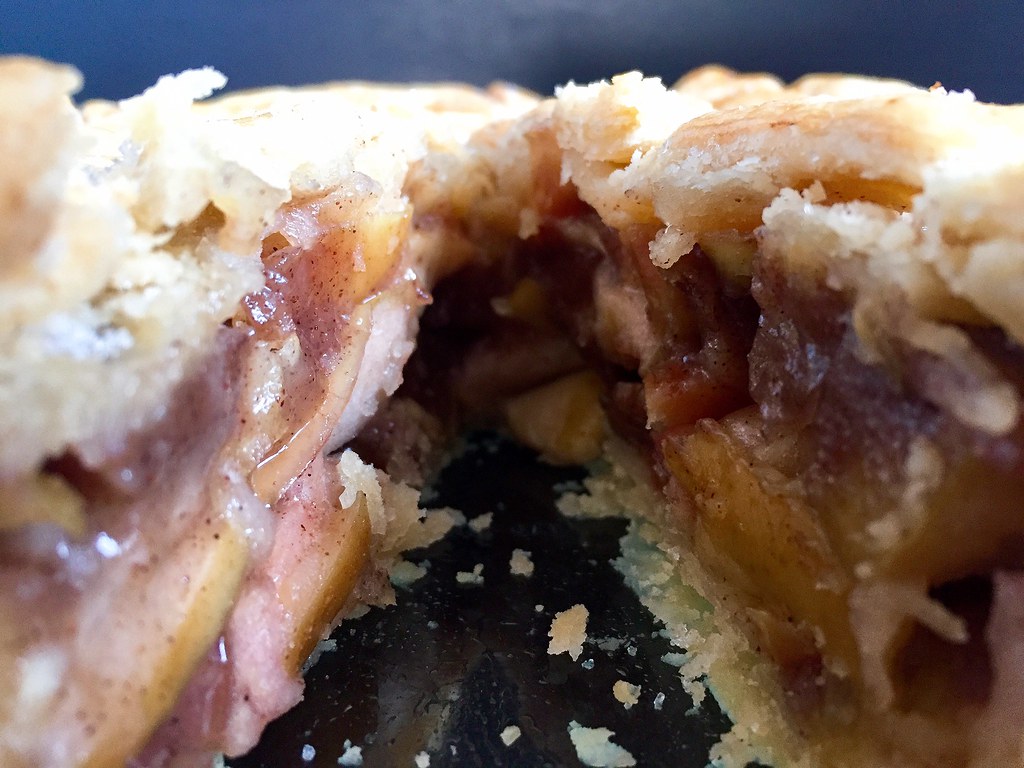
Showing posts with label pie. Show all posts

Thursday, November 27, 2025

Boiled Apple Cider Maple Pie

I've been making a certain boiled cider pie recipe for a while but usually for other people so I rarely got to try it myself.  Then a couple of years ago I made it for Thanksgiving and apparently was disappointed enough with the result that I told my friend who was hosting to remind me to retire the recipe.

Well, it's a good thing she keeps notes because she she reminded me the following year, I had totally forgotten and was thinking about making it again!

This year, I remembered that she had told me to retire the pie, but I was still intrigued with the idea of a pie that used boiled apple cider as a base so I decided to do some research and see if I could find another recipe to try.  I found one called Apple Cider Chess Pie that sounded pretty much like what I wanted to make and lo and behold, when I clicked on the link, it turns out it was my recipe!  Apparently I had had the same idea last year, developed a pie based on Sister Pie's salted maple pie, posted it on Food52, and then completely forgot about it!

Unfortunately when I went to make the pie this year, I realized I had forgotten the butter in the ingredient list but I couldn't figure out how to edit the recipe on the Food52 website, so I figured I should document it here, which I probably should have done in the first place.

Boiled Apple Cider Maple Pie
makes one 9" pie

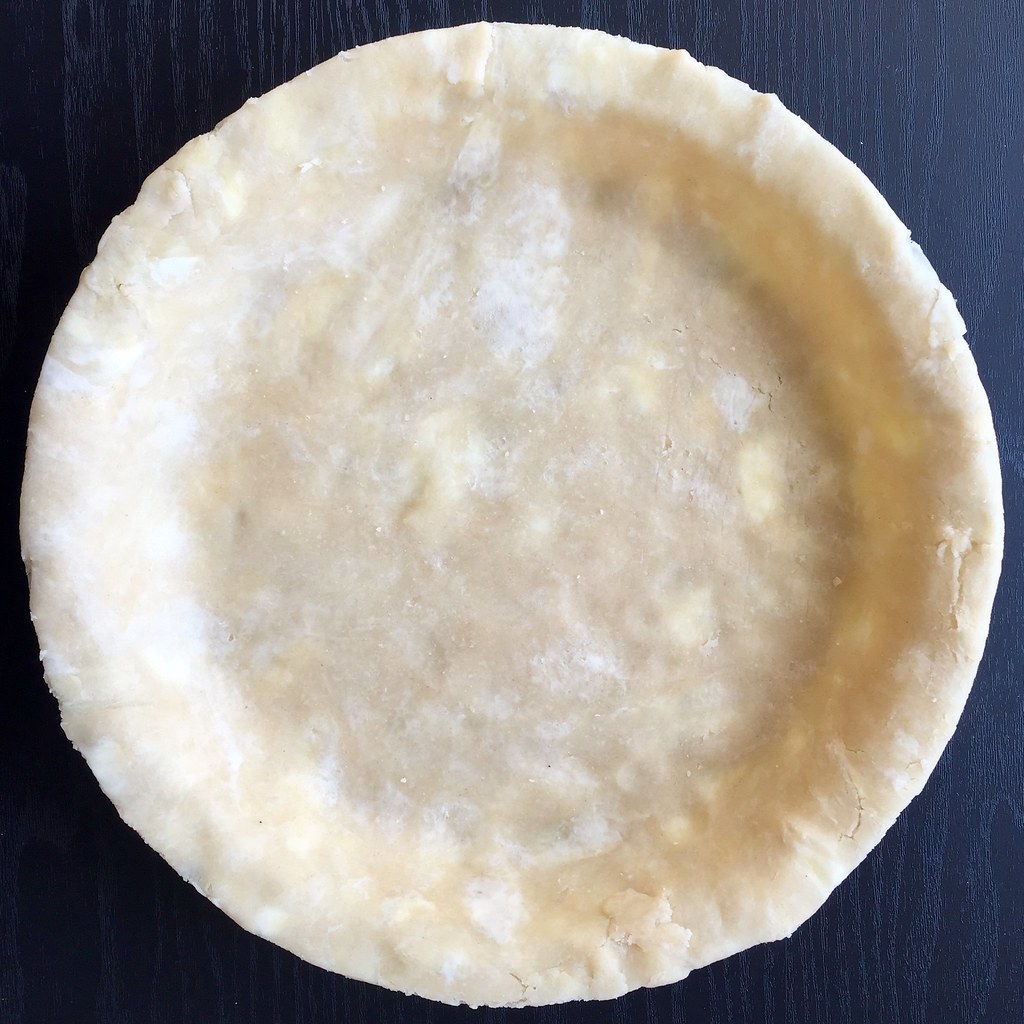
Your favorite pie crust, blind baked and cooled (I like Erin McDowell's All Buttah Pie Dough)
4 cup apple cider
1/2 cup plus 2 tablespoons unsalted butter 
3 large eggs, divided
Kosher salt
1/2 cup maple syrup
1/4 cup light or dark brown sugar
Dash of freshly grated nutmeg
1 large egg yolk
1/4 cup heavy cream, at room temperature
1 teaspoon vanilla extract

Boil the apple cider in a large saucepan until reduced to ~1/2 cup. When it gets close to that point, it will get thick and very bubbly so make sure to watch it closely so that it doesn't boil over. It should be about as thick as maple syrup and will get even thicker upon cooling. This may take around 20-30 minutes, depending on how large your pot is. Transfer the boiled cider to a pint-sized measuring cup and allow to cool.

Preheat the oven to 350 F.

In the same saucepan (no need to clean it), melt the butter. I like to brown my butter for extra flavor, but you can just melt it too.

In the measuring cup that the boiled cider is in, add enough maple syrup to reach 1 cup total (i.e. ~1/2 cup of syrup). Add to the melted butter and whisk in the brown sugar, a pinch of salt, and nutmeg.

In a medium bowl, whisk 1 egg with a splash of water and small pinch of salt. Brush the crimped edges of the blind-baked pie crust with the egg wash. Then add the remaining 2 eggs, egg yolk, heavy cream, and vanilla extract to the bowl and whisk to combine.

Slowly add the egg mixture to the boiled cider mixture and whisk to combine. Place the pie crust on a parchment-lined baking sheet and pour the filling in until it reaches the bottom of the crimps (you may have some extra filling, in which case you can pour it into a small ramekin and bake it alongside the pie for a baker's treat).

Bake for 45 - 60 minutes until the edges are puffy and the center only jiggles slightly. When done, wait until it has completely cooled to slice and serve. It will slice best if chilled in the refrigerator.

Previously:  Passion Fruit Nian Gao with Red Dragon Passion Fruit Spread

Tuesday, July 4, 2017

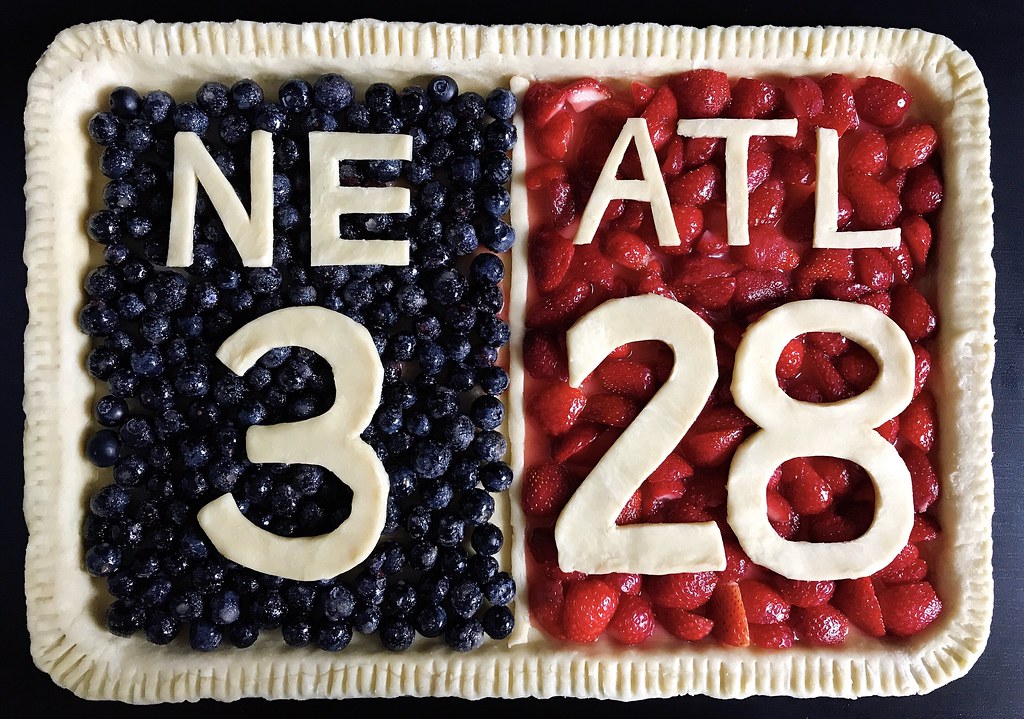
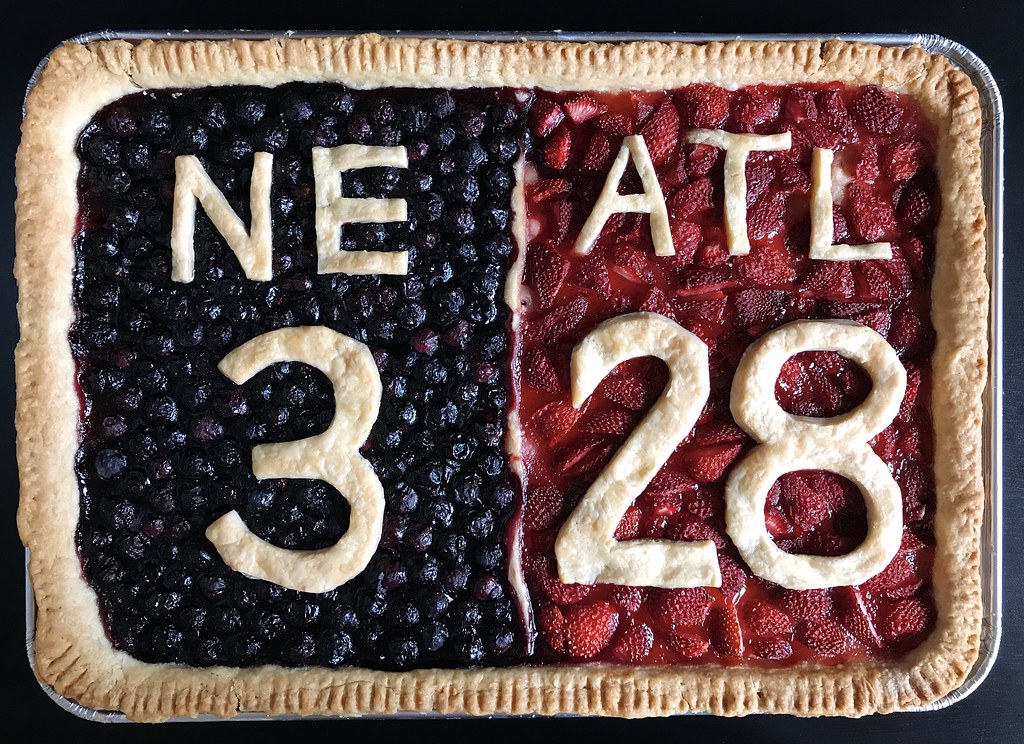
3-28 Slab Pie


Where were you when the Patriots came from behind and won Superbowl 51?  I was at my church, watching the game on the big screen.  By the time halftime rolled around, I knew the Patriots were in big trouble, and I called my mom, who has the gift of prayer (I have the gift of faith) to pray for them to win.  She didn't believe they could, but after I begged her to, she relented and agreed to pray for them.  So I guess you could say that what happened next was all because of me and my mom.

The idea for this pie had been brewing in my mind for a long time, but I wanted to wait until strawberries and blueberries were in season to make it.  I usually brush an egg wash on top of my pie dough before baking, but I decided I wanted to keep crust as pale as possible to make it look more similar to the infamous chyron.  If I had had more time, I might have made some royal icing to make the numbers and letters stand out even more, but I think it looks pretty good as is.  =)


3-28 Slab Pie
makes one 10" x 15" slab pie

For the pie crust:
3 3/4 cup all-purpose flour
2 teaspoons kosher salt
1 tablespoon sugar
1 1/2 cups (3 sticks) cold unsalted butter
1/2 cup ice water, plus more as needed

For the filling:
3 cups fresh blueberries
3 cups fresh sliced strawberries
1 cup sugar, divided
3 tablespoons cornstarch, divided

Pulse the flour, sugar, and salt together in a food processor. Add the butter and pulse until the butter has been cut into pea-sized pieces. Add the water and pulse to combine. Add more water if needed, a tablespoon at a time, just until the dough comes together. Divide the dough into two pieces, one twice the size of the other, and wrap both with plastic wrap.  Refrigerate for at least an hour or as long as overnight.

Preheat the oven to 375°F.  Roll out the larger piece of dough to about a 13" x 18" rectangle.  Press into a 10" x 15" baking sheet and fold the excess dough underneath.  Prick the bottom of the dough all over with a fork and crimp the edges.  Chill while assembling the rest of the pie.

Roll out the smaller piece of dough and cut out the letters and numbers.  You'll also want to cut out a thin strip of dough about 10" long to use as a divider between the two fillings.  You should end up with a lot of leftover dough, which you can use to make a tart or galette.  Chill while you fix up the filling.

In a small mixing bowl, toss the blueberries with 1/2 cup of sugar and 1 tablespoon of cornstarch.  Toss the sliced strawberries with the remaining 1/2 cup sugar and 2 tablespoons of cornstarch in another bowl.

Place the dividing strip of dough down the middle of the pie.  Fill the left side with the blueberries and the right side with the strawberries.  Carefully arrange the letters and numbers on top. Bake for 35-45 minutes, until the crust is golden brown and the filling is bubbling.

Next:  Greyscale Cream Puffs
Previously:  Rhubarb Strawberry Coconut Cream Tart
Last Year:  My Mom's Beef and Broccoli Stir Fry
Two Years Ago:  Pasta con le Sarde
Three Years Ago:  Cleveland Cassata Cake
Four Years Ago:  Zuni Cafe's Fried Eggs in Bread Crumbs
Seven Years Ago:  Coconut Lime Sorbet
Eight Years Ago:  Homemade Bulgogi Dumplings

Monday, April 24, 2017

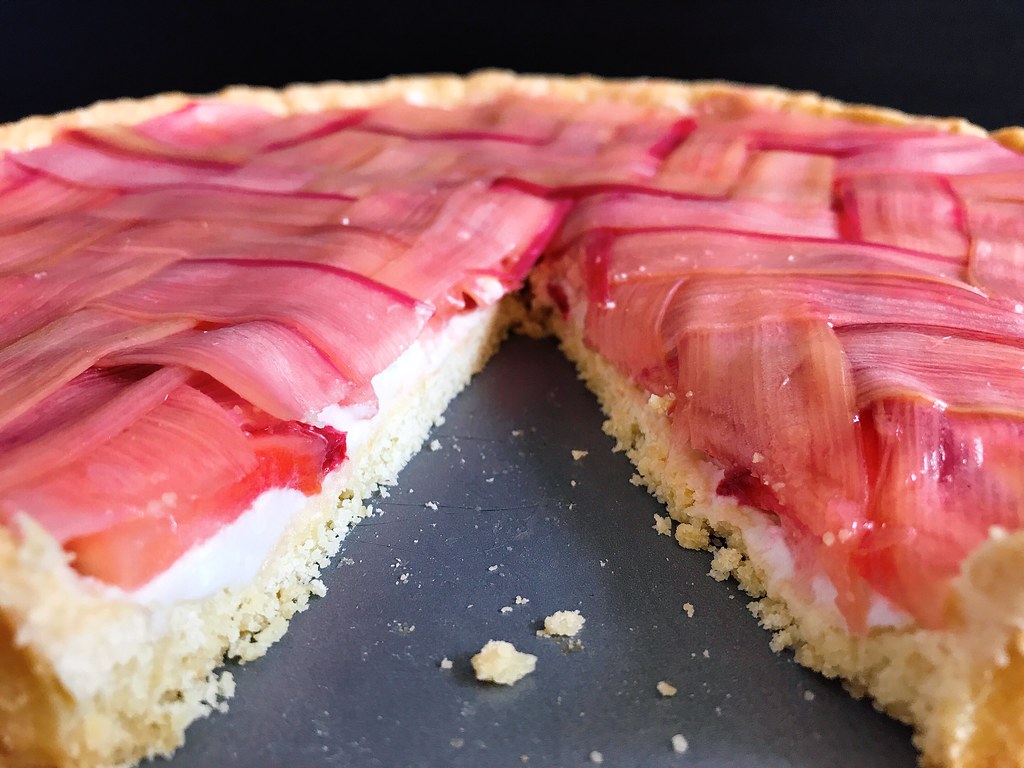
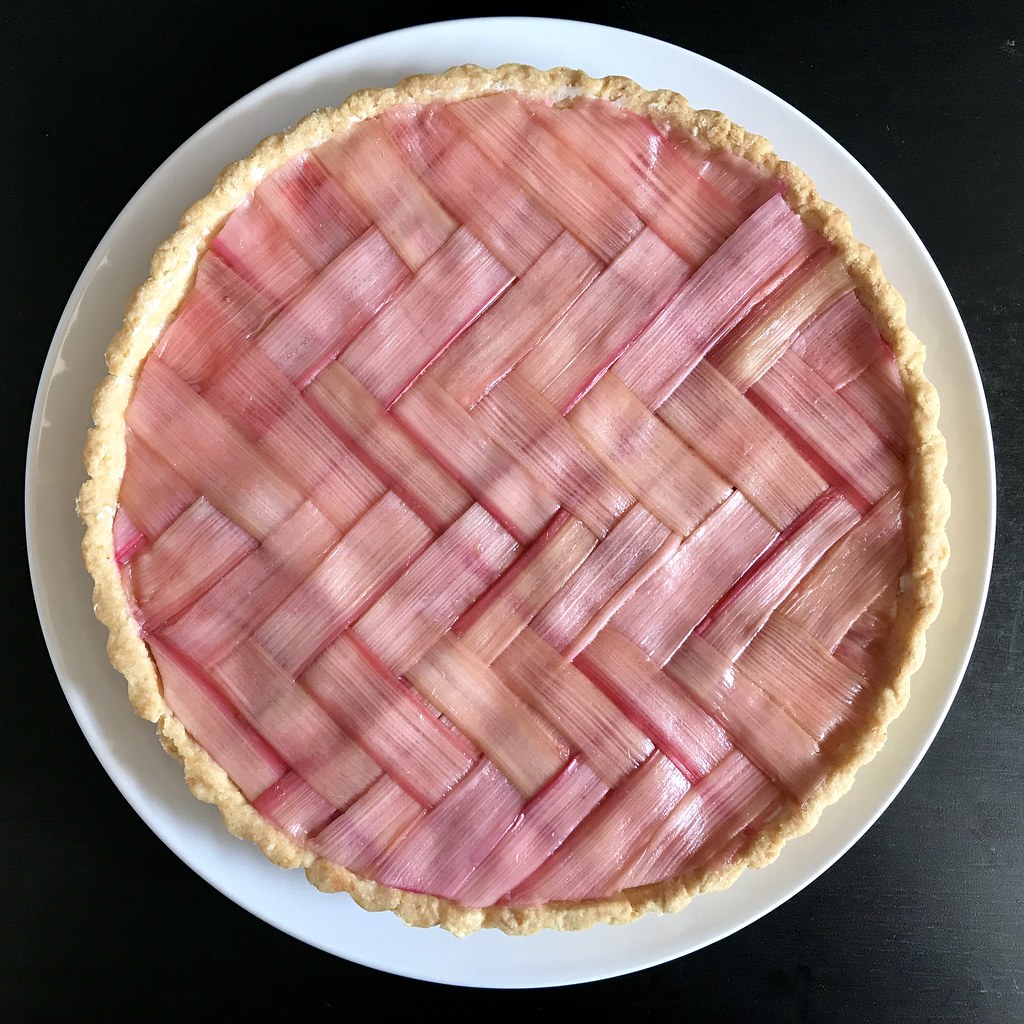
Rhubarb Strawberry Coconut Cream Tart


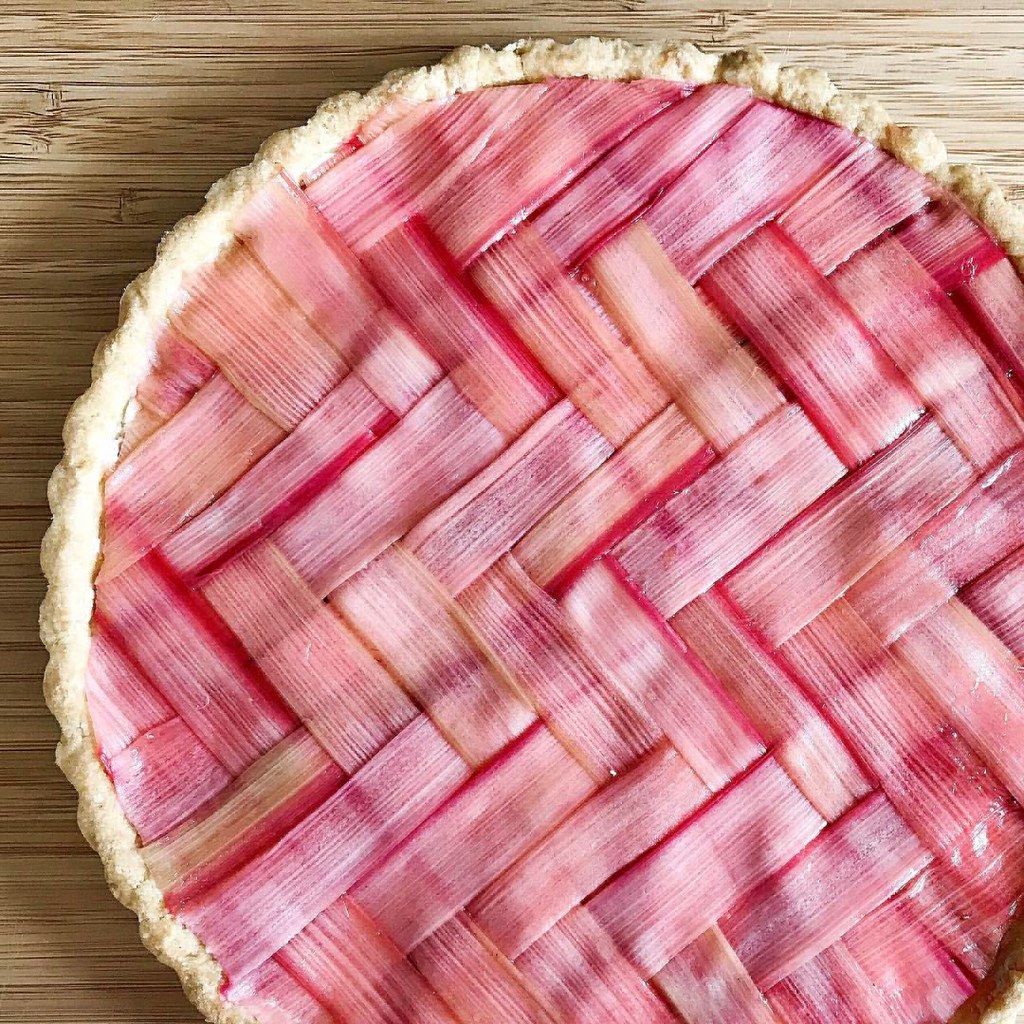
Ever since I attempted the herringbone lattice pie crust a few months ago, I've been wanting another shot at getting it right.  So when I saw rhubarb being sold at my local grocery story, I figured I'd try to make a tart and top it with a herringbone lattice made of poached rhubarb strips!

When buying the rhubarb for this, try to get ones of equal width so the lattice will look nice and neat.  I pretty much followed the instructions for poaching the rhubarb from Baking a Moment's beautiful post on making a rhubarb tart with a (regular) lattice top.  Instead of using a mandolin, I used my vegetable peeler which, honestly, was a labor of love.  I probably had to ditch a third of my attempts at getting nice long thin ribbons.  Luckily, I bought a couple more rhubarbs that I thought I'd need exactly for this reason.


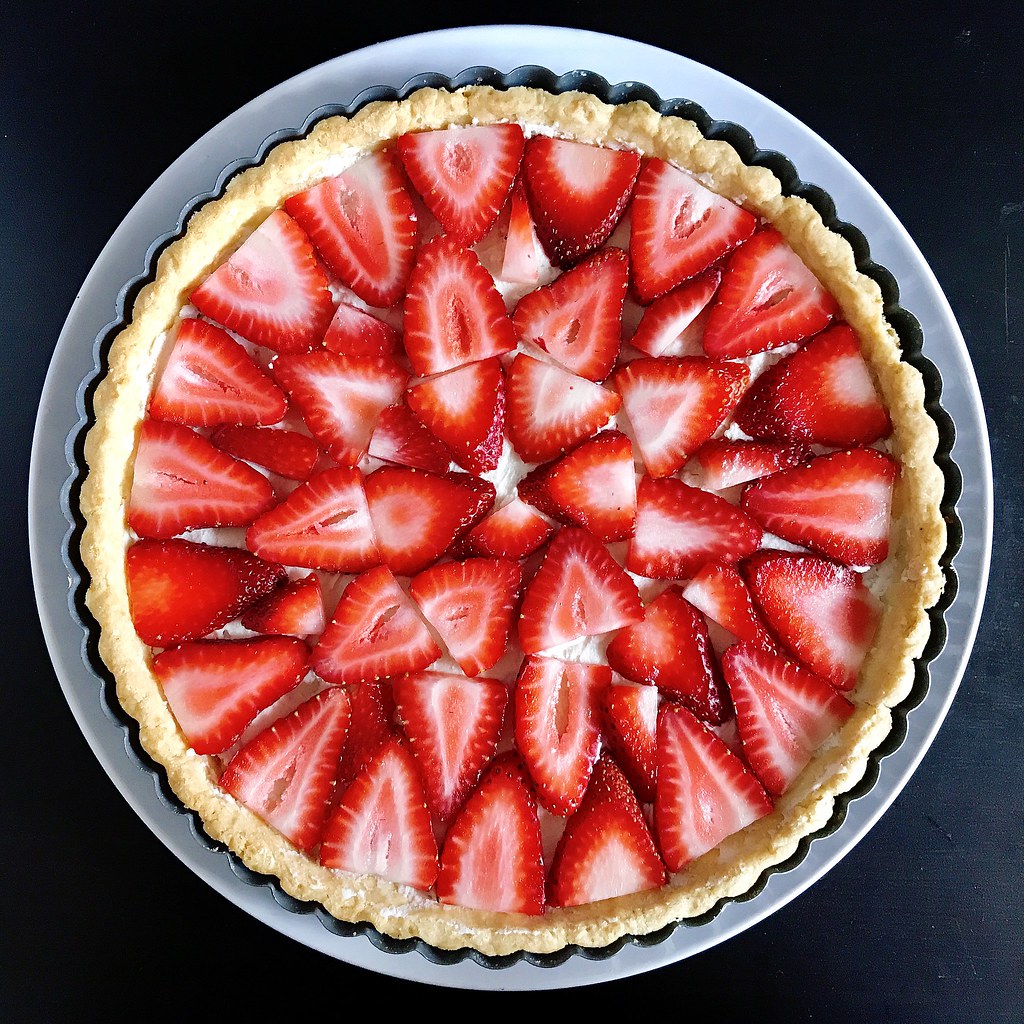
For the tart crust, I used the recipe for a sweet tart crust from Mark Bittman's How to Bake Everything.  I also followed his suggestion to use sweetened whipped coconut cream as the base.  I originally wasn't going to add the layer of strawberries, but my friends Celine and Alex were over this weekend and left me some beautiful strawberries.  I'm so glad I added them because they have a natural sweet-tartness which perfectly complements the flavor of the rhubarb.  The nice thing about this recipe is that if you use a vegan and/or gluten-free tart crust, the rest of the pie is also vegan and gluten-free!


Rhubarb Strawberry Coconut Cream Tart
makes a 9" tart

Your favorite 9" sweet tart crust, blind baked and cooled
14 oz. can of coconut milk, refrigerated overnight
3 tablespoons powdered sugar
1 tablespoon vanilla extract
1 cup sliced strawberries
6-8 rhubarb stalks of equal width
1/2 cup sugar

Before you fit the tart dough into your tart pan, remove the bottom and trace it on a large piece of parchment paper.  Then proceed to line the pan with the dough, chill, and blind bake until golden brown all over.

Place the can of coconut milk, a large bowl, and the metal beaters of your electric beater in the fridge overnight.  The next morning, open the can and spoon out the solid white coconut cream into the chilled bowl.  You can discard the leftover liquid or save it to add to smoothies or overnight oats.  Add the powdered sugar and vanilla extract to the bowl and use the chilled beaters to beat the cream until it is light and fluffy.  Spread it evenly across the bottom of the tart crust and chill in the refrigerator while you wash and slice the strawberries.
Arrange the strawberries on top of the coconut cream in an even layer.  Cover and return to the fridge to chill while you prepare the rhubarb.

Use a vegetable peeler or mandolin to peel long, thin strips from the rhubarb stalks.  Roughly chop any leftover red parts and add to a large pot along with any leftover strawberry pieces.  Add a cup of water and the sugar and bring to a simmer.

Prepare a rimmed baking sheet with a couple layers of paper towels.  Poach the strips of rhubarb in batches for about a minute or so until softened.  Remove with a slotted spoon to the paper towels to drain.  Reserve the poaching liquid.

Use the parchment paper with the outline of the tart pan to lay out half the rhubarb strips vertically.  Then, fold the first strip halfway down, skip 3, then fold down the next 3, and skip the next 3, following this pattern until you reach the end.

Lay a long strip down horizontally across the middle, then, leaving the 1st vertical strip folded over, fold down the 2nd vertical strip over the horizontal strip you just laid down, skip the next 2, fold the 5th strip back up, leave the next 2 as is, and fold down the one after that, etc.  Lay another strip down horizontally above the first one you laid down.  Continue to repeat this pattern until you've covered the outlined 9" circle.  This post from Serious Eats is also a great resource (with pictures!) on how to create the herringbone lattice top.  You can also just do a plain checkered lattice crust which would still look very nice.

Remove the tart from the fridge and carefully flip the woven rhubarb lattice onto the tart (it will seem quite scary but because the strips are still wet, they will adhere to the parchment paper pretty well).  Peel the parchment paper away and re-adjust the lattice as needed.  Use a sharp pair of kitchen shears or paring knife to cut away any extra rhubarb.  Brush some of the poaching liquid on top, being careful not to disturb the herringbone pattern.  Chill until ready to serve.


Next:  3-28 Slab Pie
Previously:  Rainbow Crepe Cake
Last Year:  Will It Puffle?
Two Years Ago:  Gordon Ramsay's Sublime Scrambled Eggs - Two Ways
Three Years Ago:  Nutella Mini Crepe Cakes
Seven Years Ago:  The Best Scones in the World
Eight Years Ago:  Bacon and Egg Bunny Buns

Wednesday, February 22, 2017

Quintessential Apple Pie with Bacon Fat Crust


Food52 started its cookbook club this month, and the inaugural cookbook was Kate McDermott's Art of the Pie!  I thought it was an interesting choice because it's the dead of winter here in New England, and I usually think of the summer and fall as better pie-making seasons.  But I was able to get a copy of the book from the library so I figured I'd take a look and see what might inspire me.

The first pie I tried was the Banana Rum Caramel Coconut Pie because, while there were several components to the pie--a blind baked pie crust, bananas, rum caramel, rum pastry cream, and toasted coconut chips--I actually already had all the ingredients!  Personally, I thought the pie was too sweet, but it didn't stop me from trying a couple more pies from the book.


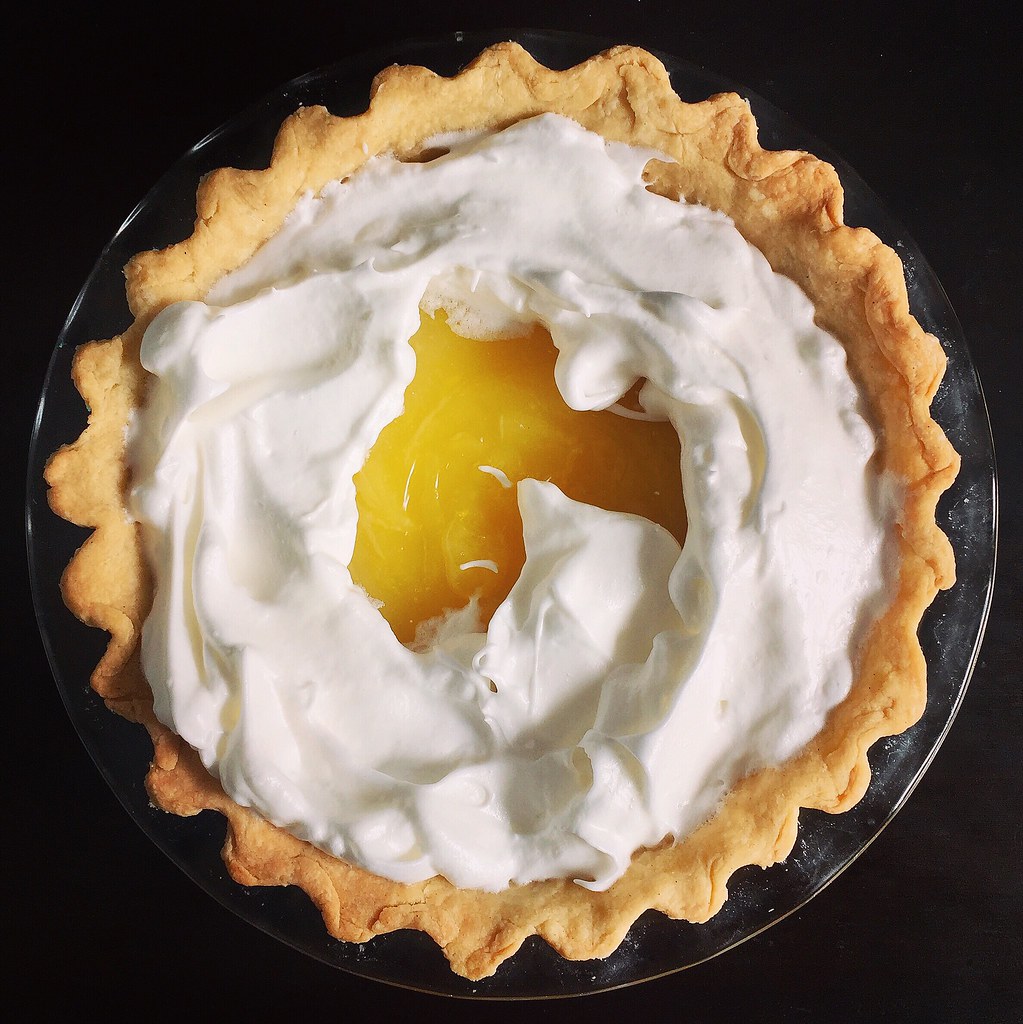
Since I had a bunch of egg whites leftover from rum pastry cream for the previous pie, I decided to try my first lemon meringue pie.  While the pie tasted great, I had issues with the meringue weeping even after following all the directions from the book.  I was also a little confused with the direction to "pull up some soft peaks with the handle of a spoon".  I got little itty-bitty peaks whereas I would've preferred larger waves.  If I ever make a meringue pie again, I'll probably just use a spatula to do that.

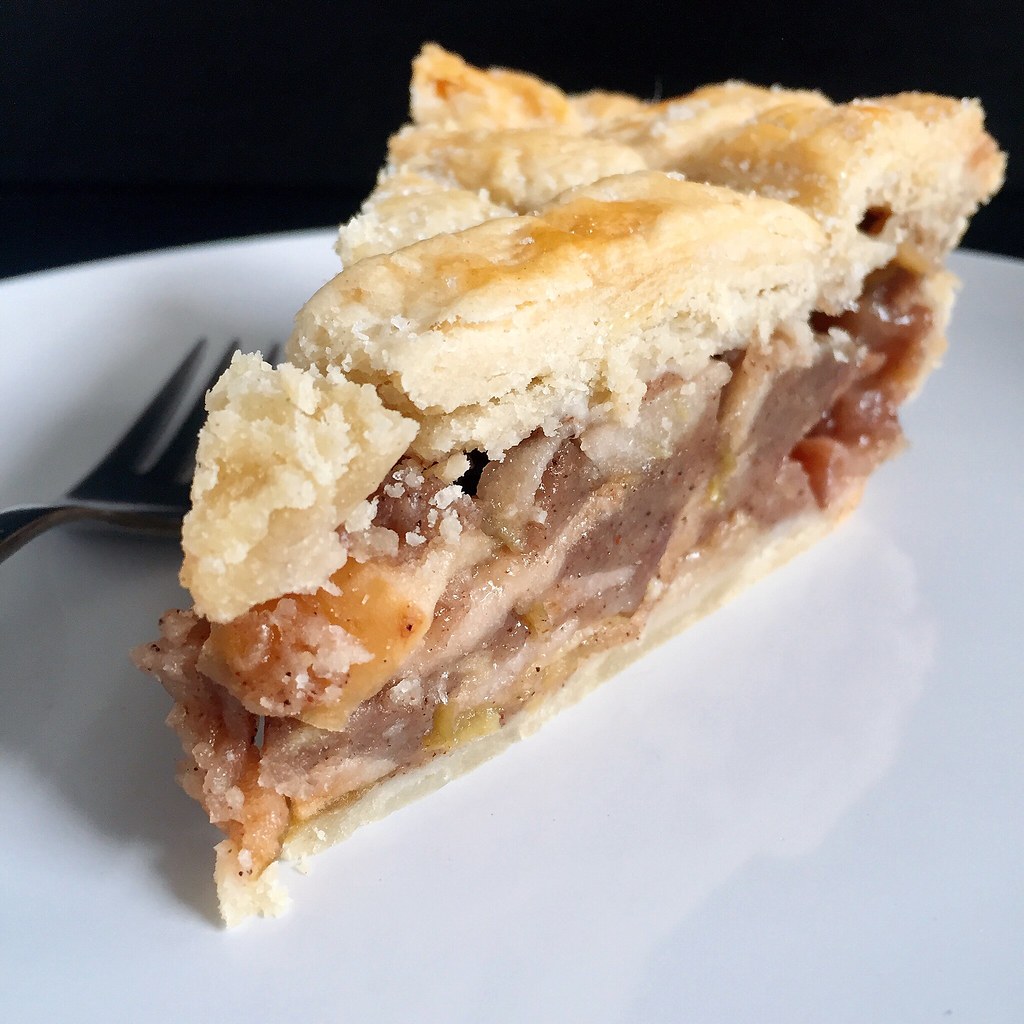
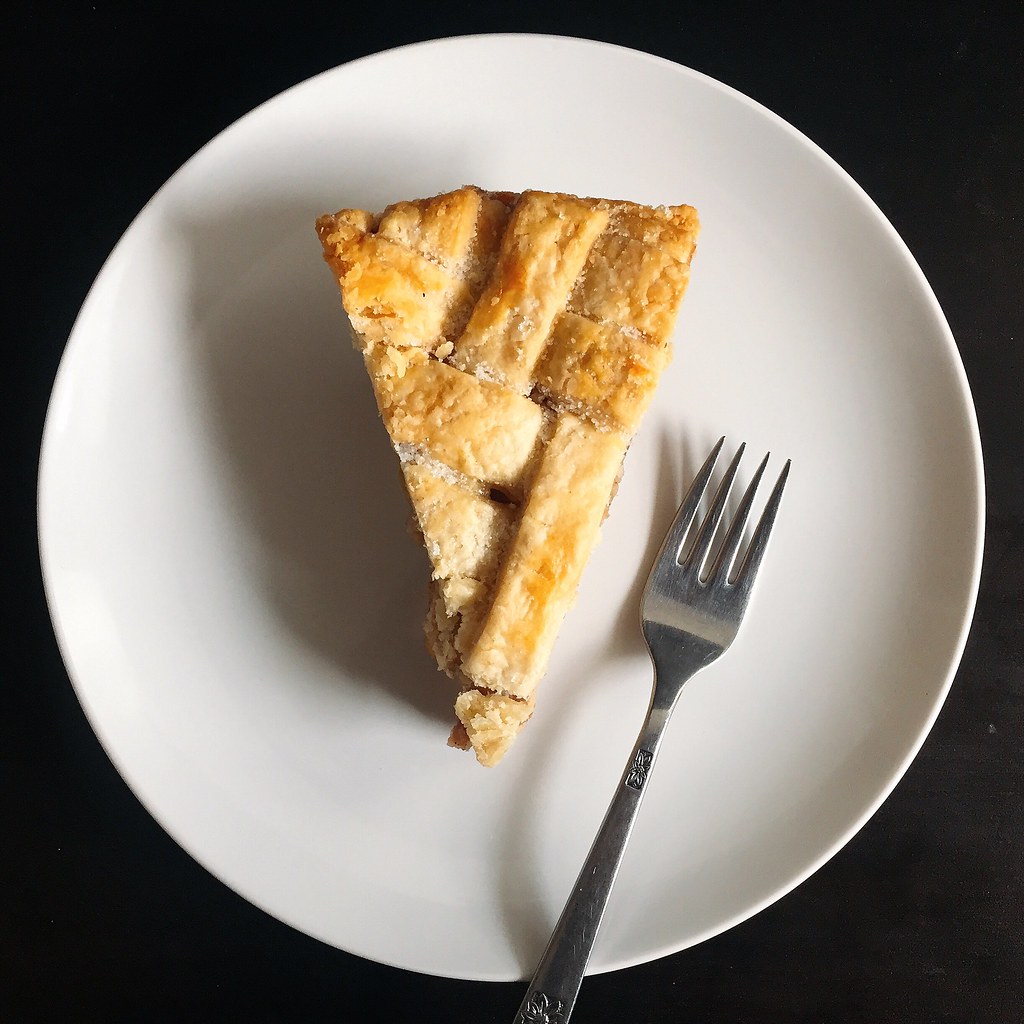
My favorite pie that I made from the book was the Quintessential Apple Pie.  Kate's preferred pie crust is one made with butter and leaf lard, but since I didn't feel like sourcing any leaf lard, I turned to what I already had in my freezer:  bacon fat.  It was definitely more malleable than the butter even when chilled, but I think it made for a wonderfully flaky pie crust with a subtle bacon flavor.


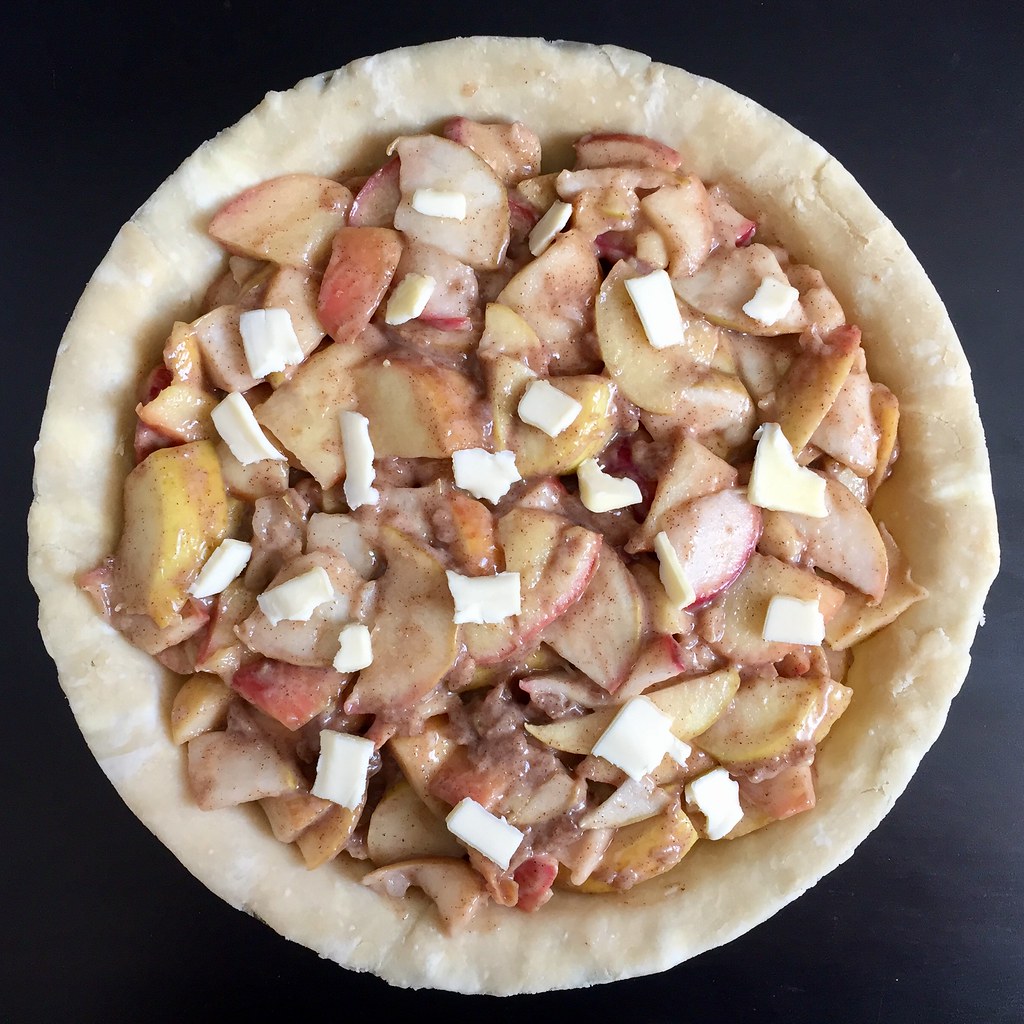
For the filling Kate suggests using a mix of sweet and tart apples, so I used a blend of Gala, Fuji, Golden Delicious, Macintosh, Cortland, and Red Delicious apples.  She also wrote that you don't need to peel the apples if the skins are pretty thin, so I nixed that time-consuming step.  She was right; the inclusion of the apple peels didn't really make a difference in the texture of the cooked filling and may have even improved the taste with their tannins.


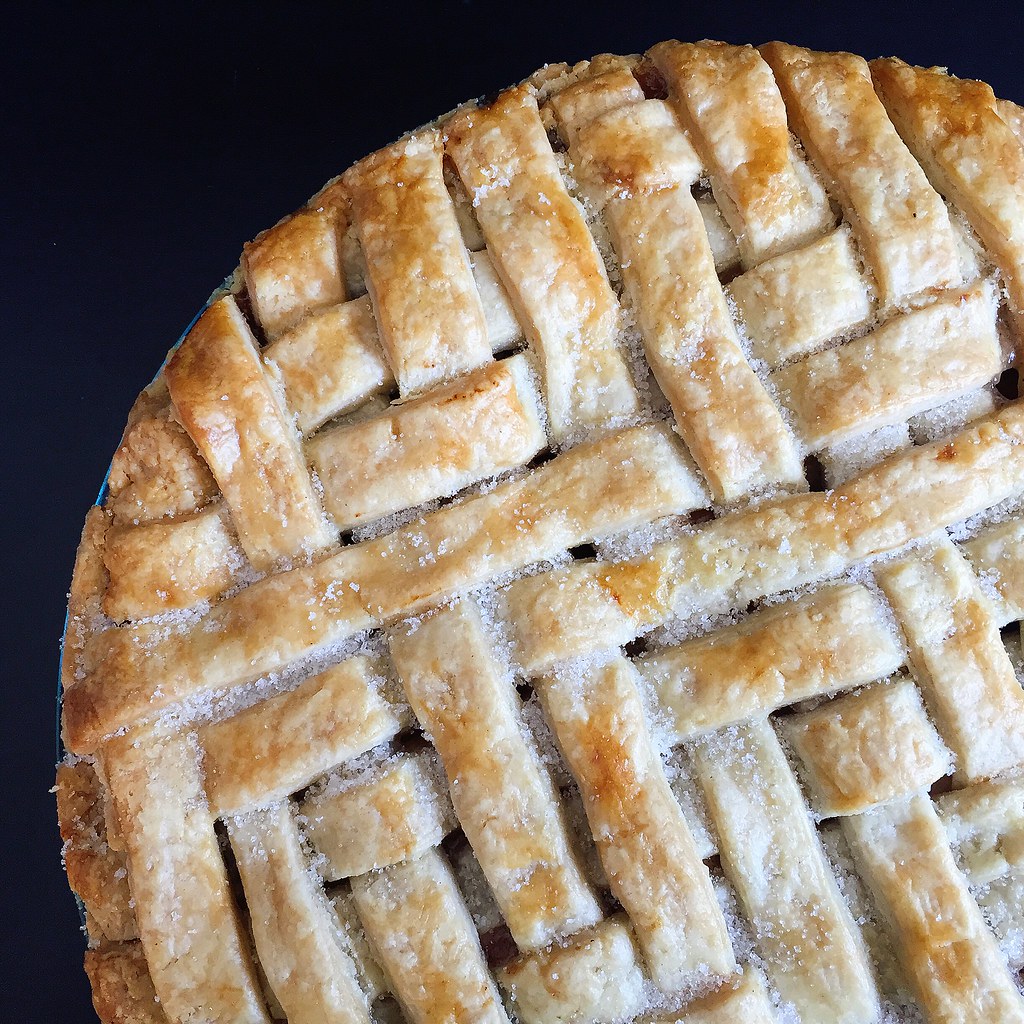
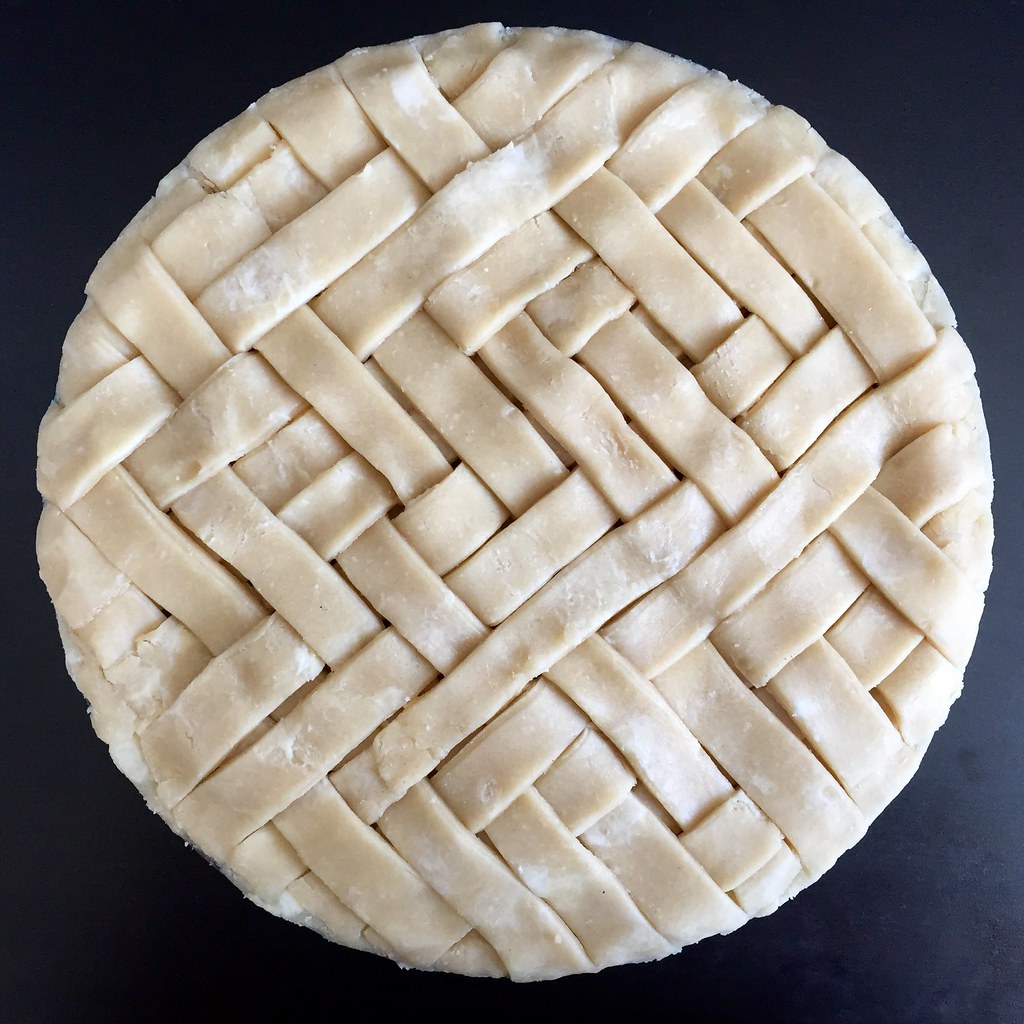
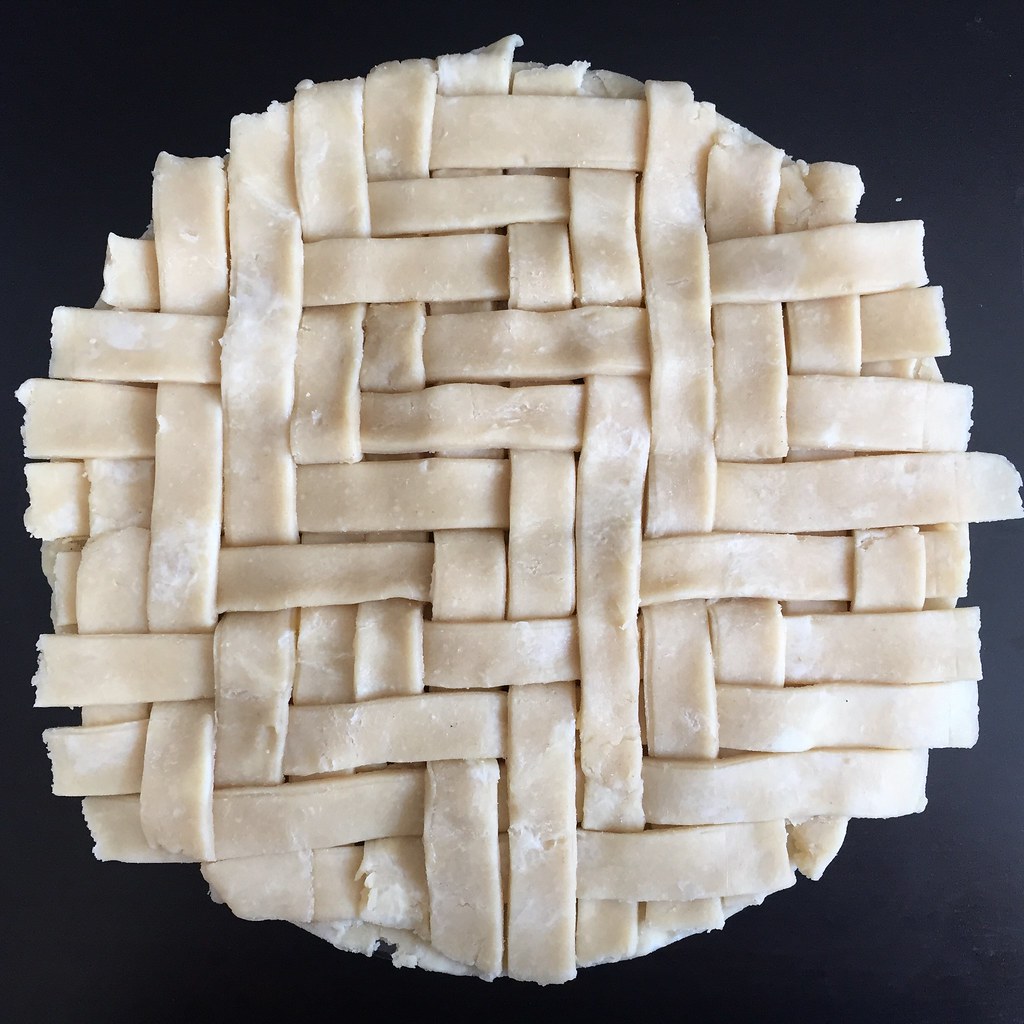
And since I've been eyeing Serious Eats' herringbone lattice crust for a while now, I decided to try it on top of this pie.  It was actually my first time making any sort of lattice pie crust!  I was pretty pleased with the result even though I did mess up the pattern.  Because you want the filling to be quite flat before laying the herringbone lattice on top, I decided to pre-cook the apple pie filling which reduces the volume ahead of time and prevents the dreaded gaping hole between the top crust and filling after baking.


Quintessential Apple Pie with Bacon Fat Crust (adapted from Art of the Pie)
makes 1 pie

For the pie crust:
1/2 cup rendered bacon fat
1/2 cup unsalted butter
2 1/2 cups all-purpose flour
1/2 teaspoon kosher salt
1/2 cup ice water

Cut the bacon fat and butter into tablespoon-size pieces.  Place the bacon fat, butter, flour, and salt in the bowl of a food processor and pulse 15 times.

Add 1/4 cup of the ice water and pulse 10 more times.  Add the remaining 1/4 cup of ice water and pulse 5 more times.  Dump the contents into another bowl and use chilled hands to bring the dough together.  Divide the dough in half and place half in the fridge.


Place the other half on a floured surface and cover with plastic wrap.  Roll the dough out to 1/16" thickness and an inch or two larger than your pie pan.  Carefully transfer to the pie pan, trim the edges, cover, and let chill in the refrigerator.  Add the excess trimmings to the other half of the pie dough that was already chilling in the fridge.

For the filling:
10 cups of apples, preferably a mix of tart and sweet ones with thin skins
1/2 cup sugar
1/2 teaspoon kosher salt
2 gratings of nutmeg
1/2 teaspoon allspice
1 tablespoon artisan apple cider vinegar
1/2 cup flour
2 tablespoons unsalted butter, cut into small pieces
1 egg white (for the egg wash)

Leaving the skins on, slice the apples and mix with the sugar, salt, cinnamon, nutmeg, and allspice.  Cook in a large pan over medium-low for about 15 minutes, just until the juices start to flow.  Toss with the vinegar and flour and let cool completely before filling the pie shell.  Dot the top of the apples with the small pieces of butter.


If you want to do the herringbone lattice, follow the directions from Serious Eats.  Otherwise, roll out the other half of the dough and top the pie, cutting a few vents on top.  Trim the excess dough and crimp the edges.  Cover the pie and let it chill in the fridge while you preheat the oven to 425°F.


Mix the egg white with 1 tablespoon of water and brush on top of the pie.  Bake for 20 minutes, then reduce the heat to 375°F and bake for another 40 minutes.  Cool the pie for at least an hour before serving.


Next:  Japanese Chicken Curry Rice
Previously:  French Onion Tater Totchos
Two Years Ago:  Hugo & Victor's Pink Grapefruit Tart
Three Years Ago:  Okonomiyaki
Four Years Ago:  Cauliflower Steak with Cauliflower Puree
Seven Years Ago:  Bacon Caramel Corn
Eight Years Ago:  Wok-Fried Edamame with Garlic

Tuesday, December 13, 2016

Cranberry Curd Tart


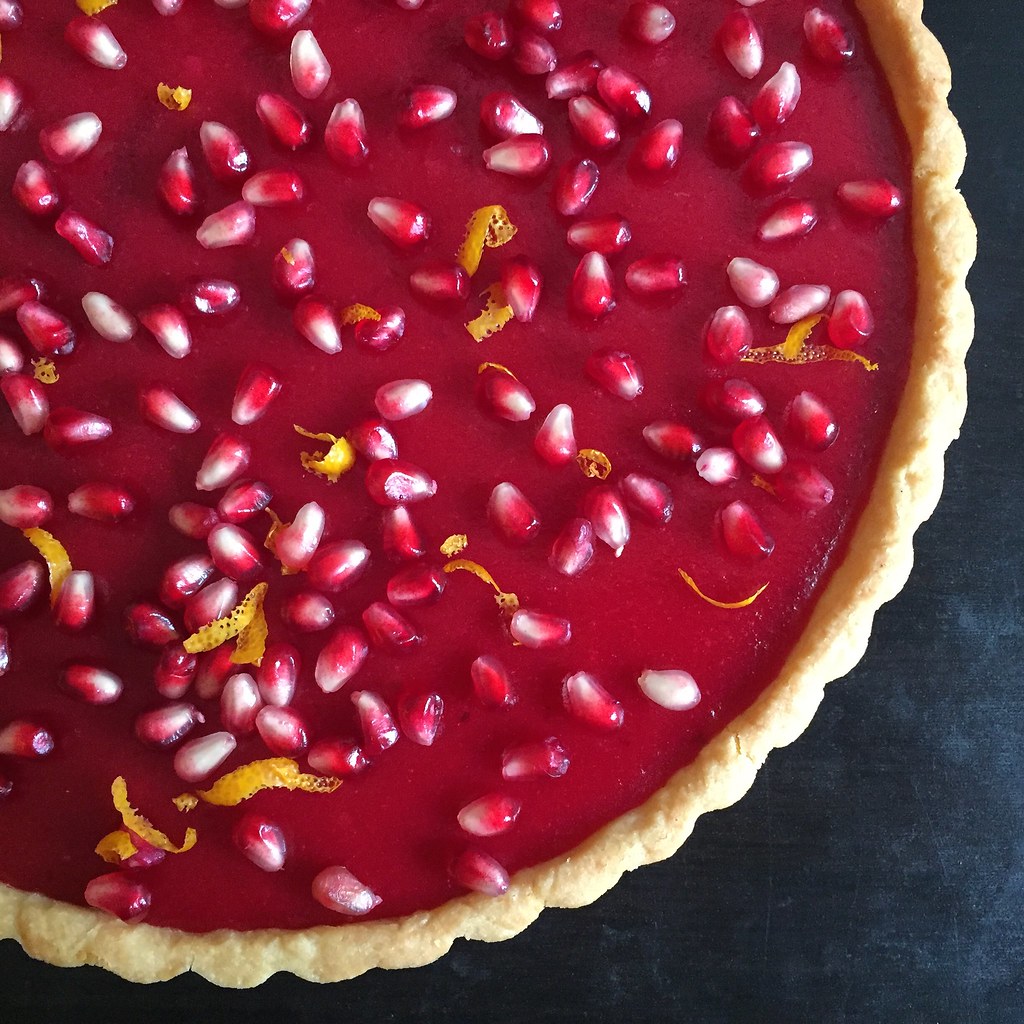
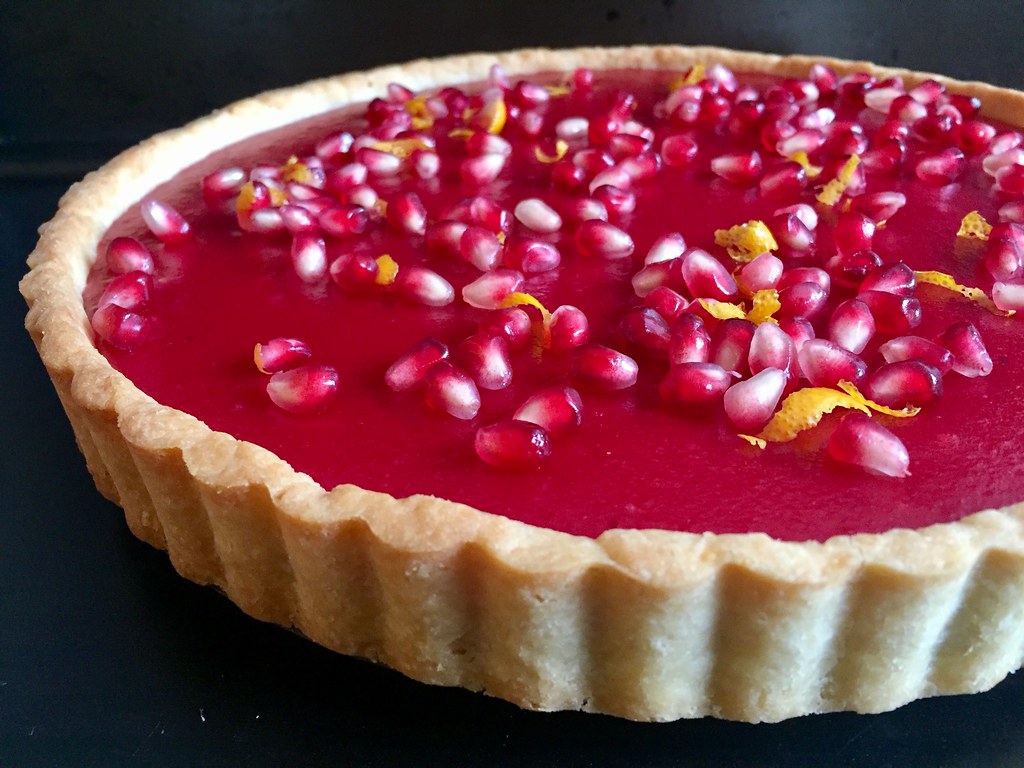
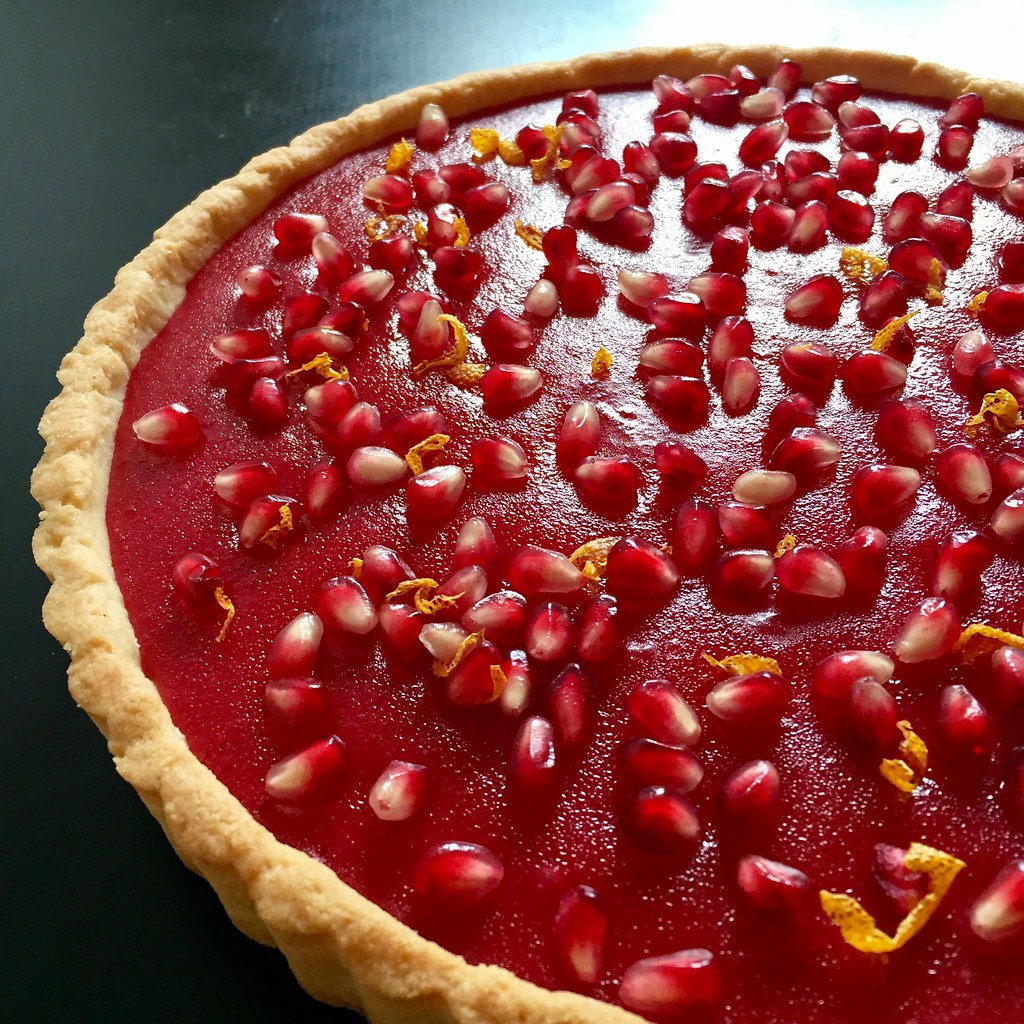
When I first saw NYT Food's Instagram post featuring a cranberry curd tart I knew I needed to make it if only because of how gorgeous it was.  But each time I made it I couldn't figure out how to photograph it so that the picture would do it justice.  Which meant I just kept making it over and over again.  Awful, I know.  Then this last time I got a pomegranate in my Boston Organics delivery and decided to try sprinkling some on top of the tart for some contrast, and it finally looked as good as it tasted!  They also give the tart a little crunch and freshness to cut all the richness.

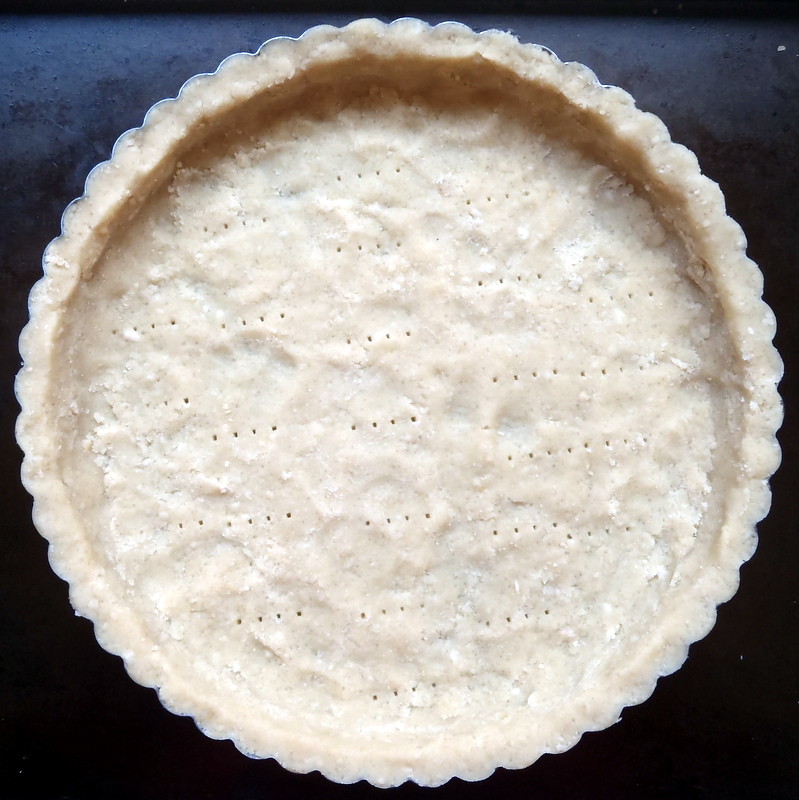
For the crust, instead of the using the hazelnut crust in the original recipe, I used Smitten Kitchen's "great unshrinkable sweet tart shell" because hazelnuts are expensive and it's pretty much a no-fail recipe.  To save time and effort, I usually end up just pressing the dough into the tart pan right after making it (starting with the edges), docking it, and then freezing it for 30 minutes before blind baking it with the buttered aluminum foil on top.  Feel free to use whatever tart crust you prefer, though, as long as it's blind baked beforehand.  I can see Thomas Keller's pine crust tart crust being amazing for this recipe.


For the cranberry curd, make sure that you don't overcook it after adding the eggs, because the egg whites curdle really easily if the mixture gets too hot.  Since it's kind of hard to tell when it starts to thicken, the sign I look for is when steam starts rising off the top.  You definitely don't want the mixture to start bubbling, and it helps to keep stirring to distribute the heat.


Cranberry Curd Tart (adapted from The New York Times)
makes a 9" tart

Your favorite 9" sweet tart crust, blind baked
12 oz. cranberries
1 cup sugar
Juice and zest from 1 orange
1 stick unsalted butter, cut into pieces
2 eggs plus 2 egg yolk
Pomegranate arils, for garnishing (optional)

Heat the cranberries, sugar, orange juice, and zest in a large saucepan over medium heat.  Cook until the cranberries have popped and softened, about 10 minutes.  Transfer to a blender and blend until smooth.  Strain the mixture through a sieve back into the saucepan and add the butter.

Whisk the eggs and egg yolks in a bowl, then add a couple of ladlefuls of the liquid into the bowl and whisk to temper the eggs.  Pour everything back into the saucepan and cook over low heat, stirring constantly, until slightly thickened and steam just starts coming off.  Cool to room temperature, then transfer to the fridge to cool completely, preferably overnight.

Preheat the oven to 350°F.  Pour the cooled curd into the blind-baked tart crust.  Bake for 15 minutes to set the curd.  Allow to cool completely before garnishing with pomegranate arils.


Next:  Pull-Apart Scallion Swirly Bread
Previously:  Pear Apple Cranberry Slab Pie
Two Years Ago:  Pull-Apart Thanksgiving Leftover Stuffed Bread
Three Years Ago:  Thai Coconut Sticky Rice with Mango
Four Years Ago:  Vanilla Passion Caramels
Seven Years Ago:  Wah Guay (Taiwanese Rice Cake with Meat Sauce)

Wednesday, November 23, 2016

Pear Apple Cranberry Slab Pie


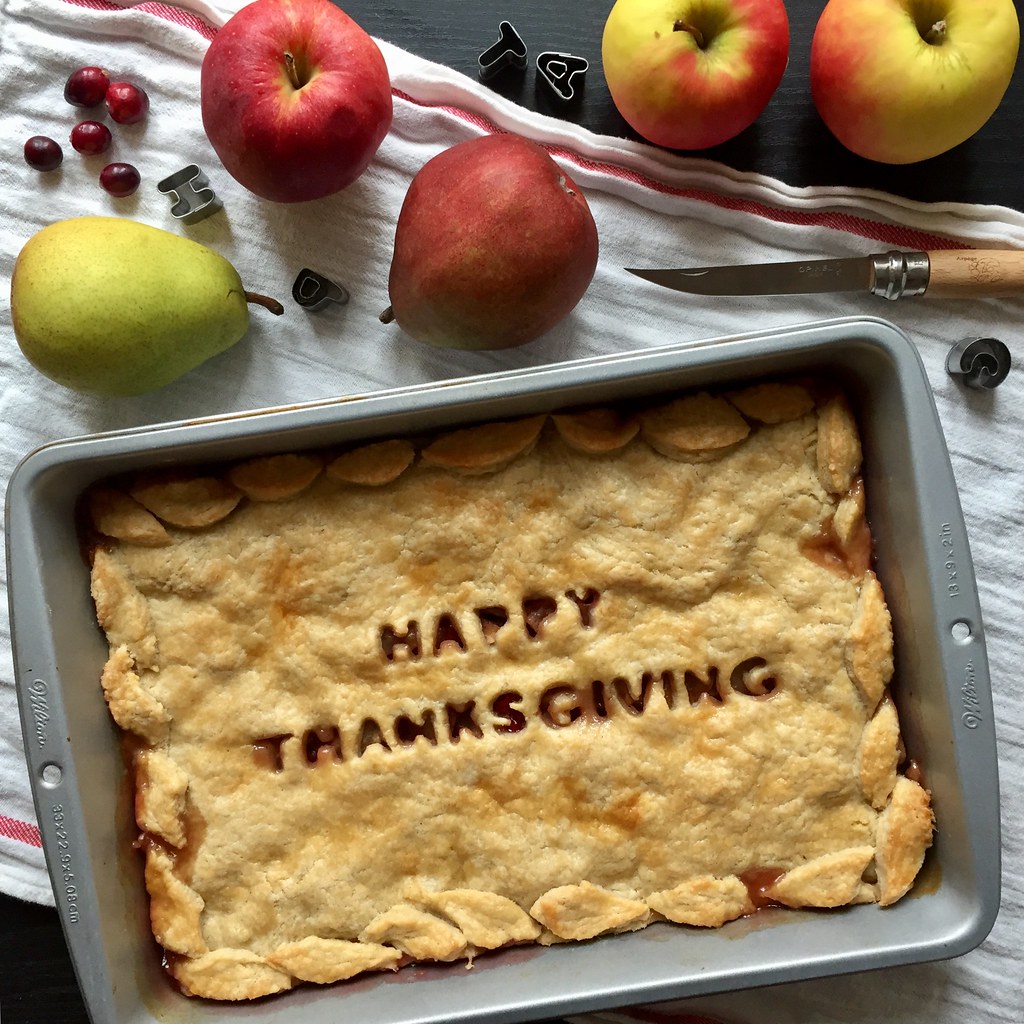
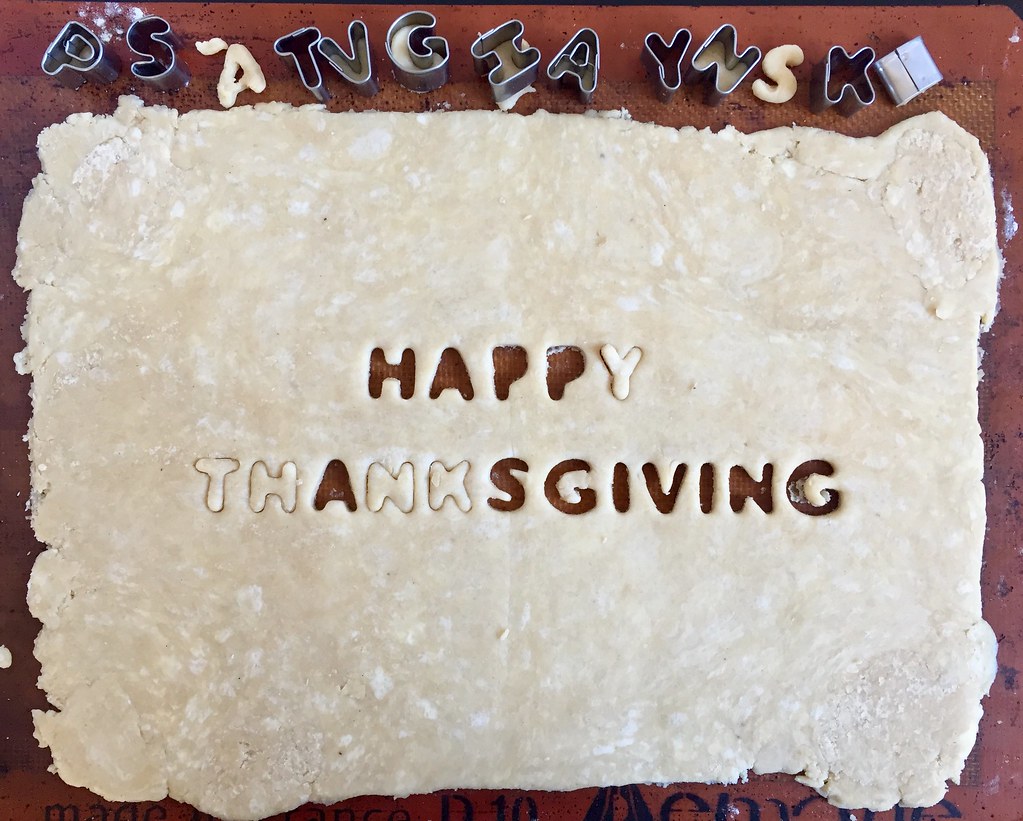
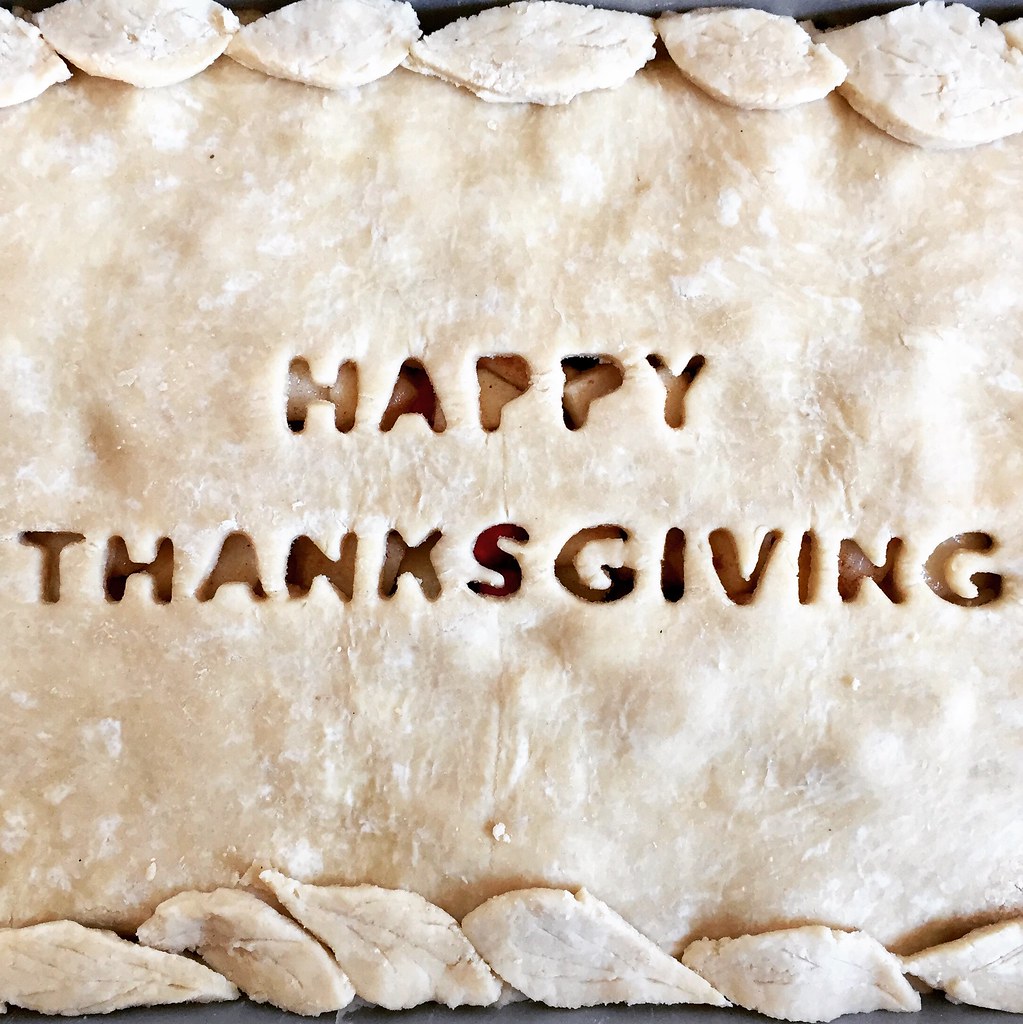
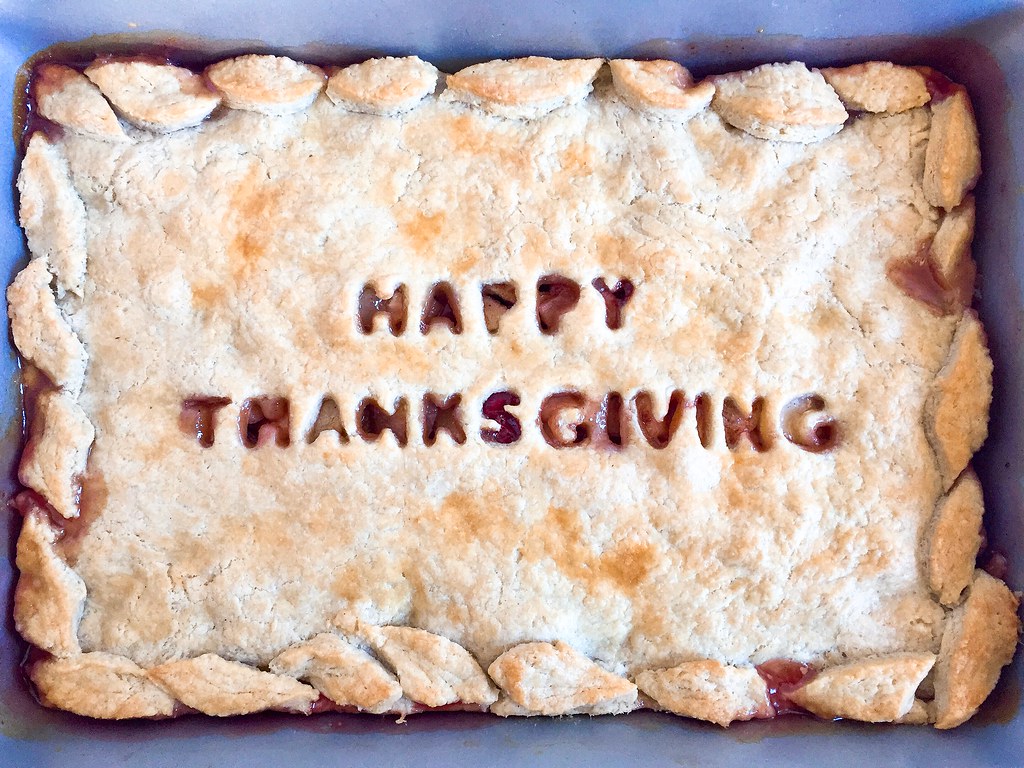
Sometimes you get an idea in your head that you just need to make a reality.  This was one of those times.  I already had alphabet cookie cutters from another project and a good slab pie recipe.  I didn't have any leaf cookie cutters, but those were easy enough to freehand cut out of the dough.


For the filling I used up fruits that had been accumulating from my Boston Organics deliveries and ended up using 3 pears, 2 apples, and 4 oz. of cranberries, which I think ended up being about 5-6 cups of chopped fruit.  I liked how the cranberries added a little tartness and color to the otherwise simply sweet filling.  (If you want to add more than 4 oz. of cranberries, I would also up the amount of sugar to account for the additional tartness.)

I cheated a little and didn't make a bottom crust, but in the end I think that was a good call because it saved a lot of time and aggravation and really, no one likes the soggy bottom crust right?  That meant I could make the top crust a little thicker and have plenty of dough left for the cut outs.  If I had had the time, I would've added more leaves, but for my first attempt at pie dough decorations, I think it went pretty well.  =)


Pear Apple Cranberry Slab Pie
makes a 9" x 13" slab pie

2 cups all-purpose flour, divided
2 tablespoons sugar
3/4 teaspoon kosher salt
12 tablespoons cold, unsalted butter, cubed
3 tablespoons ice water, more as needed
3 pears, peeled and chopped
2 apples, peeled and chopped
4 oz. fresh cranberries
3/4 cup sugar
1 teaspoon cinnamon
1 egg, beaten

Remove a heaping tablespoon of flour from the 2 cups and reserve for the filling.  Mix the remaining flour, sugar, and salt together in a food processor.  Add the butter and pulse until the butter has been cut into pea-sized pieces.  Add the water and pulse to combine.  Add more water if needed, a teaspoon at a time, just until the dough comes together.  Form the dough into a disc, wrap with plastic wrap, and refrigerate for at least 30 minutes or overnight.

Preheat the oven to 400°F.

Place the chilled dough on a large piece of floured parchment paper or Silpat and roll the dough out to a 9" x 13" rectangle about 1/6" thick.  You should have enough leftover dough to make cut outs from.  Cover and return to the refrigerator while you prepare the filling.

Mix the sugar with the reserved flour and cinnamon,  Toss with the chopped pears, apples, and cranberries.  Pour into a 9" x 13" baking pan.

Decorate the pie dough as you like and place it over the fruit.  Make an egg wash by mixing the beaten egg with 1 tablespoon of water.  Brush the entire crust with the egg wash.  Bake for 20 minutes, then rotate and bake for another 20 minutes or until golden brown.


Next:  Cranberry Curd Tart
Previously:  Soy Garlic Glazed Korean Fried Cauliflower
Last Year:  Pad Thai
Two Years Ago:  Raindrop Cake
Three Years Ago:  My Mom's Taiwanese Sticky Rice
Four Years Ago:  Duchikey (Simplified Turkducken)
Seven Years Ago:  Nanaimo Bars
Eight Years Ago:  Homemade Crystallized Ginger

Friday, December 12, 2014

Puppy Chow Pie

https://www.flickr.com/photos/joyosity/15999378662/

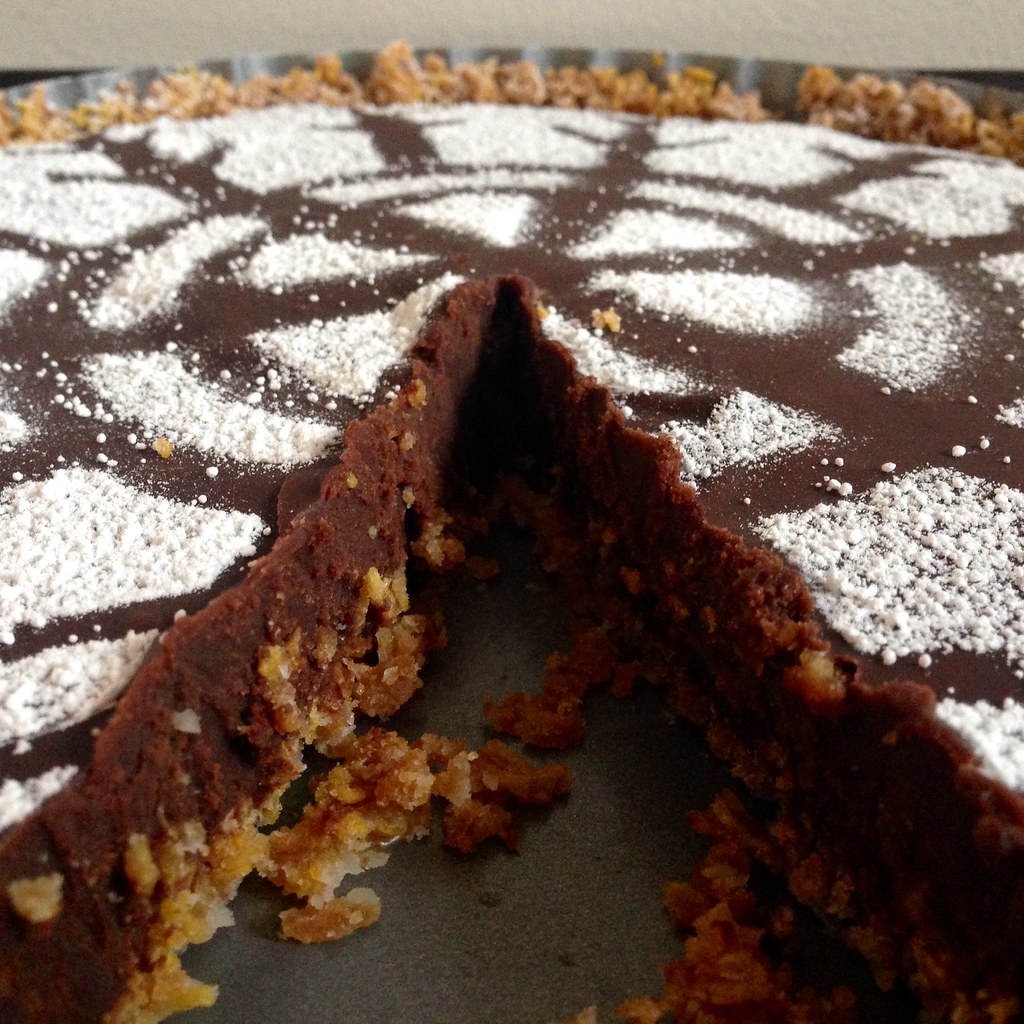
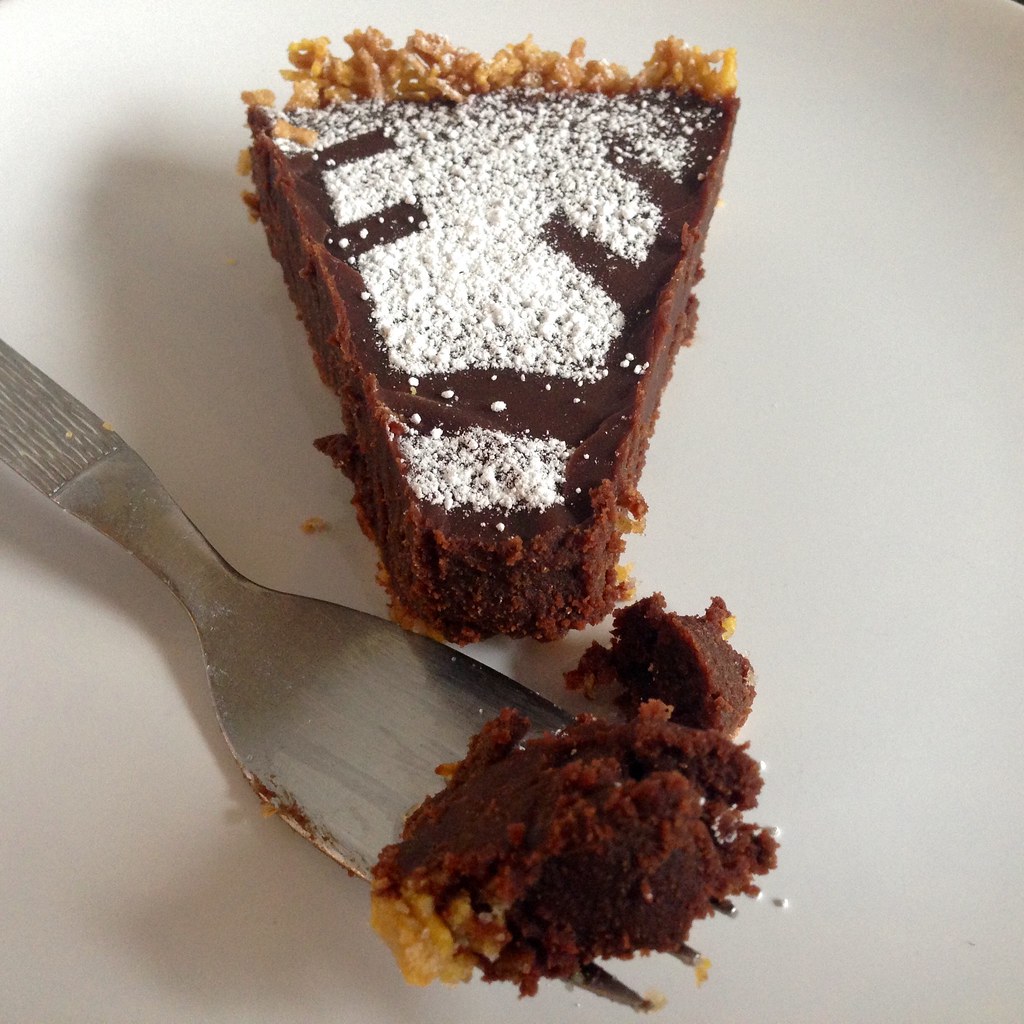
This dessert should really have another, more elegant name, like Peanut Butter-Chocolate Ganache Tart, but since it's based on the Puppy Chow treat, that's what I'm sticking with.  If you've never heard of Puppy Chow, it's the snack mix you get when you coat Crispix cereal with melted chocolate and peanut butter, then shake it in a bag with powdered sugar.  (Chex markets a version made with their cereal as Muddy Buddies.)  It's super addictive, messy to eat, and utterly delightful.  I was just thinking about making a batch the other week, so when I saw this post on The Crepes of Wrath for a Muddy Buddy Pie, I was inspired to make a Puppy Chow version.

https://www.flickr.com/photos/joyosity/16000055785/

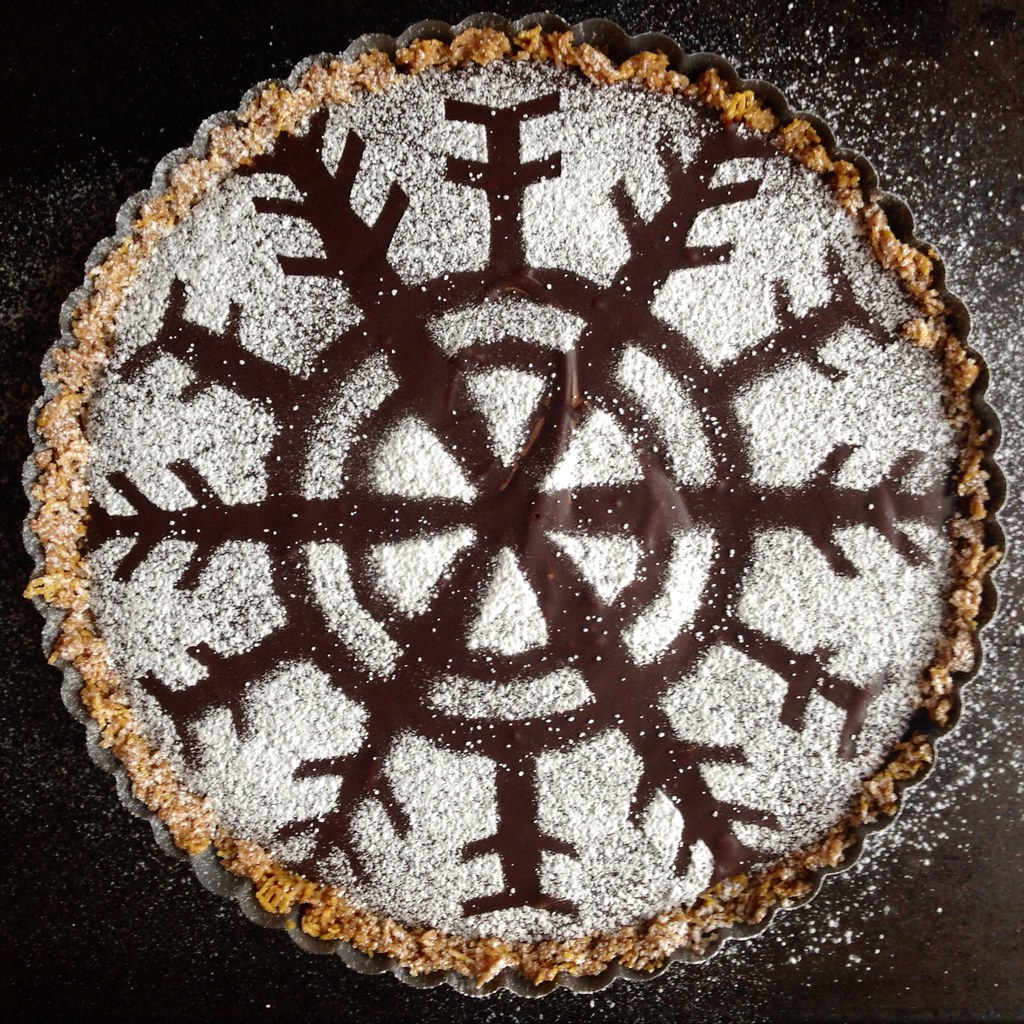
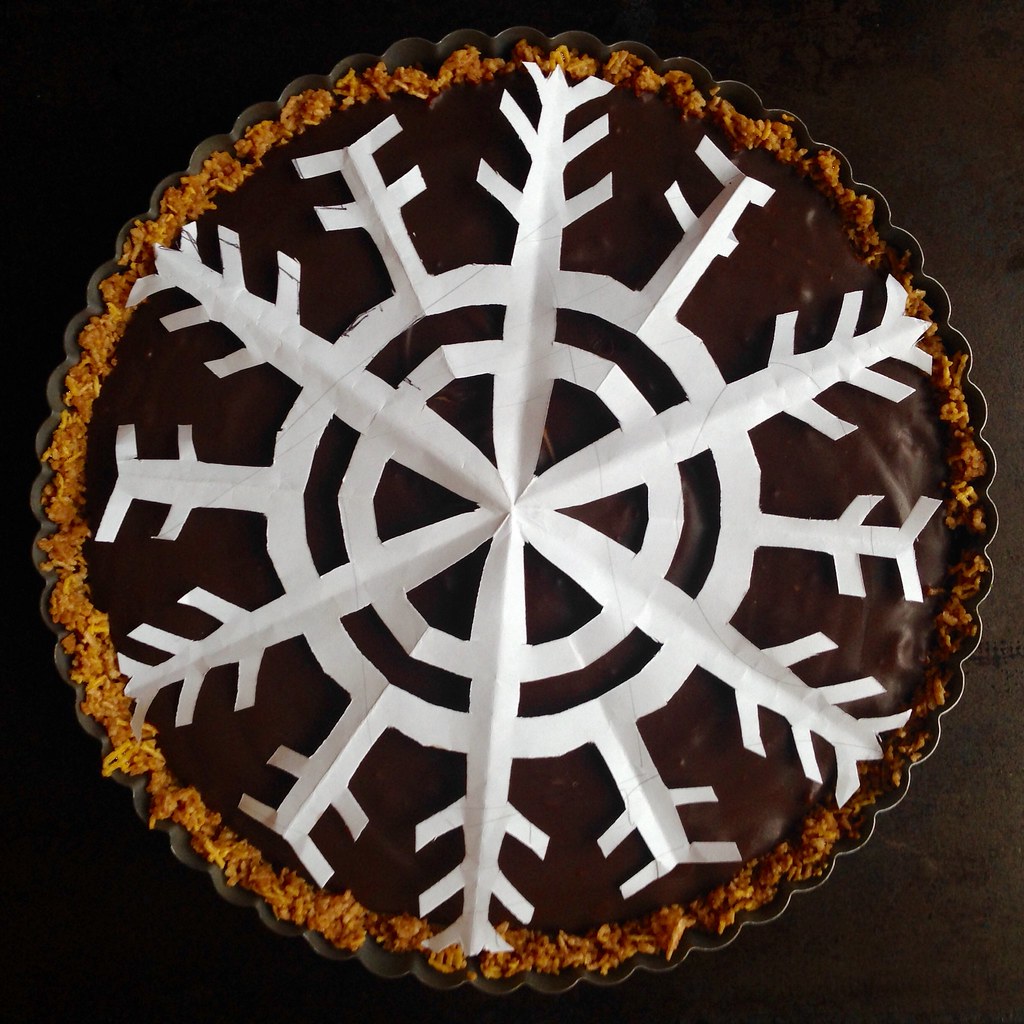
As a word of caution, this is a super, sinfully rich dessert.  There's the buttery cereal crust filled with peanut butter-chocolate ganache and topped with a dusting of powdered sugar.  I found that making a snowflake out of a 8 1/2" square of paper gives you the perfect sized template to cover the top of the pie if you want to make a pretty design.  It would probably make more sense to cut out a negative space snowflake so that the white part of the design is the snowflake itself, but I decided not to so that more of the top would be covered by the sugar.

https://www.flickr.com/photos/joyosity/15974281726/

Puppy Chow Pie (adapted from The Crepes of Wrath)
makes 1 pie

5 cups of Crispix cereal, ground into fine crumbs (about 2 cups once crushed)
1/2 cup unsalted butter, melted
1/4 cup packed brown sugar
1/2 teaspoon kosher salt
1 cup heavy cream
1 teaspoon vanilla extract
1 cup milk chocolate chips
1 cup semi-sweet chocolate chips
1/2 cup smooth peanut butter
Powdered sugar, for dusting

Preheat the oven to 350°F.  Use a blender or food processor to grind the cereal into fine crumbs (if using a blender, you may have to do this in batches so that you don't end up with fine powder at the bottom and large pieces on top).  Mix with the melted butter, brown sugar, and salt until well combined.

Transfer the mixture to a 9" pie or tart pan and press into the sides and then the bottom.  Bake for 10-12 minutes until golden, but not caramelized.  Let cool while you make the filling.

In a small pot, heat the cream and vanilla over medium heat until simmering.  Place the chocolate chips and peanut butter in a medium, heat-proof mixing bowl and pour the hot cream over the chocolate.  Stir until the chocolate has melted and the mixture is smooth.  Pour into the crust and chill overnight, or at least 6 hours.

If using a snowflake template, place on top of the pie and then dust with powdered sugar.  Serve small slices chilled or at room temperature.

https://www.flickr.com/photos/joyosity/15380439273/

Next:  Zuppa Toscana
Previously:  Pull Apart Thanksgiving Leftover Stuffed Bread
Last Year:  Miso Pumpkin Soup
Two Years Ago:  Homemade Ramen Noodles, Miso Ramen with Marinated Soft-Boiled Egg
Five Years Ago:  Wah Guay (Taiwanese Rice Cake with Meat Sauce), Tim Tam Slam Ice Cream,
Six Years Ago:  Beef Noodle (Soup) and Lu Dan, Pan-Fried Pasta with Butternut Squash, Fried Sage, and Pine Nuts

Wednesday, August 20, 2014

Bill Smith's Atlantic Beach Pie

https://www.flickr.com/photos/joyosity/14919066781/

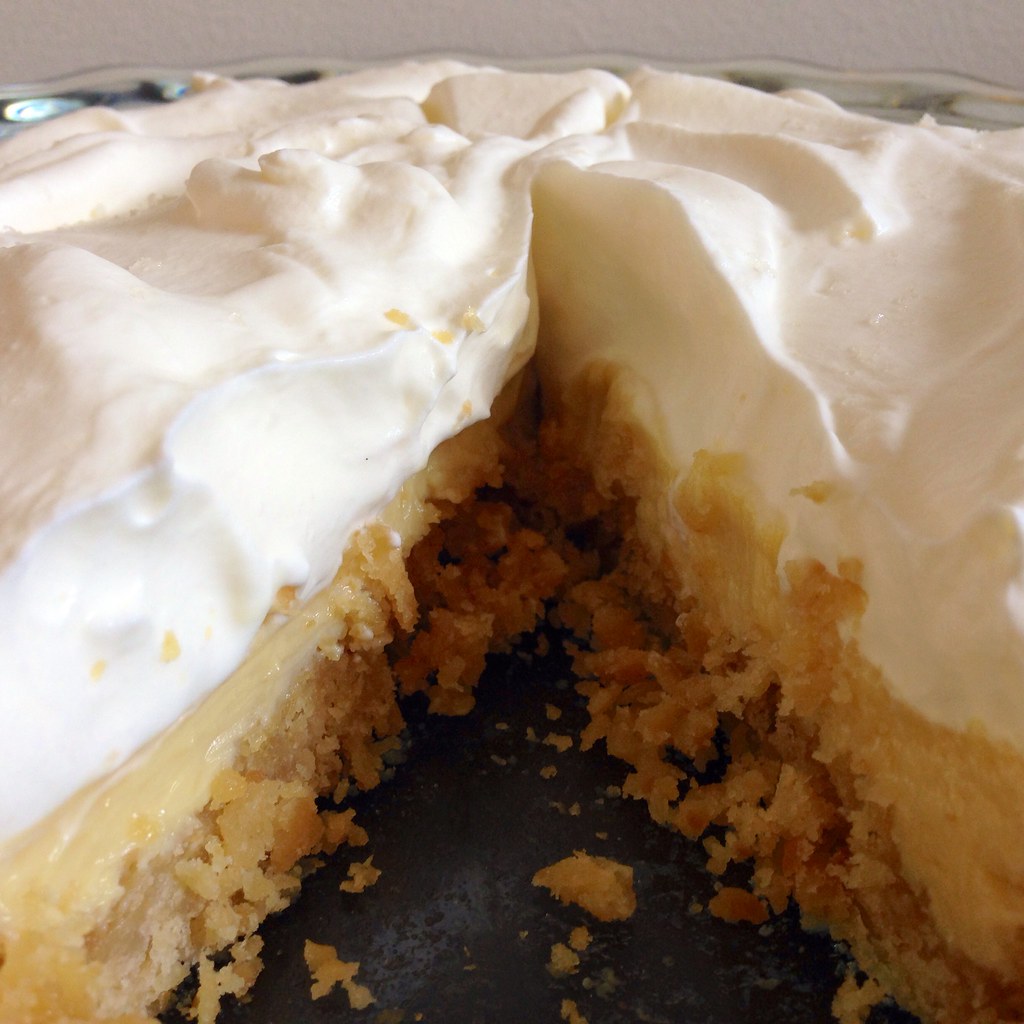
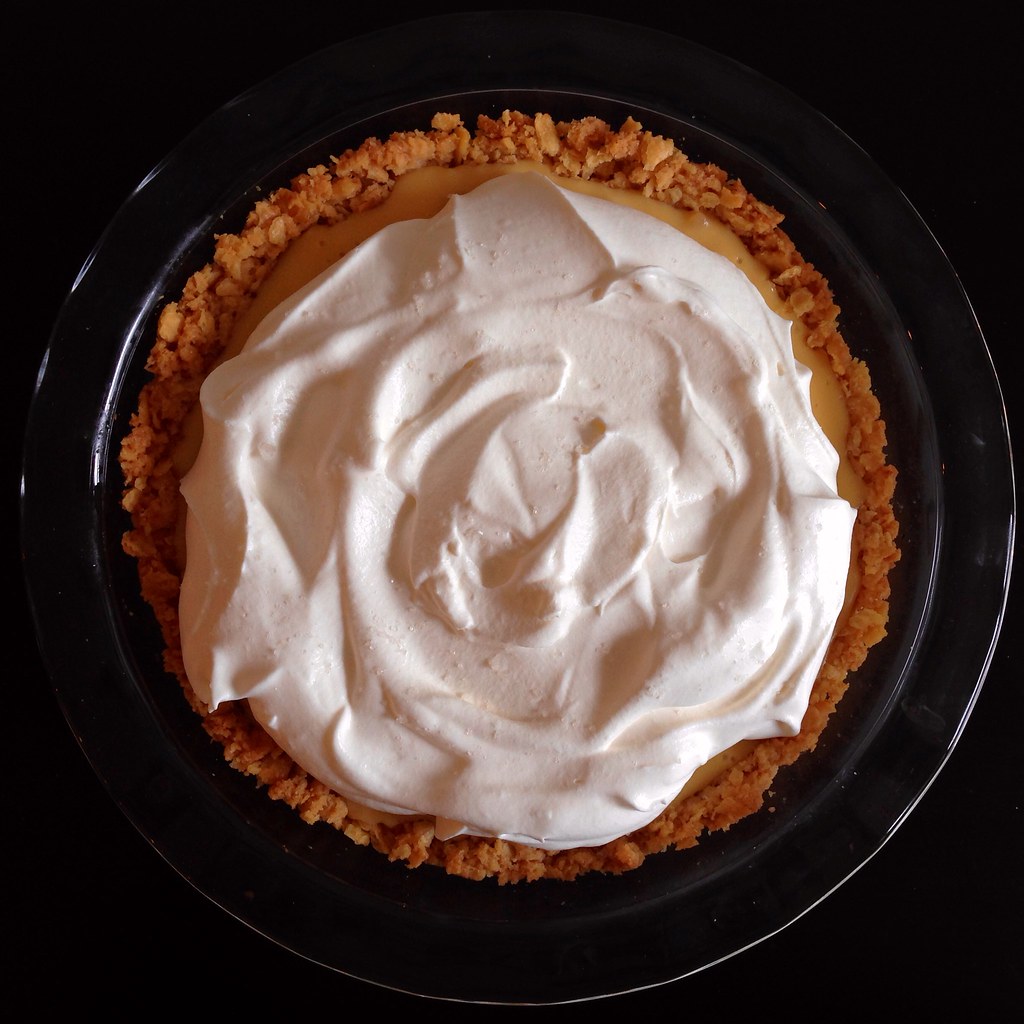
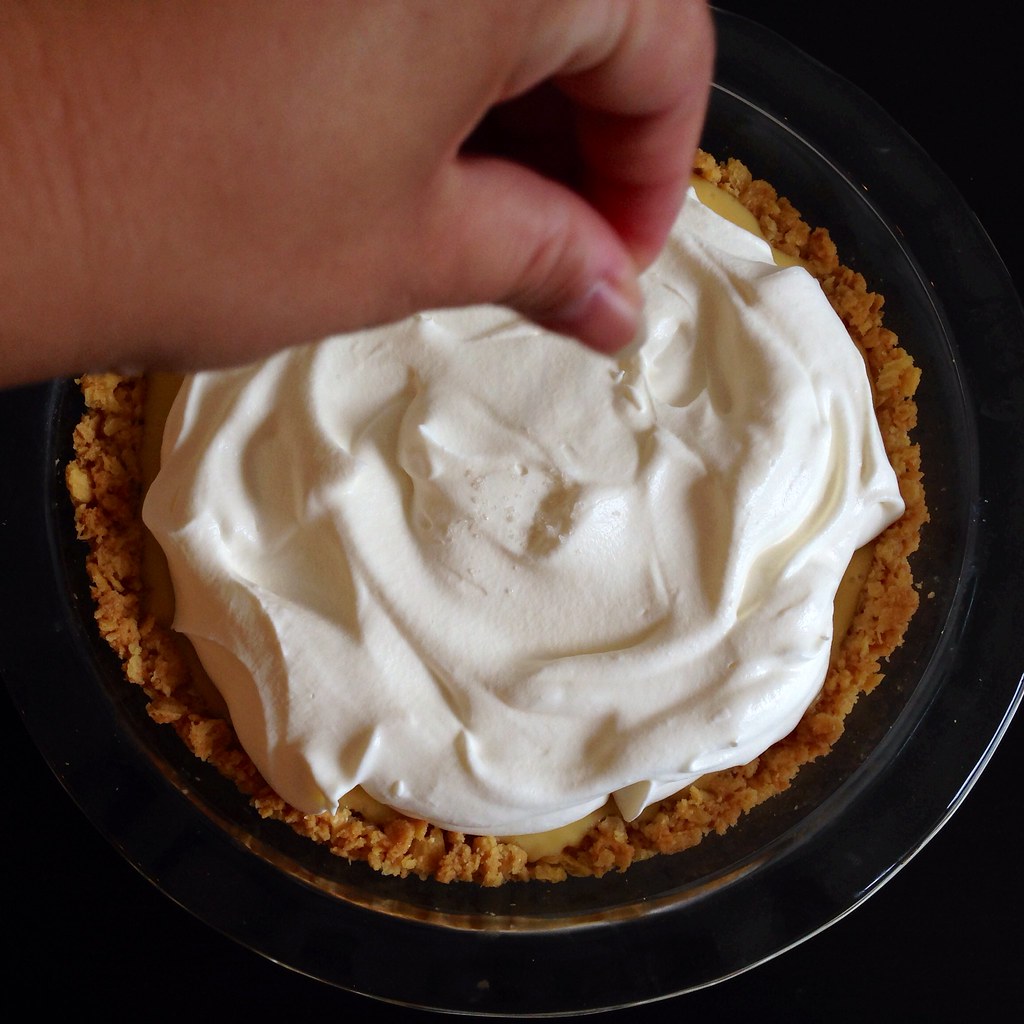
I've never heard of an Atlantic Beach Pie, but once I saw this post on Food52, I knew I had to make it.  It's an amalgam of some of my favorite things:  a salty-sweet buttery crust made out of saltines, a tart citrus filling, and a simple topping of whipped cream garnished a sprinkle of flaky sea salt.  It kind of reminds me of the Momofuku Milk Bar Grapefruit Pie I made once, but a whole lot easier to make.  It's no surprise that I would love a pie with this name since I'm such an East Coast kind of gal.  =)

https://www.flickr.com/photos/joyosity/14735519278/

For the citrus juice that goes into the filling, I just used a half cup of the juice I got from juicing the zested lemon, lime, orange, and grapefruit I used for making the citrus cured salmon.  The next time I make this, I will probably use the recommended lemon and/or lime mixture so that the tartness really shines through.

https://www.flickr.com/photos/joyosity/14735561347/

Bill Smith's Atlantic Beach Pie (adapted from Food52)
makes 1 pie

1 1/2 sleeves of saltine crackers (about 6 oz. or 60 crackers)
1/2 cup softened unsalted butter
3 tablespoons sugar
14 oz. can of sweetened condensed milk
4 egg yolks
1/2 cup citrus juice
3/4 cup heavy whipping cream, chilled
Coarse sea salt, for garnish

Preheat oven to 350°F.

https://www.flickr.com/photos/joyosity/14735553467/in/photostream/
   
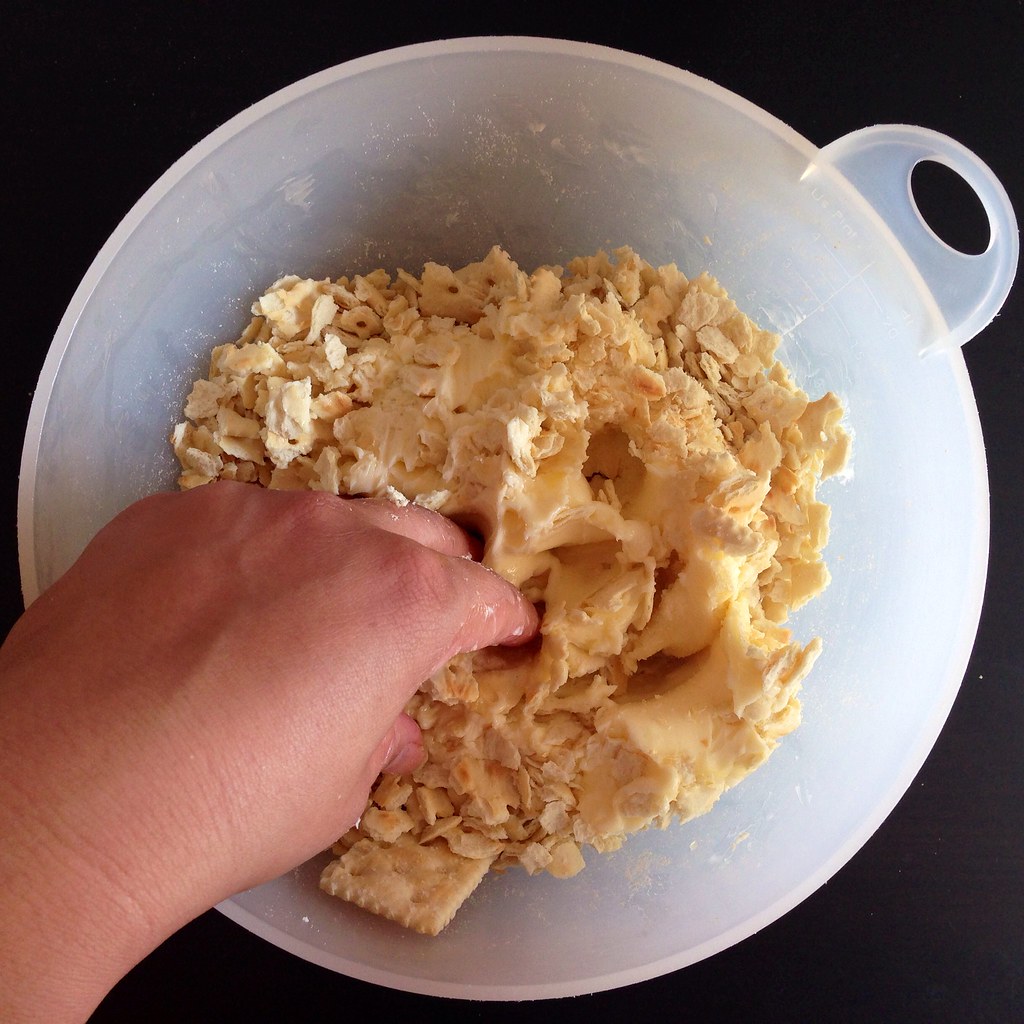
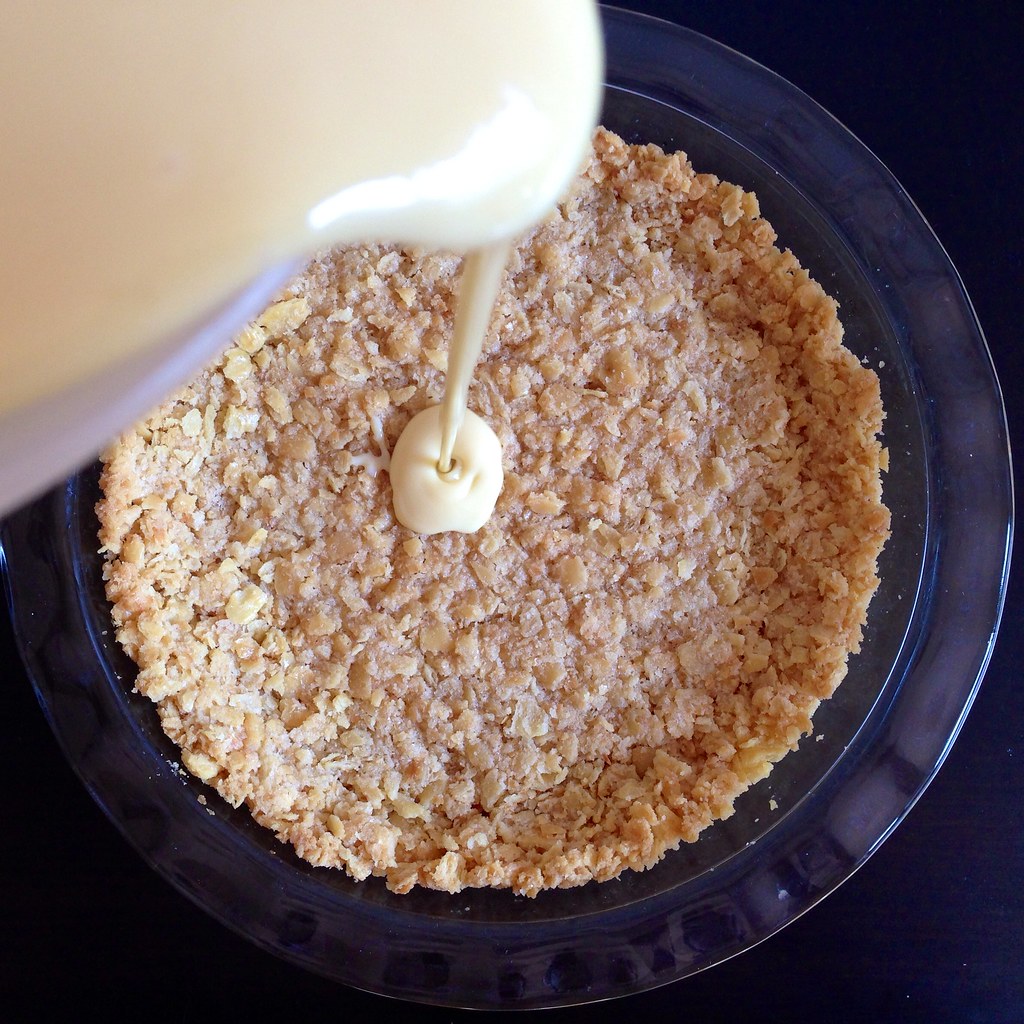
Crush the crackers finely, but not to dust. You can use a food processor or your hands. Add the sugar, then knead in the butter until the crumbs hold together like dough. Press into an 8-inch pie pan. Chill for 15 minutes, then bake for 18 minutes or until the crust is golden brown.

https://www.flickr.com/photos/joyosity/14919056651/

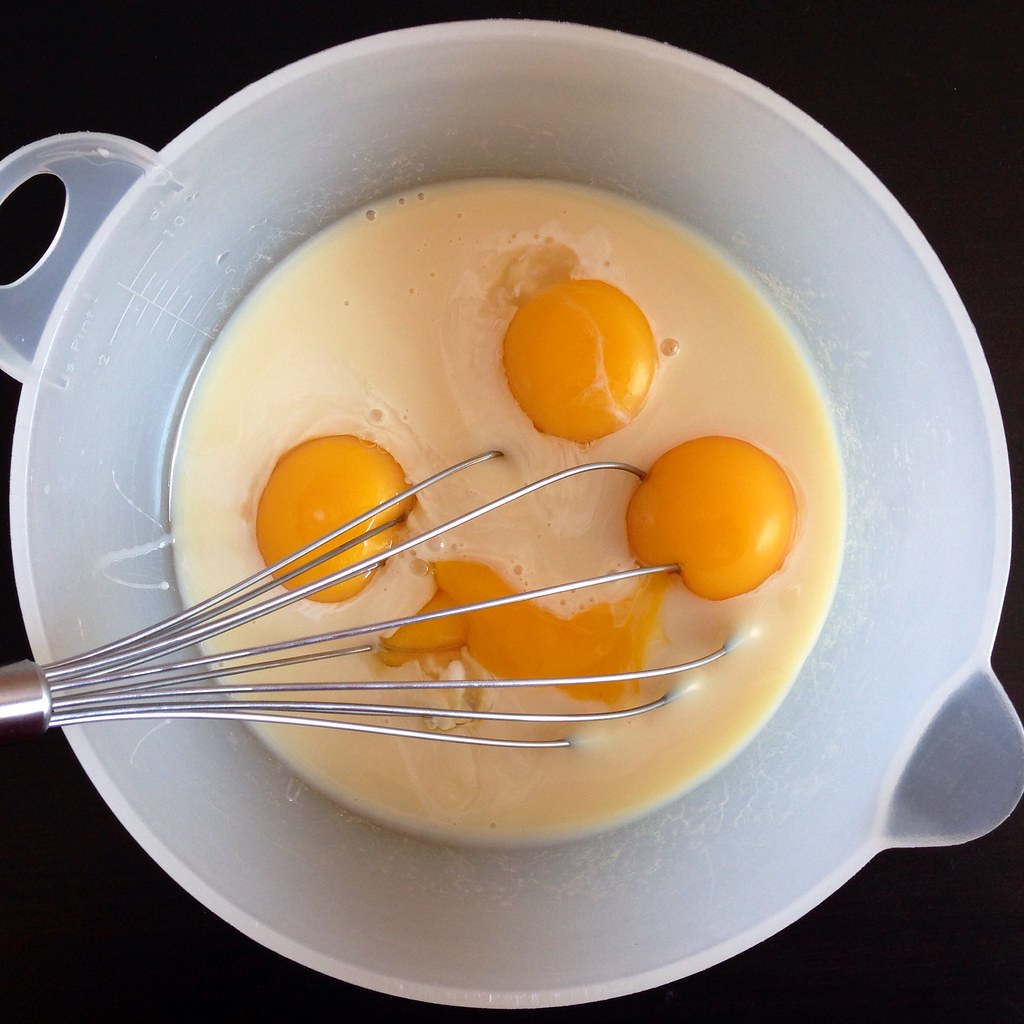
While the crust is cooling (it doesn't need to be cold), whisk the egg yolks into the milk, then whisk in the citrus juice.  Continue whisking until the mixture thickens.

https://www.flickr.com/photos/joyosity/14735469299/

Pour into the shell and bake for 16 minutes until the filling has set.  Cool on a wire rack until the pie has reached room temperature and then transfer to the refrigerator.  The pie needs to be completely cold to be sliced.

https://www.flickr.com/photos/joyosity/14899148256/

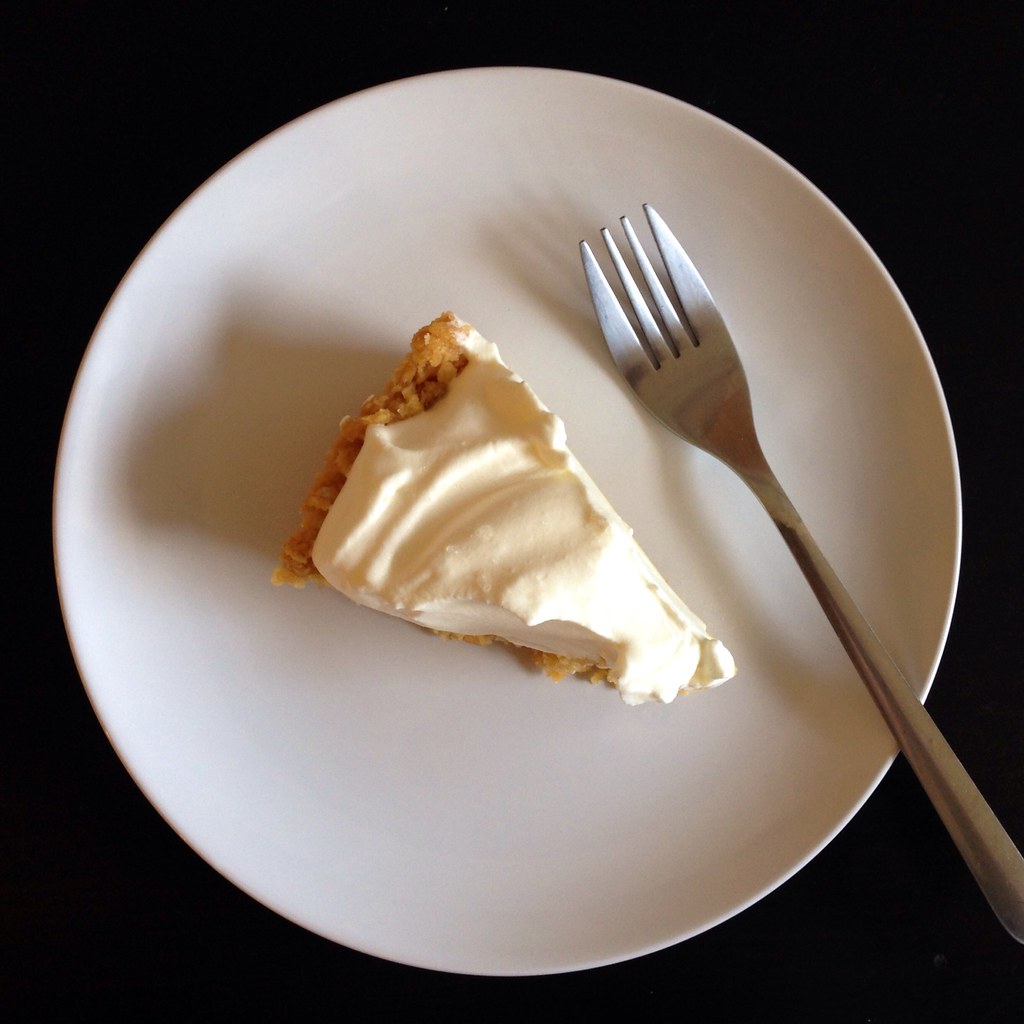
Whip the heavy cream just until stiff peaks appear (if you keep whipping too much you'll make butter).  Top the chilled pie with the whipped cream and garnish with a sprinkling of sea salt.

https://www.flickr.com/photos/joyosity/14735477079/

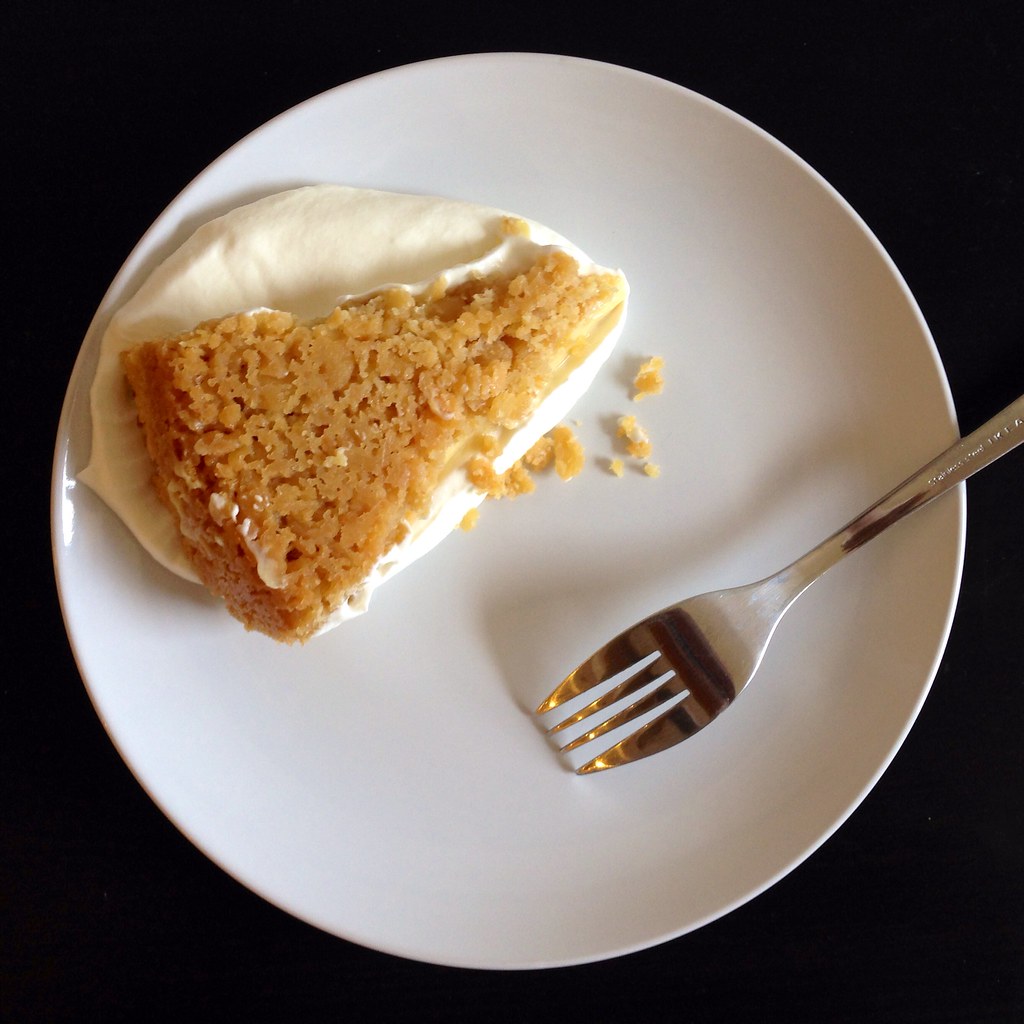
By the way, this is what happens when you try to carefully cut a slice and transfer it to a plate to take a picture.  Fail.  Still yummy, though! 

https://www.flickr.com/photos/joyosity/14735469470/

Next:  Crispy Skinned Salmon Teriyaki
Previously:  Citrus Cured Salmon
Last Year:  Crimini Mushroom Risotto

Wednesday, July 30, 2014

Strawberry Pop Tart Slab Pie

 https://www.flickr.com/photos/joyosity/14584412708/

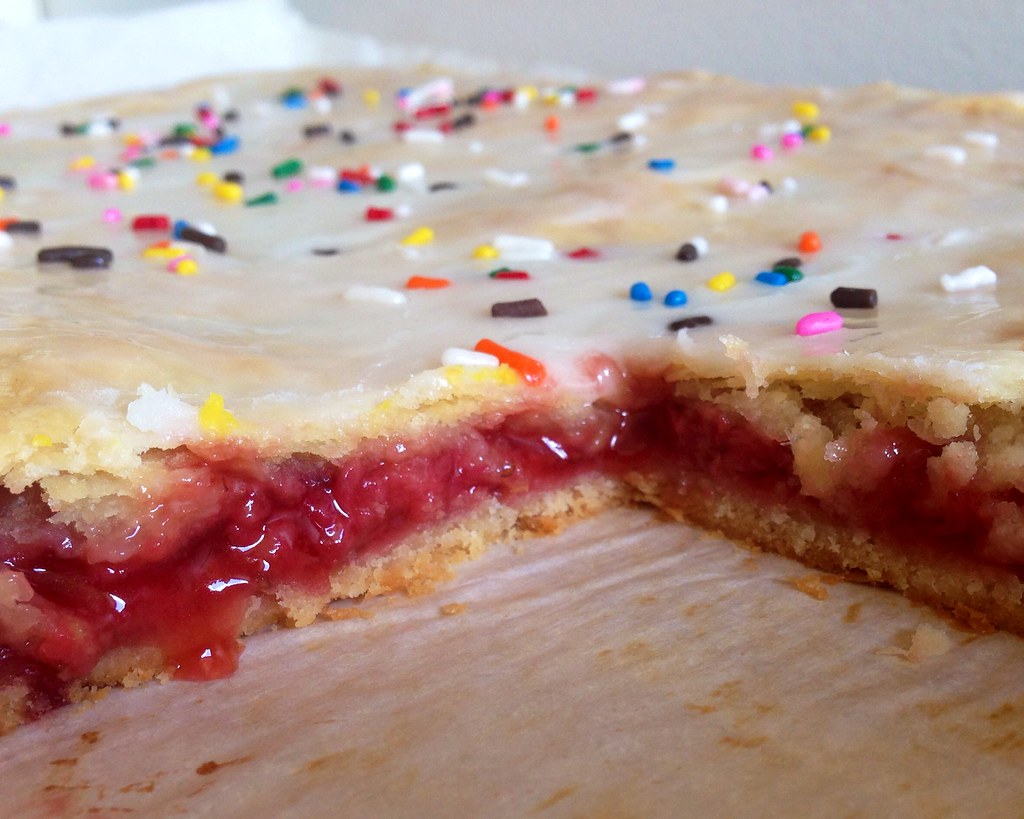
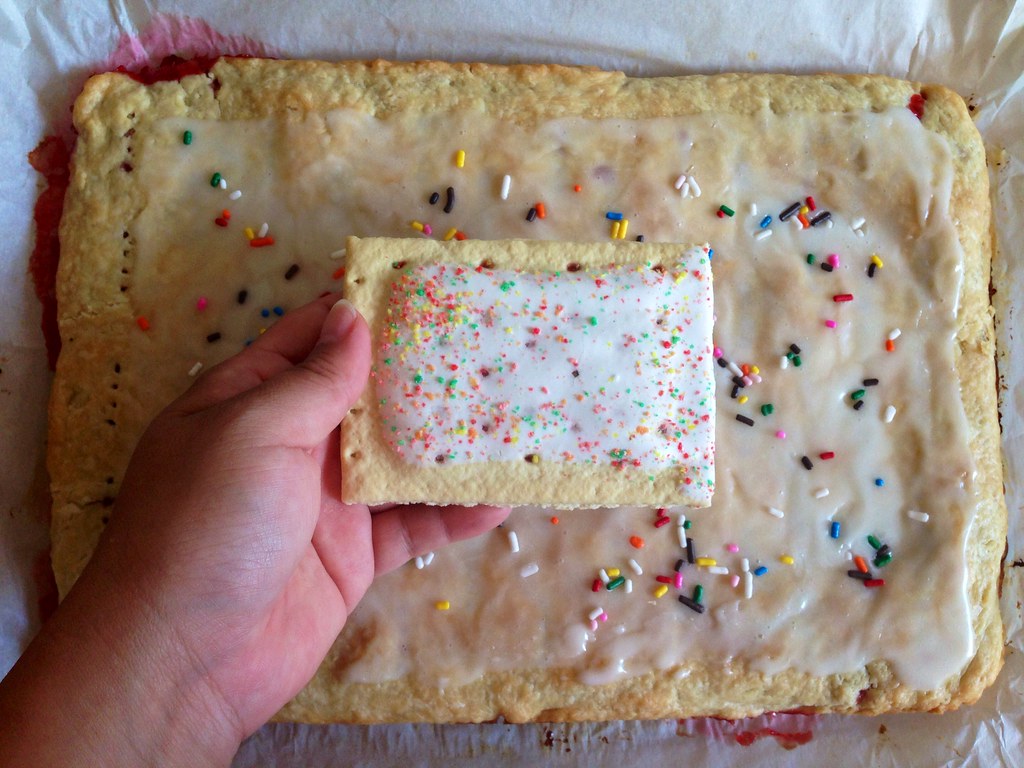
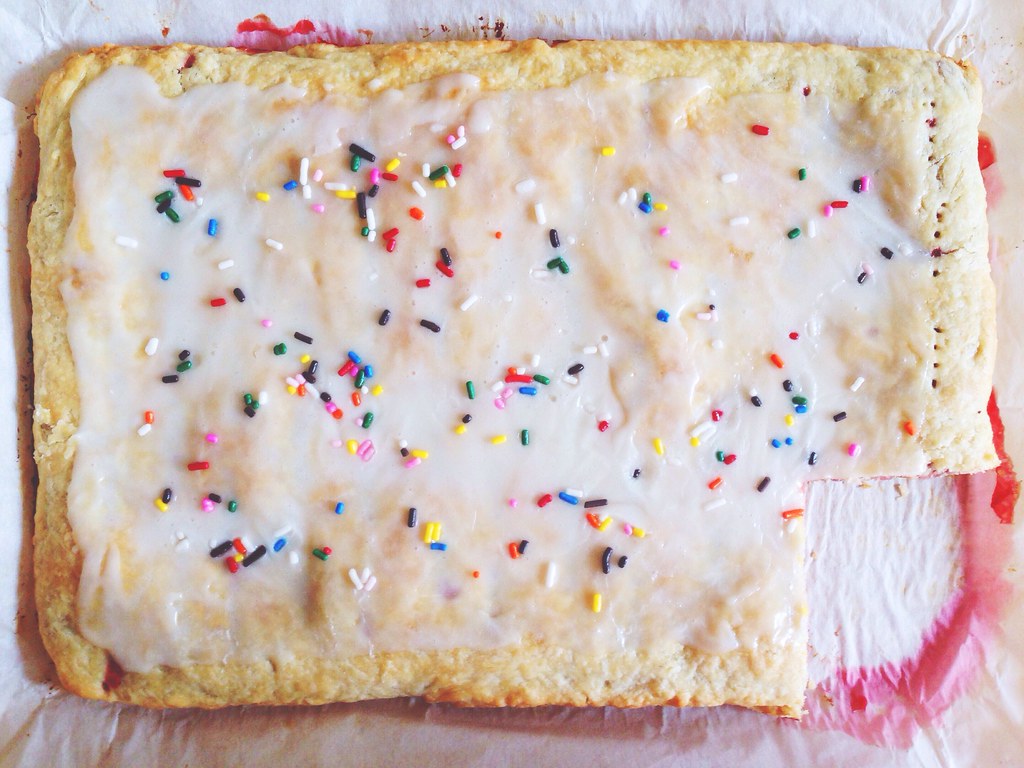
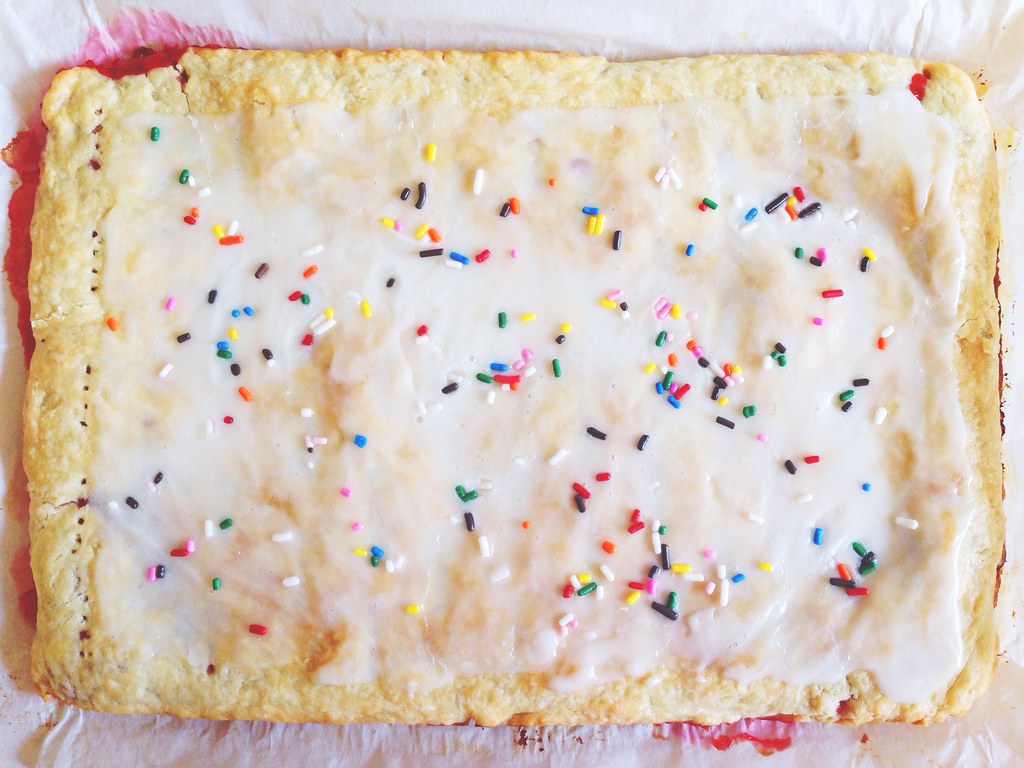
Ever since I saw this post for a S'mores Pop Tart slab pie, I just knew I had to make my own version of a frosted strawberry Pop Tart!  Can you think of anything more fun and delightful than a huge slab pie filled with jammy fresh strawberries, glazed, and topped with rainbow sprinkles?  I didn't think so. 

https://www.flickr.com/photos/joyosity/14769971405/

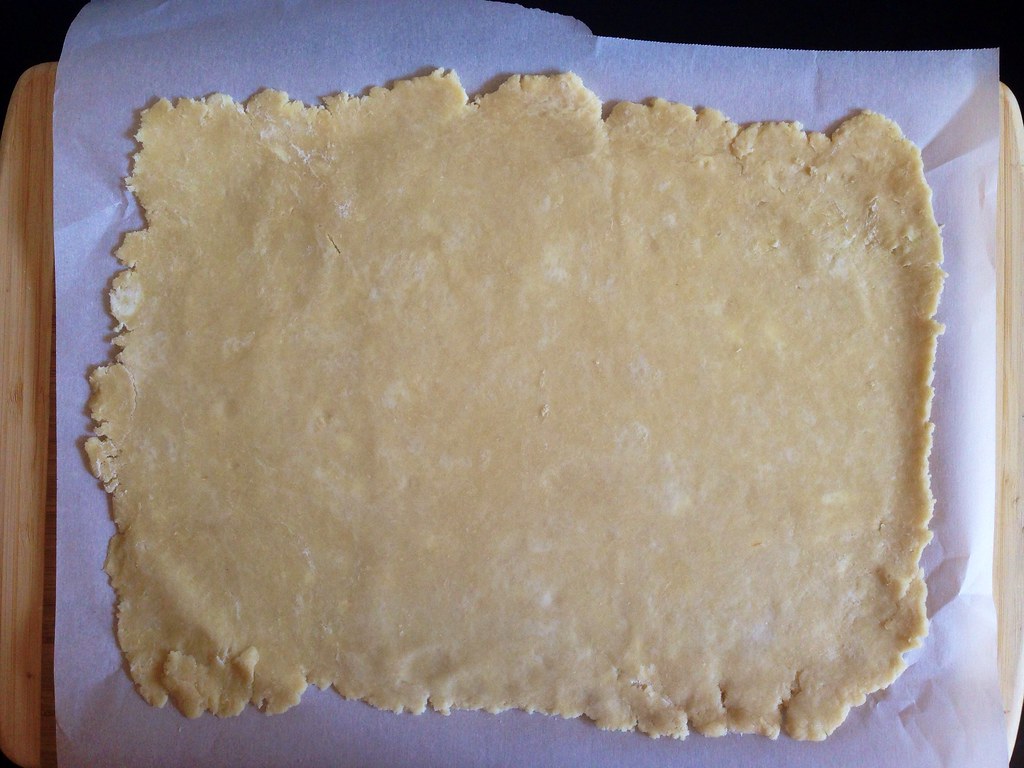
One pro-tip for making this pie is to use parchment paper.  You can use it to figure out how large to roll the dough out to just by creasing the paper inside the baking pan first.  You can also use it to easily transport the rolled out dough to the refrigerator and into the baking pan.  Lastly, it makes it super easy to remove the pie from the pan and totally saves time on clean up!

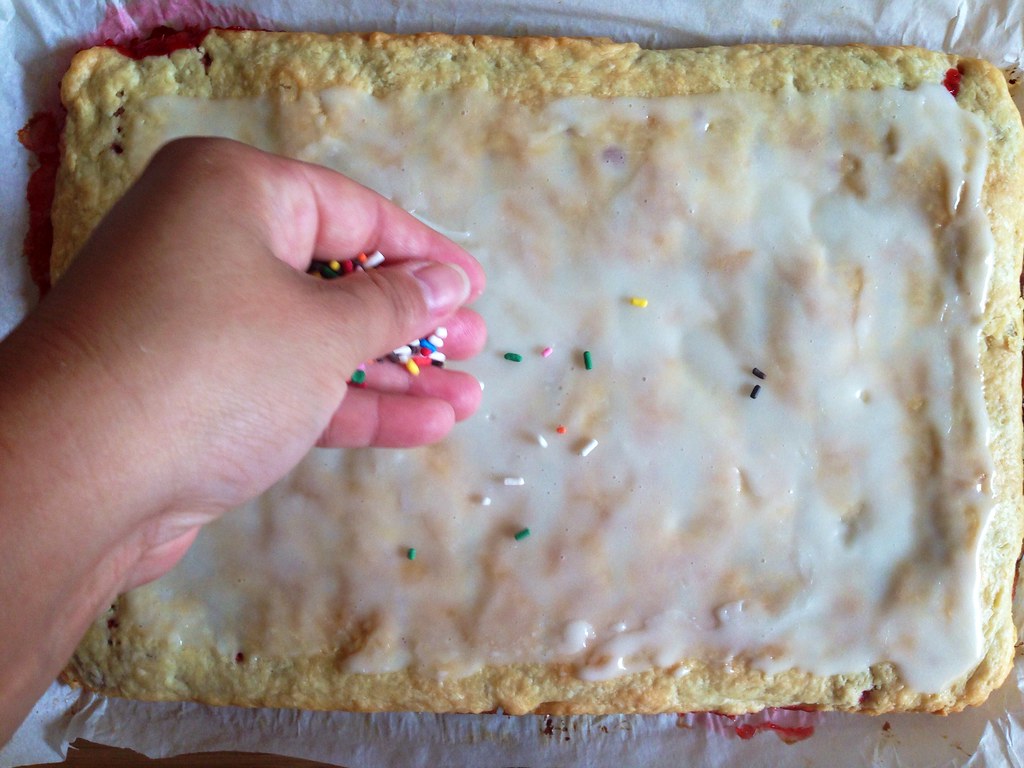
I didn't use all the glaze because I didn't want the pie to be too sickeningly sweet, but it also meant I didn't get a nice opaque frosting on top, which would have looked more authentic.  To make it super authentic, I'd also glaze one of the shorter sides of the pie all the way to the edge since my Pop Tarts always seem to be unevenly frosted like that.

https://www.flickr.com/photos/joyosity/14746960266/

Strawberry Pop Tart Slab Pie
serves 10-12 (although I served it to a small group of 5, and we pretty much demolished it)

For the crust:
2 1/2 cups flour
3 tablespoons sugar
1 teaspoon kosher salt
1 cup cold unsalted butter (2 sticks), cubed
1/4 cup ice water, more as needed

For the filling:
1 lb. fresh strawberries
1/2 cup vanilla or granulated sugar
2 tablespoons cornstarch
Pinch of kosher salt
Juice from 1/2 lemon

For the glaze:
1 cup confectioner's sugar
2 tablespoons milk
Rainbow sprinkles!

Mix the flour, sugar, and salt together in a food processor.  Add the butter and pulse until the butter has been cut into pea-sized pieces.  Add the water and pulse to combine.  Add more water if needed, a tablespoon at a time, just until the dough comes together.  Divide the dough in two, wrap with plastic wrap, and refrigerate for at least 30 minutes or overnight.

Preheat the oven to 400°F.

https://www.flickr.com/photos/joyosity/14583488247/

Tear off two large pieces of parchment paper and tuck each into a 9" x 13" baking pan, creasing along the sides and corners so you know how large to roll the dough.  One at a time, roll out the two pieces of dough to about 10" x 14" on the parchment paper.  It's okay if it's not perfect since you'll be tucking the sides over and under.  You can cut off any excess pieces and patch up other corners or cracks if needed, too.  Transfer the rolled out dough on the parchment paper back to the refrigerator while you prepare the filling.

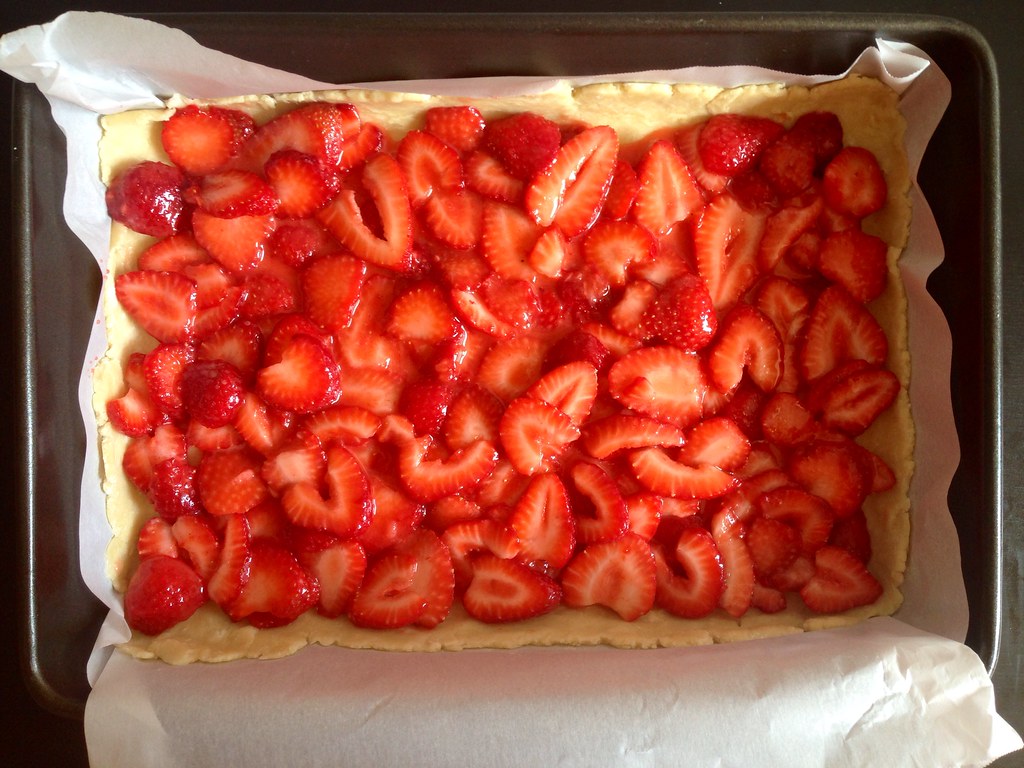
Wash, hull, and thinly slice the strawberries.  Toss with the sugar, cornstarch, salt, and lemon juice.

https://www.flickr.com/photos/joyosity/14767597874/

Tuck one of the rolled out crusts with the parchment paper into the baking pan, making sure there is enough dough on all sides to form a rim.  Spread the strawberry filling evenly over the crust.  Top with the other rolled out pie crust.  Carefully crimp together the edges and fold the excess dough over and under the edge, lifting up the parchment paper underneath to help with this process.  If there was a lot of extra dough, you can trim it off, but you want to make sure the filling is sealed inside.
https://www.flickr.com/photos/joyosity/14767599664/

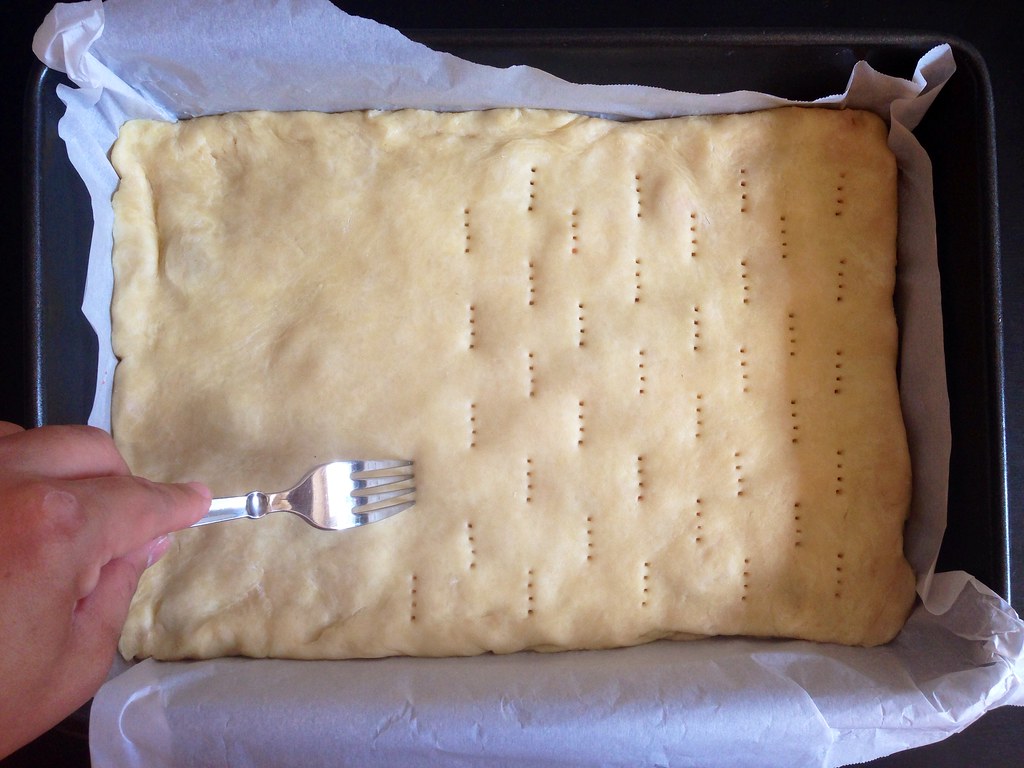
Use a fork to prick the top crust evenly all around.  Bake for 20 minutes.

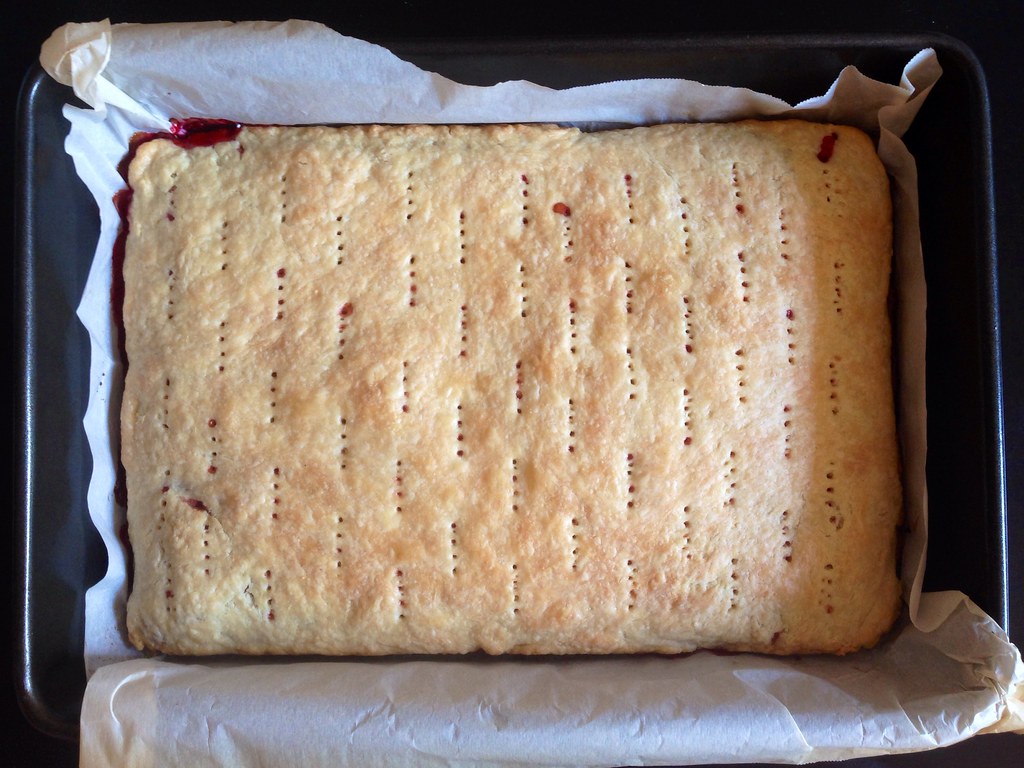
Check to make sure that the holes you made are still open (sometimes they shrink and seal up), and if not, prick again with a fork.  Rotate and return to the oven for another 20 minutes or until golden brown.

https://www.flickr.com/photos/joyosity/14766793491/

Make the glaze in the meantime by mixing together the confectioner's sugar and milk.

https://www.flickr.com/photos/joyosity/14769966325/

Allow the pie to cool before using the parchment paper as a sling to remove it from the pan and onto a large cutting board.  Spread the glaze over the pie, leaving a 1/2" border.  Immediately top with the rainbow sprinkles.
https://www.flickr.com/photos/joyosity/14770616552/

The pie actually reminded me a little more of a Toaster Strudel than a Pop Tart, which isn't a bad thing.  Oooh, now to make a gigantic Toaster Strudel with puff pastry and cream cheese frosting....

Next:  Grace's Ginger Scallion Fish
Previously:  Ginger Beer Sherbet
Last Year:  Oven Fried Mac 'n' Cheese Pizza

Wednesday, June 25, 2014

Plum, Nectarine, and Peach Galette

https://www.flickr.com/photos/joyosity/14437942746/

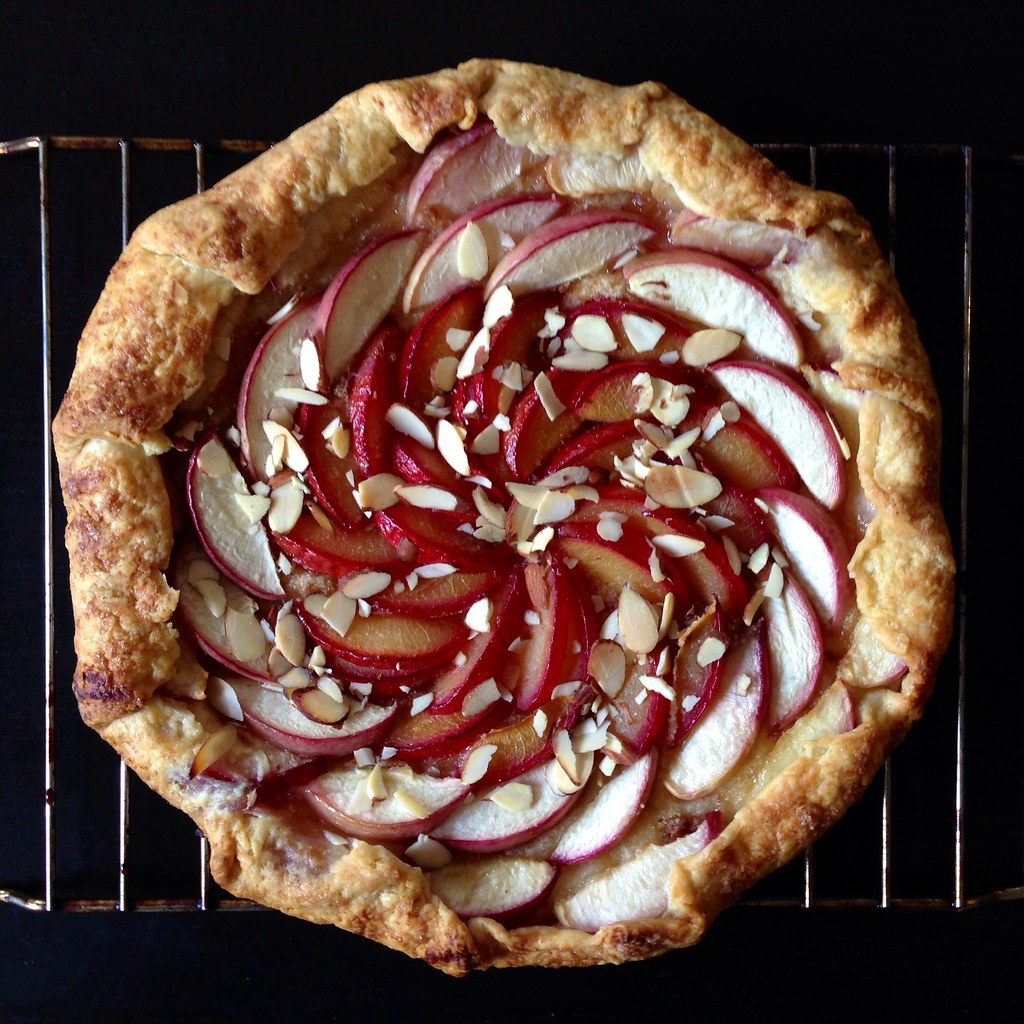
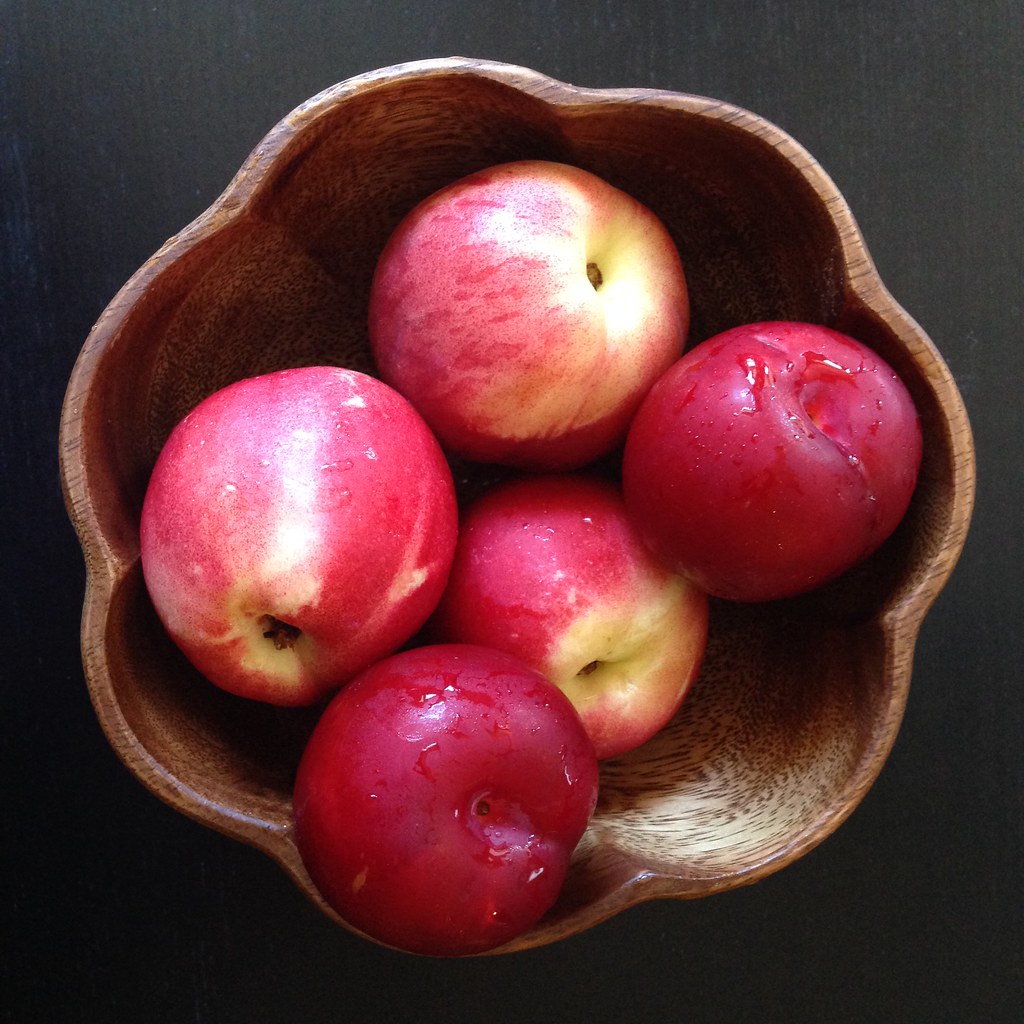
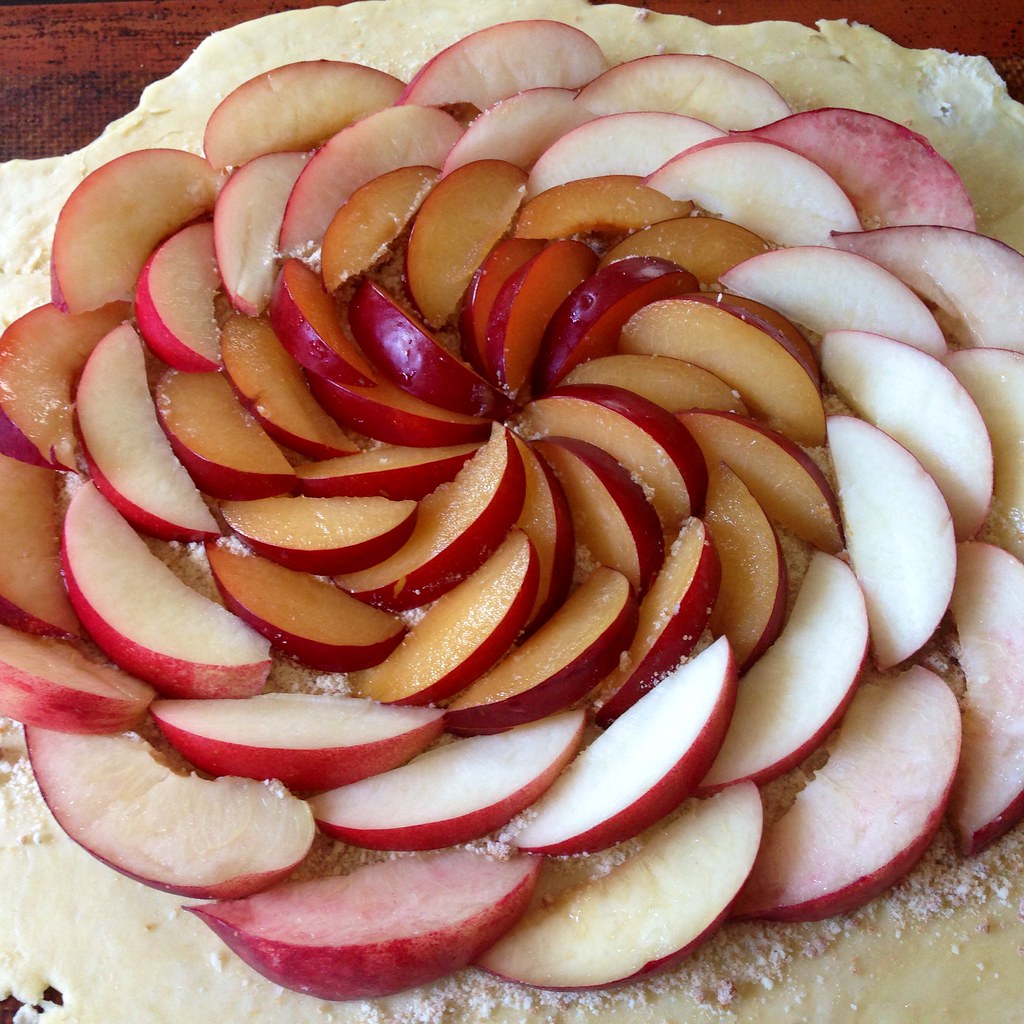
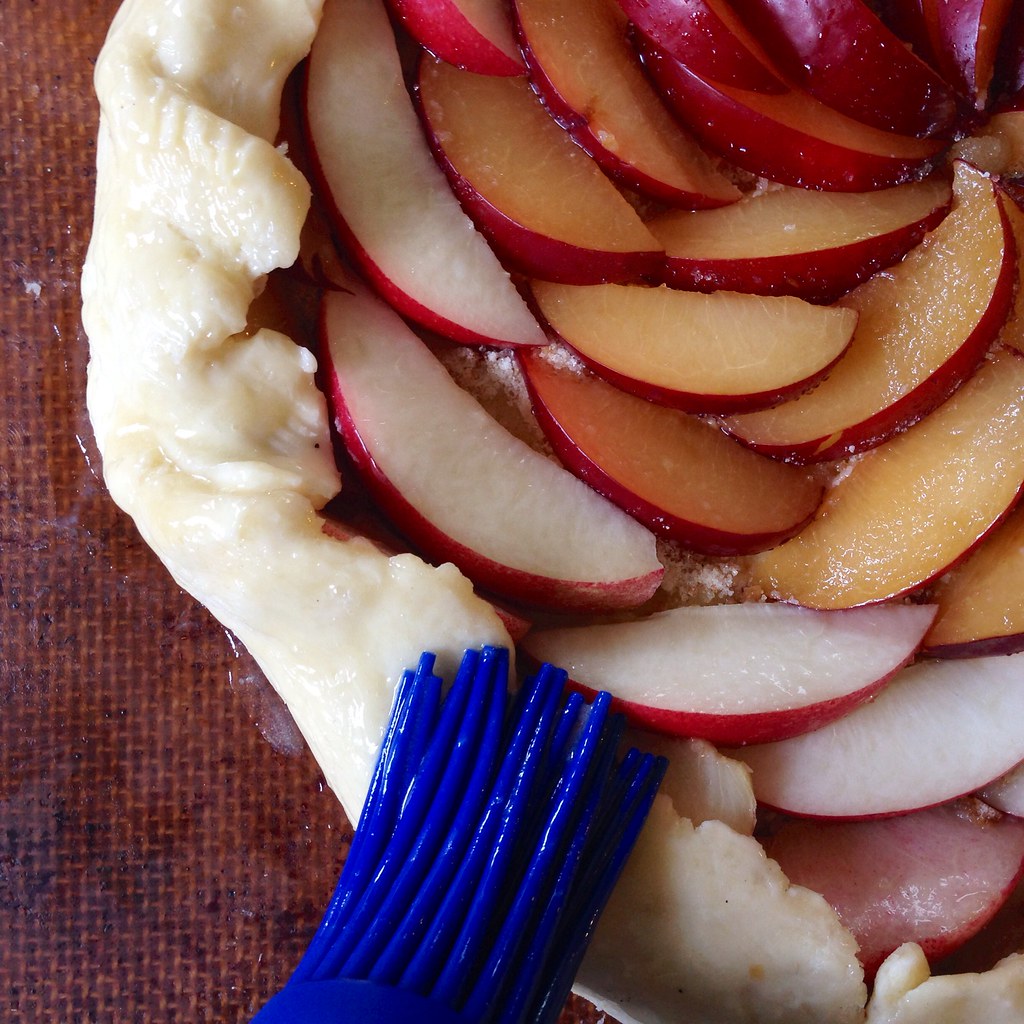
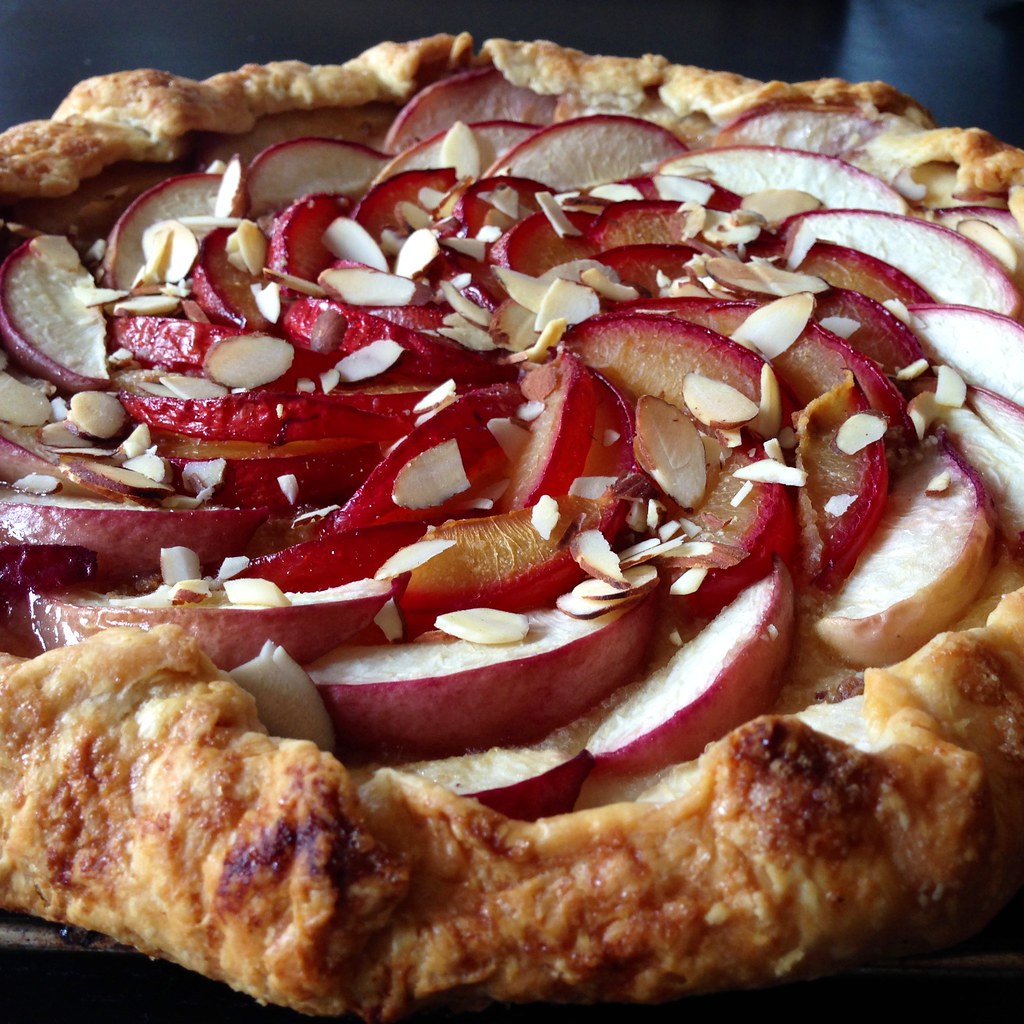
I've made all sorts of pies and tarts before, but never attempted to make a galette.  But that's exactly what came to mind when I ended up with 2 plums, 2 nectarines, and a peach in my latest Boston Organics delivery.  I imagined perfect spirals of ombré fruit enclosed by a rustic, sugar-flecked dough.  The ombré part didn't really pan out, but I think the rest turned out okay!

https://www.flickr.com/photos/joyosity/14459928594/

I based my recipe on the nectarine galette posted by Smitten Kitchen, which itself is adapted from Alice Water's apricot tart.  I didn't have any amaretti cookies, but I did have some speculoos cookies leftover from a recent flight, so I took a chance and used those.  I also had no apricot jam (or any other jam) on hand, so the fruit looks a little sad and dried out, but just imagine how lovely it would've been if they were glazed and glistening.

https://www.flickr.com/photos/joyosity/14437963906/

Plum, Nectarine, and Peach Galette (adapted from Smitten Kitchen)
serves 6

For the crust:
1 cup unbleached all-purpose flour
1/2 teaspoon sugar
1/8 teaspoon salt
6 tablespoons unsalted butter, chilled and cubed
6 tablespoons ice water

For the filling:
1 tablespoon ground almonds
1 tablespoon flour
1/4 cup sugar, divided
1 tablespoon speculoos cookies, pulverized (or 1 extra tablespoon ground almonds plus an extra teaspoon sugar)
1 lb. stone fruit (I used 2 plums, 2 nectarines, and 1 peach)
1 tablespoon butter, mlted
2 tablespoons sliced almonds
Apricot jam (optional)

https://www.flickr.com/photos/joyosity/14274435040/

Combined the flour, sugar, salt, and butter in a food processor.  Pulse until the dough resembles coarse cornmeal.  Transfer to a medium bowl and dribble 4 tablespoons of the ice water over the mixture.  Mix until it comes together, adding more ice water if needed, a tablespoon at a time.  Gently knead a few times and then shape into a flat disk, wrap in plastic, and refrigerate for at least 30 minutes before rolling out.
https://www.flickr.com/photos/joyosity/14459927154/

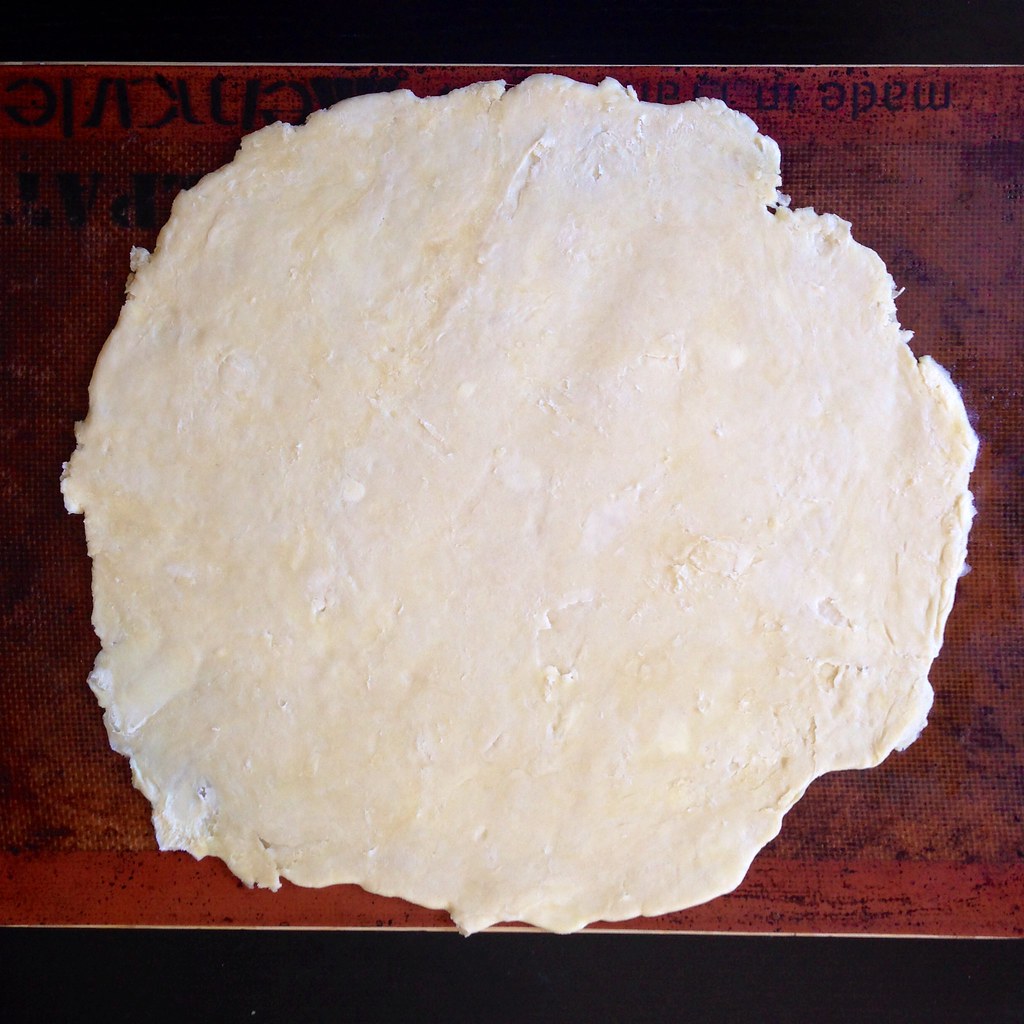
On a Silpat or parchment paper, roll out the dough into a 14" circle, about 1/8" thick.  Refrigerate for at least another 30 minutes before using.

Preheat the oven to 400°F.  Place a pizza stone, if you have one, on a lower rack.

https://www.flickr.com/photos/joyosity/14274451188/

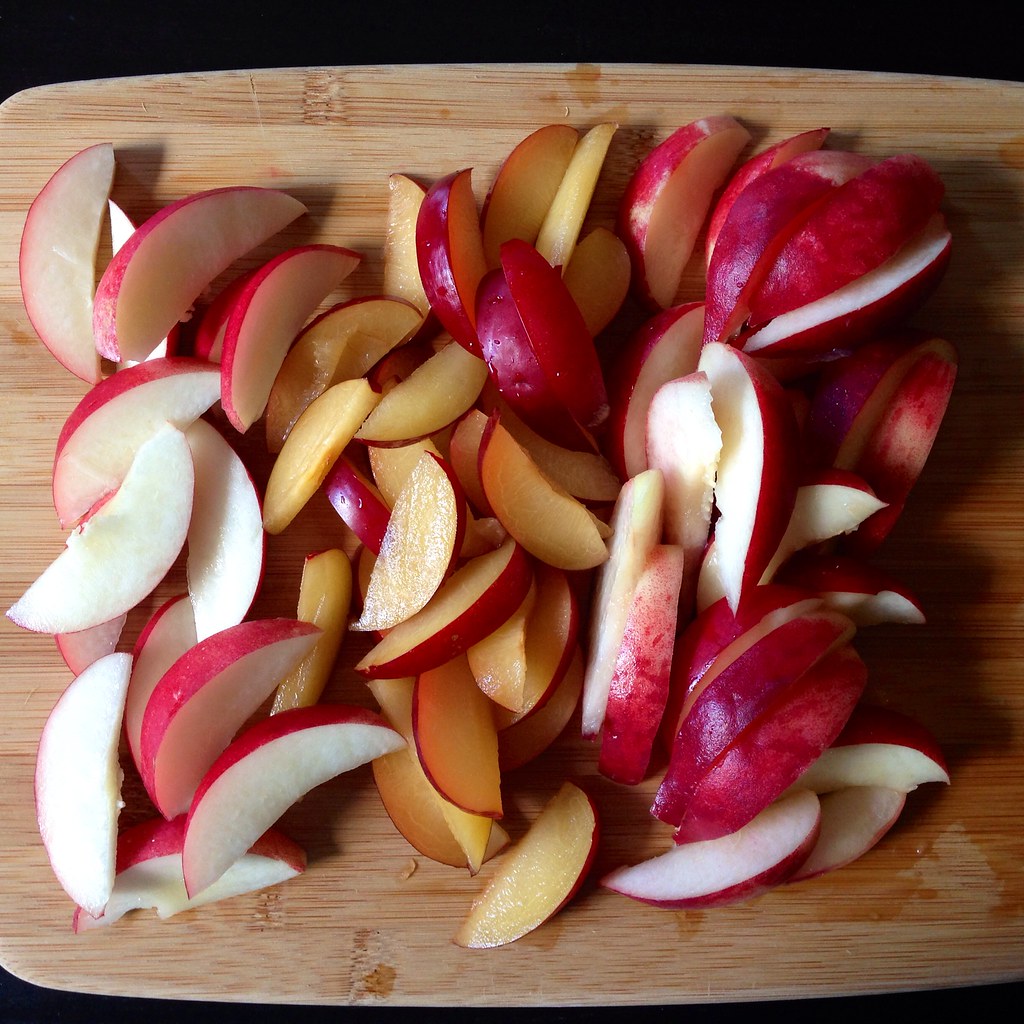
Slice the stone fruit into thin slices, about 3/4" thick.  

https://www.flickr.com/photos/joyosity/14437941036/

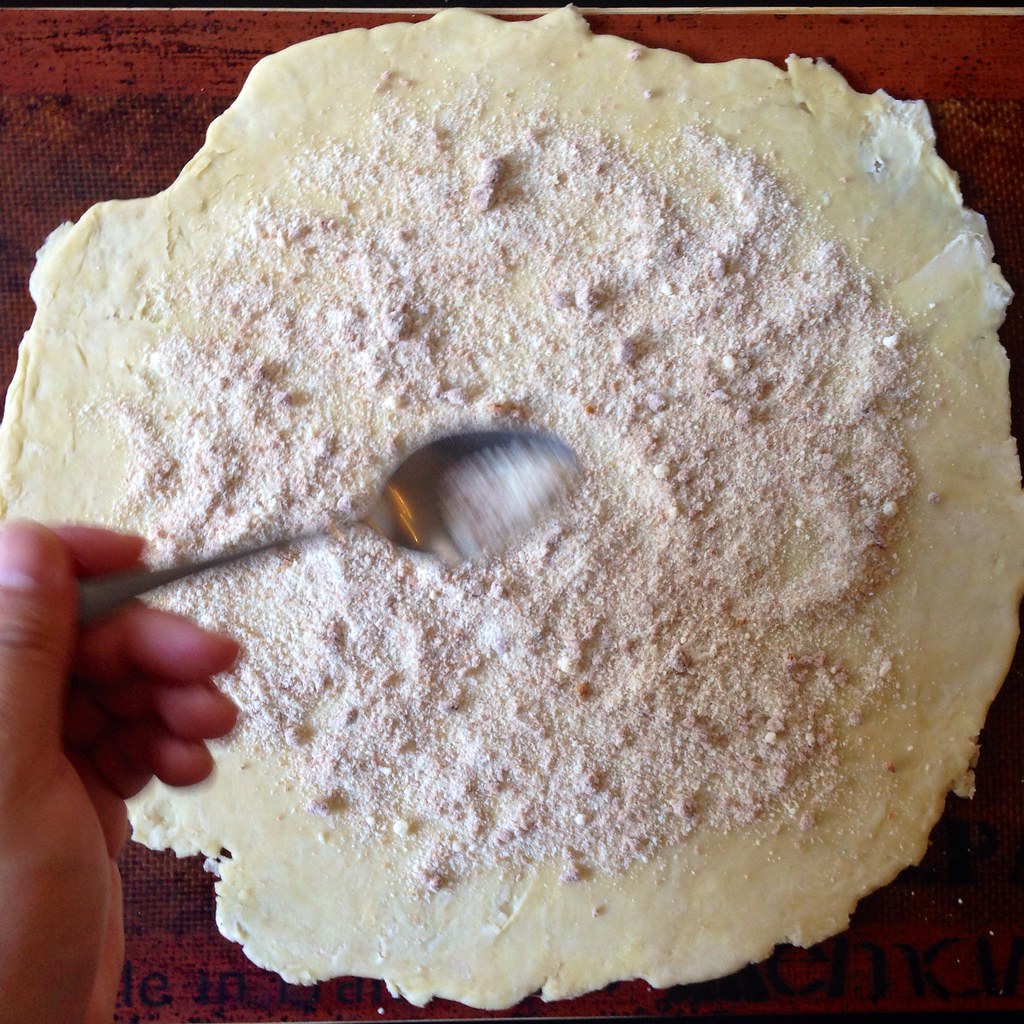
Toss the ground almonds, flour, one tablespoon of sugar, and the pulverized cookies (or mix of extra ground almonds and sugar) together.  Sprinkle evenly on the dough, leaving a 1 1/2" to 2" border uncoated.

https://www.flickr.com/photos/joyosity/14481229223/in/photostream/

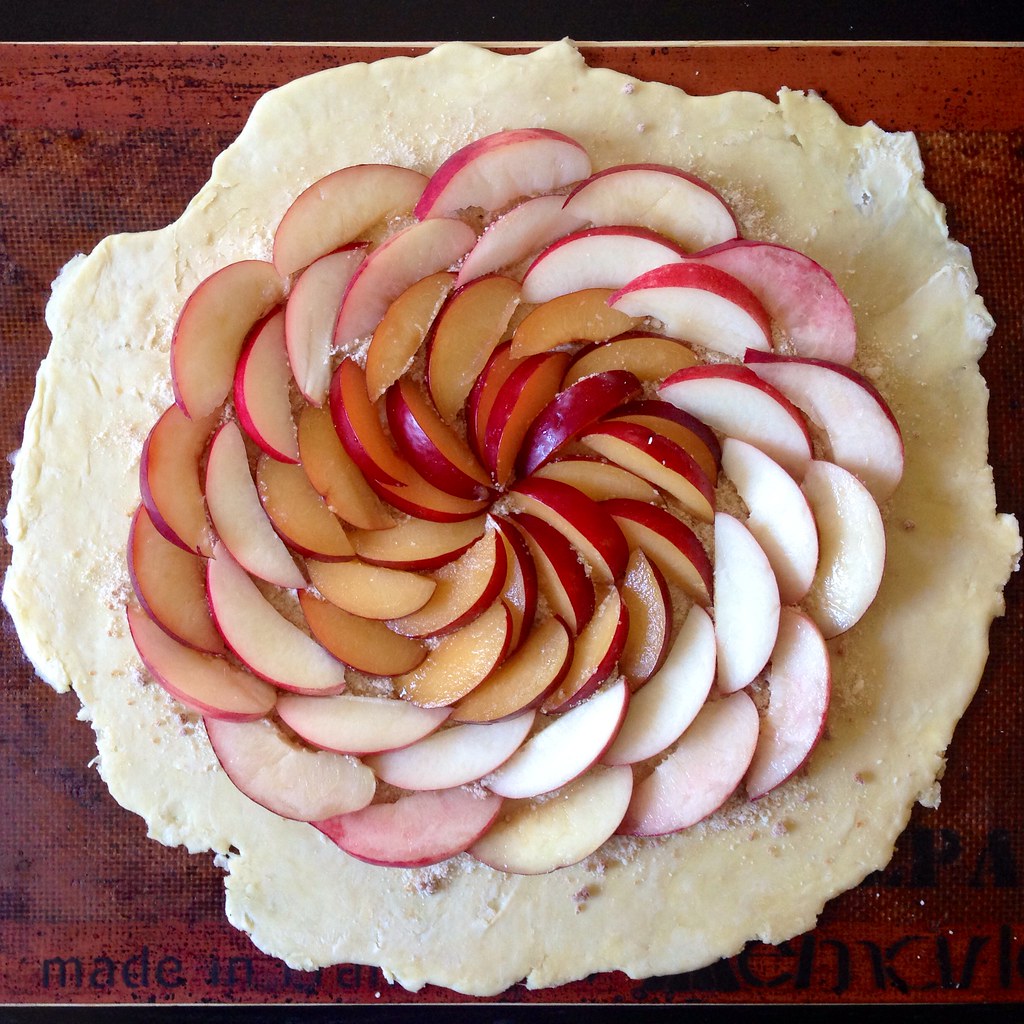
Arrange the fruit slices in concentric circles, leaving the border bare.  Sprinkle 1 1/2 tablespoons of sugar evenly over the fruit.

https://www.flickr.com/photos/joyosity/14461067755/

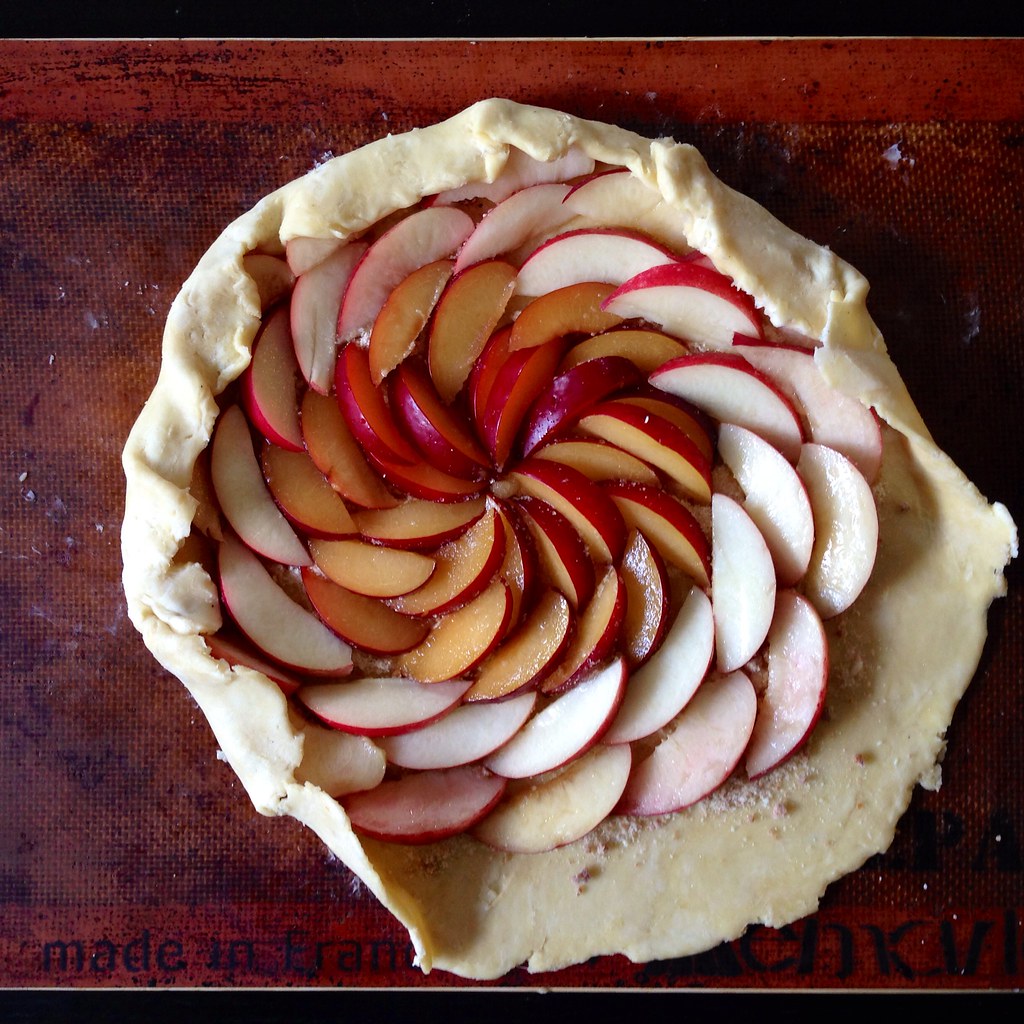
Fold the edges of the dough up and over the fruit, crimping every couple of inches.  Brush the border with the melted butter and sprinkle with the remaining sugar.

https://www.flickr.com/photos/joyosity/14457724641/

Bake in the lower third of the oven (preferably on a pizza stone) for about 45 to 50 minutes, until the crust is well browned and the edges are slightly caramelized.  Sprinkle the sliced almonds over the filling 15 minutes before the baking time ends.  As soon as the galette is out of the oven, use a spatula to slide it onto a cooling rack to keep the bottom from getting soggy.  Let cool for 20 minutes.  If you want to glaze the tart, lightly brush the fruit with a little warmed apricot jam.  Serve warm, with ice cream or whipped cream if you like.

https://www.flickr.com/photos/joyosity/14274455608/

This galette keeps at room temperature for at least two days, and even longer in the fridge. The unbaked dough, wrapped in plastic, will keep in the freezer for a few weeks, the fridge for a day or more. Rolled-out dough may be frozen and used the next day.

Next:  Shakshuka with Polenta
Previously:  Orange Mocha Frappuccino!
Four Years Ago:  Bacon Caramel Maple Ice Cream