Showing posts with label mochi. Show all posts

Wednesday, August 28, 2019

Snowskin Cake Truffle Mooncakes


The mooncakes I grew up eating were the golden, baked kind--usually filled with red bean or lotus seed paste and sometimes even a salted egg yolk inside.  It's so ubiquitous that iOS has an emoji for them (while there still isn't an emoji for waffles??).  They were good, but oh so heavy and dense; it was hard to eat more than a few tiny slices.  Luckily, a few different kinds have popped up since I was a child like the swirly, flaky Taiwanese version I made a few years ago.  Even more recently, I've been seeing snowskin mooncakes where the skin is made with glutinous rice flour resulting in a soft, translucent skin.


I did some research on how to make them, and it looks like there's a hard way with a lot of ingredients and steps and an easy way with just a few ingredients and no steaming involved.  I already know how difficult it can be to work with mochi, so I went with the easy way by following the directions from Kirbie's Cravings and Tiny Urban Kitchen.

The first step is either sourcing roasted glutinous rice flour or making your own.  Since I already had some flour at home, I tried dry roasting it in my wok.  It's not hard to do, but it does take a little patience and a lot of stirring before you get that first wisp of smoke.  Then you sift it together with powdered sugar before rubbing in a fat like shortening.  I've tried using coconut oil and butter and both tasted great, but since butter has a slightly higher melting point, it's easier to work with.

The hardest part for me was figuring out how much liquid to add to make the dough.  If you don't add enough it'll be too crumbly to work with, and if you add too much, it'll be too sticky.  I found the hard way that if you overdo it with the liquid, you can add in some more powdered sugar to bring it back to the right consistency.


Then there's the matter of the filling.  I knew I didn't want to go with the traditional heavy fillings and wanted to come up with something that might be more accessible for the American pantry and palate.  It had to be something pliable enough to mold, firm enough to keep its shape, wouldn't need additional cooking, and hopefully stable at room temperature.  I considered a cheesecake type filling or cookie dough before I thought of an even better idea:  cake truffles!  You may know them as cake balls or cake pops, but it's what you get when you mix cake crumbs with frosting or another binder, roll them up and cover with chocolate or candy melt.


It's incredibly easy to make and there's a million different variations.  I made some to bring to a friend's birthday party, and since she loves watermelon, I baked a strawberry box mix cake, mixed it with some frosting and mini-chocolate chips, and wrapped it with pandan flavored snowskin so it looked like a watermelon.  I also make some with non-dyed snowskin and Funfetti cake inside for a birthday cake mooncake.  My favorite version so far has been using the chocolate chip-passion fruit cake truffle from All About Cake and wrapping it with a snowskin made with passion fruit pulp instead of water.


Snowskin Cake Truffle Mooncakes
makes about 35 mooncakes using a 50 g mooncake mold

For the cake truffle filling:

9"x13" cake, baked and cooled
Mix-ins like mini-chocolate chips or sprinkles (optional)
Binder, like frosting or fruit juice

Use your hands to crumble the cake into crumbs.  Add your mix-in, if using, and toss to combine.  Add your binder, a little at a time, until you can squeeze the mixture and it holds its shape.  Use a cookie dough scoop to form about 35 balls.

For the snowskin:

250 grams sweet glutinous rice flour
225 grams powdered sugar, plus more for rolling
75 grams butter or coconut oil
125 grams water or other liquid like fruit juice
Food coloring and/or flavor extract, optional

In a large skillet or wok, dry roast the rice flour over medium heat, stirring constantly, until it starts to smoke and change color.  Allow to cool to room temperature, then sift together with the powdered sugar into a medium bowl.  Add the butter or coconut oil and then rub it into the dry mixture until well combined.  If using the food coloring and/or flavor extract, add to the water.  Add half of the liquid to the bowl and mix together.  Gradually add more of the liquid until the mixture is soft and pliable but not tacky.  It's a fine line between a crumbly and sticky texture so go slowly.

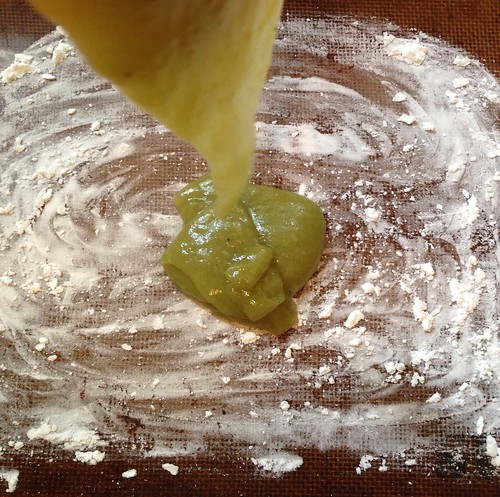
Pinch off about a walnut size lump of the mixture and roll out into a thin disc on a surface dusted with powdered sugar.  Wrap the snowskin around one of the cake balls.  If there is extra snowskin after wrapping the cake ball, pinch it off and return it to the rest of the mixture.  If you need more, pinch off a bit from the mixture and patch up the hole.  Place the wrapped cake ball on the counter, seal side down, and make sure it will fit into the mooncake mold.  If it is too wide, use your hands to gently shape it narrower and taller.  Use a 50 g mooncake mold to press it into shape and release.  Repeat with the rest of the snowskin dough and cake balls.  You can store the mooncakes in an airtight container in the fridge for 1-2 days or 1-2 weeks in the freezer.  Let thaw before serving.


Previously:  Mochi Waffles

Wednesday, July 31, 2019

Mochi Waffles

I can't believe it's the end of July, and this is the first time I've posted on here this year!  I've been posting less and less on here because I've been cooking mostly from recipes on here already or using recipes from cookbooks.  So the fact that I'm posting this recipe means it's a good one.  =)

I've made mochi waffles before using mochi blocks, but these are made from scratch.  I was inspired by Snixy Kitchen's chocolate mochi donuts which were in turn inspired by Third Culture Bakery's mochi muffins.  I figured that by increasing the surface area, you'd get a better crispy crust to chewy innards ratio (and I was right)!  I also like that making the batter from scratch means you can play around with the flavors more.  I tried making a pandan version and a black sesame version, but I think it would be easy to adapt this recipe to make a chocolate or matcha version as well!


Mochi Waffles
makes 8

16 oz. sweet glutinous rice flour
1 cup sugar
2 teaspoons baking powder
1/2 teaspoon kosher salt
2 tablespoons black sesame seeds or 1/4 teaspoon pandan extract
4 tablespoons butter, melted and cooled to room temperature
13. oz can of coconut milk, well shaken
2 beaten eggs, room temperature

Mix the dry ingredients in a large bowl.  If making the black sesame flavor, grind the sesame seeds (I used my coffee grinder) and add to the dry ingredients.

Whisk the wet ingredients together, then add to the dry ingredients and mix until smooth.  Since this is a gluten free recipe, you don't need to worry about it getting tough if you mix too much.  Batter will be fairly thick.

Preheat waffle iron to medium.  Use a 1/2 cup measure to scoop batter onto the waffle iron and cook until lightly golden.  The waffle will be soft and floppy coming out of the iron but will crisp up a bit upon cooling.  Serve immediately with sweetened condensed milk and fruit if you like.  Leftovers can be stored at room temperature in an airtight container for a day.  Reheat in a toaster oven before serving.


I used my Cuisinart classic waffle maker to make these, so the settings and quantities might have different results depending on your waffle maker.

Next:  Snowskin Cake Truffle Mooncakes
Previously:  Bacon Fat Scallion Pancakes

Monday, January 30, 2017

Salted Egg Yolk Mochi Ice Cream


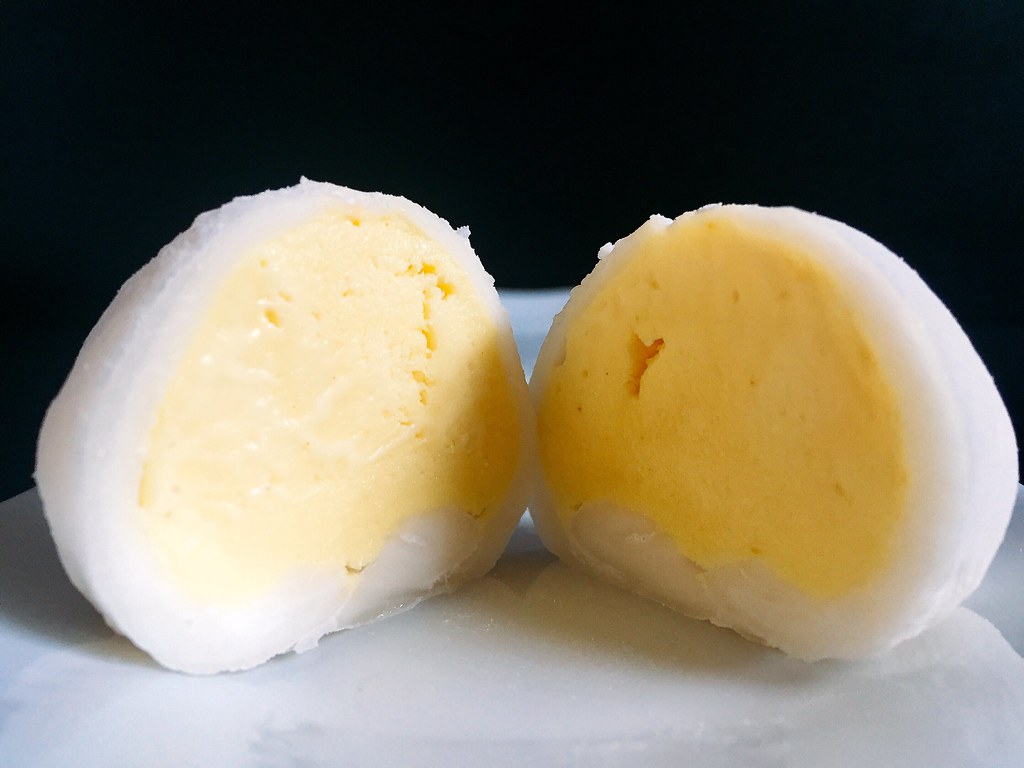
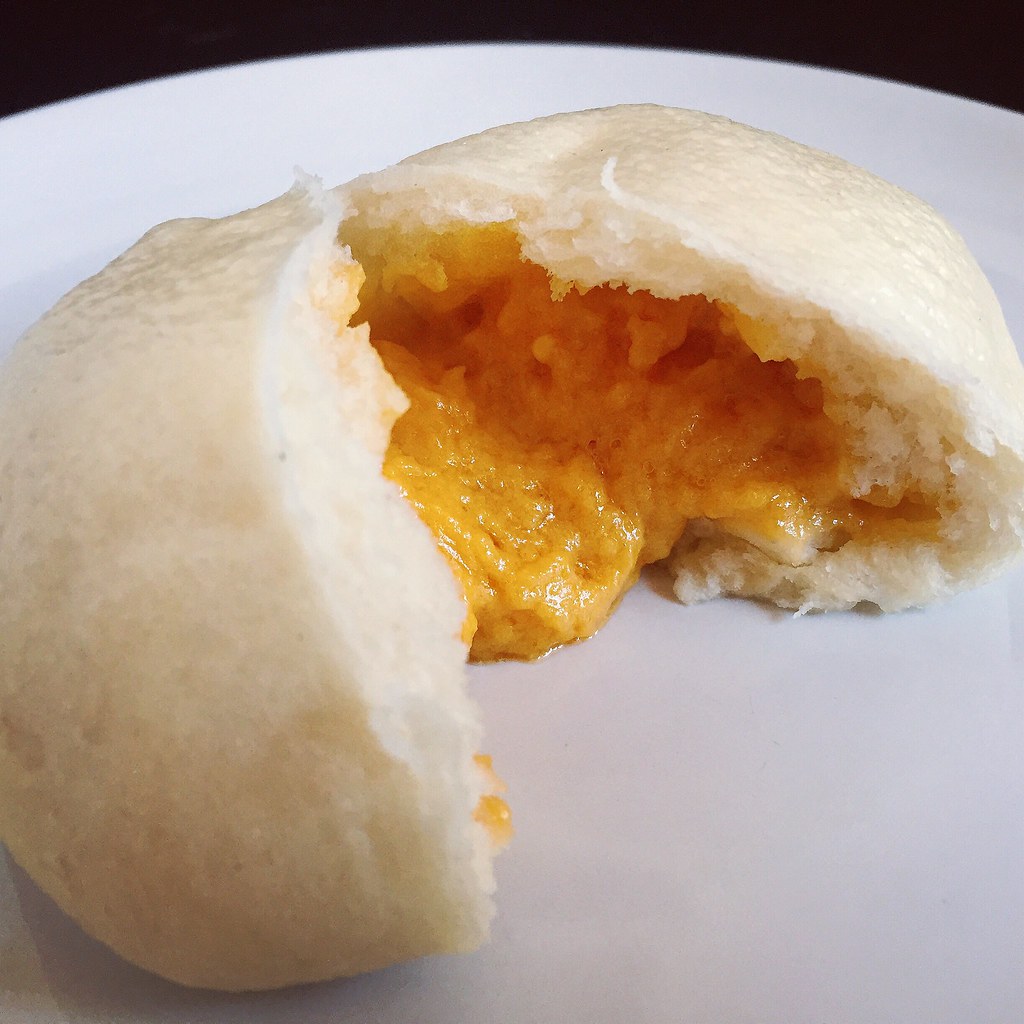
Earlier last year I discovered a new kind of steamed bun, the liu sha bao.  I think translated directly it means "quicksand bun" but it's actually a lot better tasting that it sounds.  Inside is a molten filling made of salted egg yolk custard, and I could probably eat 5 of them in a row.  I tried making some a few weeks ago, but the result was just okay and not really worth all the work when I can just get the perfected bun at dim sum.


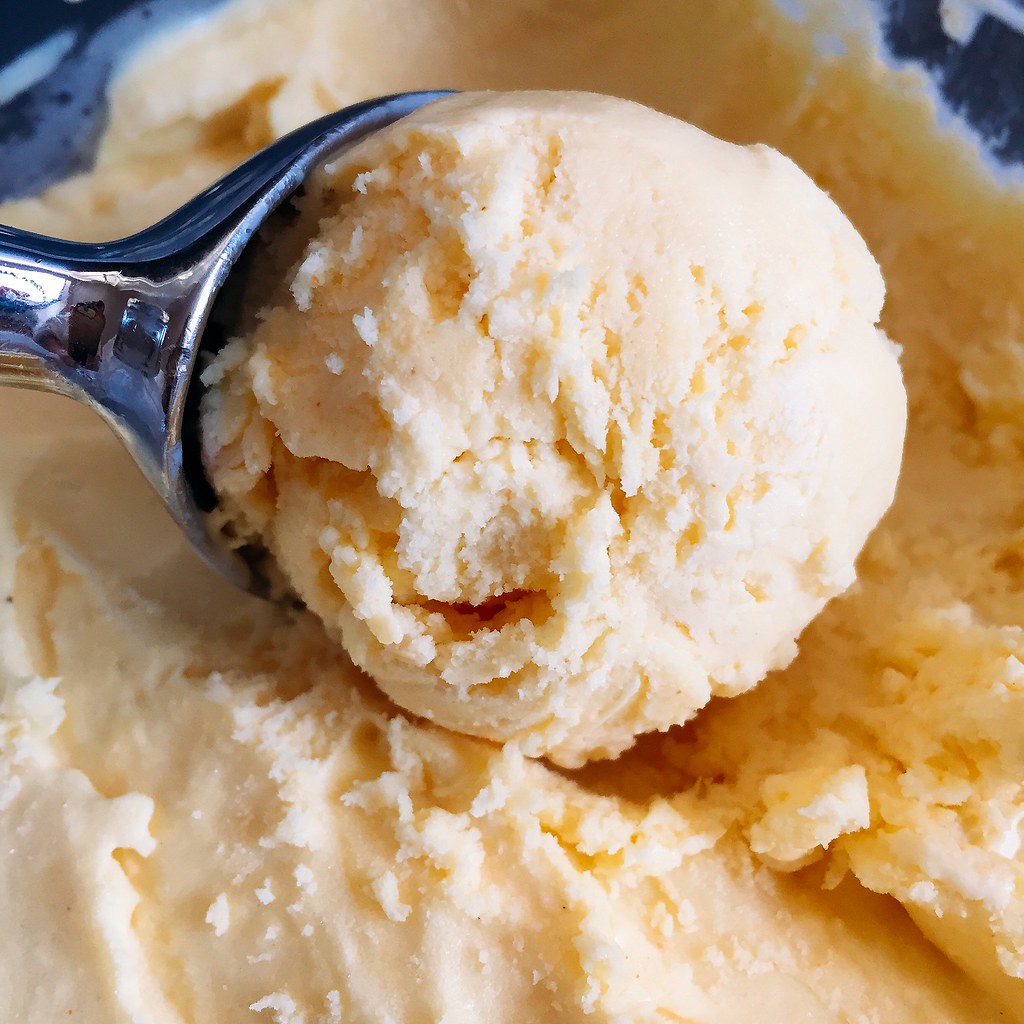
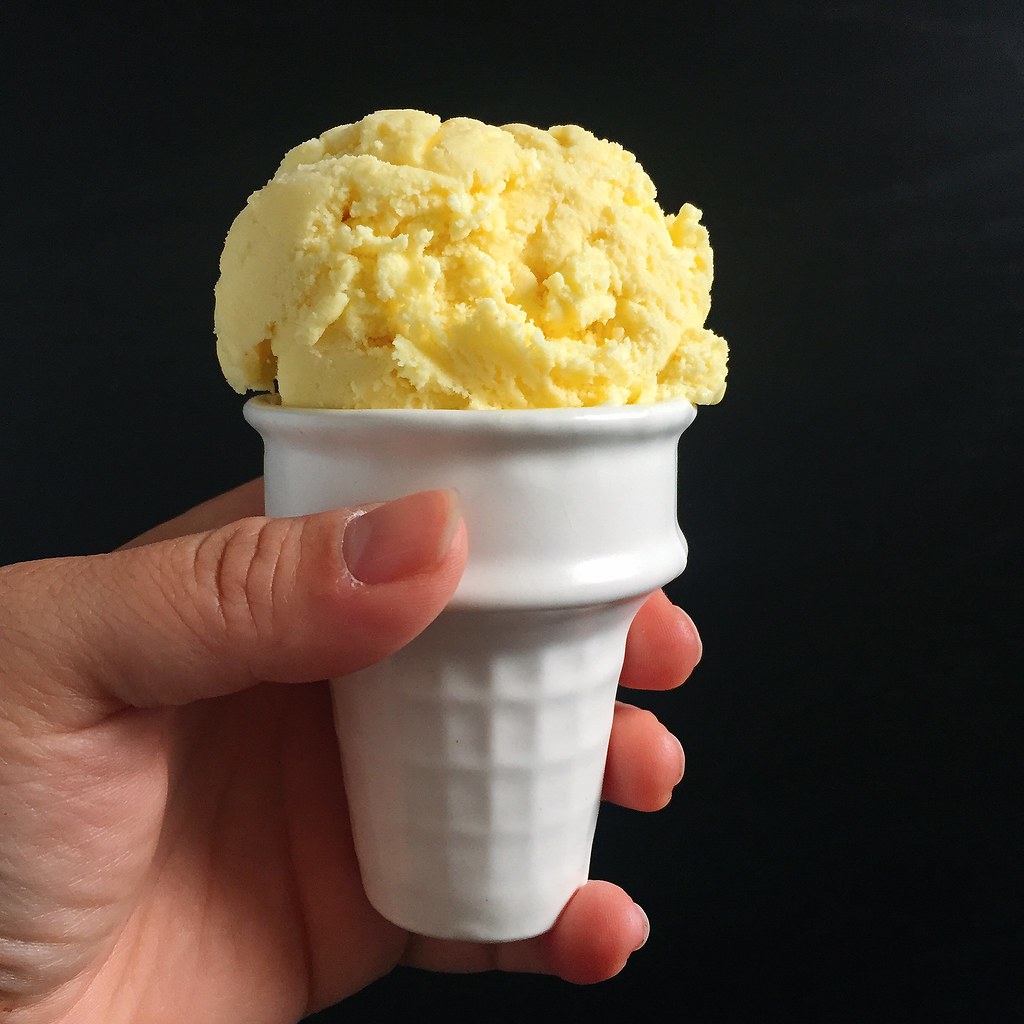
Because of that experiment I still had 3 cooked salted duck eggs sitting in my fridge, though, so I figured I'd try to make an ice cream out of them.  I followed the template of Jeni's Salty Vanilla Frozen Custard, but I replaced 3 of the raw egg yolks with 3 cooked salted duck egg yolks, which you can find in the egg section of a Chinese grocery store.  I reduced the salt a little because the egg yolks were already salted and added a little bit of turmeric to increase the yellow coloring of the ice cream.  It still comes out a rather pale yellow, but I didn't want to add any artificial food coloring.


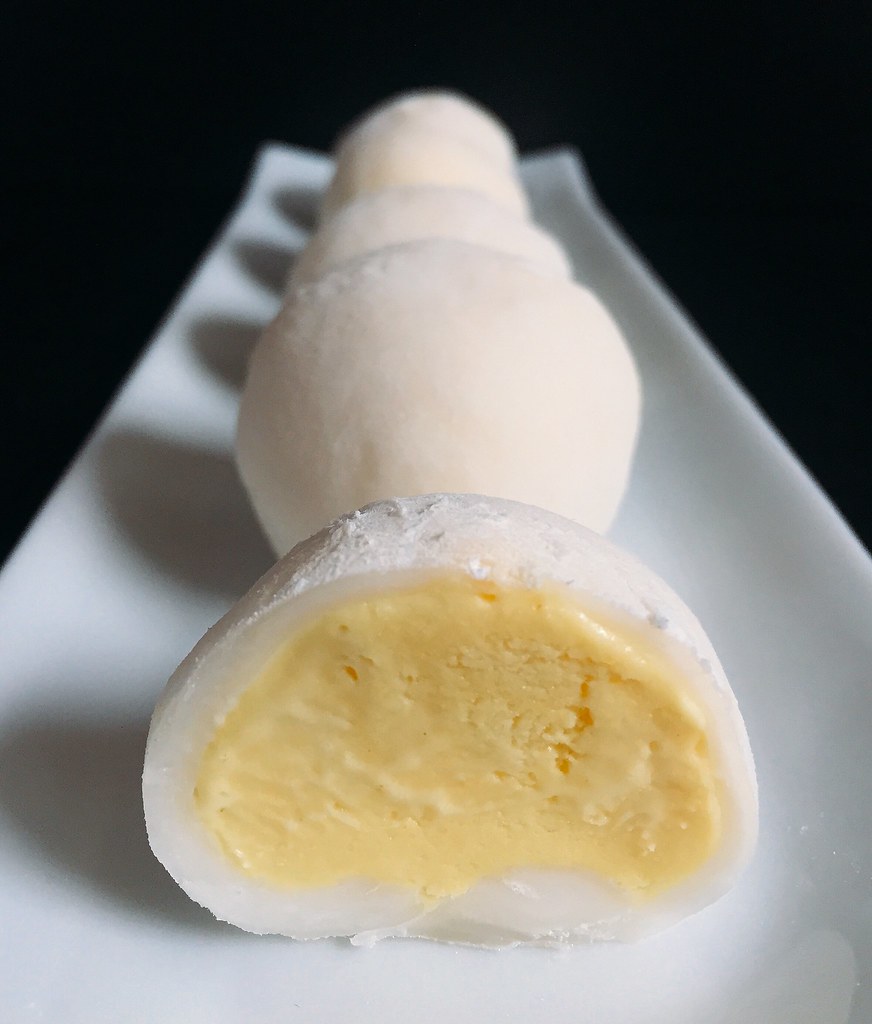
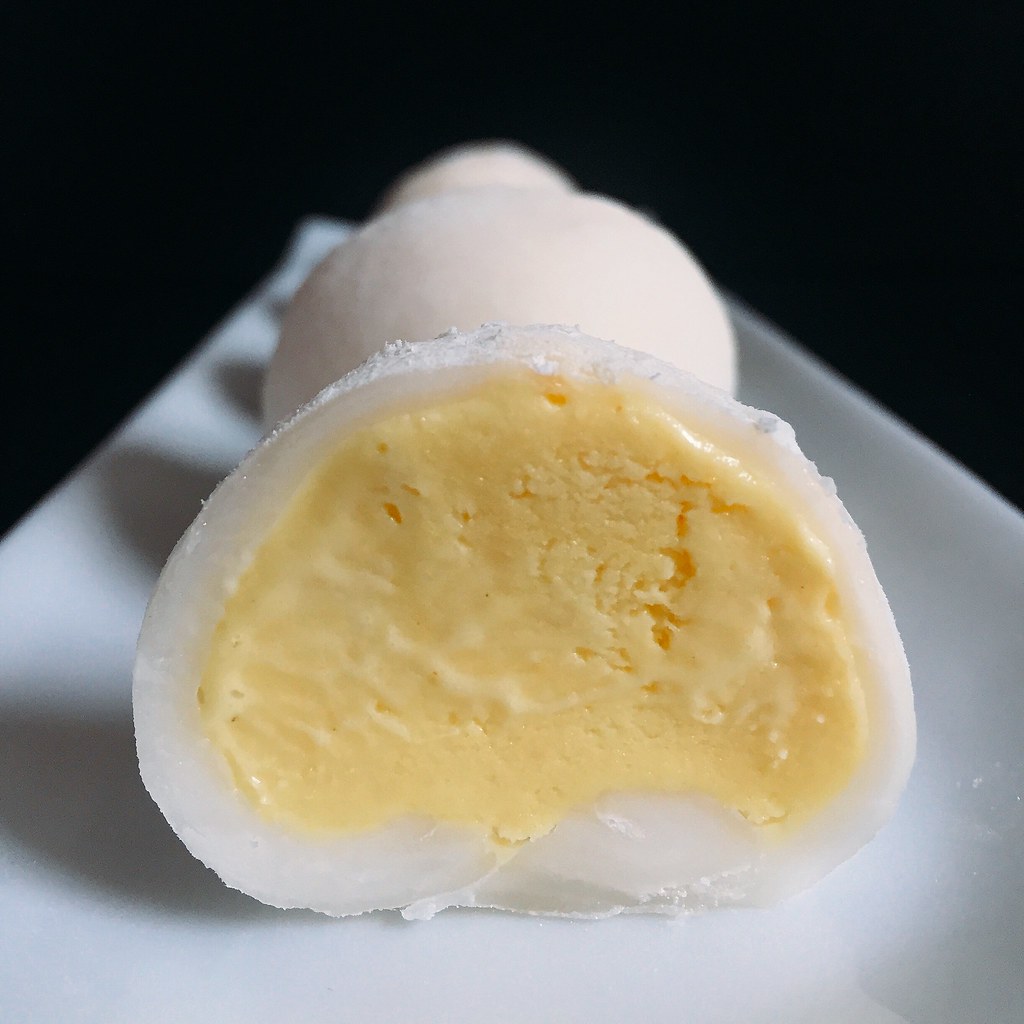
The resulting ice cream is incredibly rich, and tastes pretty much like the inside of a liu sha bao but in ice cream form.  So I decided to try making it into mochi ice cream to continue down that path.  I've tried making mochi ice cream before and that attempt was disastrous, to say the least, so this time I made sure to follow a trusted recipe.  I'm happy to say that the one from Just One Cookbook worked marvelously.  These salted egg yolk mochi ice creams are perfect because you only need a couple of bites of the ice cream, and the soft, chewy mochi helps keep the intense flavor from being too overwhelming.  Plus, I think they look super cute and remind me of liu sha bao!


Salted Egg Yolk Ice Cream (adapted from Jeni's Splendid Ice Cream Desserts)
makes about 1 quart

3 cooked salted duck eggs
2 tablespoons cream cheese, softened
1/2 teaspoon kosher salt
1/8 teaspoon turmeric
2 3/4 cups whole milk
3 large raw egg yolks
1 tablespoon plus 2 teaspoons cornstarch
1 cup heavy cream
3/4 cup sugar
2 tablespoons light corn syrup

Carefully crack and peel the salted duck eggs, removing the whites until you are left with only the egg yolks.  Mash the egg yolks in a medium bowl, then add the cream cheese, salt, and turmeric and whisk until smooth.

Mix about 2 tablespoons of the milk, the raw egg yolks, and cornstarch in a small bowl and set aside.  Fill a large bowl with ice and water.

Combine the remaining milk, the cream, sugar, and corn syrup in a 4-quart saucepan, bring to a boil over medium-high heat, and boil for 4 minutes. Remove from the heat and gradually add about 2 cups of the hot milk mixture to the egg yolk mixture, one ladleful at a time, stirring well after each addition. Pour the mixture back into the saucepan and heat over medium heat, stirring constantly with a heatproof spatula, just until the mixture thickens. Remove from the heat and strain through a sieve if necessary.

Gradually whisk the hot milk mixture into the cream cheese mixture until smooth. Pour the mixture into a 1-gallon Ziploc freezer bag and submerge the sealed bag in the ice bath. Let stand, adding more ice as necessary, until cold, about 30 minutes.

Remove the frozen canister from the freezer, assemble your ice cream machine, and turn it on. Pour the custard base into the canister and spin until thick and creamy.

Pack the custard into a storage container. Press a sheet of parchment directly against the surface and seal with an airtight lid. Freeze in the coldest part of your freezer until firm, at least 4 hours.


Mochi Ice Cream (adapted from Just One Cookbook)
makes about 6-8 pieces

Ice cream
3/4 cup glutinous rice flour
1/4 cup sugar
3/4 cup water
1/2 cup cornstarch

Place a cupcake pan in the freezer to chill.  Use a cookie dough scooper to scoop 6-8 balls of ice cream.  Place each ball on an aluminum cupcake liner in the cupcake pan and freeze for several hours until hard.

Whisk together the glutinous rice flour, sugar, and water in a medium microwaveable bowl.  Cover and microwave for 30 seconds.  Stir with a wet rubber spatula then microwave for another 30 seconds.  Continue to stir and microwave in 30 second increments until the mochi comes together in a slightly translucent, sticky mass.

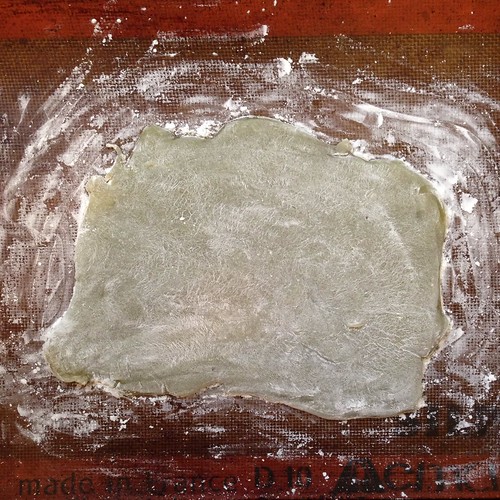
Generously dust a Silpat or parchment paper with cornstarch.  Transfer the mochi on top and dust with additional cornstarch.  Dust a rolling pin with cornstarch and roll out the mochi into a thin layer, about 1/8".  Chill in the refrigerator for 15 minutes.

Use a 3 1/2" cookie cutter to cut the mochi into circles.  I was able to easily cut out 6 circles, and if you want, you can reroll the scraps to make more circles, just make sure to redust with cornstarch.

Place one of the scoops of ice cream in the center of a mochi circle.  Bring the edges of the mochi up and over the ice cream and seal together, working quickly so that the ice cream doesn't melt.  Wrap in plastic wrap and return to the freezer.  Repeat with the other scoops of ice cream and mochi circles.

When ready to eat, let sit at room temperature for a few minutes so that the mochi can soften.


Next:  French Onion Tater Totchos
Previously:  Marion Cunningham's Yeast-Raised Waffles
Two Years Ago:  San Bei (Taiwanese Three Cup) Tofu and Ramen
Three Years Ago:  Grilled Cheese Egg in a Hole
Four Years Ago:  Homemade Bagels
Seven Years Ago:  Sweet Potato Gnocchi with Maple Cinnamon Sage Brown Butter
Eight Years Ago:  Dutch Babies

Monday, March 30, 2015

Chocolate Mochi Snack Cake

https://www.flickr.com/photos/joyosity/16306102183/

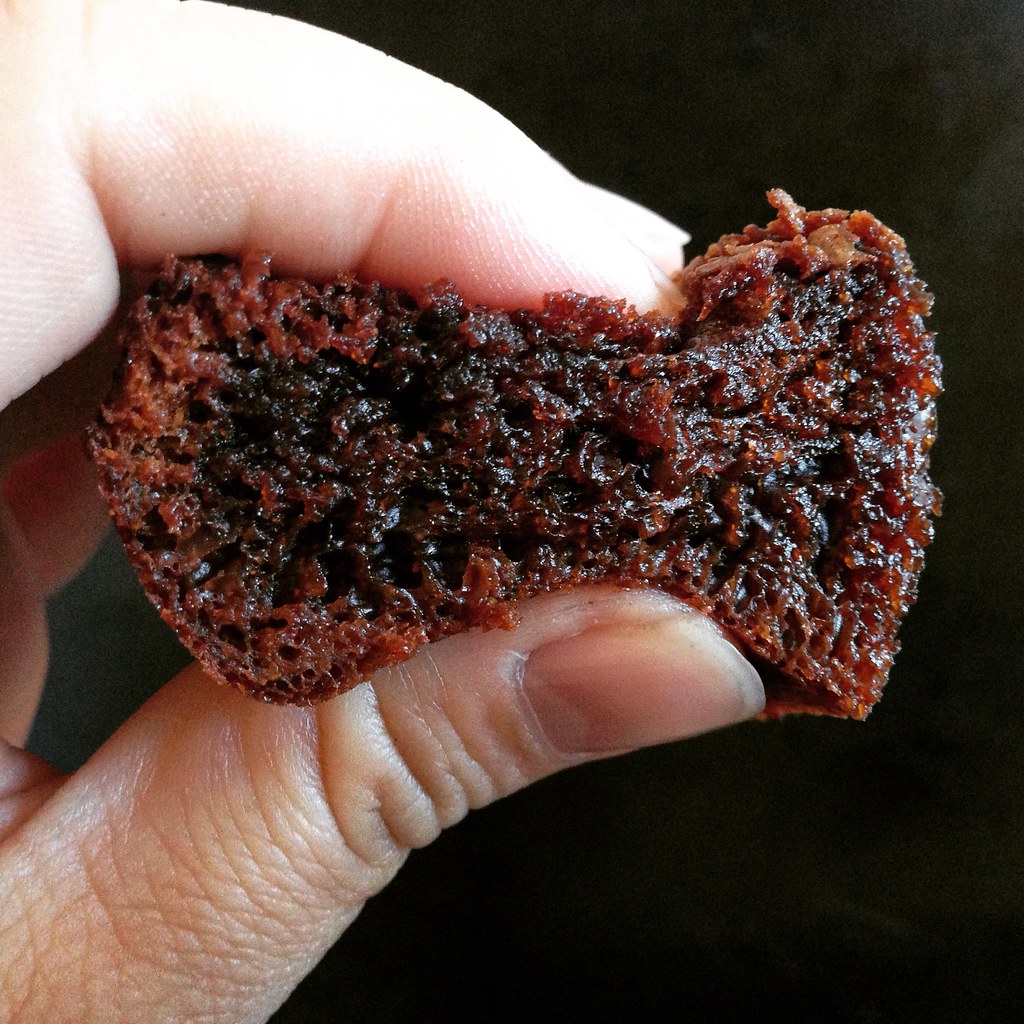
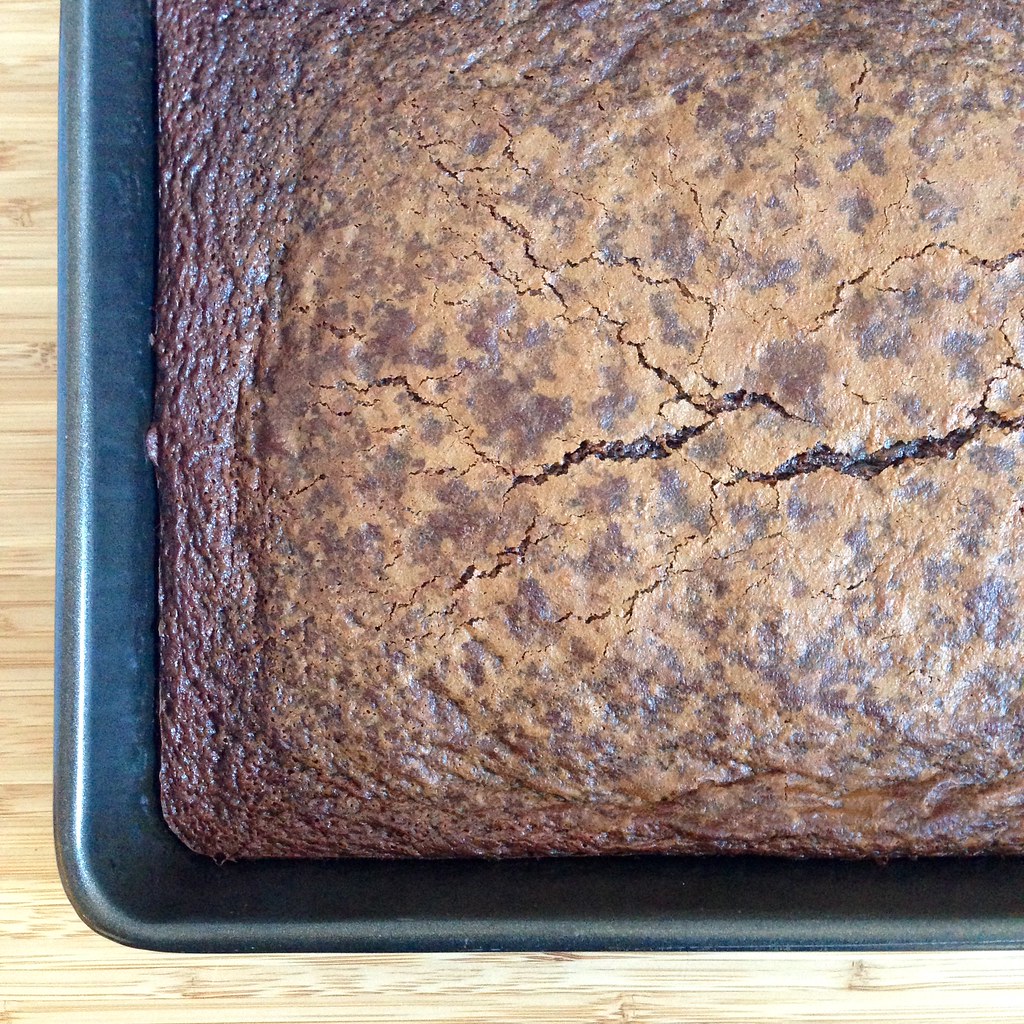
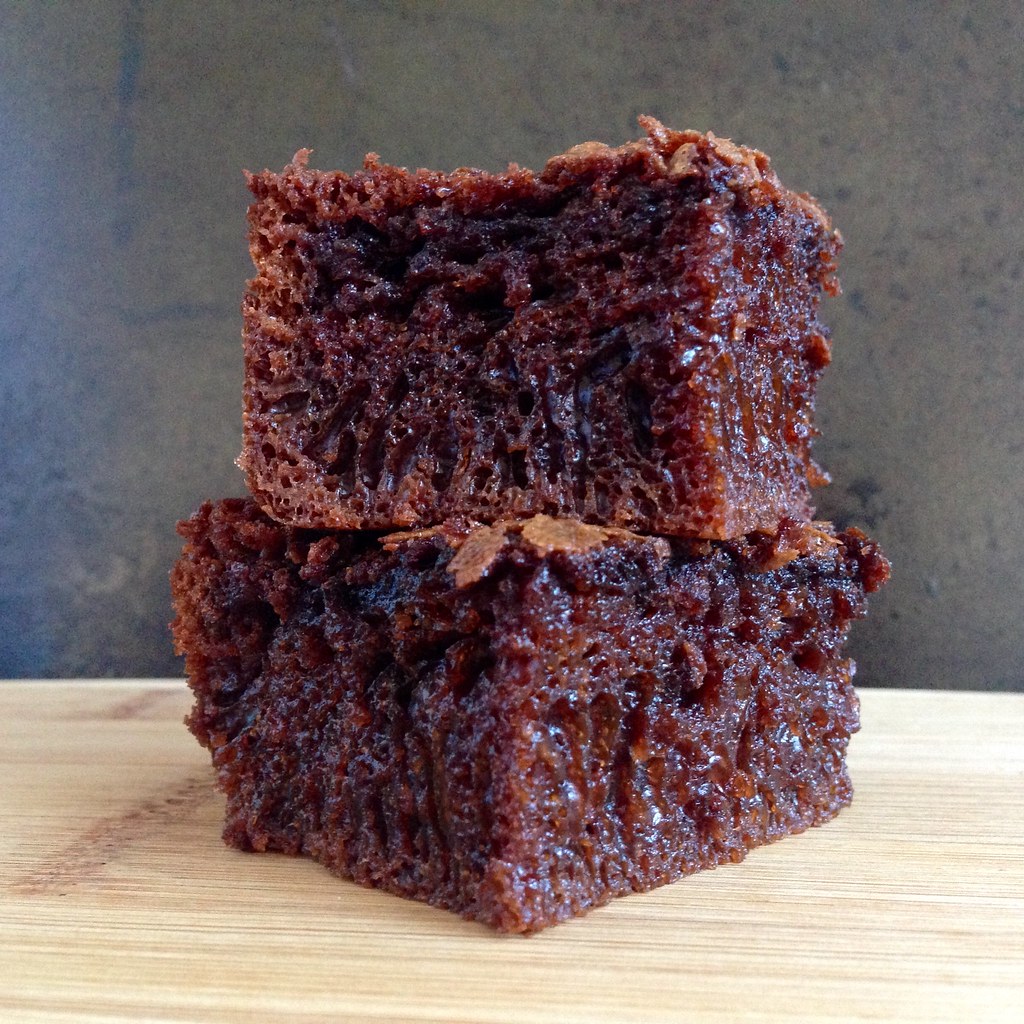
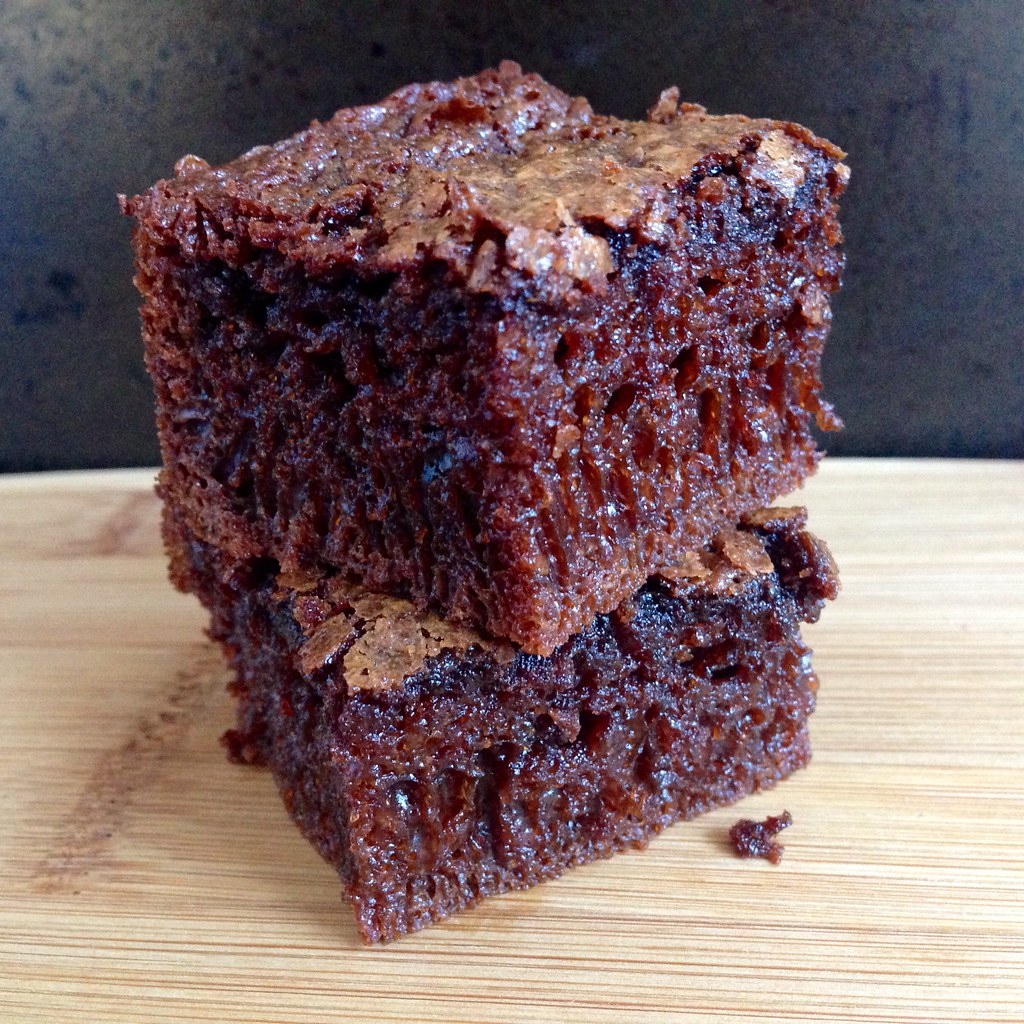
Bouncy.  Chewy  Springy.  Squishy.  These are probably not words you usually associate with a chocolate cake, and yet this Chocolate Mochi Snack Cake is all of those things.  Just looking at this cake you'd think it would be dense and crazy sweet like a brownie, but it's actually rather light and just sweet enough that you keep wanting another bite.  It reminds me of a steamed cake, like the kind you get at dim sum.

https://www.flickr.com/photos/joyosity/16738691150/

I found the recipe on Food52 and modified the directions a bit by melting the butter and chocolate right in the metal bowl of a stand mixer over a pot of simmering water.  This way you don't have to worry about possibly burning the chocolate and it's one less transfer to worry about.  If you don't have a stand mixer, you can melt the butter and chocolate in a metal bowl set over a pot of simmering water and proceed with an electric beater.  I also mixed the eggs with the evaporated milk and vanilla extract before adding to the melted butter/chocolate mixture to help prevent the eggs from cooking and curdling. 

Since this cake is made with rice flour, it is totally gluten free!  I'm not sure how you could make this without the eggs to make it vegan, but I bet you could substitute coconut milk and coconut oil for the evaporated milk and butter to make it dairy free.  Update:  I tried making the dairy free version, and it was awful. 

https://www.flickr.com/photos/joyosity/16738691000/

Chocolate Mochi Snack Cake (adapted from Food52)
makes one 9" x 13" cake

2 cups glutinous rice flour
2 scant cups sugar
1 tablespoon baking soda
1/2 cup (1 stick) unsalted butter, cut into pieces
1 cup semisweet chocolate chips
24 oz. evaporated milk
2 teaspoons vanilla extract
2 eggs, beaten

Preheat the oven to 350°F and grease a 9" x 13" baking pan.
   
Whisk together the flour, sugar, and baking soda in a large bowl.  Whisk together the evaporated milk, vanilla extract, and eggs in another bowl.  Set aside.

Melt the butter and the chocolate chips together the metal bowl of a stand mixer set over a pot of simmering water, stirring frequently until you have a smooth mixture. 
   
Remove the bowl from the pot and set it back in the stand mixer with the paddle attachment.  With the mixer running on low, add the evaporated milk, vanilla, and eggs mixture and mix until incorporated.
   
Add the dry ingredients and mix on low until the batter is smooth and lump free. Pour into the prepared pan and bake for 45 to 55 minutes, until the cake no longer jiggles. Remove from oven and let cool before serving.
   
This cake should be stored at room temperature rather than refrigerated.

https://www.flickr.com/photos/joyosity/16738468798/

Next:  Gordon Ramsay's Sublime Scrambled Eggs
Previously:  Homemade Squid Ink Pasta
Five Years Ago:  Duck Fat French Fried with Rosemary, Maldon Salt, and Truffle Oil, Apple Tarte Tatin
Six Years Ago:  Cincinnati Chili, Hong Kong Style Pan-Fried Noodles
Monday, November 3, 2014

Raindrop Cake

https://www.flickr.com/photos/joyosity/15467918579/

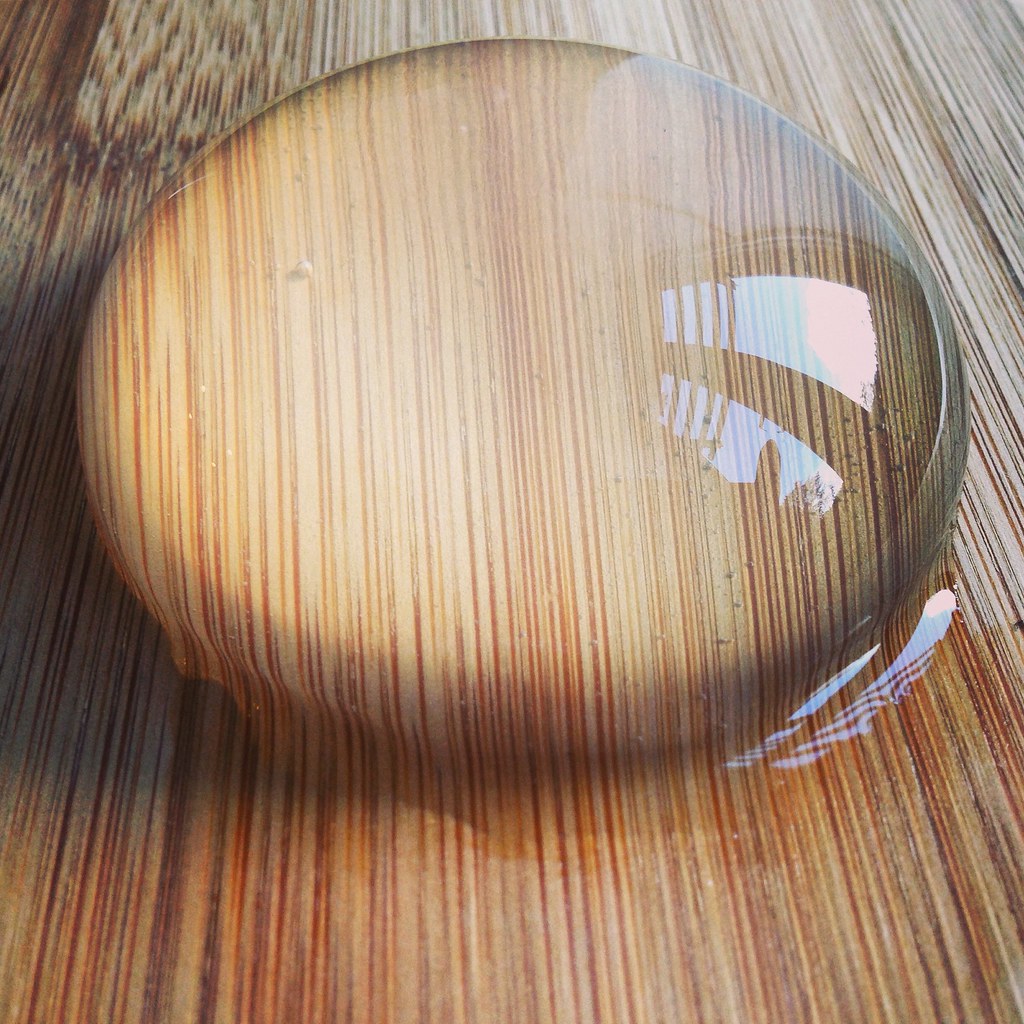
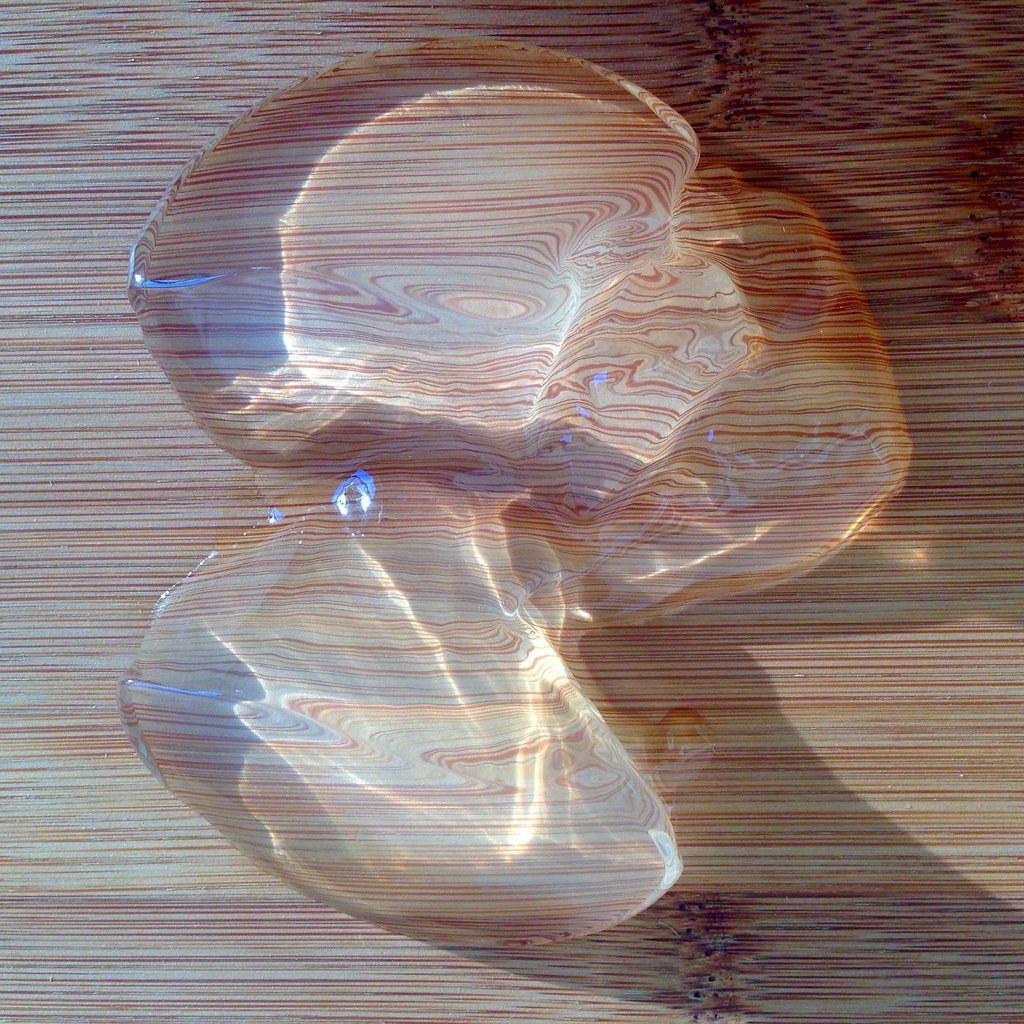
Back in June, the mizu shingen mochi from Kinseiken Seika made a huge splash across the internet (pun intended).  Shaped like a giant drop of water, it is made from spring water from the Japanese Alps and supposedly disintegrates after 30 minutes at room temperature.  My friend Erick kept asking me to try to replicate it, but I totally thought it was just a hoax until I found this post via Reddit back in August.  Even then, it took me a few months before I assembled all the ingredients and tools I needed to make this (spurred on, in part, but Erick's impending birthday).
https://www.flickr.com/photos/joyosity/15468416738/

I ordered the agar powder and spherical mold from Amazon, but you can probably find agar in an Asian grocery store or maybe even Whole Foods.  I wanted the mold so I could make a semi-spherical cake, but you might be able to get away with just using a small bowl.

At first, since my molds only held about 70 ml each, I just used 150 ml of water with 1 g of agar.  This ended up being way too much agar, and the result was a thick, bouncy cake that was yellowish in color.  Fail.

https://www.flickr.com/photos/joyosity/15654554825/

For attempt #2, I added less agar, but since I could still see it floating around in the measuring cup, I kept adding more and more water.  After chilling over night, the cake barely set and collapsed immediately after unmolding.  Fail again.

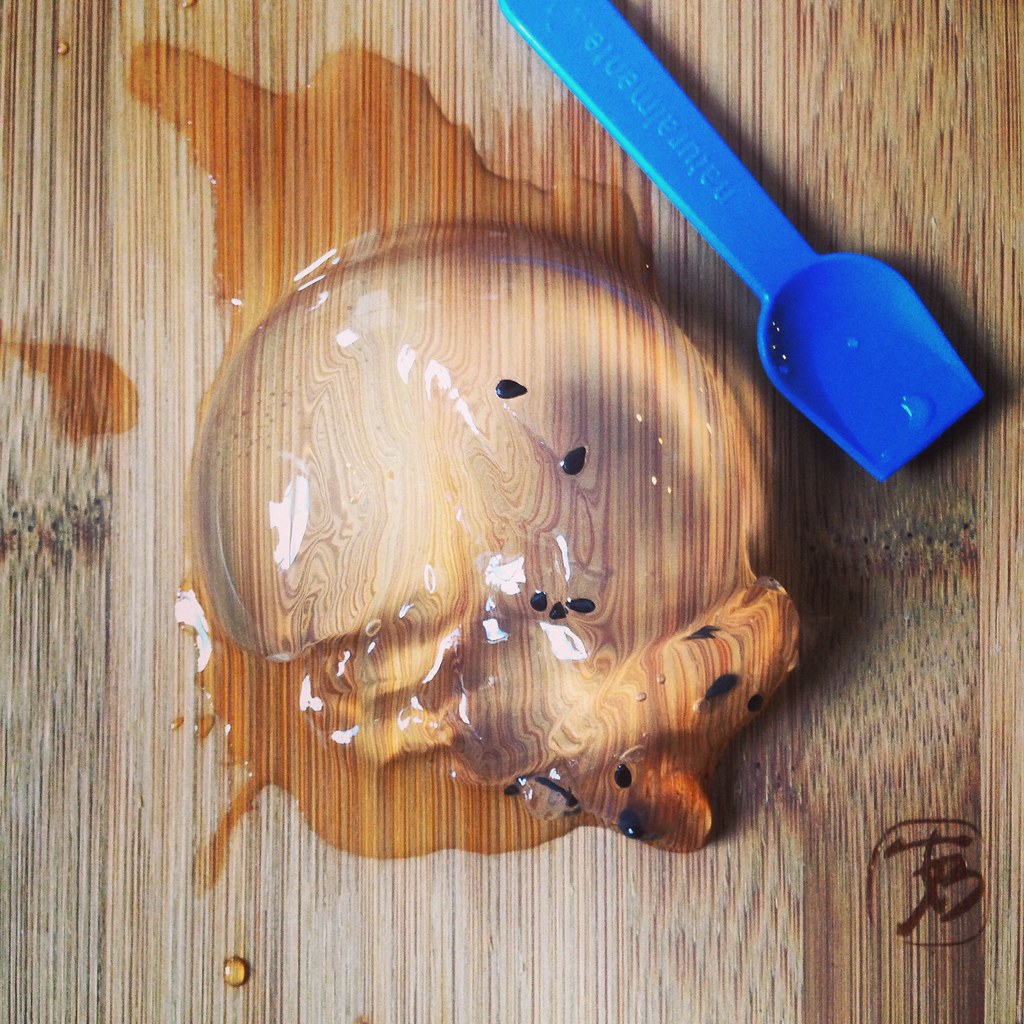
For my third try, I used about the same amount of agar as before but didn't add any more water.  It set within a few hours in the refrigerator, and I was able to unmold it intact!  It did start "weeping" immediately, but I'm pretty sure that's what it's supposed to do.  Success!

https://www.flickr.com/photos/joyosity/15651878891/

I'm not going to lie, this tasted pretty much like water-flavored Jell-o.  I did add a pinch of vanilla sugar to the mixture, but it was barely noticeable.  The texture sensation was great, though.  It holds just for a second in your mouth before dissolving into a cool, crisp liquid.

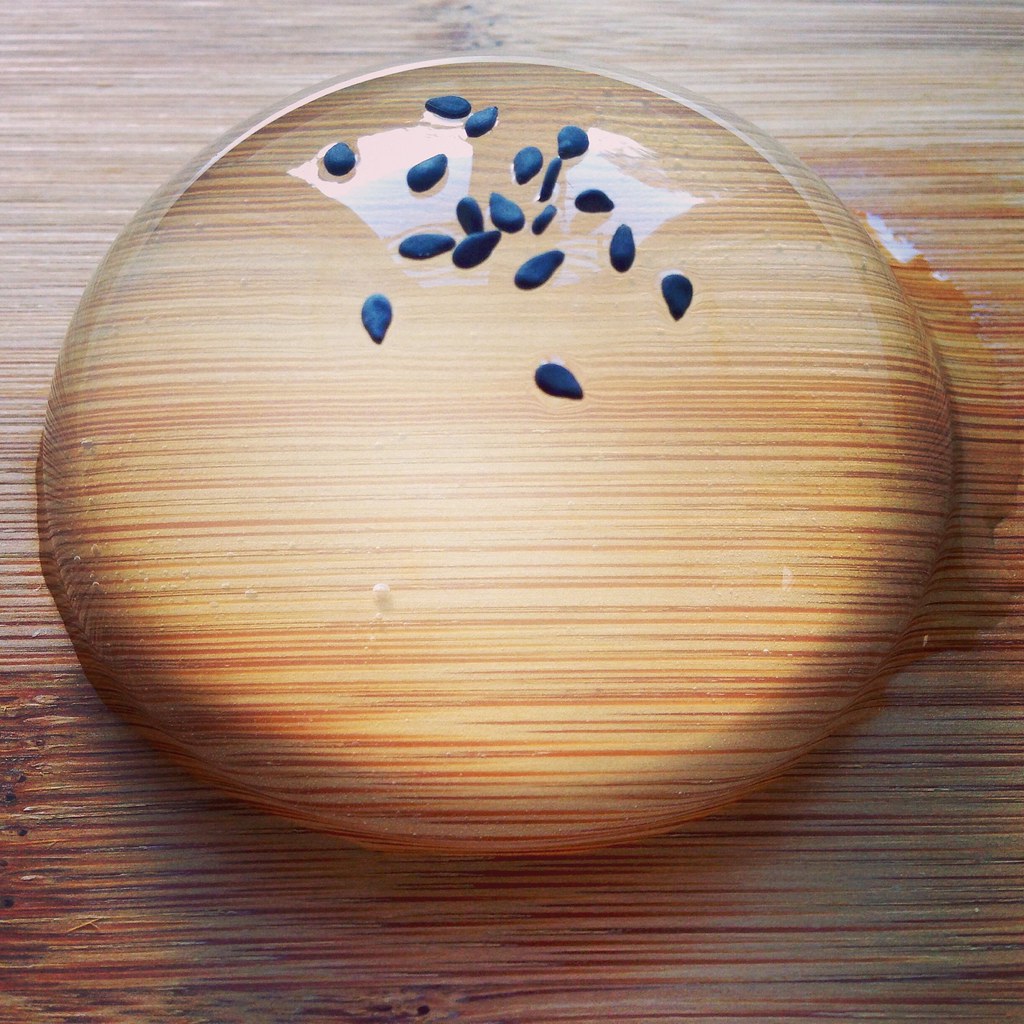
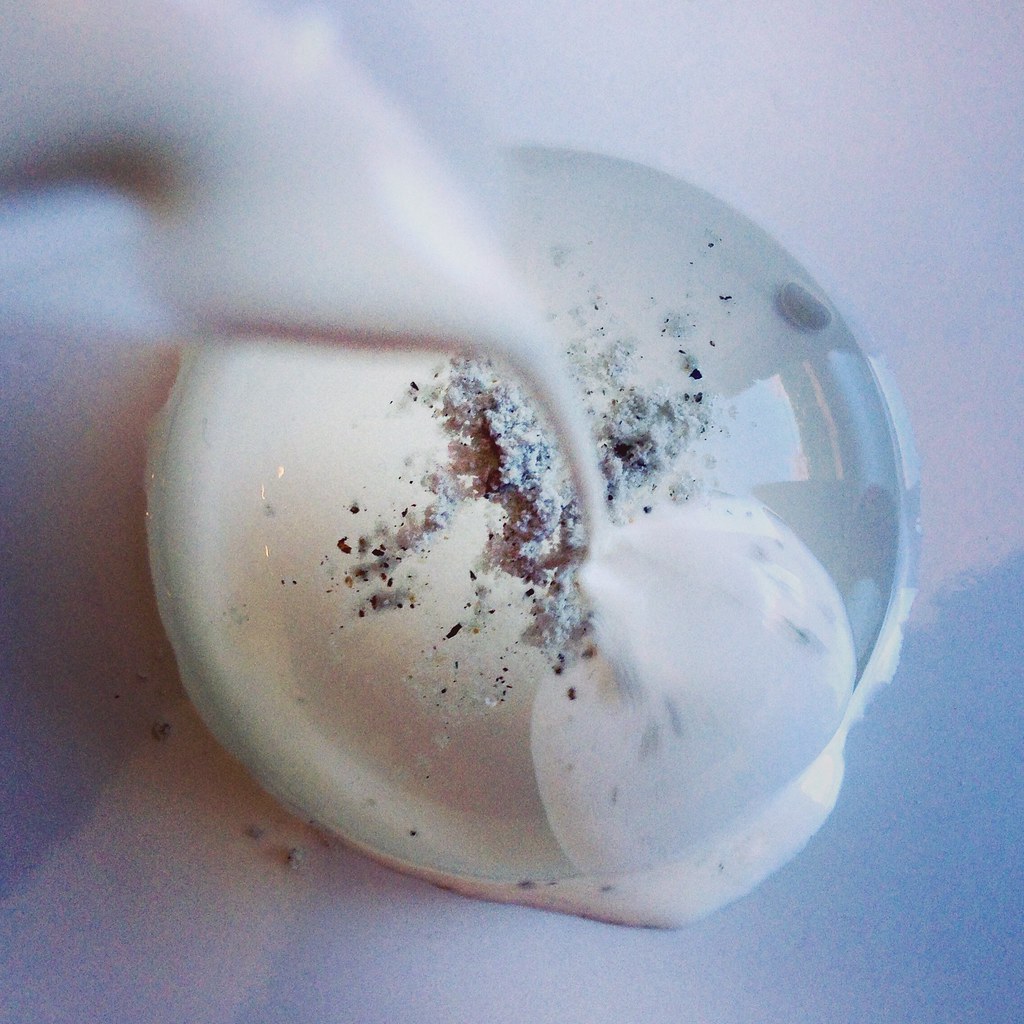
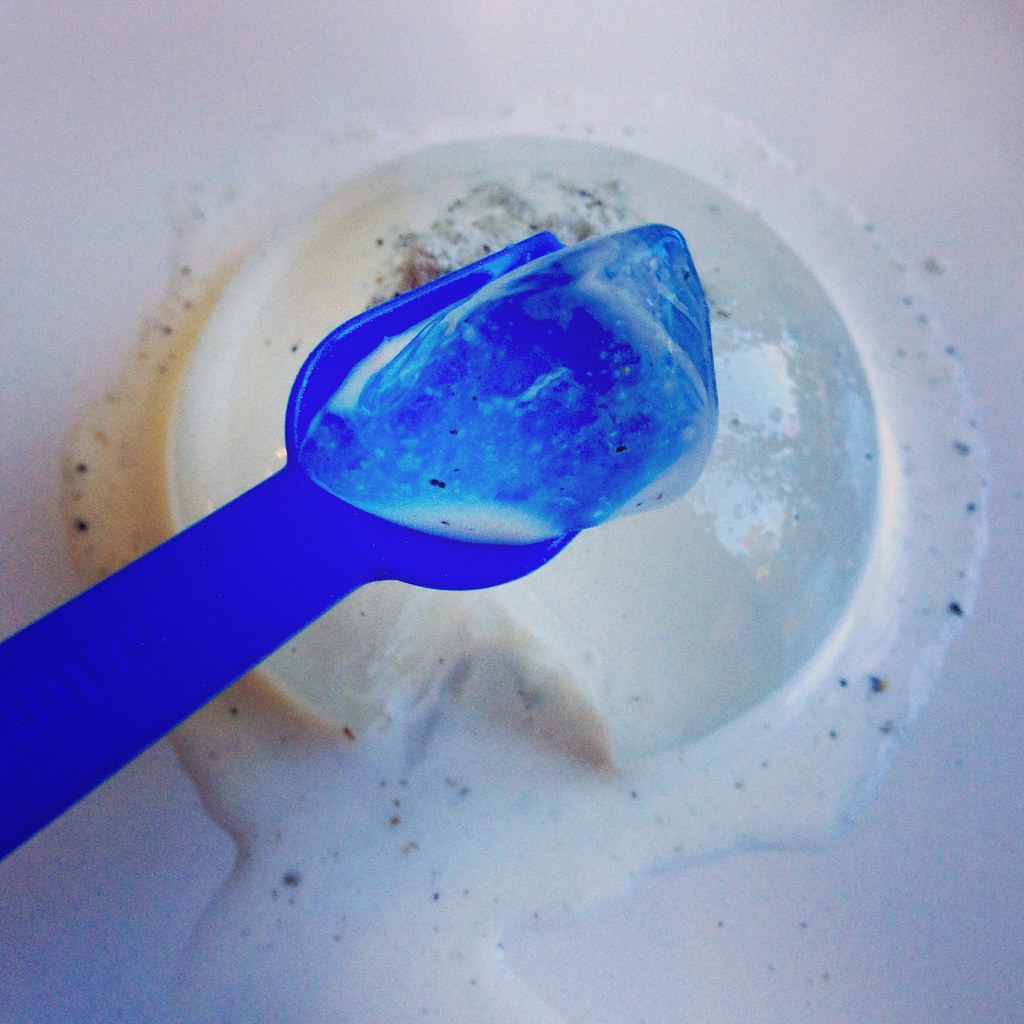
I added a few black sesame seeds on top of the first cake I tried, more for show than for taste (it tasted pretty bad).  Since I made two half-spheres each time, for the second cake I decided to try some more flavorful toppings.  The original is served with a black sugar syrup and roasted soybean powder, neither of which I had, but I thought I'd try sprinkling on some sweet black sesame instant drink powder and a splash of half and half.  I really liked the addition of the sweet black sesame powder, but next time I might try sweetened condensed milk instead of half and half. 

https://www.flickr.com/photos/joyosity/15468602367/

Raindrop Cake (adapted from here)
makes 2 cakes

2/3 cup spring water
Pinch of vanilla sugar
~1/8 teaspoon agar powder (you may need to experiment a bit to attain desired texture)

Measure out the water in a microwaveable measuring cup and add the sugar.  Microwave for 30 seconds and stir until sugar is dissolved.

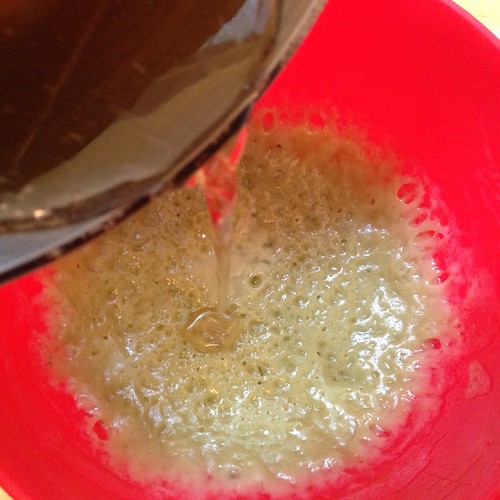
While stirring, sprinkle on the agar powder.  Microwave again for 30 seconds and stir for a minute.  Continue microwave and stirring as needed until the agar is all dissolved, although you'll probably still see clear bits floating around in the water.

Carefully pour into your desired molds; pop any bubbles that may appear.  Transfer the molds to the refrigerator and allow to set for several hours or overnight.

Carefully unmold the cakes and serve immediately with your desired toppings.

https://www.flickr.com/photos/joyosity/15468992910/

Next:  Caramel Apple Cinnamon Rolls
Previously:  Mochi Donuts and Pon de Rings
Two Years Ago:  Margherita Pizza

Thursday, October 30, 2014

Mochi Donuts and Pon de Rings

https://www.flickr.com/photos/joyosity/15644391585/

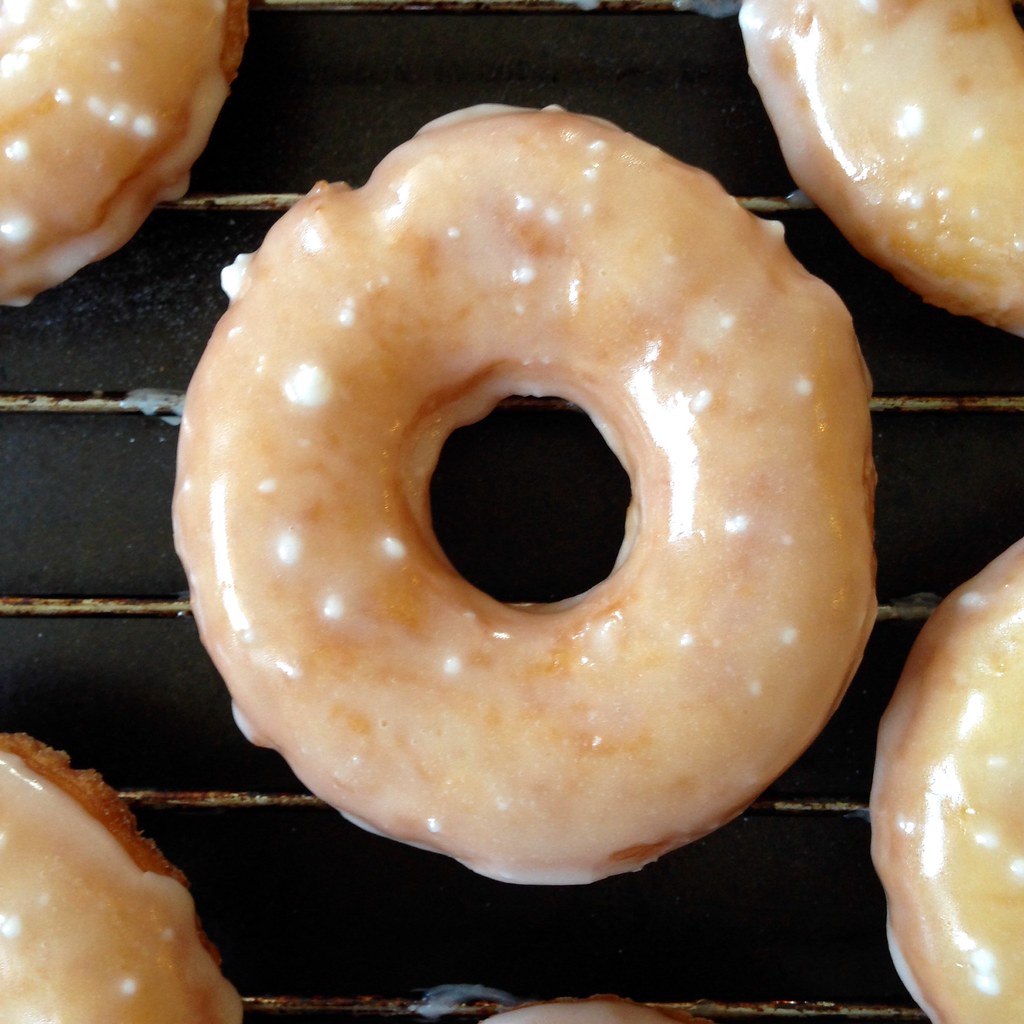
Move aside cronut, the next hybrid donut is here, and it's the mochi donut!  After I first saw Lady and Pups' post on mochi donuts, I couldn't stop dreaming about making them. What's not to love about a chewy ring of mochi deep fried and sugar glazed?  Then I read one of the comments that mentioned rolling the donut holes into balls and forming a ring out of them to make pon de rings!

https://www.flickr.com/photos/joyosity/15024217323/

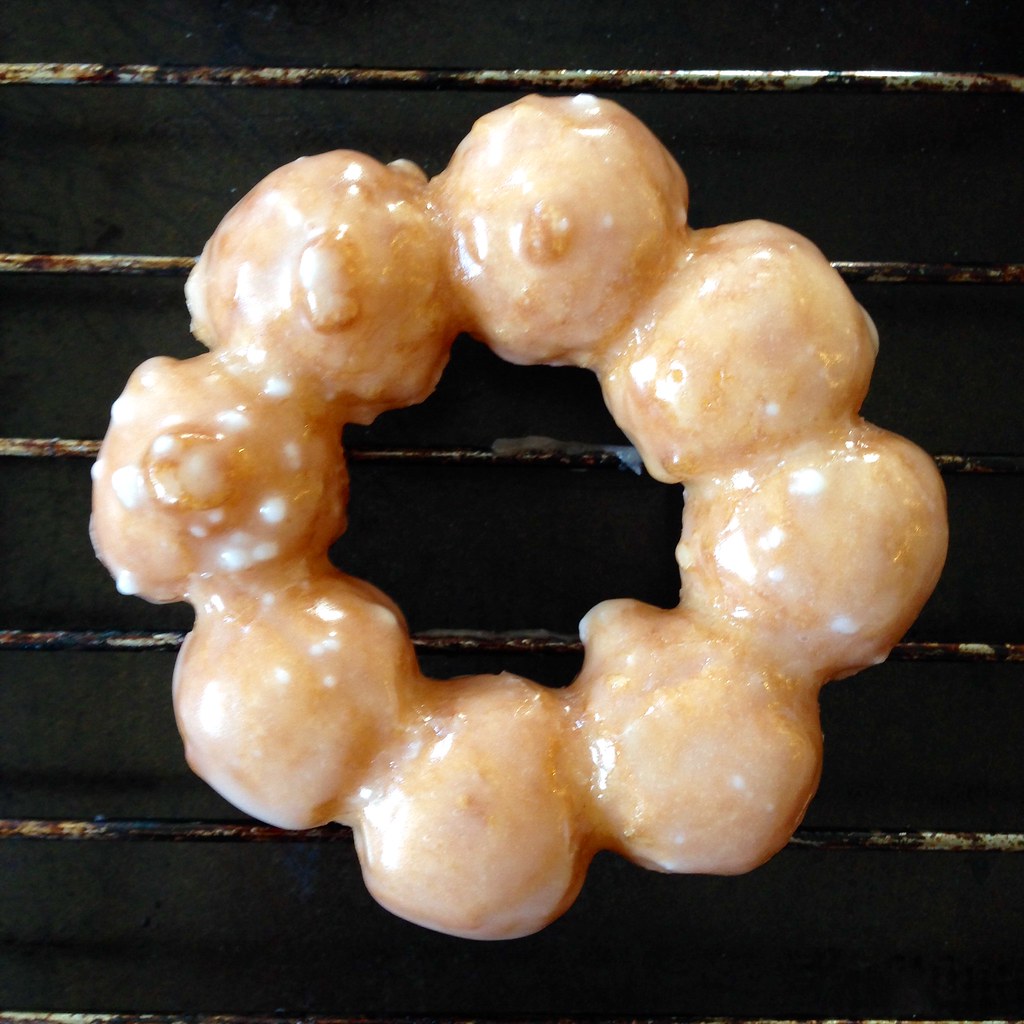
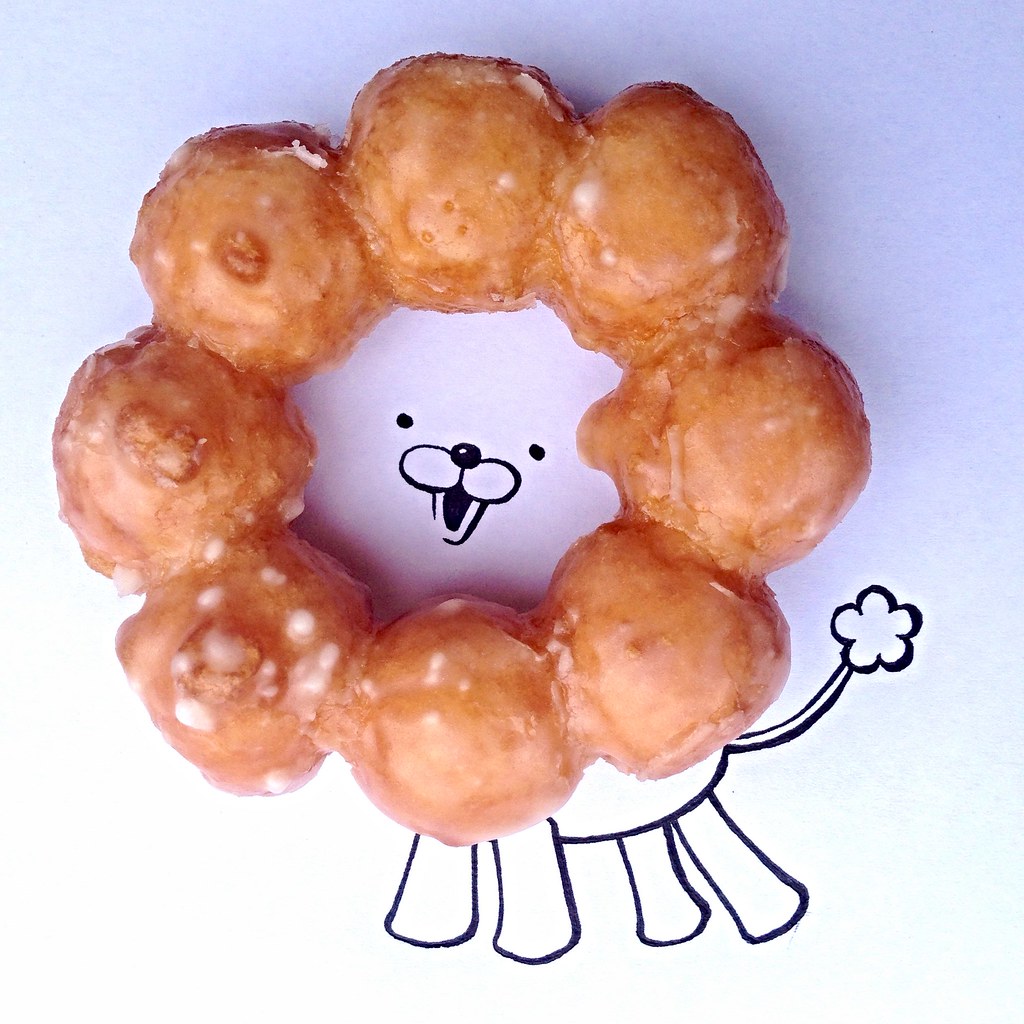
If you've ever been to Taiwan (or Japan, Korea, and probably other parts of Asia) I'm sure you've seen the ubiquitous Mister Donuts and their almost-too-cute-to-eat pon de rings.  They're made out of a chewier dough than their regular donuts and shaped like their mascot Pon de Lion's mane.

https://www.flickr.com/photos/joyosity/15458253448/

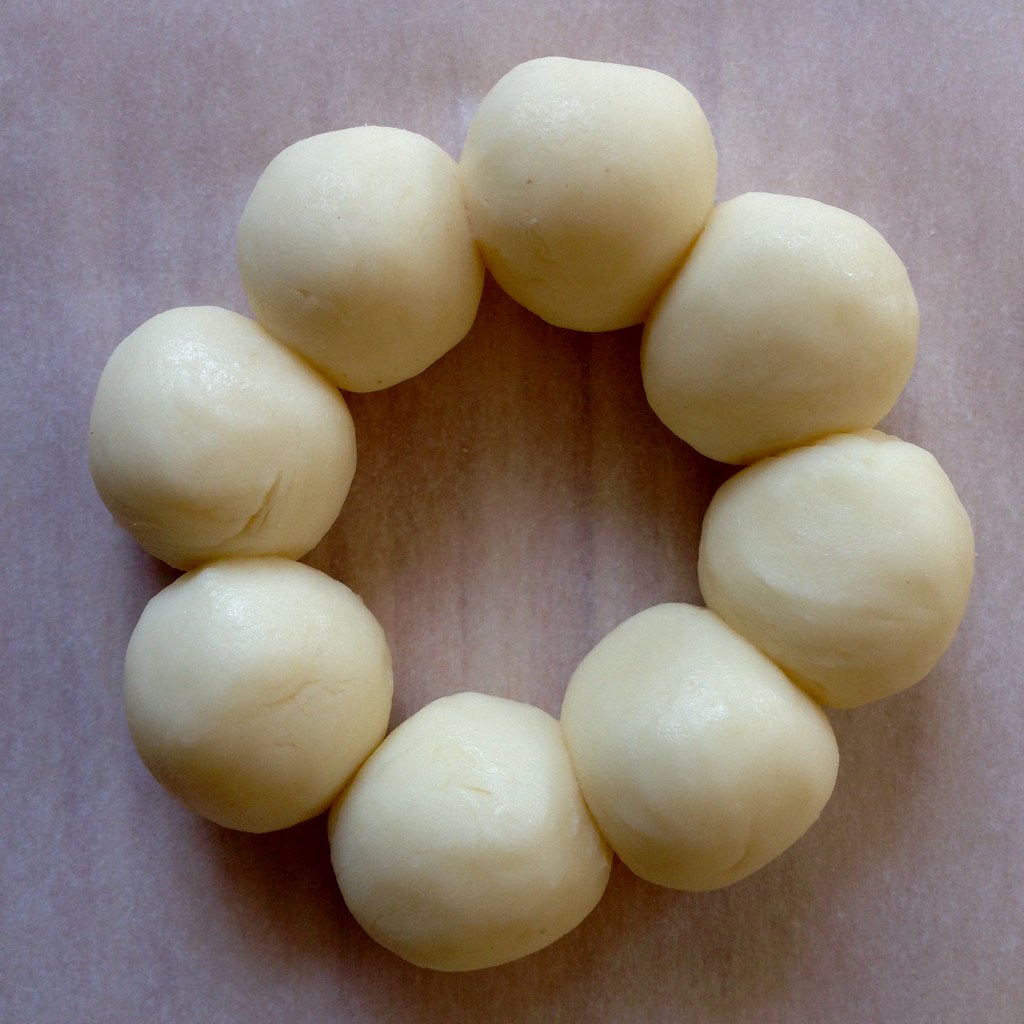
Instead of rolling the donut holes into the balls, I took the scraps left over from cutting out the regular donut shapes and rolled them into a long snake.  Then I just cut off inch-long pieces and rolled them much like I do when making tang yuan.  I found that the balls stuck together pretty well, but for extra insurance, I lightly wet them at the point that they touched each other to make sure they wouldn't fall apart when frying.  I also used the pro-tip in the comments and assembled them on a square of parchment paper.  You can place the whole thing, pon de ring and paper, into the oil and remove the paper once it's loose.  So genius!

https://www.flickr.com/photos/joyosity/15023630324/

I think this may be one of the cutest things I've ever made.  It also helps to have a super talented friend named NoNo draw Pon de Lion for you so you can take a picture of the cutest donut lion ever.  ^_^  (I won't mention our other friend who couldn't be bothered to get up from the couch to see it herself and just waited for us to post the pictures to Instagram.  Although to redeem herself, she did comment that these tasted as good as they looked.)

https://www.flickr.com/photos/joyosity/15642053911/

Mochi Donuts and Pon de Rings (adapted from Lady and Pups)
makes about 10-14 donuts and/or pon de rings

For the starter dough:
1/4 cup glutinous rice flour
3 tablespoons whole milk

For the donut:
1 3/4 cup glutinous rice flour
1/2 cup whole milk
2 1/2 tablespoons unsalted butter, melted
1/4 cup granulated sugar
1 large egg
1 teaspoon baking powder
Vegetable oil

For the sugar glaze:   
2 1/2 tablespoons unsalted butter, melted
1 cup powdered sugar
1/2 teaspoon vanilla extract
2-3 tablespoons of hot water

https://www.flickr.com/photos/joyosity/15644385185/

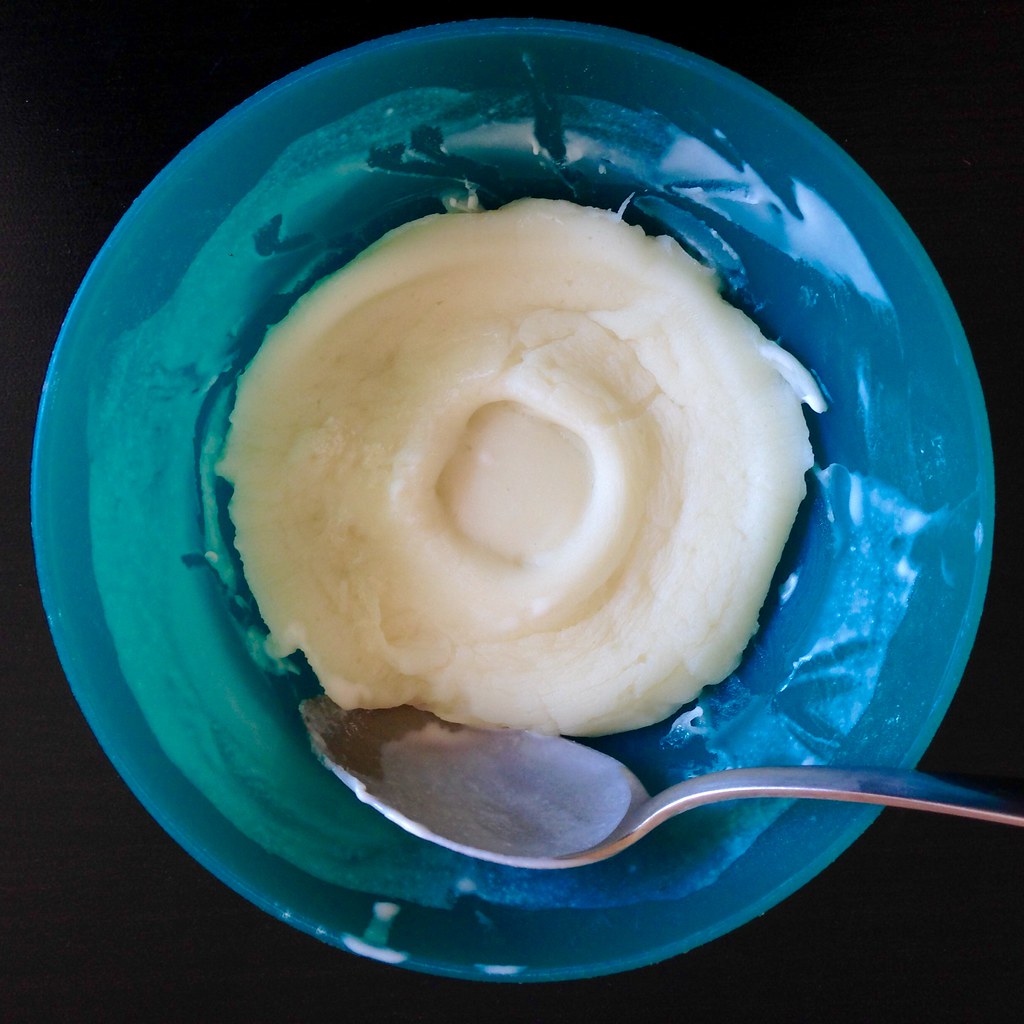
Mix 1/4 cup of the glutinous rice flour and 3 tablespoons of whole milk together in a microwave-proof bowl.  Microwave on high for 30 seconds and check to see if the dough is cooked through, which will look opaque and feel very “bouncy”.  Set aside to cool for 5 min.

https://www.flickr.com/photos/joyosity/15458391787/

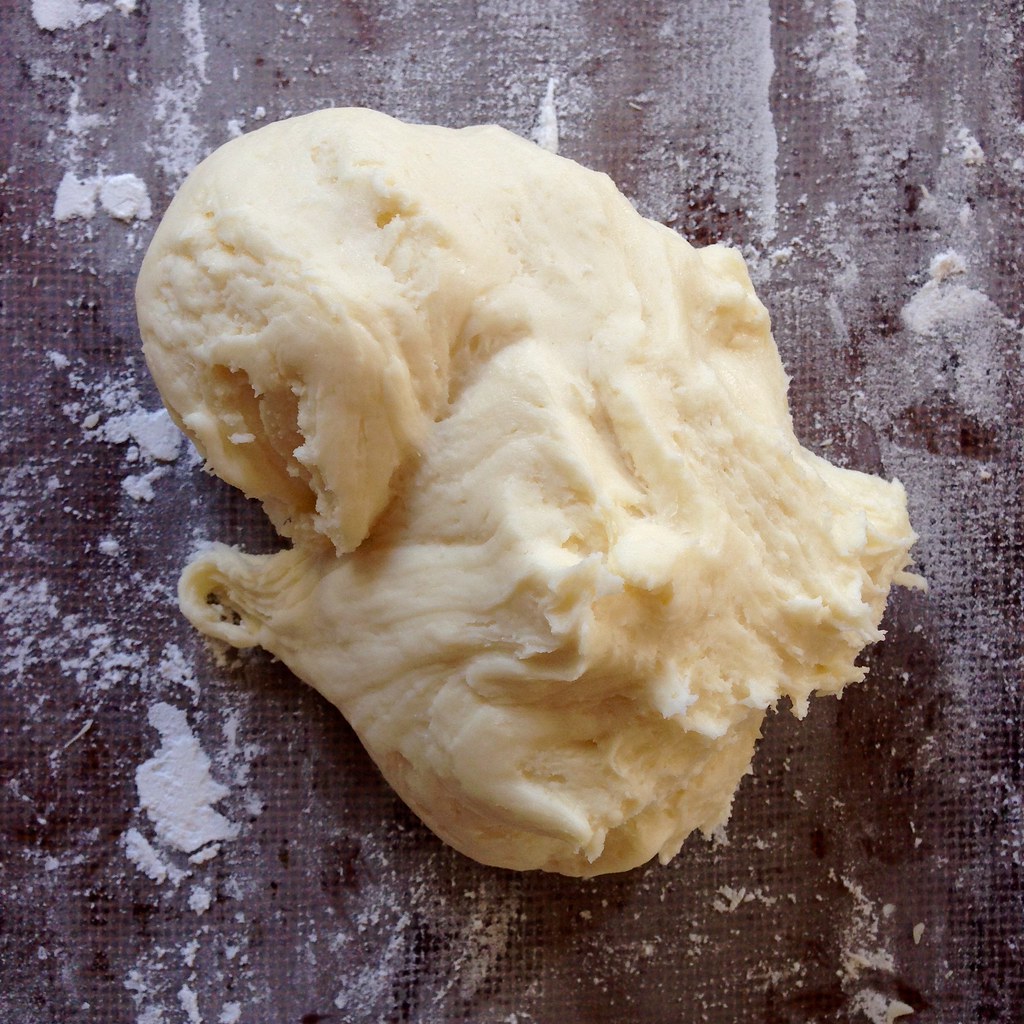
Meanwhile, add 1 3/4 cup of glutinous rice flour, 1/2 cup of milk, melted butter, granulated sugar, egg, and baking powder in a stand-mixer bowl with dough-hook.  Add the cooled starter-dough and knead the mixture on low until everything comes roughly together, then increase the speed to medium and knead until the starter dough has completely blended into the mixture.

https://www.flickr.com/photos/joyosity/15645209162/

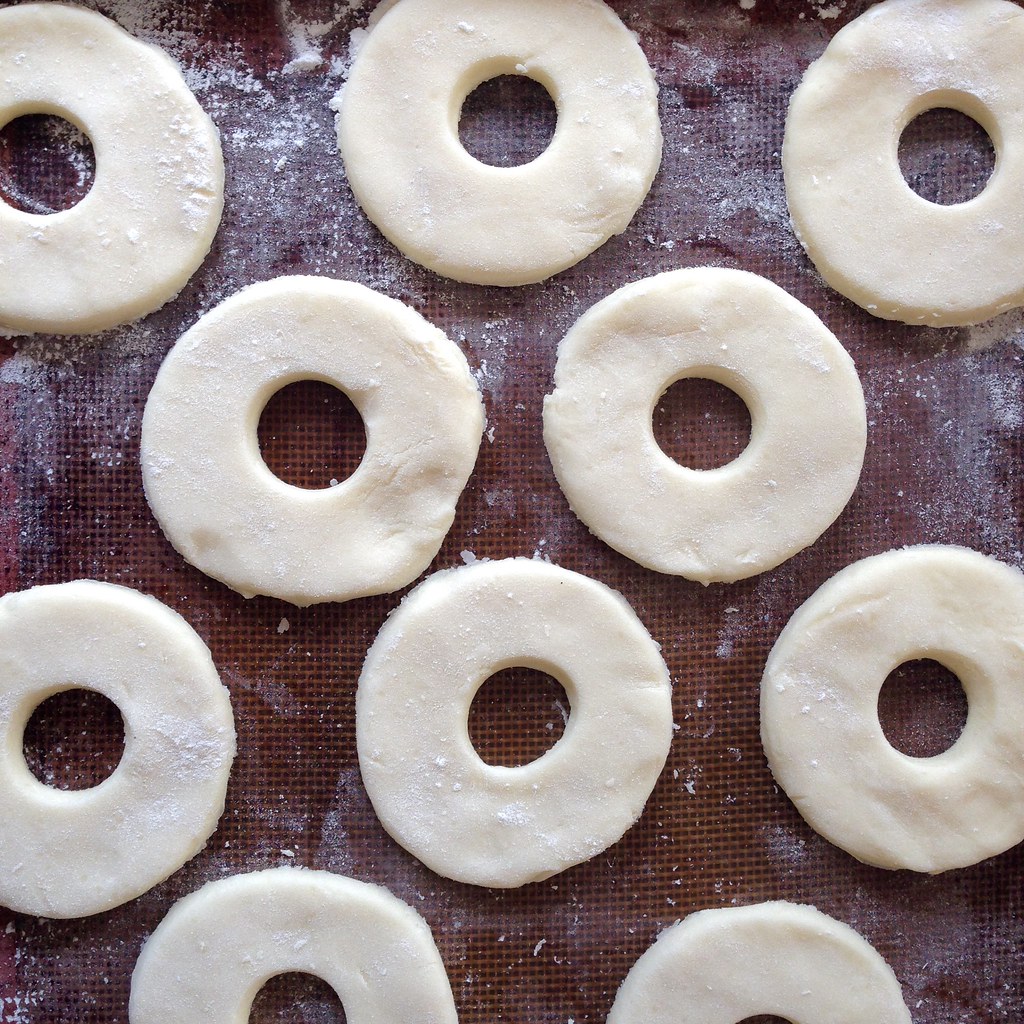
Scrape the dough onto a surface that’s dusted more glutinous rice flour.  Sprinkle just enough glutinous rice flour onto the dough to prevent sticking, then roll it to 1/2″ thick.  With a well-floured cutter, cut as many donuts out as you can (I was able to get ten 3-inch donuts using a mason jar lid ring and a water bottle cap).

https://www.flickr.com/photos/joyosity/15458391787/

To make the pon de rings, gather the scraps, mash them together, and roll into a long snake, about 3/4" thick.  Cut the snake into 1" pieces and roll all the pieces into balls.  On pieces of square parchment paper, arrange 8 of the balls together to form a ring.  Using your finger, dab a bit of water over where each of the balls touch their neighbor.  Allow to rest while you heat up the oil.

Add enough vegetable oil to a pot to reach 1 1/2″ deep and set on medium-high heat to bring the oil to 330ºF, then turn the heat down to medium-low.  If you don’t have a thermometer, just insert a wooden chopstick into the oil; if small bubbles form around the chopstick quickly, the oil is ready.

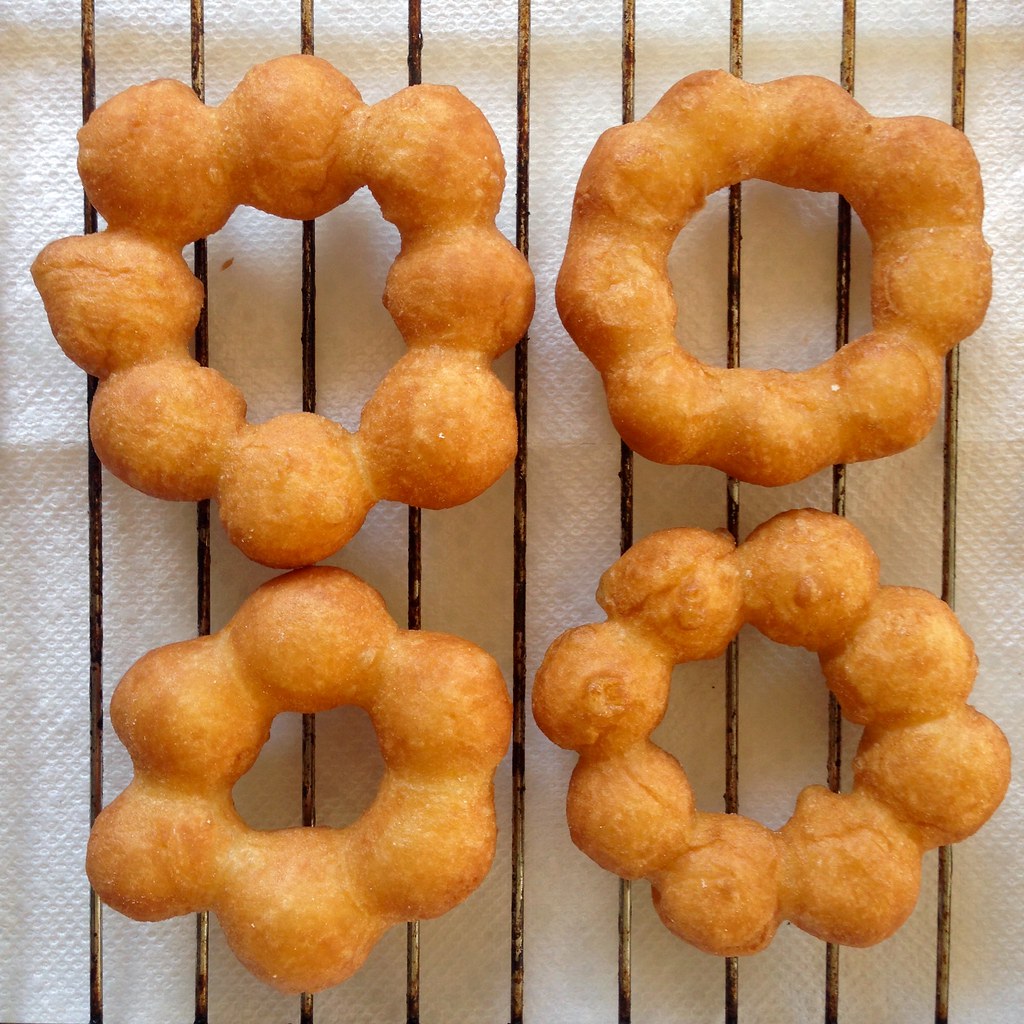
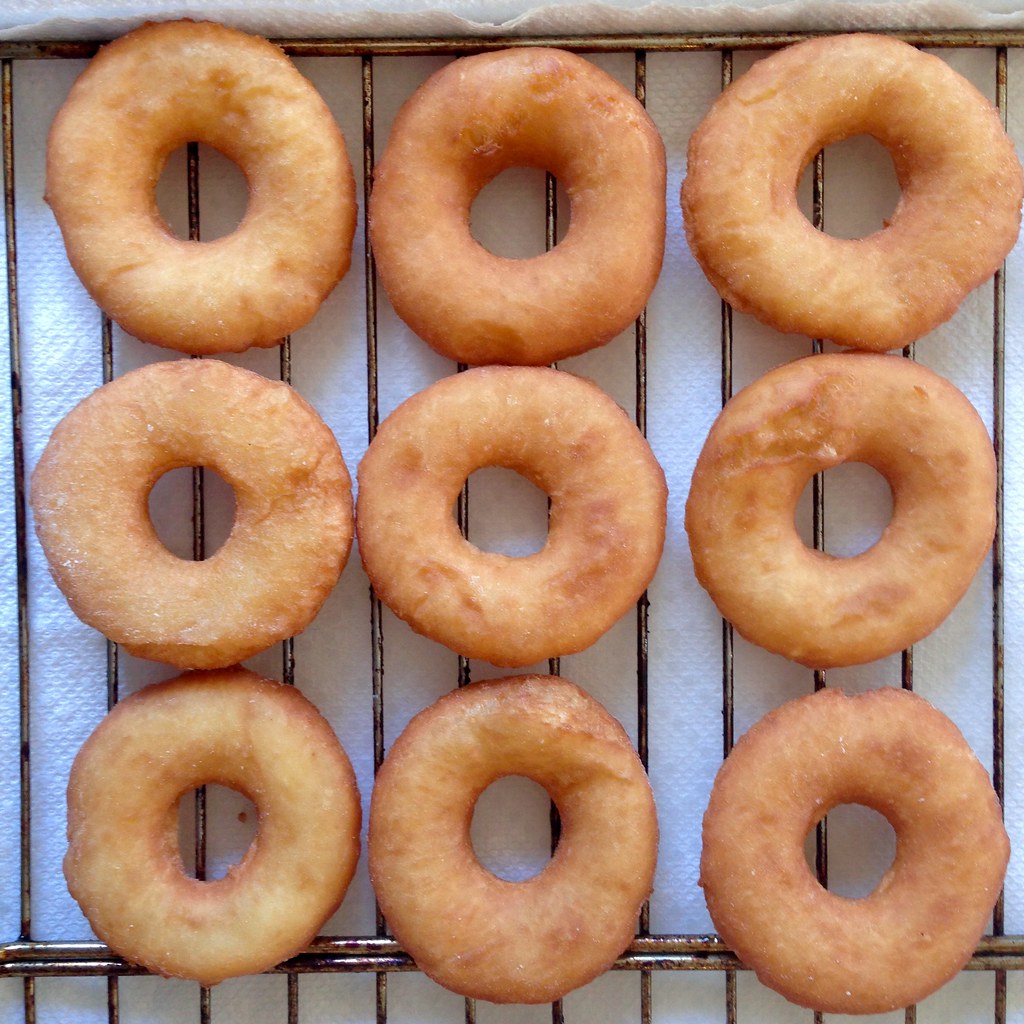
To fry the donuts, carefully lower a few donuts into the oil; they will sink to the bottom for the first 20 seconds then float back up.  Fry for a few minutes on each side until the donuts are puffed up and golden brown.  Transfer to a cooling rack set over a tray lined with paper towels to drain.

https://www.flickr.com/photos/joyosity/15620657536/

To fry the pon de rings, lower the rings along with the parchment paper into the hot oil.  After 20-30 seconds, you should be able to separate the paper from the ring.  Remove the paper with tongs and discard.  Once the rings are golden brown on both sides, transfer to the cooling rack to drain.

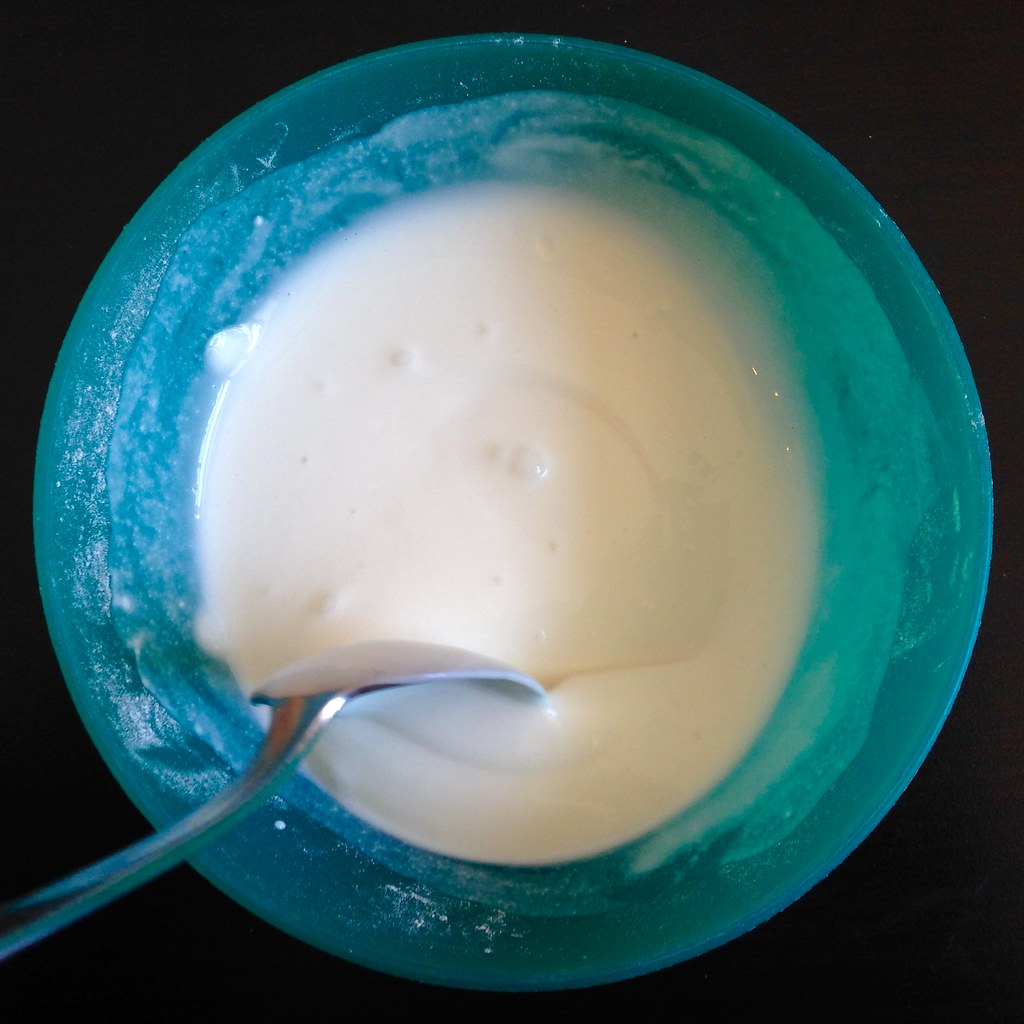
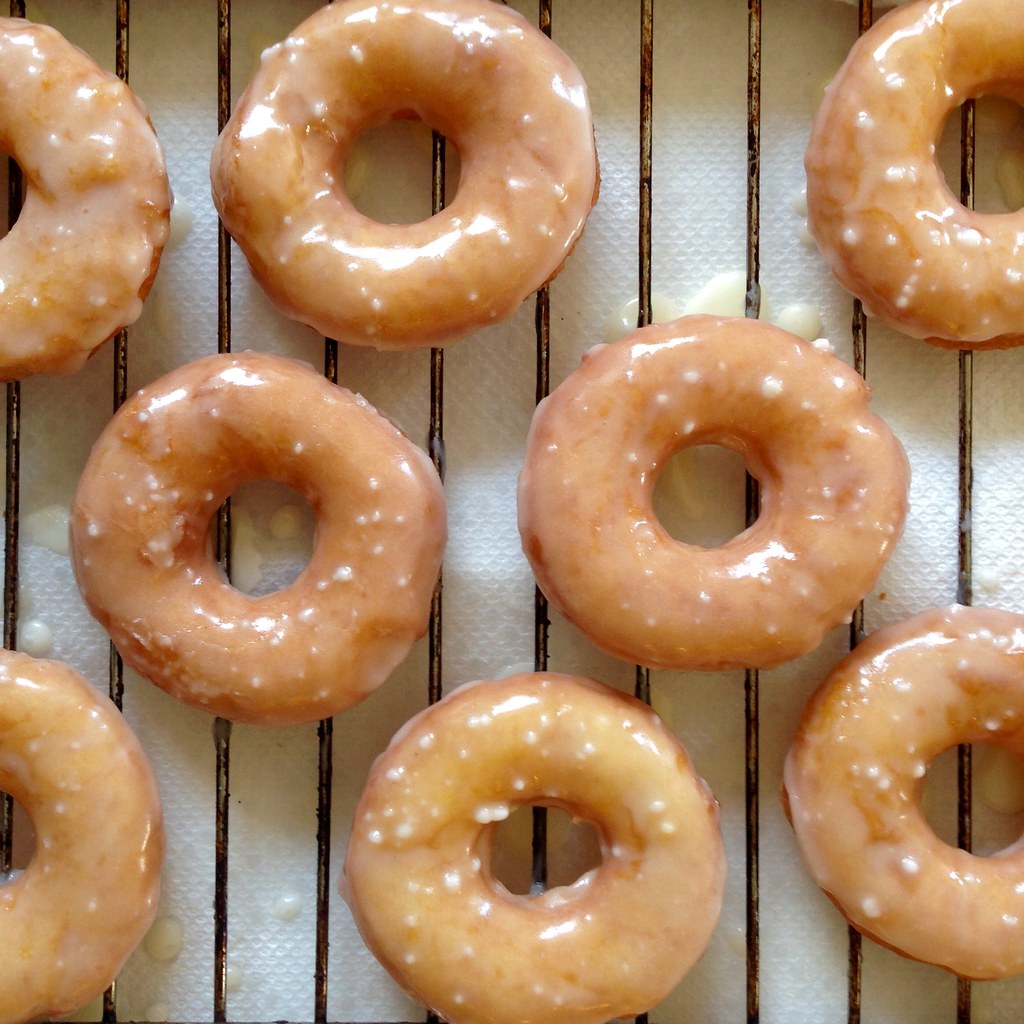
Mix 2 1/2 tablespoons of melted unsalted butter with powdered sugar and vanilla extract, then add 2-3 tablespoons of hot water to bring it to a desired glaze-consistency.  Dip one side of the donuts into the glaze and serve within a few hours.  (I didn't mix my glaze well enough so there were still quite a few sugar lumps in it when I dipped the donuts; I like to think of them as accidental pearl sugar decorations ;)

https://www.flickr.com/photos/joyosity/15645206102/

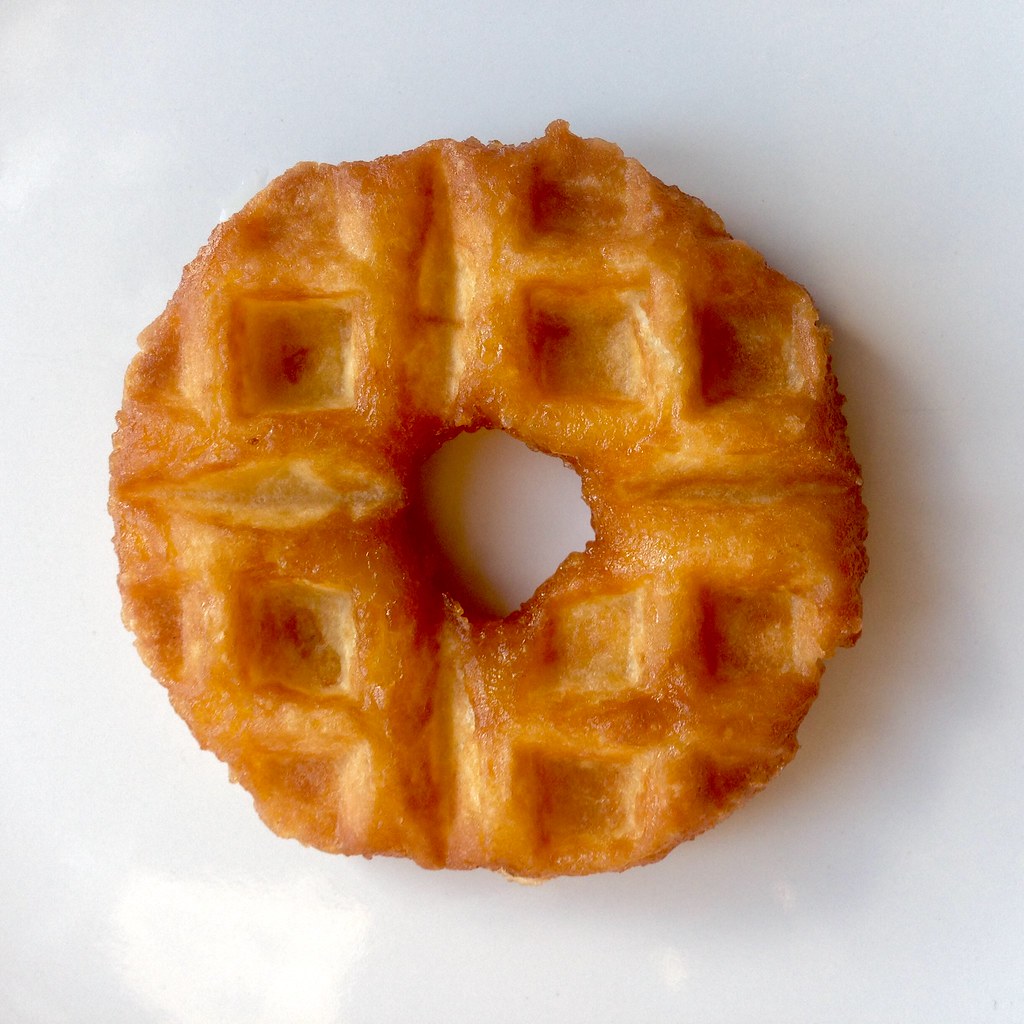
If you end up with leftovers, you should heat them up before eating so the soft, chewy texture is restored.  Ten seconds in the microwave works, but my preferred way of reheating a mochi donut is to use a waffle iron.  This way you get the chewiness but also a crispier crust.  It's like a moffle, only better!

https://www.flickr.com/photos/joyosity/15641711491/

Next:  Raindrop Cake
Previously:  Faux Phở
Last Year:  Kaddo (Afghan Pumpkin with Tomato and Yogurt Sauces)
Two Years Ago:  The Famouse Butter Tomato Sauce

Wednesday, August 7, 2013

Matcha Green Tea Ice Cream with Matcha Mochi Bits


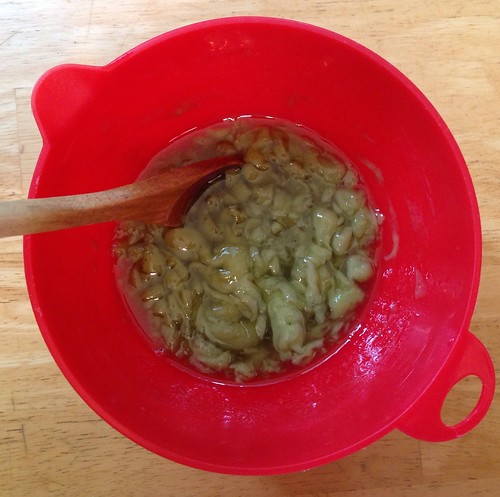
Since I had some extra matcha powder and glutinous rice flour from making the matcha mochi cupcakes, I decided to try making matcha green tea ice cream with matcha mochi bits.  I was still traumatized by the time I tried to make mochi wrapped ice cream so I decided to just cut up the mochi and swirl it into the ice cream this time.  Of course, I (once again) underestimated the stickiness of fresh cooked mochi and ended up stretching and hacking it into bits instead of properly cutting it.  If there's anything I learned from this process it's that you can never use enough cornstarch!

For the ice cream I adapted the ice cream base from Jeni's Splendid Ice Creams at Home by adding matcha powder.


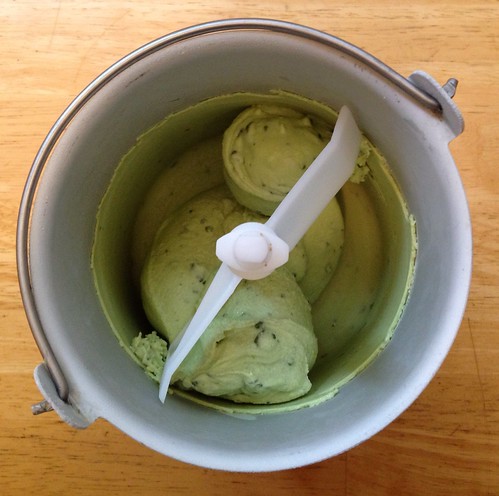
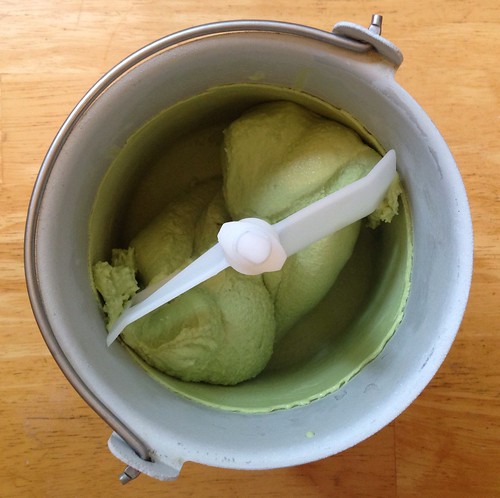
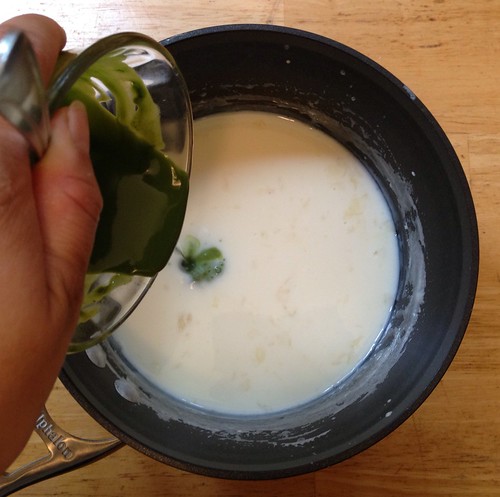
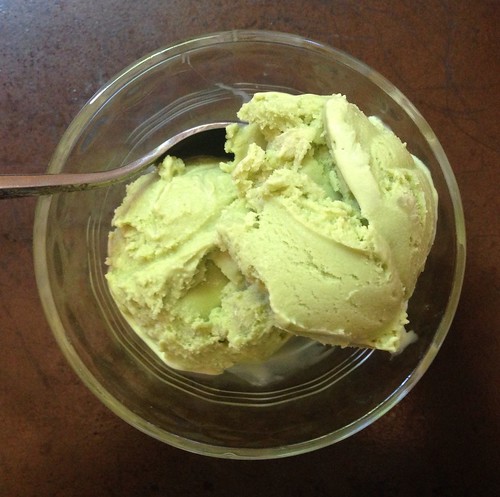
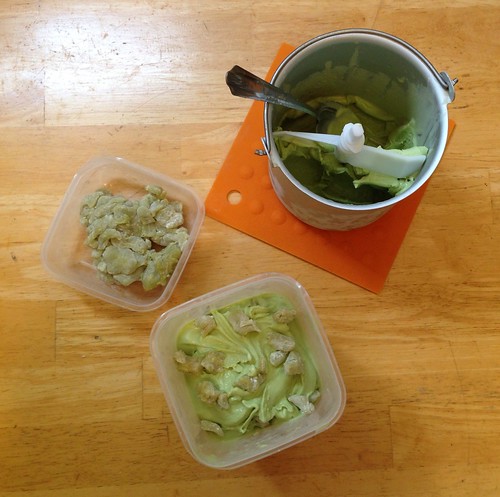
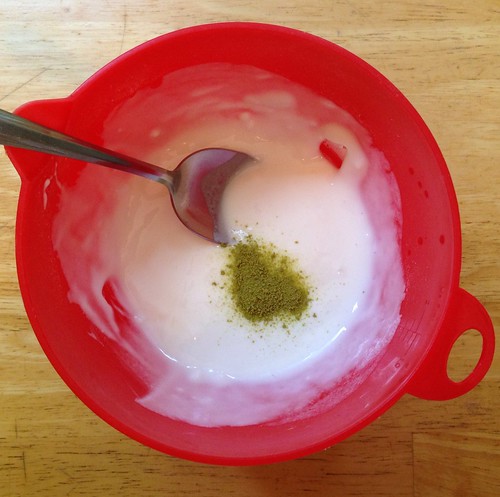
After making a batch of the matcha green tea ice cream, I noticed that the matcha powder wasn't really dissolving into the ice cream base and was clumping up instead.  I thought it would go away in the churning process but you can still see bits of matcha powder in the picture above.  Compare that with the picture below of the second batch I made.  Can you guess what simple ingredient made the matcha powder dissolve more easily?


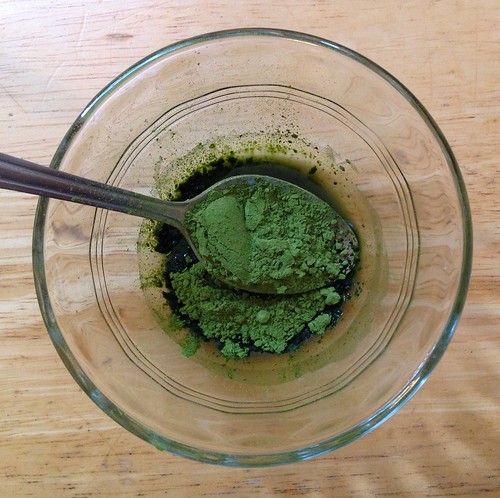
Alcohol!  Or in this particular case, vodka.  I think it has something to do with it being more non-polar than water (yay masters degree in chemistry from an Ivy League school!).  By mixing the matcha powder in some vodka first and then mixing it with the rest of the ice cream base you get a nice, smooth result.


Matcha Green Tea Ice Cream with Matcha Mochi Bits
makes about 1 quart

For the matcha mochi bits: (adapted from Come On, Ilene!)
1/2 cup sugar
1 cup water, divided
1/2 cup glutinous rice flour
1 teaspoon matcha powder
Cornstarch

Prepare a baking sheet by covering it with wax paper or a Silpat and coating it generously with cornstarch. 

Dissolve the sugar into 3/4 cup of water in a small saucepan over medium-low heat to make a simple syrup.


In a medium microwaveable mixing bowl, mix the remaining 1/4 cup water with the glutinous rice flour and matcha powder until smooth.

Cover the bowl and microwave on high for 5 minutes.  Remove the bowl from the microwave (be careful, it will be very hot!) and stir again.


Pour in the simple syrup and keep stirring.


At first it will look kind of gross and lumpy but eventually it was all even out and you'll get a nice, thick goo.


Pour the mochi batter onto the prepared baking sheet and sprinkle more cornstarch on top.  Let the mochi cool.  You can put the sheet in the fridge or freezer to hurry this process along.


Once the mochi is firm, distribute the top layer of cornstarch evenly with your fingers to coat any shiny areas. Flip it over on a cutting board and make sure the back side is evenly coated as well.


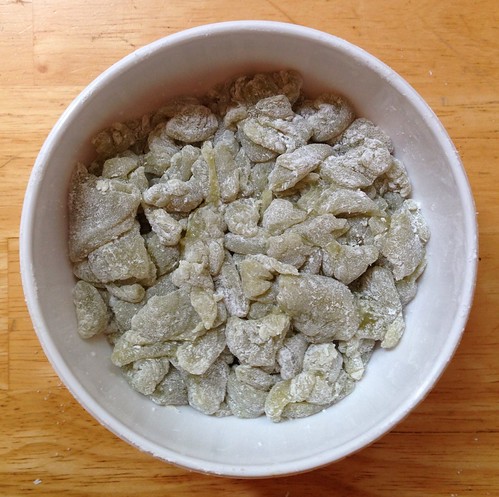
When the mochi is completely cool, cut into small bits and pieces and continue to coat with extra cornstarch while cutting to avoid letting the pieces stick together.

Freeze the mochi bits until the ice cream is ready to pack.

For the matcha green tea ice cream: (adapted from Jeni's Splendid Ice Creams at Home)
2 cups whole milk
1 tablespoon plus 1 teaspoon cornstarch
1 1/2 ounces (3 tablespoons) cream cheese, softened
1/8 teaspoon fine sea salt
1 tablespoon matcha green tea powder
1 tablespoon vodka
1 1/4 cup heavy cream
2/3 cup sugar
2 tablespoons light corn syrup

Mix about 2 tablespoons of the milk with the cornstarch in a small bowl to make a smooth slurry. Whisk the cream cheese and salt in a medium bowl until smooth.  Fill a large bowl with ice and water.


Mix the matcha powder with the vodka and stir until smooth.

Combine the remaining milk, the cream, sugar, and corn syrup in a 4-quart saucepan, bring to a rolling boil over medium-high heat, and boil for 4 minutes. Remove from the heat, and gradually whisk in the cornstarch slurry.

Bring the mixture back to a boil over medium-high heat and cook, stirring with a heatproof spatula, until slightly thickened, about 1 minute.


Remove from heat and add some of the hot ice cream base to the matcha vodka mixture.  Stir until smooth and then add back to the rest of the ice cream base.


Gradually whisk the hot milk mixture into the cream cheese until smooth. Pour the mixture into a 1-gallon Ziploc freezer bag and submerge the sealed bag in the ice bath. Let stand, adding more ice as necessary, until cold, about 30 minutes.

Pour the ice cream base into the frozen canister and spin until thick and creamy.


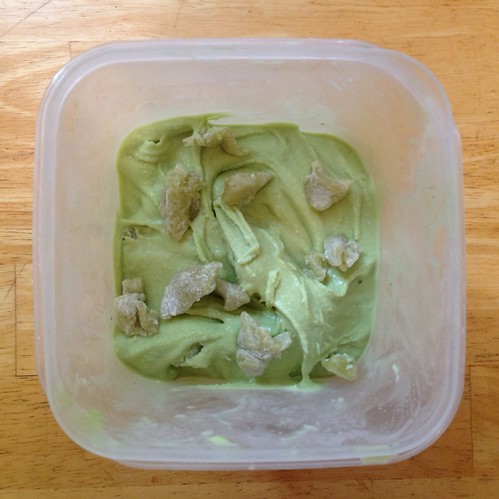
Pack the ice cream into a storage container, adding the matcha mochi bits in between layers of ice cream.  Press a sheet of parchment directly against the surface and seal with an airtight lid.  Freeze in the coldest part of your freezer until firm, at least 4 hours.


Just like with mochi-wrapped ice cream, the mochi bits stay nice and pillowy soft even after frozen.  It makes an interesting contrast to the usual hard and crunchy mix-ins for ice creams.  And the amount of vodka used to dissolve the matcha powder was so minimal I can't even taste it in the ice cream.

Next:  Almond Pesto Pizza
Previously:  Matcha Mochi Cupcakes