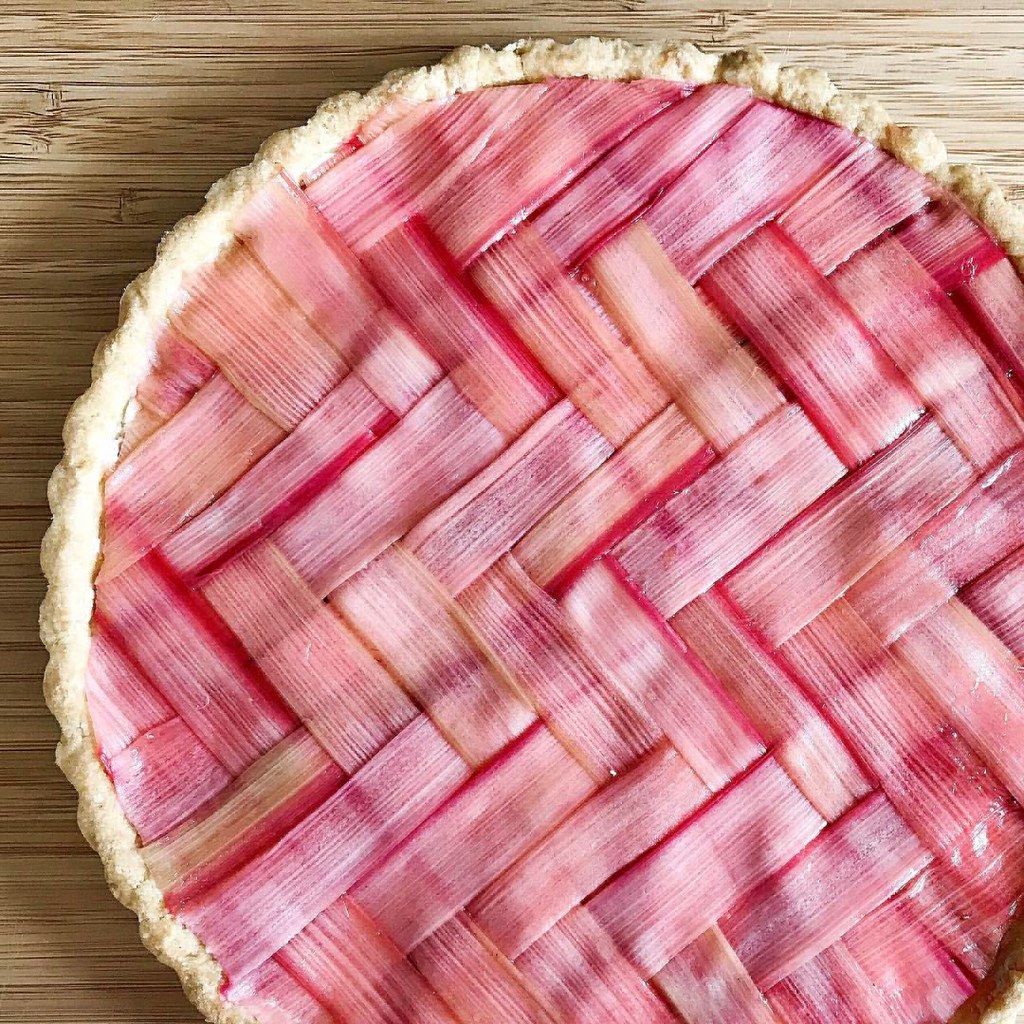
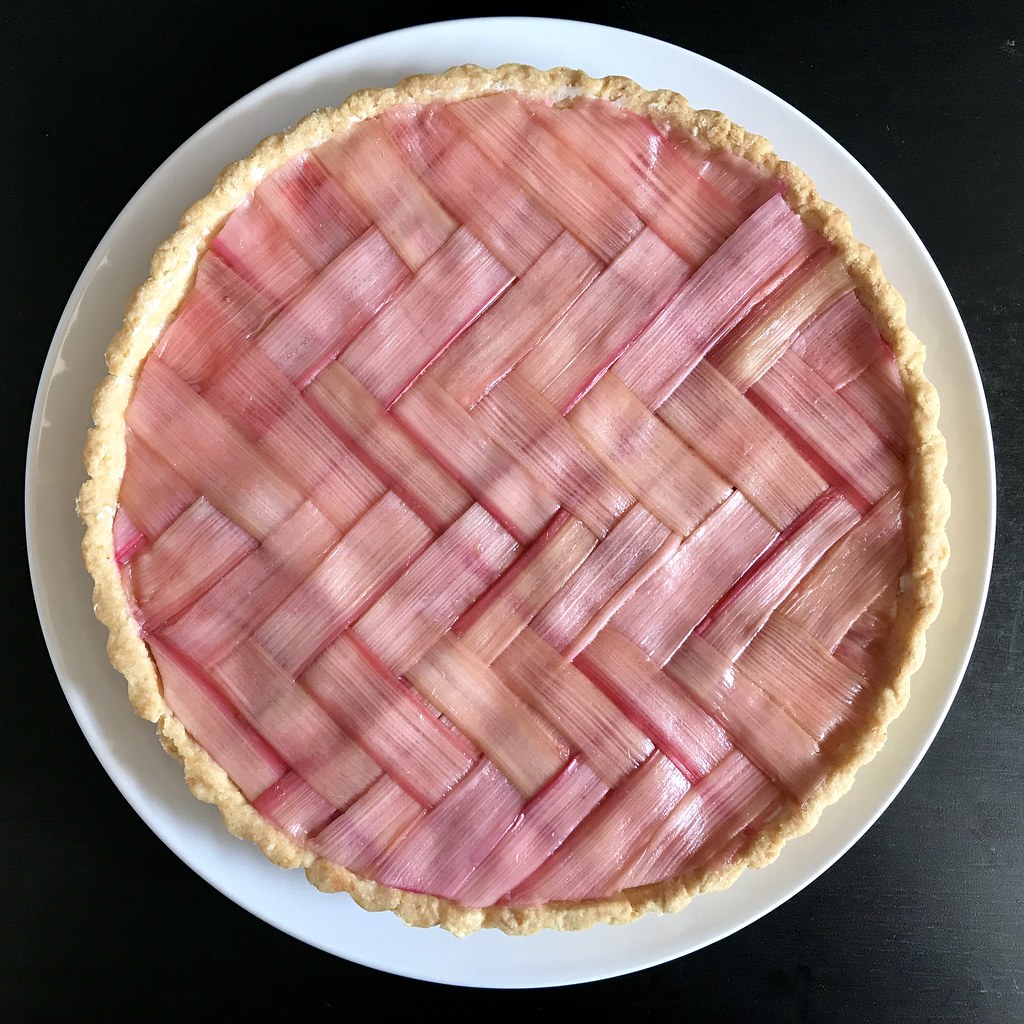
Ever since I attempted the herringbone lattice pie crust a few months ago, I've been wanting another shot at getting it right. So when I saw rhubarb being sold at my local grocery story, I figured I'd try to make a tart and top it with a herringbone lattice made of poached rhubarb strips!
When buying the rhubarb for this, try to get ones of equal width so the lattice will look nice and neat. I pretty much followed the instructions for poaching the rhubarb from Baking a Moment's beautiful post on making a rhubarb tart with a (regular) lattice top. Instead of using a mandolin, I used my vegetable peeler which, honestly, was a labor of love. I probably had to ditch a third of my attempts at getting nice long thin ribbons. Luckily, I bought a couple more rhubarbs that I thought I'd need exactly for this reason.
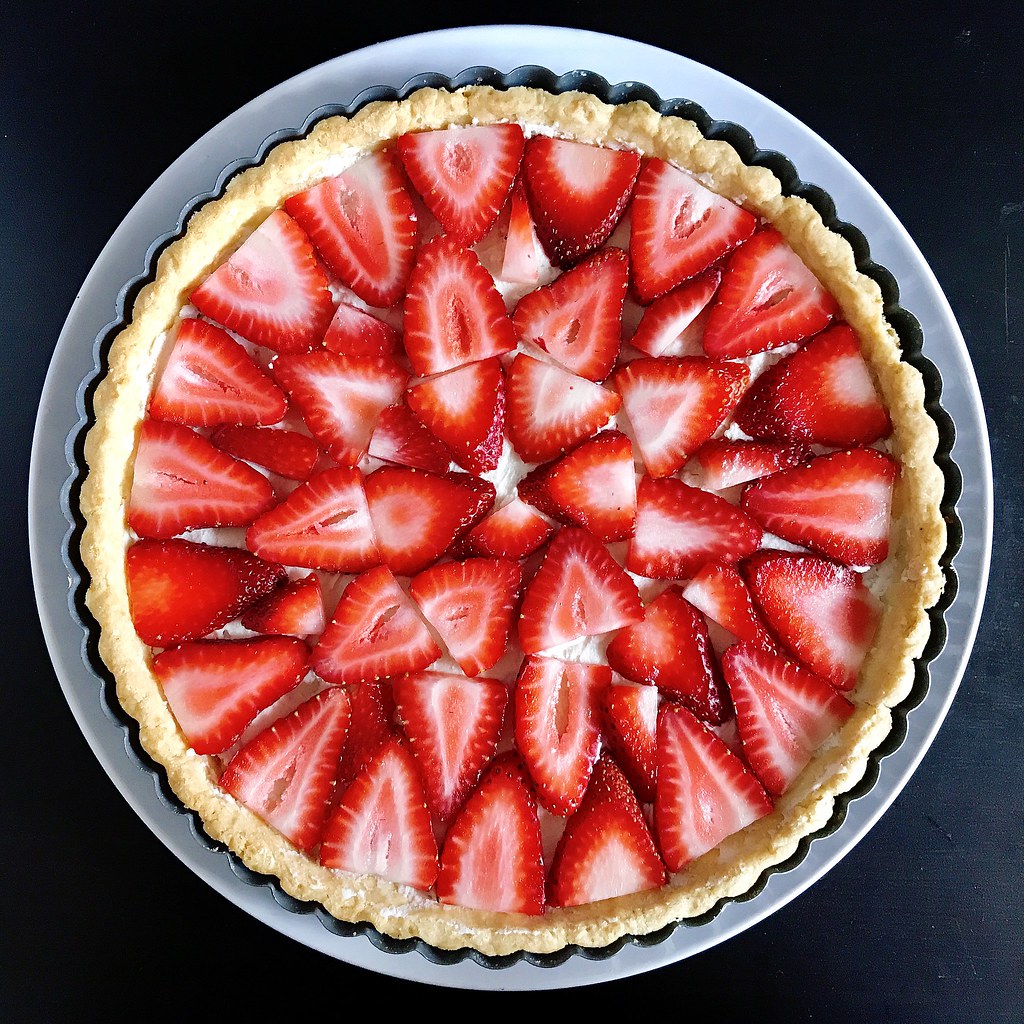
For the tart crust, I used the recipe for a sweet tart crust from Mark Bittman's How to Bake Everything. I also followed his suggestion to use sweetened whipped coconut cream as the base. I originally wasn't going to add the layer of strawberries, but my friends Celine and Alex were over this weekend and left me some beautiful strawberries. I'm so glad I added them because they have a natural sweet-tartness which perfectly complements the flavor of the rhubarb. The nice thing about this recipe is that if you use a vegan and/or gluten-free tart crust, the rest of the pie is also vegan and gluten-free!
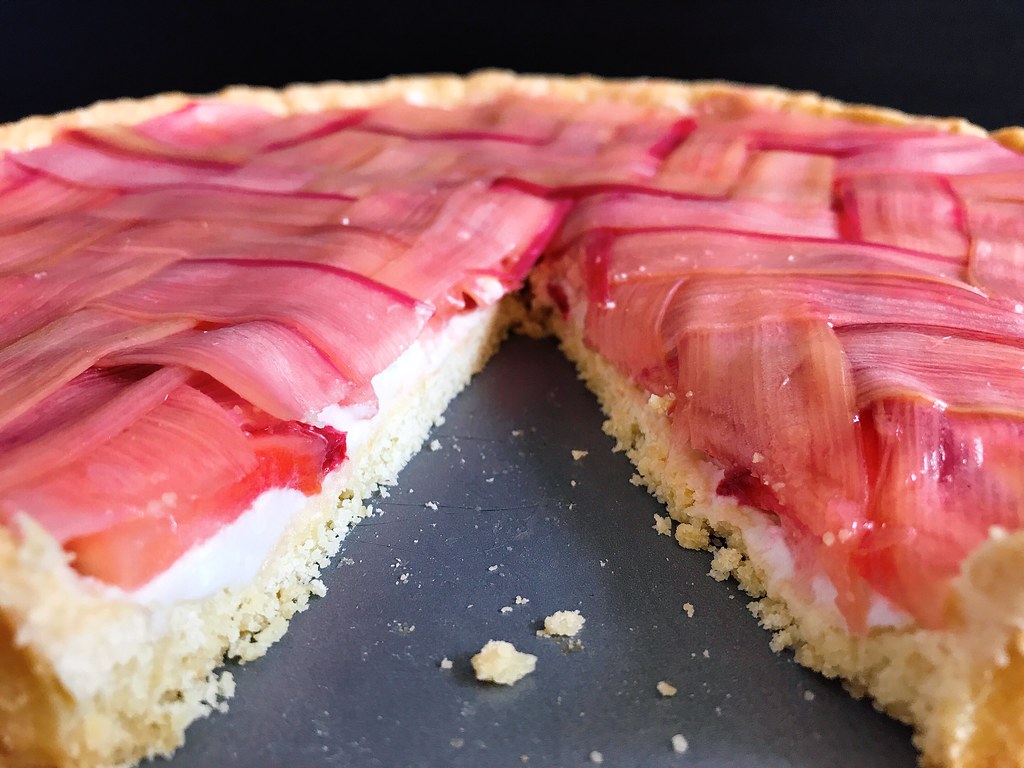
Rhubarb Strawberry Coconut Cream Tart
makes a 9" tart
Your favorite 9" sweet tart crust, blind baked and cooled
14 oz. can of coconut milk, refrigerated overnight
3 tablespoons powdered sugar
1 tablespoon vanilla extract
1 cup sliced strawberries
6-8 rhubarb stalks of equal width
1/2 cup sugar
Before you fit the tart dough into your tart pan, remove the bottom and trace it on a large piece of parchment paper. Then proceed to line the pan with the dough, chill, and blind bake until golden brown all over.
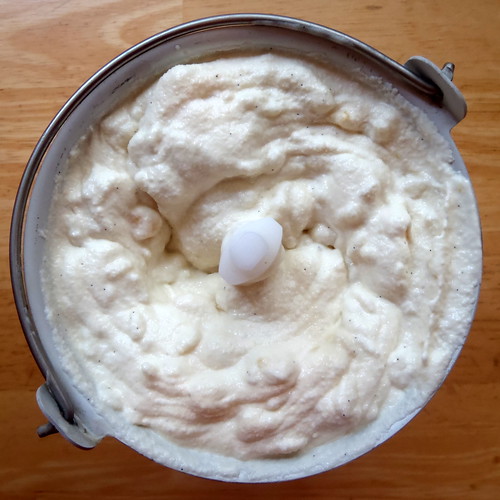
Place the can of coconut milk, a large bowl, and the metal beaters of your electric beater in the fridge overnight. The next morning, open the can and spoon out the solid white coconut cream into the chilled bowl. You can discard the leftover liquid or save it to add to smoothies or overnight oats. Add the powdered sugar and vanilla extract to the bowl and use the chilled beaters to beat the cream until it is light and fluffy. Spread it evenly across the bottom of the tart crust and chill in the refrigerator while you wash and slice the strawberries.
Arrange the strawberries on top of the coconut cream in an even layer. Cover and return to the fridge to chill while you prepare the rhubarb.
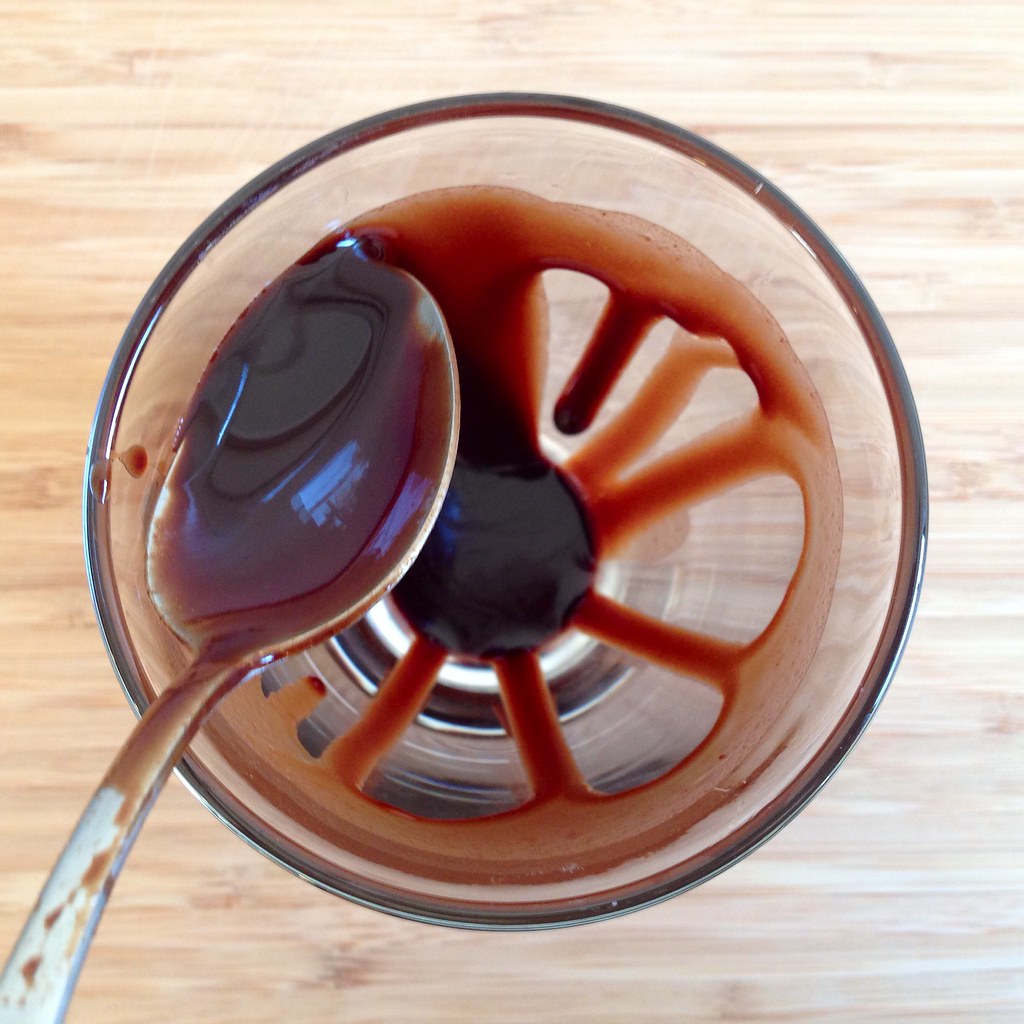
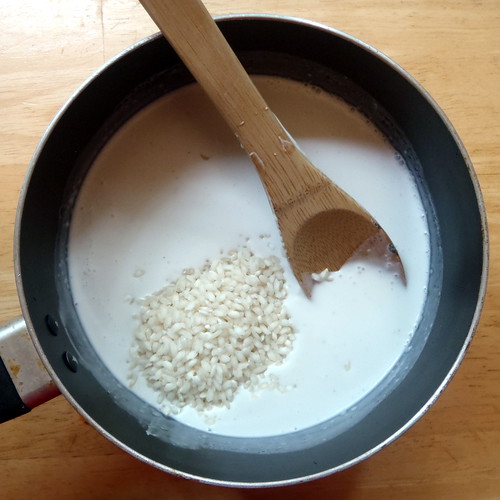
Use a vegetable peeler or mandolin to peel long, thin strips from the rhubarb stalks. Roughly chop any leftover red parts and add to a large pot along with any leftover strawberry pieces. Add a cup of water and the sugar and bring to a simmer.
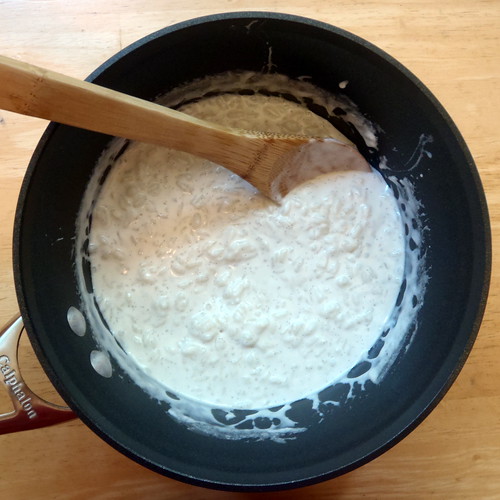
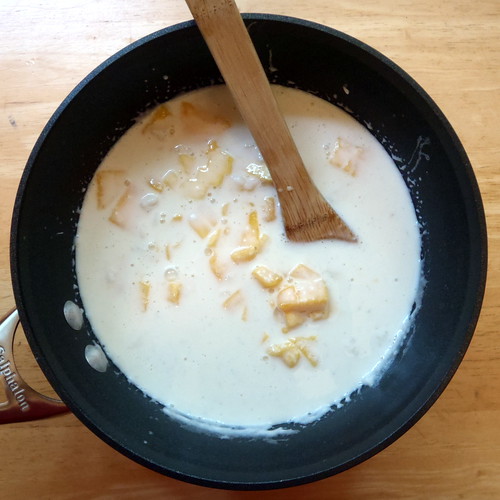
Prepare a rimmed baking sheet with a couple layers of paper towels. Poach the strips of rhubarb in batches for about a minute or so until softened. Remove with a slotted spoon to the paper towels to drain. Reserve the poaching liquid.
Use the parchment paper with the outline of the tart pan to lay out half the rhubarb strips vertically. Then, fold the first strip halfway down, skip 3, then fold down the next 3, and skip the next 3, following this pattern until you reach the end.
Lay a long strip down horizontally across the middle, then, leaving the 1st vertical strip folded over, fold down the 2nd vertical strip over the horizontal strip you just laid down, skip the next 2, fold the 5th strip back up, leave the next 2 as is, and fold down the one after that, etc. Lay another strip down horizontally above the first one you laid down. Continue to repeat this pattern until you've covered the outlined 9" circle. This post from Serious Eats is also a great resource (with pictures!) on how to create the herringbone lattice top. You can also just do a plain checkered lattice crust which would still look very nice.
Remove the tart from the fridge and carefully flip the woven rhubarb lattice onto the tart (it will seem quite scary but because the strips are still wet, they will adhere to the parchment paper pretty well). Peel the parchment paper away and re-adjust the lattice as needed. Use a sharp pair of kitchen shears or paring knife to cut away any extra rhubarb. Brush some of the poaching liquid on top, being careful not to disturb the herringbone pattern. Chill until ready to serve.
Next: 3-28 Slab Pie
Previously: Rainbow Crepe Cake
Last Year: Will It Puffle?
Two Years Ago: Gordon Ramsay's Sublime Scrambled Eggs - Two Ways
Three Years Ago: Nutella Mini Crepe Cakes
Seven Years Ago: The Best Scones in the World
Eight Years Ago: Bacon and Egg Bunny Buns