Showing posts with label sandwich. Show all posts

Wednesday, March 16, 2016

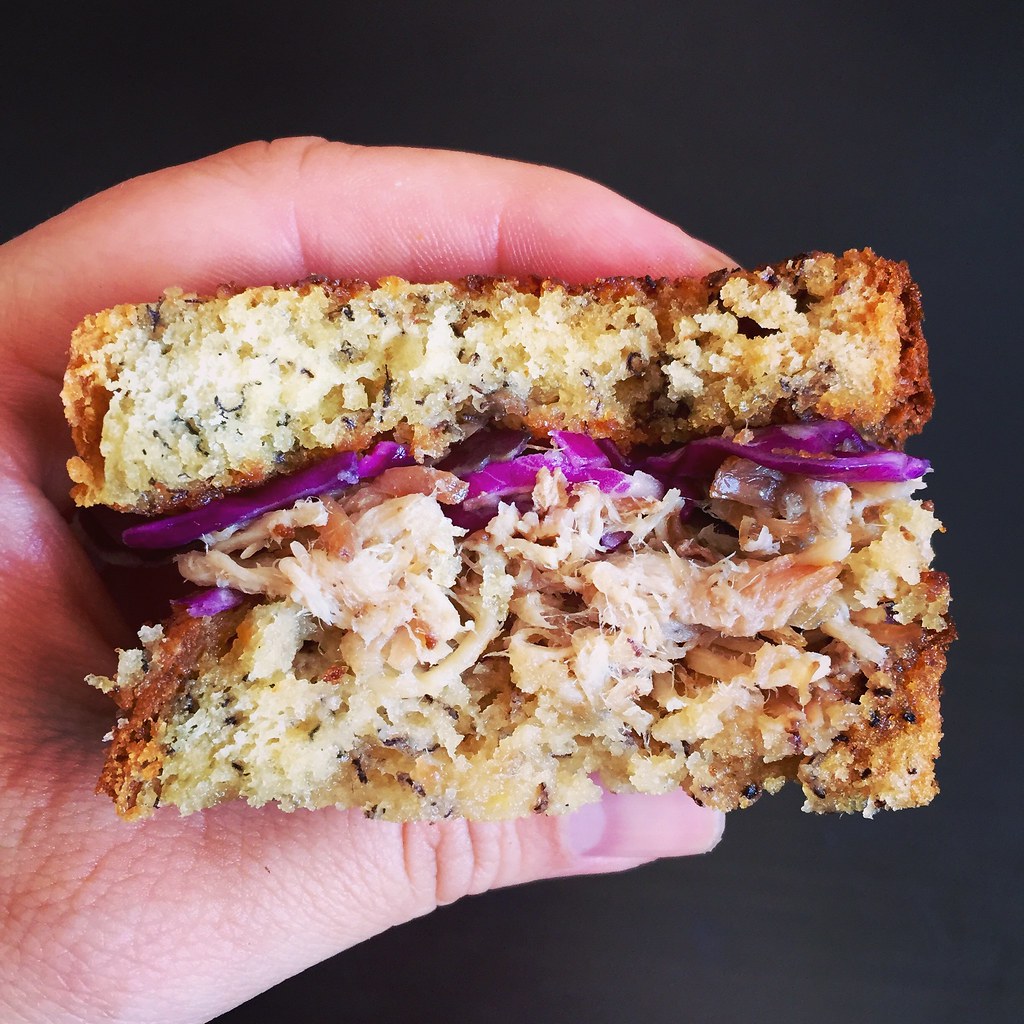
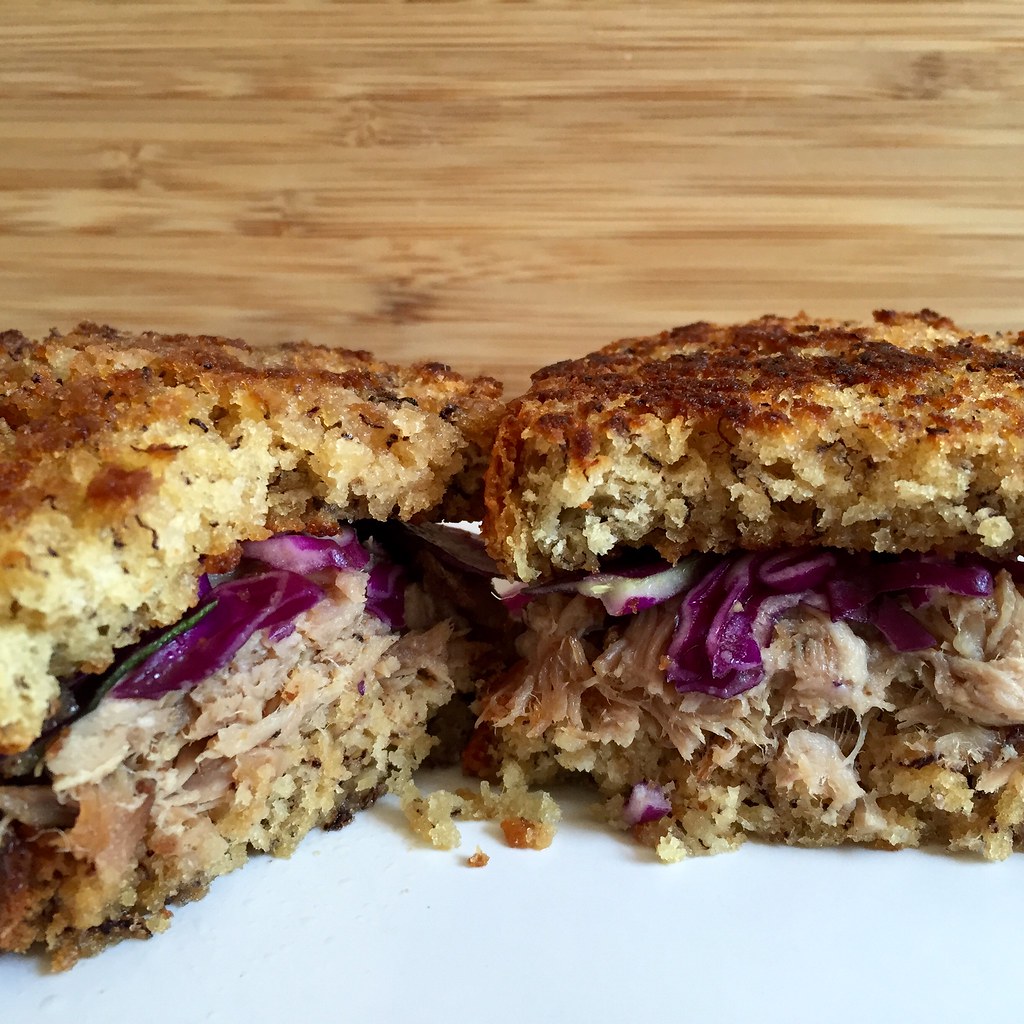
Tropical Pulled Pork on Griddled Banana Bread Sandwiches

https://www.flickr.com/photos/joyosity/25635814581/in/dateposted-public/

Back in January I found an incredible deal for airfare to St. Thomas so I went ahead and booked it along with four nights at the Marriott Frenchman's Reef using my points.  Even though the weather forecast the weeks up to the trip showed a lot of possible rain, it turned out to be beautiful and sunny every day we were there!

https://www.flickr.com/photos/joyosity/25180348454/in/dateposted-public/
Sunrise at the Frenchman's Reef

On our third day, my friend Sooyun and I took the passenger ferry from Red Hook to Cruz Bay in St. John and hiked the Lind Point Trail to Honeymoon Beach.  After some relaxing time on the beach, we continued over to the Caneel Bay Resort for lunch.  Little did I know I was about to have one of the best sandwiches I had ever eaten.  We almost didn't order it (I was craving a turkey sandwich, and Sooyun almost ordered something else before I reminded her about the rum pork on crispy banana bread sandwich she had pointed out earlier), but after tasting it, I'm so grateful we did.  I think it was that perfect balance of salty pulled pork and sweet banana bread plus the crunch from a red cabbage slaw.  The memory of this sandwich haunted me for over a month before I finally decided to try and recreate it.

https://www.flickr.com/photos/joyosity/25810827555/in/dateposted-public/
Floating at Honeymoon Beach, St. John

For the pulled pork I pretty much followed my slow cooker kalua pork recipe except I added a quartered orange and garlic plus a splash of passion fruit rum.  For the banana bread I followed this basic recipe but you can just use your favorite recipe as long as the bread can be sliced and griddled without falling apart.  Then I made a quick cabbage slaw using coconut white balsamic vinegar, lemon sugar, and shredded red cabbage.  If you don't have smoked sea salt, passion fruit rum, coconut white balsamic vinegar, and lemon sugar, you should be fine using regular sea salt, another rum (or skipping the rum altogether), a light vinegar (like cider or rice wine), and regular white sugar.  But then where would be the fun in that? 
https://www.flickr.com/photos/joyosity/25104257803/in/dateposted-public/

Tropical Pulled Pork on Griddled Banana Bread Sandwiches
makes about 8 sandwiches

For the pulled pork:
3 lbs. boneless pork butt/shoulder
2 tablespoons smoked sea salt
1 orange, quartered
6 garlic cloves, peeled
1/4 cup rum (tropical flavor like passion fruit or mango preferred)

Using a steak knife, poke the pork all over and rub with smoked salt.  Place in the slow cooker along with the orange quarters and garlic cloves.  Turn on low and cook for 12 hours. 

Halfway through, flip the pork and add the rum.

When done, remove the excess fat and shred the pork with a fork.

For the red cabbage slaw:
3 cups shredded red cabbage
1 teaspoon kosher salt
1 tablespoon coconut white balsamic vinegar (or other light vinegar)
1 teaspoon lemon or white sugar

Place the shredded cabbage in a salad spinner or a colander over a bowl.  Sprinkle the salt over the cabbage and mix.  Let sit for an hour, then rinse and squeeze/spin out the excess water.

Transfer the cabbage to a sealable container.  Add the vinegar and sugar and mix.  Cover and store in the refrigerator for at least 30 minutes, until ready to use.

For the sandwiches:
2 loaves of your favorite banana bread (or just one loaf if you want to make open faced sandwiches)
Butter

Slice the banana bread to the thickness you prefer and butter both sides.  Heat a pan over medium-high heat and cook the banana bread slices, turning once, until both sides are browned.

Top one slice with the pulled pork and slaw and add the other slice.  Serve with plantain or yucca chips and die of happiness.

https://www.flickr.com/photos/joyosity/25180343634/in/dateposted-public/
Sunset at Frenchman's Reef

Next:  The 4-Hour Baguette
Previously:  Pad Thai
Last Year:  Homemade Squid Ink Pasta
Two Years Ago:  Miso-Glazed Eggplant
Three Years Ago:  Peking Duck Pizza
Six Years Ago:  Bacon Fat Caramels
Seven Years Ago:  St. Patrick's Day Maki

Tuesday, September 9, 2014

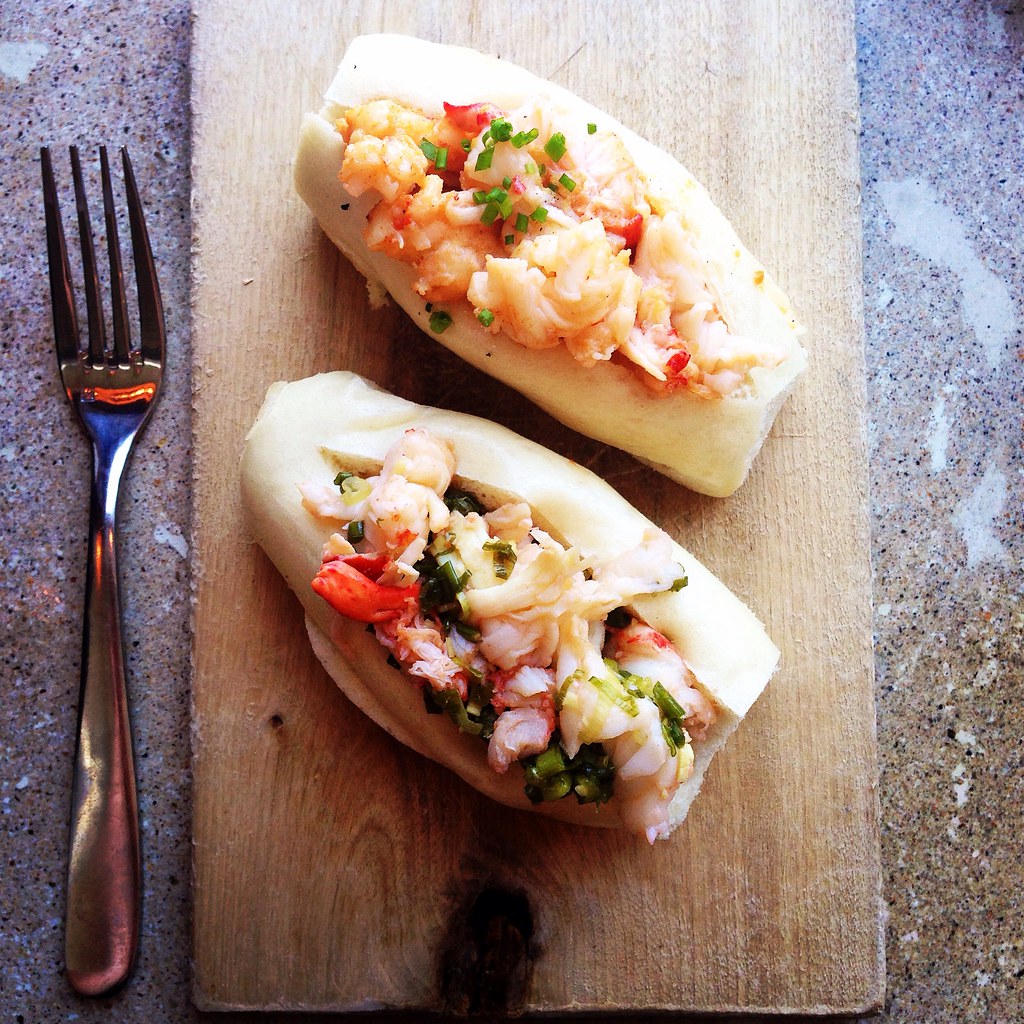
Ginger Scallion Lobster Buns

https://www.flickr.com/photos/joyosity/15138821161/

This past Labor Day I went on a road trip to Portland, ME with two of my favorite people in the world.  I insisted that we go to Eventide Oyster Co. since I was still dreaming about their lobster rolls from my trip 2 years ago.  This time the Hollandaise lobster roll had been replaced on their menu by a ginger scallion version, which I just had to try, along with my favorite from last time, the brown butter lobster roll.

https://www.flickr.com/photos/joyosity/14955116369/

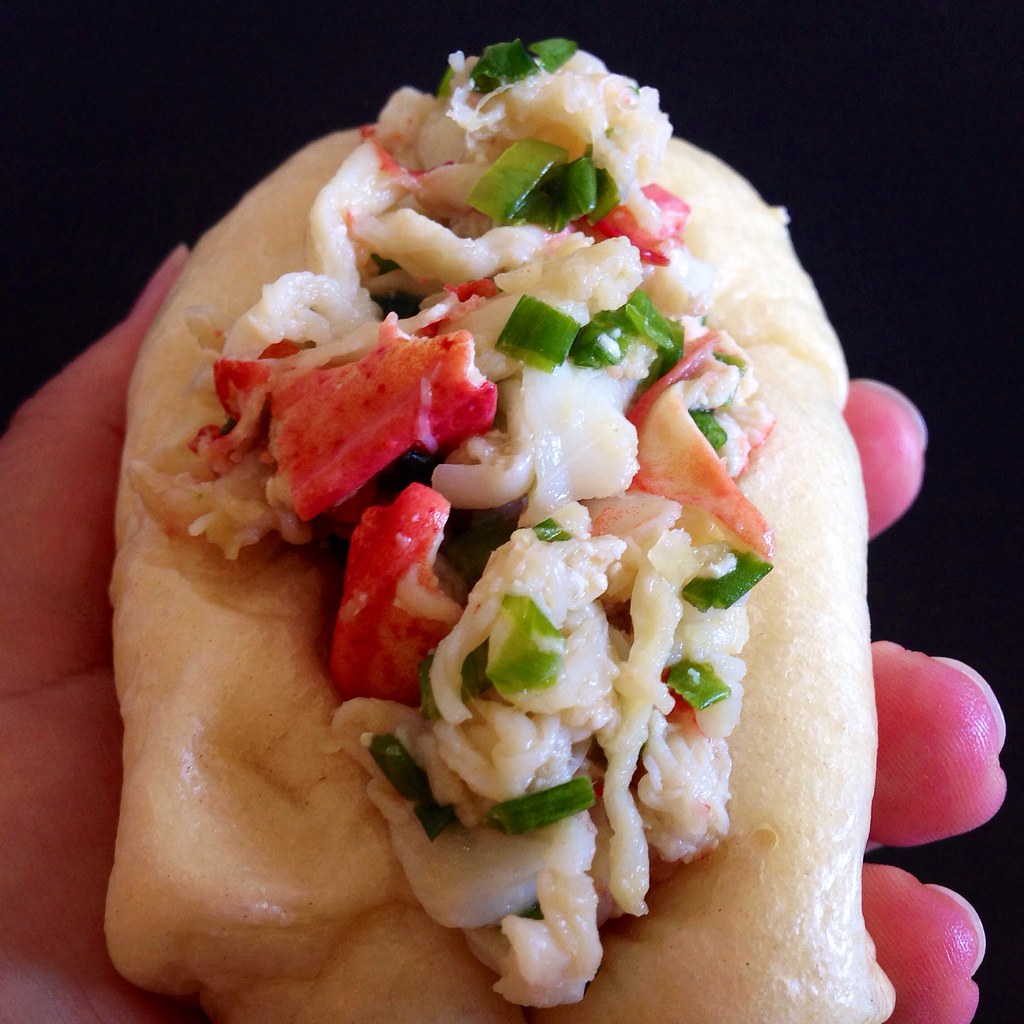
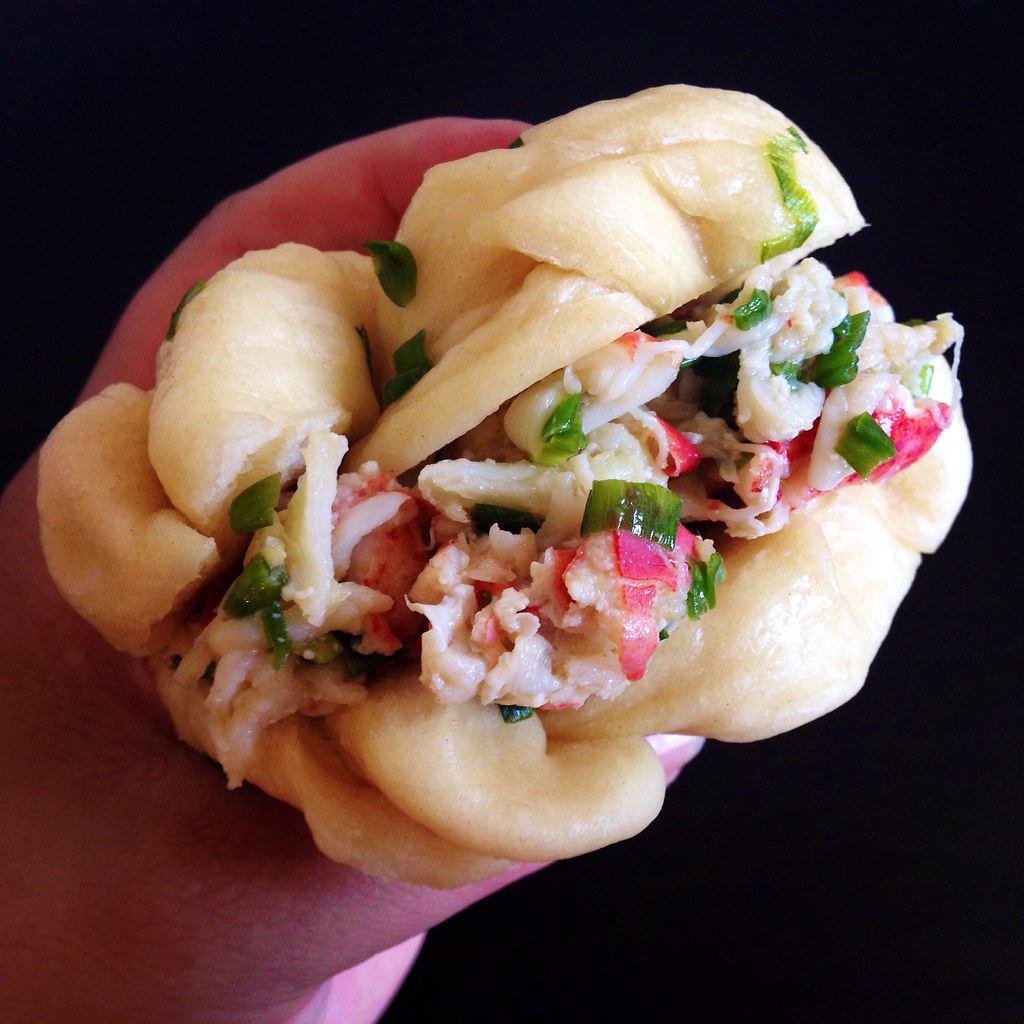
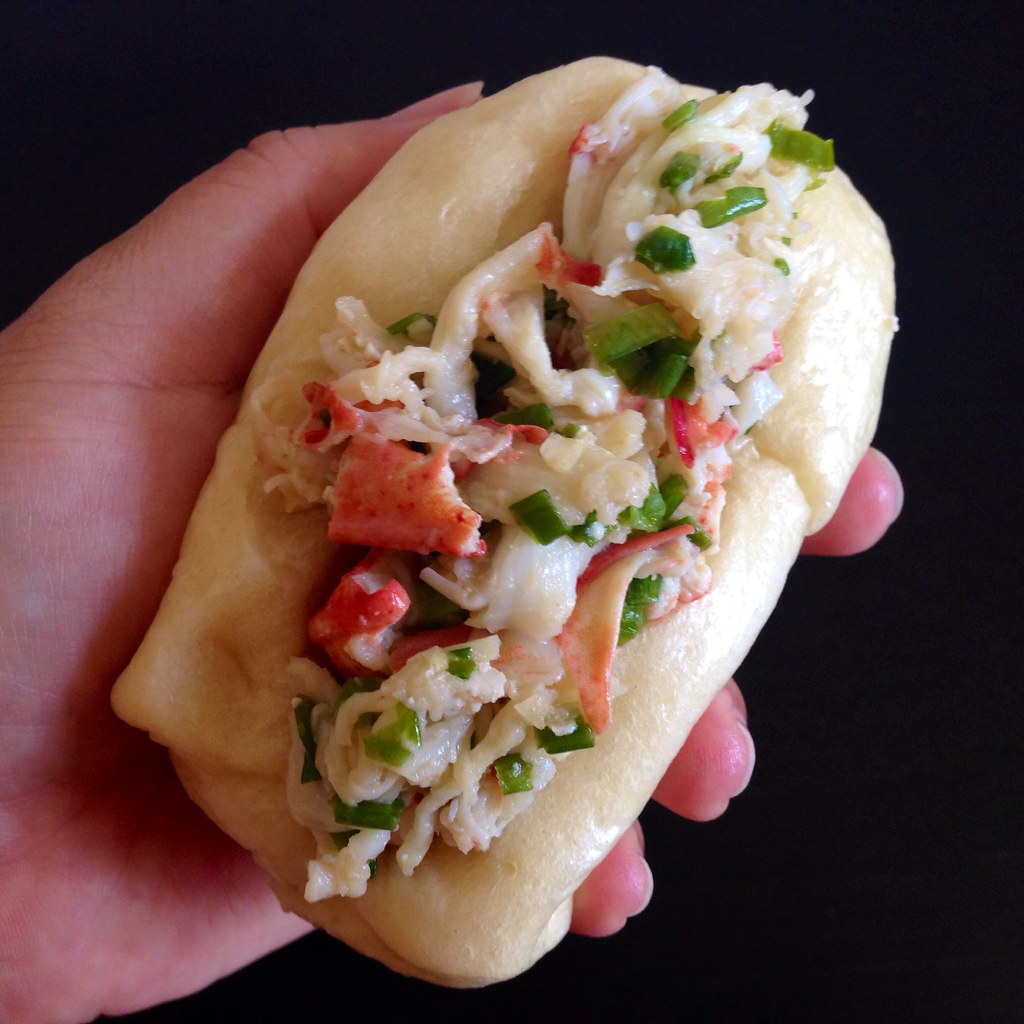
I took a bite of the ginger scallion lobster roll first and decided right then and there that it was my favorite lobster roll ever, until I took a bite of the brown butter one.  Both were just so good in their own special way!  I knew I had to try to recreate the ginger scallion lobster roll at home, and this time, I was going to make my own steamed buns.  I used my mom's recipe for making hua juan except I omitted the sesame scallion glaze and just shaped the rolls by rolling the dough into a long snake and cutting them into about 5" logs.  I also made some hua juan to use for buns since I figured it was in the same flavor profile.

After trying both, I really preferred the sandwiches made with the hua juan.  They're just so pretty, and the added flavor and texture really complements the ginger scallion lobster well.  You can also just use store bought steamed buns, but I guarantee that the fresh made ones will be better than anything you can get from a store.

https://www.flickr.com/photos/joyosity/14955254728/

Ginger Scallion Lobster Buns
serves 4-6

3 1.5 lb lobsters, steamed
3/4 cup chopped scallions
1 tablespoon grated ginger
1 tablespoon minced garlic
1 tablespoon sesame oil
1 teaspoon soy sauce
1/2 teaspoon rice wine vinegar
1/2 teaspoon salt
12 hua juan or steamed buns

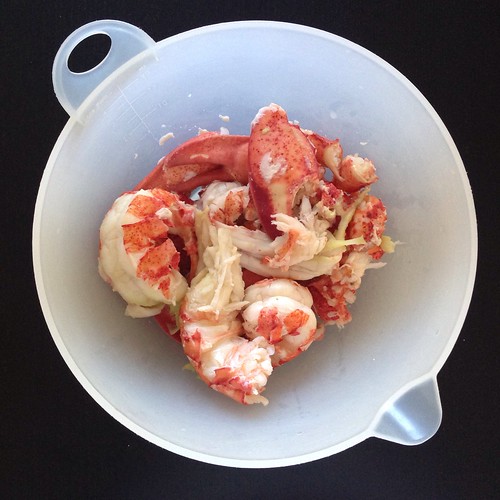
Remove the meat from from the claws, knuckles, and tail of the lobsters.  Chop or tear into small pieces and mix with the scallions, ginger, garlic, sesame oil, soy sauce, rice wine vinegar, and salt.

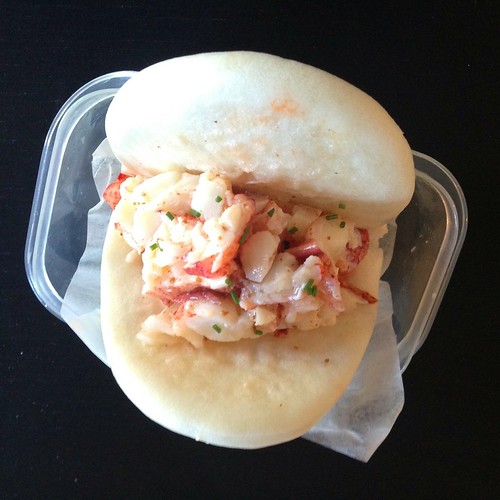
Slice the hua juan or steamed buns in half, leaving one side attached.  Fill the buns with the ginger scallion lobster salad and enjoy!

https://www.flickr.com/photos/joyosity/14955253608/

Next:  Hokkaido Milk Bread Three Ways (Traditional, Braided, and Taro Swirl)
Previously:  Taiwanese Taro Swirl Mooncakes
Last Year:  Lobster Bisque

Wednesday, June 18, 2014

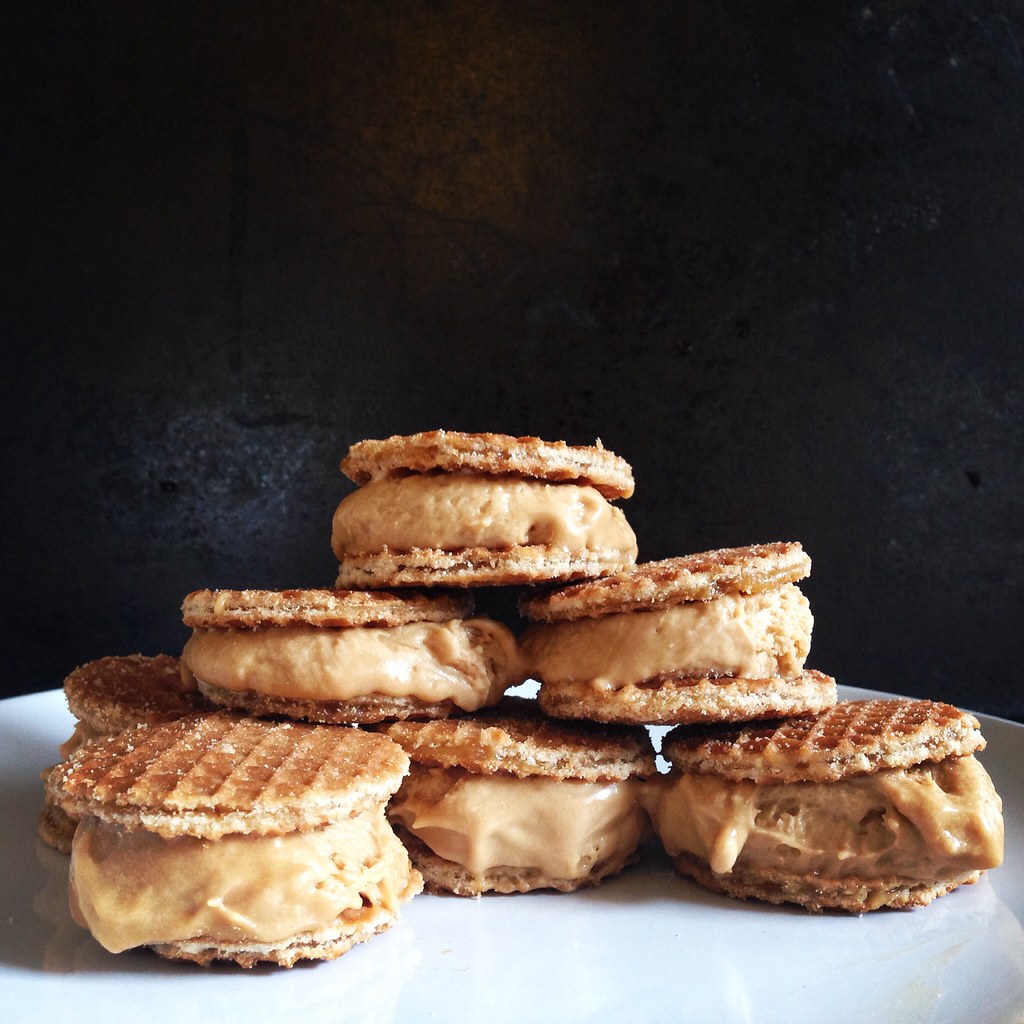
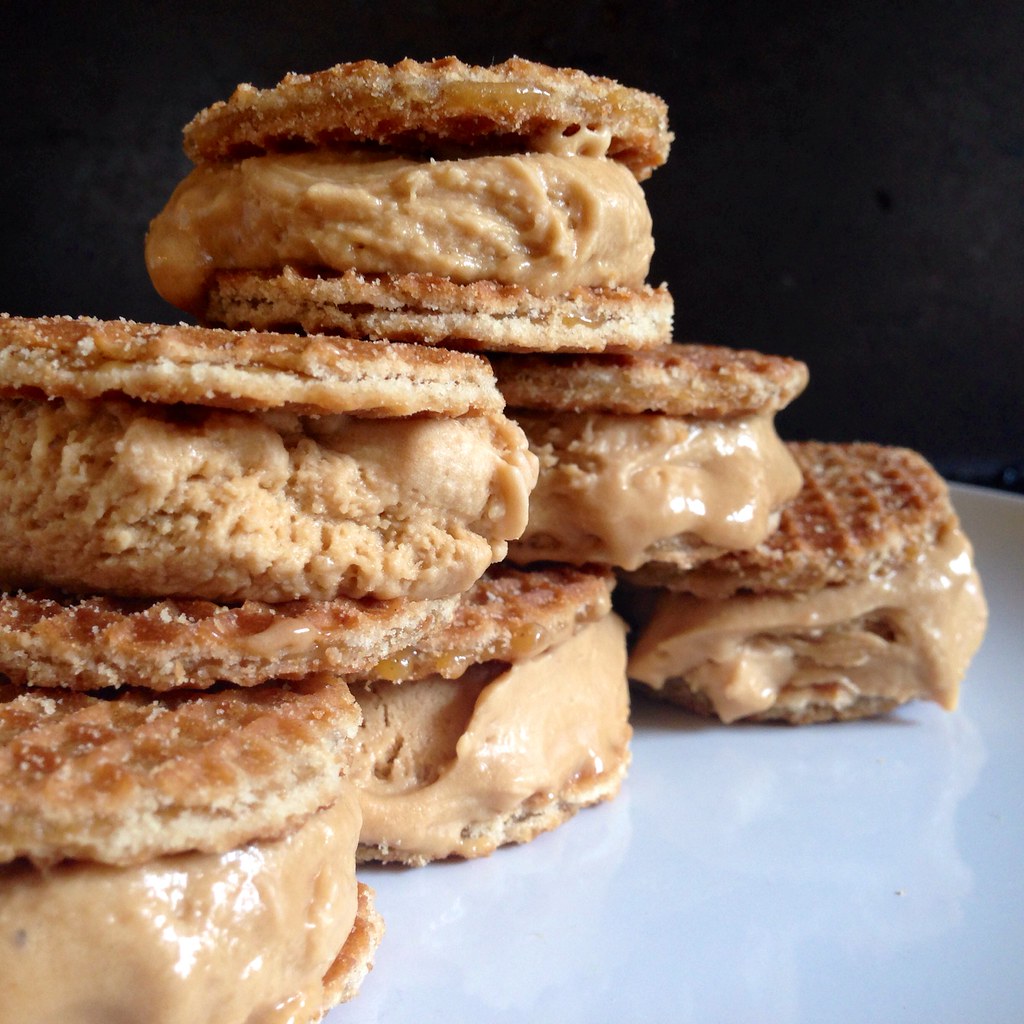
Speculoos (Cookie Butter) Ice Cream and Mini Stroopwafel Ice Cream Sandwiches
https://www.flickr.com/photos/joyosity/14245385560/

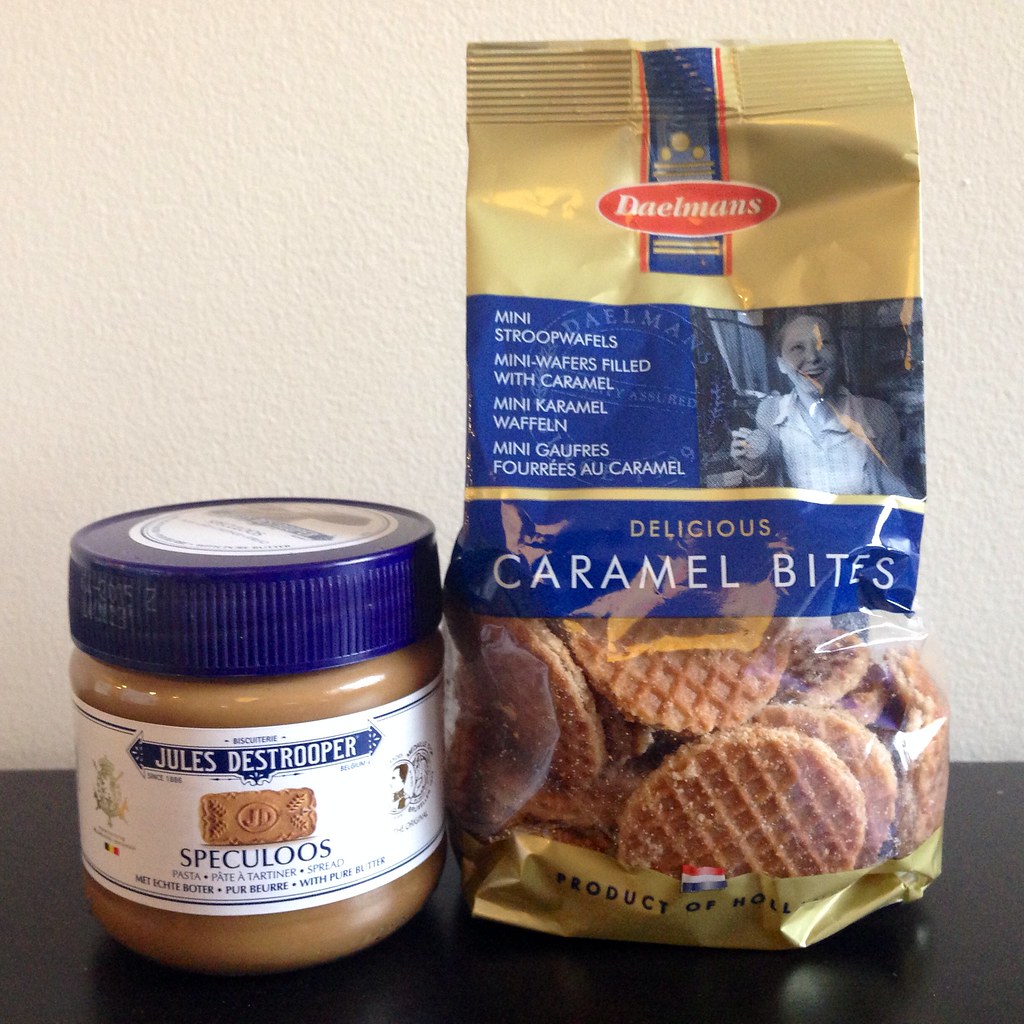
The Dutch have definitely got the monopoly on fun food names.  Stroopwafels?  Speculoos?  The only thing better than saying these things is eating them.  You might know speculoos better as the cookie that goes into Trader Joe's Cookie Butter or the Biscoff cookies you get on Delta flights.  They're kind of like gingerbread cookies but less spicy and more caramelized.

I was introduced to stroopwafels back when I worked at a company that had their European headquarters in the Netherlands.  It was pretty much required for all colleagues visiting our office in the U.S. to bring stroopwafels as a gift since we loved them so much.  They're basically two thin, crispy waffles sandwiching a layer of delicious caramel.  You're supposed to put them on top of a mug of hot coffee or tea so that the steam melts the caramel before you eat it.

https://www.flickr.com/photos/joyosity/14421770572/

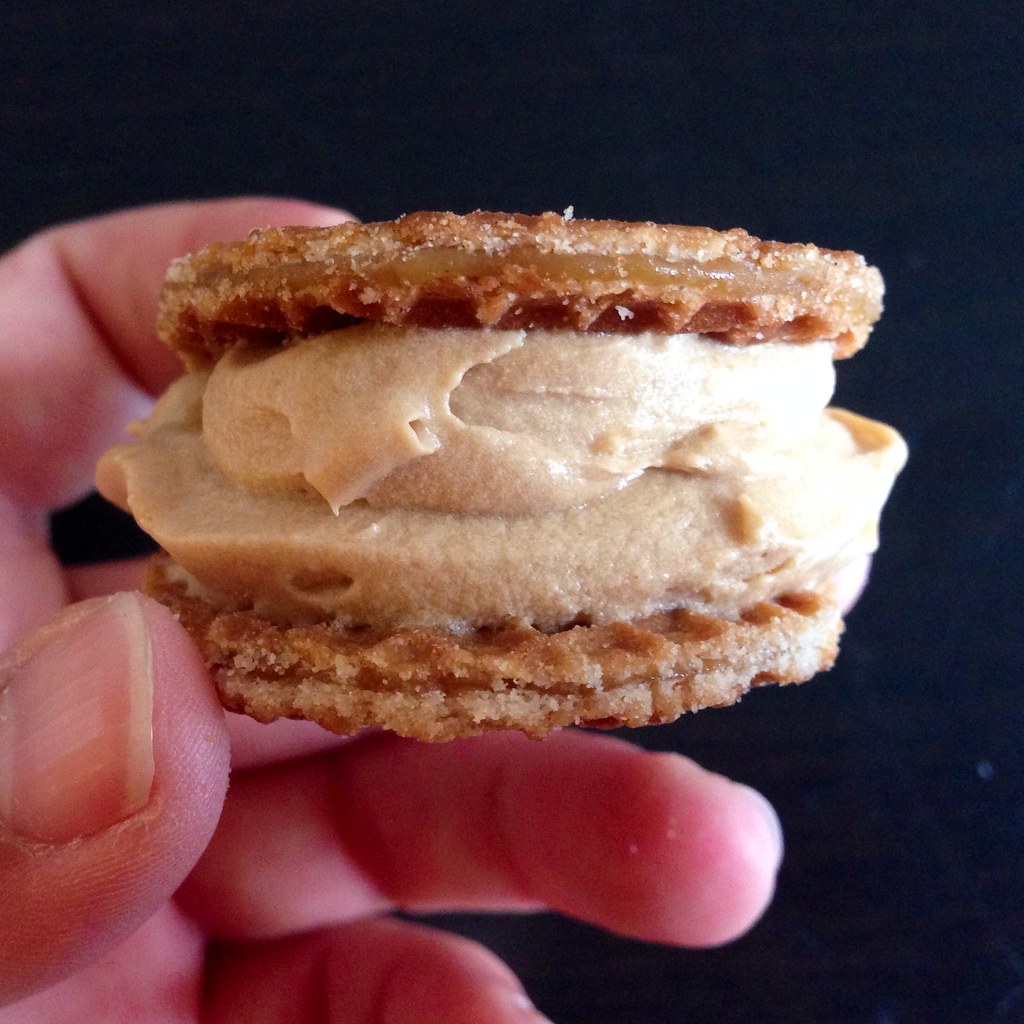
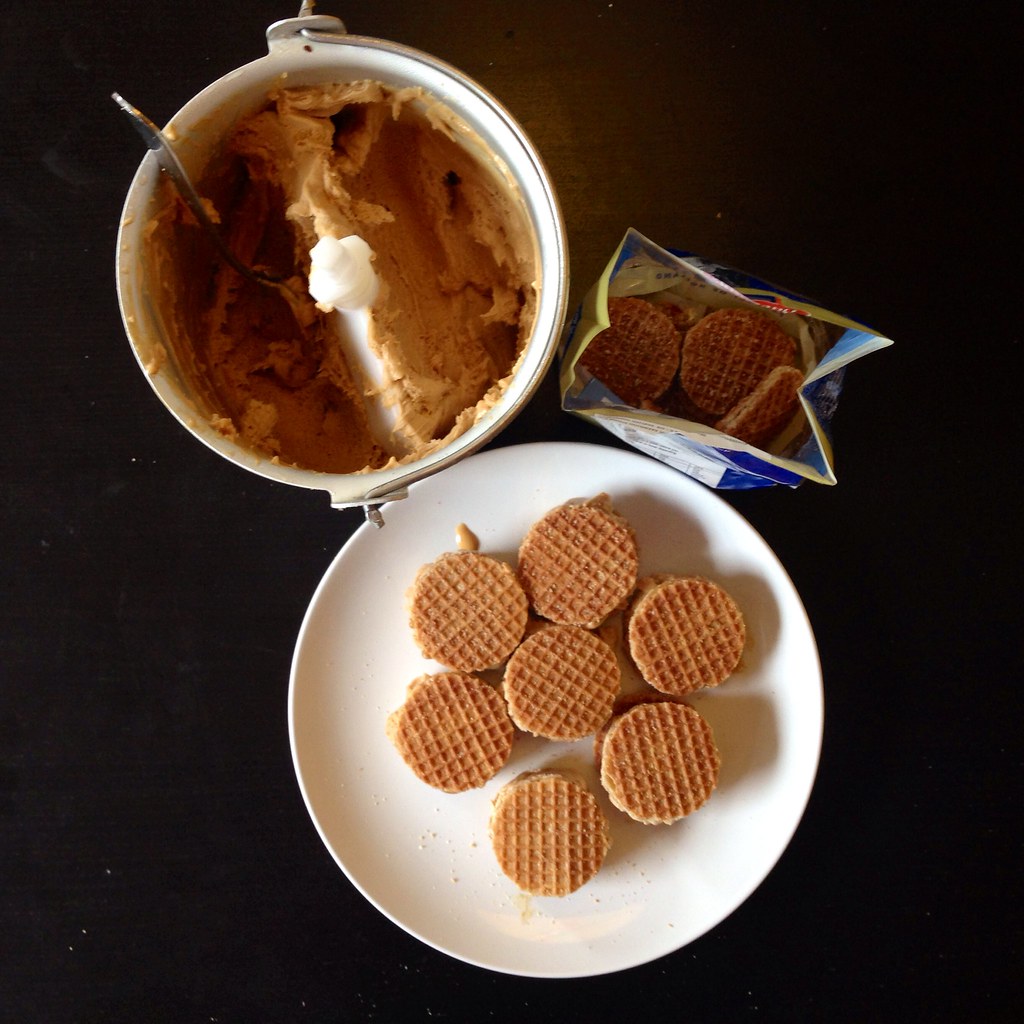
When my cousin brought me a jar of real speculoos spread as a souvenir from her trip to Europe, I decided to try and make an ice cream out of it.  Then I thought about making it into an ice cream sandwich with a pair of stroopwafels.  And because I have this obsession with making mini versions of everything, I decided to use the mini stroopwafels from Trader Joe's.

https://www.flickr.com/photos/joyosity/14421772082/

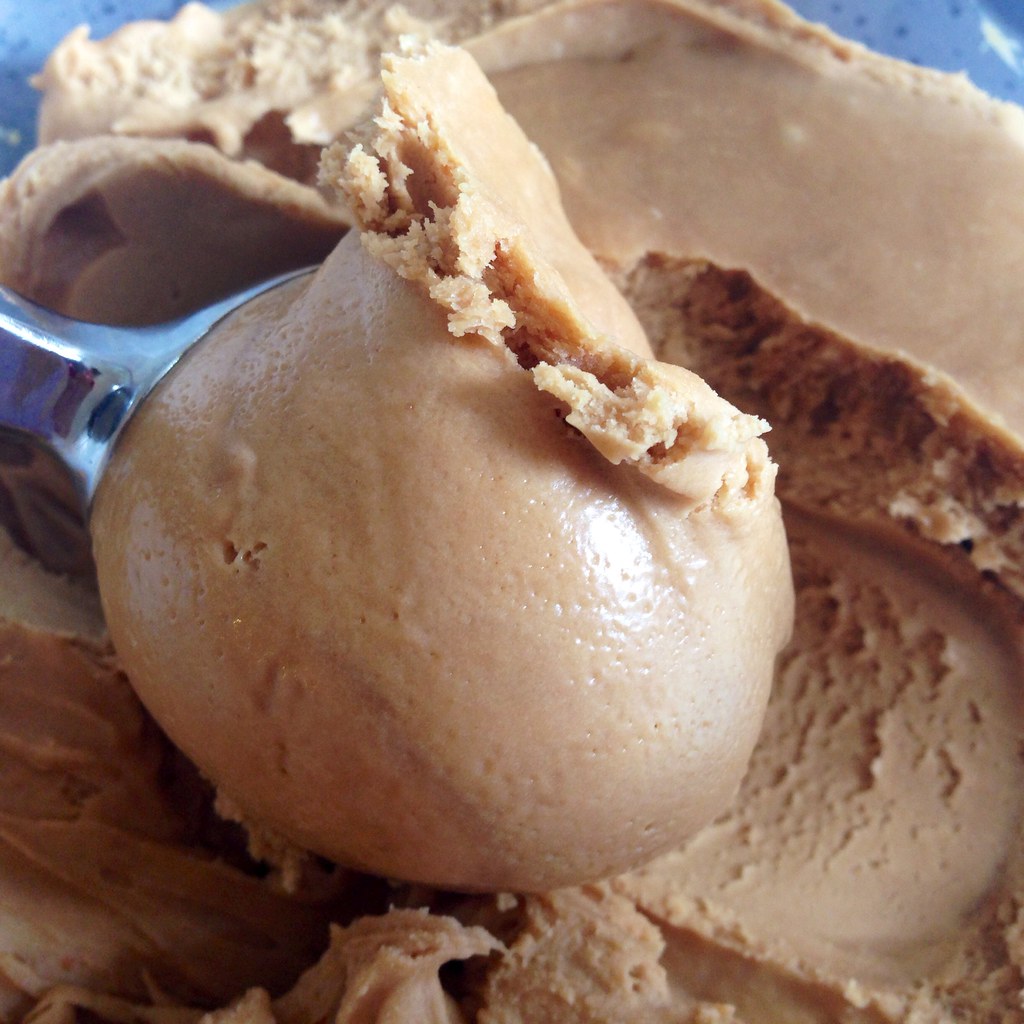
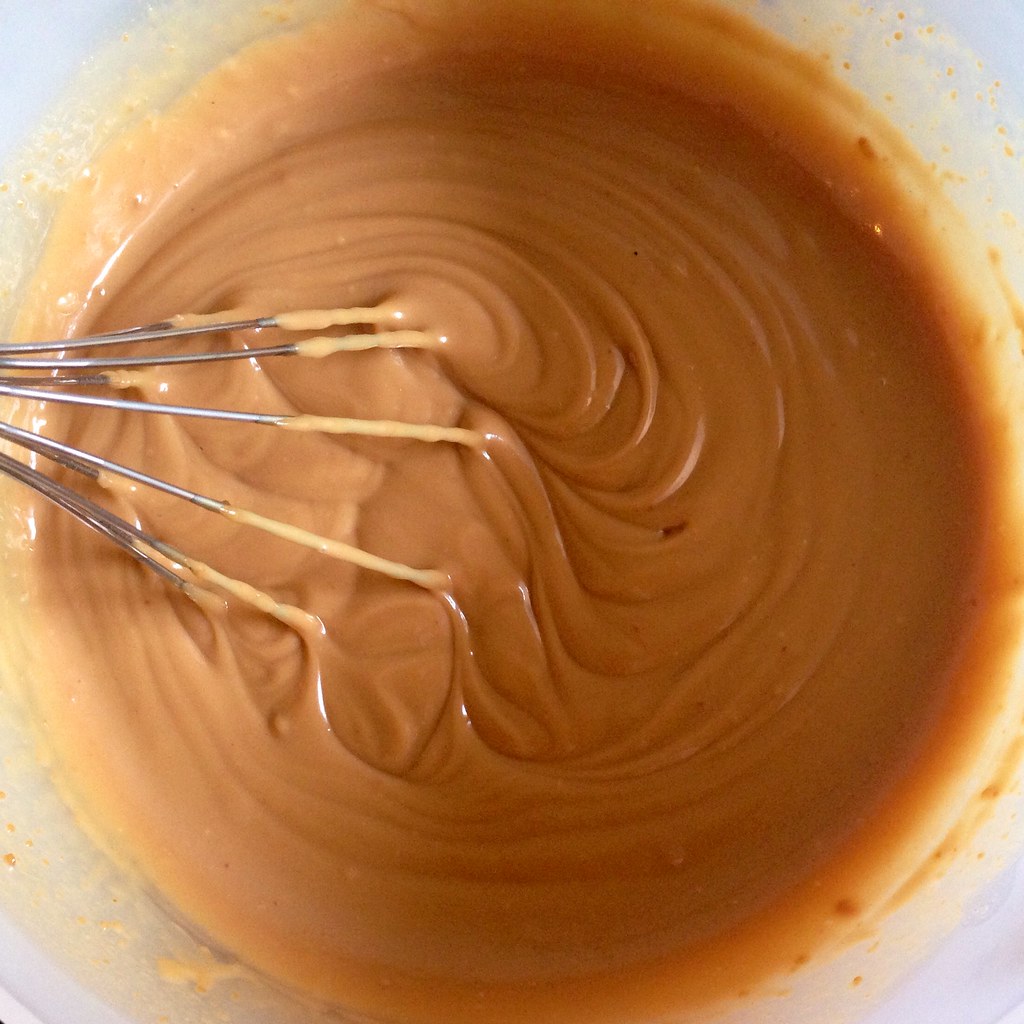
For the speculoos ice cream, I decided to try following the two ingredient recipe I used in the past for Nutella ice cream, substituting the speculoos spread for the Nutella.  The resulting ice cream is amazingly velvety and unctuous, pretty much like cookie butter itself.

https://www.flickr.com/photos/joyosity/14423057035/

Speculoos (Cookie Butter) Ice Cream
makes about 3/4 quart

1 1/4 cup speculoos spread (cookie butter)
One 12 oz. can (1 1/2 cups) evaporated milk

https://www.flickr.com/photos/joyosity/14443238963/

Whisk together the speculoos spread and the evaporated milk until fully combined.  There will be small lumps of cookie bits, and that's okay.  Chill completely in the refrigerator.

https://www.flickr.com/photos/joyosity/14236459990/

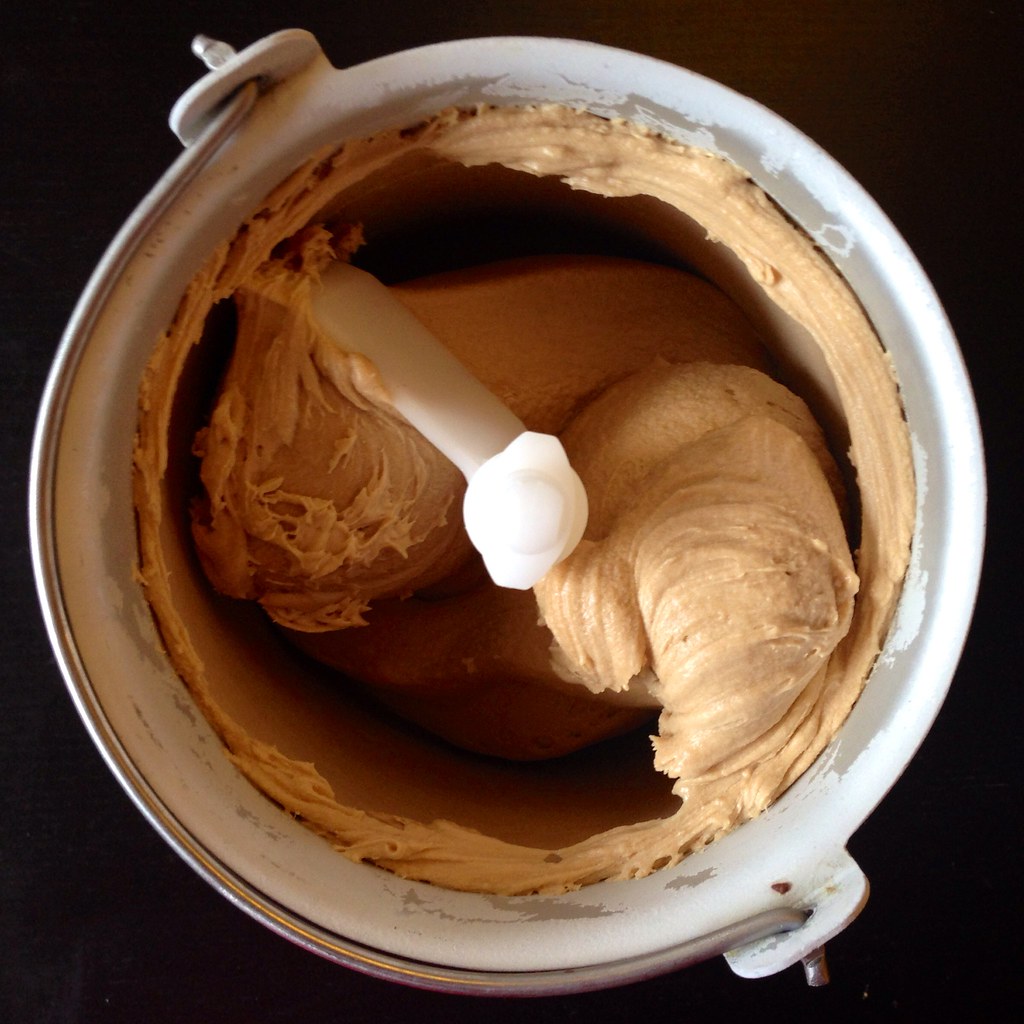
Churn in the ice cream maker according to the manufacturer's directions.  Transfer to an air-tight container and freeze in the freezer until hard.

https://www.flickr.com/photos/joyosity/14236413979/

For the ice cream sandwiches, I experimented with freezing the stroopwafels vs. warming the stroopwafels in the microwave first.  Surprisingly, the warmed stroopwafels worked better for the ice cream sandwiches because the cookies were soft enough to bite through without smooshing the ice cream out the other side.  Of course, the warmed stroopwafels cause the ice cream to melt more quickly, but because these are mini ice cream sandwiches, it's pretty easy to finish them in just a couple of bites.

https://www.flickr.com/photos/joyosity/14245385560/

Next:  Tofu and Shiitake Potstickers
Previously:  Orange and Fennel Salt-Baked Salmon
Last Year:  Mango Coconut Rice Pudding Pops and Ice Cream

Friday, January 24, 2014

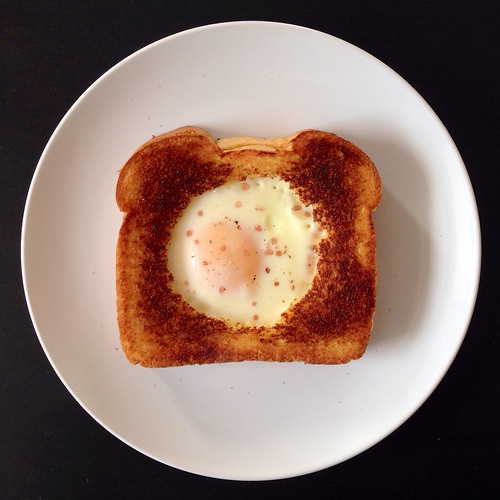
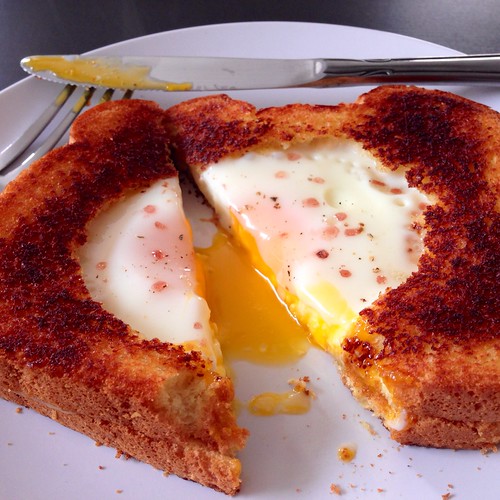
Grilled Cheese Egg in a Hole


You'd think grilled cheese would be an incredibly easy thing to make, but I still remember the first time I ever tried to make one (I think I was 12 or 13) I thought I could just put a piece of American cheese between two slices of bread and toast that in the toaster oven (at least it wasn't a toaster!).  Imagine my surprise when I bit into that combination and tasted dry, flavorless disappointment instead of crispy, cheesy glory.

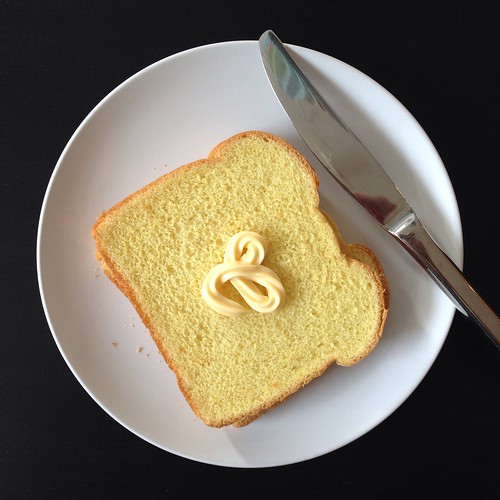
Since then, I've learned to butter the outside of the bread before grilling it on a skillet.  It makes a vast improvement, but trying to spread cold butter on a soft slice of bread can often be another source of frustration. Then I learned a pro-tip from Five Guys:  use mayonnaise instead of butter on the outside of a grilled cheese.  It's way more spreadable and adds just a little oomph of flavor to the sandwich.

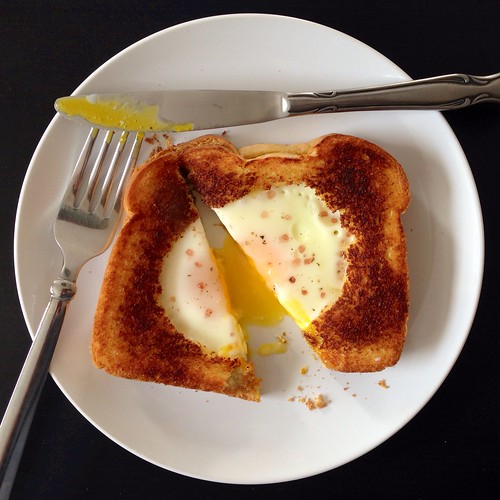
I decided to take it up another notch by making an egg in a hole with the grilled cheese.  The hardest part of the whole endeavor was finding the right sized instrument to make the hole.  I didn't want the diameter of the hole to be too small or else it would take too long for the egg whites to cook through, but I didn't want it too wide either or else the height of the egg in the grilled cheese would be too low and the egg to grilled cheese surface area ratio would be too high.  I settled on using my rice maker's measuring cup, which had a diameter of 2 ¾".  I think a tiny bit smaller would've been perfect, but as you can see, it turned out okay.  =)


Grilled Cheese Egg in a Hole
makes 1 sandwich

2 slices soft bread, like white or potato
1-2 teaspoons mayonnaise
1-2 slices of sharp white cheddar or your favorite melty cheese
1 large egg
Fresh ground pepper and sea salt

Start heating a non-stick pan on medium-low.


Spread a thin layer of mayonnaise on one slice of bread and place mayonnaise-side down in the pan.

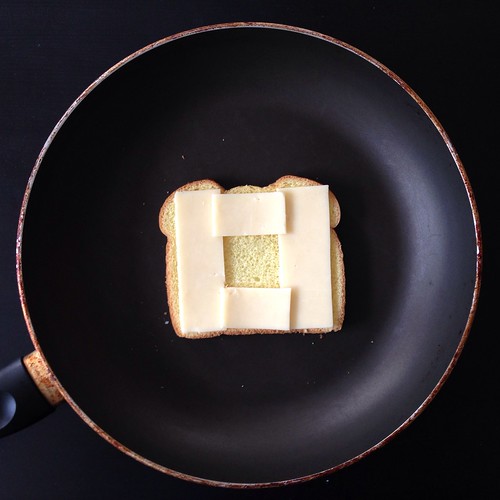
Cut the cheese into thirds.  Place one-third on each side of the bread in the pan.  Cut the remaining third in half and fill in the top and bottom of the gap between the other slices of cheese, leaving a cheese-less square in the middle.


Spread a thin layer of mayonnaise on the other slice of bread and place on top of the cheese, mayonnaise-side up.  Cook for a few minutes until the bottom is golden brown.


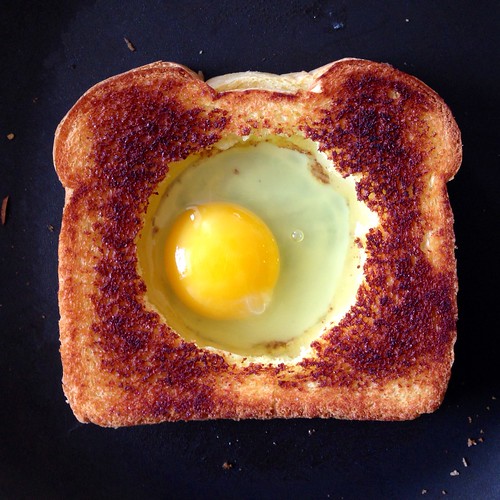
Flip the sandwich over.  Using a cookie cutter or drinking glass, cut out a hole in the middle of the sandwich about 2 ½" to 2 ¾" wide.  Remove the circle of bread (you can continue grilling this on the side of the pan) and crack the egg into the hole.  Cover and cook until the egg is set to your liking.


Slide the sandwich onto a plate.  Season the egg with fresh ground pepper and sea salt (I used a red Alaea salt, which is why the egg looks like it has measles).  Serve with tomato soup if you like.


Next:  Homemade Tagliatelle with Shaved Truffles
Previously:  Sarah Ruth's Saucepan Brownies
Last Year:  Rainbow Cookie Sandwiches
Four Years Ago:  Pear Bread
Five Years Ago:  Luo Buo Gao (Chinese Turnip Cake)

Monday, September 9, 2013

Ramen Lobster Rolls

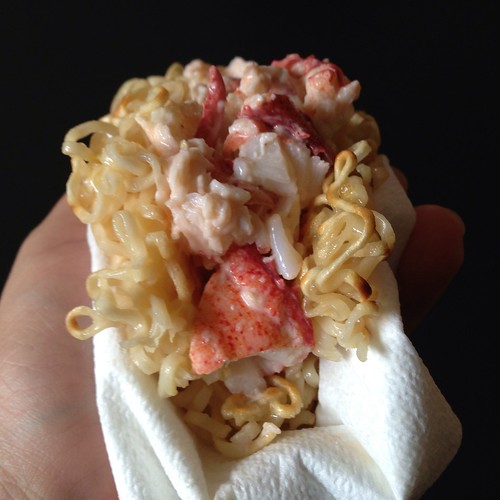
So you've probably heard about the ramen burger, the latest food craze to hit NYC.  Well now you've heard of the ramen lobster roll.  As my friend Mitchell said, "You're getting kind of ridiculous, Joy."  (I'm pretty sure he meant that as a compliment.)

I followed the instructions I found on-line for how to make the ramen bun:  cook the noodles, mix with a beaten egg, mold into shape, chill in the fridge, and then pan fry.  Since I wanted the bun for a lobster roll, I molded the noodles into a square shape and then folded it in half after frying it.

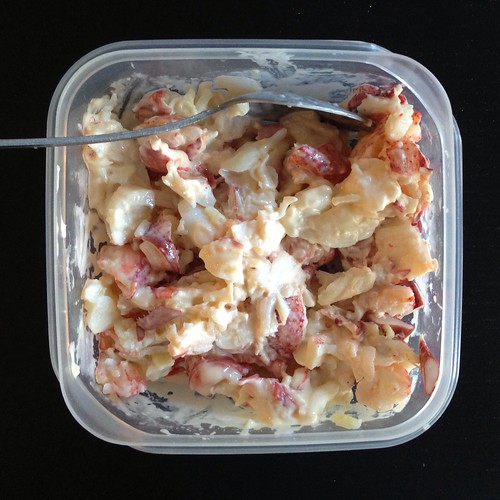
For the lobster salad, I mixed the chopped lobster meat with some Kewpie (Japanese-style) mayonnaise and sprinkled in a little bit of the ramen seasoning and sesame oil to taste.  If I had had scallions, I would have chopped some up and added them too, just continue on with the Asian theme.


Ramen Lobster Rolls
makes 2 rolls

1 package instant ramen
1 egg, beaten
Oil for frying
Meat from one 1 1/2 lb. lobster, chopped and chilled
Kewpie or regular mayonnaise
1/4 teaspoon toasted sesame oil (optional)
Scallions, chopped (optional)

Bring a small pot of water to boil and cook the ramen noodles until they are cooked but still firm.  Drain and rinse with cold water.

Mix the noodles with the beaten egg.  Divide the noodles between two 6" square containers.  Top with plastic wrap nest one of the containers in the other.  Nest another square container in the top container and weigh down with something heavy.  Chill in the refrigerator for at least 15 minutes.


In the meantime, make the lobster salad by mixing the chopped lobster meat with just enough mayonnaise to bind the meat together.  Sprinkle in some of the ramen seasoning to taste.  Add the sesame oil and chopped scallions, if using, and mix.  Chill until ready to use.

Heat a couple tablespoons of oil in a non-stick frying pan.  Carefully release the ramen buns into the pan and cook for a few minutes on each side until nicely browned.  Remove from the pan and immediately fold in half.


Once the ramen buns are cool enough to handle, fill each with half the lobster salad and enjoy!


I really, really, really, really, really liked this lobster roll.  I loved how the cool, creamy lobster salad contrasts with the warm, crunchy ramen buns.  The texture of the ramen buns was really interesting, but the taste was a little bland.  Next time I might add some of the ramen seasoning to the beaten egg to add a little more flavor to the bun.  Or fry it in bacon fat.  Yissss.....

Previously:  Brown Butter Vinaigrette Lobster Buns
Next up:  Lobster Bisque

Friday, September 6, 2013

Brown Butter Vinaigrette Lobster Buns

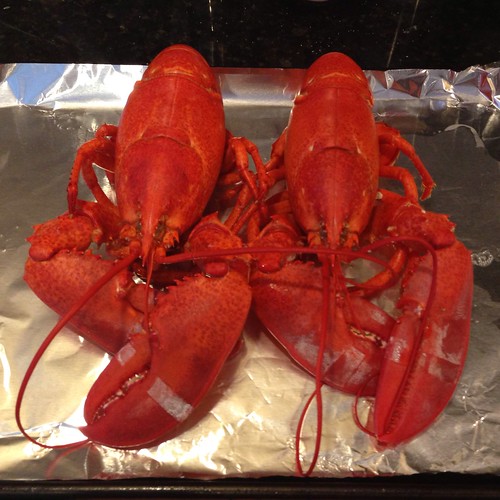
This past week the Stop & Shop circular advertised lobsters for only $3.99/lb!  I was already planning on having friends over for a dinner party so I decided to pick up 6 lobsters and have a lobster crackin' party outside on my patio.  Sadly, when I got to the seafood section, I found out that the sale had ended on Labor Day, and the lobsters were now $5.99/lb.  Boo.....

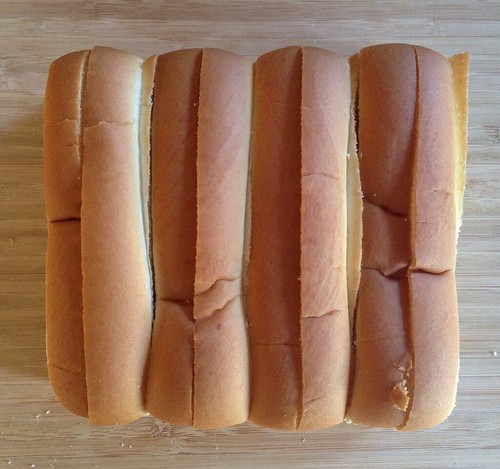
So I ended up just picking up 4 lobsters and decided to make lobster rolls instead.  Traditionally, lobster rolls consist of lobster meat dressed with mayonnaise in a buttered top-split bun.  If you don't live in New England, you've probably never seen a top-split hot dog bun.  When I first moved to Boston, I thought they were kind of weird and reminded me of a slice of Wonder Bread folded in half.  But that was before I realized that they provide a better meat to bread ratio than regular hot dog buns and also toast up nicer.


Last year I went to Portland, Maine for the first time and had the best lobster rolls in my life at the Eventide Oyster Co.  Theirs is rather nontraditional in that they swap out the mayonnaise for a brown butter vinaigrette, and they serve it in a homemade steamed bun.  It was soooooooo good, I had to try to recreate it!

First of all, the lobster meat.  This was my first time cooking lobsters by myself, and it was not my finest moment.  Lobsters already creep me out a bit because 1) they look like bugs and 2) they're still alive and moving around when you cook them.  I know you can kill them by putting a knife through their head before cooking them, but I wasn't about to do that because see 1) and 2) above.  And even after you kill them that way they still move around!  Nope!


Instead I put them in the freezer for about 20 minutes before cooking them so that they were nice and relaxed.  Even then I couldn't handle touching them so I used tongs to transfer them to the pot or just slid them in from the bag.  I chose to steam them rather than boil them because it takes a lot less time to bring an inch of water to boil vs. a whole pot.

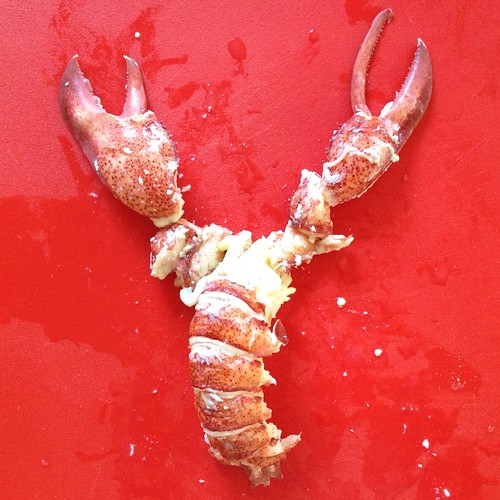
I followed this video to crack the lobster and extract the meat, making sure to crack the lobsters over the pot with the steaming water in order to catch all the juices.  (I saved this liquid to make lobster bisque the next day.)  You'll find the majority of the meat in the claws, knuckles, and tail.  There's pockets of meat in the body, and you can squeeze out little tubes of meat from the legs, but that was a lot more work than I was interested in doing, so I just left the bodies for my friends to pick at if they wanted to (they wanted to).


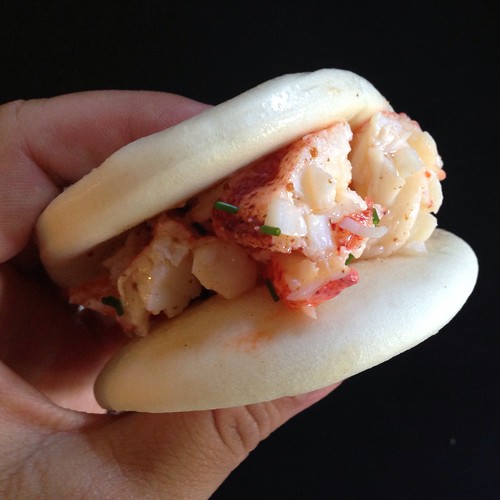
Now let's talk about the buns.  I'd recommend making them from the dough in my hua juan recipe, but if you're lucky enough to live near an Asian grocery story that sells steamed buns you can use those too.  I was kind of lazy and just bought some from Super 88.  I think they worked out okay, but using homemade bao buns would've been infinitely better.

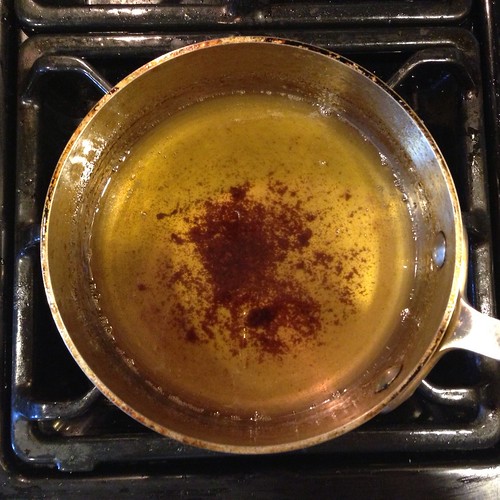
For the brown butter vinaigrette I just browned a stick of butter and added the juice from one lemon and salt to taste.  Quickly sauté with the lobster meat just to heat through, top with some chopped chives, and it's ready for the steamed buns.


Brown Butter Vinaigrette Lobster Buns (inspired by Eventide Oyster Co.)
makes 6 small buns

3 one-pound lobsters
1/2 cup unsalted butter
Juice from one lemon (about 1/4 cup)
Salt to taste
Chives, chopped
6 steamed buns

Fill a large pot with 1" of water and throw in enough salt to make it as salty as the sea.  Bring to a boil.  Add the lobsters (one at a time if your pot isn't big enough), cover, and steam for 10 minutes.  Remove the lobsters to a rimmed baking sheet and allow to cool.


Once they are cool enough to touch, twist off the claws and tail and remove the meat.  Coarsely chop and set aside.


Heat a medium pot on medium heat and melt the butter.  Swirl the pot around occasionally and continue to heat until the milk solids at the bottom turn brown and the butter smells starts to smell nutty.  Immediately remove from heat and continue to swirl the pot around so that the milk solids don't burn.  Add the lemon juice and salt to taste.  Toss in the chopped lobster meat and return the pot to heat just until the lobster meat is heated through.


If needed, reheat the steamed buns in the microwave.  Fill the buns with the lobster salad and top with the chopped chives.  Serve warm.

Previously:  Jim Lahey's No-Knead Bread
Next up:  Ramen Lobster Rolls

Thursday, July 11, 2013

BLT with Avocado and Basil Mayonnaise


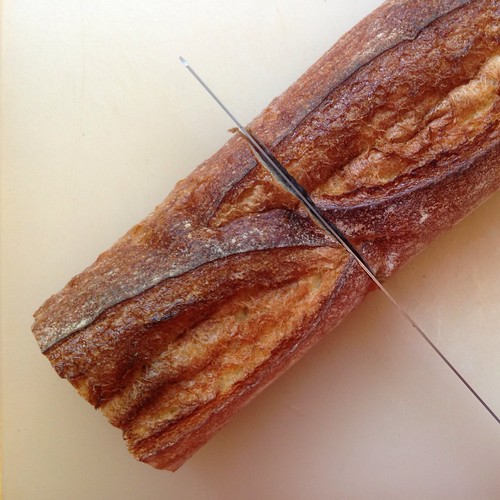
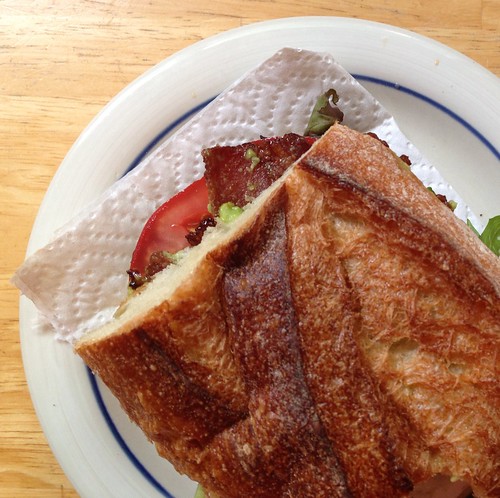
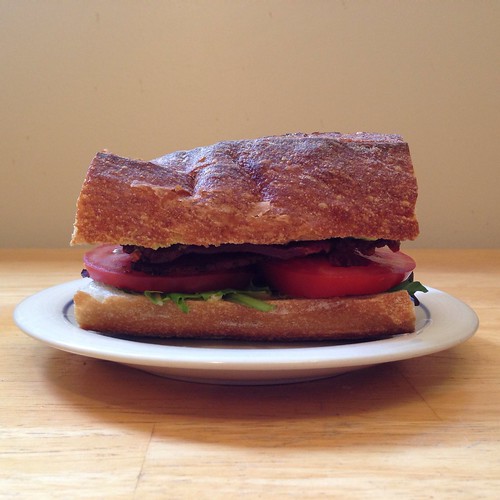
Half a foot down, three and a half feet of bread to go!  The next thing I made with the baguette was a BLT with avocado and basil mayonnaise, inspired by this recipe from The Kitchn.  Coincidentally, that same day there was a post on The Kitchn about how to cook perfect bacon on the stovetop by adding enough water to cover the bottom of the pan.

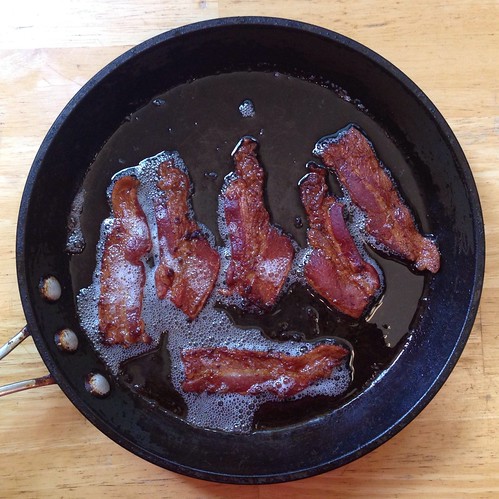
I tried the method, and it worked really well!  The water keeps the temperature of the bacon at a relatively low 212°F until it boils away so that the fat can render out without splattering.  Then once the water has evaporated the temperature in the pan climbs so that the bacon can brown and crisp up.  You can (and should!) save the bacon fat after the bacon is done to use in other recipes (stay tuned for French toast cooked in bacon fat).

The original recipe for the "California" BLT called for using plain slices of avocado in the sandwich, but I decided to mash half an avocado along with some salt and lemon juice to make a really simple guacamole and used that as a spread on the bread instead.  Heehee, that rhymed.


BLT with Avocado and Basil Mayonnaise (adapted from The Kitchn)
makes 2 sandwiches

For the Basil Mayonnaise:
2 tablespoons packed basil leaves
1 tablespoon olive oil
1/4 teaspoon lemon juice
1 small garlic clove, chopped
Zest of half a lemon
1/4 cup mayonnaise


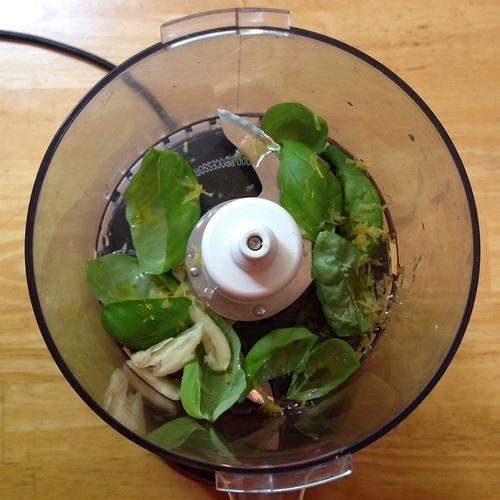
In a small food processor, combine the basil, olive oil, lemon juice, garlic and lemon zest. Process until finely chopped and relatively smooth, scraping down the sides of the bowl occasionally. (Large, tough basil leaves will probably stay fairly chunky, which is fine.)


Place the mayonnaise in a small bowl and whisk in the basil mixture until thoroughly combined.

For the BLT:
1/2 avocado
1 teaspoon lemon juice
A pinch of salt
6 slices bacon
12 inch baguette, cut in half and split horizontally
1 tomato, the best you can find
2 handfuls chopped lettuce
1/4 cup Basil Mayonnaise


Scoop out the avocado into a small bowl.  Add the lemon juice and salt and mash together.  Set aside.


In a large, unheated skillet, add the bacon and enough water to completely cover the bottom of the pan.  Turn the heat to medium and allow the water to come to a boil.  Once the water has evaporated, continue to cook the bacon until the bottom has browned.  Flip the bacon using tongs and cook until crisp.  Drain on a plate lined with paper towels. 


Slice the tomatoes.


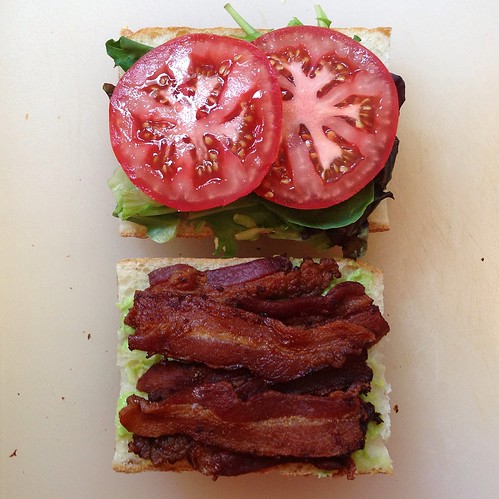
Spread the basil mayonnaise on the bottom half of bread.  Top with the lettuce, tomato, and bacon. 


Spread the mashed avocado on the other half of bread and place on top.  Enjoy!


I really liked how the chewy texture of the baguette went well with the crispiness of the bacon and lettuce and the creaminess of the avocado.  You can make this with plain white sandwich bread, too, but then I'd suggest toasting the bread so that it can stand up to all the fillings.