Showing posts with label noodle soup. Show all posts

Monday, March 14, 2022

Taiwanese Beef Noodle Soup (Updated)

Quite a few things have changed since I posted my first rendition of beef noodle soup on this blog 14 years ago (it was my 3rd blog post ever!):  I've gotten better at cooking; I went through a vegan, then vegetarian, then pescatarian stint; and I started posting on Instagram

I'd say I'm more of a social carnivore now in that I do eat meat when I'm out with friends but very rarely cook it at home.  In fact, I think I've only made beef noodle soup maybe once or twice since I posted the original recipe.  But after seeing all the delicious BNS posts on the Taiwanese Home Cooking FB group and receiving a chuck eye steak from Vermont Wagyu, I knew it was time to fix that.

Looking back at the original BNS post, I was shocked to see that it called for 1.5 cups of soy sauce!  I chalk it up to one of those mistakes that happens when someone with little cooking experience tries to transcribe a recipe from someone who never measures anything when cooking.  I've since adjusted the quantity to a more reasonable 1/2 cup of low-sodium soy sauce.

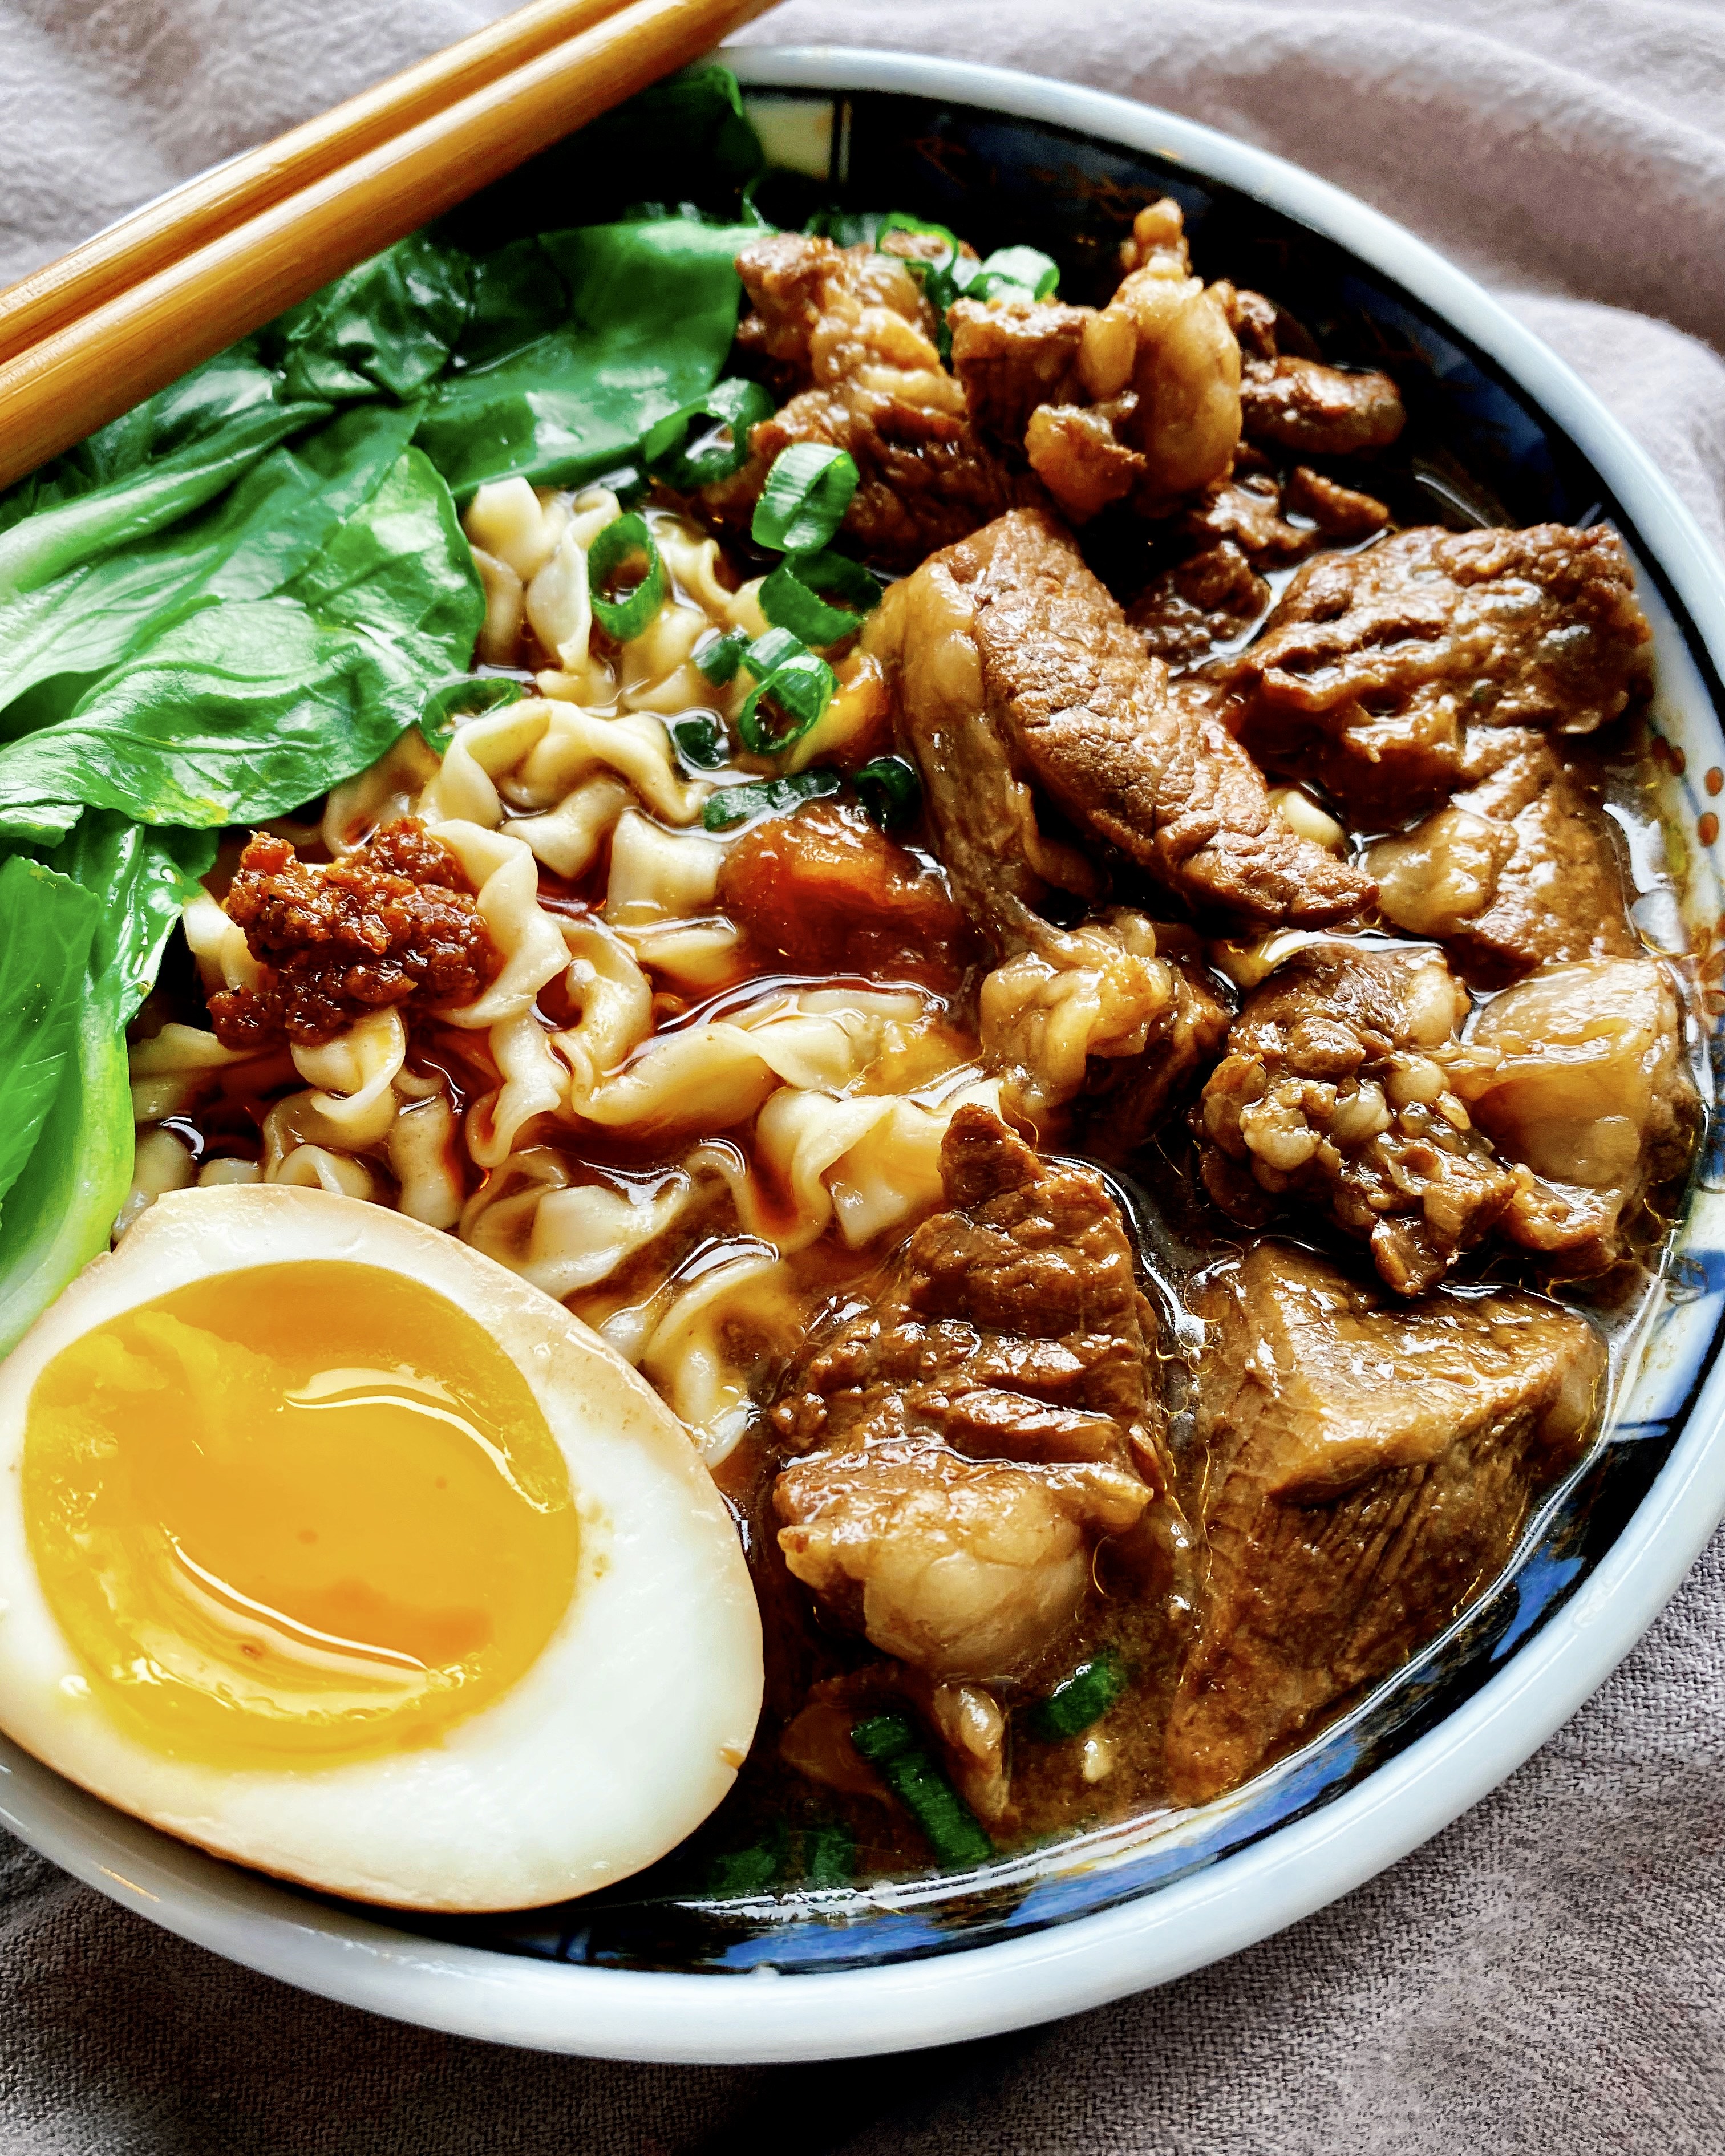
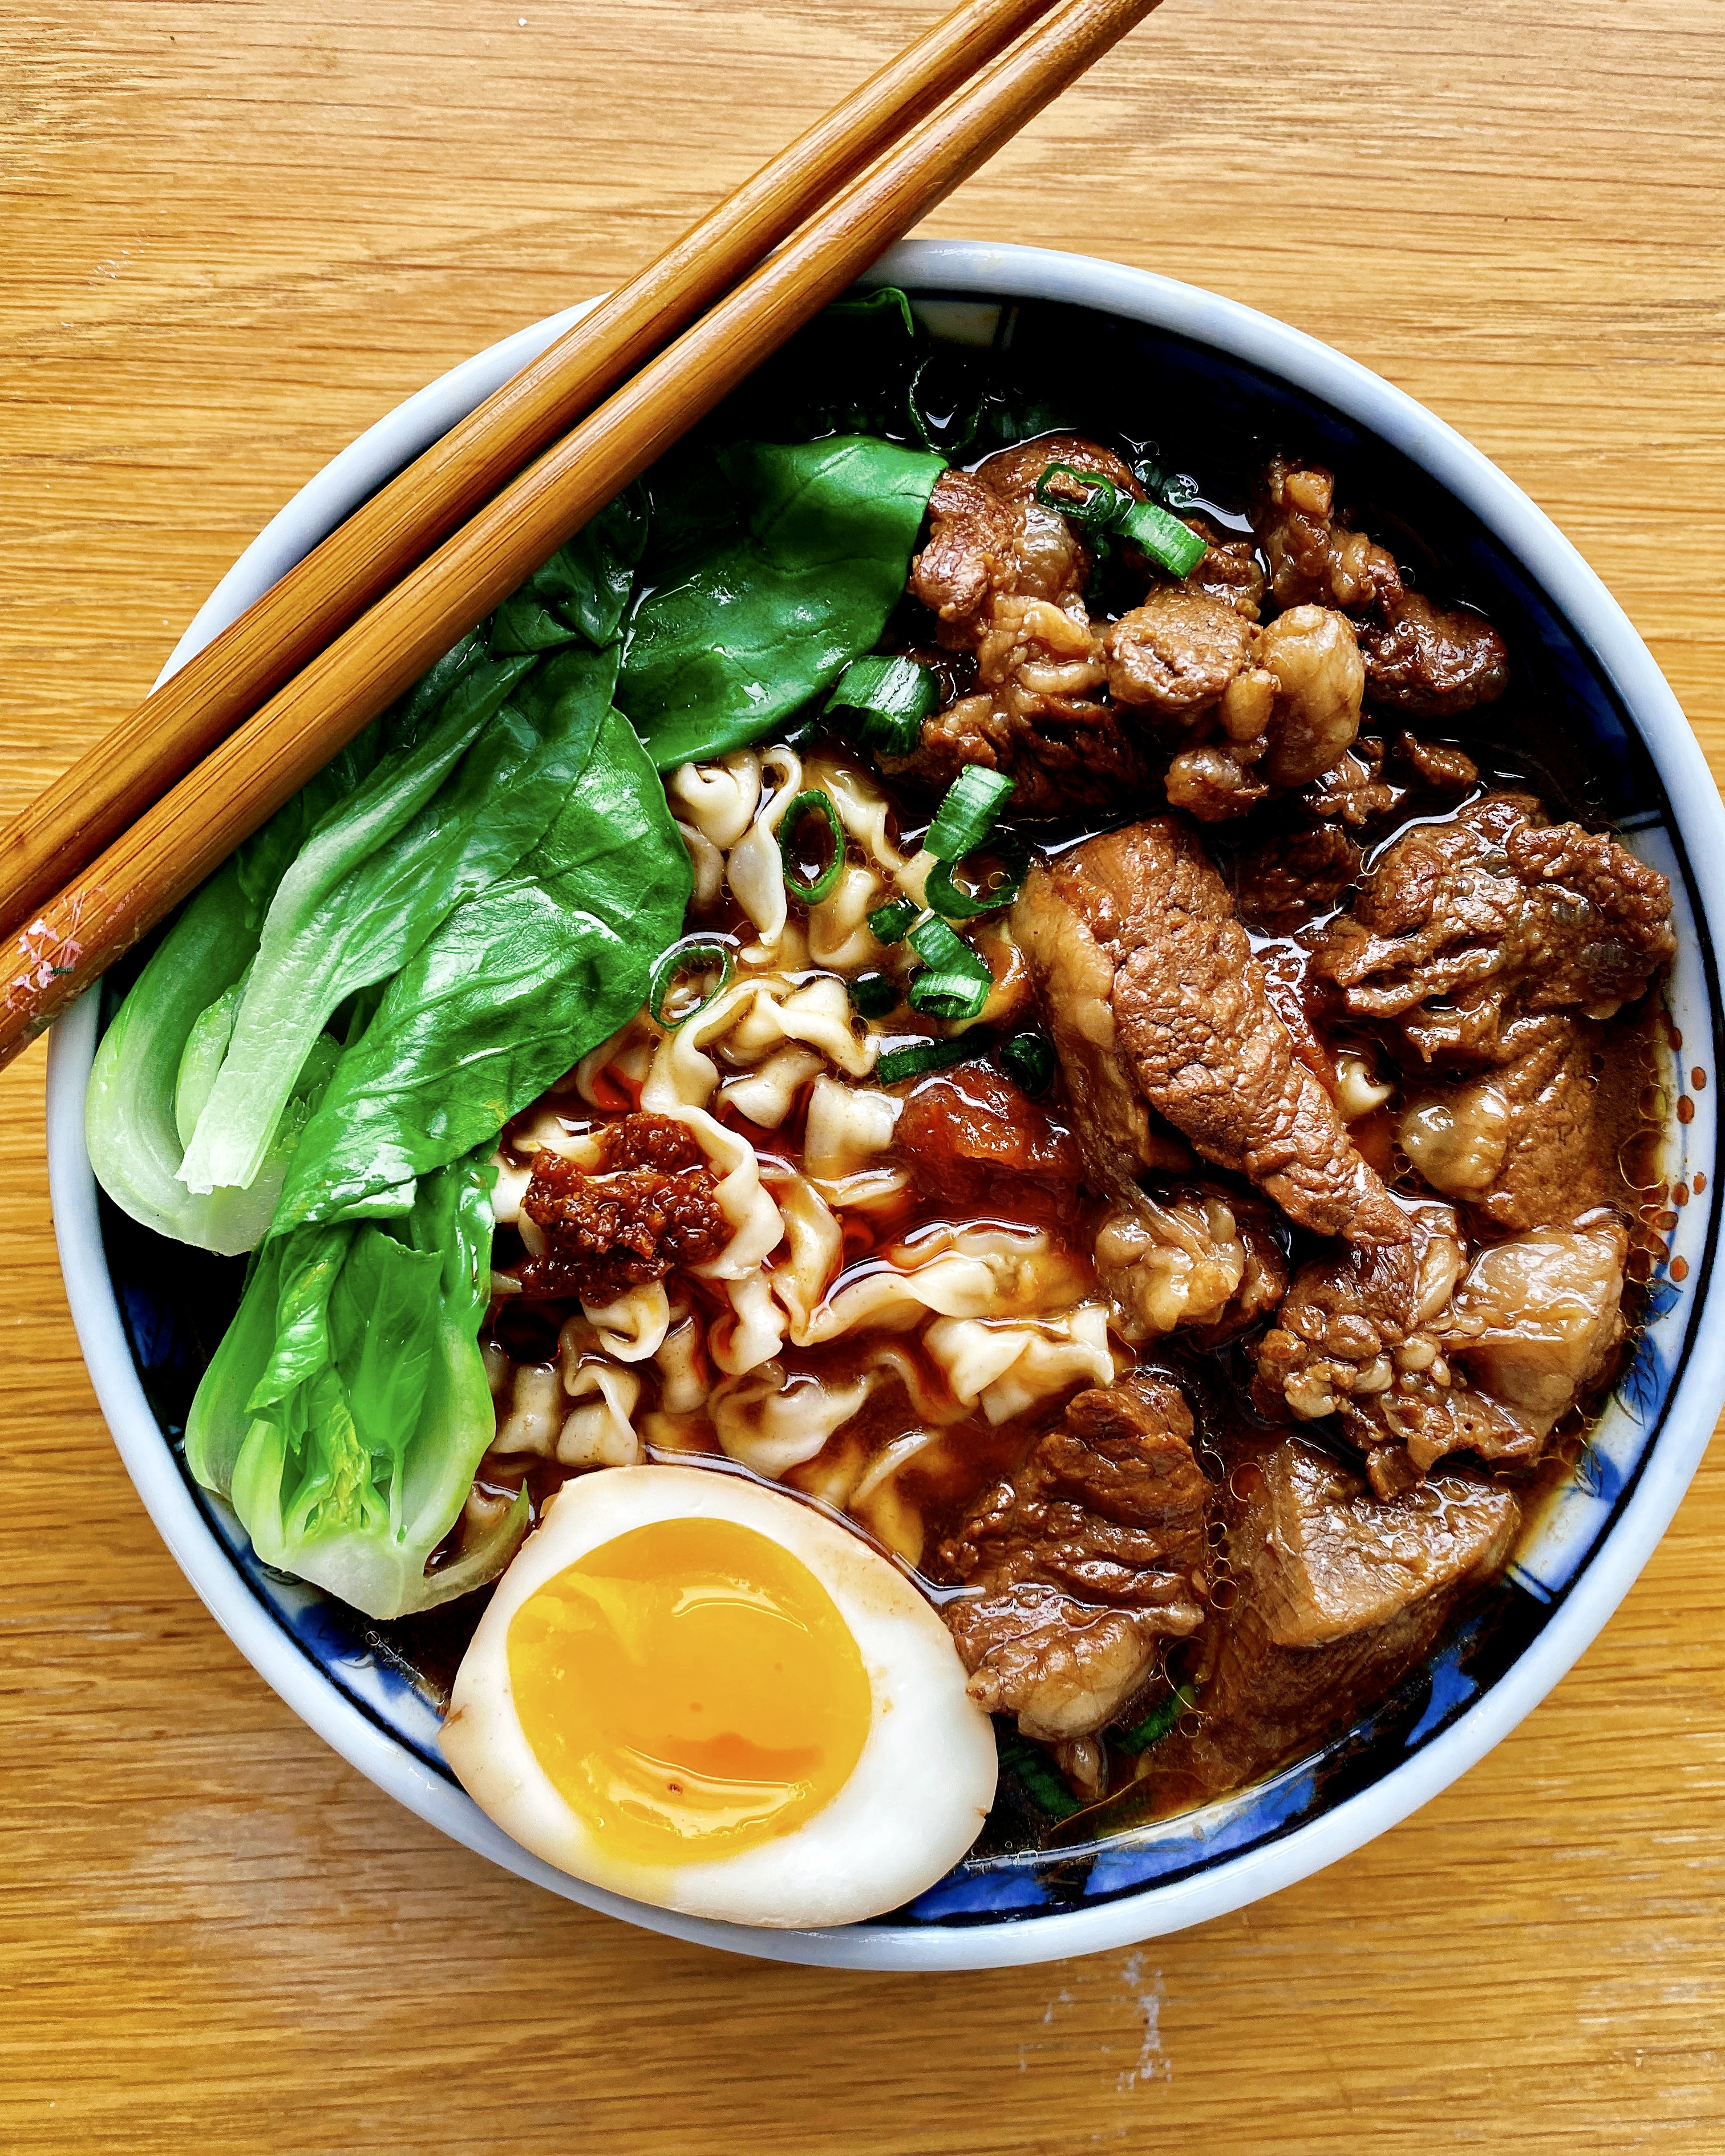
The original version calls for napa cabbage and angel hair pasta, and while both are perfectly fine to use, I now opt for the more photogenic baby bok choy and use more authentic Taiwanese dried noodles like A-Sha brand.  And for the lu dan, instead of cooking already hard-boiled eggs in the sauce, I prefer tucking chilled 7-minute boiled eggs in the soup after it's been strained and cooling.  This way the yolks remain nice and jammy while the whites absorb the delicious flavor.

A few other changes:  I've listed white peppercorns, a cinnamon stick, and bay leaf as optional spices in addition to the star anise.  If you don't have them it's fine, but if you have them it will add a nice complexity to the soup.  The star anise is an absolute must, though, to make this a Taiwanese beef noodle soup.  Lastly, I stole this idea from Kenji's recipe--since almost all soups taste better the next day, I remove the beef from the soup, then strain everything else out before letting it chill overnight in the fridge.
Taiwanese Beef Noodle Soup
makes about 2-3 servings

1 lb. chuck steak, cut into 1" chunks
1 tablespoon oil, if needed
2 scallions, cut into 2" pieces
1 inch ginger, sliced
3 garlic cloves, peeled and smashed
1 tomato, skinned and roughly chopped
1 star anise
1 teaspoon white peppercorns (optional)
1 cinnamon stick (optional)
3 tablespoons rock sugar
1/2 cup low-sodium soy sauce
1/2 cup Shaoxing rice wine
2 cups beef broth
1 bay leaf (optional)
3 large eggs
Baby bok choy or napa cabbage, blanched
Noodles, cooked
Chili oil/sauce (like Sze Daddy), optional

If there is a lot of extraneous fat on the steak, you can cut it off and render it in a large Dutch oven or pot (add it to the pot cold then turn the heat to medium).  Otherwise, heat the oil in the pot and add the beef.  Flip the beef around to brown all the sides, then remove from the pot. 

Add the scallions, ginger, garlic, star anise, tomato, and white peppercorns and cinnamon stick, if using, to the pot and cook for a couple of minutes until very fragrant.  Add the rock sugar and stir around until it has mostly dissolved.  Return the beef to the pot and deglaze the bottom with the soy sauce and wine.  Add the beef broth and bay leaf, if using, and bring to a simmer.  Cover and continue to simmer on low for an hour.

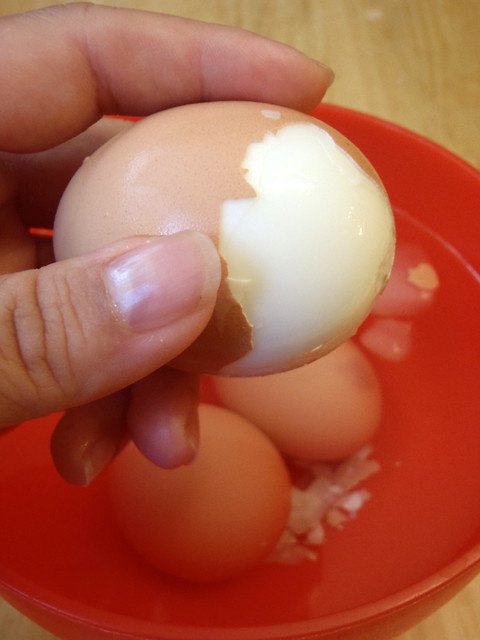
In the meantime, bring another pot of water to boil.  Add the eggs (straight from the fridge) to the pot and set the timer for 7 minutes.  Prepare an ice bath.  After 7 minutes, remove the eggs from the pot and plunge them into the ice bath.  Once they are cool enough to handle, peel the eggs and set aside in the fridge to chill.

After an hour, check the beef for tenderness and the soup for flavor.  Cook longer or adjust seasonings if needed.  When the beef is ready, transfer from the soup into another pot or container large enough to hold the soup.  Strain the rest of the soup into the pot/container with the beef in it.  Add the peeled eggs, cover, let come to room temperature, then place in the fridge overnight.

When ready to serve, reheat the soup (remove the eggs first if you want to keep them jammy).  Blanch the veggies in boiling water until bright green and tender.  Remove and then cook the noodles in the same boiling water.  Drain and portion the noodles into 3 bowls, ladle the soup and beef over the noodles and add the veggies.  Slice the eggs in half and add to the bowl.  Serve with chili sauce (I like Sze Daddy for additional Taiwanese flavors) if you like.

Previously:  No Knead Sourdough Focaccia
Next:  Hurricane Popcorn Marshmallow Treats

Tuesday, February 3, 2015

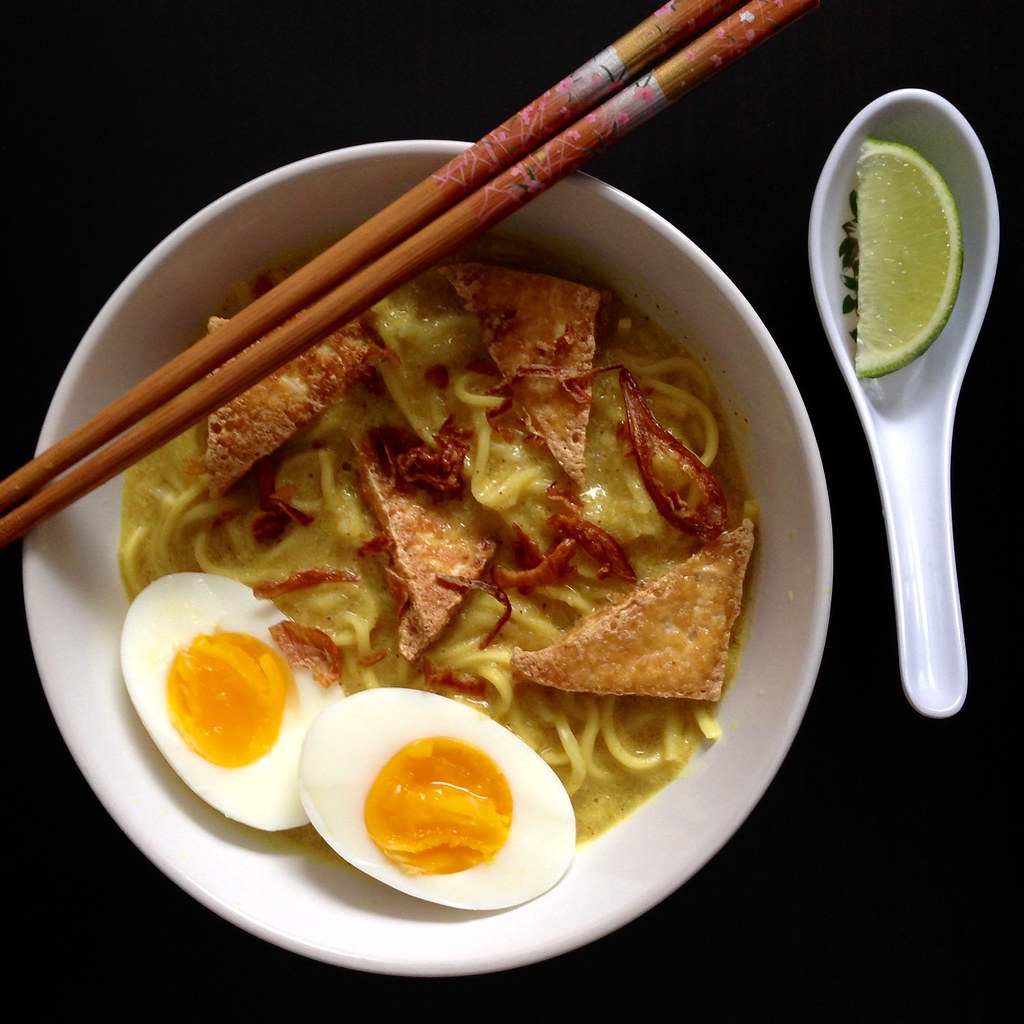
Burmese Coconut Noodles with Tofu

https://www.flickr.com/photos/joyosity/16241176988/

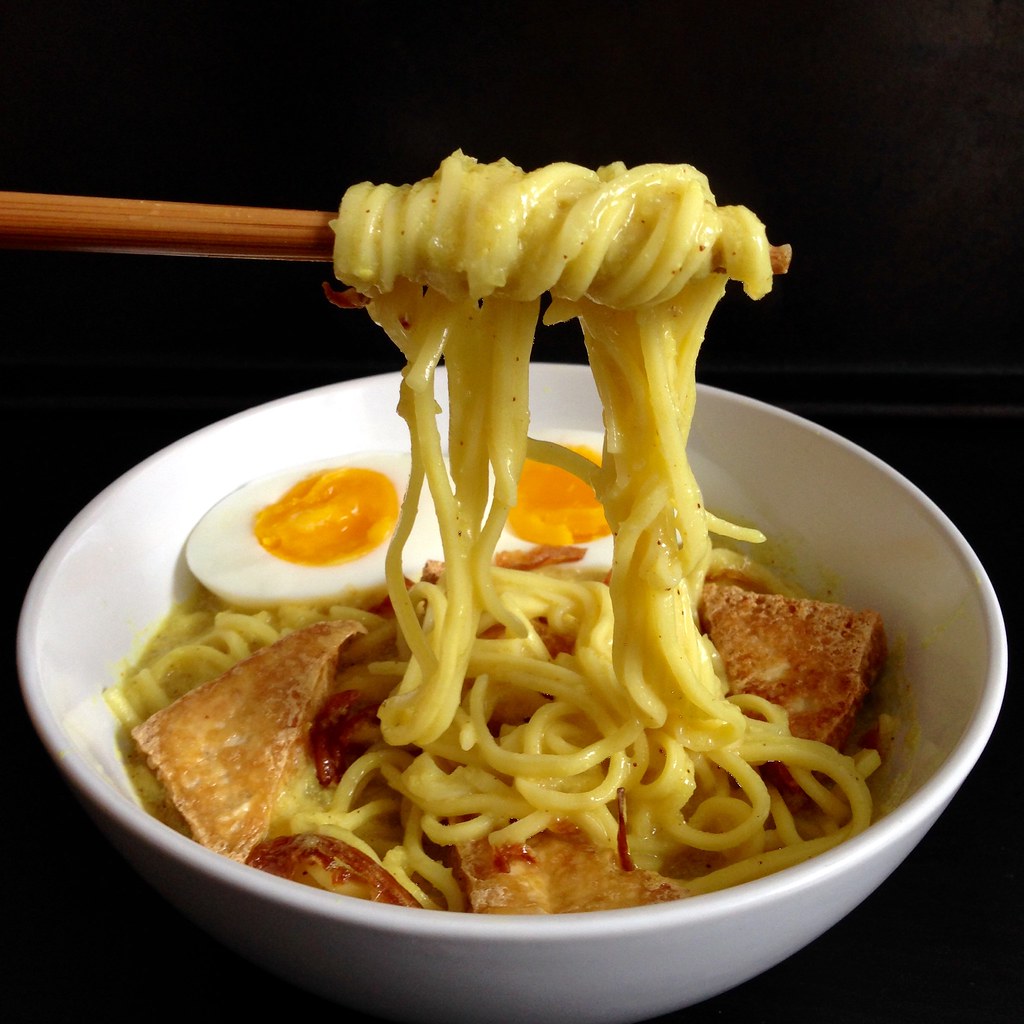
I'm going to admit right off that I've never been to Burma, and I don't think I've even had these noodles at a restaurant before so I'm not entirely sure what it's supposed to taste like, but when I saw this recipe for Burmese Noodle Bowl on Food52, I knew I had to try it.  From my one experience with Burmese noodles (made by my friend Alvin), the flavor profile seems pretty authentic:  lots of aromatics like onions and a mineral earthiness from turmeric.

The first step to making the curry sauce is to make a paste with onions, garlic, and ginger.  I used my food processor to do this since I didn't want my precious Vitamix smelling like onions.  The food processor worked pretty well, but every time I opened the lid to scrape down the sides, a pungent flume of onion vapors would be released.  So if you're the type of person that cries easily when cutting onions, you're probably going to have a bad time with this.

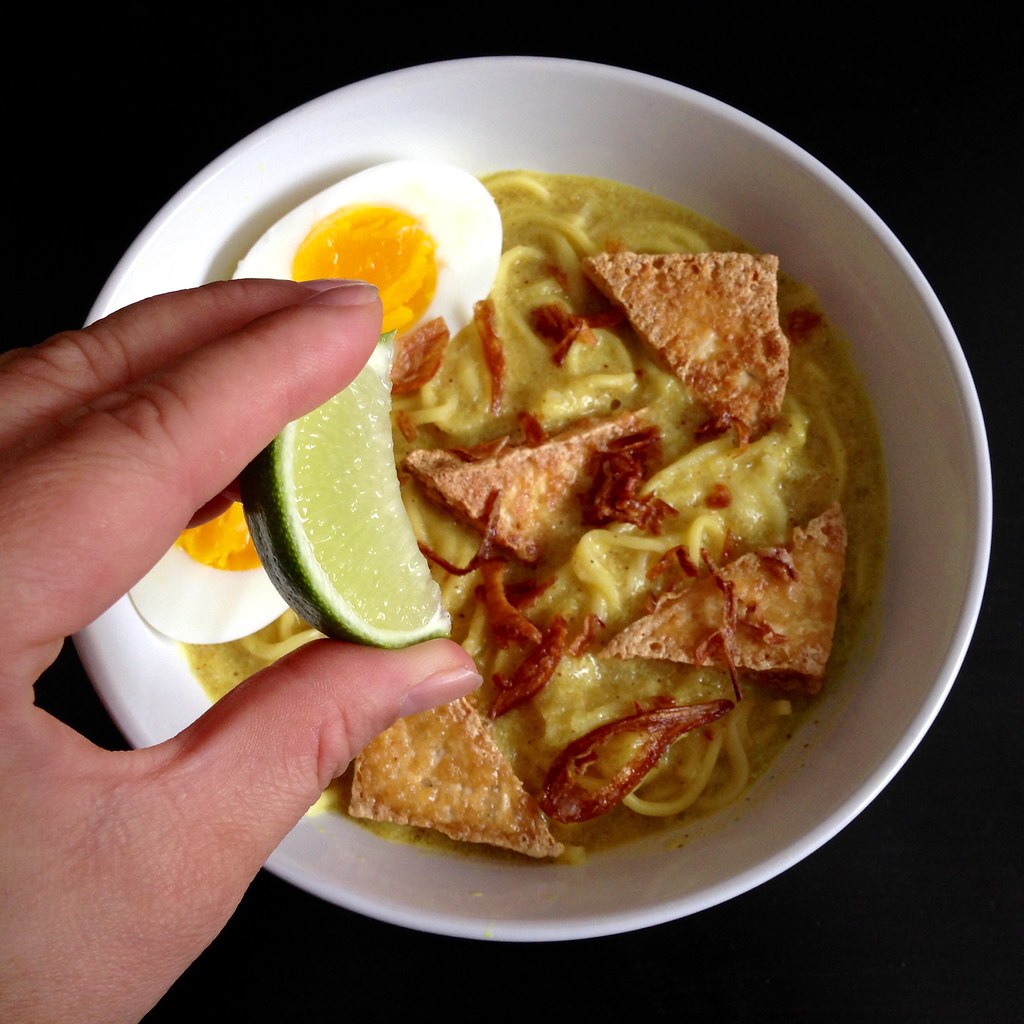
Since I try not to cook too much meat anymore, I decided to use tofu as the protein and add some of the chicken flavor back in with chicken broth.  You can buy fried tofu from a Asian grocery store or just slice and pan fry firm tofu yourself.  You can also buy fried shallots (red onions) from an Asian grocery story or slice and fry them up yourself.  Since I didn't have any shrimp paste, I substituted a tablespoon of fish sauce and some chickpea flour to thicken the sauce.  I decided to use yellow Chinese noodles instead of rice noodles, but I think you could also use ramen noodles or even udon noodles if you wanted.  Lastly, I omitted the cilantro topping since I consider it the devil's weed, but if you like that sort of thing, you should definitely add it.

https://www.flickr.com/photos/joyosity/16427888362/

Burmese Coconut Noodles with Tofu (adapted from Food52)
serves 3-4

2 medium onions
4 garlic cloves
1 teaspoon ginger, grated
2 tablespoons fish sauce
2 tablespoons canola oil
1 teaspoon sesame oil
1/2 teaspoon turmeric powder
1 teaspoon chili powder
14 oz. chicken broth, vegetable broth, or water
1 tablespoon chickpea flour (optional)
14 oz. can coconut milk
12 oz. noodles
Fried tofu
Fried shallots
3 eggs, boiled and chopped
Kosher salt and chili powder, to taste
1 lime, quartered

Peel and roughly chop the onions and garlic.  Add the onions, garlic, ginger, and fish sauce to a food processor and process into a paste.

Add the canola and sesame oil to a large pot and heat over medium heat.  Add the paste and cook for several minutes until it starts to get dry and the rawness of the onion is gone.  Add the turmeric and chili powder and mix.

Whisk the chickpea flour, if using, into the chicken broth.  Add the broth and coconut milk to the pot and mix.  Bring the mixture to a boil and then reduce the heat and simmer for 20 minutes.

In the meantime, prepare the noodles according to the manufacturer's instructions, and prepare the rest of the toppings.  Taste the curry sauce and add salt and/or chili powder, to taste.

Divide the noodles into 3 bowls, ladle the curry sauce over the noodles, and top with tofu, fried shallots, and the egg.  Serve with the lime slices, cilantro, and additional fish sauce and chili powder, if you like.

https://www.flickr.com/photos/joyosity/16427068311/

Next:  Matcha White Hot Chocolate
Previously:  San Bei (Taiwanese Three Cup) Tofu and Ramen
Last Year:  Homemade Tagliatelle with Shaved Truffles
Two Years Ago:  Vanilla and Cinnamon Marshmallows
Five Years Ago:  Lemon Pudding Cake
Six Years Ago:  Toasted Coconut Ice Cream with Sesame Brittle and Crystallized Ginger

Monday, October 27, 2014

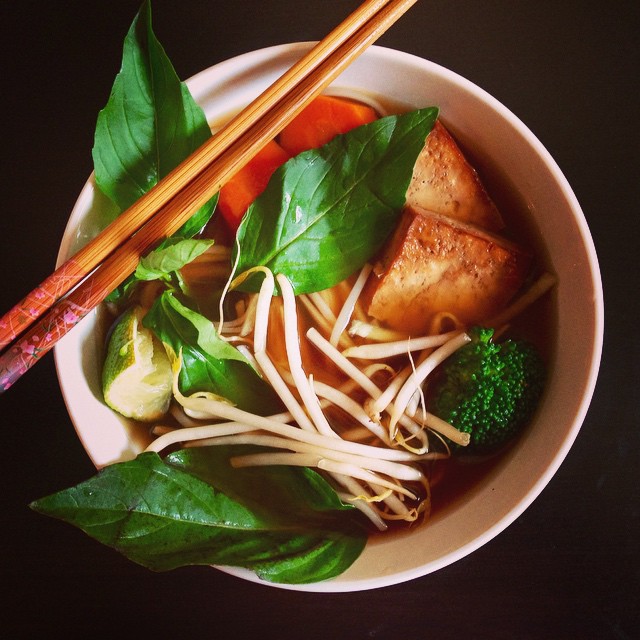
Faux Phở

https://www.flickr.com/photos/joyosity/15619751892/

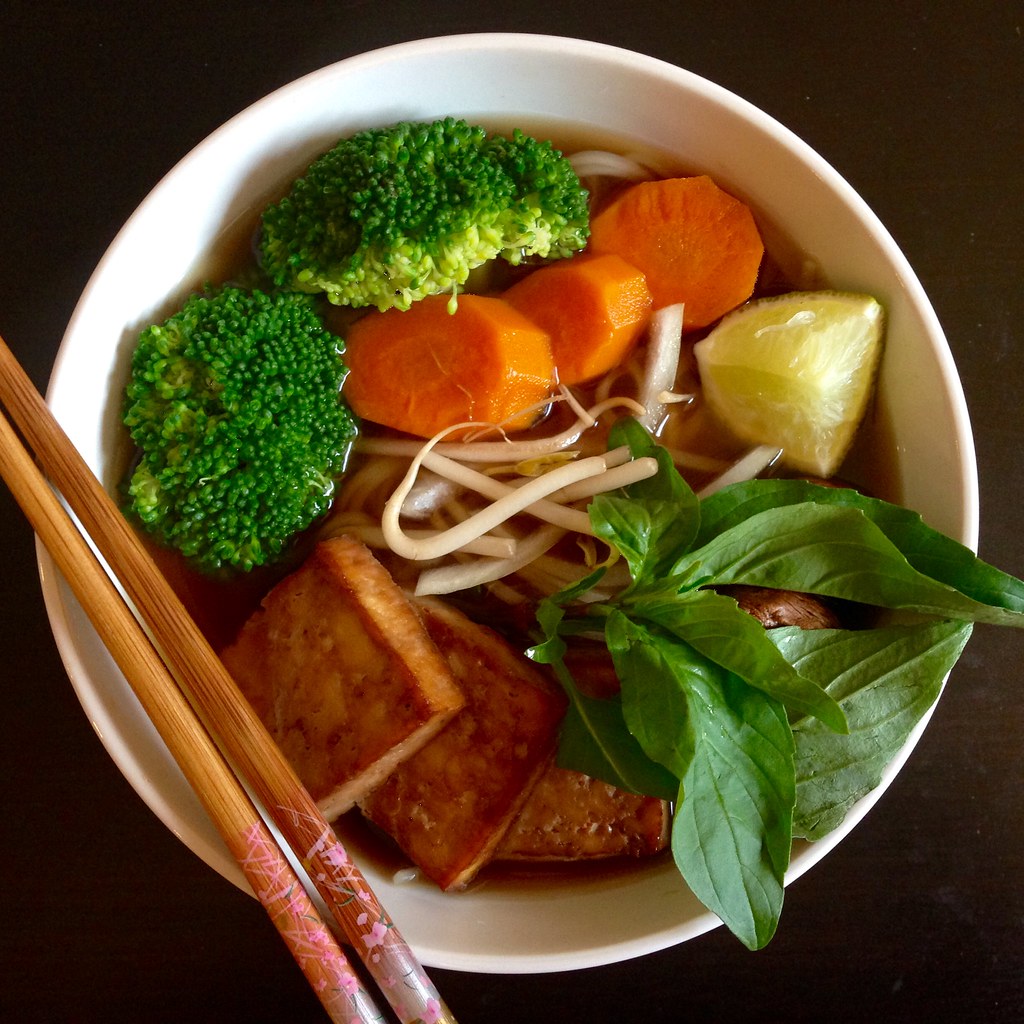
I'm ashamed to admit that I didn't have my first phở until maybe 3 or 4 years ago.  Every time I went to a Vietnamese restaurant before that fateful day, I'd always ordered the bún with fried spring rolls and roast pork because, let's face it, fried spring rolls are delicious.  But then one day I was with some friends who were determined to go to Turtle Tower for what was supposed to be the best chicken phở in San Francisco, so I figured I might as well try what they were famous for.  Suffice it to say, I realized I how much I had been missing out.

https://www.flickr.com/photos/joyosity/15430722368/

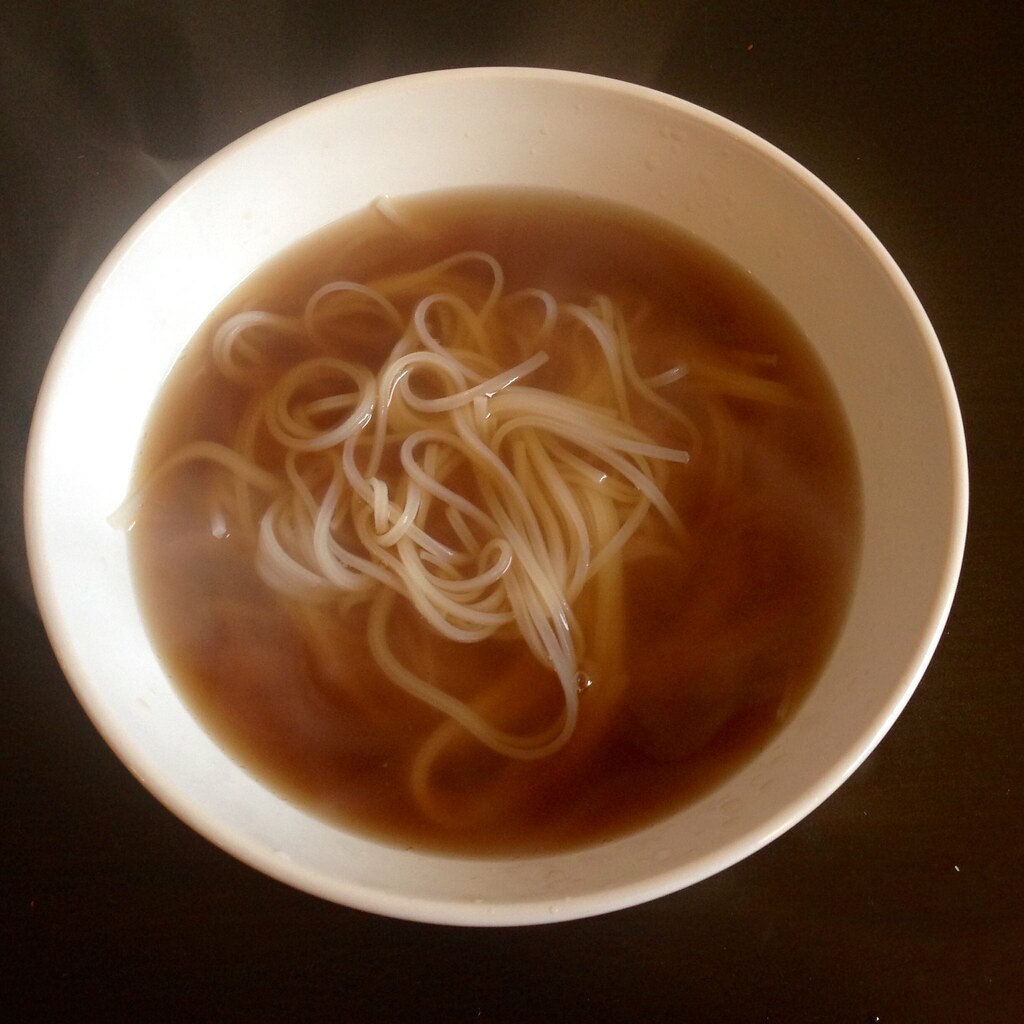
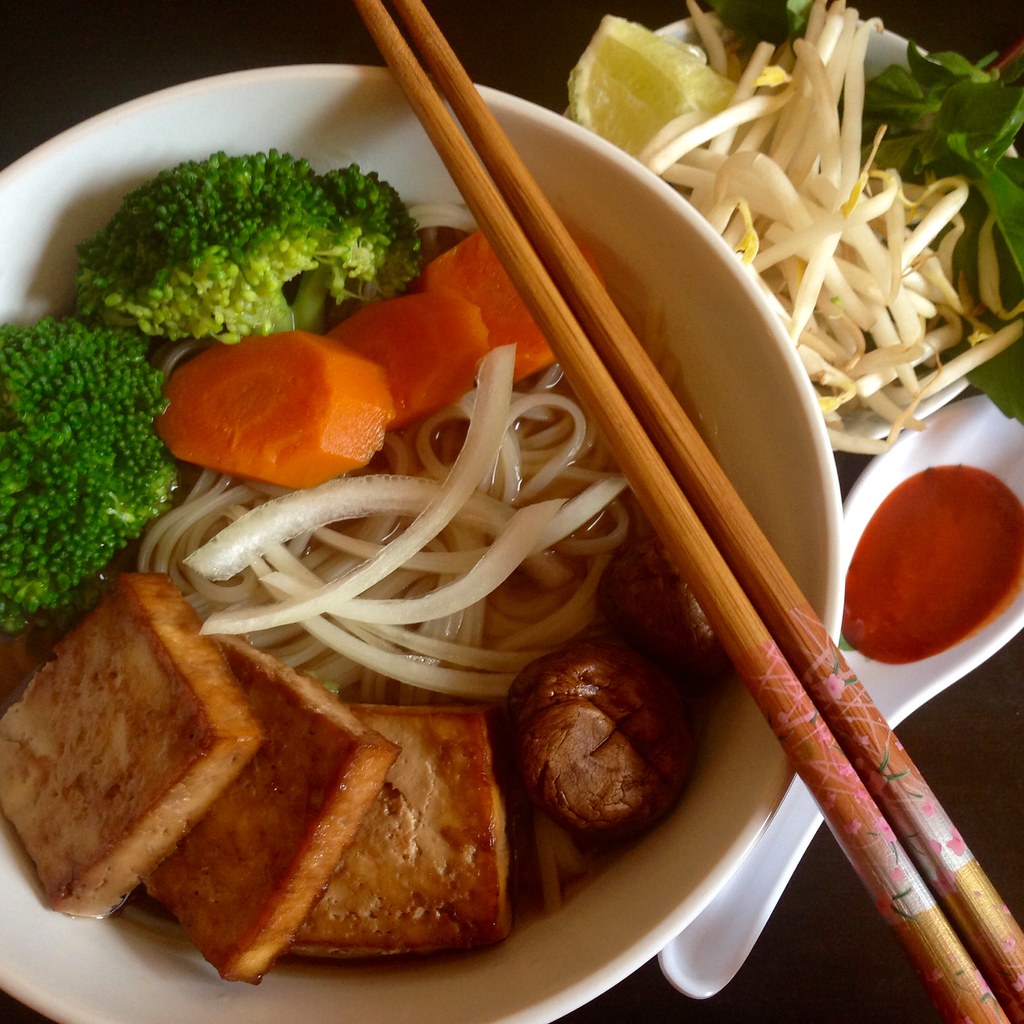
Since then, I've discovered that I prefer beef-based phở, especially with veggie and tofu toppings.  To try to recreate phở at home, I mostly followed this recipe from The Kitchn for a vegetarian phở but used beef broth and fish sauce instead of the vegetable broth and soy sauce.  I guess you could call it a faux phở (and in case you were wondering, phở is pronounced as if you were saying the first part of a very bad word).  The result is pretty close to what I'm used to, but definitely no where close to what you'd get from making your own broth from beef bones.  I also noticed the distinct lack of MSG, which I would've added if I had any.

https://www.flickr.com/photos/joyosity/14996075854/

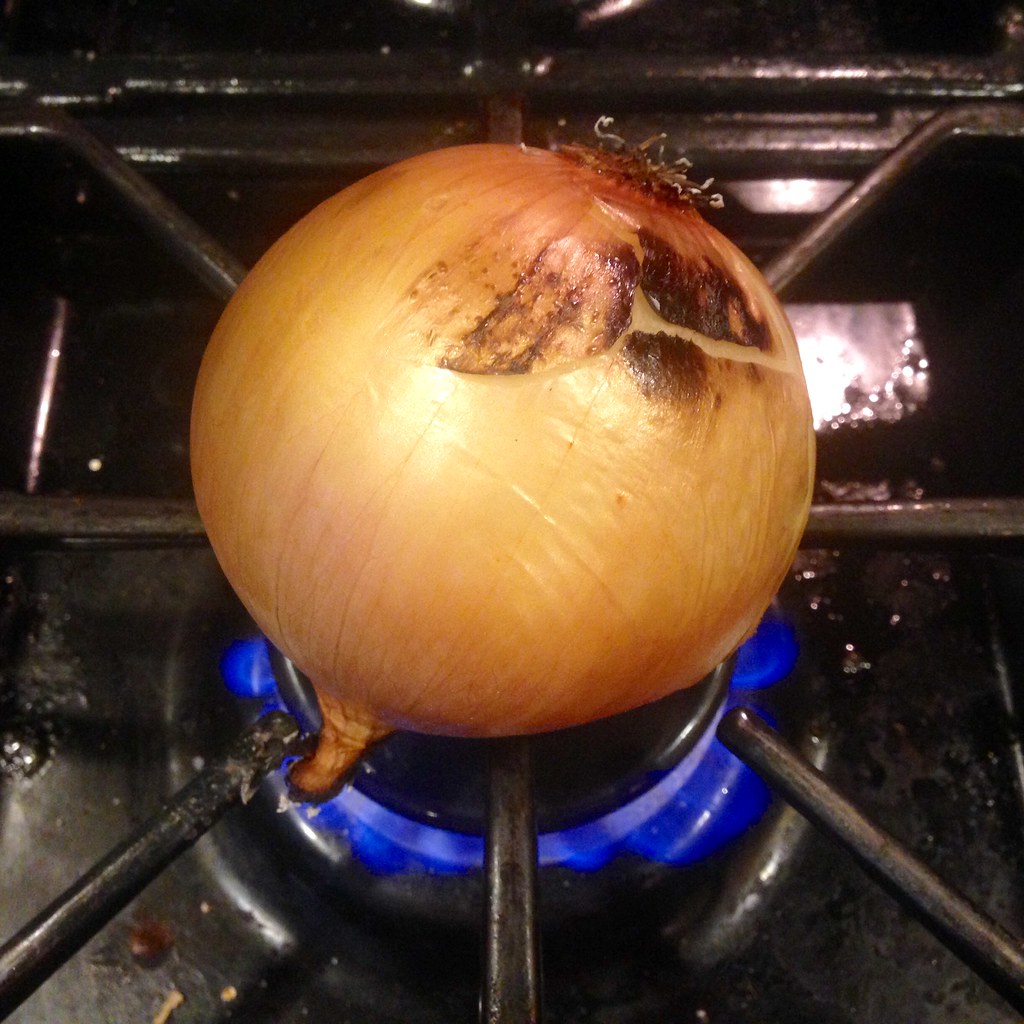
One of the first things you do in this recipe is char an onion and ginger over an open flame.  If you don't have a gas stove, you can also get the same type of result under a broiler.  Don't be afraid of getting them a bit burnt; that's the point.  You'll end up peeling off the burnt parts, anyways, revealing the softened, aromatic insides before adding it to the broth.  For the protein, I pressed, marinated, and baked some firm tofu similar to how I made the baked tofu for the soba noodle salad, but this time, I only baked it on each side for 10 minutes so that it was a bit softer.

https://www.flickr.com/photos/joyosity/15617669402/

Faux Ph (adapted from The Kitchn)
serves 2-3

Broth:
1 large onion
2-inch piece of fresh ginger
3-inch cinnamon stick
1 star anise
2 cloves
1 teaspoon coriander seeds
6 cups beef broth (you could also use vegetable or chicken broth)
2 carrots, peeled and coarsely chopped
2 celery stalks, coarsely chopped
2 tablespoons fish sauce or soy sauce
2 tablespoons rock sugar or granulated sugar
Salt, to taste

Noodles:
1/2 lb. dried flat rice noodles

Toppings:
Fried or baked tofu
Mushrooms
Vegetables such as baby bok choy or broccoli crowns, steamed or blanched

Garnishes:
1/2 onion, very thinly sliced
1 lime, cut into wedges
1/2 cup bean sprouts
1 chile pepper (Thai bird, serrano, or jalapeno), sliced
2 scallions, thinly sliced
Large handful of herbs:  cilantro, Thai basil, saw-leaf herb
Sriracha and/or hoisin sauce

Char the onion and ginger over an open flame or directly under a broiler until slightly blackened.  Allow to cool.

In a large pot, dry roast the cinnamon, star anise, cloves, and coriander over medium-low heat, stirring to prevent burning.  When the spices are aromatic, add the water or broth, carrots, celery, fish sauce, and rock sugar.

When the onion and ginger are cool enough to handle, peel both, slice in half, and add to the broth.  Bring the broth to a boil, reduce the heat, and simmer for 30 minutes.  Strain and keep hot until ready to serve, reserving the carrot slices for topping the noodles, if you like.

While the broth is simmering, place the noodles in a large bowl and cover with very hot water.  Let stand for 20-30 minutes or until tender but still chewy.  Drain.  (If soaking does not soften the noodles enough, blanch them in a pot of boiling water for a few seconds).

Divide noodles among the serving bowls.  Taste the broth and add salt, if necessary.  You want the broth to be almost too salty, since the noodles and toppings haven't been cooked with any salt.  Pour the broth into each bowl.  Add the toppings and serve with the garnishes on the side.

https://www.flickr.com/photos/joyosity/14996676183/

Next:  Mochi Donuts and Pon de Rings
Previously:  Nigel Slater's Chocolate Beet Cake

Two Years Ago:  Miso Marinated Black Cod

Friday, December 14, 2012

Momofuku Ramen Broth

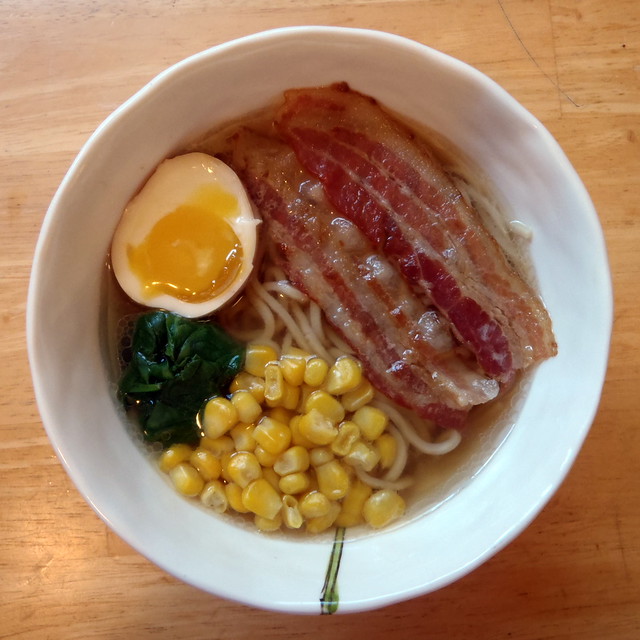
After I made the miso ramen, I decided to try to make a bacon version.  I fried up some bacon, added bacon grease to the broth, and even added some smoked salt, but I just couldn't get the depth of flavor that I was looking for.  So I decided to try making Momofuku's ramen broth.  After all, it used bacon as one of the ingredients so it must be on the right track.

Bacon Ramen
 
What I love about this recipe is that it builds layers and layers of umami using multiple ingredients:  kombu, shiitake mushrooms, chicken bones, roast pork bones, and finally tare, a soy based barbecue sauce made with roast chicken bones.  By the end, you get a super rich and flavorful broth that surprisingly isn't very heavy at all.

The first step is to make the tare.  This recipe will make more than you need, but you can also use it to season just about anything you'd normally use soy sauce for.  I've added it to the filling for dumplings, and it would be excellent as a basting sauce for grilled meats.

Tare (adapted from Momofuku)
makes 1 cup

2 chicken legs
1 cup soy sauce
1/2 cup rice wine
1/2 cup mirin

Butchered
 
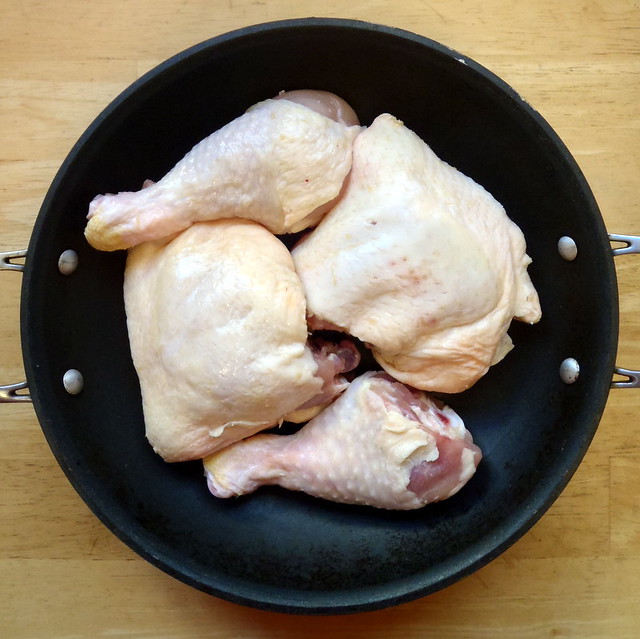
Preheat the oven to 450°F.  Using a butcher knife, butcher the chicken legs into the thigh piece and drumstick.

Roasted

Place the thighs and drumsticks onto an oven-proof pan and roast for about 45 minutes, or until nicely browned, but not burnt.

Poaching
 
Remove the pan from the oven and place on medium high on the stove.  Add a splash of the soy sauce, and once it starts boiling, scrape up all the caramelized fond from the bottom of the pan with a spatula.

Done!
 
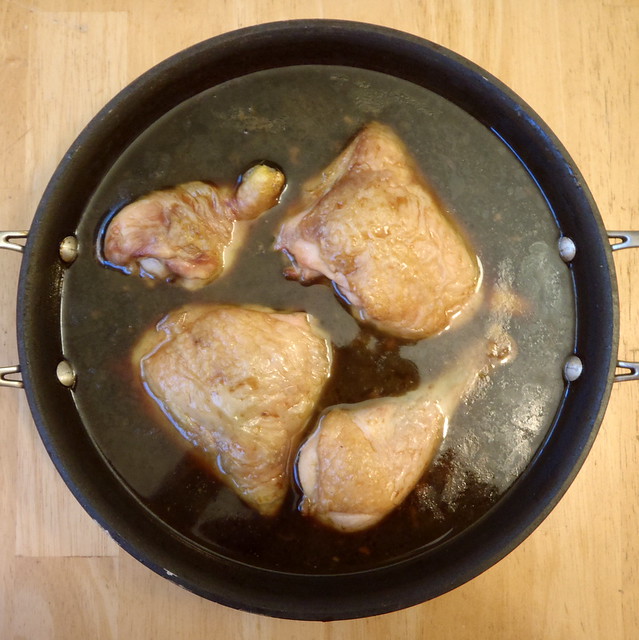
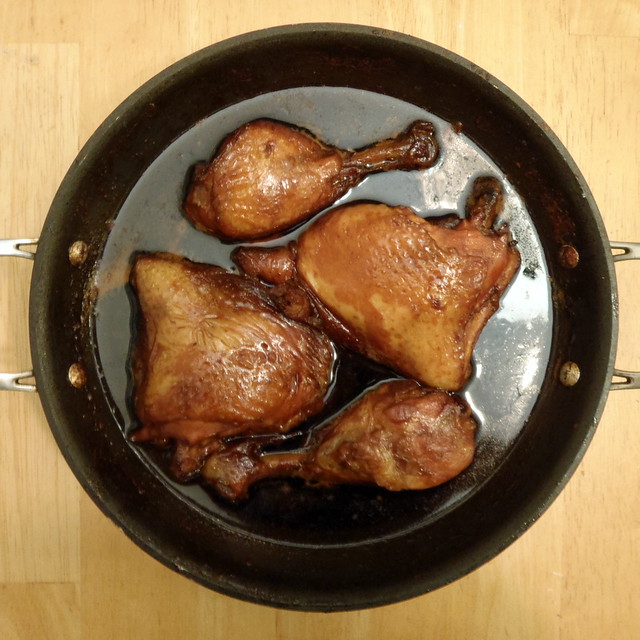
Add the rest of the ingredients and once it starts boiling, reduce the heat, and let it simmer for about an hour.

Tare
 
Strain out the chicken and store the tare in a jar.  It'll keep for a few days in the fridge or longer in the freezer. I like to keep a little of the fat on top to help seal off the top and preserve the sauce better.

Now it's time to make the broth.  I halved the recipe from the book because I was short on some of the ingredients, but I would suggest making the full amount since it's the same amount of work, and the broth freezes well.  I've also found that when refrigerated, the broth will form an aspic, so you can also use it to make xiao long bao.

Momofuku Ramen Broth (from Momofuku)
makes 5 pints, about 5 servings

3 three-inch pieces of kombu
1 cup dried shiitake mushrooms
2.5 lbs. pork neck bones
2 chicken legs
1/2 lb. bacon
6 scallions
1/2 onion
1 large carrot, chopped into large pieces
Tare (see recipe above)

Preheat the oven to 400°F.

Konbu
 
Add the kombu to 3 quarts of water in a large pot.  Turn the heat on high, and just before it boils, turn off the heat and let sit for 10 minutes.

Shiitake
 
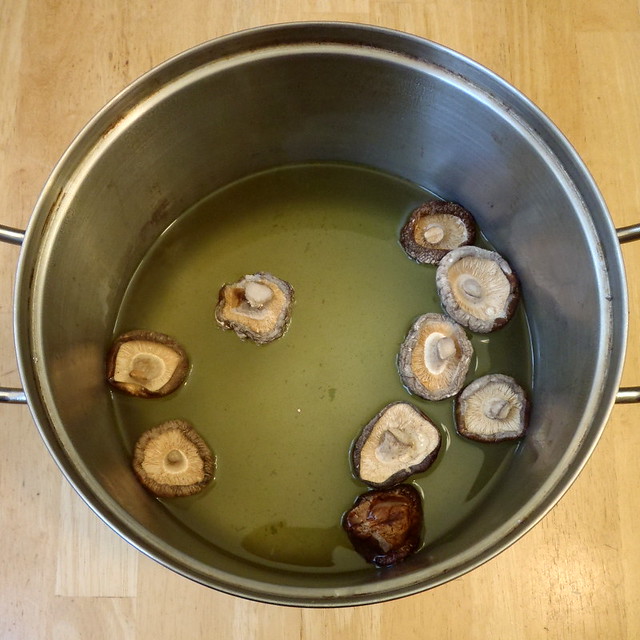
Remove the kombu with a slotted spoon and add the dried shiitake mushrooms.  Bring the water to a boil and then reduce the heat and let simmer for 30 minutes.

Roasted pork neck bones
 
Meanwhile, place the pork neck bones on a baking tray and roast in the oven for 60 minutes, flipping half way through.

Chicken legs
 
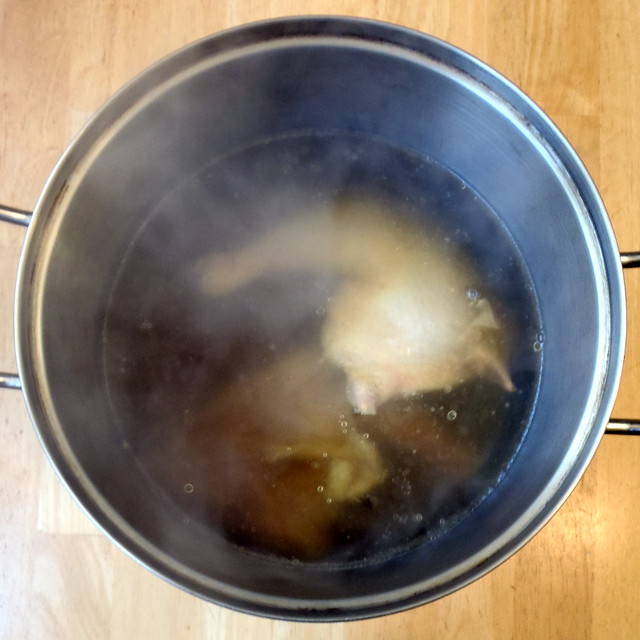
Remove the mushrooms from the broth with a slotted spoon and add the chicken legs.  Continue to simmer for an hour, skimming off any of the crud that floats to the top.

Bacon
 
After an hour, check the chicken to make sure that it is cooked through and the meat is falling off the bones.  At that point, remove from the broth and add the bacon and pork bones.  Continue to simmer, adding more water if necessary.

Making Momofuku ramen broth
 
After 45 minutes, remove the bacon.  Continue to simmer for 5-8 hours.  About 45 minutes before you are done, add the scallions, onion, and carrot pieces.  After simmering for 45 minutes, strain everything out.

If you are using your broth right away, add 1/4 cup of the tare and taste your broth.  David Chang recommends seasoning it until it is almost at but just under "too salty".

PB063211
 
If not using your broth immediately, you can turn the heat on high and reduce the volume in half.  Store in the refrigerator (if using within a few days) or the freezer.  When ready to use, heat it up again and add an equal volume of water.  Season with the tare to taste.

Bacon Ramen
 
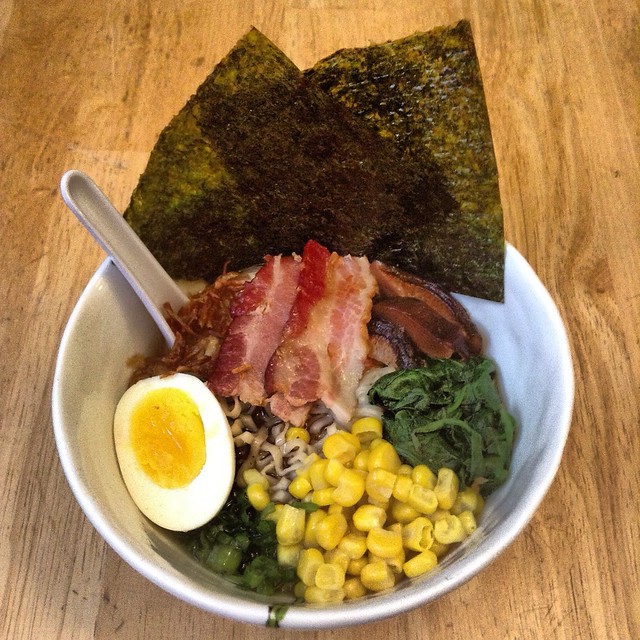
For my bacon ramen, I topped the Momofuku ramen broth and homemade ramen noodles with some fried bacon, blanched spinach, corn kernels, chopped scallion, a soft-boiled egg, and nori.  I still felt like it was missing a little something, so I added some fried shallots, which turned out to be the perfect touch.

Next:  Homemade Udon Noodles
Previously:  Miso Ramen with Marinated Soft-Boiled Egg
Four years ago:  Pork and Cabbage Dumplings

Tuesday, December 11, 2012

Miso Ramen with Marinated Soft-Boiled Egg

PA263188

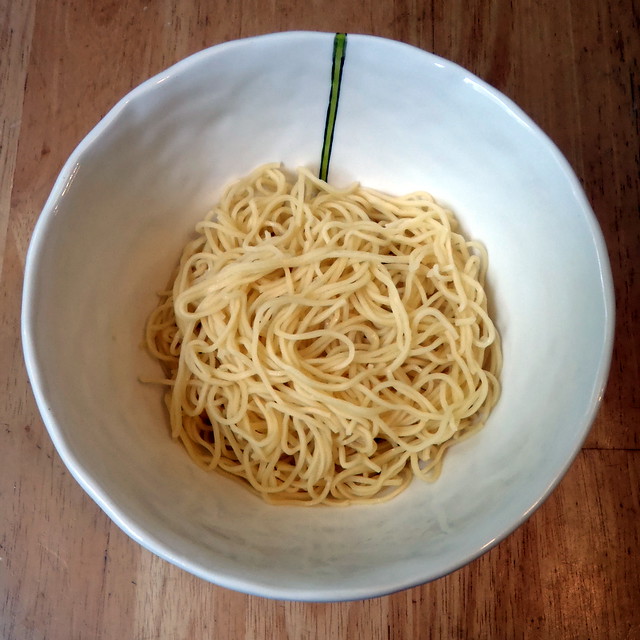
Now that we've made the ramen noodles, it's time to make some ramen broth!  Some broths take hours if not days to make, but fortunately, it only takes a few minutes to make the broth for miso ramen.  There's two ways you can make this broth:  either add instant dashi and miso paste to chicken broth, or add chicken bouillon and miso paste to dashi stock.  I chose to do the latter because dashi is a lot easier to make than chicken broth, and the two ingredients (kombu and bonito flakes) are shelf stable.
PA243126
 
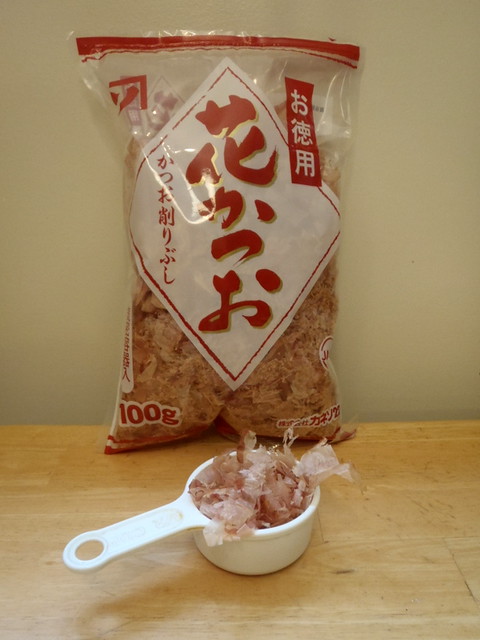
Kombu is a type of seaweed, and bonito flakes are made from smoked, shaved fish.  You should be able to find both in an Asian grocery store, but I've also found them in the ethnic section of grocery stores. They both are very high in umami, which is why such a simple preparation can produce so much flavor.
Dashi Stock
makes 1 quart, enough for 2 bowls of miso ramen

4 cups water
2-3 strips of kombu
1/2 cup loosely packed bonito flakes

PA243121
 
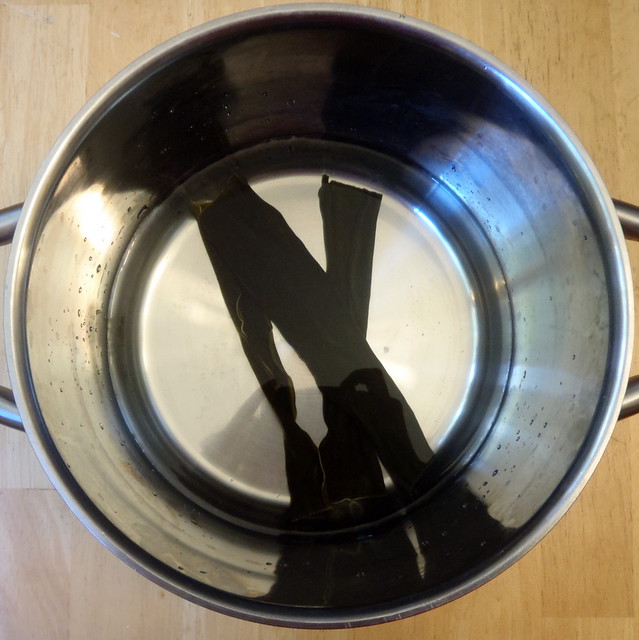
Place the water and kombu in a medium pot and let soak for 15 minutes.

PA243124
 
After 15 minutes, place the pot on medium heat.  Just before it boils, remove from heat and sprinkle the bonito flakes over the surface of the water.

PA243129
 
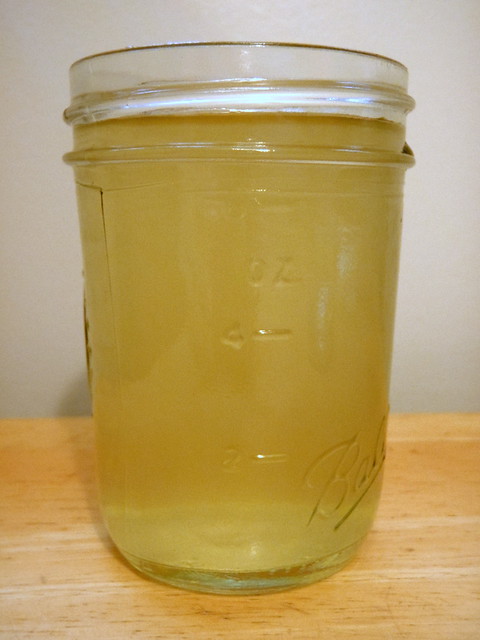
After 3-4 minutes, strain through a fine mesh strainer.

PA243132
 
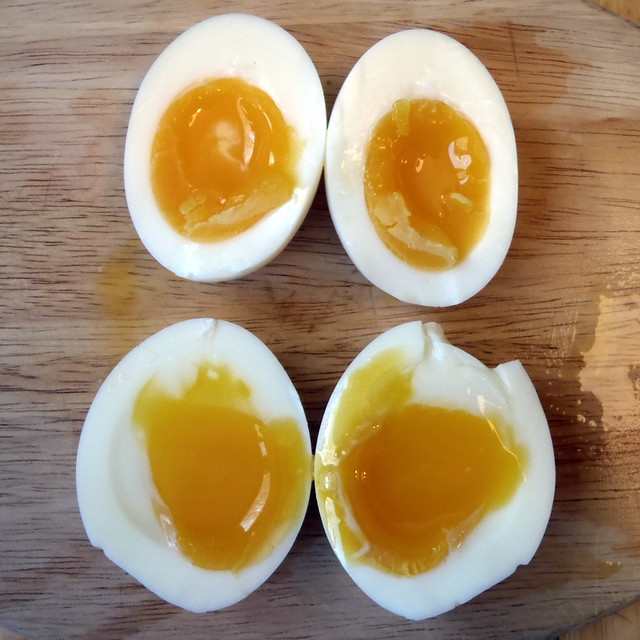
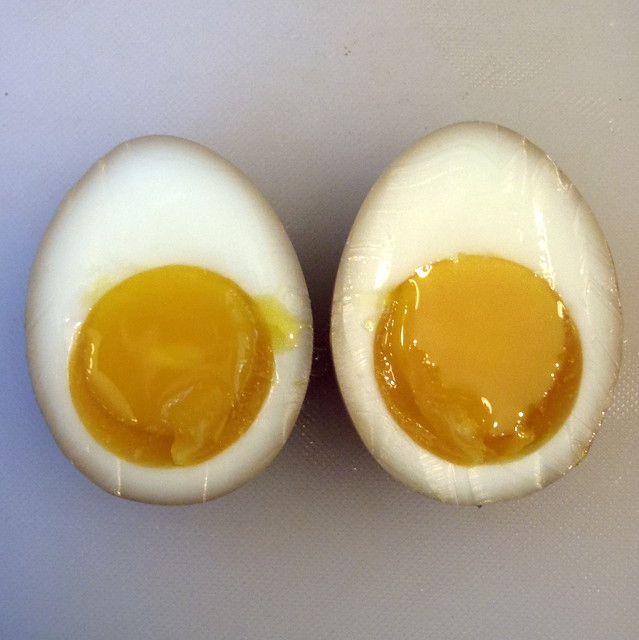
Now let's talk toppings:  my absolute favorite is a marinated soft-boiled egg.  It's similar to lu dan, except the yolk is barely set, and the marinade only penetrates the outer surface of the egg.  It took me a few tries to get it right because the recipe I was using called for the egg to be boiled for only 6 minutes, but my eggs were still too soft at that point.  You want to cook it just long enough so that the egg white is set.  If it's too soft, it's almost impossible to peel, which I found out the hard way.  Eventually, through trial and error, I found that 7 and a half minutes was the ideal amount of time that I needed to cook my eggs to that point.

PB063215
 
Marinated Soft-Boiled Eggs (adapted from Serious Eats)
makes 3 eggs (you only need 2 for 2 bowls of ramen, but you might as well make the third since there's enough marinade for 3 eggs)

1/2 cup water
1/2 cup rice wine
1/4 cup soy sauce
1/4 cup mirin
1/4 cup sugar
3 eggs

Combine water, rice wine, soy, mirin, and sugar in a medium bowl and whisk until sugar is dissolved. Set aside.

Bring 1 quart of water to a boil in a medium saucepan over high heat.  Carefully lower eggs into water with a slotted spoon. Reduce heat to maintain a bare simmer. Cook for exactly 7 minutes and 30 seconds. Drain hot water and transfer eggs to a bowl filled with ice water.  Cool for 3 minutes and then carefully peel eggs (the whites will be quite delicate).

PA243116
 
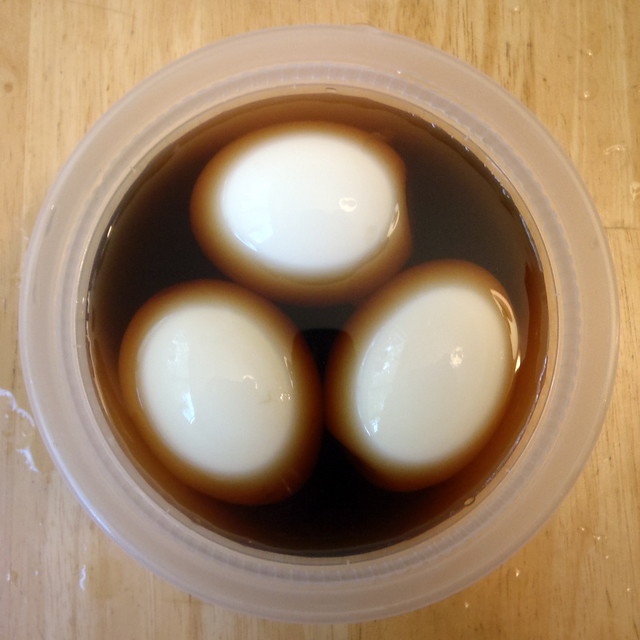
Transfer eggs to a bowl that just barely fits them all. Pour marinade on top until eggs are covered or just floating.

PA243118
 
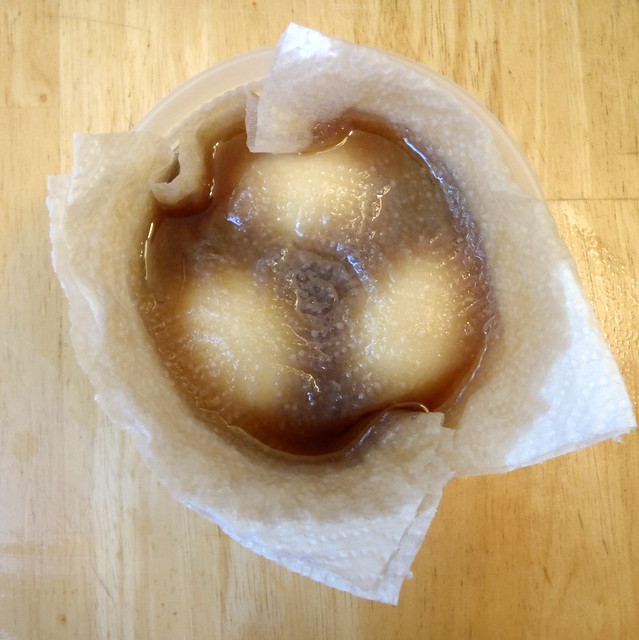
Place a double-layer of paper towels on top and press down until completely saturated in liquid to help keep eggs submerged and marinating evenly.

PA243119

Cover and refrigerate at least four hours and up to 12. Discard marinade after 12 hours. Store eggs in a sealed container in the fridge for up to 3 days.

PA263138

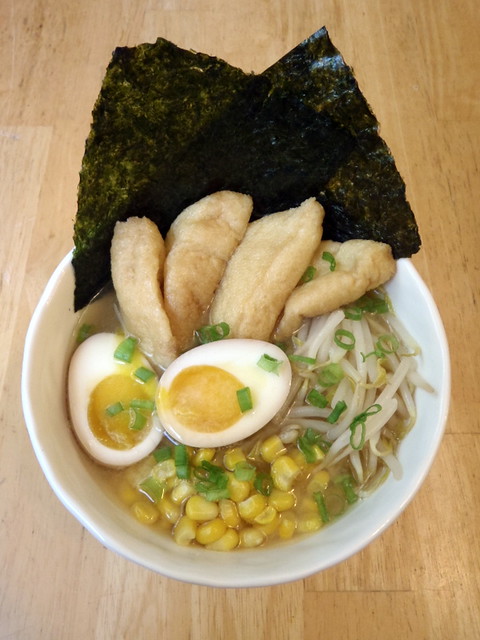
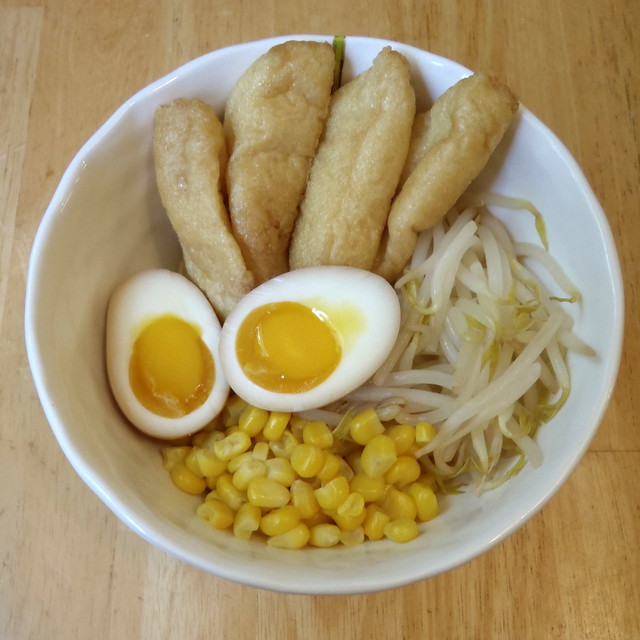
As for the rest of the toppings, I didn't have any roast pork on hand, or else I would have used that, but I did have some fried tofu, which worked well with the miso broth.  Other possible toppings include corn, bean sprouts, chopped scallions, nori, cooked spinach, bamboo shoots, etc.  You don't want anything too strong to mask the flavor of the broth, but it's nice to have a few different textures in each bite.

Miso Ramen
makes 2 bowls

4 cups dashi stock
1 chicken bouillon cube
3 tablespoons frozen corn kernels
1/4 cup fresh bean sprouts
8 pieces fried tofu
2 tablespoons white miso paste
1/2 recipe ramen noodles, cooked
2 marinated soft-boiled eggs, sliced in half lengthwise
4 four inch-square sheets nori
2 teaspoons scallions, chopped

Add the dashi stock, bouillon cube, corn, bean sprouts, and fried tofu in a medium pot and bring to a boil over high heat.  Remove the corn, bean sprouts, and tofu with a slotted spoon and set aside.

PA263180
 
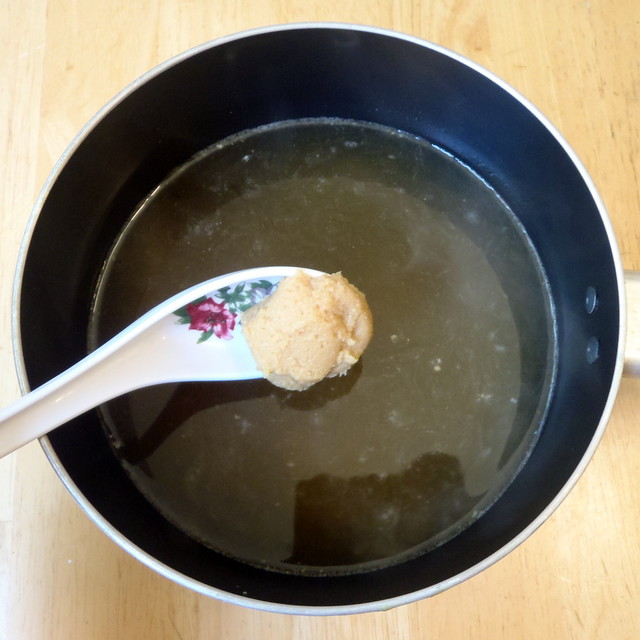
Remove the pot from heat and add the miso paste to the stock.  Stir to dissolve.

PA263181
 
Split the cooked ramen noodles between two large bowls.  Pour in the miso broth.

PA263177
 
Top each bowl with half the corn, bean sprouts, fried tofu, and marinated soft-boiled eggs.

PA263178

Place two sheets of nori in each bowl and sprinkle half the scallions over each bowl.

PA263183

Next post:  Momofuku Ramen Broth!
Previously:  Homemade Ramen Noodles

Friday, December 7, 2012

Homemade Ramen Noodles

For most of my life, ramen meant the instant kind, and I loved it.  Then, my friend introduced me to real Japanese ramen, and I was in love.  The first time I had it was at Ken's Ramen House, which sadly, has now closed.  He made real tonkatsu ramen broth and imported the ramen noodles, and according to my friend, it was pretty authentic.  There are a couple of other places to get ramen in the Boston area but none of them are as good as Ken's was.  Maybe it's kind of a first love thing.  Another ramen shop opened this past year in Porter, and there are still hour plus long lines to eat there.  I finally went the other week, and it was good, but I'm not sure I'd wait another hour in the cold for it again.  Because now I can make my own ramen!

Bacon Ramen
 
I found this recipe for making ramen noodles a couple of years ago but never went through the trouble of finding the kansui because I figured it'd be too hard to find.  A Japanese grocery story opened up in Porter this year so I decided to stop in one day and see if they had it.  They did, but only in this huge bottle.  I guess I'll be making a lot of homemade ramen.

Untitled
 
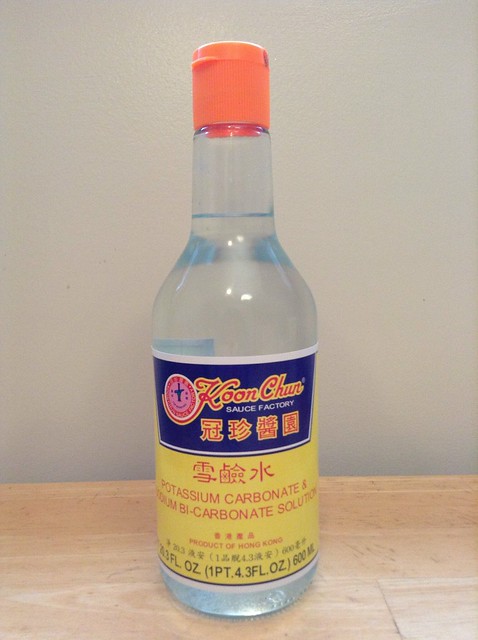
The kansui is a solution of potassium carbonate and sodium bicarbonate that reacts with the flour to make it yellow in color and also toughens the protein so that the noodles are springier than regular wheat noodles.  I noticed that my dough started turning more greyish green after a while, and found on another website that it was because the dough was too alkaline.  Adding a little bit of citric acid would neutralize the pH and should return it back to yellow (or you could just use a little less kansui).  Of course, I didn't read this until it was too late and just used the grey noodles as is.  They seemed to look more yellow than green after cooking, and they tasted great, so I wouldn't worry to much if this happens to your noodles too.

PA293147
 
The first time I made this, I didn't have a pasta machine, so I just rolled it out and cut it by hand.  So it's possible.  But it's more fun using a pasta machine, and you'll get these amazingly thin and evenly cut noodles.

Fresh homemade ramen
 
Homemade Ramen Noodles (from No Recipes)
makes enough for 4 bowls

300 grams bread flour (about 2 cups)
1/2 cup warm water
1 teaspoon Koon Chun Potassium Carbonate & Sodium Bi-Carbonate (kansui)

PB023136

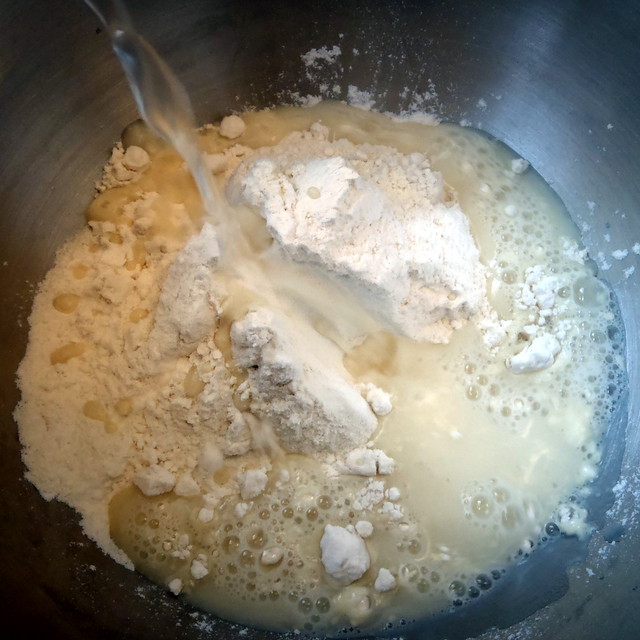
Put the flour in the bowl of a mixer fitted with a dough hook. Mix the water and kansui together, then add the mixture to the flour. The flour should immediately start turning yellow.

PB023139
 
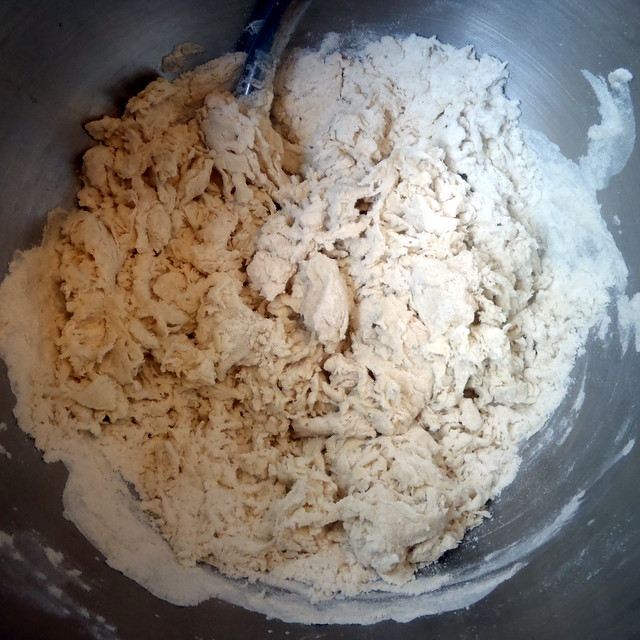
Give the mixture a quick stir with the dough hook to combine everything then attach the bowl to your mixer and run on medium high speed for 10 minutes. It’s a dry dough so it will look like a bunch of gravel at this point. Use your hands to divide it in two and press together into two balls.

PB023142
 
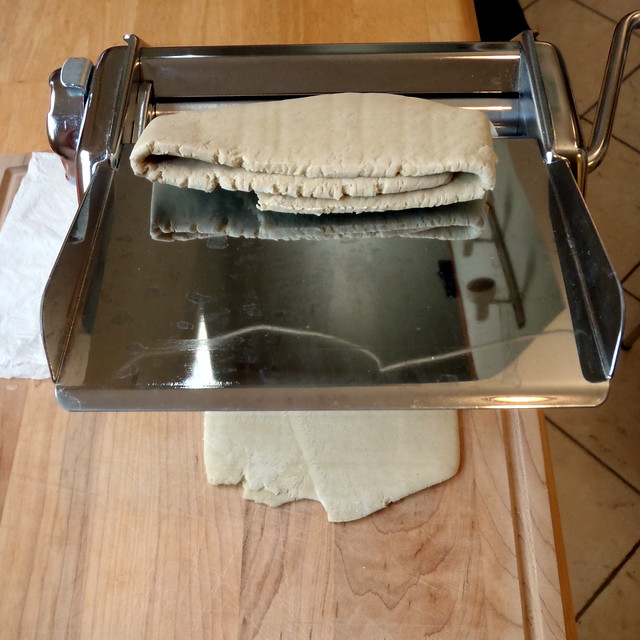
Flatten each ball out on a flat surface, and run it through the largest setting of your pasta roller a few times, folding it in half each time. The dough will be ragged the first few runs though but will smooth out. When it starts rolling out smoother, fold it up into a square and wrap with plastic wrap and store it in the fridge overnight.

Untitled
 
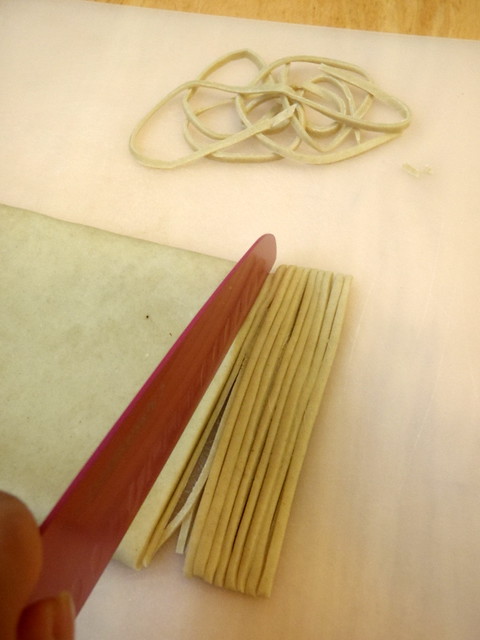
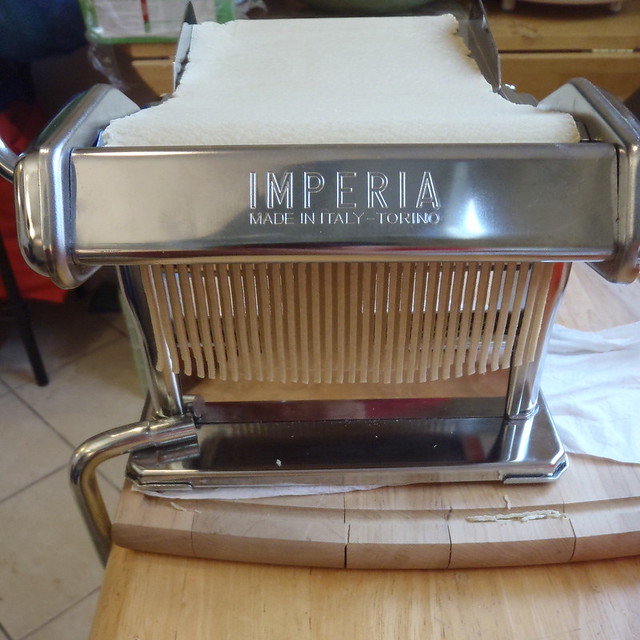
When you’re ready to cook it, prepare a large pot of boiling salted water. Each ball will make enough for 2 bowls of ramen, so figure out how much you need. Flour the dough generously and roll it out to the 3 setting on your pasta roller. Cut the dough in half so you have two sheets of dough a little over 1 foot long and flour generously again. Use the spaghetti attachment to cut the pasta into long thin noodles, dusting them with flour as they are cut to keep them from sticking together.  (I actually found that the noodles were not very sticky and didn't need to dust them at all.)

Cutting the ramen
 
Boil the noodles until they are slightly firmer than the final consistency you want, since they will continue cooking after you remove them from the water.

Cooking the ramen

If you're not ready to boil all the noodles yet, you can save them in an air-tight container (I used a plastic baggie) for a day or two in the fridge.

I still haven't figured out how to make the noodles curly, though.  Any suggestions? 

Next:  Miso Ramen with Marinated Soft-Boiled Eggs
Previously:  Vanilla Passion Caramels
Three years ago:  Tim Tam Slam Ice Cream
Four years ago:  Beef Noodle (Soup) and Lu Dan