I've been wanting to try making a full-size crepe cake ever since I made those Nutelle mini crepe cakes 3 years ago, and seeing a recent picture of my friend Serene's matcha crepe cake re-inspired me. But when I couldn't decide which flavor crepe cake to make, my other friend Christine reminded me of a rainbow crepe cake she had shown me on Instagram before. I knew what I must do.
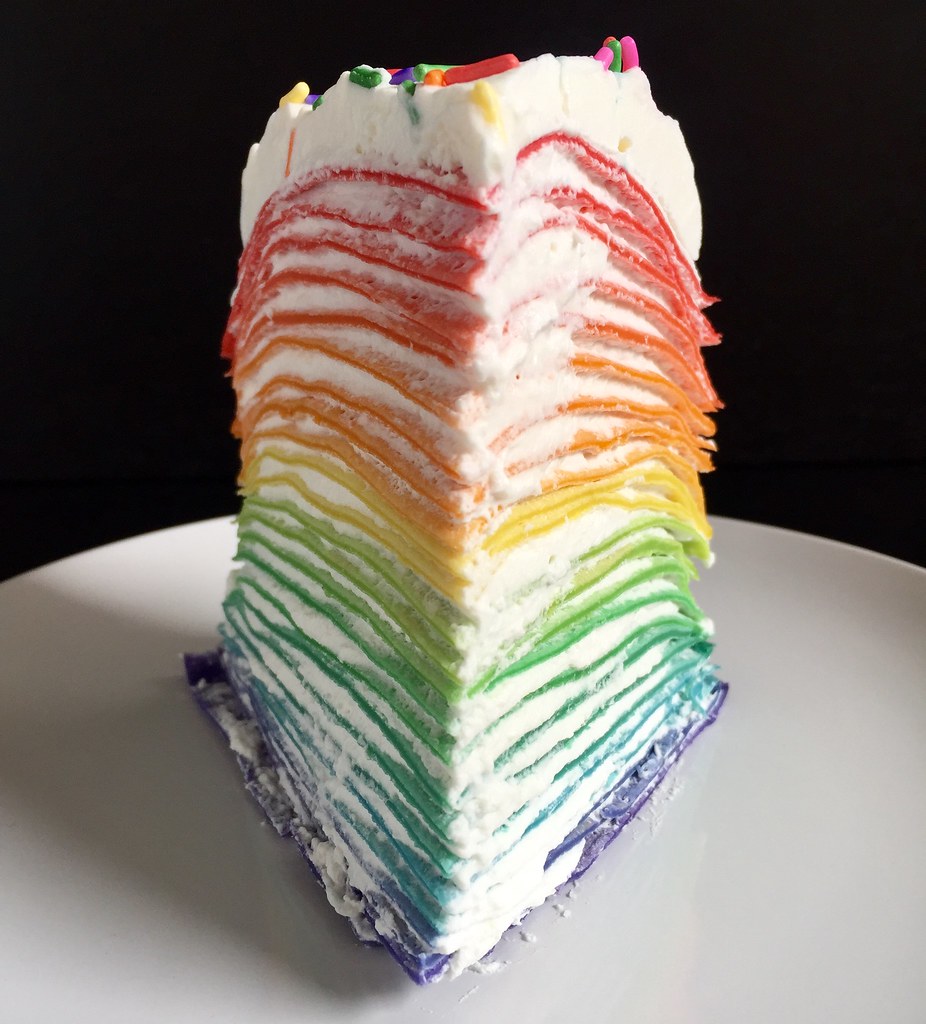
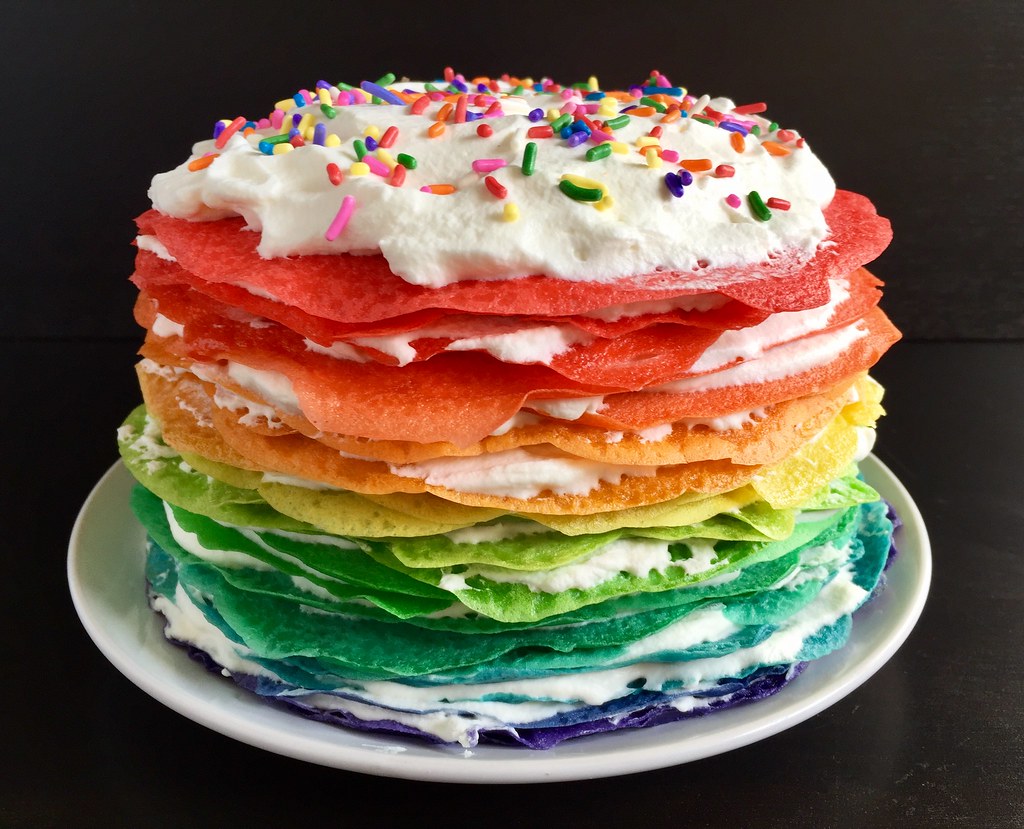
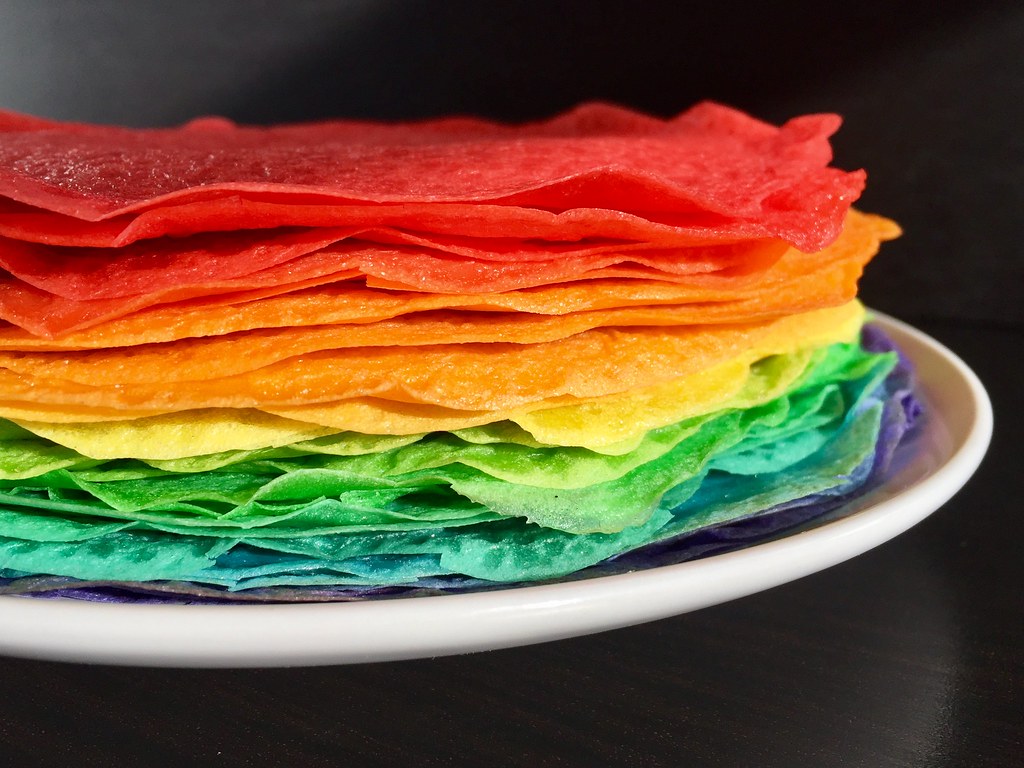
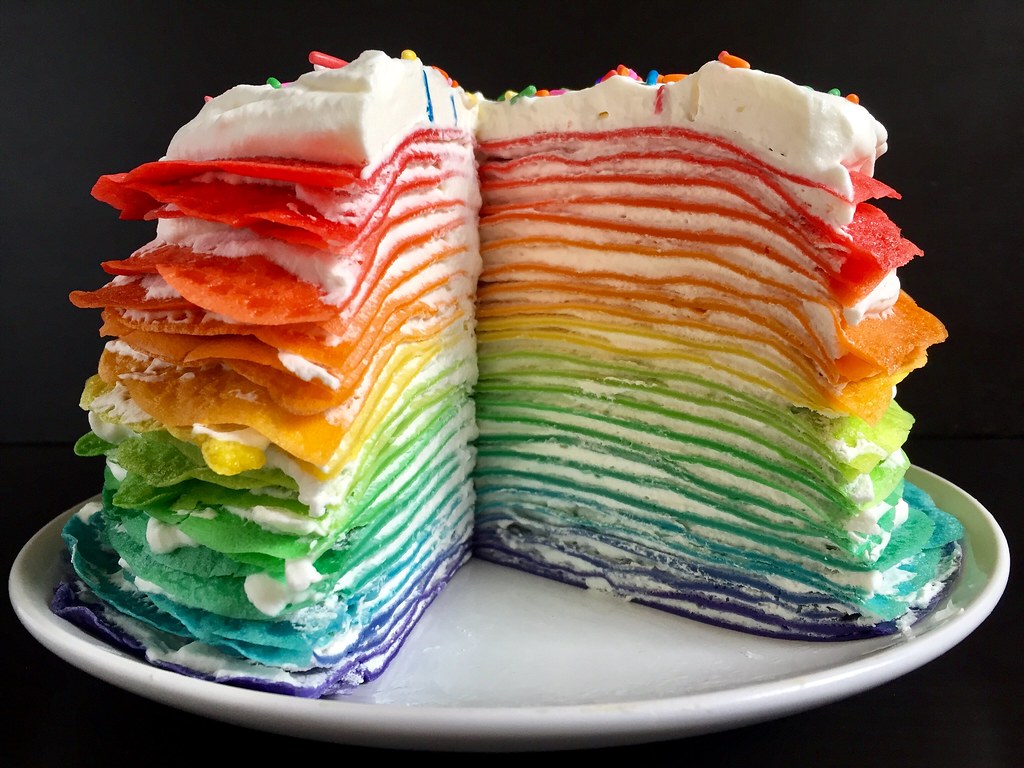
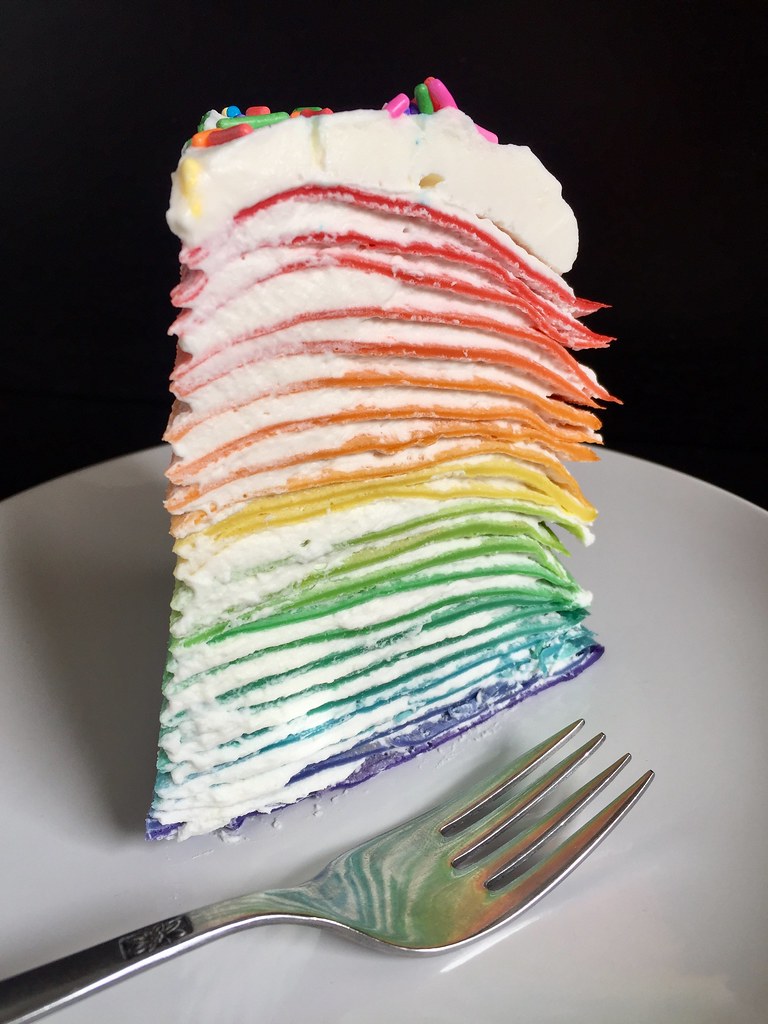
After some research on-line, it seemed that most rainbow crepe cakes used 6 discrete colors of crepes, but I wanted to try to blend them together so that the color of the crepes was more progressive. I figured I'd make 2 crepes of each color, then start mixing the leftover batter together a little at a time. This just made an already complicated process even more complicated, but I'm rather pleased with the result. If you'd rather just leave it as 6 discrete colors, just divide the batter evenly between 6 bowls before coloring. But if you'd like to try the ombré approach, you can put 1/3 less batter in the bowls for the red and purple since you're only blending those one way instead of two (a scale makes it a lot easier to figure out).
I decided to just use sweetened whipped cream for the filling (a recommendation from Serene) instead of pastry cream plus whipped cream like a lot of other recipes use because it was easier, and I liked the pure white color of the filling against the rainbow of colors. Serene also suggested freezing the cake if not serving right away to help stabilize it and prevent weeping.
Rainbow Crepe Cake (crepe recipe from Alton Brown)
makes a 24-layer crepe cake
4 large eggs
1 1/2 cup milk
1 cup water
2 cups all-purpose flour
5 tablespoons sugar
6 tablespoons melted butter
1 tablespooon vanilla extract, divided
Oil, for greasing
2 cups heavy cream
1/3 cup powdered sugar
Rainbow sprinkles (optional)
Combine the eggs, milk, water, flour, sugar, butter, and 2 teaspoons of vanilla extract in a blender and pulse for 10 seconds. Let rest in the fridge for at least an hour or overnight.
Divide the batter into 6 bowls, with about 1/3 less in two of the bowls. Color the bowls with less batter in them red and purple. Color the other bowls orange, yellow, green, and blue.
Lightly grease a non-stick pan with oil and heat over medium-low. Pour a scant 1/4 cup of the purple batter into the middle of the pan and swirl to spread into an even circle. Cook for 30 seconds and flip carefully. Cook for another 10 seconds, then transfer to a cutting board or baking sheet lined with parchment paper. Repeat, making 2 crepes each of all 6 colors. Once the crepes have cooled on the parchment paper you can start stacking them on a plate.
Gradually mix the rainbow-adjacent colors together to make the rest of the crepes. You should end up with about 24 crepes, more if you don't mess any up. I messed up 2 or 3 (the first one is always a fail) and ended up with 24.
Beat the heavy cream to soft peaks, then add the powdered sugar and remaining teaspoon of vanilla extract. Beat again to barely stiff peaks.
Place a purple crepe on a plate and spread a thin layer of the whipped cream on top, leaving a little bit of a border. Top with another crepe and continue with alternating layers of crepes and whipped cream.
If you have any whipped cream leftover, frost the top and garnish with sprinkles, if you like. Chill until ready to serve.
To be honest, I thought the cake looked a lot prettier than it tasted. This happened the last time I made a rainbow confection too. I think I was so focused on the looks I forgot that I never really flavored the crepes or whipped cream, and Alton Brown's crepes are made to be filled with something tasty not just eaten alone. Luckily, Serene sent me her crepe recipe so I'll probably use that one next time. =)
Next: Rhubarb Strawberry Coconut Cream Tart
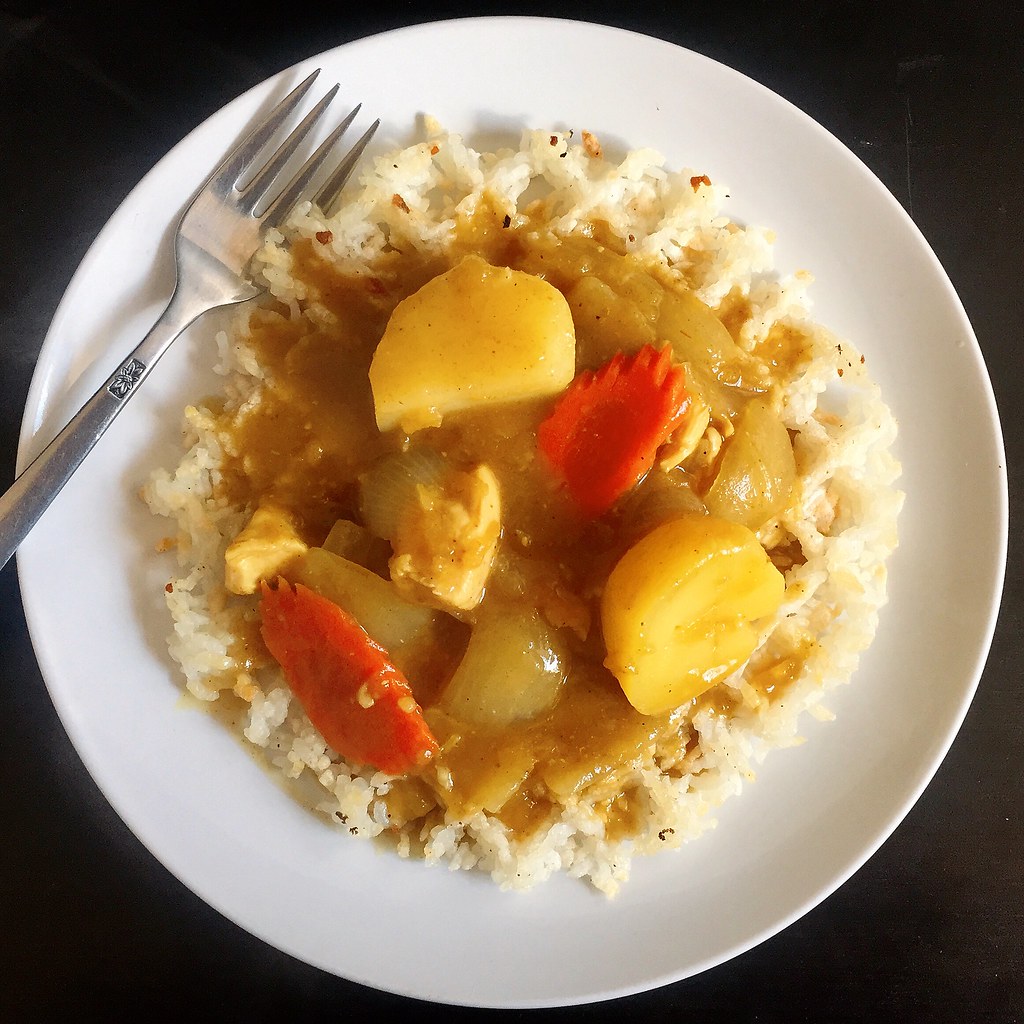
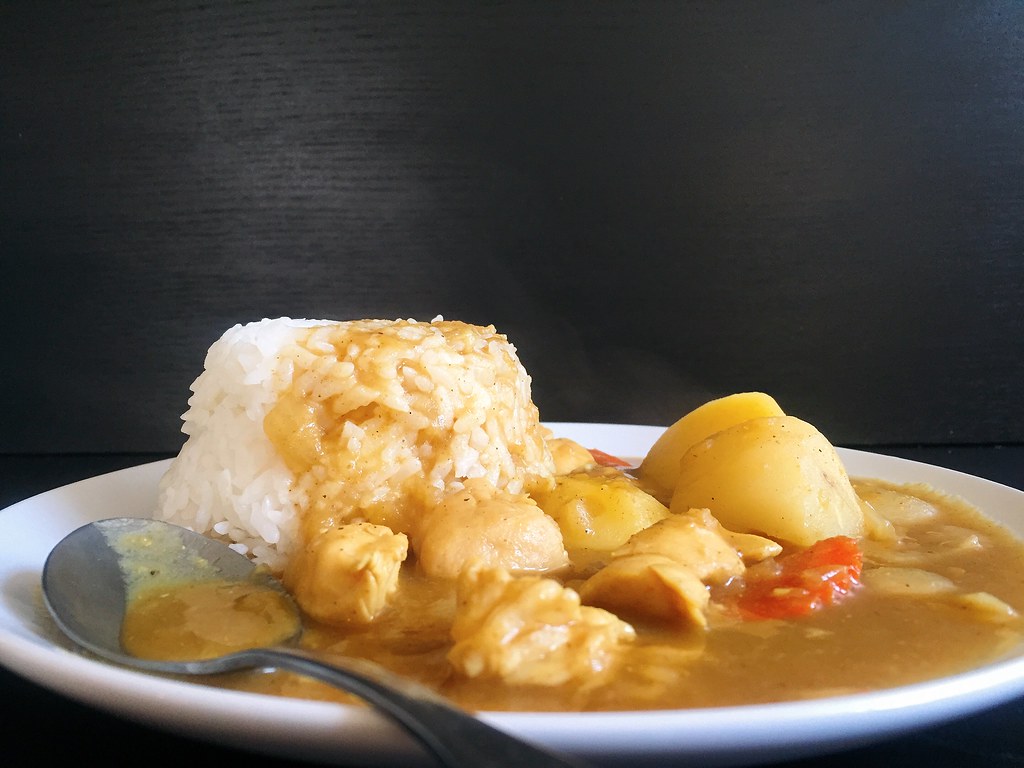
Previously: Japanese Chicken Curry Rice
Last Year: The 4-Hour Baguette
Two Years Ago: Homemade Squid Ink Pasta
Three Years Ago: Miso-Glazed Eggplant
Four Years Ago: Happiness Cake
Seven Years Ago: Momofuku's Crack Pie
Eight Years Ago: Korean Pancake Face-Off