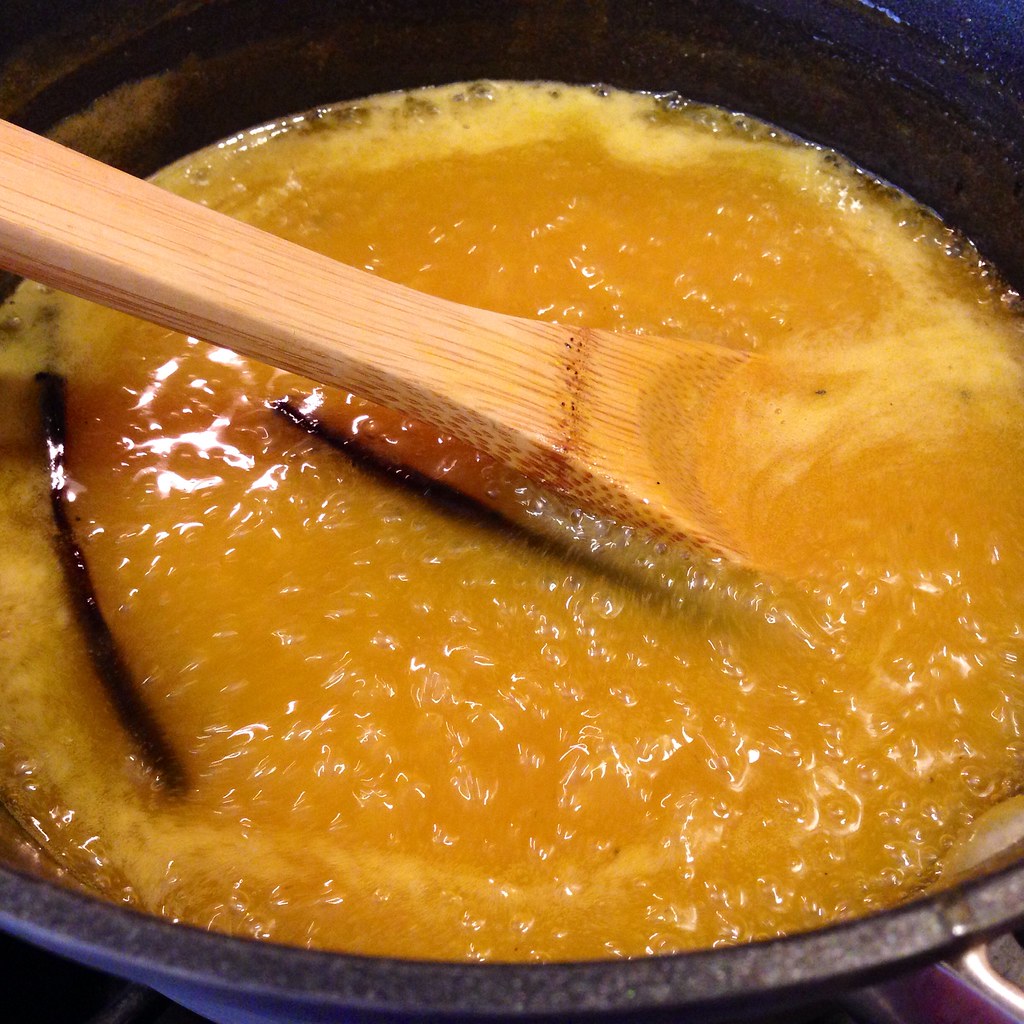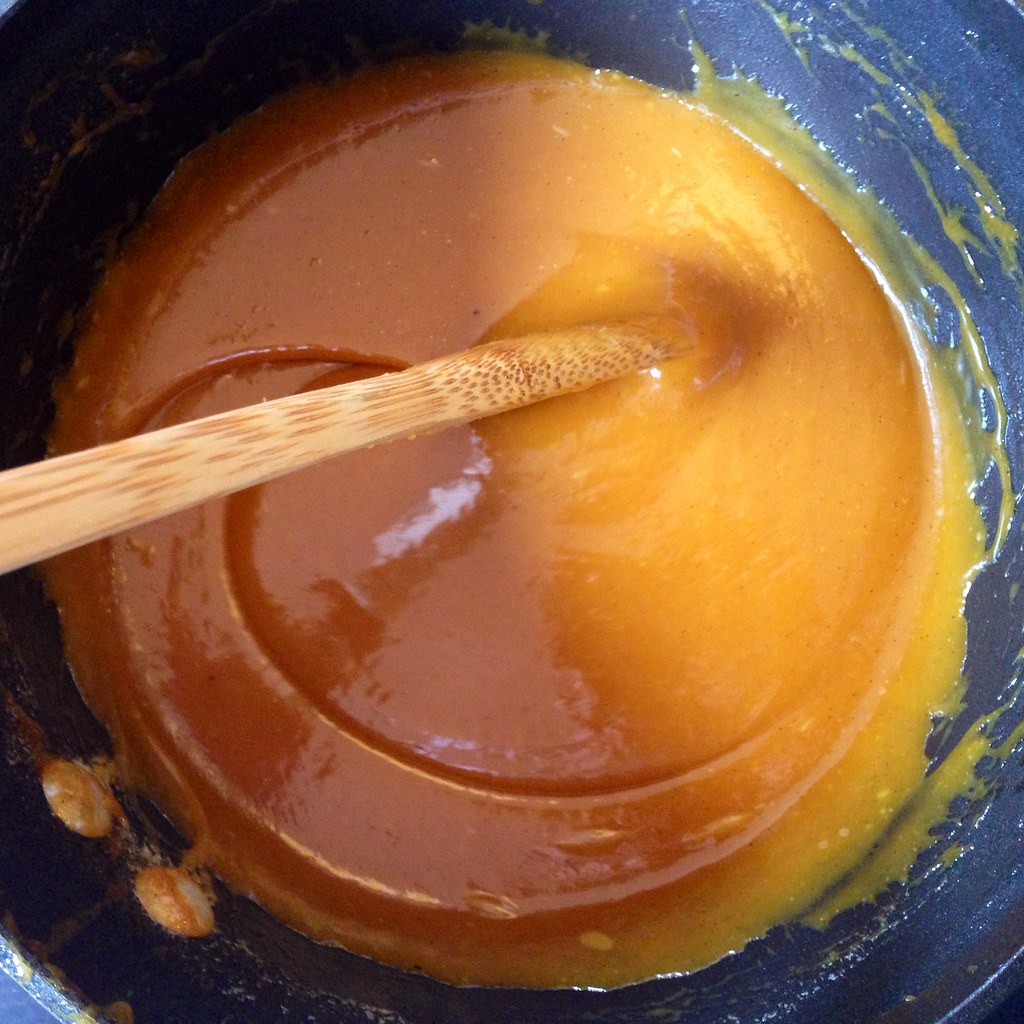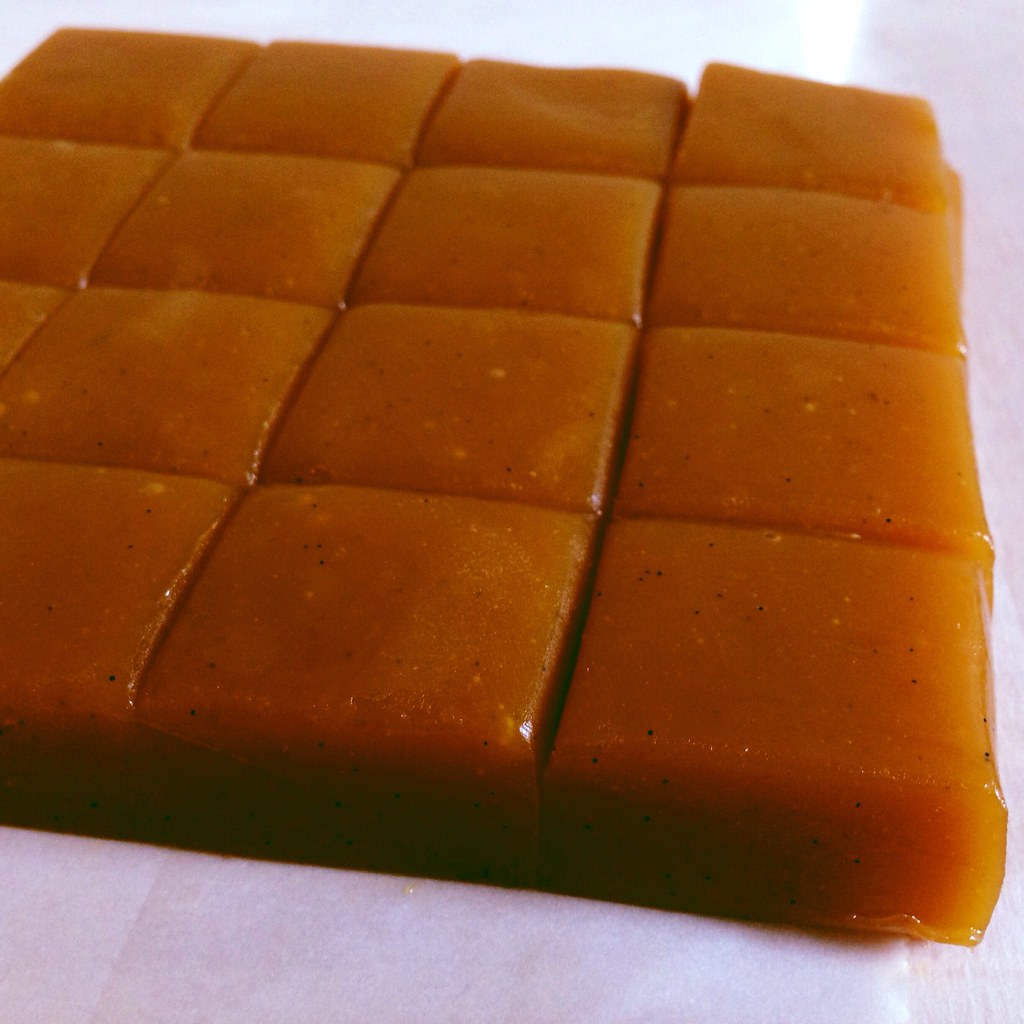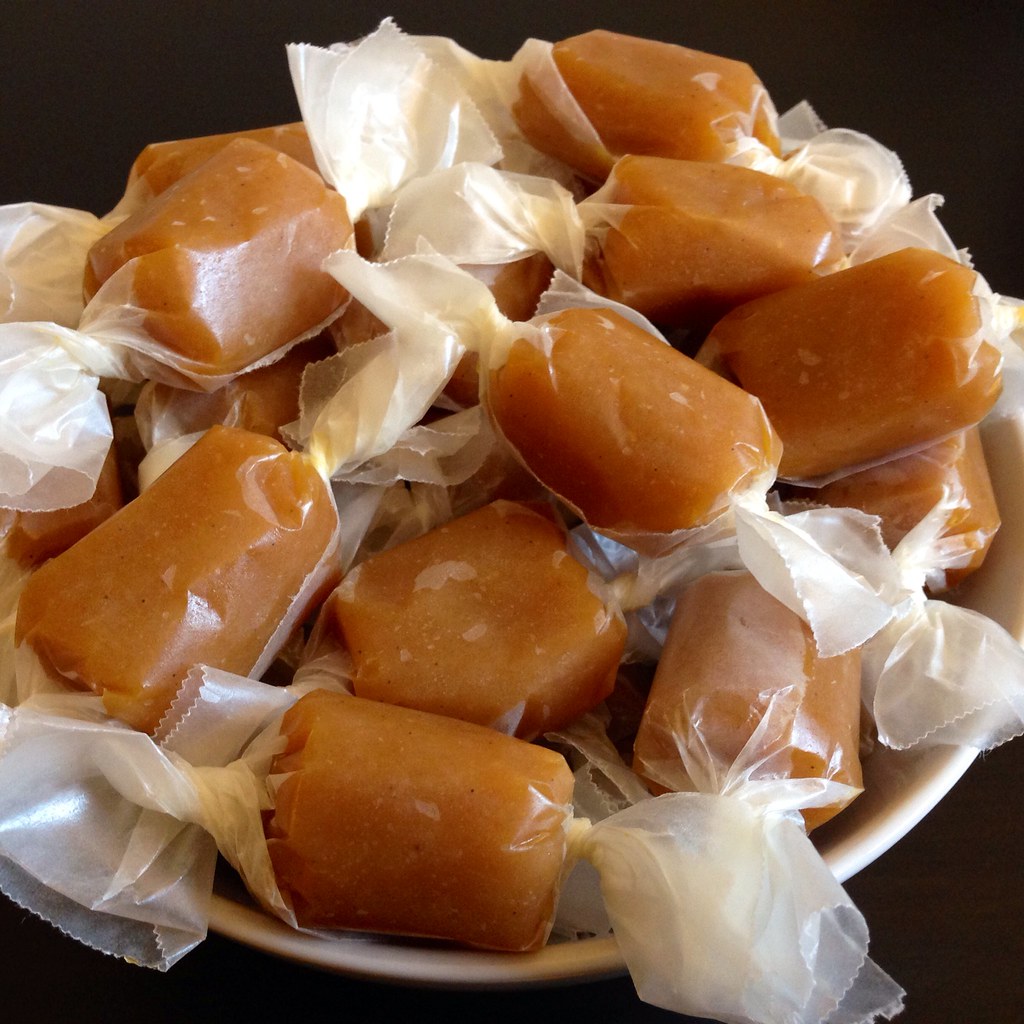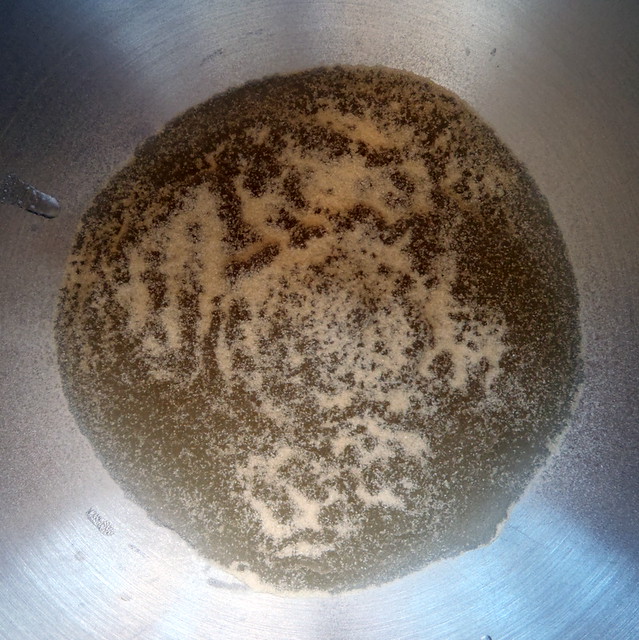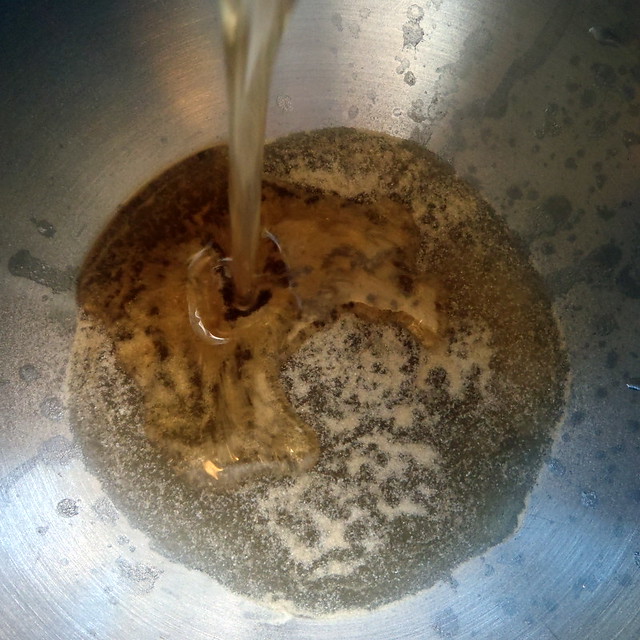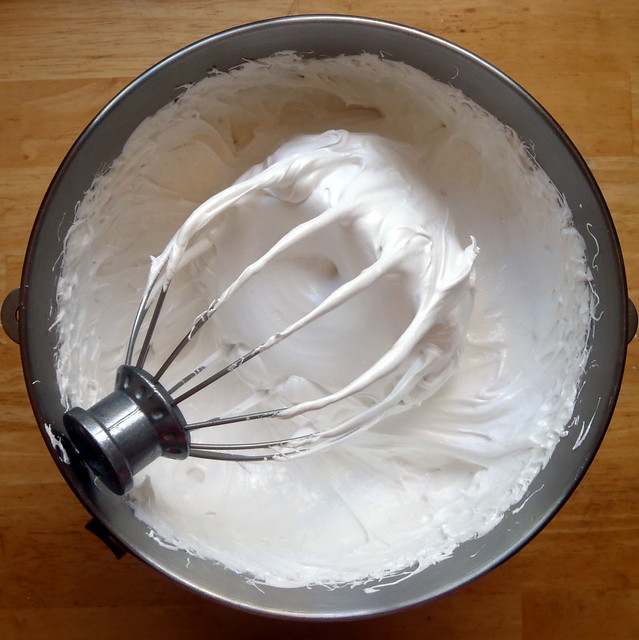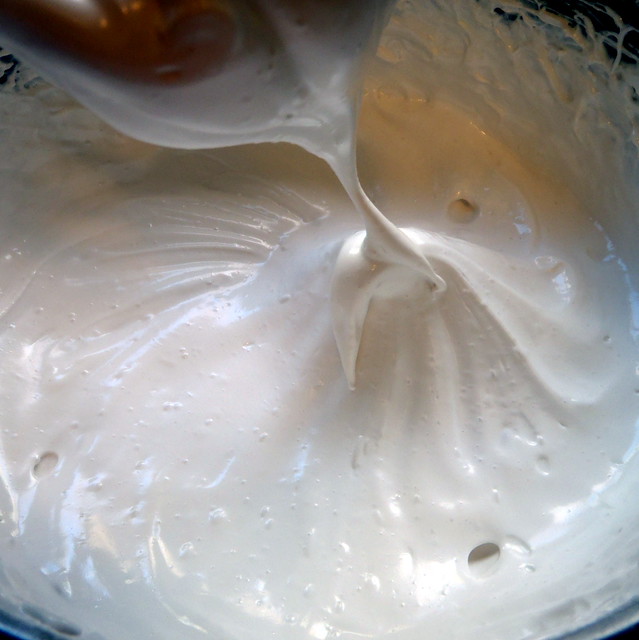
Showing posts with label candy. Show all posts

Monday, September 12, 2016

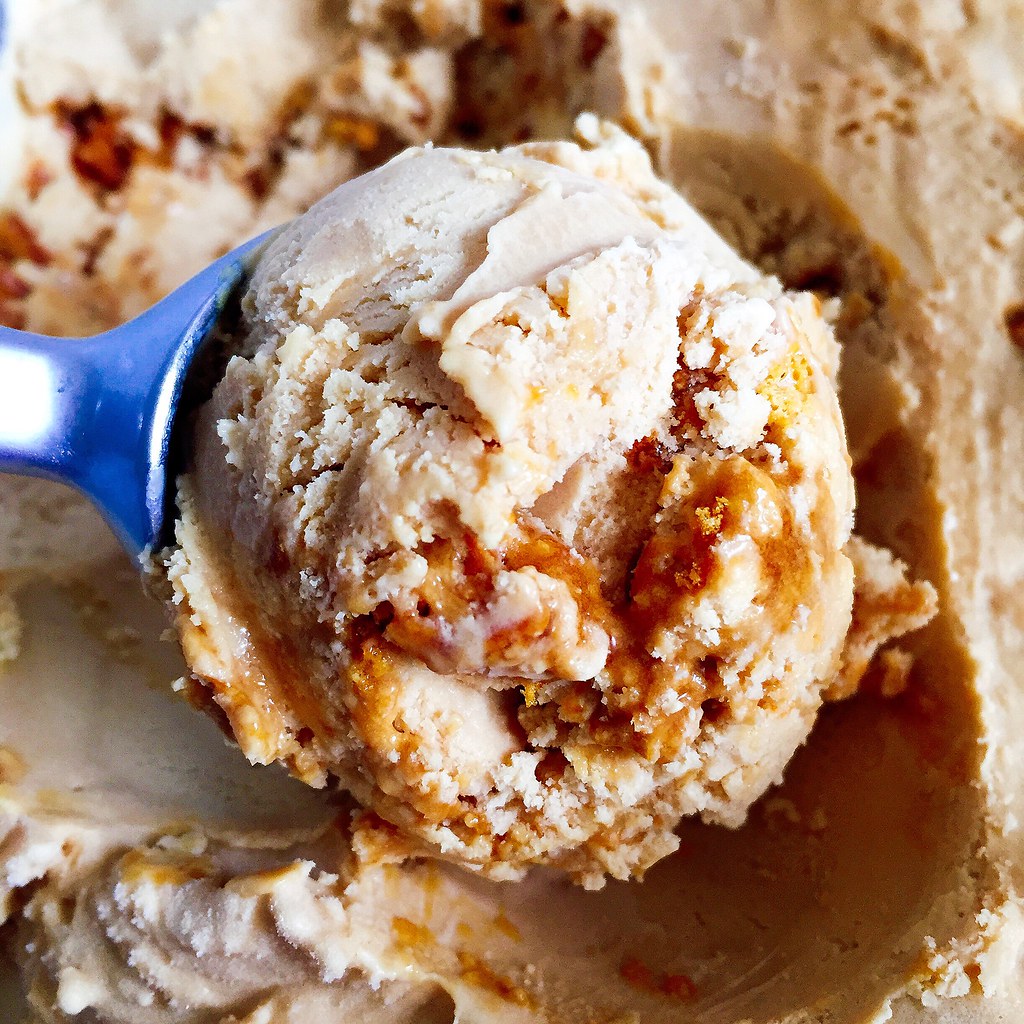
Caramelized Honeycomb Ice Cream


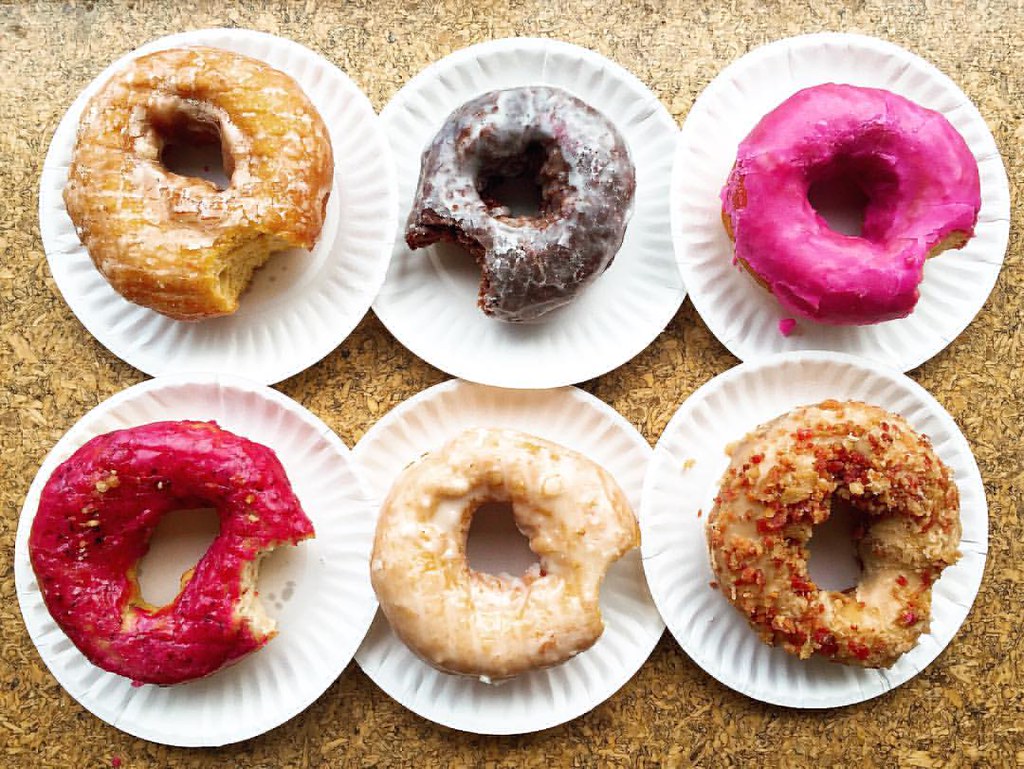
My friend Christine and I took our annual gorgefest stuffing of the faces eat all the things road trip up to Portland, ME on Labor Day and hit all our usual spots.  First was The Holy Donut for their Maine potato donuts.  Here we have the sweet potato ginger glazed, sea salt chocolate, pomegranate, maple bacon, fresh lemon, and triple berry flavors.  I think my favorite was the maple bacon.

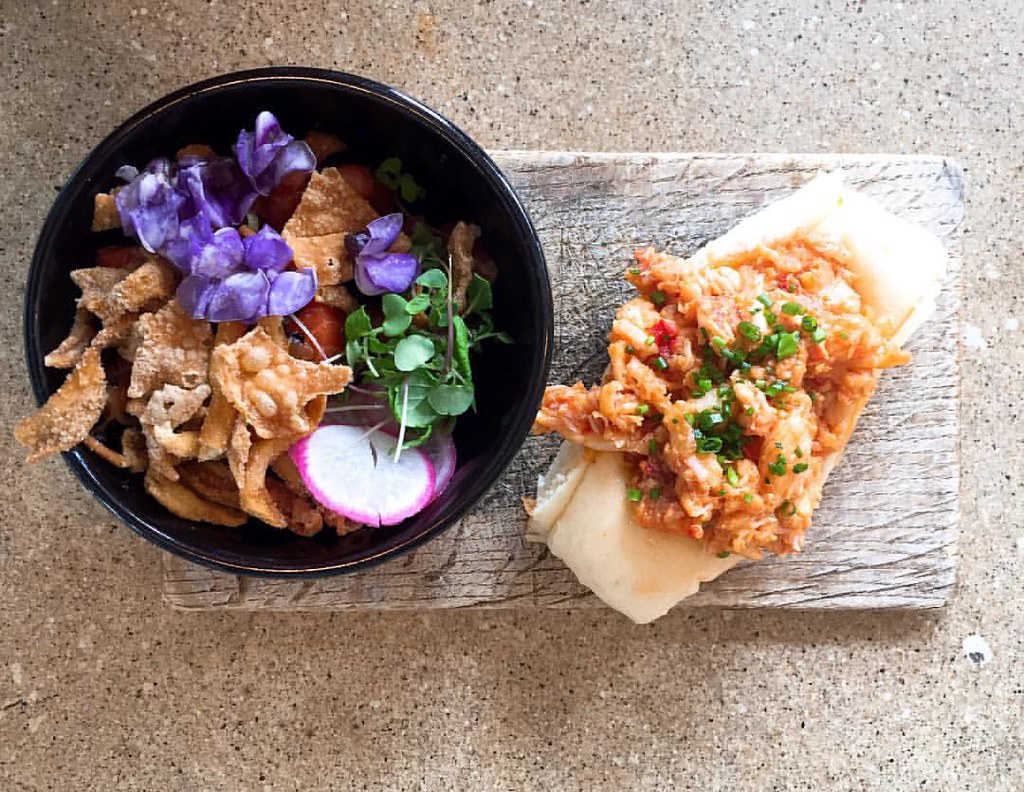
Then on to Eventide Oysters for their brown butter lobster rolls (which I've tried to recreate).  We also tried the salmon poke this time, which I thought was prettier than it tasted.

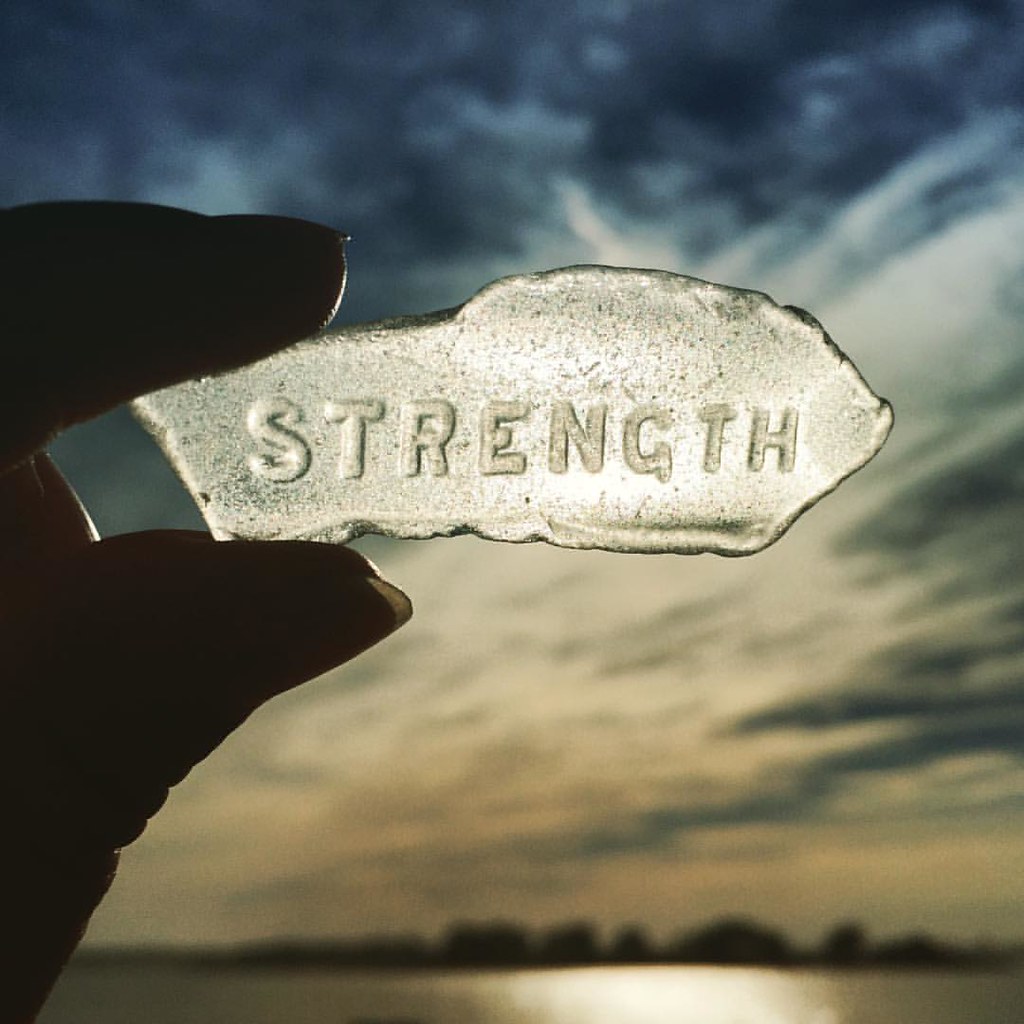
Since it was such a beautiful day, and we had some time before dinner, we took the ferry over to Peaks Island to see if there was anything interesting there.  There wasn't.  But Christine did find this awesome piece of sea glass there!

After dinner at Duck Fat, we decided to grab some dessert from The Honey Paw, a new fusion restaurant next door to Eventide.  We tried the caramelized honeycomb soft serve with magic shell and honeycomb candy.
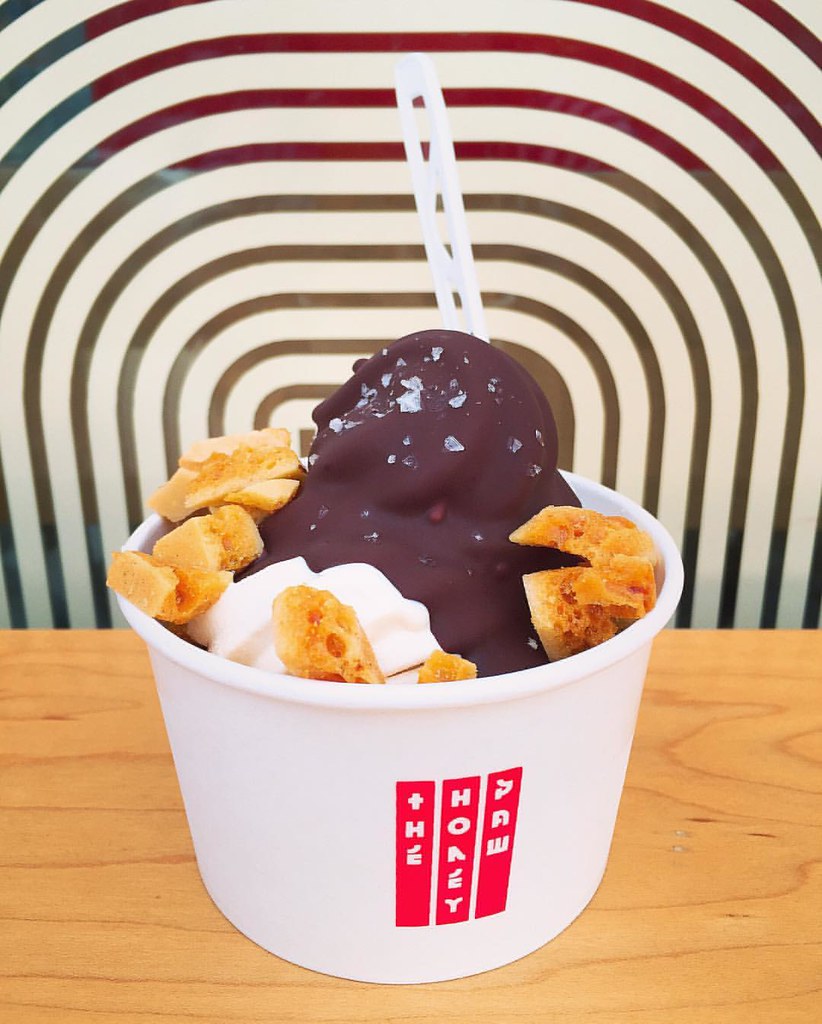

It might have been the best thing we ate that day and is definitely going on our to-eat list for future trips!

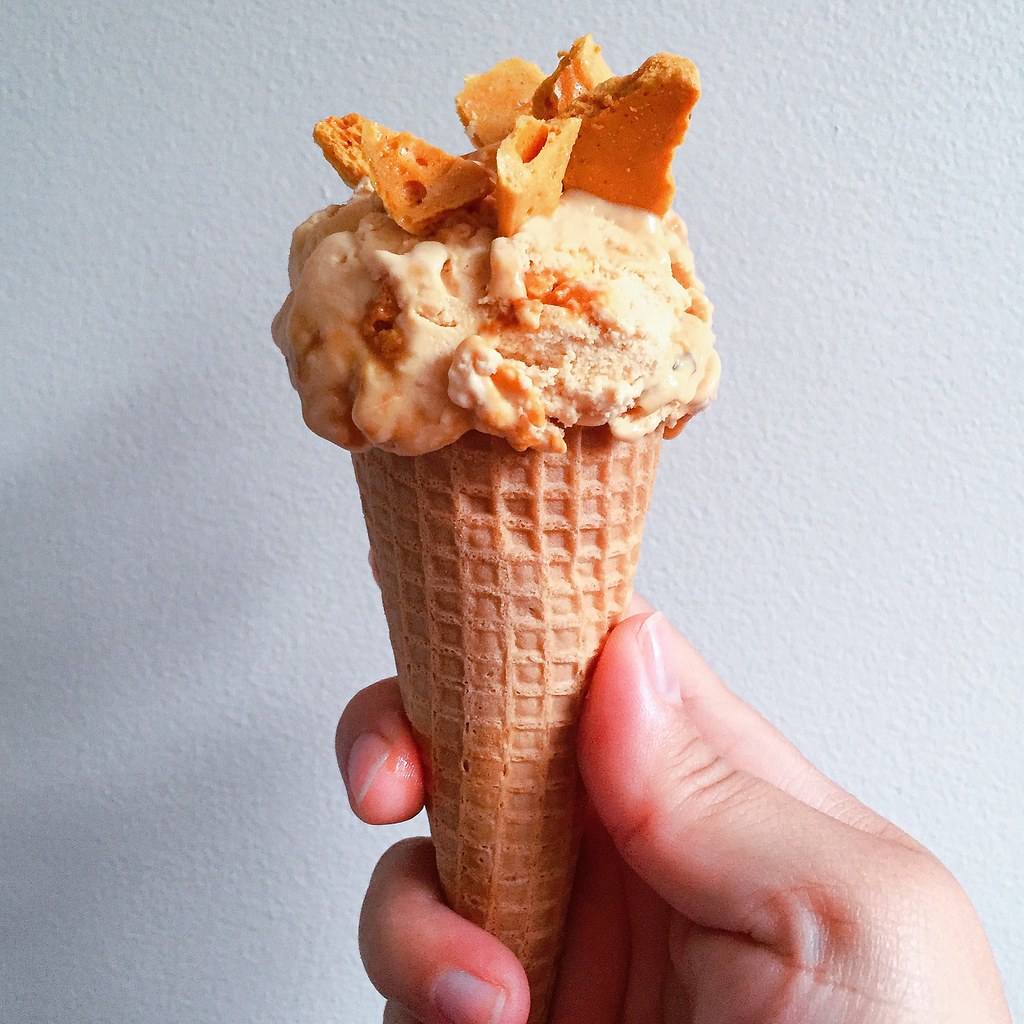
I tried to recreate it at home using one of Jeni's recipes as a guide, but I wasn't able to get that pure honey flavor that was the reason I loved the original version.  But then I realized it reminded me of Toscanini's burnt caramel ice cream, which is a very, very good thing.  I also liked how the honeycomb candy--also made with one of Jeni's recipes--added a unique texture when layered in with the ice cream.


Caramelized Honeycomb Ice Cream (adapted from Jeni's Splendid Ice Creams at Home)
makes about 1 quart

For the honeycomb candy:
1 1/2 cups sugar
1/2 cup water
3 tablespoons honey
1/3 cup corn syrup
1 tablespoon baking soda

Bring the sugar, water, honey, and corn syrup to a boil in a large saucepan over medium-high heat.  When it reaches 300°F, remove from heat and stir in the baking soda.  Pour into a parchment-lined baking sheet and let cool.  Break into small pieces.  You'll only need about half the amount that this recipe makes for the ice cream, but it's great eaten on its own or coated with chocolate.  Store in an airtight container.

For the ice cream:
2 cups whole milk
1 tablespoon plus 2 teaspoons cornstarch
4 tablespoons cream cheese, softened
1/2 teaspoon kosher salt
2/3 cup honey
1 1/2 cups heavy cream

Make a slurry with the cornstarch and 2 tablespoons of the milk and set aside.  Whisk the cream cheese and salt in a medium bowl until smooth.

Caramelize the honey in a large saucepan over medium-high heat.  Stir in about 1/4 of the cream to loosen it up and then stir in the rest of the cream.  Add the remaining milk and bring to a boil over medium-high heat.  Boil for 4 minutes, then whisk in the cornstarch slurry.  Bring the mixture back to a boil and cook until slightly thickened, about 1 minute.

Gradually whisk the hot milk mixture into the cream cheese until smooth.  Chill the mixture in an ice bath or in the refrigerator until cold.

Churn according to your ice cream maker's instructions.  Pack the ice cream into a storage container, mixing in the honeycomb candy as you go.  Freeze in your freezer until firm, at least 4 hours.

Next:  Soy Garlic Glazed Korean Fried Cauliflower
Previously:  Macau-Style Portuguese Chicken Rice
Two Years Ago:  Ginger Scallion Lobster Buns
Three Years Ago:  Ramen Lobster Rolls

Tuesday, August 5, 2014

Jacques Genin's Mango Passion Caramels
https://www.flickr.com/photos/joyosity/14790038296/

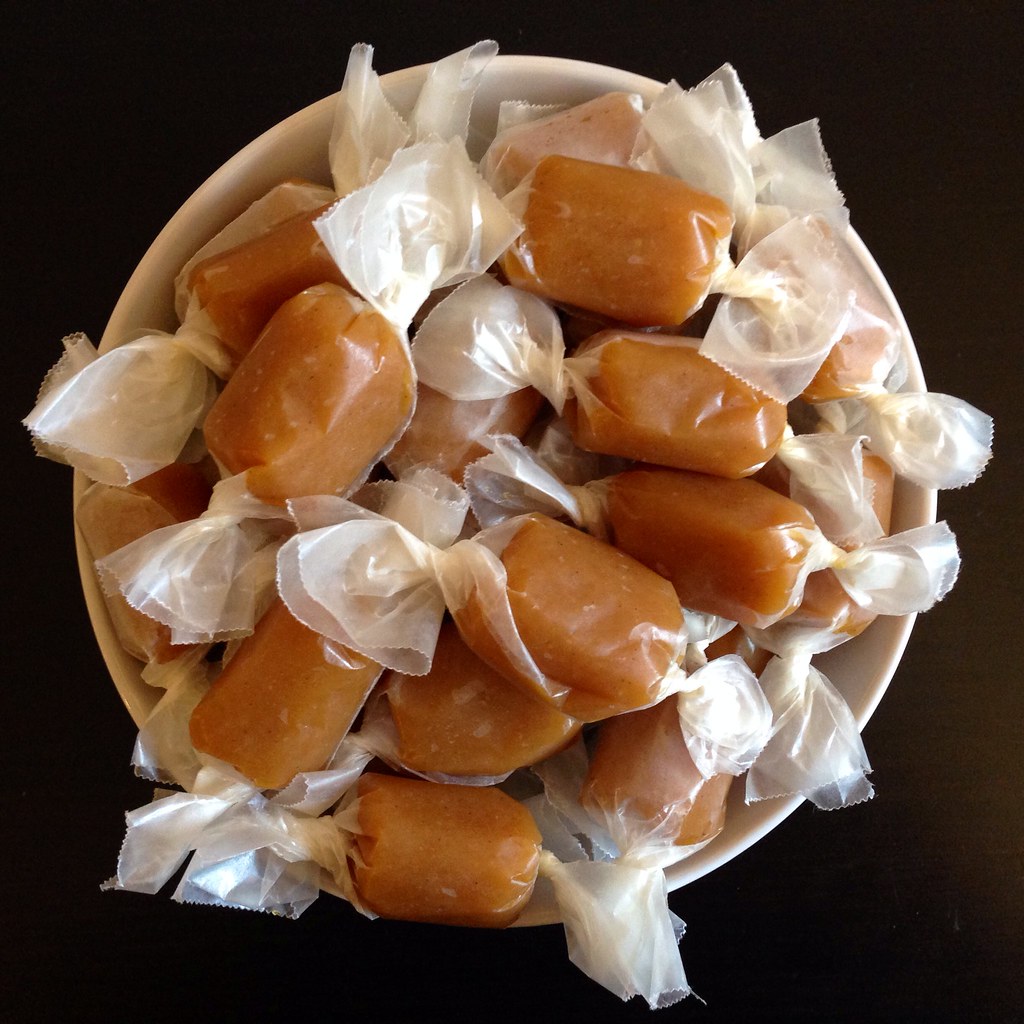
A year and a half ago, I tried making my own version of Jacques Genin's mango passion caramels by using Smitten Kitchen's apple cider caramels as a template.  In my opinion, the vanilla passion caramels turned out great, and everyone was happy.

Then a couple of months ago, my friend Ellen sent me a link to this recipe which linked to what was apparently the real recipe from Jacques Genin.  o_O

https://www.flickr.com/photos/joyosity/14790157756/

Unfortunately, even after translating the recipe to English, the instructions were a little vague.  There no mention of what temperature to cook the caramel to, just directions to boil for 45 minutes, which is really not enough when it comes to the precise science of candy making.  And there was no helpful suggestion for how to replace the glucose with corn syrup, which is much more available, at least in my kitchen.  Lastly, the recipe says it's for 4 people, but the crazy amount of each ingredient (a kilogram each of mango and passion fruit juice?  1.8 kilograms of sugar?!?) made me think it might be for more like 400 people!  After reading a few comments and looking up some info online, I decided to try cooking the caramel to a "soft ball" stage, about 110°C or 230°F, and to use a 1:1 substitution of corn syrup for glucose.  I also made the executive decision to divide all the quantities by 5.

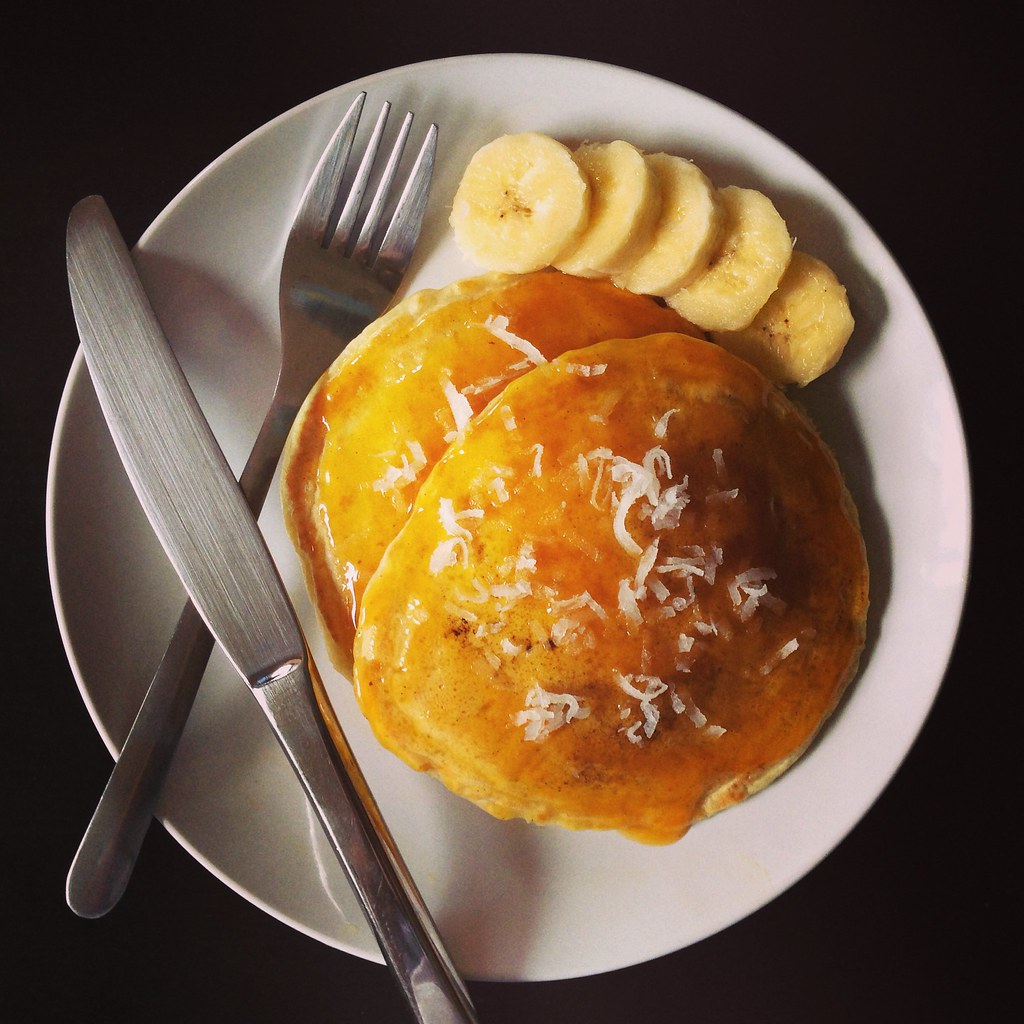
The caramel actually reached 230°F in about 45 minutes on a medium-low heat, so I thought I had gotten it right (and the volume of caramel was just right), but then when it was time to cut the caramels, they were so soft it was almost impossible!  I basically had to scrape the caramel onto a piece of wax paper, and even after chilling the caramels in the freezer, they were still super soft!  In the end, I gave up on trying to wrap this batch and just spooned everything into a jar.  It wasn't a total loss, though.  I made banana pancakes the next morning and topped them with the mango passion caramel sauce, and it was delicious!  I'm thinking of swirling the rest into some coconut ice cream, whenever I get around to making that.

https://www.flickr.com/photos/joyosity/14813037295/

I was determined to get the caramels right though, so for the next batch I decided to use half the amount of corn syrup and to cook the caramels until 252°F, the temperature I used for the vanilla passion caramels.  This time, the caramels set like they should!  The only problem is the butter didn't completely mix into the caramel even though I stirred it for like 15 minutes!  The next time I make these, I'll try reducing the amount of butter I add by maybe 20%.

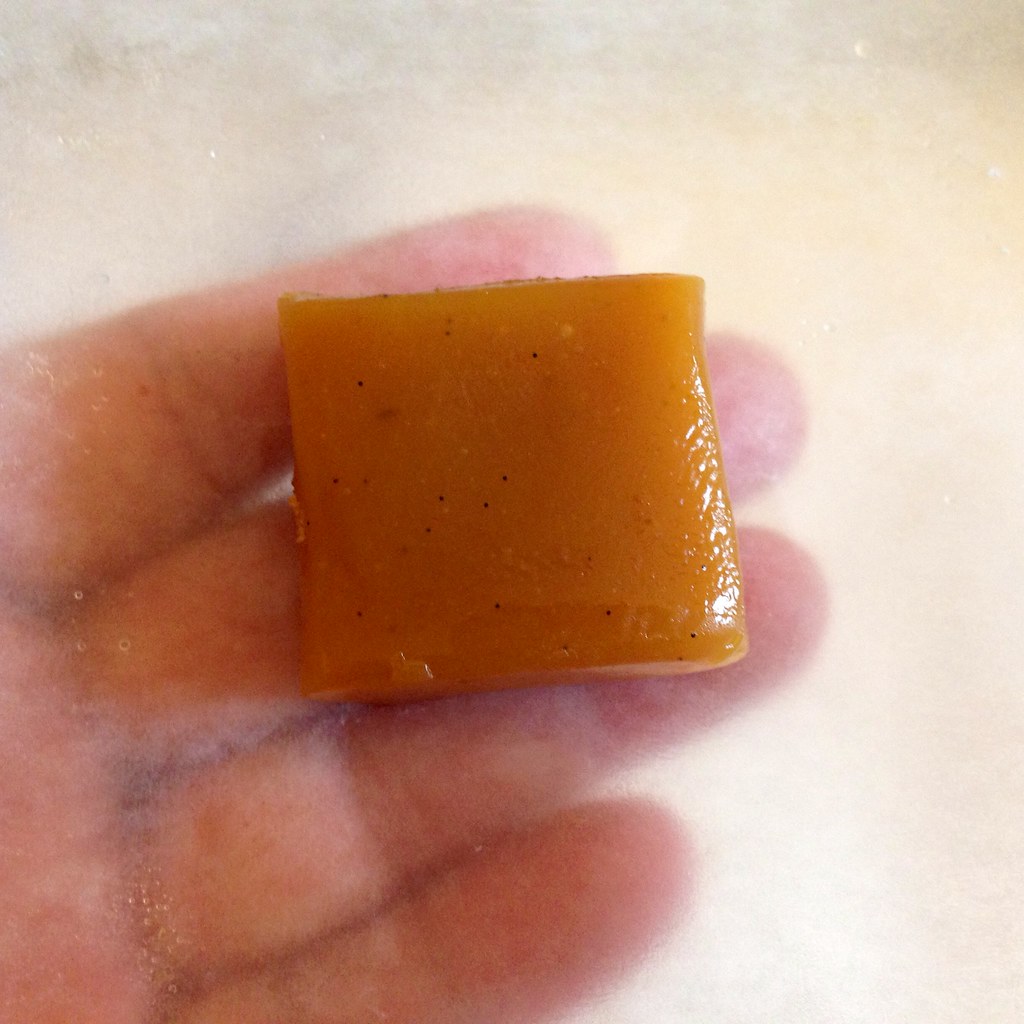
Other than that, these caramels were perfect.  They're soft but not sticky with just the tiniest bit of crackle from the vanilla bean seeds.  The reduction in corn syrup made a difference not only in texture but also in improving the taste.  There's less of a sharp sweetness so you can taste the tartness of the fruit and the buttery goodness even more.  It's been over 2 years since I had last the real thing, but this pretty much tastes exactly like what I remember.  ^_^

https://www.flickr.com/photos/joyosity/14813041795/

Jacques Genin's Mango Passion Caramels (adapted from here)
makes about 64 caramels

300 g heavy cream
200 g passion fruit pulp
200 g mango juice
1 vanilla bean, split lengthwise and cut in half if needed to fit in the pot
25 g corn syrup
360 g sugar
100 g butter, softened (consider using less; however, I haven't tried it myself)

https://www.flickr.com/photos/joyosity/14626398378/

Mix all the ingredients except for the butter in a large saucepan.  Bring to a boil, and then reduce heat to a medium/medium-low and continue to boil for about 45-60 minutes, until the temperature reaches 252°F.  

In the meantime, line a 8" square baking pan with two pieces of crisscrossed parchment paper.  Cut out 3" square pieces of wax paper to use as wrappers.

https://www.flickr.com/photos/joyosity/14626373959/

When the caramel has reached temperature, remove the vanilla bean.  Add the butter and mix well. It may take a while for the butter to mix in, but it eventually will; just keep stirring.

https://www.flickr.com/photos/joyosity/14810664004/

Pour into the prepared baking pan and allow to cool completely.

https://www.flickr.com/photos/joyosity/14810718604/

Cut the caramel into 1" squares.  Wrap in the wax paper squares.  Store in the refrigerator and bring to room temperature before eating.  Die of happiness.

https://www.flickr.com/photos/joyosity/14812678942/

This recipe is actually easier than the vanilla passion caramel one since you only need one pot for everything!  The hardest part was actually finding pure mango juice since most of the "mango juice" I found in stores contained water and sugar.  I think I finally found some on a shelf in a random Latin grocery store in Seattle.  I found the passion fruit pulp in the freezer section of my grocery store with all the other frozen Goya products.

Next:  Sea Salt Cold Brew Coffee
Previously:  Grace's Ginger Scallion Fish
Last Year:  Matcha Mochi Cupcakes

Wednesday, February 6, 2013

Passion Fruit Marshmallows

Just like I did with Smitten Kitchen's caramels, I wanted to try to make her marshmallows with my own personal favorite flavor:  passion fruit!  It turned out to be incredibly easy; I just substituted the 1/2 cup of water that you dissolve the gelatin in with a 1/2 cup of passion fruit puree!

Passion fruit marshmallows
 
Passion Fruit Marshmallows
Makes about 96 1-inch cubed marshmallows

About 1 cup confectioners sugar
3 1/2 envelopes (2 tablespoons plus 2 1/2 teaspoons) unflavored gelatin
1/2 cup passion fruit puree, thawed but cold
1/2 cup cold water
2 cups sugar
1/2 cup light corn syrup
1/4 teaspoon salt
2 large egg whites, at room temperature
Yellow gel food coloring (optional)

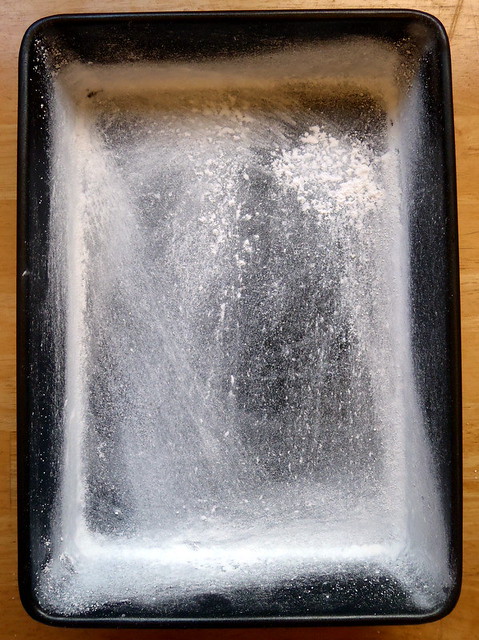
Dusting the pan
 
Oil bottom and sides of a 13- by 9- by 2-inch rectangular metal baking pan and dust bottom and sides with some confectioners sugar.

Dissolving the gelatin
 
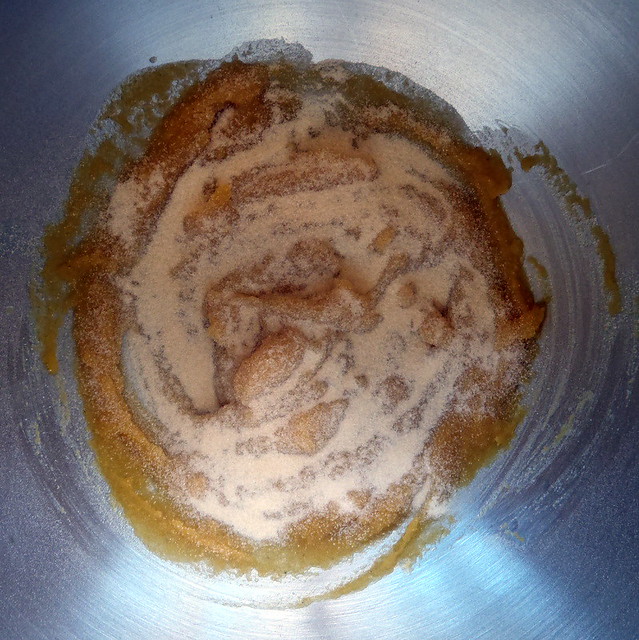
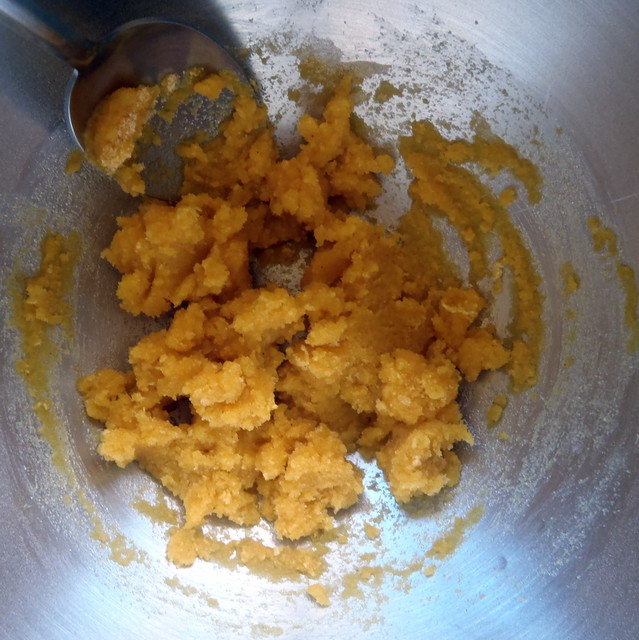
In bowl of a standing electric mixer sprinkle gelatin over 1/2 cup cold passion fruit puree and let stand to soften.

Mixing the gelatin and passion fruit puree
 
If all the gelatin does not dissolve, gently combine with a spoon so that none of the gelatin powder is left dry.

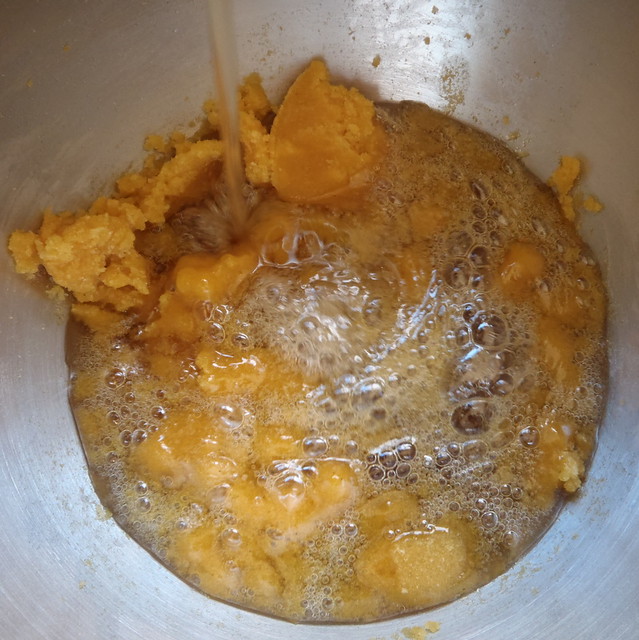
Adding the boiled sugar
 
In a 3-quart heavy saucepan cook granulated sugar, corn syrup, 1/2 cup of cold water, and salt over low heat, stirring with a wooden spoon, until sugar is dissolved. Increase heat to moderate and boil mixture, without stirring, until a candy or digital thermometer registers 240°F, about 12 minutes. Remove pan from heat and pour sugar mixture over gelatin mixture, stirring until gelatin is dissolved.

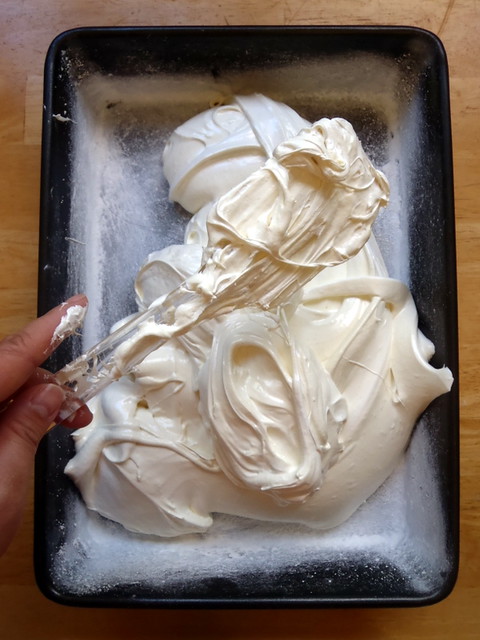
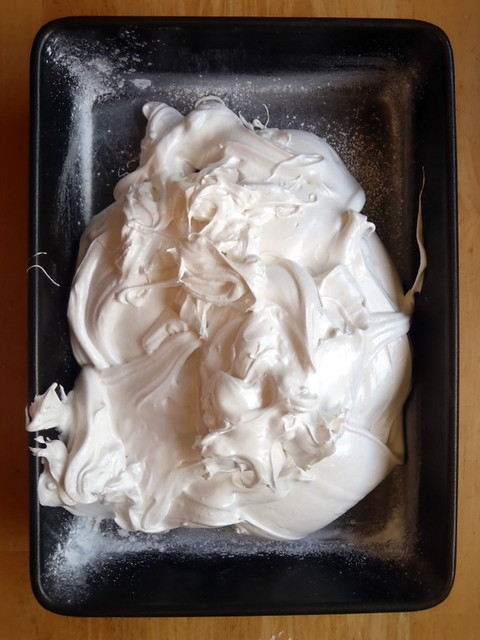
Marshmallow fluff
 
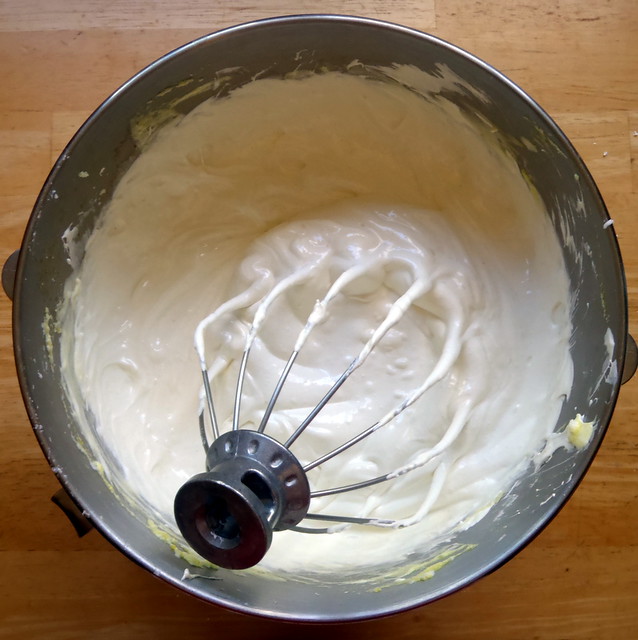
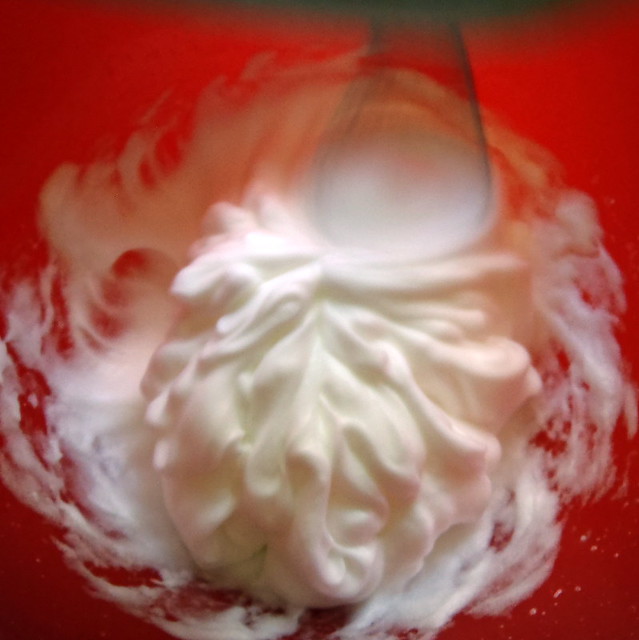
With standing mixer beat mixture on high speed until white, thick, and nearly tripled in volume, about six minutes.

Stiff egg whites

In separate medium bowl with cleaned beaters beat egg whites until they just hold stiff peaks.

A drop of yellow
 
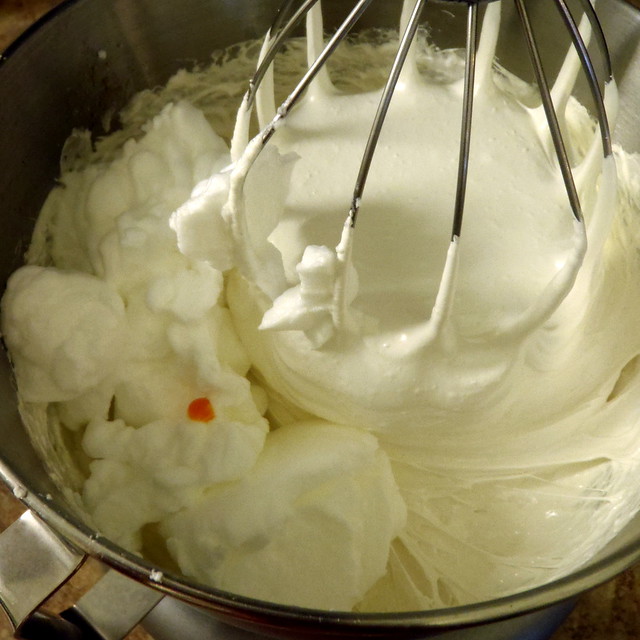
Beat whites into sugar mixture until just combined.  At this point, if you would like to color your marshmallows, you can add a few drops of yellow food coloring.  This also helps let you know when the egg whites have been fully combined in the mixture.  (I only added 1 drop, and you can barely tell in these pictures that the marshmallows aren't white.)

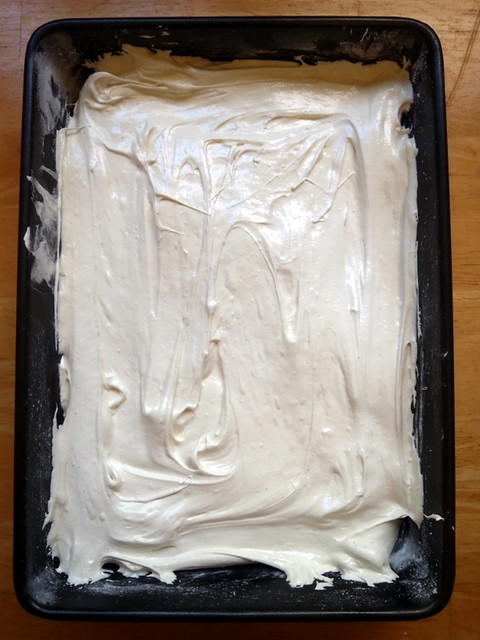
Pouring into the pan
 
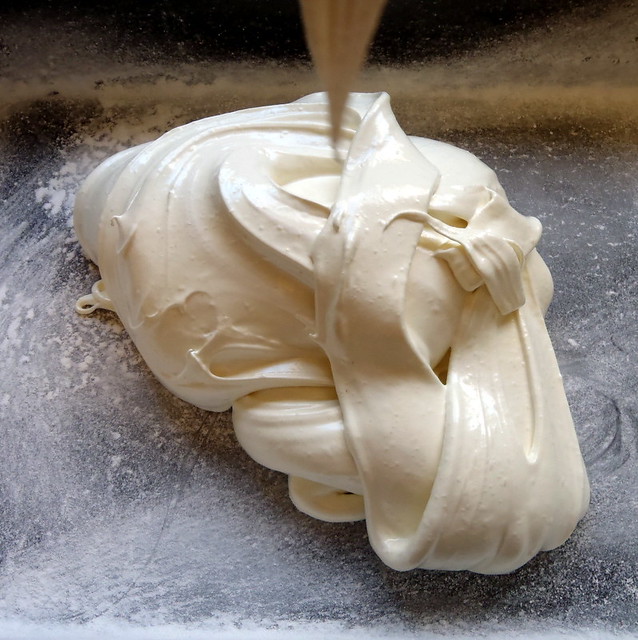
Pour mixture into baking pan.  This is probably the trickiest part of the whole operation.

Sticky business
 
Try to smooth out the marshmallow fluff as best you can.  I take it back; this is the trickiest part.  It's okay if you don't get it perfectly smooth because then it's super obvious that it's homemade!

P1233194
 
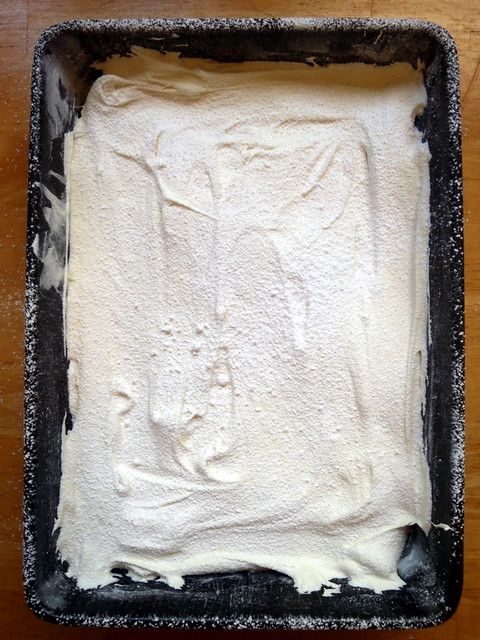
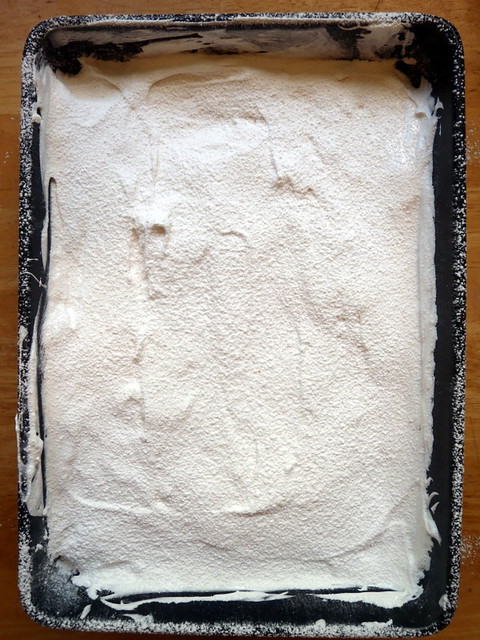
Sift 1/4 cup confectioners sugar evenly over top.

Powdered
 
Chill marshmallow, uncovered, until firm, at least three hours, and up to one day.

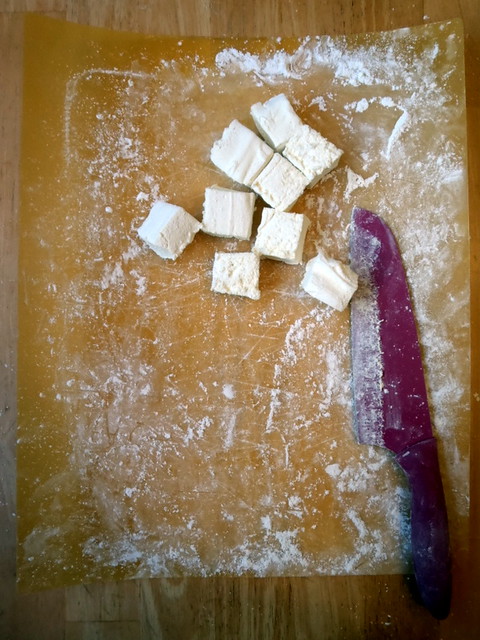
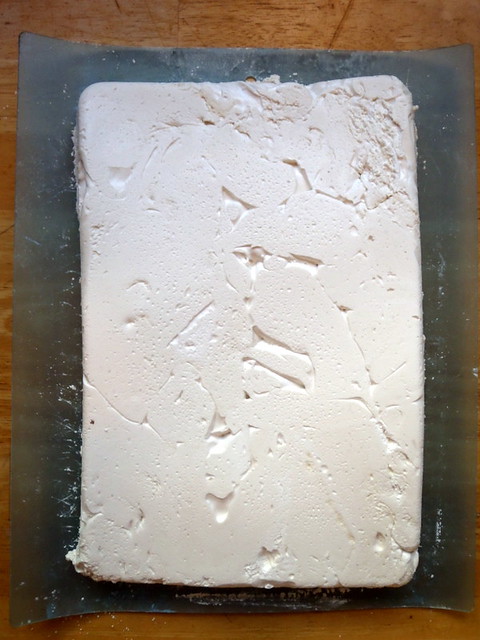
Cutting the marshmallows
 
Run a thin knife around edges of pan and invert pan onto a large cutting board. Lifting up one corner of inverted pan, with fingers loosen marshmallow and ease onto cutting board. With a large knife cut marshmallow into roughly one-inch cubes.

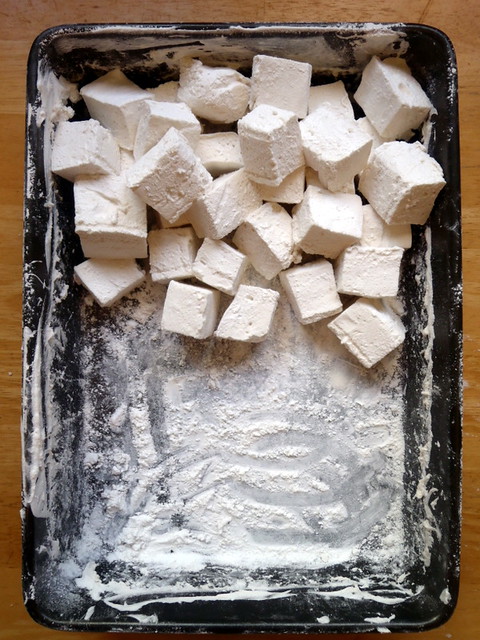
Coating the marshmallows
 
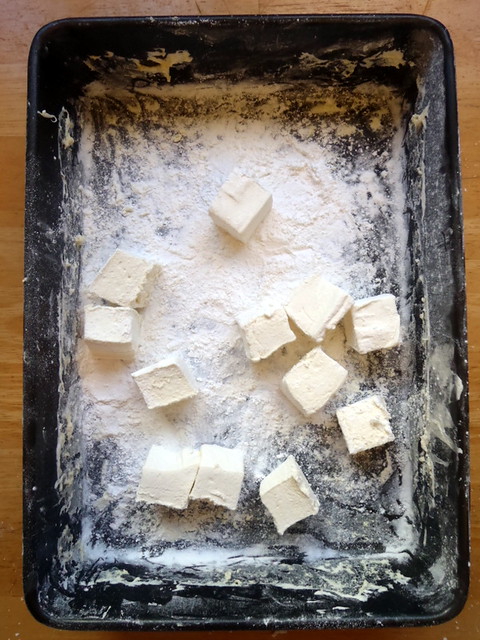
Sift remaining confectioners’ sugar back into your now-empty baking pan, and working in batches, roll the marshmallows through it, on all six sides, before shaking off the excess and packing them away.

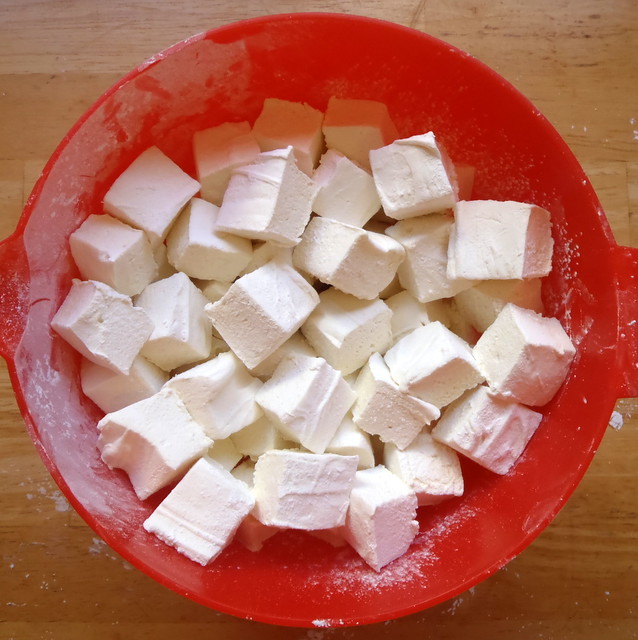
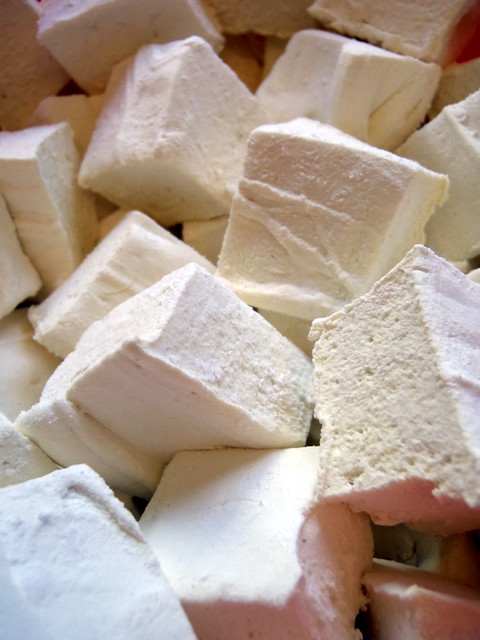
Passion fruit marshmallows

Marshmallows keep in an airtight container at cool room temperature 1 week.

Passion fruit marshmallows
 
These marshmallows were all that I hoped they would be:  soft and bouncy and tart and sweet.  They taste like pure sunshine to me.  If I had an experience with a Dementor, I'd eat one of these afterwards, and it would make me feel better than chocolate could.  ^_^

Next:  Potato Dominoes
Previously:  Vanilla Cinnamon Marshmallows
Three years ago:  Lemon Pudding Cake

Monday, February 4, 2013

Vanilla & Cinnamon Marshmallows

I begged my friend, Andy, to throw a "Winter Warmer" just so I could have an excuse to make these marshmallows.  They're perfect for dunking in hot chocolate, toasting over a flame, or even just eating by themselves.

Cinnamon marshmallows
 
Vanilla & Cinnamon Marshmallows (adapted from Smitten Kitchen)
Makes about 96 1-inch cubed marshmallows

About 1 cup confectioners sugar
3 1/2 envelopes (2 tablespoons plus 2 1/2 teaspoons) unflavored gelatin
1 cup cold water, divided
2 cups sugar
1/2 cup light corn syrup
1/4 teaspoon salt
2 large egg whites, at room temperature
1 tablespoon vanilla
Ground cinnamon

Oil bottom and sides of a 13- by 9- by 2-inch rectangular metal baking pan and dust bottom and sides with some confectioners’ sugar.

P1223221
 
In bowl of a standing electric mixer or in a large bowl sprinkle gelatin over 1/2 cup cold cold water, and let stand to soften.  (It's not written in the SK recipe, but see how the top layer of gelatin powder doesn't get wet?  Don't leave it like that; stir it around a little so that it's all combined, which I failed to do with this batch, although if you forget, it's not the end of the world.)

P1223223
 
In a 3-quart heavy saucepan cook granulated sugar, corn syrup, second 1/2 cup of cold water, and salt over low heat, stirring with a wooden spoon, until sugar is dissolved. Increase heat to moderate and boil mixture, without stirring, until a candy or digital thermometer registers 240°F, about 12 minutes. Remove pan from heat and pour sugar mixture over gelatin mixture, stirring until gelatin is dissolved.  (At this point it's going to smell really bad, and you're going to wonder if the marshmallows will even be edible.  They will be, trust me.)

P1223228
 
With standing mixer beat mixture on high speed until white, thick, and nearly tripled in volume, about six minutes.

P1223229
 
In separate medium bowl with cleaned beaters beat egg whites until they just hold stiff peaks. Beat whites and vanilla into sugar mixture until just combined.

P1223231
 
Pour mixture into baking pan. Sift 1/4 cup confectioners sugar evenly over top.

P1223234
 
Chill marshmallow, uncovered, until firm, at least three hours, and up to one day.

P1223235
 
Run a thin knife around edges of pan and invert pan onto a large cutting board. Lifting up one corner of inverted pan, with fingers loosen marshmallow and ease onto cutting board. With a large knife cut marshmallow into roughly one-inch cubes. (An oiled pizza cutter works well here too.)

Coating the marshmallows
 
Sift remaining confectioners’ sugar back into your now-empty baking pan, and roll the marshmallows through it, on all six sides, before shaking off the excess and packing them away.  (I found it was easiest to do this in batches rather than all at once.)

Vanilla marshmallows
 
Marshmallows keep in an airtight container at cool room temperature 1 week.

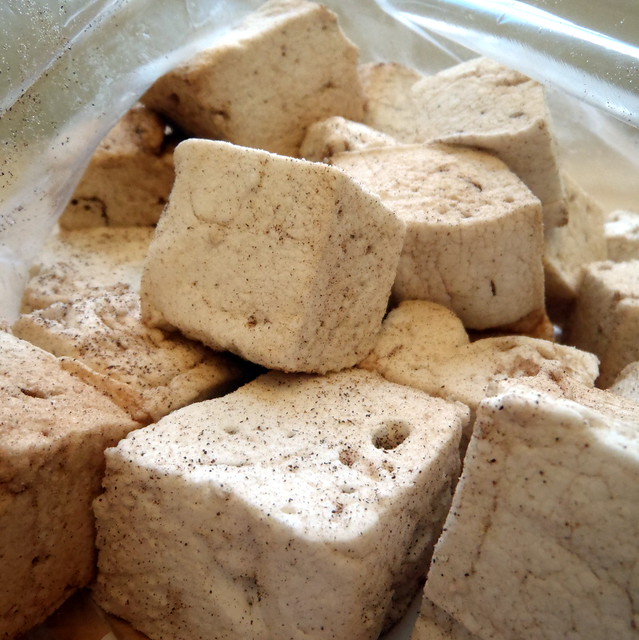
This is where the recipe from Smitten Kitchen stops.  I tasted the marshmallows at this point, and they were perfect in texture--springy and fluffy just like she promised.  The taste was just a little too...one dimensional for me, though.  Vanilla in its other definition.  It was too late to add any wet ingredients like another flavor extract, but then I thought, what if I just toss it with some cinnamon?  Cinnamon and sugar are such a great flavor combination already (think cinnamon toast or snickerdoodles), it couldn't hurt to try.  So I plopped a few marshmallows in a gallon-sized Ziploc bag and sprinkled in a few dashes of ground cinnamon.  A few shakes later, the cinnamon was pretty evenly distributed.

Cinnamon marshmallows
 
It came down to the taste test:  would it be enough?  Too strong?  It turned out perfect!  The cinnamon added just enough spicy heat to give the marshmallows some depth while still remaining light and airy.  Unfortunately I didn't measure out how much cinnamon I tossed in there; it was literally just a couple of shakes.  I'd say start off with a little, shake, and taste.  If you want, you can always add more, but it's pretty hard to remove the cinnamon if you add too much.

Next:  Passion Fruit Marshmallows
Previously:  Homemade Bagels
Four years ago:  Toasted Coconut Ice Cream with Sesame Brittle and Crystallized Ginger

Monday, December 3, 2012

Vanilla Passion Caramels

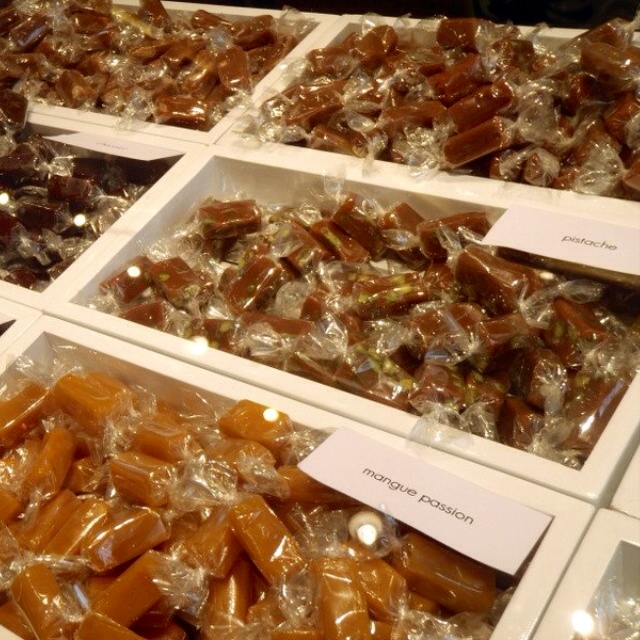
When I went to Paris for the first time this past summer, one of my friends gave me a list of food recommendations, and one of the most highlighted items were the mango passion caramels from Jacques Genin.  So Ellen and I made sure to make it one of our first stops in the city, and omg, was it so worth it.  You already know about my obsession with the passion fruit ice cream, and this caramel was basically the best caramel ever infused with the purified sunshine of passion fruit and mangoes.

I've been hoping to try to recreate this treat but all my web searches only turned up really complicated recipes that needed some weird ingredients or recipes for making passion fruit caramel sauce.  I wasn't confident enough to try adapting a regular butter caramel recipe since the only other time I had made caramels were the bacon fat caramels, but then I saw Smitten Kitchen's apple cider caramels post.  First I made the apple cider caramels according to her recipe to get familiar with the process and figure out how soft the caramels were.  They turned out exactly as she had promised--a burst of apple cider and buttery goodness--except that I ended up with a mouthful of cinnamony sharp salt at the end.  I'm guessing it's because I used Maldon salt (as recommended in the recipe), which has pretty large salt crystals, and you don't add it until the very end along with the cinnamon so there isn't a lot of time for the salt to dissolve.

I adapted the recipe by switching in passion fruit puree for the apple cider and using kosher salt in the beginning instead of the end.  I also decided to throw in vanilla bean to partially temper the tartness of the passion fruit and also add a little crackle from the seeds.

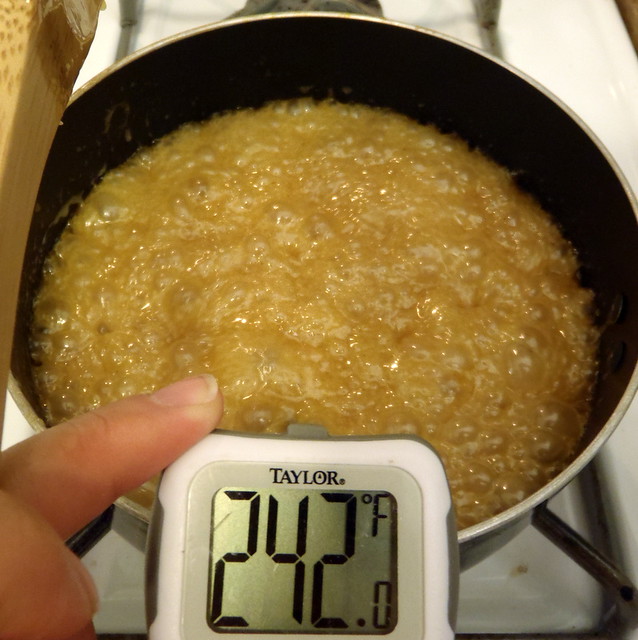
I'm super impressed with the results:  not only does it taste super delicious, it's also pretty easy to make, for caramels.  I love that everything is cooked together instead of caramelizing the sugar first and then adding in the butter and cream.  The latter process can get a little scary when the caramel explodes in volume, especially if you underestimated the size of the pot you're using.  I would recommend using a candy or instant read thermometer because you want to make sure the mixture cooks to 252°F, right in between the firm ball and hard ball stage.  If you don't cook it long enough, the caramel will be too soft, but if you cook it too far, it will be too hard.  I've taken pictures of what the caramel looks like every 10 degrees above 220°F to give you an idea of what it looks like, and you could, of course, just drop a bit into cold water to figure out which stage the sugar is at, but a thermometer is really just the easiest way to figure it out.

Vanilla Passion Caramel
 
Vanilla Passion Caramels
makes 60 pieces

1/2 vanilla bean
1/3 cup heavy cream
1/2 cup unsalted butter
1/2 cup passion fruit pulp (the easiest to find is the frozen Goya brand, sometimes with the frozen fruits, sometimes with the frozen ethnic foods)
1 teaspoon kosher salt
1 cup white sugar or vanilla sugar
1/2 cup light brown sugar, packed
Neutral oil (like grape seed or canola) for the knife

Line the bottom and sides of an 8- inch straight- sided square metal baking pan with 2 long sheets of crisscrossed parchment. Set it aside.

Vanilla bean
 
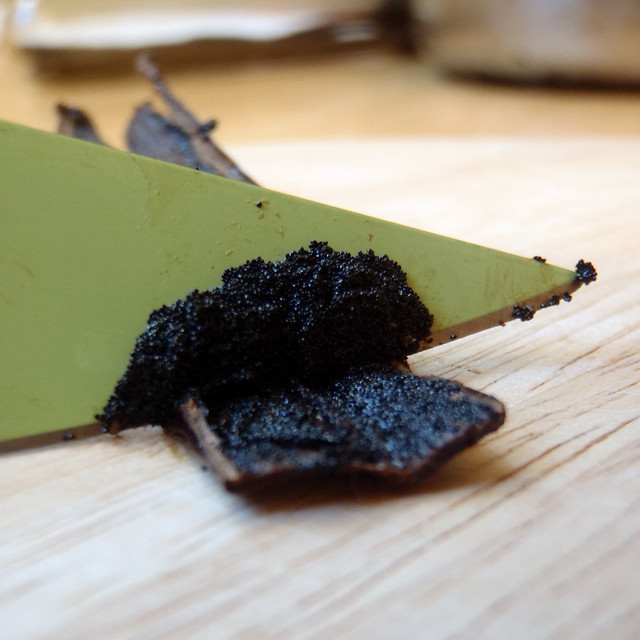
Make a lengthwise slit down the side of the vanilla bean and open it up. Scrape out the seeds and add it to a small saucepan along with the cream and butter.  (Tip:  Instead of throwing away the vanilla bean, store it in your sugar to make vanilla sugar!)

Steeping the vanilla
 
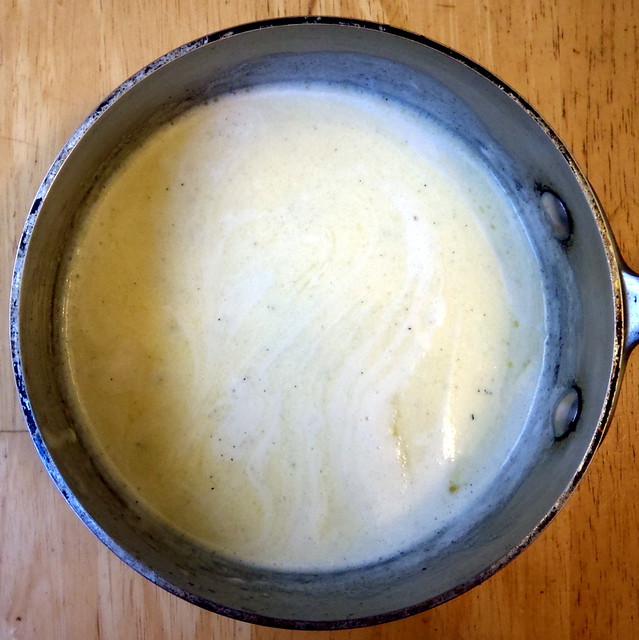
Heat on medium just until the butter is melted and turn off the flame. Gently stir to break up the vanilla seed clusters. Let steep for 10-15 minutes.

Reduced passion fruit pulp

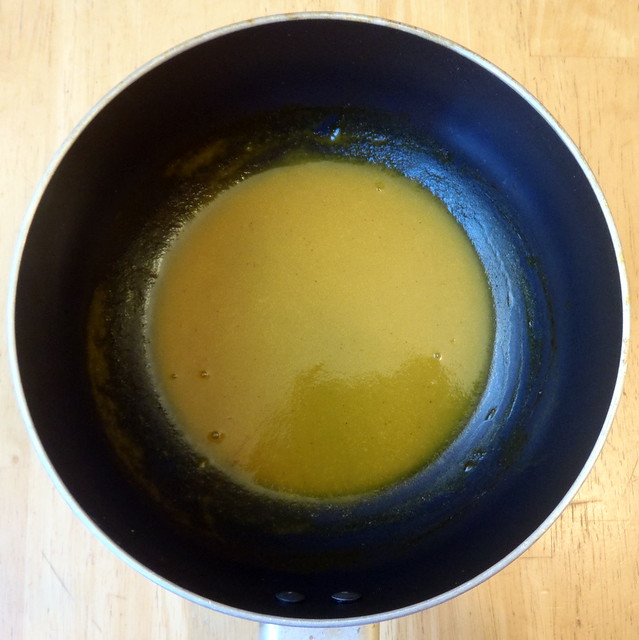
Meanwhile, boil the passion fruit pulp in a 3- to- 4- quart saucepan over high heat until it is reduced in volume by half. Stir occasionally, making sure that it doesn't burn.

Adding the cream and sugars
 
Once you are finished reducing the passion fruit pulp, remove it from the heat and stir in the salt, sugars, and vanilla cream mixture.

242 F
 
Return the pot to medium heat with a candy thermometer attached to the side, and let it boil until the thermometer reads 252°F.

Pouring the caramel
 
Immediately remove caramel from heat and pour caramel into the prepared pan. Let it sit until cool and firm—about 2 hours, though it goes faster in the fridge.

Vanilla Passion Caramel
 
Once caramel is firm, use your parchment paper sling to transfer the block to a cutting board. Use a well-oiled knife, oiling it after each cut, to cut the caramel into batons about 2" long and 3/8" wide. Wrap each one in waxed paper, twisting the sides to close.

I keep the caramels in an air-tight container in the refrigerator and let them warm to room temperature before eating.  They will also last a couple of weeks at room temperature.  These are so good, I can barely bear to share them, but if so inclined, they would make great Christmas gifts!

Three years ago:  Stuffed Delicata Squash
Four years ago:  Salted Butter Caramel Ice Cream