Just like I did with Smitten Kitchen's
caramels, I wanted to try to make
her marshmallows with my own personal favorite flavor: passion fruit! It turned out to be incredibly easy; I just substituted the 1/2 cup of water that you dissolve the gelatin in with a 1/2 cup of passion fruit puree!
Passion Fruit Marshmallows
Makes about 96 1-inch cubed marshmallows
About 1 cup confectioners sugar
3 1/2 envelopes (2 tablespoons plus 2 1/2 teaspoons) unflavored gelatin
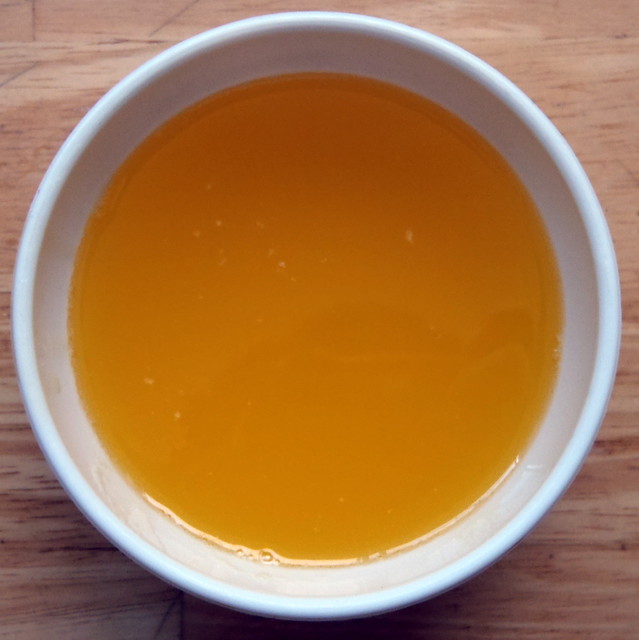
1/2 cup passion fruit puree, thawed but cold
1/2 cup cold water
2 cups sugar
1/2 cup light corn syrup
1/4 teaspoon salt
2 large egg whites, at room temperature
Yellow gel food coloring (optional)
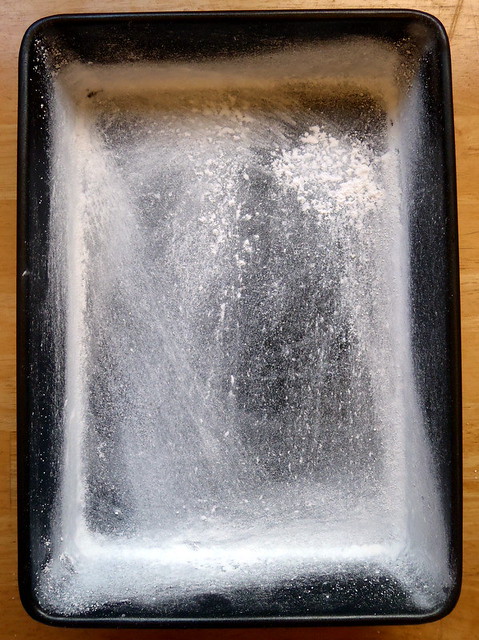
Oil bottom and sides of a 13- by 9- by 2-inch rectangular metal
baking pan and dust bottom and sides with some confectioners sugar.
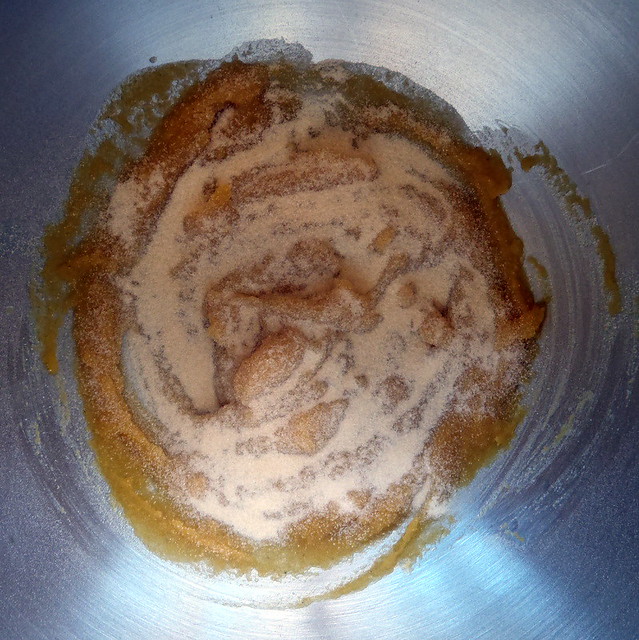
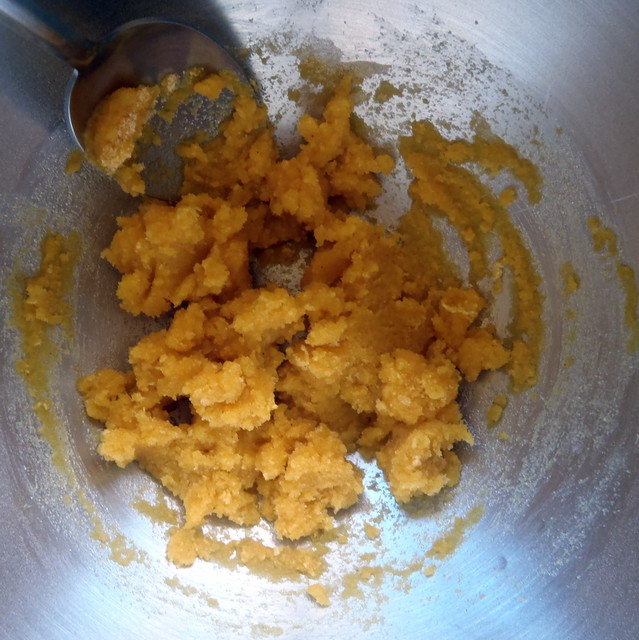
In bowl of a standing electric mixer sprinkle gelatin
over 1/2 cup cold passion fruit puree and let stand to soften.
If all the gelatin does not dissolve, gently combine with a spoon so that none of the gelatin powder is left dry.
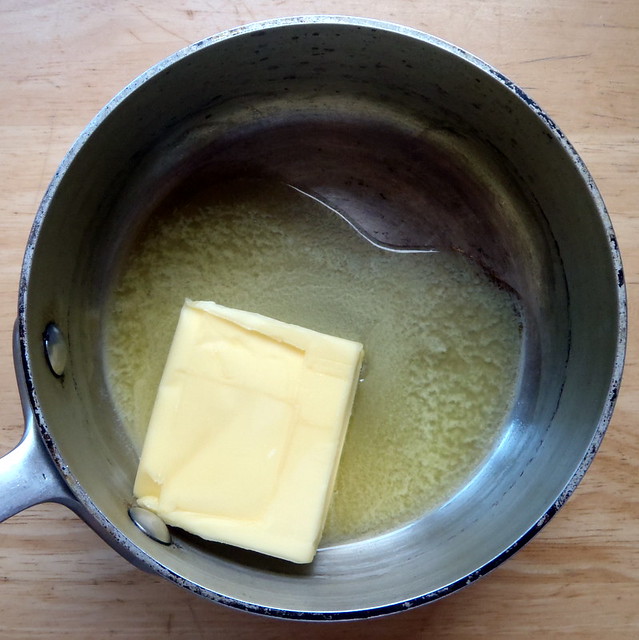
In a 3-quart heavy saucepan cook granulated sugar, corn syrup, 1/2 cup of cold water, and salt over low heat, stirring with a wooden
spoon, until sugar is dissolved. Increase heat to moderate and boil
mixture, without stirring, until a candy or digital thermometer
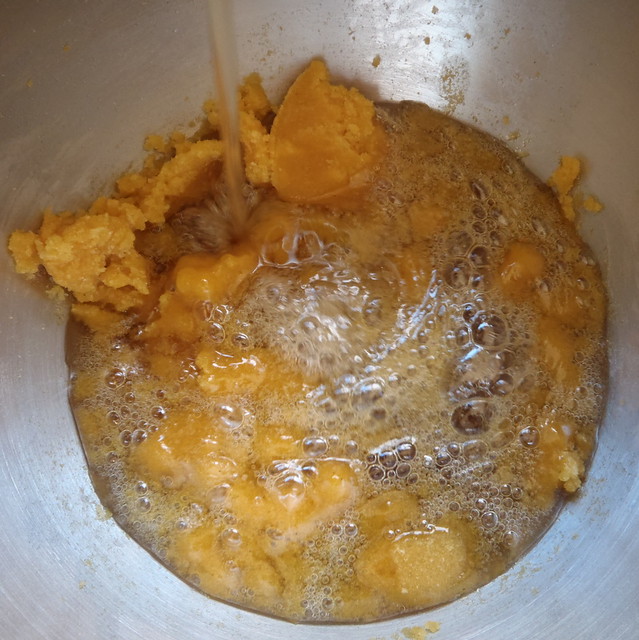
registers 240°F, about 12 minutes. Remove pan from heat and pour sugar
mixture over gelatin mixture, stirring until gelatin is dissolved.
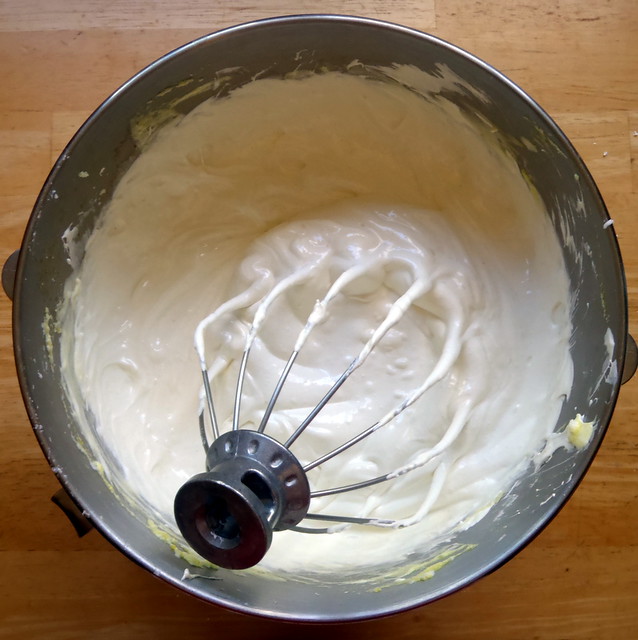
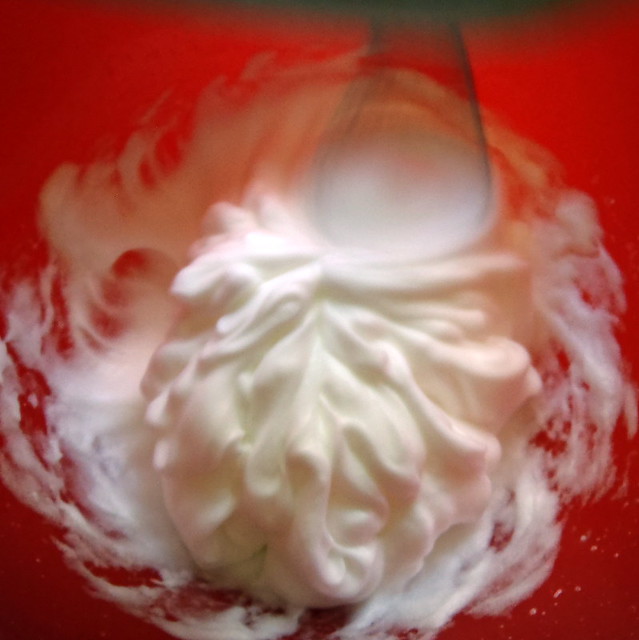
With standing mixer beat mixture on high
speed until white, thick, and nearly tripled in volume, about six
minutes.
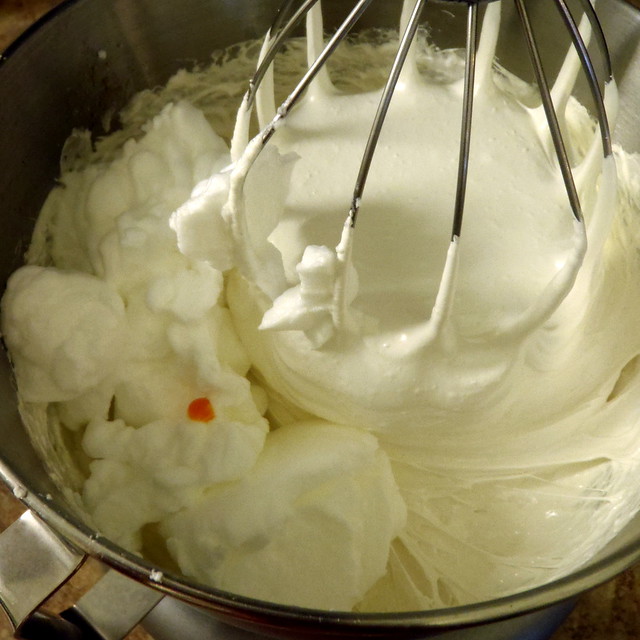
In separate medium bowl with cleaned beaters beat egg whites until they just hold stiff peaks.
Beat
whites into sugar mixture
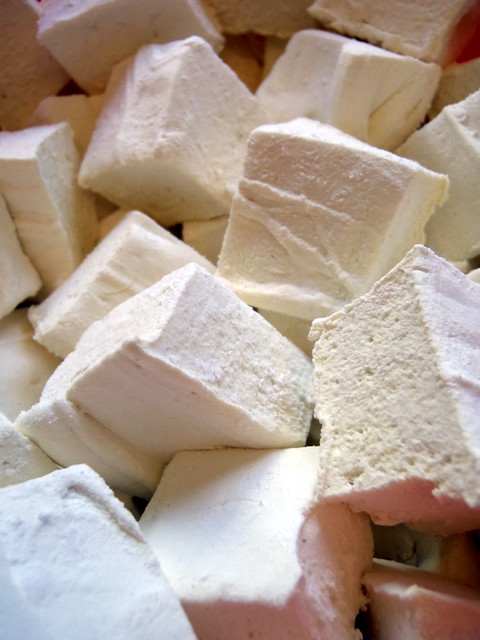
until just combined. At this point, if you would like to color your marshmallows, you can add a few drops of yellow food coloring. This also helps let you know when the egg whites have been fully combined in the mixture. (I only added 1 drop, and you can barely tell in these pictures that the marshmallows aren't white.)
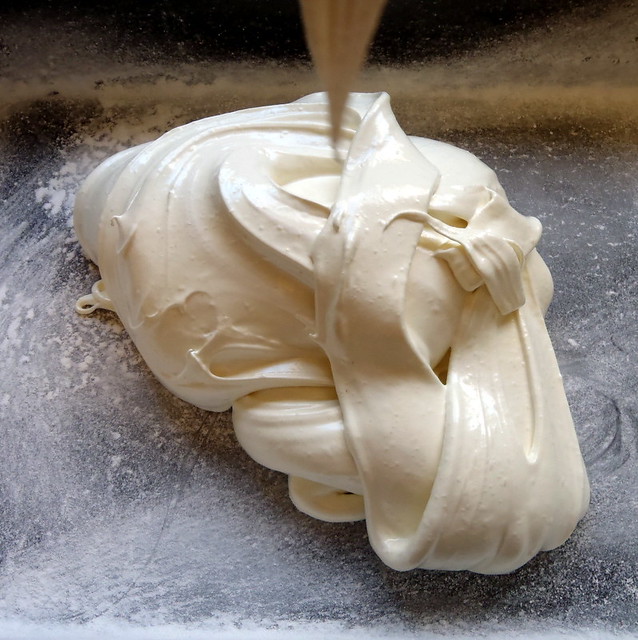
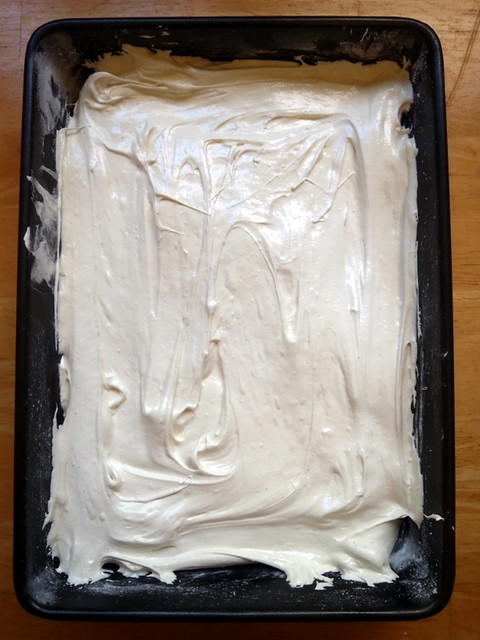
Pour mixture into baking pan. This is probably the trickiest part of the whole operation.
Try to smooth out the marshmallow fluff as best you can. I take it back;
this is the trickiest part. It's okay if you don't get it perfectly smooth because then it's super obvious that it's homemade!
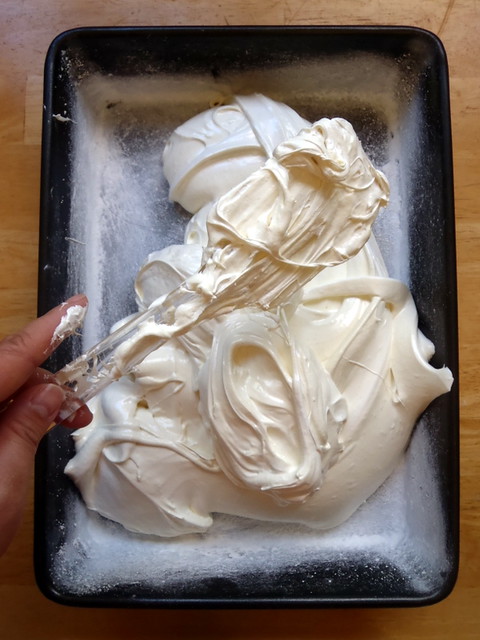
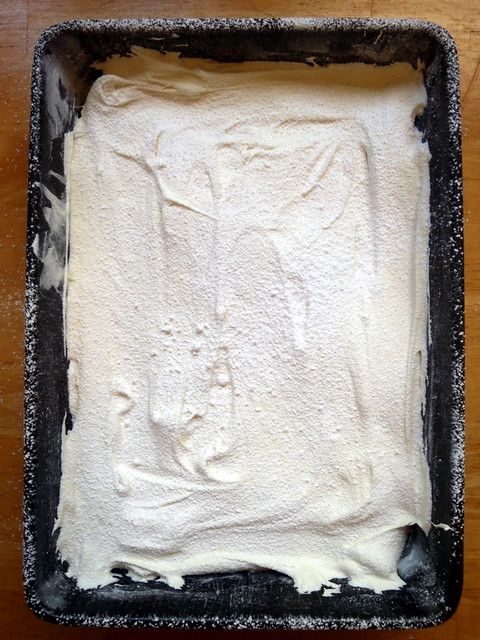
Sift 1/4
cup confectioners sugar evenly over top.
Chill marshmallow, uncovered,
until firm, at least three hours, and up to one day.
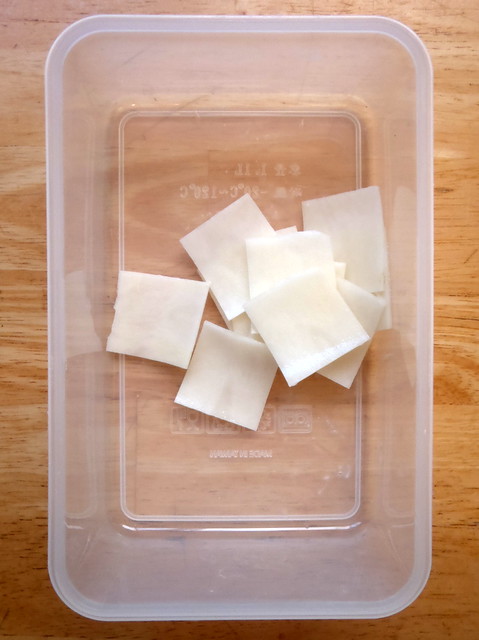
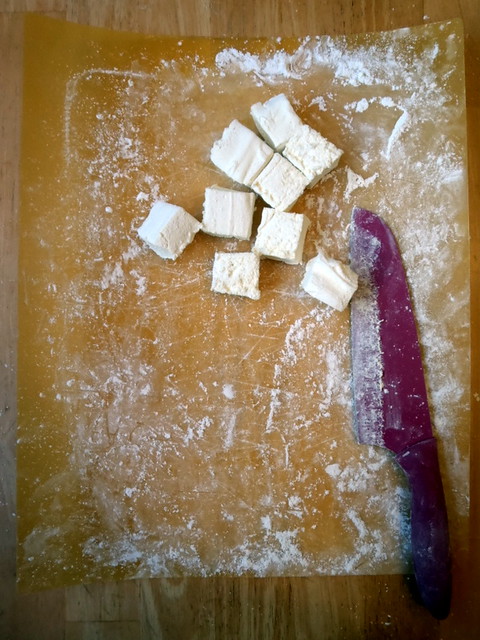
Run a thin knife around edges of pan and invert pan onto a large
cutting board. Lifting up one corner of inverted pan, with fingers
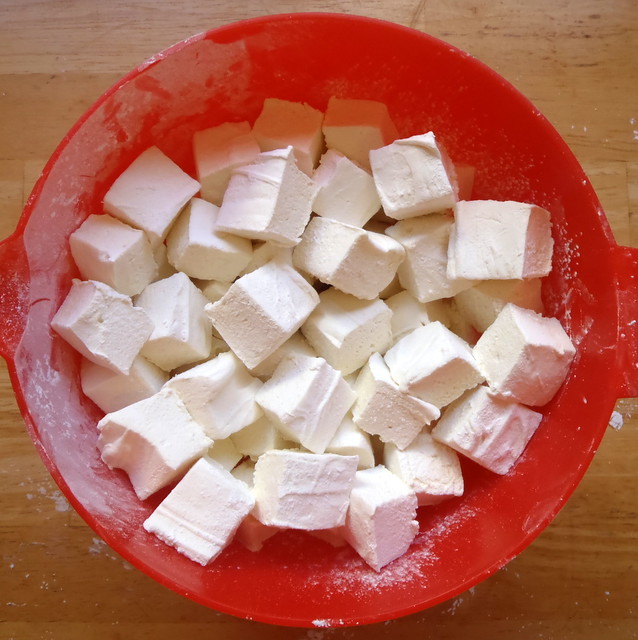
loosen marshmallow and ease onto cutting board. With a large knife cut marshmallow into roughly one-inch cubes.
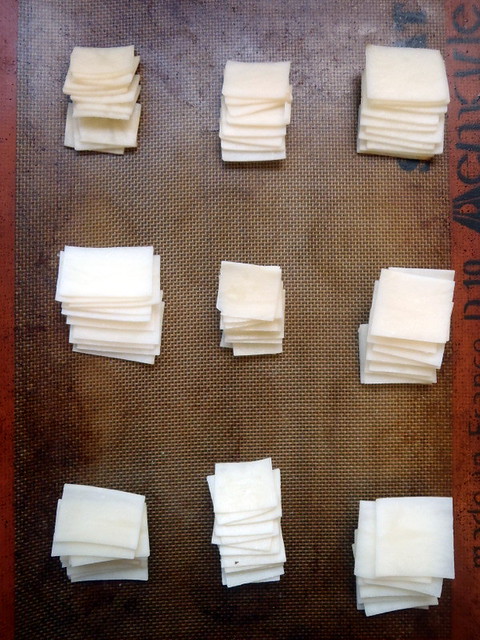
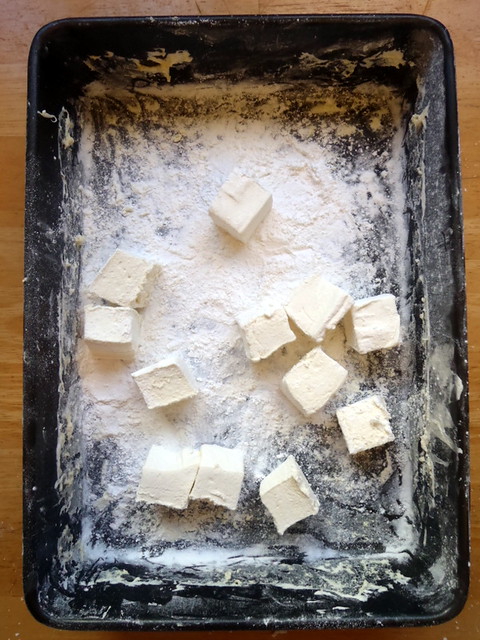
Sift remaining
confectioners’ sugar back into your now-empty baking pan, and working in batches, roll the
marshmallows through it, on all six sides, before shaking off the excess
and packing them away.
Marshmallows keep in an airtight container at cool room temperature 1 week.
These marshmallows were all that I hoped they would be: soft and bouncy and tart and sweet. They taste like pure sunshine to me. If I had an experience with a Dementor, I'd eat one of these afterwards, and it would make me feel better than chocolate could. ^_^
Next:
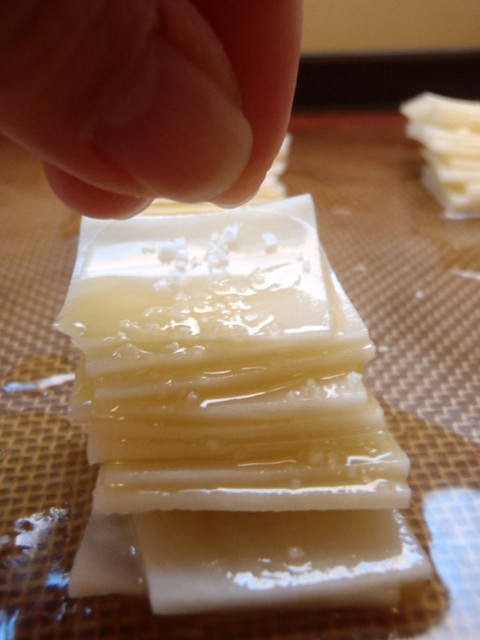
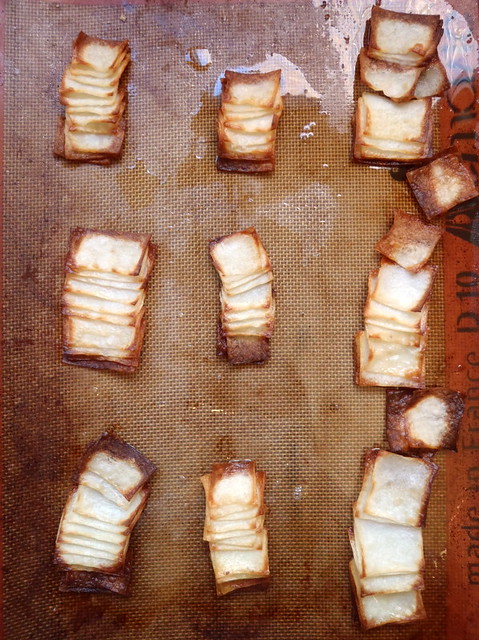
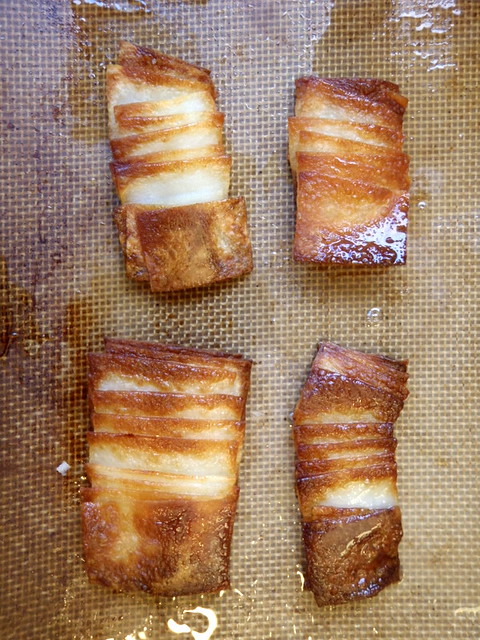
Potato Dominoes
Previously:
Vanilla Cinnamon Marshmallows
Three years ago:
Lemon Pudding Cake