I've been making sourdough bread for one of my church's services every week for communion for a while now and figured it was finally time to write up how I make it. This is loosely based on the country loaf from
Tartine Bread, a wonderful book that goes a lot deeper into the methods involved. I highly recommend picking up a copy and reading it through at least once to not only understand how sourdoughs work but also to be inspired by the process.

I was lucky enough to get a sourdough starter from a friend instead of having to start one from scratch. The first thing you should probably know about a starter is that you'll need to feed it periodically. This means discarding the majority of it* and adding some more water and flour to the remaining bit and letting it get all bubbly and doubled in volume. I feed my starter with a 50/50 mixture of all purpose flour and whole wheat flour and an equal amount of water by weight (e.g. 25 g of all purpose flour, 25 g of whole wheat flour, and 50 g water). Some people do this daily, or even more than once a day, but since I really only make bread once a week, I keep my starter in the fridge and just feed it the day before I want to bake it. If I happen to be traveling and can't feed it for more than a week, I'll do a few rounds of feeding until it starts smelling and acting like I'm used to before I use it.

Some of the equipment you'll want to invest in are a food scale (to weigh the ingredients with), digital thermometer, bench scraper, banneton (to hold the shaped dough for its second rise), parchment paper, a lame or razor blade to score the loaf with, and a Dutch oven or cast iron combo cooker to bake the loaf in. The only Dutch oven I own is actually an oval one and not wide enough for the round loaves I make, so I came up with another solution for trapping the steam in: I bake my bread on a pre-heated baking stone and invert a stock pot over it.

Timing wise, I feed my starter the morning of the day before I want to bake. It takes about half a day for it to get fully active. Then I add the rest of the ingredients and do a few rounds of folding over the next 3-4 hours. I'll shape it, place it in a banneton, and let it do its final rise overnight in the fridge. The next morning I'll preheat the oven and take the dough out when the oven is ready, score it while it's still cold, and bake it. So it takes about 24 hours from start to finish but could be shorter if you do the second proof at room temperature or longer if you leave the dough in the fridge.
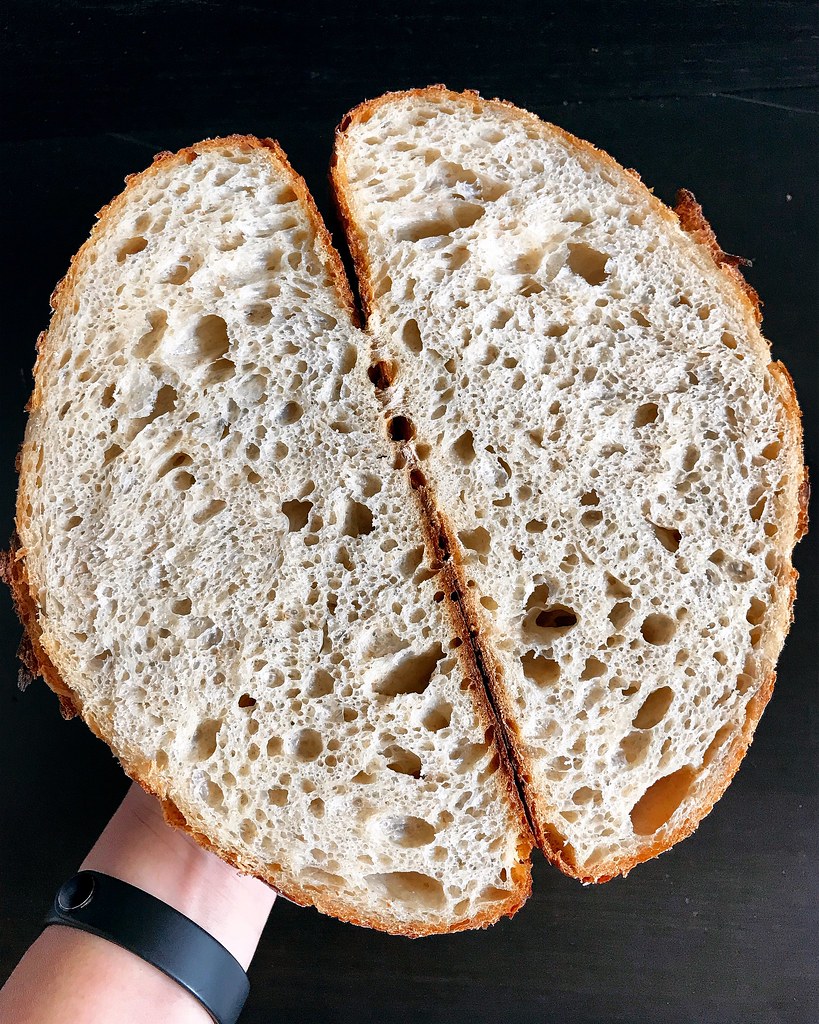
My dough ends up being about 73% hydration, which for me hits the sweet spot of being easy to work with but still wet enough to produce an evenly open crumb. I still mess up my shaping all the time, but thankfully the loaves just get cut up into cubes to be used for communion, so no one can really tell. I hope this guide helps you in your sourdough exploration, and please let me know if you have any questions about my process!
*If you hate discarding starter all the time, you can use it to make other baked goods like
pizza dough, English muffins, even pancakes and banana bread!
My Communion Bread
makes 1 loaf
For the starter:
About a tablespoon of sourdough starter (I use a 100% hydration starter with 50/50 all purpose flour and whole wheat flour)
100 grams lukewarm water, about 80
°F
50 grams all purpose flour
50 grams whole wheat flour
Use a spoon to mix the starter with the warm water. Add the flours and mix until no dry bits remain. Let sit in a warm spot until it has doubled in volume, usually about 4-6 hours depending on how active and warm it is. You can check to see if the starter is fully active by dropping a spoonful into some cold water. If it floats, the starter has built up enough gas and is ready to be used. Weigh out 100 grams into a large bowl and place the rest of the starter in the fridge until next week.
For the bread:
100 grams active starter
350 grams warm water, about 80
°F, plus more for your hands
450 grams all purpose flour
50 grams whole wheat or spelt flour
10 grams kosher salt
Rice flour, for dusting
Use a spoon to mix the active starter with the warm water. Then add the flours and mix until no dry bits remain. Cover and let sit in a warm spot for 25-40 minutes.
Sprinkle the salt evenly over the top of the dough. Wet one hand thoroughly and dribble some water over the salt to start dissolving it. Using the hand that's wet, grab a quarter of the dough, pull it up and fold it over the top of the dough. Rotate the bowl 90
° and repeat 3 more times until the salt is completely encased. Pinch the dough a couple of times to separate it into a few pieces, turn it, and smush it back together again before repeating the stretch and fold process. Repeat the pinch, rotate, stretch, and fold process until the salt is fully dissolved and incorporated into the dough, wetting your hand whenever the dough starts getting sticky again. Cover and set the timer for 30 minutes.
When the timer goes off, wet your hand again and do another 4 stretch-and-folds, rotating the bowl 90
° each time. After the last fold, turn the dough over so that the seam is underneath. Cover and set the timer for another 30 minutes. Repeat this every 30 minutes for a total of 3 hours. At this point the dough will be a lot more relaxed and have risen a bit. If you press a wet fingertip into the dough, the indent should almost disappear within a few seconds.
Flour a work surface and gently transfer the dough onto the flour. Grab a quarter of the dough, stretch it up and fold it over, then repeat 3 more times on the other corners of the dough to create a taut surface underneath. Dust the top with a little more flour and then flip it over. Use a bench scraper or your hands to gently tuck the sides under and form a half dome. Let sit for 20-30 minutes. In the meantime, dust the banneton with rice flour so that your dough won't stick to it.
After the dough has rested, lightly flour the top and flip it upside down with the bench scraper. Apply another set of stretch-and-folds and flip it over again. Slide the ball around on the work surface until it forms a nice, taut half dome. Use the bench scraper to quickly transfer the dough upside down into the banneton. Cover (I use a shower cap) and place in the refrigerator for about 12-14 hours.
Place a Dutch oven or a baking stone and stock pot in the oven and preheat to 475
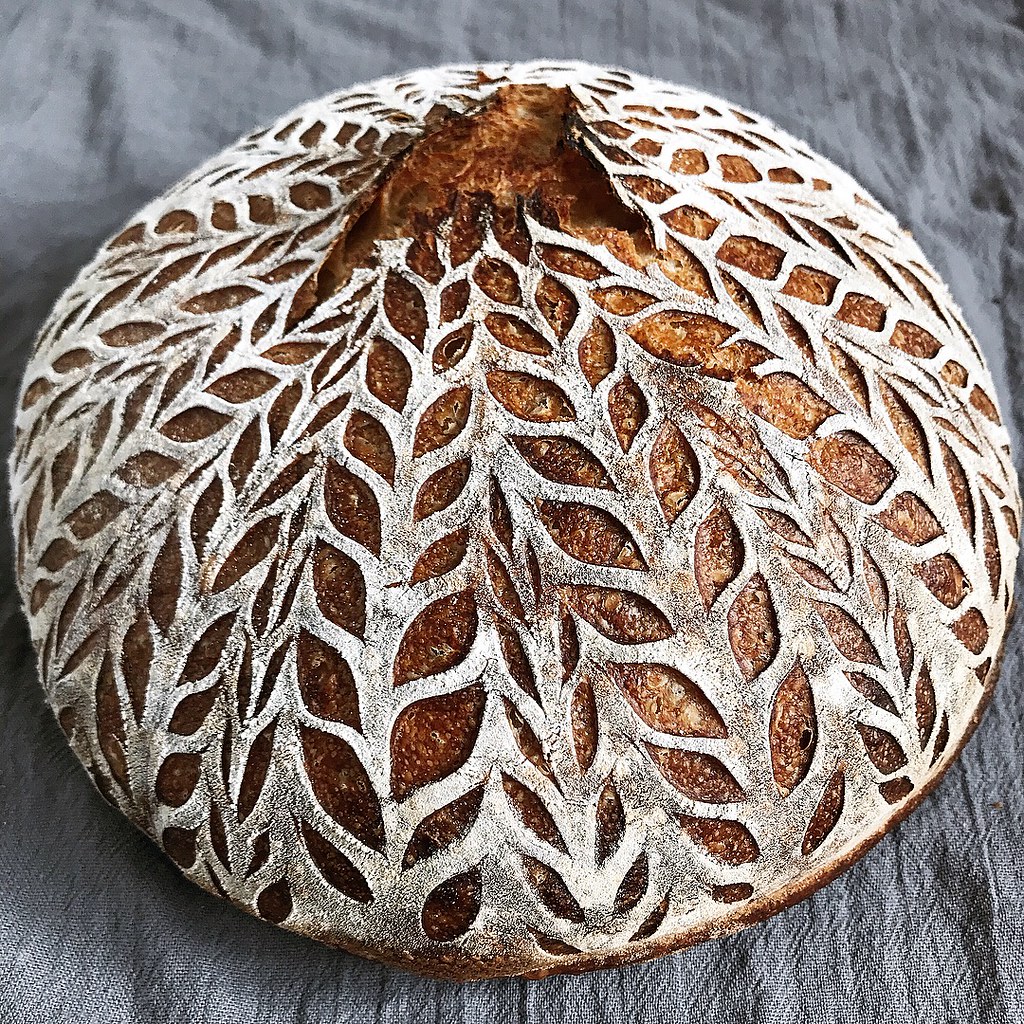
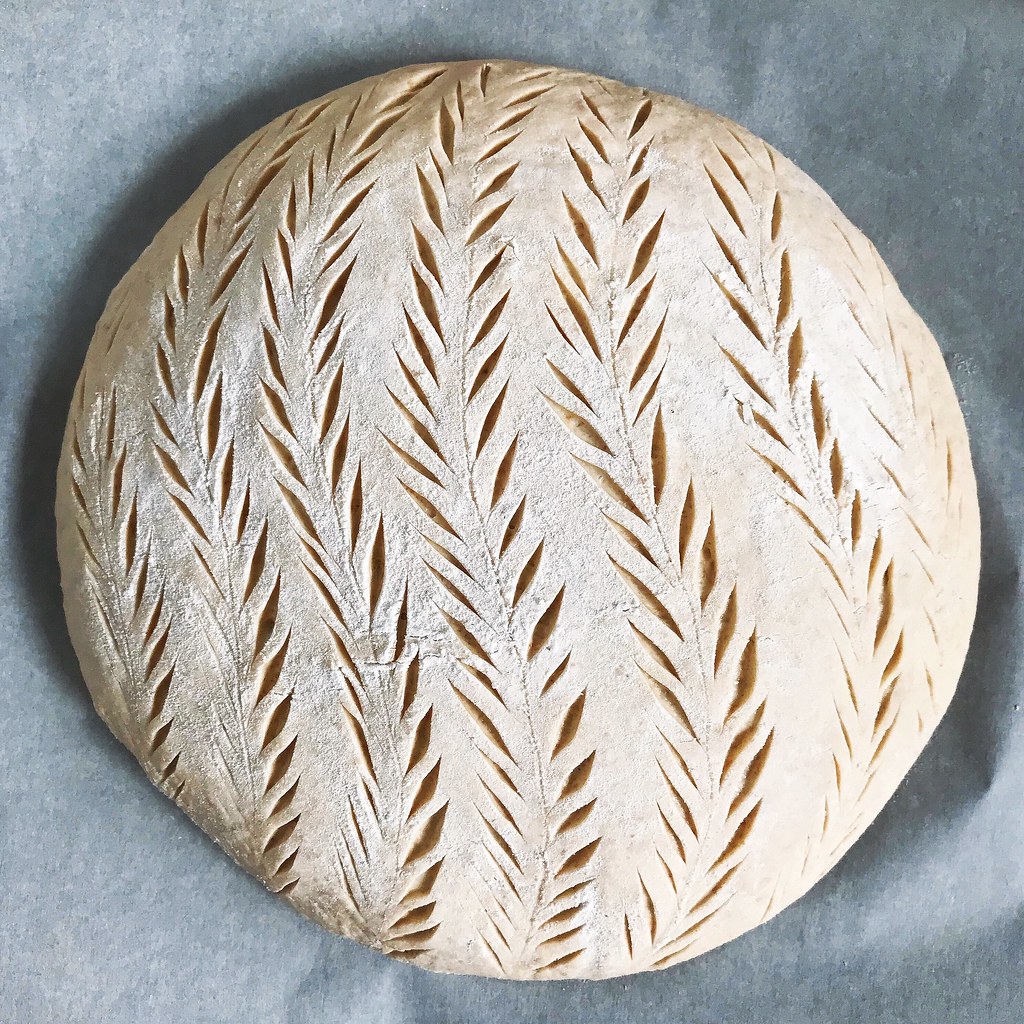
°F. When the oven is ready, take the banneton out of the fridge and invert the dough onto a large piece of parchment paper. Dust the top with some rice flour if you want some definition to your scoring pattern. Wipe the excess flour off and use a lame or razor blade to score the loaf.
Quickly transfer the dough and parchment paper into the Dutch oven or onto the baking stone. Cover with the lid or stock pot. Reduce the oven temperature to 450
°F and bake for 20 minutes. After 20 minutes, carefully remove the lid or stock pot and continue to bake for another 20-25 minutes until nicely browned. Listen to the bread crackle as it cools. Try to wait at least an hour before slicing.
Next:
Bacon Fat Scallion Pancakes
Previously:
Tomato and Eggs over Rice (Updated)
Last Year:
Blueberry Salted Caramel Ice Cream with Chocolate Freckles
Two Years Ago:
Soy Garlic Glazed Korean Fried Cauliflower
Four Years Ago:
Taiwanese Taro Swirl Mooncakes
Five Years Ago:
Ramen Lobster Rolls
Six Years Ago:
Caramelized Onion and Swiss Chard Quiche
