Friday, April 22, 2022

Sourdough Discard Okonomiyaki Waffles

I’ve made waffled okonomiyakis before and sourdough discard okonomiyakis before, so I figured it was time to combine the two!  The use of sourdough discard in this recipe not only helps prevent waste, it also adds a little tanginess to the flavor, and adding a pinch of baking soda to the batter will cause it to get light and fluffy!  Using a waffle iron to make the okonomiyaki means that both sides get cooked at the same time (so no awkward flipping) and get a little crispier than just cooking it on a flat top.

You can add whatever fillings and toppings you want (it’s literally the definition of okonomiyaki); my preferences are bacon (easier for me to find than pork belly), and instead of chopping up my own cabbage, I usually grab a bag of pre-chopped coleslaw mix from the grocery store!  For toppings I like the homemade okonomiyakisauce from Just One Cookbook, Kewpie mayonnaise, bonito flakes, furikake, and chopped scallions.

Sourdough Discard Okonomiyaki Waffles
makes two 7’ round waffles

150 g (100% hydration) sourdough discard*
1 large egg
Pinch of salt
Pinch of sugar
Pinch of dashi powder
Pinch of baking soda
200 g chopped cabbage (or coleslaw mix)
4 slices bacon, cut so they’ll fit the waffle iron
Okonomiyaki sauce
Kewpie mayonnaise
Bonito flakes
Furikake
Chopped scallions

Preheat your waffle iron to medium-high.

Mix the sourdough discard, egg, salt, sugar, dashi powder, and baking soda until well combined.  Add the cabbage and mix again.

Place half the bacon on the bottom of the waffle iron and grease the top half.  Add half of the batter on top of the bacon and close the waffle iron.  When it’s golden brown and cooked through, remove from the waffle iron and repeat.  Top immediately with your desired toppings and serve hot.

*I haven't tried this myself yet, but if you don’t have any sourdough discard, you could try mixing together 75 g all-purpose flour with 75 g water and skip the baking soda, but it won’t have quite as much flavor or fluffiness.

Previously:  Hurricane Popcorn Marshmallow Treats
Next:  Taiwanese Braised Pork over Rice (滷肉飯)

Friday, March 25, 2022

Hurricane Popcorn Marshmallow Treats

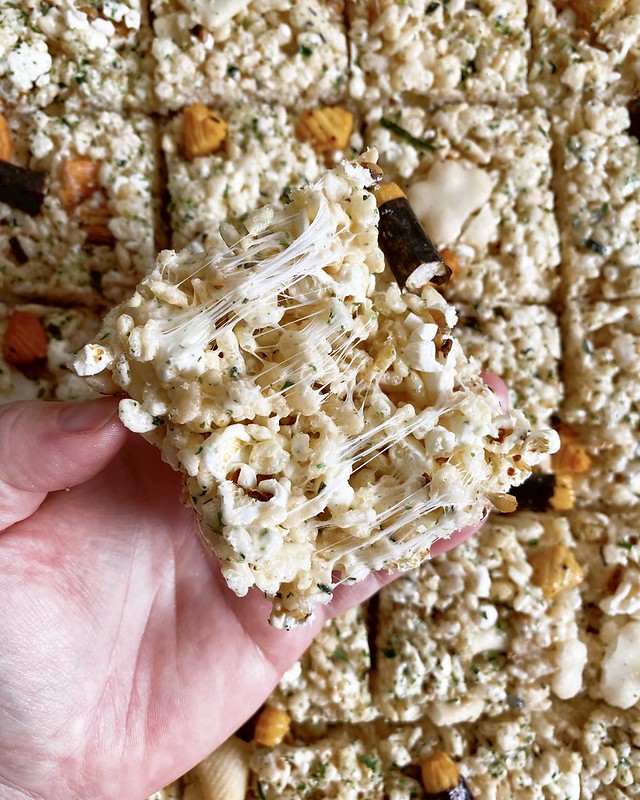
Sometimes an idea pops in my head and it sounds so good that I'm sure someone else must have thought of it already, but then a quick search of the internets results in nothing!  I was inspired to make these because the kind folks at Sanzo had sent me some microwave popcorn and furikake in their limited edition Turning Red lychee sparkling water treat box.  My first thought was to make some hurricane popcorn with it, but I was already thinking of making some Rice Krispies treats, and then I just thought, why not combine them?

If you're not familiar with hurricane popcorn, it's a Hawaiian snack that combines kettle corn, furikake, and mochi crunch (aka Japanese rice crackers or arare).  It's one of those sweet and salty snacks that quickly becomes addictive because you just need that next bite to balance out the sweetness or saltiness from the last bite (kind of like Chicago mix popcorn).

These treats amp up the sweetness and crunch factor by adding marshmallows and Rice Krispies but still remain irresistible.  I add a little soy sauce (another common ingredient in hurricane popcorn) for saltiness but if that is a little too weird for you, you can just substitute with salt to taste.  Also, I only used 3 tablespoons of furikake so it's not too overpowering, but you can add more if really like that flavor.

Hurricane Popcorn Marshmallow Treats
makes 24 pieces

1/2 cup (1 stick) unsalted butter
1 teaspoon soy sauce (or substitute with salt, to taste)
3 tablespoons furikake, divided
10 oz. mini marshmallows
6 cups Rice Krispies cereal
2 cups popped popcorn (optional)*
1 cup Japanese rice crackers

Line a 9"x13" baking pan with parchment paper.

Melt the butter in a large pot or Dutch oven over medium heat.  Once fully melted, turn the heat to low and add the soy sauce (or salt) and 2 tablespoons of the furikake and stir until combined.  Add the marshmallows and stir occasionally until fully melted.

Add the cereal, popcorn, and rice crackers and mix until combined.  Pour the mixture into the lined baking pan and press down with oiled hands (I like to save the butter wrapper to do this with) into an even layer.  Top with the remaining tablespoon of furikake.

Let cool, then remove from the pan using the parchment paper and slice into 24 pieces.  Enjoy!

*I made this again without popcorn and liked the texture even more!

Previously:  Taiwanese Beef Noodle Soup (Updated)
Next:  Sourdough Discard Okonomiyaki Waffles

Monday, March 14, 2022

Taiwanese Beef Noodle Soup (Updated)

Quite a few things have changed since I posted my first rendition of beef noodle soup on this blog 14 years ago (it was my 3rd blog post ever!):  I've gotten better at cooking; I went through a vegan, then vegetarian, then pescatarian stint; and I started posting on Instagram

I'd say I'm more of a social carnivore now in that I do eat meat when I'm out with friends but very rarely cook it at home.  In fact, I think I've only made beef noodle soup maybe once or twice since I posted the original recipe.  But after seeing all the delicious BNS posts on the Taiwanese Home Cooking FB group and receiving a chuck eye steak from Vermont Wagyu, I knew it was time to fix that.

Looking back at the original BNS post, I was shocked to see that it called for 1.5 cups of soy sauce!  I chalk it up to one of those mistakes that happens when someone with little cooking experience tries to transcribe a recipe from someone who never measures anything when cooking.  I've since adjusted the quantity to a more reasonable 1/2 cup of low-sodium soy sauce.

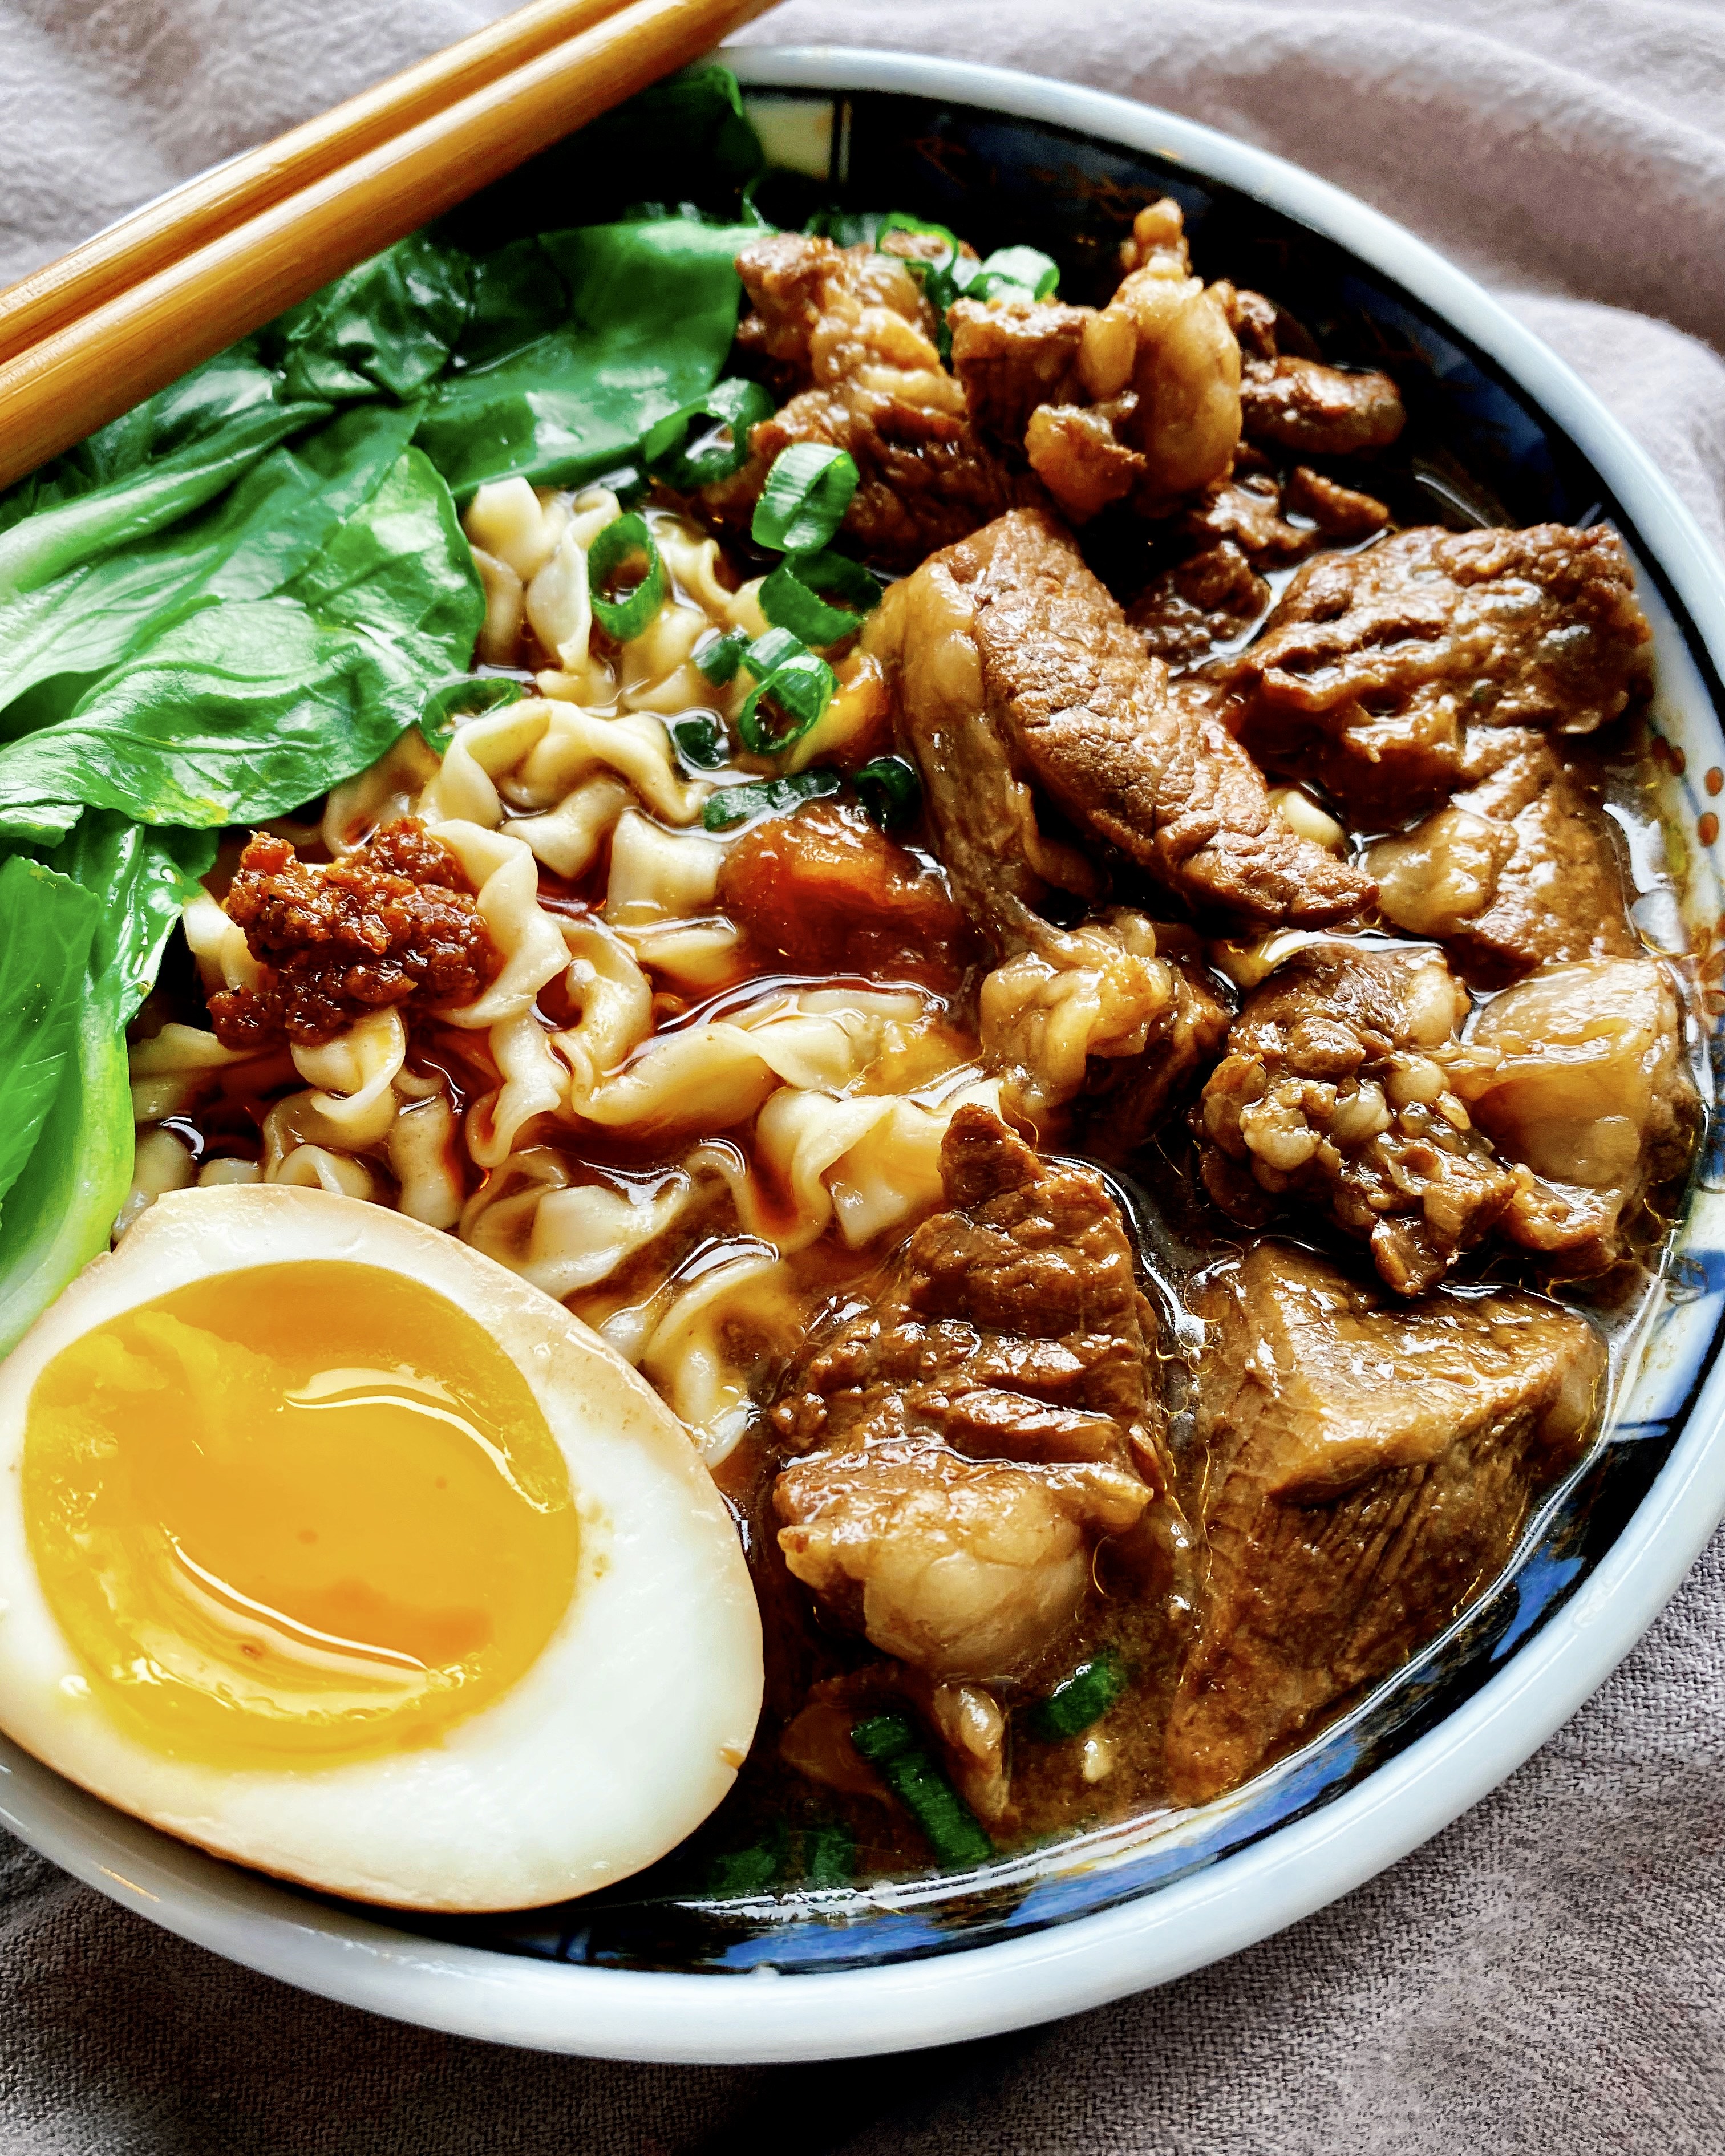
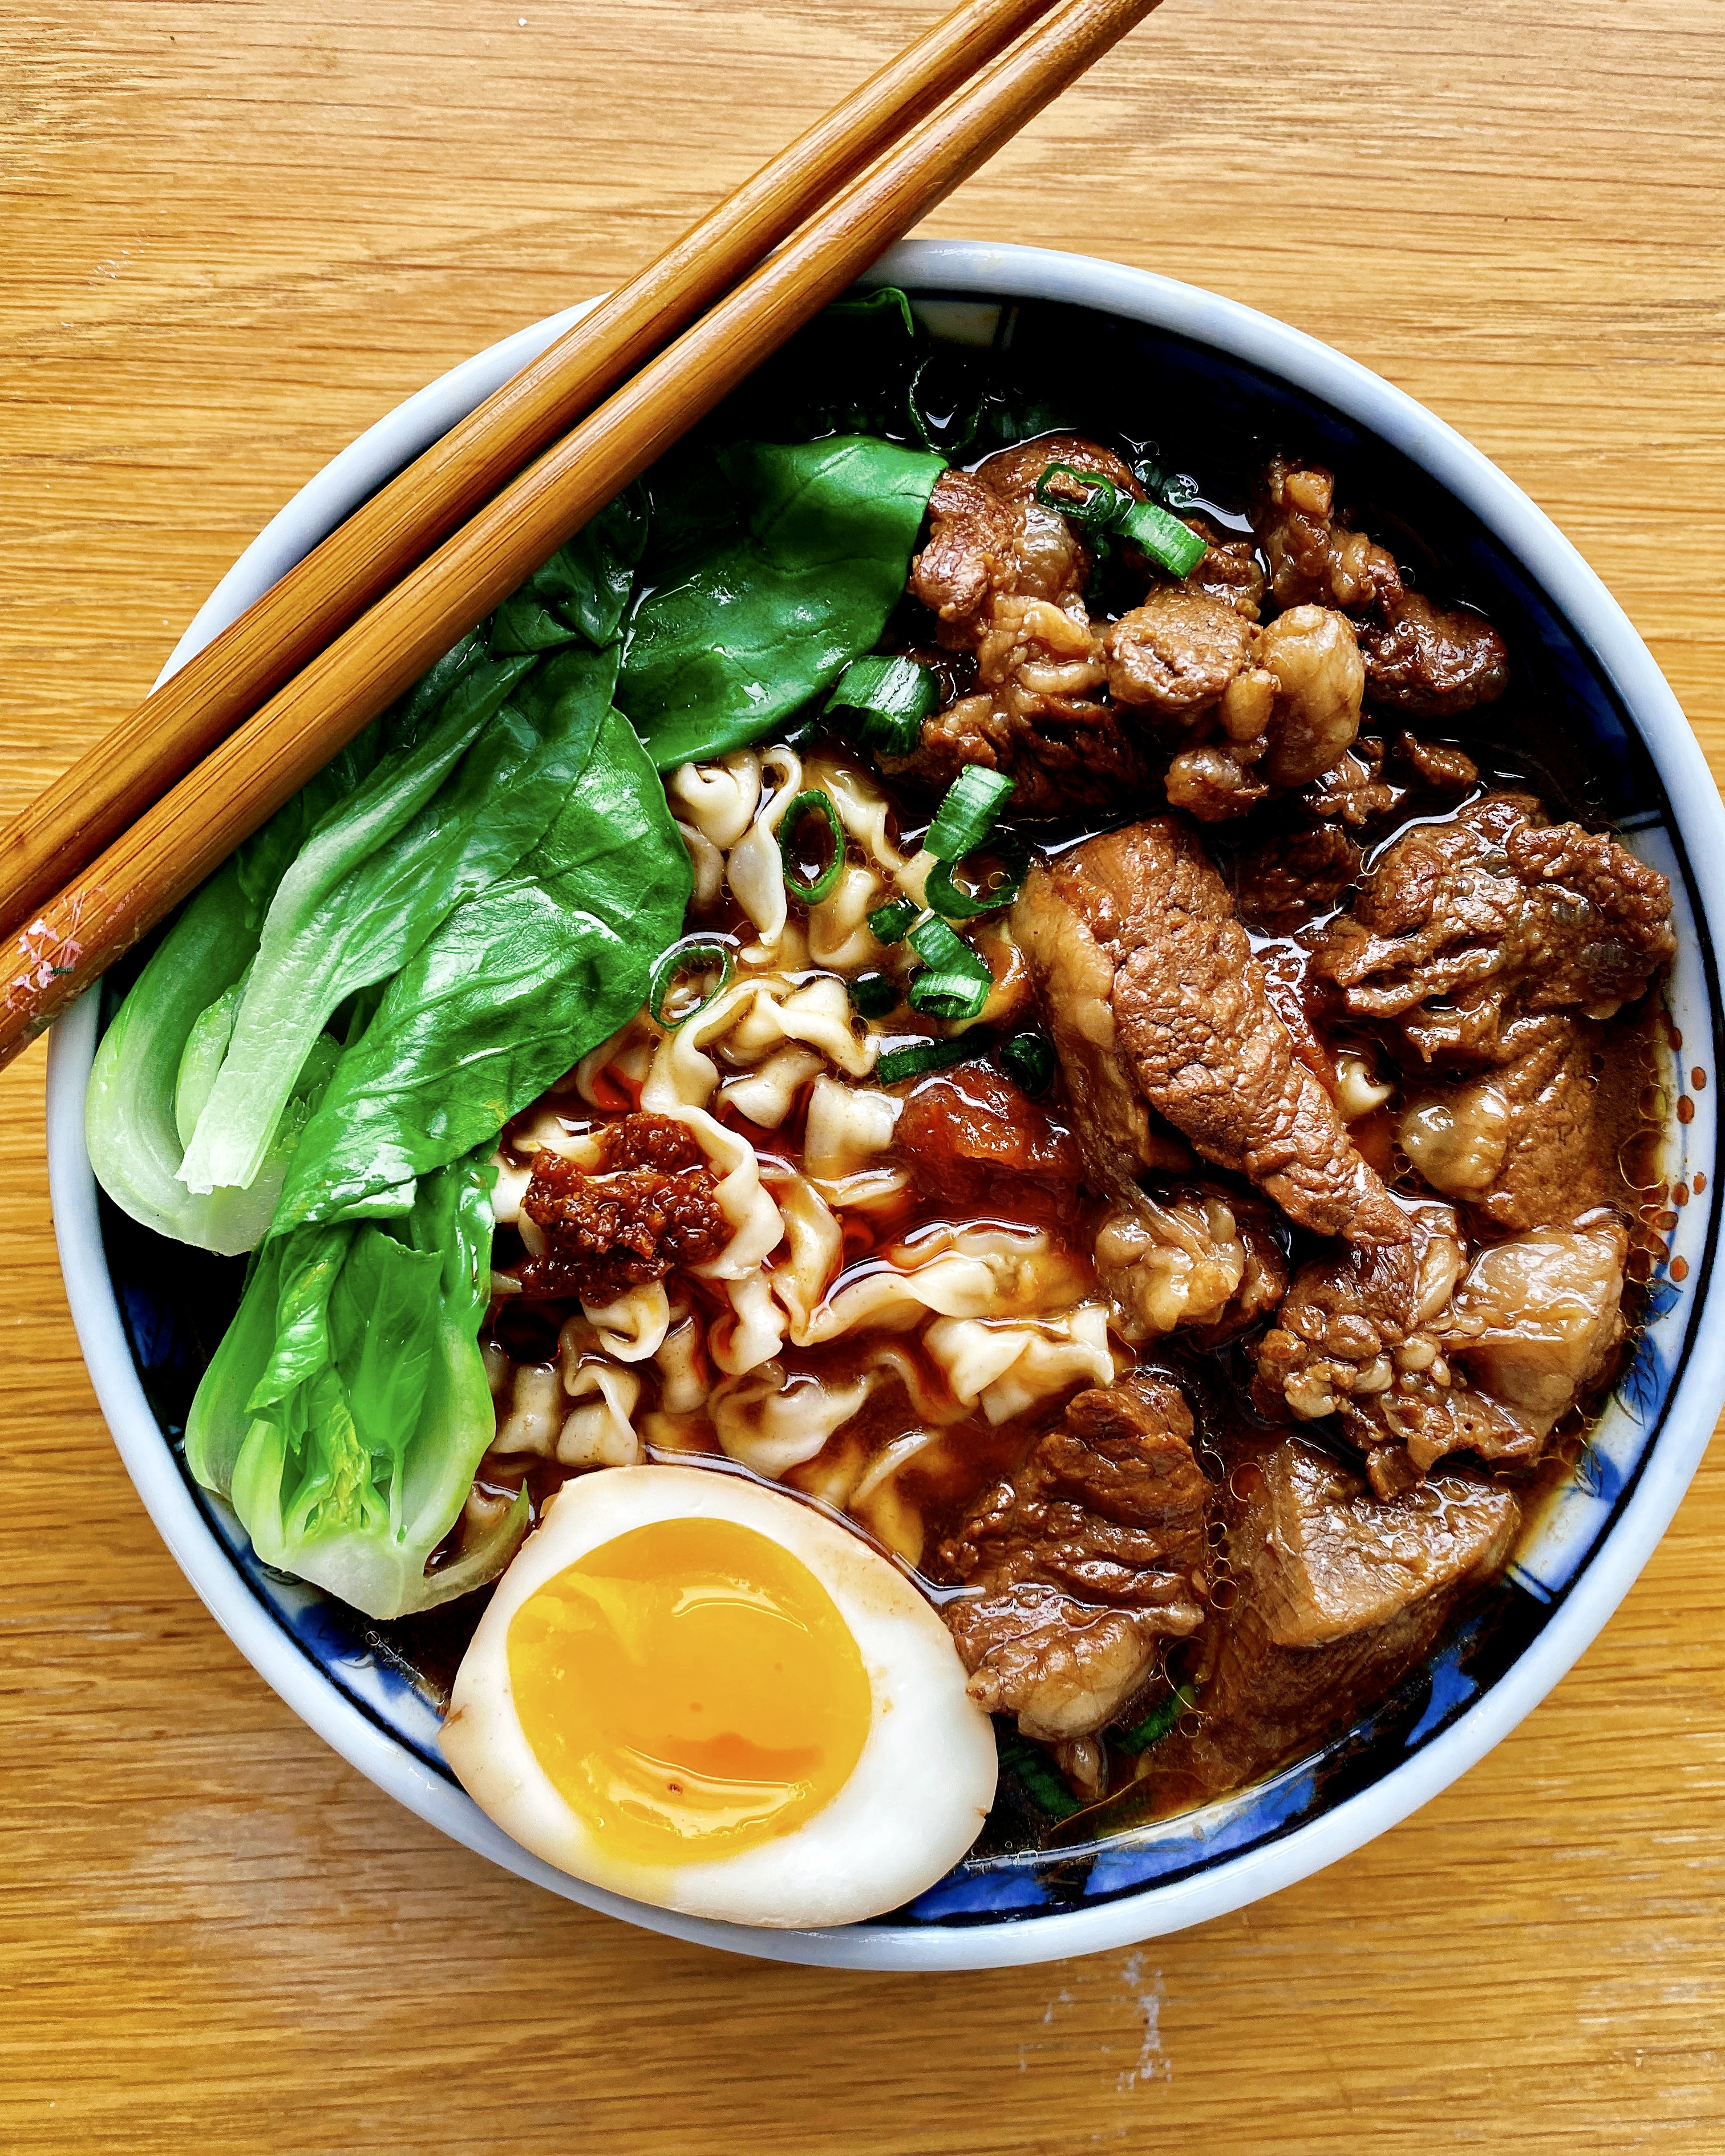
The original version calls for napa cabbage and angel hair pasta, and while both are perfectly fine to use, I now opt for the more photogenic baby bok choy and use more authentic Taiwanese dried noodles like A-Sha brand.  And for the lu dan, instead of cooking already hard-boiled eggs in the sauce, I prefer tucking chilled 7-minute boiled eggs in the soup after it's been strained and cooling.  This way the yolks remain nice and jammy while the whites absorb the delicious flavor.

A few other changes:  I've listed white peppercorns, a cinnamon stick, and bay leaf as optional spices in addition to the star anise.  If you don't have them it's fine, but if you have them it will add a nice complexity to the soup.  The star anise is an absolute must, though, to make this a Taiwanese beef noodle soup.  Lastly, I stole this idea from Kenji's recipe--since almost all soups taste better the next day, I remove the beef from the soup, then strain everything else out before letting it chill overnight in the fridge.

Taiwanese Beef Noodle Soup
makes about 2-3 servings

1 lb. chuck steak, cut into 1" chunks
1 tablespoon oil, if needed
2 scallions, cut into 2" pieces
1 inch ginger, sliced
3 garlic cloves, peeled and smashed
1 tomato, skinned and roughly chopped
1 star anise
1 teaspoon white peppercorns (optional)
1 cinnamon stick (optional)
3 tablespoons rock sugar
1/2 cup low-sodium soy sauce
1/2 cup Shaoxing rice wine
2 cups beef broth
1 bay leaf (optional)
3 large eggs
Baby bok choy or napa cabbage, blanched
Noodles, cooked
Chili oil/sauce (like Sze Daddy), optional

If there is a lot of extraneous fat on the steak, you can cut it off and render it in a large Dutch oven or pot (add it to the pot cold then turn the heat to medium).  Otherwise, heat the oil in the pot and add the beef.  Flip the beef around to brown all the sides, then remove from the pot. 

Add the scallions, ginger, garlic, star anise, tomato, and white peppercorns and cinnamon stick, if using, to the pot and cook for a couple of minutes until very fragrant.  Add the rock sugar and stir around until it has mostly dissolved.  Return the beef to the pot and deglaze the bottom with the soy sauce and wine.  Add the beef broth and bay leaf, if using, and bring to a simmer.  Cover and continue to simmer on low for an hour.

In the meantime, bring another pot of water to boil.  Add the eggs (straight from the fridge) to the pot and set the timer for 7 minutes.  Prepare an ice bath.  After 7 minutes, remove the eggs from the pot and plunge them into the ice bath.  Once they are cool enough to handle, peel the eggs and set aside in the fridge to chill.

After an hour, check the beef for tenderness and the soup for flavor.  Cook longer or adjust seasonings if needed.  When the beef is ready, transfer from the soup into another pot or container large enough to hold the soup.  Strain the rest of the soup into the pot/container with the beef in it.  Add the peeled eggs, cover, let come to room temperature, then place in the fridge overnight.

When ready to serve, reheat the soup (remove the eggs first if you want to keep them jammy).  Blanch the veggies in boiling water until bright green and tender.  Remove and then cook the noodles in the same boiling water.  Drain and portion the noodles into 3 bowls, ladle the soup and beef over the noodles and add the veggies.  Slice the eggs in half and add to the bowl.  Serve with chili sauce (I like Sze Daddy for additional Taiwanese flavors) if you like.

Previously:  No Knead Sourdough Focaccia
Next:  Hurricane Popcorn Marshmallow Treats